
My Bugeye UK300


 26 May 2014, 04:19 PM
#124
Scooby Regular
Join Date: Apr 2014
Location: Kelvedon,Essex
Posts: 64
Likes: 0
Received 0 Likes
on
0 Posts
That is a stunning looking car and a brilliantly put together thread - thanks for making the effort and putting some ideas other peoples way. I'm in Kelvedon with an 03 Blob bought in April this year and what a great car it is. In to Paul at Extreme on thursday - may see you about sometime.[IMG] [/IMG]
 [/IMG]
03 June 2014, 10:59 PM
[/IMG]
03 June 2014, 10:59 PM
#126
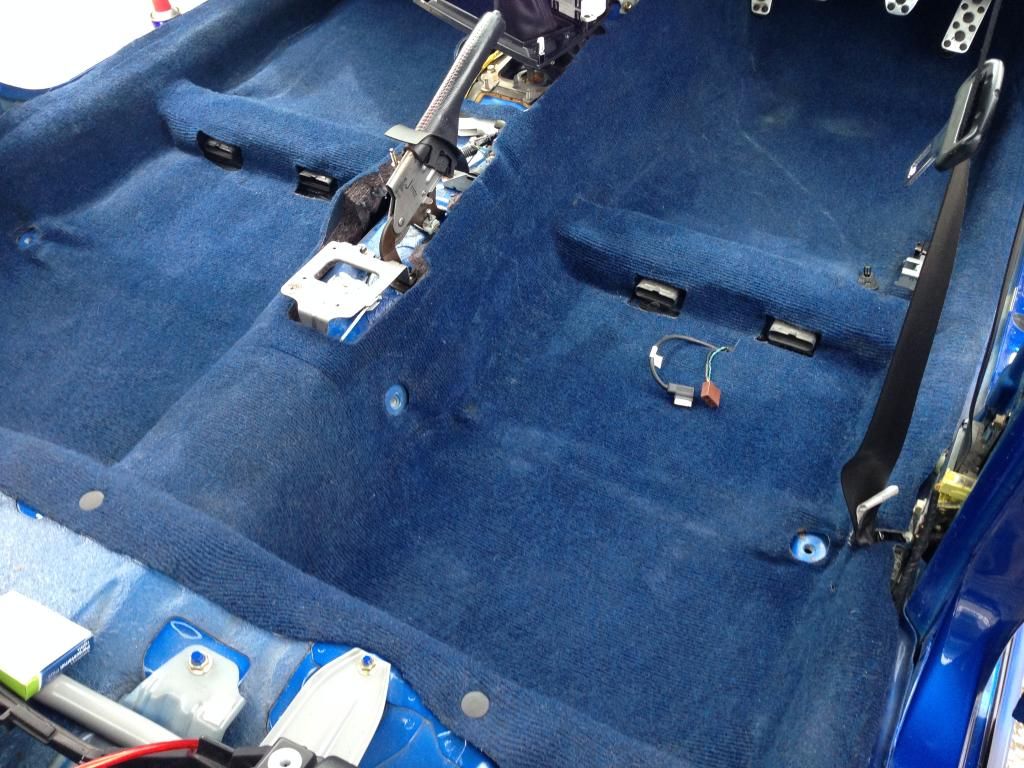
So not a lot has happened really still got new discs and pads sitting here and the eibach springs but after just starting my new business I still haven't had time to fit these yet!
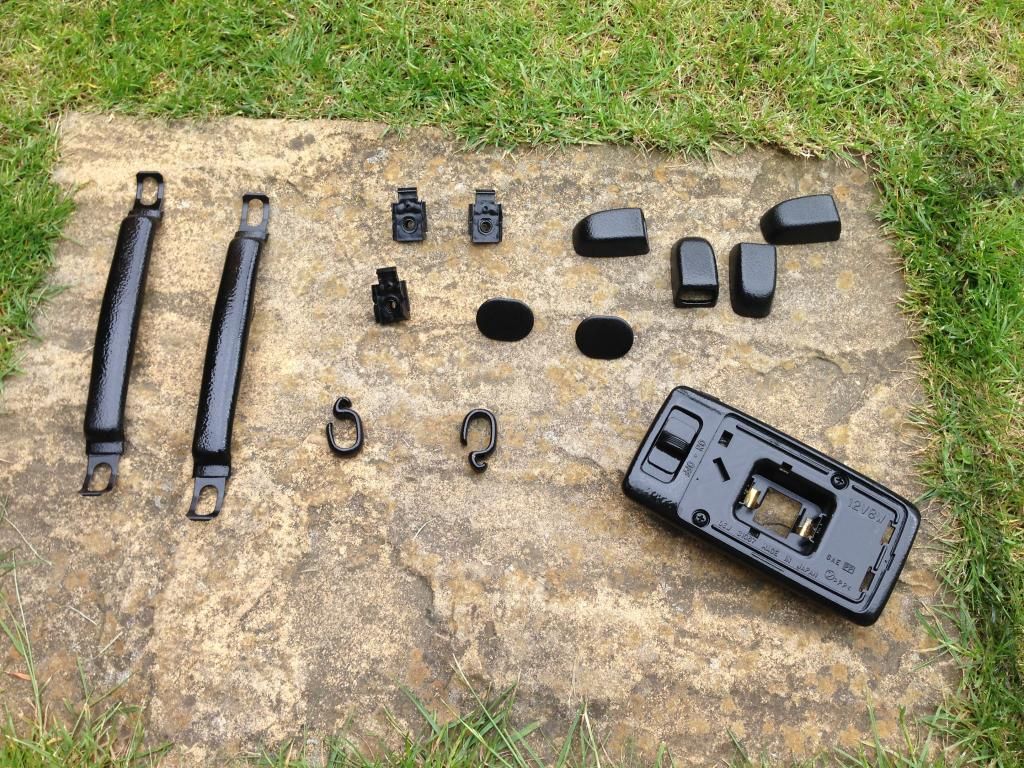
So after deciding that I really need to get my top half of the interior trims from grey to black as I can't stand grey plastic or light headlining on cars, I've started the process.
All grab handles, clips, lights and brackets will be sprayed in Flexi plastic spray in a gloss black, headlining either sprayed black with fabric spray or I will try re-trim it myself.
The pillars etc to be re-trimmed in black alcantara and sun visors to be sprayed black, if that doesn't work then I will trim them as well.
I've now got every single pillar, light, bracket, grab handle spare now so I can get cracking with this.
So far here's some bits already sprayed and some fitted
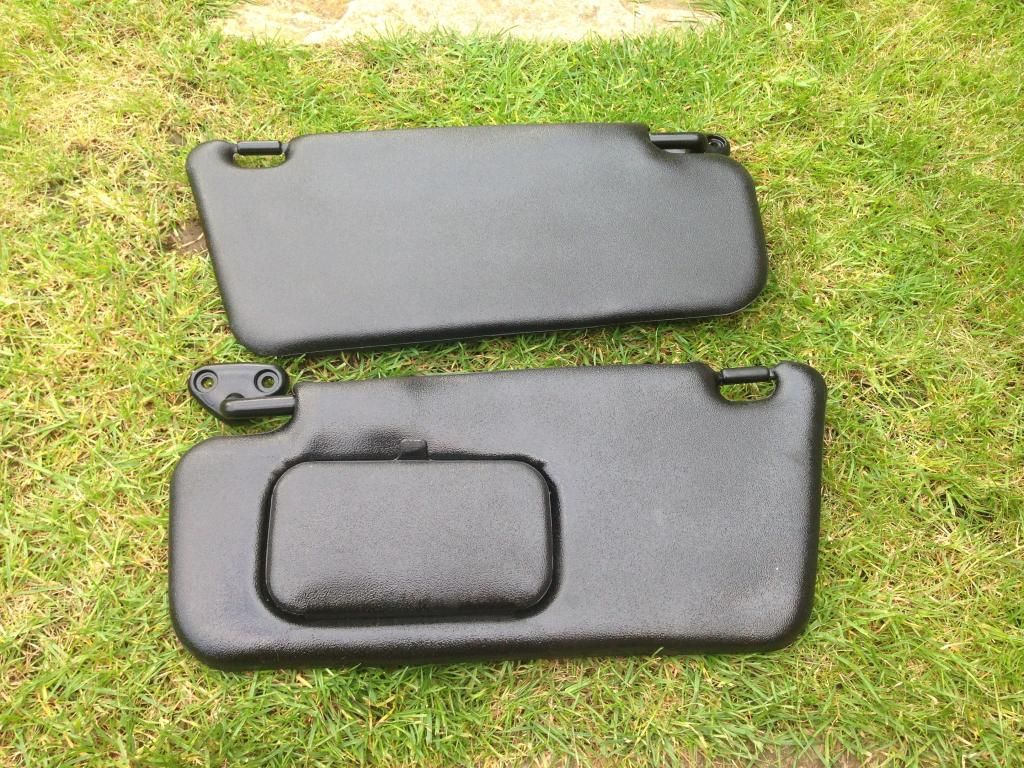
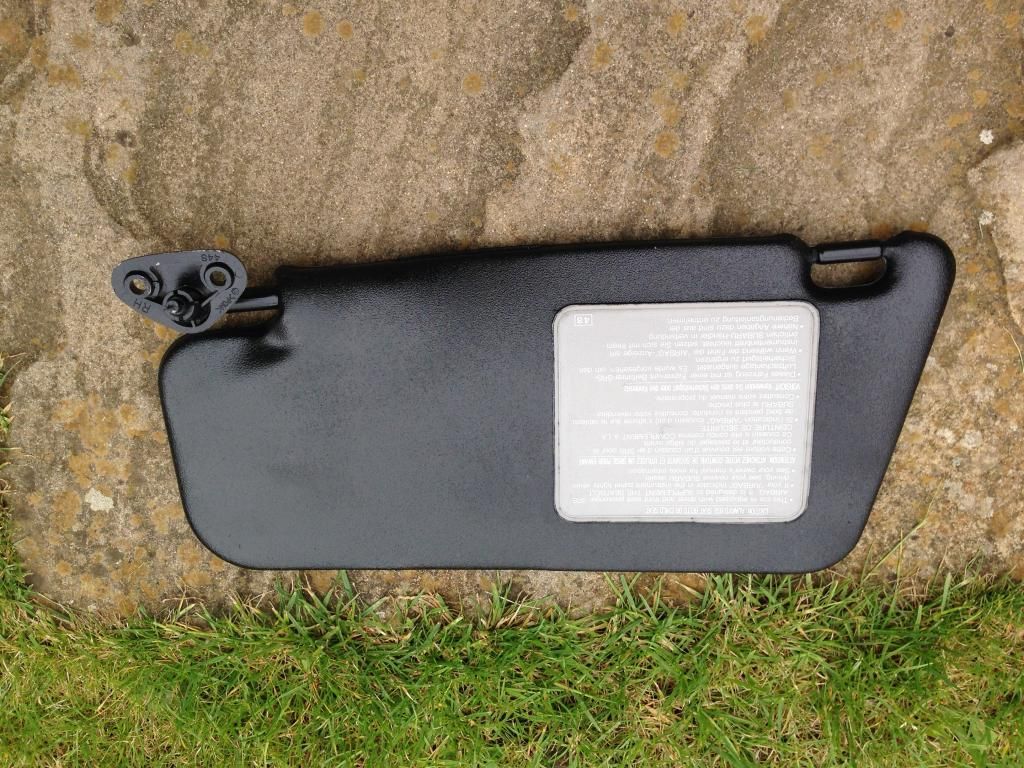
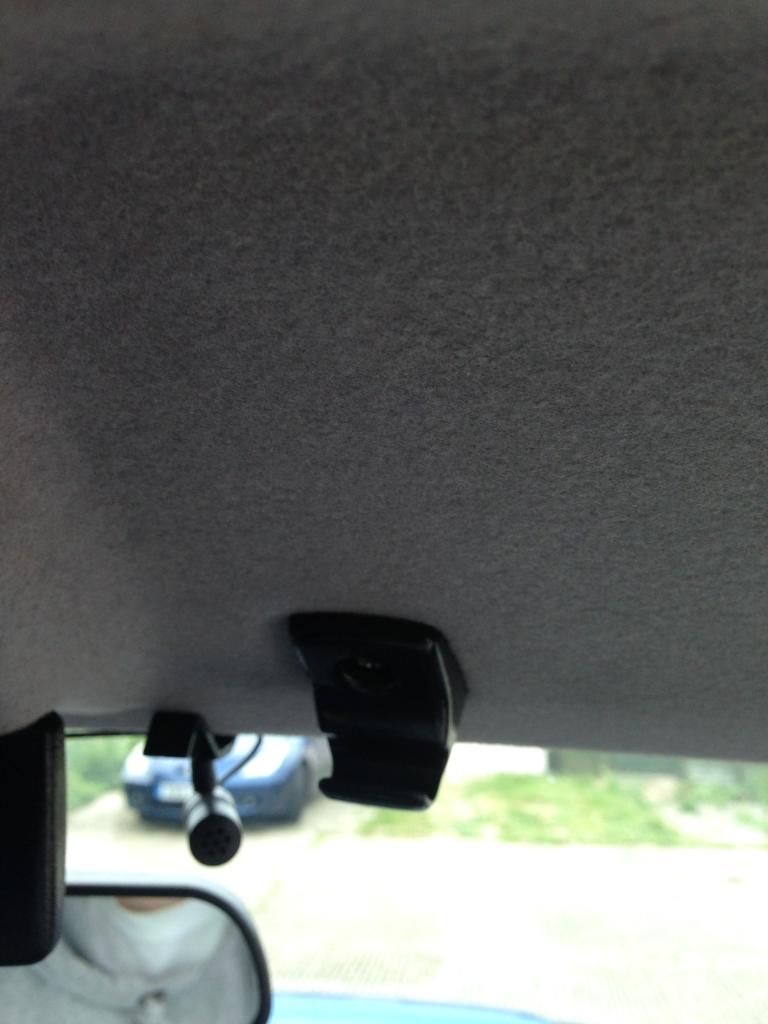
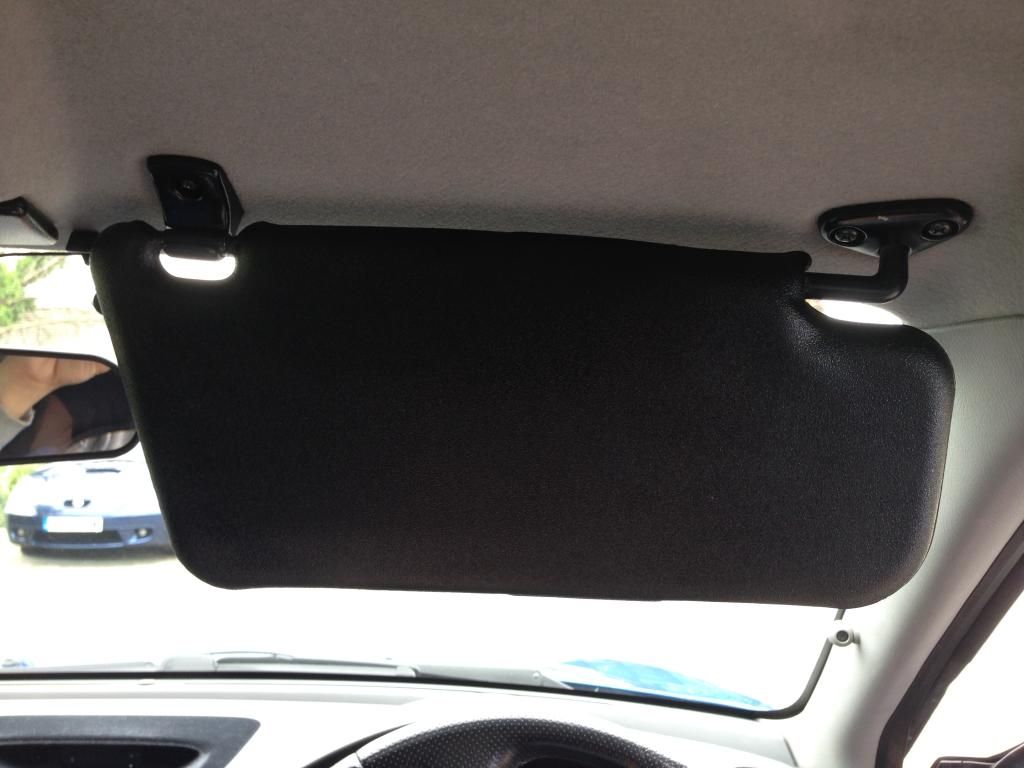
Sun Visors and Sun Visor Brackets:
Middle Sun Visor:
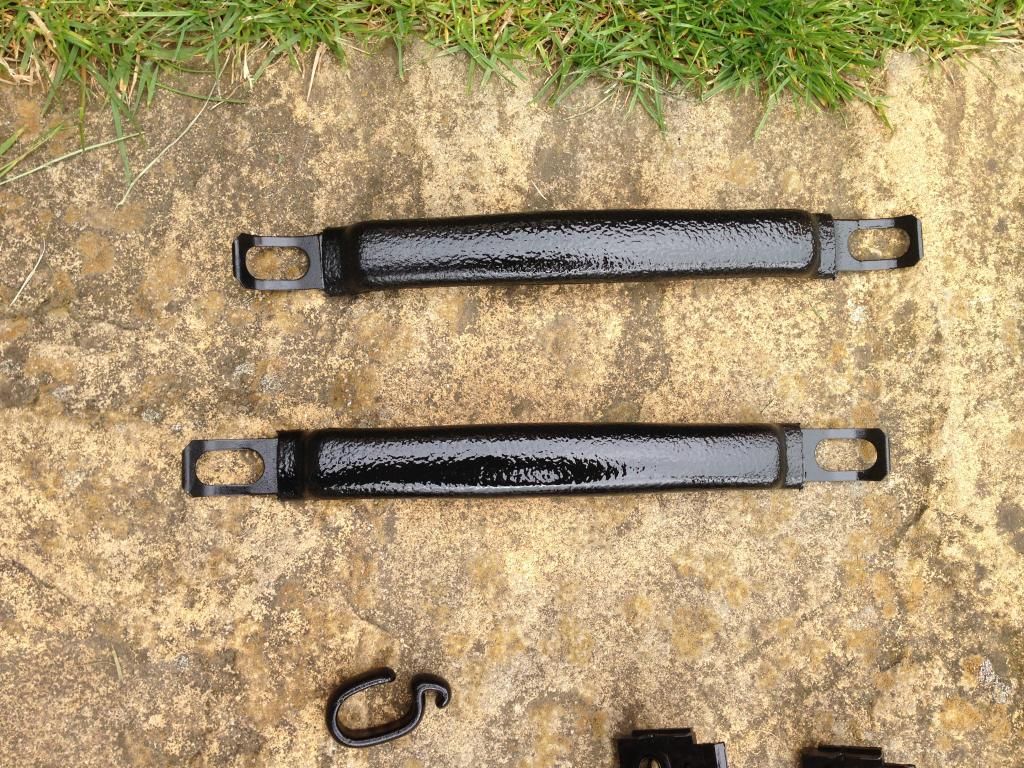
Rear Grab Handles:
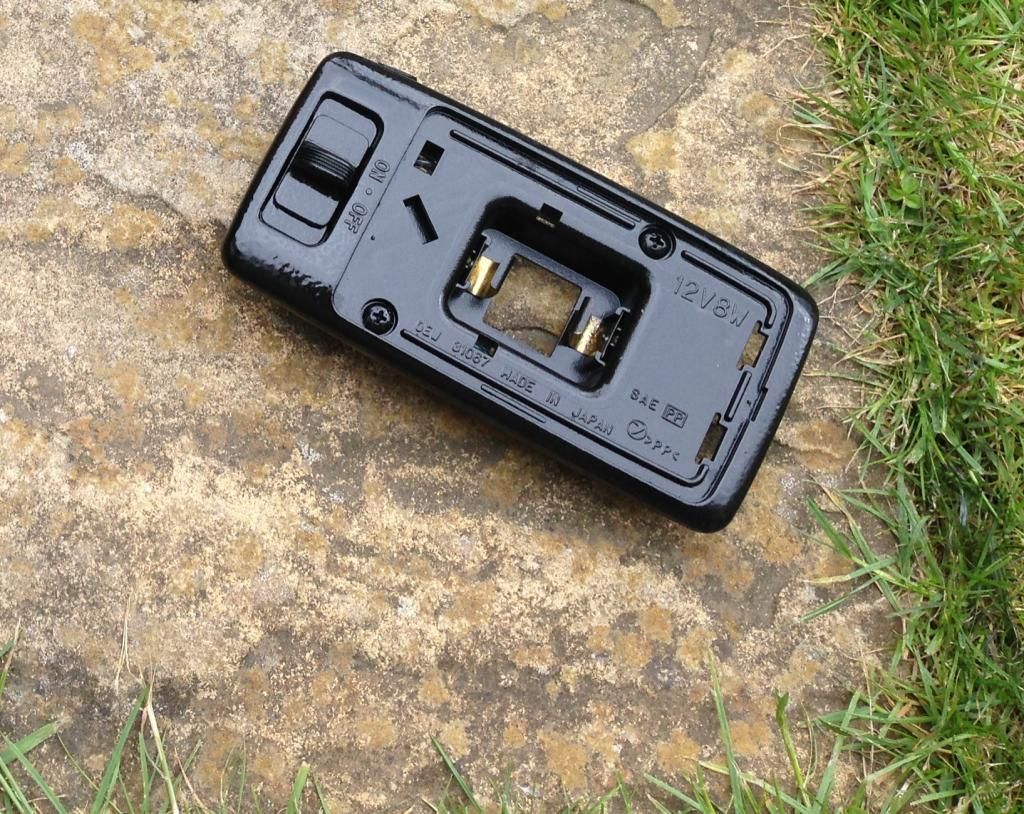
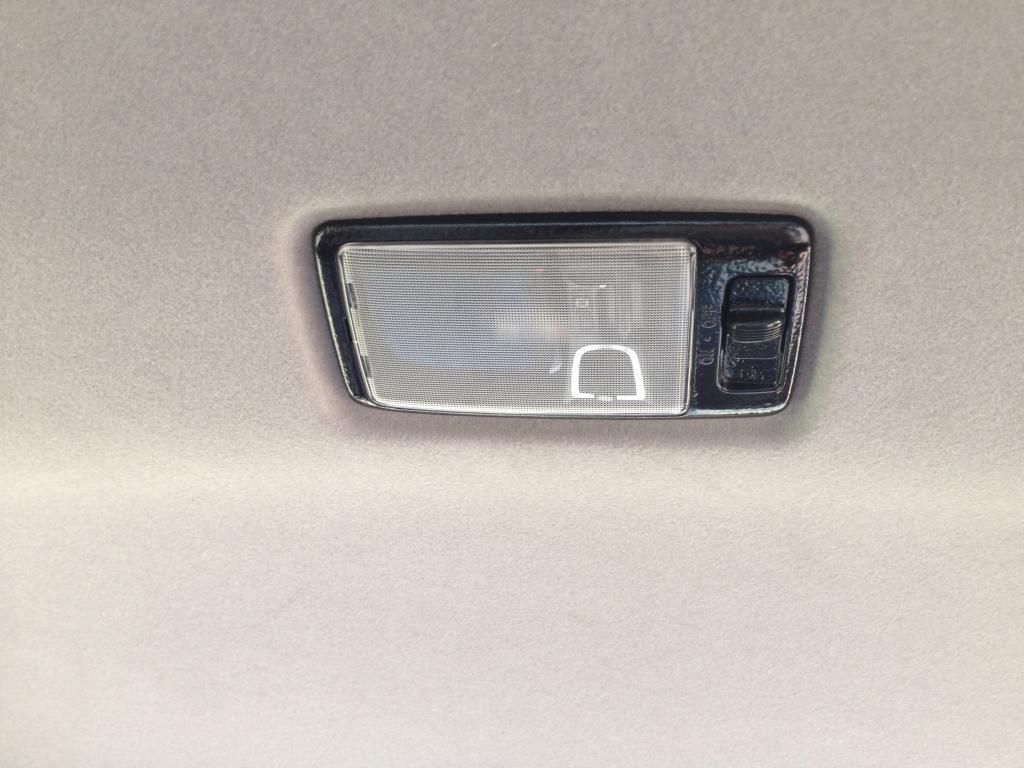
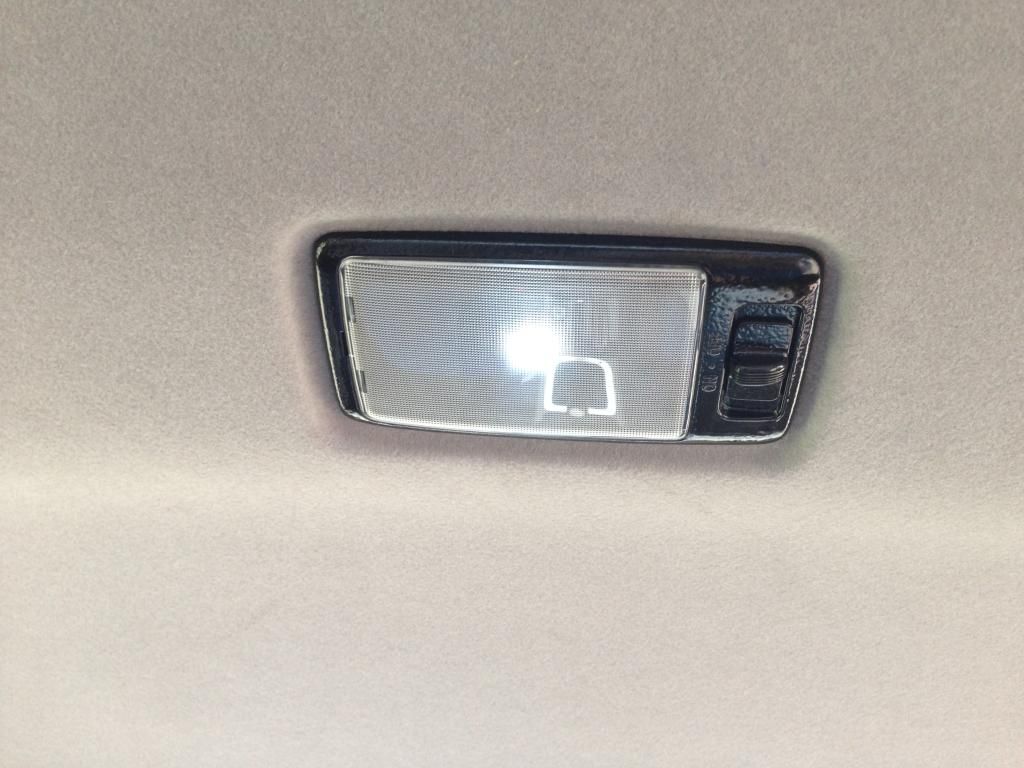
Middle Light:
Various Parts Just Painted:
So after deciding that I really need to get my top half of the interior trims from grey to black as I can't stand grey plastic or light headlining on cars, I've started the process.
All grab handles, clips, lights and brackets will be sprayed in Flexi plastic spray in a gloss black, headlining either sprayed black with fabric spray or I will try re-trim it myself.
The pillars etc to be re-trimmed in black alcantara and sun visors to be sprayed black, if that doesn't work then I will trim them as well.
I've now got every single pillar, light, bracket, grab handle spare now so I can get cracking with this.
So far here's some bits already sprayed and some fitted
Sun Visors and Sun Visor Brackets:
Middle Sun Visor:
Rear Grab Handles:
Middle Light:
Various Parts Just Painted:
06 June 2014, 10:13 AM
#127
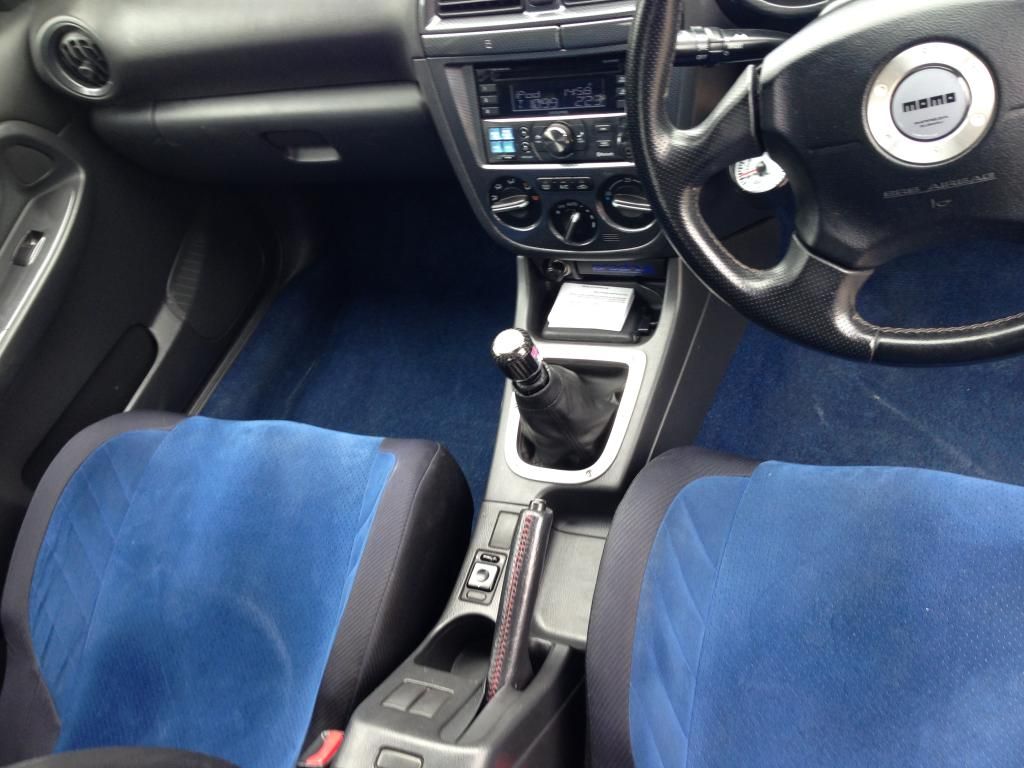
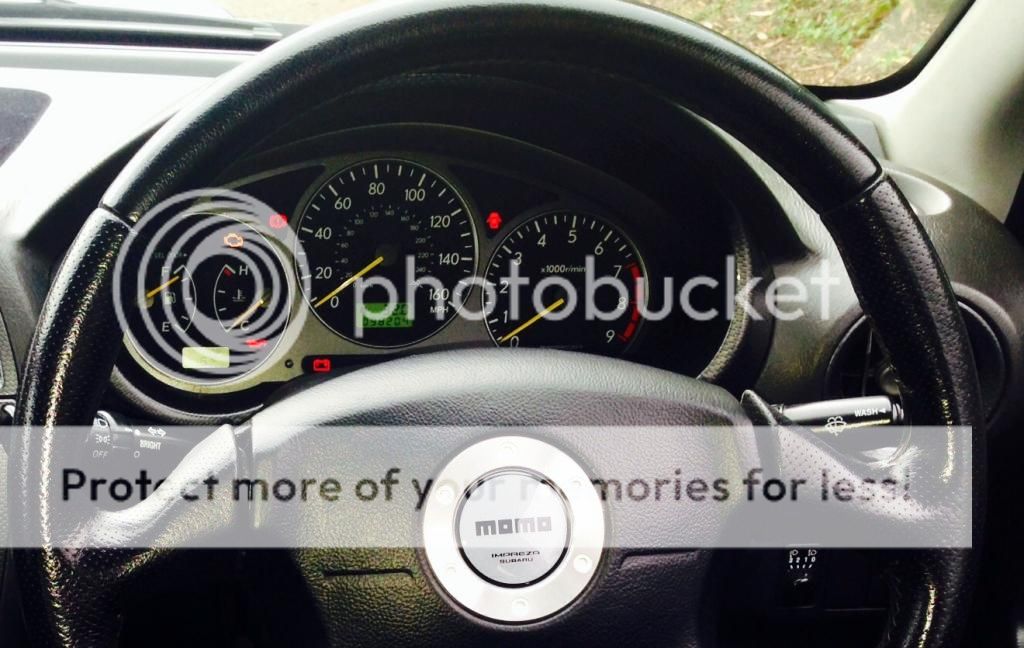
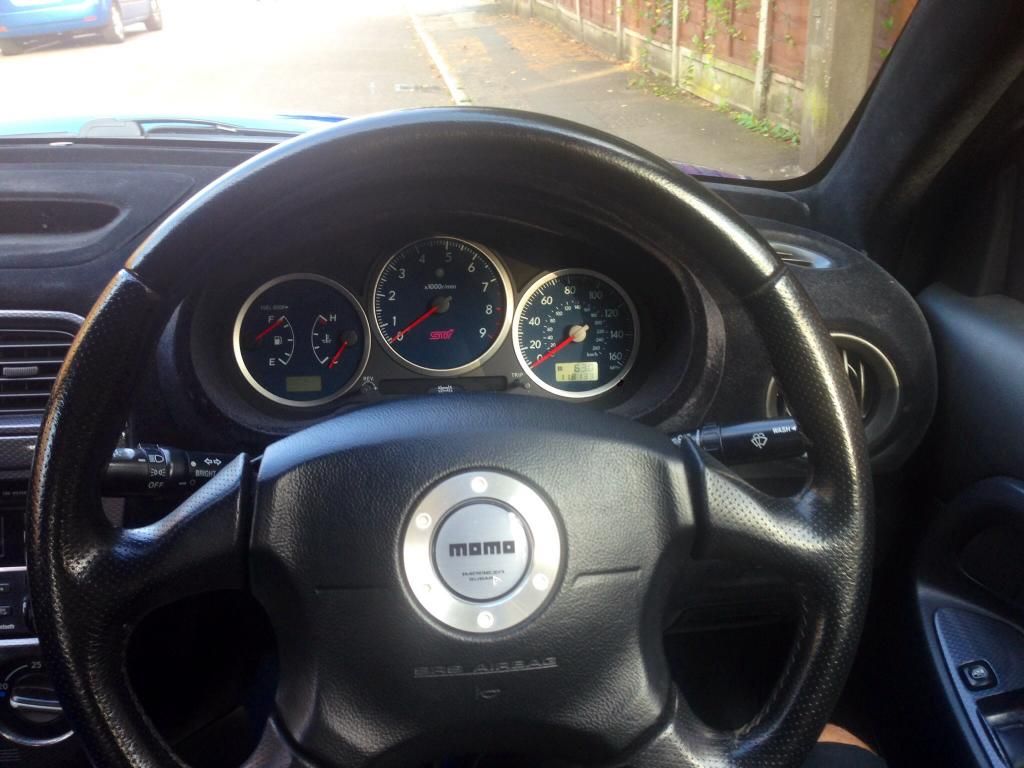
Some I found some Blobeye STI dash clocks for sale for a good price, there the pre Widetrack ones with adjustable shift light built in.
Thought they would tie in the blue nicely and also freshen up and update the interior from the dull grey WRX ones and I prefer the big centre rev counter as well.
Old with the old:
In with the new:
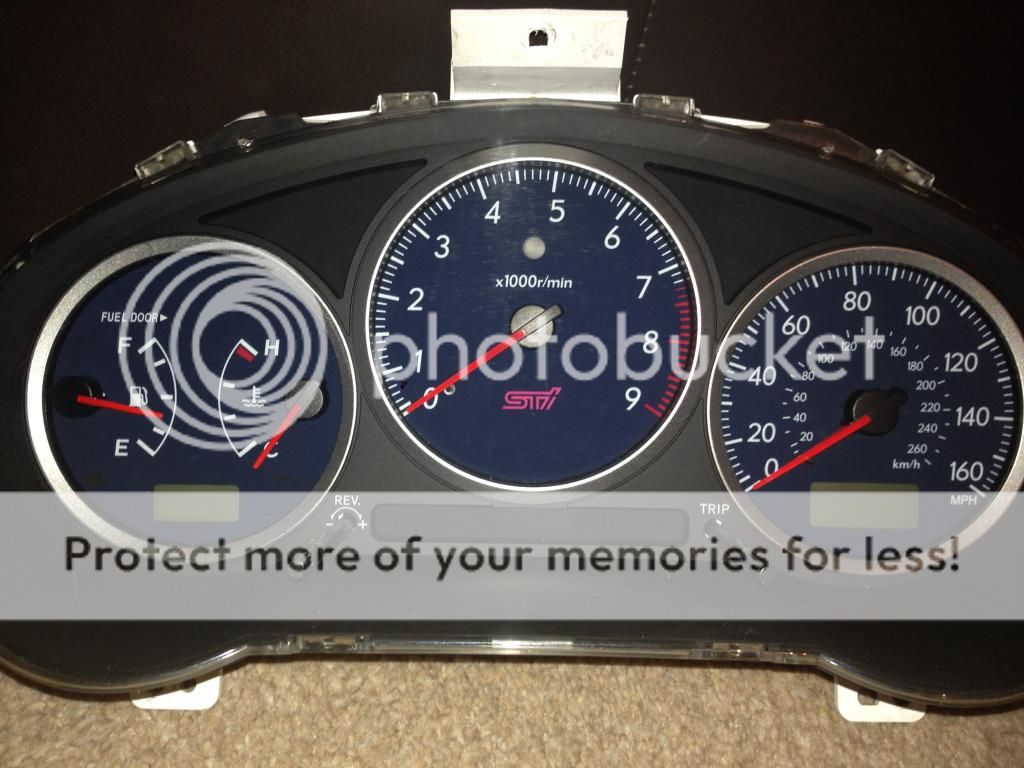
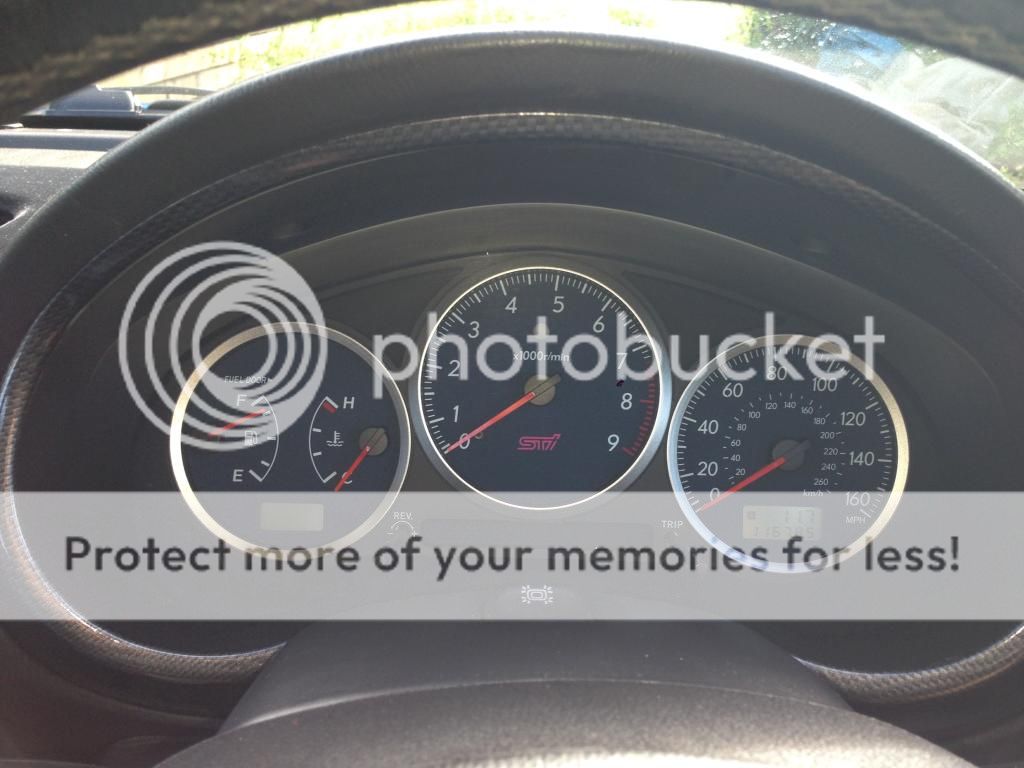
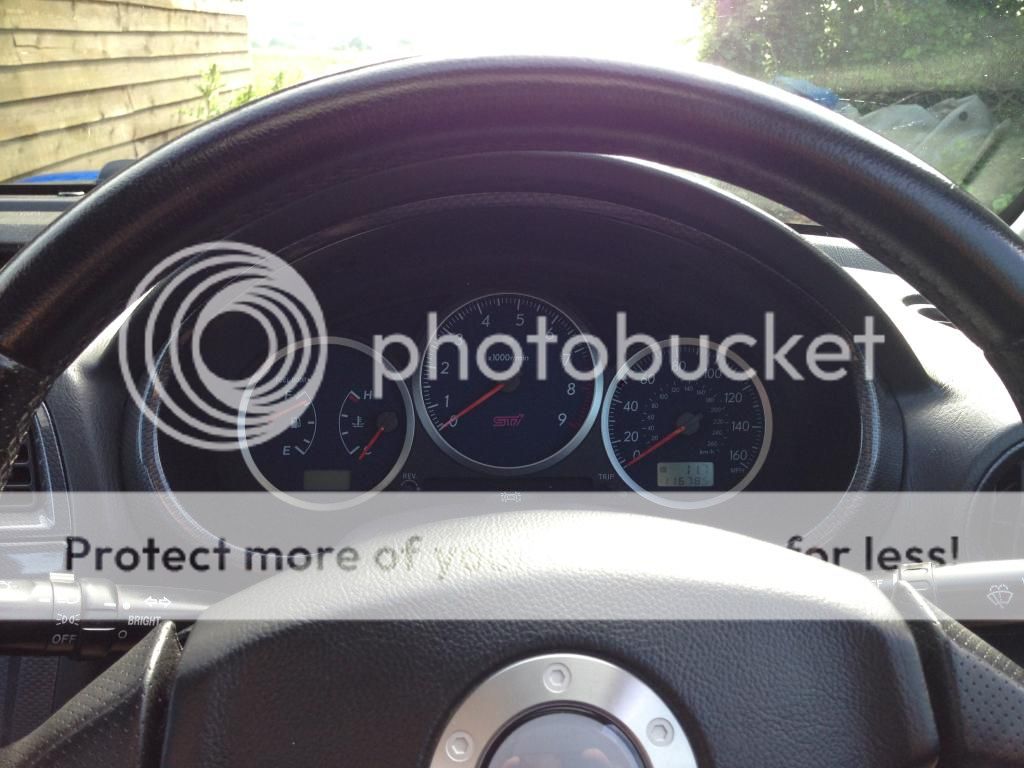
Changed all the bulbs for new ones for good measure and cleaned behind the screen as well so there minty fresh
Getting the mileage adjusted as well.
Interior is coming along now some more bits to paint this weekend then get the pillars wrapped up in some alcantara
Thought they would tie in the blue nicely and also freshen up and update the interior from the dull grey WRX ones and I prefer the big centre rev counter as well.
Old with the old:
In with the new:
Changed all the bulbs for new ones for good measure and cleaned behind the screen as well so there minty fresh
Getting the mileage adjusted as well.
Interior is coming along now some more bits to paint this weekend then get the pillars wrapped up in some alcantara
03 July 2014, 08:26 AM
#129
Scooby Regular


It's nice and clean considering it's done 100k plus just not keen on doing **** loads of mods to a very rare car just hope you keep all the standard bits Andy UK 300#276
Last edited by Rallyrep; 03 July 2014 at 08:28 AM.
24 August 2014, 09:44 PM
#130
Thanks mate
Thanks it's only 1 owner from new and it's been well looked after, it's only a UK300 it's not really that much of a sought after edition it's just a WRX with a few Prodrive bits bolted on so I can't imagine doing any mods will effect it's value tbh. It's not like I've done a lot to it.
But I have all the parts in my loft
But I have all the parts in my loft
 01 September 2014, 01:26 AM
#133
Scooby Regular
iTrader: (21)
Join Date: Mar 2009
Location: Manchester
Posts: 3,757
Likes: 0
Received 0 Likes
on
0 Posts
Brilliant thread mate as most have said and a stunning car! Credit to you buddy. Before I sold my bugeye last year I did the same sort of thread. Great looking back now, I also did some of the same mods you've done. Great cars for what they are... keep it up fella��
 02 September 2014, 09:27 AM
#136
Scooby Regular
02 September 2014, 11:48 AM
#138
Not really I haven't made any power modifications so it's not like I'm trying to get to STI power, I never wanted to get an STI for a few reasons:
Prefer the UK300 looks
I don't need 6 speed box as I live in B roads and don't get over 85mph much so the 5 speed box is better for me and I've had big BHP cars before so I didn't really want to go down the BHP chasing route, this is my works car
02 September 2014, 11:50 AM
#139
As the thenewgalaxy has said it would help if you read the whole thread, new clocks have a higher millage on them then my car has!
I wrote down what my car had and what the new car clocks had when I put them in, miles added onto the new clocks will be adjusted onto the old millage to give correct millage
I wrote down what my car had and what the new car clocks had when I put them in, miles added onto the new clocks will be adjusted onto the old millage to give correct millage
02 September 2014, 07:06 PM
#142
Cheers mate, not much outside really fit springs and new disks and pads, few bits to tidy up mainly the black window trims and black bumper trims.
Interior get my pillars, sun visors flocked, then get dash and centre console flocked and re-trim the roof.
Or just sell it and buy a van and take my business further lol
You shut it
Interior get my pillars, sun visors flocked, then get dash and centre console flocked and re-trim the roof.
Or just sell it and buy a van and take my business further lol
You shut it
Last edited by EssexJamie; 02 September 2014 at 09:26 PM.
 17 September 2014, 09:50 PM
#145
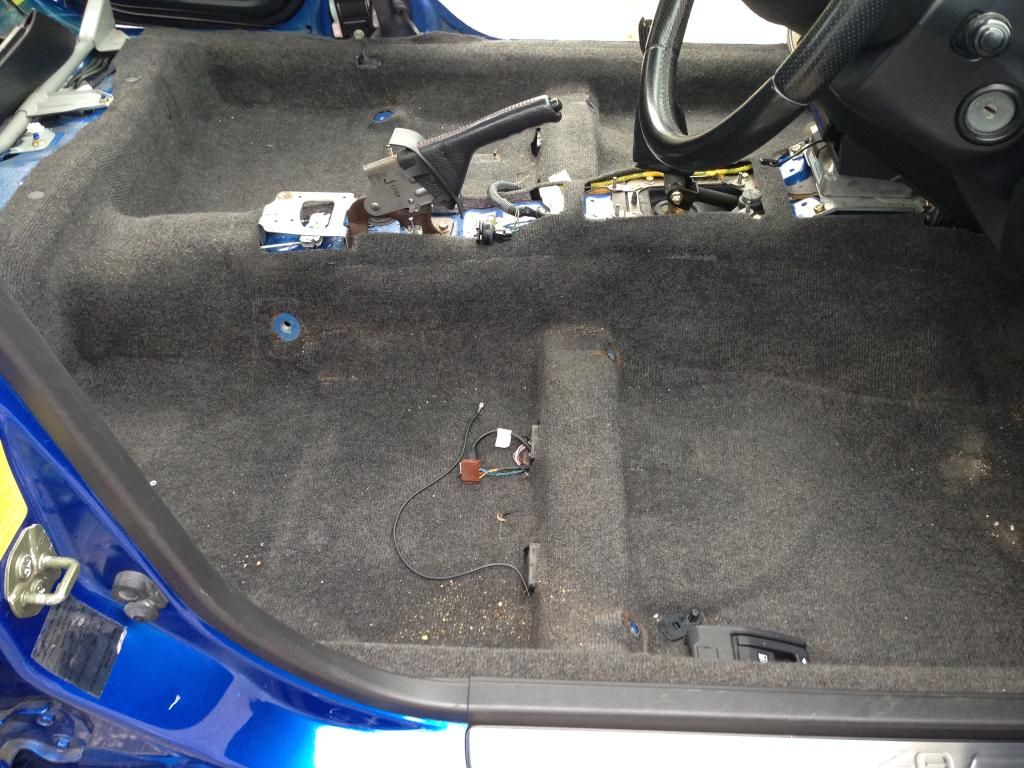
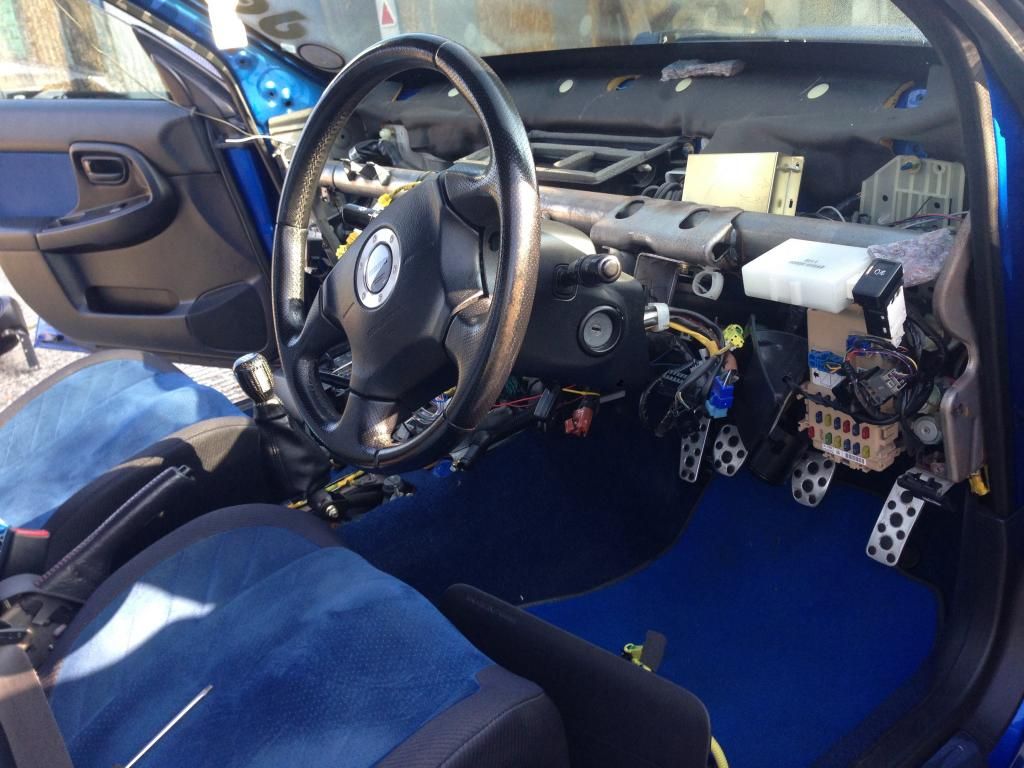
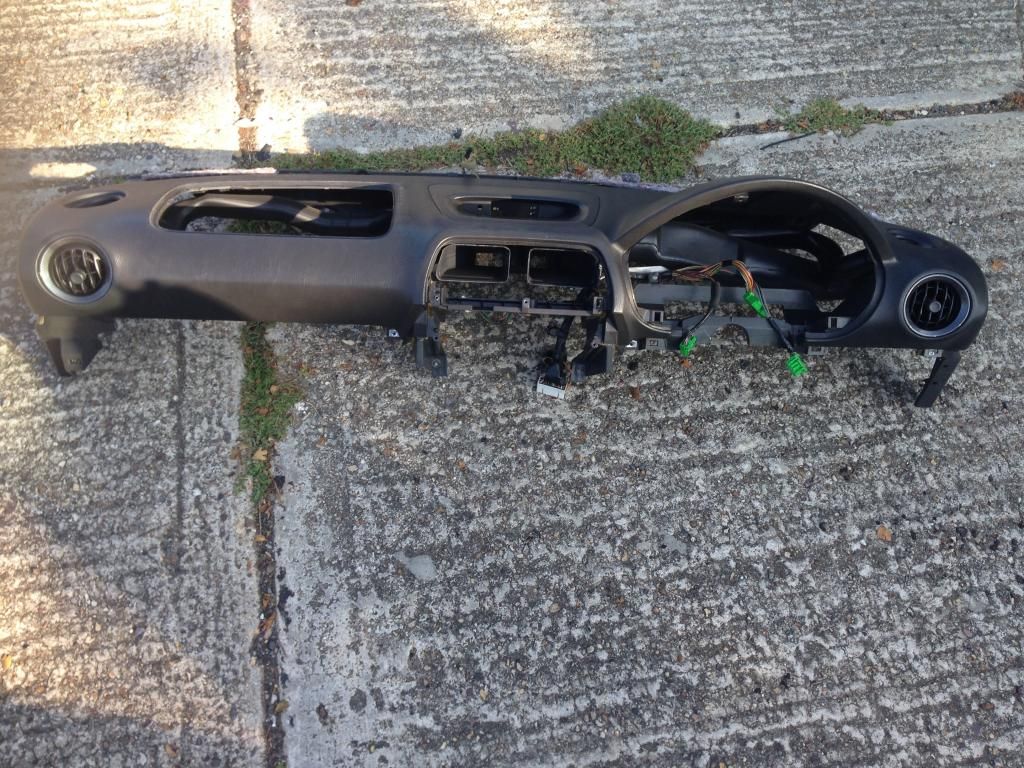
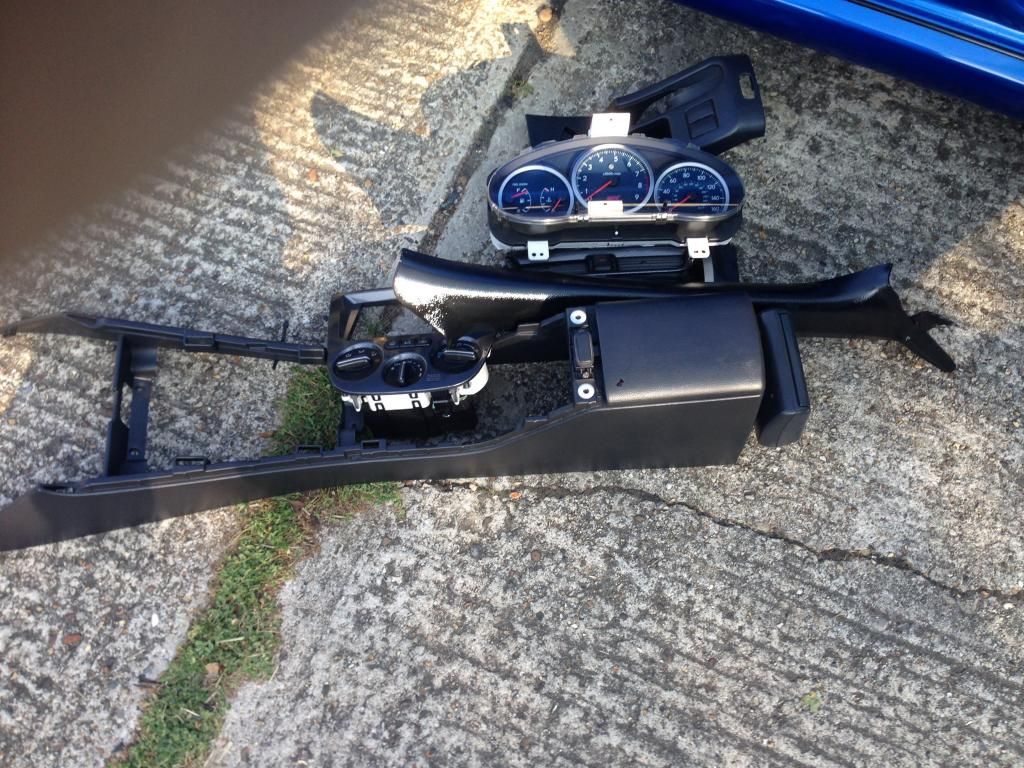
So this is basically all down to Frayz as he wanted a standard dash to start his new ideas so we swapped and I ended up with a stunning flocked upper and lower dash, A pillars, glove box, binnacle surround and stereo surround/centre dash section
Took around 2 hours to remove and install the new dash done it over 2 days
Out with the old:

In with the new:
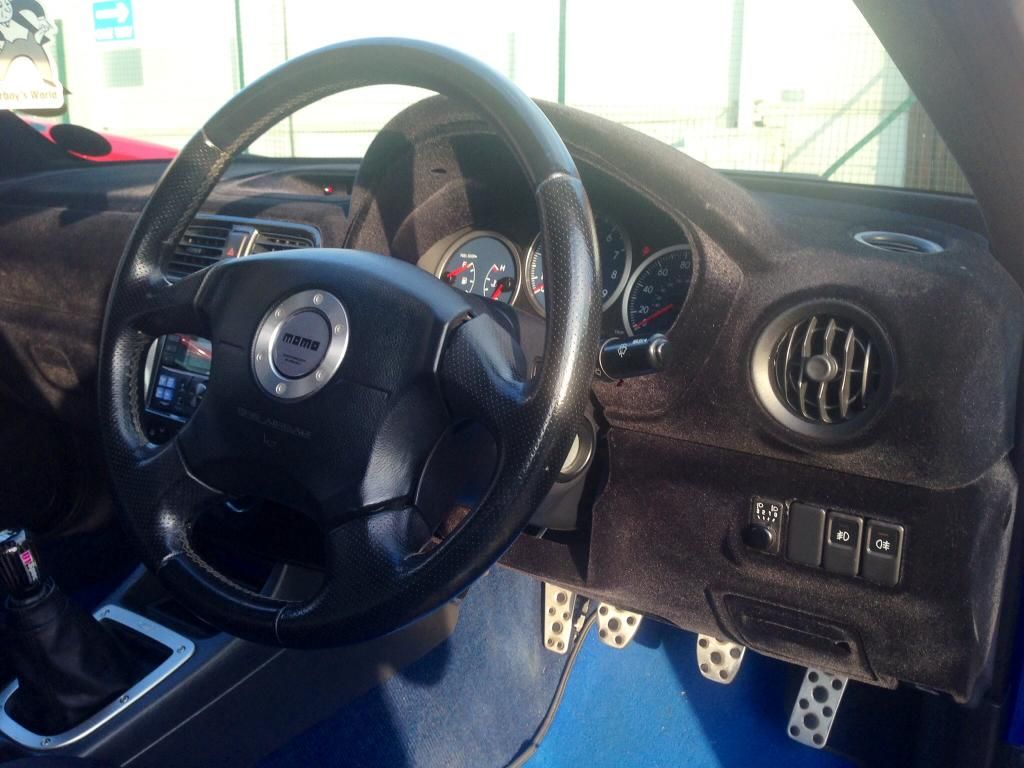
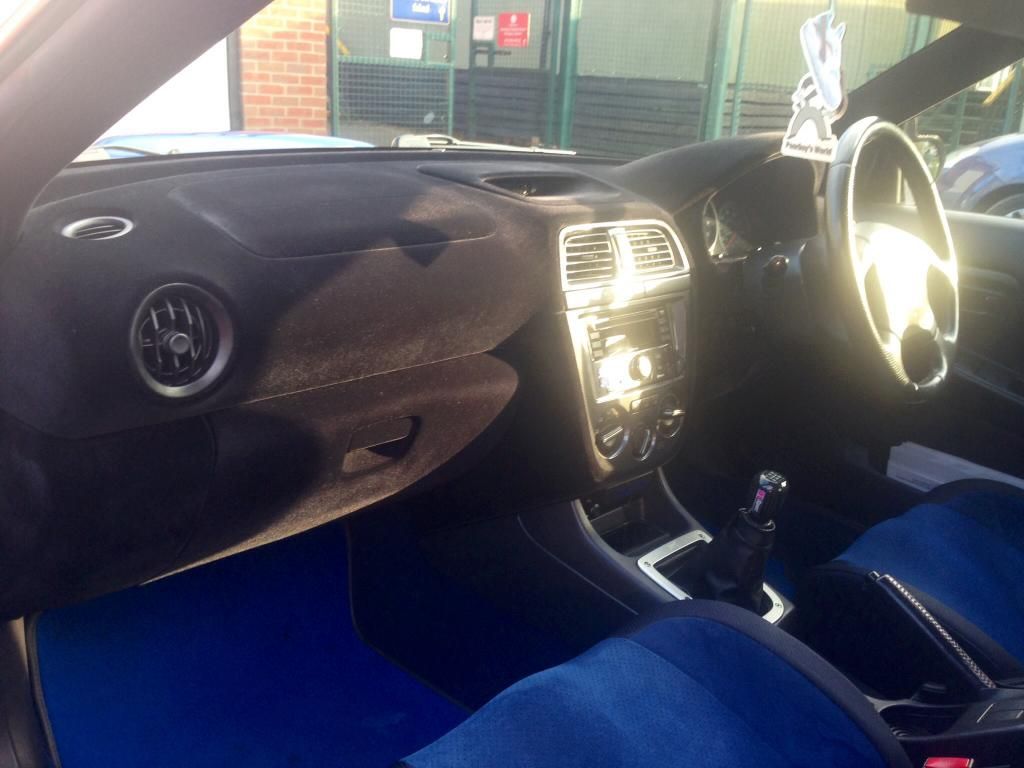
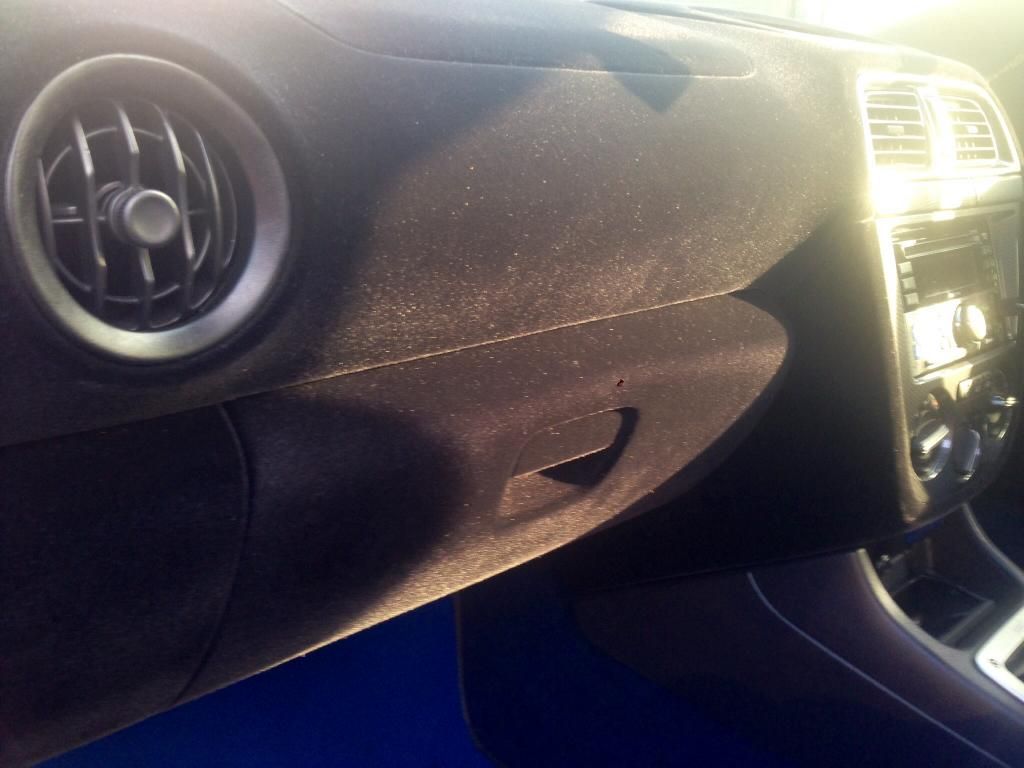
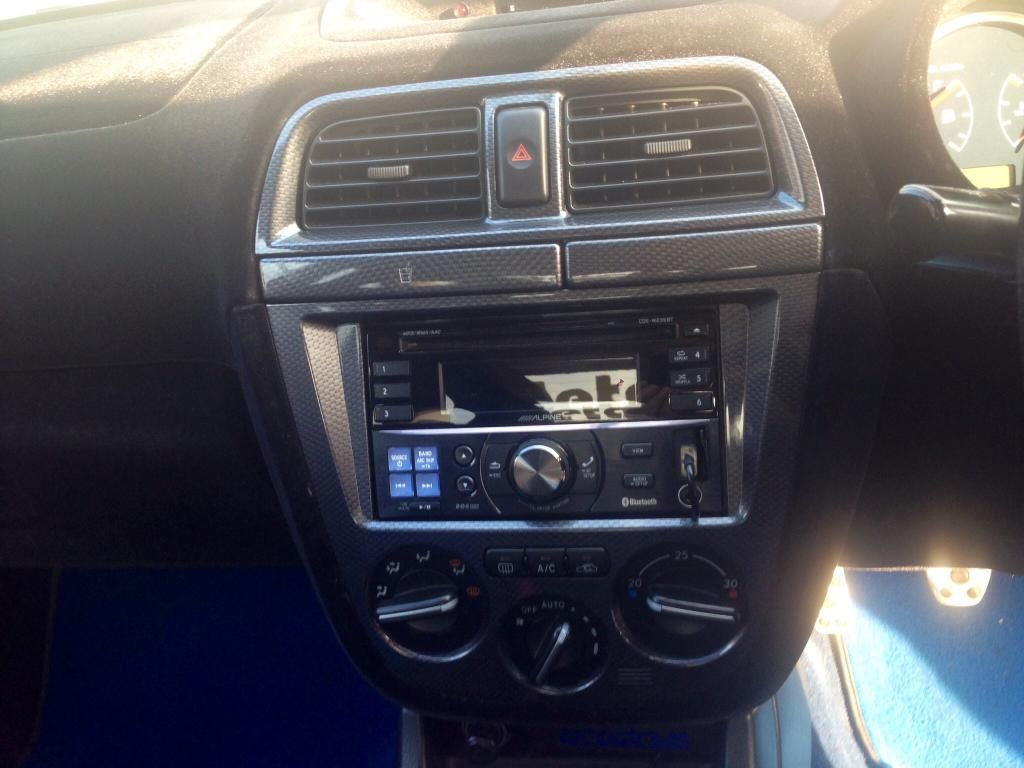
Thanks Frayz
Took around 2 hours to remove and install the new dash done it over 2 days
Out with the old:
In with the new:
Thanks Frayz
17 September 2014, 10:36 PM
#147
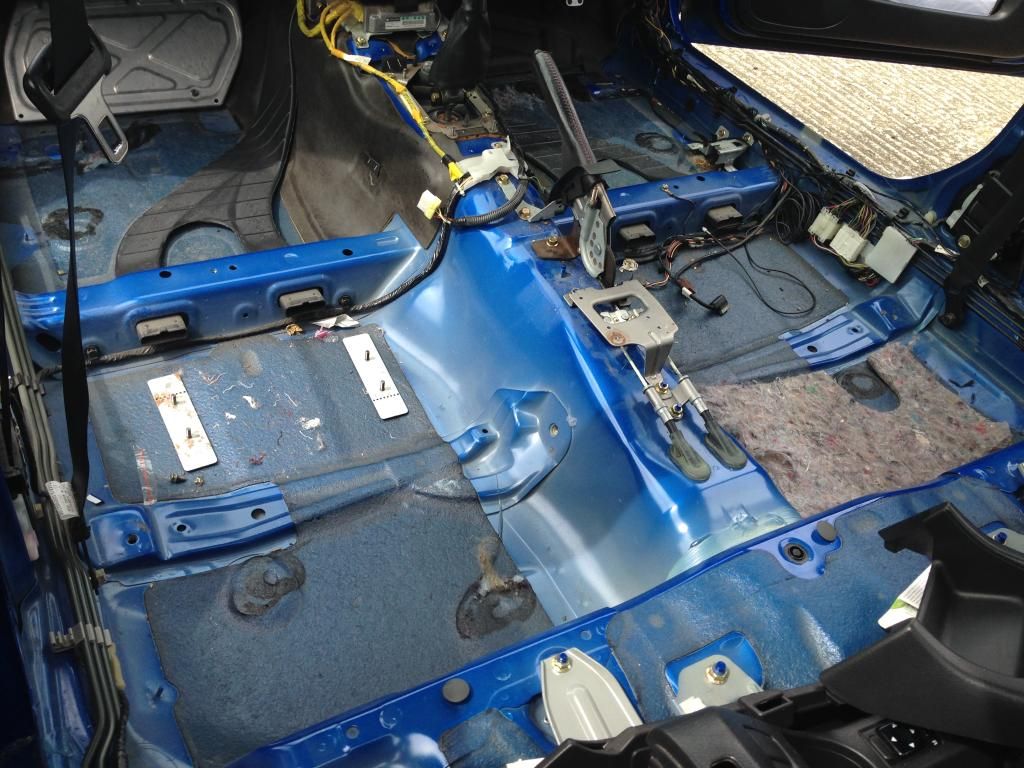
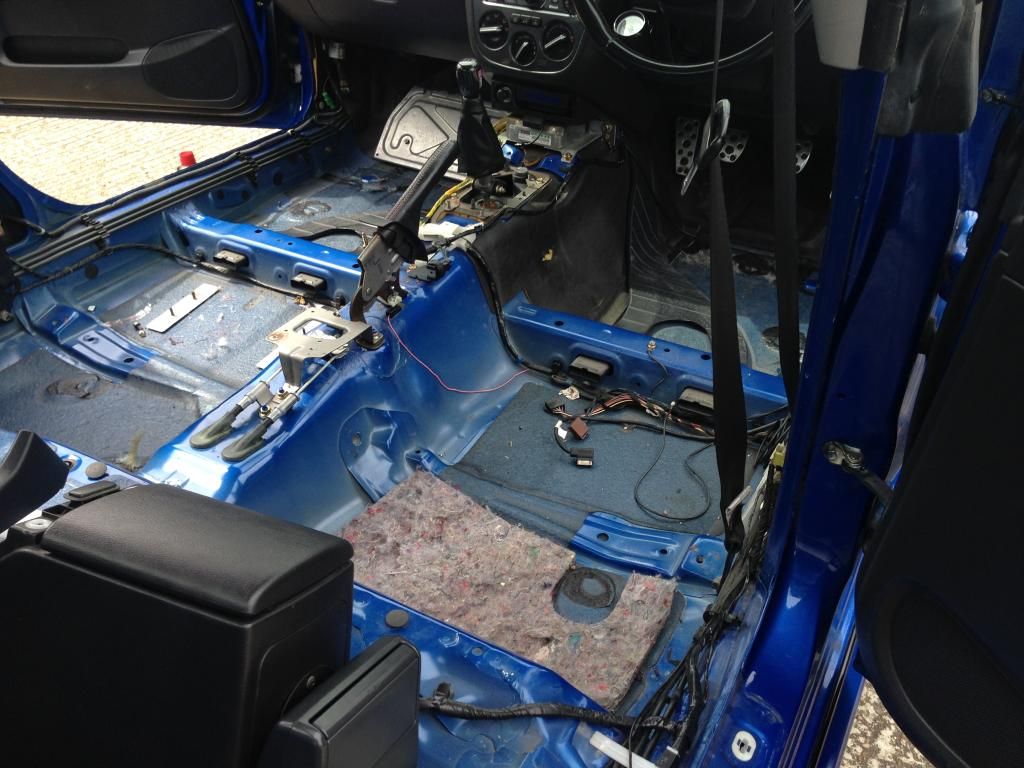
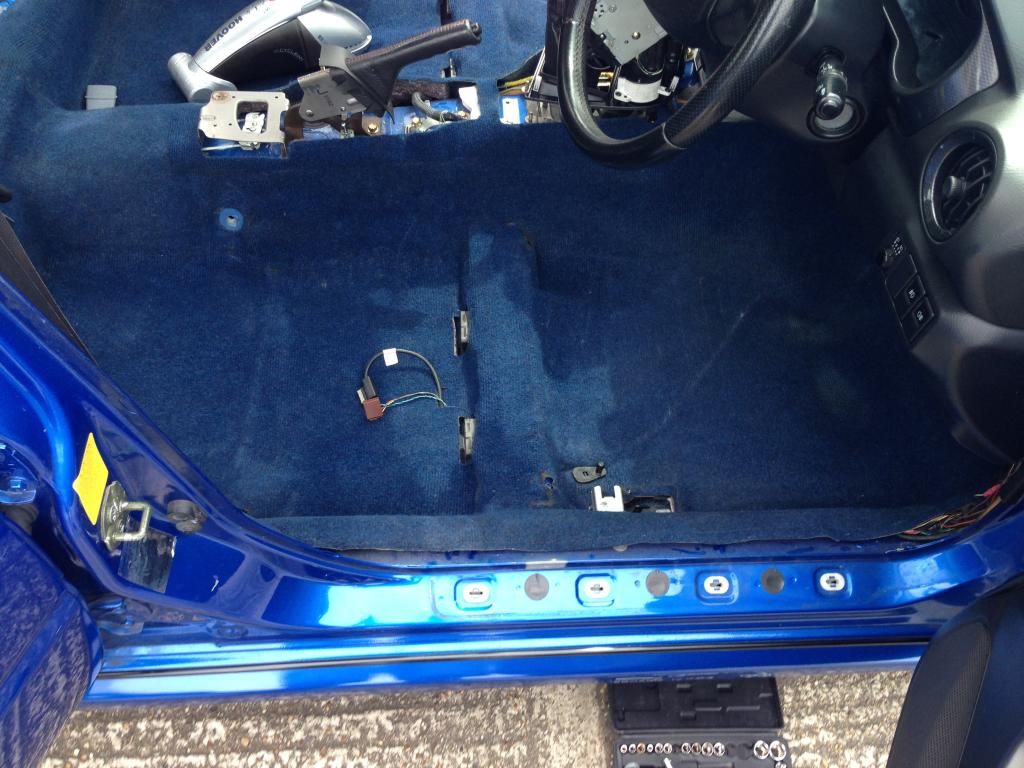
So easy just remove the glovebox which is about 5 screws, then lower dash part under steering wheel, 2 screws, unplug ODB reader.
Remove your centre console so you can access the stereo surround dash part, remove cup holder etc, stereo and the heater control, then there's 4-6 screws and to hidden bolts that holds the middle section on, the hidden bolts are either side of the cigarette lighter
Remove binnacle surround and your dash clocks
I didn't remove steering wheel I just lowered it down
Then onto top dash part remove to small plastics screws at either end of the dash, take A pillars out and remove the top panel where the window vent is. Then unplug passenger airbag and remove the 3 bolts holding that in and push it up and that will come out of the dash, then there's two bolts holding the dash at the top at the windscreen.
Then slide out through passenger door!
Don't forget to disconnect the battery before you start for at least 30mins
17 September 2014, 10:47 PM
#148
Thanks mate!
So easy just remove the glovebox which is about 5 screws, then lower dash part under steering wheel, 2 screws, unplug ODB reader.
Remove your centre console so you can access the stereo surround dash part, remove cup holder etc, stereo and the heater control, then there's 4-6 screws and to hidden bolts that holds the middle section on, the hidden bolts are either side of the cigarette lighter
Remove binnacle surround and your dash clocks
I didn't remove steering wheel I just lowered it down
Then onto top dash part remove to small plastics screws at either end of the dash, take A pillars out and remove the top panel where the window vent is. Then unplug passenger airbag and remove the 3 bolts holding that in and push it up and that will come out of the dash, then there's two bolts holding the dash at the top at the windscreen.
Then slide out through passenger door!
Don't forget to disconnect the battery before you start for at least 30mins
Martin
17 September 2014, 10:58 PM
#149
No probs it's really simple to do and it's just makes sense when you start it, Frayz told me how to do when I meet him and it really was that simple..
Any probes fire me a message and I'll help you I out if I can but you only need a socket set and cross head screwdriver lol
Any probes fire me a message and I'll help you I out if I can but you only need a socket set and cross head screwdriver lol
18 September 2014, 09:47 AM
#150
No probs it's really simple to do and it's just makes sense when you start it, Frayz told me how to do when I meet him and it really was that simple..
Any probes fire me a message and I'll help you I out if I can but you only need a socket set and cross head screwdriver lol
Any probes fire me a message and I'll help you I out if I can but you only need a socket set and cross head screwdriver lol
Martin