1994 Version Sti RA.... Restoration Project.
 24 August 2013, 05:48 PM
#781
Scooby Senior
iTrader: (51)
Join Date: Nov 2005
Location: Wherever I park my car, that's my home
Posts: 20,491
Likes: 0
Received 2 Likes
on
2 Posts
It'll be a shame to take it out and get it dirty - watching this and Ryan's come together I am getting some great ideas for mine but I may require a good divorce lawyer
 24 August 2013, 05:59 PM
#783


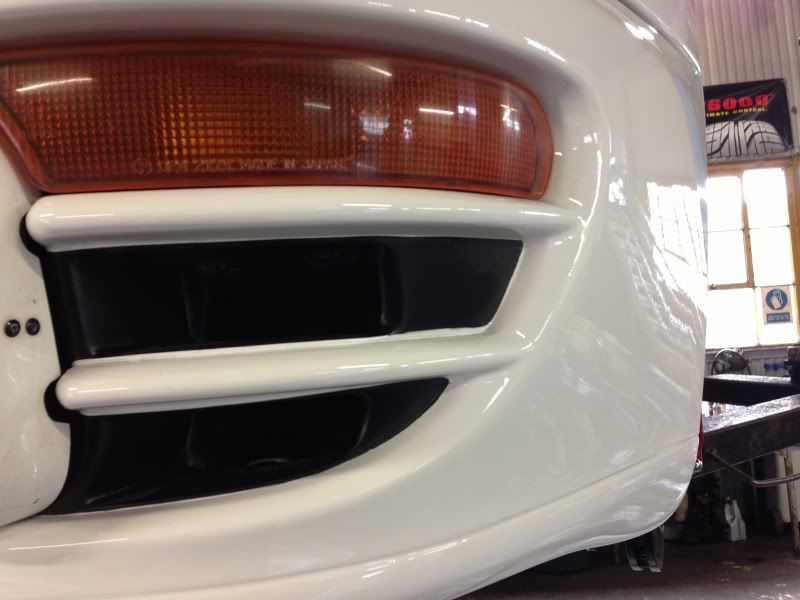
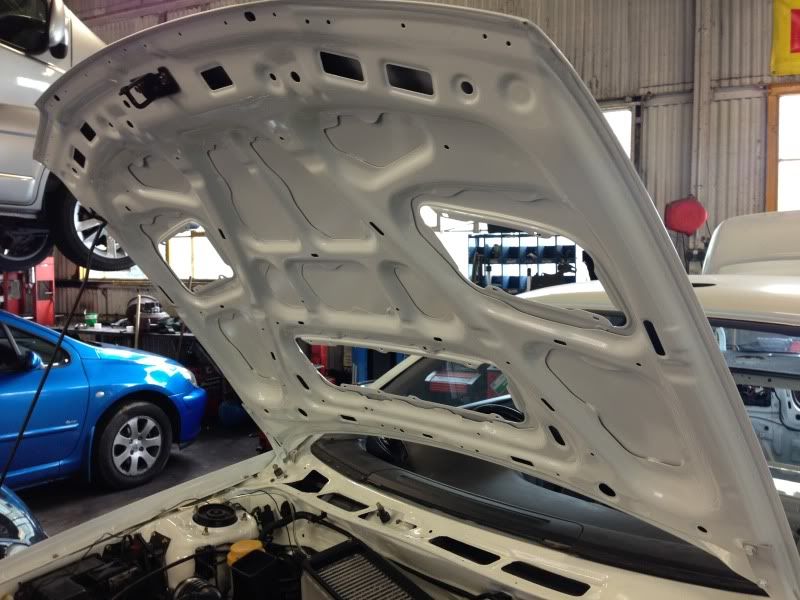
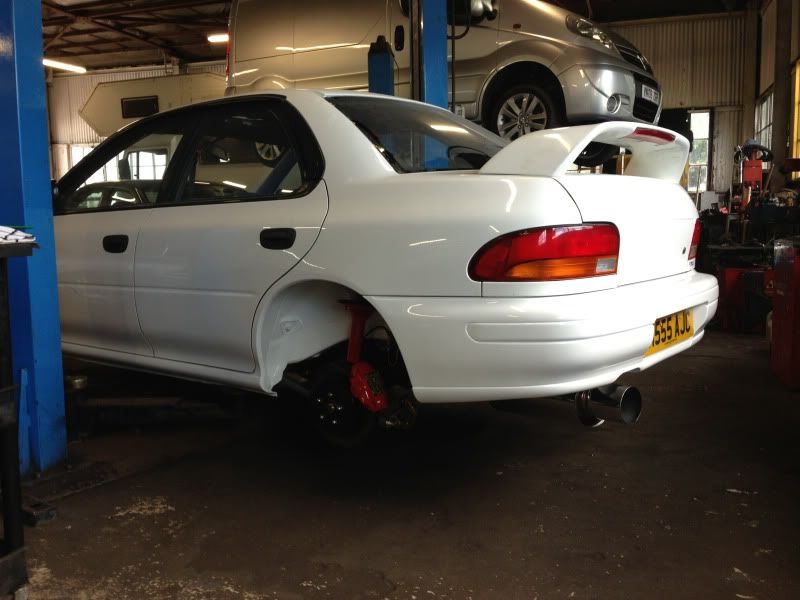
I've got a replacement light unit to go in, Rhys had not realised and dropped the old one.

Not completely finished but not far off....


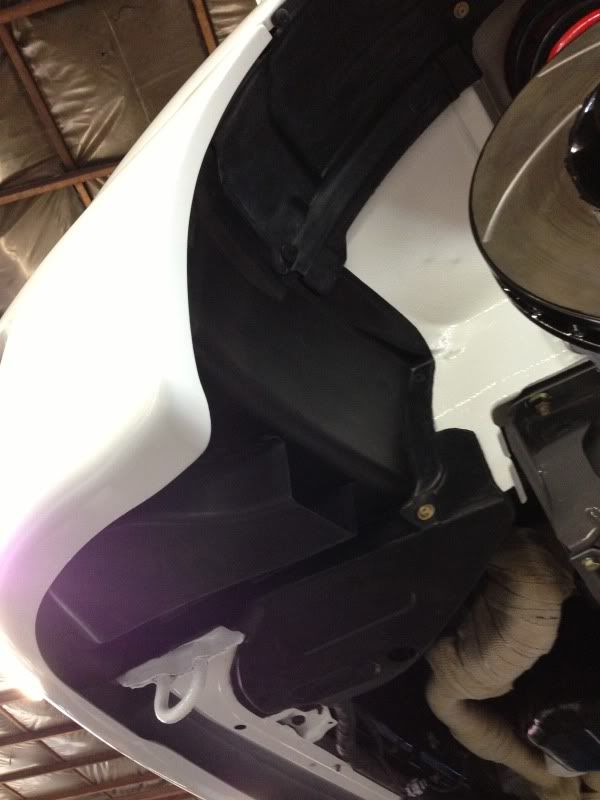
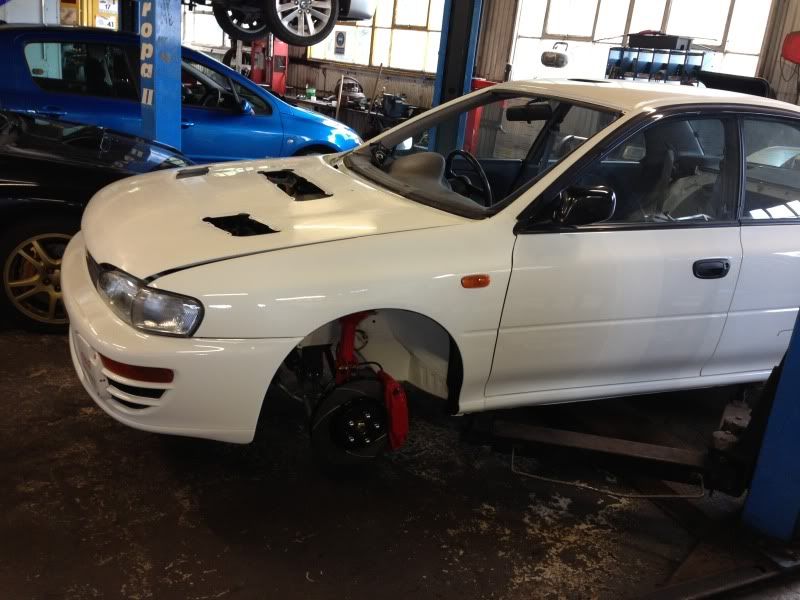
New arch liners...

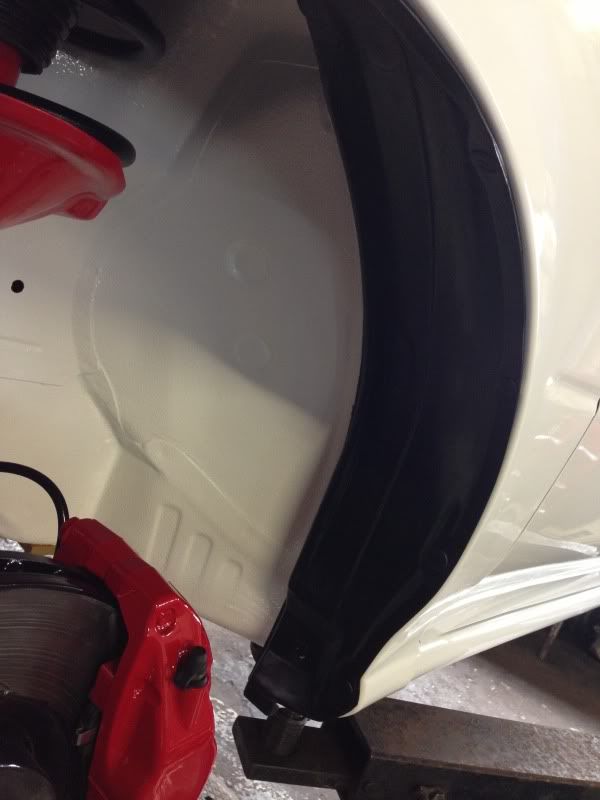
I offered the flaps up today they are going to look great fitted, the car needs to be mopped over by Craig from the paintshop before I fit them as they will get cutting compound on them.
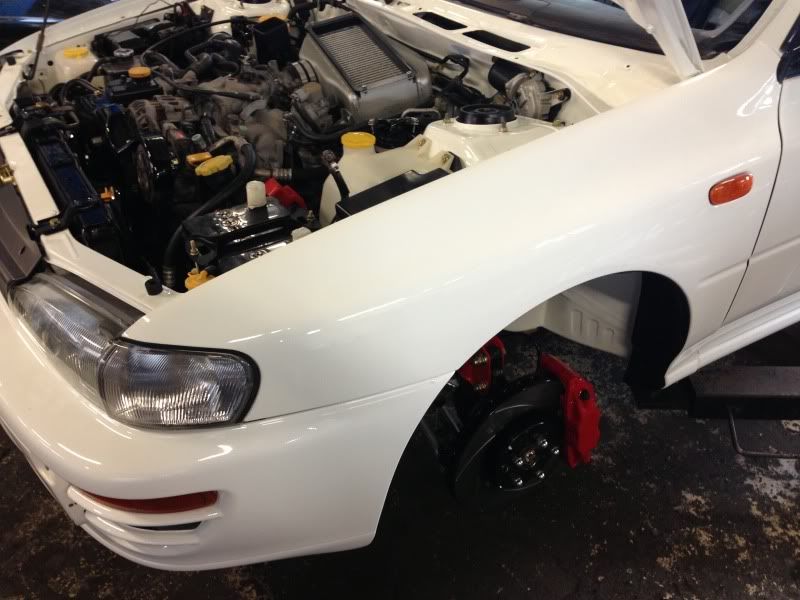
A few more general ones....

Not completely finished but not far off....
New arch liners...
I offered the flaps up today they are going to look great fitted, the car needs to be mopped over by Craig from the paintshop before I fit them as they will get cutting compound on them.
A few more general ones....
24 August 2013, 06:03 PM
#784
I'll dig a picture of my blue classic out for comparison shorty Micky, if need must and its just to low to be safe or look right I do have a P1 back box that will fit the short term gap.


 24 August 2013, 06:27 PM
#787
Ok snagging list time which I need to get hold of ASAP.
1. Speedo cable clip
Mine...
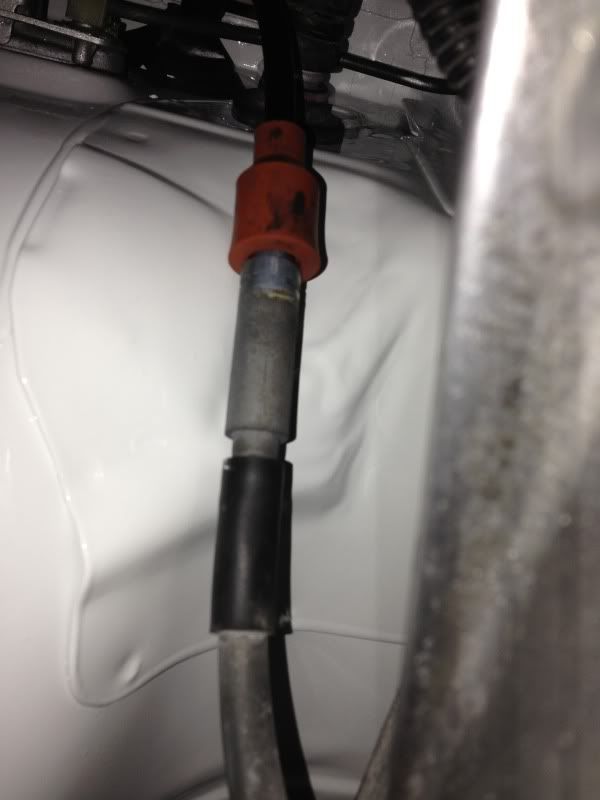
Example of what's needed, see the small clip....
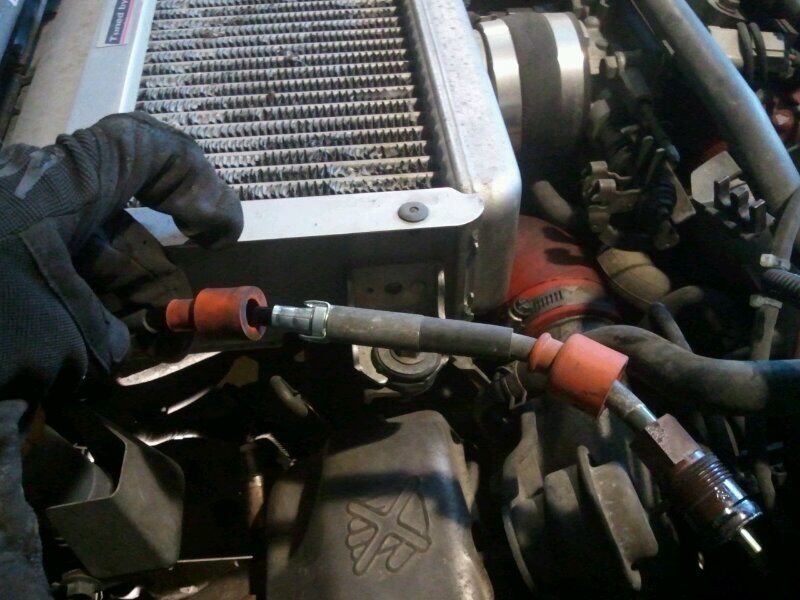
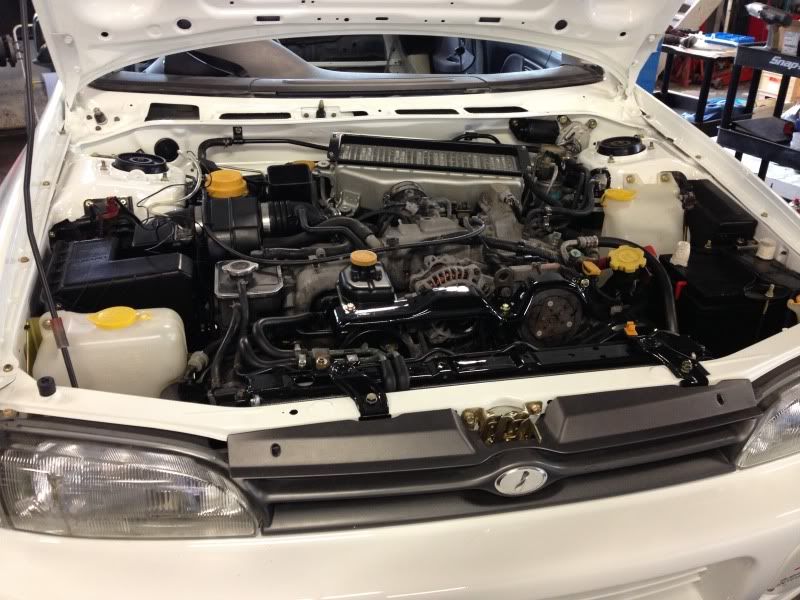
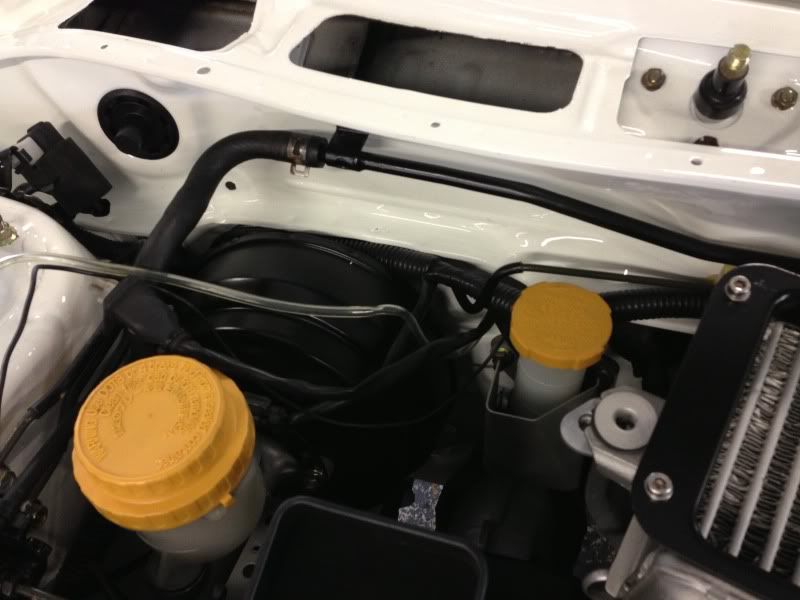
2. Plenum chamber (the one on the car has been repaired at some point after a pipe has snapped off)

3. Intercooler pipe work for OEM DV

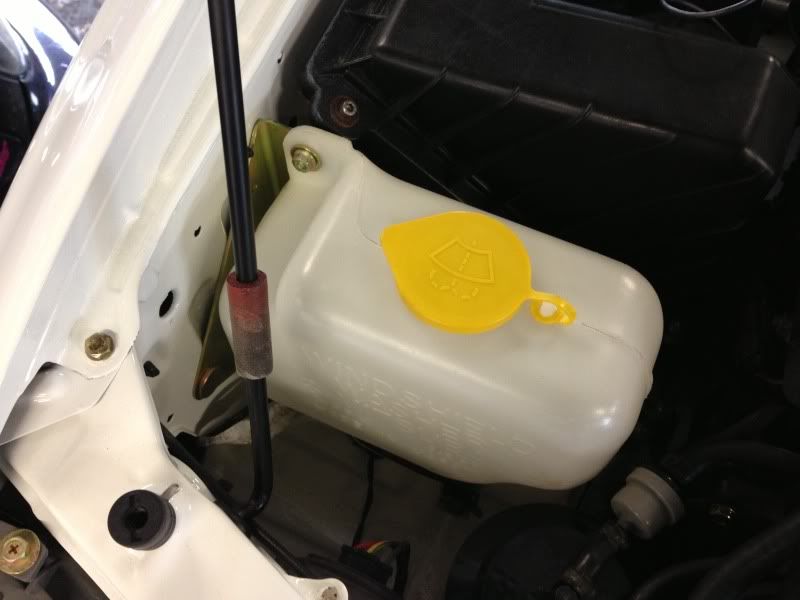
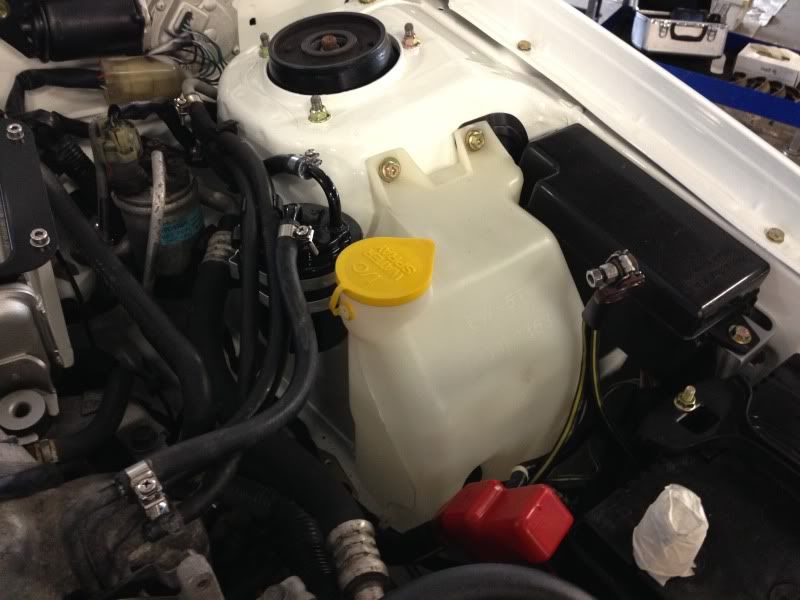
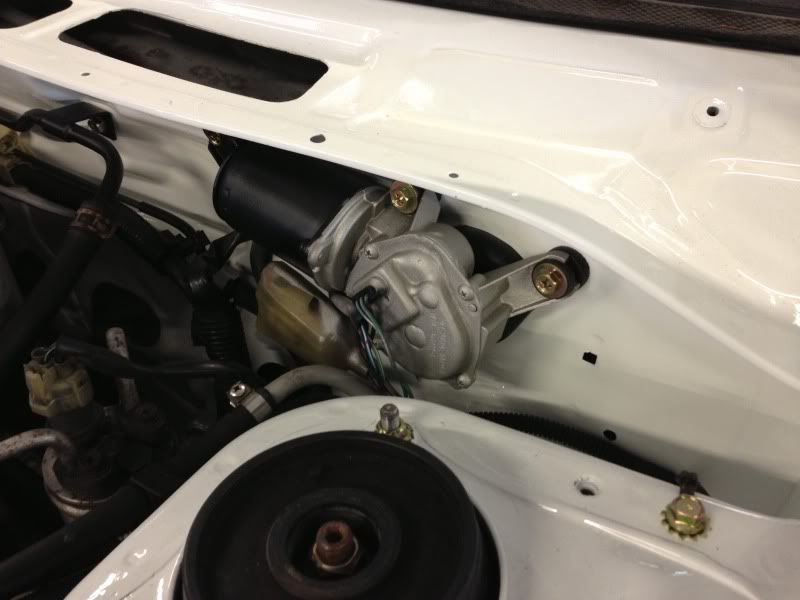
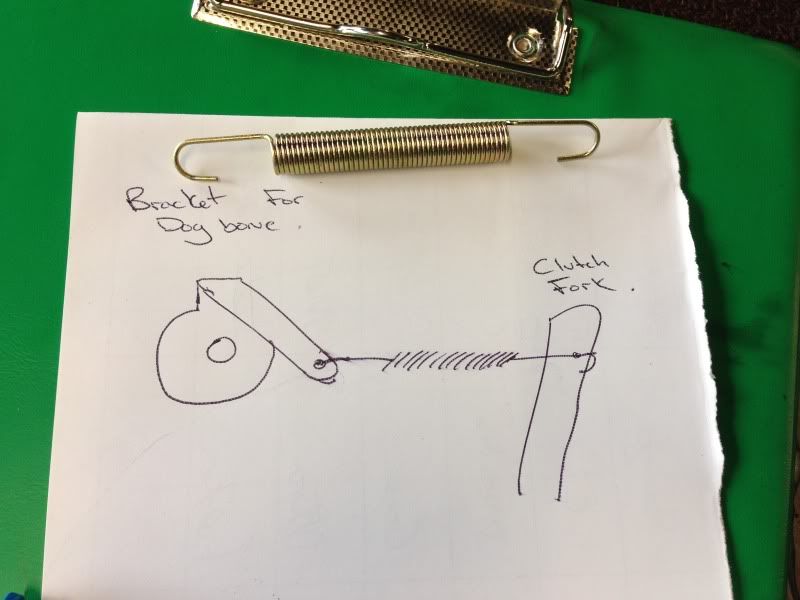
4. Washer bracket for clutch spring, no picture but a rough diagram showing what's needed, I have got the spring in the picture.
1. Speedo cable clip
Mine...
Example of what's needed, see the small clip....
2. Plenum chamber (the one on the car has been repaired at some point after a pipe has snapped off)
3. Intercooler pipe work for OEM DV
4. Washer bracket for clutch spring, no picture but a rough diagram showing what's needed, I have got the spring in the picture.


 24 August 2013, 06:35 PM
#790
Do you want to borrow my anorak when I've finished with it
 24 August 2013, 06:39 PM
#791
 you will have to find me when I'm at the next show with it see what you think close up

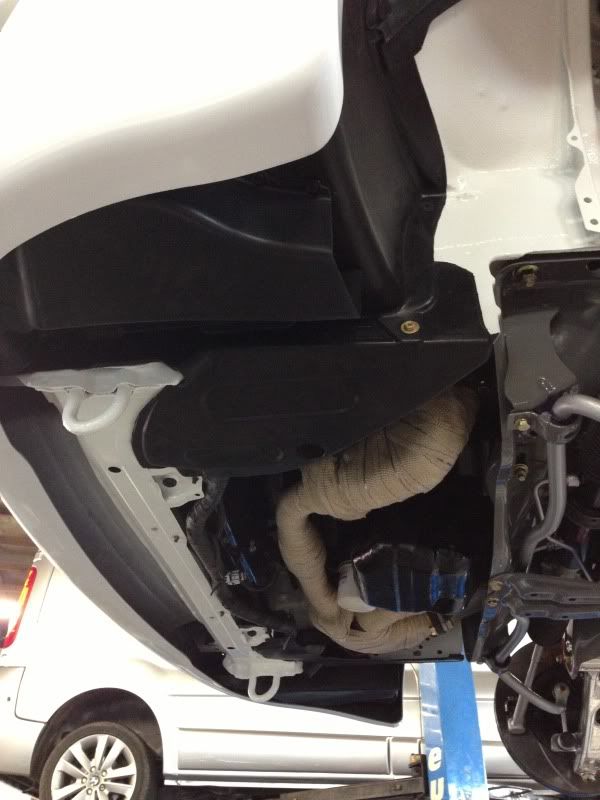
That sits completely different right into the bumper recess, mine actually touches the corner of the heat shield, trouble is working with tolerances you can be within but on each opposite point like I think I am.


 24 August 2013, 10:18 PM
#797
Mine had to be done in a big scale Jon but I'm sure you could chip away at sections a lot easier.... There's two ways of approach you can either remove what you have in sections or get all the main parts from a breaker prep them all in one hit to save on the costs then swap over sections at a time
24 August 2013, 10:23 PM
#798
Scooby Senior
iTrader: (51)
Join Date: Nov 2005
Location: Wherever I park my car, that's my home
Posts: 20,491
Likes: 0
Received 2 Likes
on
2 Posts
Yeah, I'm toying with getting thing like engine and diff cradles, get them powder coated/painted and then when I strip stuff off to swap the treated stuff in I can clean up diffs, driveshafts etc. Hubs and the likes can be a weekend job, engine bay will be handed over to Ryan to do as I don't have the facilities to rip the engine out, but I'm toying with a one off colour - my car is by no means OE
Just need to find the time as I want to do as uch as I can myself
Just need to find the time as I want to do as uch as I can myself
24 August 2013, 10:34 PM
#799
Cool yes that's the way, if you are going to get anything bead blasted its worth considering it will be cheaper to have it in one hit, the guy that did mine quoted me a one hit price followed by zinc phosphate anti corrosion layer sprayed straight on
24 August 2013, 10:59 PM
#800
25 August 2013, 09:54 AM
#801
That sounds like a good plan there Jon, when I was looking at what to do what colour my theory was anything that bolts to the body was to be one colour then all the suspension workings another. This does pan out to what you see as the Sti pink upgrades, basically anything you see as Sti pink I have in silver and the rest in dark grey.
25 August 2013, 10:10 AM
#802
Just mulling things over here regarding the exhaust... Is anyone running a H&S built for Scoobyworld "Racebox"
http://www.scoobyworld.co.uk/catalog...roducts_id=686
http://www.scoobyworld.co.uk/catalog...roducts_id=686
25 August 2013, 10:44 AM
#803
Scooby Senior
iTrader: (51)
Join Date: Nov 2005
Location: Wherever I park my car, that's my home
Posts: 20,491
Likes: 0
Received 2 Likes
on
2 Posts
That sounds like a good plan there Jon, when I was looking at what to do what colour my theory was anything that bolts to the body was to be one colour then all the suspension workings another. This does pan out to what you see as the Sti pink upgrades, basically anything you see as Sti pink I have in silver and the rest in dark grey.

I could do the same as you and take the car off the road as it is a toy so it won't be missed, but I don't have the tools or space and I'm very much a hands on person when it comes to this stuff - may have to find a friendly welder to knock me up a drive on full length ramp

 25 August 2013, 12:29 PM
#807
Scooby Regular

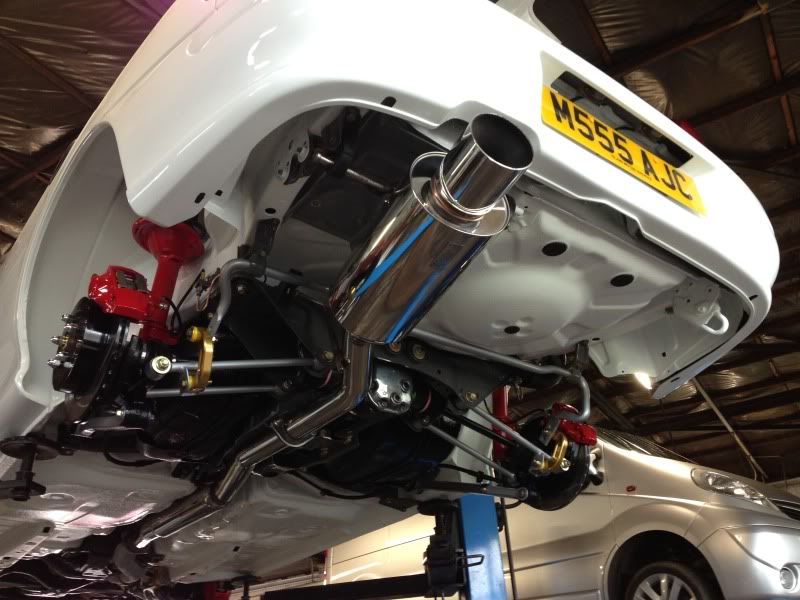
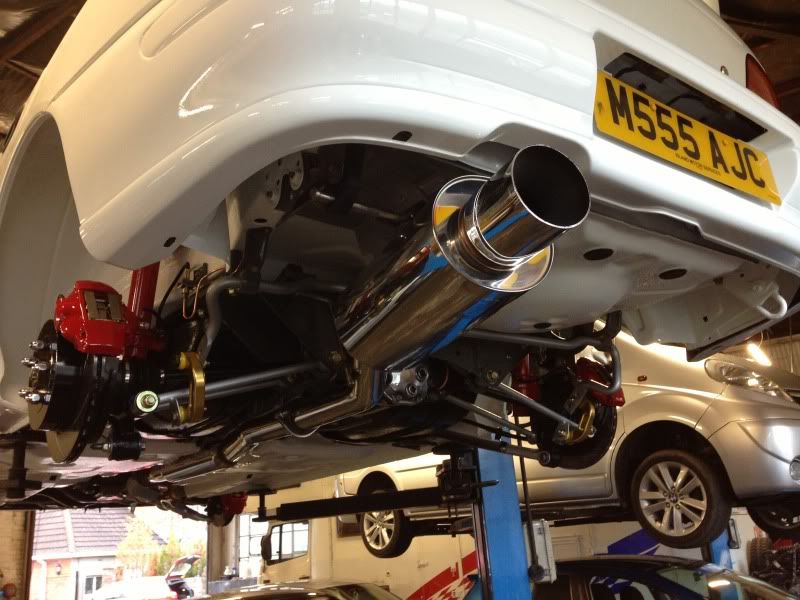
Lovely build up. Attention to detail is top work. With regards to the exhaust just tweak the hangers down a bit that will pull the muffler up. Just make sure you have clearance on the suffrage to come up a few mil.
 25 August 2013, 01:10 PM
#809
With a white car pretty much any colour combo would work as long as don't start to create a kaleidoscope effect. The colours you have chosen are subtle and look very OEM. My DBM car was a bit more difficult - I have experimented with purple hoses, blue hoses and now finished with red and black for the detailing which, whilst not OEM, is blingy enough without being too in your face. Underneath I'm still looking at some more reds but a grey/titanium/anthracite finish would break it up nicely if I stick to a simple black for the arches and floorplan. The floorpan is going to be the killer though
I could do the same as you and take the car off the road as it is a toy so it won't be missed, but I don't have the tools or space and I'm very much a hands on person when it comes to this stuff - may have to find a friendly welder to knock me up a drive on full length ramp
I could do the same as you and take the car off the road as it is a toy so it won't be missed, but I don't have the tools or space and I'm very much a hands on person when it comes to this stuff - may have to find a friendly welder to knock me up a drive on full length ramp
For small items it would have been worth looking at Ollie but all the larger parts it was easier just to go for a one hit job lot, not to bad a price really I had a lot done.
25 August 2013, 01:25 PM
#810
You can also see on some of the pictures it's not happy on the rubber mounts, as it's under tension.
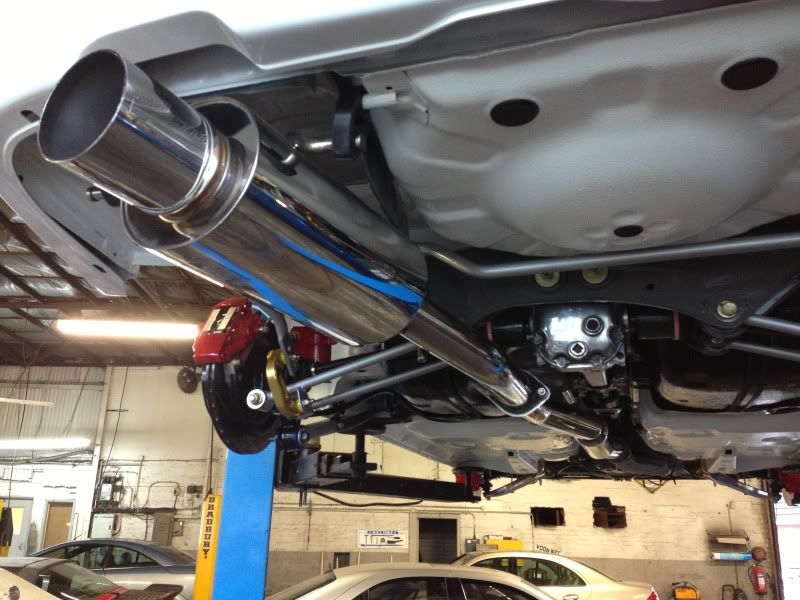 I'll sort the exhaust just need to decide the best approach.