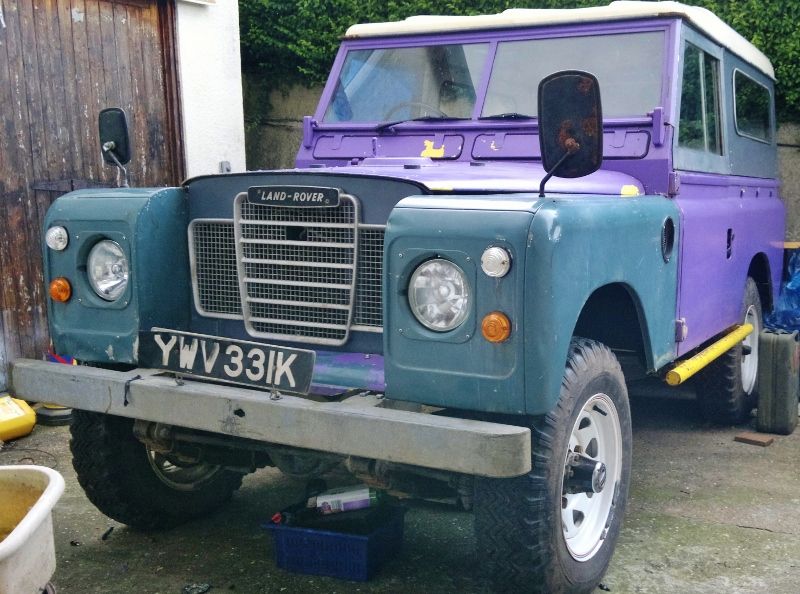
Got another project :D NON IMPREZA.
 28 August 2012, 08:22 PM
#61
Scooby Regular
Thread Starter
iTrader: (13)
Join Date: Apr 2010
Location: Swansea
Posts: 4,008
Likes: 0
Received 0 Likes
on
0 Posts
Tbh only thing that puts me off is the Kenlowe is adjustable as I'm guessing that the V8 won`t get that warm tbh, so something adjustable would be a benefit.
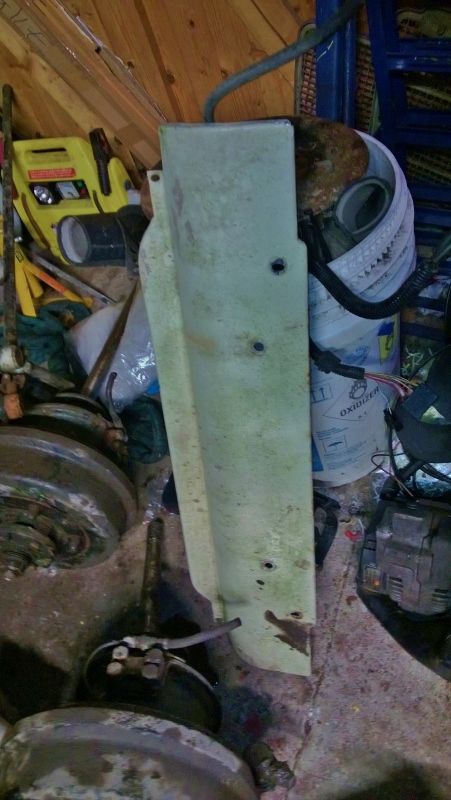
Just waiting on the wing mounting J-clips to arrive and I can start rebuilding.
Oh and my Landy broke my laptop, the A button is now semi fudged, so have ordered a new one. lol.


 31 August 2012, 06:24 PM
#65
Scooby Regular
Thread Starter
iTrader: (13)
Join Date: Apr 2010
Location: Swansea
Posts: 4,008
Likes: 0
Received 0 Likes
on
0 Posts
But that didn`t take a great deal of time tbh, as I know how it goes together, I have new nuts and bolts, and I had help off my brother.
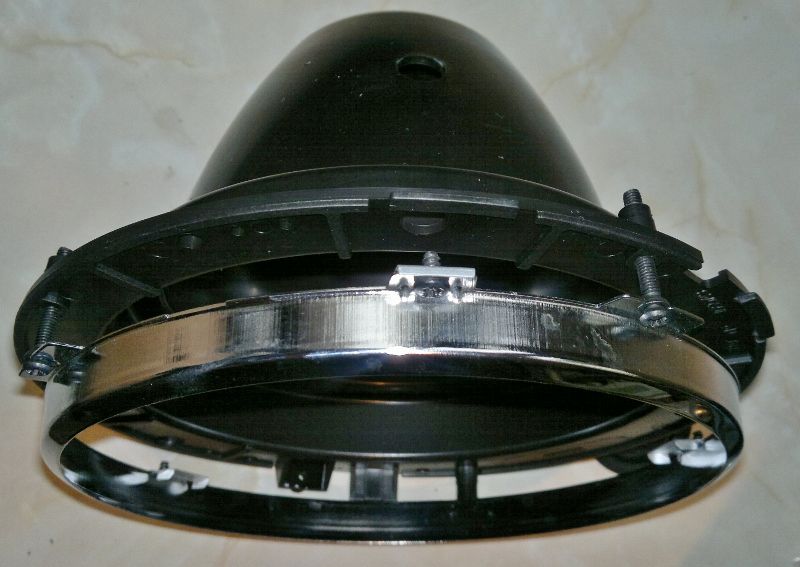
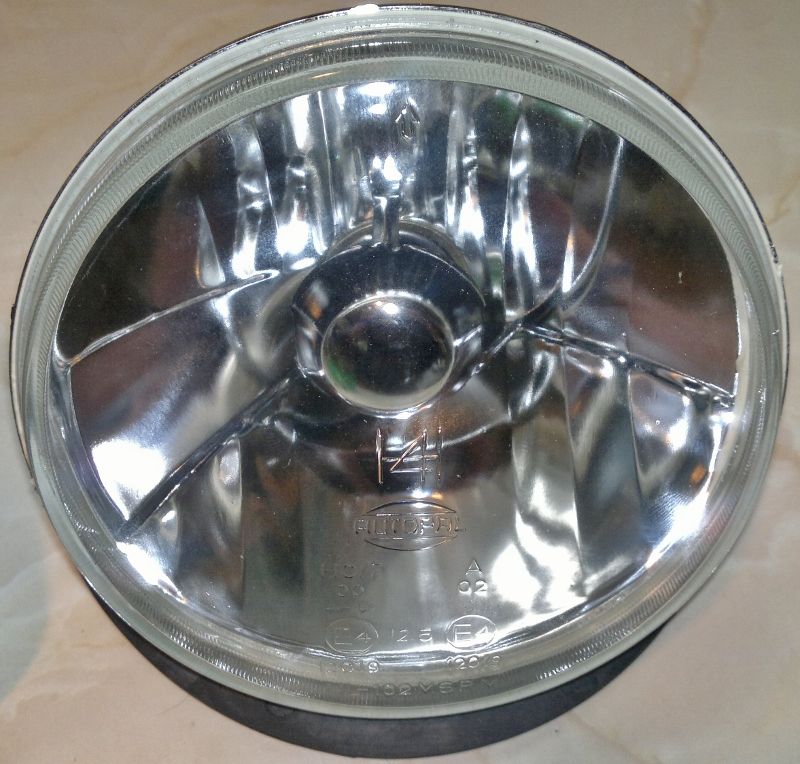
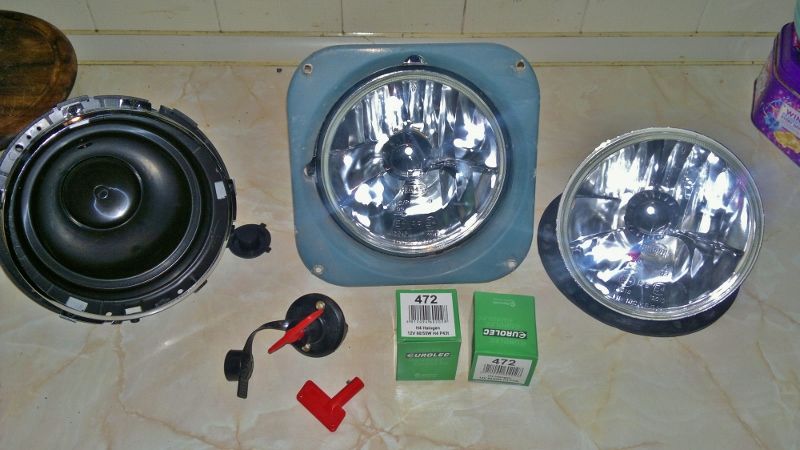
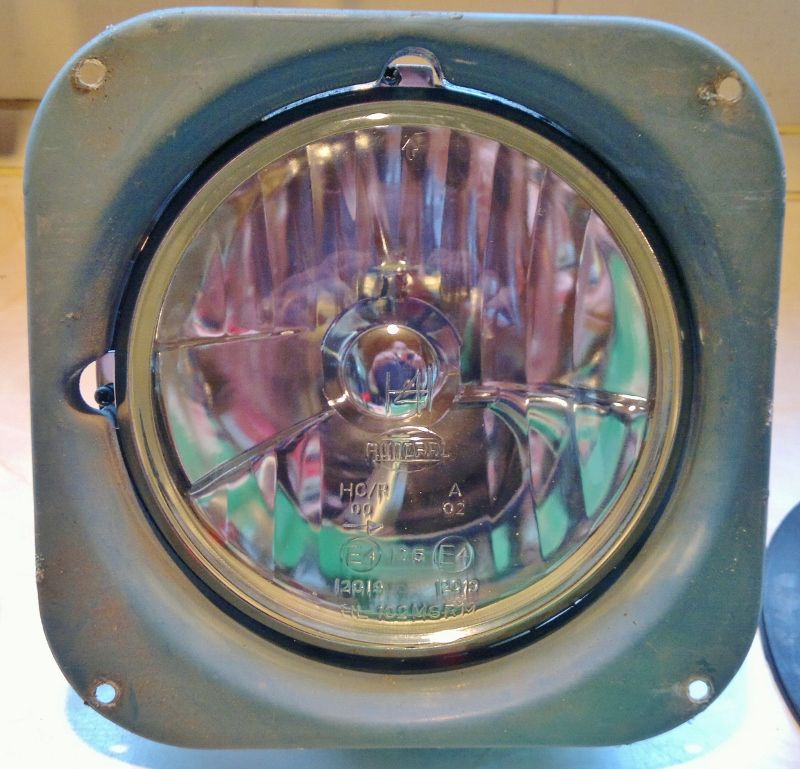
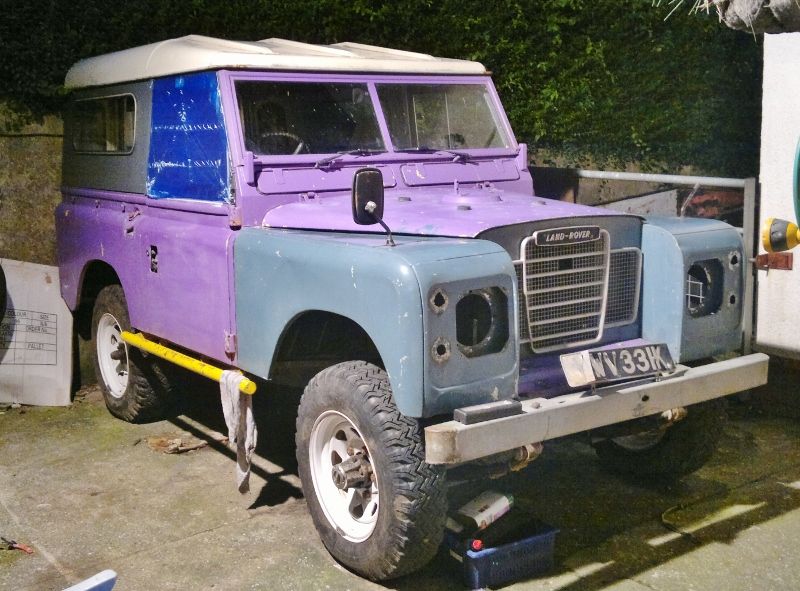
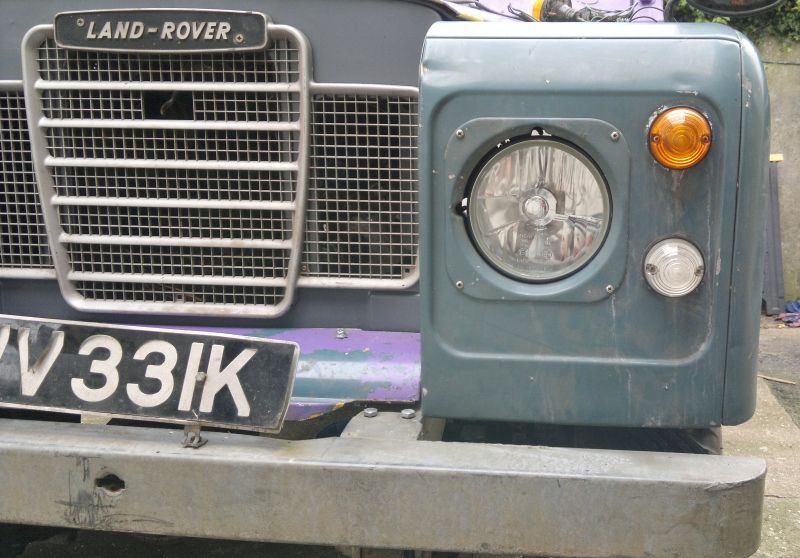
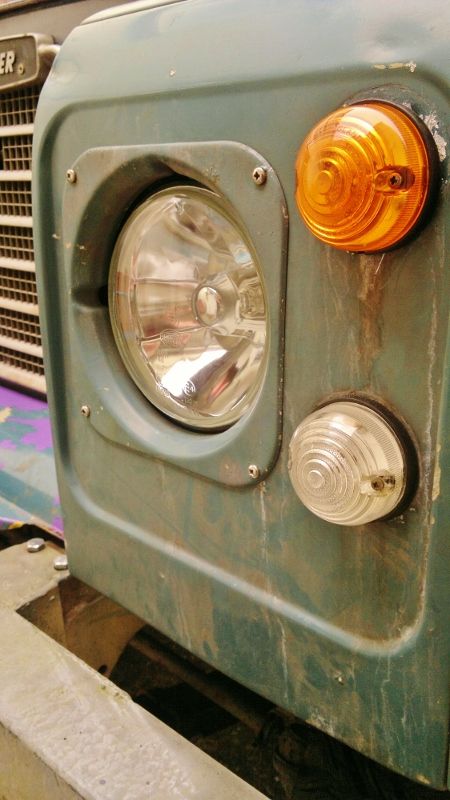
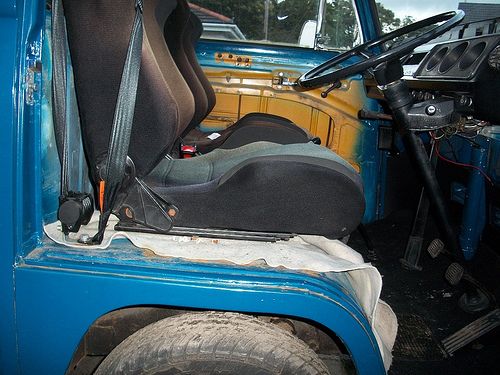
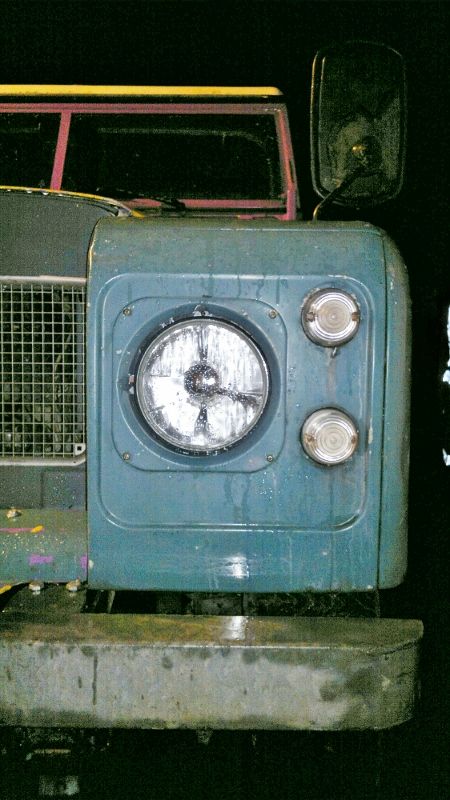
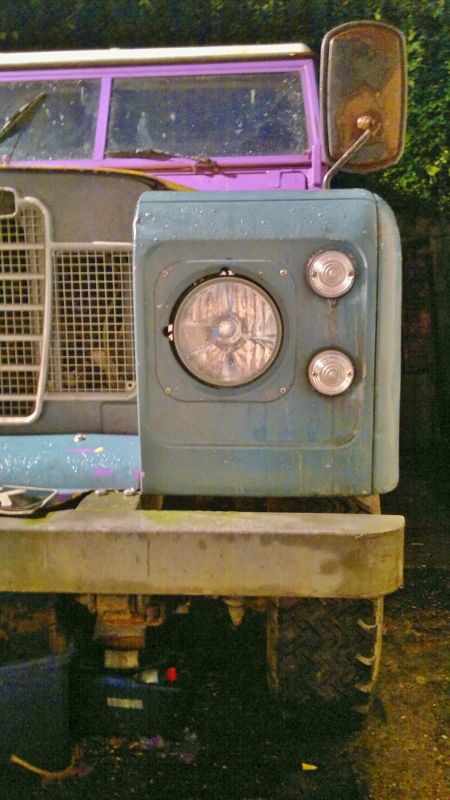
Have had a trial fit of my new headlamps today, and I like!!
 01 September 2012, 08:40 PM
#66
Scooby Regular
Thread Starter
iTrader: (13)
Join Date: Apr 2010
Location: Swansea
Posts: 4,008
Likes: 0
Received 0 Likes
on
0 Posts
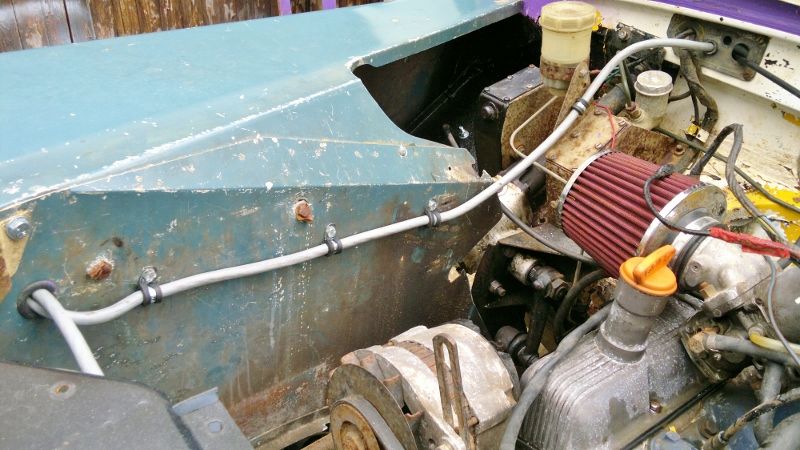
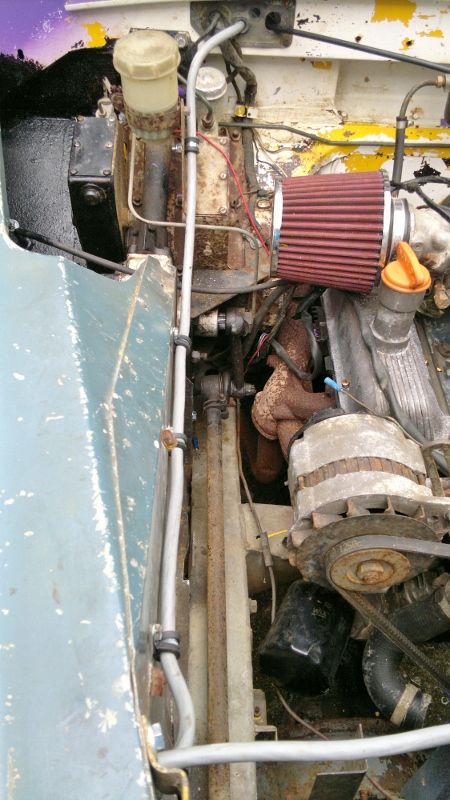
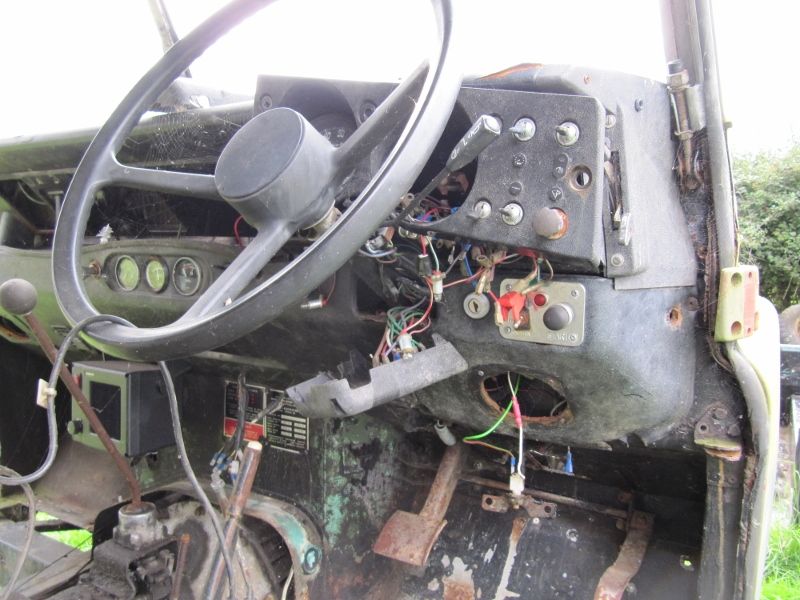
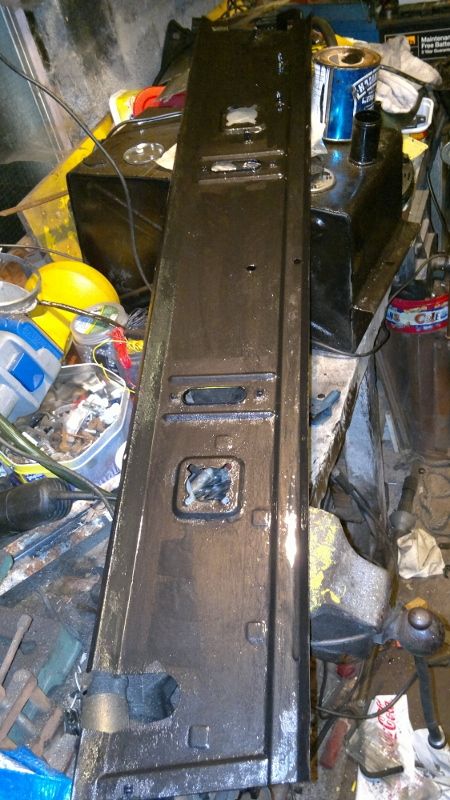
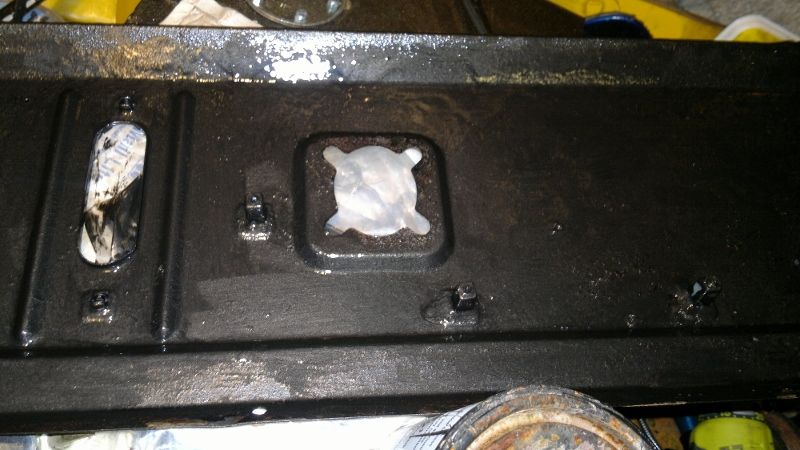
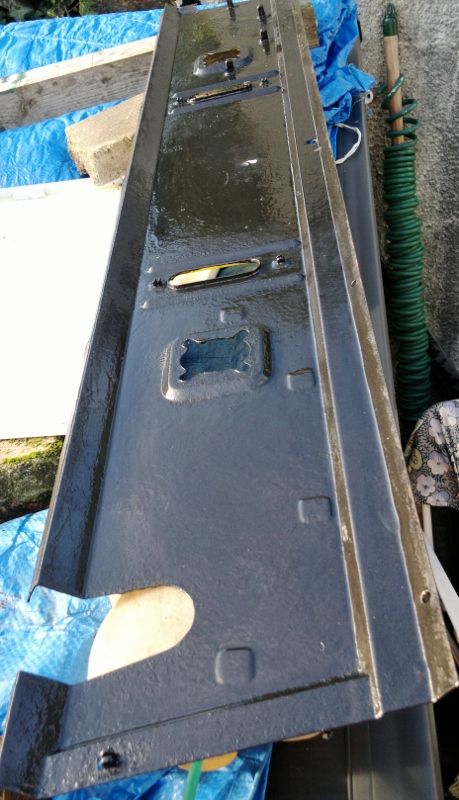
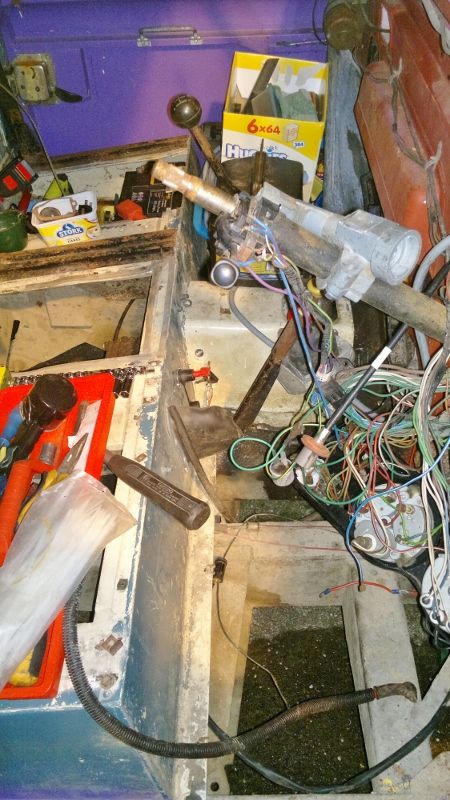
Cracked on with the majority of the front wiring today.
Sidelights.
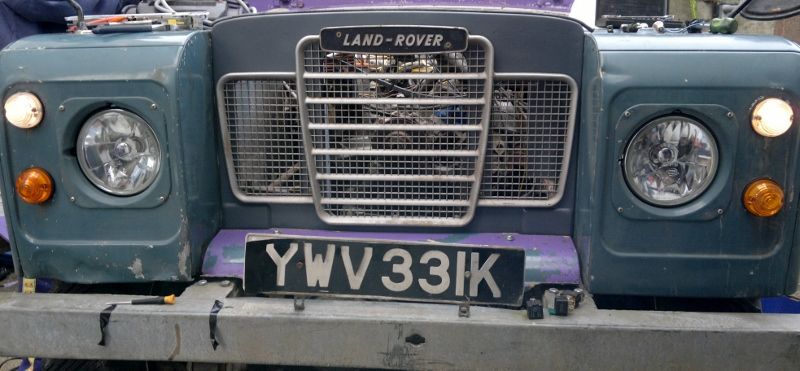
Sidelights and dipped.
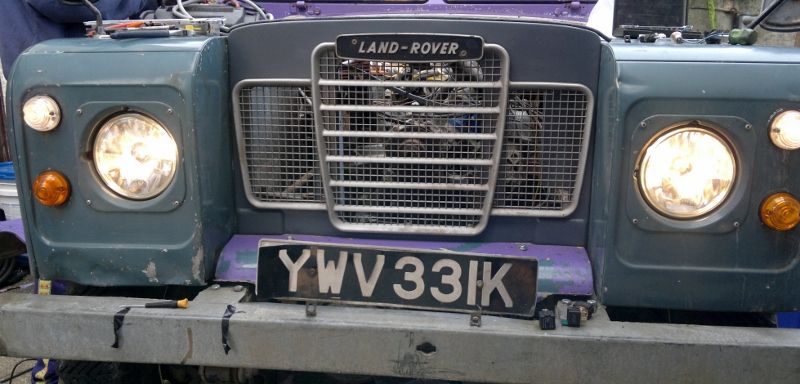
Sidelights dipped and main beam.
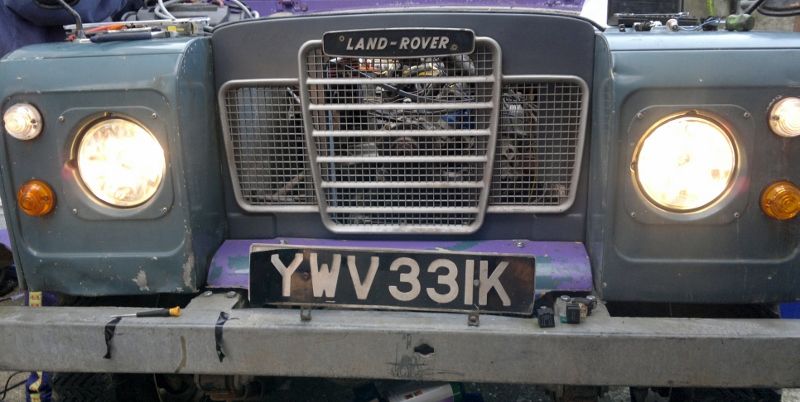
Indicators (left and right together.
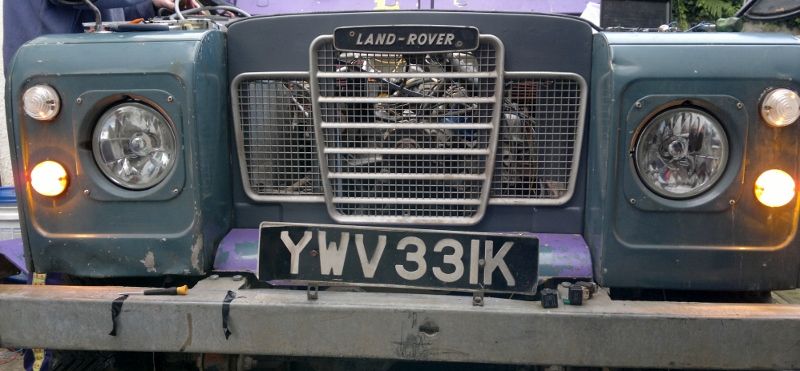
All the lights.
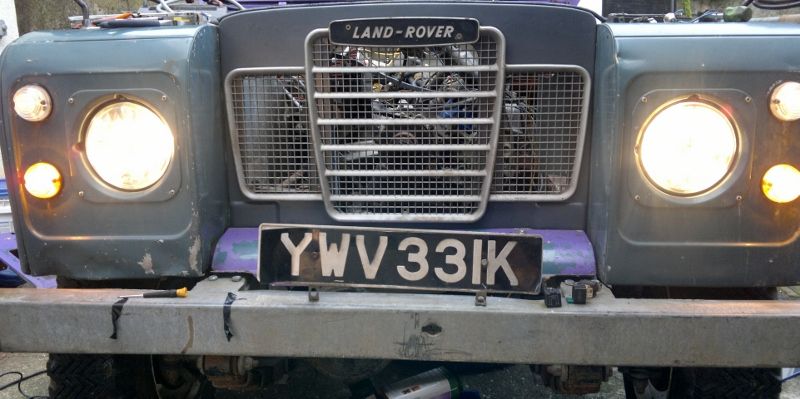
Just need to sort securing the cables now.

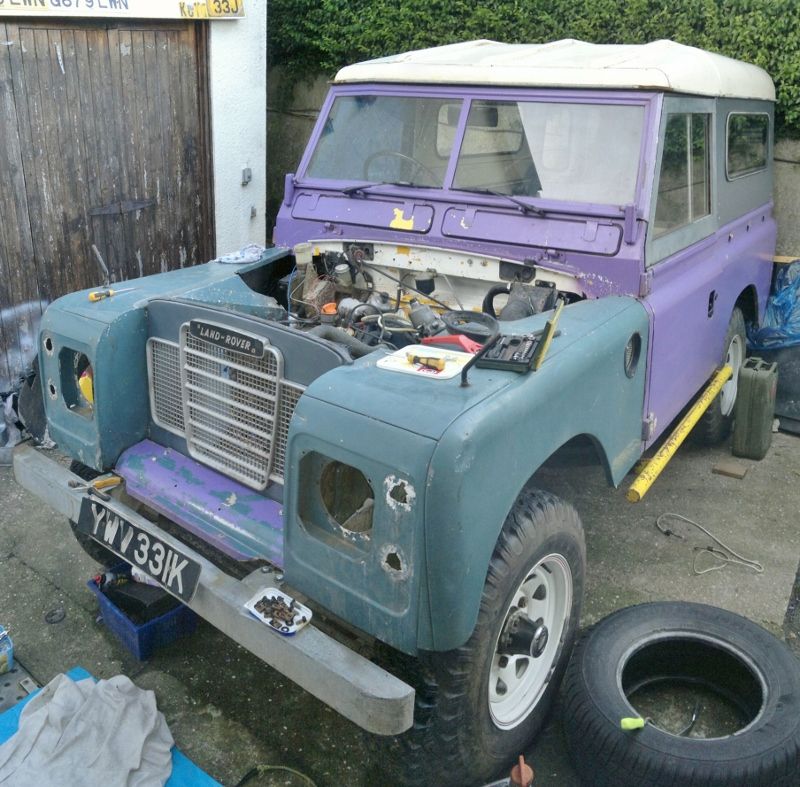
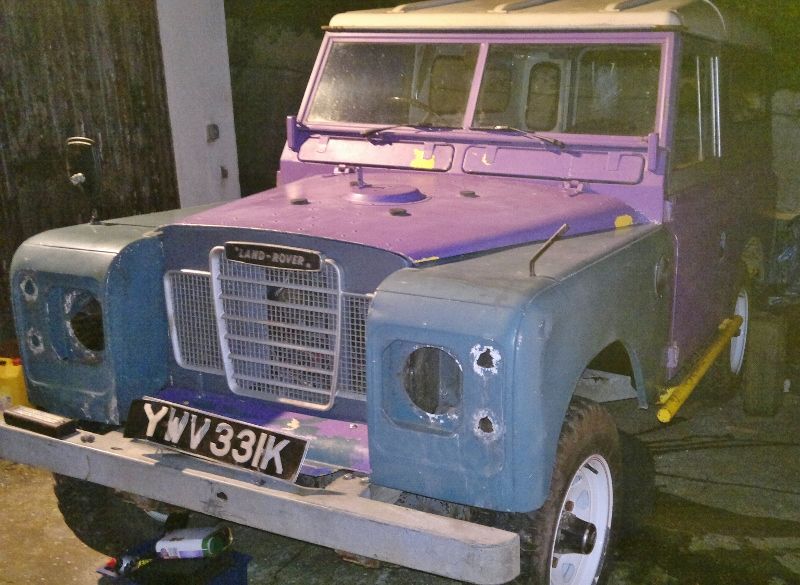
How she looks now.
Sidelights.
Sidelights and dipped.
Sidelights dipped and main beam.
Indicators (left and right together.
All the lights.
Just need to sort securing the cables now.
How she looks now.
06 September 2012, 07:41 PM
#67
Scooby Regular
Thread Starter
iTrader: (13)
Join Date: Apr 2010
Location: Swansea
Posts: 4,008
Likes: 0
Received 0 Likes
on
0 Posts
Couple of updates.
Steering box cover.

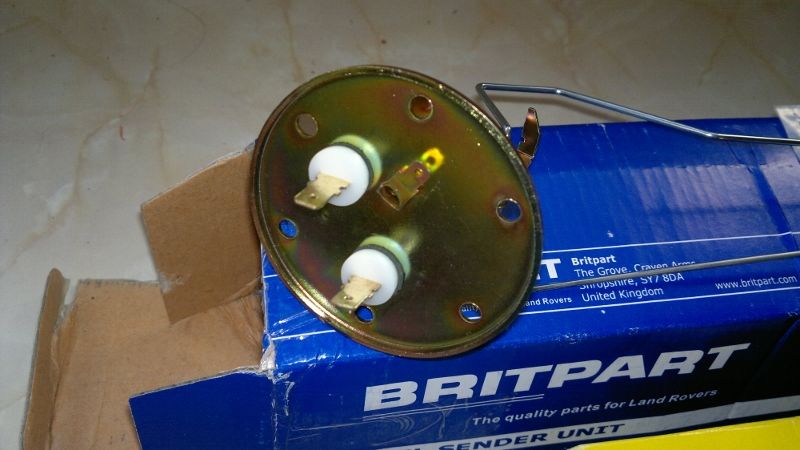
Correct fuel sender, and rear top fixings.
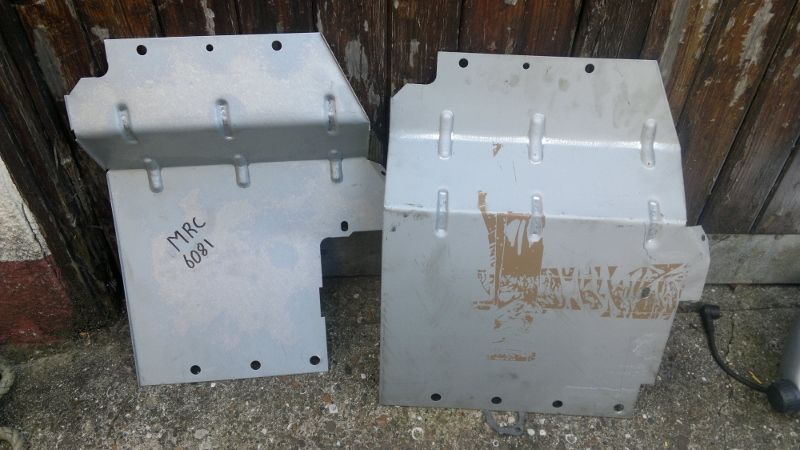
Wheel arch guards.
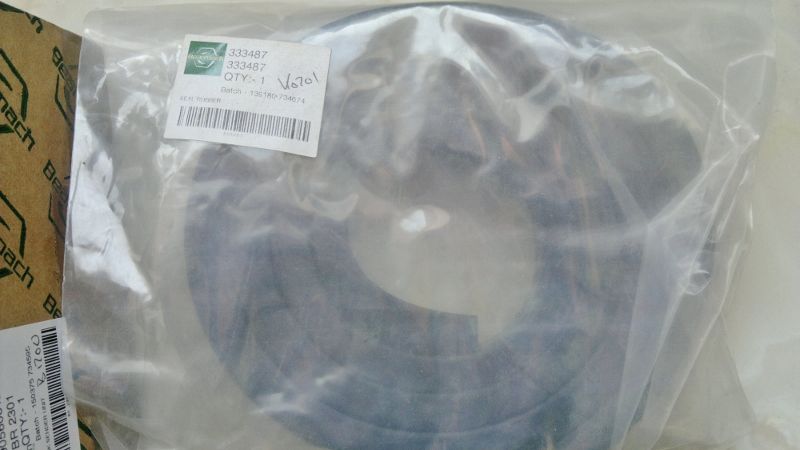
Rear body seal.
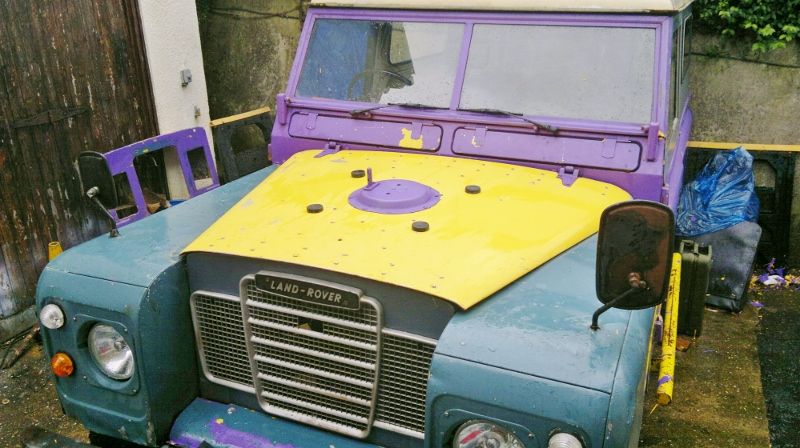
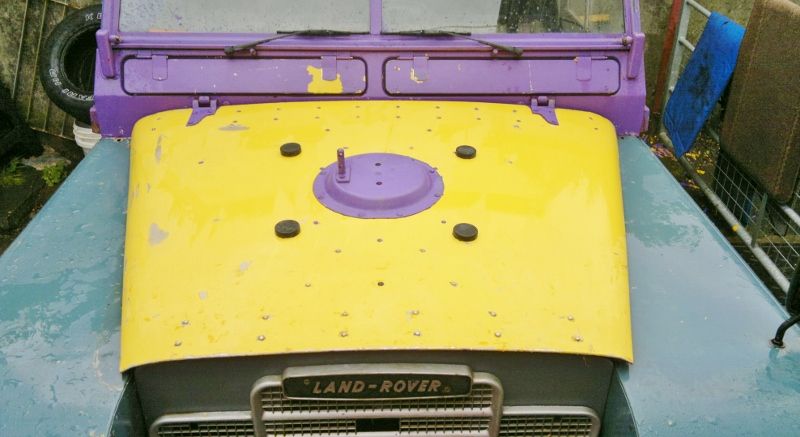
And removed the paint to the base layer on my bonnet.
Steering box cover.
Correct fuel sender, and rear top fixings.
Wheel arch guards.
Rear body seal.
And removed the paint to the base layer on my bonnet.
19 September 2012, 09:34 PM
#68
Scooby Regular
Thread Starter
iTrader: (13)
Join Date: Apr 2010
Location: Swansea
Posts: 4,008
Likes: 0
Received 0 Likes
on
0 Posts
Couple more updates.
Firstly have these coming from Redwards can`t wait to trial fit these bad boys!!

Wiring fixed to the wings and the accelerator pedal bolted, the arch liners painted in primer and bolted up, after a bit of fabrication. Ready for their coat of underseal.
_zps837fbdb5.jpg)
_zpsbe7fd989.jpg)
_zpsa5c7ed60.jpg)
_zps580745f1.jpg)
_zps87bf7dc3.jpg)


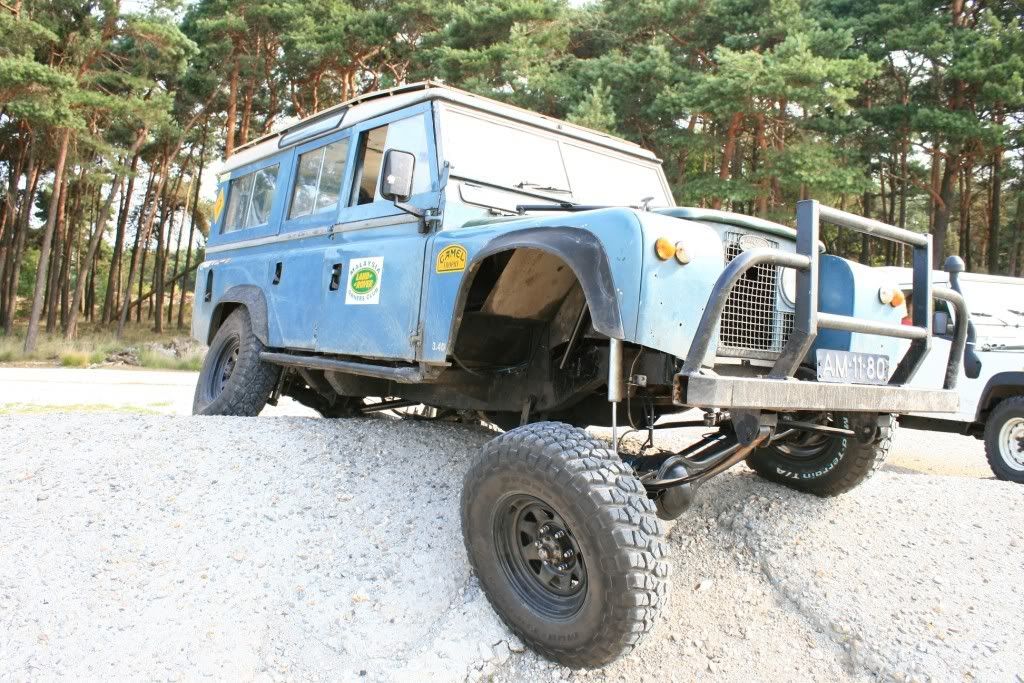
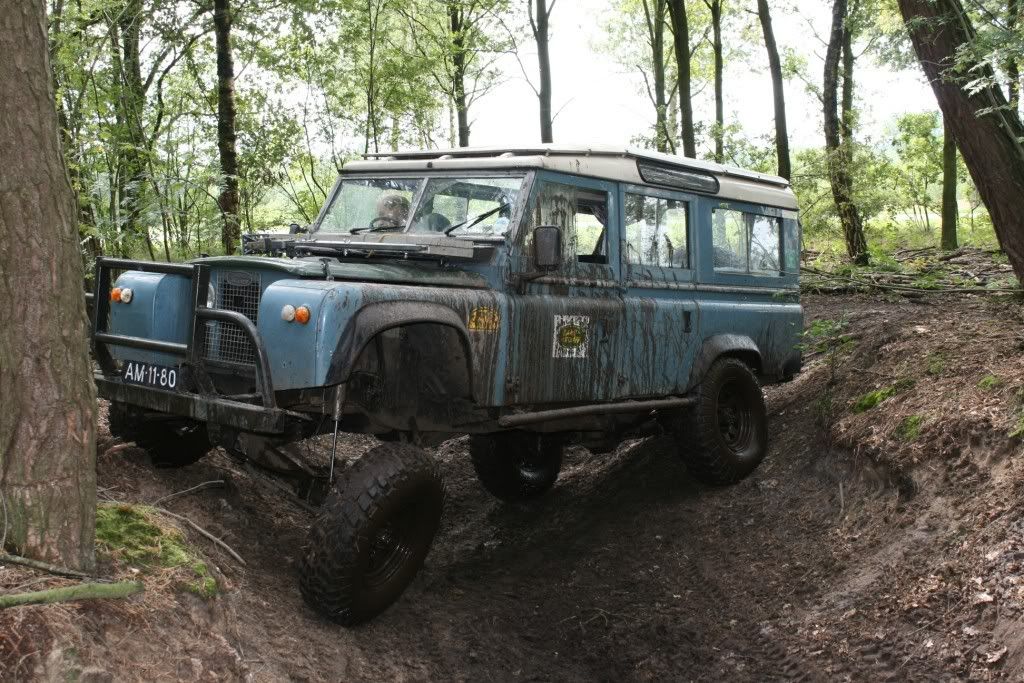
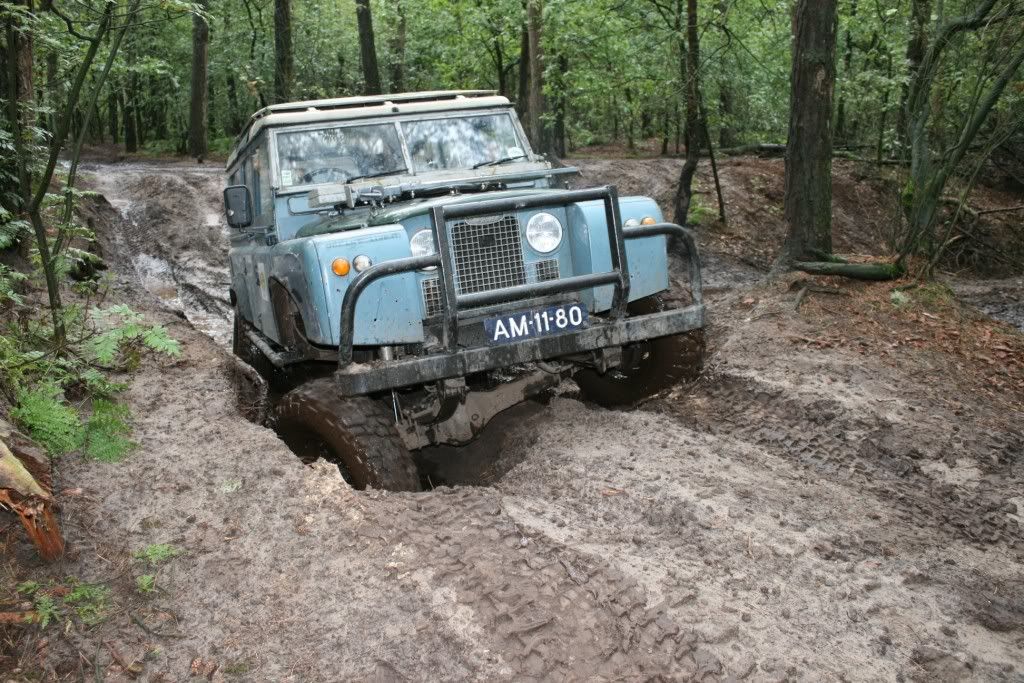
Then this guy has given me baaaaaaaaaad ideas. Who says you can`t get axle articulation using Leaf springs??

Firstly have these coming from Redwards
can`t wait to trial fit these bad boys!!Wiring fixed to the wings and the accelerator pedal bolted, the arch liners painted in primer and bolted up, after a bit of fabrication. Ready for their coat of underseal.
Then this guy has given me baaaaaaaaaad ideas. Who says you can`t get axle articulation using Leaf springs??
20 September 2012, 10:21 AM
#70
Scooby Regular
Thread Starter
iTrader: (13)
Join Date: Apr 2010
Location: Swansea
Posts: 4,008
Likes: 0
Received 0 Likes
on
0 Posts
And yeah the last few pics are nuts. Main thing that stops the axle articulation on the standard Landies are the shocks, sort them out for those Billies and longer brake lines and you away.
I'm looking into remove brake servo`s now, I have no idea how they work, but got to be better than no servo at all lol.
20 September 2012, 06:14 PM
#71
Scooby Regular
Thread Starter
iTrader: (13)
Join Date: Apr 2010
Location: Swansea
Posts: 4,008
Likes: 0
Received 0 Likes
on
0 Posts
Few more bits coming.
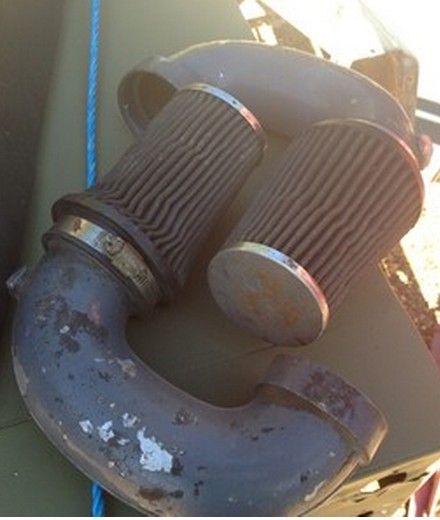
Carb u-tubes to move filters away from inner wings (dirt mud etc, and cos the filters touch the wing).
Hand throttle linkage, (CRUISE CONTROL LOL!!) useful for when I get a PTO.
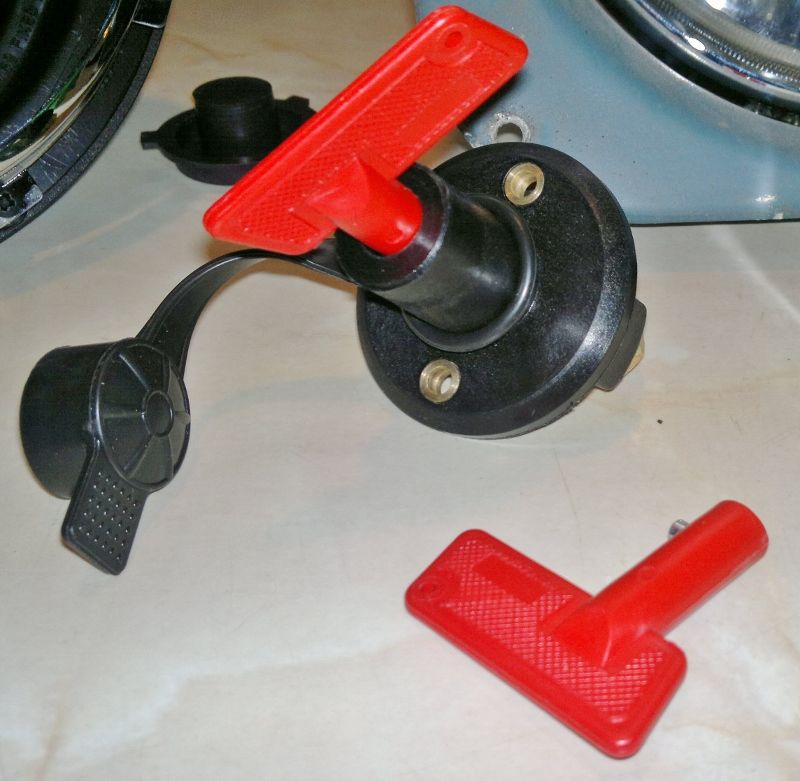
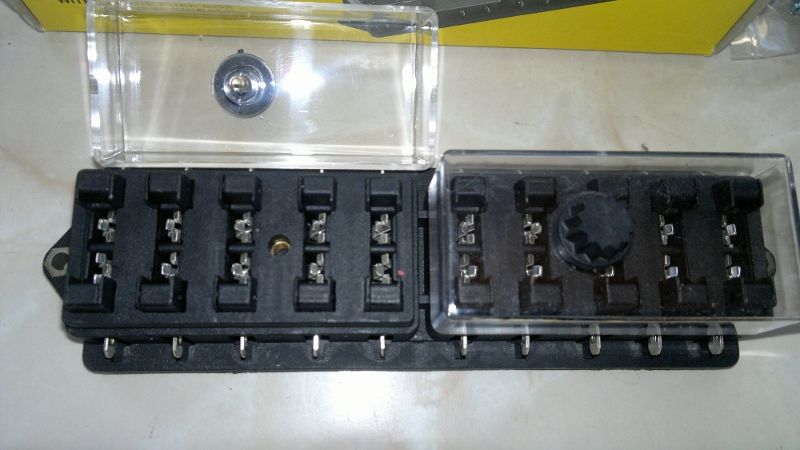
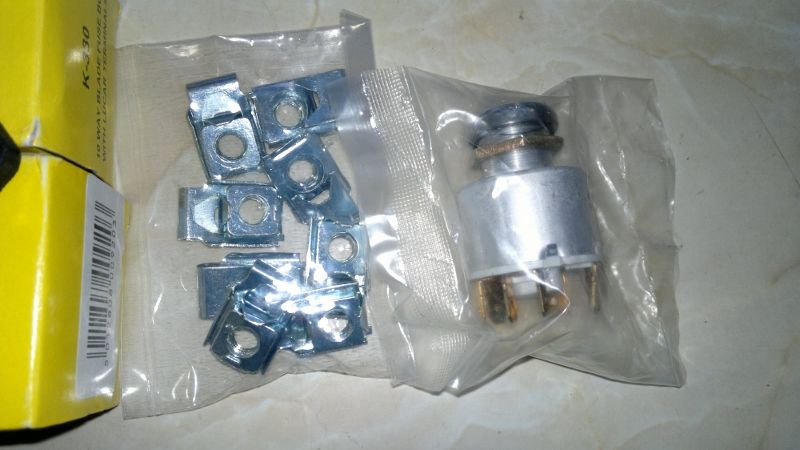
Clocks surround, starter setup with ignition barrel, and gauges.


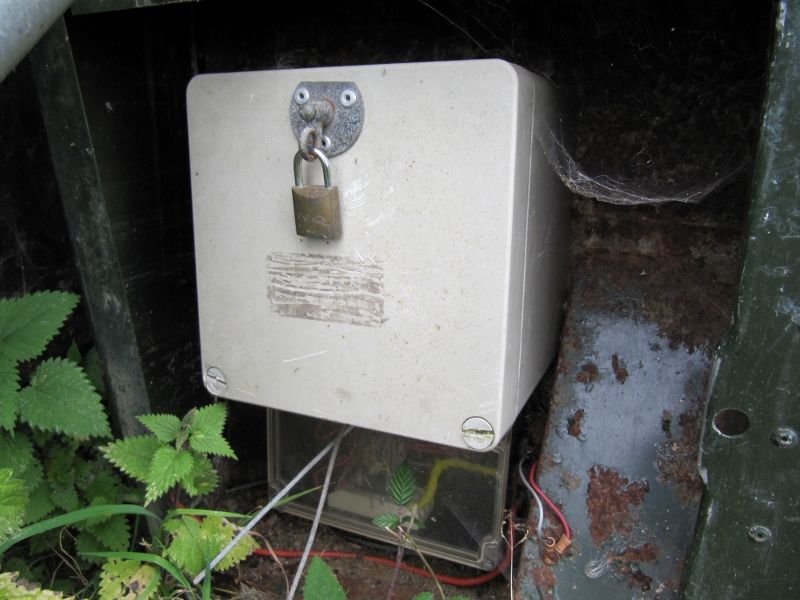
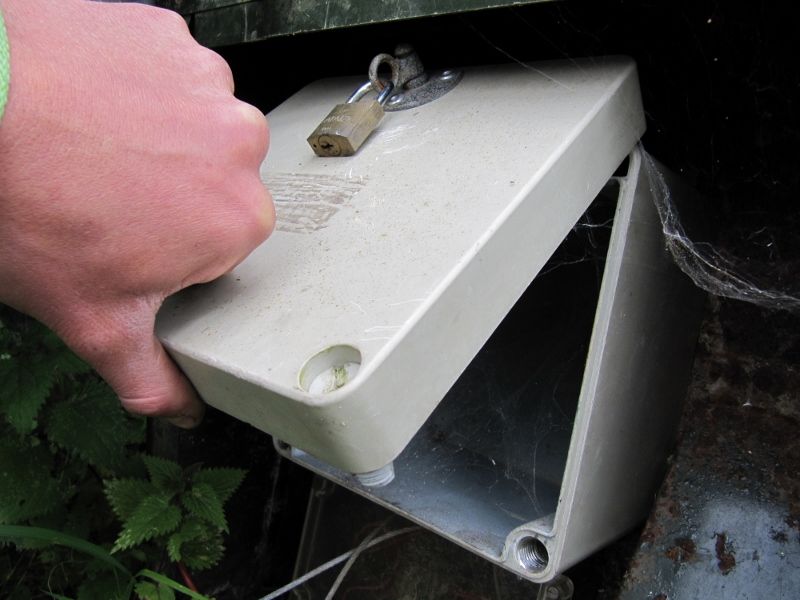
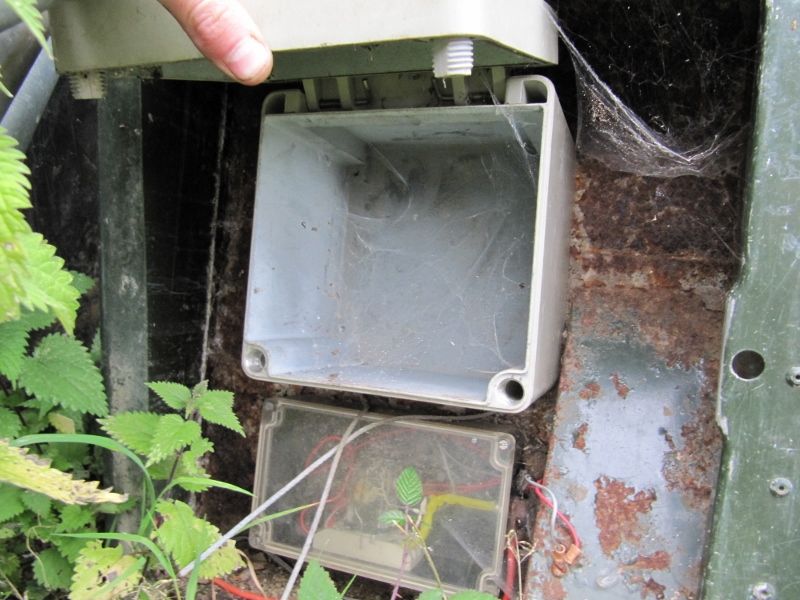
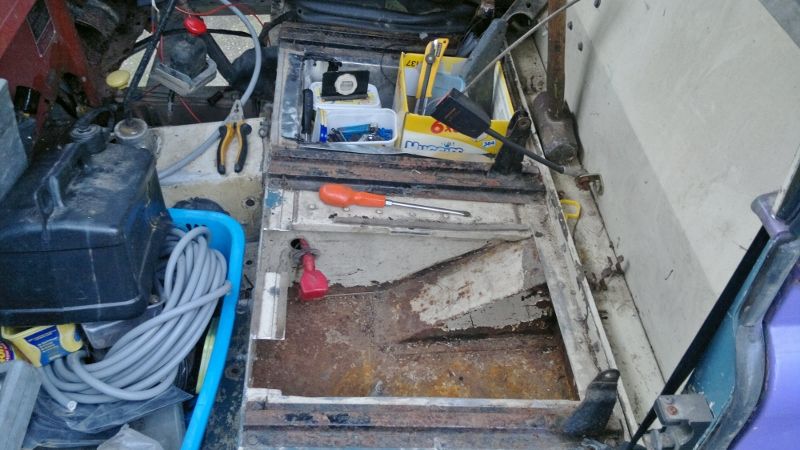
Lockable waterproof boxes, and split charging system.
Upper seatbelt bolts.

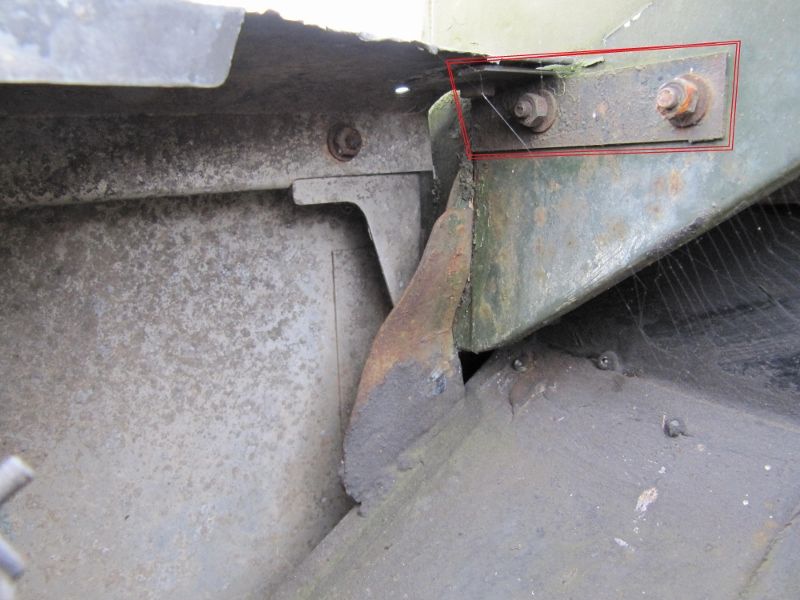
Wing brackets and bolts (cannot buy these for love nor money new).
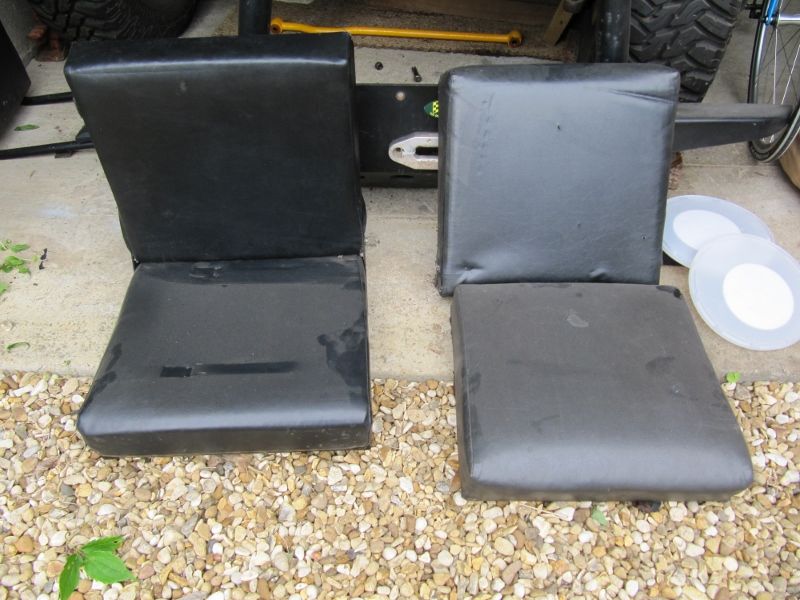
Standard front seats (for spare in the back, or as a temp measure until I can get the Cobras fitted, or if I want to look period for a vintage show).
Carb u-tubes to move filters away from inner wings (dirt mud etc, and cos the filters touch the wing).
Hand throttle linkage, (CRUISE CONTROL LOL!!) useful for when I get a PTO.
Clocks surround, starter setup with ignition barrel, and gauges.
Lockable waterproof boxes, and split charging system.
Upper seatbelt bolts.
Wing brackets and bolts (cannot buy these for love nor money new).
Standard front seats (for spare in the back, or as a temp measure until I can get the Cobras fitted, or if I want to look period for a vintage show).
08 October 2012, 07:34 PM
#72
Scooby Regular
Thread Starter
iTrader: (13)
Join Date: Apr 2010
Location: Swansea
Posts: 4,008
Likes: 0
Received 0 Likes
on
0 Posts
Update, not much done due to the weather and the one weekend of nice weather I worked on the Scoob.
BUT, the seats I had from Rich will fit, but no human could possibly be able to sit in them in the series, so bummer lol.
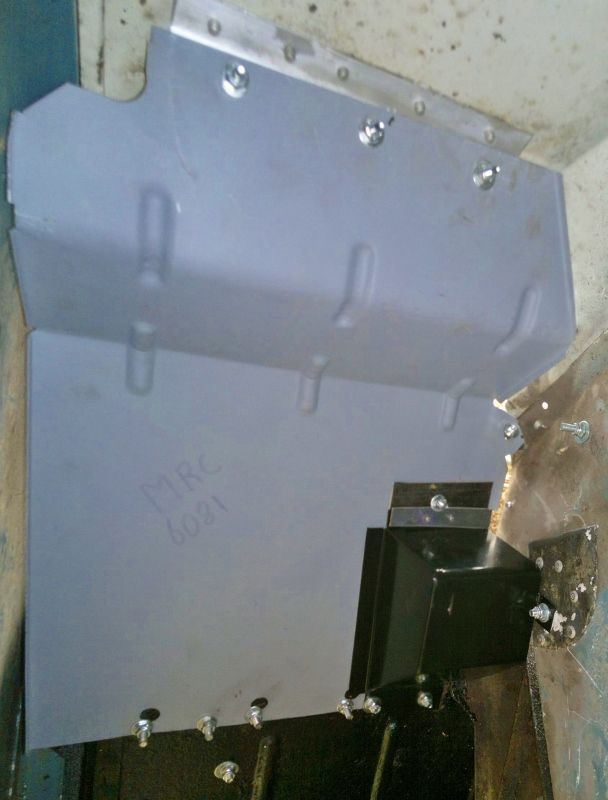
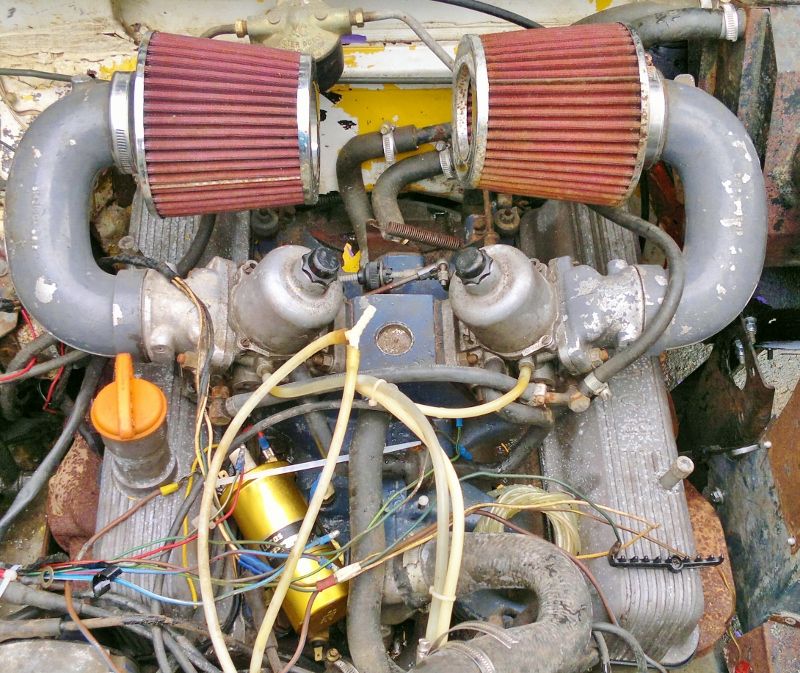
Anyhoo, had the filter pipes and fitted them. They are SD1 airbox pipes, moves the filters away from inner wings, which with the addition of teh arch liners they were wedged.
Pipes.
How the filters were.
How the filters are now.
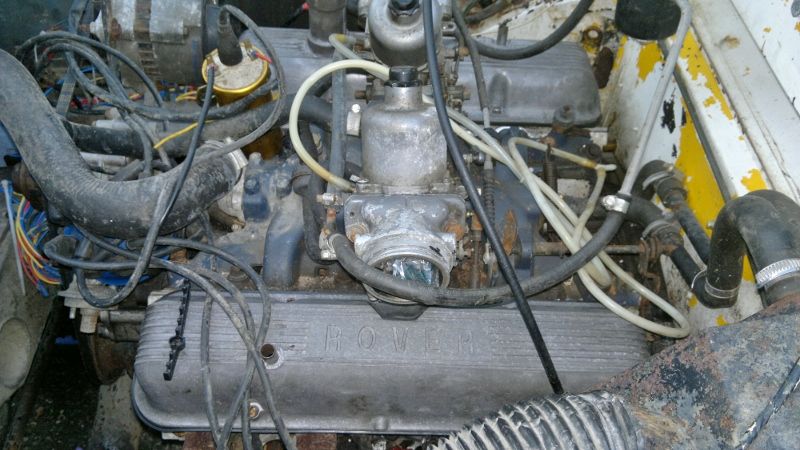
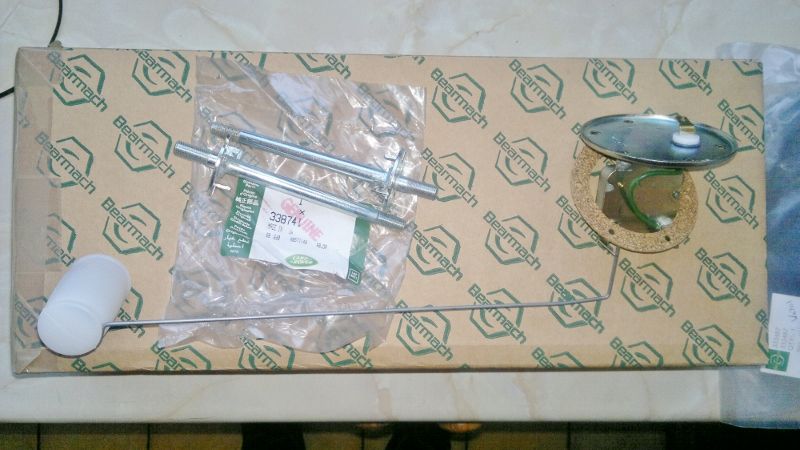
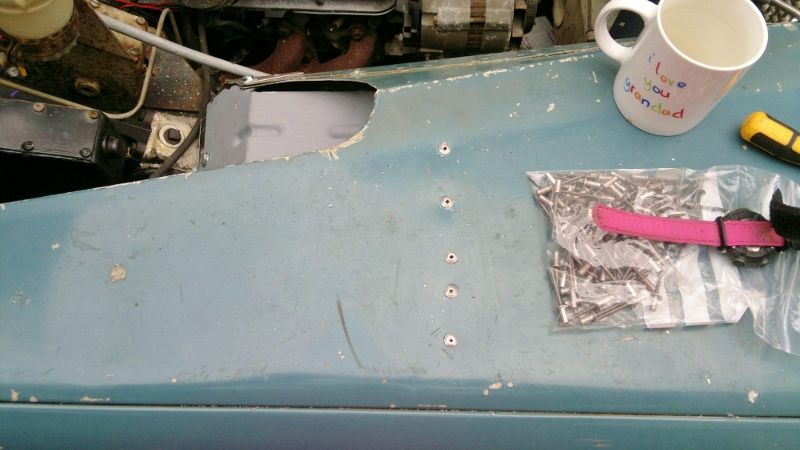
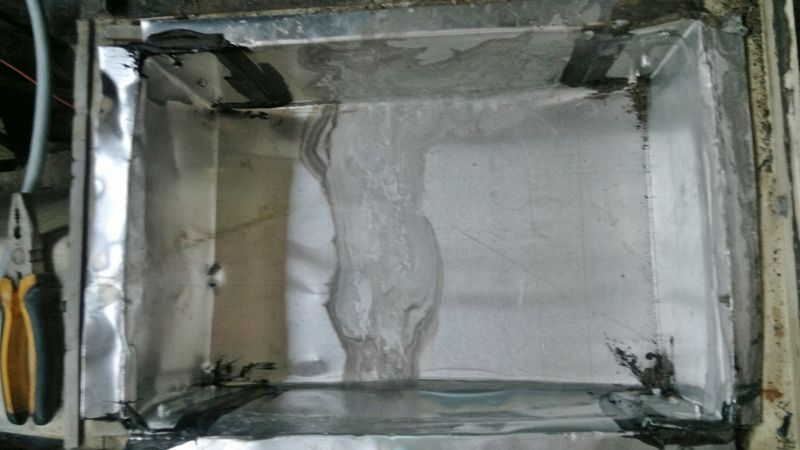
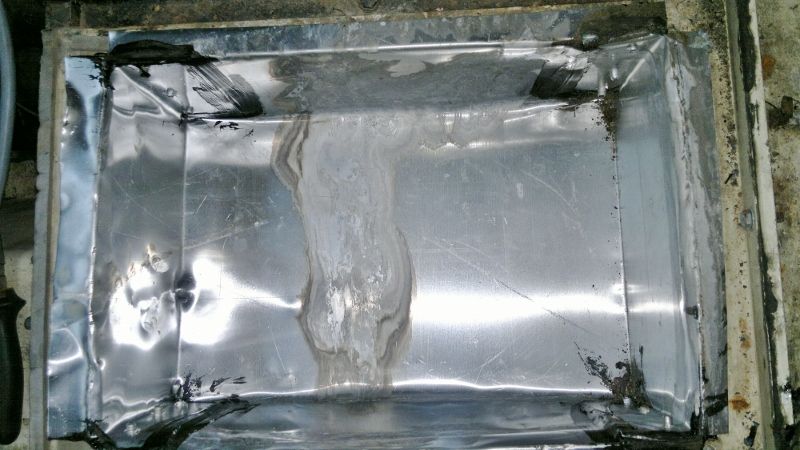
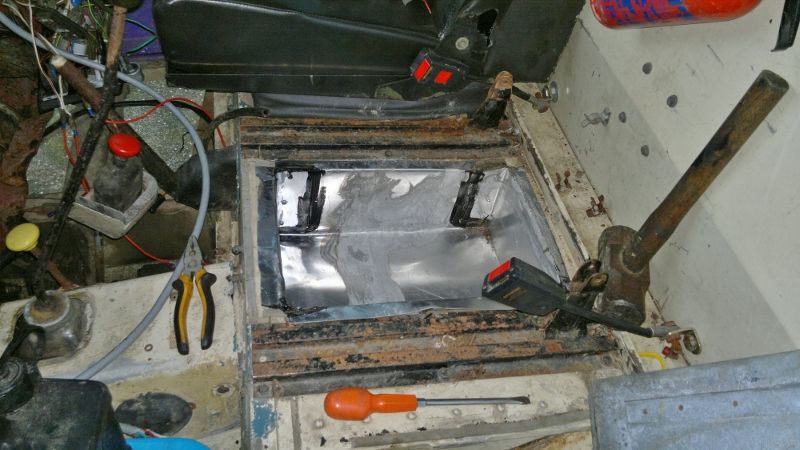
Also had a bit of work done on my tank, added a 90 degree inlet for the carb return, and also sent it to be pressure tested. The tank was a bit leaky, so had it soldered up and the under armour plate re welded on as it had started to come off (maybe due to the leak), and then first coat of black paint. Also fitted my fuel level sender and fuel pump.


BUT, the seats I had from Rich will fit, but no human could possibly be able to sit in them in the series, so bummer lol.
Anyhoo, had the filter pipes and fitted them. They are SD1 airbox pipes, moves the filters away from inner wings, which with the addition of teh arch liners they were wedged.
Pipes.
How the filters were.
How the filters are now.
Also had a bit of work done on my tank, added a 90 degree inlet for the carb return, and also sent it to be pressure tested. The tank was a bit leaky, so had it soldered up and the under armour plate re welded on as it had started to come off (maybe due to the leak), and then first coat of black paint. Also fitted my fuel level sender and fuel pump.
08 October 2012, 08:14 PM
#73
Scooby Regular
Thread Starter
iTrader: (13)
Join Date: Apr 2010
Location: Swansea
Posts: 4,008
Likes: 0
Received 0 Likes
on
0 Posts
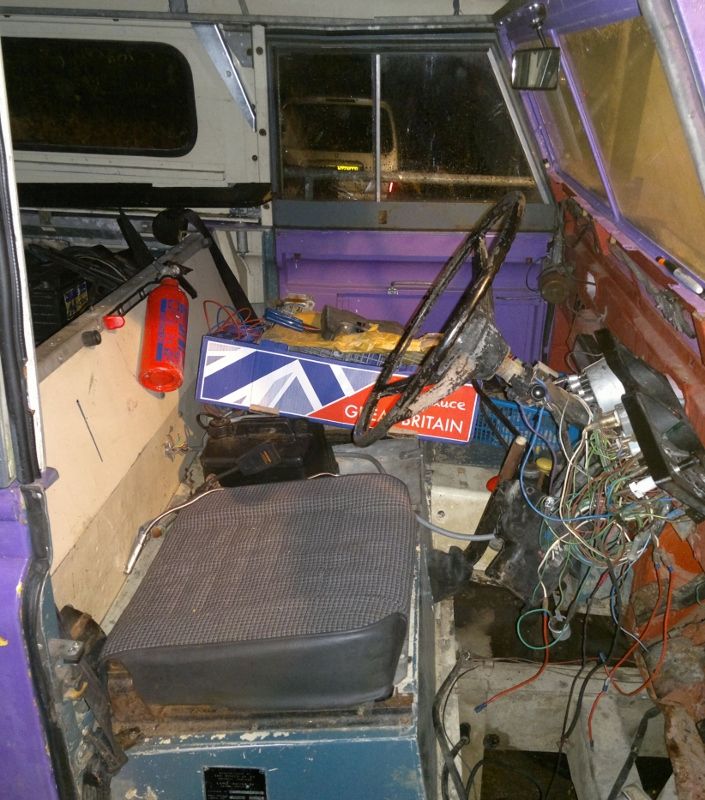
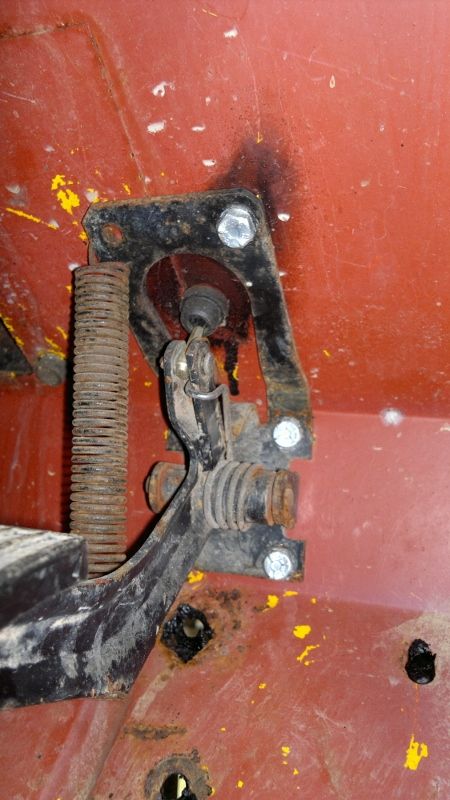
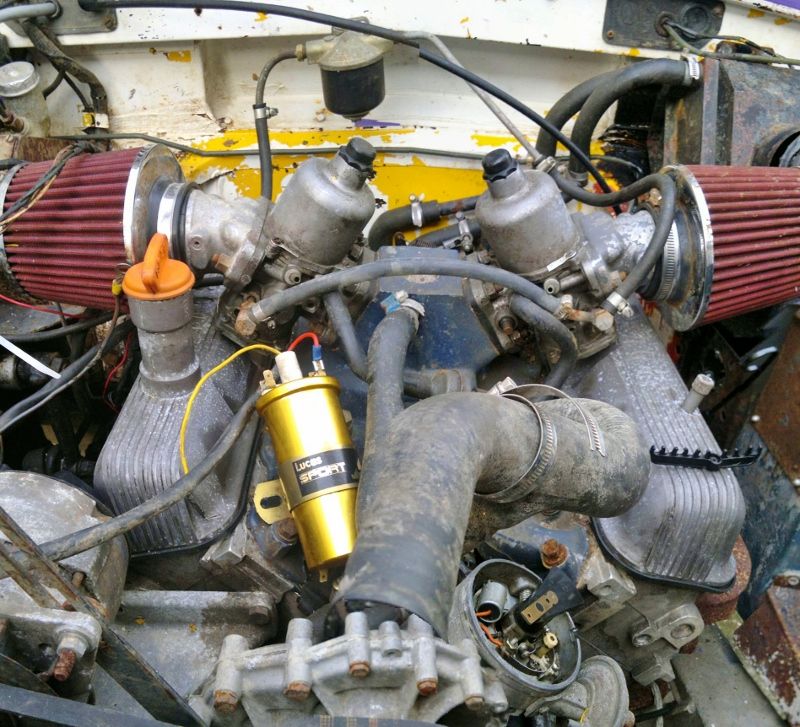
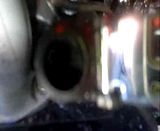
Also did a bit of work in the dizzy. (Remember those??)
Condensor looks good and produces spark, but thinking about upgrading to a magnetic version (detail below).
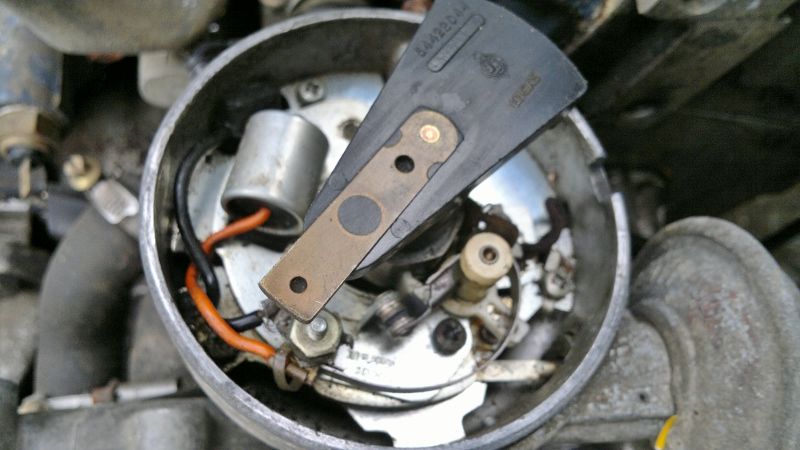
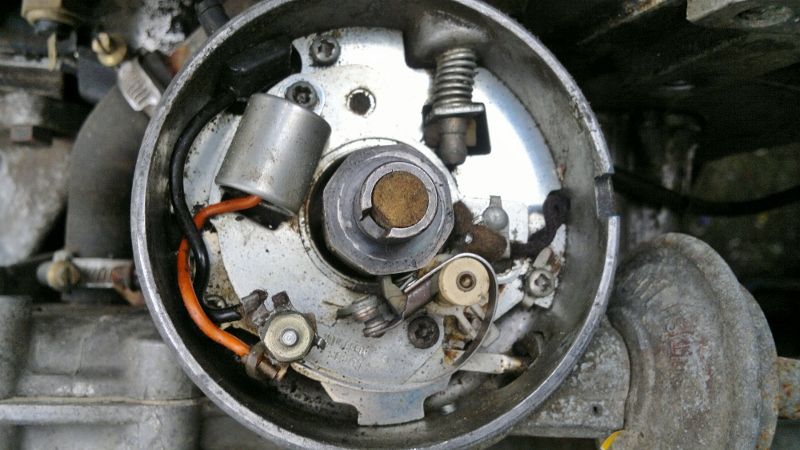
And hand throttle fitted.
Exscuse the mess lol.
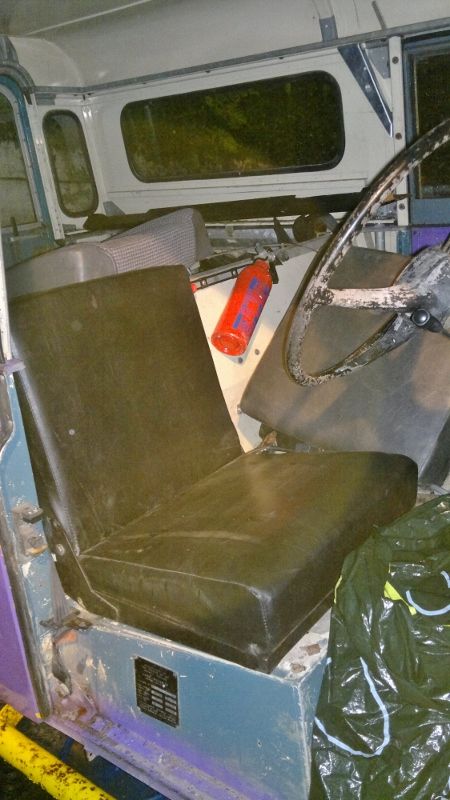
Oh and seeing as the Cobra's don`t fit heres my "high tech" new seats!!
Condensor looks good and produces spark, but thinking about upgrading to a magnetic version (detail below).
And hand throttle fitted.
Exscuse the mess lol.
Oh and seeing as the Cobra's don`t fit
heres my "high tech" new seats!!
Last edited by Jimbob; 08 October 2012 at 08:15 PM.
17 October 2012, 08:53 PM
#74
Scooby Regular
Thread Starter
iTrader: (13)
Join Date: Apr 2010
Location: Swansea
Posts: 4,008
Likes: 0
Received 0 Likes
on
0 Posts
Bit of an update as I've not done one in a while.
Progress is slow due to work and available funds (everything seems to want money at the moment).
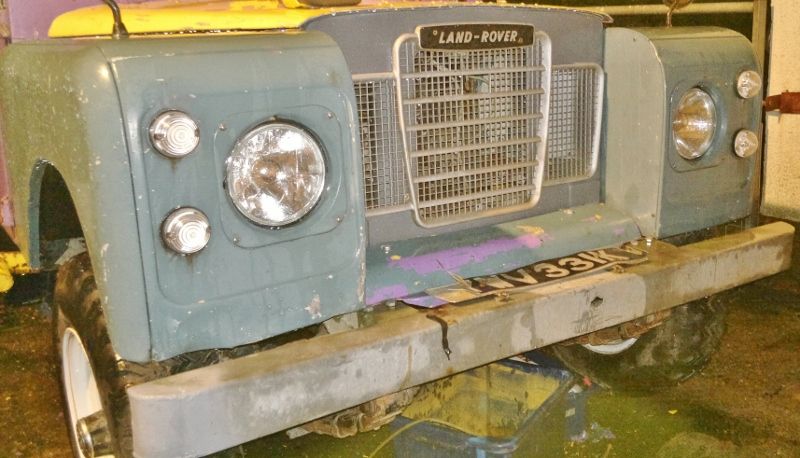
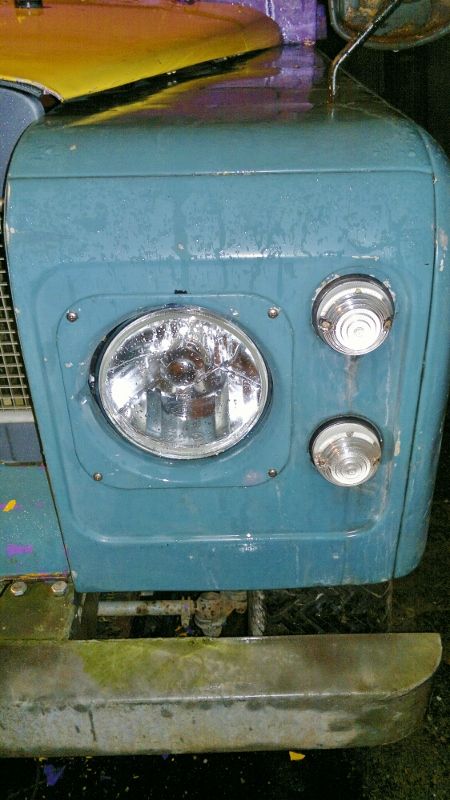
Changed the indicator lenses to clear as I had spares and the original orange ones were leaking.
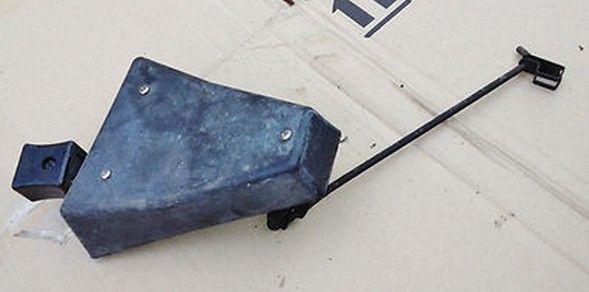
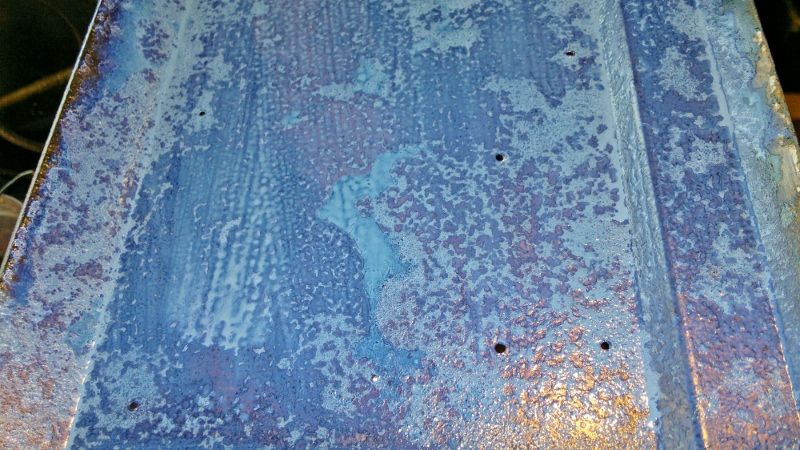
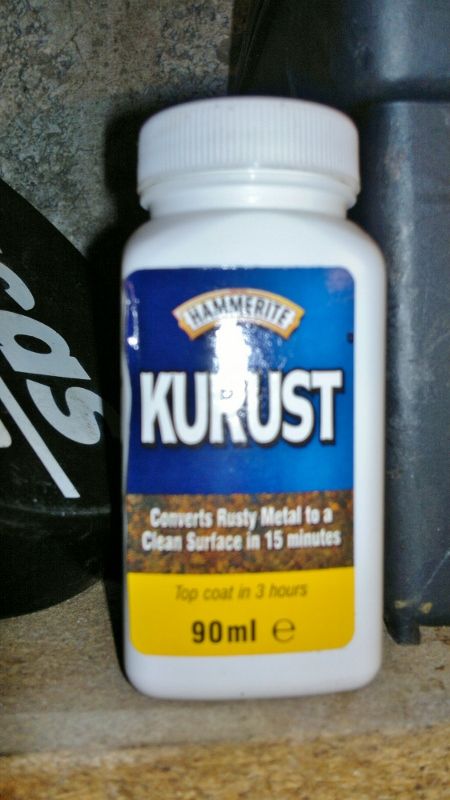
Got the KURUST out to treat a rusty dash panel, the bit that gets the air from the bulkhead vents.
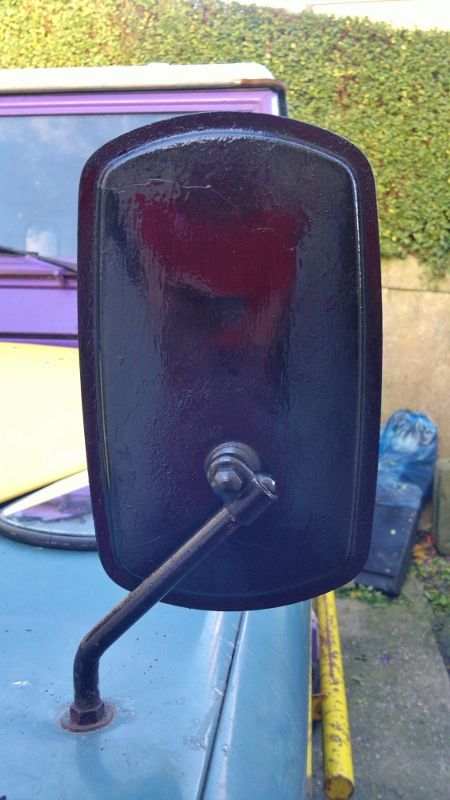
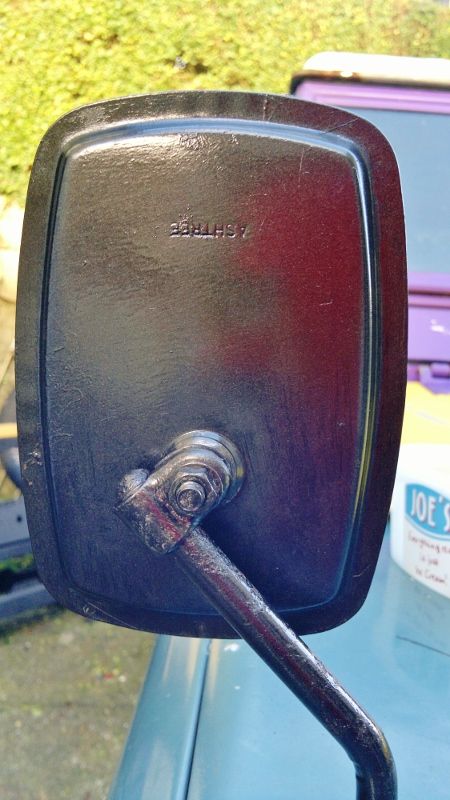
Decided to paint the wing mirrors.
Here come some better progress.
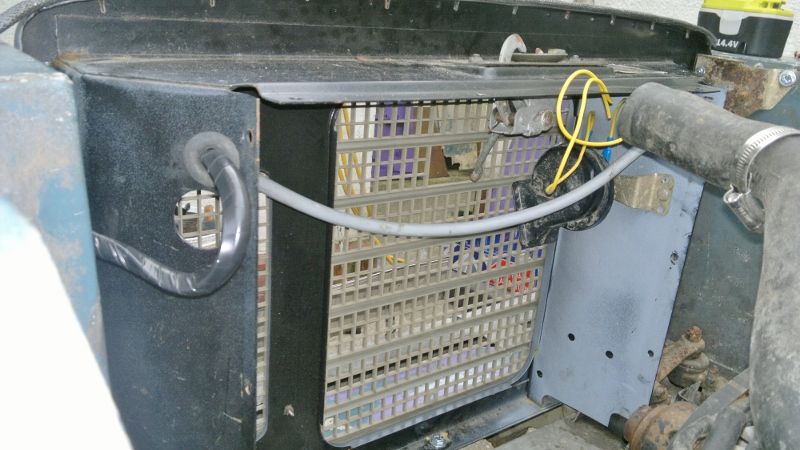
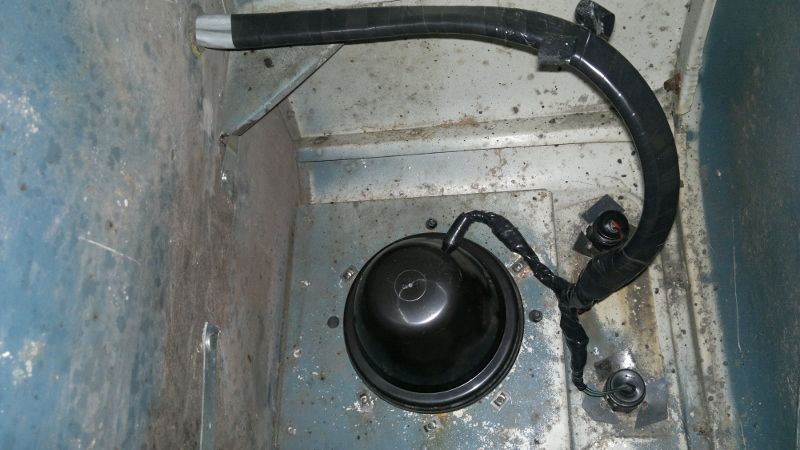
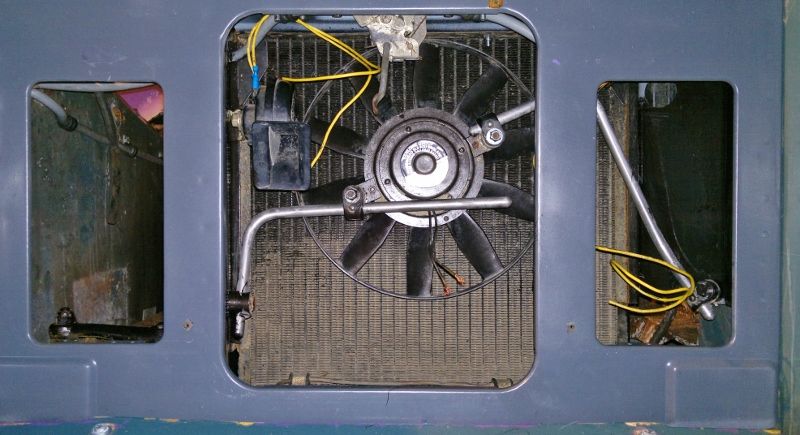
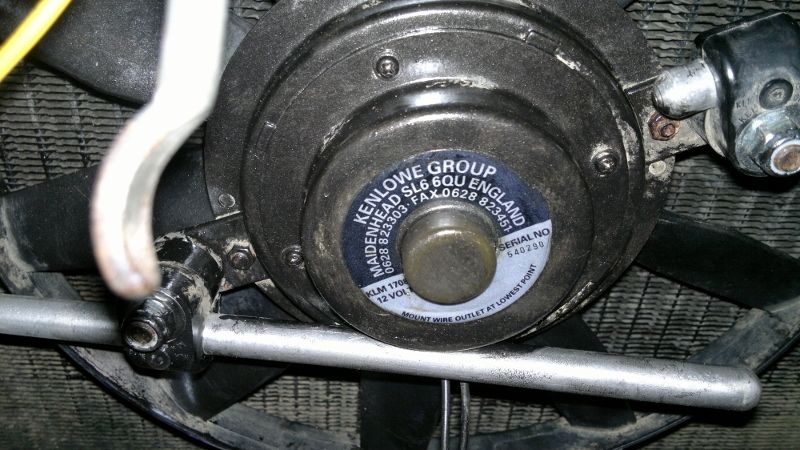
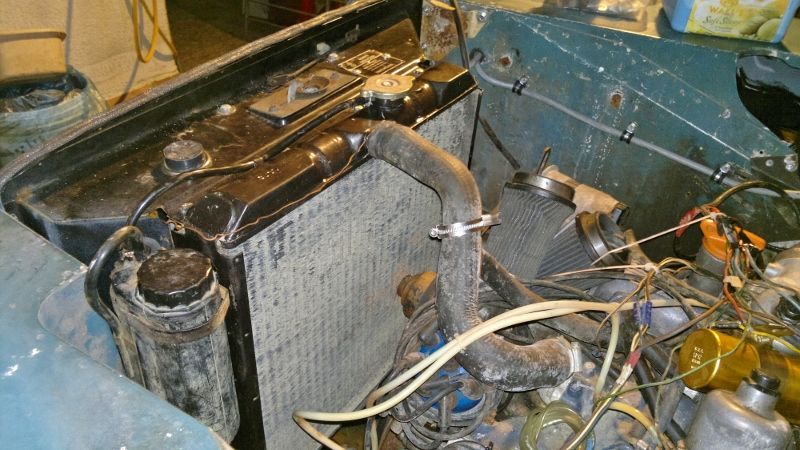
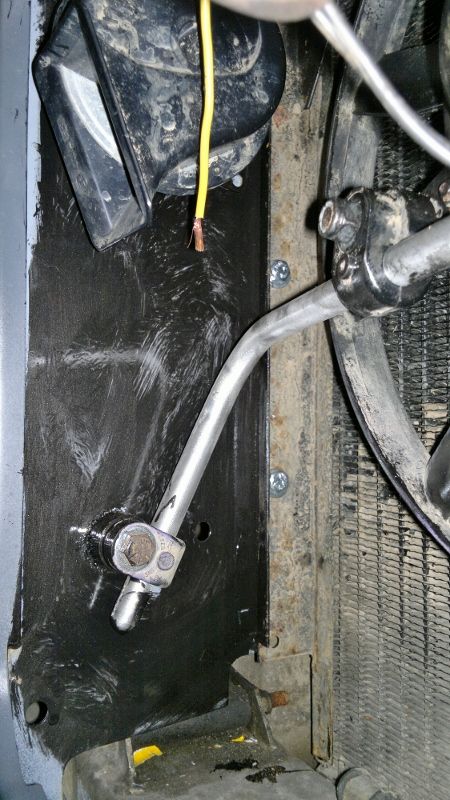
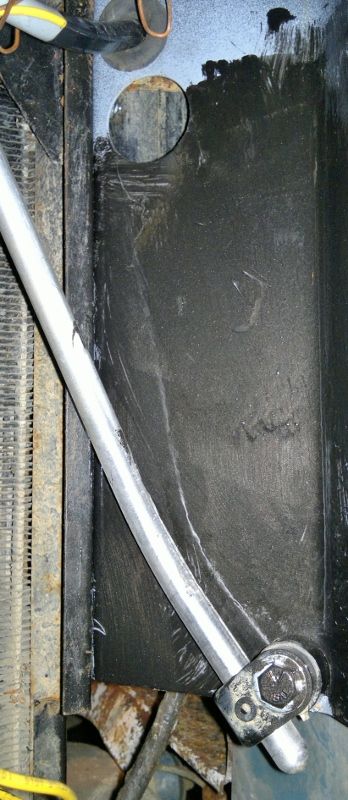
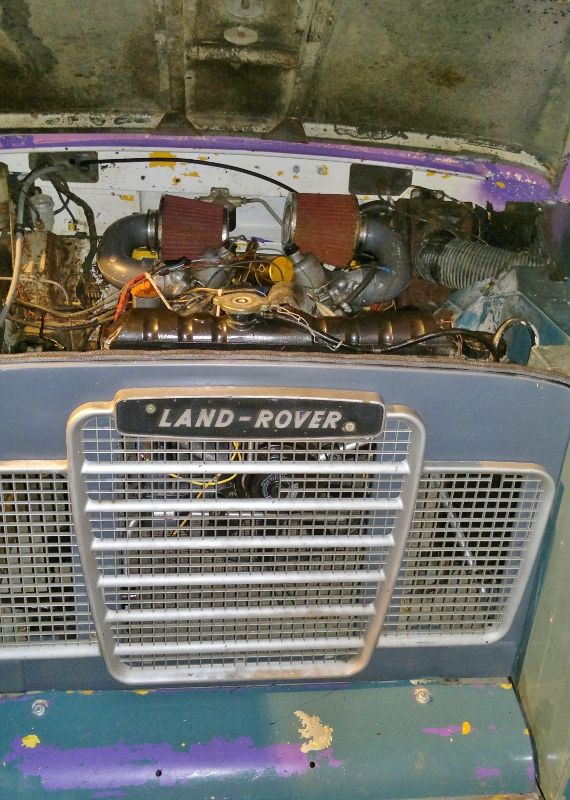
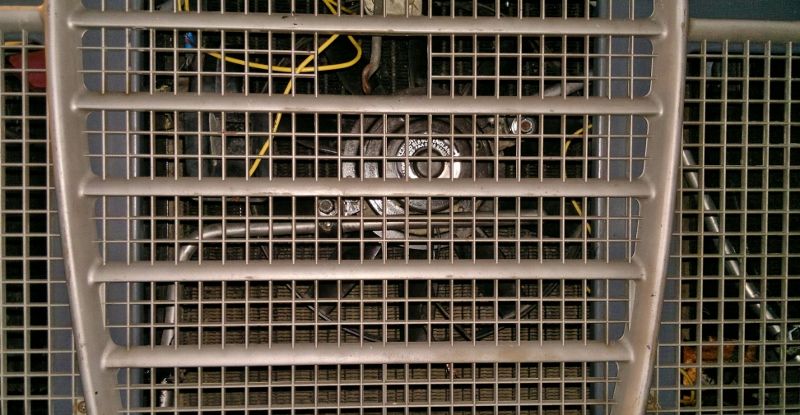
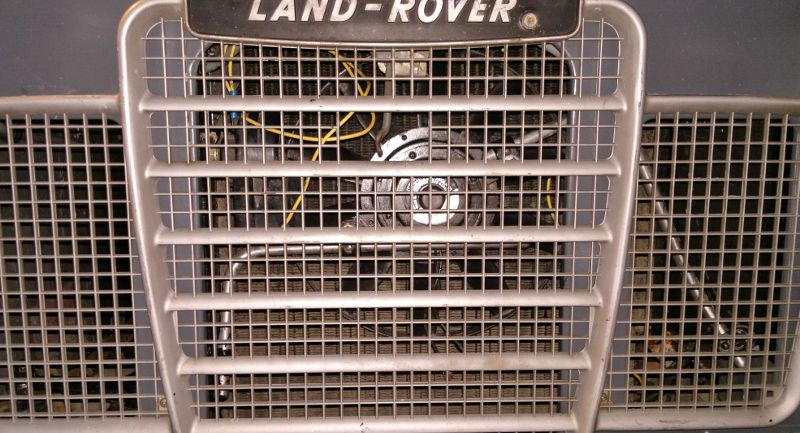
Fitted my Kenlowe fan and radiator, bit of a pain but its in.
Don`t worry about the sketchy black paint, its all going to be done again.

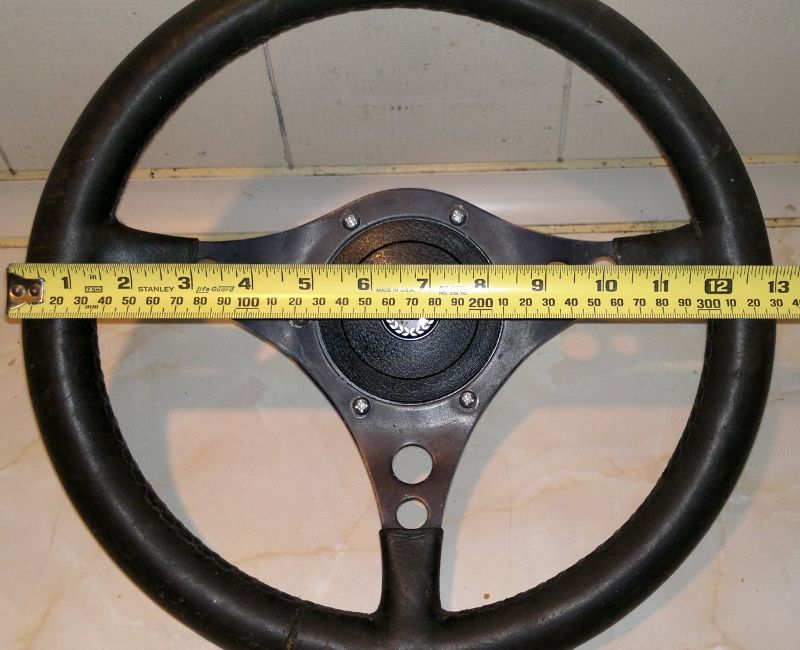
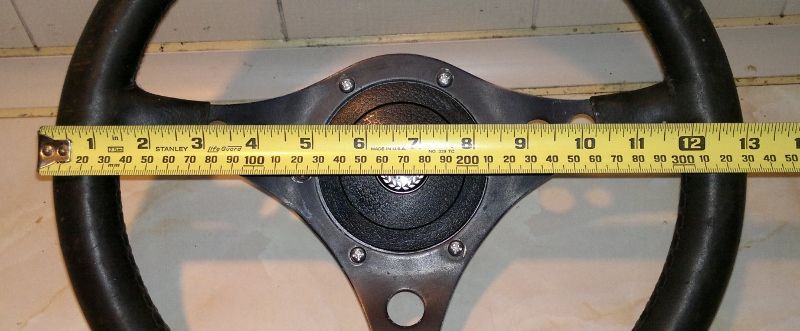
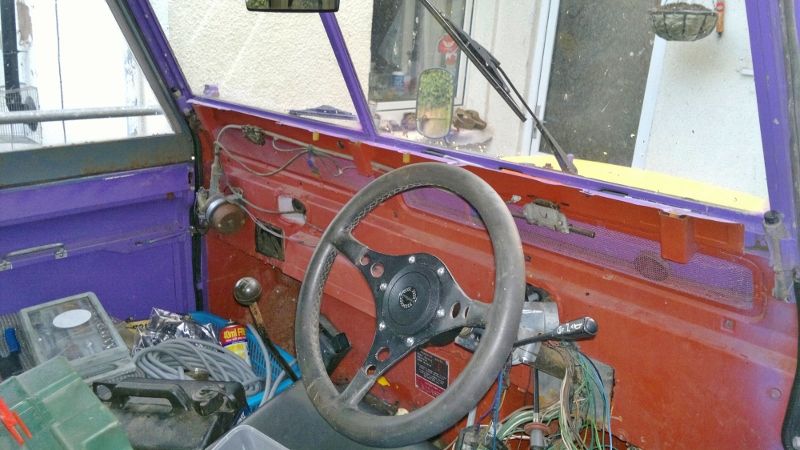
Right lastly here is the standard steering wheel, best part of 17inches outside diameter.
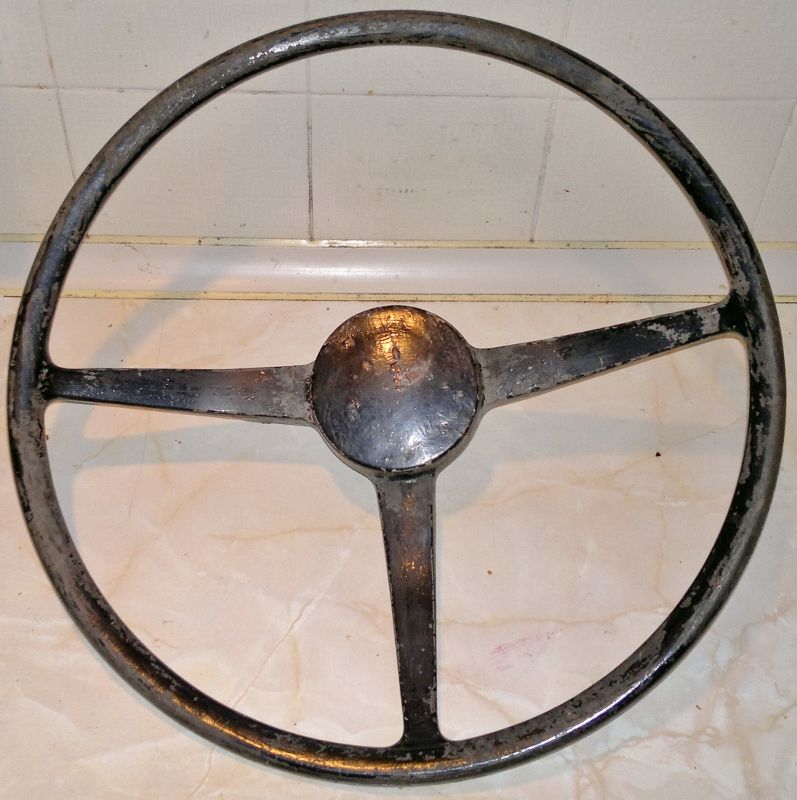
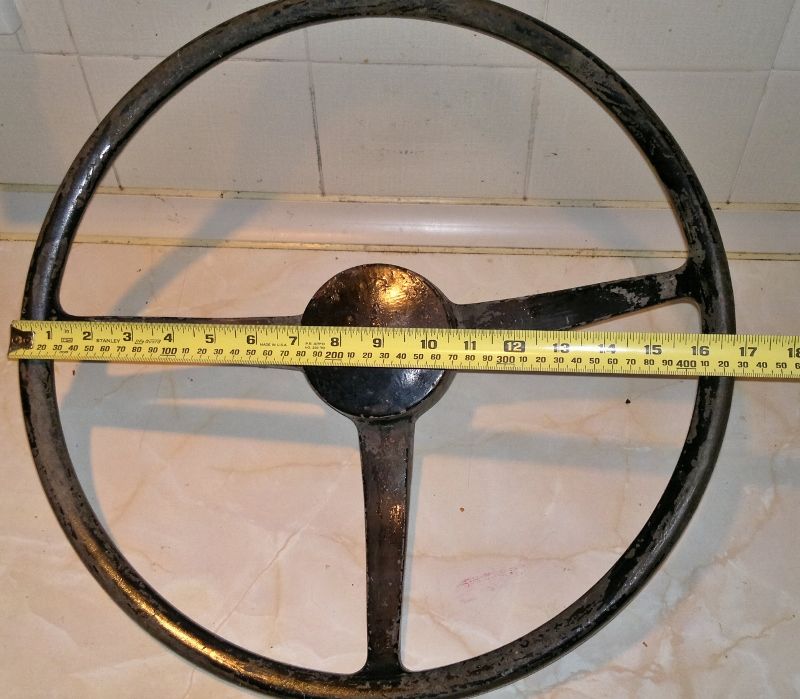
Bought a boss for �16, and found an old steering wheel in my garage that must be atleast 30 year old, as it came fitted to a car my mother bought either before I was born or was a baby, and when the car was scrapped it was removed "just in case" its will be reused, well today the day came.
Progress is slow due to work and available funds (everything seems to want money at the moment).
Changed the indicator lenses to clear as I had spares and the original orange ones were leaking.
Got the KURUST out to treat a rusty dash panel, the bit that gets the air from the bulkhead vents.
Decided to paint the wing mirrors.
Here come some better progress.
Fitted my Kenlowe fan and radiator, bit of a pain but its in.
Don`t worry about the sketchy black paint, its all going to be done again.
Right lastly here is the standard steering wheel, best part of 17inches outside diameter.
Bought a boss for �16, and found an old steering wheel in my garage that must be atleast 30 year old, as it came fitted to a car my mother bought either before I was born or was a baby, and when the car was scrapped it was removed "just in case" its will be reused, well today the day came.
 22 October 2012, 12:23 AM
#78
Scooby Regular
Thread Starter
iTrader: (13)
Join Date: Apr 2010
Location: Swansea
Posts: 4,008
Likes: 0
Received 0 Likes
on
0 Posts

Cheers bud.
Heres an update on my Landy, fitted the rad and the Kenlowe, sorry about the poor black paint its only the rough first coat.
02 December 2012, 06:30 PM
#79
Scooby Regular
Thread Starter
iTrader: (13)
Join Date: Apr 2010
Location: Swansea
Posts: 4,008
Likes: 0
Received 0 Likes
on
0 Posts
Some more progress, been having a back seat due to being outside and the weather being wet and below 0.
Centre seat box made.
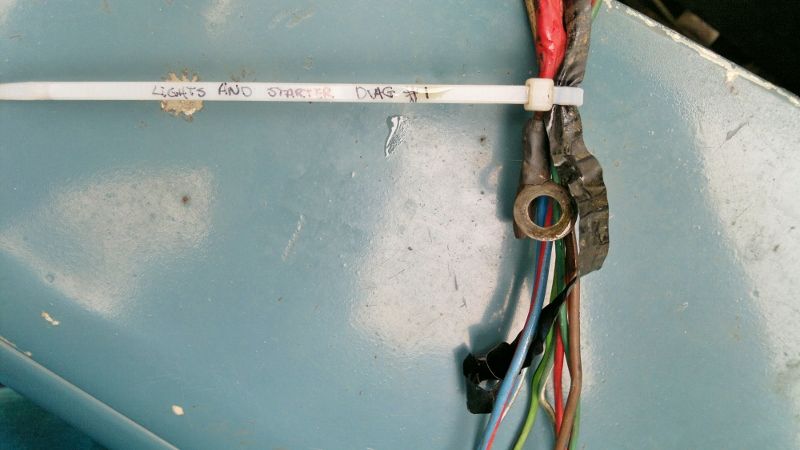
Starting from the beginning wiring wise, so new battery terminals through to cut off switch, through to starter.

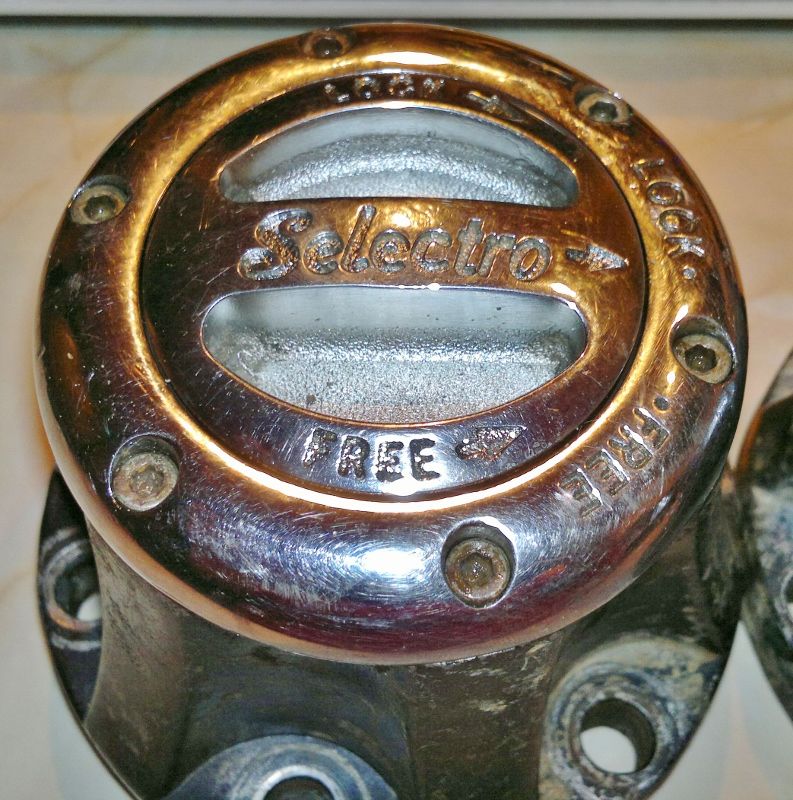
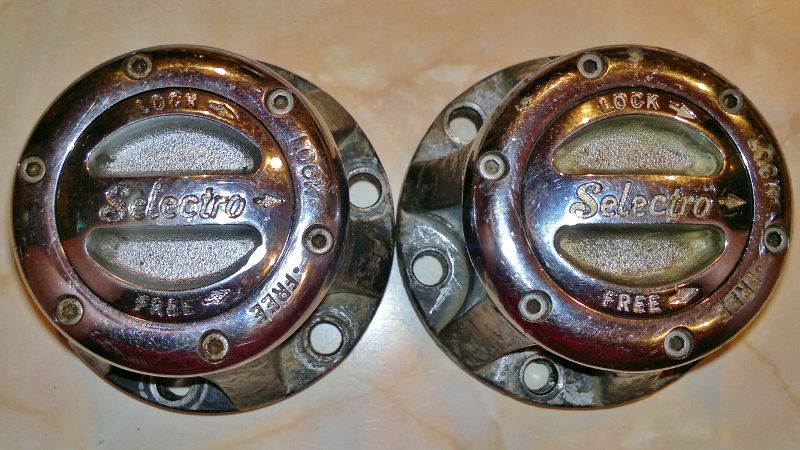
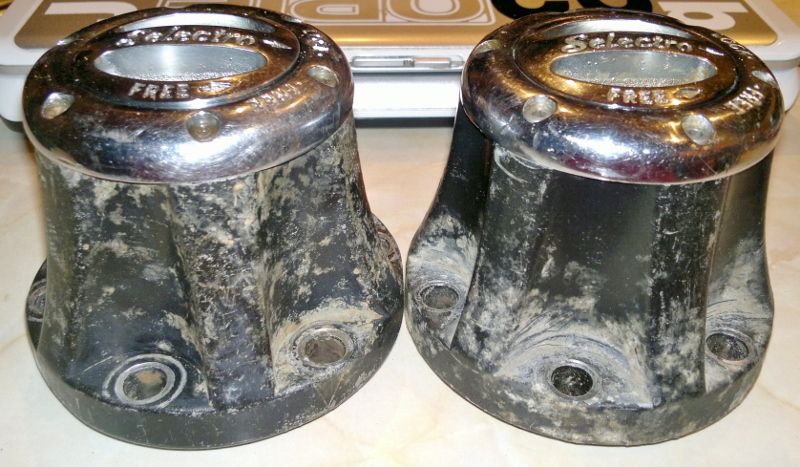
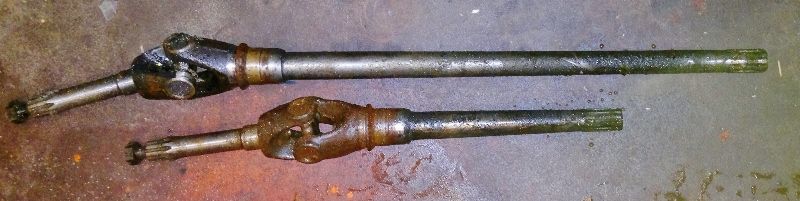
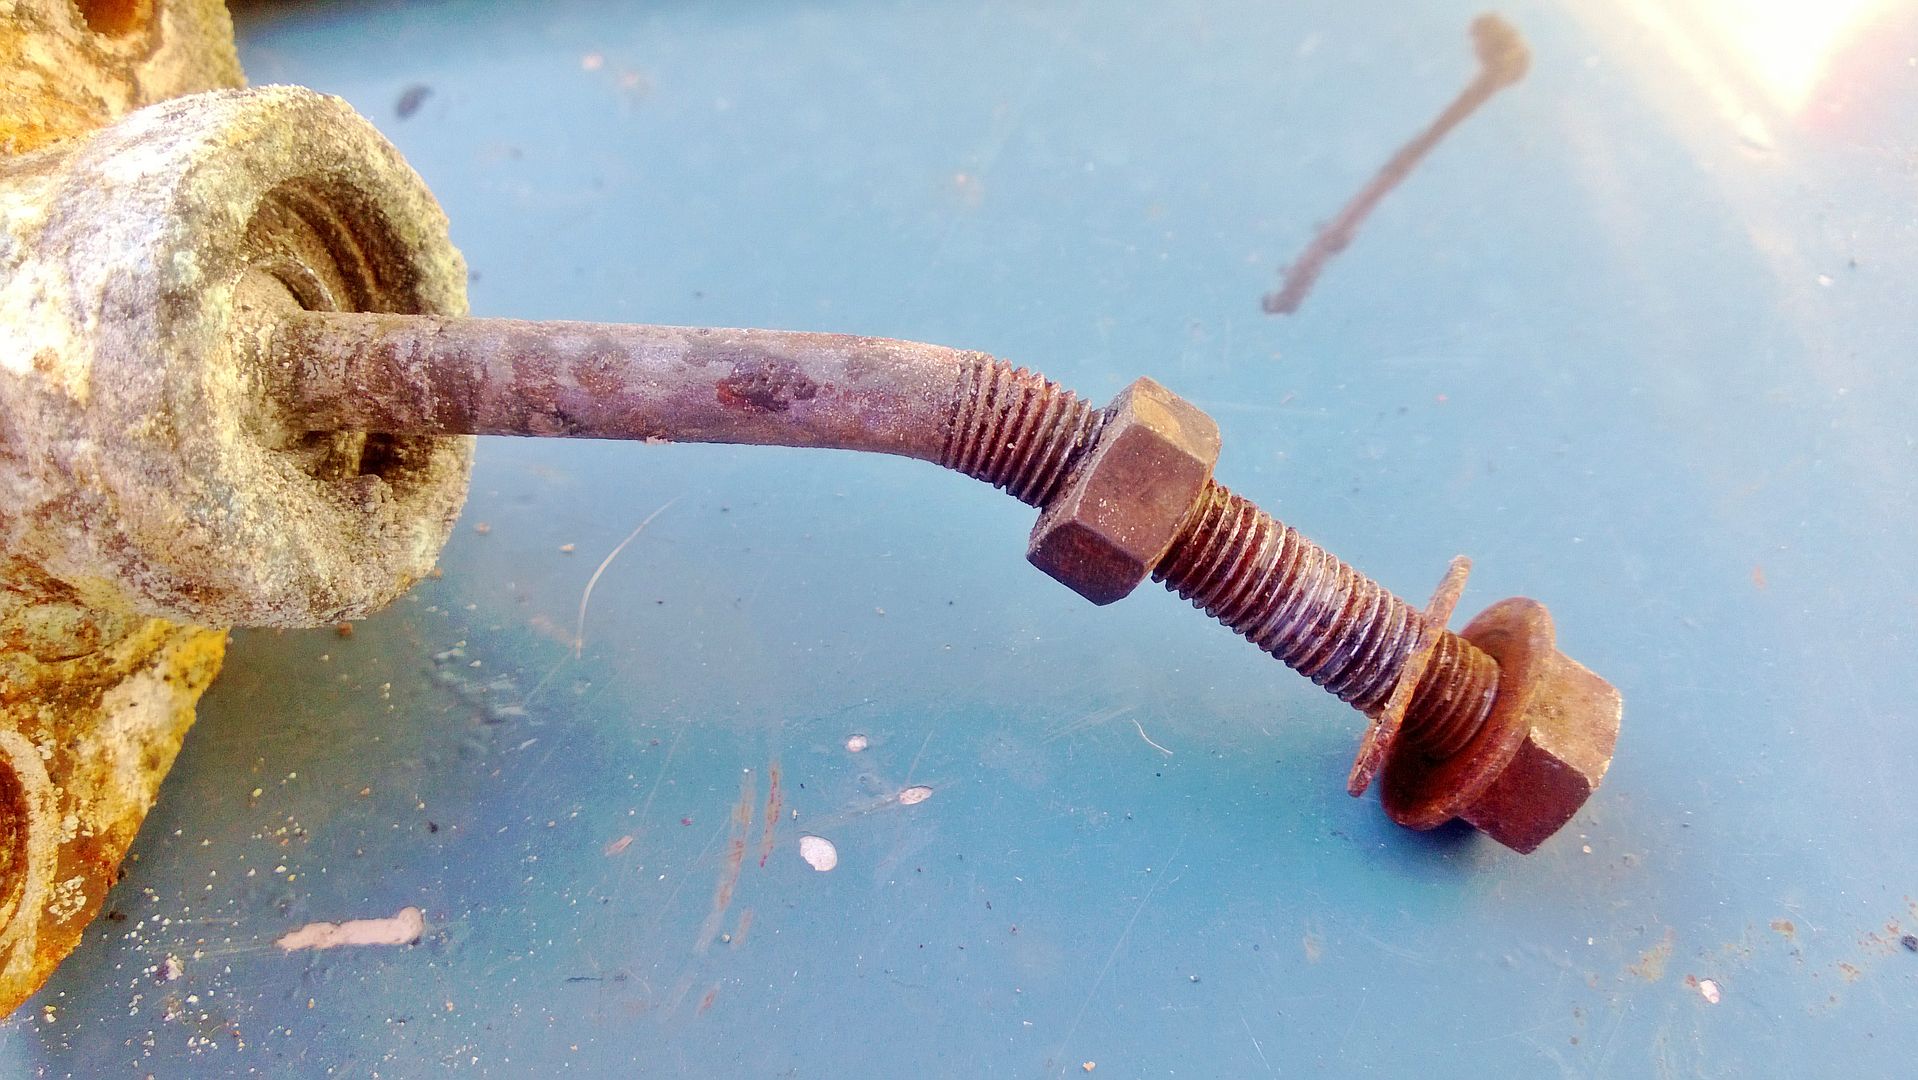
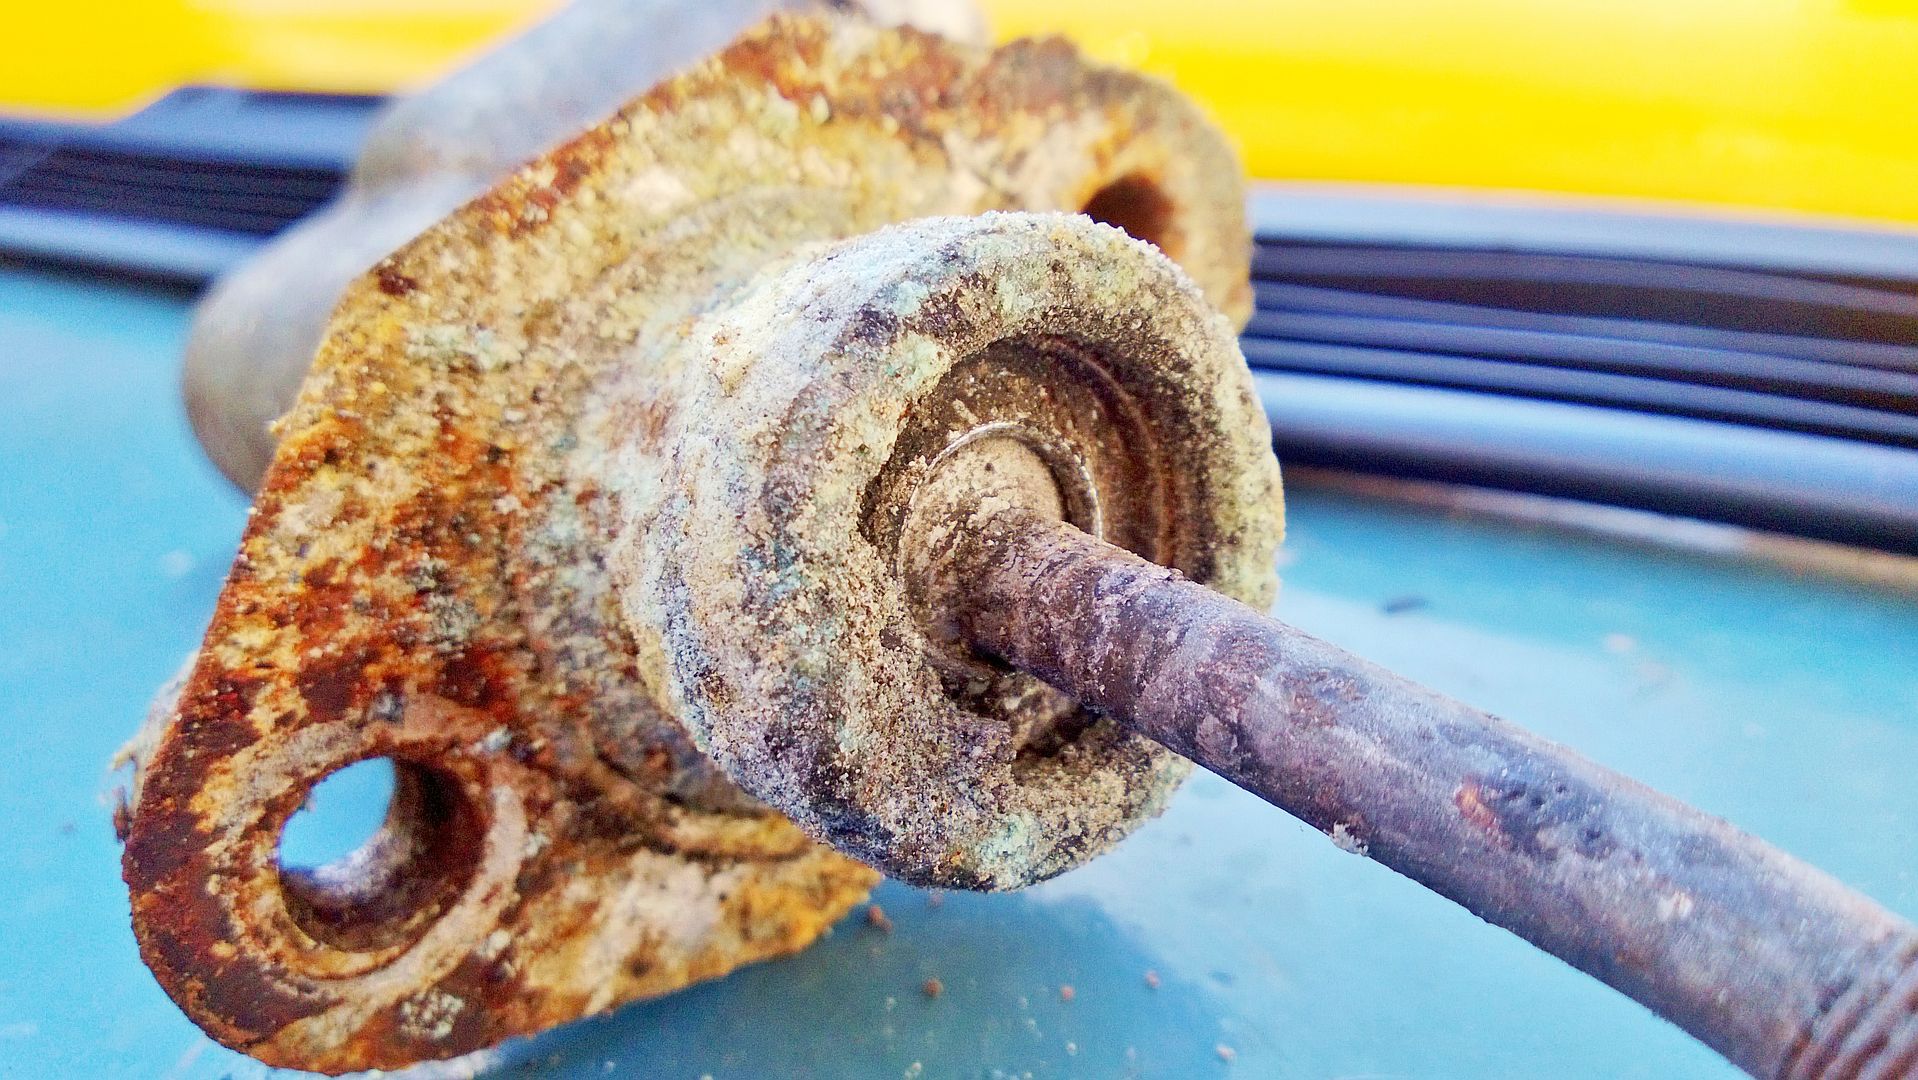
Removed the free wheeling hubs as they were jammed and to see what the problem is/was on the front axle. Following the removal one of the half-shafts has gone, so looking for 2 10 spline inner and outer half-shafts, oh joy of joys.
I like jigsaw puzzles.

Centre seat box made.
Starting from the beginning wiring wise, so new battery terminals through to cut off switch, through to starter.
Removed the free wheeling hubs as they were jammed and to see what the problem is/was on the front axle. Following the removal one of the half-shafts has gone, so looking for 2 10 spline inner and outer half-shafts, oh joy of joys.
I like jigsaw puzzles.
02 December 2012, 08:36 PM
#80
Scooby Regular
iTrader: (6)

Join Date: Aug 2007
Location: Llanelli with a spanner in my hand!
Posts: 2,260
Likes: 0
Received 0 Likes
on
0 Posts
I know where you're coming from with the weather! I need to do some welding on the bus, but it's just too cold and too wet.
That centre box looks good, what's next on the cards?
That centre box looks good, what's next on the cards?
02 December 2012, 09:51 PM
#81
Scooby Regular
Thread Starter
iTrader: (13)
Join Date: Apr 2010
Location: Swansea
Posts: 4,008
Likes: 0
Received 0 Likes
on
0 Posts
Then hopefully have a new alternator next week a 70 amp jobbie as opposed to my current 40amp lol.
Then wire that all up, and then run a new circuit for the coil and the fuel pump, have some 12v relays coming. Then once all the wiring is sorted engine wise it's new plugs and leads, then start up and see whats what.
Replace the wiring to the rear lights and sort all body wiring and secure.
Then see what the gearbox is doing, once the gearbox is seen to work, I can fit all the insides together.
Once that is done strip down the front axle, replace shafts, and rebuild with new shoes, cylinders and master cylinder.
I will need to sort something with the exhaust, as its not up to much at the moment, so will eventually have to fabricate or get made an exhaust.
Then it should be ready for MOT/paint

Last edited by Jimbob; 02 December 2012 at 09:58 PM.
02 December 2012, 09:57 PM
#82
Scooby Regular
Thread Starter
iTrader: (13)
Join Date: Apr 2010
Location: Swansea
Posts: 4,008
Likes: 0
Received 0 Likes
on
0 Posts
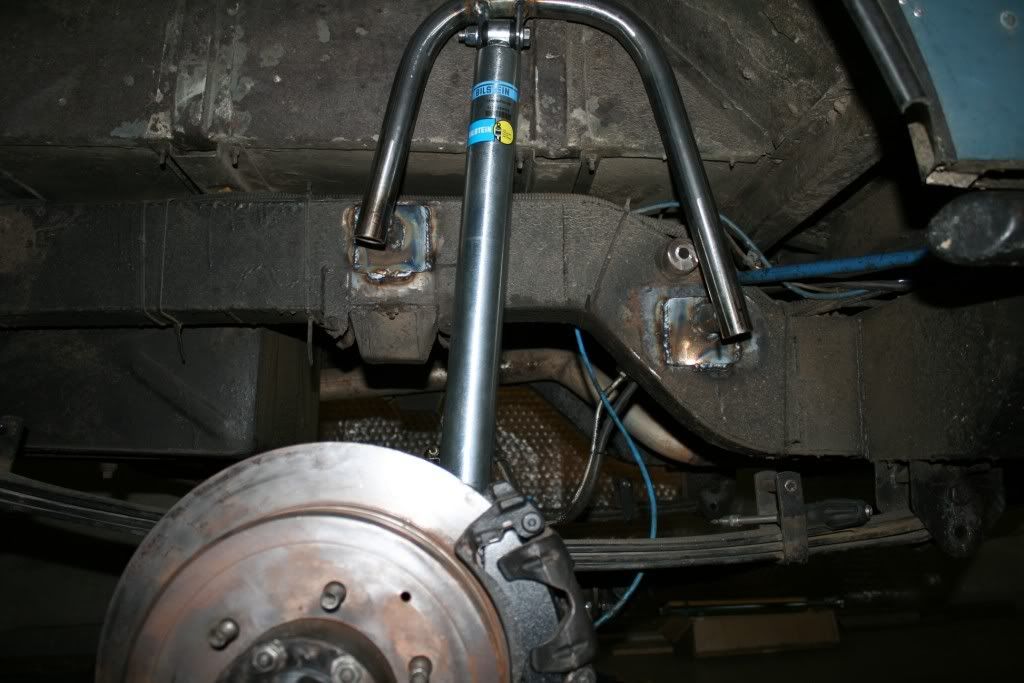
I may also replace the shocks before MOT, but they seem ok at the moment.
Also considering covering the bulkhead internally with Bitumen flashing tape, seen it done on a 110 Landy and does a few jobs. Stops contact of ally and steel so things don't react. The lagging does some sound proofing, and also is a heat transfer barrier.
Also considering covering the bulkhead internally with Bitumen flashing tape, seen it done on a 110 Landy and does a few jobs. Stops contact of ally and steel so things don't react. The lagging does some sound proofing, and also is a heat transfer barrier.
15 January 2013, 12:34 AM
#83
Scooby Regular
Thread Starter
iTrader: (13)
Join Date: Apr 2010
Location: Swansea
Posts: 4,008
Likes: 0
Received 0 Likes
on
0 Posts
Small update not had chance to do much due to illness, working, and the weather.
Been sourcing bits.
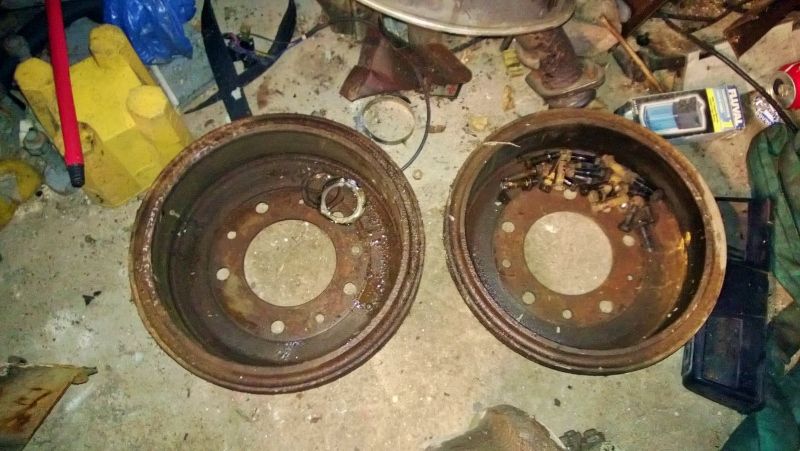
Front half-shafts.
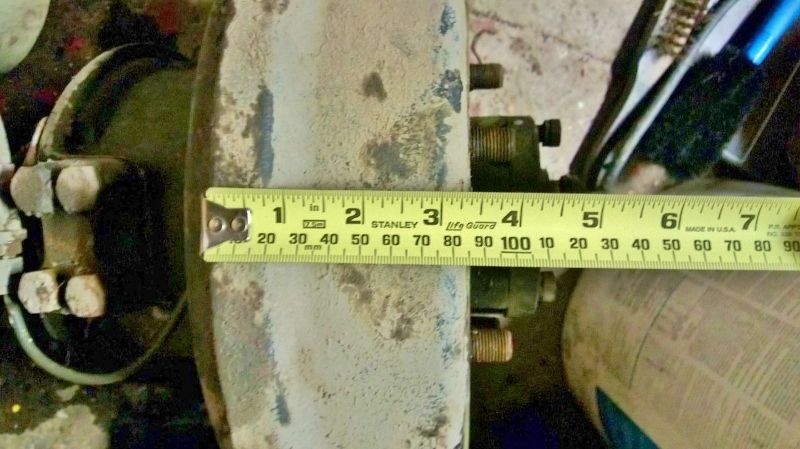
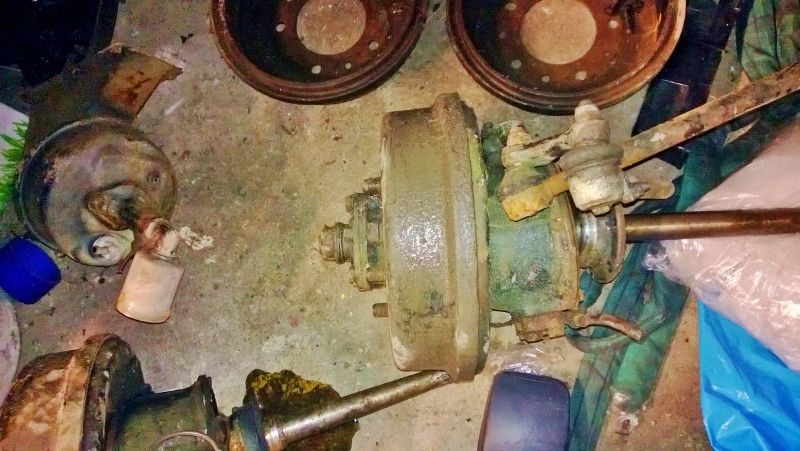
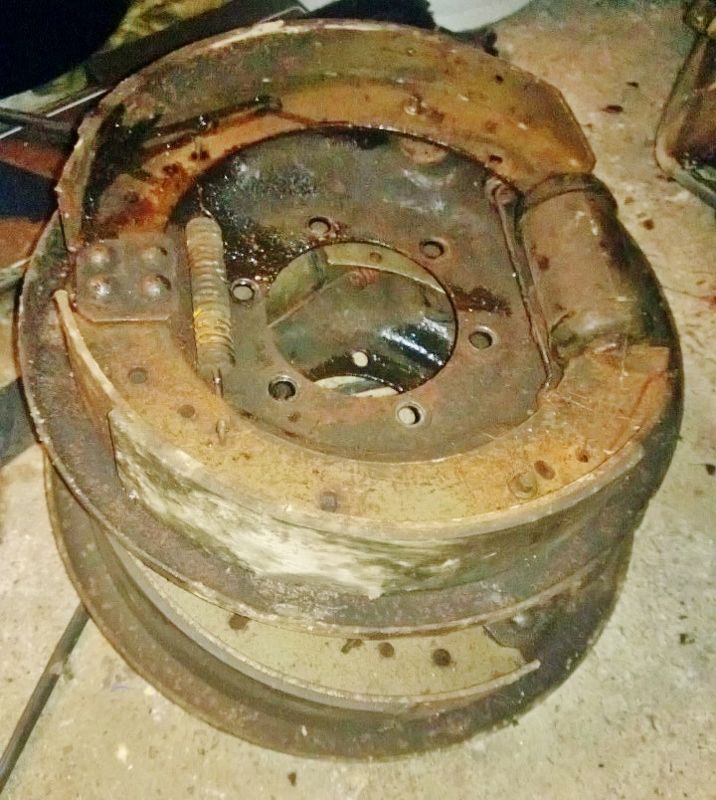
109 2.6/V8 11 inch diameter drum brakes, with twin leading shoe fronts that are 3 inch wide, and 11 inch rear single leading shoe rears (88 has 10 inch single leading shoe brakes all around and are 2 inches wide).
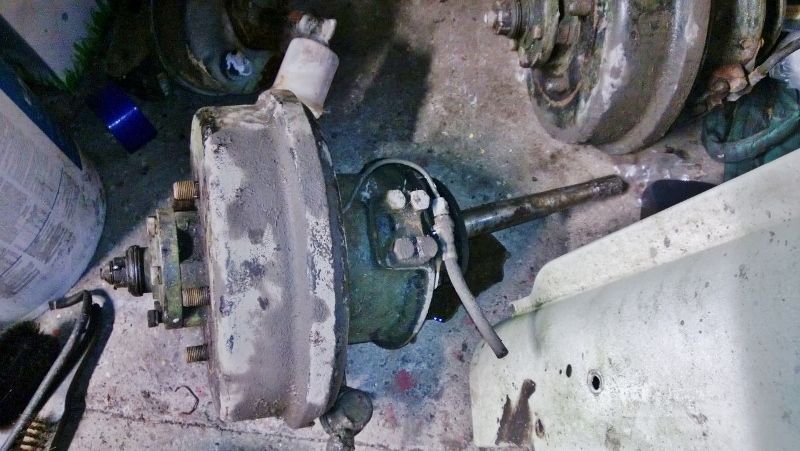
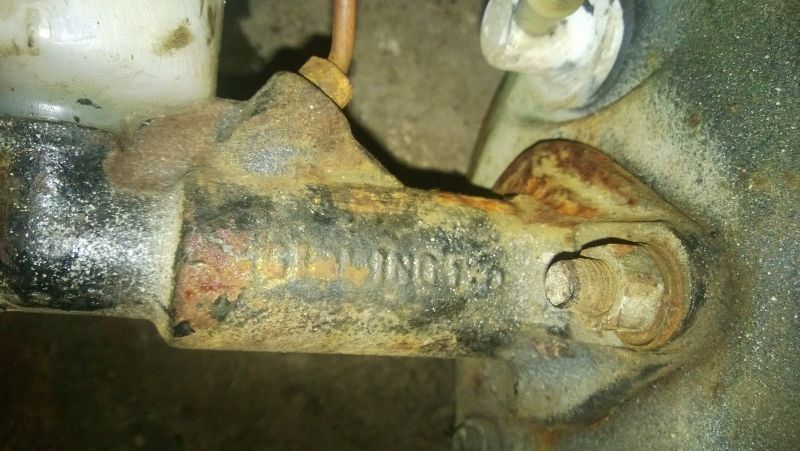
Also picked up a single line vacuum assist servo, so this combined with the brakes above will allow me to stop.
And a new apron as mine isn`t great.
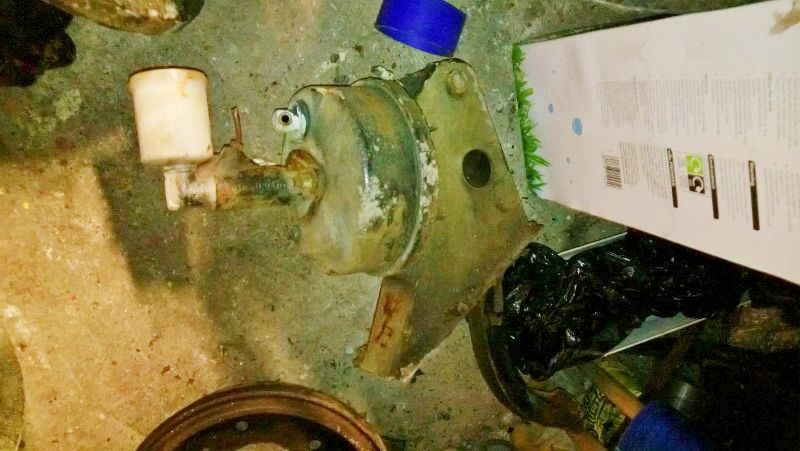
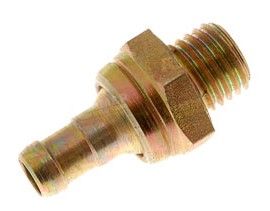
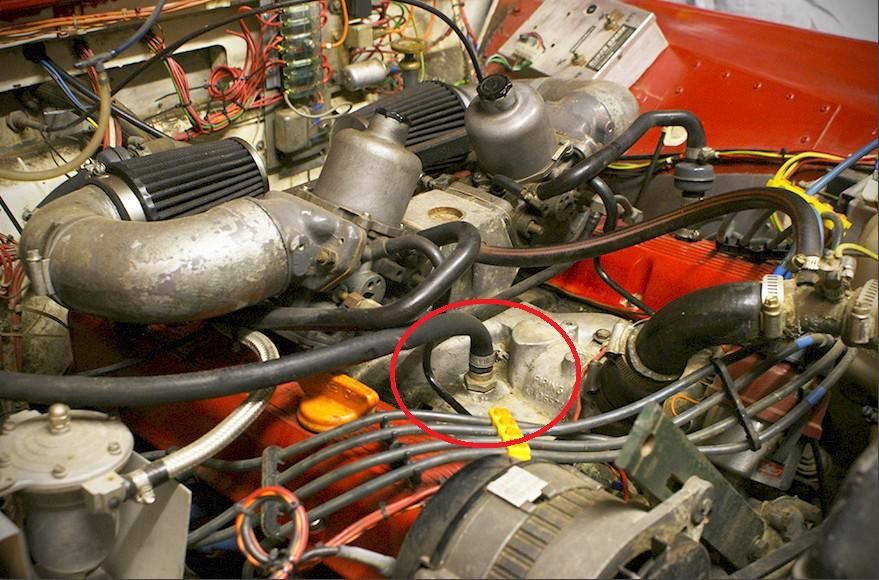
Just need to find one of these, vacuum feed for the servo that includes a non return valve.
Goes here.
Been sourcing bits.
Front half-shafts.
109 2.6/V8 11 inch diameter drum brakes, with twin leading shoe fronts that are 3 inch wide, and 11 inch rear single leading shoe rears (88 has 10 inch single leading shoe brakes all around and are 2 inches wide).
Also picked up a single line vacuum assist servo, so this combined with the brakes above will allow me to stop.
And a new apron as mine isn`t great.
Just need to find one of these, vacuum feed for the servo that includes a non return valve.
Goes here.

 21 January 2013, 09:13 PM
#85
Scooby Regular
Join Date: Oct 2008
Location: around the vallys in my red scoob
Posts: 430
Likes: 0
Received 0 Likes
on
0 Posts
love landys really miss our v8 hybrid. love the sound of the scoob but cant beat the sound of a v8  hope to have a nother one soon.
keep up the good work will keep watching this thread looking forward to seeing what your going to do to it
hope to have a nother one soon.keep up the good work will keep watching this thread looking forward to seeing what your going to do to it
22 May 2013, 03:44 AM
#87
Scooby Regular
Thread Starter
iTrader: (13)
Join Date: Apr 2010
Location: Swansea
Posts: 4,008
Likes: 0
Received 0 Likes
on
0 Posts
Very slowly!!
Progress is slowly, parts seem to be mounting up, but work is slow until I can get enough parts together.
Still here some new pics, not much done tho
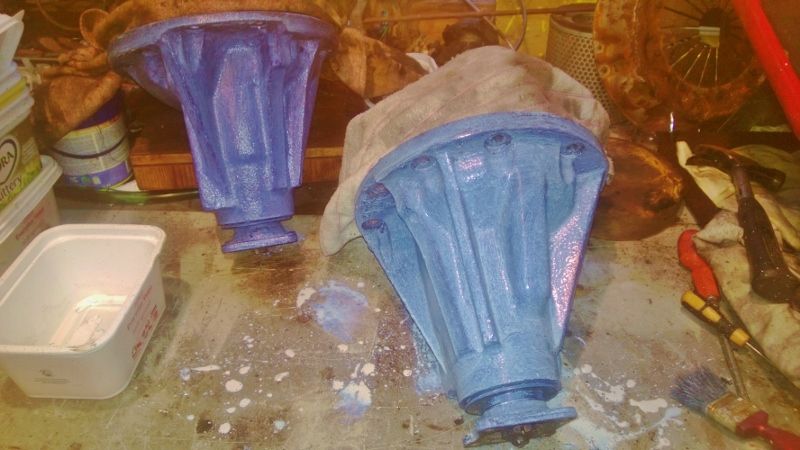
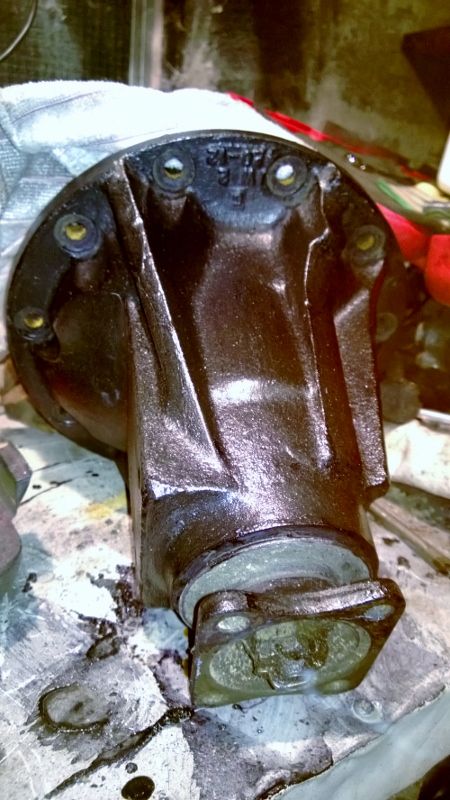
Land Rover Discovery differentials.
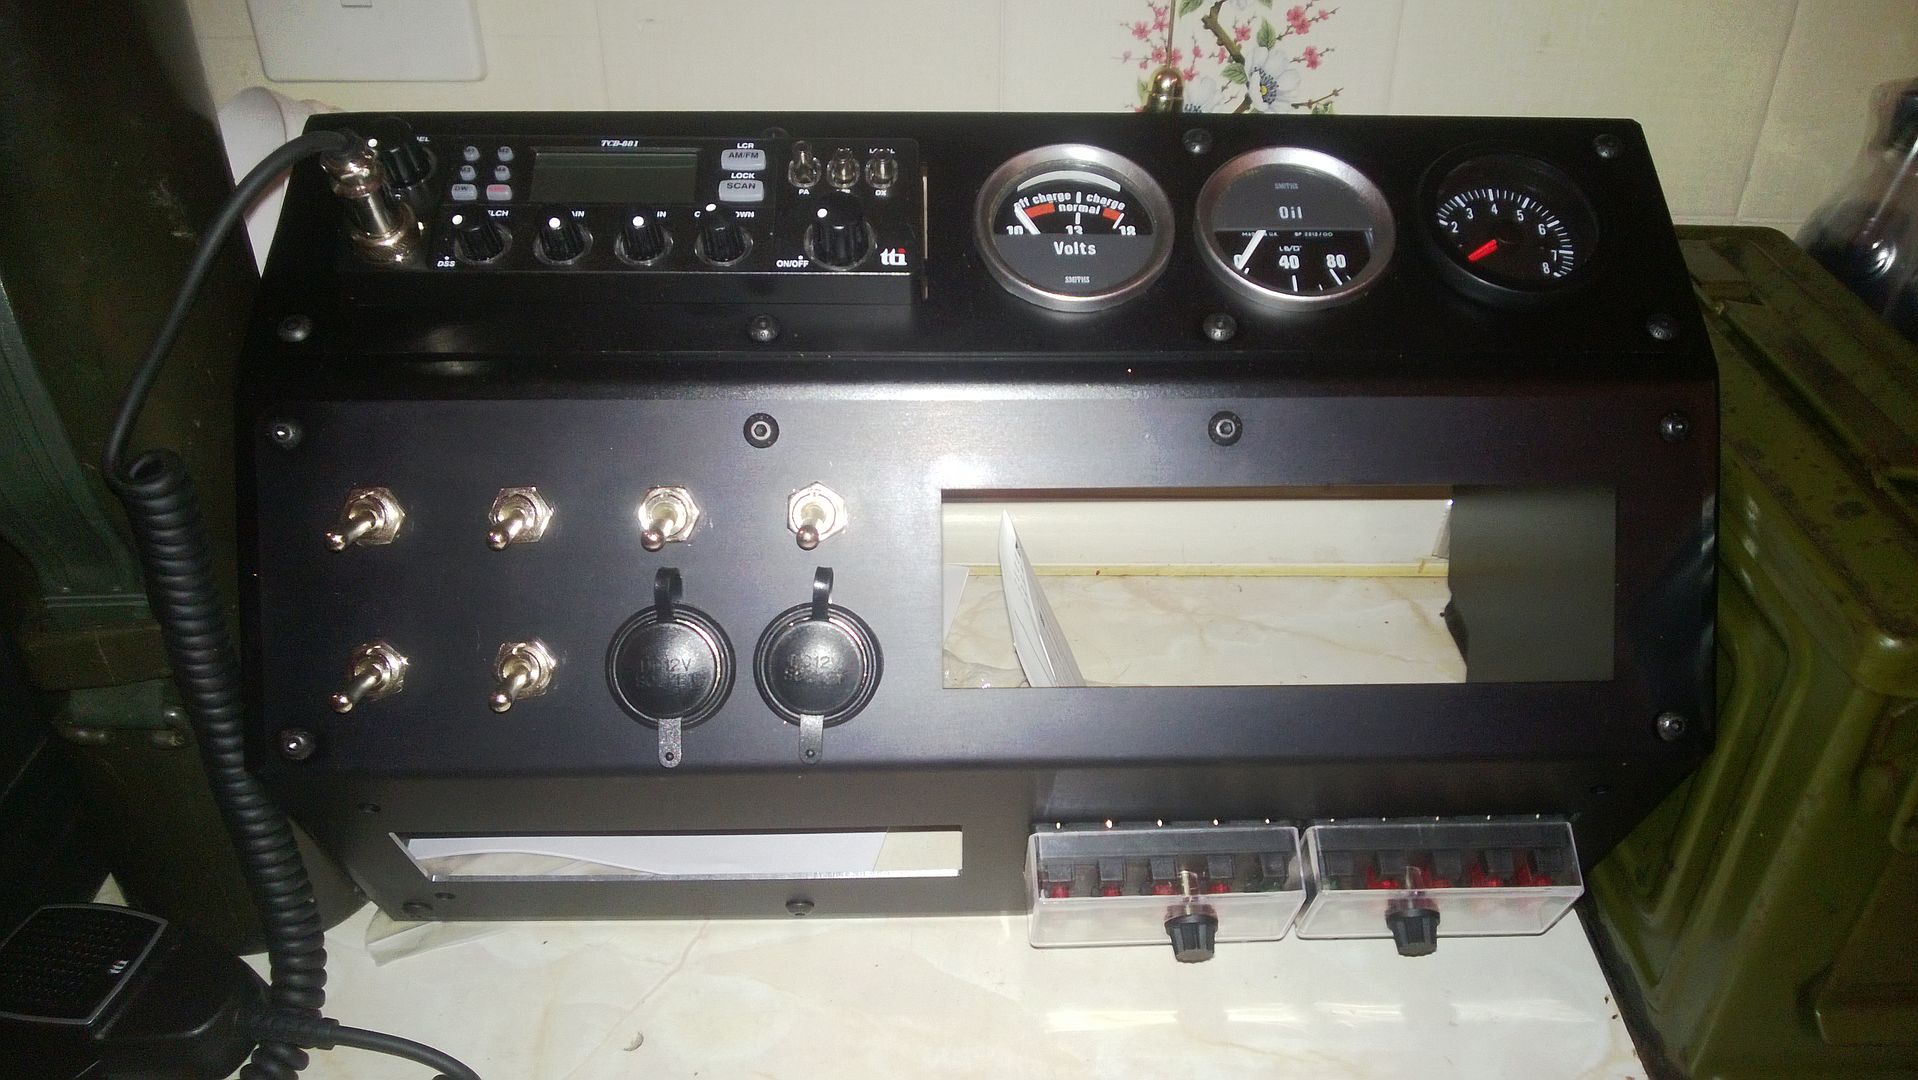
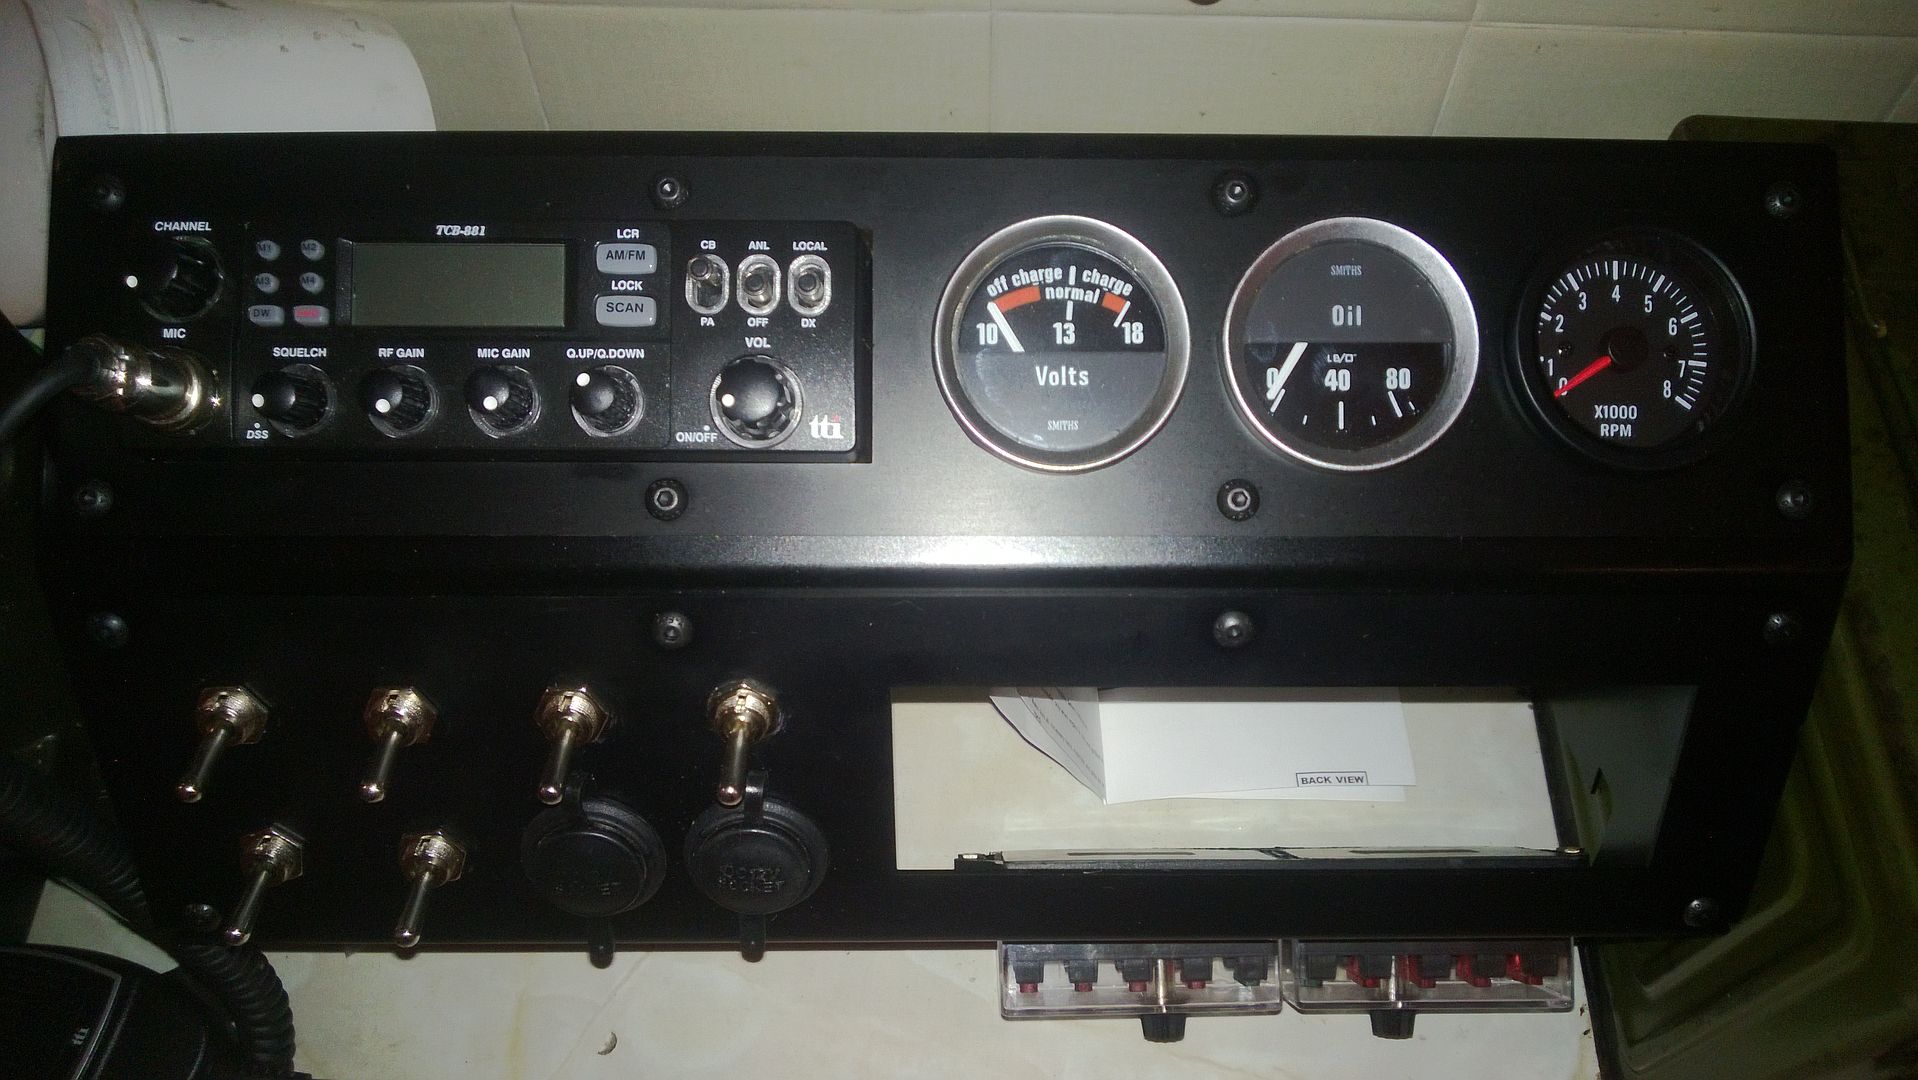
Raptor Dash.
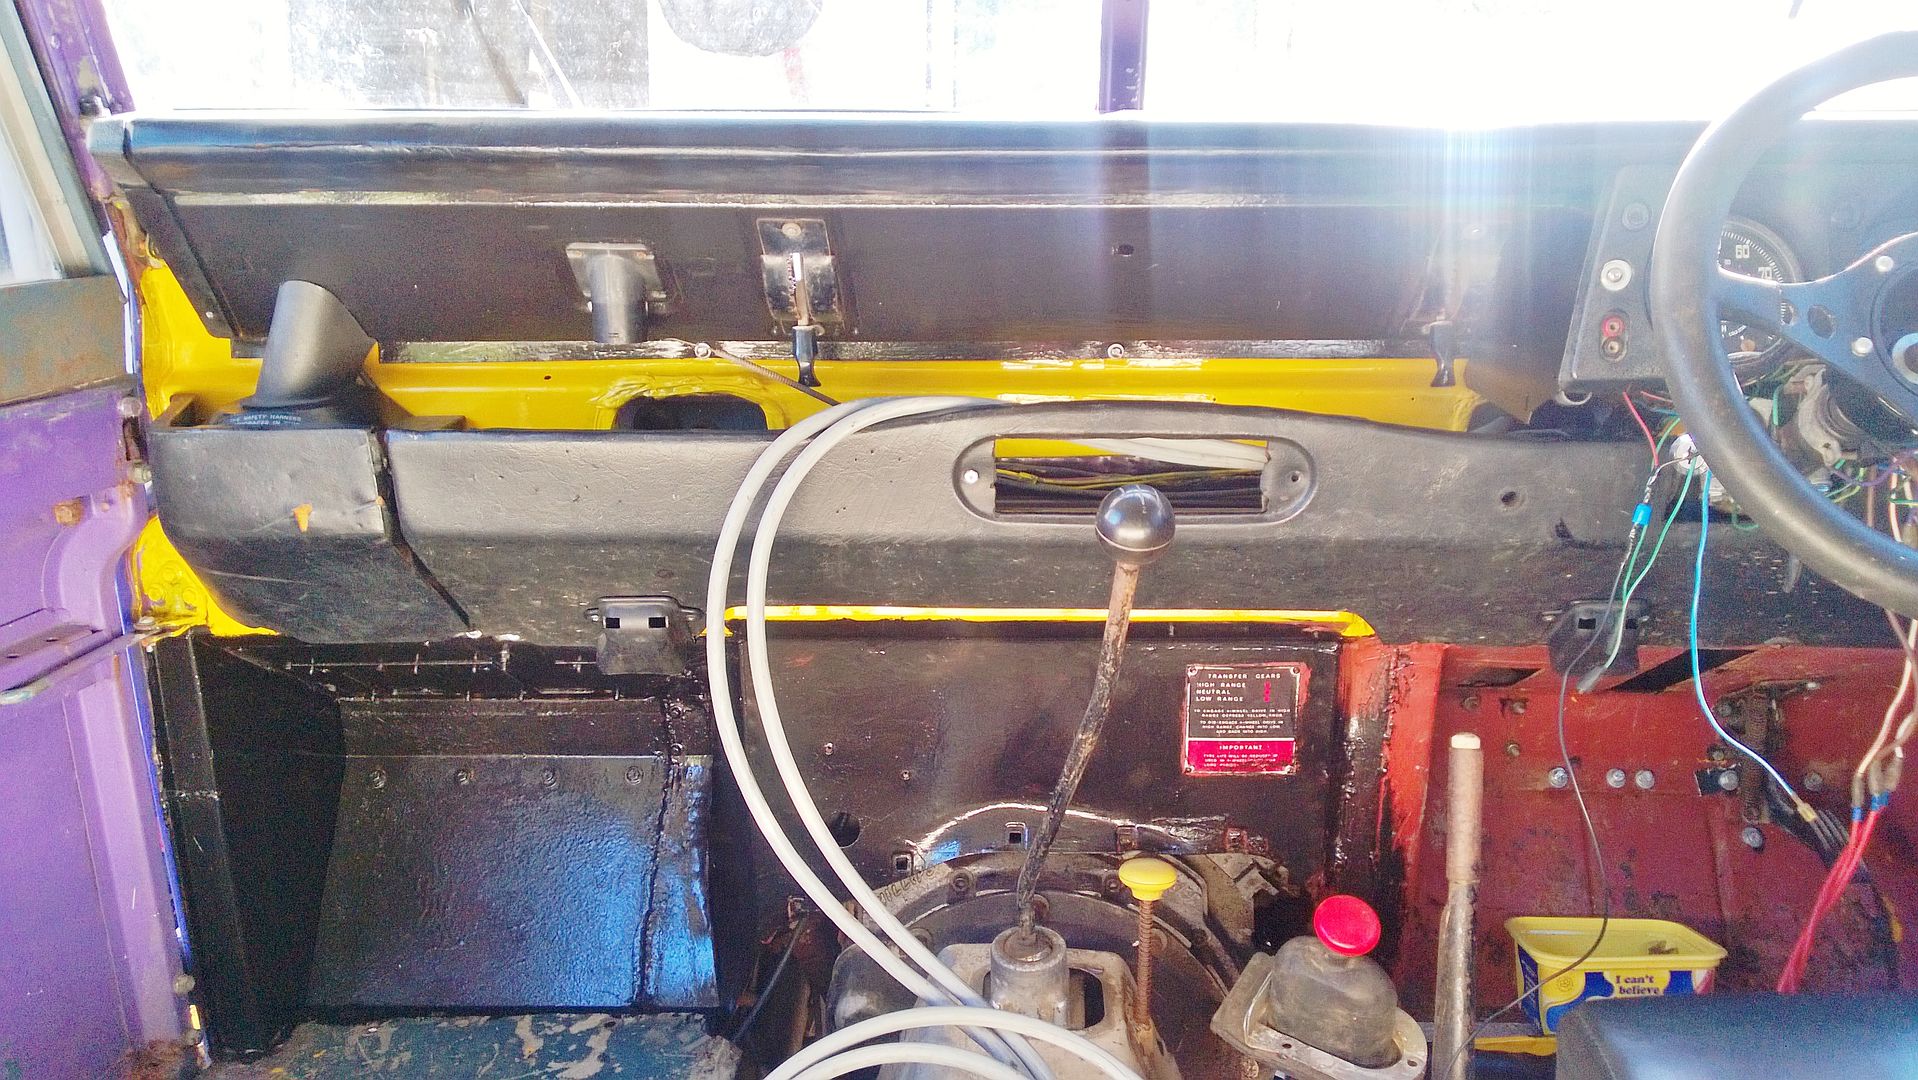
As she stands now, on axle stands with a holier than thou Tilt over the top of the hard top, with the sticks holding it on.
Wiring is now at a stage where I need to put the dash back together, BUT I need to choose paint first, as some parts need painting before they can go back together. Then once the dash is back and wiring sorted, it engine time.
Once that has been done, make/sort an exhaust and its ready for paint then MOT.
Still here some new pics, not much done tho
Land Rover Discovery differentials.
Raptor Dash.
As she stands now, on axle stands with a holier than thou Tilt over the top of the hard top, with the sticks holding it on.
Wiring is now at a stage where I need to put the dash back together, BUT I need to choose paint first, as some parts need painting before they can go back together. Then once the dash is back and wiring sorted, it engine time.
Once that has been done, make/sort an exhaust and its ready for paint then MOT.
17 July 2013, 01:16 AM
#88
Scooby Regular
Thread Starter
iTrader: (13)
Join Date: Apr 2010
Location: Swansea
Posts: 4,008
Likes: 0
Received 0 Likes
on
0 Posts
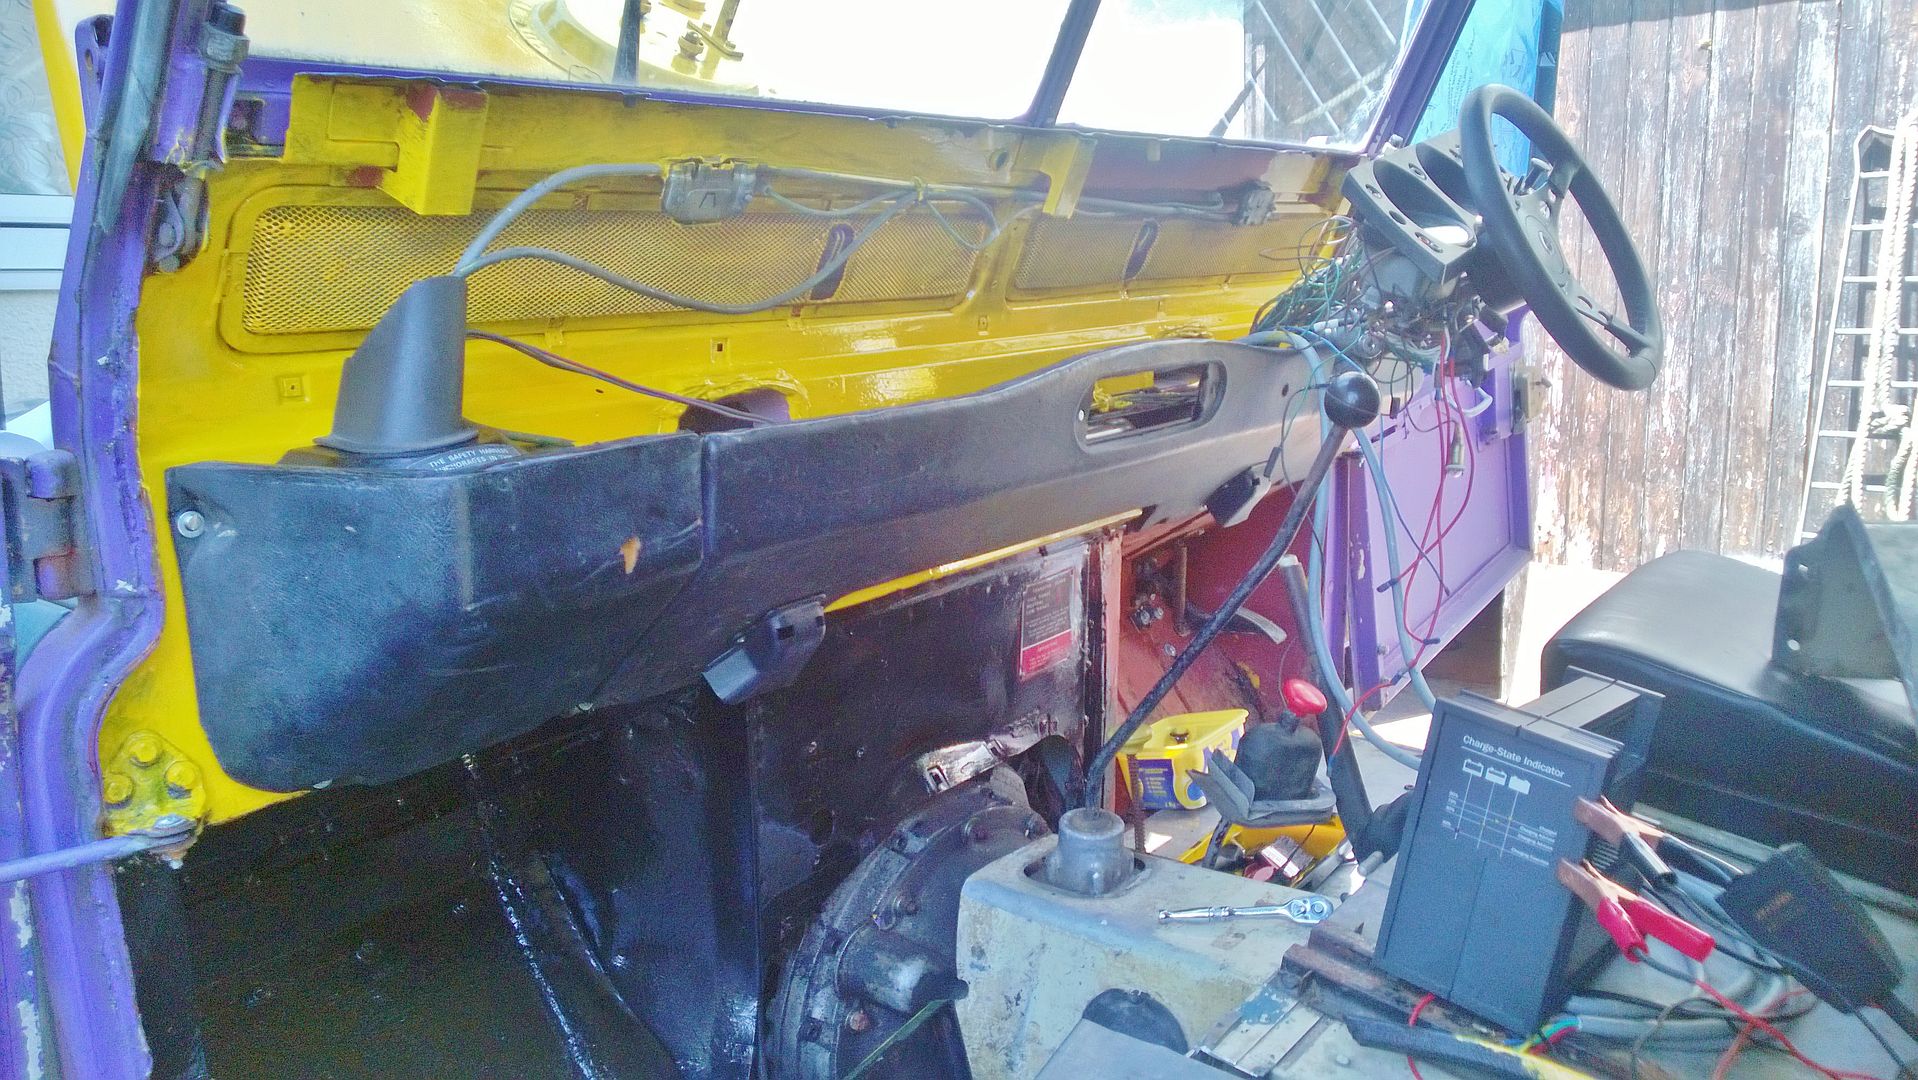
Right update time. Seeing as I believe my Scooby to be poorly, this has to get done sharpish.
Sooooooooooooo.
My amassing of bits.
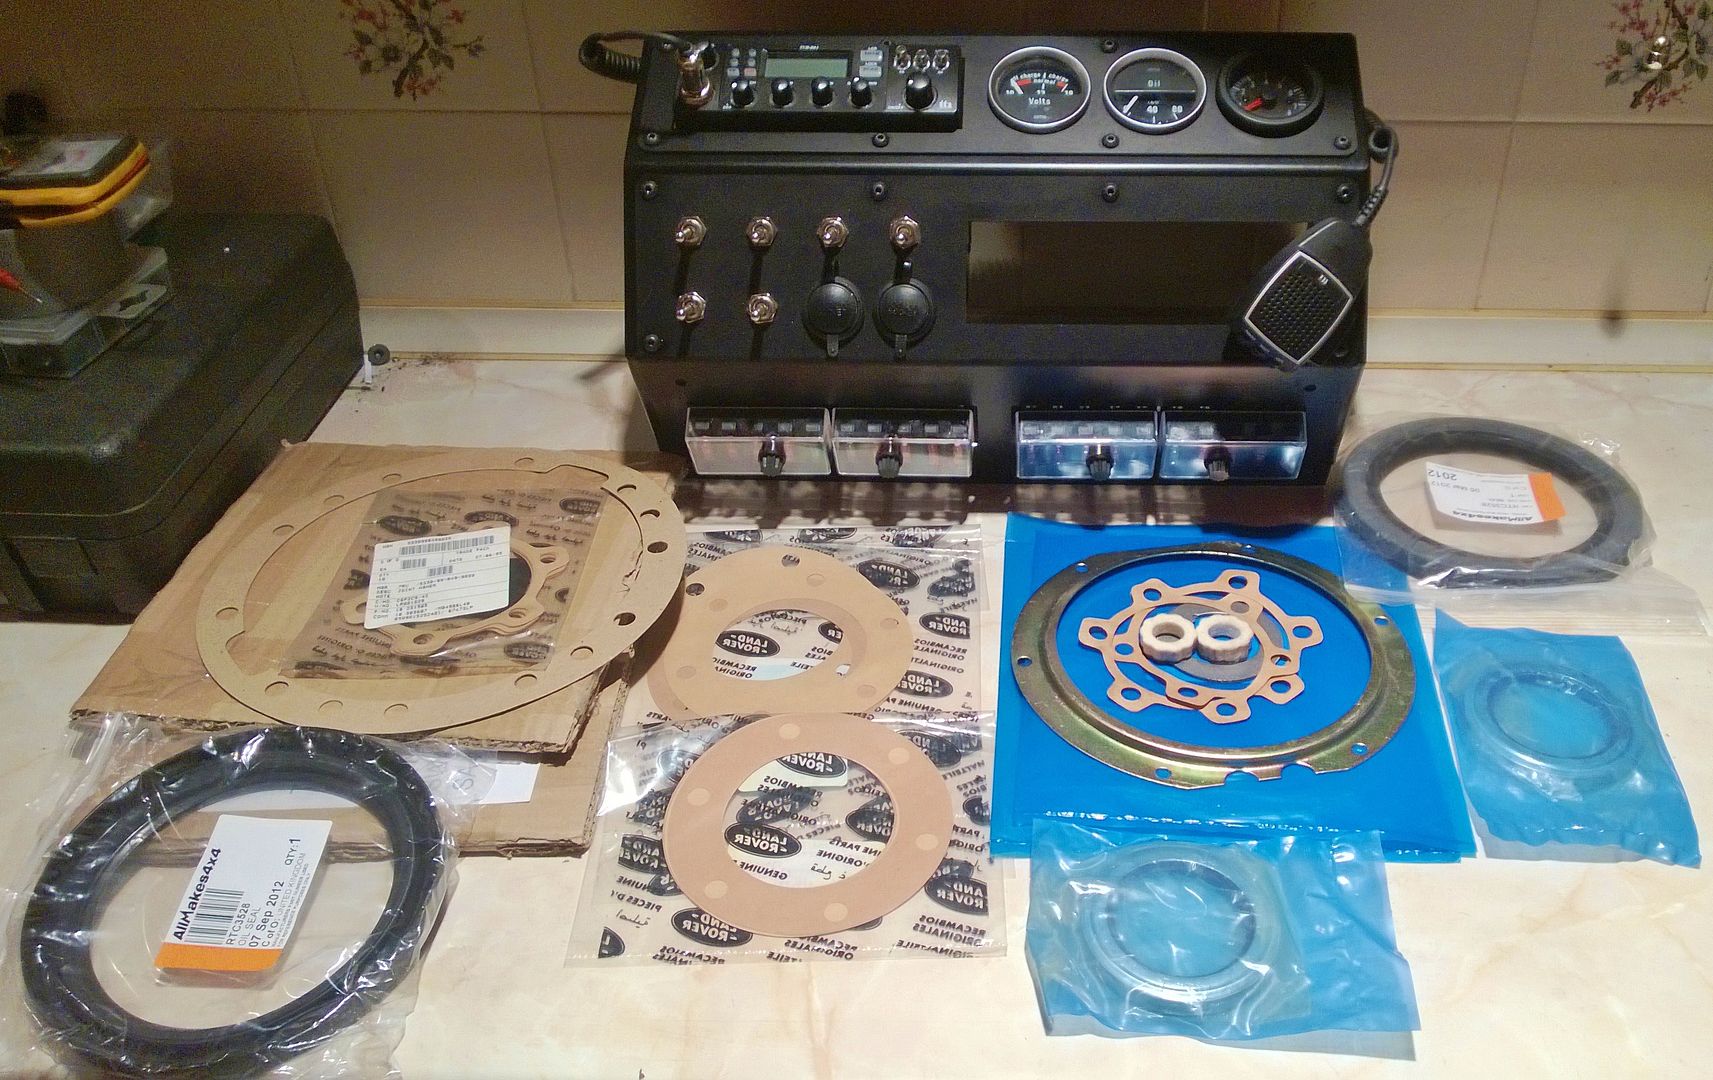
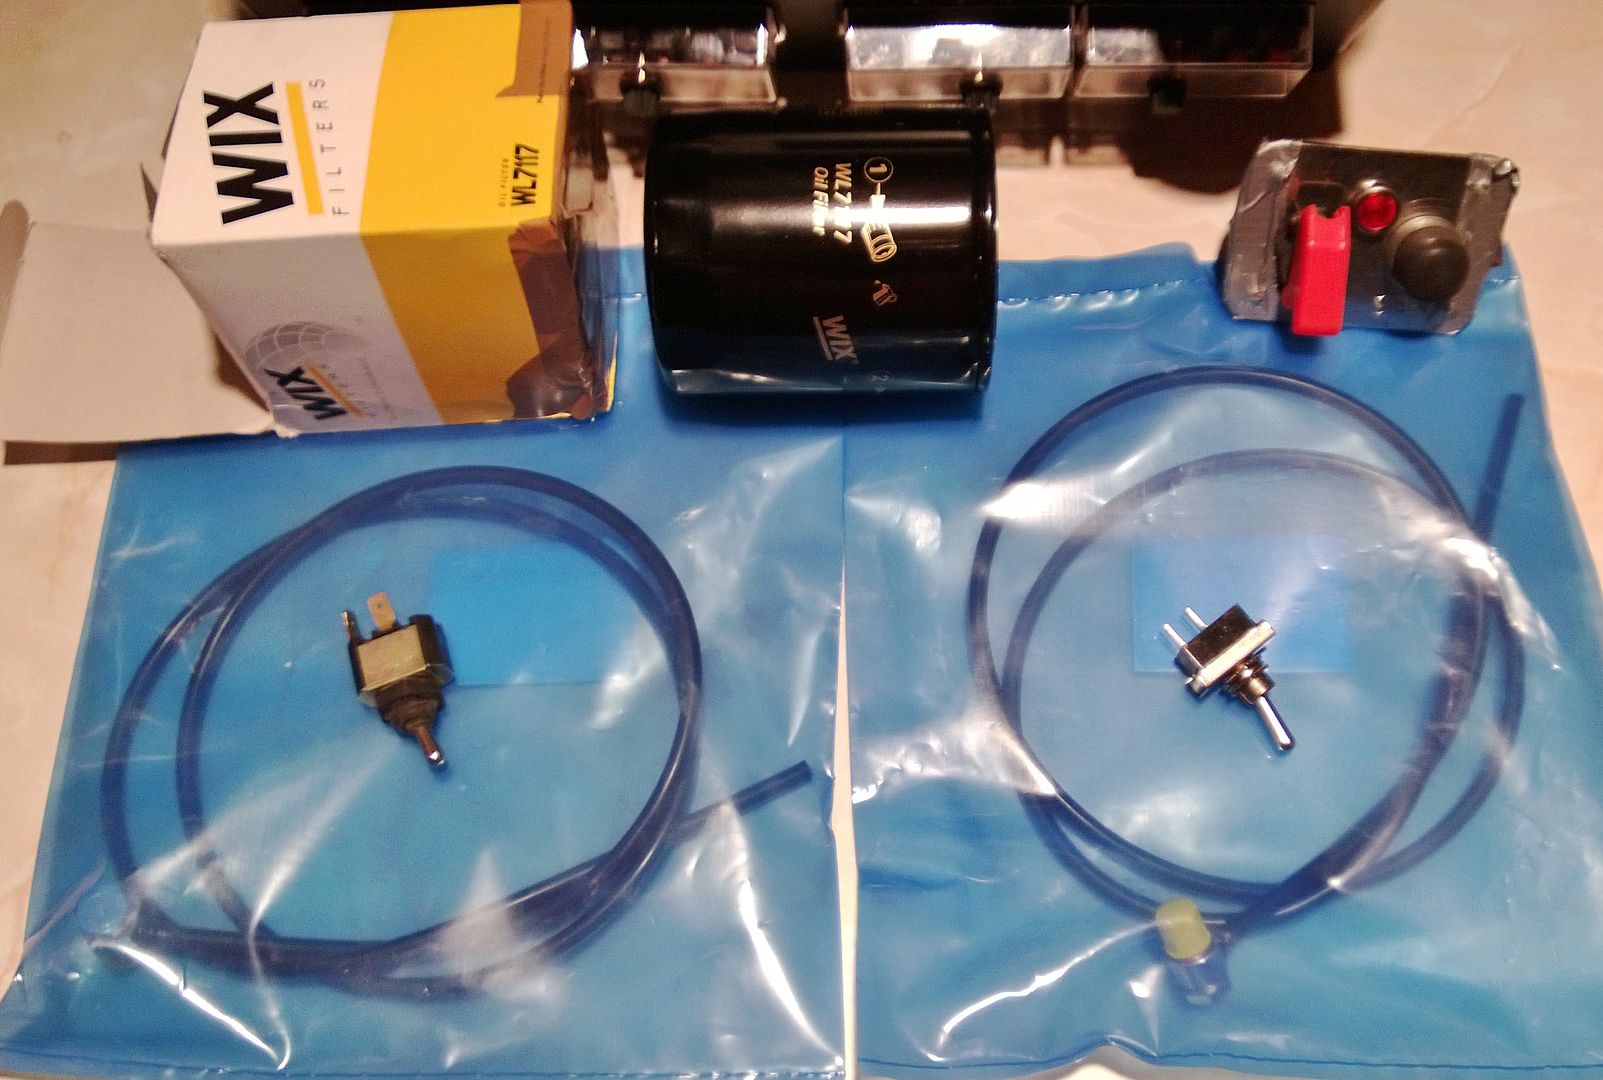
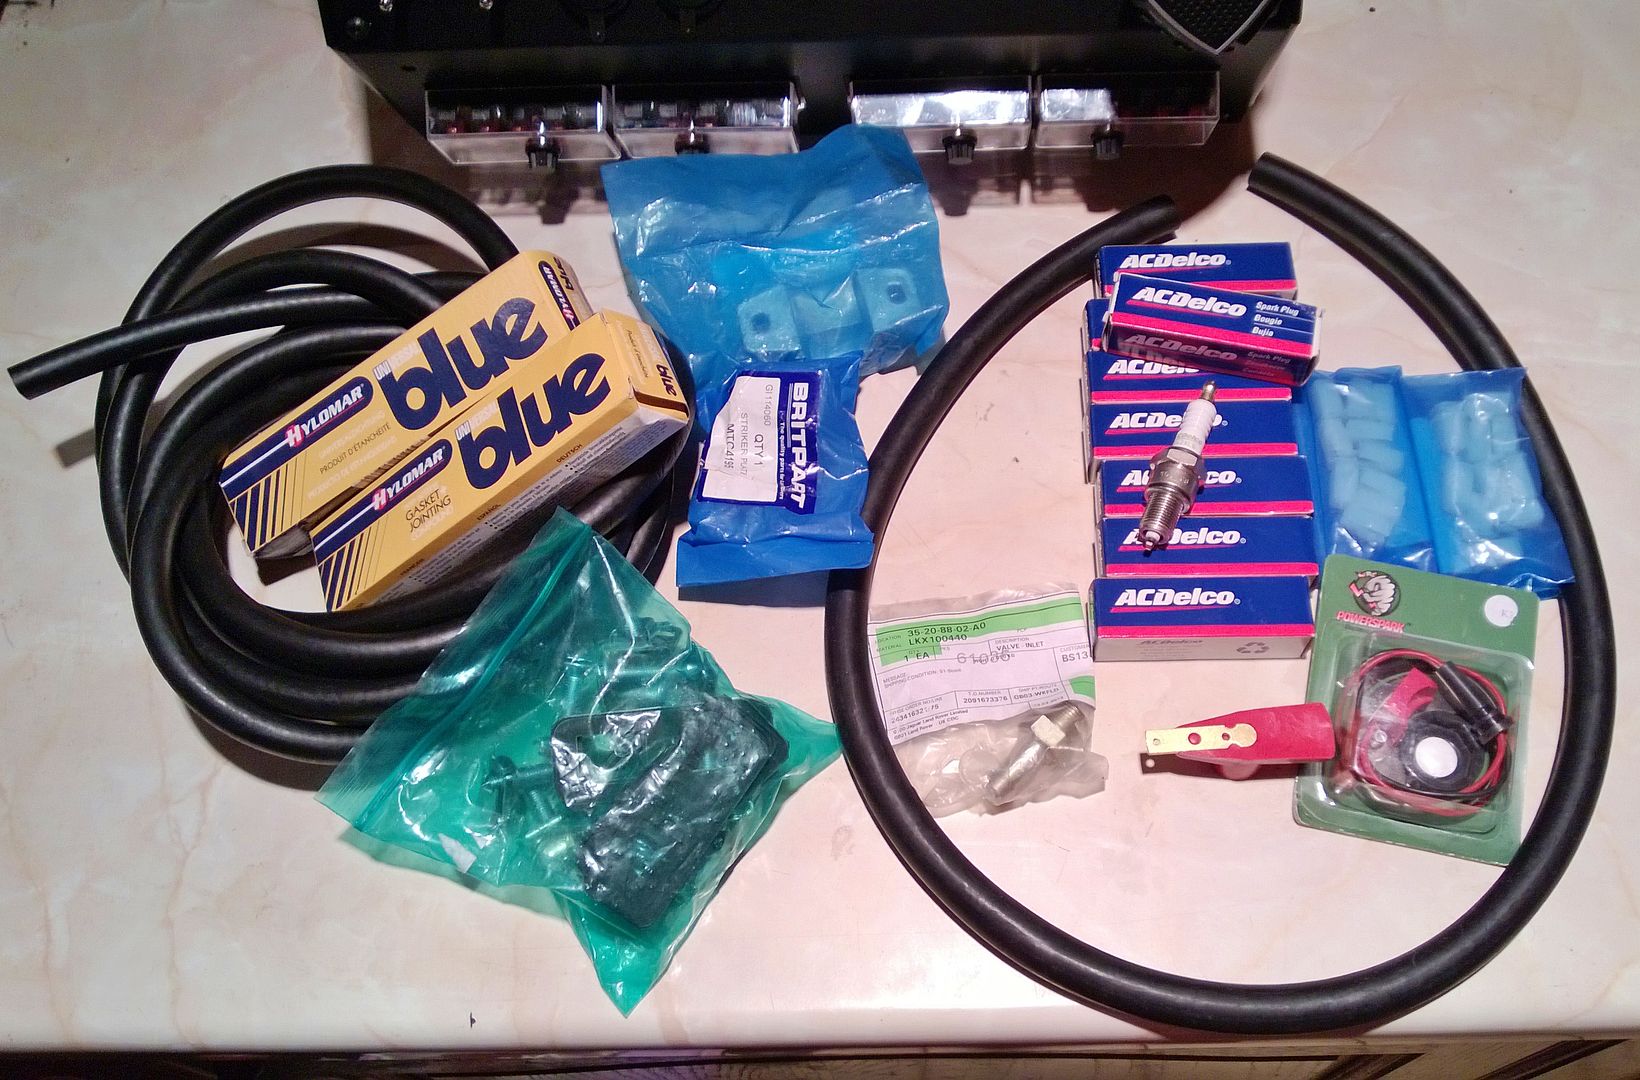
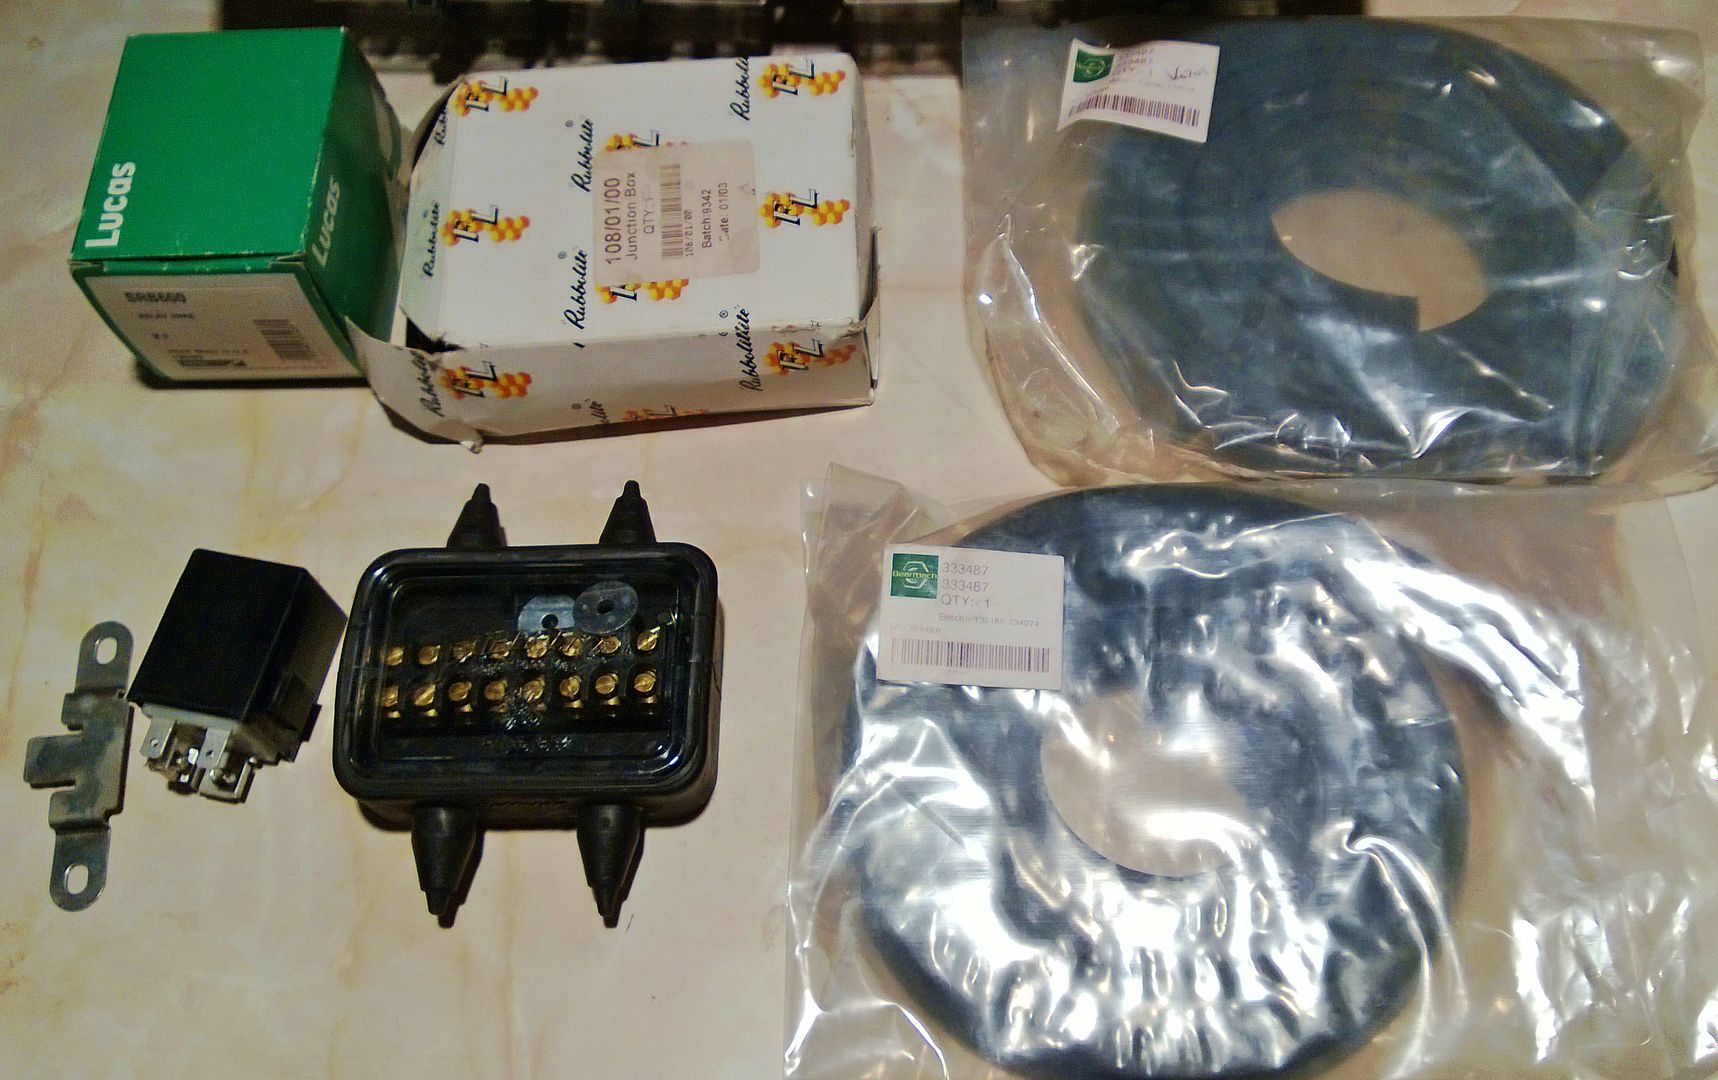
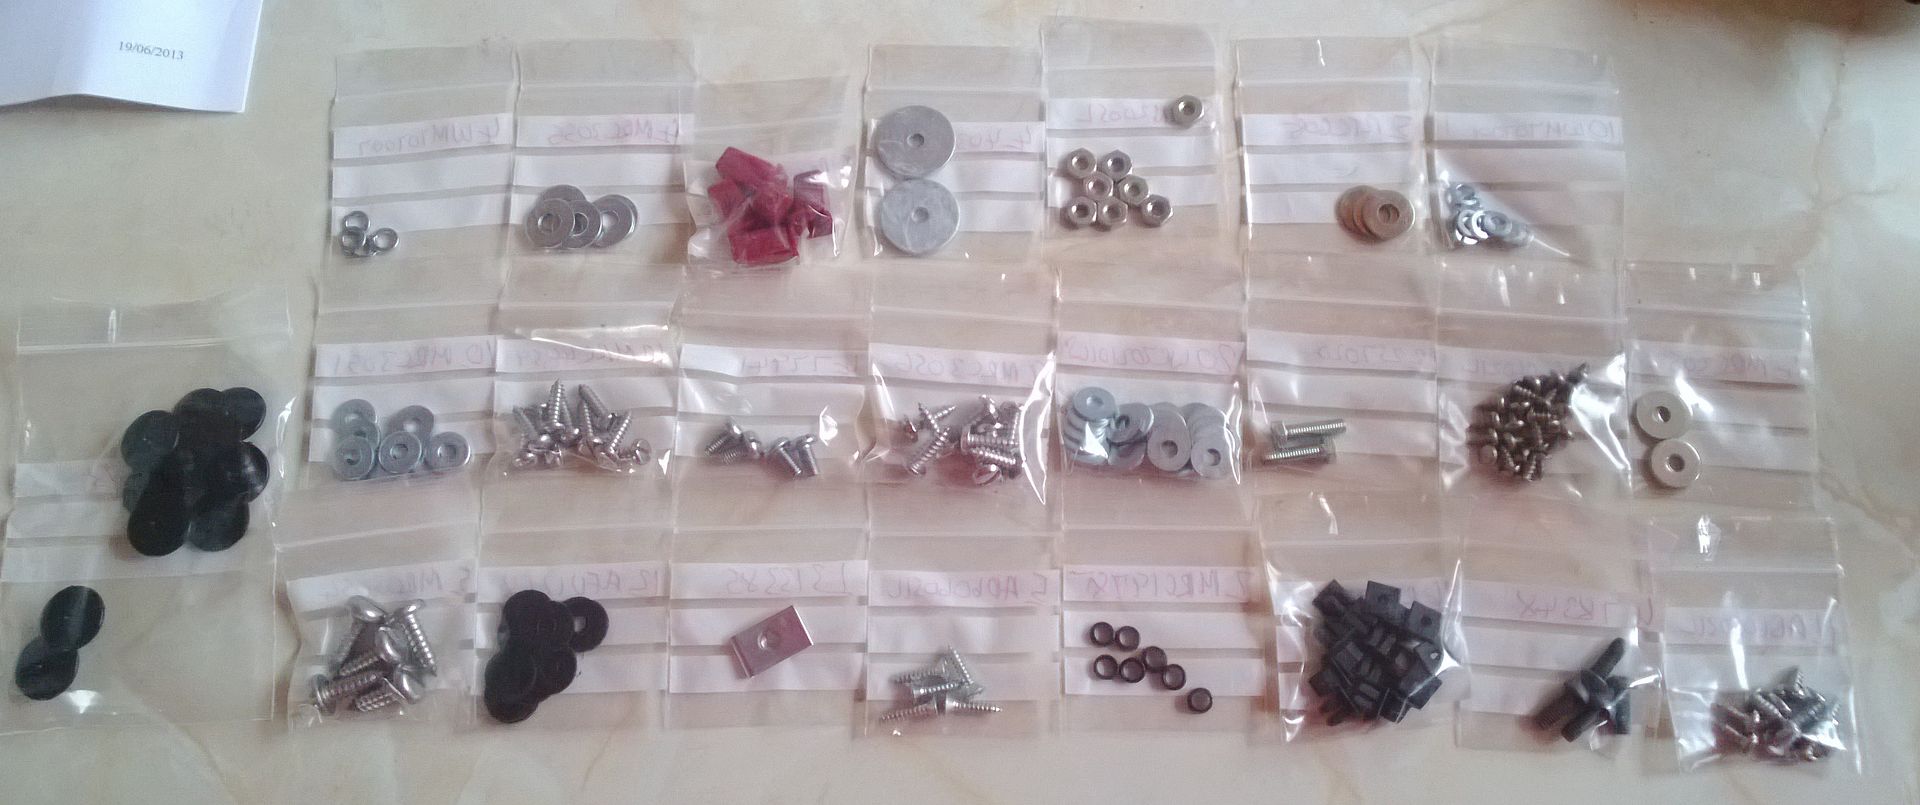
And some bits done.
This is the new dual temp fan switch.

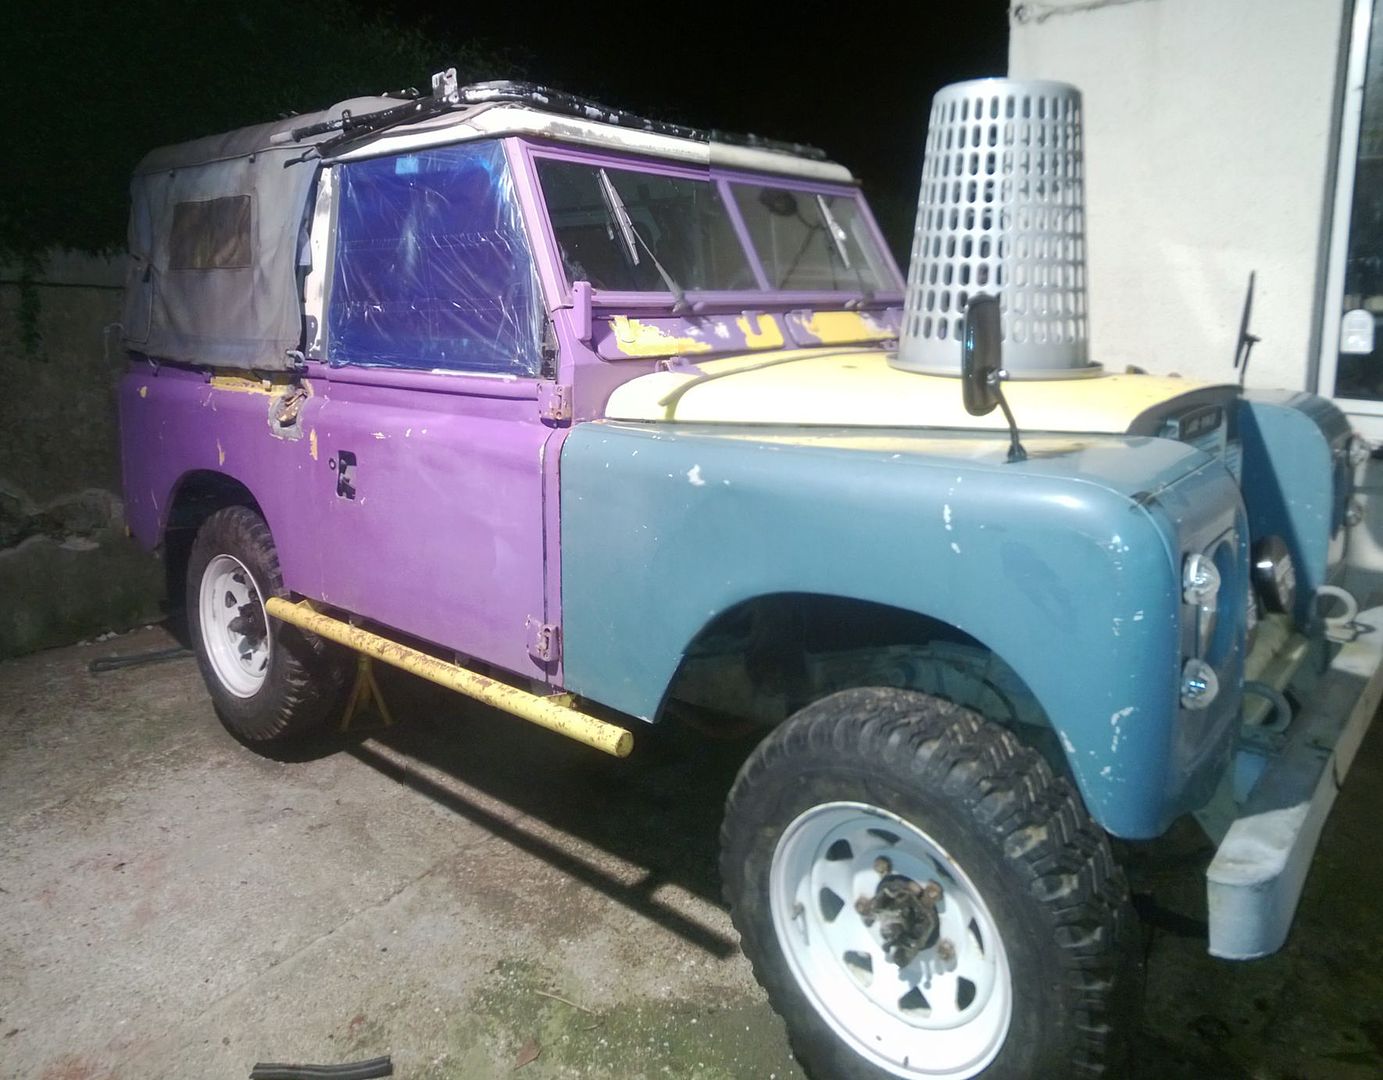
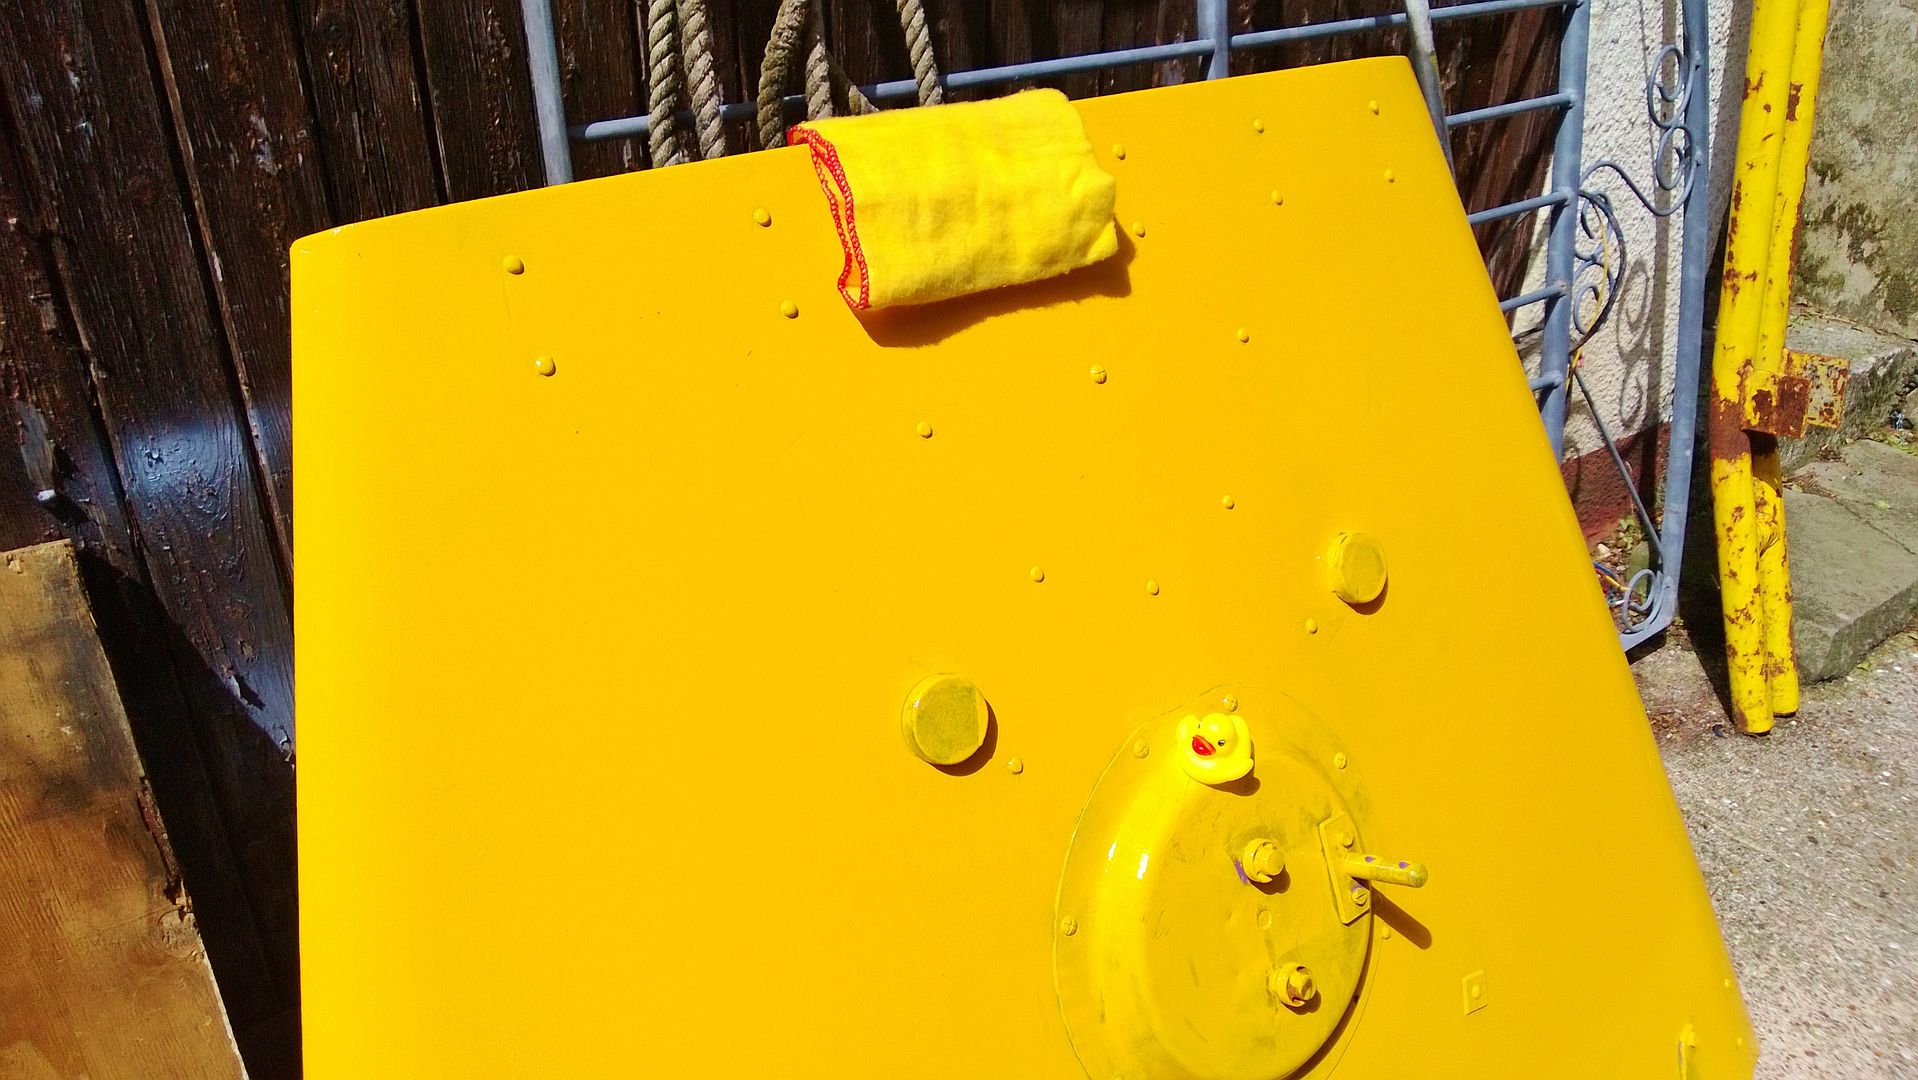
This is the colour she is going JCB yellow
Think my Clutch Master Cylinder has seen better days
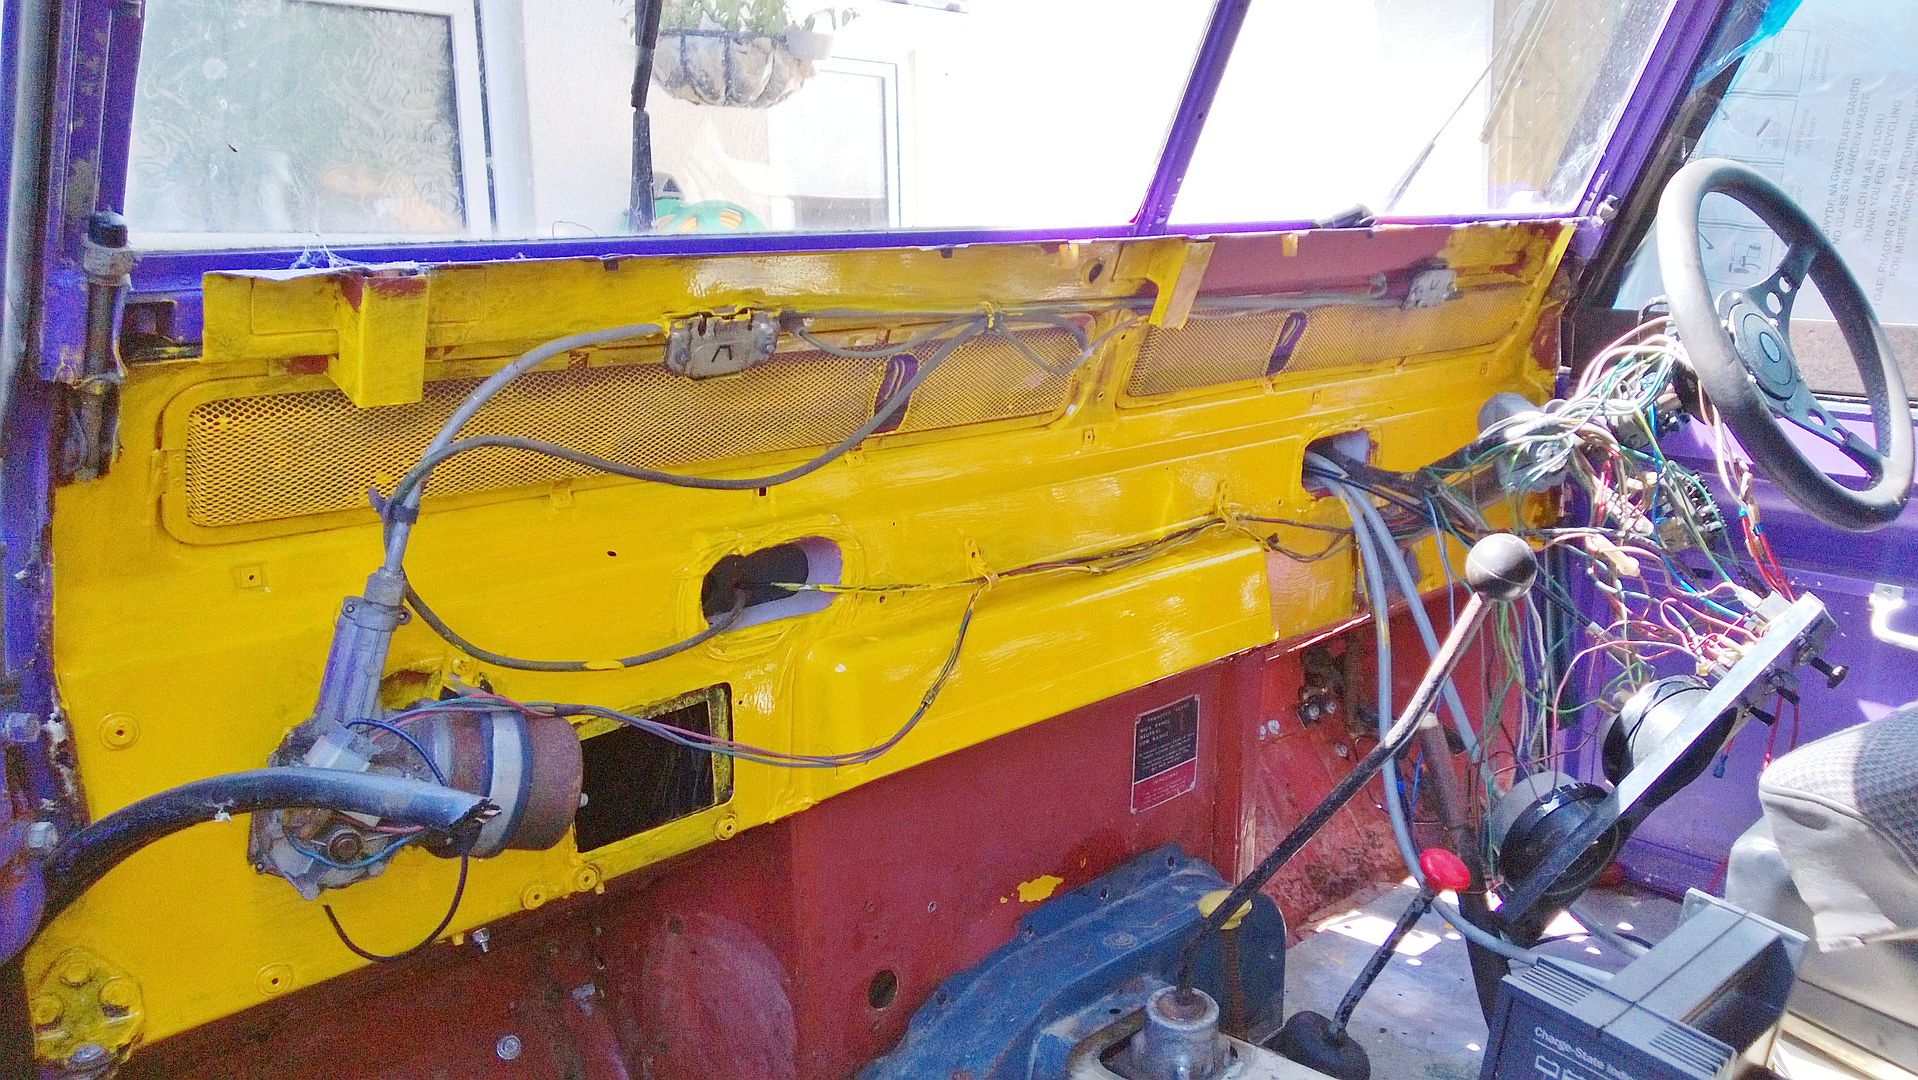
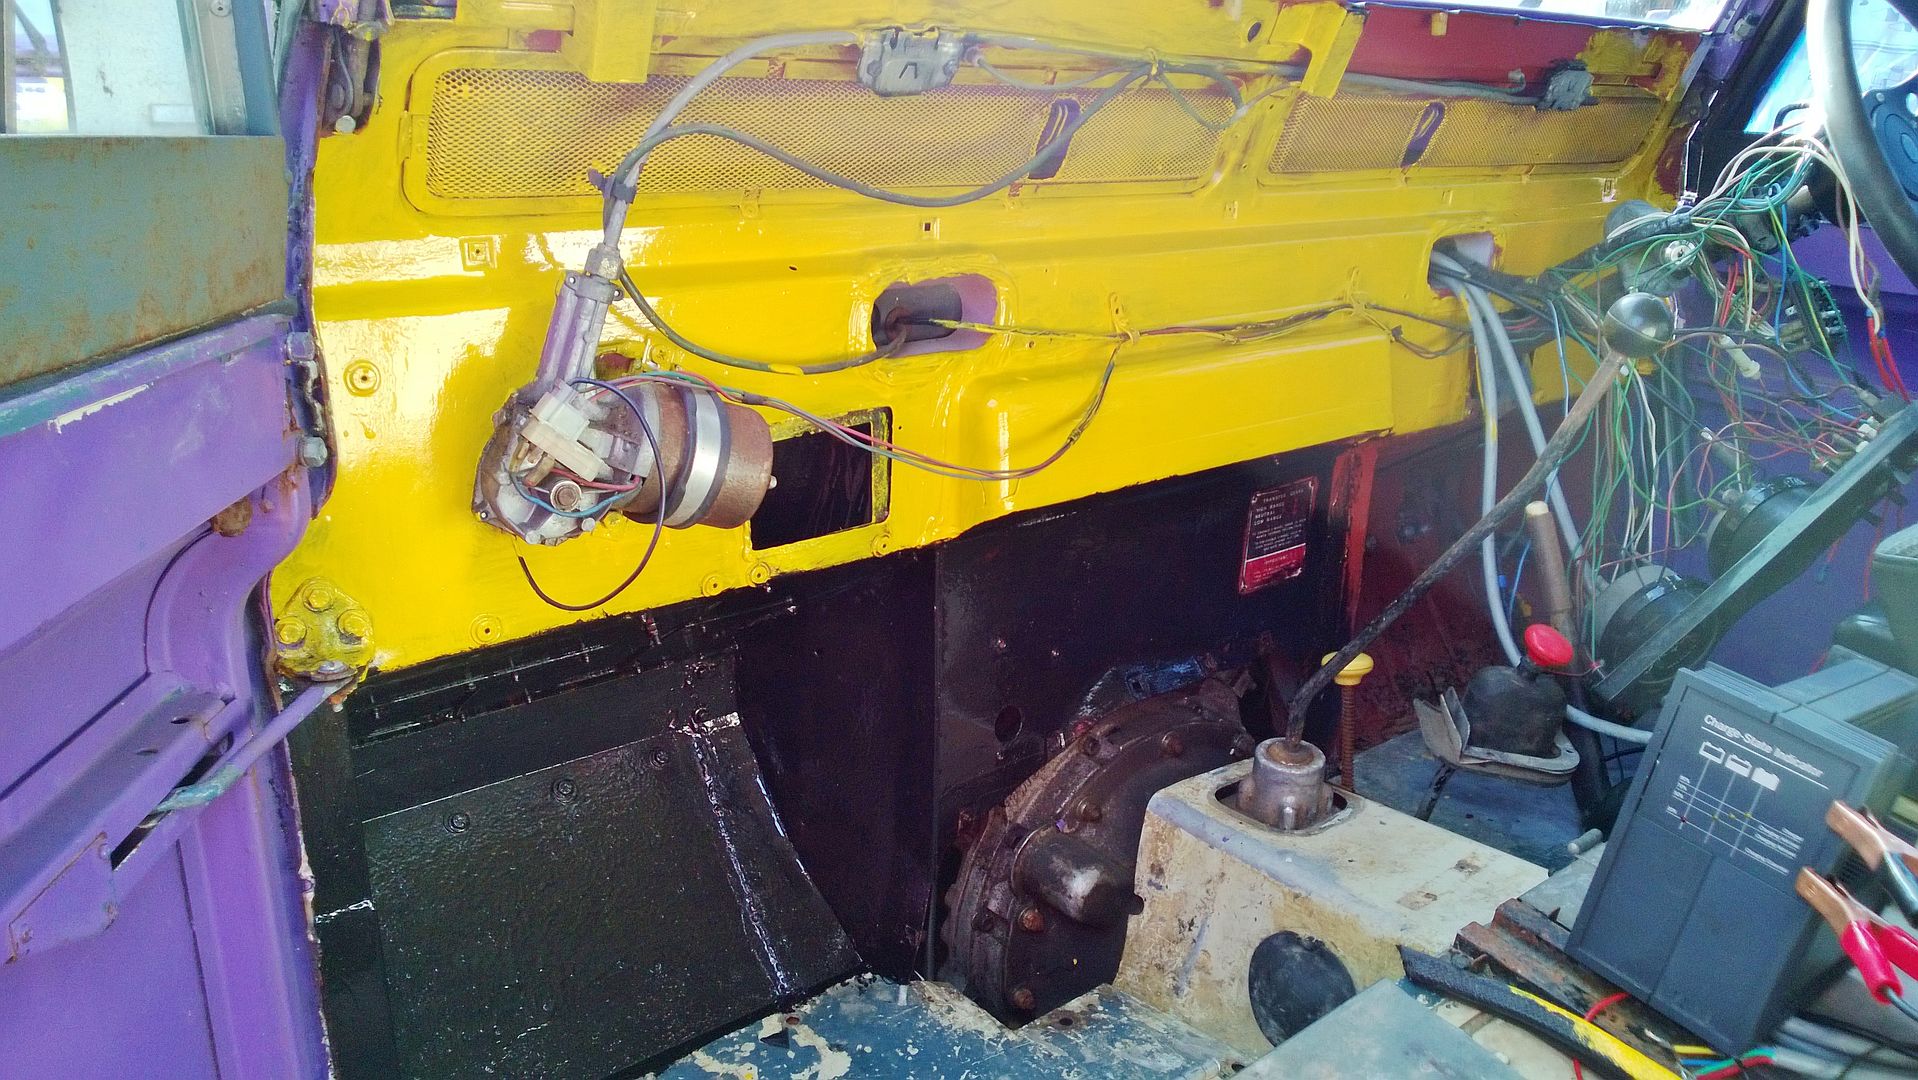
Dash looking better

Fitted a diff filler bung.
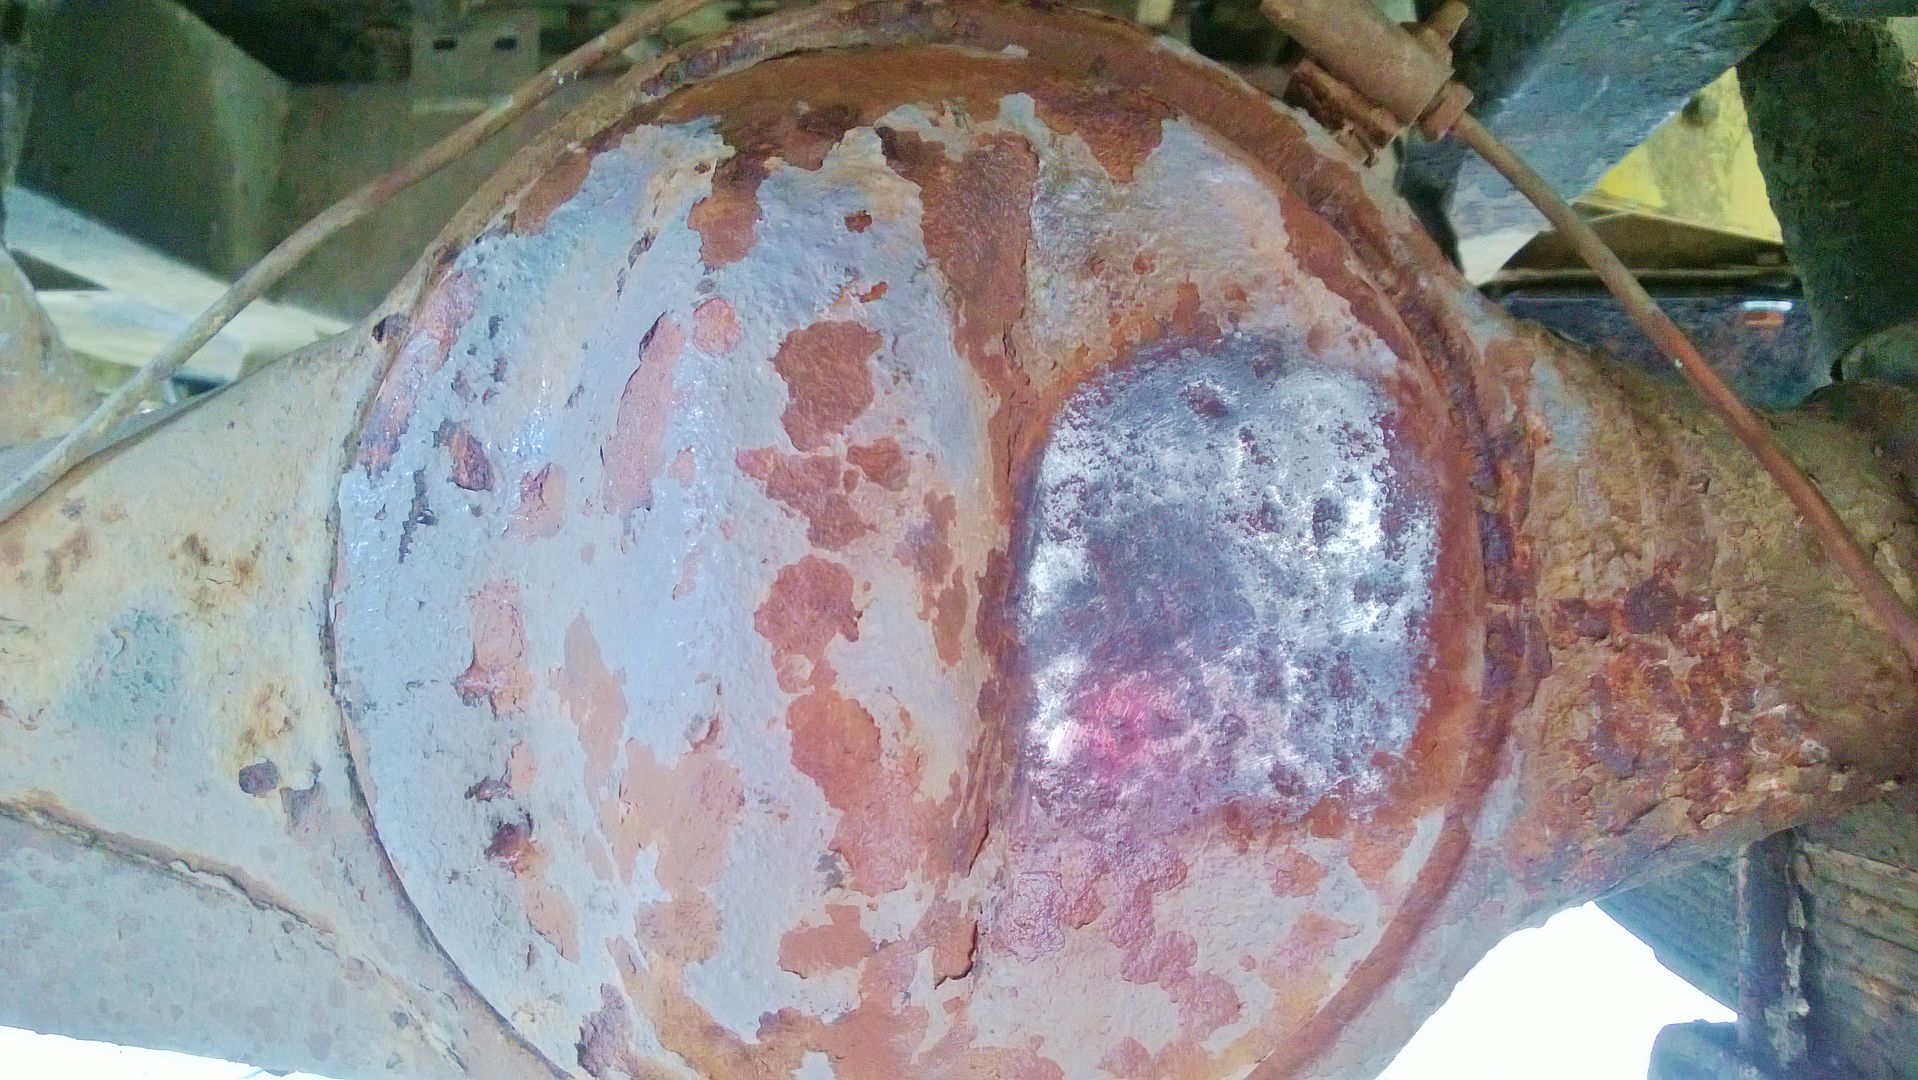
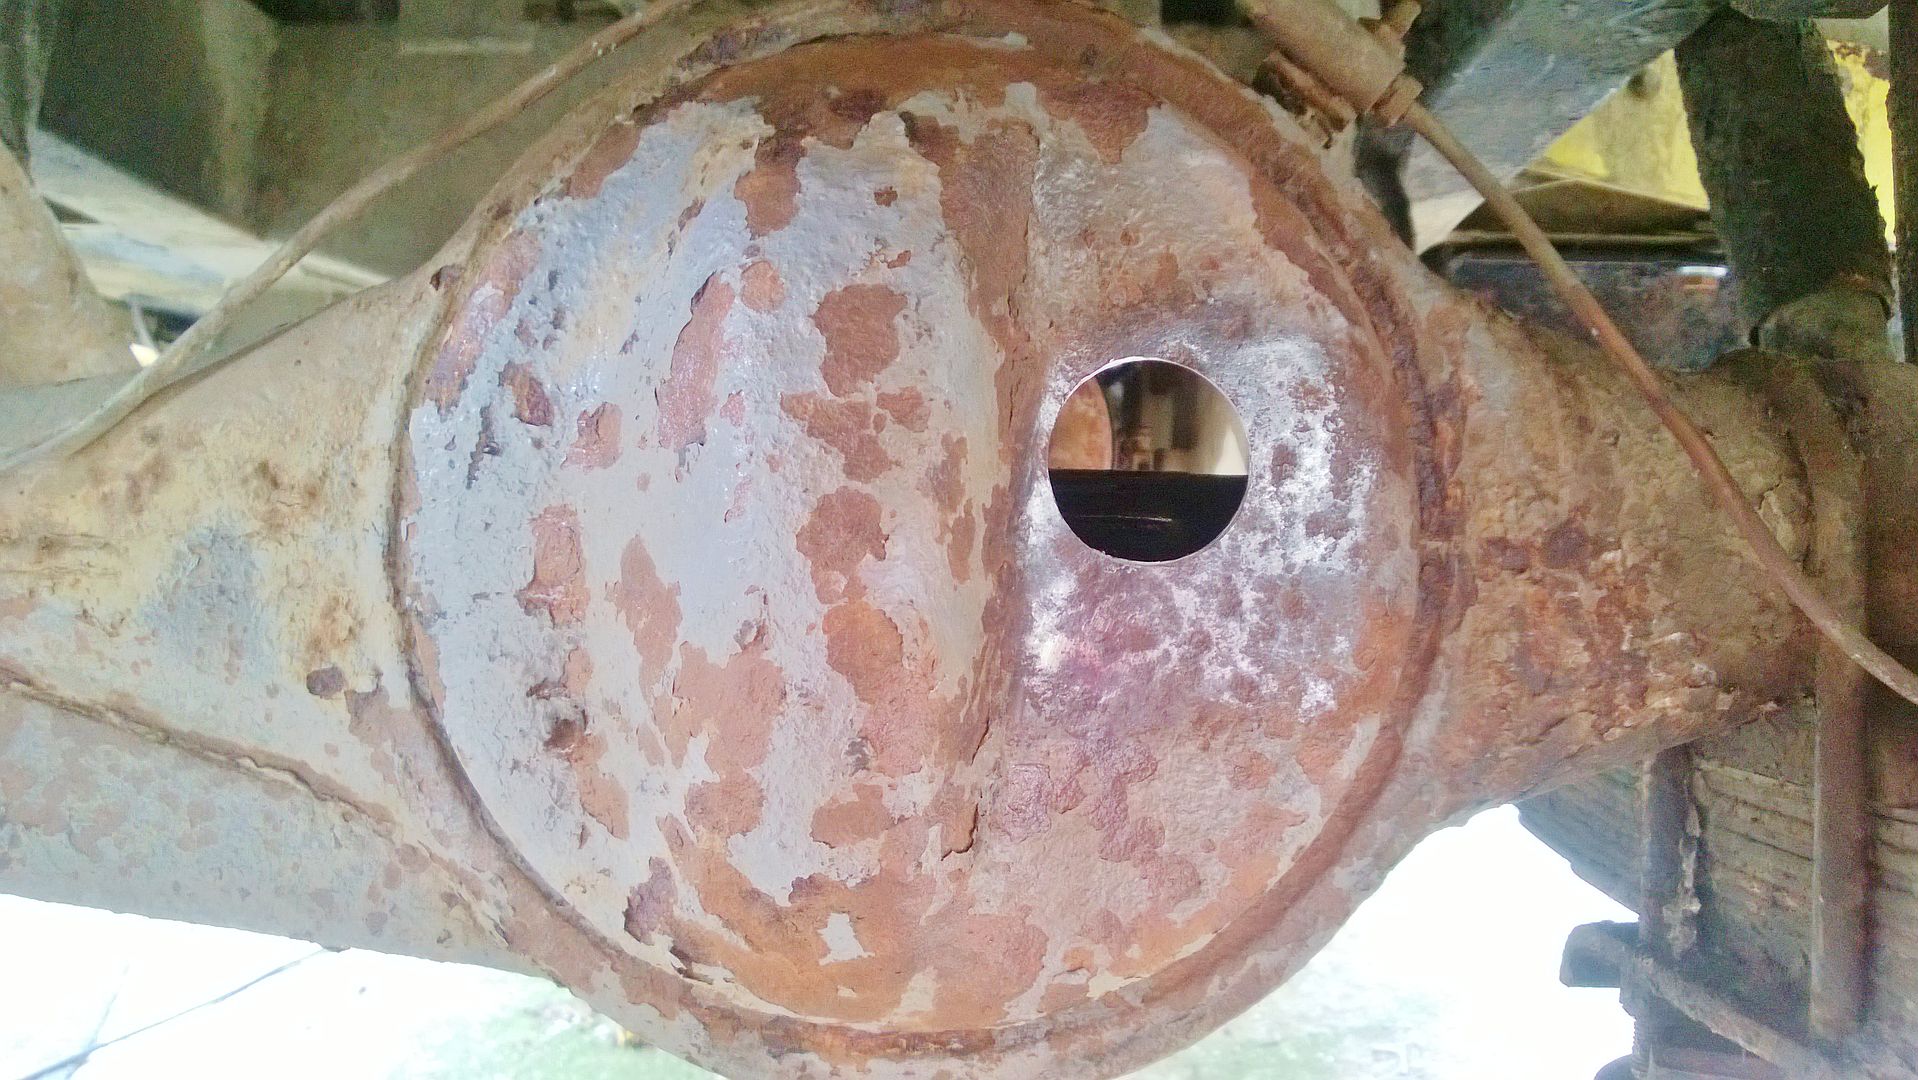
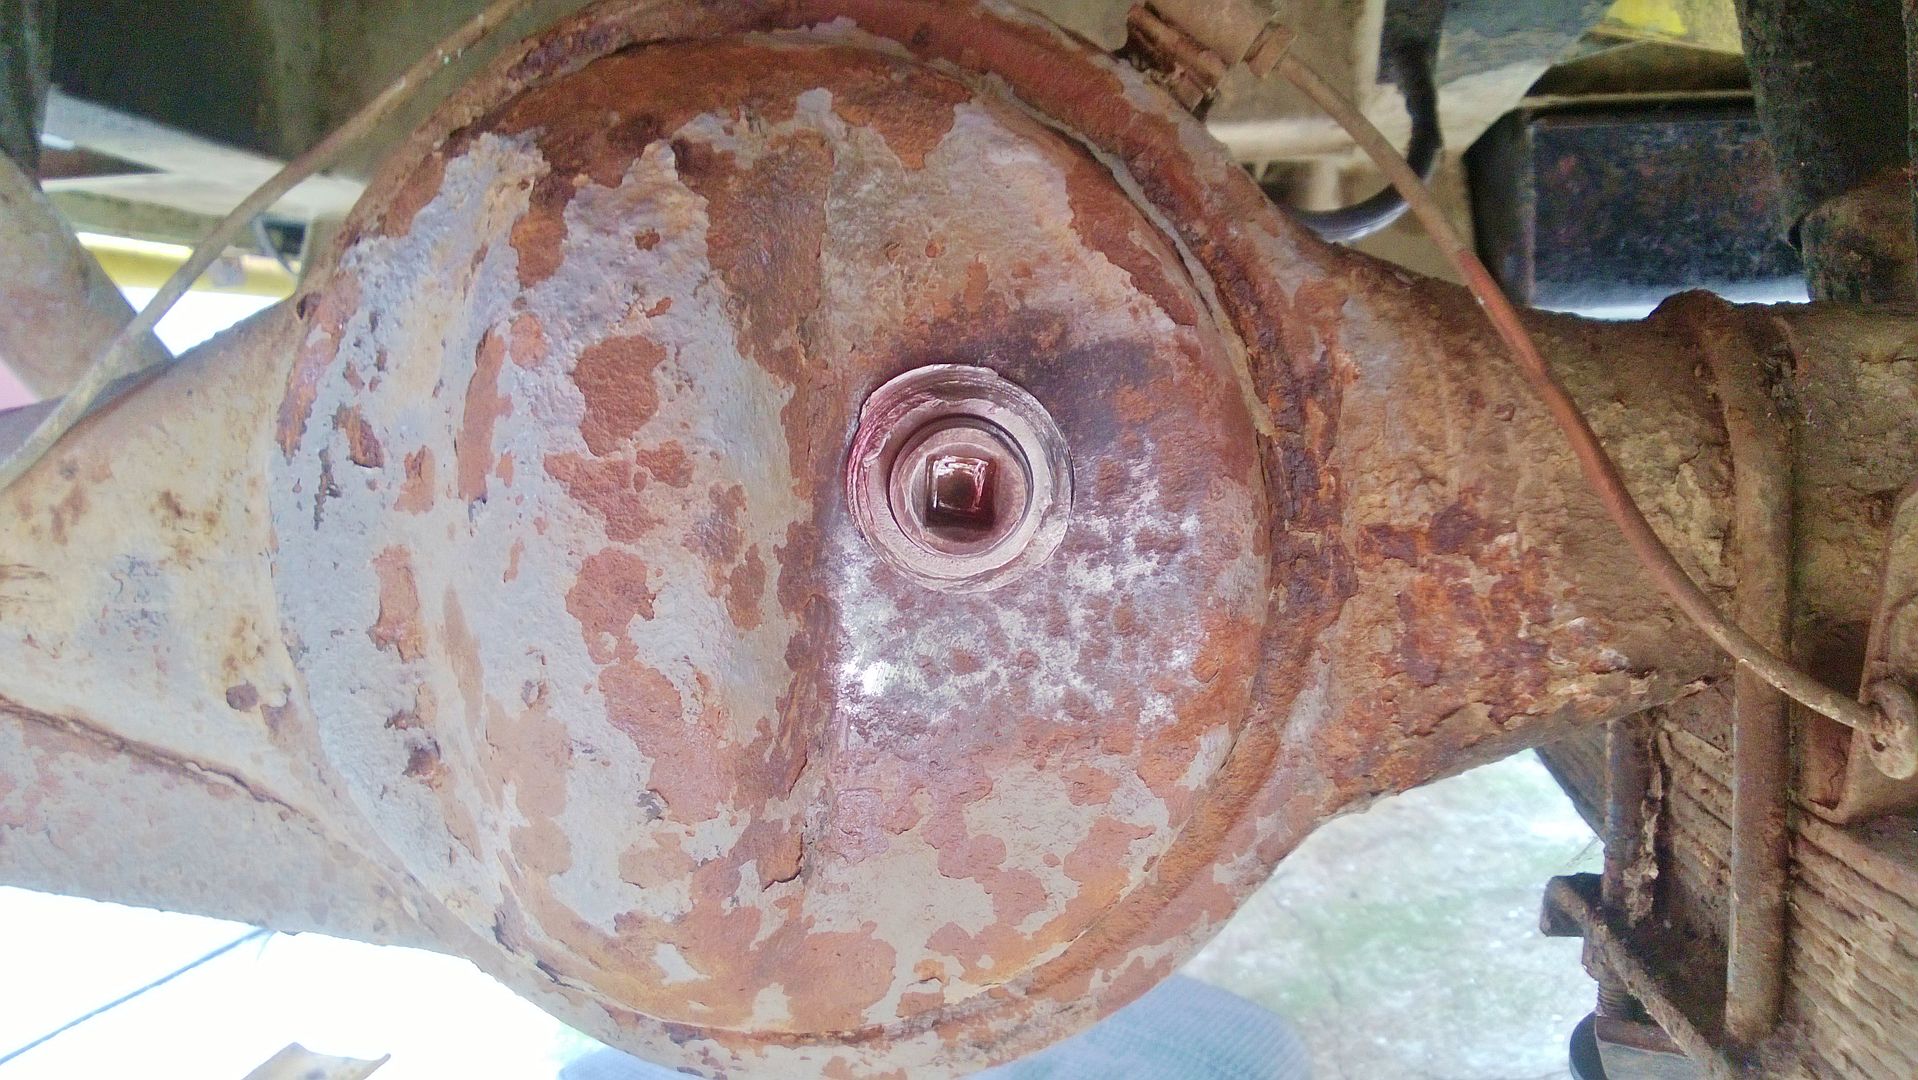
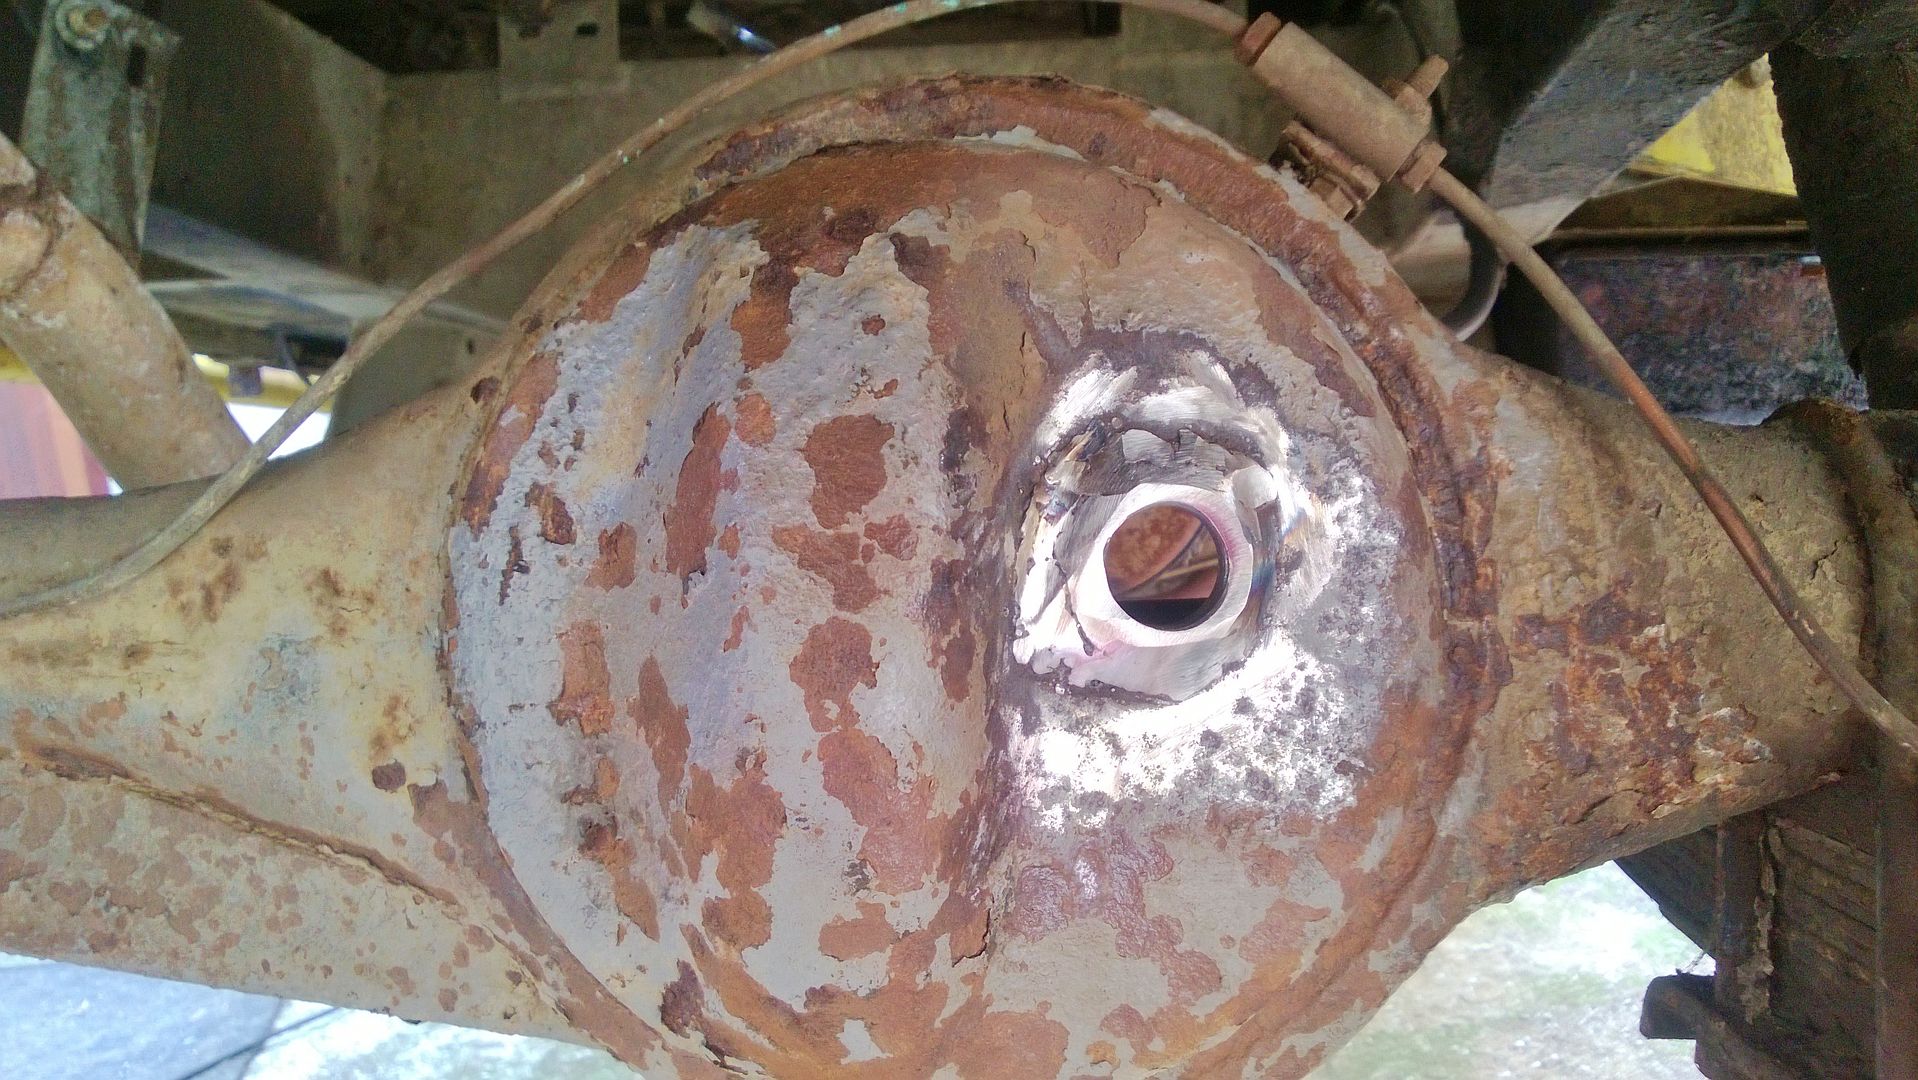
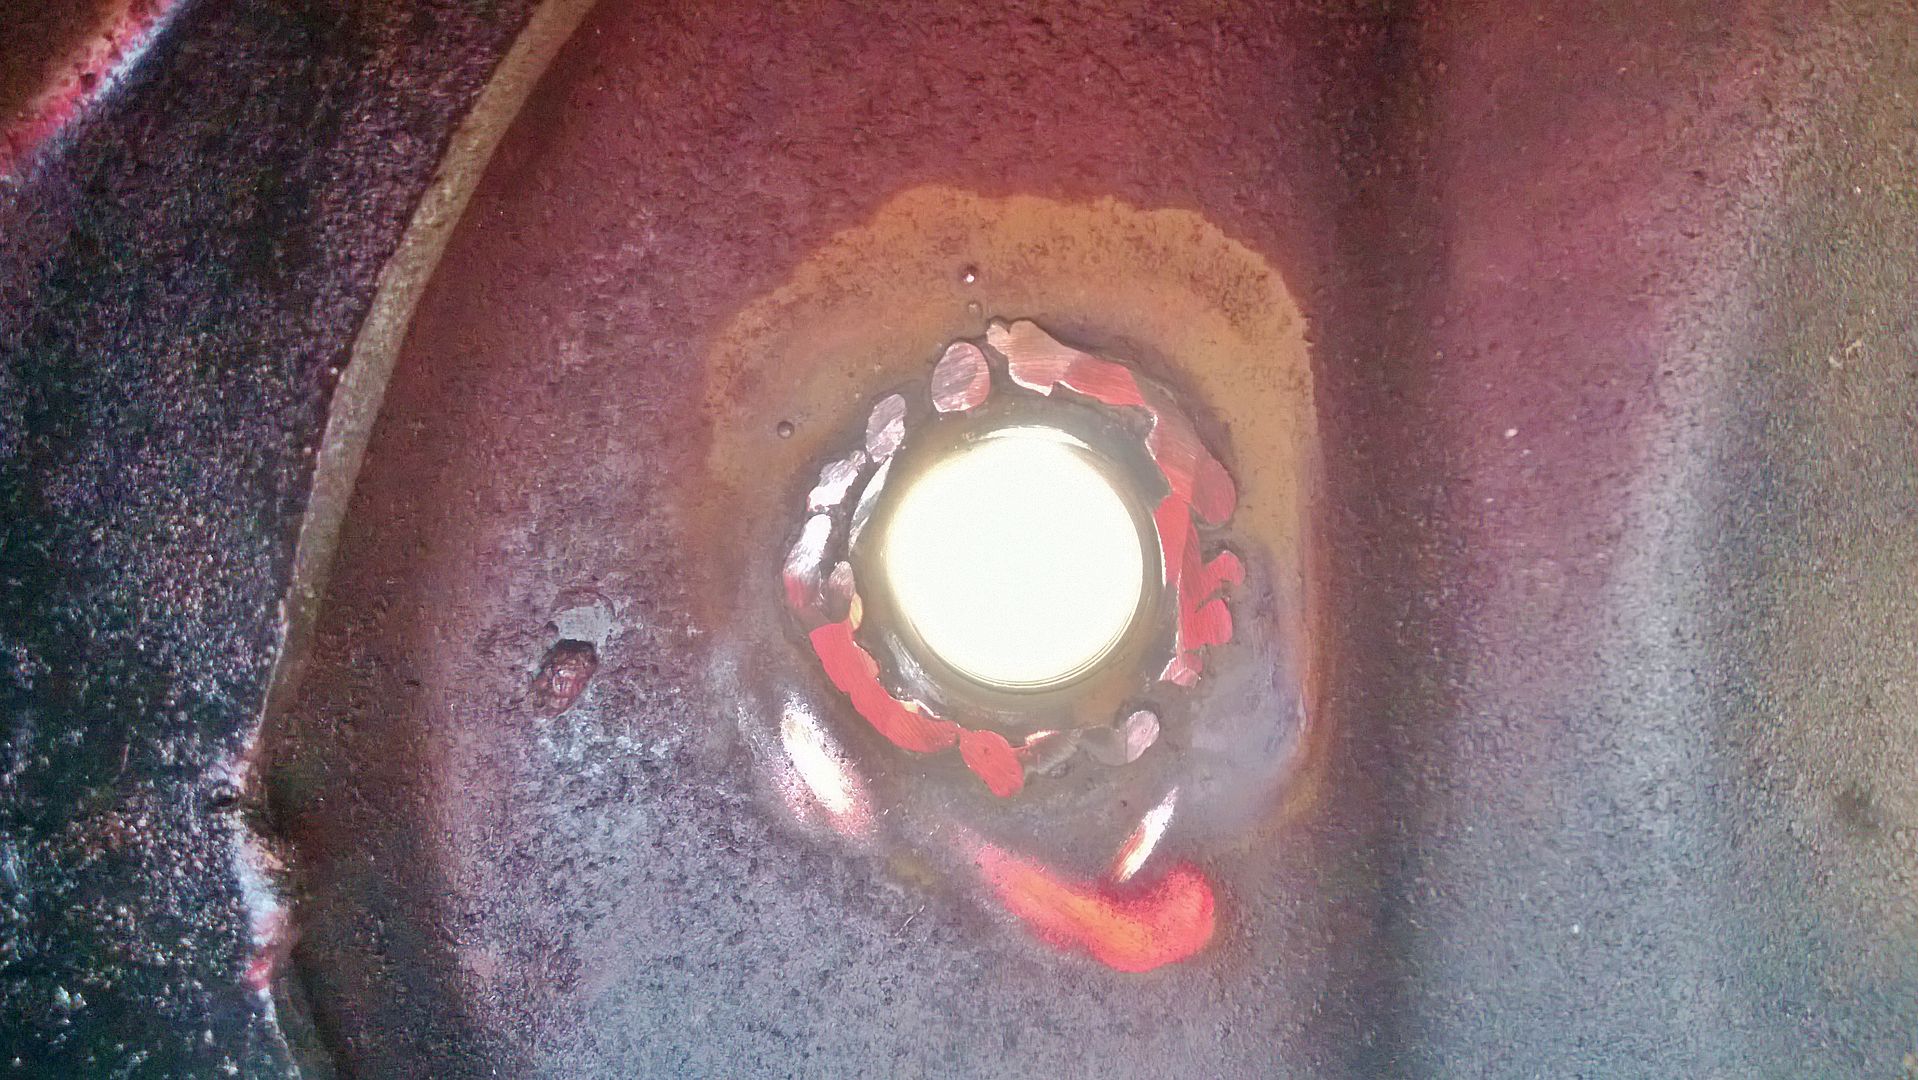
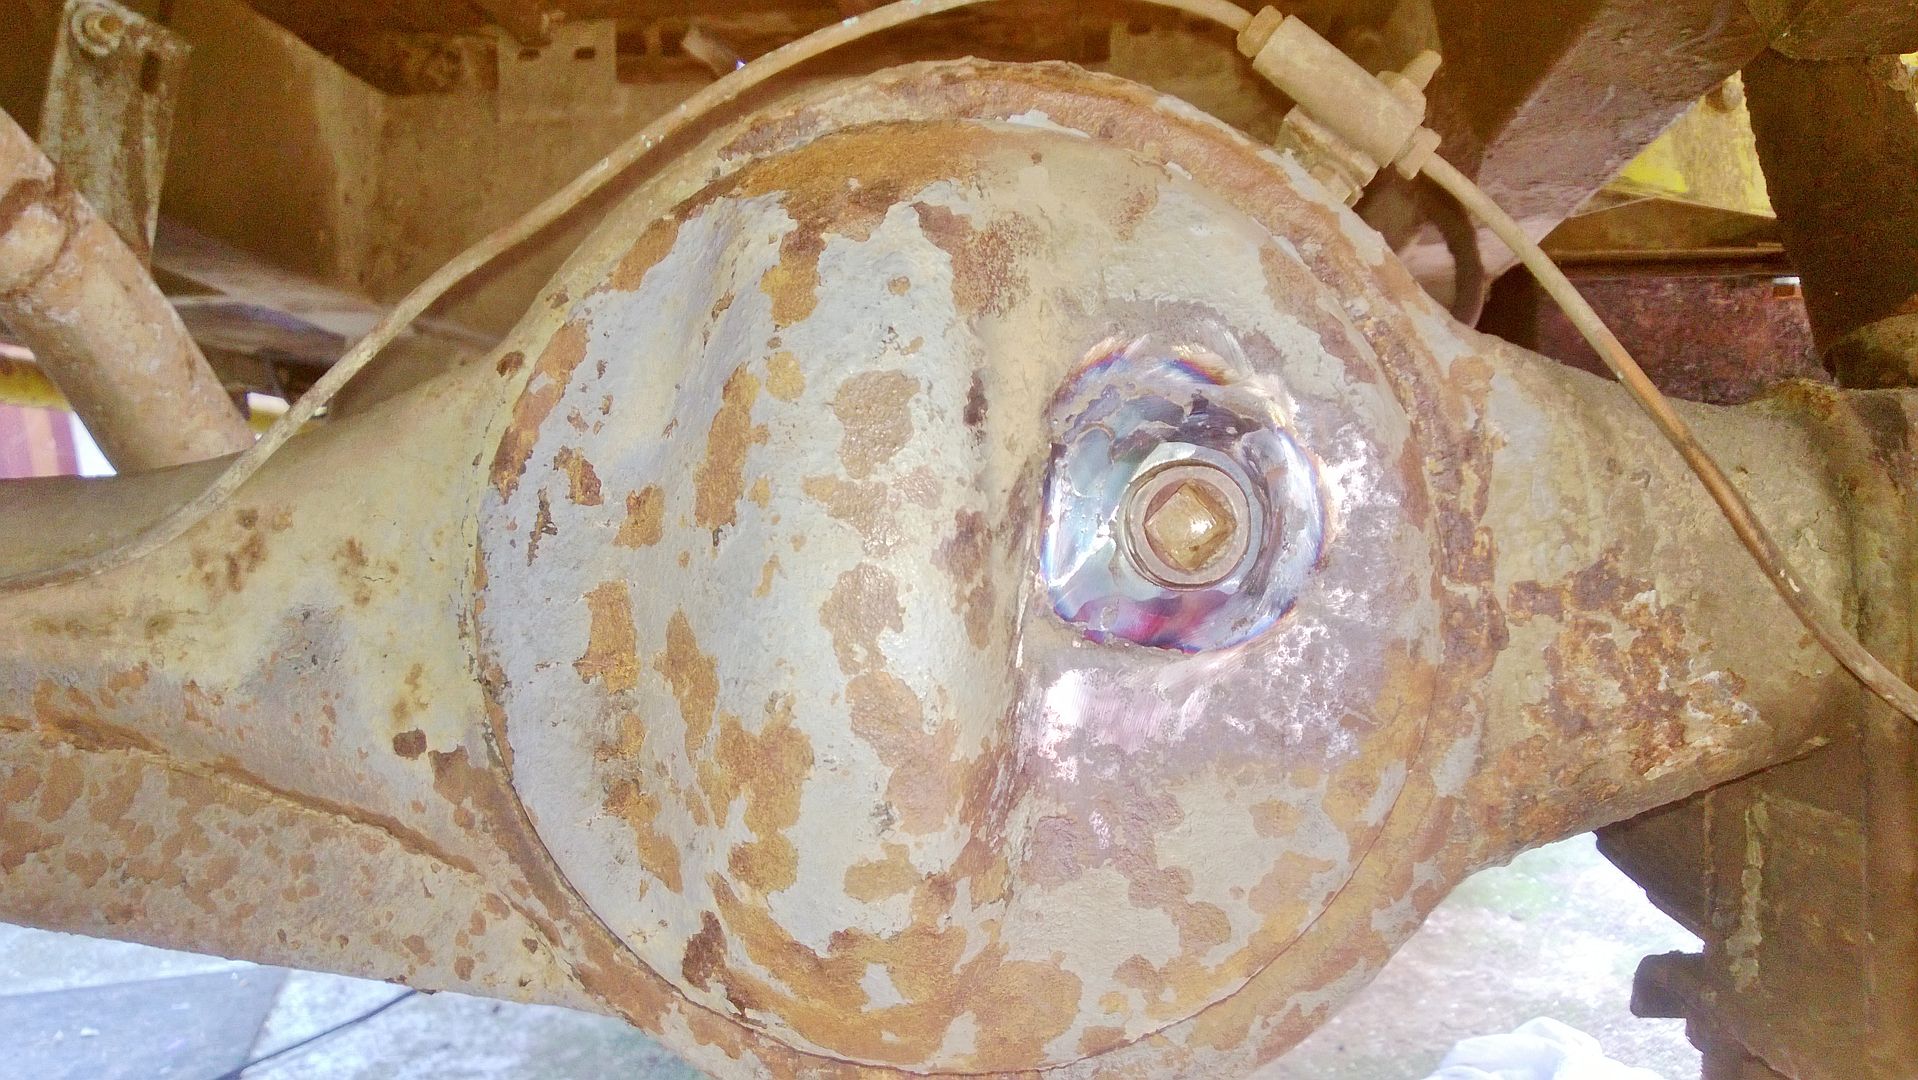
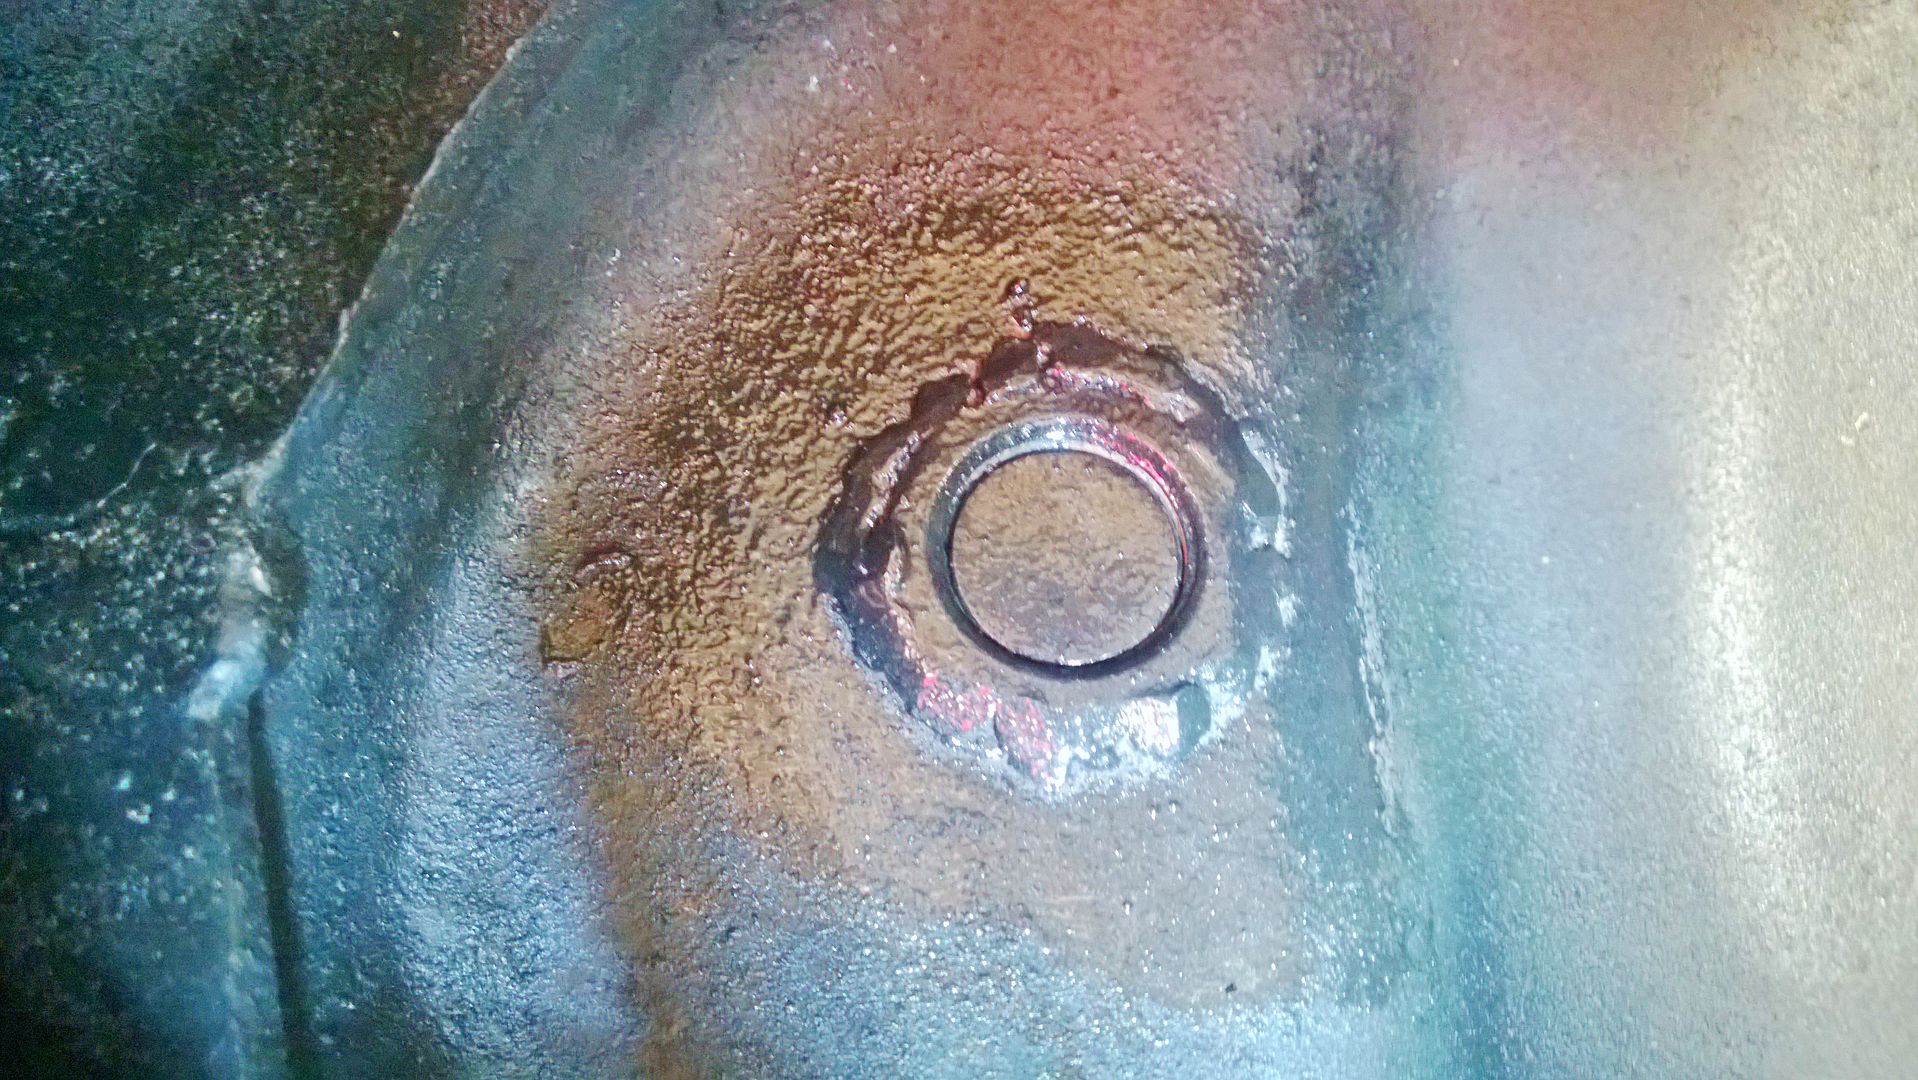
Discovery 10-spline diff fitted
Bits you can't see.
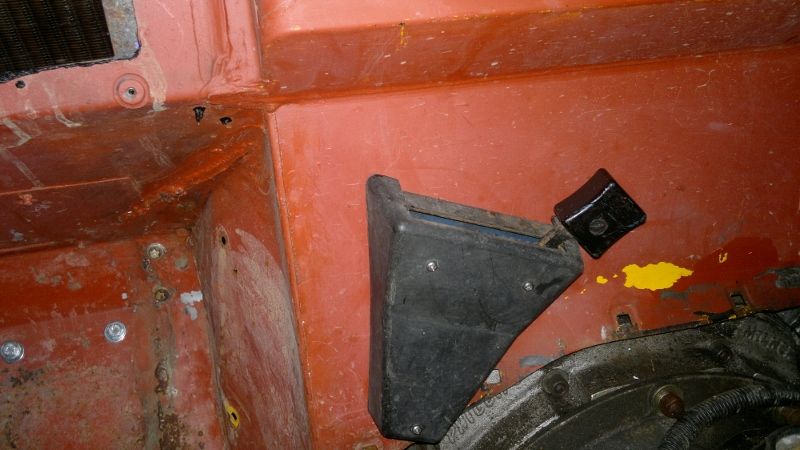
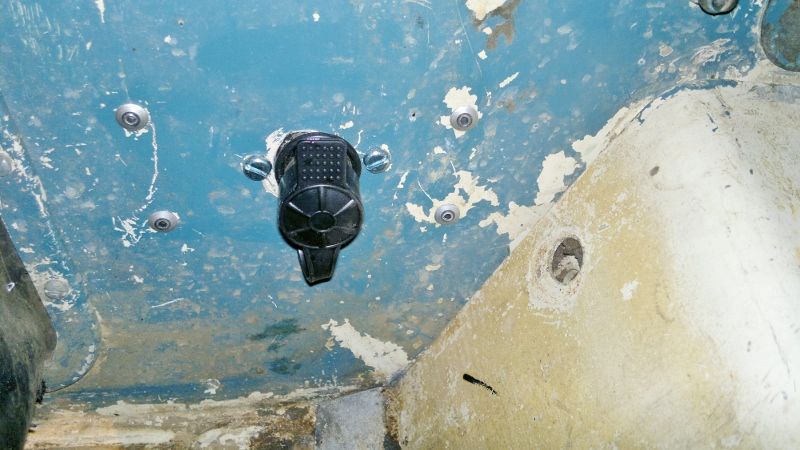
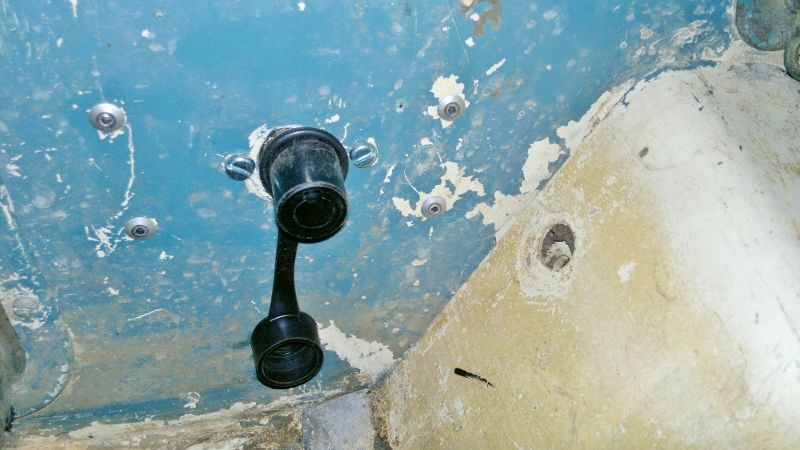
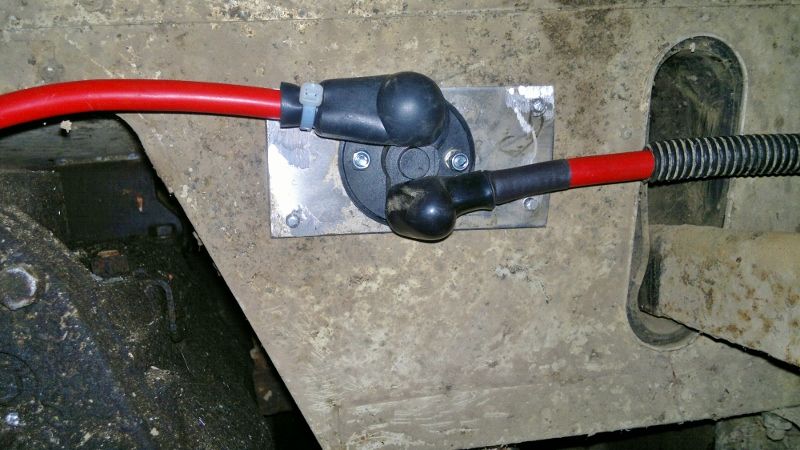
Fitted custom fabricated anodised ally clock binnacle from Raptor Engineering, mine is the first ever made. Fitted new control cable for demister flap control, for feet/screen. Fitted heavy duty earth cable to solid chassis mount (original was crap). Also removed the clutch and brake pedals/master cylinders, for a refurb with new master cylinders, and a lick of paint, new bulkhead seals etc etc.
Once wiring is sorted, then engine will be next on the list along with exhaust. Then refit brake and clutch pedals, then fit new Hi-Cap 11 inch twin leading shoe brakes, and then rebuild with new cylinders, and shoes.
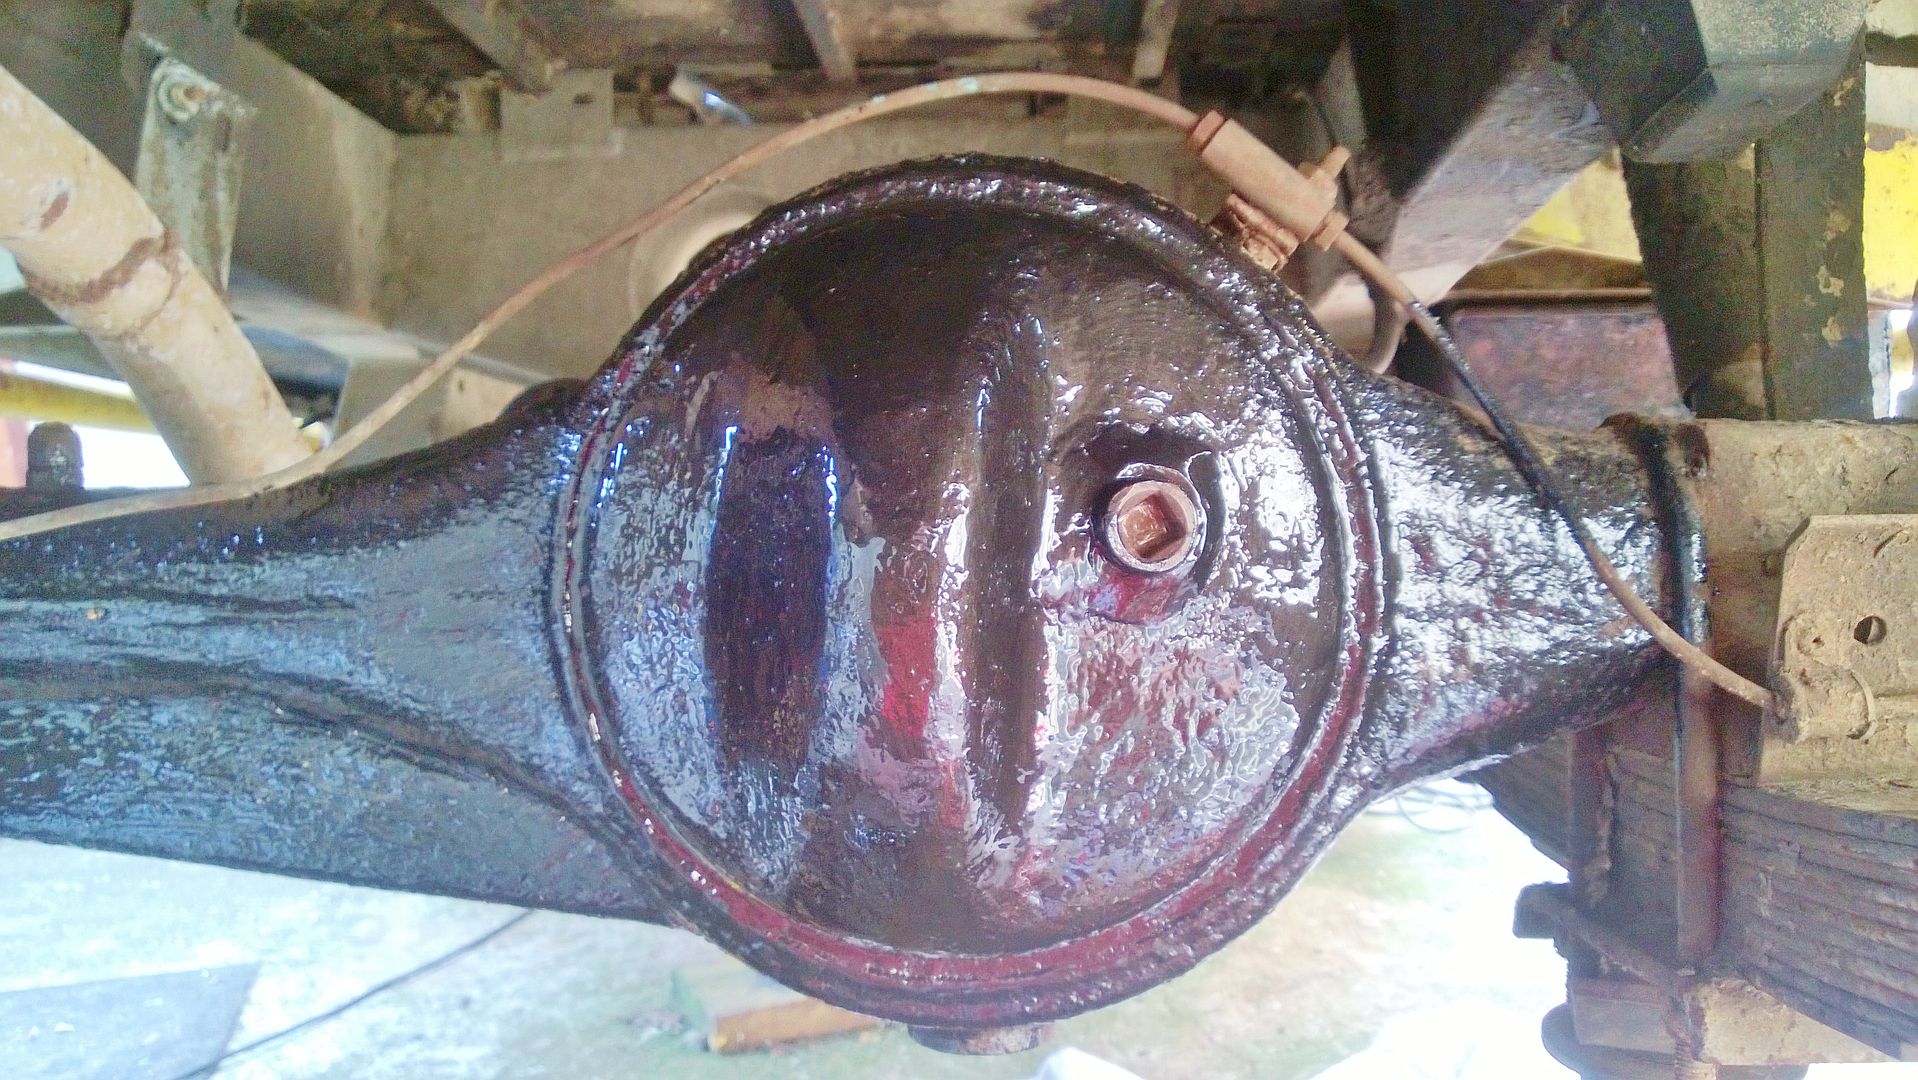
Swap front diff to the other Disco diff I have, and then give axles a paint job.
That should be the last of it bar painting
Sooooooooooooo.
My amassing of bits.
And some bits done.
This is the new dual temp fan switch.
This is the colour she is going JCB yellow
Think my Clutch Master Cylinder has seen better days
Dash looking better
Fitted a diff filler bung.
Discovery 10-spline diff fitted
Bits you can't see.
Fitted custom fabricated anodised ally clock binnacle from Raptor Engineering, mine is the first ever made
. Fitted new control cable for demister flap control, for feet/screen. Fitted heavy duty earth cable to solid chassis mount (original was crap). Also removed the clutch and brake pedals/master cylinders, for a refurb with new master cylinders, and a lick of paint, new bulkhead seals etc etc.Once wiring is sorted, then engine will be next on the list along with exhaust. Then refit brake and clutch pedals, then fit new Hi-Cap 11 inch twin leading shoe brakes, and then rebuild with new cylinders, and shoes.
Swap front diff to the other Disco diff I have, and then give axles a paint job.
That should be the last of it bar painting
