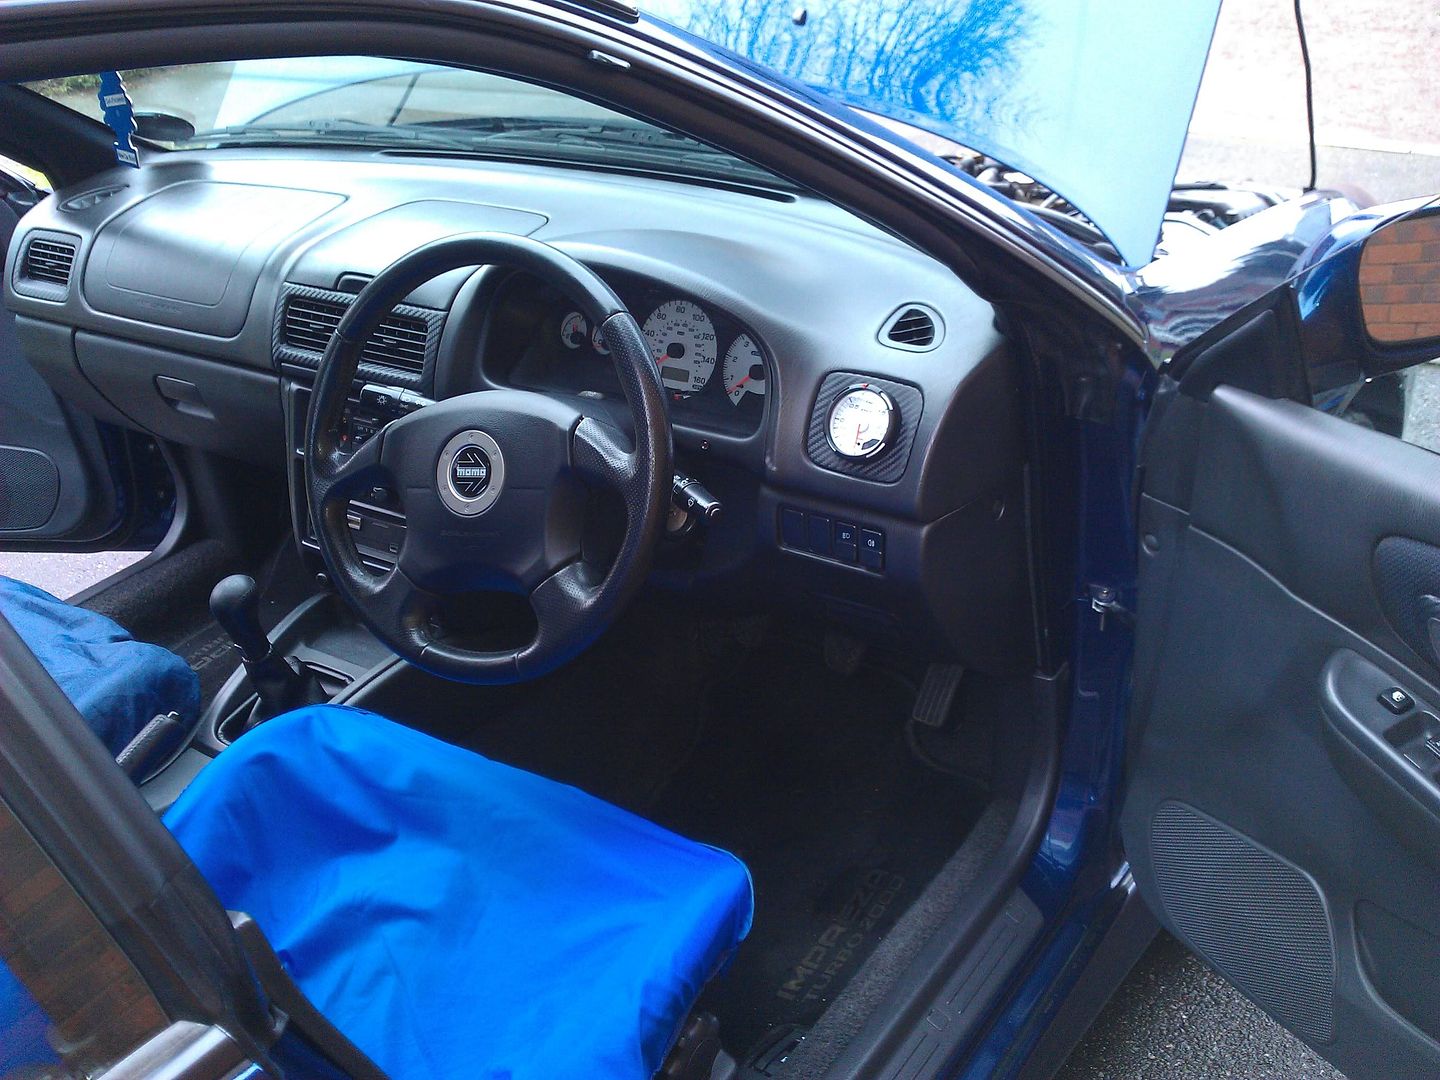
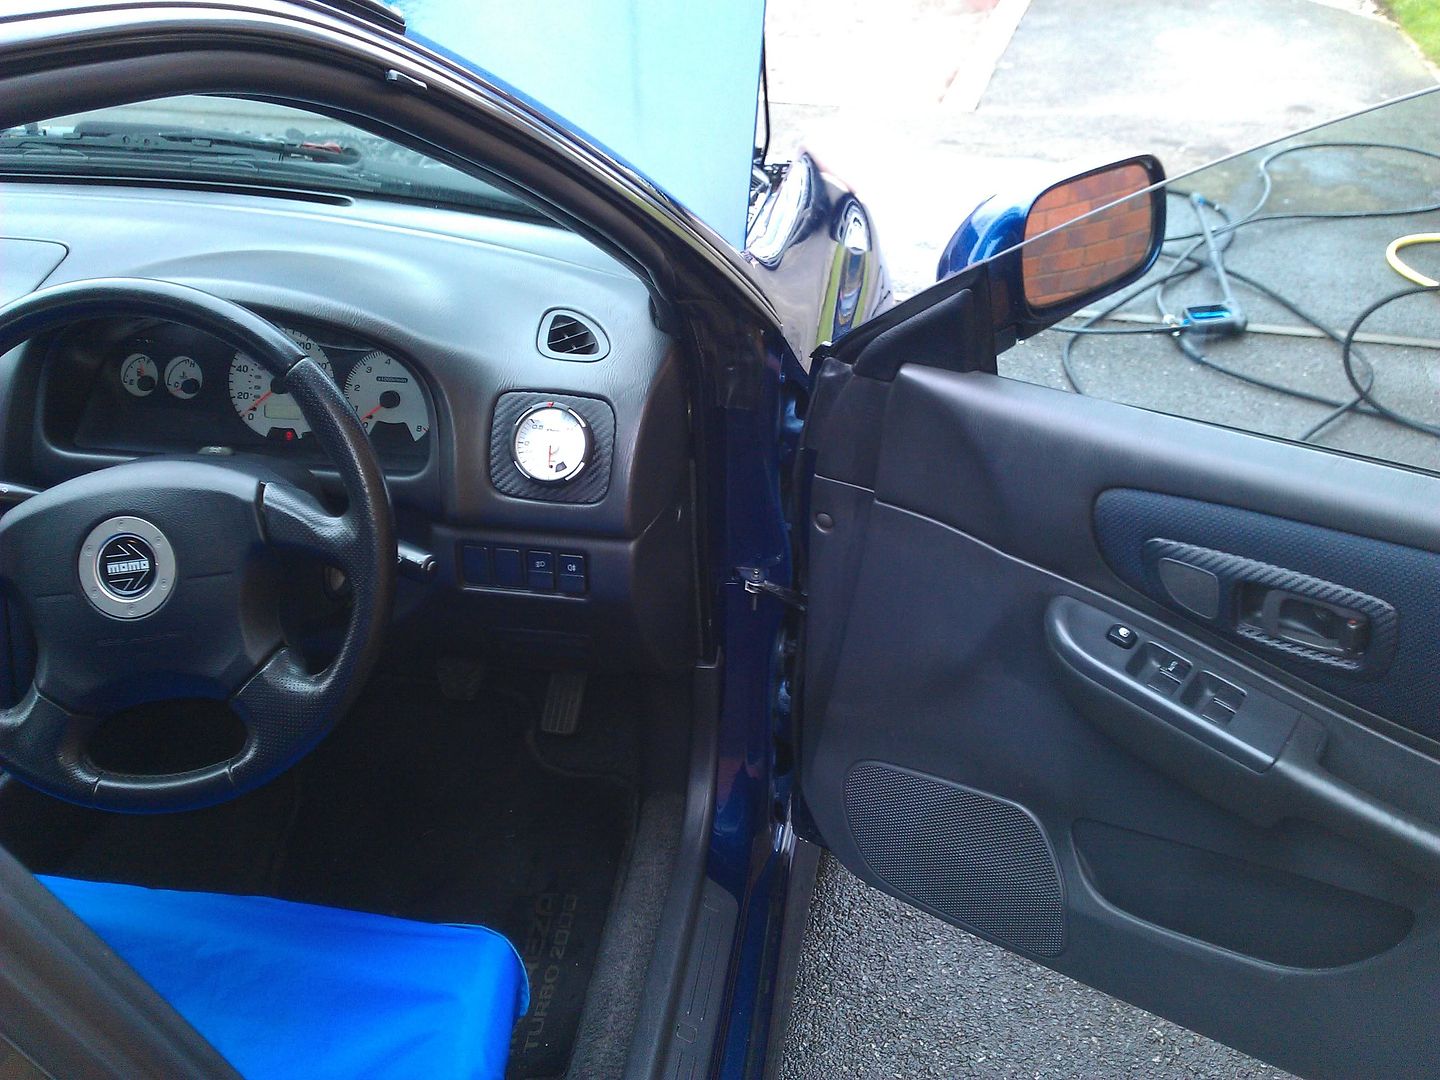
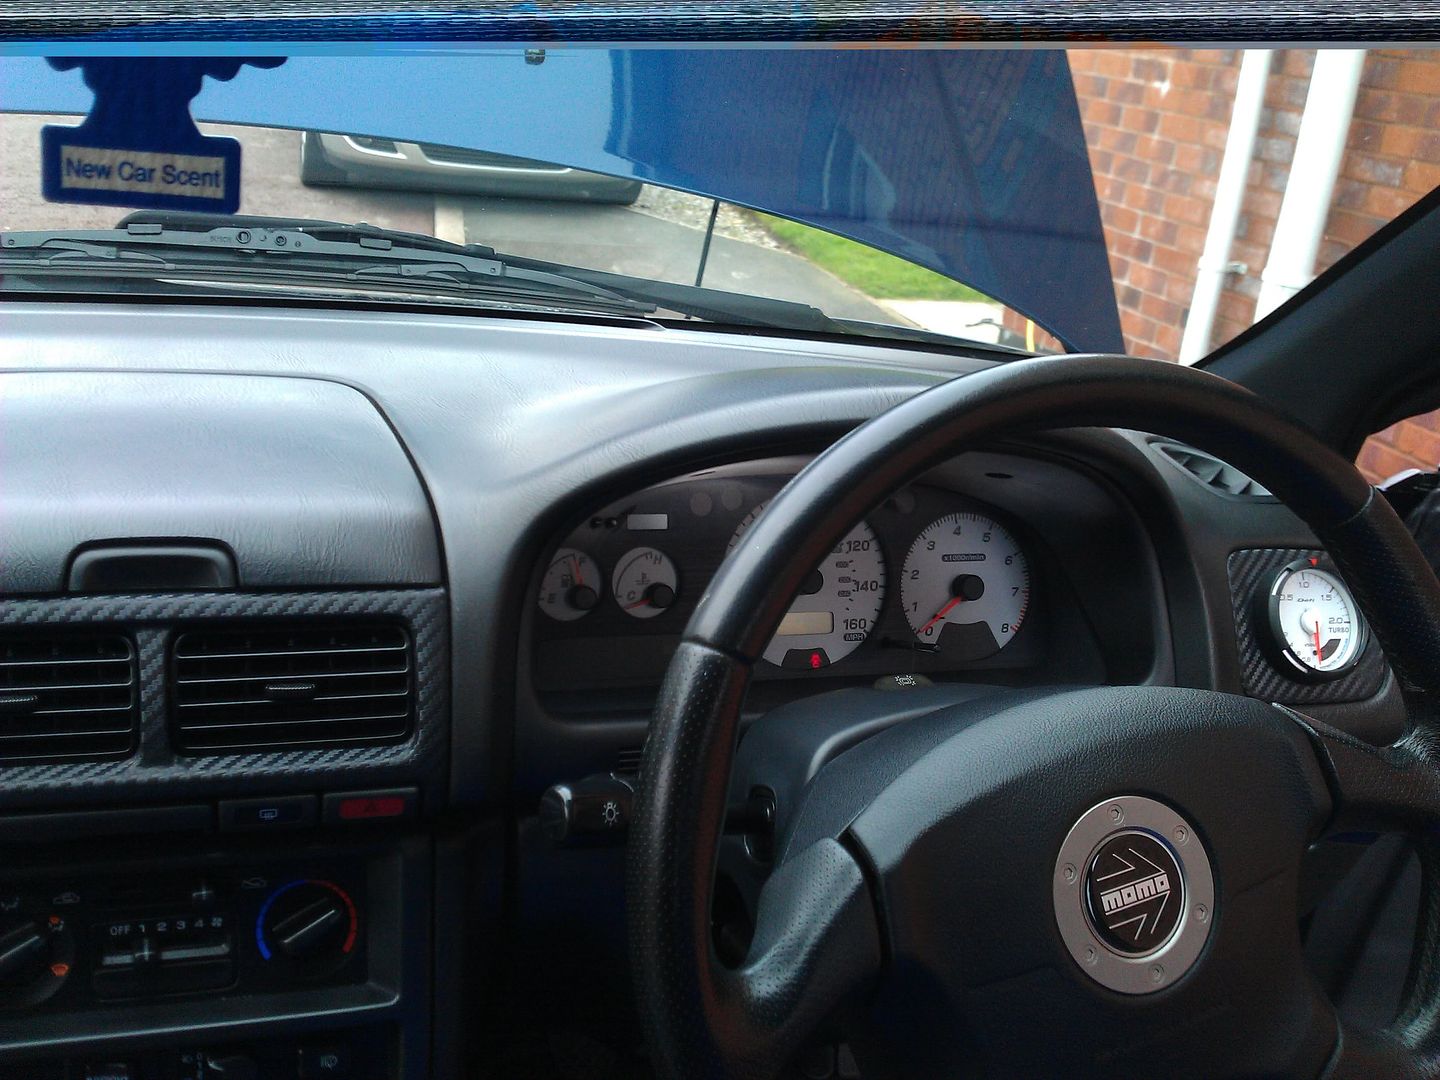
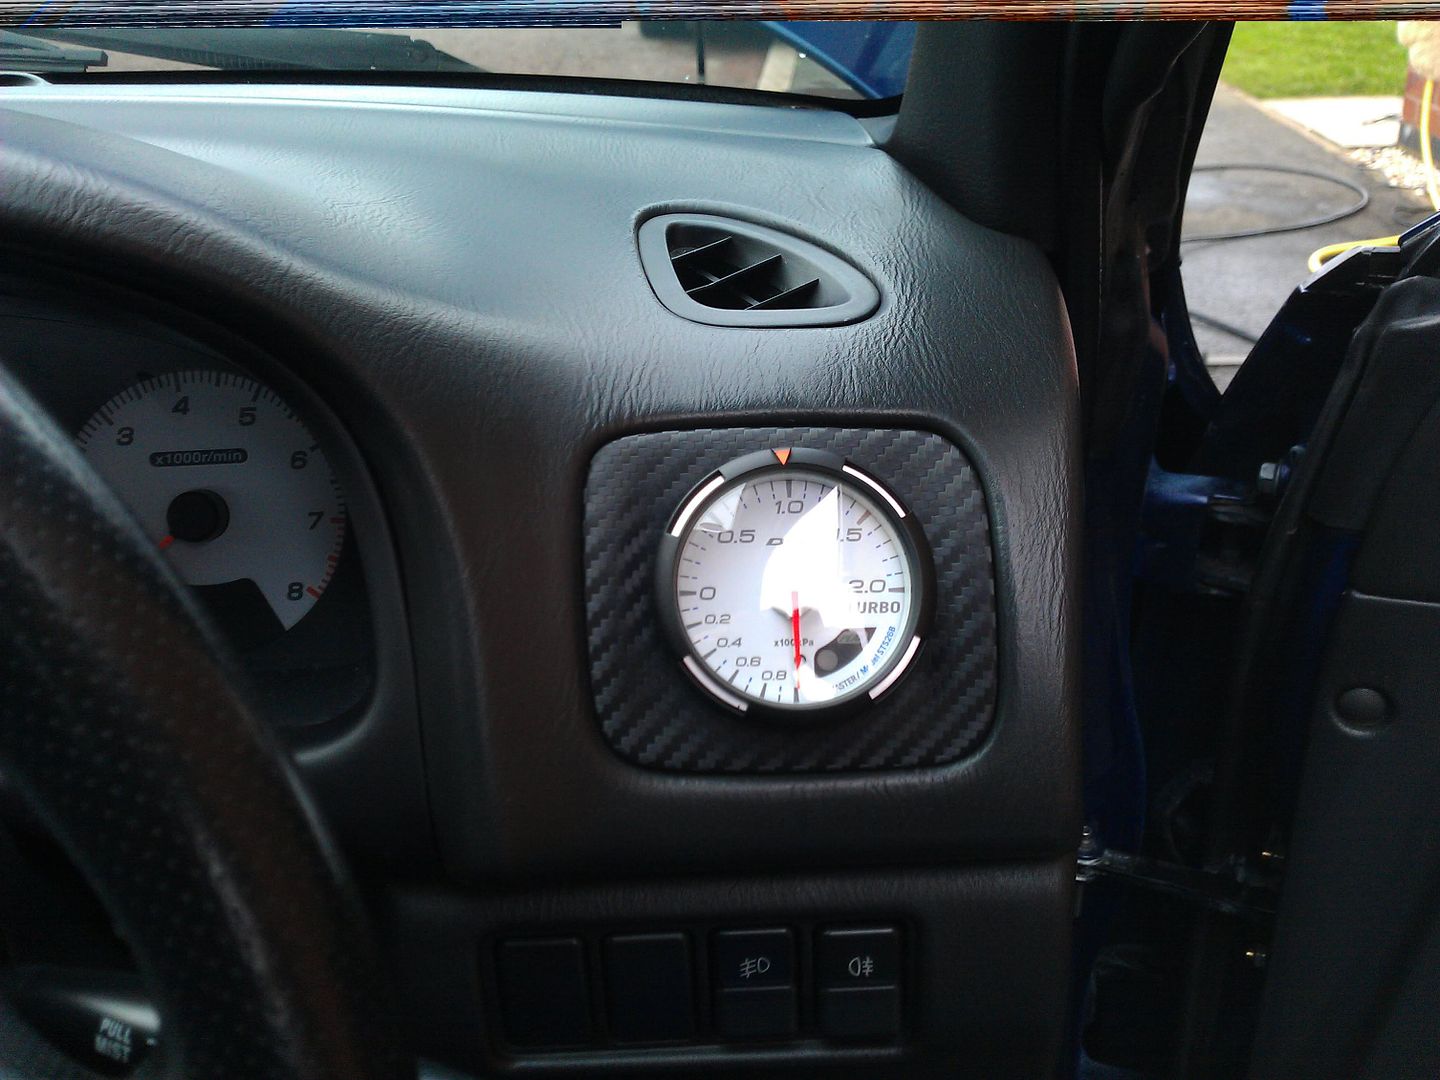
Gauge in Facelift Classic, drivers side heater vent

 04 February 2012, 11:47 AM
#32
Scooby Regular
Thread Starter
iTrader: (30)

Join Date: Jan 2006
Location: Cuddington, Nr Northwich
Posts: 3,422
Likes: 0
Received 0 Likes
on
0 Posts
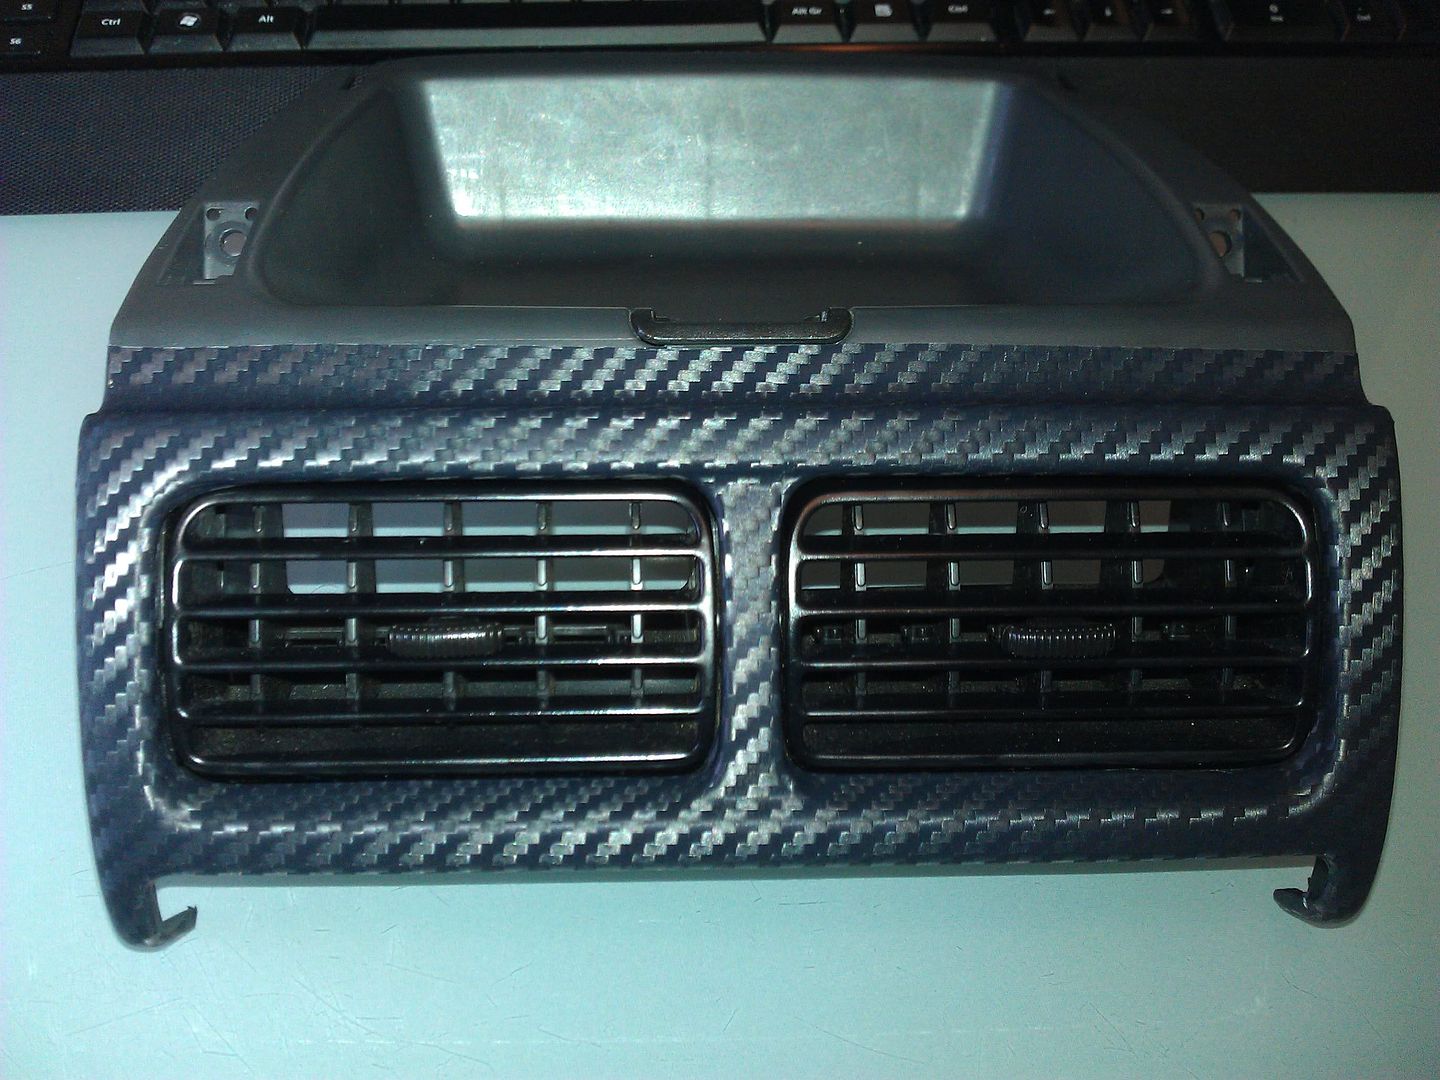
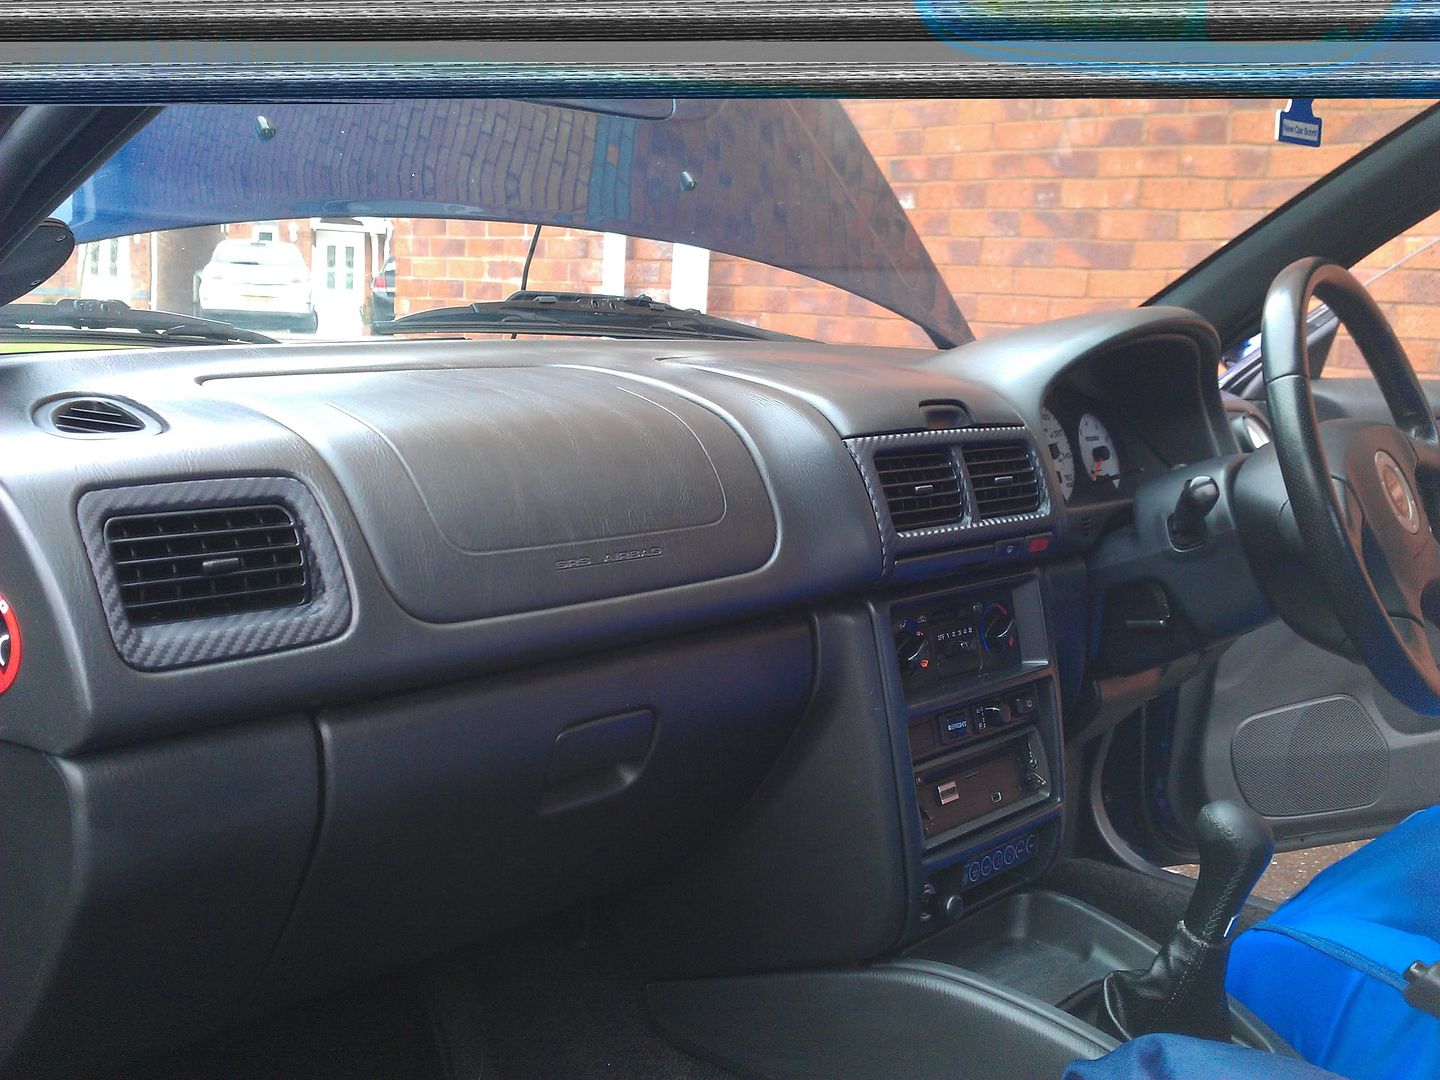
Now this was a b1tch but think it needed to be done to match the vent. also wrapped the passenger side earlier this morning, pics with the lot fitted coming as soon as I feel brave enough to go outside again, god it's cold...

 04 February 2012, 11:53 AM
#34
Scooby Regular
Thread Starter
iTrader: (30)
Join Date: Jan 2006
Location: Cuddington, Nr Northwich
Posts: 3,422
Likes: 0
Received 0 Likes
on
0 Posts
Lol yeah be going round the whole car next... Considering the window switch sections on the doors next...
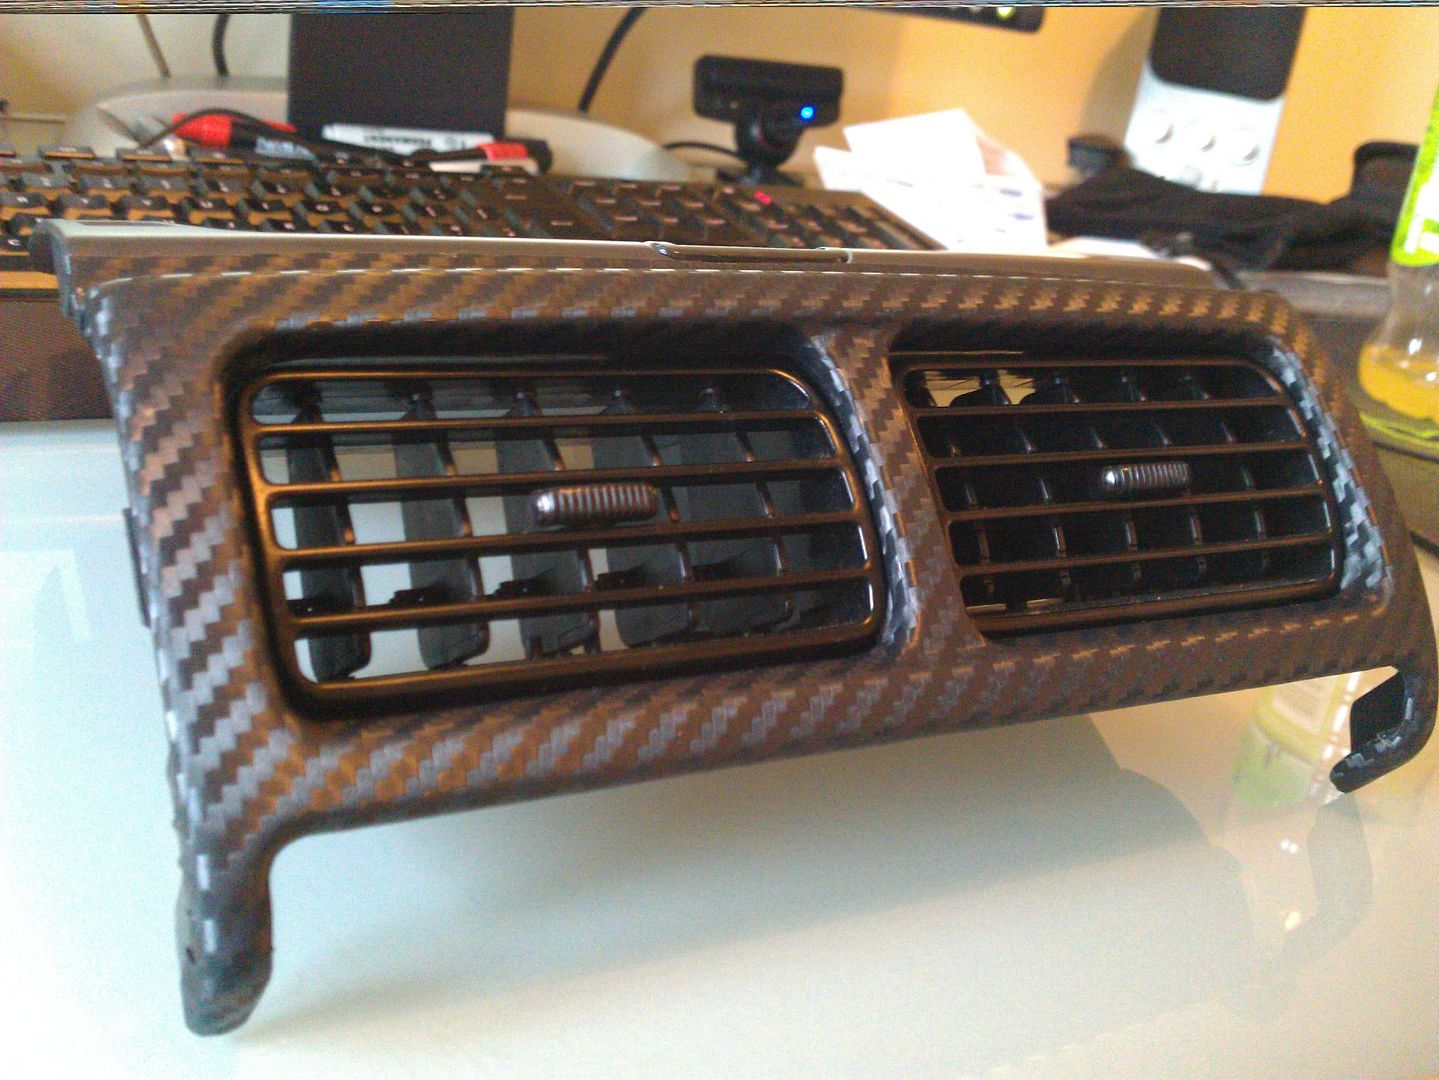
It's sticky-backed but you have to heat it with a hair dryer to make it more flexible then as it cools it becomes more rigid again, it is awkward but I guess there's a knack to it that you become used to the more you do it...
The first thing I tried to wrap was a disaster, really glad how the centre vent has turned out, didn't think I'd manage to do it tbh
 12 February 2012, 03:16 PM
#38
Scooby Regular
Thread Starter
iTrader: (30)
Join Date: Jan 2006
Location: Cuddington, Nr Northwich
Posts: 3,422
Likes: 0
Received 0 Likes
on
0 Posts
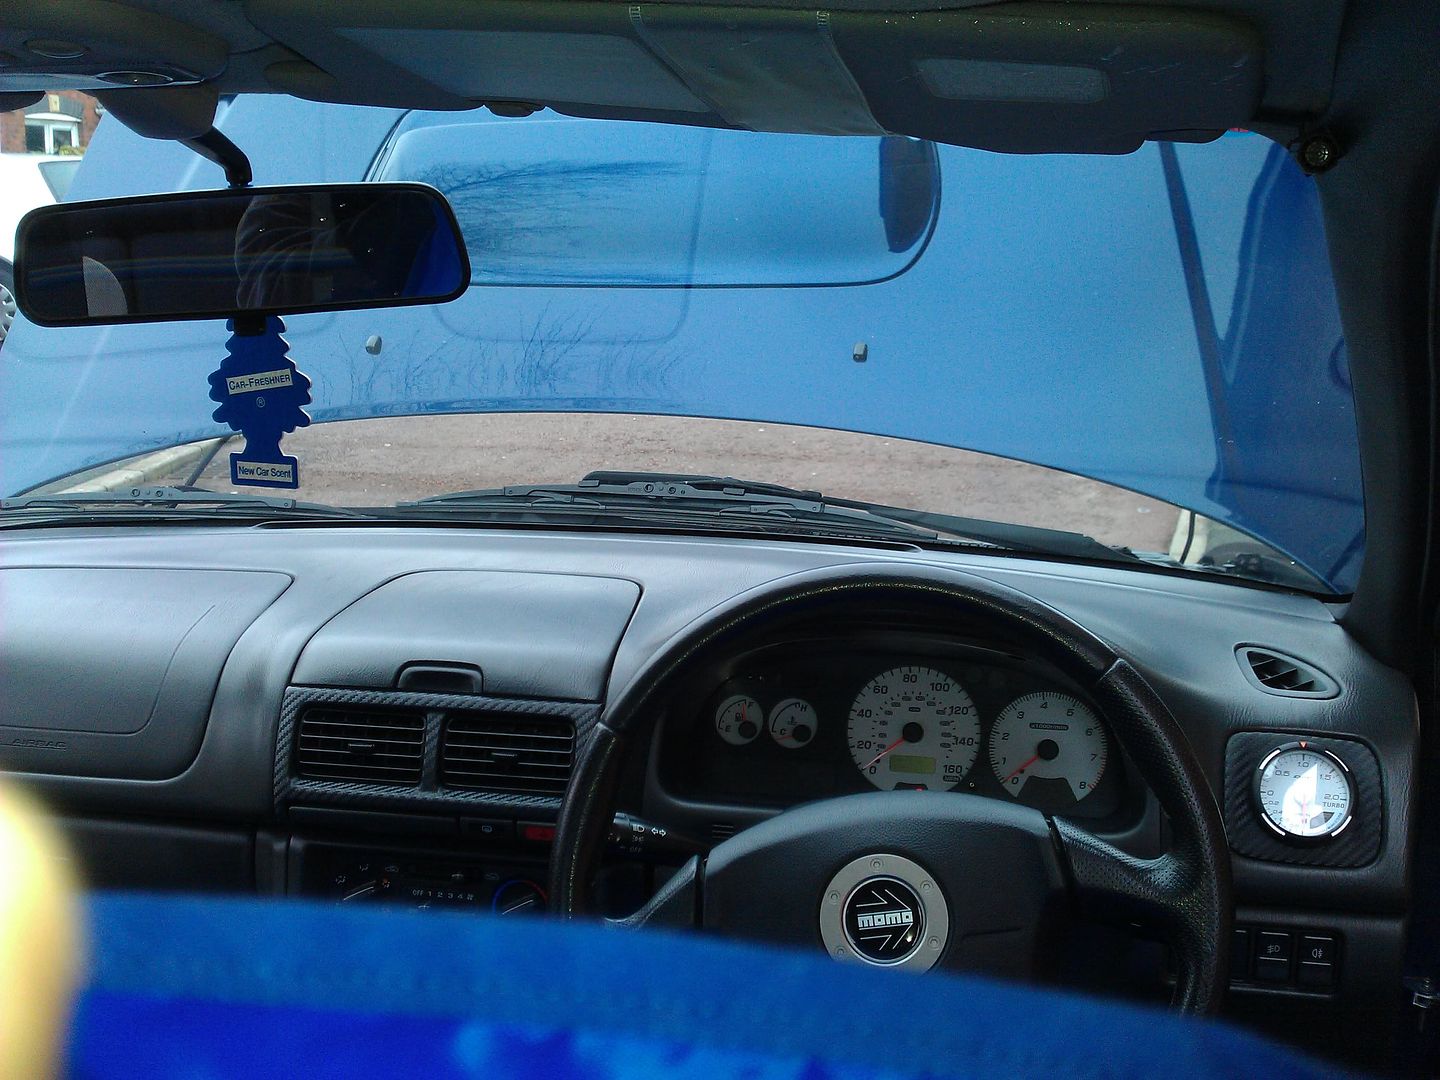
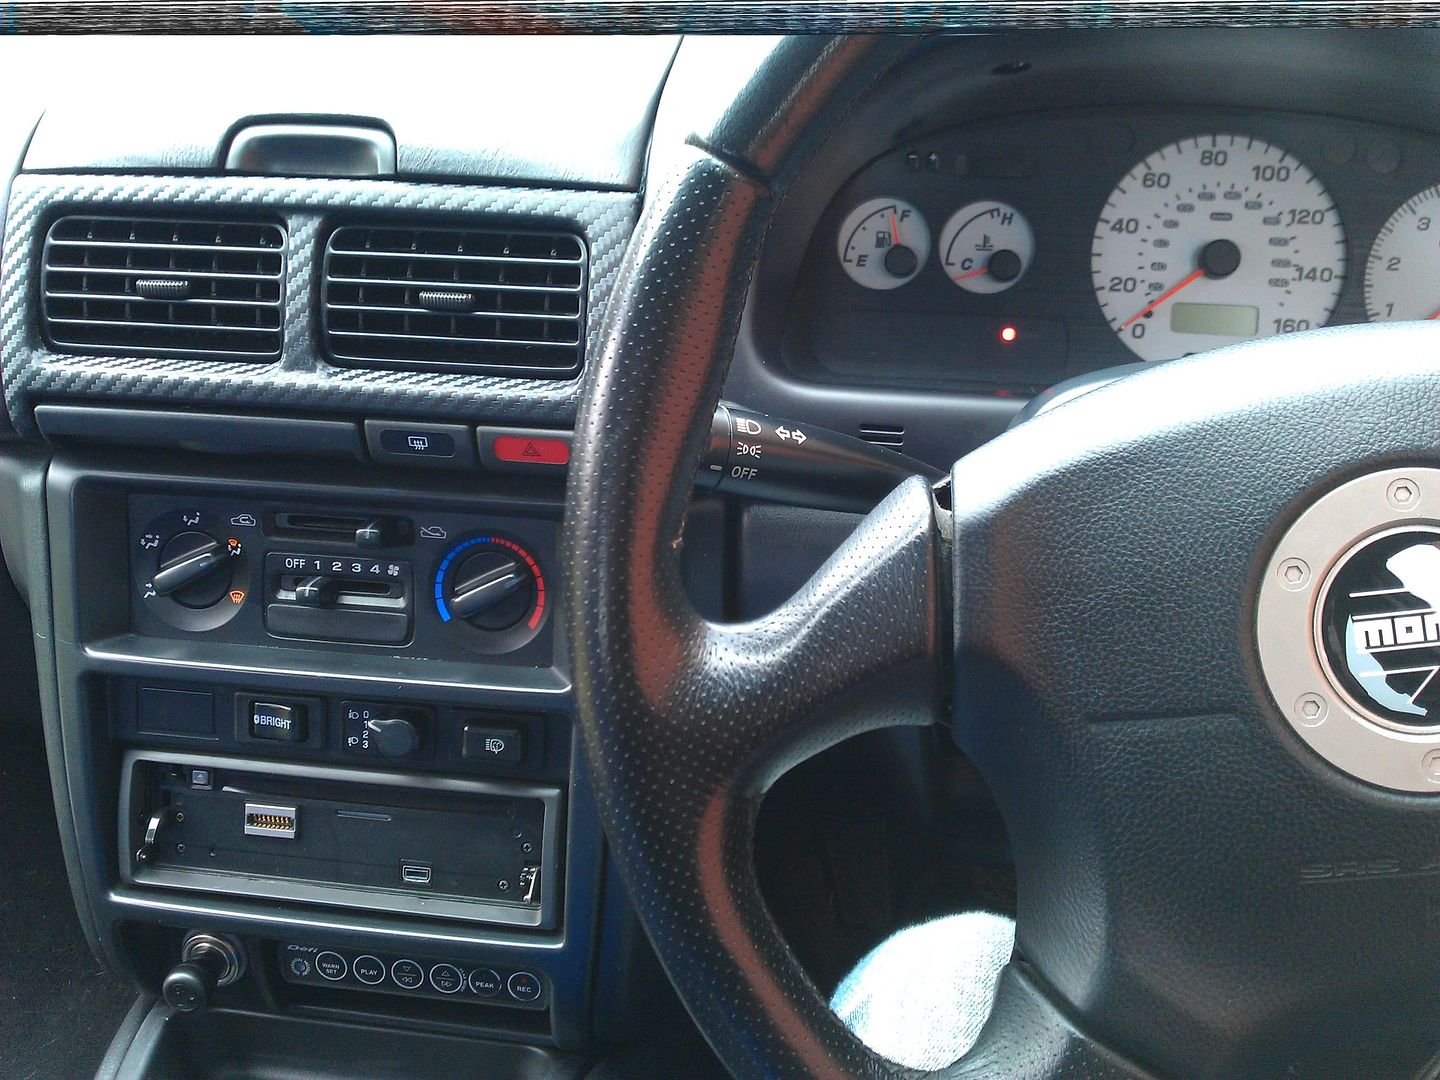
Funny you should ask, I've been busy rewrapping some parts and securing it with superglue as it started to peal when it got warm 

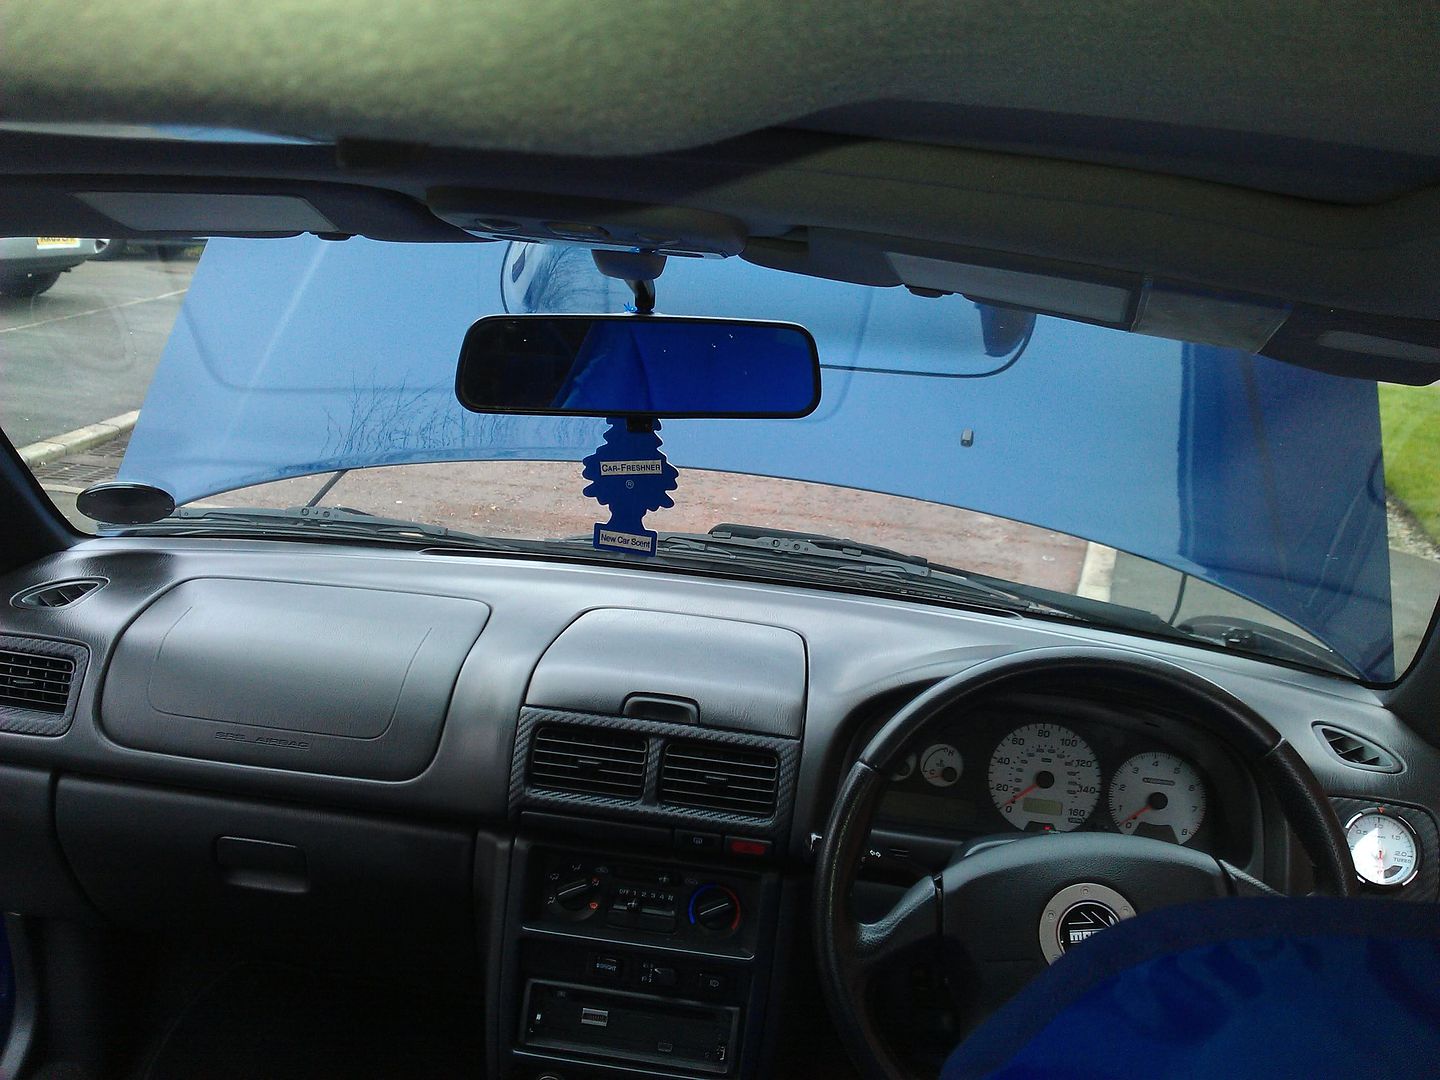
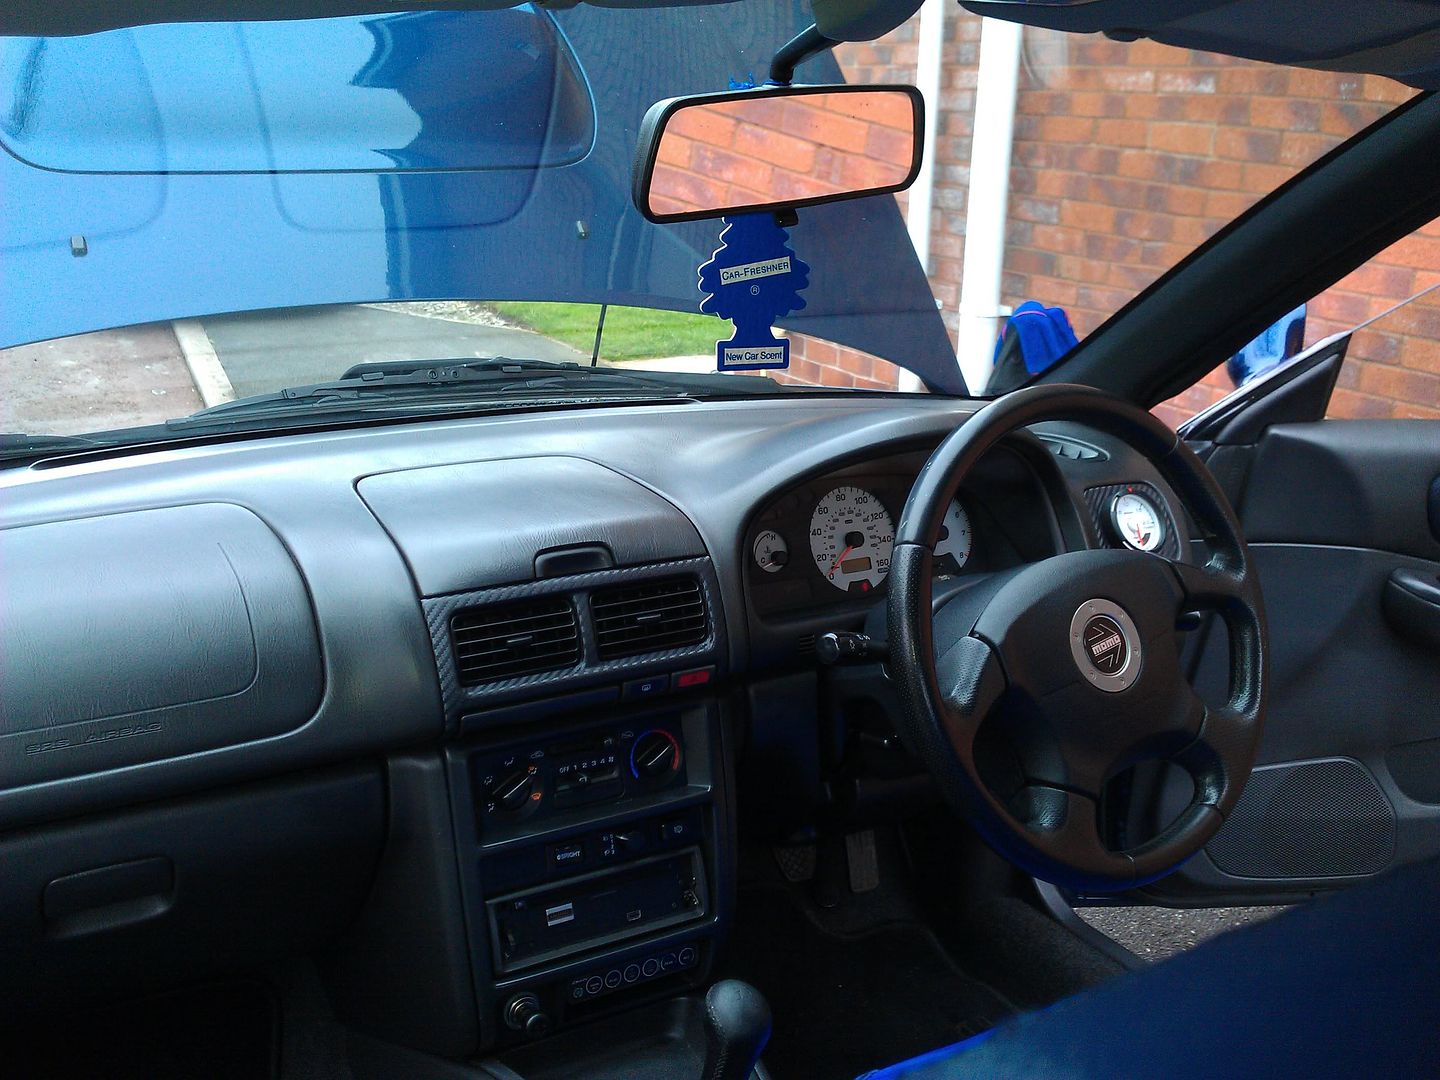
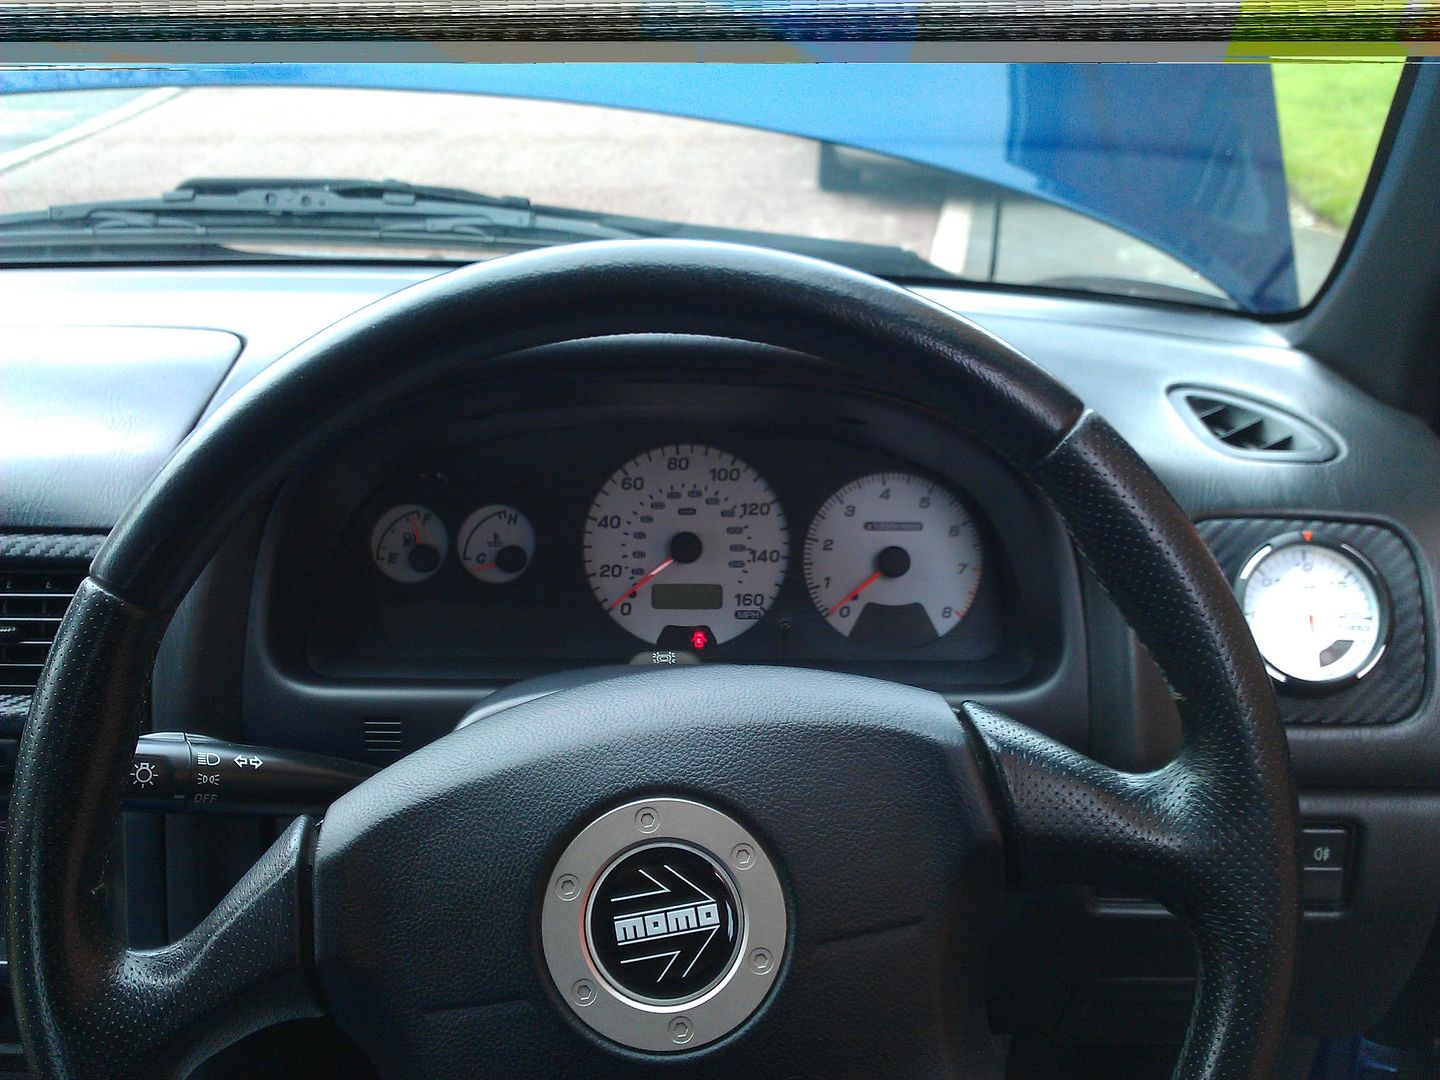
Anyway all done now
Picture fest!

Anyway all done now
Picture fest!
Last edited by winston69; 12 February 2012 at 03:19 PM.
12 February 2012, 03:46 PM
#42
Scooby Regular
Thread Starter
iTrader: (30)
Join Date: Jan 2006
Location: Cuddington, Nr Northwich
Posts: 3,422
Likes: 0
Received 0 Likes
on
0 Posts
One from the sender as shown in the above link, runs from the engine bay to the control unit. The control unit needs wiring up for power using the stereo and cigarette lighter wiring. And then one cable from the control unit to the gauge
Pretty simple really
Pretty simple really
12 February 2012, 04:23 PM
#46


Thread
Thread Starter
Forum
Replies
Last Post
Scott@ScoobySpares
Full Cars Breaking For Spares
61
11 January 2021 03:08 PM
Mattybr5@MB Developments
Full Cars Breaking For Spares
33
29 August 2017 07:18 PM
Scott@ScoobySpares
Full Cars Breaking For Spares
7
14 December 2015 08:16 AM
Mattybr5@MB Developments
Full Cars Breaking For Spares
20
22 October 2015 06:12 AM