
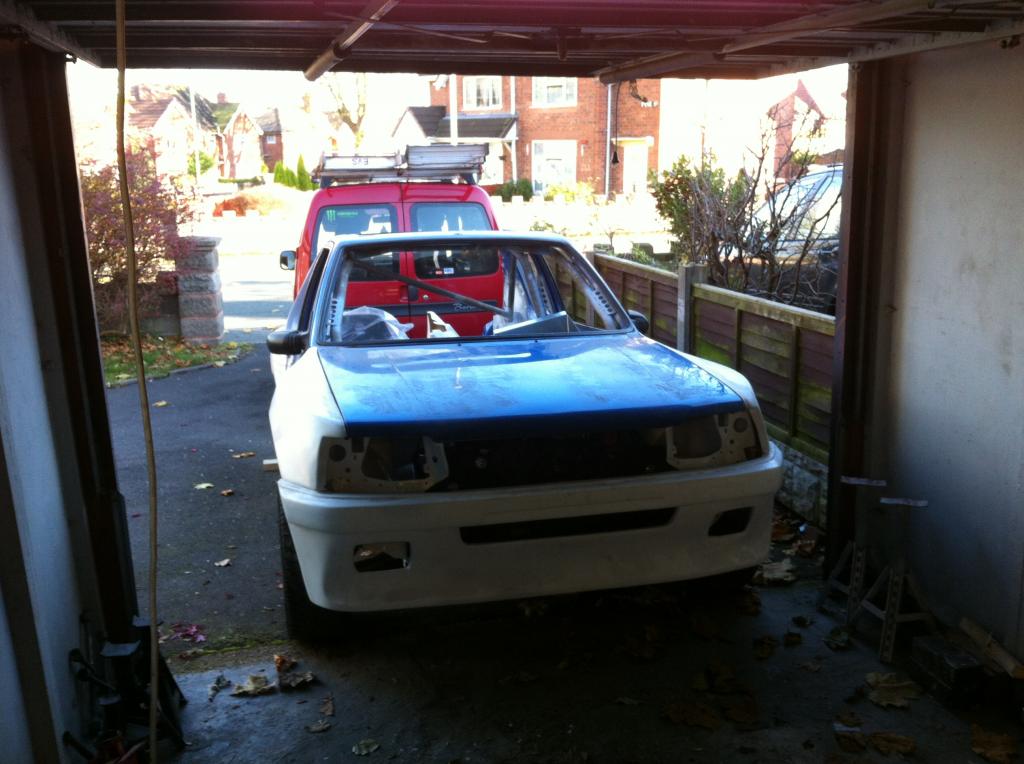
Subaru powered 205 track car.


Thread Starter
Scooby Regular
iTrader: (1)
Joined: Aug 2005
Posts: 1,378
Likes: 2
From: West midlands
Ive started looking at the rear arches and they needed some serious trimming back and after half a days trial and error they fit really well and should blend in quite nice..
I made some brackets first to fix the skirts.

As soon as i have painted under the wheel arches i will be bonding and riviting these on.
I made some brackets first to fix the skirts.
As soon as i have painted under the wheel arches i will be bonding and riviting these on.

Scooby Regular
Joined: Jun 2012
Posts: 324
Likes: 0
From: Bridgnorth
Hi looks good, nice job on the rear turretts look a lot neater than mine... thats how i'm going to do the front end on mine, i may diamond shape the floor at the rear but will know more when i get the donor shell this weekend,
how much room will you have up front or is the rad going in the back?
how much room will you have up front or is the rad going in the back?
Thread Starter
Scooby Regular
iTrader: (1)
Joined: Aug 2005
Posts: 1,378
Likes: 2
From: West midlands
Hi looks good, nice job on the rear turretts look a lot neater than mine... thats how i'm going to do the front end on mine, i may diamond shape the floor at the rear but will know more when i get the donor shell this weekend,
how much room will you have up front or is the rad going in the back?
how much room will you have up front or is the rad going in the back?
I will be following your progress anyway mate.
James
Last edited by rentonone; Jun 14, 2012 at 10:54 PM.


Thread Starter
Scooby Regular
iTrader: (1)
Joined: Aug 2005
Posts: 1,378
Likes: 2
From: West midlands
Cheers Guys!
So i have spent the last few weeks painting the underside of the car and under the wheel arches, the plan is to get all the work done underneath and get it on its wheels so i can finish off the cage and start the bodywork.
1 coat of anti rust etch primer
1 coat of anti stone chip under the arches
2 coats of enamel undercoat
2 coats of enamel gloss.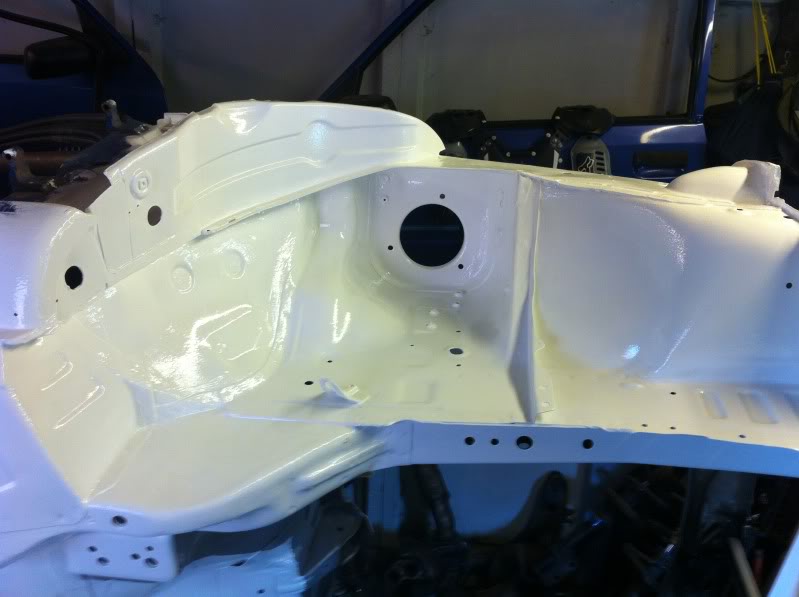
Thread Starter
Scooby Regular
iTrader: (1)
Joined: Aug 2005
Posts: 1,378
Likes: 2
From: West midlands
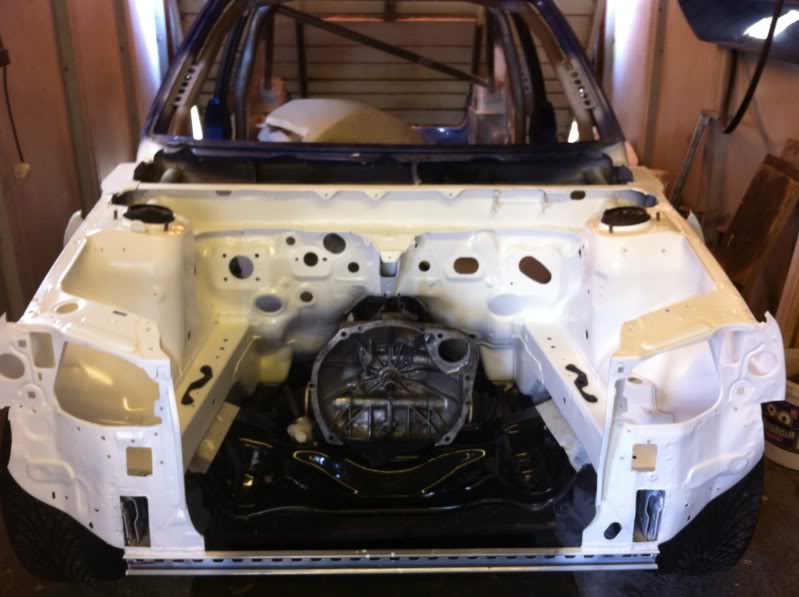
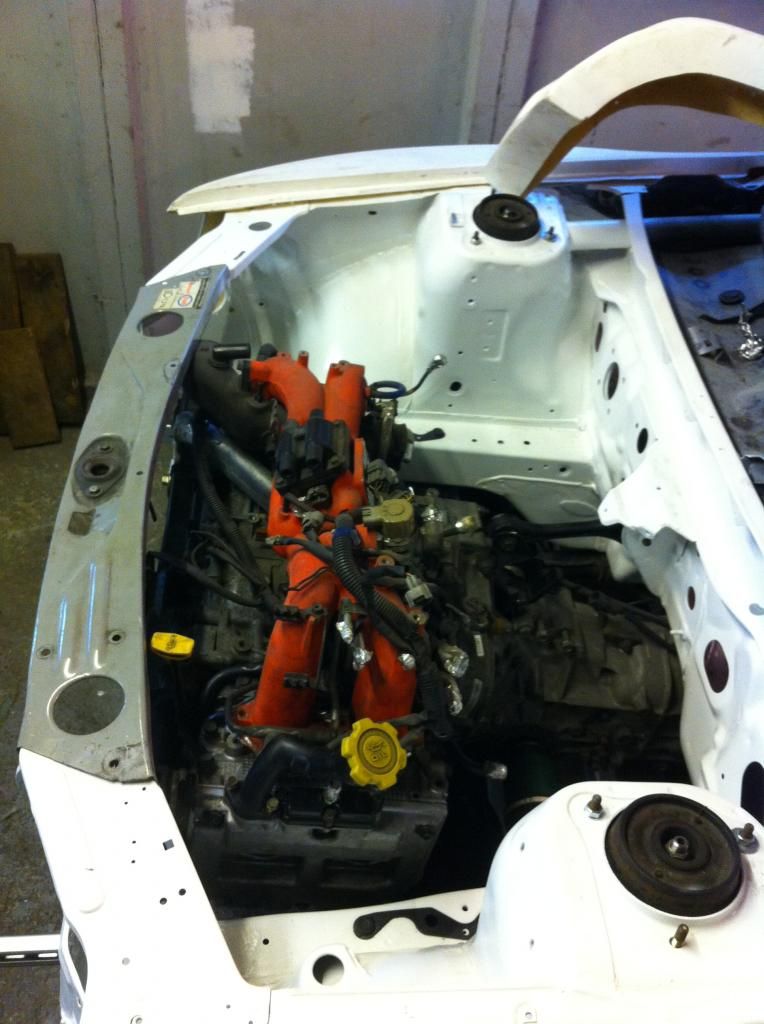
The engine bay is now finished and painted, i have done this so i can fit the engine and gearbox and leave them in there, i still dont know how far forward the engine is going to sit yet as i haven't tried it.
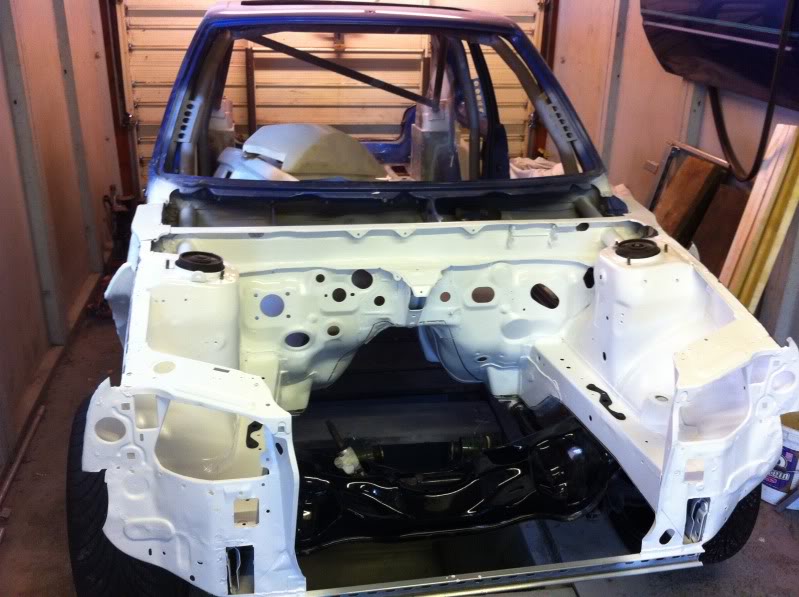
Gearbox fitted.

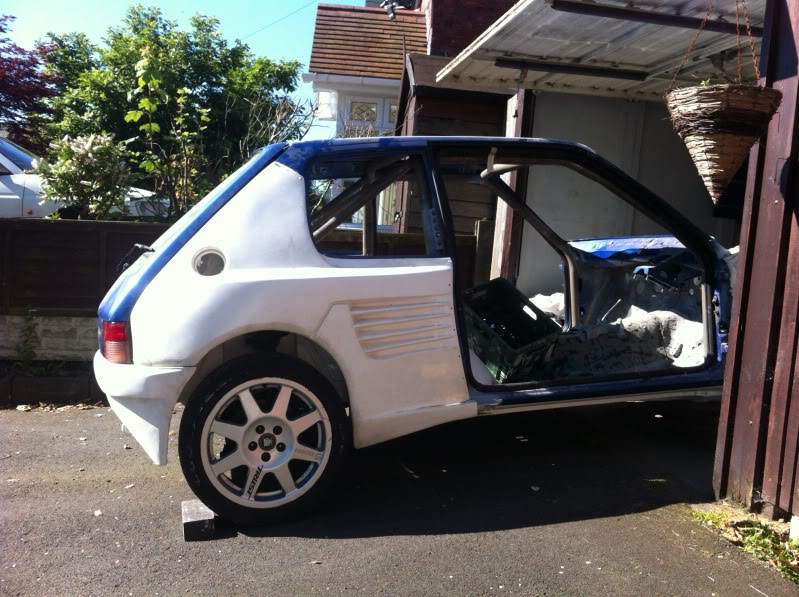
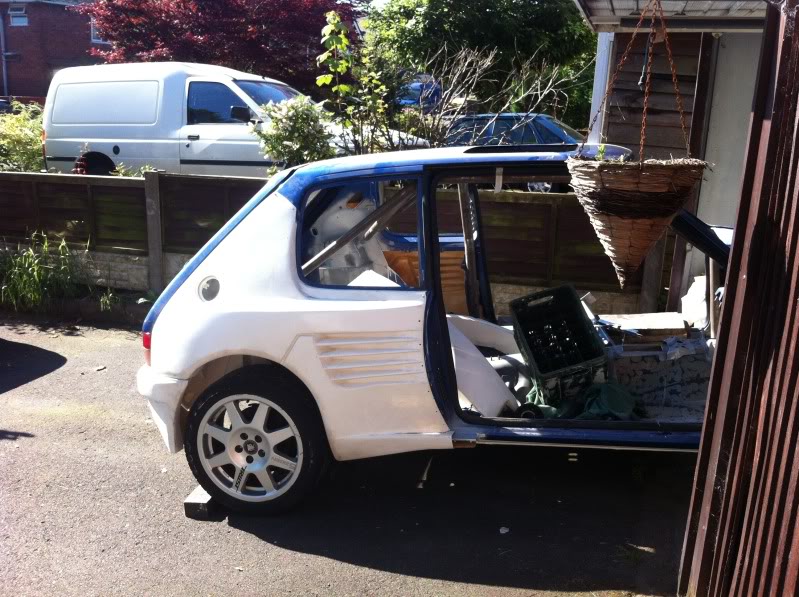
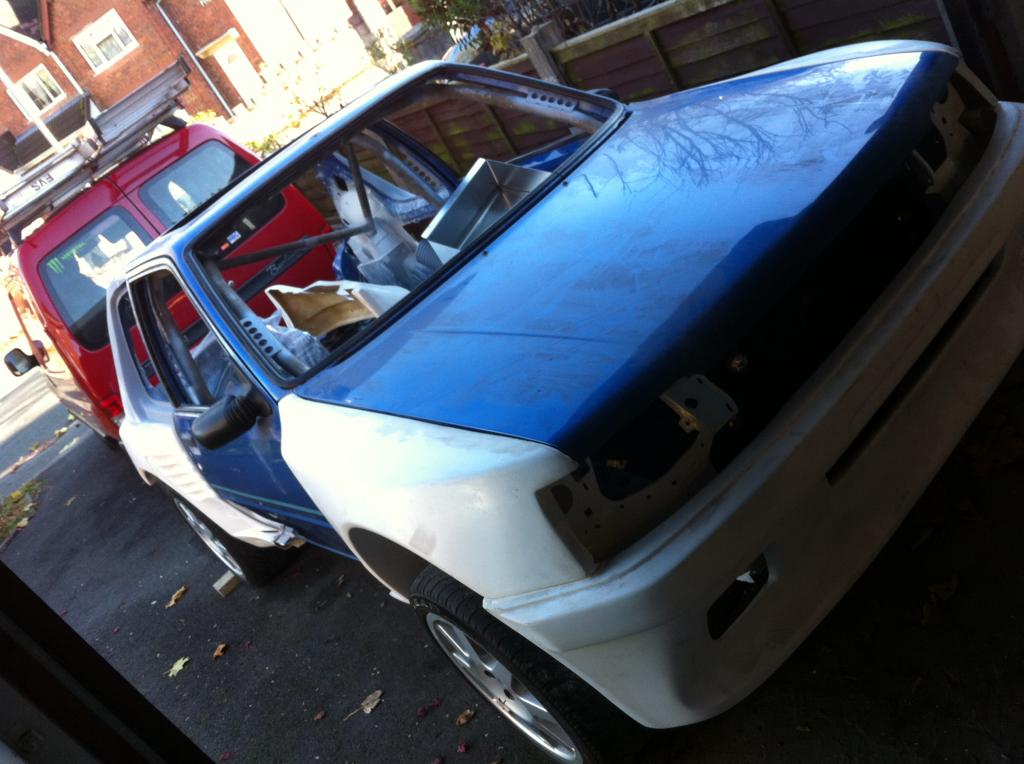
Next ive decided to treat the car to a bit of sunshine and test fit the new wheels and the rear bodykit, i think its going to look pretty good and the wheels suit it quite well.
I actually hate the Dimma kit as they are usually slammed to the deck chav mobiles (not all) i have seen a few nice ones lol. Im trying to give it more of a wrc look and i think with the wheels painted gold it will look awesome!

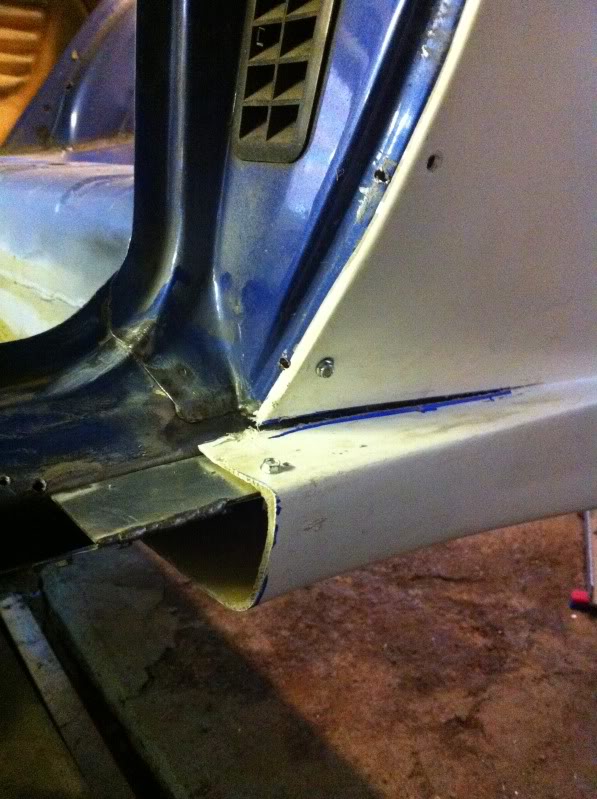
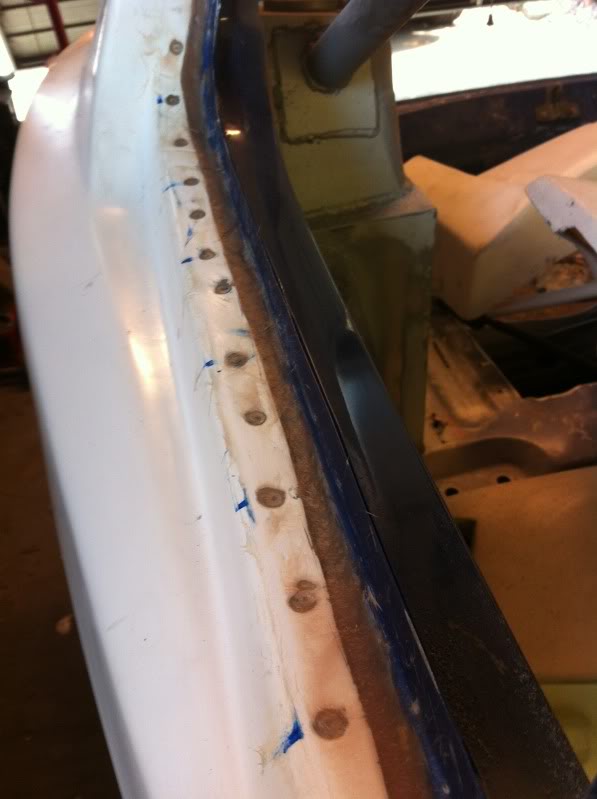
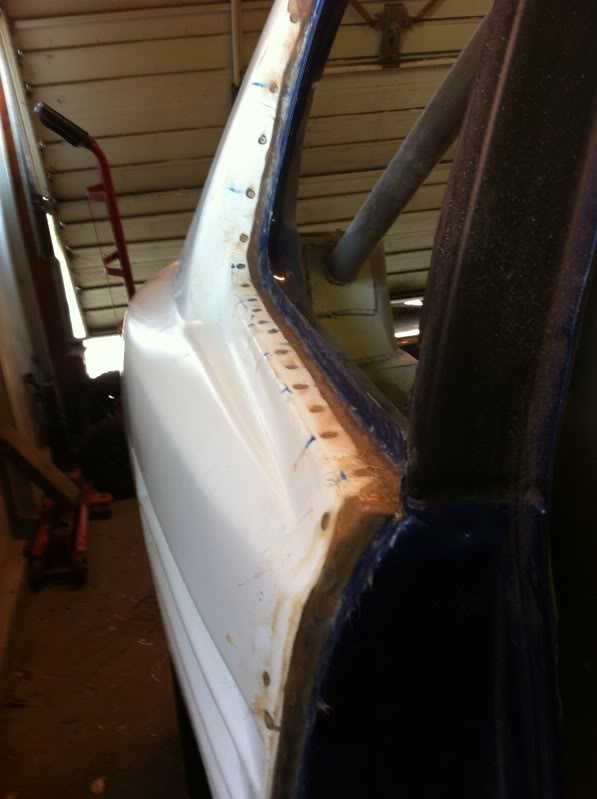
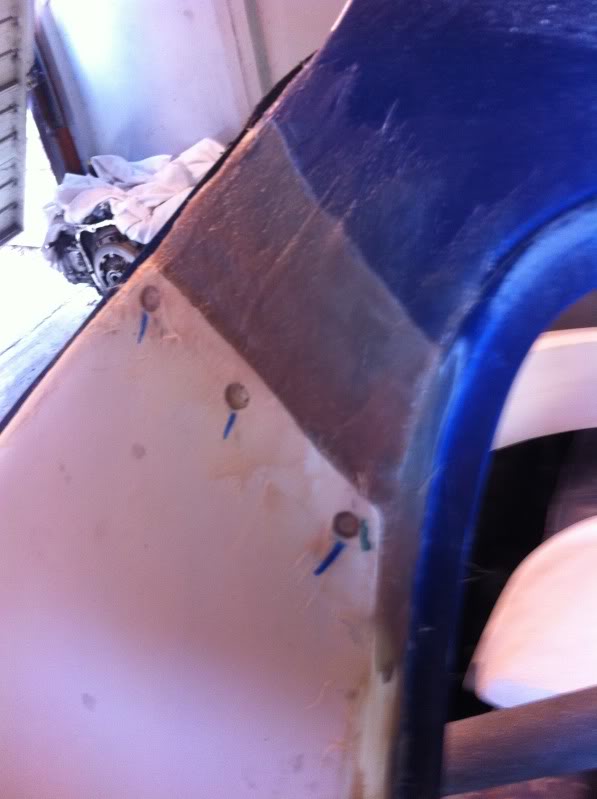
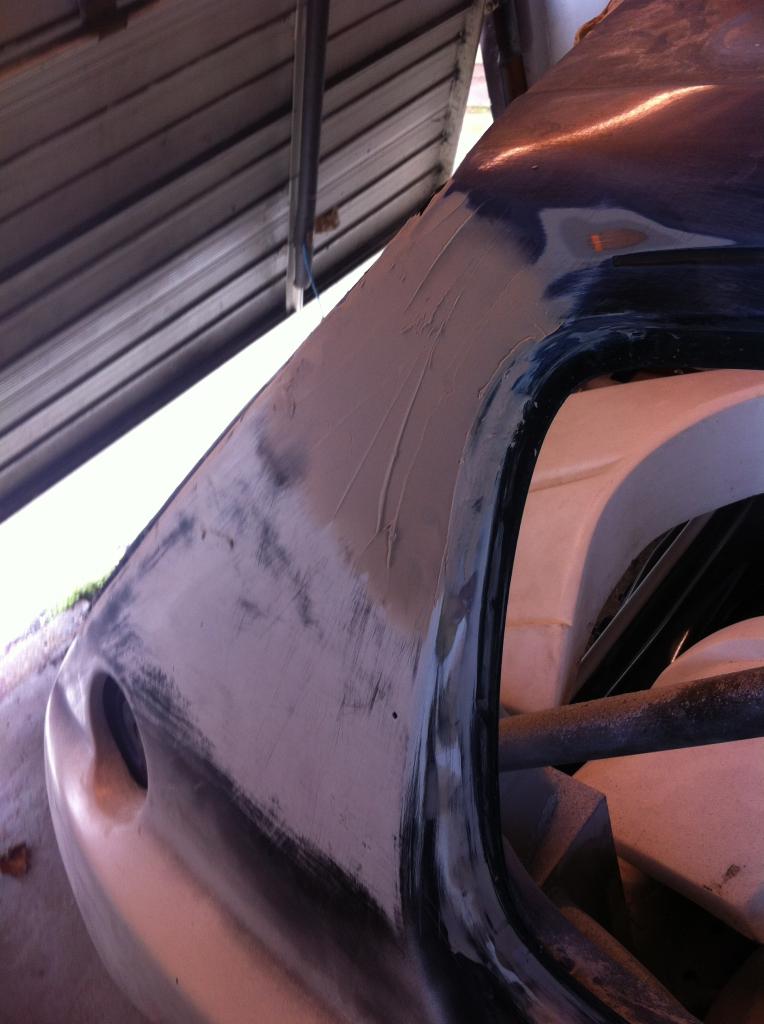
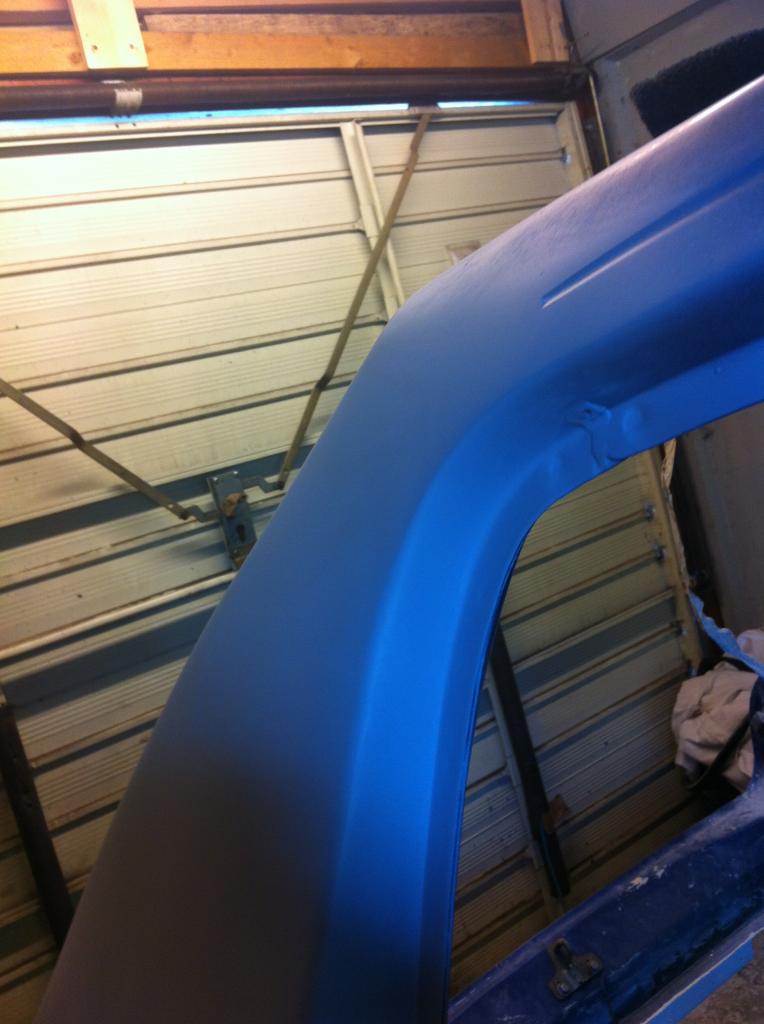
The next job was to bond on the rear arches, they have been on and off and trimmed back so many times its unreal but im finally happy with the fittment, ive taken the paintwork back to bare metal and bonded them on with tiger seal and fixed them on with pop rivots so they should not budge.
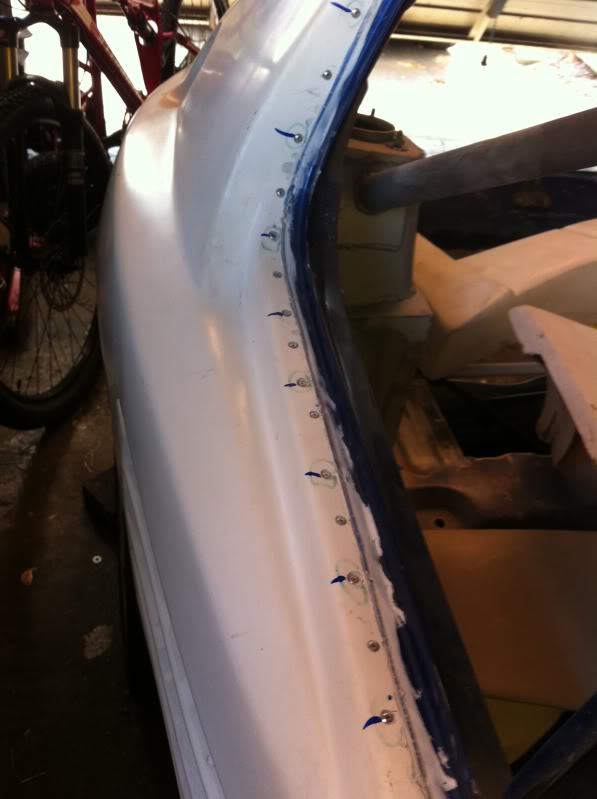
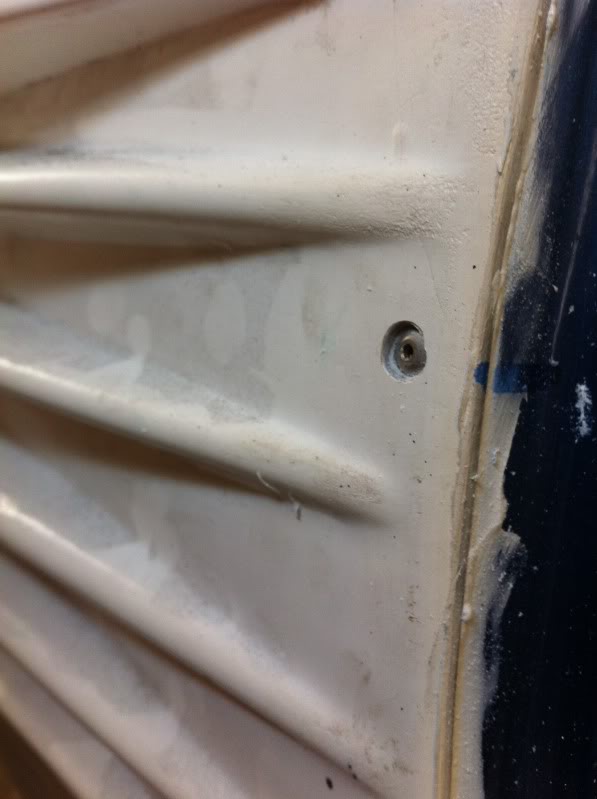
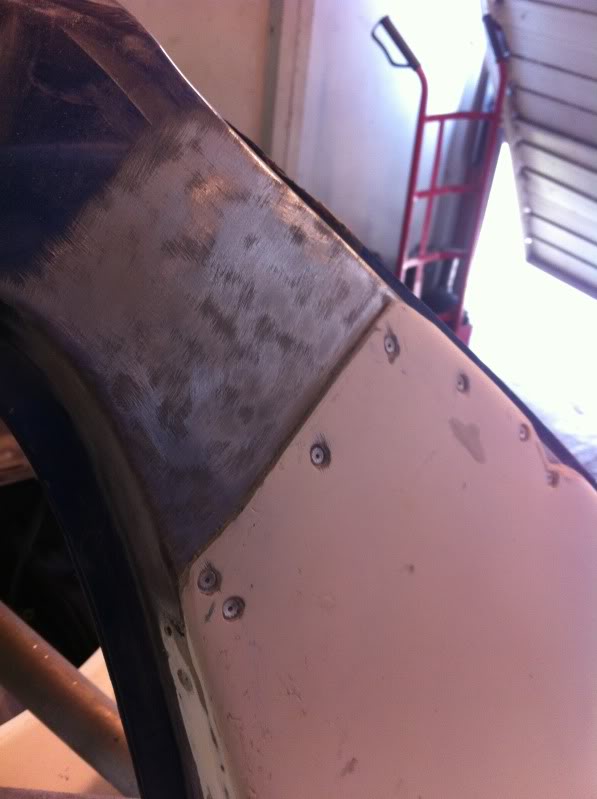
Ive used fibreglass p40 filler to blend in and bridge the bulk of the area and then i'll finish it all off with p38 polyester filler.
Gearbox fitted.
Next ive decided to treat the car to a bit of sunshine and test fit the new wheels and the rear bodykit, i think its going to look pretty good and the wheels suit it quite well.
I actually hate the Dimma kit as they are usually slammed to the deck chav mobiles (not all) i have seen a few nice ones lol. Im trying to give it more of a wrc look and i think with the wheels painted gold it will look awesome!
The next job was to bond on the rear arches, they have been on and off and trimmed back so many times its unreal but im finally happy with the fittment, ive taken the paintwork back to bare metal and bonded them on with tiger seal and fixed them on with pop rivots so they should not budge.
Ive used fibreglass p40 filler to blend in and bridge the bulk of the area and then i'll finish it all off with p38 polyester filler.


Thread Starter
Scooby Regular
iTrader: (1)
Joined: Aug 2005
Posts: 1,378
Likes: 2
From: West midlands
That is the plan mate, I'm going to cut out the inner part of the vent so there will be strips cut out if you get me, you will basically just see the bars of the vent.
It should make good cold air feeds to the rear mounted rad.
James
It should make good cold air feeds to the rear mounted rad.
James
Last edited by rentonone; Jul 26, 2012 at 10:00 PM.
Thread Starter
Scooby Regular
iTrader: (1)
Joined: Aug 2005
Posts: 1,378
Likes: 2
From: West midlands
I will be keeping the engine standard with just exhaust, filter and ic upgrades.
The engine is a v4 sti so just under 300bhp.
As for the handling I will be on the look out for some coilovers and some solid drop links to start things off.
Brakes, I think standard 4 pots will be up for the job as the car is quite light.
Thread Starter
Scooby Regular
iTrader: (1)
Joined: Aug 2005
Posts: 1,378
Likes: 2
From: West midlands
Cheers mate yours is coming on a treat too...
James
Thread Starter
Scooby Regular
iTrader: (1)
Joined: Aug 2005
Posts: 1,378
Likes: 2
From: West midlands
Big Time Update now as the engine is now fitted
Its been a long time coming!
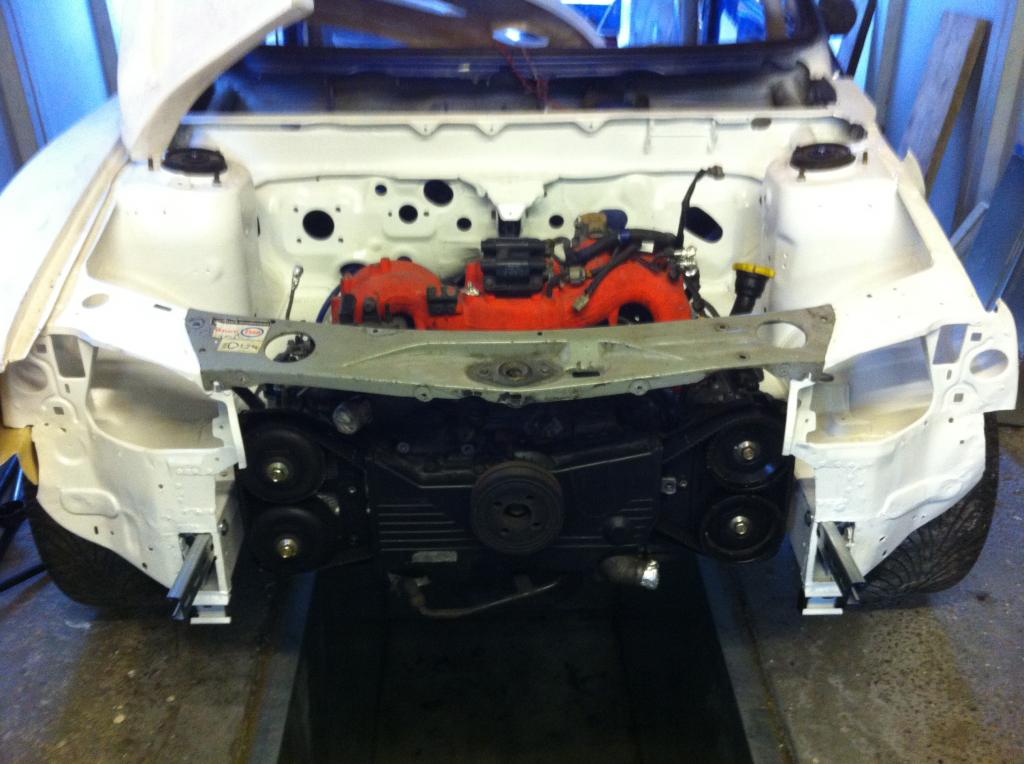
Its a tight fit but shouldn't cause any problems, the alternator sits quite close under the front panel and will need trimming back a little but thats about it, there is plenty room for a front mount intercooler behind the front bumper and with the rad going in the boot the area should stay quite cool.

And a quick mock up of the front end just to keep myself excited
Its been a long time coming!
Its a tight fit but shouldn't cause any problems, the alternator sits quite close under the front panel and will need trimming back a little but thats about it, there is plenty room for a front mount intercooler behind the front bumper and with the rad going in the boot the area should stay quite cool.
And a quick mock up of the front end just to keep myself excited


Thread Starter
Scooby Regular
iTrader: (1)
Joined: Aug 2005
Posts: 1,378
Likes: 2
From: West midlands
Bit of an update but nothing major, first of all thanks for all the comments, much apreciated.
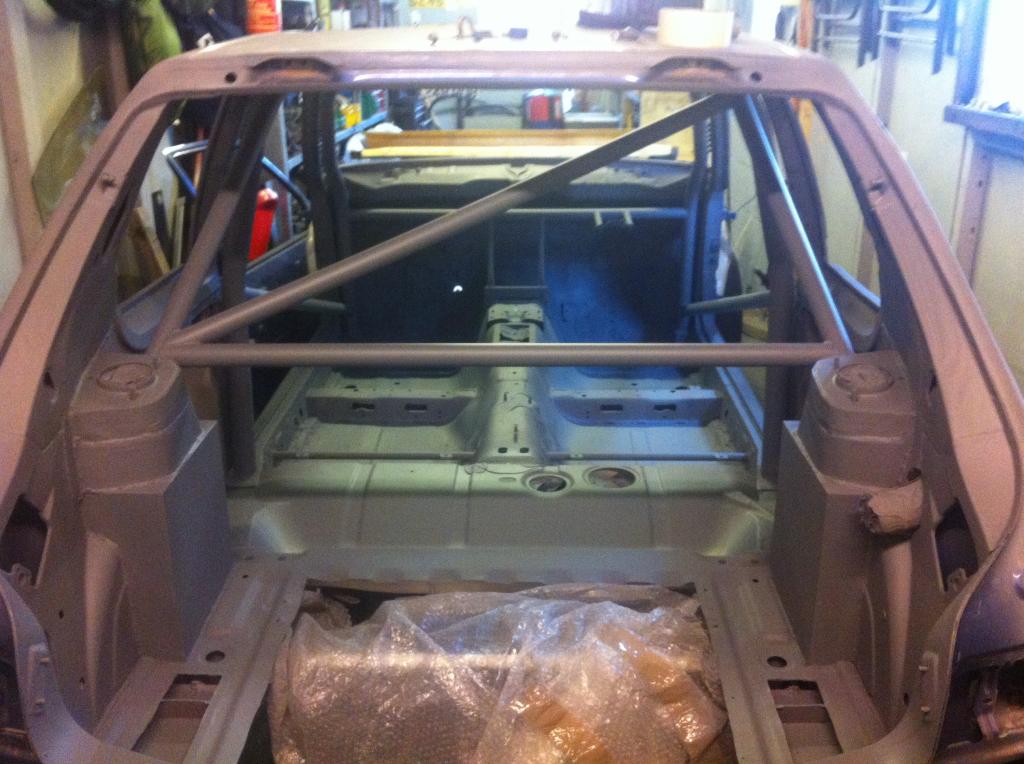
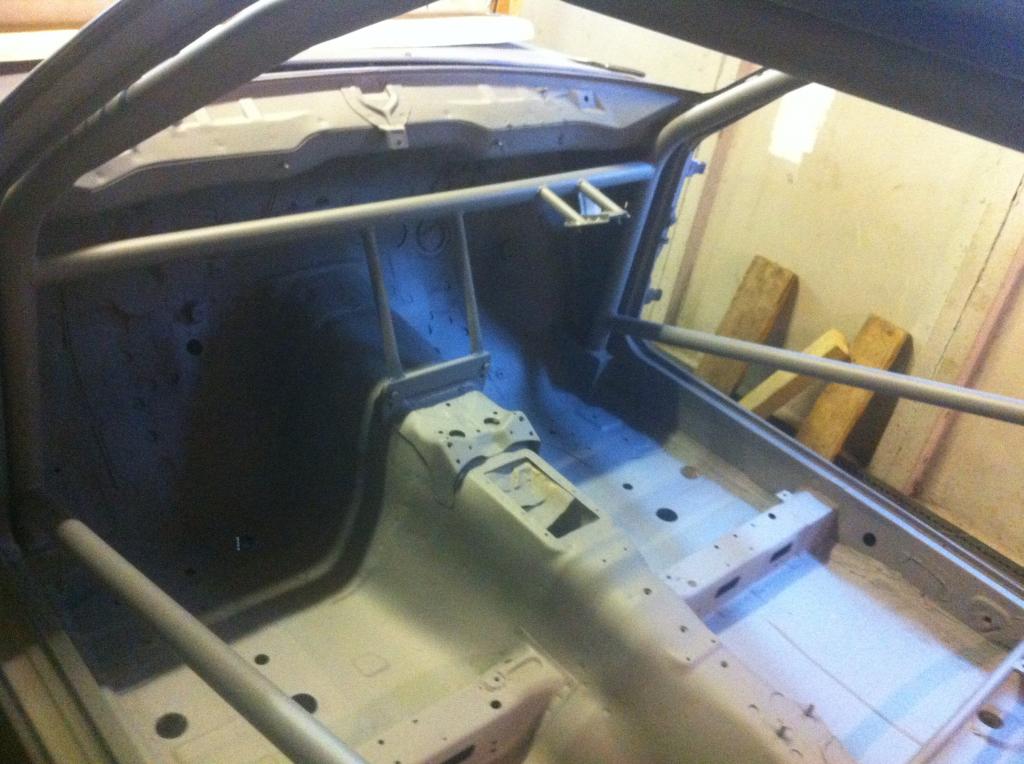
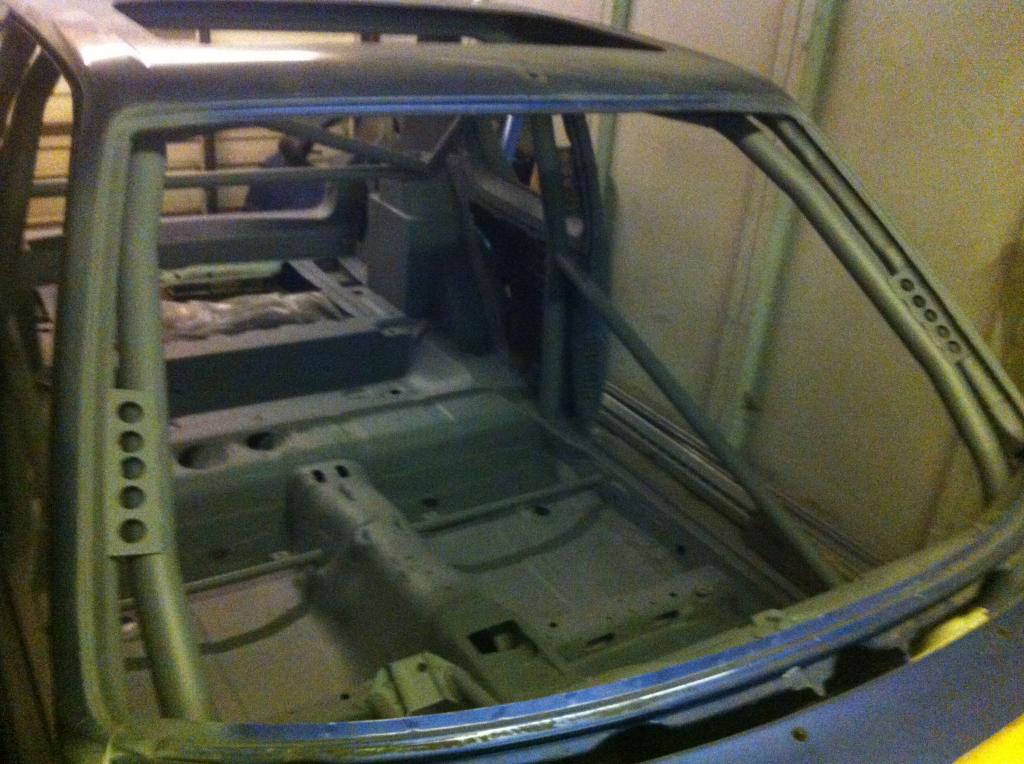
I have been tying in the last few bits of the roll cage including a dash bar and brackets to bolt the steering column on to.

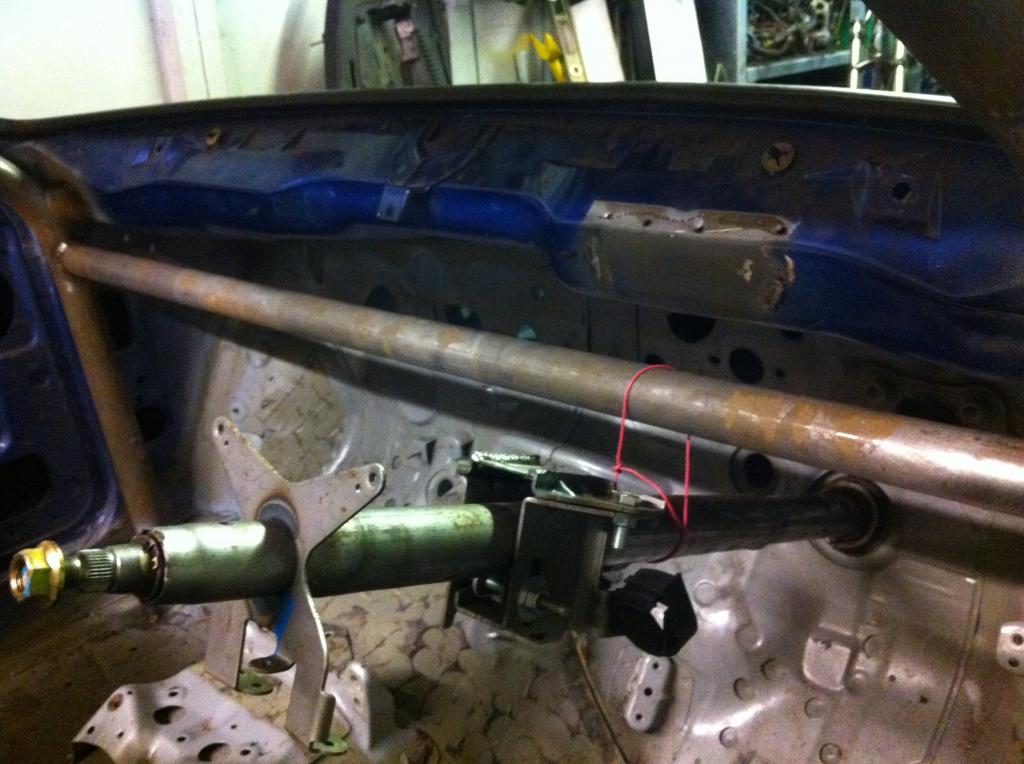
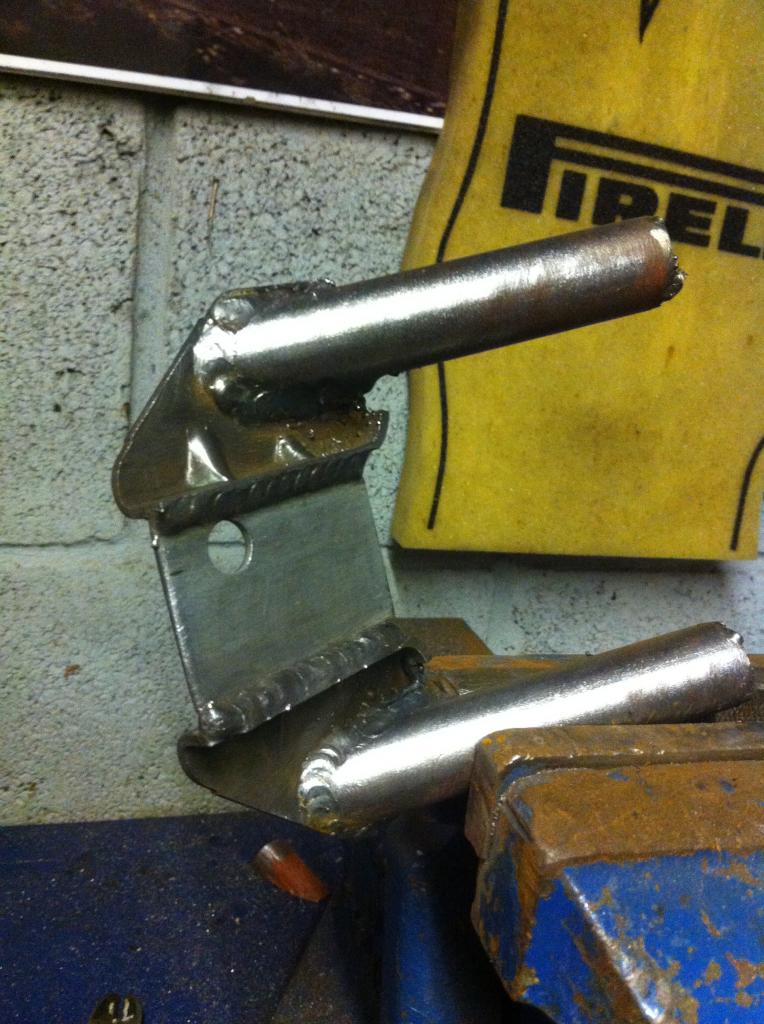
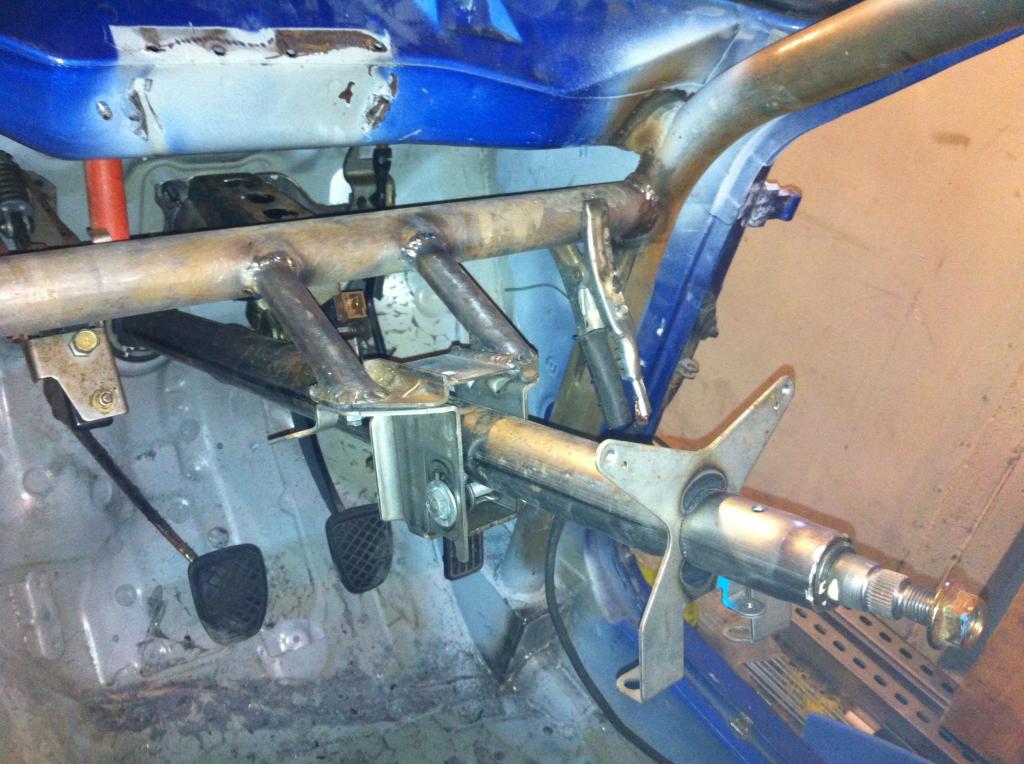
I have been tying in the last few bits of the roll cage including a dash bar and brackets to bolt the steering column on to.
Thread Starter
Scooby Regular
iTrader: (1)
Joined: Aug 2005
Posts: 1,378
Likes: 2
From: West midlands
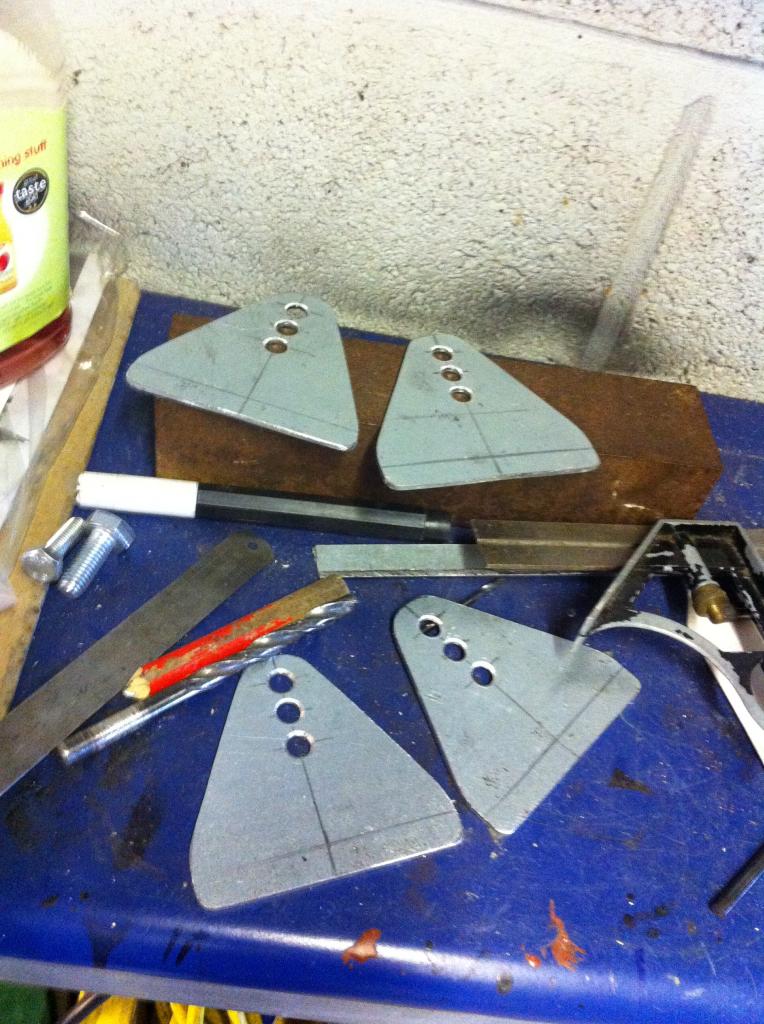
A few little odd jobs, started making up some seat mounts, trying to save some pennies..
And now for the bodywork, a bit of a mix and blend!!!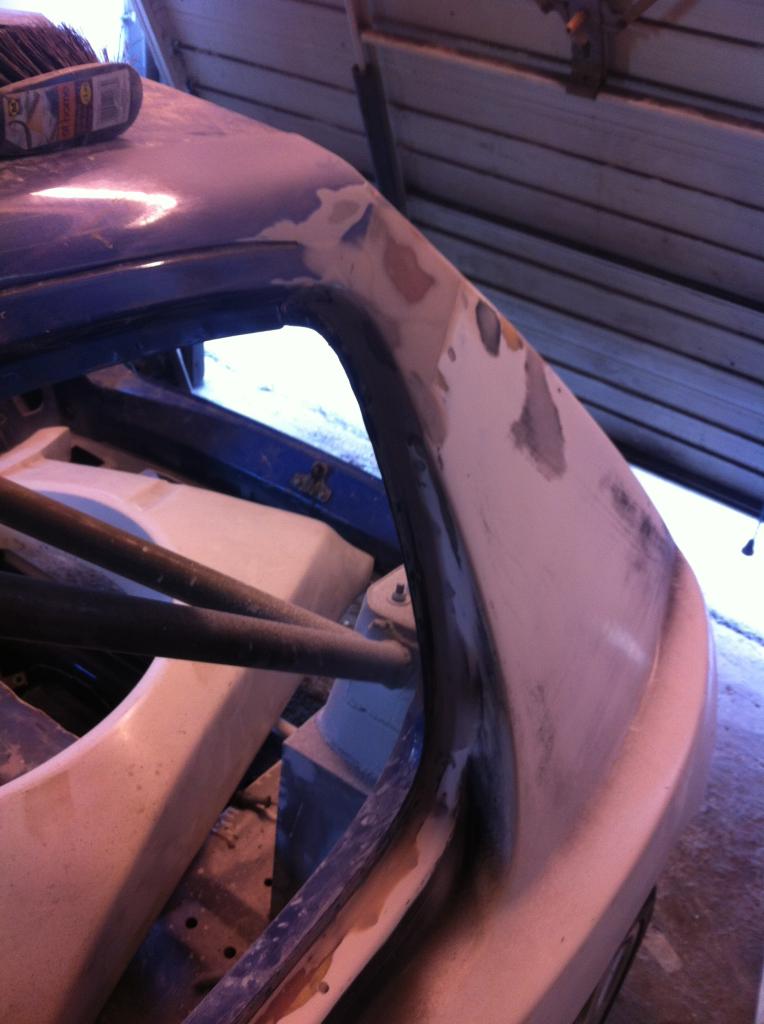
And now for the bodywork, a bit of a mix and blend!!!
Last edited by rentonone; Jan 18, 2013 at 09:15 PM.
Thread Starter
Scooby Regular
iTrader: (1)
Joined: Aug 2005
Posts: 1,378
Likes: 2
From: West midlands
James
Thread Starter
Scooby Regular
iTrader: (1)
Joined: Aug 2005
Posts: 1,378
Likes: 2
From: West midlands
Had a bit of a productive week,ive managed to to get the inside fully painted and what a task it was painting round the cage.
Ive properly plumbed in my compessor now and fitted a water trap so im all set up to paint the outside of the car when the time comes.
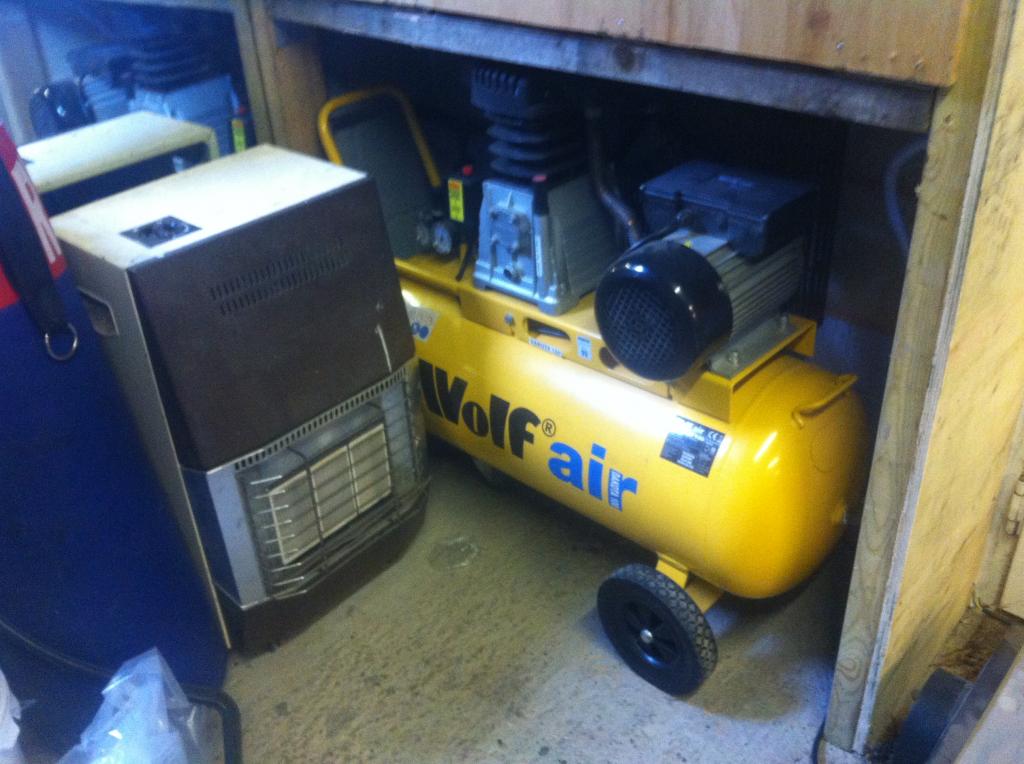
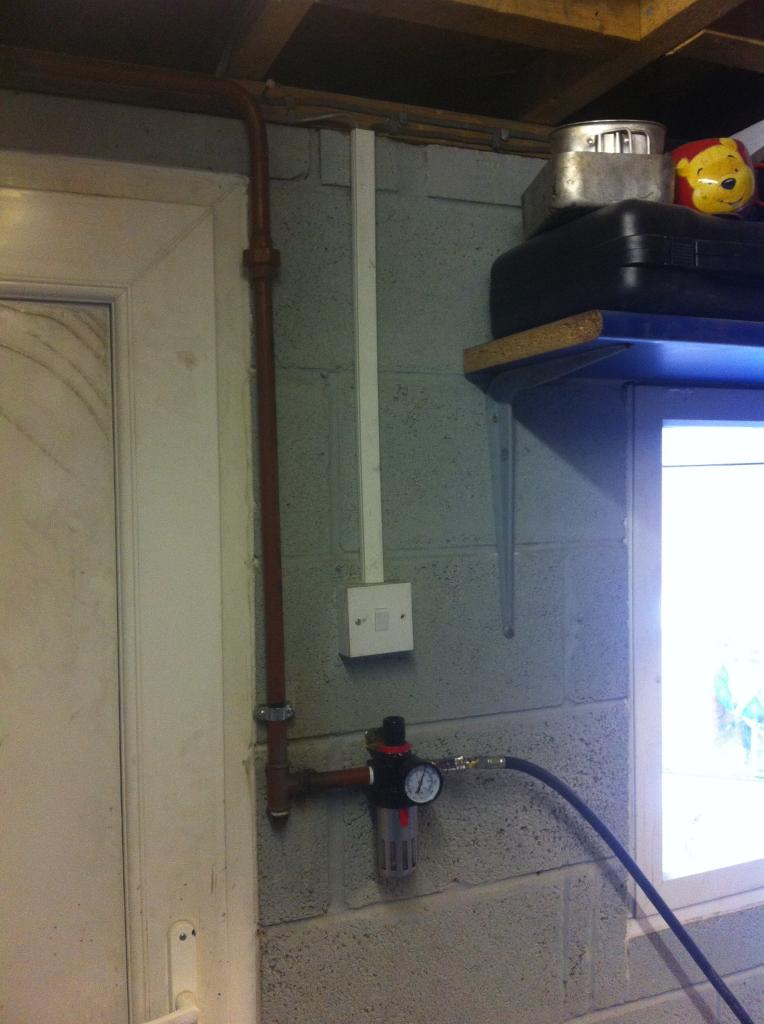
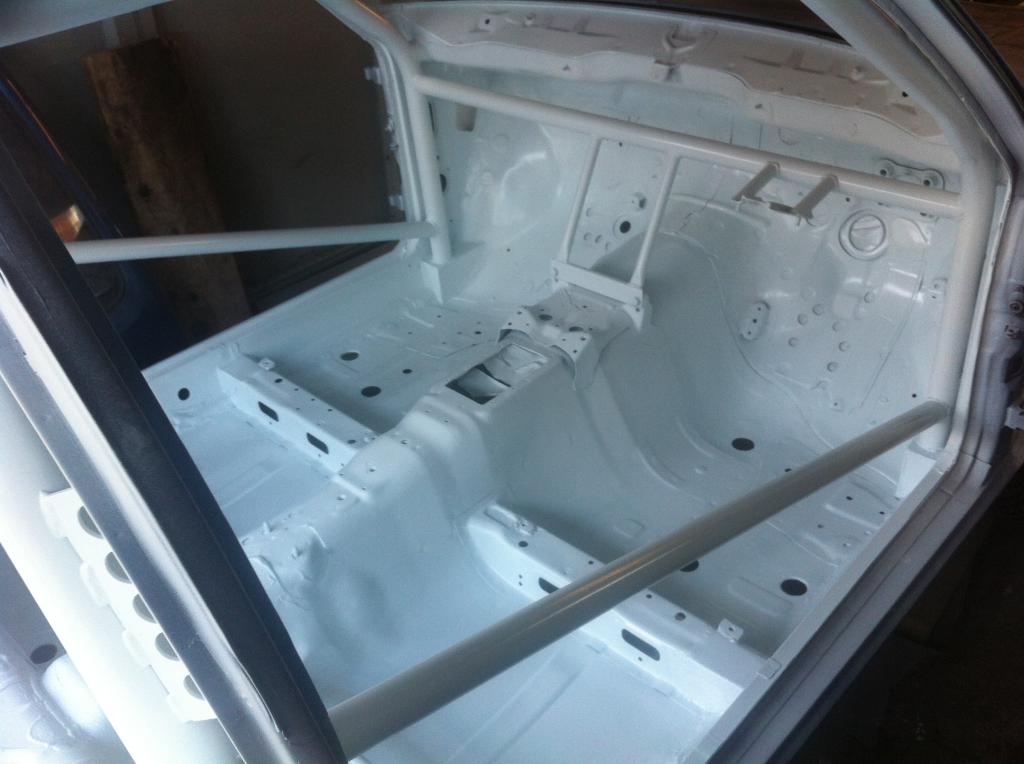
Ive properly plumbed in my compessor now and fitted a water trap so im all set up to paint the outside of the car when the time comes.
