
Double Trouble Scooby's

Its been far to long since ive been able to do any work to my car due to my back injury ive been told by the doctor not to do any bending or lifting but ive not done anything to the car in 2 months so i had to get back into it.
Today was spent putting the wiring loom back in and the daskboard and also managed to get the roll cage back in.


That bit done i was still left with this lots to find a home for!

So not to be beaten i left the wiring at that for today lmao!!!

I then put the pedal box back in also the clutch cylinder and the brake servo.

That done onto the rollcage which was pretty simple task.


so that was about it for today.
Here are some more picture taken today.


ive been told by the doctor not to do any bending or lifting but ive not done anything to the car in 2 months so i had to get back into it.Today was spent putting the wiring loom back in and the daskboard and also managed to get the roll cage back in.
That bit done i was still left with this lots to find a home for!
So not to be beaten i left the wiring at that for today lmao!!!
I then put the pedal box back in also the clutch cylinder and the brake servo.
That done onto the rollcage which was pretty simple task.
so that was about it for today.
Here are some more picture taken today.


Its been a couple of months since i last updated thats because im still under doctors orders regarding my back,that said i have done some small jobs to my car.
Ive got some massive 6 pot ap racing brakes for the front and i will be up grading the rear as well so ive put in a brake bios valve


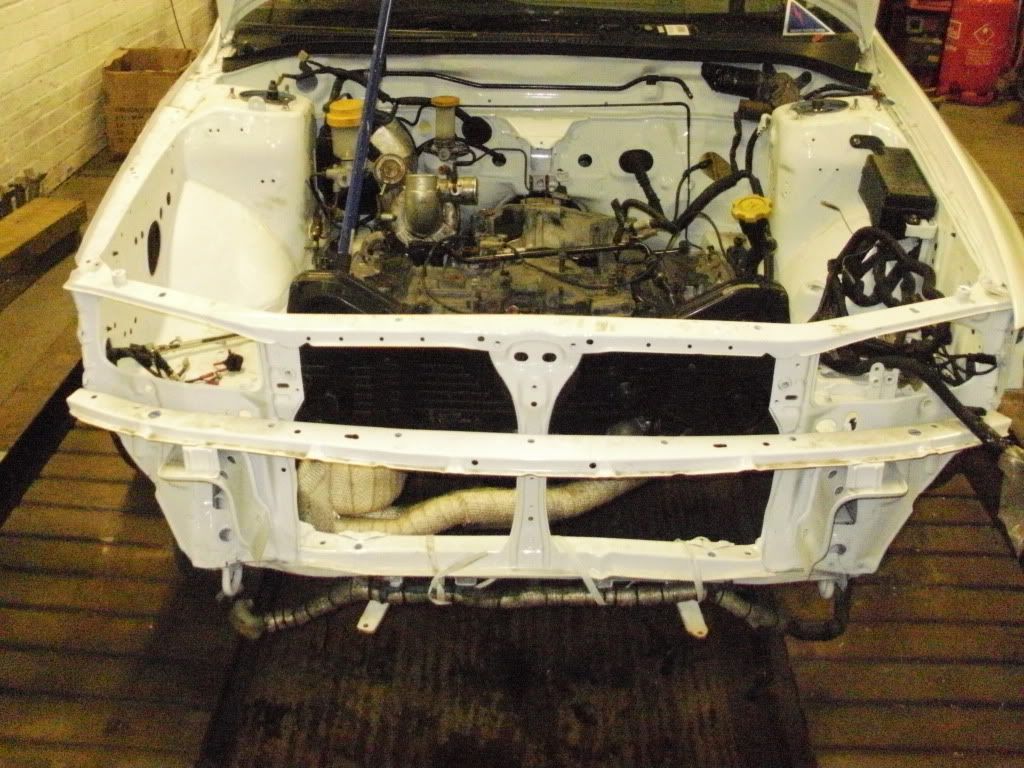
Ive stripped the front end completely as the steering rack was leaking so im going put my spare one on im also going to put new ball joints and track rod ends just as a matter of course ive ordered poly bushes for the front so they should arrive this week.


then it was time to clean everything
BEFORE


AFTER


I have been buying parts and now have a good amount ready to bolt on so hoping now to pick up some speed on the project whilst being very careful with my back doc, HONEST

Also got a nice stack of tarmac race tyres ready


Next purchase has to be a turbo and uprated oil pump plus a sump baffle then the engine can go back in

money tree in my back garden still isnt growing so gotta save
thats it for now!!!!!
Ive got some massive 6 pot ap racing brakes for the front and i will be up grading the rear as well so ive put in a brake bios valve
Ive stripped the front end completely as the steering rack was leaking so im going put my spare one on im also going to put new ball joints and track rod ends just as a matter of course ive ordered poly bushes for the front so they should arrive this week.
then it was time to clean everything
BEFORE
AFTER
I have been buying parts and now have a good amount ready to bolt on so hoping now to pick up some speed on the project whilst being very careful with my back doc, HONEST
Also got a nice stack of tarmac race tyres ready
Next purchase has to be a turbo and uprated oil pump plus a sump baffle then the engine can go back in
money tree in my back garden still isnt growing so gotta save
thats it for now!!!!!
Looking nice and clean. Like the mounting posistion for the bias valve, i have mine under the bonnet which makes it a bit of a pain to play about with. If you don't mind me asking, where did you get you're braided lines made up?
Ive managed a few more hours on the car i completely stripped the rear end diff out,driveshafts off,tie bars off,coilovers off all ready for cleaning and inspecting and poly bushes fitted where needed the car came with sti rear tie bars which have rose joints in so no need to replace those as there as good as i think you can get.
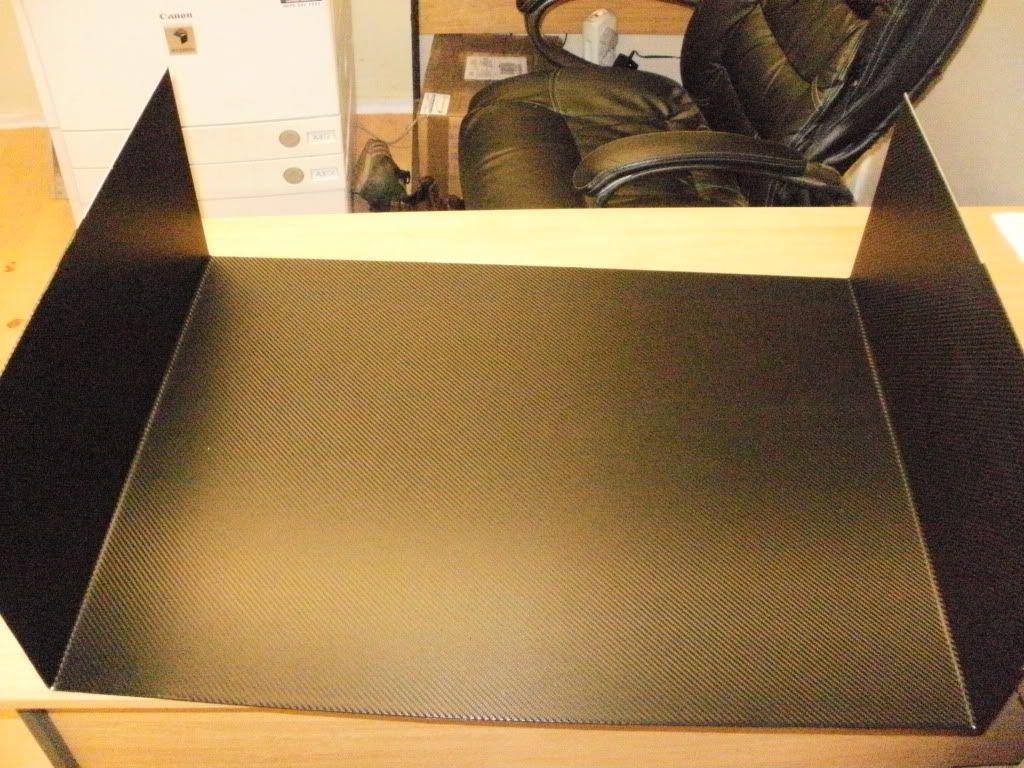
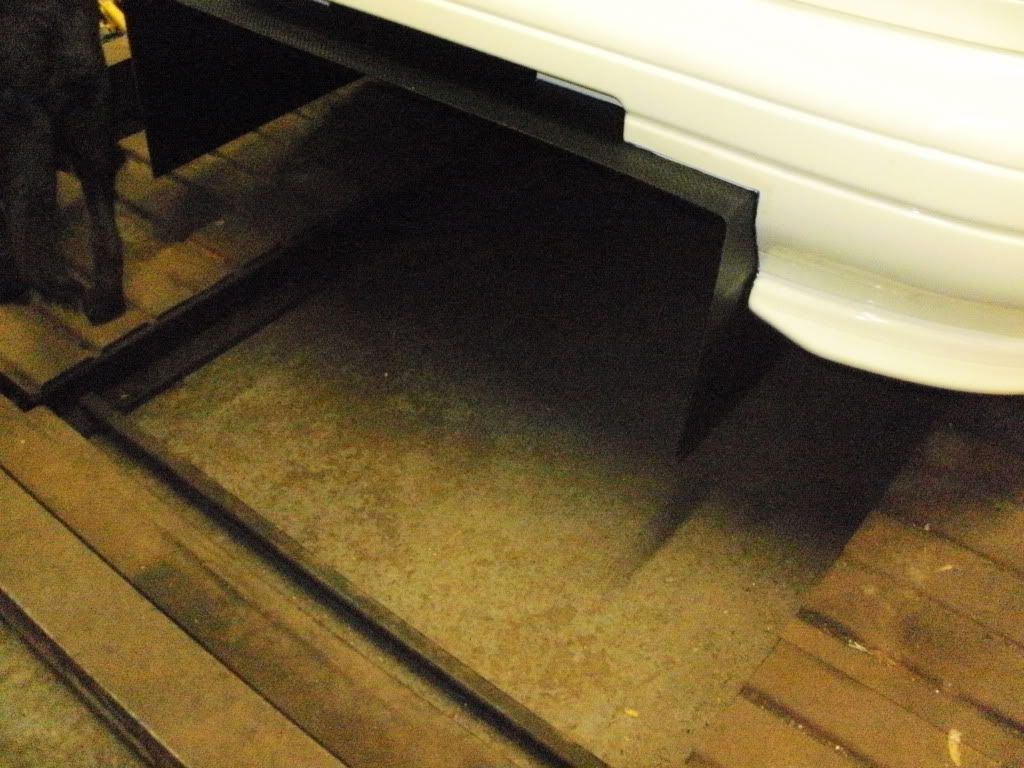
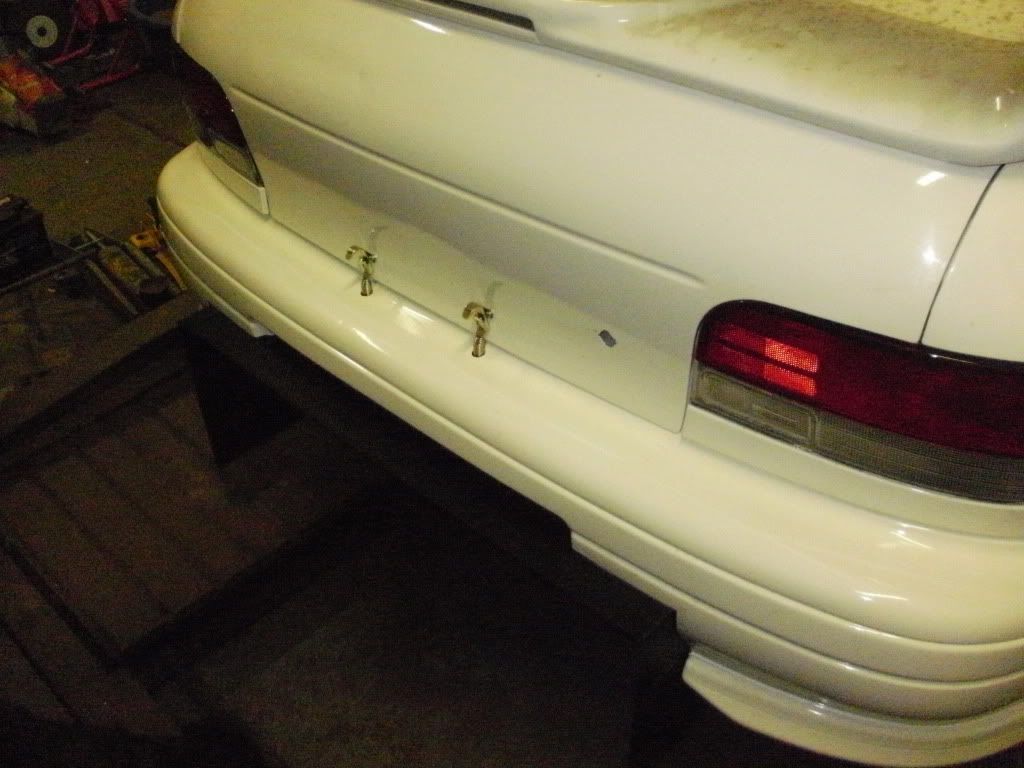
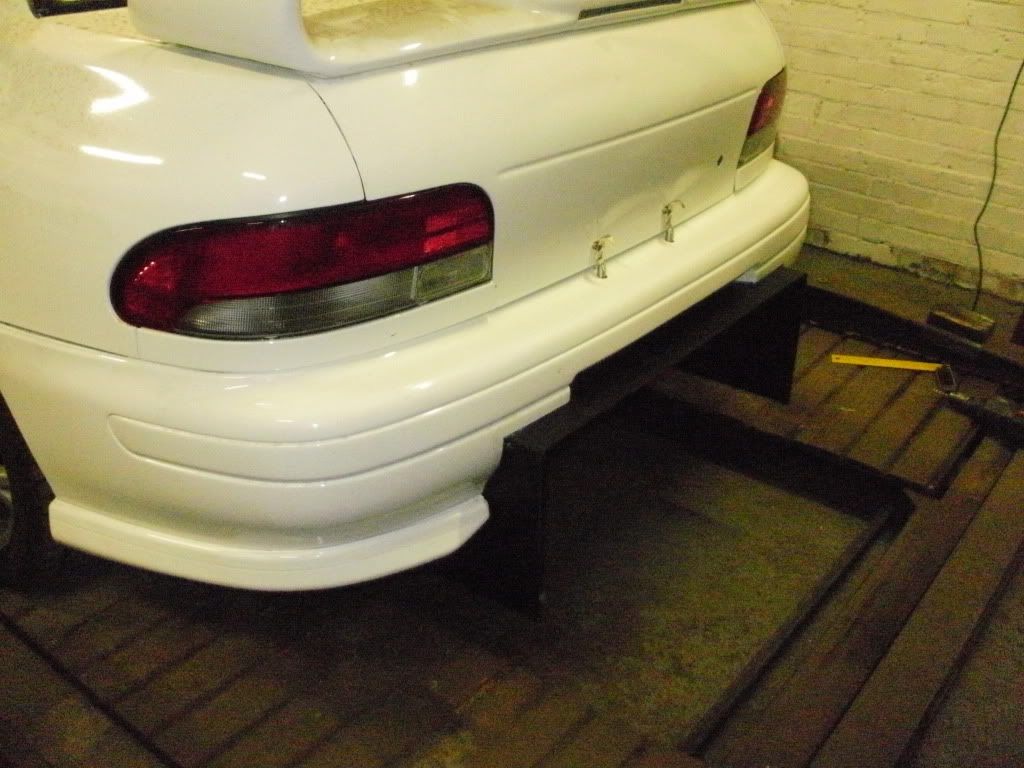
Ive also decided to cut the the spare wheel well out and make the boot floor flat and have a rear difusser.
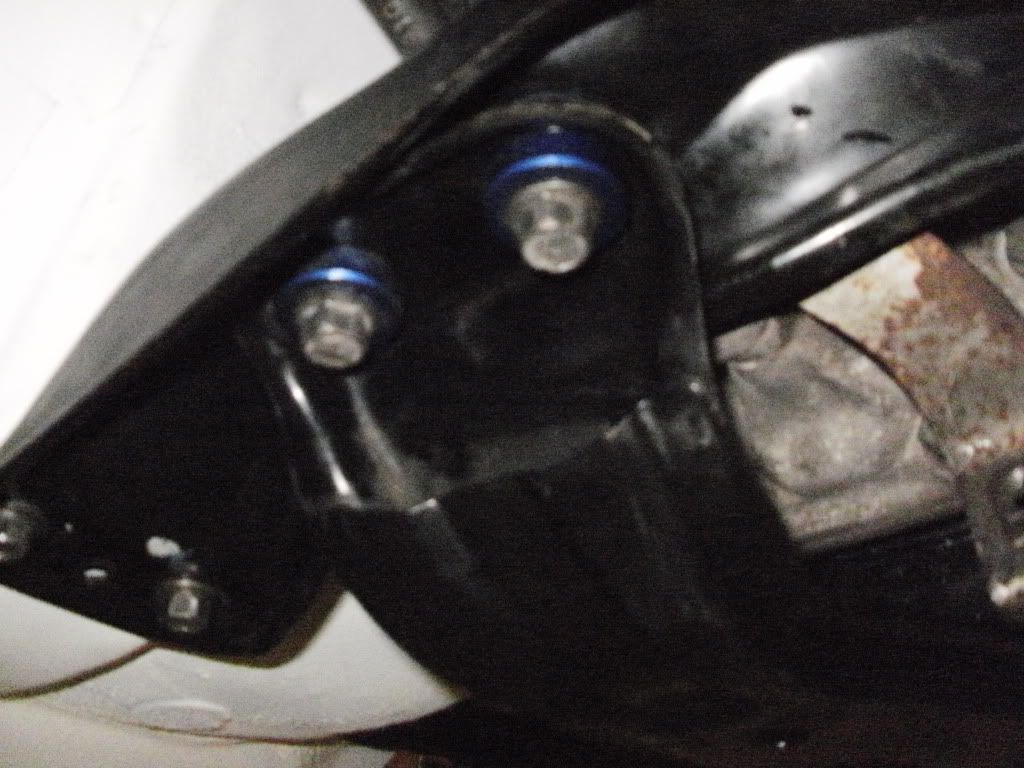
My pipe clips arrived so i have now secured the braided brake pipe to and from the brake bios valve.
Ive also decided to cut the the spare wheel well out and make the boot floor flat and have a rear difusser.
My pipe clips arrived so i have now secured the braided brake pipe to and from the brake bios valve.

been doing some work on the car today mainly cleaning and painting parts.
Ive order poly bushes and had hoped they would have arrived this week but only half came, so it will be next weekend before i can start putting the suspenion and drive train back together.
24mm adjustable antiroll bar is on order as well, so that should be here next week, i already have a 22mm adjustable for the front.
I had a helping hand today so would like to say many thanks to scott for giving up his time.
few more jobs done!
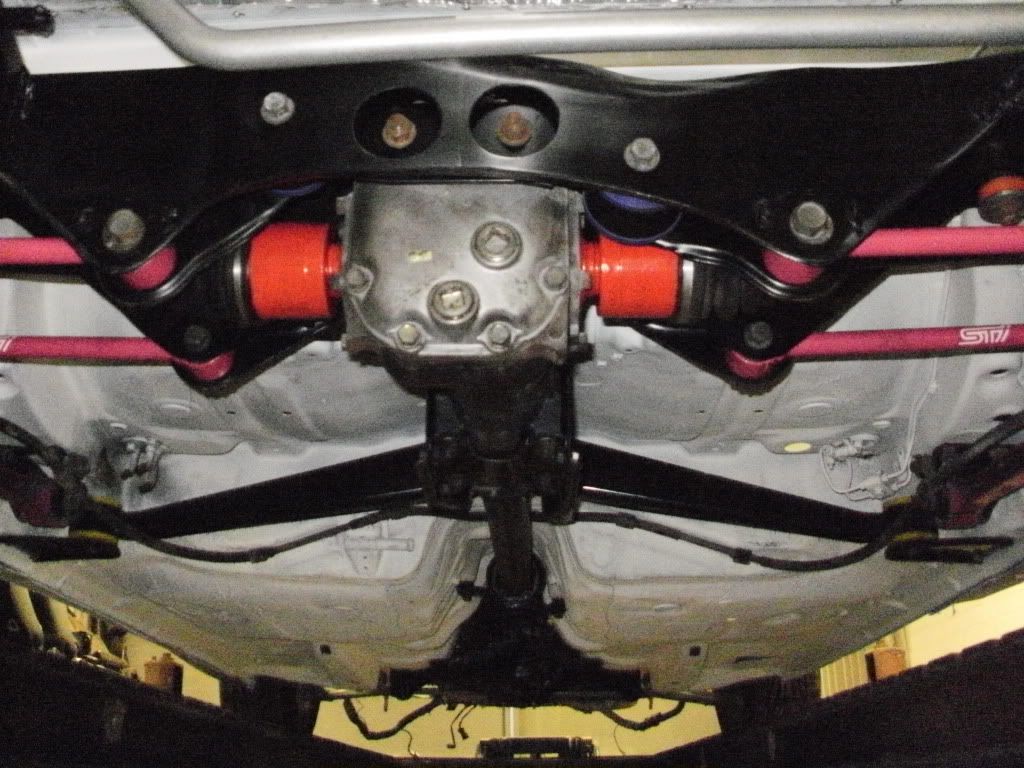
the rear suspenion is all poly bushed and cleaned and rebuilt the diff carrier and rear beam are painted and poly bushed and back on the car diff also back in ive fitted a 24mm adjustable antirollbar on the rear so ive added abit of strength to the arb brackets.
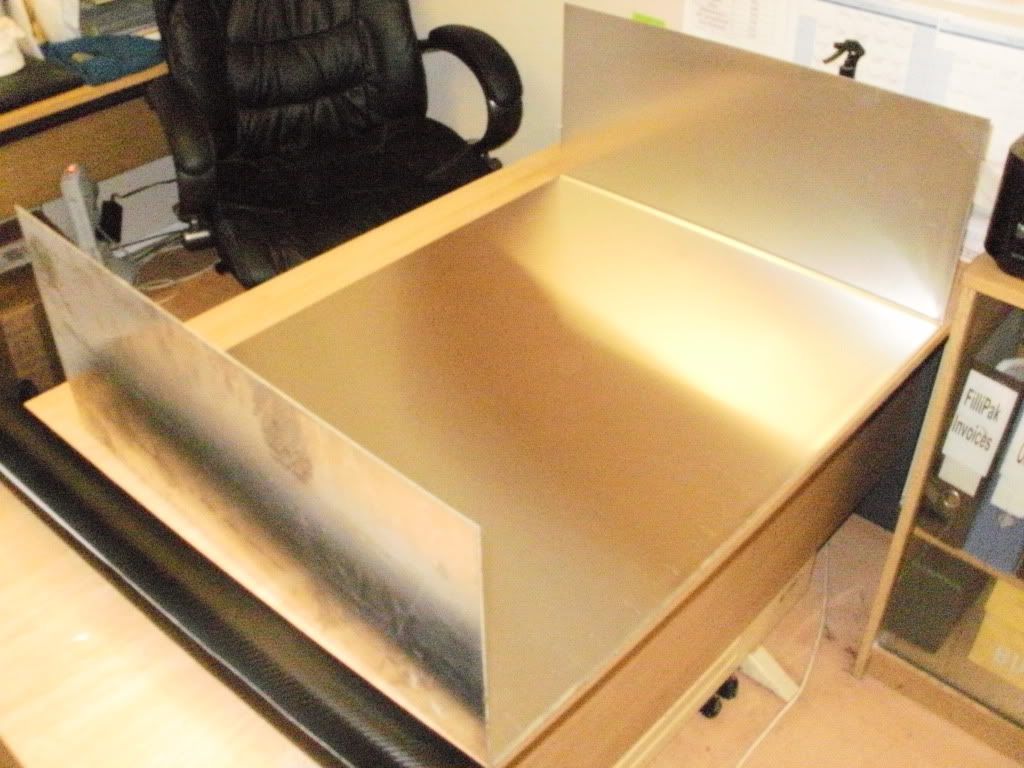
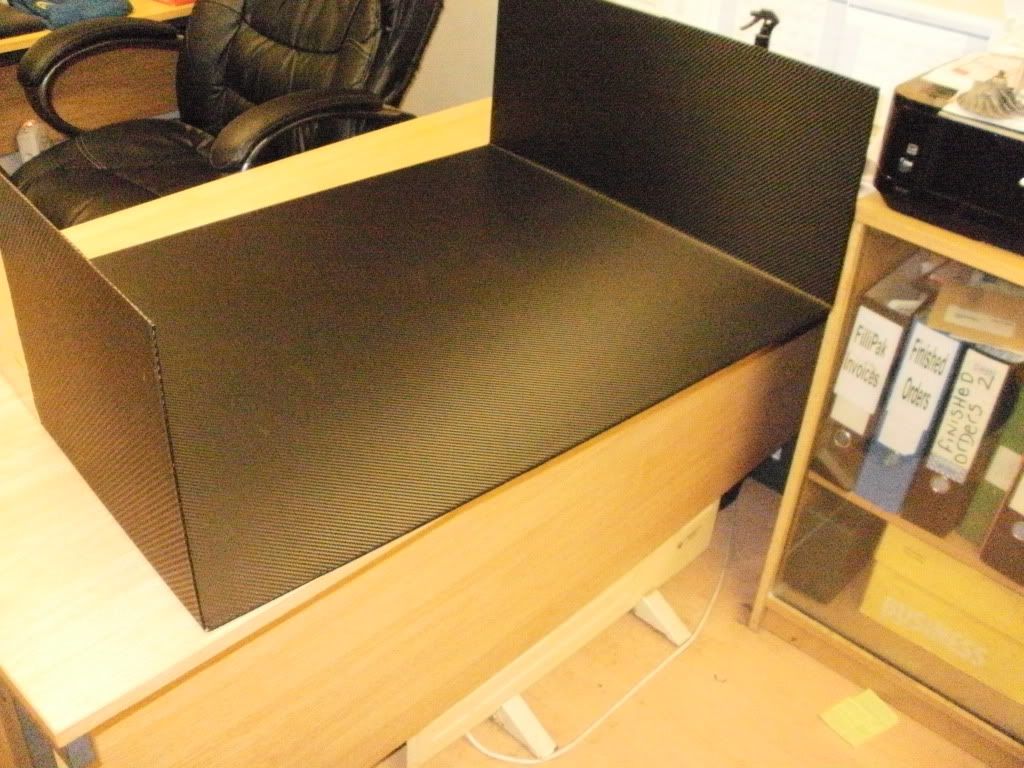
spare wheel well is gone and being replaced with aluminum and then a rear defusser.
petrol tank is gone to save weight.

modifed arb brackets trying to stop them flexing


this is the rear beam as removed


painted and poly bushed and fitted

diff is also poly bushed


petrol tank had to go just going to have a small one in the boot


all trail arms are uprated sti jobbies and do look the part aswell as work better than standard


thats all for now.
the rear suspenion is all poly bushed and cleaned and rebuilt the diff carrier and rear beam are painted and poly bushed and back on the car diff also back in ive fitted a 24mm adjustable antirollbar on the rear so ive added abit of strength to the arb brackets.
spare wheel well is gone and being replaced with aluminum and then a rear defusser.
petrol tank is gone to save weight.
modifed arb brackets trying to stop them flexing
this is the rear beam as removed
painted and poly bushed and fitted
diff is also poly bushed
petrol tank had to go just going to have a small one in the boot
all trail arms are uprated sti jobbies and do look the part aswell as work better than standard
thats all for now.
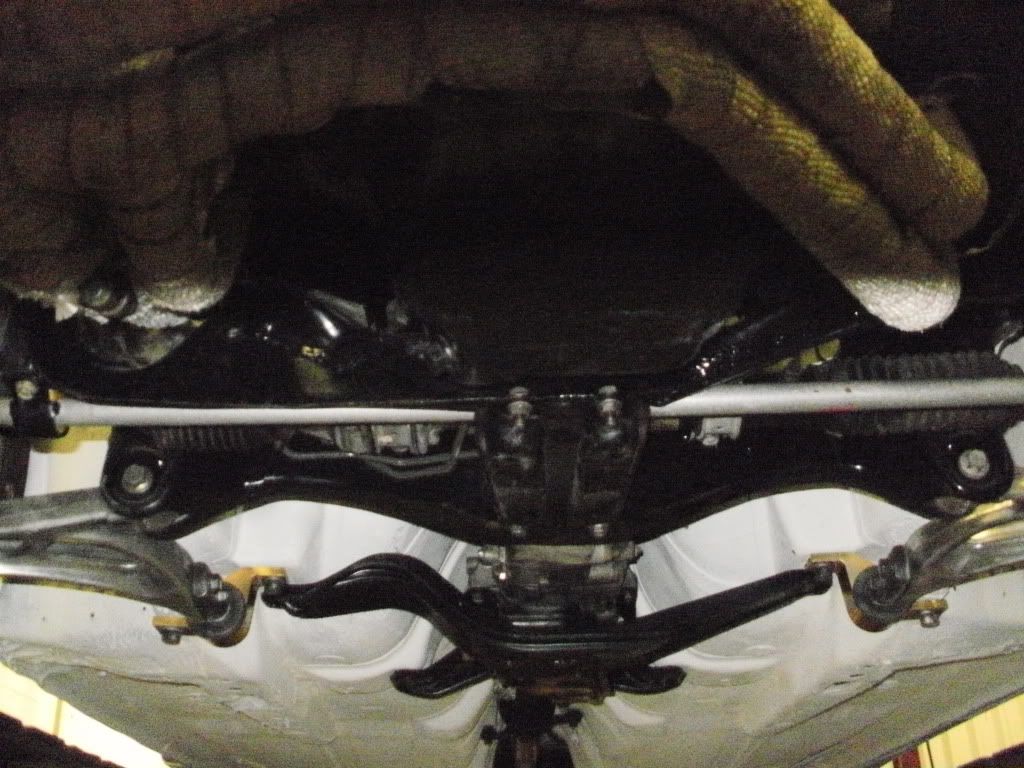
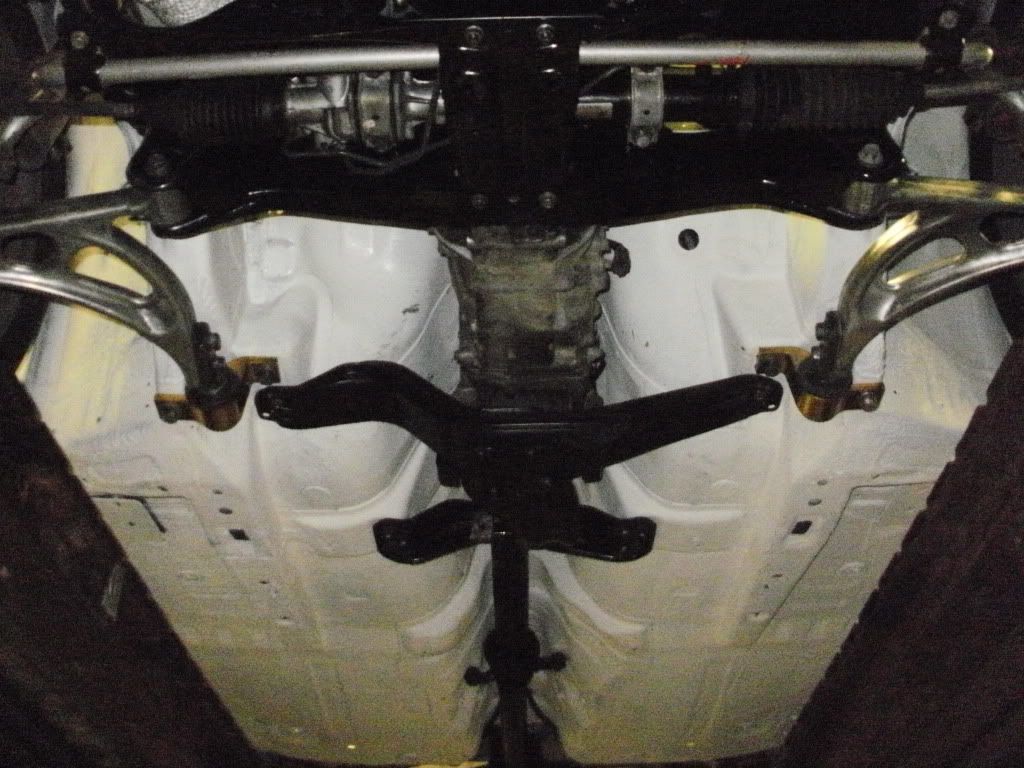
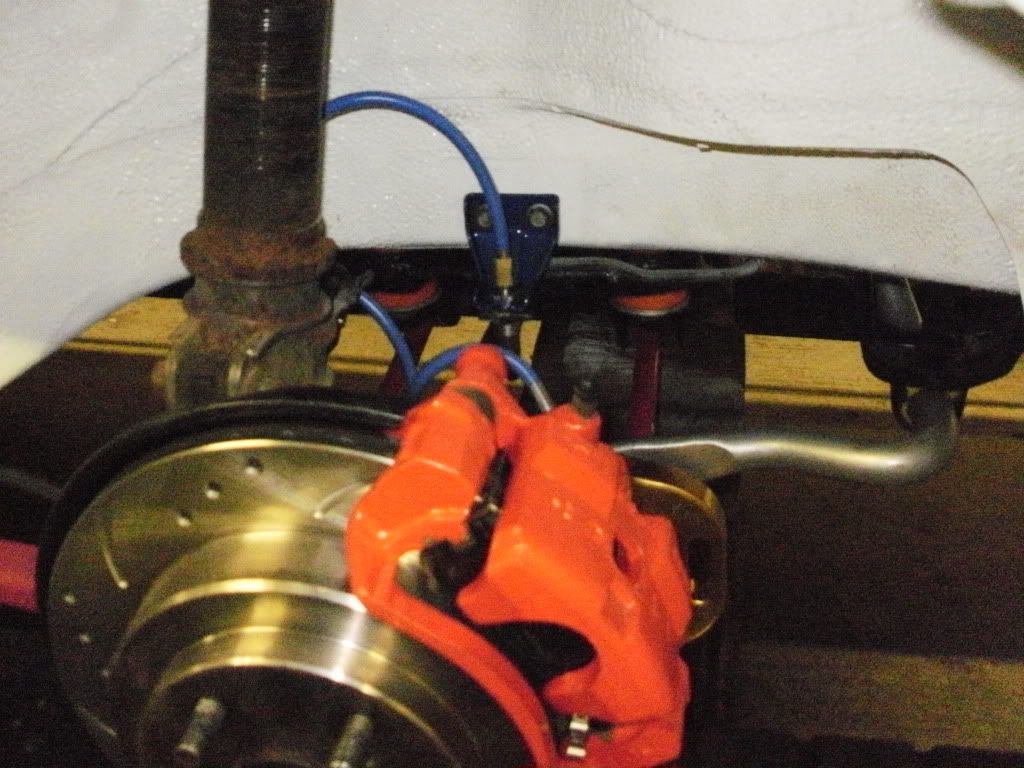
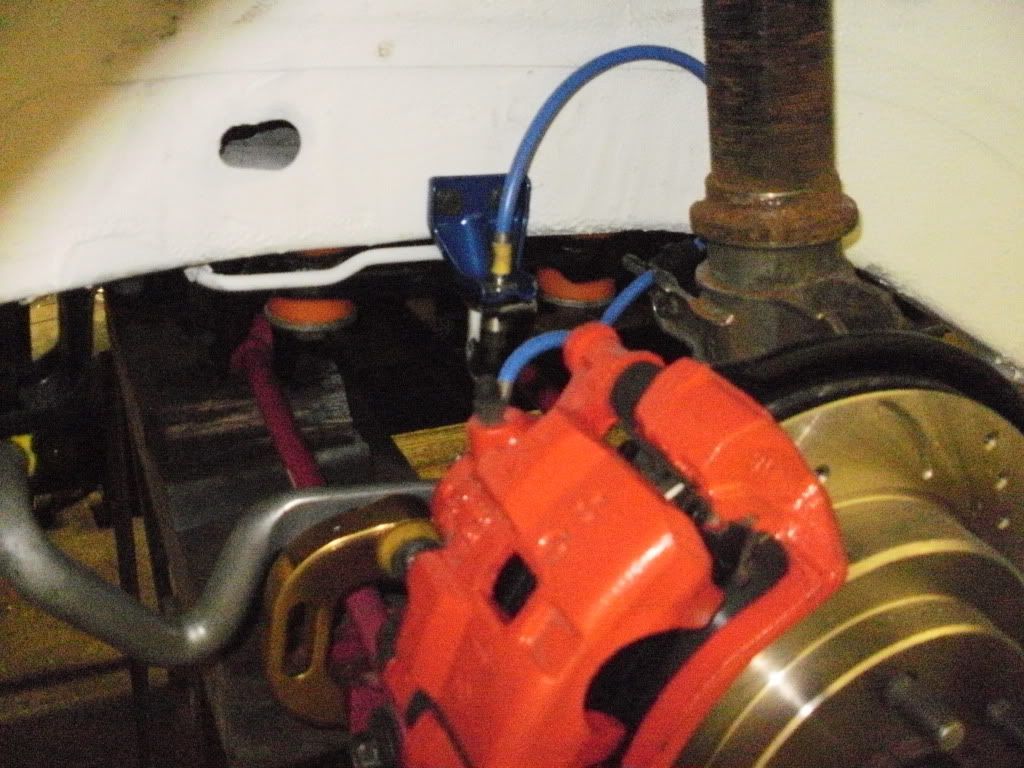
Another day in the garage and the front suspension is back together new bottom ball joints, poly bushed the steering rack, also new uprated adjustable whiteline antiroll bar fitted.


also got the rest of the bottom of the car cleaned and painted
before!
after

i test fitted the one of the front brake disc and caliper

and with the new wheels

also got the rest of the bottom of the car cleaned and painted
before!
after
i test fitted the one of the front brake disc and caliper
and with the new wheels
Last edited by houlty1; Nov 15, 2011 at 12:28 PM.

 ok bit more has been done boot floor is in
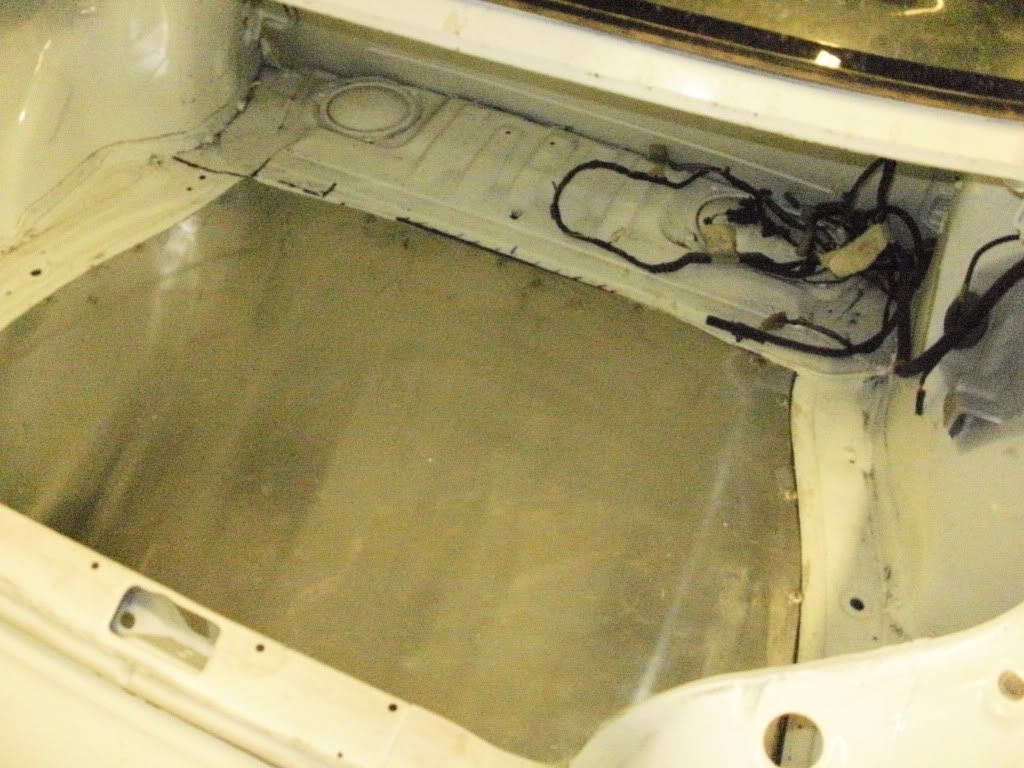
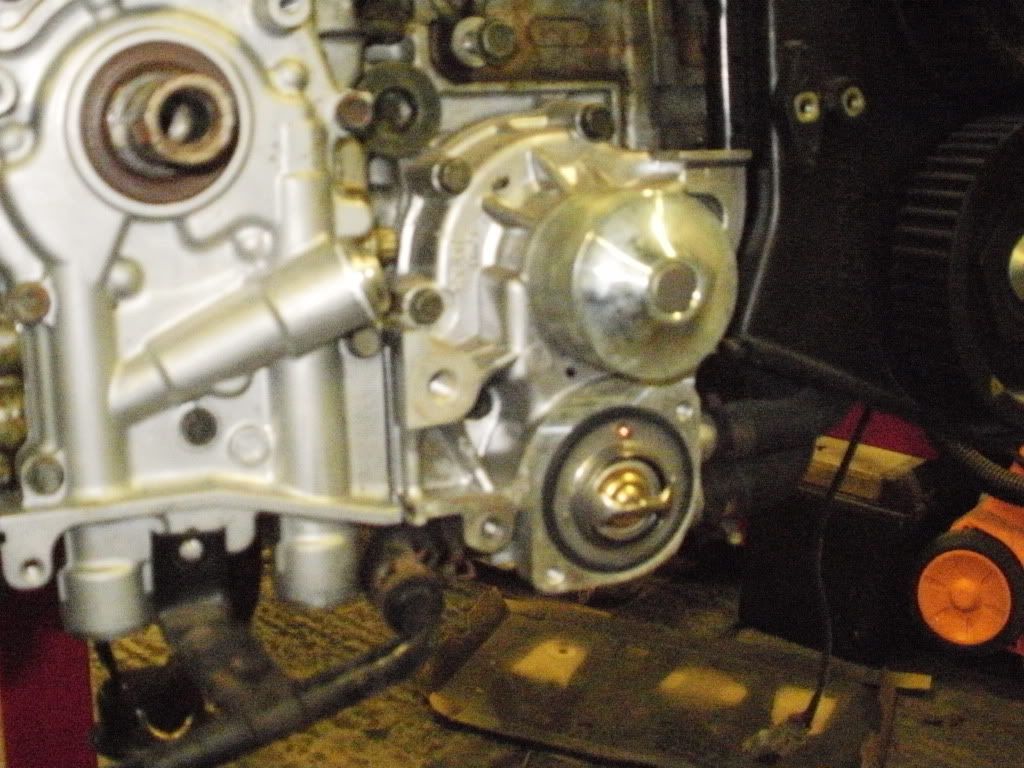
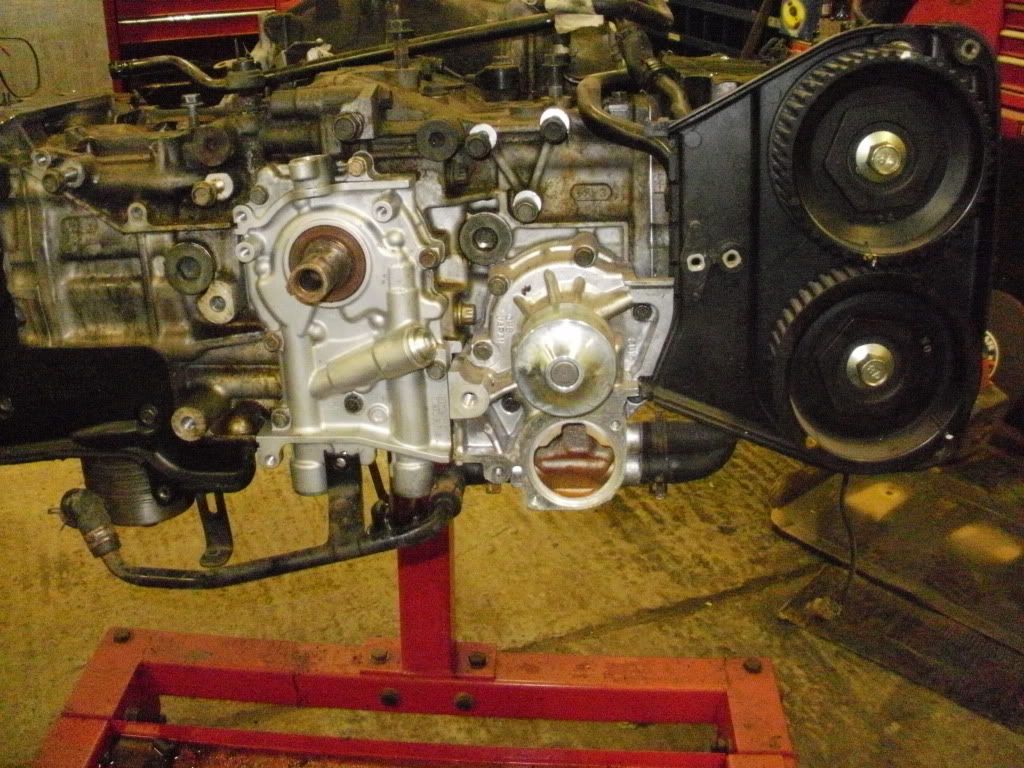
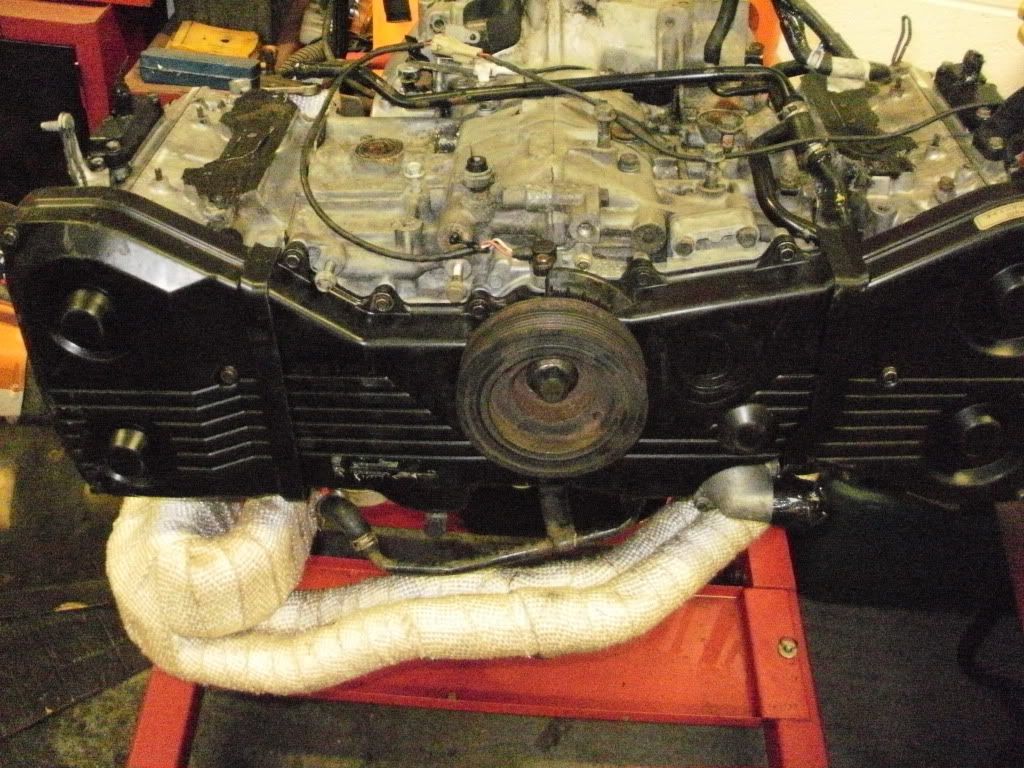
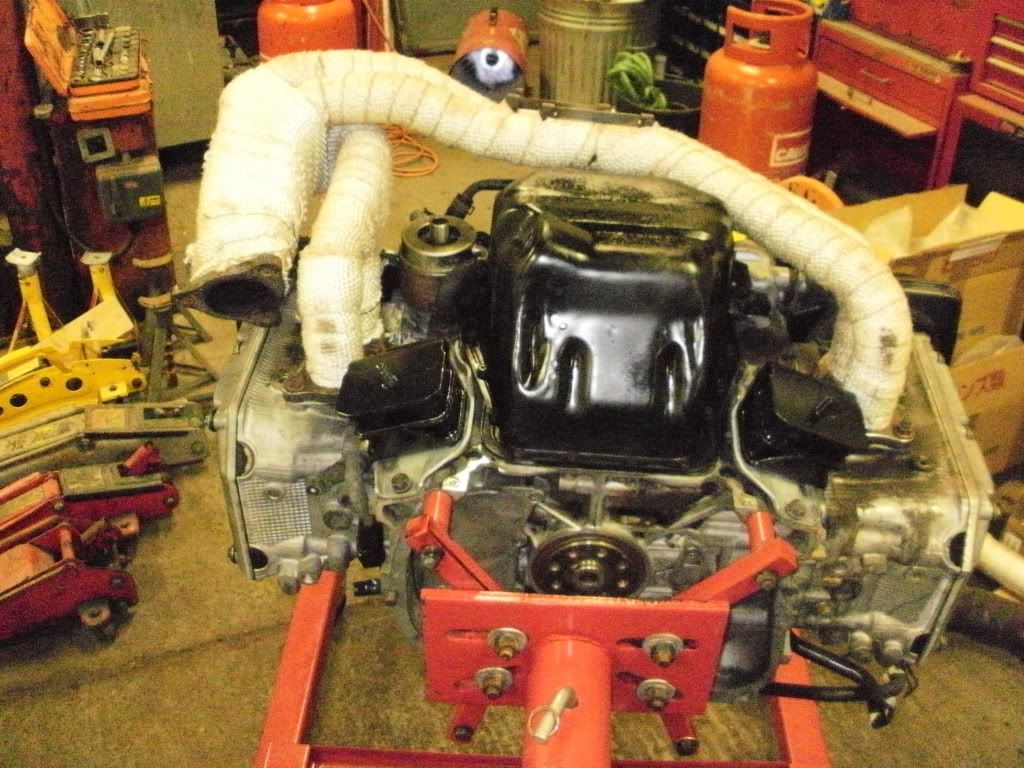
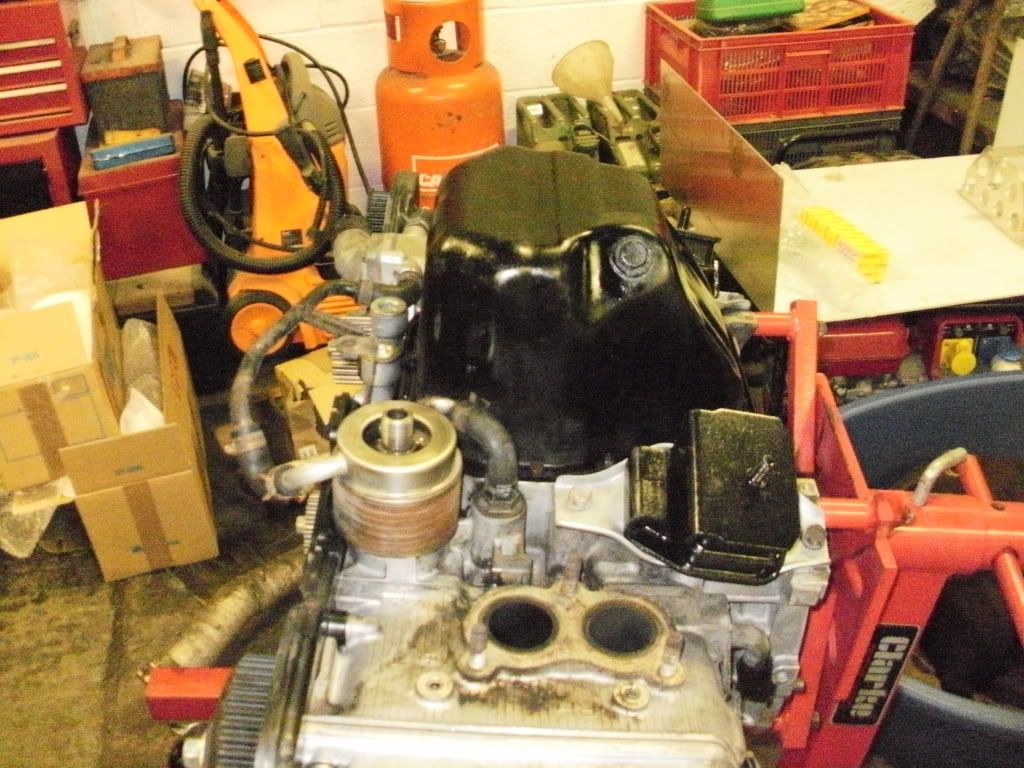
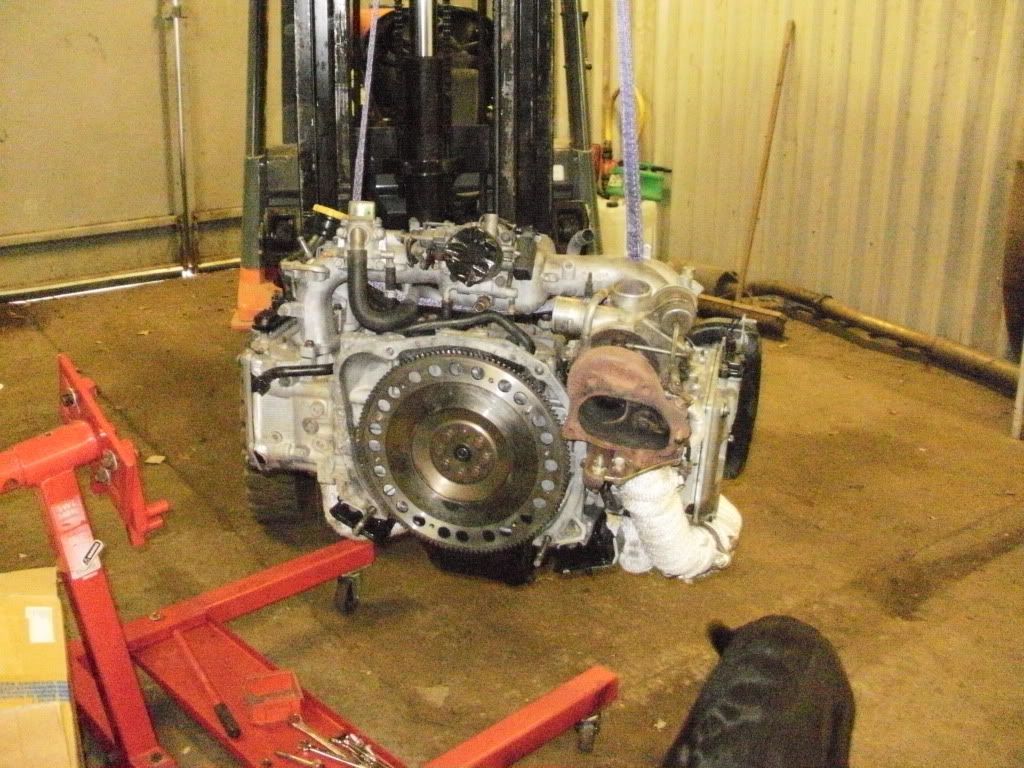
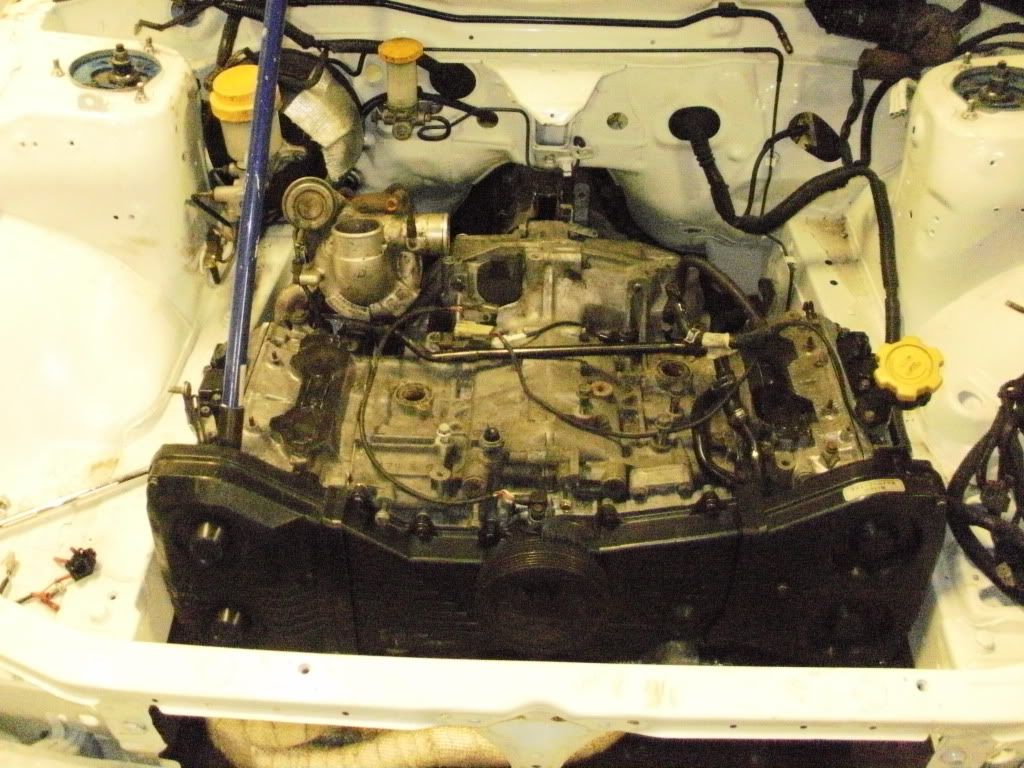
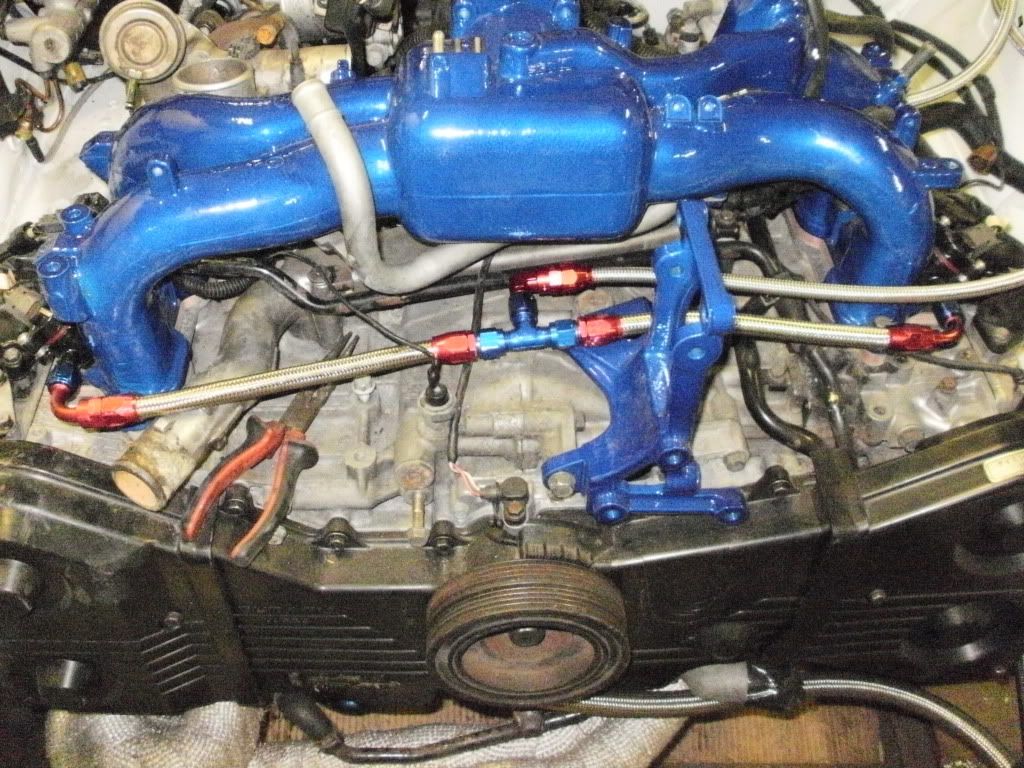
the spare engine is now ready to go in the car
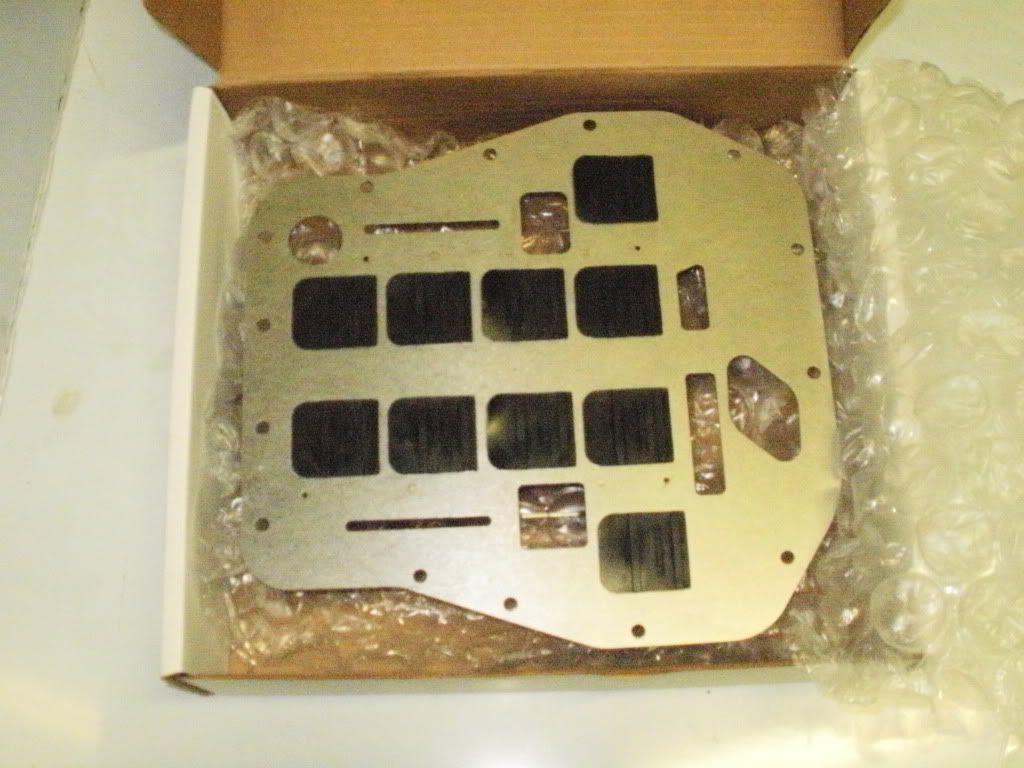
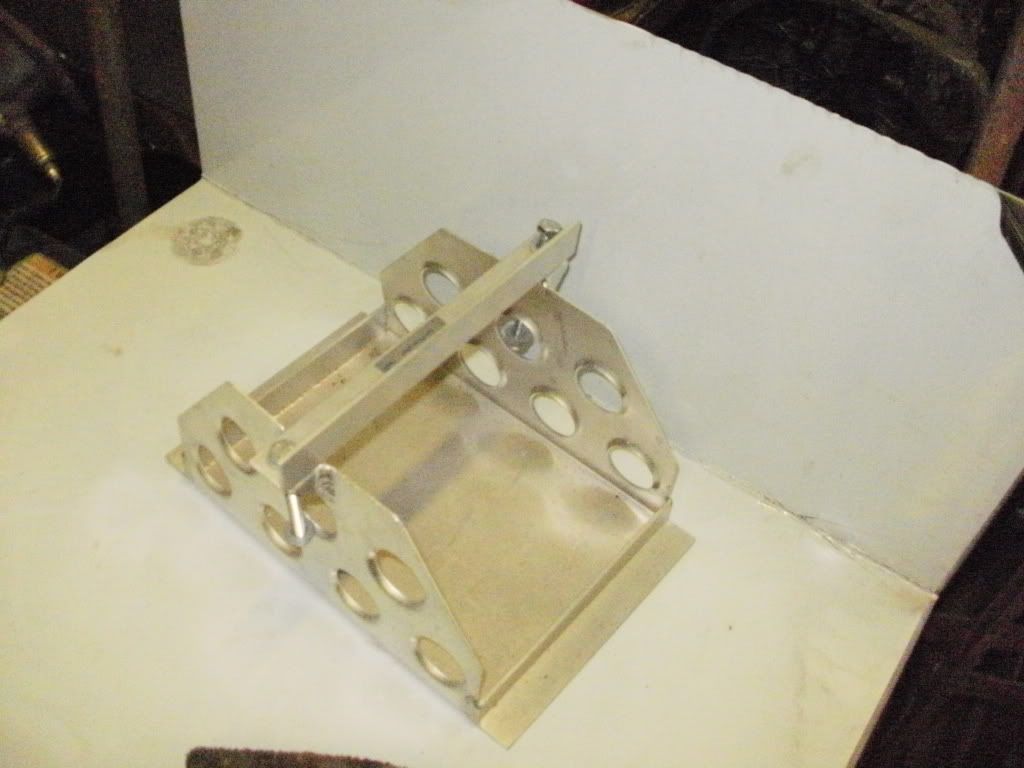
ive fitted a cosworth baffle plate to the engine
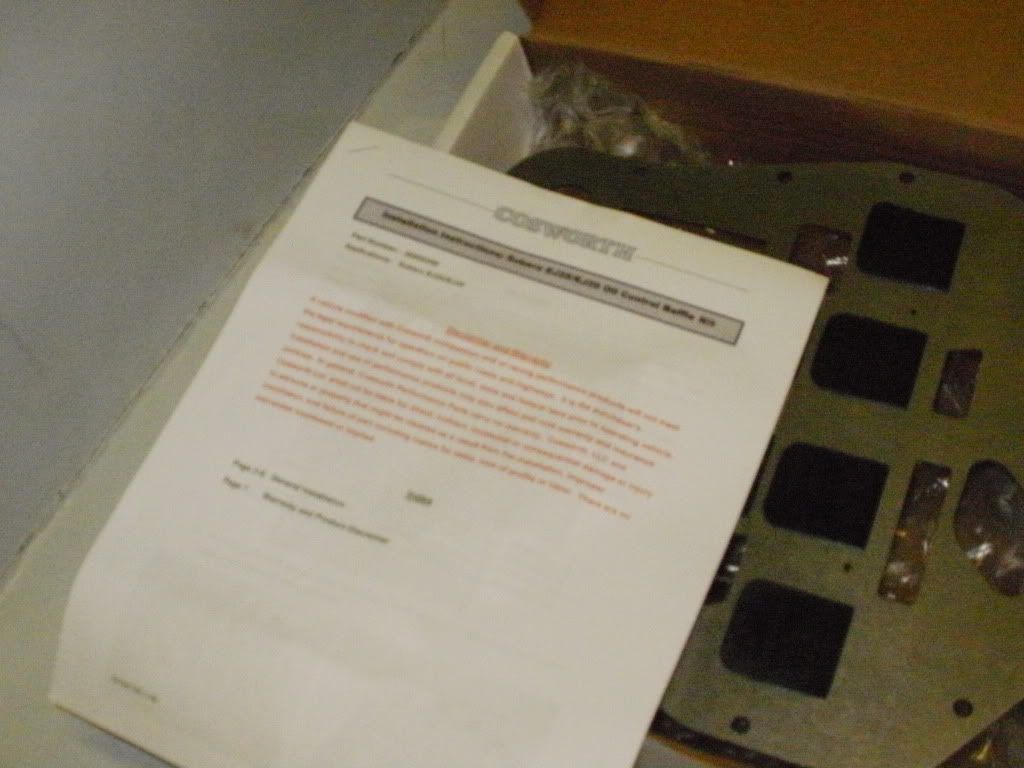
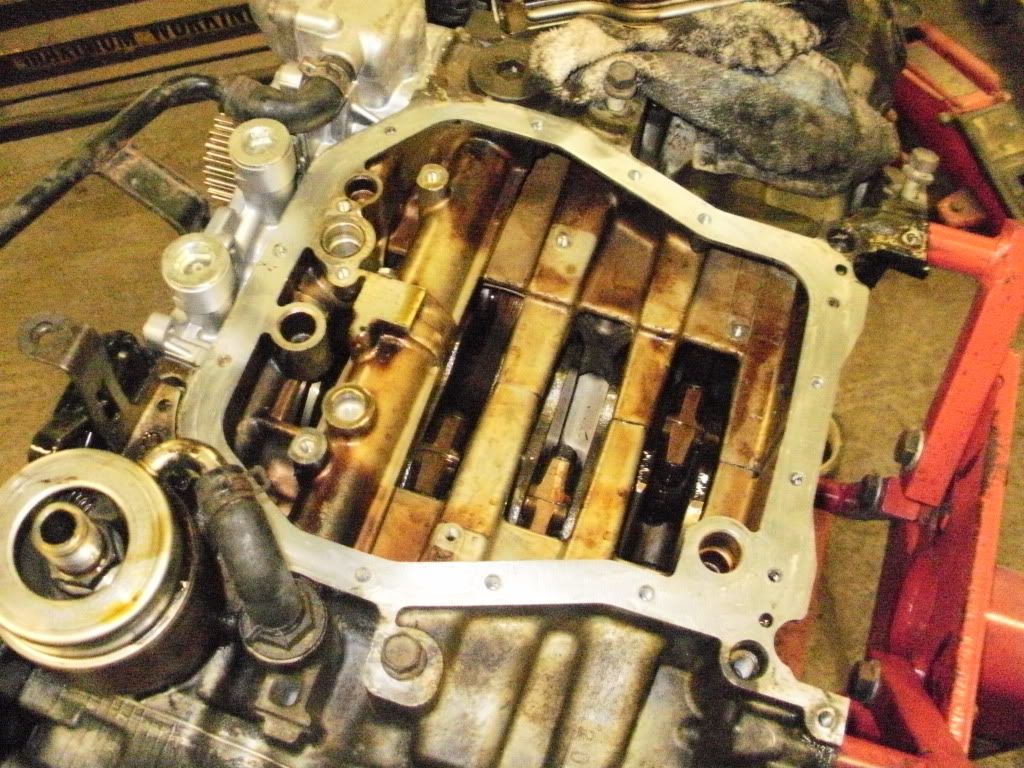
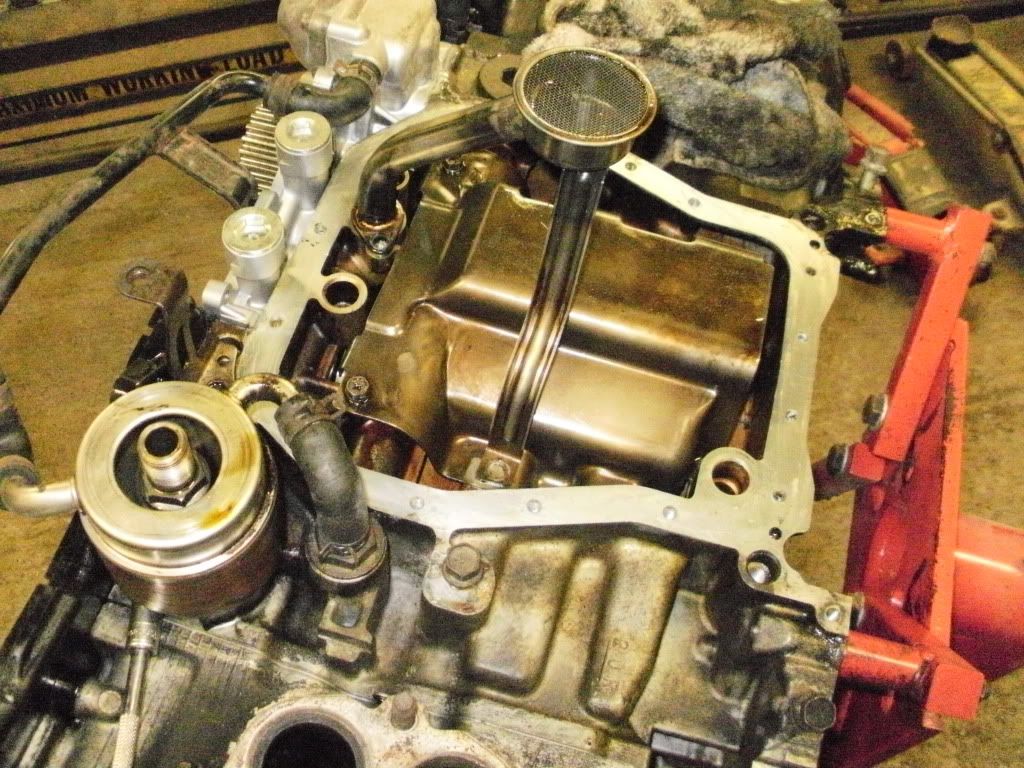
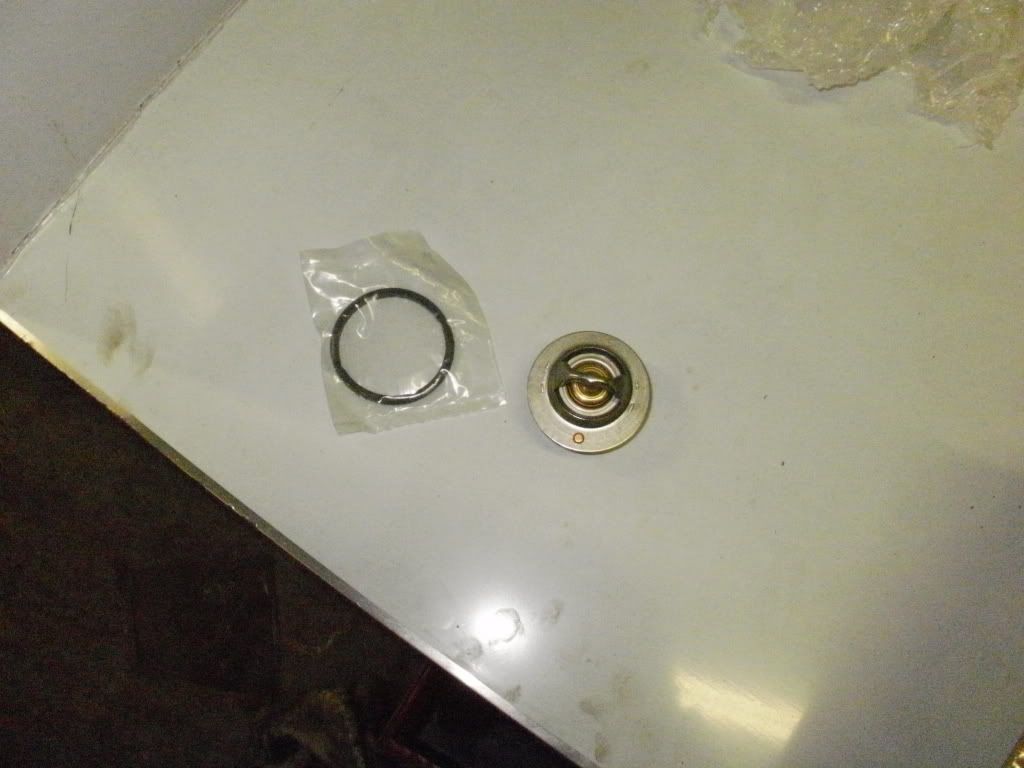
also hi flow thermostate and rcm oil pump
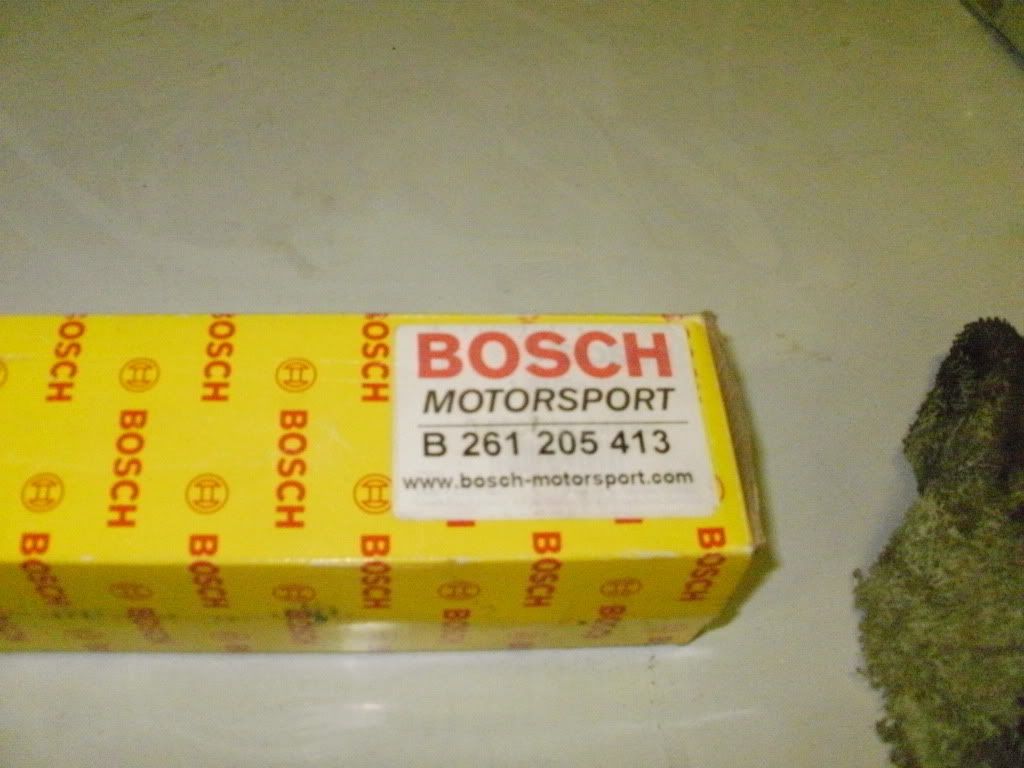
some more parts have arrived
engine
rear defusser
yay engine and gearbox back in
more parts arrived
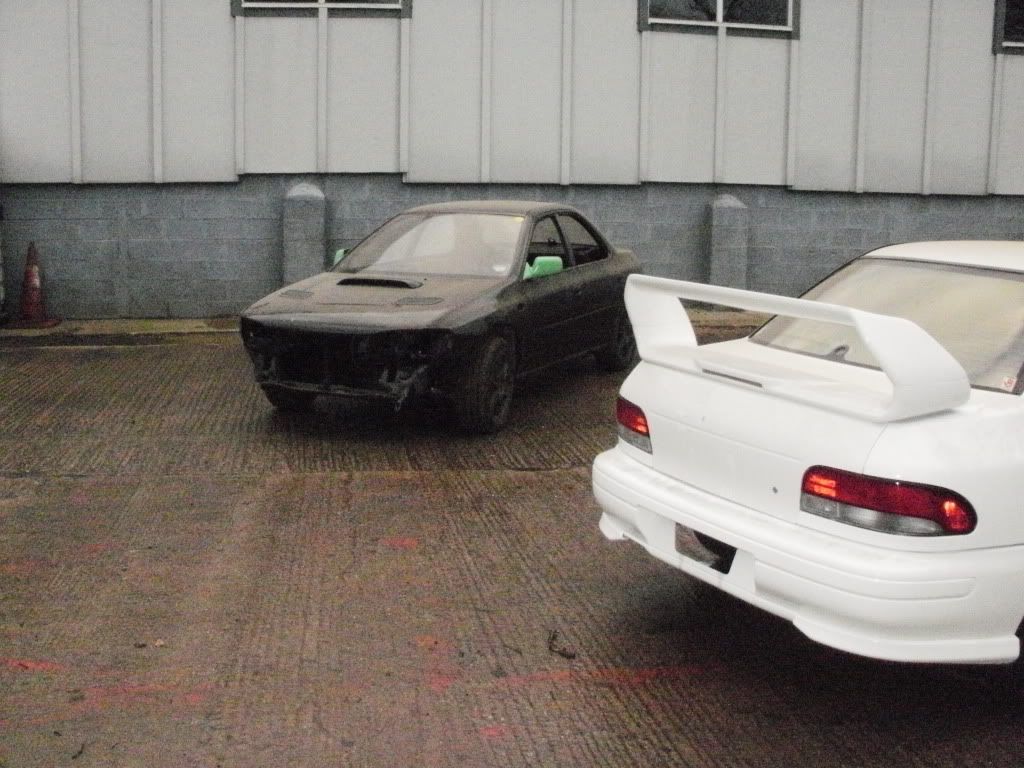
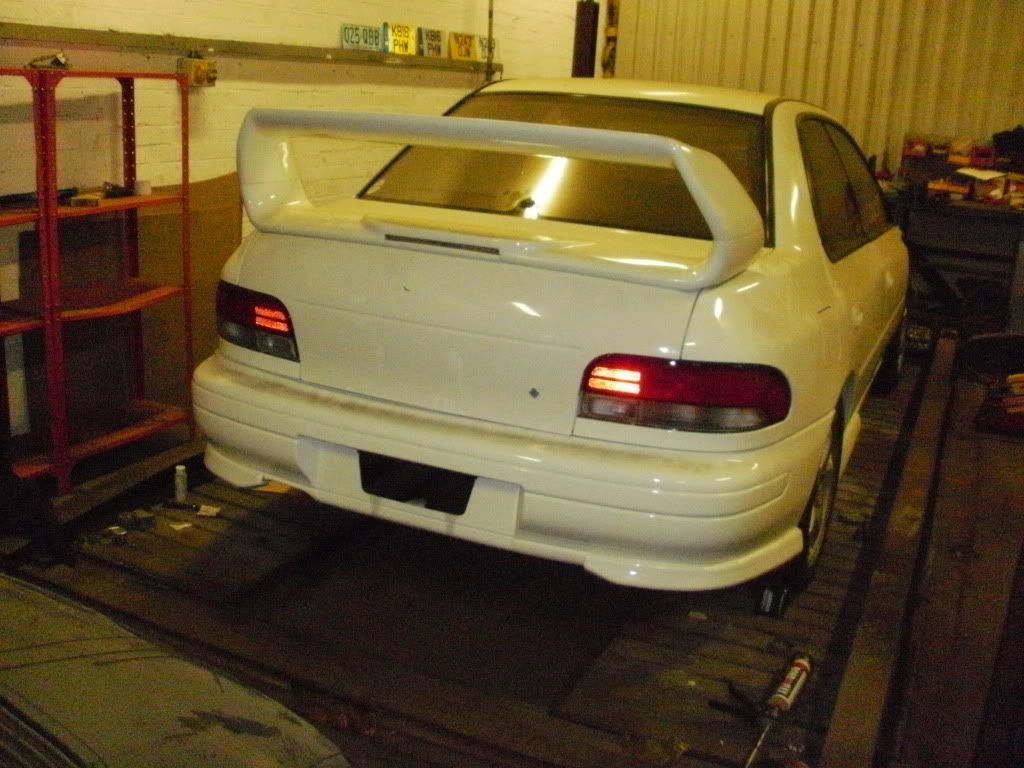
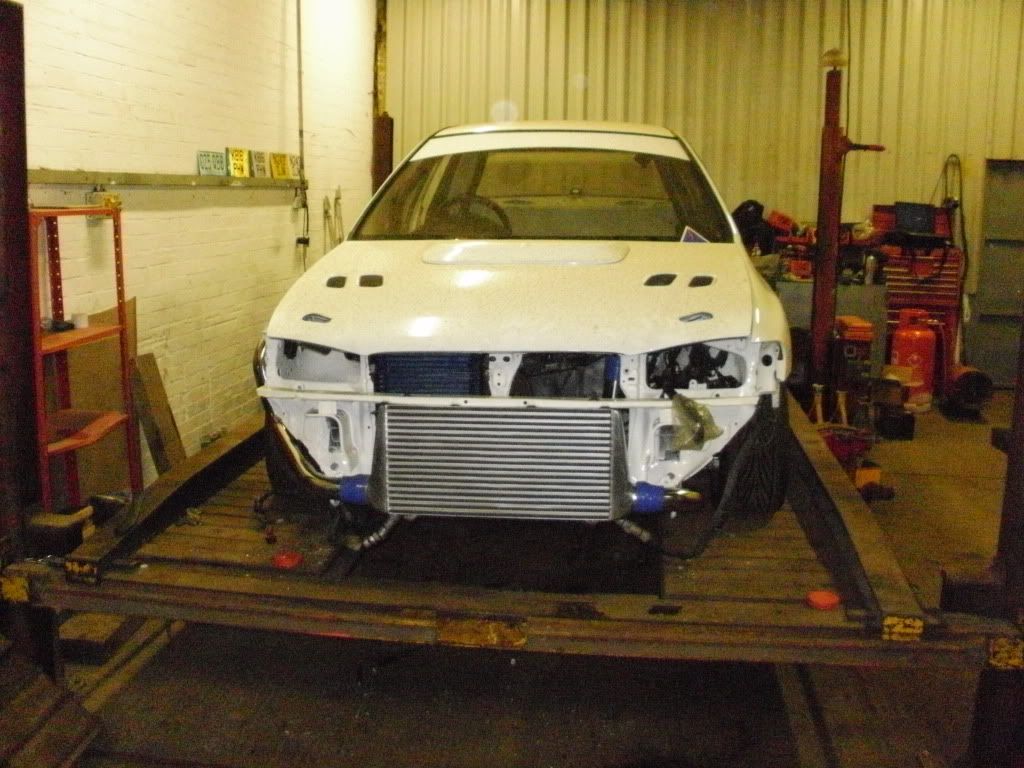
the car got to see daylight
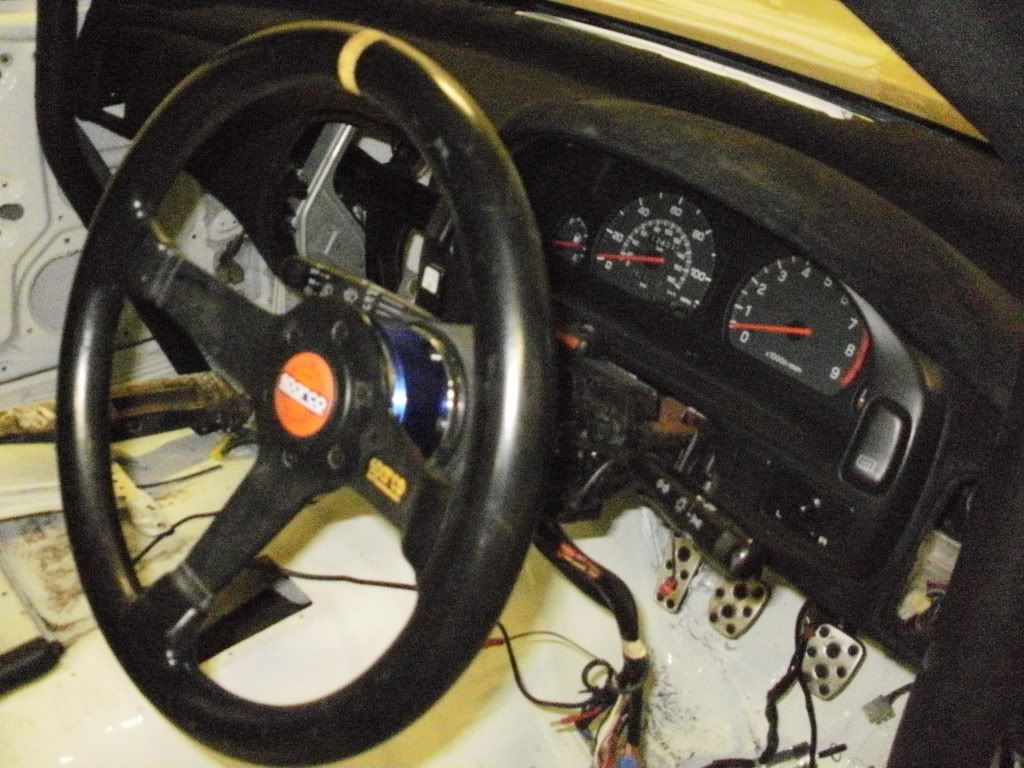
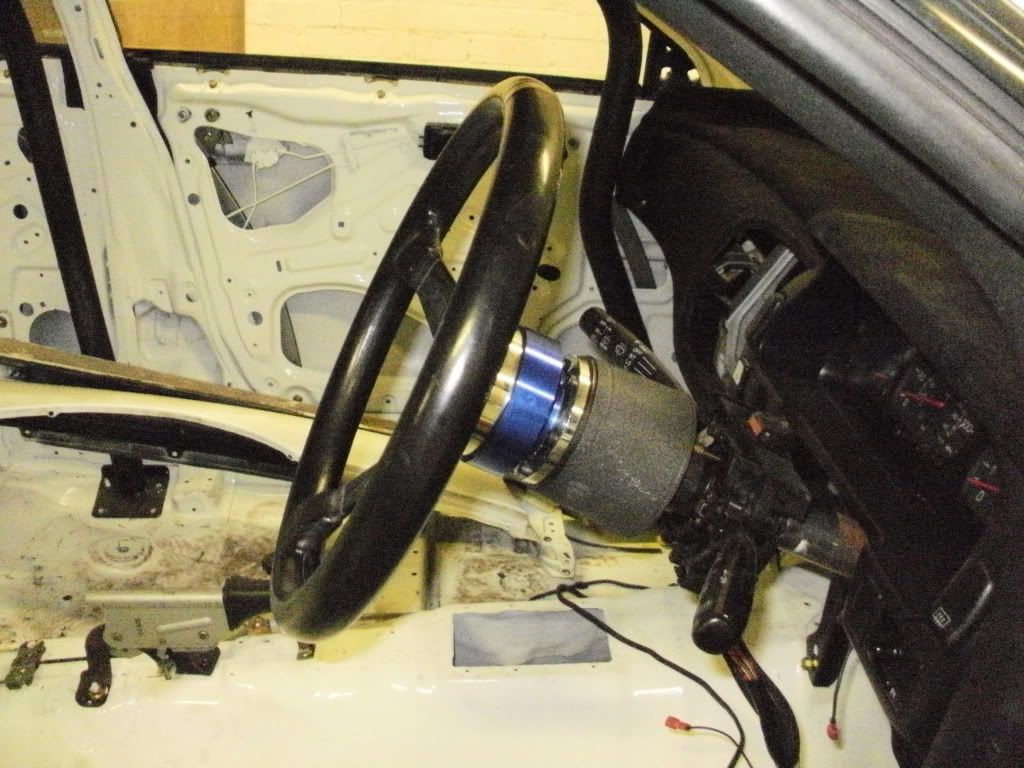
quick reease steering wheel now fitted
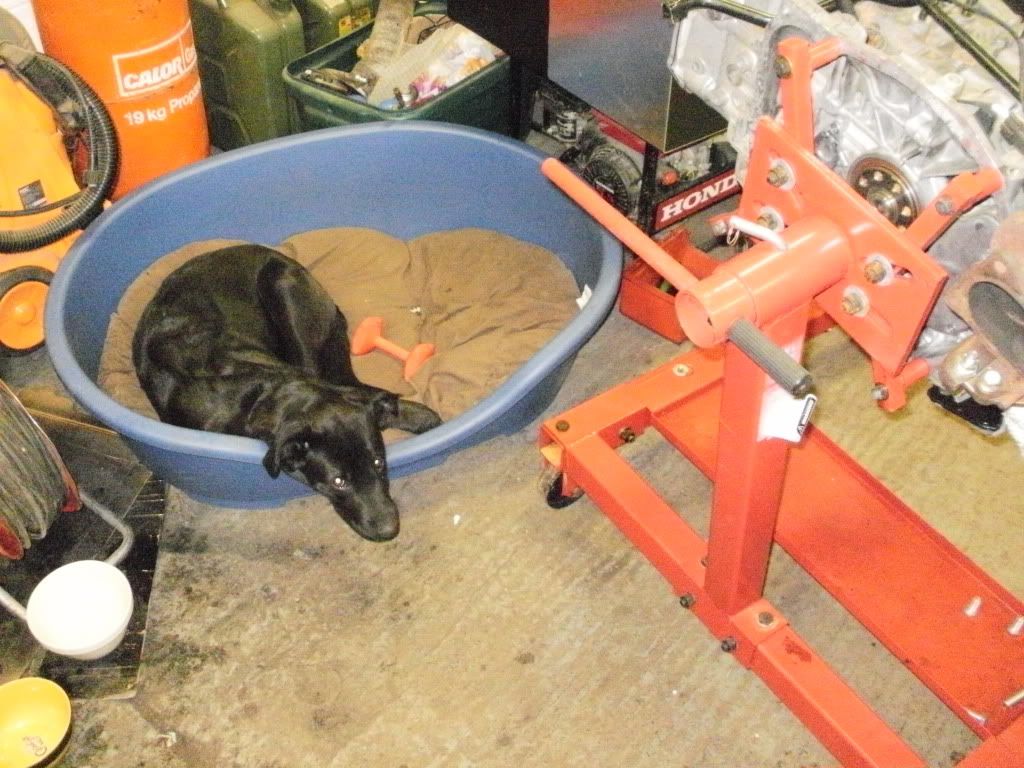
thats it for now as my helper is looking bored

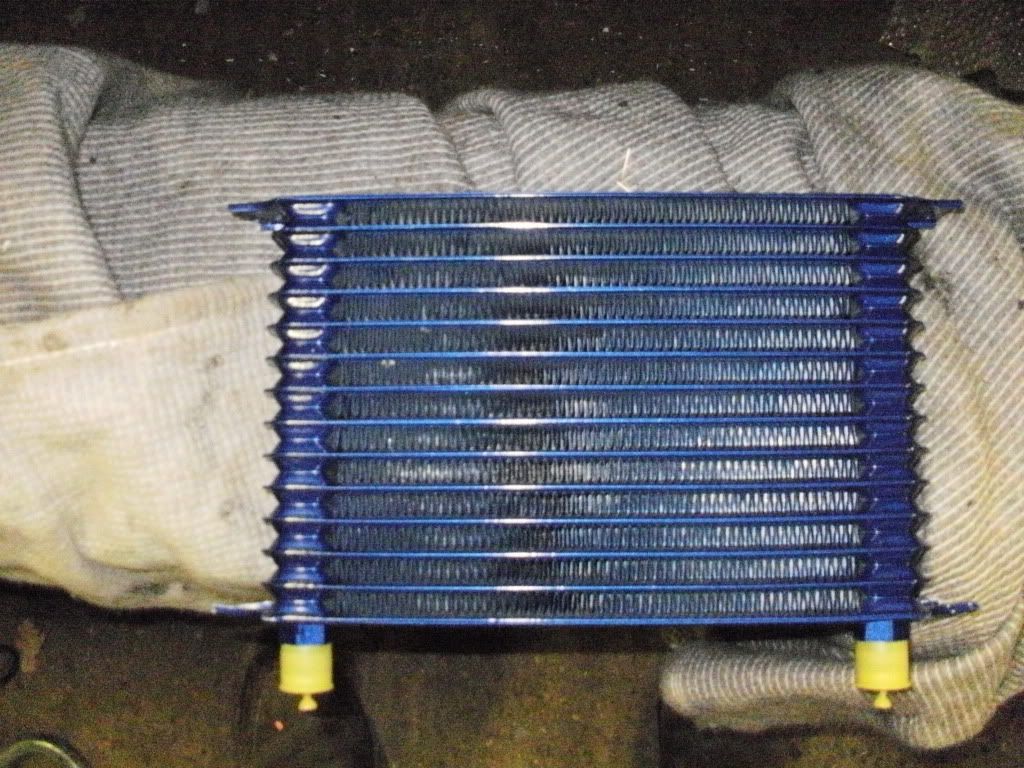
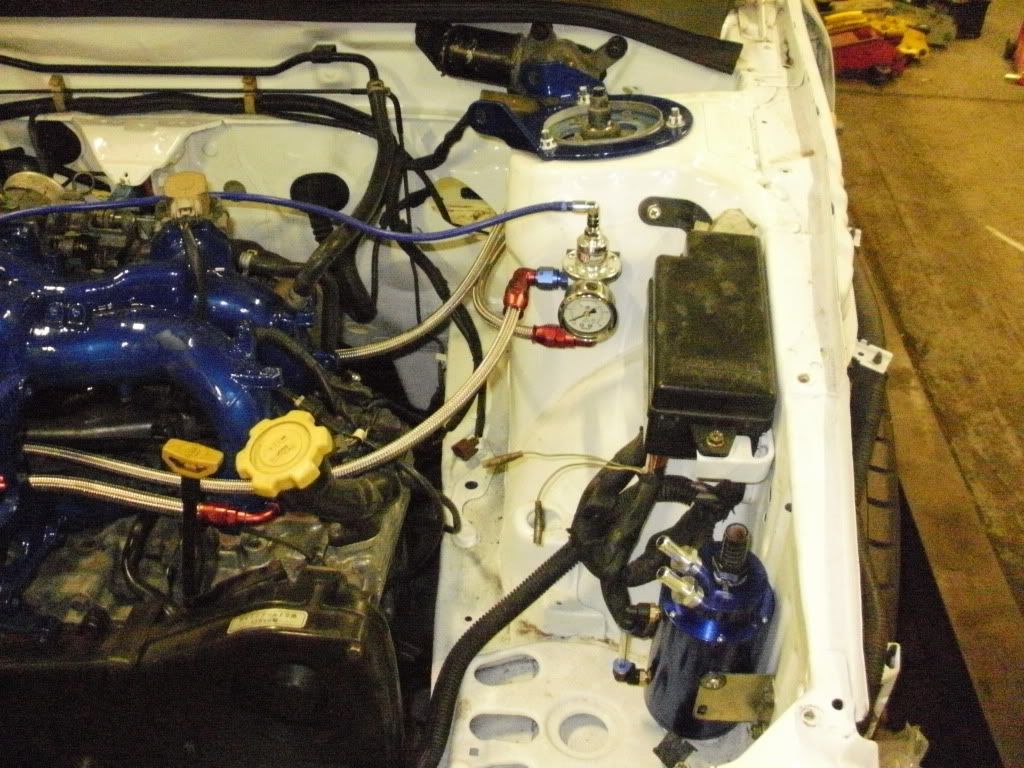
today ive got the propshaft on and and started fitting my oil cooler and filter relocation kit
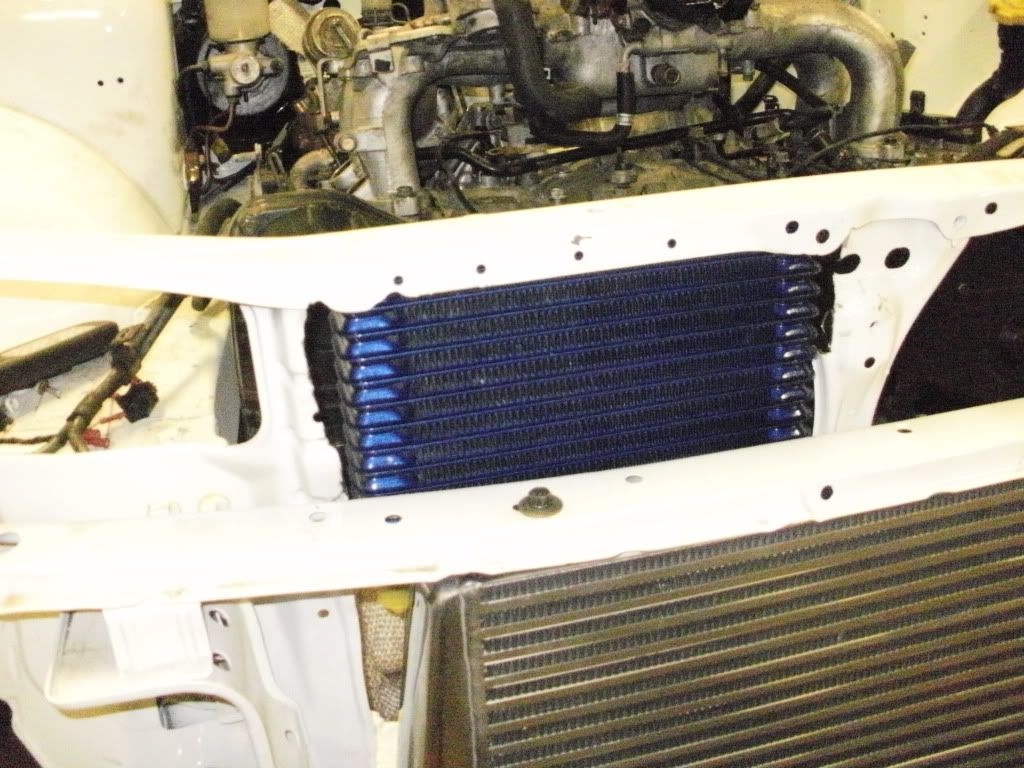
front mount intercooler and pipework was also started on today
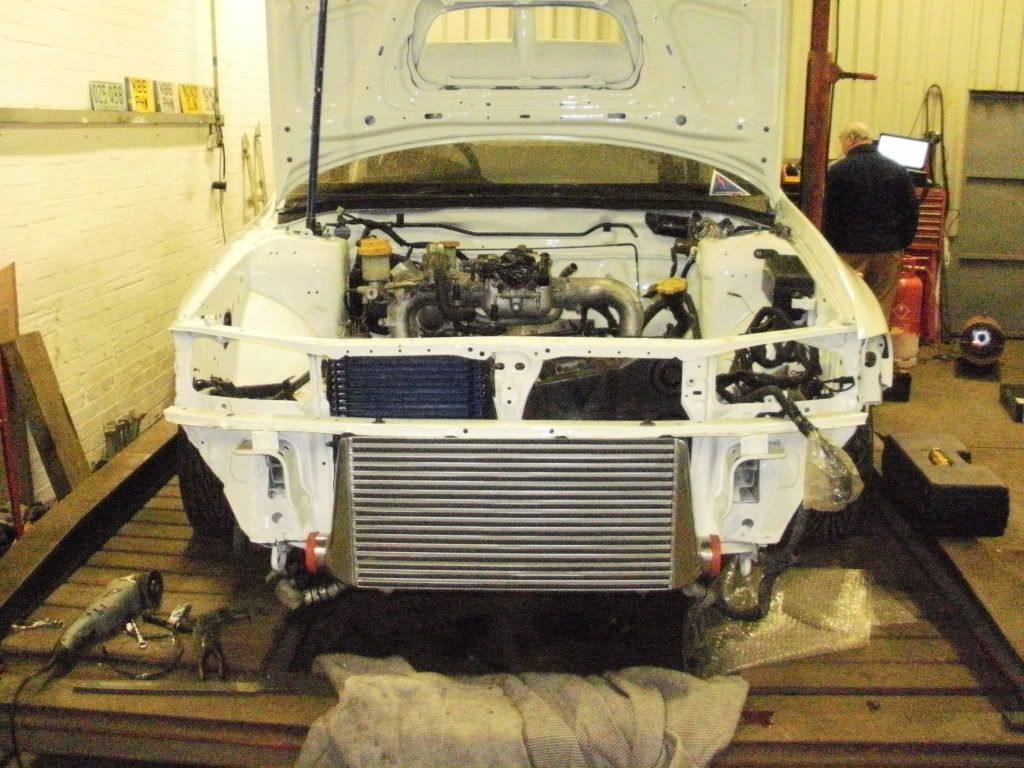
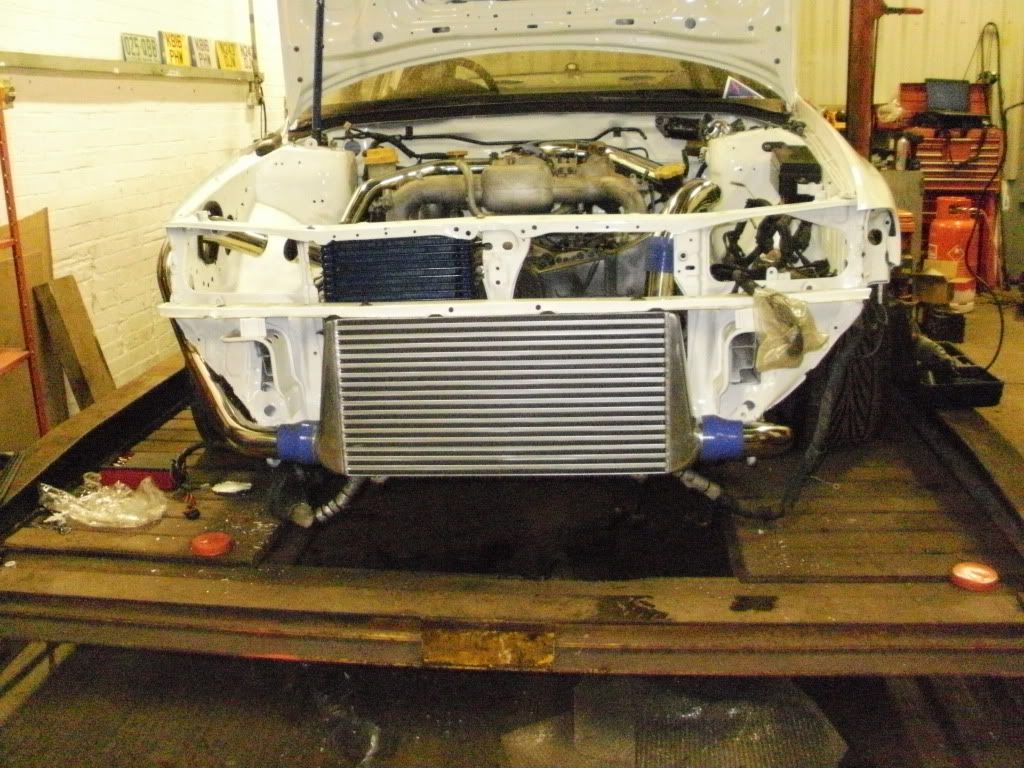
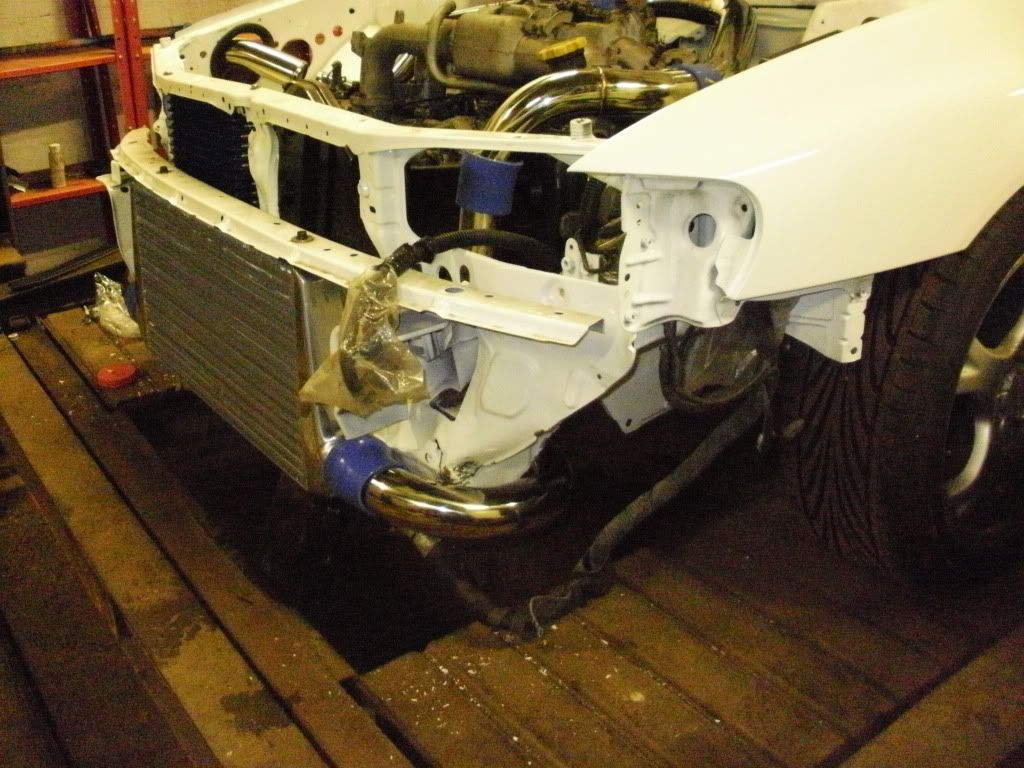
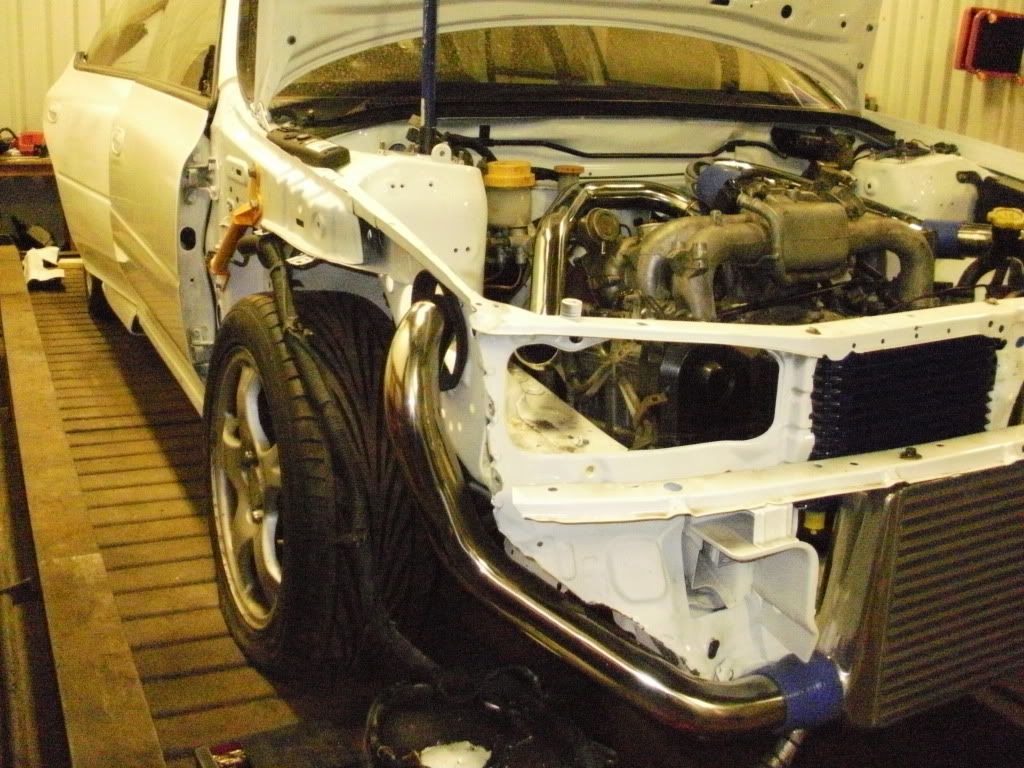
cutting the hole in the innerwing was interesting as i only ad a angle ginder and a file so just took my time

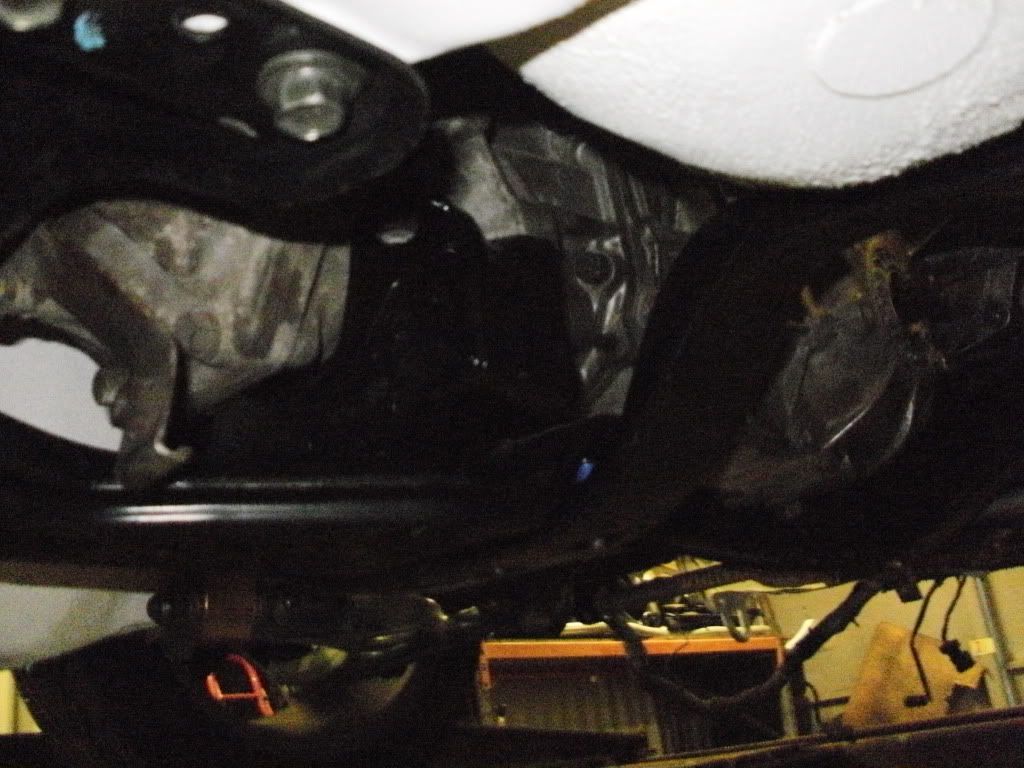
under the car


few more bits and bob done!
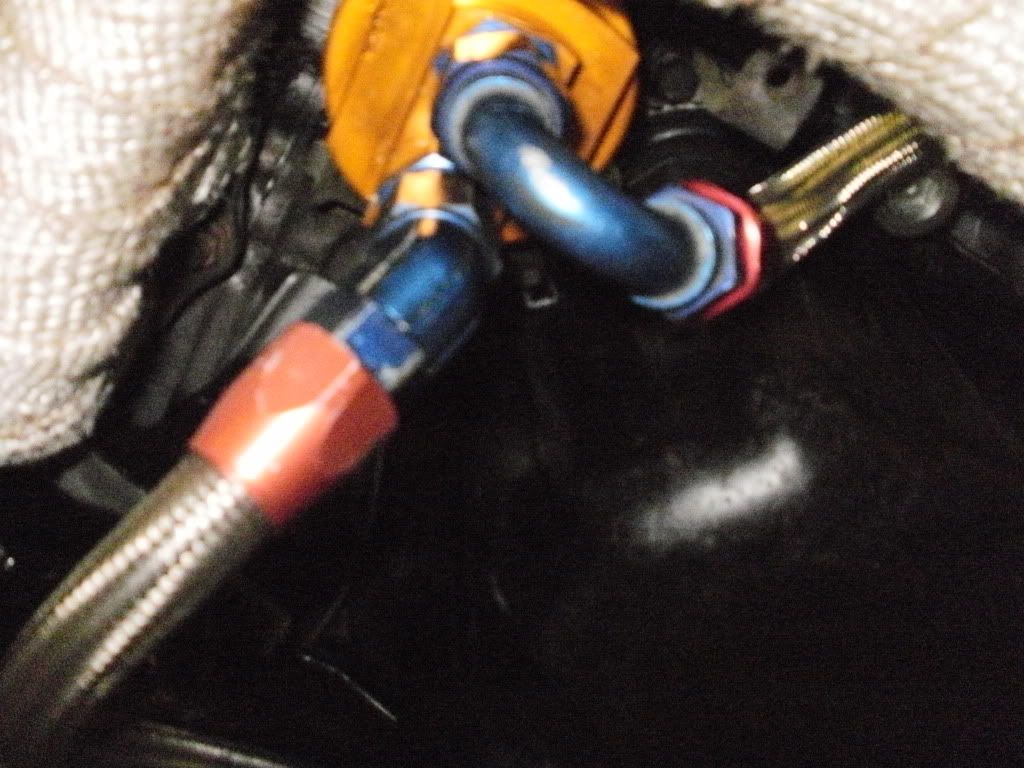
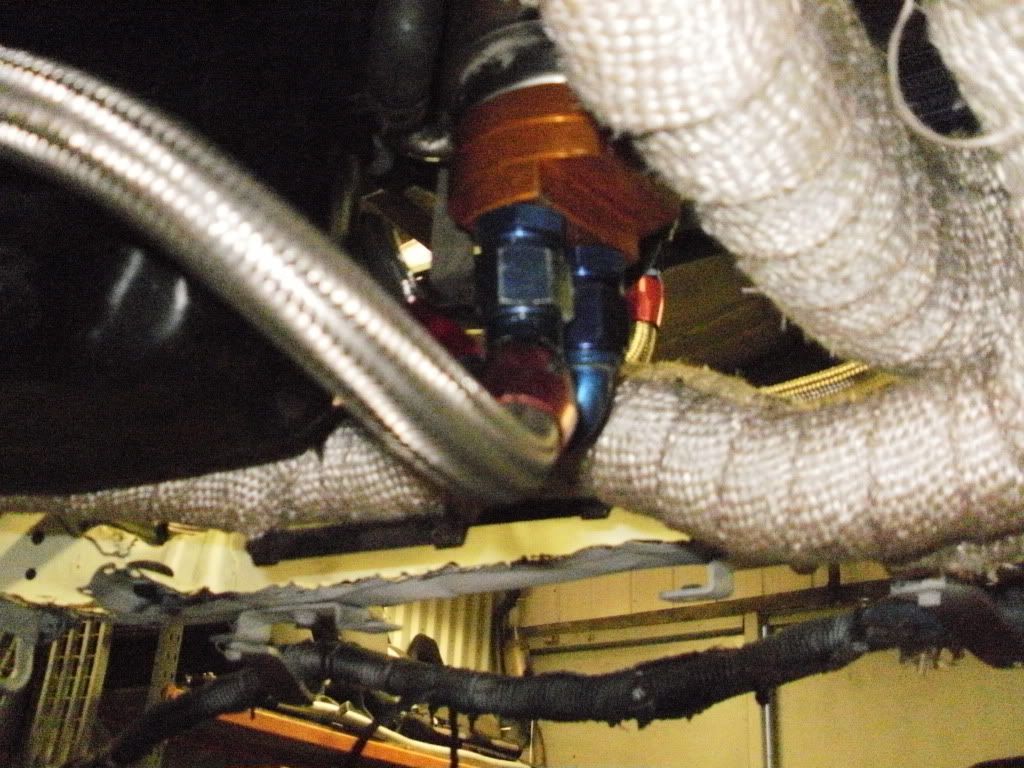
oil cooler and oil filter relocation done and piped up


ive put the rear brake lines on aswell
ive got all my things back from te powder coaters now
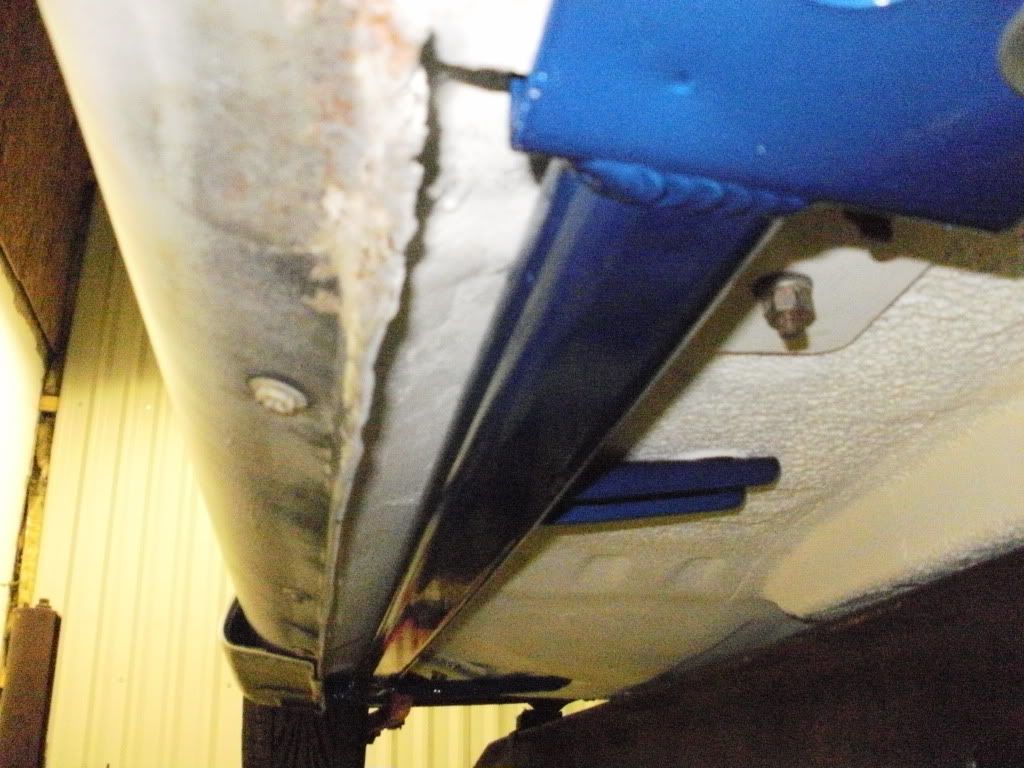
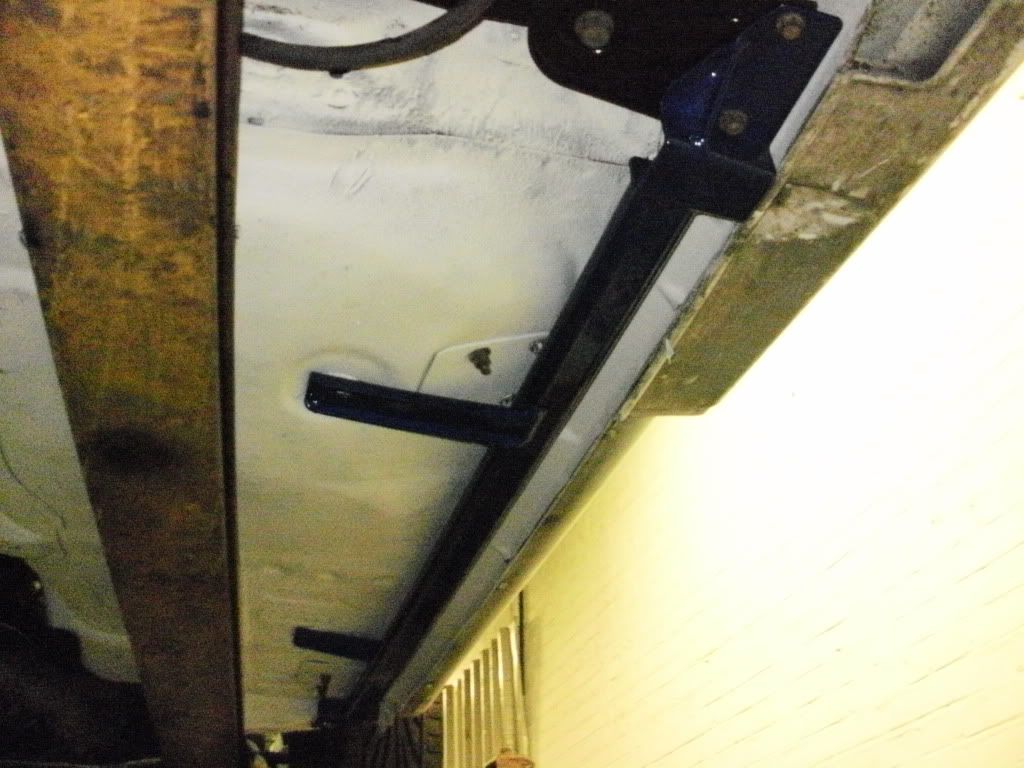
lower chassis brace
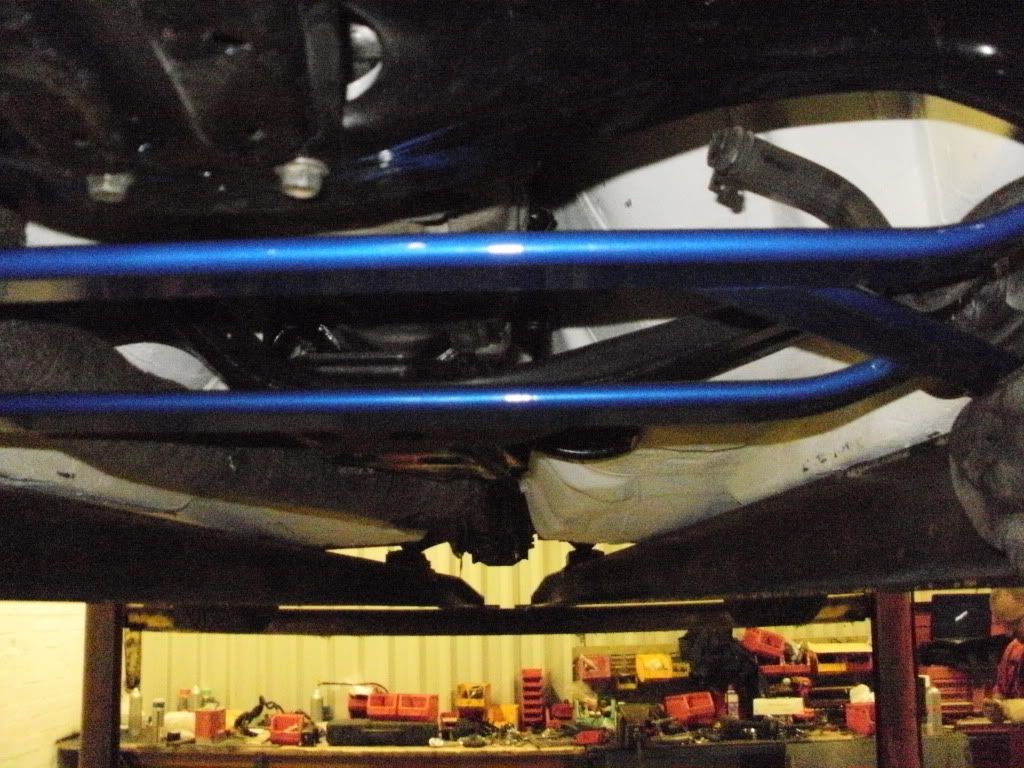
side bars fitted along side the sill and bolted at the front and onto rear cross member
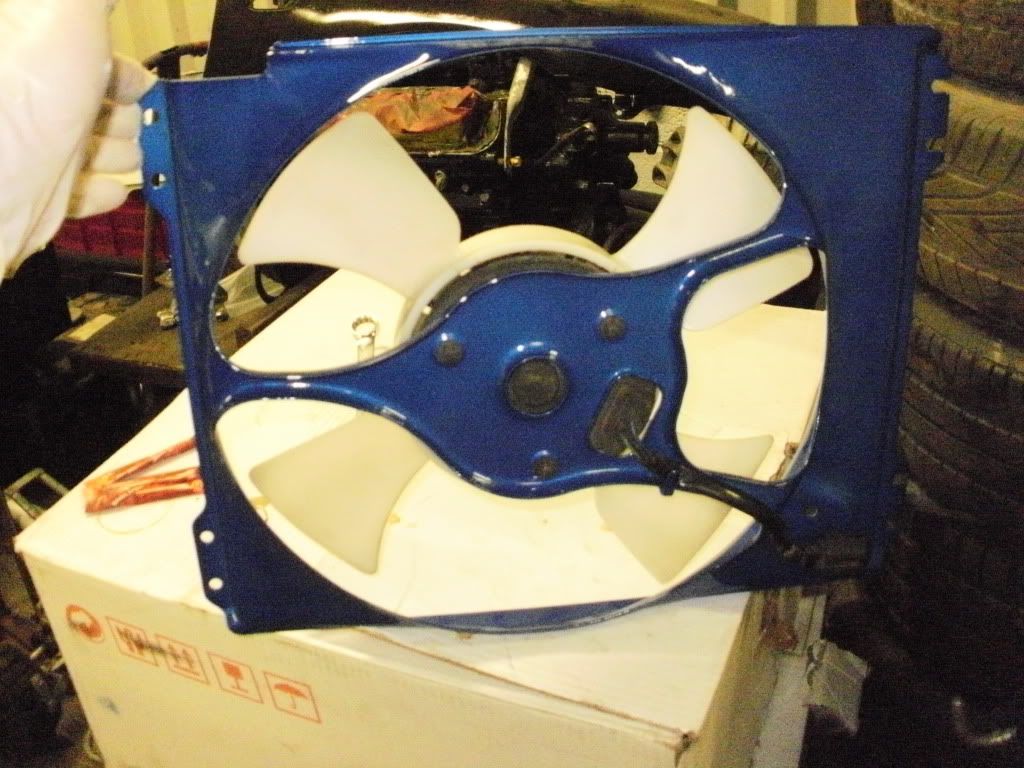
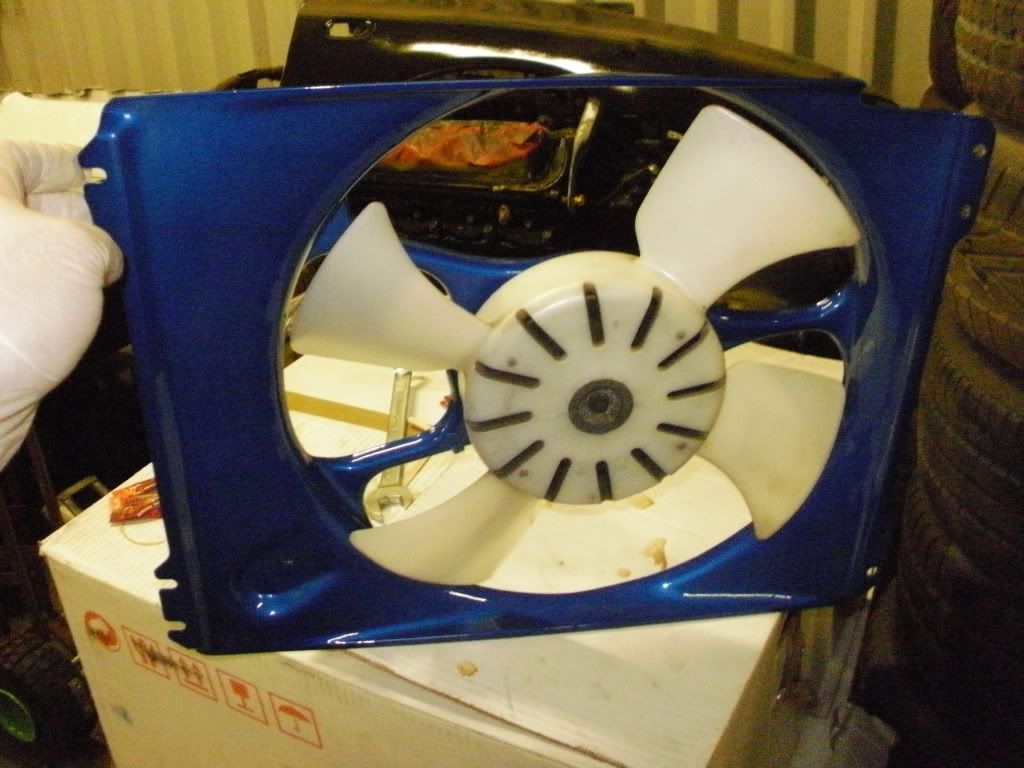
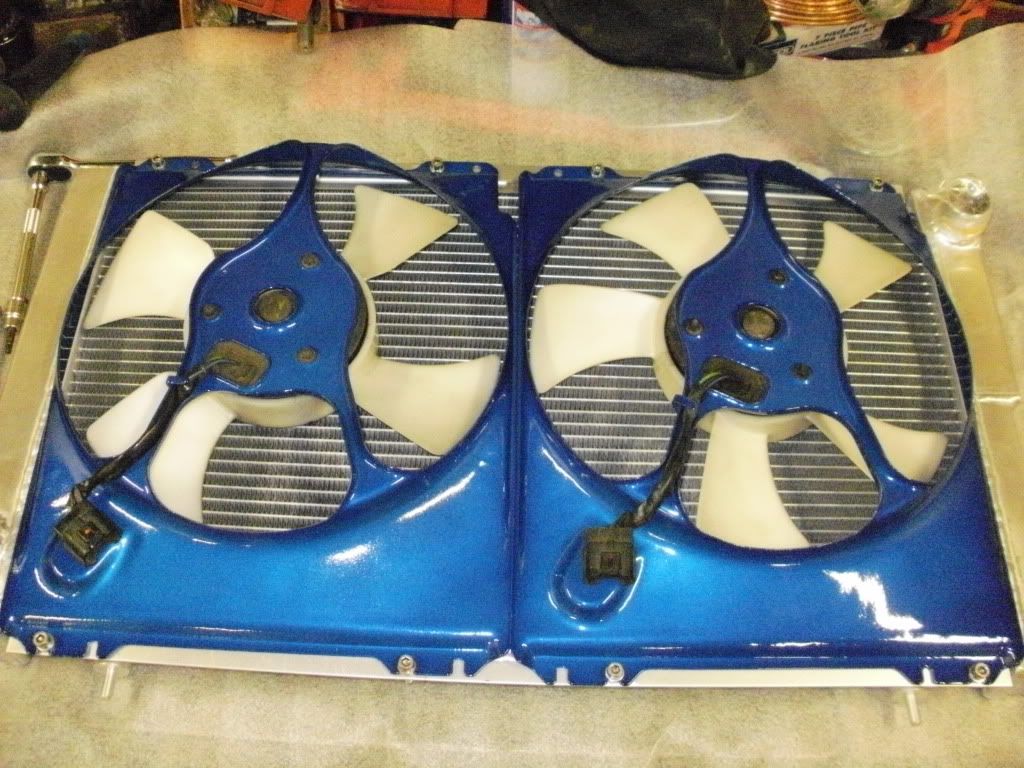
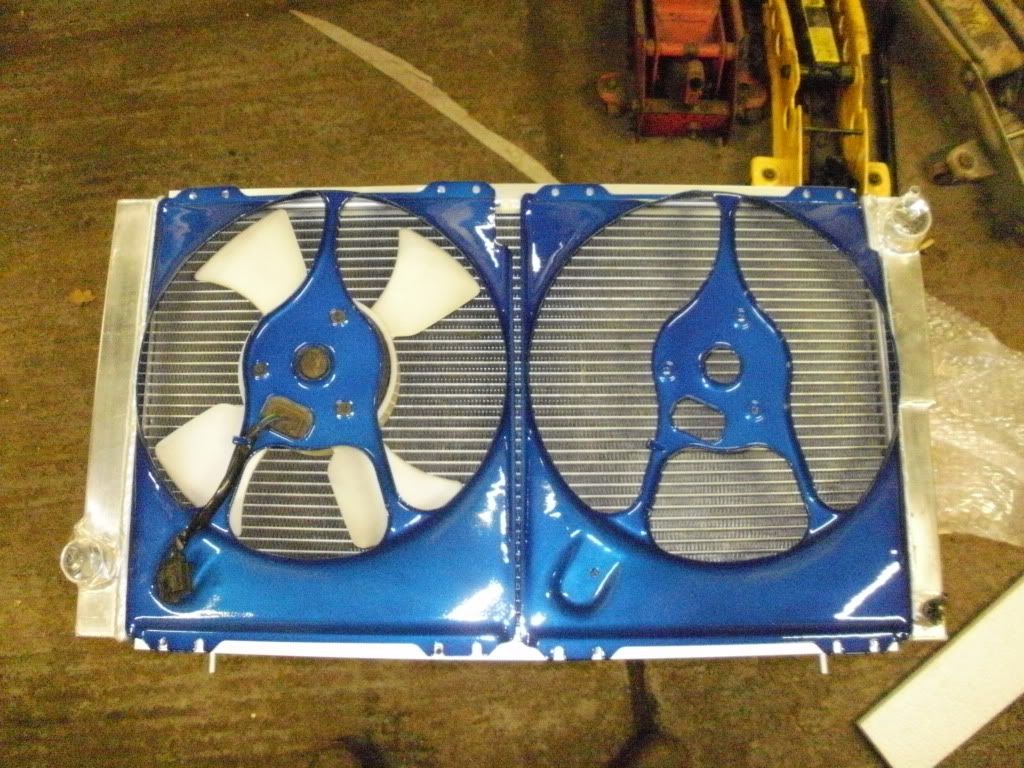
cooling fans for the radiator
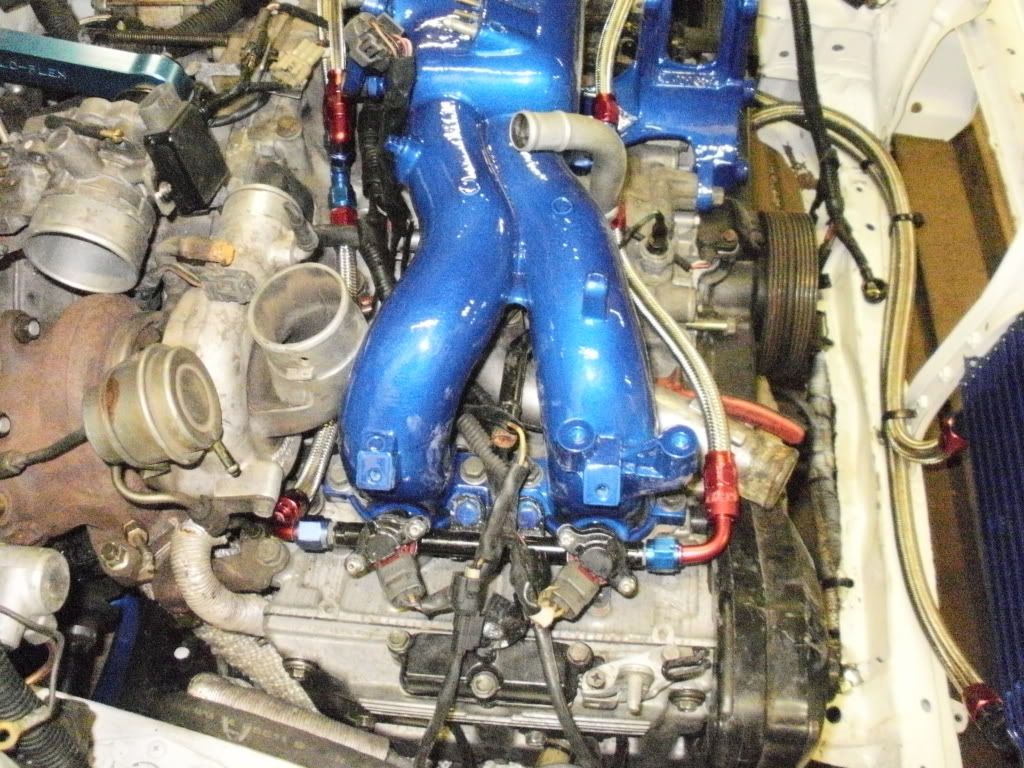
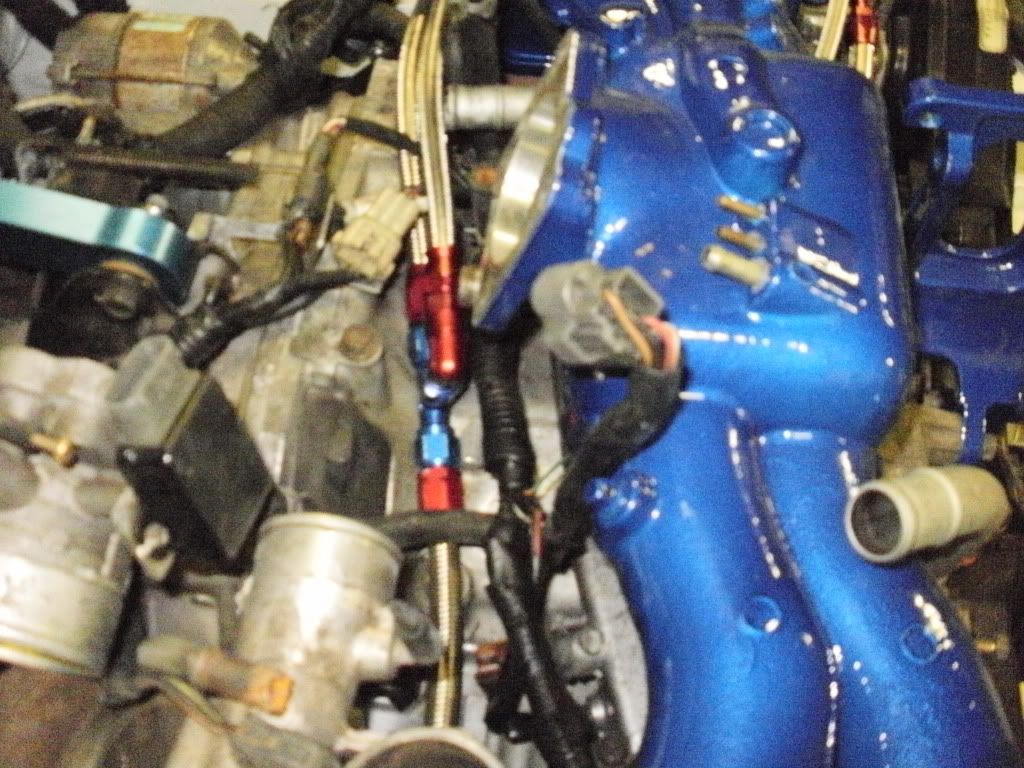
next is the intake manifold with injectors fitted
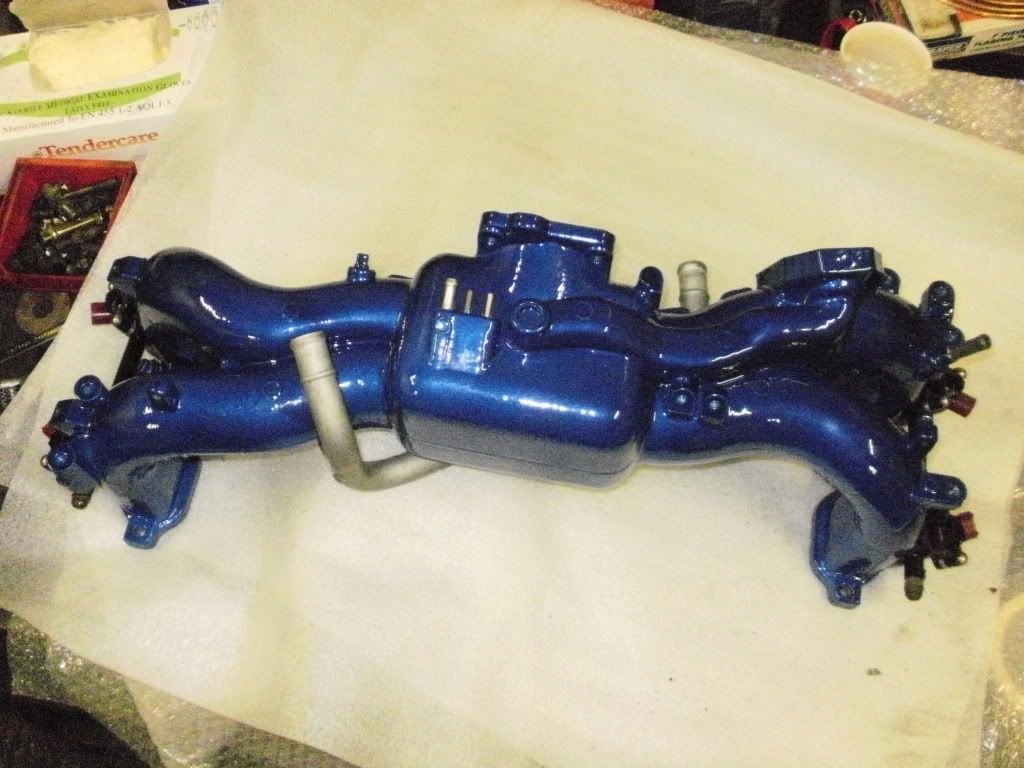

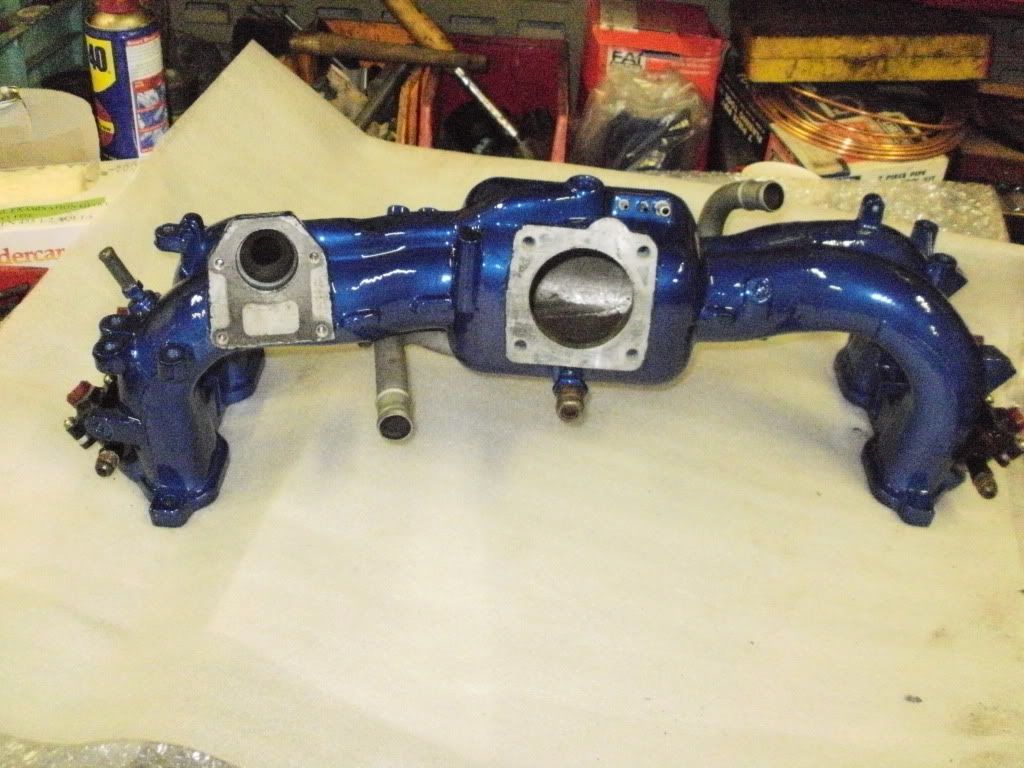
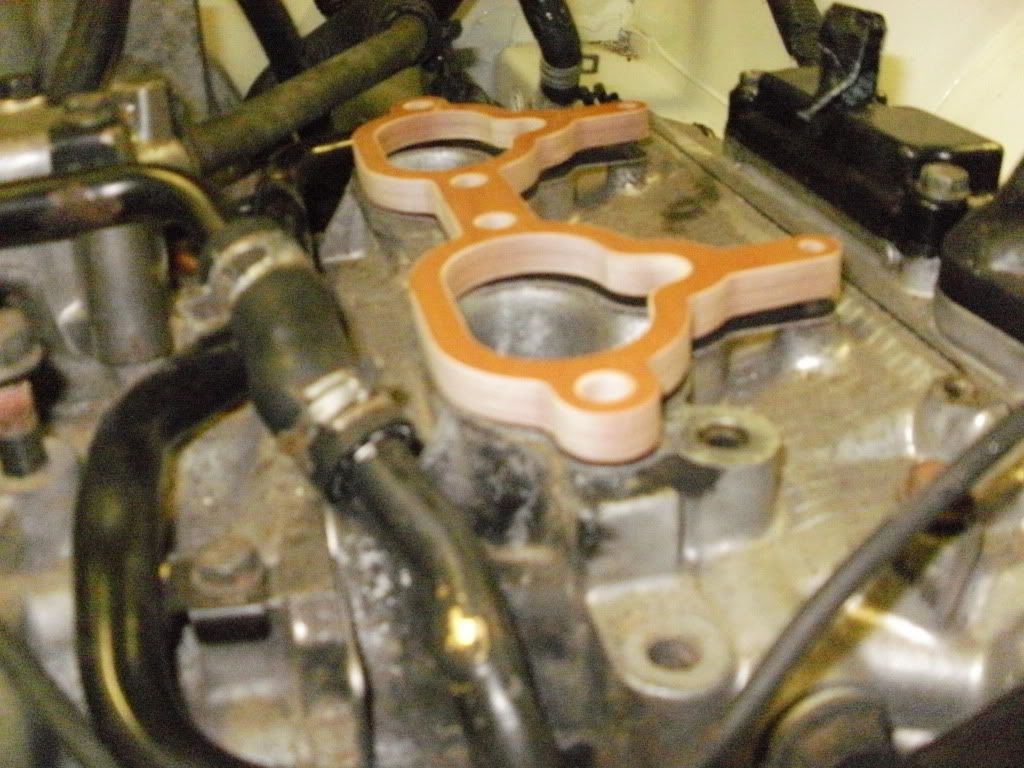
carl davey 10mm intake spacers fitted then manifold bolted in
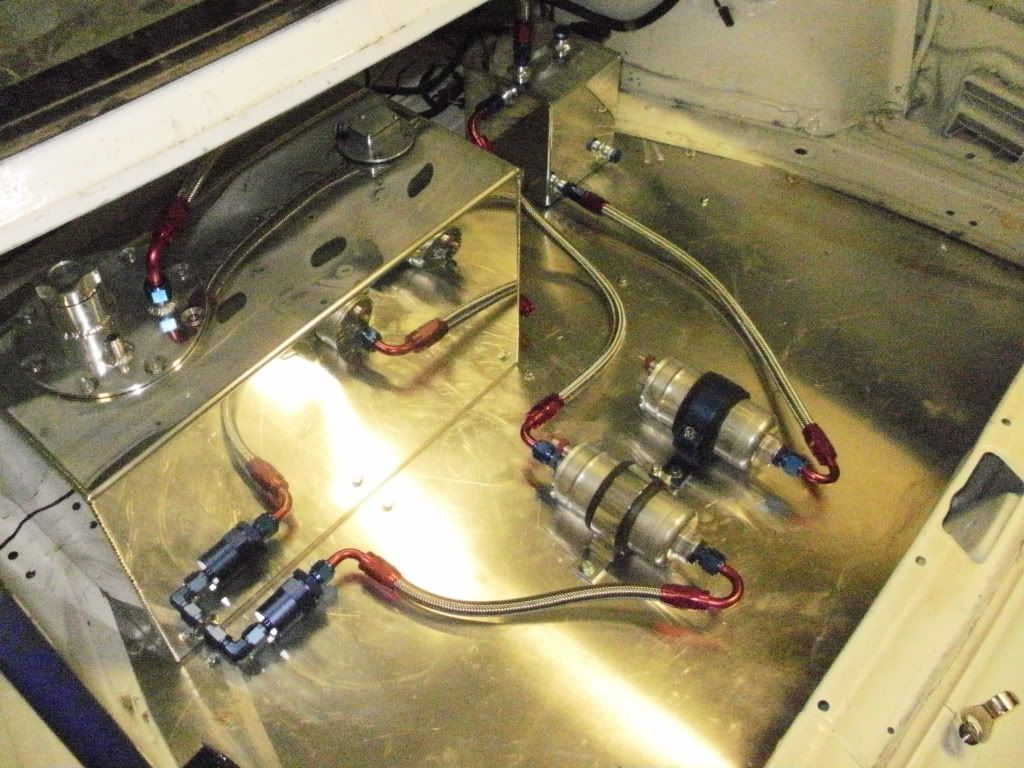
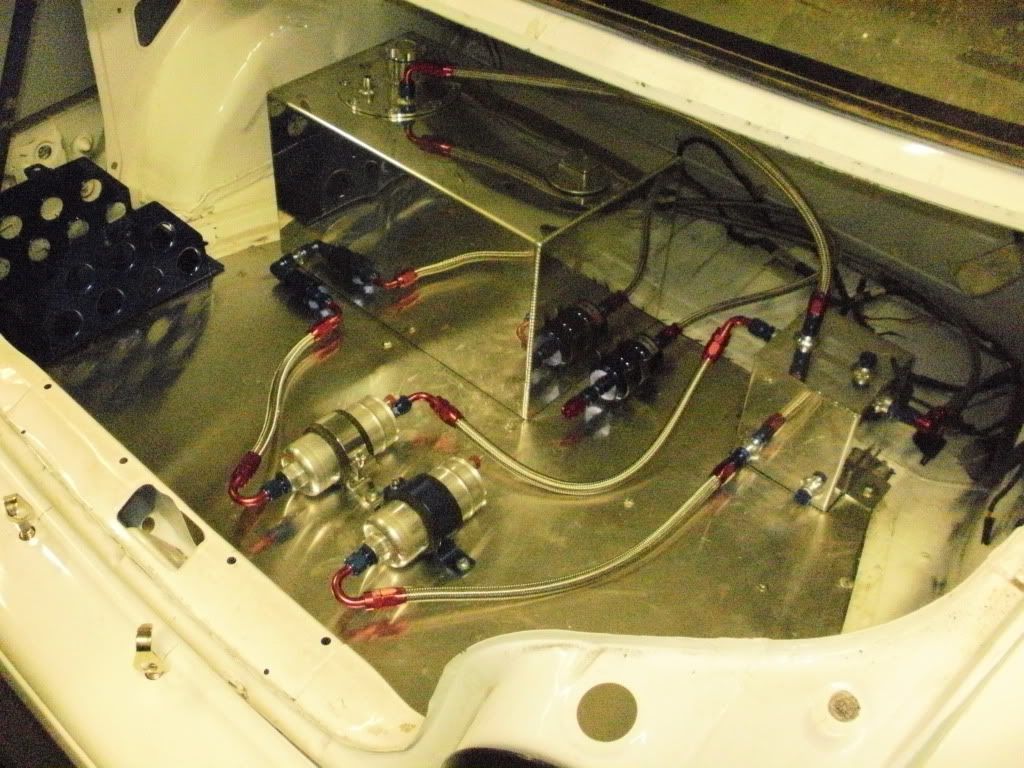
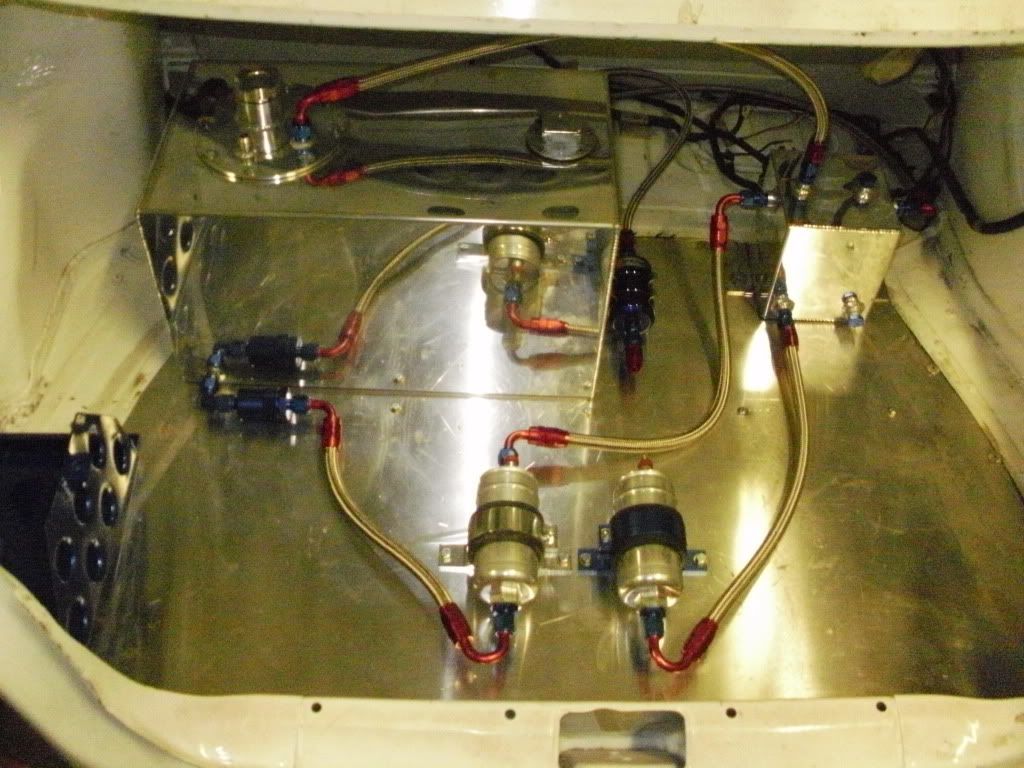
onto the boot fuel pumps and filters fitted also fuel tank and antisurge tank and then had to make all the fuel line inclueding the two that run from front to back expensive but does look the part
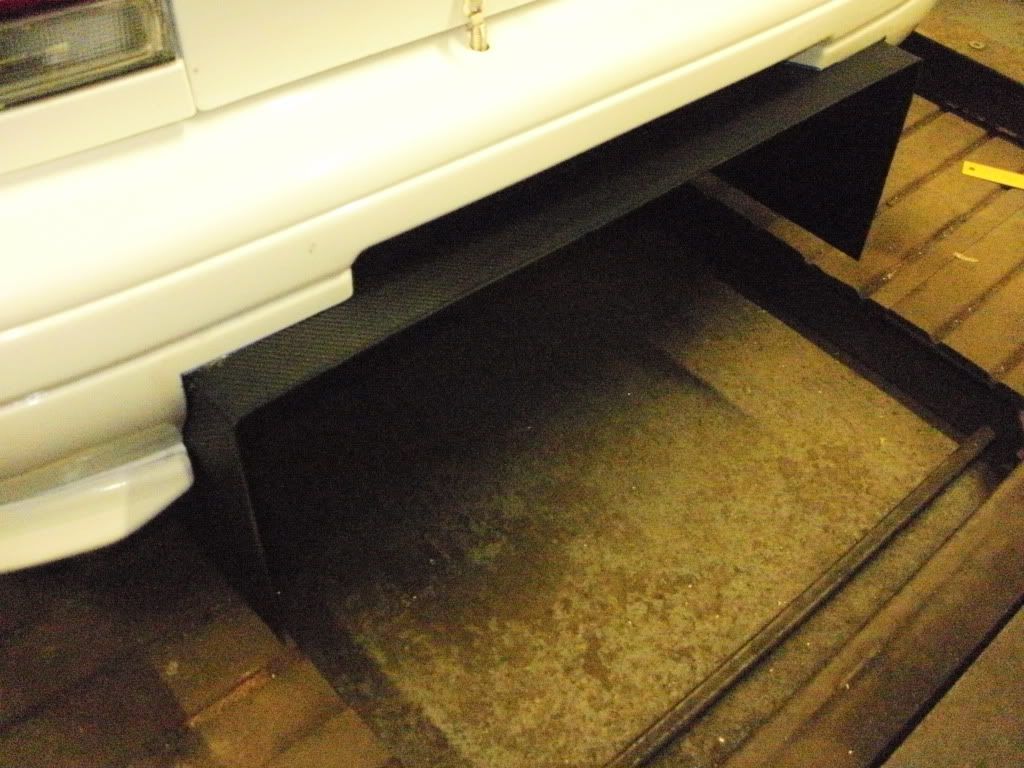
next was the rear defusser i just love the way they look
plenty more still to do
oil cooler and oil filter relocation done and piped up
ive put the rear brake lines on aswell
ive got all my things back from te powder coaters now
lower chassis brace
side bars fitted along side the sill and bolted at the front and onto rear cross member
cooling fans for the radiator
next is the intake manifold with injectors fitted
carl davey 10mm intake spacers fitted then manifold bolted in
onto the boot fuel pumps and filters fitted also fuel tank and antisurge tank and then had to make all the fuel line inclueding the two that run from front to back expensive but does look the part
next was the rear defusser i just love the way they look
plenty more still to do
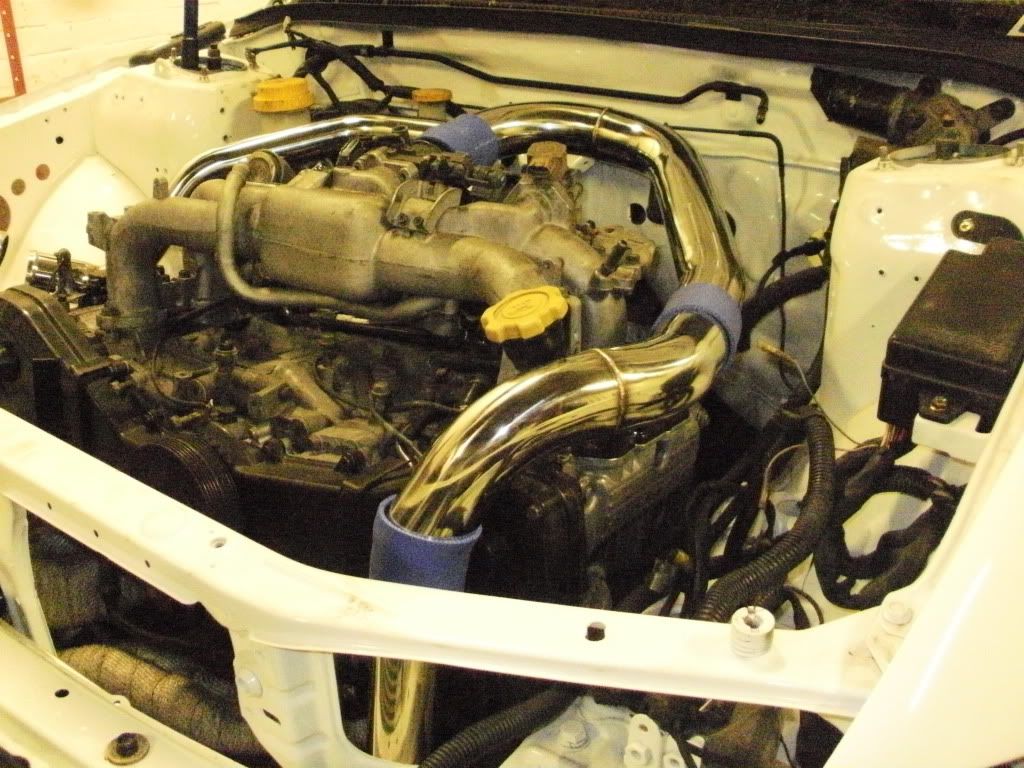
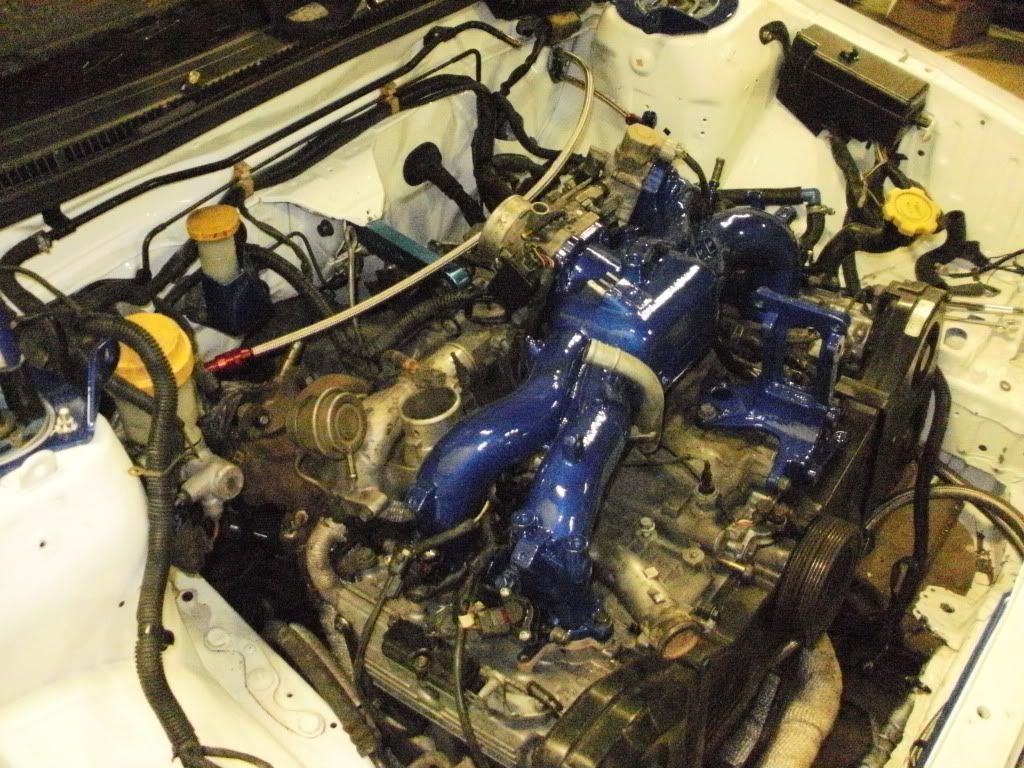
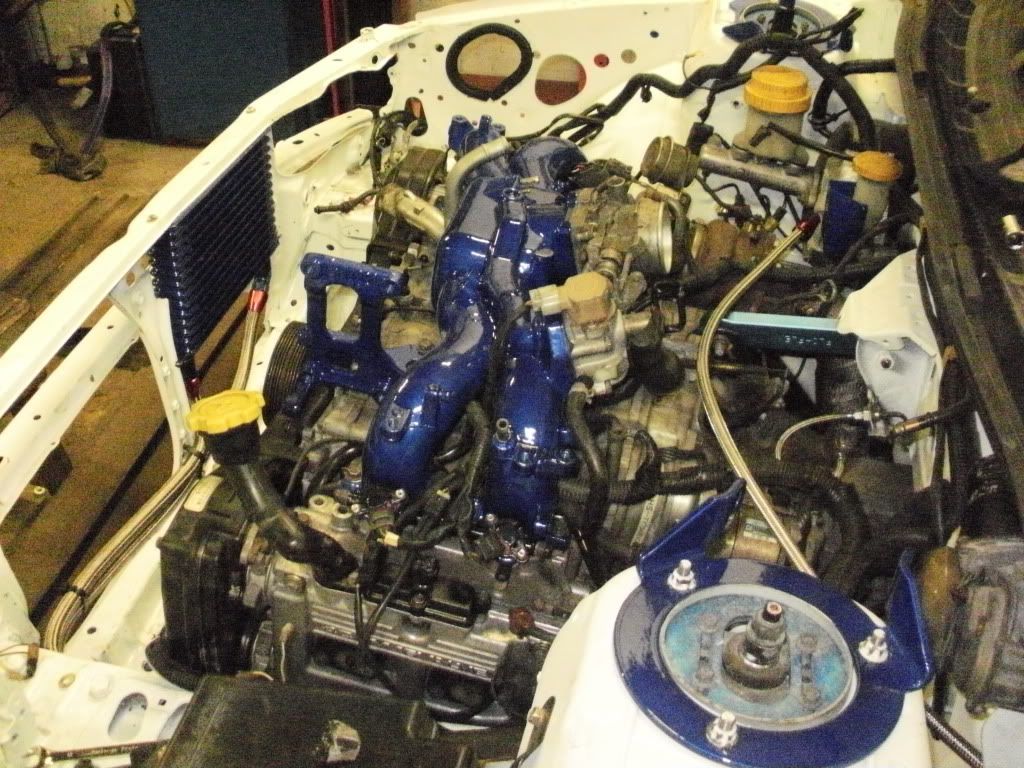
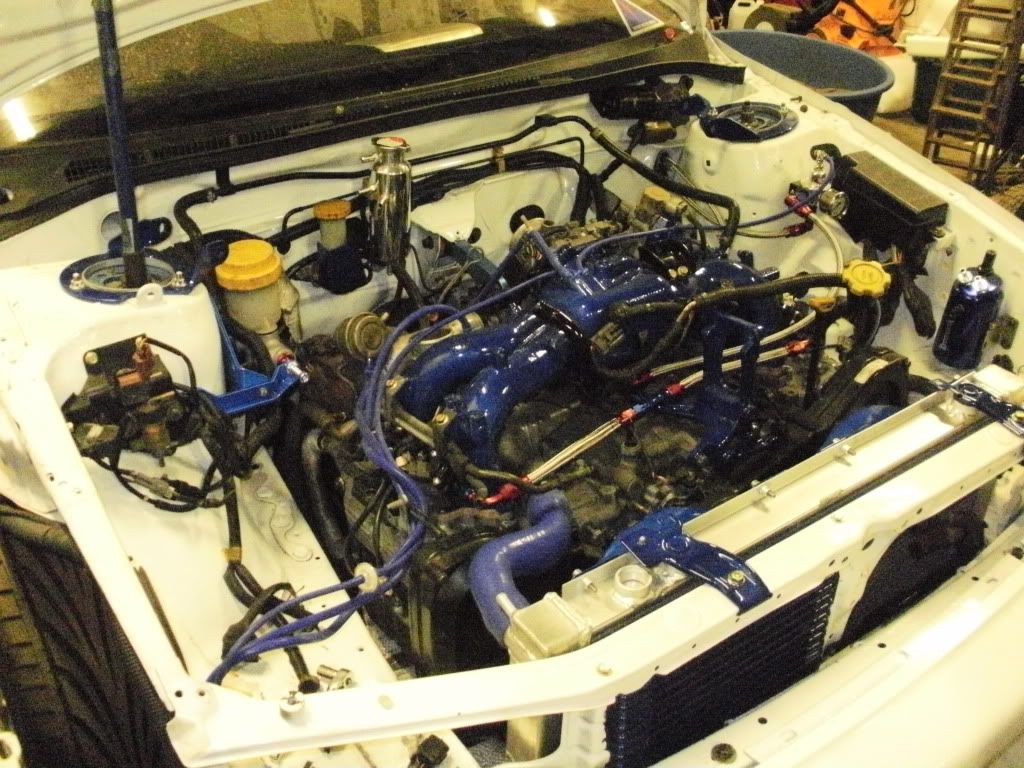
intake manifold is all plumb in now the fuel lines and fuel rails are all done if it works as good as it looks then im gonna be happy
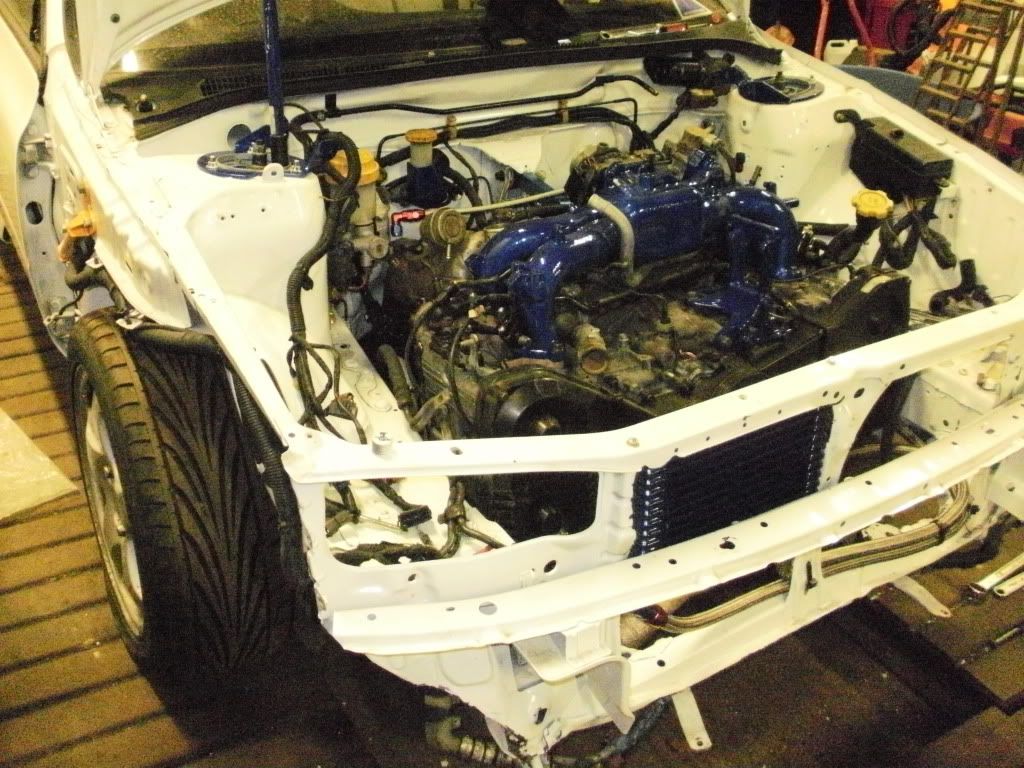
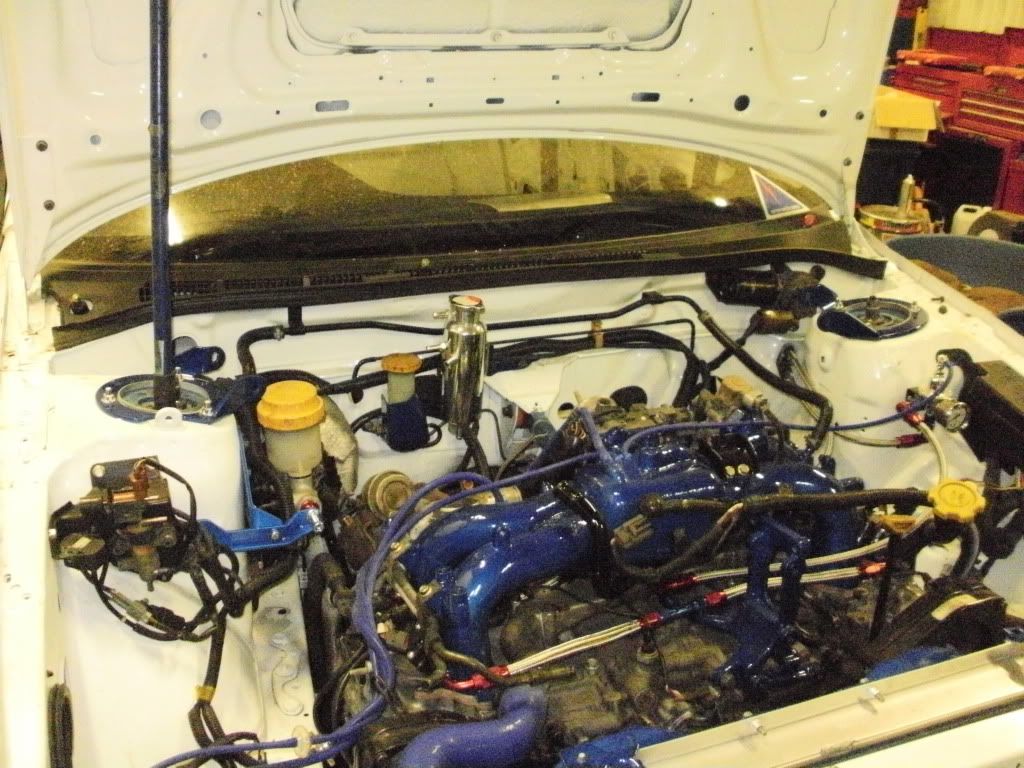
under the bonnet is starting to take shape now

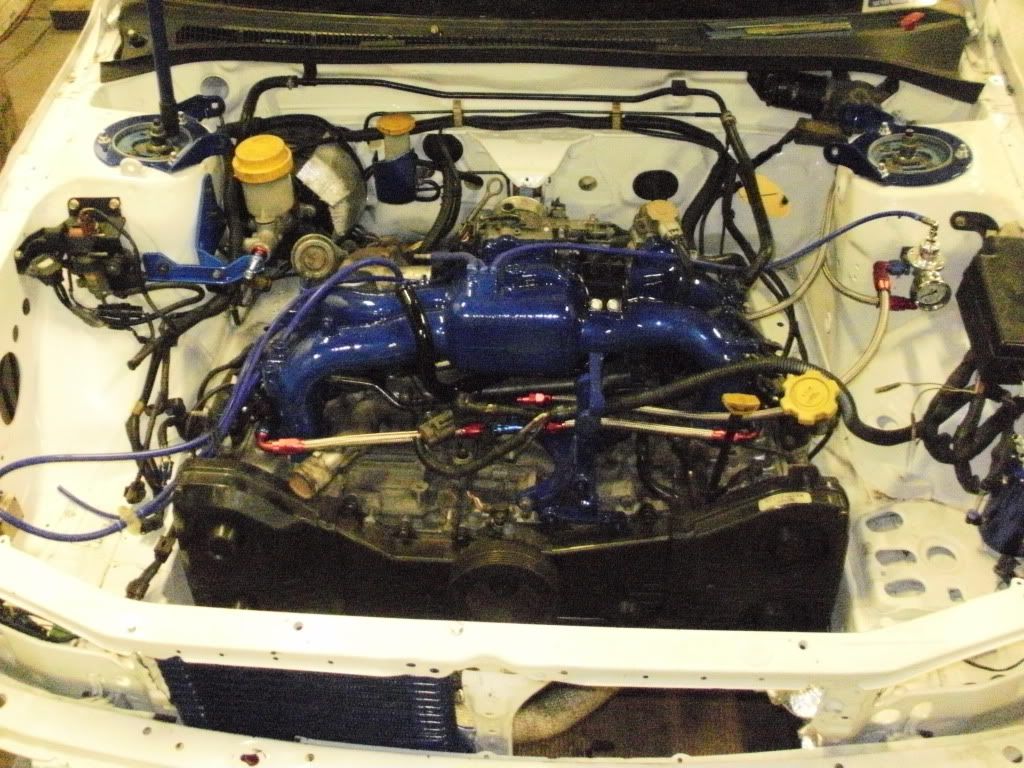
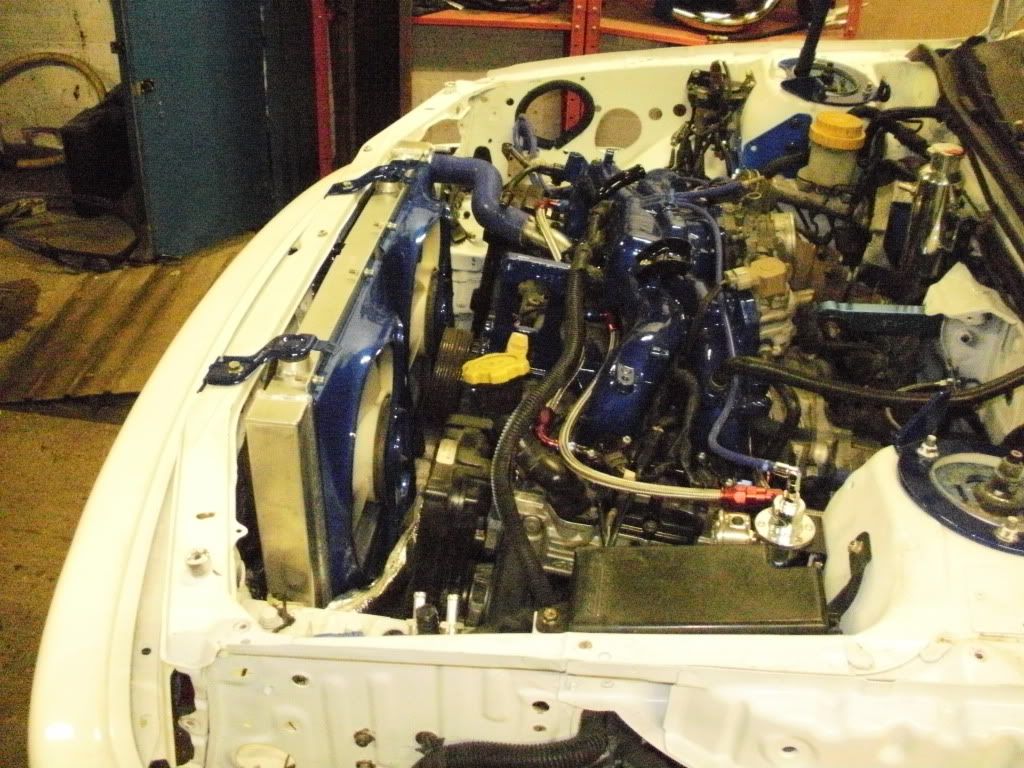
new header tank fitted to the bulkhead
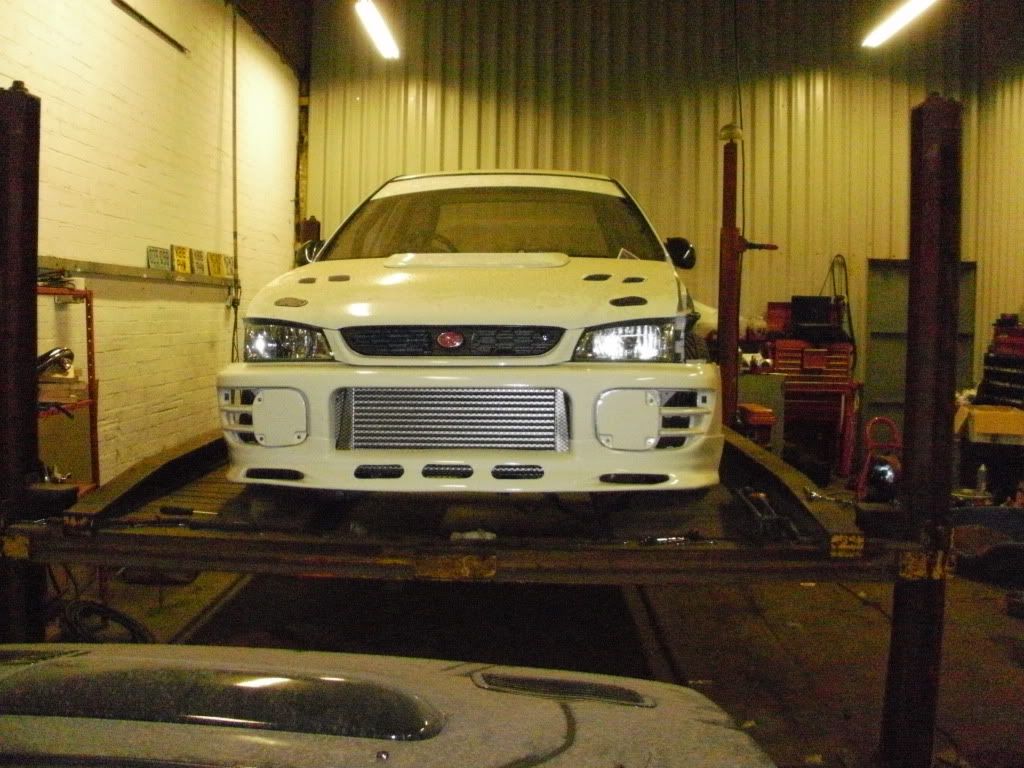
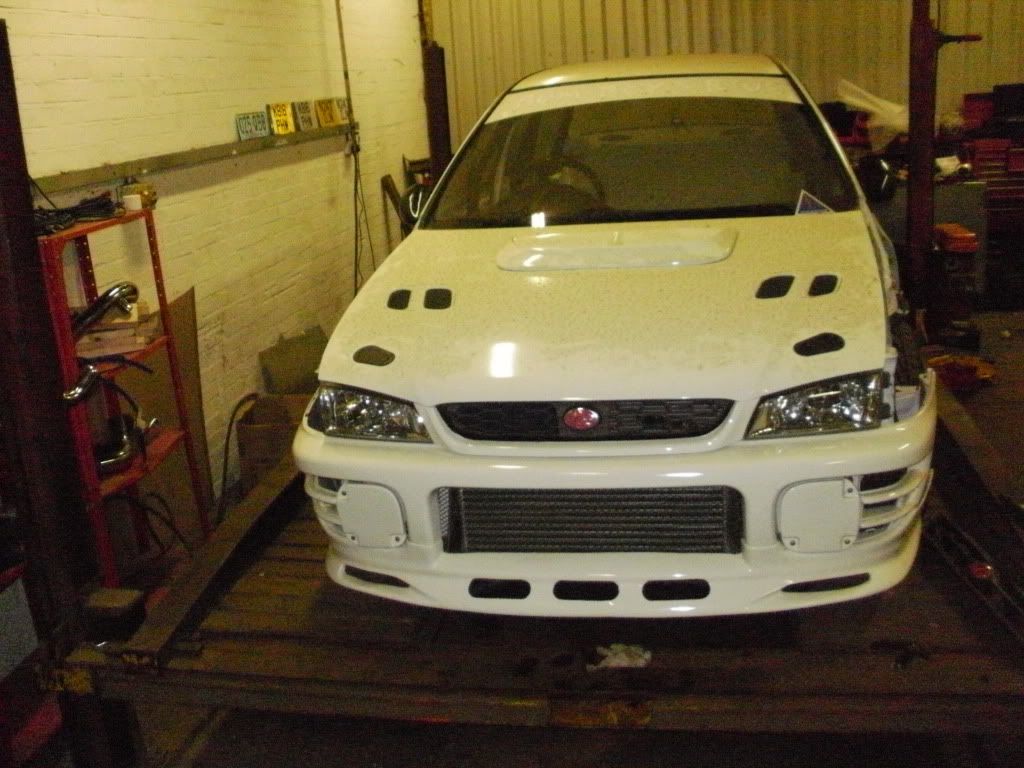
new grille fitted to the front bumper and painted black then bumper fitted to the car really pleased with how its looking now! so now need to sort 2 front wings


under the bonnet is starting to take shape now
new header tank fitted to the bulkhead
new grille fitted to the front bumper and painted black then bumper fitted to the car really pleased with how its looking now! so now need to sort 2 front wings