
wagon fettle

Thread Starter


Joined: Nov 2003
Posts: 13,356
Likes: 58
From: in the woods...........555 Wagon Sqn
lacquered the mesh today but can't find the rubber u channel I have to finish the bumper cut out...scuppered for now so I may have to buy some more. thanks to Lee for the cable ties all i need to do is sort the u channel and I can refit the wing and bumper 
got a very nice parcel from Mr Carl Davey; top feed conversion kit and fuel rails, its such a well engineered package highly recommended. the forged elbow fittings are spot on...just need some injectors now.


I'll be dropping the Advans off to be repaired and painted this week too, looking forward to seeing how bad they come out
got a very nice parcel from Mr Carl Davey; top feed conversion kit and fuel rails, its such a well engineered package highly recommended. the forged elbow fittings are spot on...just need some injectors now.
I'll be dropping the Advans off to be repaired and painted this week too, looking forward to seeing how bad they come out

Thread Starter
Joined: Nov 2003
Posts: 13,356
Likes: 58
From: in the woods...........555 Wagon Sqn
ordered some replacement u trim so the other stuff id bound to turn up now...hey ho. Stage 1 of my filling the headlamp washers has gone OK; I trimmed my butchered bumper and stuck a section under the small infill. Once I've filled and preped them it will be interesting to see how i get on painting a small section....


Also ordered a pump bracket for my external 044, looks to be good value for the money...thanks Arch A couple of bits coming from Marks WR1 are providing the last bits for the oil cooler and injector set up too...time to give my wallet a rest I think 

Also ordered a pump bracket for my external 044, looks to be good value for the money...thanks Arch
A couple of bits coming from Marks WR1 are providing the last bits for the oil cooler and injector set up too...time to give my wallet a rest I think
lacquered the mesh today but can't find the rubber u channel I have to finish the bumper cut out...scuppered for now so I may have to buy some more. thanks to Lee for the cable ties all i need to do is sort the u channel and I can refit the wing and bumper
got a very nice parcel from Mr Carl Davey; top feed conversion kit and fuel rails, its such a well engineered package highly recommended. the forged elbow fittings are spot on...just need some injectors now.
I'll be dropping the Advans off to be repaired and painted this week too, looking forward to seeing how bad they come out
Nice bling items,these fuel rails looking nuts

Jura

Thread Starter
Joined: Nov 2003
Posts: 13,356
Likes: 58
From: in the woods...........555 Wagon Sqn
A good day today...car got to see the light of day

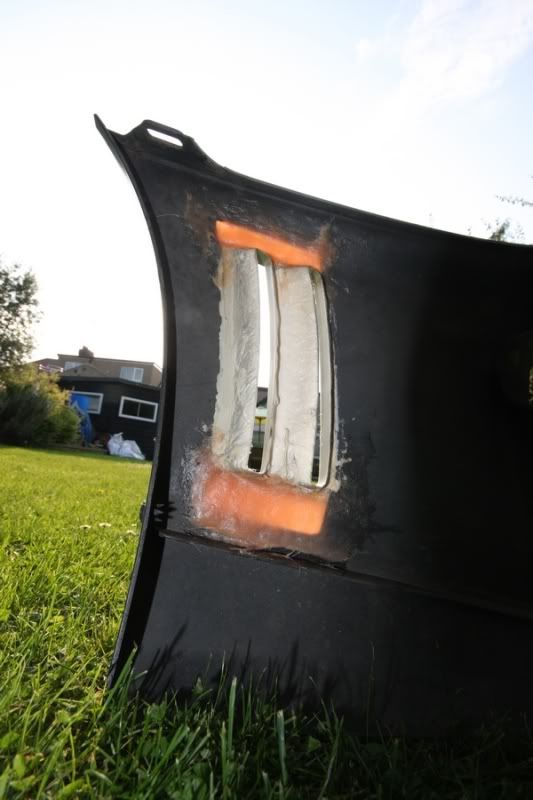
and thanks to Millzy sorted the fog lamp induction trumpets...glued and fibred glassed in place

and then filled, smoothed and primered...more work on the washer jet holes but I've got to accept I need to get the whole bumper sprayed now so I'll have a crack at preping the bonnet for paint over the long weekend too. Glued the u channel on and as expected found the pack I lost I think its looking good so far massive thanks to Chris for giving up his day

and thanks to Millzy sorted the fog lamp induction trumpets...glued and fibred glassed in place
and then filled, smoothed and primered...more work on the washer jet holes but I've got to accept I need to get the whole bumper sprayed now so I'll have a crack at preping the bonnet for paint over the long weekend too. Glued the u channel on and as expected found the pack I lost
I think its looking good so far massive thanks to Chris for giving up his day
Last edited by trails; Apr 22, 2011 at 08:29 PM.
Looking good mate 
Carl's stuff is amazingly well engineered and finished, he is a perfectionist and his stuff is top quality and he is also a genuinely cracking guy.
I have his original alternator relocation kit and it is first rate but the newer one is even better. Might well be speaking to him about some fuel rails
Thread Starter
Joined: Nov 2003
Posts: 13,356
Likes: 58
From: in the woods...........555 Wagon Sqn
Thread Starter
Joined: Nov 2003
Posts: 13,356
Likes: 58
From: in the woods...........555 Wagon Sqn
Looking good mate
Carl's stuff is amazingly well engineered and finished, he is a perfectionist and his stuff is top quality and he is also a genuinely cracking guy.
I have his original alternator relocation kit and it is first rate but the newer one is even better. Might well be speaking to him about some fuel rails

and then filled, smoothed and primered...more work on the washer jet holes but I've got to accept I need to get the whole bumper sprayed now so I'll have a crack at preping the bonnet for paint over the long weekend too. Glued the u channel on and as expected found the pack I lost I think its looking good so far massive thanks to Chris for giving up his day
I think its looking good so far massive thanks to Chris for giving up his day 
Good thread.
TX.
Thread Starter
Joined: Nov 2003
Posts: 13,356
Likes: 58
From: in the woods...........555 Wagon Sqn
Cheers john, done the sticker thing though...was way easier
Cheers Trev, my first go at body work so a steep learning curve...
Finally got round to drilling those two fittings out to remove the broken wing mirror...leaving it off for now just in case

Now I'm a fiberglass expert it was pretty east to finish off the bonnet reinforcement\clean up ready for some paint tomorrow

Filler primered, flated and painted finally...look OK, will check them in the daylight though...

most if my time was spent on the vent today; following advice from Chris I brought some glassfiber filler an made good the gaps by using a masking tape mould...yeah inevitably I cocked up the cut again, fit is poor though.

much rubbing down later I ended up with this...I've filled it ready for tomorrow too; more sanding after Sunday lunch

Cheers Trev, my first go at body work so a steep learning curve...
Finally got round to drilling those two fittings out to remove the broken wing mirror...leaving it off for now just in case
Now I'm a fiberglass expert it was pretty east to finish off the bonnet reinforcement\clean up ready for some paint tomorrow
Filler primered, flated and painted finally...look OK, will check them in the daylight though...
most if my time was spent on the vent today; following advice from Chris I brought some glassfiber filler an made good the gaps by using a masking tape mould...yeah inevitably I cocked up the cut again, fit is poor though.
much rubbing down later I ended up with this...I've filled it ready for tomorrow too; more sanding after Sunday lunch
Last edited by trails; Apr 23, 2011 at 09:44 PM.
") Looking good nevertheless
Looking good nevertheless
Thread Starter
Joined: Nov 2003
Posts: 13,356
Likes: 58
From: in the woods...........555 Wagon Sqn


Thread Starter
Joined: Nov 2003
Posts: 13,356
Likes: 58
From: in the woods...........555 Wagon Sqn
Thread Starter
Joined: Nov 2003
Posts: 13,356
Likes: 58
From: in the woods...........555 Wagon Sqn
As promised lots of new pics...first off bonnet underside now painted, looks a lot more finished than before

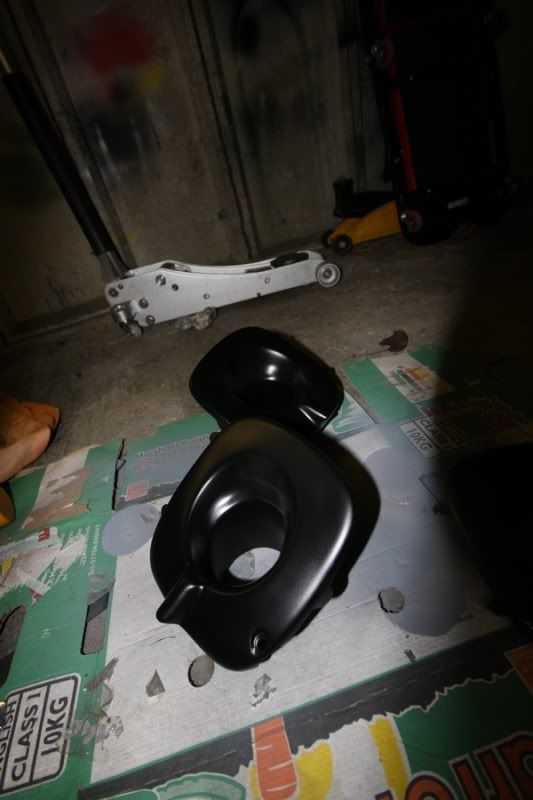
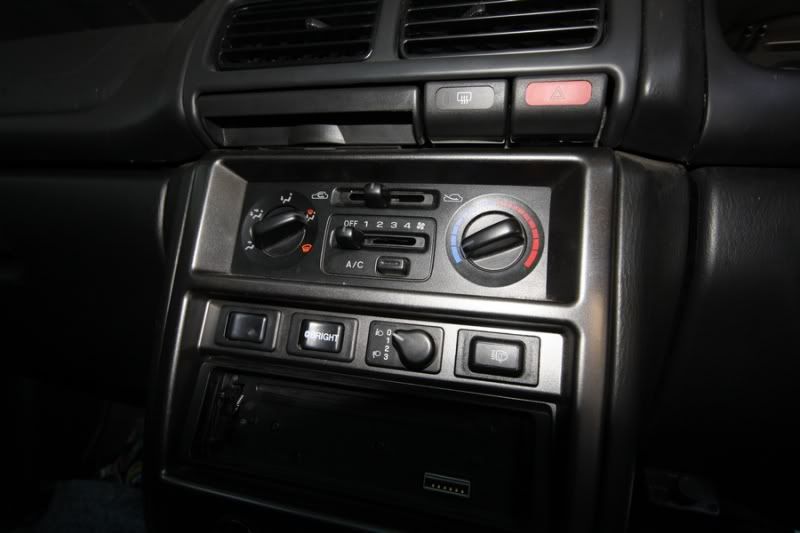
Interior fiddle; blanking plate for air con switch and swapping the now redundant headlamp washer switch for modded headlight position switch which I intend to select my three different maps with

washer jut holes almost gone...


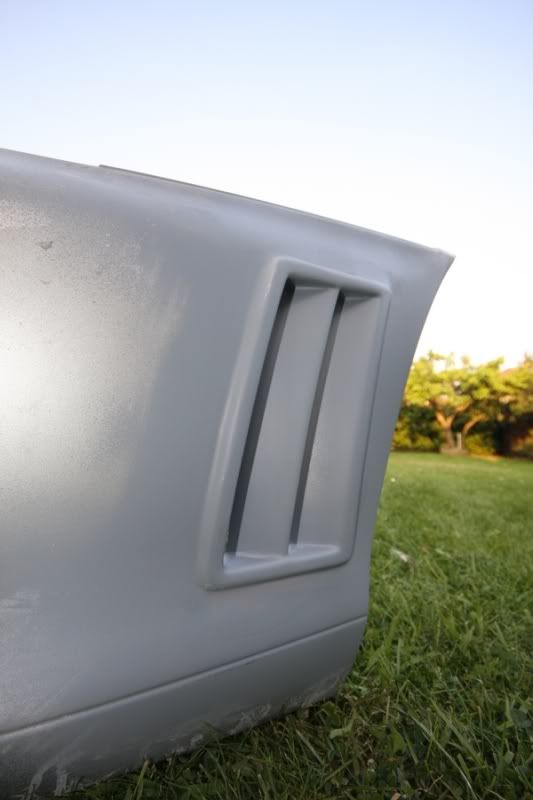
vent almost done, just need a bit more high build filler and some more rubbing down.

As it stands at present, looked better with the splitter but it kept bloody falling off so you will just have to imagine how it looks


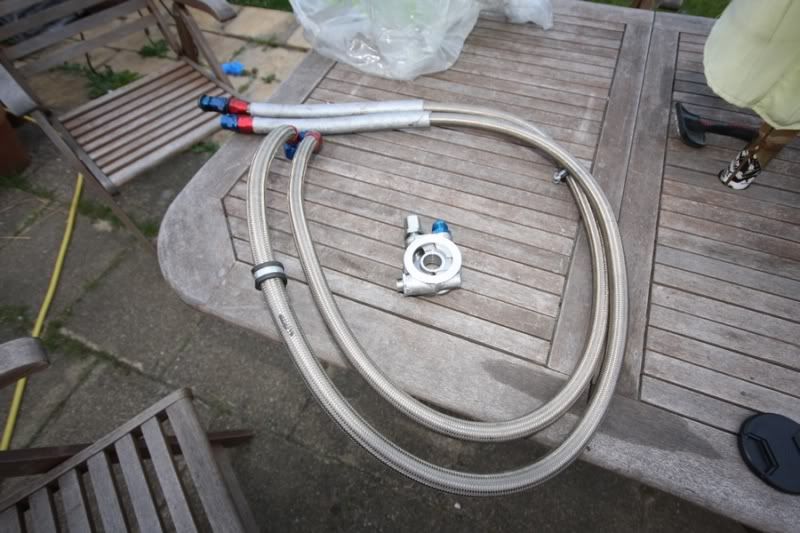
800cc PE injectors and oil cooler hose arrived from Big Fud this morning, cheers Mark

Interior fiddle; blanking plate for air con switch and swapping the now redundant headlamp washer switch for modded headlight position switch which I intend to select my three different maps with
washer jut holes almost gone...
vent almost done, just need a bit more high build filler and some more rubbing down.
As it stands at present, looked better with the splitter but it kept bloody falling off so you will just have to imagine how it looks
800cc PE injectors and oil cooler hose arrived from Big Fud this morning, cheers Mark
Thread Starter
Joined: Nov 2003
Posts: 13,356
Likes: 58
From: in the woods...........555 Wagon Sqn
oh and for every-ones entertainment...ordered my hose from demon tweaks - Dave Featherstone, top bloke and 15% discount for SN users - arrived the next day. I ordered the wrong size...

- arrived the next day. I ordered the wrong size...
Scooby Regular
Joined: Apr 2010
Posts: 61
Likes: 0
From: ballyclare