
wagon fettle

Thread Starter


Joined: Nov 2003
Posts: 13,356
Likes: 58
From: in the woods...........555 Wagon Sqn
SN has always been a source of good advice, so even though this is not jaw dropping thread like Dinges, E_M_B, Zen, Frayz etc I thought I’d share my wagons evolution so far and try to give a little back 
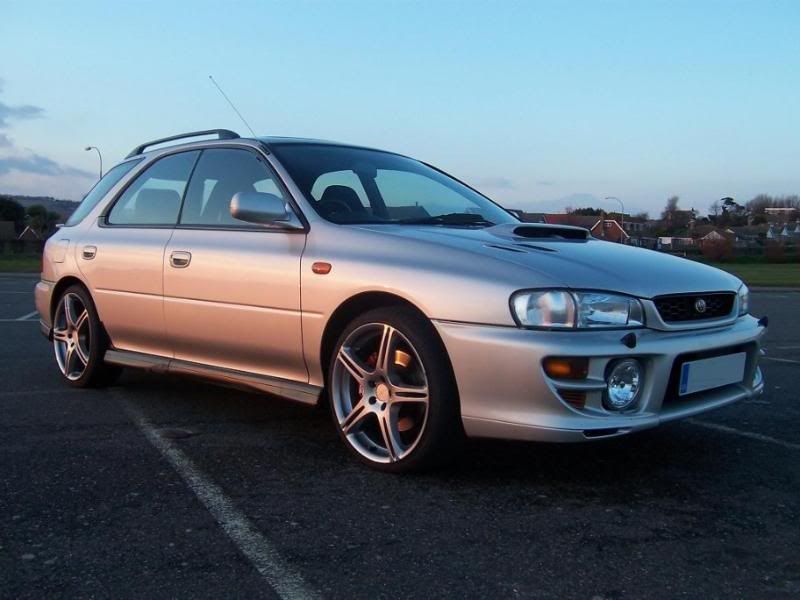
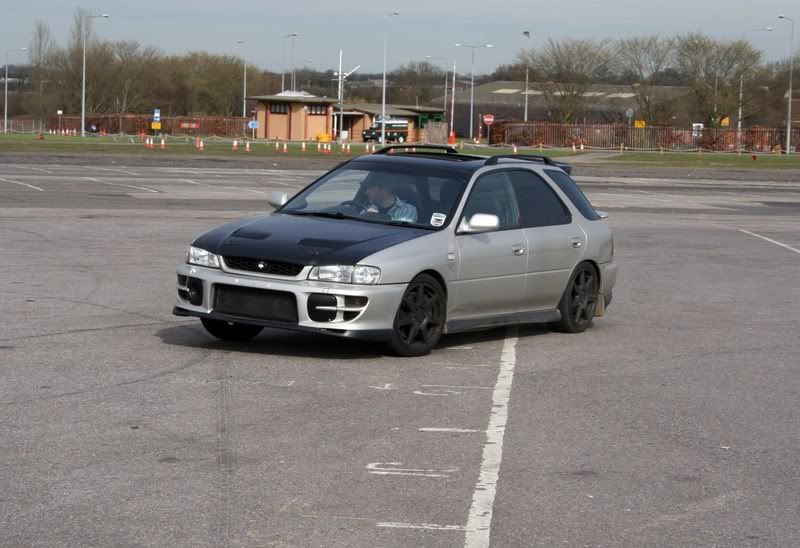
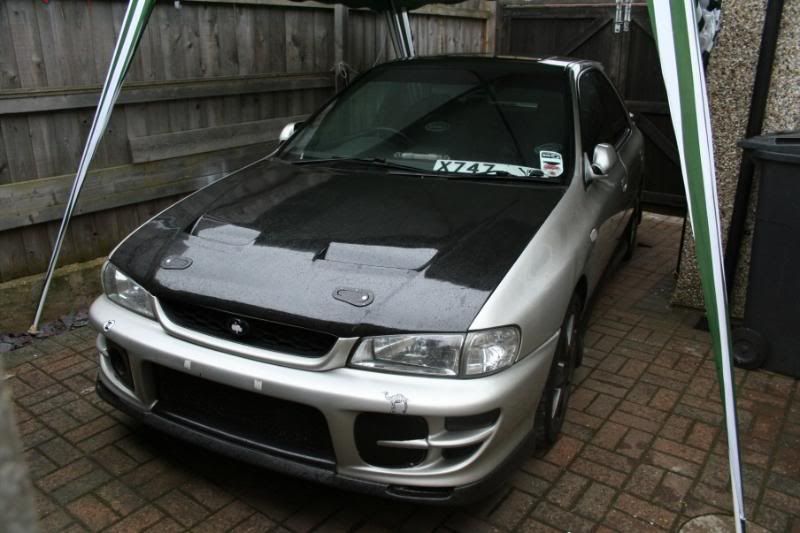
I brought it when it was just over three years old, early 2004 and it looked like this


After a couple of years and your average modding (the majority of the mechanical work was carried out by XS as I had nowhere I could work on the it); full decat, panel filter, ported headers, flex fit up-pipe, samco turbo hoses, three port boost solenoid, TEK3 etc…and of course the obligatory external mods I ended up with this
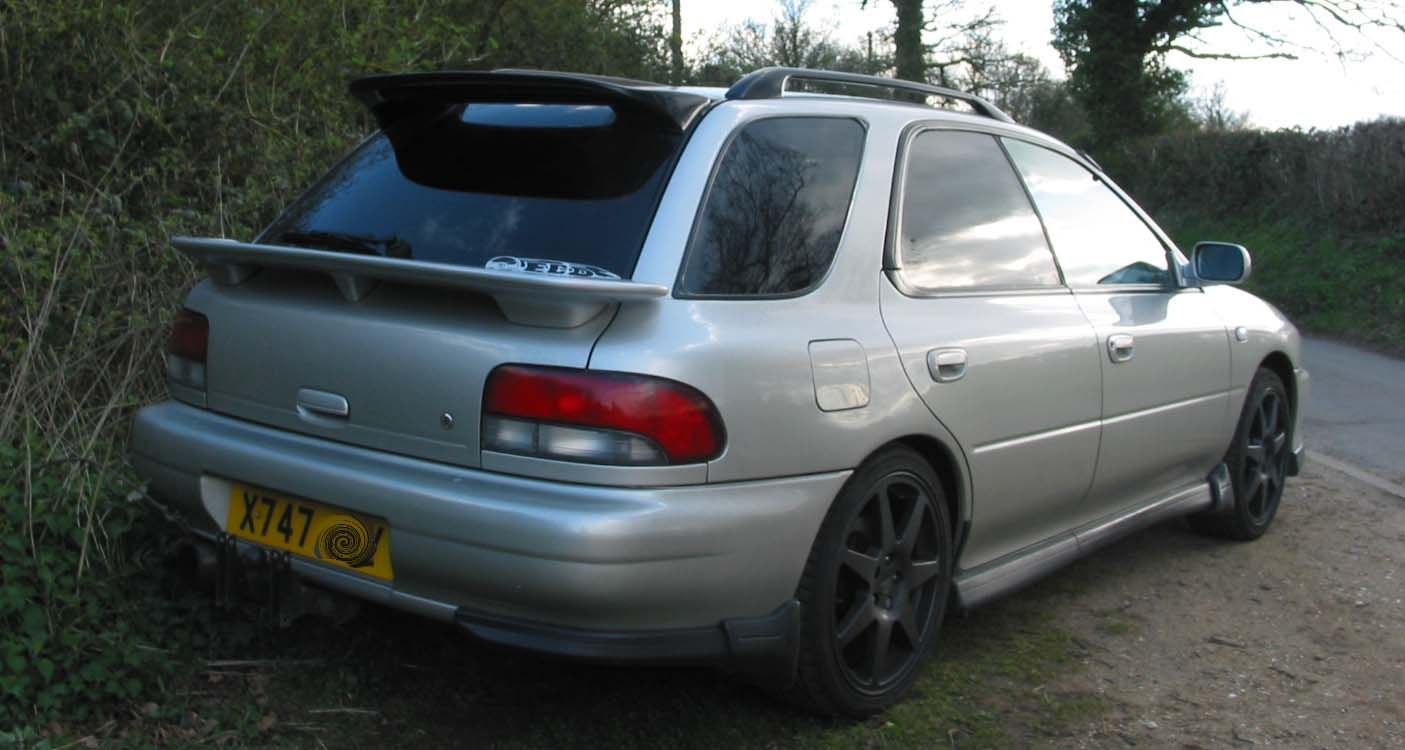
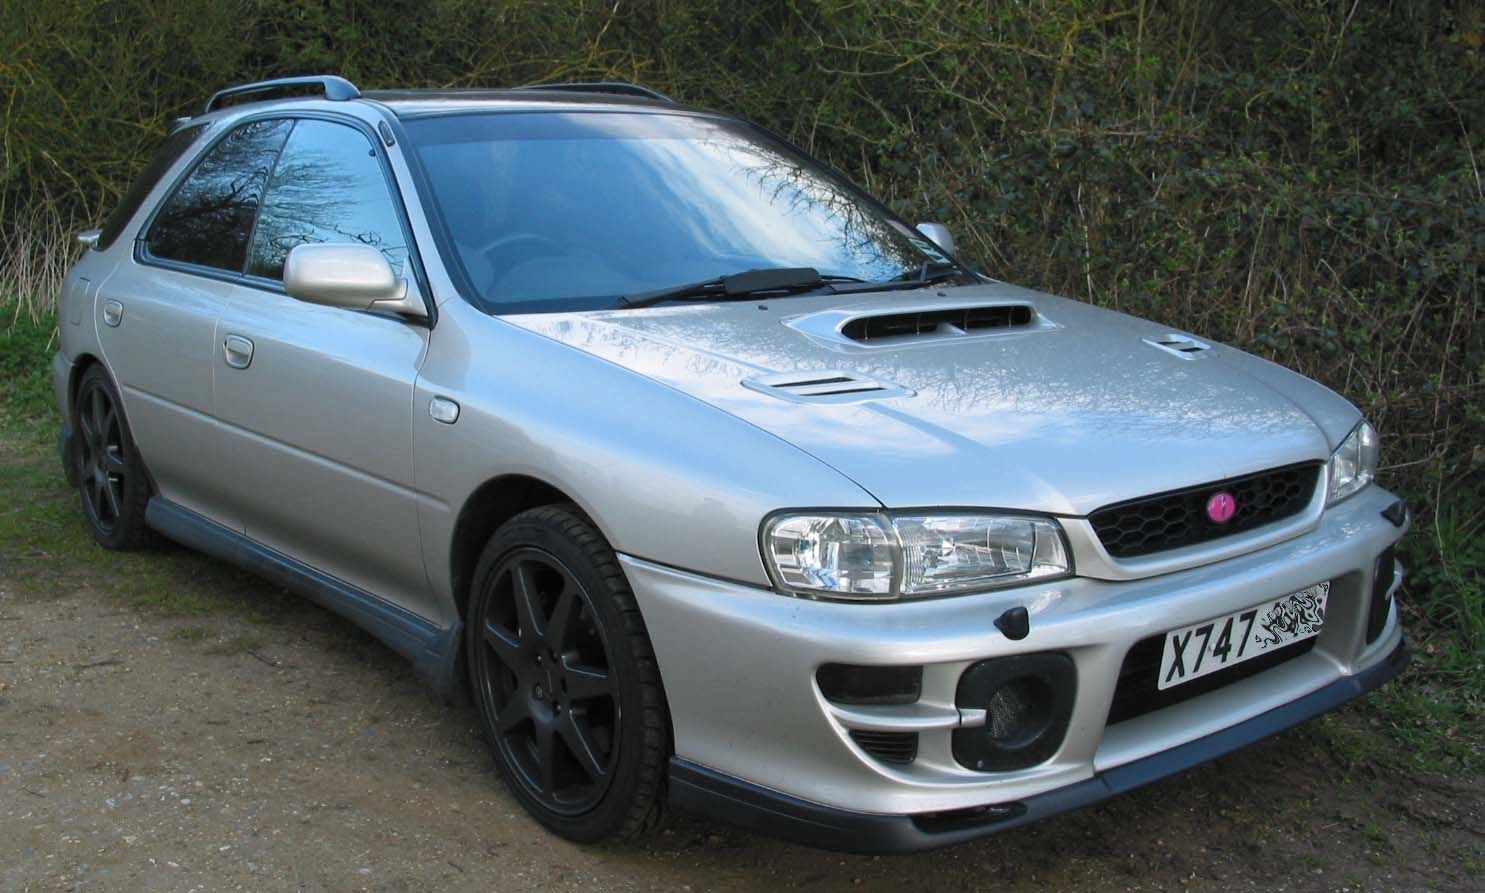

I really liked the way the car drove but wanted to go faster, up-rating the supporting components in line with increasing the power and doing as much of the work myself as I could. Starting with the brakes and suspension to try and retain the same sort of feel, optimising it to try to make it quicker without losing the drivability. I moved late 2006 and found myself with a garage and enclosed space I could work on the wagon so began to acquire bits for a low budget DIY upgrade…
Ian
I brought it when it was just over three years old, early 2004 and it looked like this
After a couple of years and your average modding (the majority of the mechanical work was carried out by XS as I had nowhere I could work on the it); full decat, panel filter, ported headers, flex fit up-pipe, samco turbo hoses, three port boost solenoid, TEK3 etc…and of course the obligatory external mods I ended up with this
I really liked the way the car drove but wanted to go faster, up-rating the supporting components in line with increasing the power and doing as much of the work myself as I could. Starting with the brakes and suspension to try and retain the same sort of feel, optimising it to try to make it quicker without losing the drivability. I moved late 2006 and found myself with a garage and enclosed space I could work on the wagon so began to acquire bits for a low budget DIY upgrade…
Ian
Last edited by trails; Apr 27, 2016 at 10:13 AM. Reason: grammar, spelling etc etc
Thread Starter
Joined: Nov 2003
Posts: 13,356
Likes: 58
From: in the woods...........555 Wagon Sqn
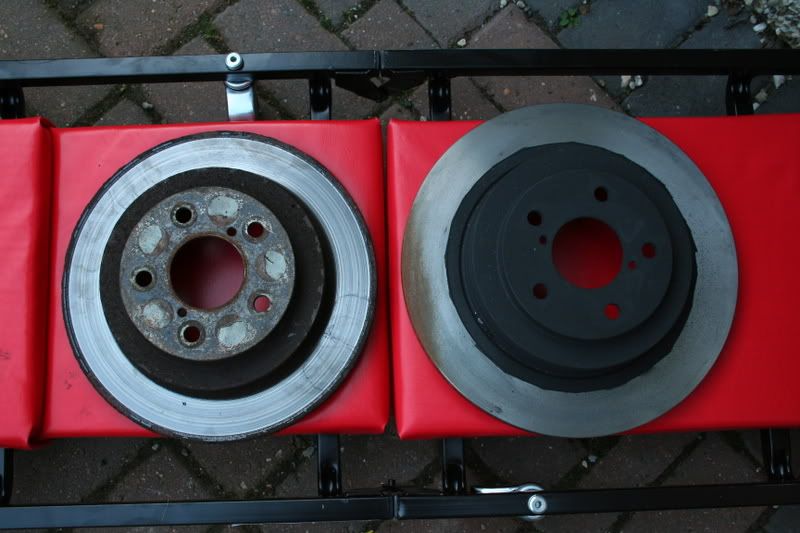
I started with the brakes; using one of Dyney's brackets upgraded from a sliding calliper to 03WRX two pots

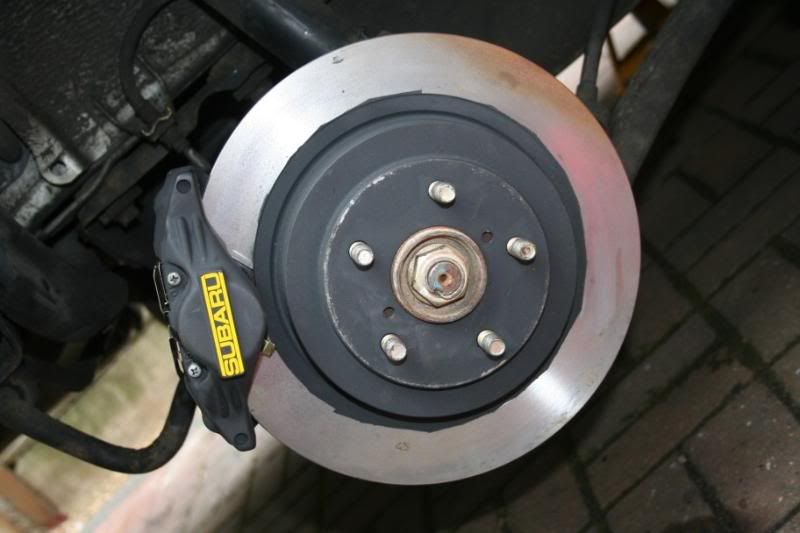
270mm vs 290mm
For the fronts, I sourced a pair of the original Scooby Sport Bembos and two piece 325mm disks from Godspeed.
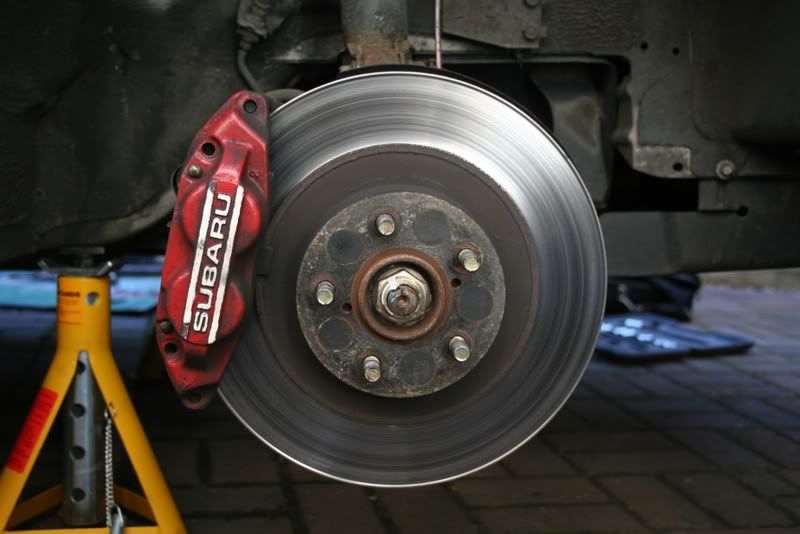

I also installed a CDF's brake stopper to stop the bulkhead flexing where the master cylinder is fitted. The new set up improved the brake pedal feel no end and I have yet to experience brake fade; in conditions where with the previous set up wilted this set up keeps working
I then moved onto the suspension; installing Whiteline solid drop-links all round and a Whiteline 22mm adjustable rear ARB. I already had Eibach springs fitted, but the drop links and especially the ARB tightened up the way it felt allowing you to get onto the power earlier when cornering.
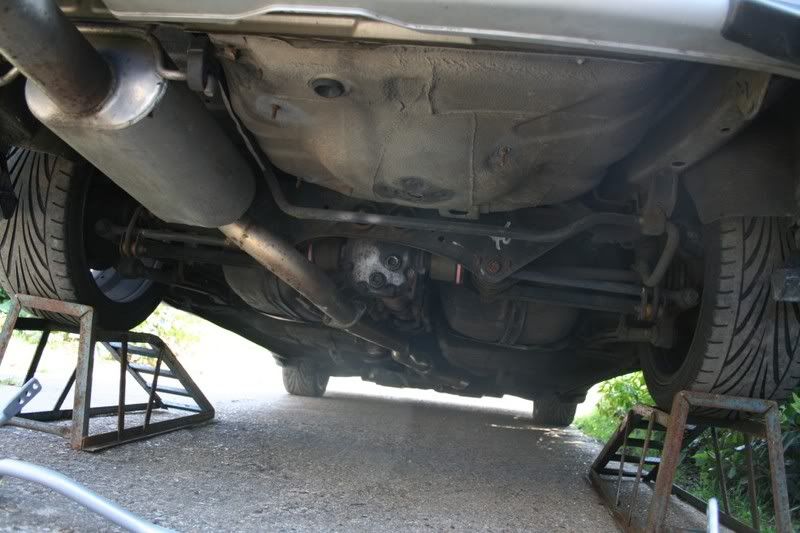

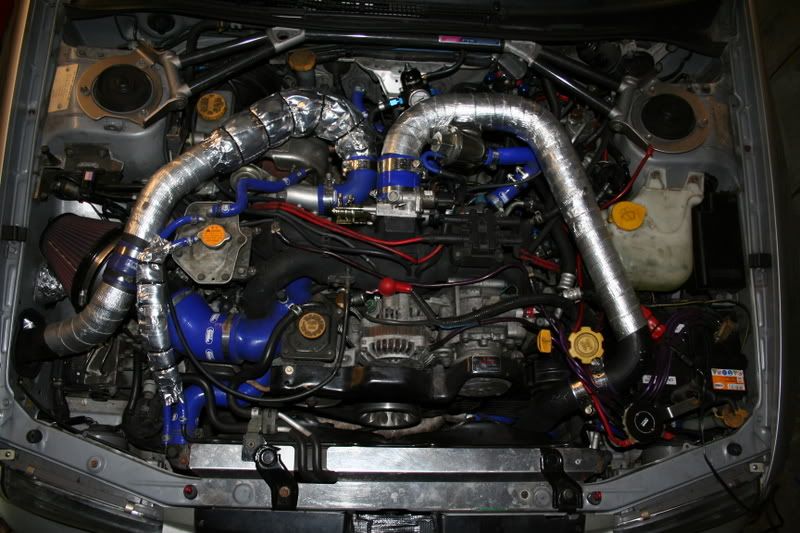
As I had faired very well -for a mechanical simpleton at least- I decided to get brave and did this; 22B Bulletin Board: bolt on stage II mods...
After much cursing and scrapped knuckles I ended up with this
270mm vs 290mm
For the fronts, I sourced a pair of the original Scooby Sport Bembos and two piece 325mm disks from Godspeed.
I also installed a CDF's brake stopper to stop the bulkhead flexing where the master cylinder is fitted. The new set up improved the brake pedal feel no end and I have yet to experience brake fade; in conditions where with the previous set up wilted this set up keeps working
I then moved onto the suspension; installing Whiteline solid drop-links all round and a Whiteline 22mm adjustable rear ARB. I already had Eibach springs fitted, but the drop links and especially the ARB tightened up the way it felt allowing you to get onto the power earlier when cornering.
As I had faired very well -for a mechanical simpleton at least- I decided to get brave and did this; 22B Bulletin Board: bolt on stage II mods...
After much cursing and scrapped knuckles I ended up with this
Last edited by trails; Apr 14, 2008 at 04:48 PM. Reason: bloody photobucket!!
 i love wagons!
Thread Starter
Joined: Nov 2003
Posts: 13,356
Likes: 58
From: in the woods...........555 Wagon Sqn
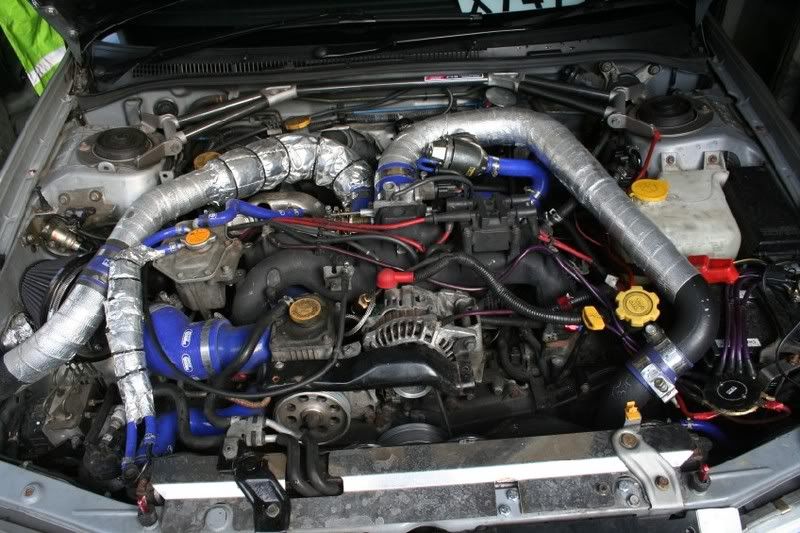
It now went pretty quickly and had a brake set up that was not over whelmed by its speed. I was very happy with the results and rather proud of myself so I’ve continued to fiddle since then and (after splitting a rubber hose whilst fitting my fmic and it not working anyway ), have removed my air con

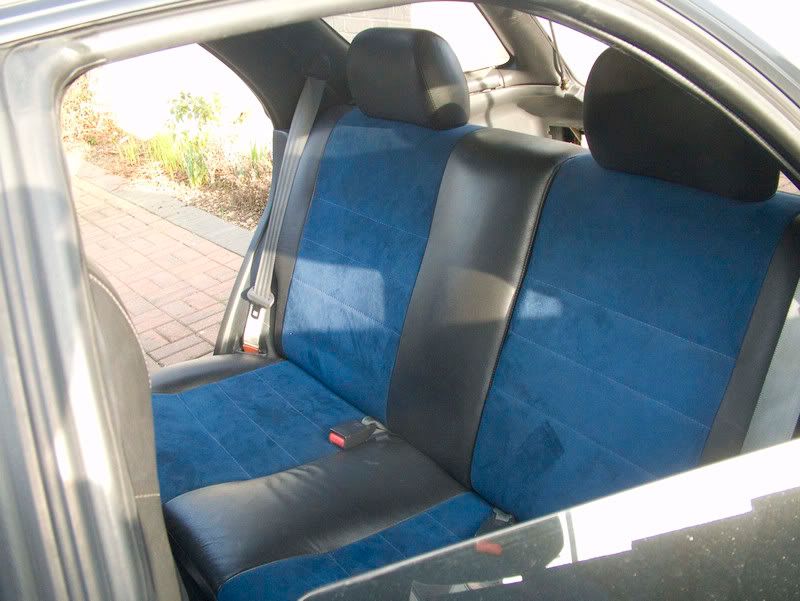
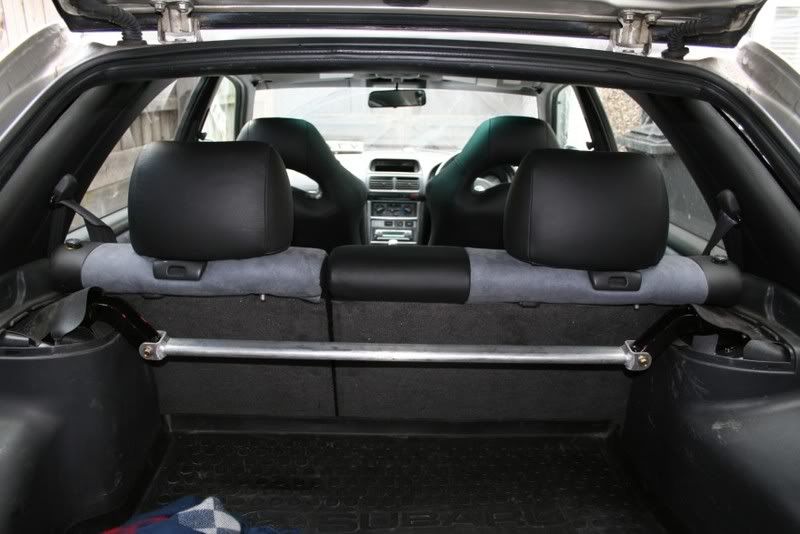
I had a bit of a moment and made an impulse ebay purchase of a v5 re-trimmed wagon interior. I liked the way it lifted the interior but I didn't like the colour or the v5 drivers seat...so I bit the bullet and got my v6 interior re-covered by Concept Interiors.
v5
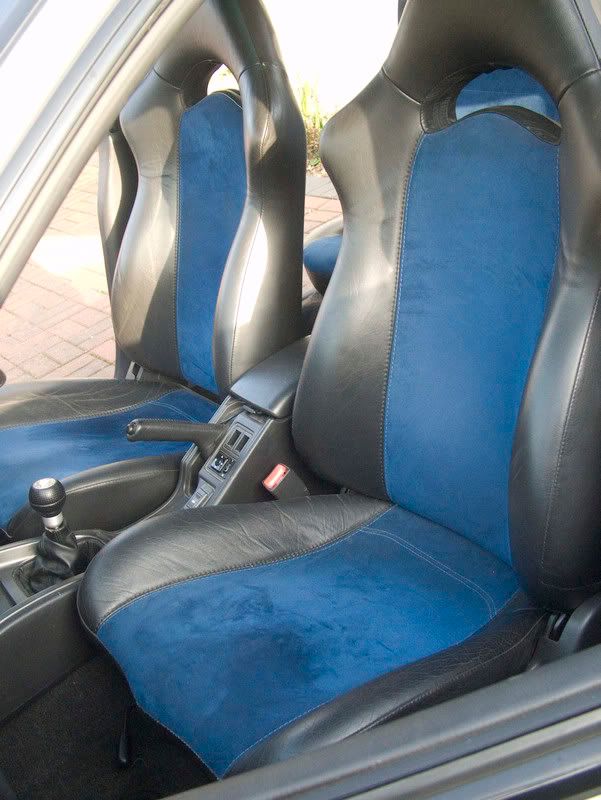
v6


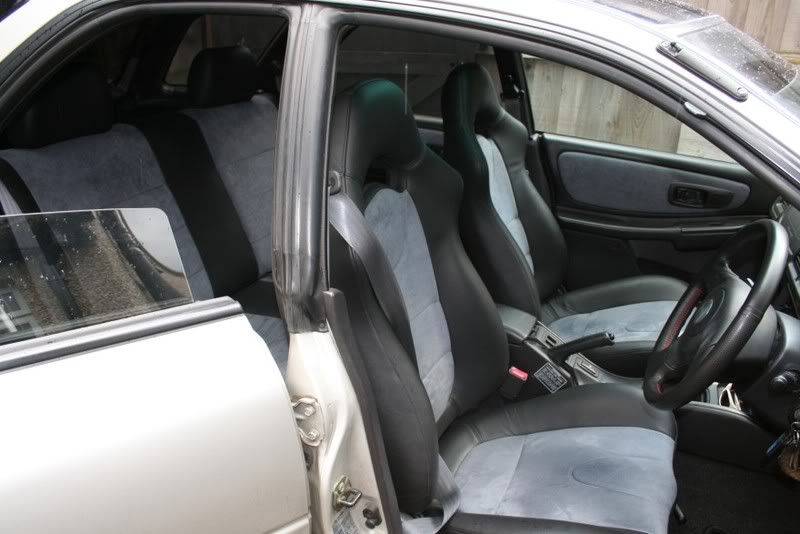
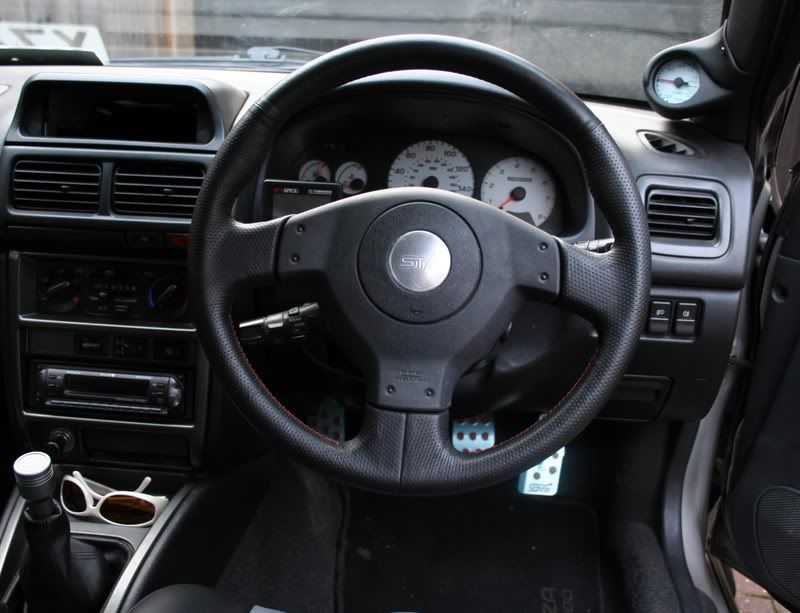
Being a little obsessive I wasn't happy with the big-*** Momo wheel and I managed to source a MY03 sti wheel, paint strip it and clean it up to get it to match.
), have removed my air con I had a bit of a moment and made an impulse ebay purchase of a v5 re-trimmed wagon interior. I liked the way it lifted the interior but I didn't like the colour or the v5 drivers seat...so I bit the bullet and got my v6 interior re-covered by Concept Interiors.
v5
v6
Being a little obsessive I wasn't happy with the big-*** Momo wheel and I managed to source a MY03 sti wheel, paint strip it
and clean it up to get it to match.
Last edited by trails; Apr 14, 2008 at 04:39 PM.
Thread Starter
Joined: Nov 2003
Posts: 13,356
Likes: 58
From: in the woods...........555 Wagon Sqn
Recently though I have been acquiring parts to upgrade my suspension; my wagon has just done 70k so the standard struts are getting a little tired. A good excuse at the very least 
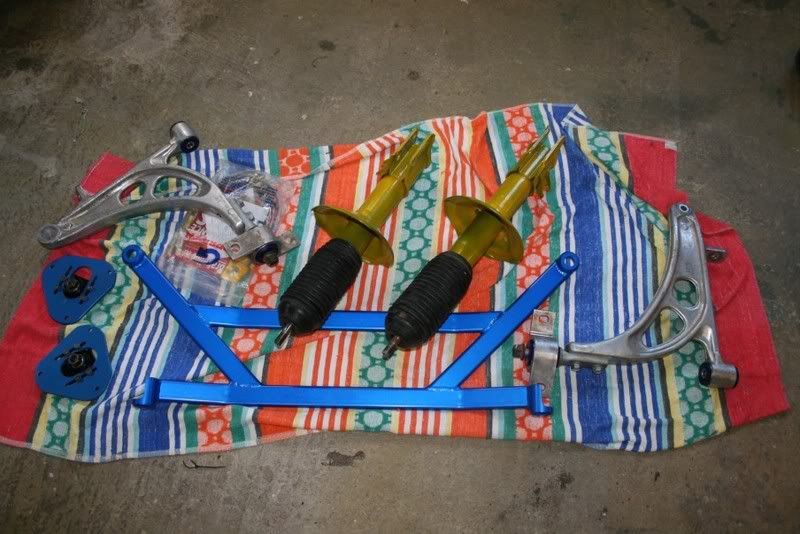
I managed to get hold of some rusty but refurbished mechanically KYB Group N tarmac struts, Cusco top mounts, alloy wishbones, front super flex bush set and a lower brace. Everything was (with the exception of the lower brace and bushes), second hand and I wanted to clean it all up before fitting.
More pics later...I need a PC break
Last edited by trails; Apr 14, 2008 at 04:54 PM.
Trending Topics
Thread Starter
Joined: Nov 2003
Posts: 13,356
Likes: 58
From: in the woods...........555 Wagon Sqn
well I'd split the pipes and lost all my gas when I pushed too hard on the fmic hard pipes
 so as its only a toy now thought I may as well go the whole hog and bin it..we shall see how I deal with those pod traffic jams this year
Thread Starter
Joined: Nov 2003
Posts: 13,356
Likes: 58
From: in the woods...........555 Wagon Sqn
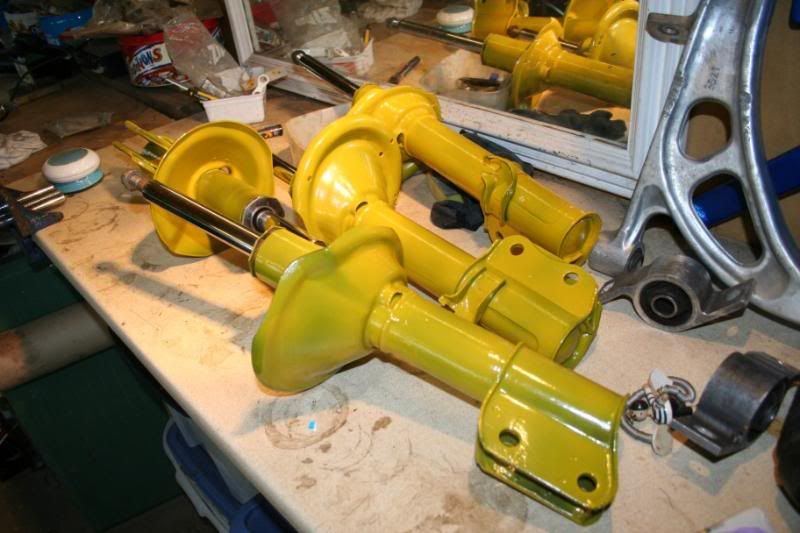
the struts had been refurbished, used for a couple of thousand miles and then just left in a garage. So they were mechanically sound but looked a mess.
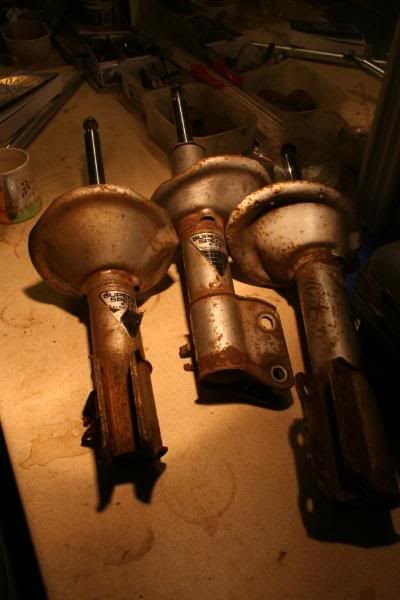
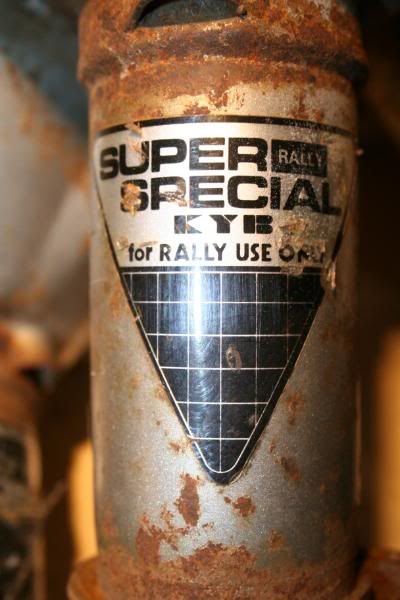
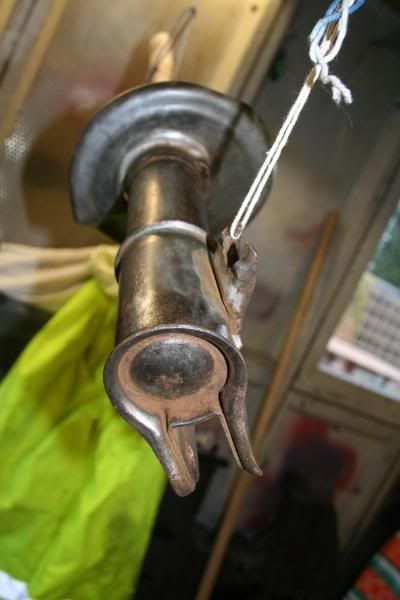
I set about cleaning them up; the dremel lasted all of 10mins so i switched to a drill and wire brush head. Quite pleased with the results, especially considering how bad the corrosion was on the bases.

I had to hand paint them with this toxic stuff, horrible to use but did the trick.
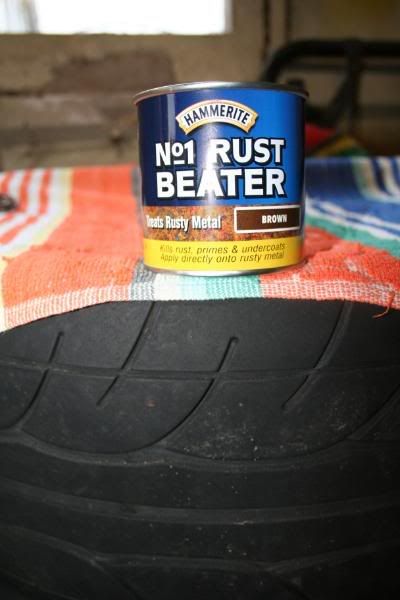
Two coats later; milk chocolate struts
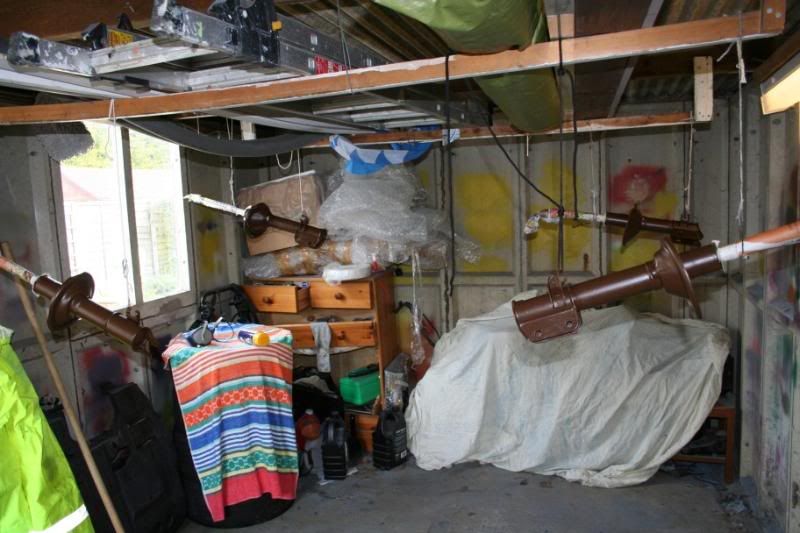
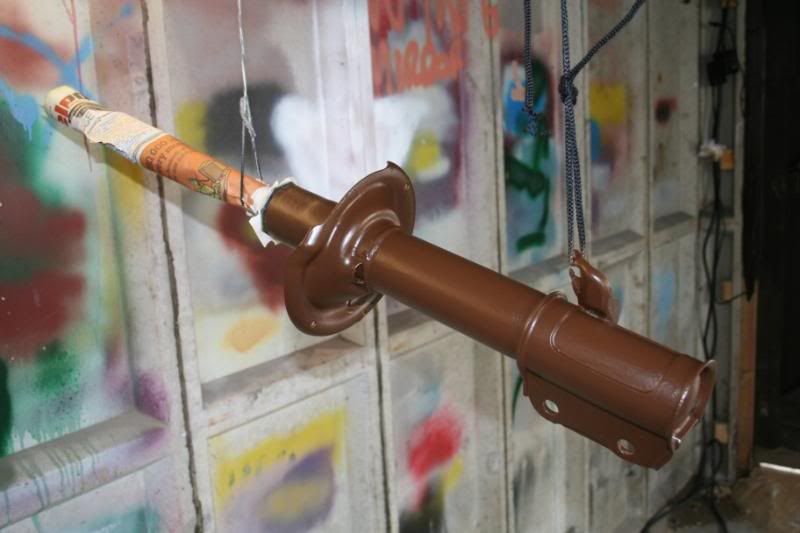
After letting the paint go off for a couple of days I repainted them with a slightly less edible looking colour.
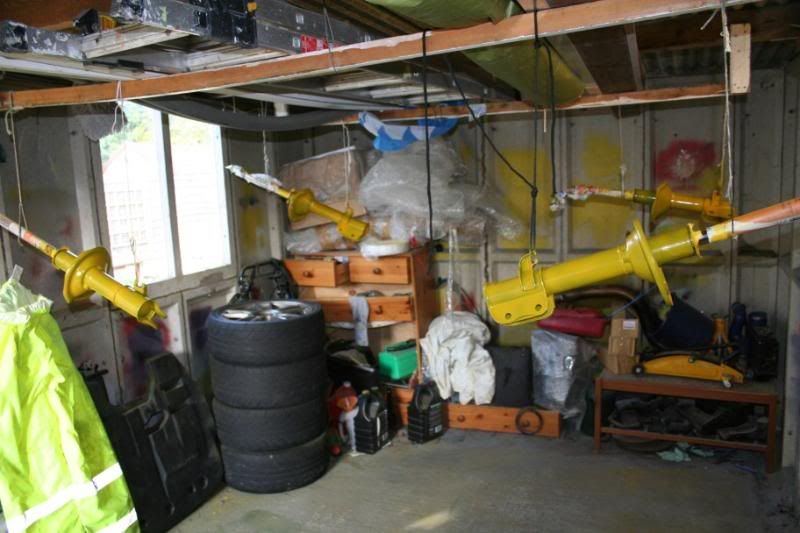

Not the best finish but much better than they were, ready to go
I set about cleaning them up; the dremel lasted all of 10mins
so i switched to a drill and wire brush head. Quite pleased with the results, especially considering how bad the corrosion was on the bases.I had to hand paint them with this toxic stuff, horrible to use but did the trick.

Two coats later; milk chocolate struts
After letting the paint go off for a couple of days I repainted them with a slightly less edible looking colour.
Not the best finish but much better than they were, ready to go
Thread Starter
Joined: Nov 2003
Posts: 13,356
Likes: 58
From: in the woods...........555 Wagon Sqn
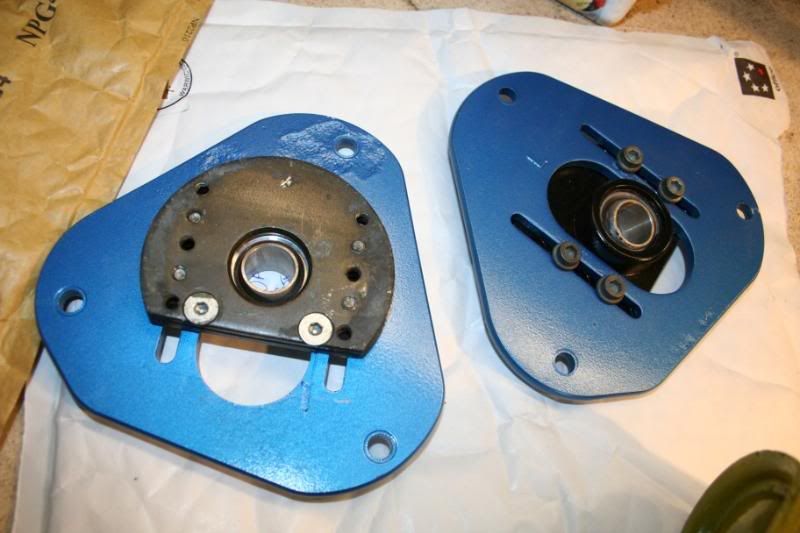
Top mounts next...unfortunately I neglected to take any pictures before I cleaned them up. There was some corrosion on the bottom of both plates which needed finishing and protecting, so I decided to take them apart and do it properly

Prepared to paint
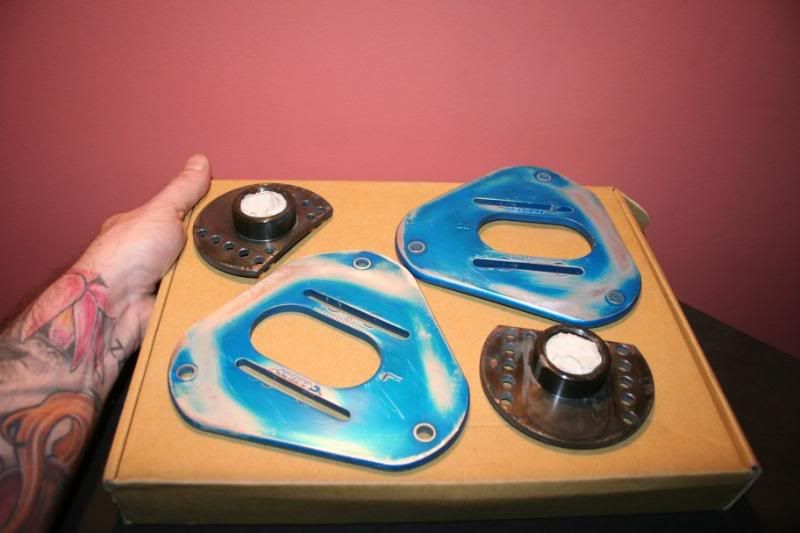
I re-assembled them after painting and was pleasantly suprised with the results

Prepared to paint
I re-assembled them after painting and was pleasantly suprised with the results
Thread Starter
Joined: Nov 2003
Posts: 13,356
Likes: 58
From: in the woods...........555 Wagon Sqn
Wishbones then...second hand as always so I cleaned them up...
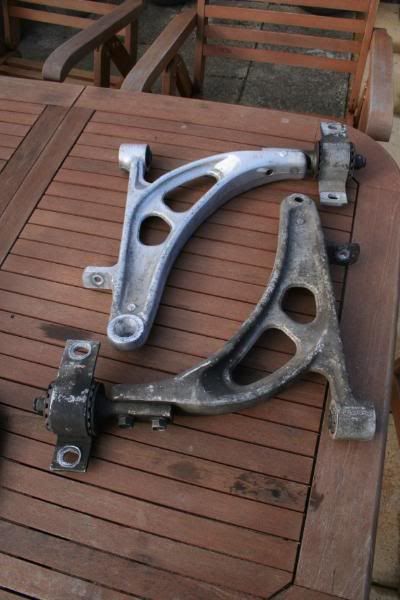
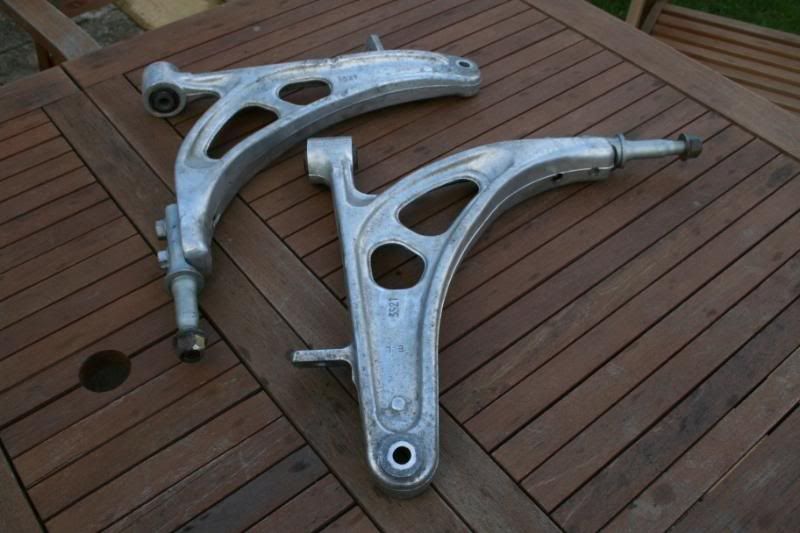
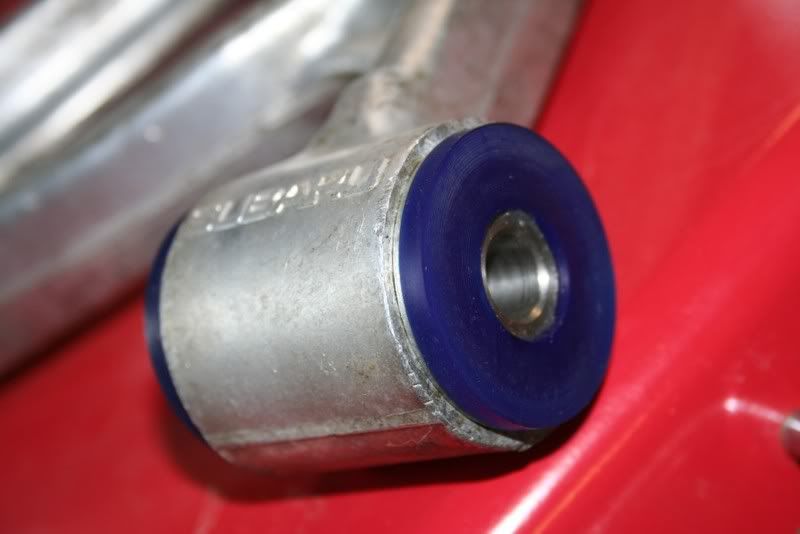
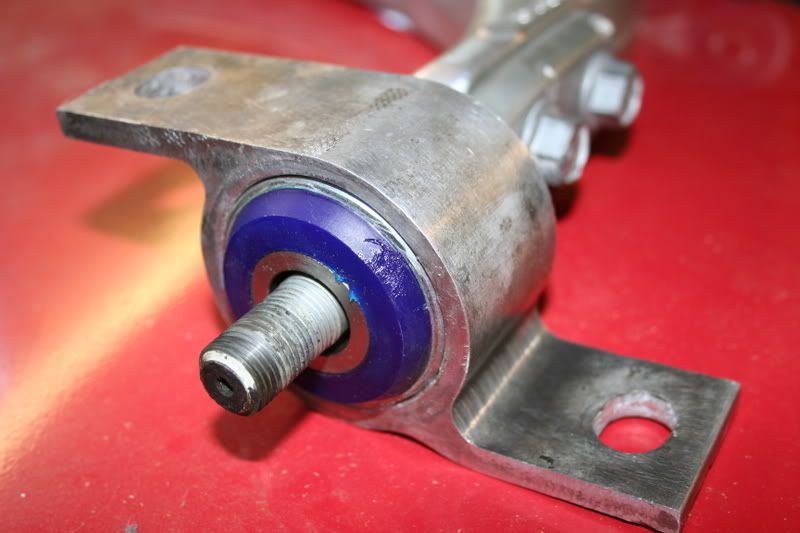
Originally i was going to purchase an anti-lift kit but with all the adjustment from the top mounts and the struts I elected to retain the standard fittings and invest in uprated bushes. So, you guessed it; I cleaned up the originals
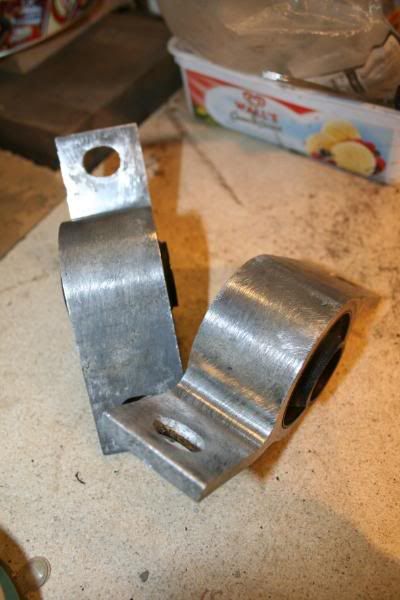
New bushes, off to Mocom (thanks for making time for me with no notice Zak), on Wednesday to remove the old ones and press fit these puppies

so I cleaned them up...Originally i was going to purchase an anti-lift kit but with all the adjustment from the top mounts and the struts I elected to retain the standard fittings and invest in uprated bushes. So, you guessed it; I cleaned up the originals
New bushes, off to Mocom (thanks for making time for me with no notice Zak), on Wednesday to remove the old ones and press fit these puppies

Thread Starter
Joined: Nov 2003
Posts: 13,356
Likes: 58
From: in the woods...........555 Wagon Sqn

Thread Starter
Joined: Nov 2003
Posts: 13,356
Likes: 58
From: in the woods...........555 Wagon Sqn

Thread Starter
Joined: Nov 2003
Posts: 13,356
Likes: 58
From: in the woods...........555 Wagon Sqn
Thread Starter
Joined: Nov 2003
Posts: 13,356
Likes: 58
From: in the woods...........555 Wagon Sqn
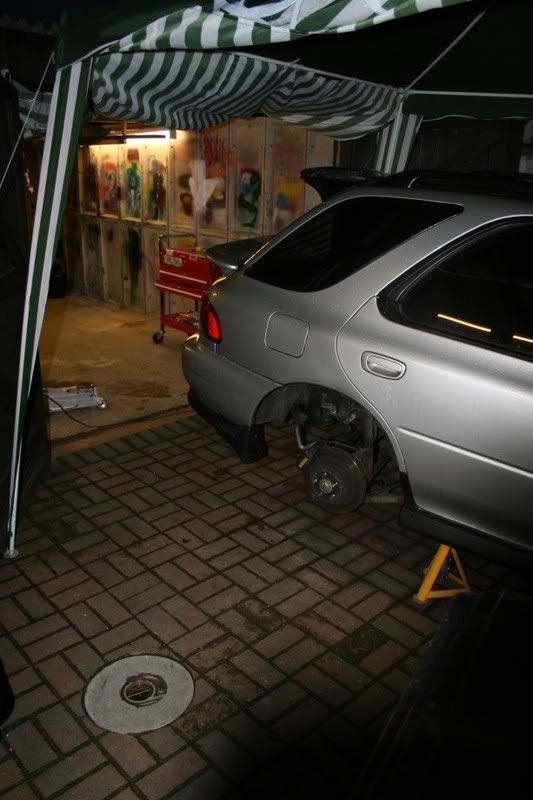
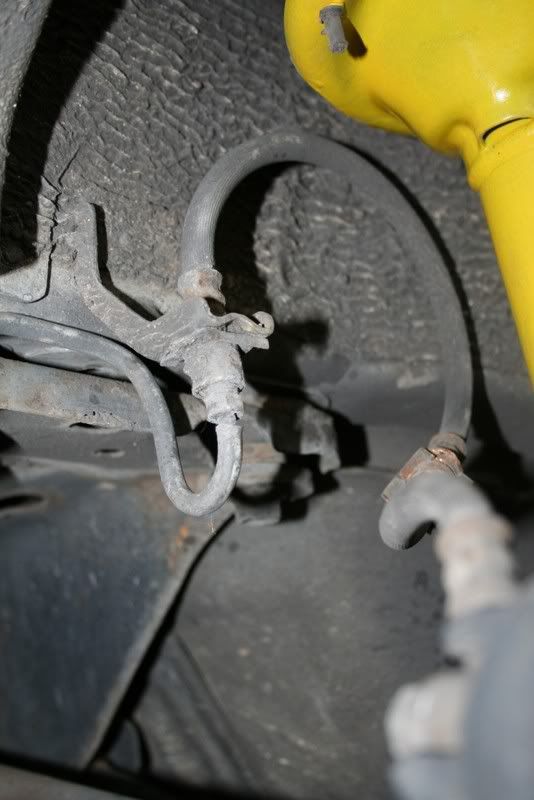
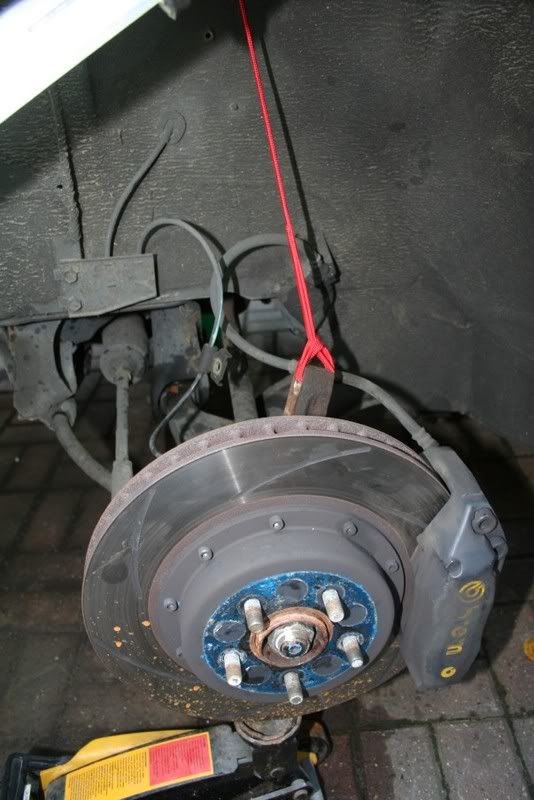
made reasonable progress today; removed both rear struts, refitted one and fitted braided brake lines. I could only refit one of the struts because the spring seat was missed from the N\S 
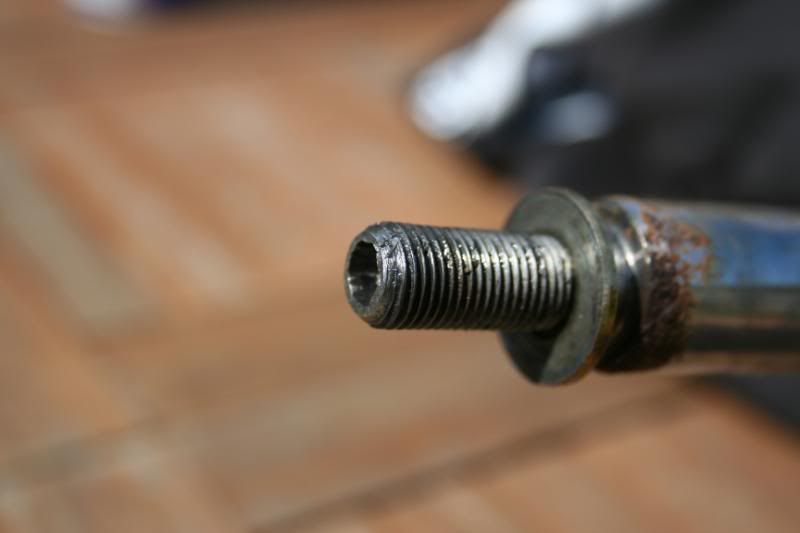
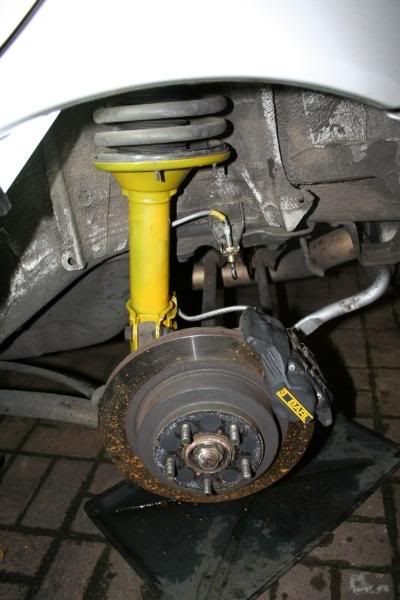
First things first, remember to loosen the strut bolt before you remove the strut...else you will end up ruining the strut.
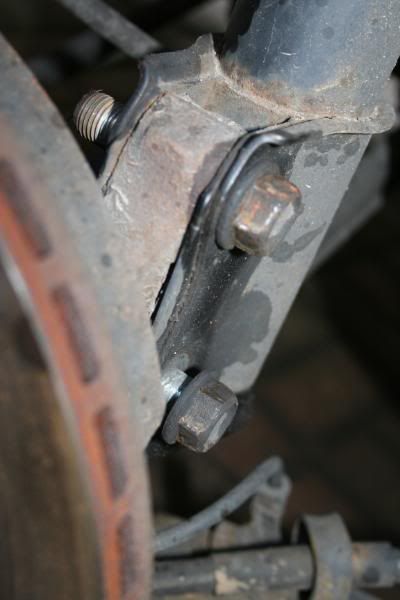
Once you have loosened the strut bolt, you can loosen the two lower bolts (19mm socket).
Then the three top mount nuts...removing your strut brace mount if fitted.
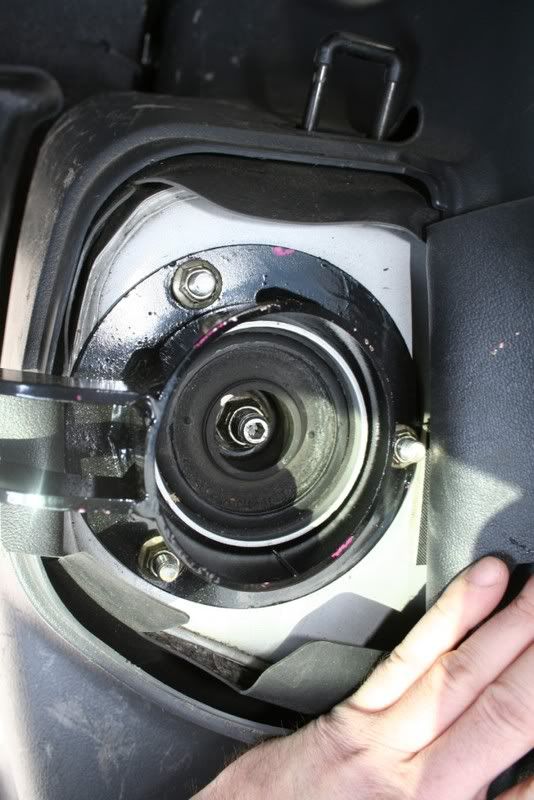
You can then carefully remove the strut
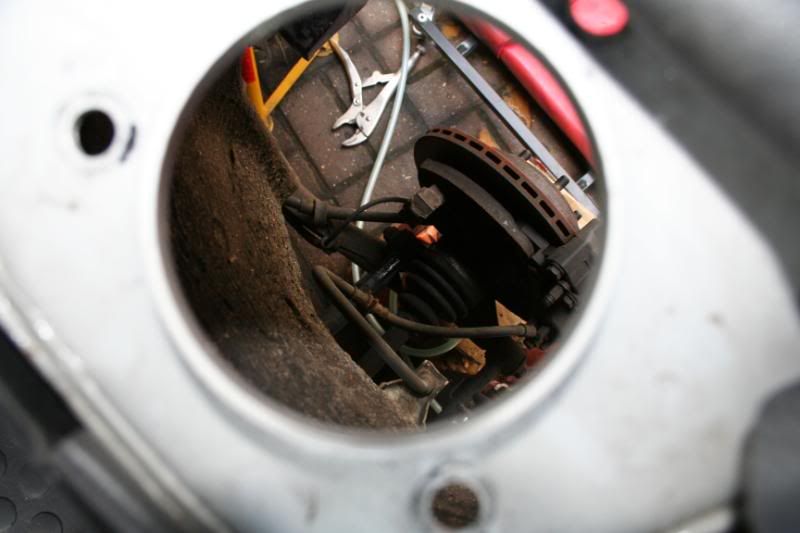

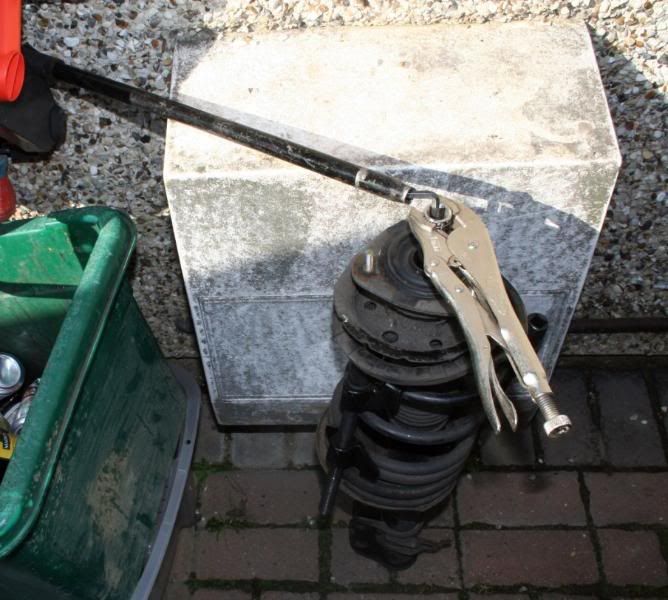
Now you need to compress the springs so you can remove the top mount (nice and easy if you loosen the bolt while the strut was fitted)

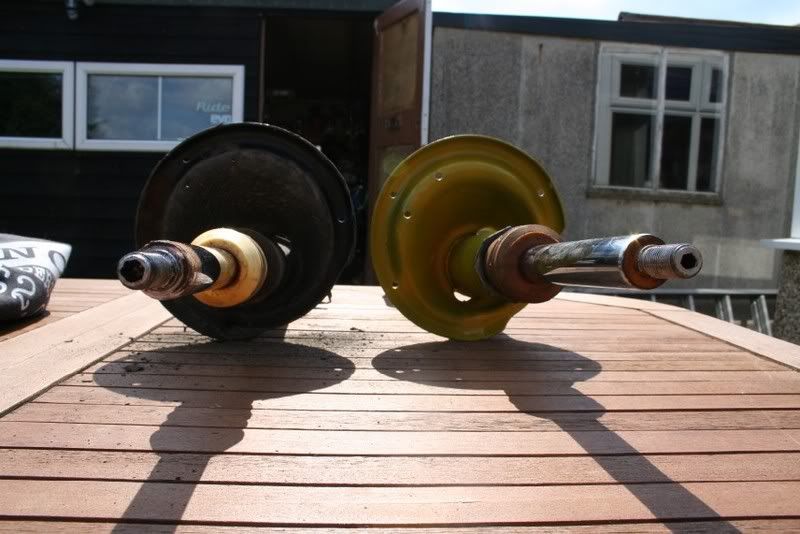
Preparing the two struts shows how much beefier the KYG's are.

Re-assemble the strut in reverse order...easy
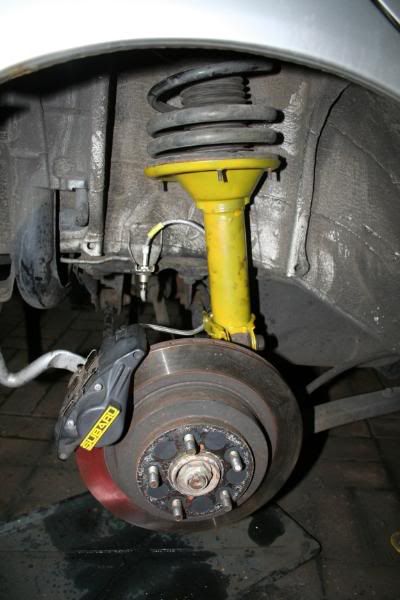
Brake lines are even easier, just make sure you purchase a 10mm brake line spanner or you will round the fixings off
First things first, remember to loosen the strut bolt before you remove the strut...else you will end up ruining the strut.
Once you have loosened the strut bolt, you can loosen the two lower bolts (19mm socket).
Then the three top mount nuts...removing your strut brace mount if fitted.
You can then carefully remove the strut
Now you need to compress the springs so you can remove the top mount (nice and easy if you loosen the bolt while the strut was fitted
)Preparing the two struts shows how much beefier the KYG's are.
Re-assemble the strut in reverse order...easy
Brake lines are even easier, just make sure you purchase a 10mm brake line spanner or you will round the fixings off

 )
)
Scooby Regular
iTrader: (5)
Joined: Feb 2004
Posts: 5,387
Likes: 0
From: S E London........ 555 Wagon Sqn
Thread Starter
Joined: Nov 2003
Posts: 13,356
Likes: 58
From: in the woods...........555 Wagon Sqn
Thread Starter
Joined: Nov 2003
Posts: 13,356
Likes: 58
From: in the woods...........555 Wagon Sqn
I have now taken the wagon out for a drive over some roads I know very well and the rear damping seems much stiffer, although that could very well be the placebo effect...anyway I'm happy so far although the N\S strut is quite noisy

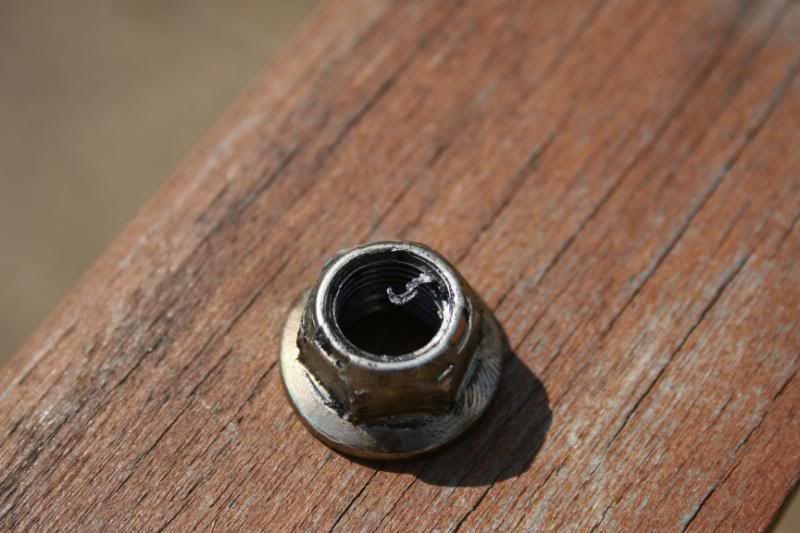
Though I'd post a pic of my advanced strut top nut fastening system...
Drove down to Kent yesterday to pick up my roof rail delete trim from the now defunct Jolly Green Monster and have seen the new Jolly Peppermint Monster; thanks Simon

Though I'd post a pic of my advanced strut top nut fastening system...
Drove down to Kent yesterday to pick up my roof rail delete trim from the now defunct Jolly Green Monster and have seen the new Jolly Peppermint Monster; thanks Simon
Last edited by trails; Apr 19, 2008 at 10:45 AM.
Thread Starter
Joined: Nov 2003
Posts: 13,356
Likes: 58
From: in the woods...........555 Wagon Sqn
A short update...I took the roof bars off on Sunday and fitted the blanking trim. It was a lot less fiddly than I imagined and only took 90 minuets or so.
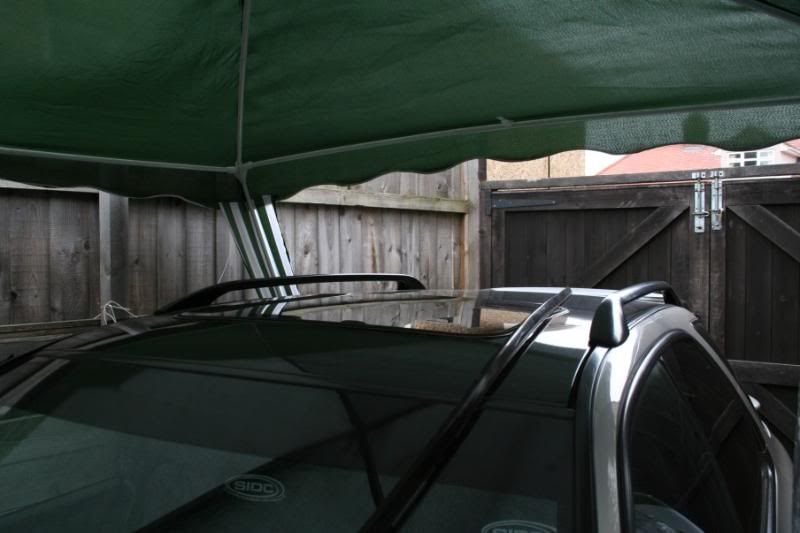
After you have removed the roof bars (four 12mm bolts each side), you can slide the section trim forward to stop breaking the fasteners. There is a retaining piece of trim near the screen which you can just pop out with a flat head screw driver. After cleaning the gully I used silicone bathroom sealer to plug the holes, cleaned up the trim and clipped each piece in place.
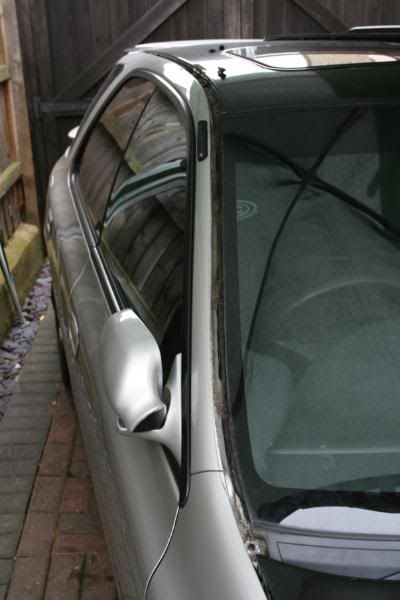
Makes a big difference to the perceived roof line...well in my head anyway
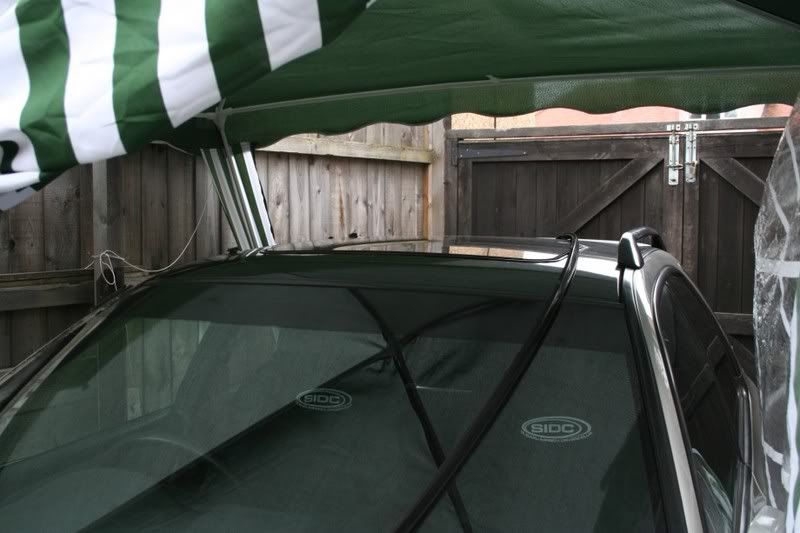
I'm really pleased with it; makes the most of the black roof now too
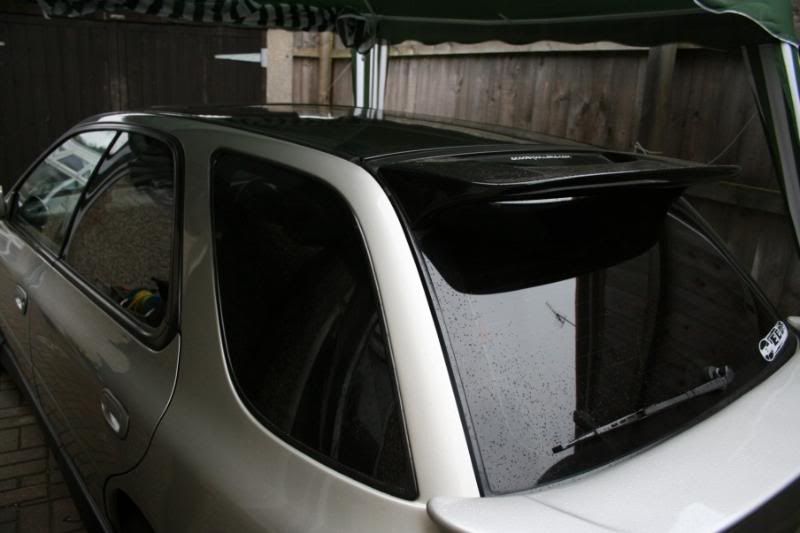
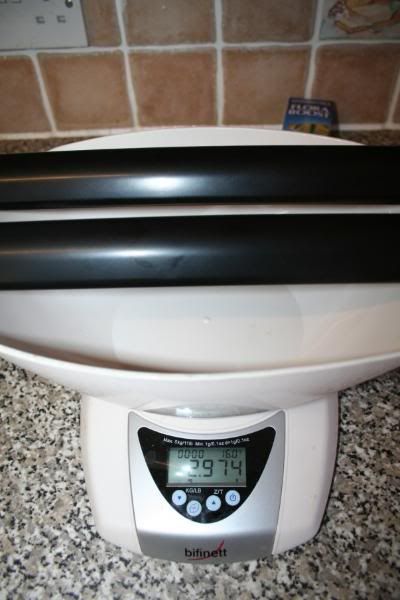
Weight saving of just under 3kg too
After you have removed the roof bars (four 12mm bolts each side), you can slide the section trim forward to stop breaking the fasteners. There is a retaining piece of trim near the screen which you can just pop out with a flat head screw driver. After cleaning the gully I used silicone bathroom sealer to plug the holes, cleaned up the trim and clipped each piece in place.
Makes a big difference to the perceived roof line...well in my head anyway
I'm really pleased with it; makes the most of the black roof now too
Weight saving of just under 3kg too
Thread Starter
Joined: Nov 2003
Posts: 13,356
Likes: 58
From: in the woods...........555 Wagon Sqn
Thread Starter
Joined: Nov 2003
Posts: 13,356
Likes: 58
From: in the woods...........555 Wagon Sqn
Removed the front struts and WD40'd everything last night.
I completed assembling and lubing the bushes for the wishbones (Luke at Mocom did the hard bit last week).
Removed the old ARB bushes...
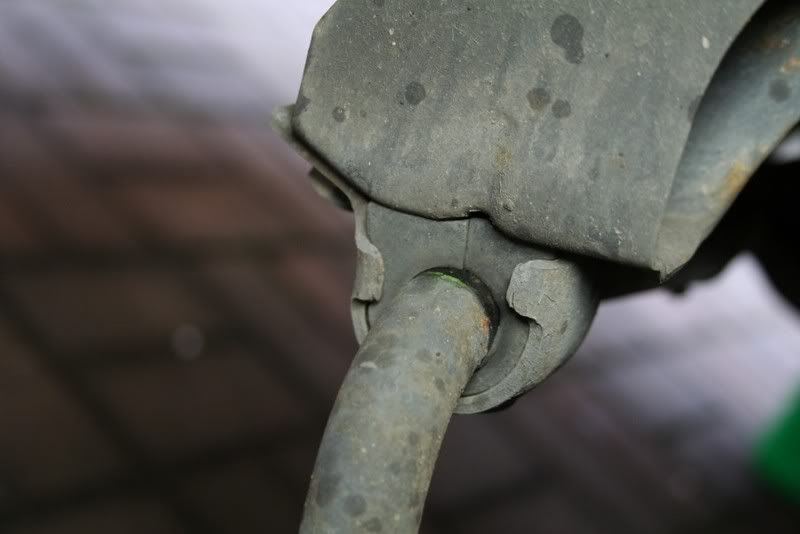
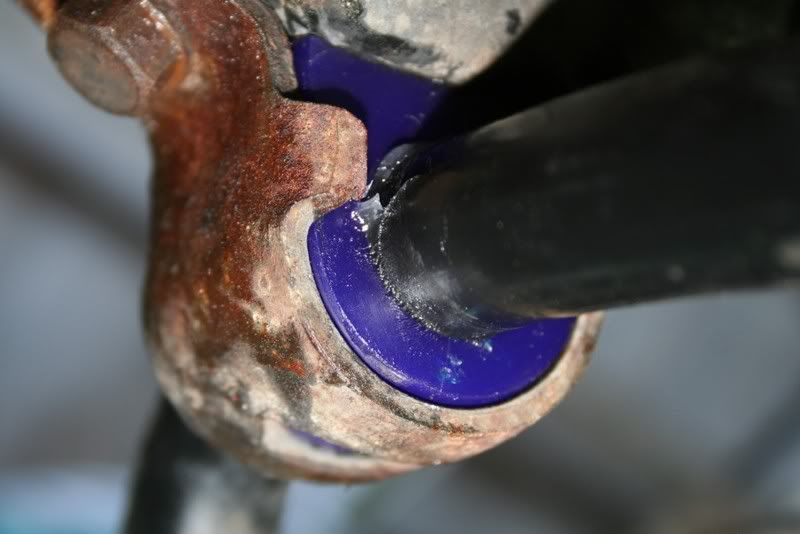
...and fitted the SuperFlex replacements.
Made a little pile of stuff to fit to in the garage too
I completed assembling and lubing the bushes for the wishbones (Luke at Mocom did the hard bit last week
).Removed the old ARB bushes...
...and fitted the SuperFlex replacements.
Made a little pile of stuff to fit to in the garage too
Last edited by trails; Apr 22, 2008 at 08:08 PM. Reason: too many "to fits"