
Widearch classic conversion


Thread Starter
Scooby Regular
Joined: Feb 2003
Posts: 21,611
Likes: 0
From: Zed Ess Won Hay Tee
now that the troll and infractor gimps have moved on 
updates
95% finished on the left side, just needs some minor work before painting, currently painted in white primer
rear light area finished, metal trim unde rneath light modified to meet up with the new arch, around the rear light needs a light fettle just before painting as some of the filler is a bit square,
top edge finished
fat **** mode enabled
starting on the other side ASAP
Thread Starter
Scooby Regular
Joined: Feb 2003
Posts: 21,611
Likes: 0
From: Zed Ess Won Hay Tee
just need to get some stopper to clean it up before painting
had 125kgs in the boot this morning when delivering some chemicals to a mate, and heard the wheels catching again")
will have to investigate tomorrow (to busy today )
had 125kgs in the boot this morning when delivering some chemicals to a mate, and heard the wheels catching again
will have to investigate tomorrow (to busy today
)
Thread Starter
Scooby Regular
Joined: Feb 2003
Posts: 21,611
Likes: 0
From: Zed Ess Won Hay Tee
still not looked at the wheels catching issue, a mate tells me i specified the wrong size tyres anyway for the 18" wheels and they are to tall, so its probably a non issue when the tyres get changed
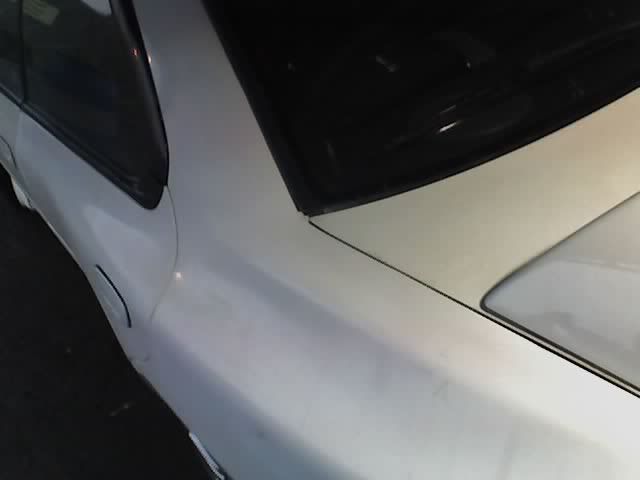
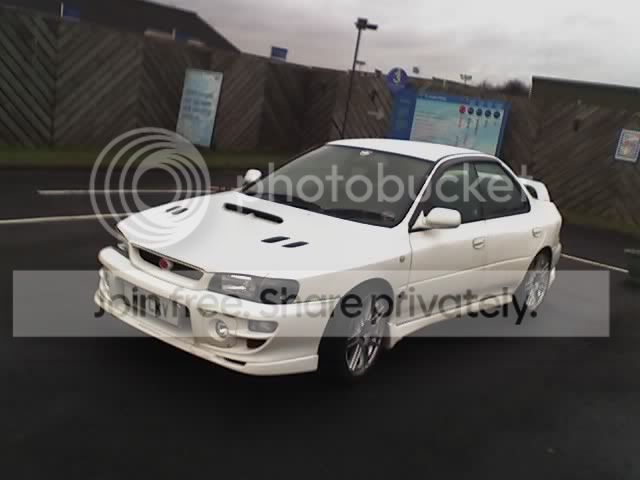
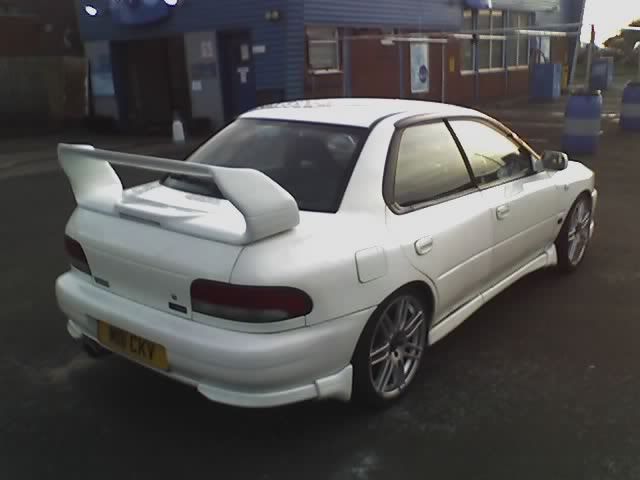
nearly have the other side sorted out, still needs a little work, needs blocked down and the blend lines checked, what i usually do is near the end, i will paint the blending work with gloss black paint and check the reflections, looks like its bulging in the middle here a little bit, easy enough fix, although i will have to check it tomorrow sometime (did not look like that when i left it yesterday, could be crap phone cam, or dodgy light!)

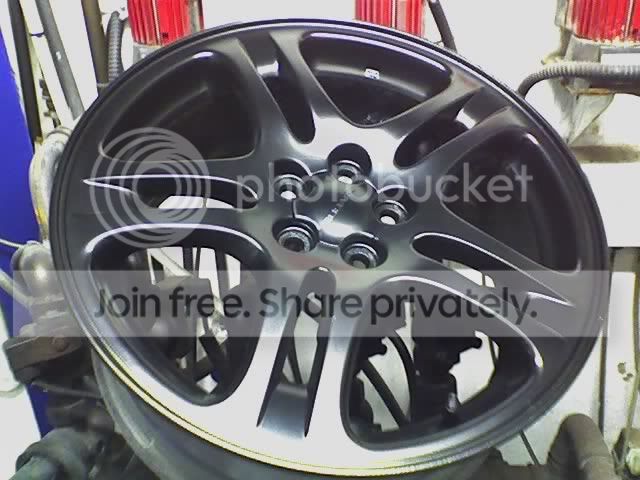
to be honest, i`m a bit sick of sanding things down LOL also got this little project on the go for a mate (doggy/shek) who wanted his newage wheels rubbed down and repainted satin black for the winter (winters nearly over anyway maybe he wanted them for next winter)
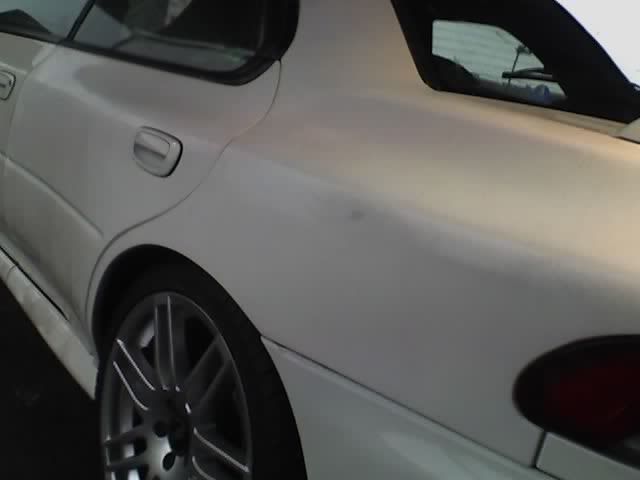
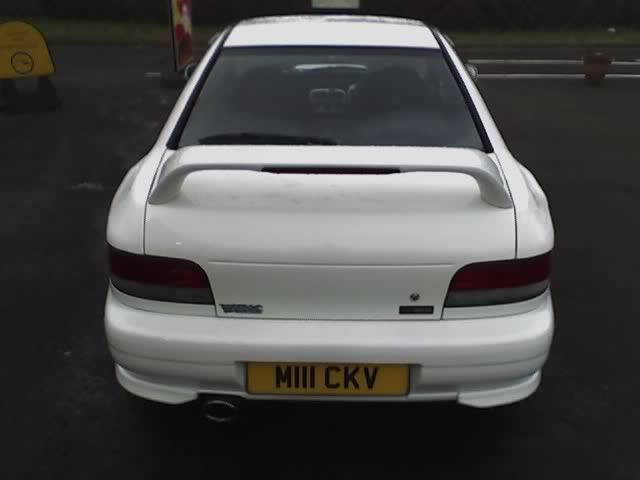
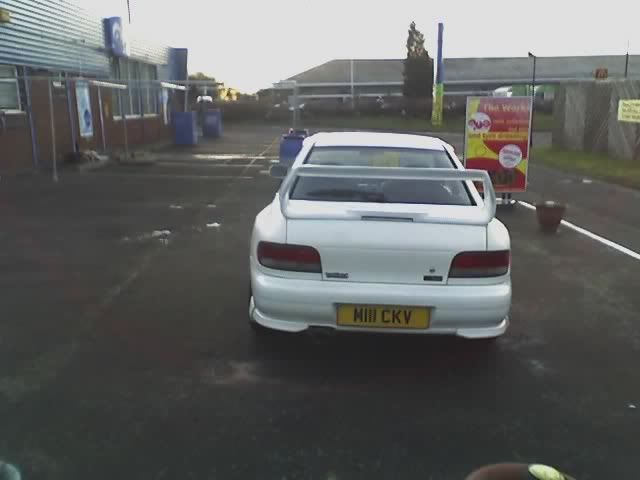
view from the rear, nothing looks untoward here
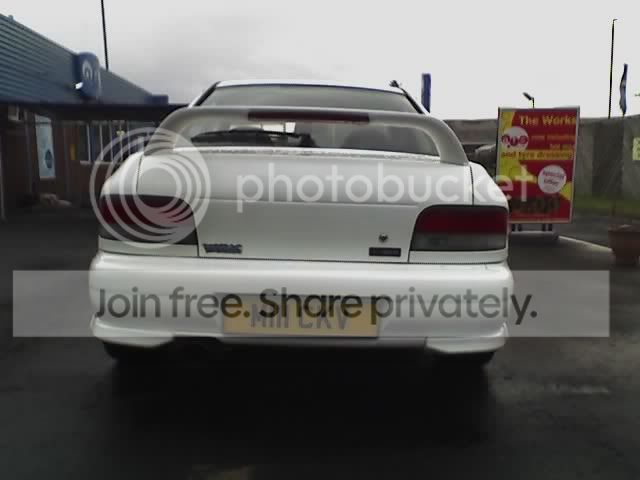
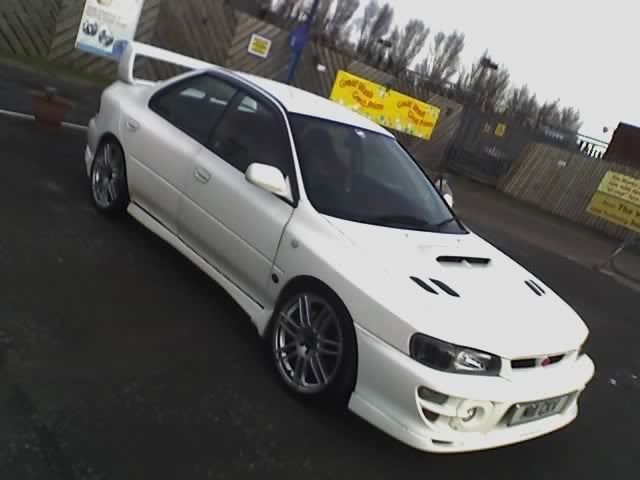
lets walk around the car a little

i think when this is all painted up its going to be the ultimate "stealth but factory" look
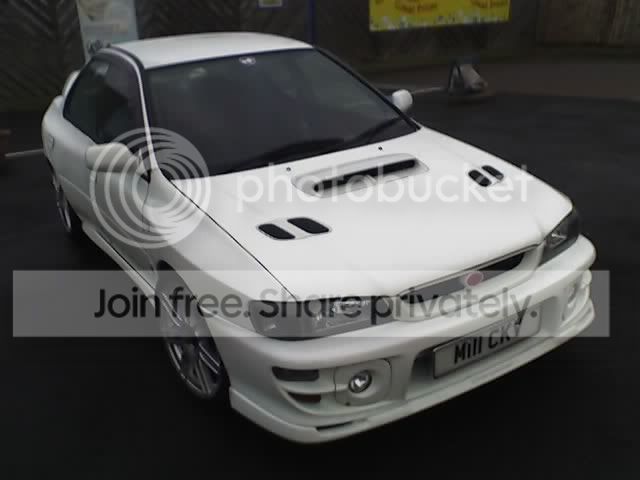

soooo tempted now to just go ***** out and get the 22b bumpers/skirts etc etc
doggy/shek has sorted out the 0.5mm stainless for the wheel spigots i`m making, so its all go, go, go now
spent today just tidying up the door shuts and cleaning the car is it was full of dust and crap and making me sneeze
nearly have the other side sorted out, still needs a little work, needs blocked down and the blend lines checked, what i usually do is near the end, i will paint the blending work with gloss black paint and check the reflections, looks like its bulging in the middle here a little bit, easy enough fix, although i will have to check it tomorrow sometime (did not look like that when i left it yesterday, could be crap phone cam, or dodgy light!)
to be honest, i`m a bit sick of sanding things down LOL also got this little project on the go for a mate (doggy/shek) who wanted his newage wheels rubbed down and repainted satin black for the winter (winters nearly over anyway maybe he wanted them for next winter)
view from the rear, nothing looks untoward here
lets walk around the car a little
i think when this is all painted up its going to be the ultimate "stealth but factory" look
soooo tempted now to just go ***** out and get the 22b bumpers/skirts etc etc
doggy/shek has sorted out the 0.5mm stainless for the wheel spigots i`m making, so its all go, go, go now
spent today just tidying up the door shuts and cleaning the car is it was full of dust and crap and making me sneeze

Looking very nice now.
I don't think you need to go the the 22B wannabe look. The car looks sweet as is. If you do decide to go for the 22B look, you really need to change the front wings to 22B aswell. Then you can give the Do-Luck wings to me for my Type R!
Or 1st dibs if you sell them.
I don't think you need to go the the 22B wannabe look. The car looks sweet as is. If you do decide to go for the 22B look, you really need to change the front wings to 22B aswell. Then you can give the Do-Luck wings to me for my Type R!
Or 1st dibs if you sell them.
Thread Starter
Scooby Regular
Joined: Feb 2003
Posts: 21,611
Likes: 0
From: Zed Ess Won Hay Tee
yea i decided to keep it as is, although i may get a v6 rear spoiler, normally i think they are a bit to big for the classic, but i think the bigger arches will help pull off the look, still undecided regards the spoiler at the moment

Thread Starter
Scooby Regular
Joined: Feb 2003
Posts: 21,611
Likes: 0
From: Zed Ess Won Hay Tee
Thread Starter
Scooby Regular
Joined: Feb 2003
Posts: 21,611
Likes: 0
From: Zed Ess Won Hay Tee
Super Small (but cute) update
now that i have sheks wheels painted and out the way i can get back into finishing the car
As you know the audi rep wheels i have fitted have a center bore of 57.1mm, the subaru bore is 56.1mm, i have tried in vain to get some spigot rings to fit, including harassing various companies (cheers to keith at revolution for sorting me out but i couldn't use them )
)
the problem was i couldn't find anybody making them that were only in 1mm size, so i bought a sheet of 0.5mm stainless steel, which Shek-Tec was given to cut and spot weld for me
Shek-Tec picked up his alloys yesterday and dropped these off
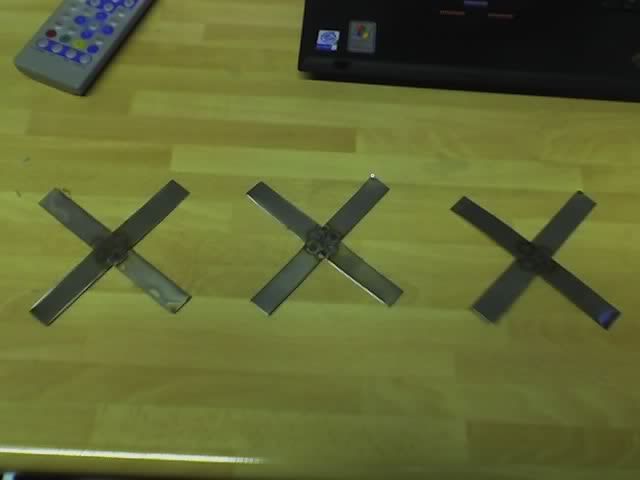
give em a quick bend like this
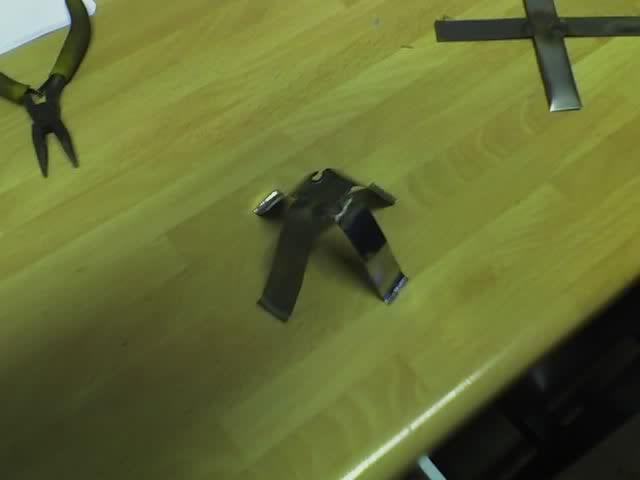
here is an aftermarket subaru wheel spigot ring, the inside diameter is 56.1mm, the outside is around 60mm
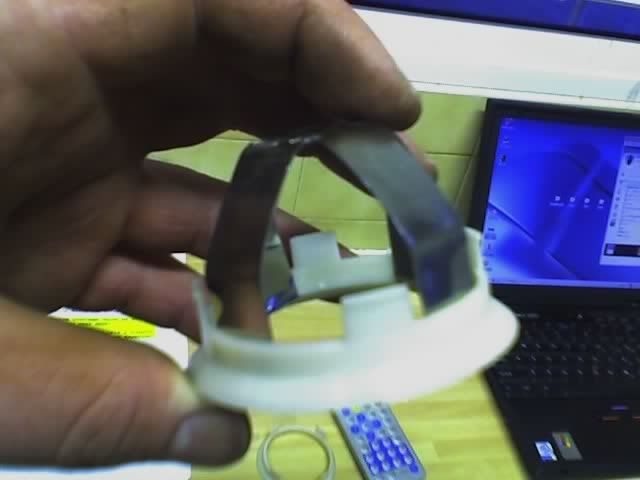
sweet
get them slid into the wheel center bores and bolt the wheels up

now my wheels are actually bolted to the hubs, bang on in the center and the car drives much smoother
although i never managed to get above 50mph on my way home from work last night, so it may be i still have a slight wobble (i did kerb a brand new wheel with under 20 miles use )
now that i have sheks wheels painted and out the way i can get back into finishing the car
As you know the audi rep wheels i have fitted have a center bore of 57.1mm, the subaru bore is 56.1mm, i have tried in vain to get some spigot rings to fit, including harassing various companies (cheers to keith at revolution for sorting me out but i couldn't use them
)the problem was i couldn't find anybody making them that were only in 1mm size, so i bought a sheet of 0.5mm stainless steel, which Shek-Tec was given to cut and spot weld for me
Shek-Tec picked up his alloys yesterday and dropped these off
give em a quick bend like this
here is an aftermarket subaru wheel spigot ring, the inside diameter is 56.1mm, the outside is around 60mm
sweet
get them slid into the wheel center bores and bolt the wheels up
now my wheels are actually bolted to the hubs, bang on in the center and the car drives much smoother
although i never managed to get above 50mph on my way home from work last night, so it may be i still have a slight wobble (i did kerb a brand new wheel with under 20 miles use
)
Thread Starter
Scooby Regular
Joined: Feb 2003
Posts: 21,611
Likes: 0
From: Zed Ess Won Hay Tee
Skirts update
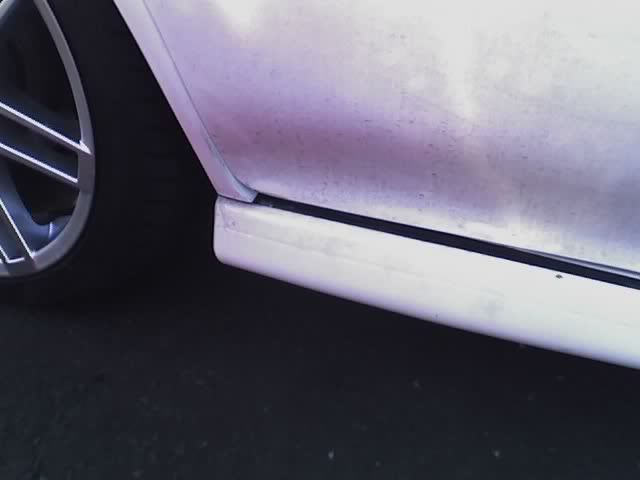
as you can see from this picture,
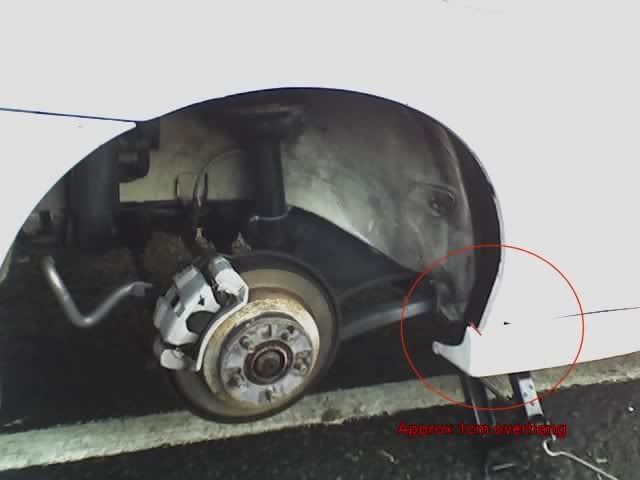
the new arch kits over hangs the stock skirts by approx 1cm, i debated for a long time if i should buy the 22b skirts or not, but i do like the stock ones when fitted with the aero splash gaurds, so i planned a mod to allow both.
this is easy!!
remove skirt, i discovered that my last clip was broken anyway, so i left the clip in the sill to seal the hole, i also removed the middle clip and pushed that into the sill to seal the hole
the full sill at this point was scuffed back with a wire brush, i had a little corrosion/flakey paint around the jacking points, so this was rubbed back, treat and then i covered the sill in underseal.
while this was drying out i brought the rear section of skirt into the office and had a think about how to space it
saw this in my pen organiser (why are they alwats full of nuts and bolts and not pens??> lol)
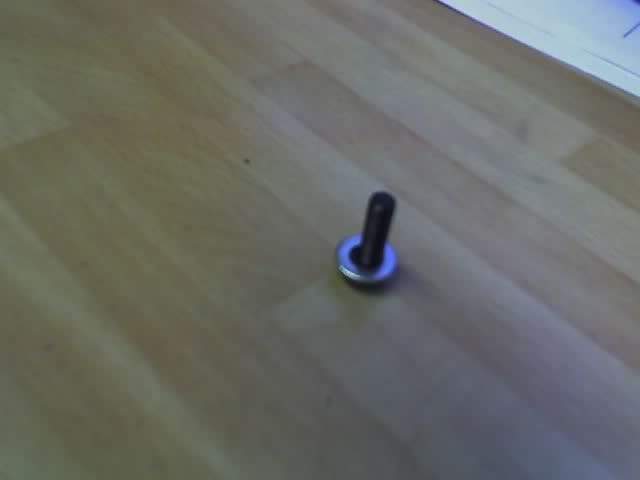
plan is formed
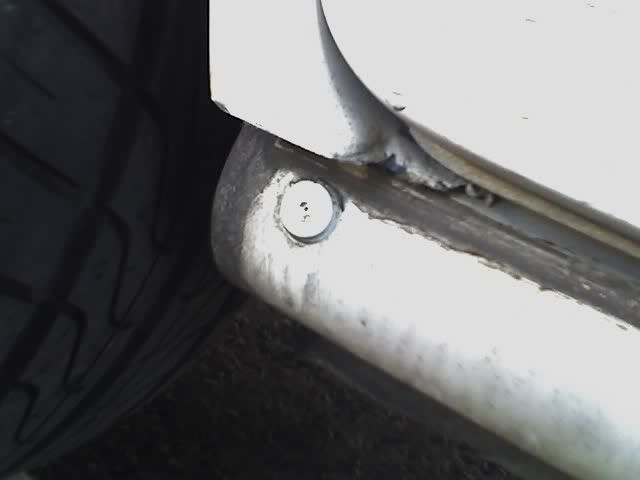
slide it into the rear most section of sideskirt to force the skirt outwards at the rear
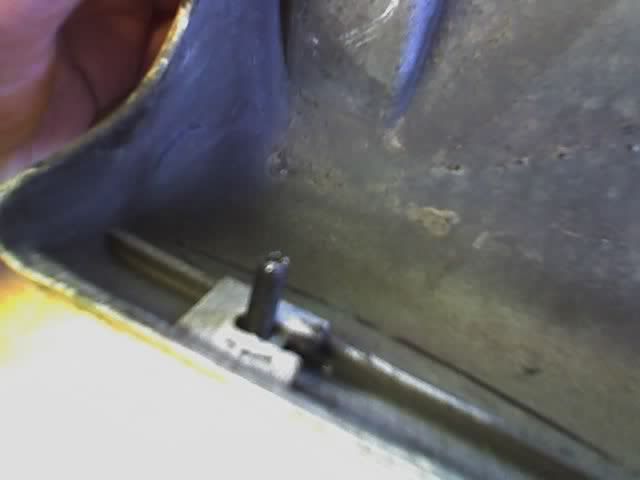
then test fit on the car
1 bolt will line up under the sill, the one at the very end will need the hole enlarged with a drill and a larger washer used upon refitment
just waiting for my rubber trim to arrive so i can bridge the join between the skirt and sill at the rear
as you can see from this picture,
the new arch kits over hangs the stock skirts by approx 1cm, i debated for a long time if i should buy the 22b skirts or not, but i do like the stock ones when fitted with the aero splash gaurds, so i planned a mod to allow both.
this is easy!!
remove skirt, i discovered that my last clip was broken anyway, so i left the clip in the sill to seal the hole, i also removed the middle clip and pushed that into the sill to seal the hole
the full sill at this point was scuffed back with a wire brush, i had a little corrosion/flakey paint around the jacking points, so this was rubbed back, treat and then i covered the sill in underseal.
while this was drying out i brought the rear section of skirt into the office and had a think about how to space it
saw this in my pen organiser (why are they alwats full of nuts and bolts and not pens??> lol)
plan is formed
slide it into the rear most section of sideskirt to force the skirt outwards at the rear
then test fit on the car
1 bolt will line up under the sill, the one at the very end will need the hole enlarged with a drill and a larger washer used upon refitment
just waiting for my rubber trim to arrive so i can bridge the join between the skirt and sill at the rear
Thread Starter
Scooby Regular
Joined: Feb 2003
Posts: 21,611
Likes: 0
From: Zed Ess Won Hay Tee
i cant paint it until it warms up a bit, as my paint booth is not heated
probably in a few months time, gives me planty of time to sort the other little jobs out, 4 wheel alignment next thursday then i can finish under the arches properly (did not want to do under the wheel arches until i knew the wheels are in the final correct place, camber looks out a bit on one of them )
will be keeping it white, reminds me i need to order the paint and buy a new spray gun
Thread Starter
Scooby Regular
Joined: Feb 2003
Posts: 21,611
Likes: 0
From: Zed Ess Won Hay Tee
the centre bore of my new wheels has a hole that is 57.1mm in size
subaru classic hubs are 56.1mm in size
the wheels were bolted to the car, slightly off centre, impossible to get them in the middle without some kind of "guide"
that is why aftermarket wheels have spigot rings, as they make the wheels to fit a few different types and add different plastic spigot rings to fit different hubs.
nobody makes the correct spigot rings to fit audi rep wheels to subaru hubs
1. because they would not fit the stock wheel arches
2. thats just a lunatic type thing to do
i needed a 1mm shim to help locate the wheels in the centre when bolting them up, job sorted
plus i can tell people that they pop out and stab peoples tyres when street racing
Thread Starter
Scooby Regular
Joined: Feb 2003
Posts: 21,611
Likes: 0
From: Zed Ess Won Hay Tee
updates
got the rubber trim to affix to the sill. this will bridge the gap between the rear skirt sections and the sill, when i get around to fitting it
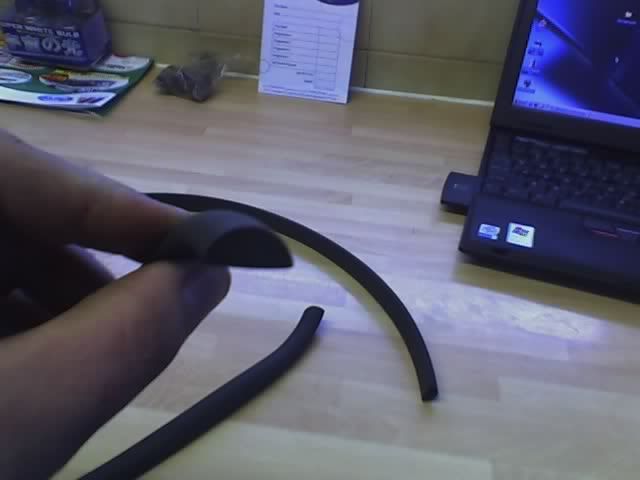
cost me about �6 for 1 metre :roll:
woke up early this morning at 6.30am, no idea why, so figured i would go into work and give the new spoiler a quick flash over with some spare white paint i had from the last paint job, the new spoiler was fitted yesterday but was still in grey primer and it was narking me
stick it on some barrels
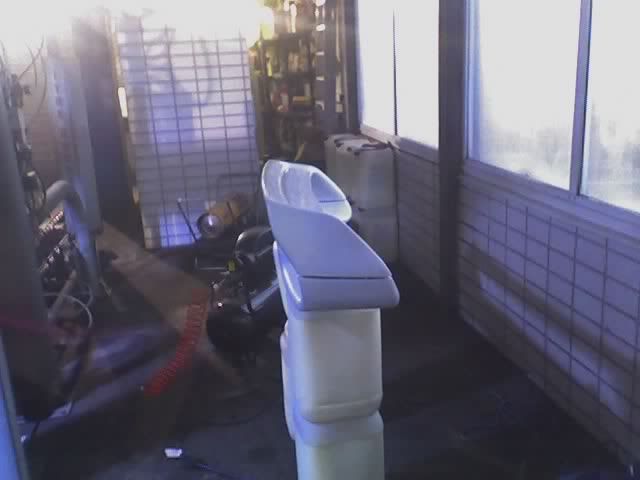
scotch brite it down
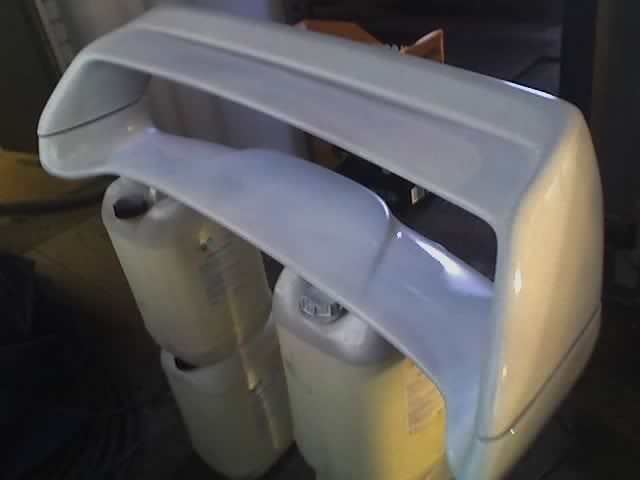
quickly slap some paint on,
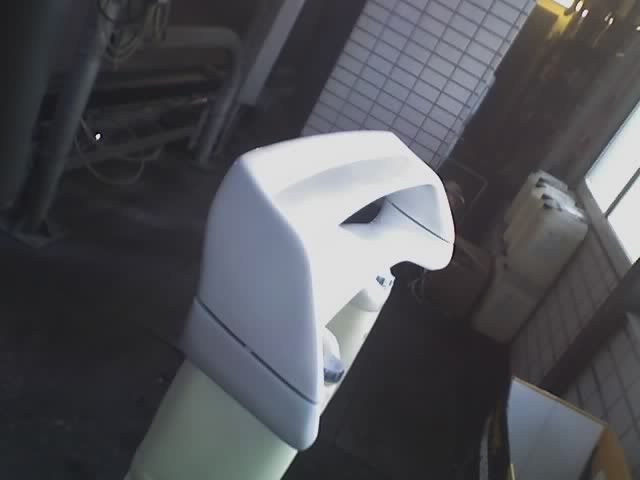

it was touch dry in an hour with the space heater running, so after a few hours i bolted it back onto the car to get it out the way

need to get the skirt rubber trim on, hopefully sometime next week
got the rubber trim to affix to the sill. this will bridge the gap between the rear skirt sections and the sill, when i get around to fitting it
cost me about �6 for 1 metre :roll:
woke up early this morning at 6.30am, no idea why, so figured i would go into work and give the new spoiler a quick flash over with some spare white paint i had from the last paint job, the new spoiler was fitted yesterday but was still in grey primer and it was narking me
stick it on some barrels
scotch brite it down
quickly slap some paint on,
it was touch dry in an hour with the space heater running, so after a few hours i bolted it back onto the car to get it out the way
need to get the skirt rubber trim on, hopefully sometime next week
 Looks fcukin great


Thread Starter
Scooby Regular
Joined: Feb 2003
Posts: 21,611
Likes: 0
From: Zed Ess Won Hay Tee
dash is easy enough if you have done it before
asp send the dash onwards to somebody else to have it flocked, and the bloke was on holiday when mine was sent so i cant give you a time frame, best off ringing alyn himself and ask him to be fair, i would assume maybe 1/2 weeks?
because mine is a "proper" impreza i dont have any girly airbags so never had an issue with them
just tidying up some of the rough edges on the car now, new OMP dished steering wheel has been ordered and should arrive today, car is 95% finished and nearly ready for paint
had a proper 4wheel geometry and wheel alignment done at revolution and as expected the back end was all over the place, resetting the rear end meant the wheels started catching on places they had previously cleared, so i had to go back under and have another look at clearance.
asp send the dash onwards to somebody else to have it flocked, and the bloke was on holiday when mine was sent so i cant give you a time frame, best off ringing alyn himself and ask him to be fair, i would assume maybe 1/2 weeks?
because mine is a "proper" impreza
i dont have any girly airbags so never had an issue with them just tidying up some of the rough edges on the car now, new OMP dished steering wheel has been ordered and should arrive today, car is 95% finished and nearly ready for paint
had a proper 4wheel geometry and wheel alignment done at revolution and as expected the back end was all over the place, resetting the rear end meant the wheels started catching on places they had previously cleared, so i had to go back under and have another look at clearance.


Thread Starter
Scooby Regular
Joined: Feb 2003
Posts: 21,611
Likes: 0
From: Zed Ess Won Hay Tee
i actually took a few snaps today
i have had a few problems with the stopper i was using reacting with a rubberised type overpaintable undercoat
the thinking behind this was it might allow a slight bit of movement, instead of cracking the paint along the join, as i would be a bit peeved if i did all the work and the adhesive did not work as expected.
the problem arose when trying to fill some slight flaws with stopper, this tended to make the undercoat softish, making rubbing down a total PITA
anyway, i figured the best plan of attack was to get some proper paint on the panels, then any stopper can be added if needed, then primed over and the whole panel repainted at the end
pics will follow when i get home from work as i managed to get some paint on one side this morning
i have had a few problems with the stopper i was using reacting with a rubberised type overpaintable undercoat
the thinking behind this was it might allow a slight bit of movement, instead of cracking the paint along the join, as i would be a bit peeved if i did all the work and the adhesive did not work as expected.
the problem arose when trying to fill some slight flaws with stopper, this tended to make the undercoat softish, making rubbing down a total PITA
anyway, i figured the best plan of attack was to get some proper paint on the panels, then any stopper can be added if needed, then primed over and the whole panel repainted at the end
pics will follow when i get home from work
as i managed to get some paint on one side this morning
Last edited by StickyMicky; Feb 22, 2008 at 04:22 PM.
Thread Starter
Scooby Regular
Joined: Feb 2003
Posts: 21,611
Likes: 0
From: Zed Ess Won Hay Tee
righty update time
i had some problems with my undercoat, i used some "hycote stone-guard" with the view that it would allow some flex underneath if needed and let the topcoat stay a little flexible, i used this to good effect when i painted the splash guards last year so it seamed like a plan.
the problem came when i tried to use some stopper to fill in some slight flaws in the blending, the stopper seamed to react to the stone-guard stuff, when rubbing down it tended to make the stoneguard go soft as if it was not dry properly and started to snag on te sanding block :roll:
the hycote stone gaurd is over paintable so i figured i would use some of my spare old supply of paint from the last paint job to quickly flash over the rear panels, this way, when dry, i can then use the stopper, and then repaint the full car when the weather warms up in a month or so (i have 5 litres of paint stored at work)
this also is an added bonus because it makes the car all one colour again rather then in various states of primer/gelcoat/stoneguard
it also gives me a much better base to do the final finishing
quickly mask it up and get some paint on
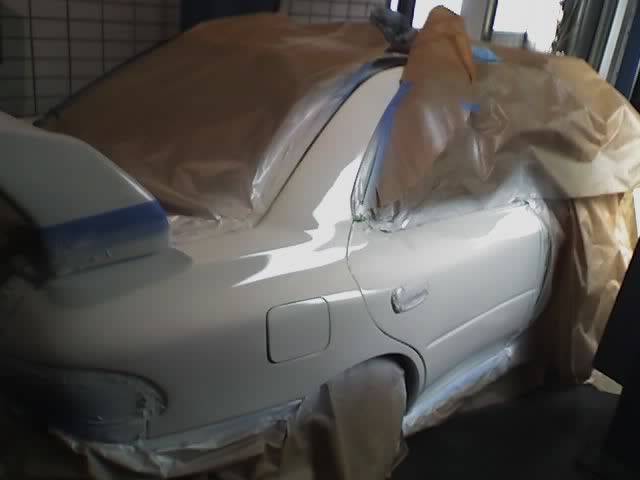
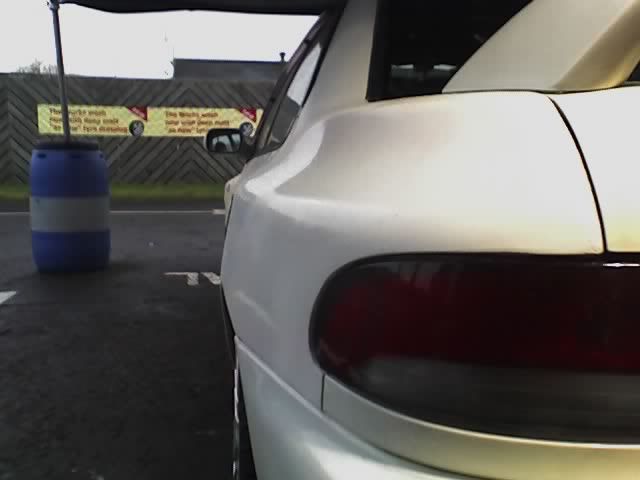
wheel it outside later on
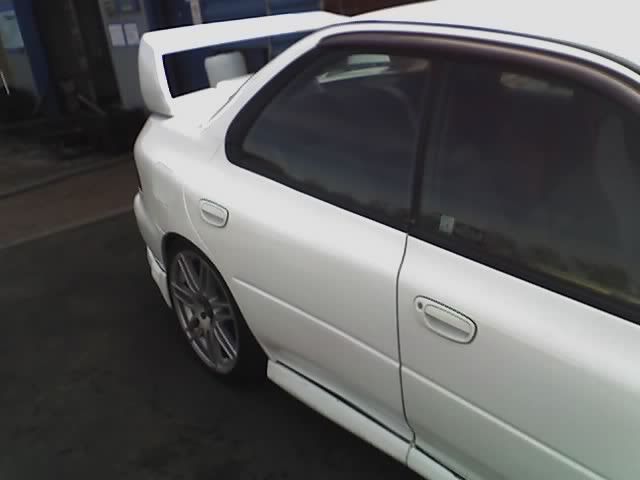
jobs a gooden
stuff still to do
rear spoiler needs painted properly
boot lid needs aligned (will sort when spoiler is painted)
skirt rubber trim needs added (never got around to fitting this)
Rear bumper needs to be adjusted as it seams to be off to the left a little (will sort when it gets resprayed)
few bits need a quick skim with some stopper before the final paint job
least its not all various colours now and it no longer looks like its been in a rear end crash LOL
i had some problems with my undercoat, i used some "hycote stone-guard" with the view that it would allow some flex underneath if needed and let the topcoat stay a little flexible, i used this to good effect when i painted the splash guards last year so it seamed like a plan.
the problem came when i tried to use some stopper to fill in some slight flaws in the blending, the stopper seamed to react to the stone-guard stuff, when rubbing down it tended to make the stoneguard go soft as if it was not dry properly and started to snag on te sanding block :roll:
the hycote stone gaurd is over paintable so i figured i would use some of my spare old supply of paint from the last paint job to quickly flash over the rear panels, this way, when dry, i can then use the stopper, and then repaint the full car when the weather warms up in a month or so (i have 5 litres of paint stored at work)
this also is an added bonus because it makes the car all one colour again rather then in various states of primer/gelcoat/stoneguard
it also gives me a much better base to do the final finishing
quickly mask it up and get some paint on
wheel it outside later on
jobs a gooden
stuff still to do
rear spoiler needs painted properly
boot lid needs aligned (will sort when spoiler is painted)
skirt rubber trim needs added (never got around to fitting this)
Rear bumper needs to be adjusted as it seams to be off to the left a little (will sort when it gets resprayed)
few bits need a quick skim with some stopper before the final paint job
least its not all various colours now and it no longer looks like its been in a rear end crash LOL
Thread Starter
Scooby Regular
Joined: Feb 2003
Posts: 21,611
Likes: 0
From: Zed Ess Won Hay Tee