
Widearch classic conversion


Thread Starter
Scooby Regular
Joined: Feb 2003
Posts: 21,611
Likes: 0
From: Zed Ess Won Hay Tee
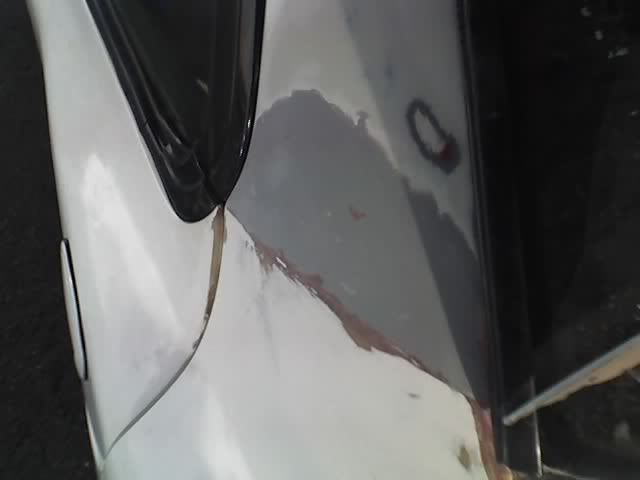
its all sorted 
moved the front door latch outwards, and then adjusted the door seal so it sits a little further outwards, job sorted !
i also know what is catching the rear wheels so thats next on the list
moved the front door latch outwards, and then adjusted the door seal so it sits a little further outwards, job sorted !
i also know what is catching the rear wheels so thats next on the list

Thread Starter
Scooby Regular
Joined: Feb 2003
Posts: 21,611
Likes: 0
From: Zed Ess Won Hay Tee
right ohh just downloaded the next batch of pics from the mobile, the weather is having a bit of a effect on progress as you can imagine, so things have slowed down a tad
first up, wtf
ohh well here is a picture of my mams dog wearing its "hoodie" pmsl

now back to the car
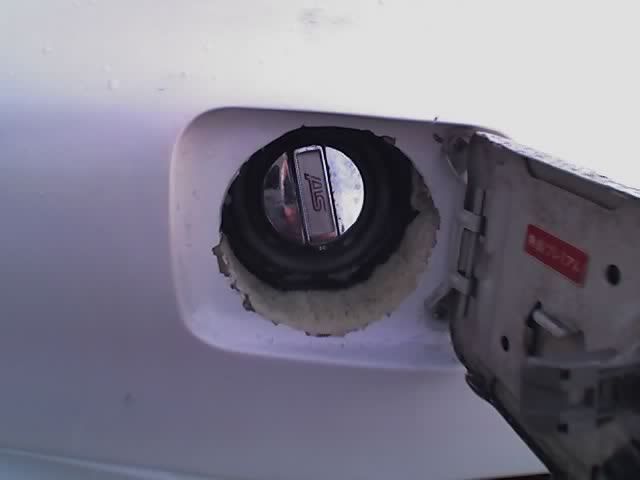
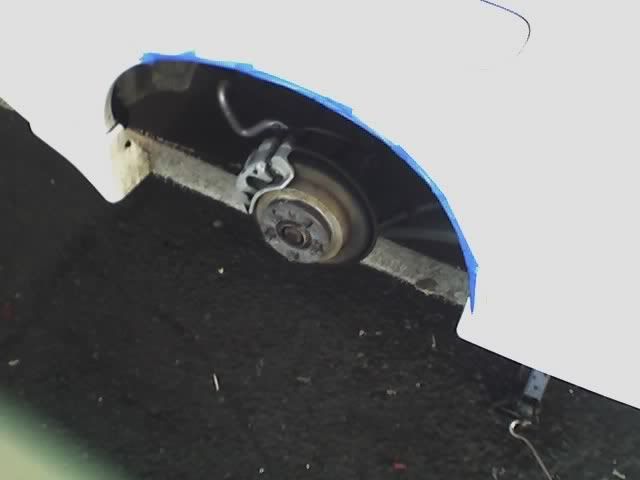
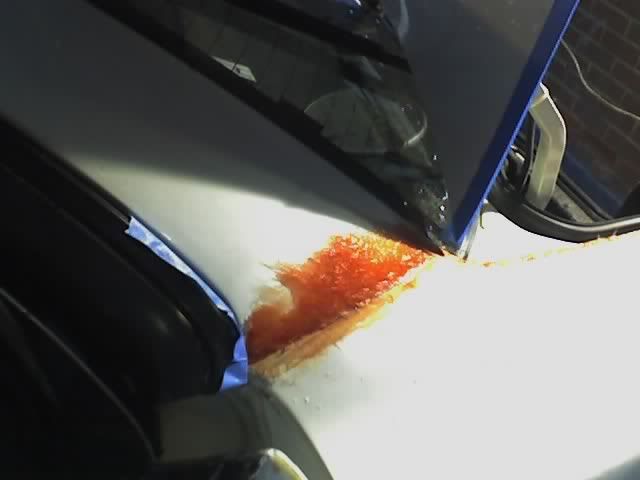
the fuel flap area was attacked with some expanding foam and was trimmed back when dry, this still needs more work, but i ran out of foam.
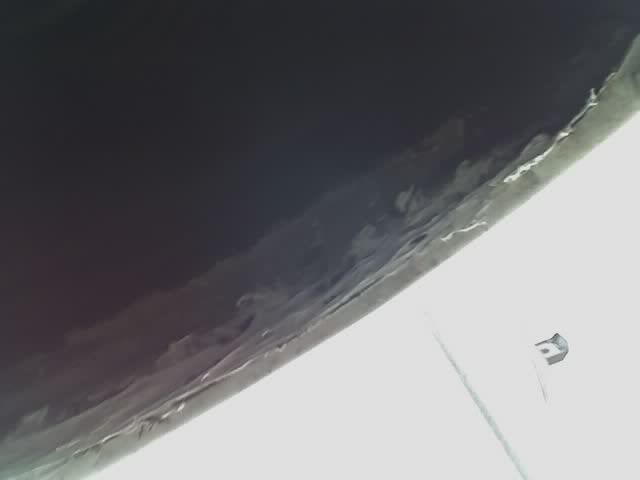
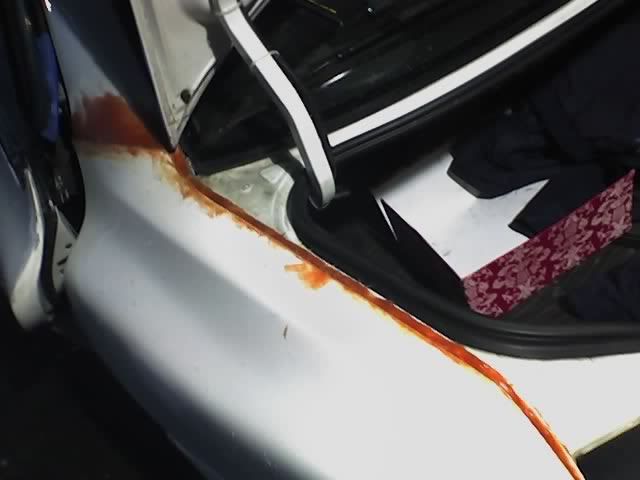
the underside of the rear arches are taking a battering at the moment with all the salt on the roads so some temporary sealant was put on to help protect them until they get finished off
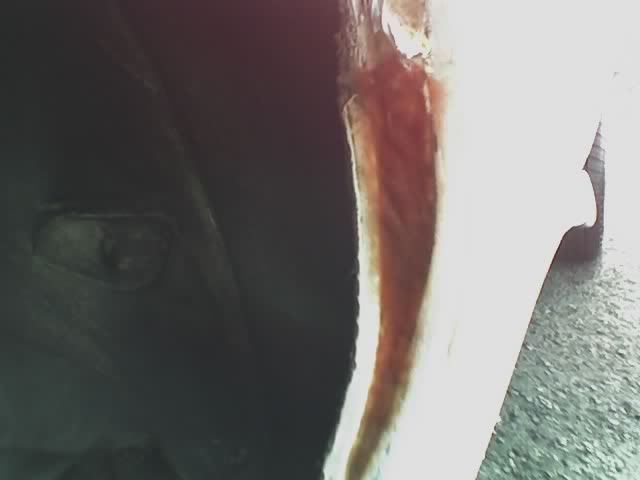
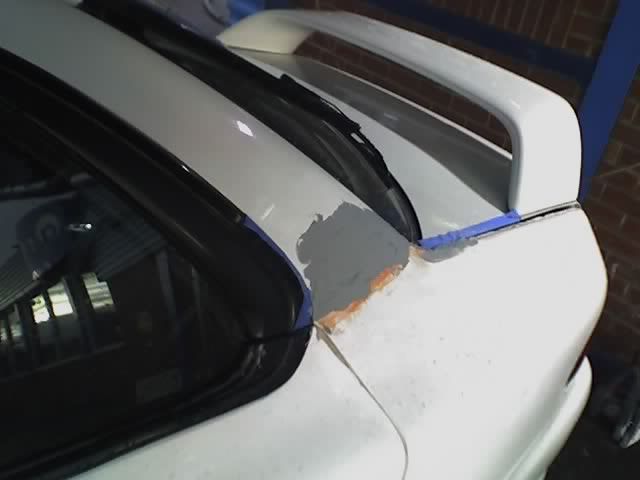
tried adding some fibreglass to the join between the arch and new rear 1/4 panel and found that it was taking HOURS to dry in the weather, so i sacked this idea off for a while until it warms up, or i can be bothered to stop back one night and do it inside the wash with the space heater on.
added some more foam to the fuel flap area today and used a taped up circle of thin card to make sure the fuel cap can still come off

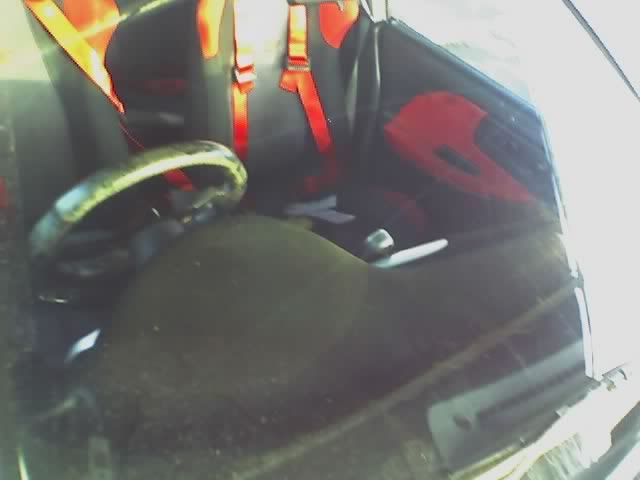
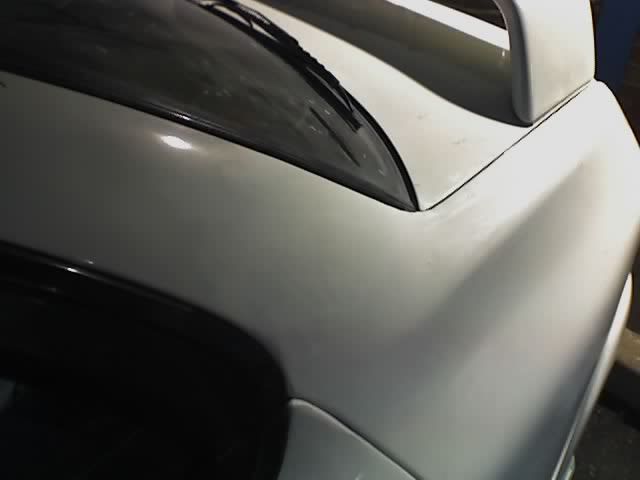
the 5mm spacers on the rear have really sorted the back out a treat and is sitting pretty nice now IMO
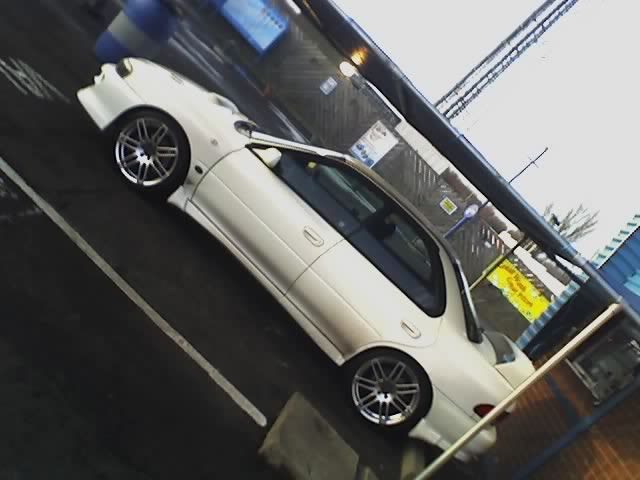
car sits sweet

fuel flap area 1 hour later, foam still trying its best to harden in the cold

flocked dashboard is fitted
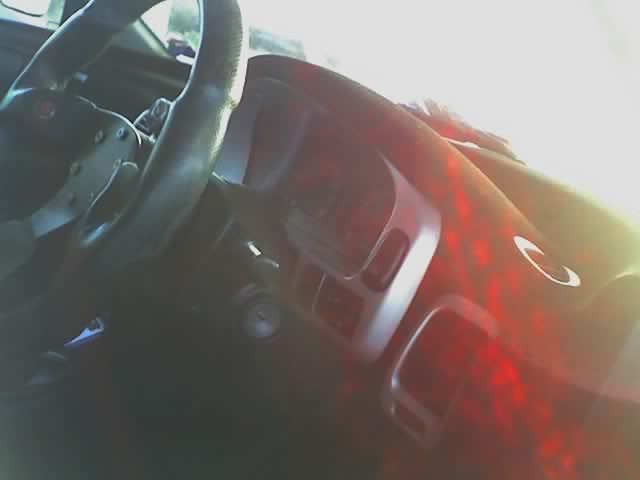
need to get a decent steering wheel at some point, this one is knackered!
first up, wtf
ohh well here is a picture of my mams dog wearing its "hoodie" pmsl
now back to the car
the fuel flap area was attacked with some expanding foam and was trimmed back when dry, this still needs more work, but i ran out of foam.
the underside of the rear arches are taking a battering at the moment with all the salt on the roads so some temporary sealant was put on to help protect them until they get finished off
tried adding some fibreglass to the join between the arch and new rear 1/4 panel and found that it was taking HOURS to dry in the weather, so i sacked this idea off for a while until it warms up, or i can be bothered to stop back one night and do it inside the wash with the space heater on.
added some more foam to the fuel flap area today and used a taped up circle of thin card to make sure the fuel cap can still come off
the 5mm spacers on the rear have really sorted the back out a treat and is sitting pretty nice now IMO
car sits sweet
fuel flap area 1 hour later, foam still trying its best to harden in the cold
flocked dashboard is fitted
need to get a decent steering wheel at some point, this one is knackered!

Thread Starter
Scooby Regular
Joined: Feb 2003
Posts: 21,611
Likes: 0
From: Zed Ess Won Hay Tee
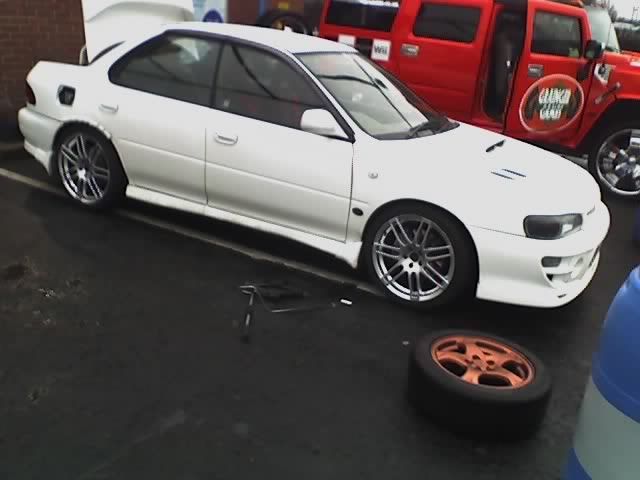
the hummer has 2 large monitors and 2 linked up xbox 360`s in the boot 
its grainger games new demo
i hate driving it, big left hand drive barge, on massive wheels = crap
its grainger games new demo
i hate driving it, big left hand drive barge, on massive wheels = crap

Thread Starter
Scooby Regular
Joined: Feb 2003
Posts: 21,611
Likes: 0
From: Zed Ess Won Hay Tee
dont be silly

i filled it up before hand just incase
foam has all been trimmed back, will get some photos tomorrow
Thread Starter
Scooby Regular
Joined: Feb 2003
Posts: 21,611
Likes: 0
From: Zed Ess Won Hay Tee
forgot about the fuel flap photos
Small update
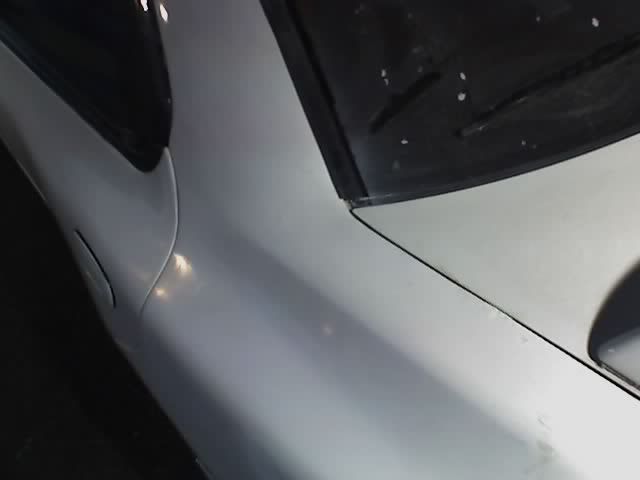
Sealing up inner arches
this is a doddle
1st mask up the outer arch with masking tape
then start painting the stuff on, its like a black tar based rubber coating, covers well and willseal up and protect the "arch shinanigans"

remove the tape and let it dry

then repeat with the other side
running out of "easy" jobs to do and will have to attack the "blending" soon me thinks
Small update
Sealing up inner arches
this is a doddle
1st mask up the outer arch with masking tape
then start painting the stuff on, its like a black tar based rubber coating, covers well and willseal up and protect the "arch shinanigans"
remove the tape and let it dry
then repeat with the other side
running out of "easy" jobs to do and will have to attack the "blending" soon me thinks

Looking good Micky. 
Don't think I'm bave enough to cut up mine. Although I may gave a go at the front wings - what's your opinion on just fitting these, do they look okay by themselves?
Keep up the good work.
Don't think I'm bave enough to cut up mine. Although I may gave a go at the front wings - what's your opinion on just fitting these, do they look okay by themselves?
Keep up the good work.

Former Sponsor
iTrader: (4)
Joined: Jan 2001
Posts: 16,548
Likes: 2
From: ECU Mapping - www.JollyGreenMonster.co.uk
Thread Starter
Scooby Regular
Joined: Feb 2003
Posts: 21,611
Likes: 0
From: Zed Ess Won Hay Tee
do luck fronts look ok by themselves if you have the wheels to fill them,
22b fronts are a bit fatter and would be a bit to much IMHO
Thread Starter
Scooby Regular
Joined: Feb 2003
Posts: 21,611
Likes: 0
From: Zed Ess Won Hay Tee
updates
time to start blending
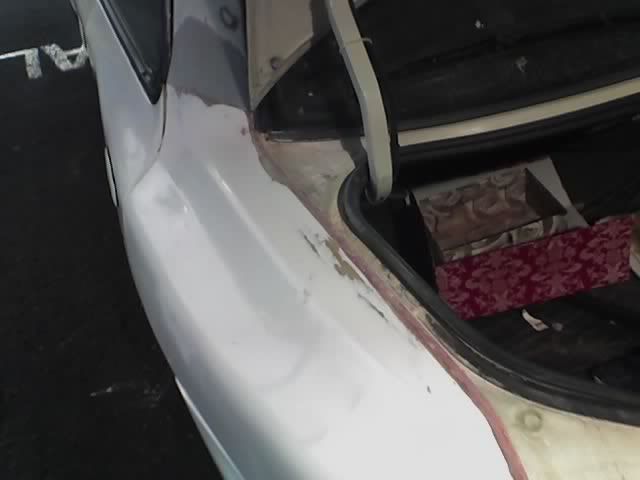
attack the car with 80 gritt paper then start applying p40 fibreglass
same along the top edge, give the join a good old splodging and force the fibreglass into the joins
once this is hard sand it flat with 80gritt and a orbital sander then apply "fine surface filler" over the top to help blend the join
top edge needs some more work with the grinder to help keep the boot shut lines correct, so attack these with a grinding disc
FSF is dry so sand that back and keep applying the FSF to any parts that are not smooth, building up the layers until you get it flat
its getting dark now, so apply some white high build primer and start packing up the tools for another day
needs a bit more work but i would say its 75% done
still need to do around by the rear light cluster!
time to start blending
attack the car with 80 gritt paper then start applying p40 fibreglass
same along the top edge, give the join a good old splodging and force the fibreglass into the joins
once this is hard sand it flat with 80gritt and a orbital sander then apply "fine surface filler" over the top to help blend the join
top edge needs some more work with the grinder to help keep the boot shut lines correct, so attack these with a grinding disc
FSF is dry so sand that back and keep applying the FSF to any parts that are not smooth, building up the layers until you get it flat
its getting dark now, so apply some white high build primer and start packing up the tools for another day
needs a bit more work but i would say its 75% done
still need to do around by the rear light cluster!
Thread Starter
Scooby Regular
Joined: Feb 2003
Posts: 21,611
Likes: 0
From: Zed Ess Won Hay Tee
its not getting painted until spring, everything will be rock hard by then
i fell into that trap the 1st time i painted the car when i tapped out a damaged back 1/4 panel

Scooby Newbie
Joined: Jan 2008
Posts: 1
Likes: 0
Not to be funny but are you really serious about this project???? Nice 1 for trying but to be honest you really are making a mess and you should just take it into a field and burn it before you show yourself up any more, as there is a lot of excellent projects on here and yours is not 1 of these, sorry for this hard words but it had to be said before you continue with this.
Sorry for the verbal outlash but i hope iam doing you a favour.
Sorry for the verbal outlash but i hope iam doing you a favour.

Scooby Regular
Joined: Apr 2007
Posts: 218
Likes: 0
From: blackpool
'Not to be funny but are you really serious about this project???? Nice 1 for trying but to be honest you really are making a mess and you should just take it into a field and burn it before you show yourself up any more, as there is a lot of excellent projects on here and yours is not 1 of these, sorry for this hard words but it had to be said before you continue with this.
Sorry for the verbal outlash but i hope iam doing you a favour.'
1st post and you come out with this sh17 what have you got then mr specialist
Sorry for the verbal outlash but i hope iam doing you a favour.'
1st post and you come out with this sh17 what have you got then mr specialist


Scooby Regular
Joined: Dec 2002
Posts: 9,277
Likes: 0
From: Couch Spud
Dont understand why andyt has recieved an infraction ? 
he was only quoting the previous poster (who now seems to have been vaped) some people clearly cant read posts or just seem to like to infract for the strangest of things
he was only quoting the previous poster (who now seems to have been vaped) some people clearly cant read posts or just seem to like to infract for the strangest of things


Joined: Apr 2005
Posts: 11,778
Likes: 4
From: Newcastle. 330bhp-289lb/ft @ 1bar boost - 12.4s @ 105mph