Wide arch, 400+bhp Newage rebuild...For the road :)
 19 November 2007, 02:59 PM
#91
Scooby Regular

Join Date: Feb 2003
Location: Zed Ess Won Hay Tee
Posts: 21,611
Likes: 0
Received 0 Likes
on
0 Posts
ordered my 22b arches today from a-b-w 
had a look around a plastic company today as they had quite a bit of this ms polymer stuff instock, some of the tubes were claiming 20% flexibility even when hard.
spoke to darren at abw and he says the best stuff is a 2pack epoxy, so i`m thinking that around the join in the c pillar i will use something araldite and the rest i will use the white ms polymer adhesive (the only place i dont want it to flex a little is the join, the rest i`m not bothered about)
 19 November 2007, 03:47 PM
#92
Scooby Regular
Thread Starter
iTrader: (35)

Join Date: Nov 2006
Posts: 2,784
Likes: 0
Received 0 Likes
on
0 Posts
Done some more today...
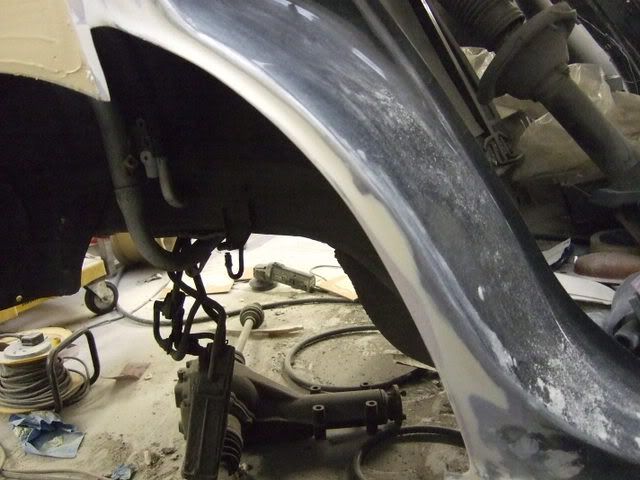
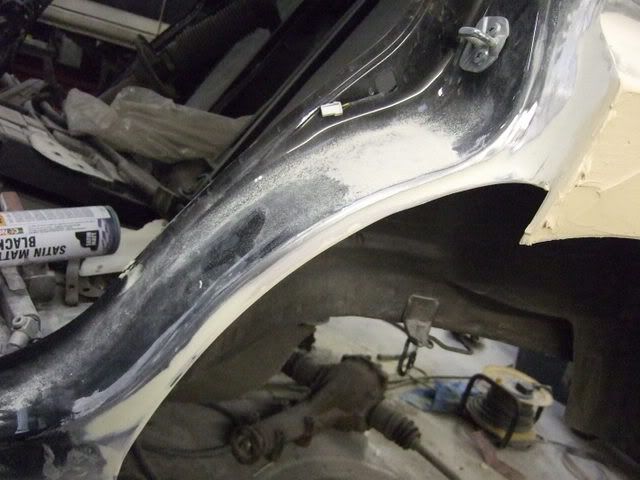
Started to tidy up the inner rear wheel arch area on both sides..
Got both rear wings sorted also..
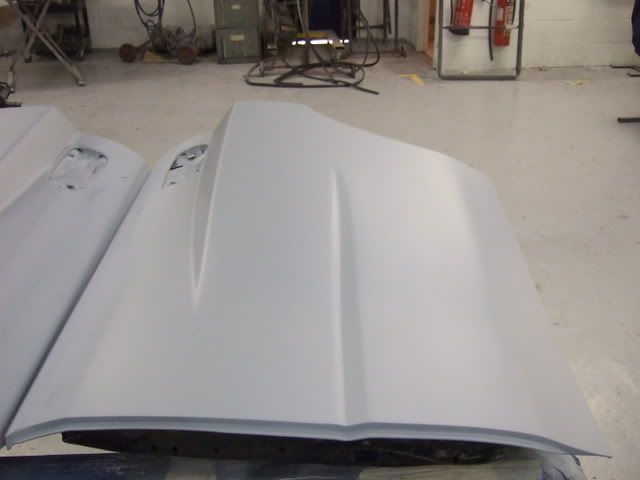
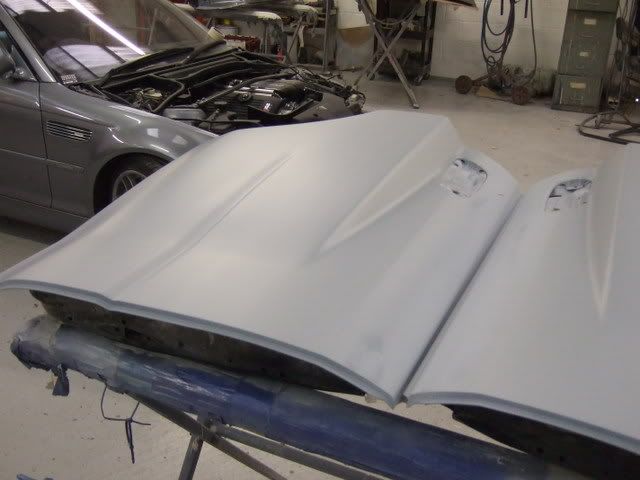
As the fibreglass panels can be a bit 'wobbly' (official technical term ), the best way to sort it is get some stopper on it..
Then put a guide coat on it,and get rubbin'...
Started to tidy up the inner rear wheel arch area on both sides..
Got both rear wings sorted also..
As the fibreglass panels can be a bit 'wobbly' (official technical term
), the best way to sort it is get some stopper on it..Then put a guide coat on it,and get rubbin'...
19 November 2007, 03:56 PM
#94
Scooby Regular
Thread Starter
iTrader: (35)
Join Date: Nov 2006
Posts: 2,784
Likes: 0
Received 0 Likes
on
0 Posts
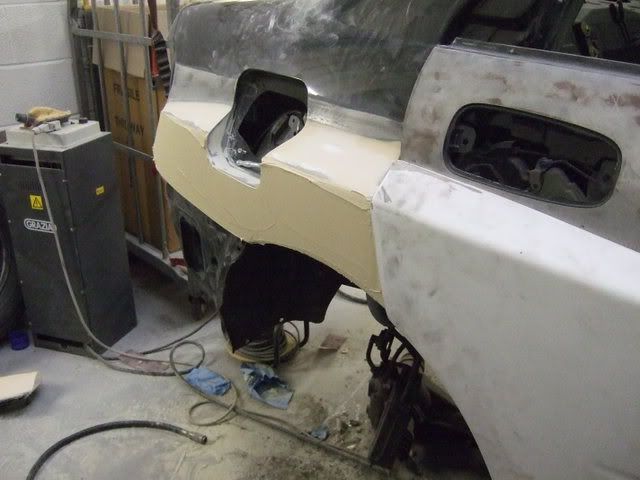
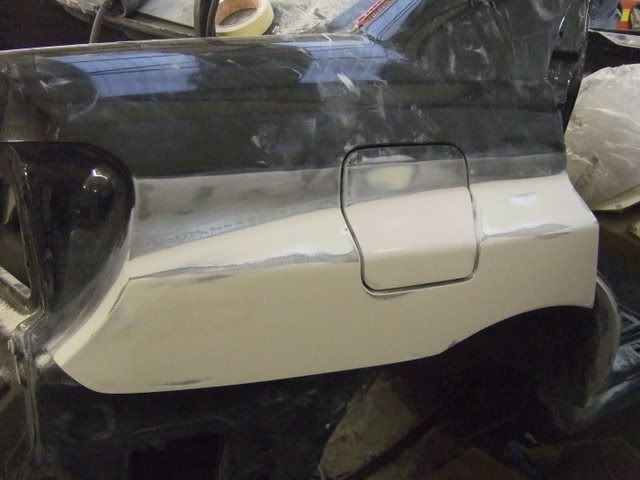
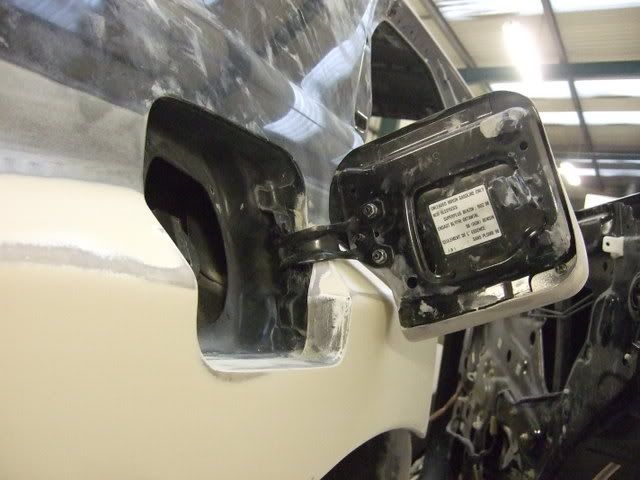
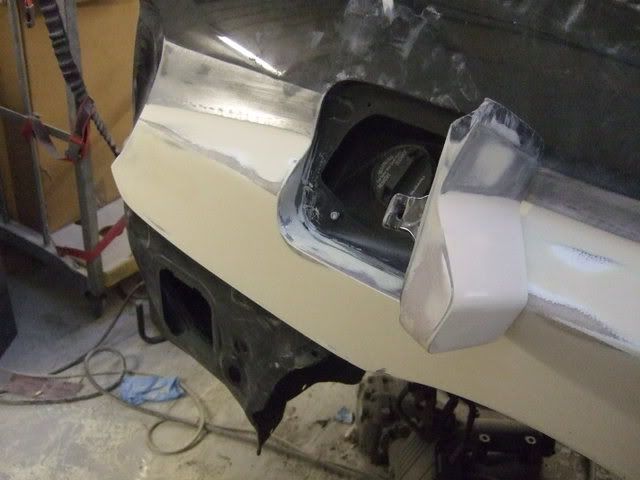
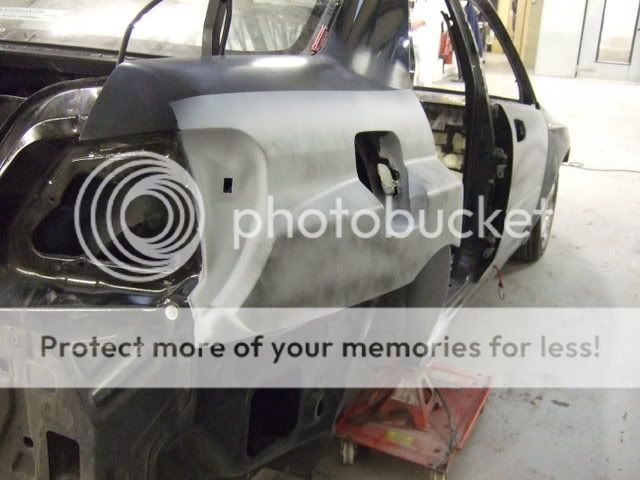
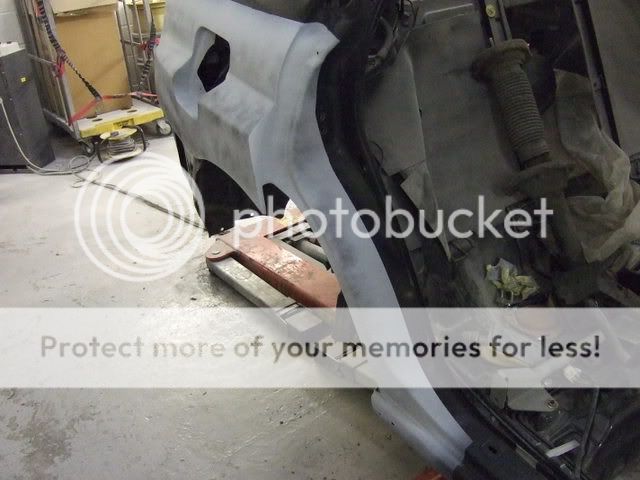
A few shots of the petrol flap area..
Also, one of the things I don't like about these type of rear arch conversions, is the loss of the door shut line.
But, one of the thngs I like about the 05 STi, are the little extra arch lips, so I got some fibreglass ones from Chargespeed, like this..
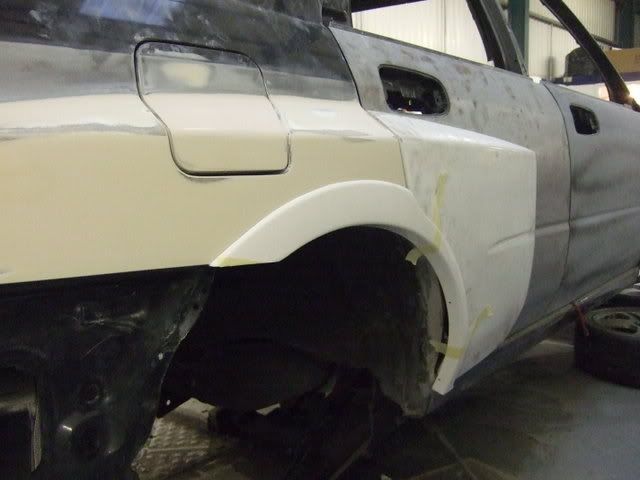
I plan on bonding them on, and simply cutting through where the door shut line is, to give the illusion of the rear arch line..
Well that's what I'm hoping anyway..")

Also, one of the things I don't like about these type of rear arch conversions, is the loss of the door shut line.
But, one of the thngs I like about the 05 STi, are the little extra arch lips, so I got some fibreglass ones from Chargespeed, like this..
I plan on bonding them on, and simply cutting through where the door shut line is, to give the illusion of the rear arch line..
Well that's what I'm hoping anyway..
 24 November 2007, 09:32 AM
#98
Scooby Regular
Thread Starter
iTrader: (35)
Join Date: Nov 2006
Posts: 2,784
Likes: 0
Received 0 Likes
on
0 Posts
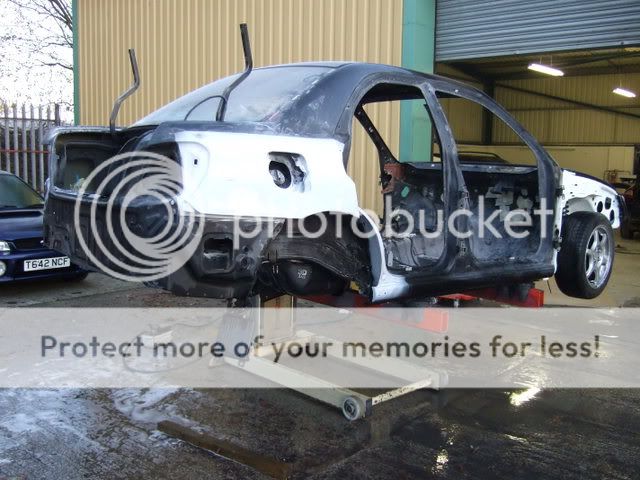
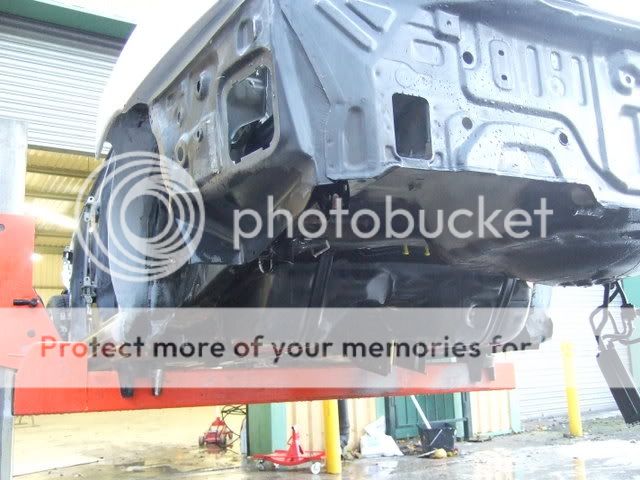
Small update...
Got both rear wings into first coats of primer this week..
Also dragged the car outside to give the underside a good pressure wash off to get rid of any cr@p ready for the next stage of shell preparation, which I'm not looking forward to....removing all the existing underseal

Got both rear wings into first coats of primer this week..
Also dragged the car outside to give the underside a good pressure wash off to get rid of any cr@p ready for the next stage of shell preparation, which I'm not looking forward to....removing all the existing underseal

 Hi Mike...
27 November 2007, 09:54 AM
Hi Mike...
27 November 2007, 09:54 AM
#104
Scooby Regular
Thread Starter
iTrader: (35)
Join Date: Nov 2006
Posts: 2,784
Likes: 0
Received 0 Likes
on
0 Posts
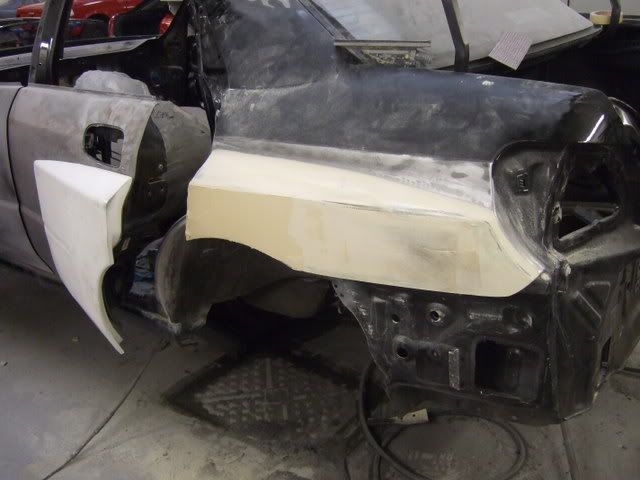
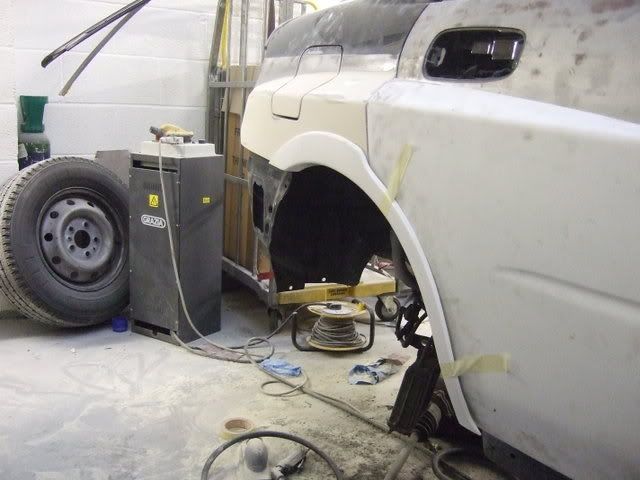
Got a bit more done yesterday..
The rear doors now have the arch extensions well and truly bonded on, and I have started to mock up the side skirt arrangement..
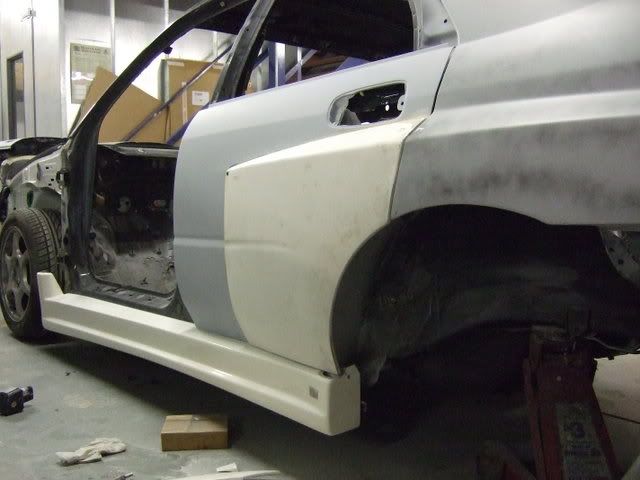
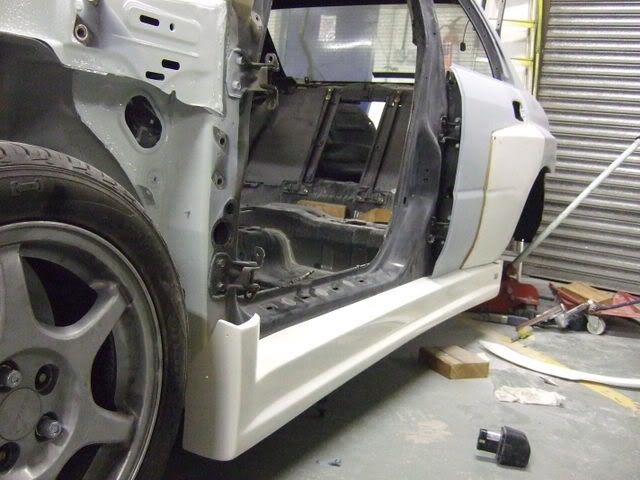
The arch kit doesn't come with any side skirts, as it is designed to use the existing WRX/STi skirts.
As I don't have either, I am thinking about using these Chargespeed T1 skirts. (Which helps, as I currently have these in stock)
They need a bit of modification, but once the rear arch lips are on, I think/hope they will look OK..
The rear doors now have the arch extensions well and truly bonded on, and I have started to mock up the side skirt arrangement..
The arch kit doesn't come with any side skirts, as it is designed to use the existing WRX/STi skirts.
As I don't have either, I am thinking about using these Chargespeed T1 skirts. (Which helps, as I currently have these in stock
)They need a bit of modification, but once the rear arch lips are on, I think/hope they will look OK..
27 November 2007, 02:46 PM
#106
Scooby Regular
Thread Starter
iTrader: (35)
Join Date: Nov 2006
Posts: 2,784
Likes: 0
Received 0 Likes
on
0 Posts

All you need is to live on beans and toast, have no holidays, no beer, never go out at all for a year or so, and hey presto, enough cash to at least make a start...

 27 November 2007, 08:31 PM
#109
Scooby Regular
iTrader: (1)
Join Date: Sep 2007
Location: yorkshire (mostly)
Posts: 1,865
Likes: 0
Received 0 Likes
on
0 Posts
think you should start a donation fund so we can see it completed by the end of this week
great thread and your doing a top job
keep it coming
great thread and your doing a top job
keep it coming
29 November 2007, 07:11 PM
#112
Scooby Regular

Join Date: Jan 2007
Location: Buckinghamshire
Posts: 2,272
Likes: 0
Received 0 Likes
on
0 Posts
Not too keen on the way the side skirts look at the moment, maybe blend the lines of the front and rear of the skirts to follow the arch extensions... if you get what I mean?
Would match up the skirts properly then and they will look like they were part of the kit.
Would match up the skirts properly then and they will look like they were part of the kit.
01 December 2007, 09:20 AM
#114
Scooby Regular
Thread Starter
iTrader: (35)
Join Date: Nov 2006
Posts: 2,784
Likes: 0
Received 0 Likes
on
0 Posts
Not going for the out and out WRC look..
I am having a re-think on the side skirts at the moment, due to popular (un) demand...
Anyway, got some more done yesterday, and i will get some pics up later...
I am having a re-think on the side skirts at the moment, due to popular (un) demand...
Anyway, got some more done yesterday, and i will get some pics up later...
01 December 2007, 09:41 PM
#117
Scooby Regular
Thread Starter
iTrader: (35)
Join Date: Nov 2006
Posts: 2,784
Likes: 0
Received 0 Likes
on
0 Posts
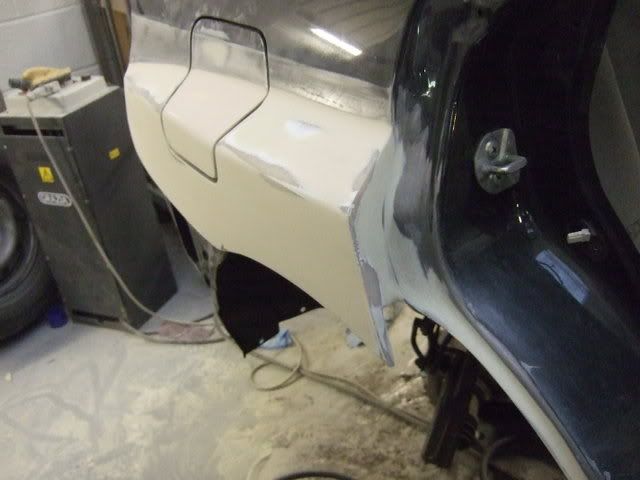
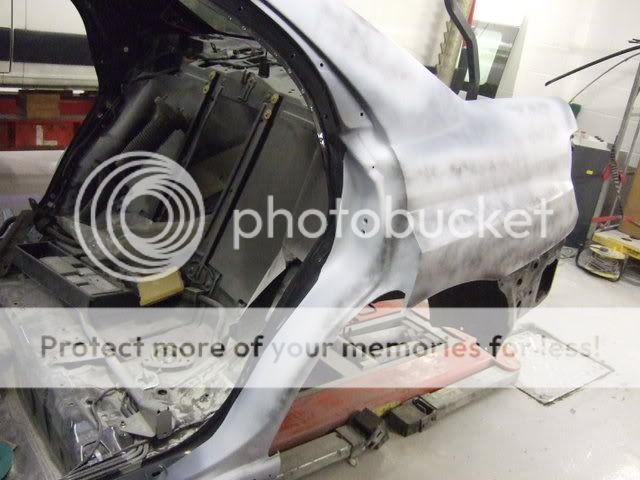
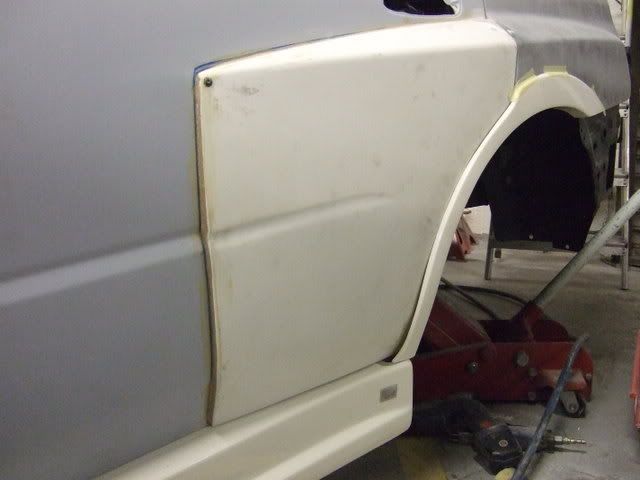
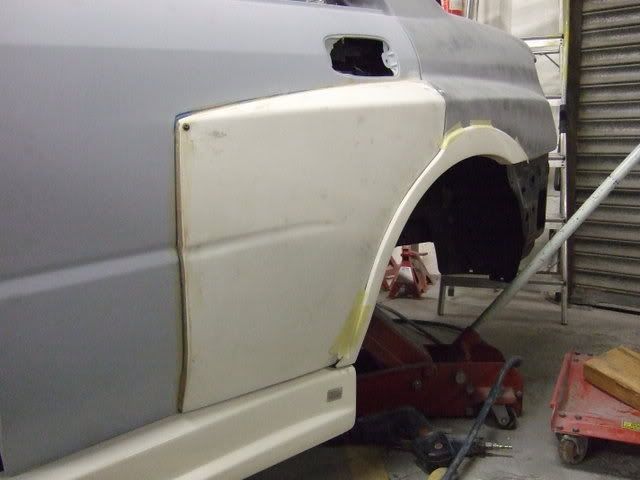
Managed to get the rear doors all sorted today..
Now that the arch extensions are bonded onto the original rear doors, the next job is to blend them in...
I've used a mix of fibreglass and filler (furry bog) to fill the gap initially.
The reasoning behind this, is that filler on its own has not got much actual strength, and is rather heavy. The fibreglass on the other hand has got its own strength, and is lighter than filler, so this mix will hopefully fill the gap, and not crack and fall out..
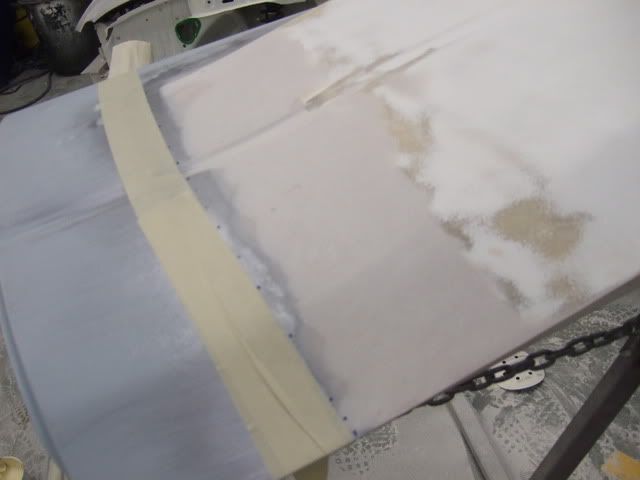
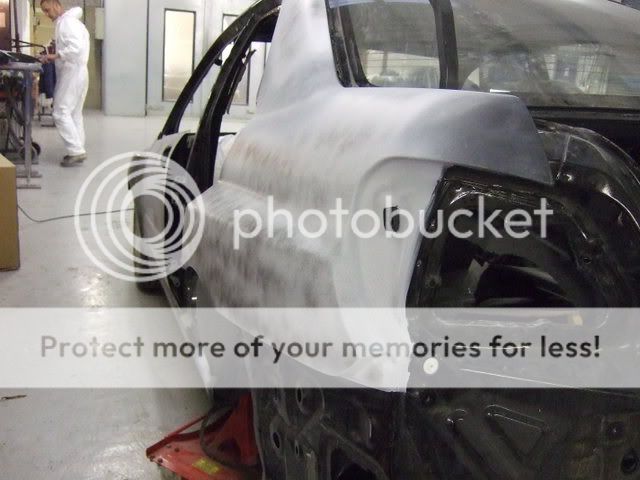
You can also see some masking tape on the doors in these pics...
The reason for this, is that I wanted the arch extensions blended into the doors, but with a definate line to show the change in body shape.
So I plotted an imaginary line, and masked it out.
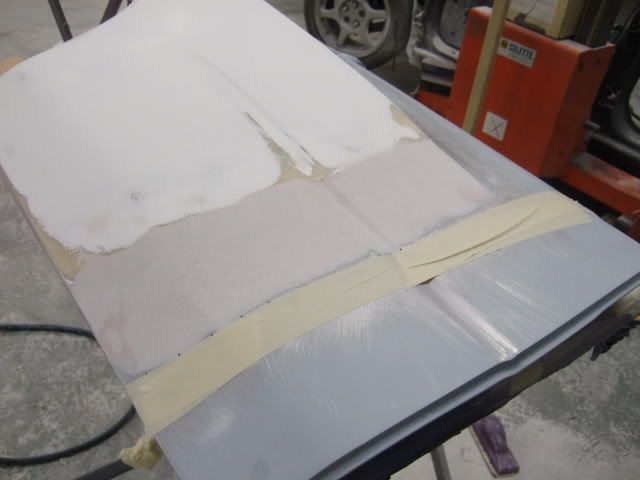
I then applied filler over the whole arch extension upto this edge, and after a bit of sanding, ended up with this..
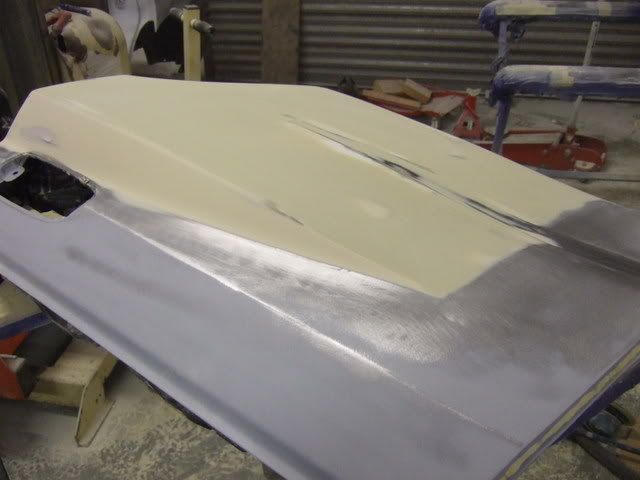
The next problem was the swage line that runs along the door.
Now if you look at a few of the previous pics, you can see that the swage line in the arch extensions does not quite match the one in the doors..
To cut a long, boring, time consuming, and stressful story short, I ended up actually cutting the existing swage line in the arch extension out, and fibreglassing a new one in, using a template that I made to ensure that the line contour was even..
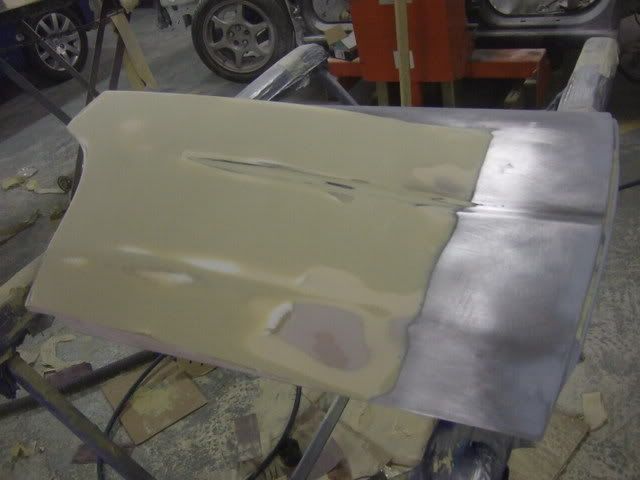
After initial primer, I ended up with this result..
A lot better than before, and once this is blocked down several times, I'm pretty confident it will look like factory-ish..
Anyway, after seeing the car in so many bits for a while, I needed a bit of motivation, and needed to assess and inspect the final fit and gaps of all the kit...
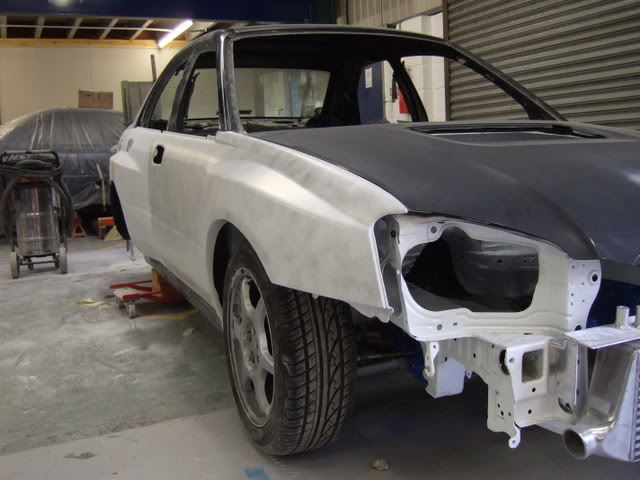
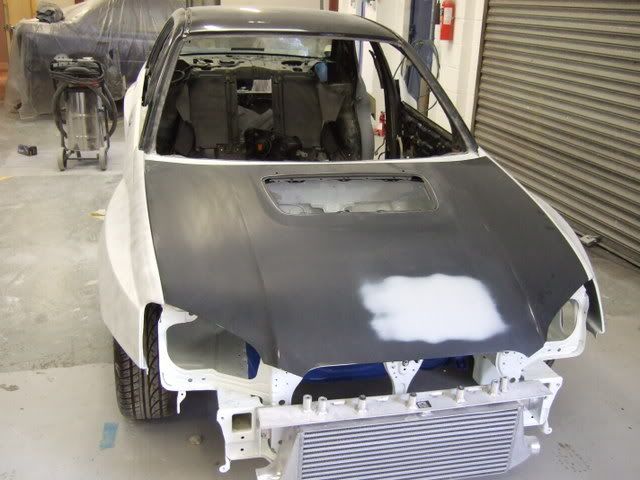
Getting there..
Should hopefully get the car painted this week...
Now that the arch extensions are bonded onto the original rear doors, the next job is to blend them in...
I've used a mix of fibreglass and filler (furry bog) to fill the gap initially.
The reasoning behind this, is that filler on its own has not got much actual strength, and is rather heavy. The fibreglass on the other hand has got its own strength, and is lighter than filler, so this mix will hopefully fill the gap, and not crack and fall out..
You can also see some masking tape on the doors in these pics...
The reason for this, is that I wanted the arch extensions blended into the doors, but with a definate line to show the change in body shape.
So I plotted an imaginary line, and masked it out.
I then applied filler over the whole arch extension upto this edge, and after a bit of sanding, ended up with this..
The next problem was the swage line that runs along the door.
Now if you look at a few of the previous pics, you can see that the swage line in the arch extensions does not quite match the one in the doors..
To cut a long, boring, time consuming, and stressful story short, I ended up actually cutting the existing swage line in the arch extension out, and fibreglassing a new one in, using a template that I made to ensure that the line contour was even..
After initial primer, I ended up with this result..
A lot better than before, and once this is blocked down several times, I'm pretty confident it will look like factory-ish..
Anyway, after seeing the car in so many bits for a while, I needed a bit of motivation, and needed to assess and inspect the final fit and gaps of all the kit...
Getting there..
Should hopefully get the car painted this week...
 01 December 2007, 10:27 PM
#120
Scooby Regular
iTrader: (1)
Join Date: Apr 2007
Location: Up-North Like!
Posts: 1,266
Likes: 0
Received 0 Likes
on
0 Posts
All I'm thinking is, I'm pleased that soebody isn't going to have to pay for this as the time it takes to do the stuff you never think of is quite extensive.
Hat off to you for having the patients.
Hat off to you for having the patients.