
Prodrive Grp.N. chassis street build


Scooby Regular
Joined: Mar 2006
Posts: 66
Likes: 0
From: Letzebuerg
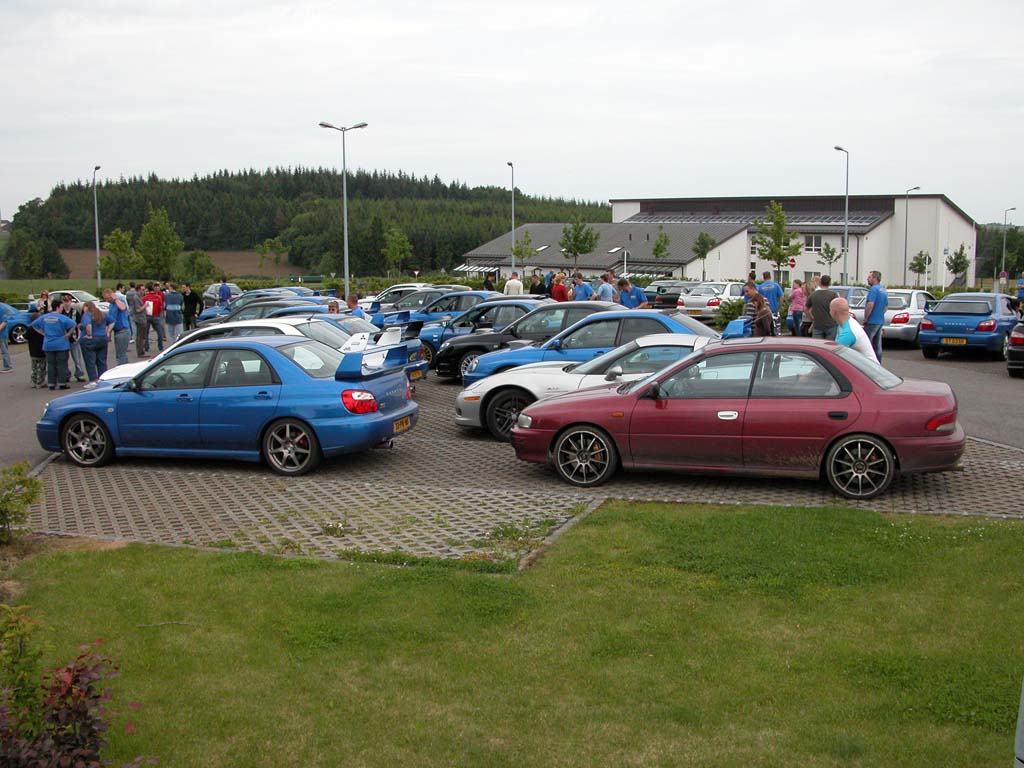
Will the car be finished for 24th and 25th may?
Hope to see you on our Road-Tour again this year
btw : Your project is

Serge
P.S.:
pic of your car on our road-tour last year (found no better picture at the moment )
)
Hope to see you on our Road-Tour again this year
btw : Your project is
Serge
P.S.:
pic of your car on our road-tour last year (found no better picture at the moment
)

Thread Starter
Scooby Regular
Joined: Dec 2002
Posts: 458
Likes: 0
@schumi,
Thanks.
@ Serge,
I will be there for the tour but probably not with the new project.
The funds are not adequate to finish it in one go.
But I will joining other people in their cars for the ride.
I will miss the red car though, it fooled so many people and it was so nice to drive.
But I think the new car can take away my tears. hehehe
greets
Thread Starter
Scooby Regular
Joined: Dec 2002
Posts: 458
Likes: 0
New goodies!
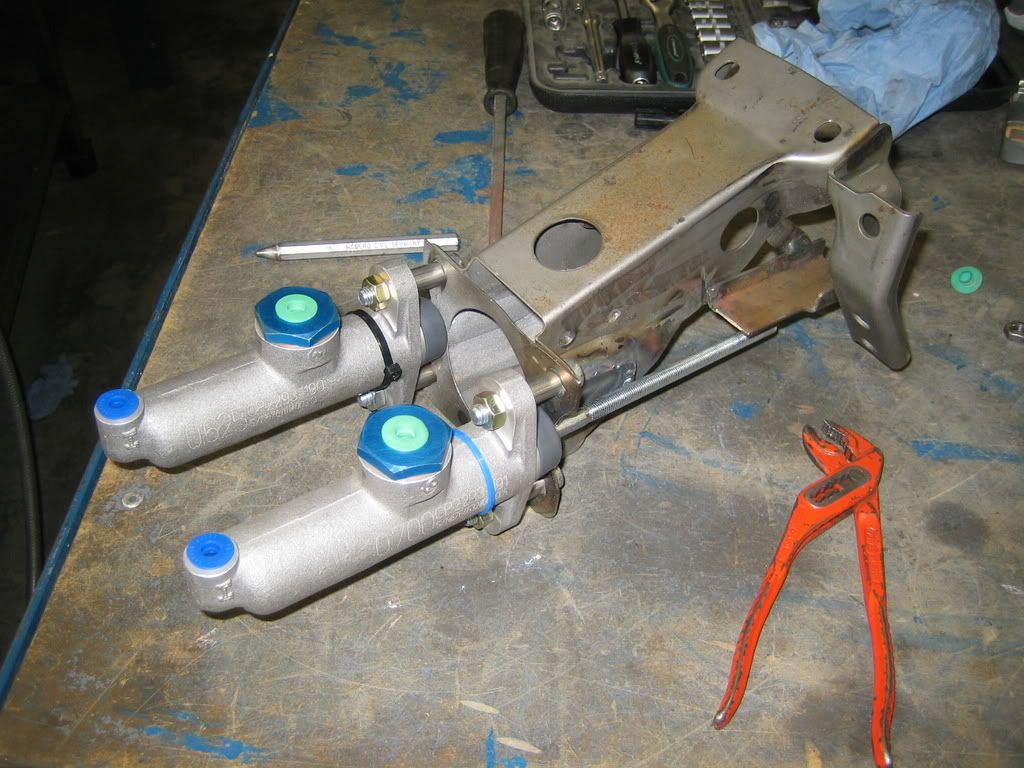
I finaly know how I'm going to make my brake set-up.
I will be putting in stainless steel piping, this better than copper which does extend under presure.
I always felt the brakes were a bit vague in the Impreza, so in a new quest for better feel I wil delete the brake booster and will only use a master cilinder.
To compensate the loss of the brake booster and to have a legaly needed separated brake system and to have a way to change the brake balance of the car I will use 2 Master Cilinders, one for the front and one for the rear i.c.w. a balance bar.
To finish things up there will be hydraulic parking brake also.
To get the best, the 2 master cilinders are by AP Racing:
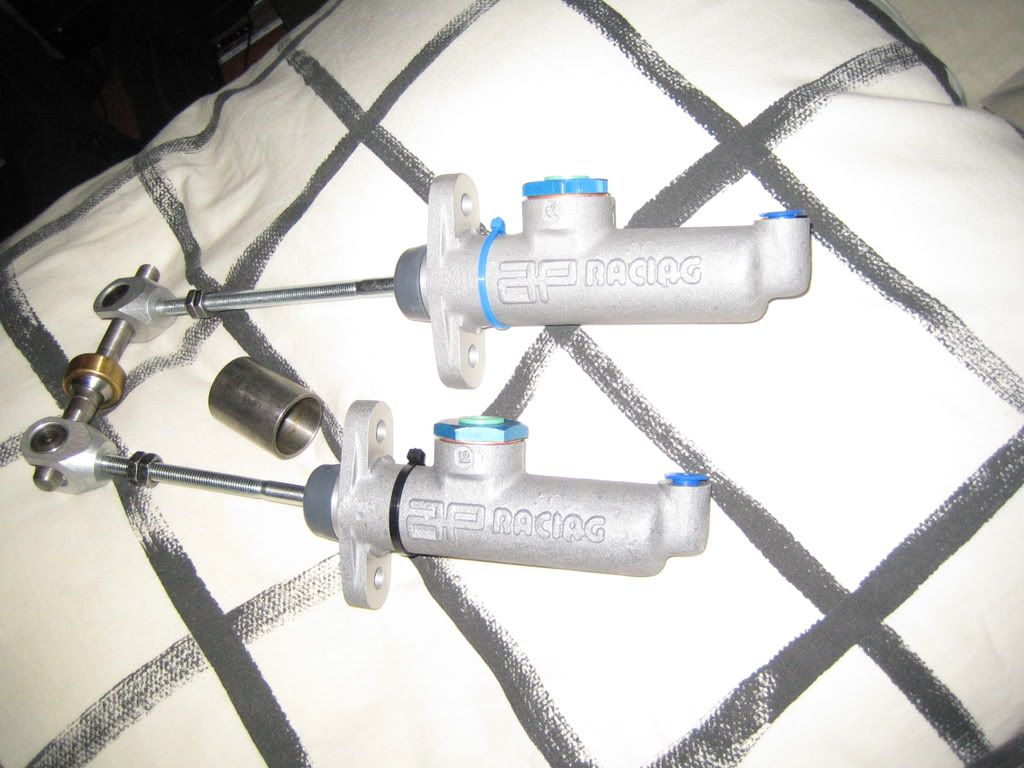
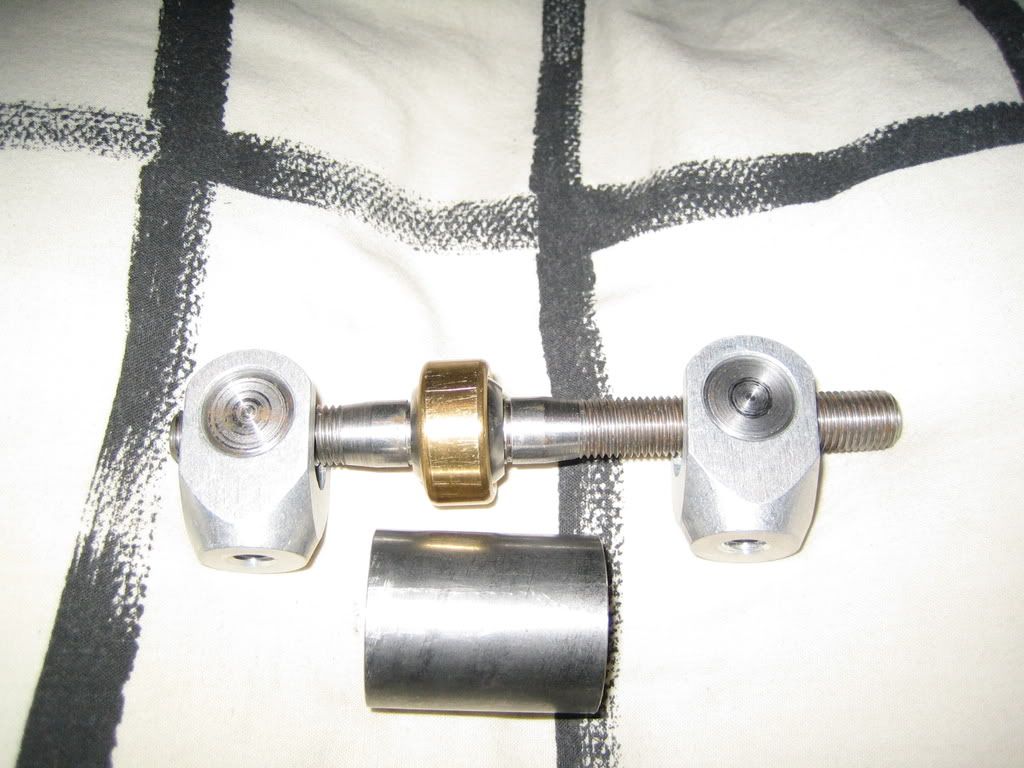
The balance bar is by Wilwood:
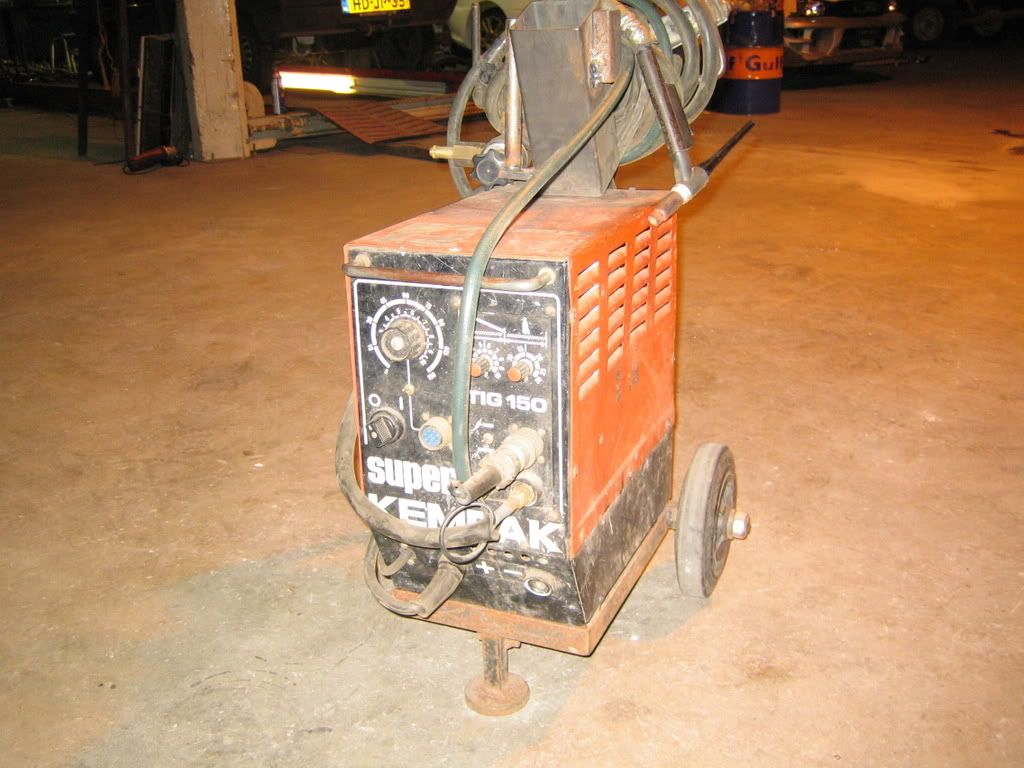
And I collected a "new" TIG welder, this is so much better than a MIG imo, especialy with the loom in the car, there is no sparks flying around or anything!
I finaly know how I'm going to make my brake set-up.
I will be putting in stainless steel piping, this better than copper which does extend under presure.
I always felt the brakes were a bit vague in the Impreza, so in a new quest for better feel I wil delete the brake booster and will only use a master cilinder.
To compensate the loss of the brake booster and to have a legaly needed separated brake system and to have a way to change the brake balance of the car I will use 2 Master Cilinders, one for the front and one for the rear i.c.w. a balance bar.
To finish things up there will be hydraulic parking brake also.
To get the best, the 2 master cilinders are by AP Racing:
The balance bar is by Wilwood:
And I collected a "new" TIG welder, this is so much better than a MIG imo, especialy with the loom in the car, there is no sparks flying around or anything!

Scooby Regular
Joined: May 2004
Posts: 11,341
Likes: 1
Be interested how you get on with the tig!
I am thinking of buying a sheet metal 'grade' MIG but have always liked the action og the TIG being so close to gas welding. I've never TIG welded so please let us know how you compare them when working on this kind of project.
I am thinking of buying a sheet metal 'grade' MIG but have always liked the action og the TIG being so close to gas welding. I've never TIG welded so please let us know how you compare them when working on this kind of project.
Thread Starter
Scooby Regular
Joined: Dec 2002
Posts: 458
Likes: 0
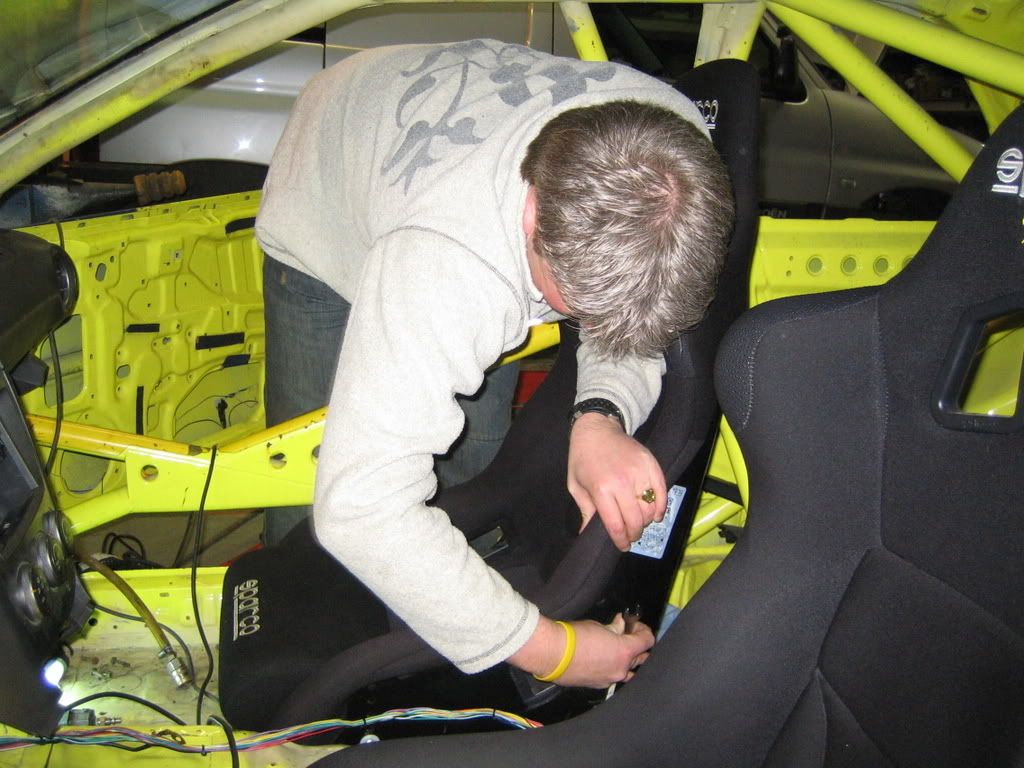
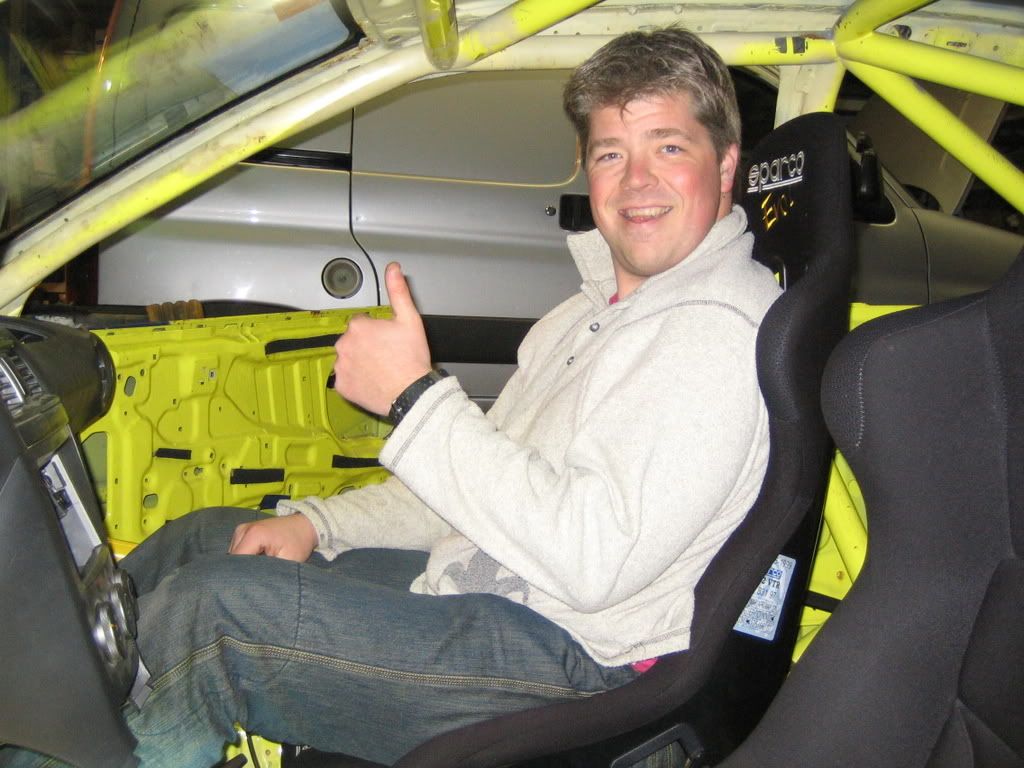
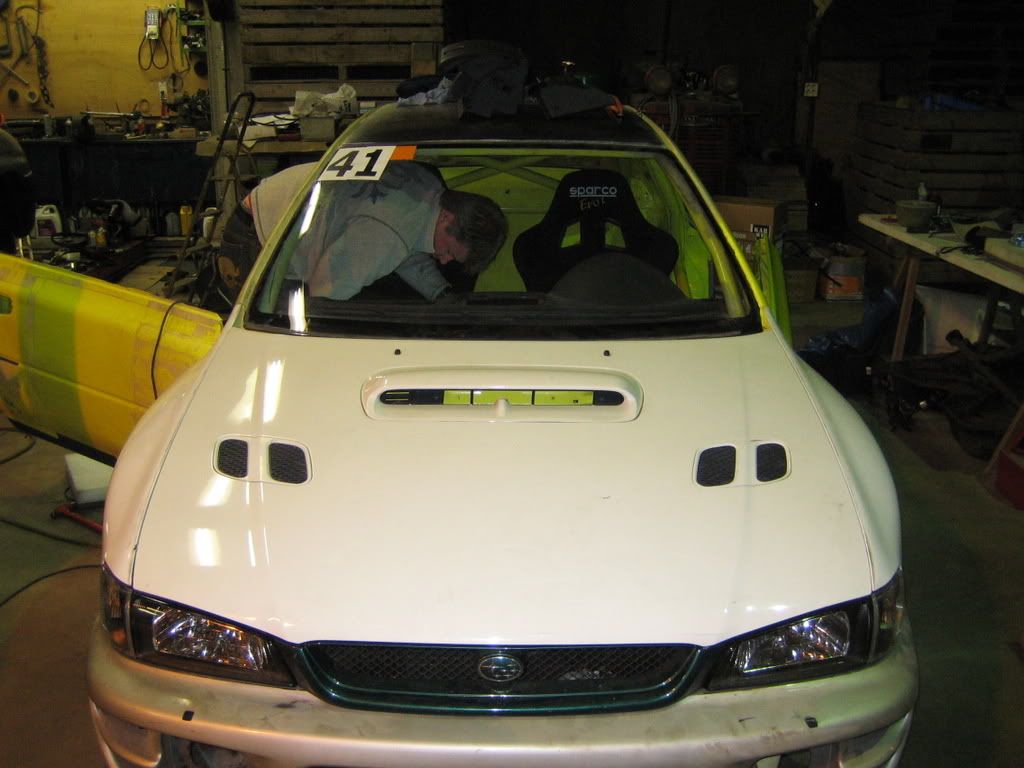
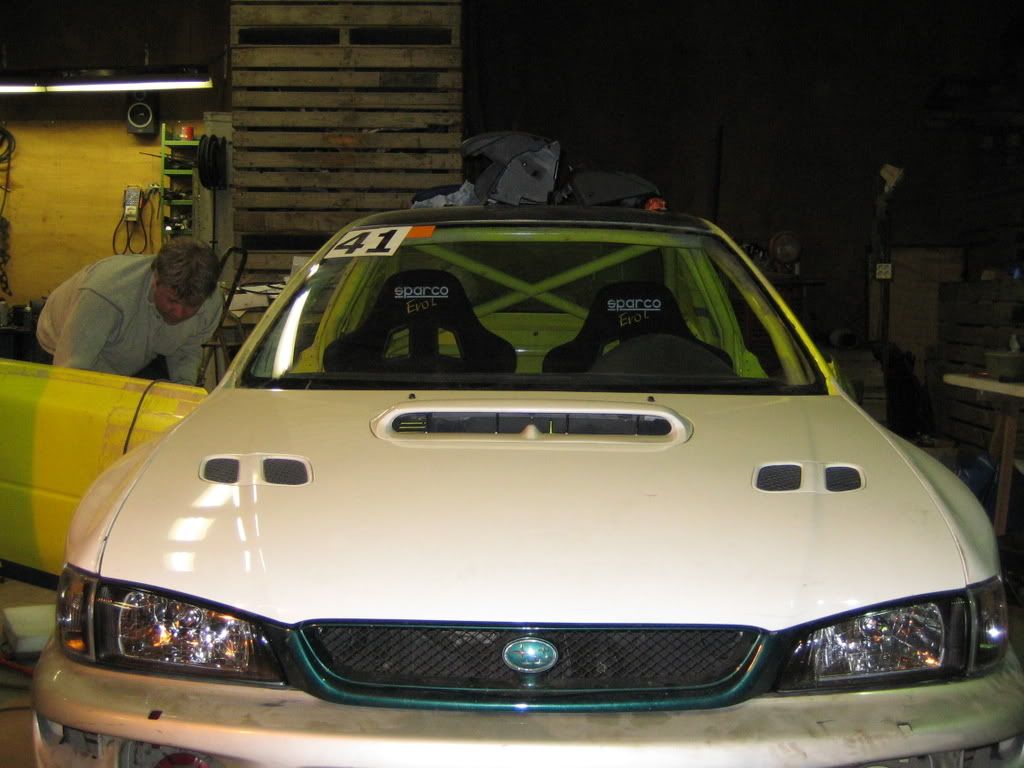
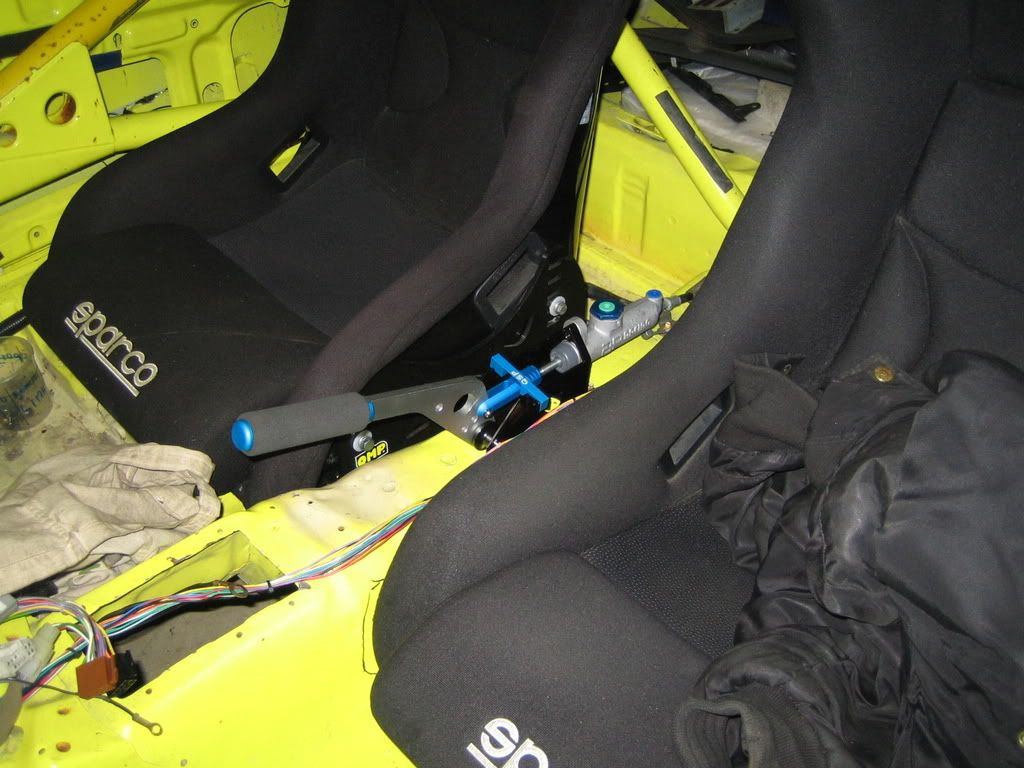
A friend of mine was coming by to see how the project was coming along, so I put him to work of course.
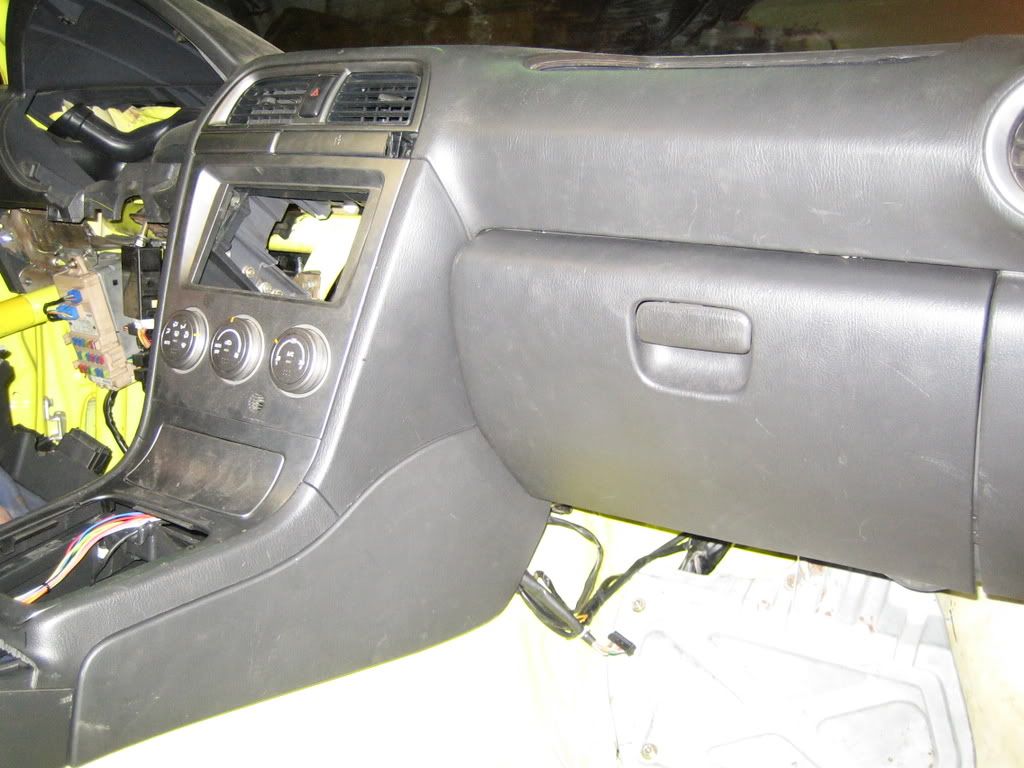
I was working on the centre console before so that's where we started.
To see what had to be cut away the seats had to go in, the driver seat had already been in the car so it fitted very nicely.
The passenger seat had some work on it, it did not fit very well probably because the side plates were by OMP instead of Sparco, I will adres this later.
The seat did fit in the end so cutting could begin.
Danny, in the driver seat:
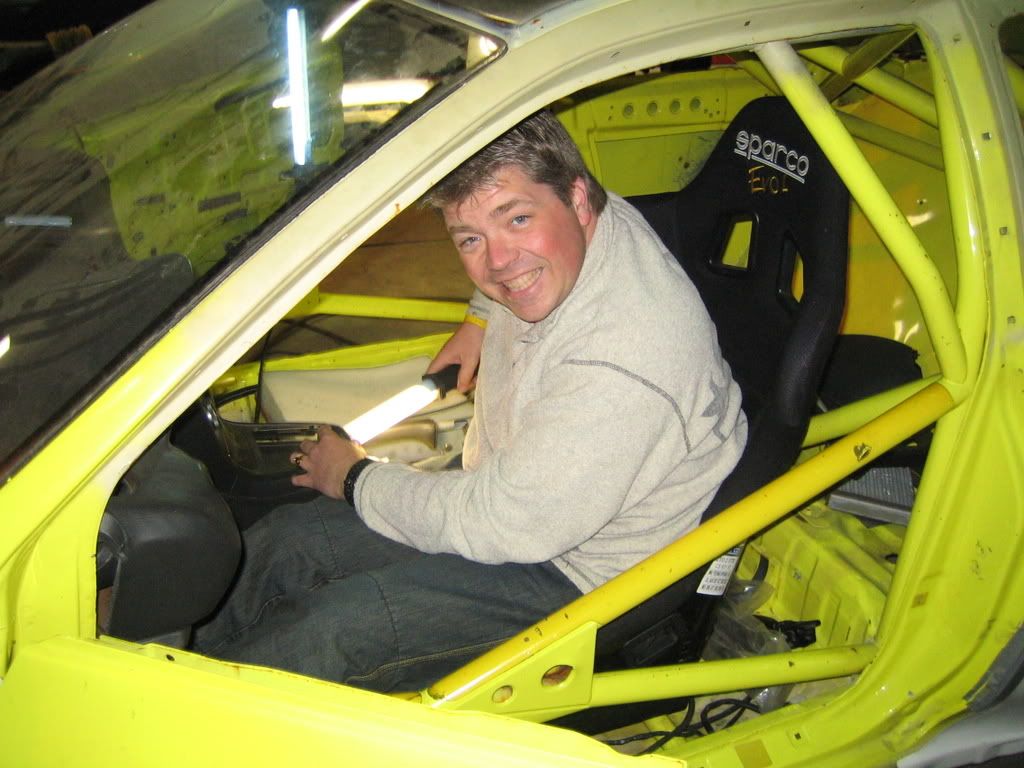
Placing the passenger seat:
Oh yeah...:
Height difference, this chair is sitting back a bit and also higher than the driver seat, probalbly custom in rally cars:
I was working on the centre console before so that's where we started.
To see what had to be cut away the seats had to go in, the driver seat had already been in the car so it fitted very nicely.
The passenger seat had some work on it, it did not fit very well probably because the side plates were by OMP instead of Sparco, I will adres this later.
The seat did fit in the end so cutting could begin.
Danny, in the driver seat:
Placing the passenger seat:
Oh yeah...:
Height difference, this chair is sitting back a bit and also higher than the driver seat, probalbly custom in rally cars:
Thread Starter
Scooby Regular
Joined: Dec 2002
Posts: 458
Likes: 0
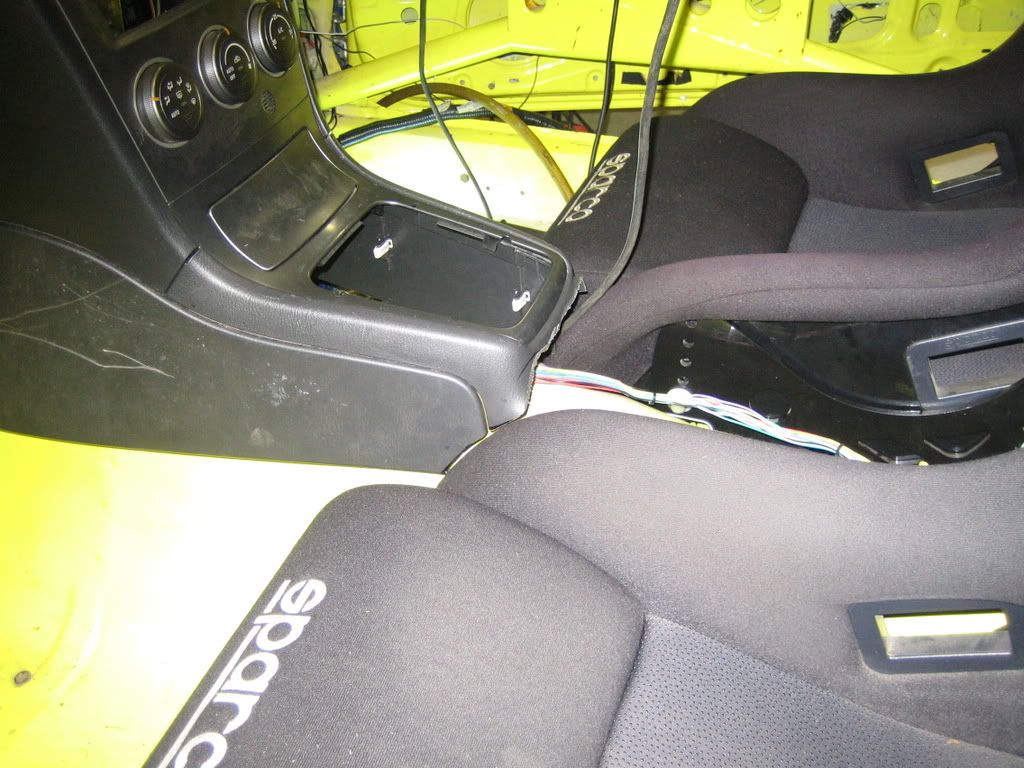
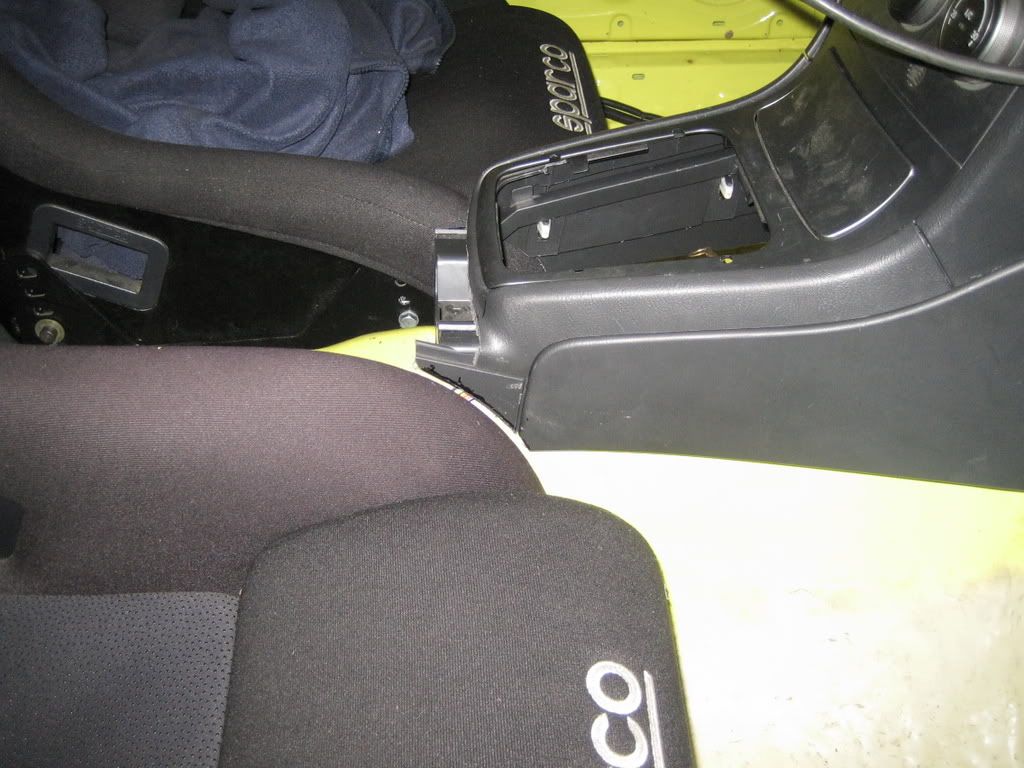
Cutting away the console in line with the seats, the gaps will increase a bit when putting the new sides in:
Ehm, I bought these aswell....
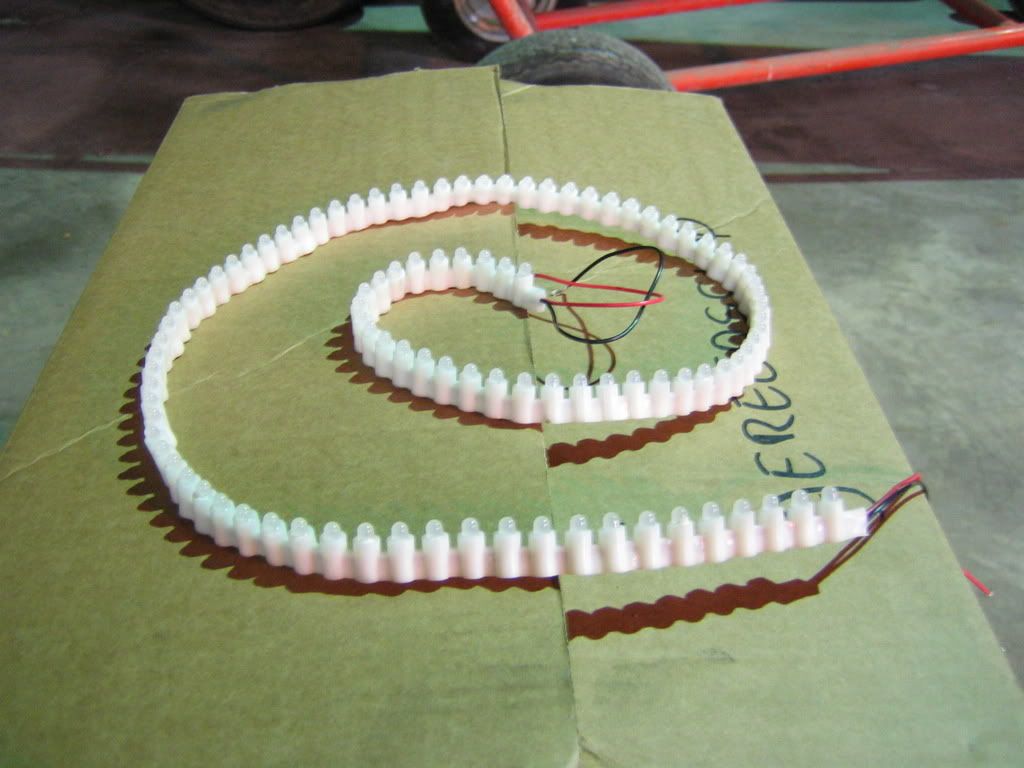
Oh, if your wondering where they will be placed....in the footwell, lighting up when opening the door, just like the new 2008 STI.
Ehm, I bought these aswell....
Oh, if your wondering where they will be placed....in the footwell, lighting up when opening the door, just like the new 2008 STI.
Thread Starter
Scooby Regular
Joined: Dec 2002
Posts: 458
Likes: 0
Was talking to a guy yesterday who works freelance for Prodrive.
2 things came out, one of them is switching the master cilinders to the shorter versions and then moving them from the engine bay into the cabin, just behind the firewall.
This has 3 advantages, first the heat, it's cooler inside the cabin, second the distance is shorter so the loss of feel by bending material is reduced and third, the firewall on the Impreza is pretty weak, now I have the chance of making a very rigid mount increasing pedal feel again.
Then I have decided to try something that I have not seen before, at least, not in Holland.
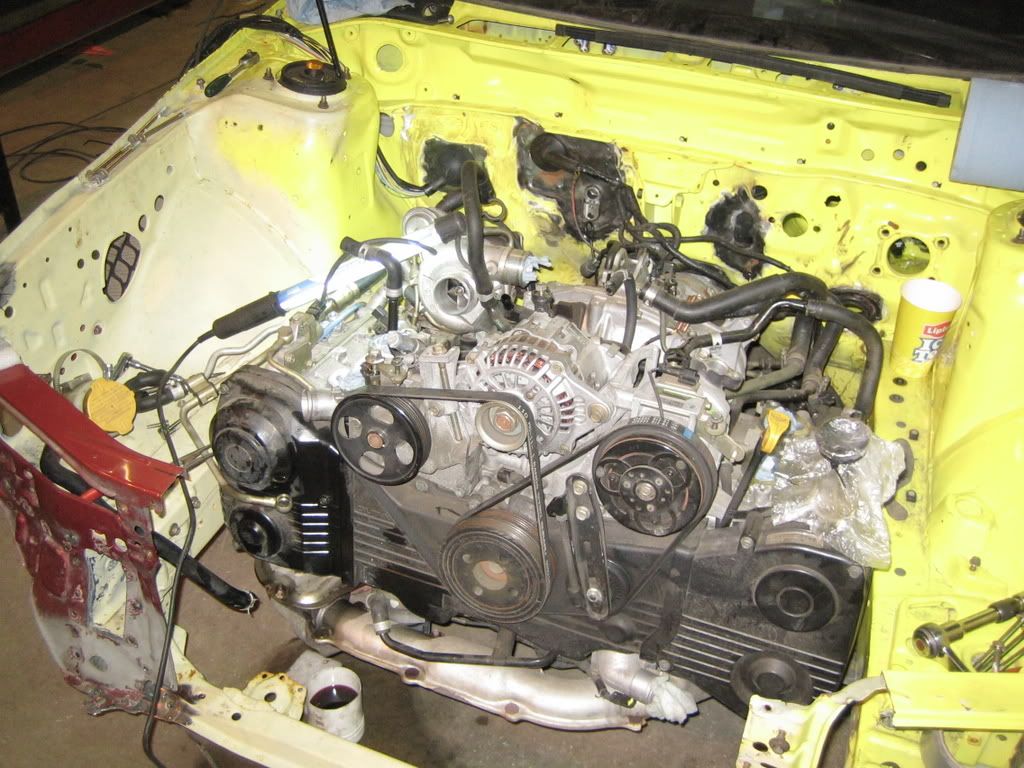
According to this guy it is possible to move the engine 25mm back and 15mm lower in the car with the standard subframe too.
So this week I want to put the car the carlift and see if it is possible, of course from some things I already know that they will nee to change.
The gearlever and propshaft need to be shortened, maybe the exhaust will touch the subframe, and the gearbox subframe will need to be adjusted.
All of this is pretty easily done.
My biggest question is if the wheels axels will fit, they also move back so there is the risk of them getting to short.
I have the GC8 chassis with the 5mm wider GDB lower wishbones and GDB Spec-C axels, anybody have any ideas about this?
The advantages are clear of course, lower centre of gravity, weight moving further back in between the wheels, equals better handling.
Small extra advantage is more space for my radpack shroud.
2 things came out, one of them is switching the master cilinders to the shorter versions and then moving them from the engine bay into the cabin, just behind the firewall.
This has 3 advantages, first the heat, it's cooler inside the cabin, second the distance is shorter so the loss of feel by bending material is reduced and third, the firewall on the Impreza is pretty weak, now I have the chance of making a very rigid mount increasing pedal feel again.
Then I have decided to try something that I have not seen before, at least, not in Holland.
According to this guy it is possible to move the engine 25mm back and 15mm lower in the car with the standard subframe too.
So this week I want to put the car the carlift and see if it is possible, of course from some things I already know that they will nee to change.
The gearlever and propshaft need to be shortened, maybe the exhaust will touch the subframe, and the gearbox subframe will need to be adjusted.
All of this is pretty easily done.
My biggest question is if the wheels axels will fit, they also move back so there is the risk of them getting to short.
I have the GC8 chassis with the 5mm wider GDB lower wishbones and GDB Spec-C axels, anybody have any ideas about this?
The advantages are clear of course, lower centre of gravity, weight moving further back in between the wheels, equals better handling.
Small extra advantage is more space for my radpack shroud.

Scooby Regular
Joined: Aug 2006
Posts: 4,430
Likes: 1
From: Away from this place
Dinges - regarding the seat.
Was that a right hand drive shell? Reason I ask is that passenger/co driver seat would normally be lower and further back than drivers seat for safety, COG and improved weight distribution.
Was that a right hand drive shell? Reason I ask is that passenger/co driver seat would normally be lower and further back than drivers seat for safety, COG and improved weight distribution.
Thread Starter
Scooby Regular
Joined: Dec 2002
Posts: 458
Likes: 0
It was bought from Prodrive as a LHD car, the mounting points do sit further back.
I think the height is due to the seatclamps beeing from OMP and on the driver seat they are from Sparco.
I will look into this.
I think the height is due to the seatclamps beeing from OMP and on the driver seat they are from Sparco.
I will look into this.
Scooby Regular
iTrader: (4)
Joined: Nov 2004
Posts: 765
Likes: 0
From: where there are no gatsos and no speed limits
dude i am so close to coming to visit you. brilliant job and so much to learn from. i am really interested in this engine relocating business, is it also possible to do to a newage aswell.
Thread Starter
Scooby Regular
Joined: Dec 2002
Posts: 458
Likes: 0
Thanks m8.
There are alot of people here in Holland that want come visit the car, but unfortunatly the owner of the place I work on it is not very keen on unfamiliar faces.
Concerning the engine move, I have asked other people and sites and what I learned is that the drive shafts are the main problem.
And moving the engine back will increase wear in such a rate that it will eat drive shafts.
No problem for a racecar as they will be swapped everytime when necessary, I'm a privateer and these shafts are not cheap so I must take this in concideration.
As much as I hate to do this I fear I have to let this idea go.
Thread Starter
Scooby Regular
Joined: Dec 2002
Posts: 458
Likes: 0
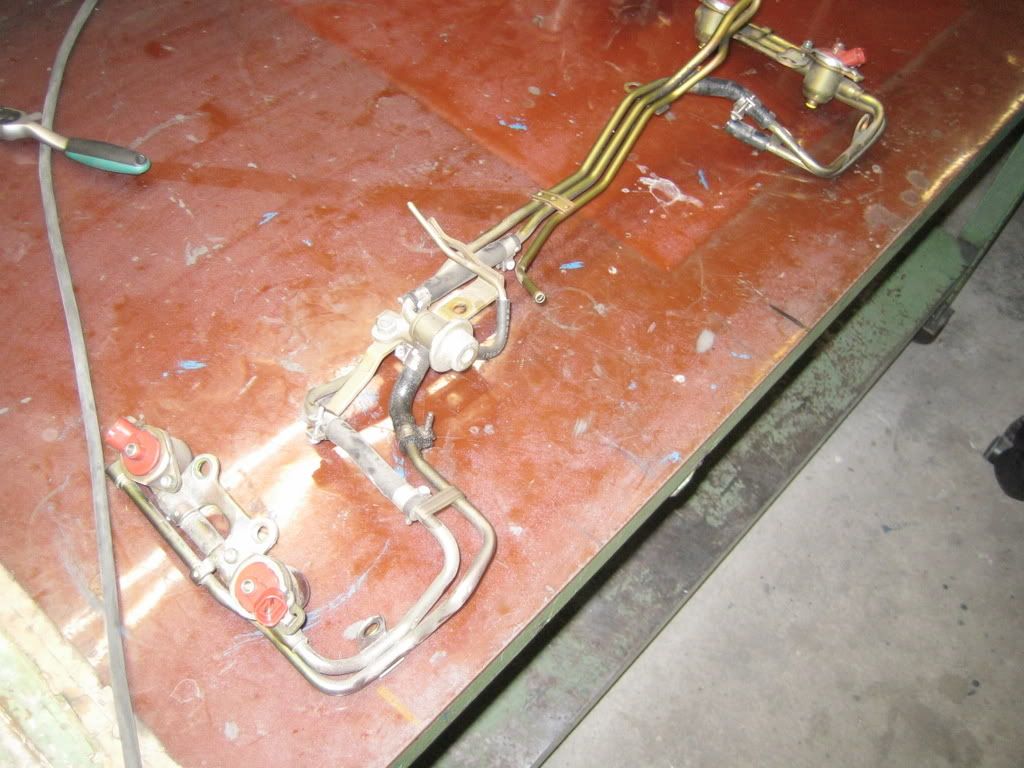
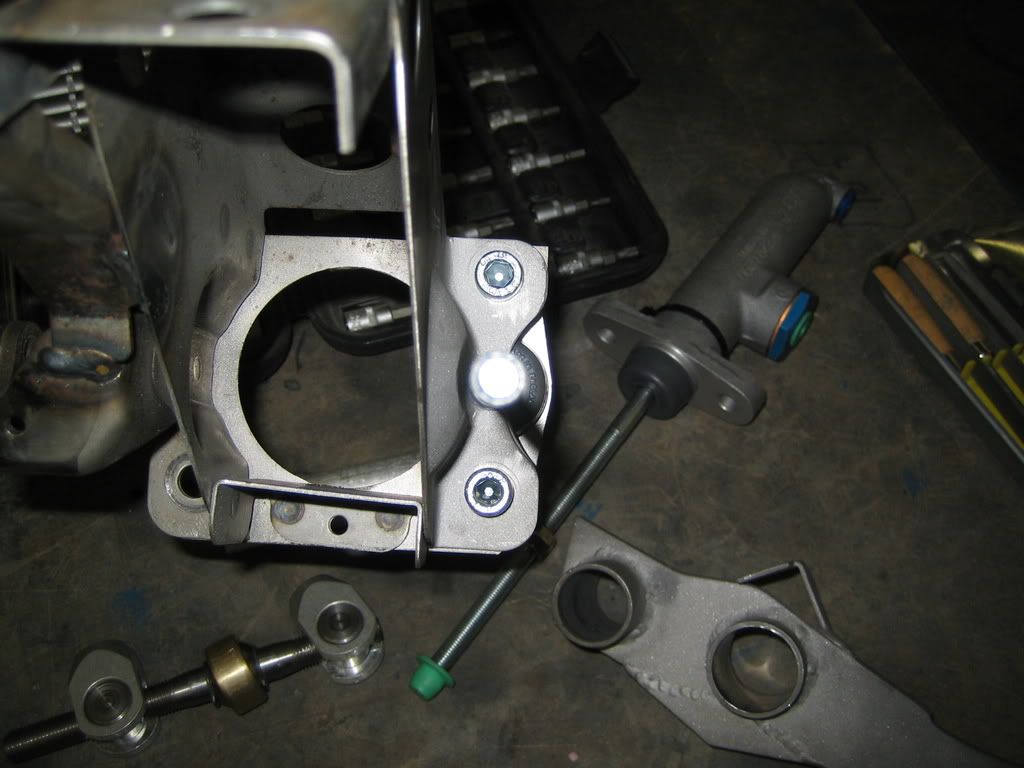
Last week I removed the inlet manifold so I can rebuild it to my taste:
Throttle body's ready to have the valves removed:
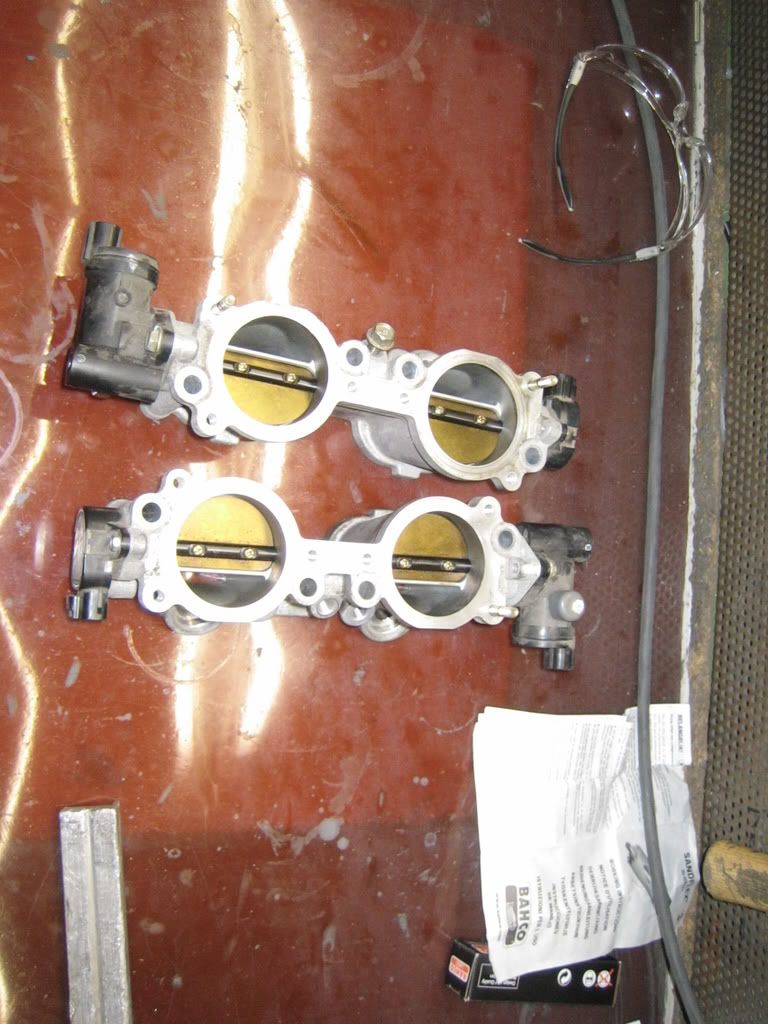
Feul rail:
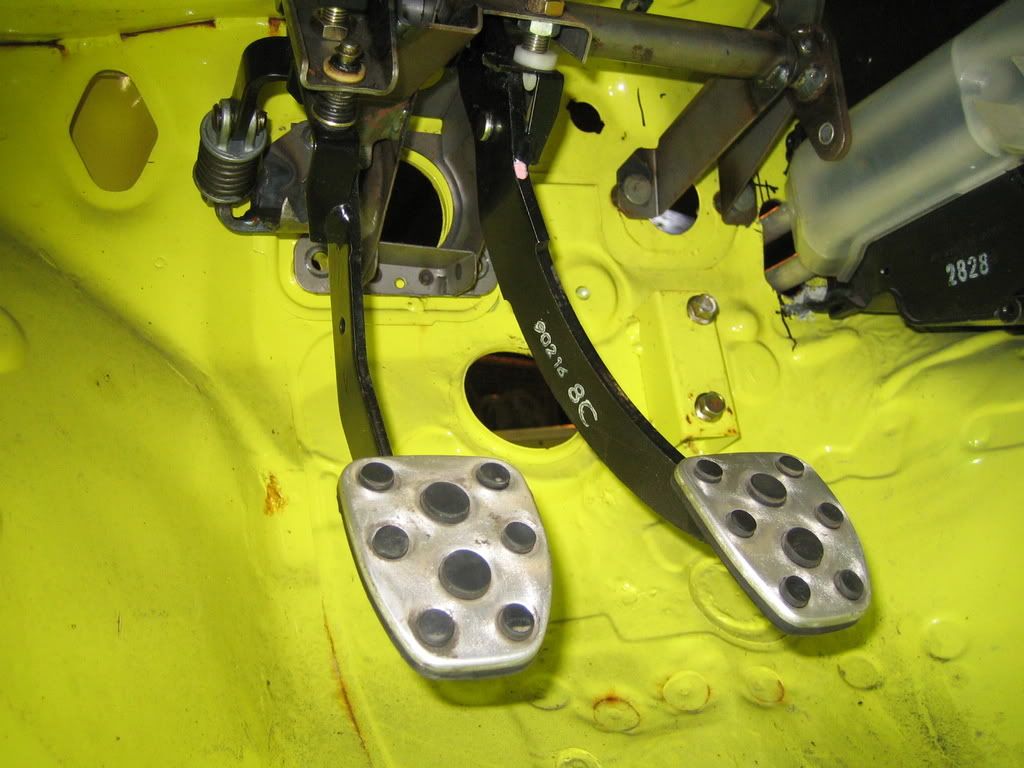
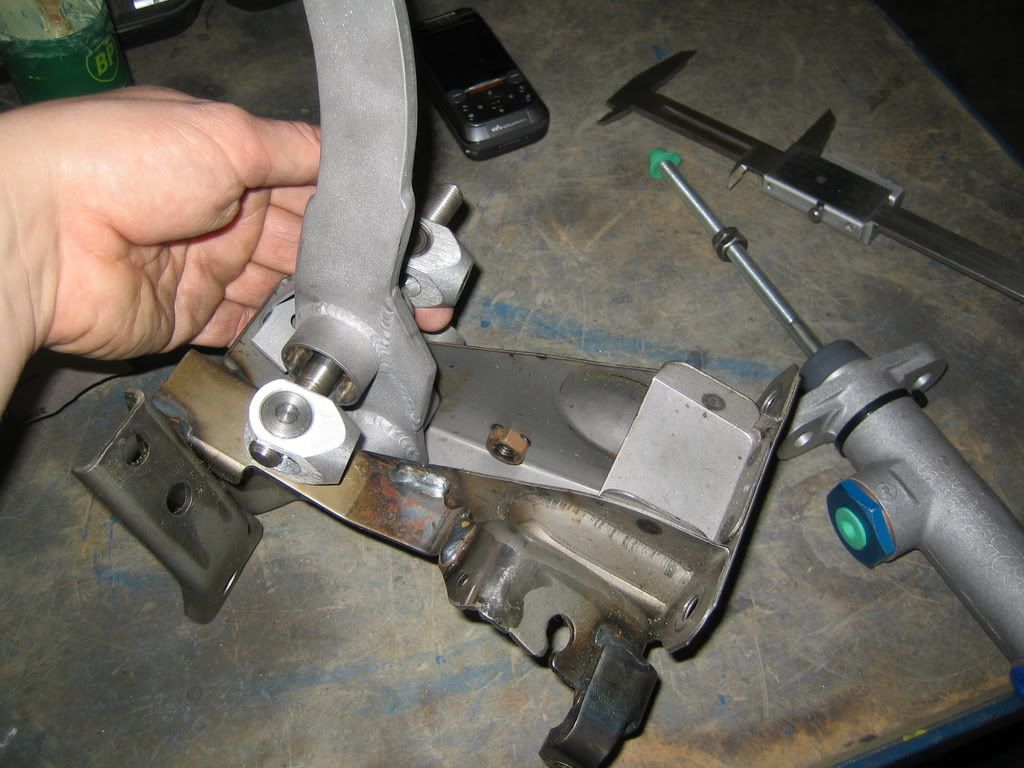
Today I started with the pedalbox, it needs to altered to make the 2 master cilinders fit.
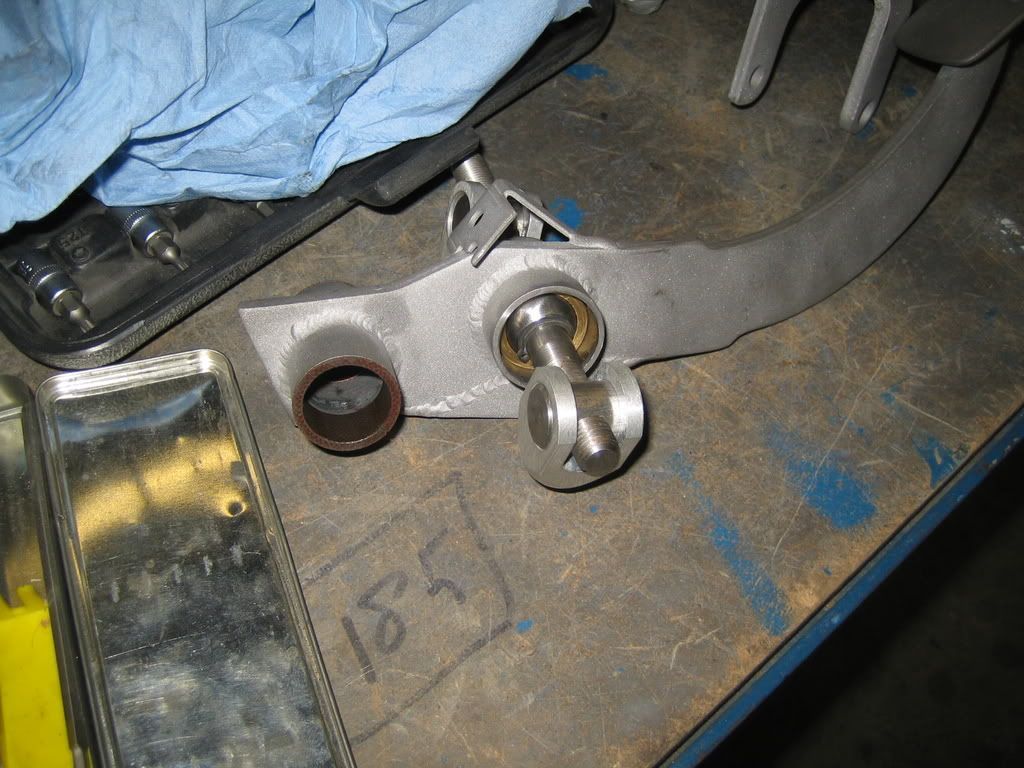
First up is the brake pedal, I had to weld in the tube that will house the baering from the brake balance divider:
Sandblasted:
This is how it looks standard:
Trail fitting:
After that the box itself needed some attention, I needed to make some space:
Trail fitting:
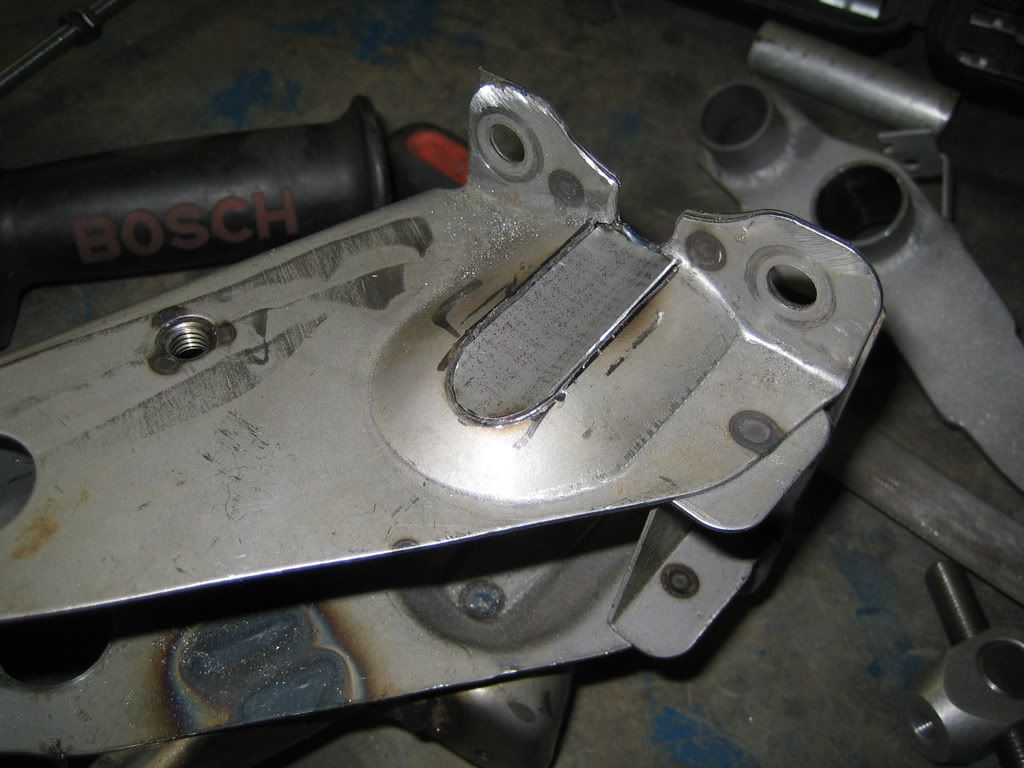
On the other side there is a bracket that holds the clutch pedal, the cilinder extension needs to go in between them, so I had to remove the bracket first:
Repeat from the other side:
Trail fitting with both cilinders:
Here is the brake pedal with the balance divider:
Finaly I made a start with the bracket, hopefully I have time to finish this up soon.
Throttle body's ready to have the valves removed:
Feul rail:
Today I started with the pedalbox, it needs to altered to make the 2 master cilinders fit.
First up is the brake pedal, I had to weld in the tube that will house the baering from the brake balance divider:
Sandblasted:
This is how it looks standard:
Trail fitting:
After that the box itself needed some attention, I needed to make some space:
Trail fitting:
On the other side there is a bracket that holds the clutch pedal, the cilinder extension needs to go in between them, so I had to remove the bracket first:
Repeat from the other side:
Trail fitting with both cilinders:
Here is the brake pedal with the balance divider:
Finaly I made a start with the bracket, hopefully I have time to finish this up soon.

Thread Starter
Scooby Regular
Joined: Dec 2002
Posts: 458
Likes: 0
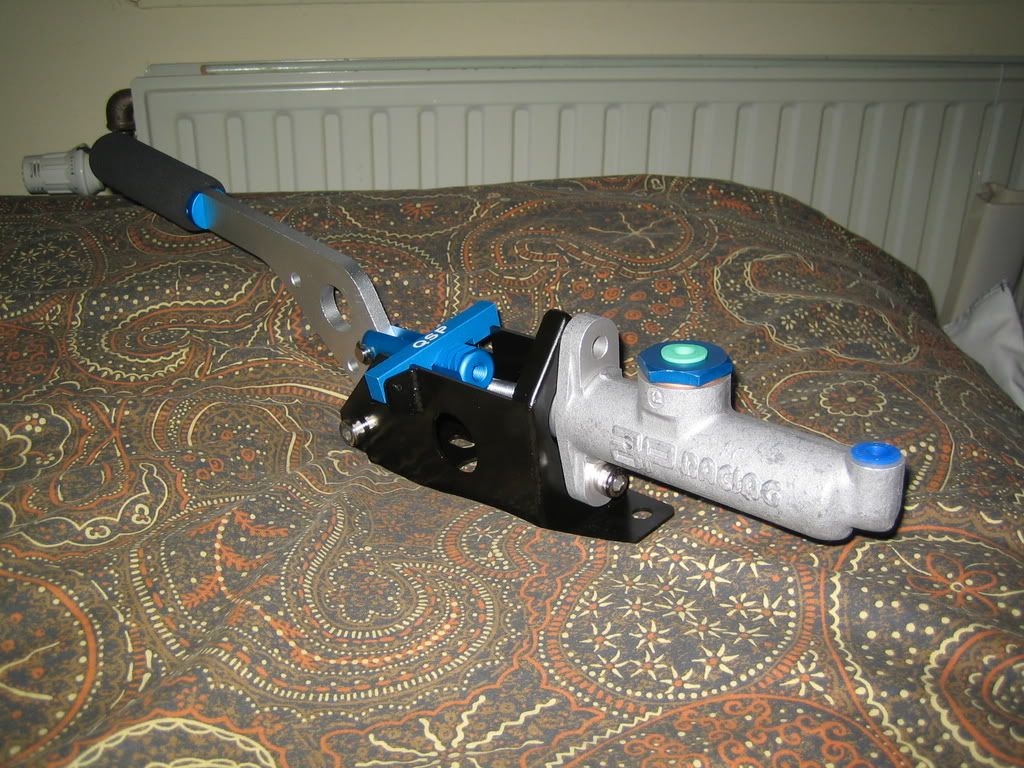
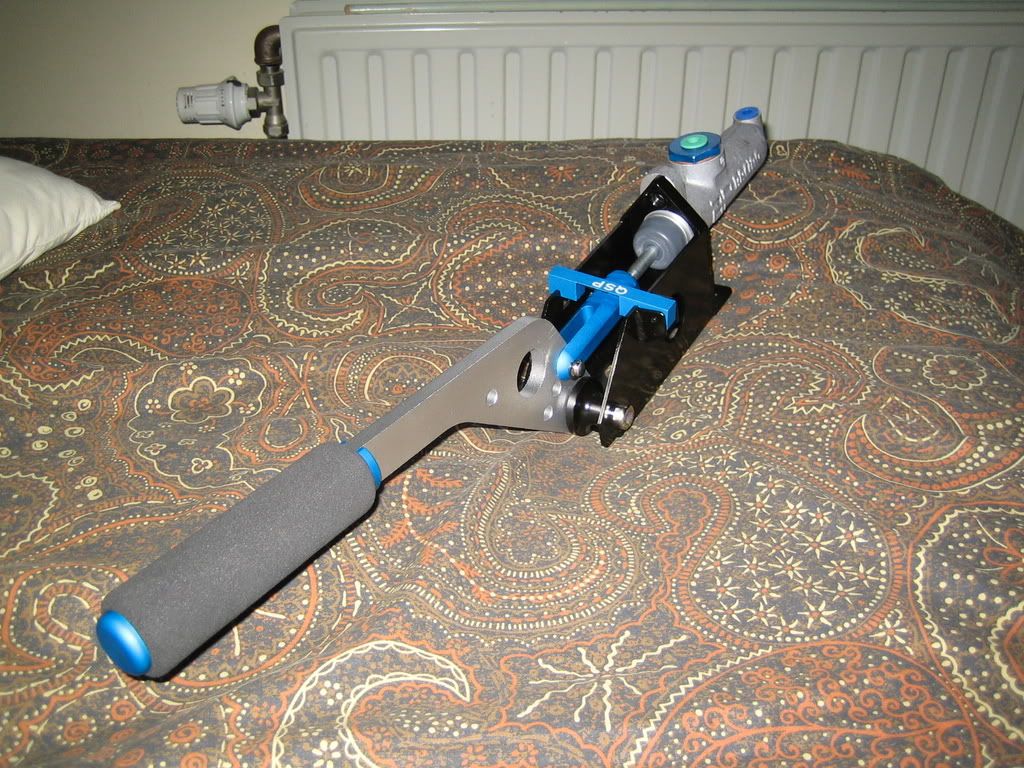
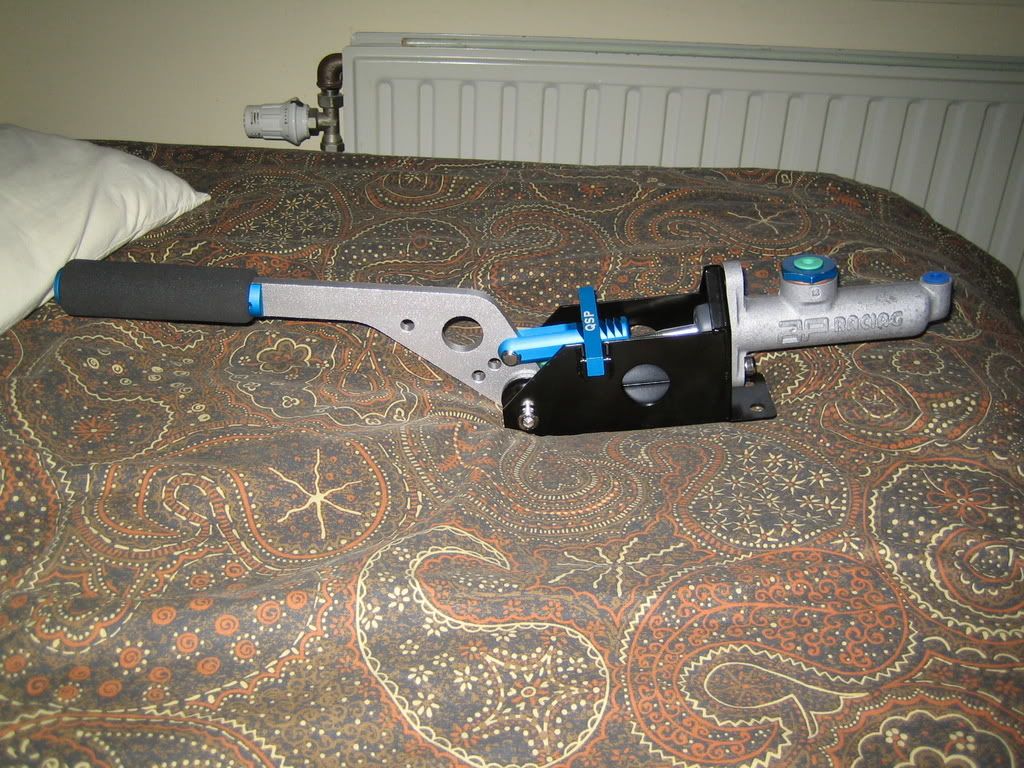
Wel, here is my next update. 
Got me a fuel filter and a hydraulic parking brake today.
Fuel filter:
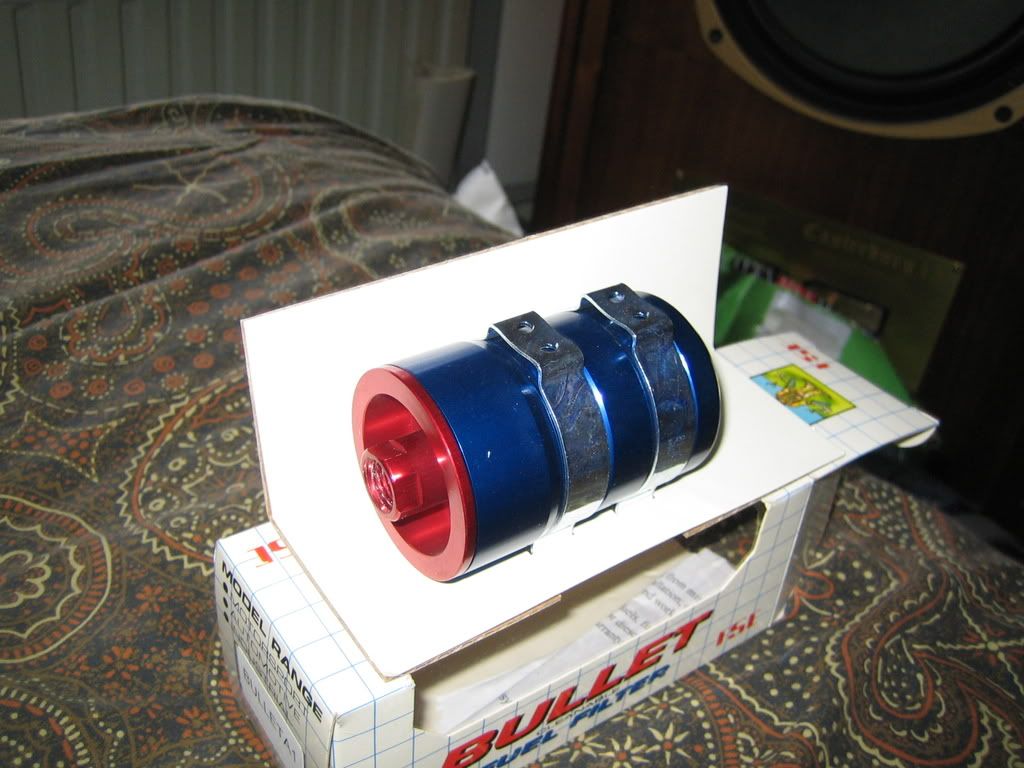
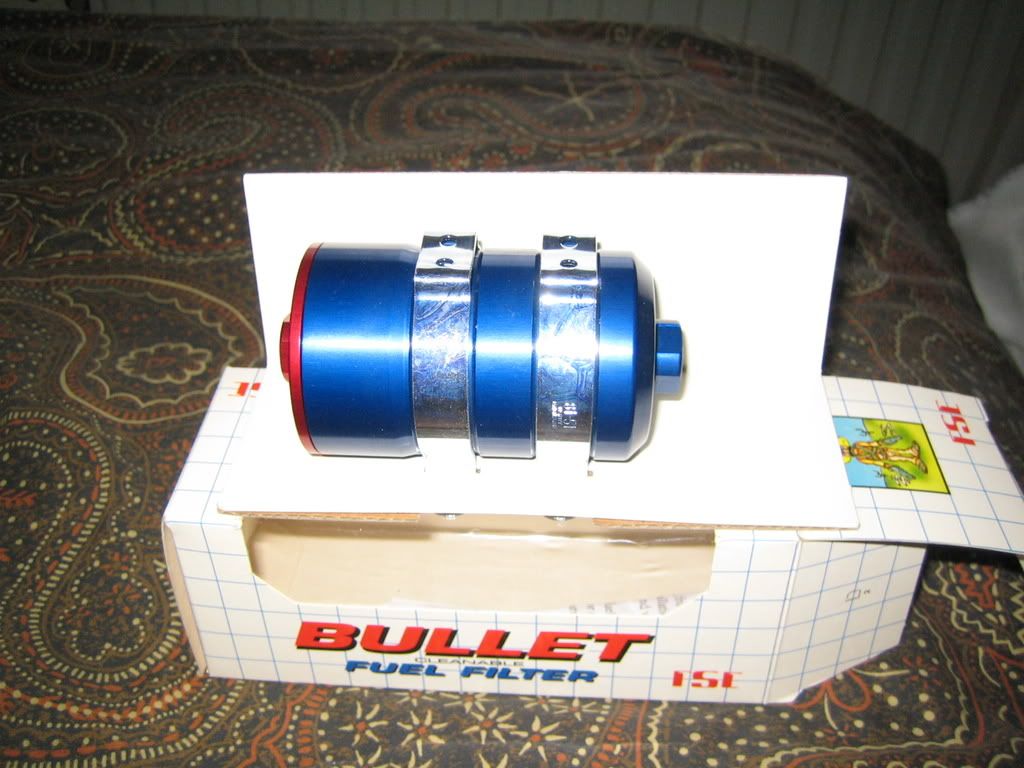
The hydraulic brake usually comes with a no-name cilinder, but I really wanted all my stuff from AP Racing, so the guy at the shop exchanged it for free, great guy!
Got me a fuel filter and a hydraulic parking brake today.
Fuel filter:
The hydraulic brake usually comes with a no-name cilinder, but I really wanted all my stuff from AP Racing, so the guy at the shop exchanged it for free, great guy!
Scooby Regular
Joined: May 2004
Posts: 11,341
Likes: 1
Looks like the handbrake lever can be near vertical too!
Is that your 'new' TIG welder in use? How do you find it over the MIG welder?
I hope to persuade the wife to buy me a new welder for my birthday, and wondering if I should simply get a TIG straight off.
Do you find it awkward to use the foot control as well as the torch/wire?
Is that your 'new' TIG welder in use? How do you find it over the MIG welder?
I hope to persuade the wife to buy me a new welder for my birthday, and wondering if I should simply get a TIG straight off.
Do you find it awkward to use the foot control as well as the torch/wire?
Thread Starter
Scooby Regular
Joined: Dec 2002
Posts: 458
Likes: 0
The lever can be vertical indeed, not sure which I'm going to choose.
Probably in the normal position, I'm not planning on pulling it by every corner.
The welds are not mine actually, I'm still practicing a bit, but I'm getting there.
I don't have a foot control, but the adding of the separate wire is a bit strange at first but you get used to it quickly.
Probably in the normal position, I'm not planning on pulling it by every corner.
The welds are not mine actually, I'm still practicing a bit, but I'm getting there.
I don't have a foot control, but the adding of the separate wire is a bit strange at first but you get used to it quickly.
Thread Starter
Scooby Regular
Joined: Dec 2002
Posts: 458
Likes: 0
Tried to do a bit again today but with this cold it's no fun, it is easter but it's snowing here!
This is what it looked like, and there is no heating in the workshop.
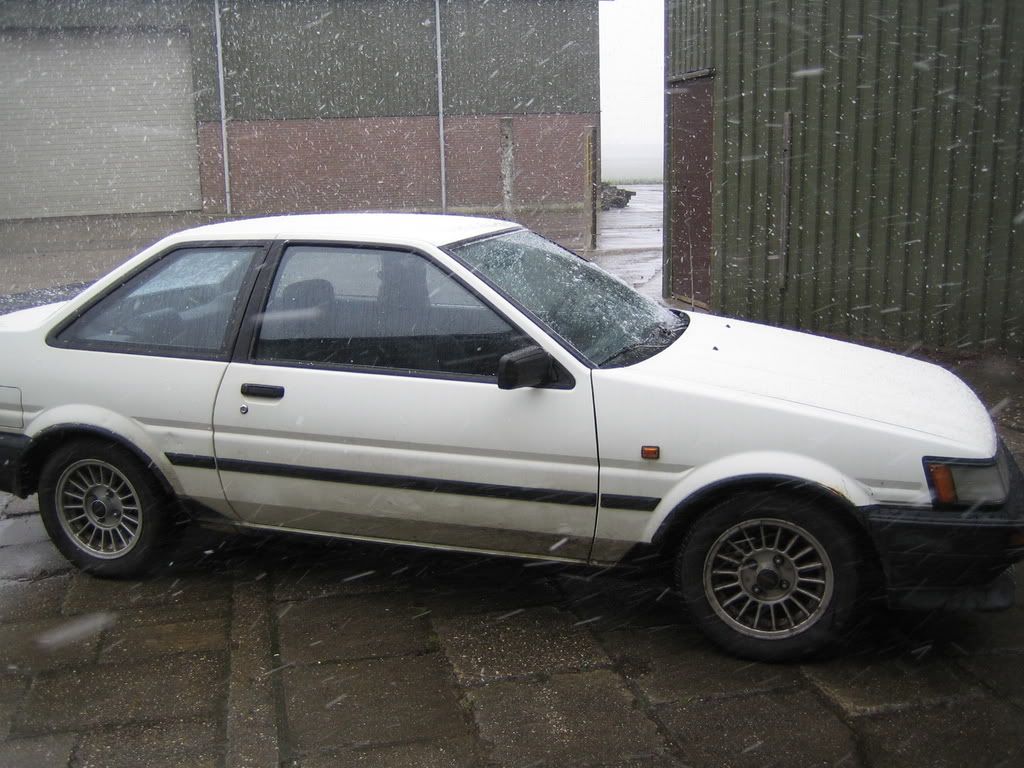
My old red faithfull:
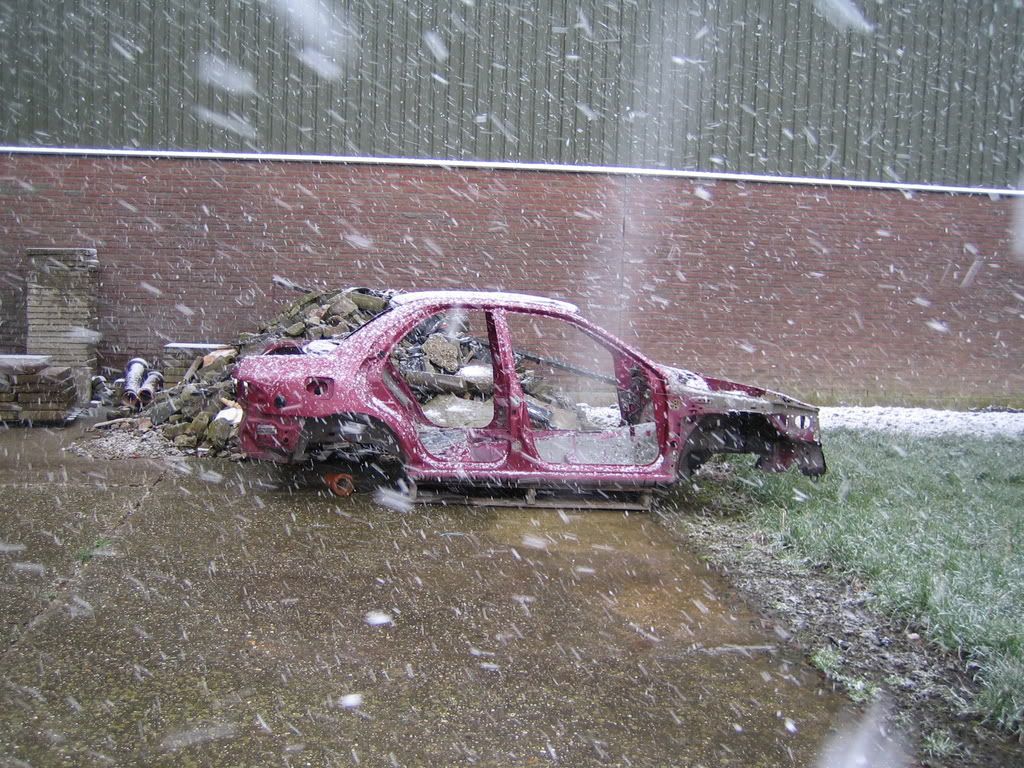
My current white faithfull:
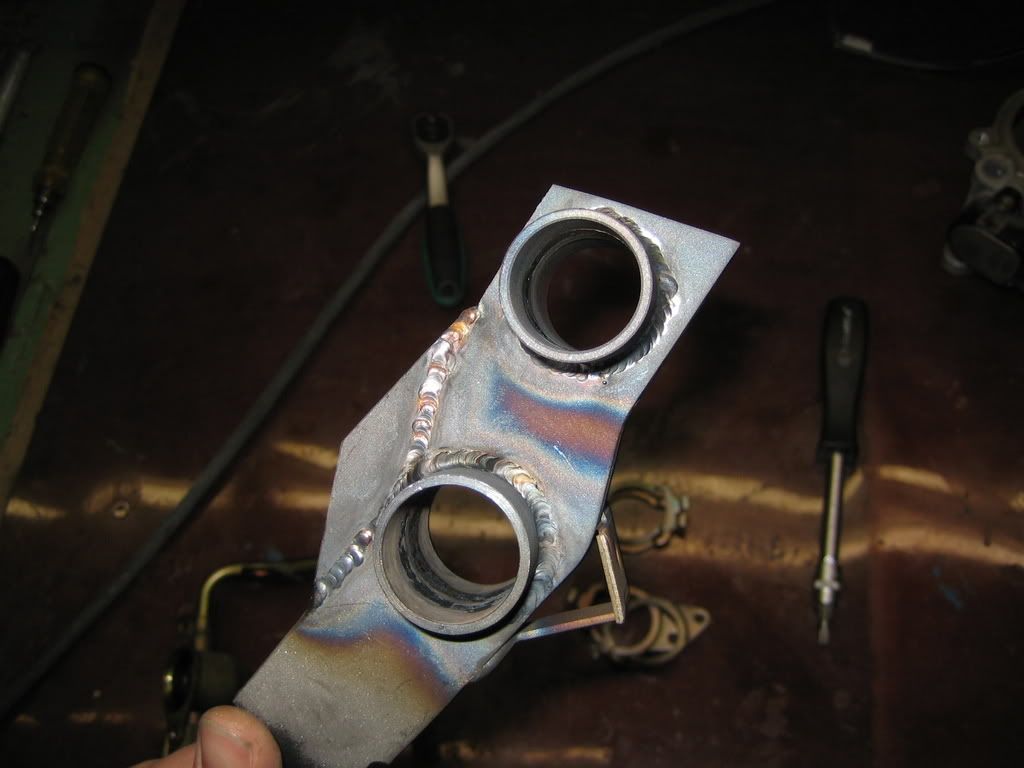
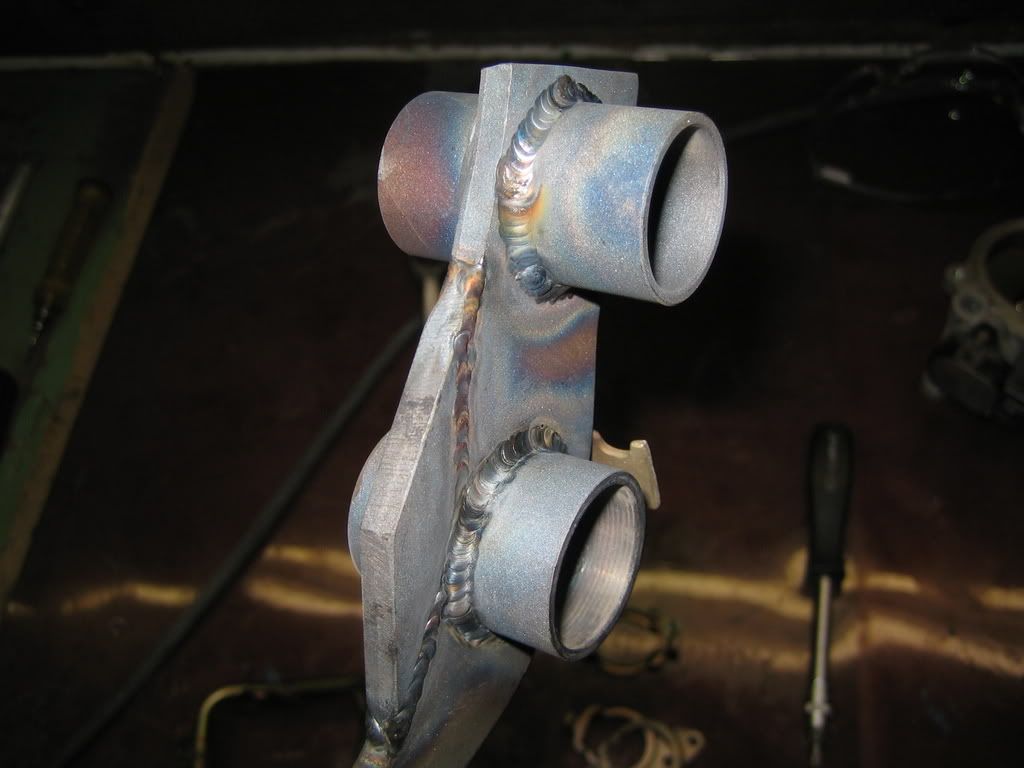
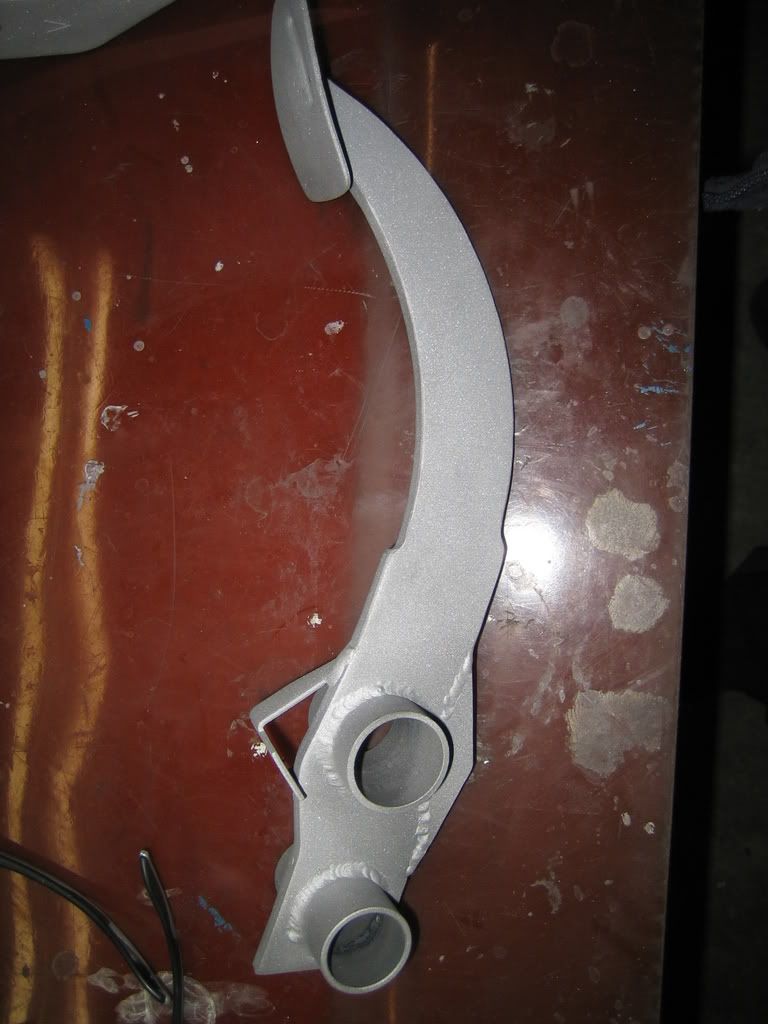
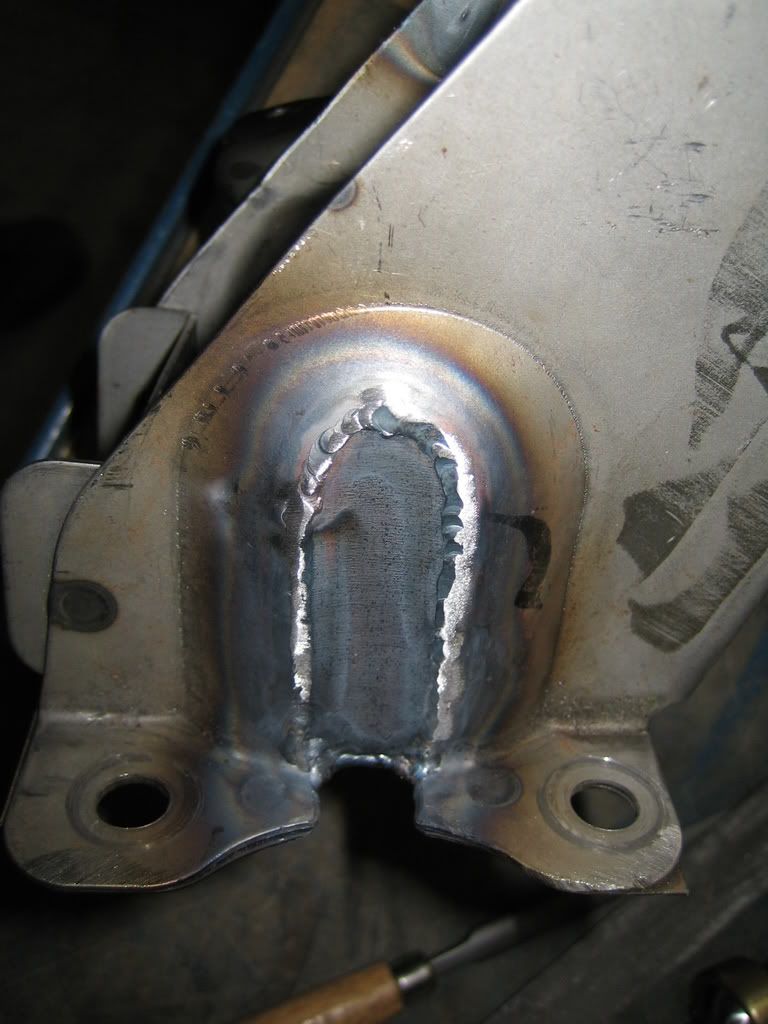
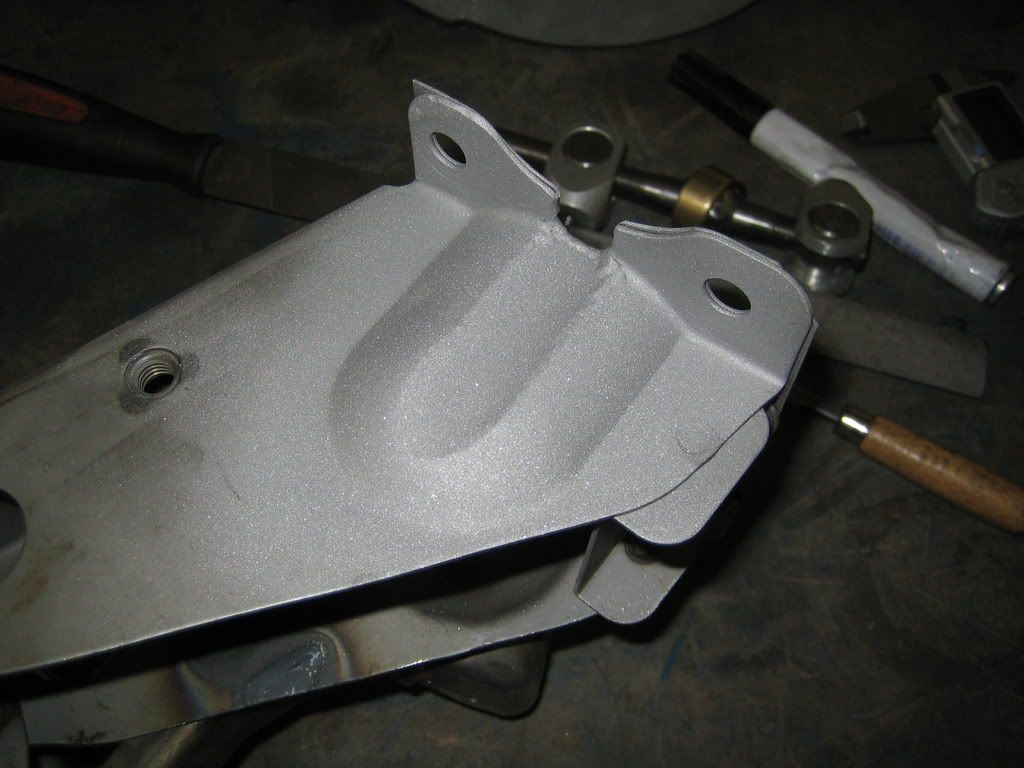
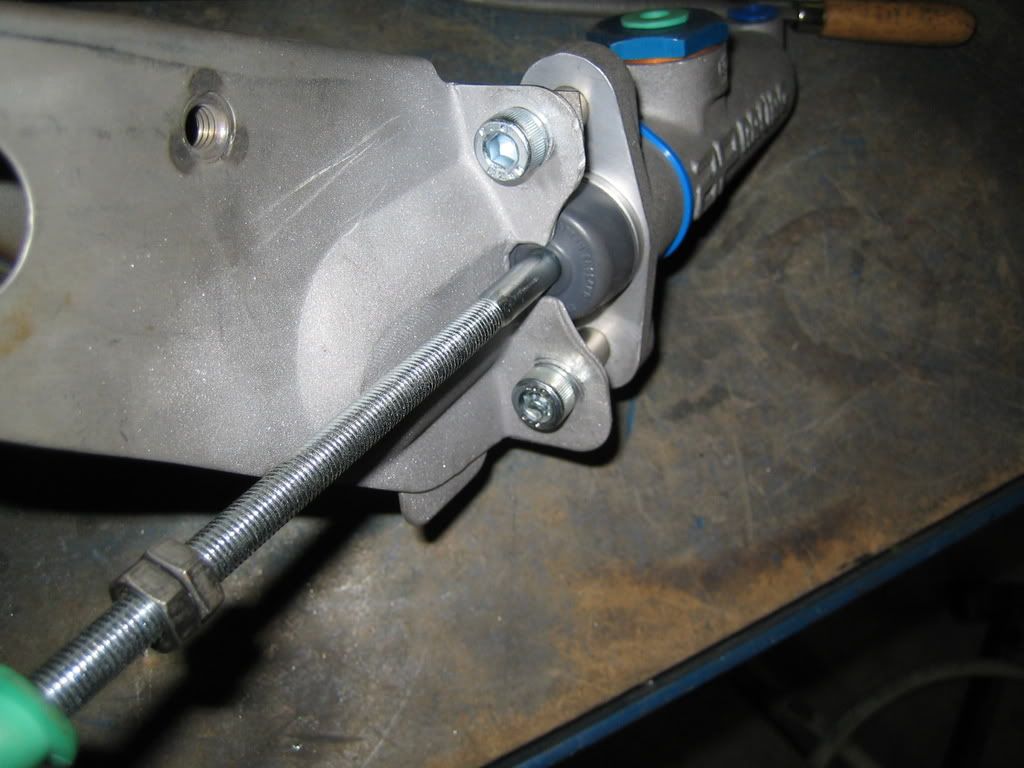
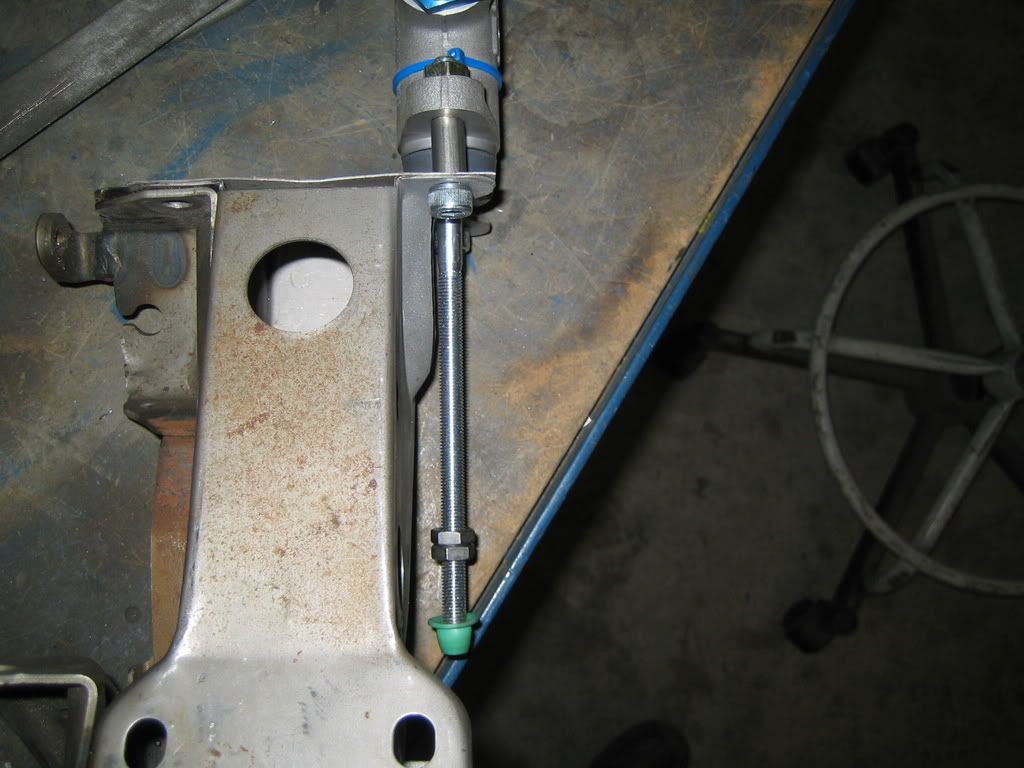
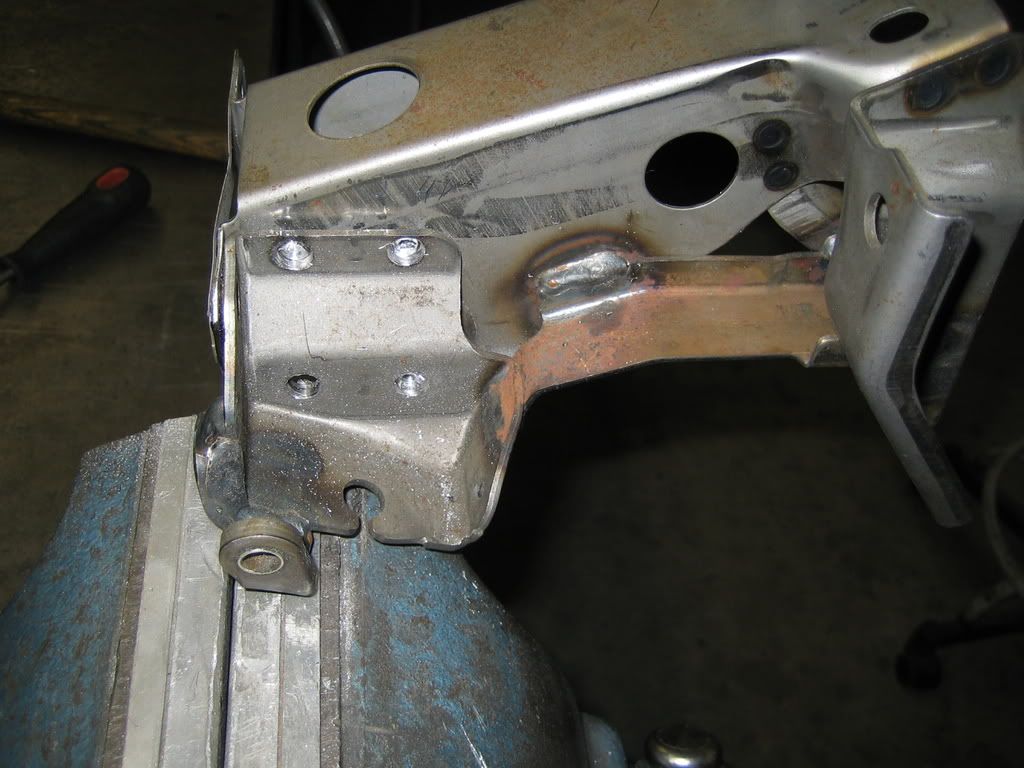
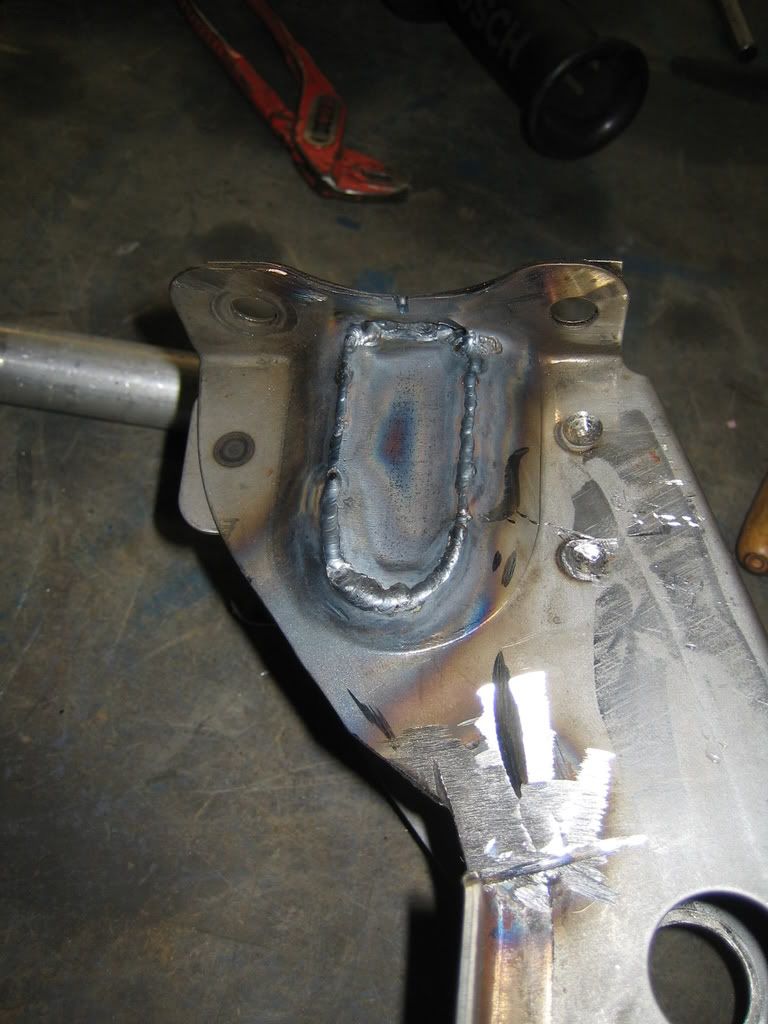
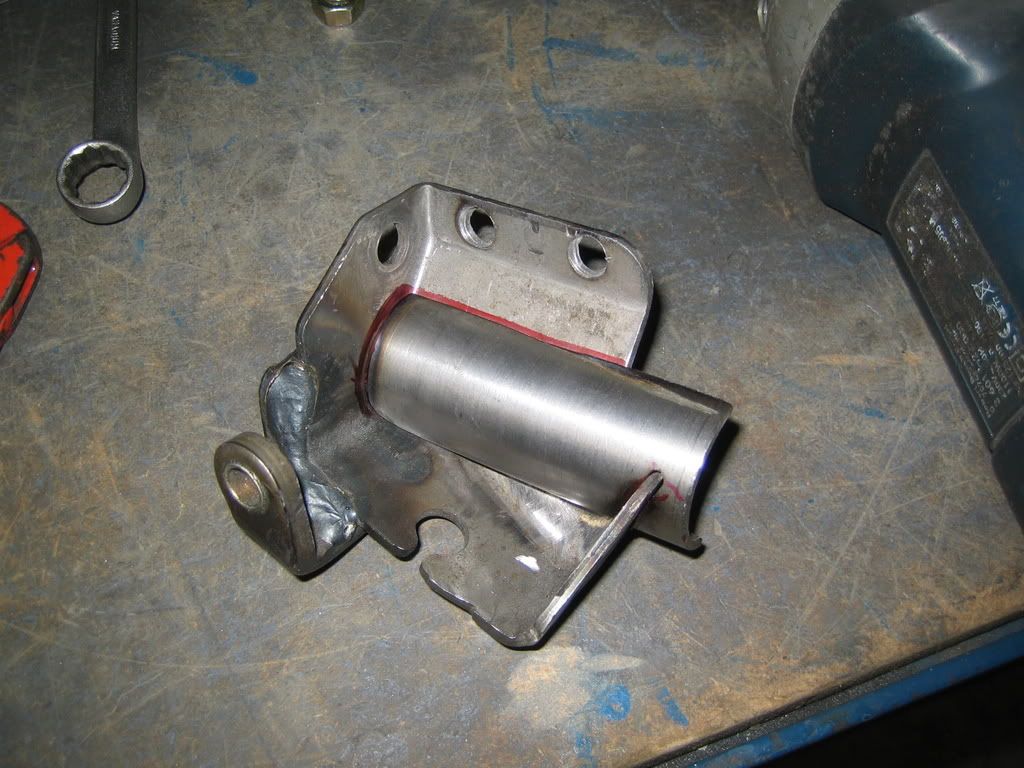
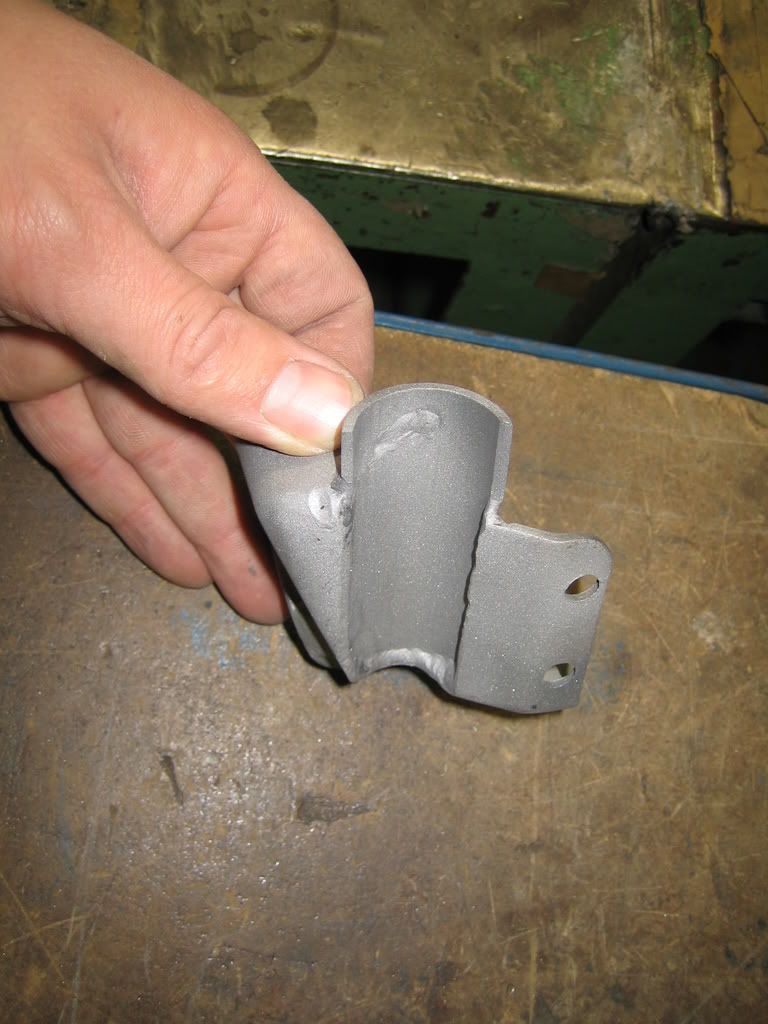
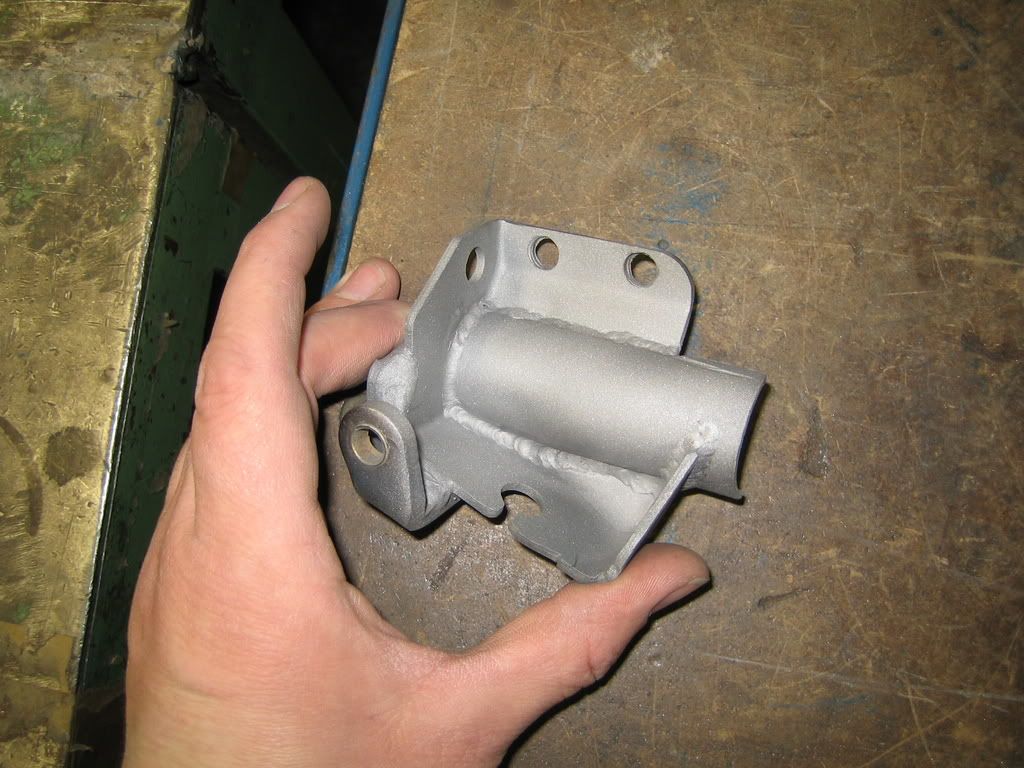
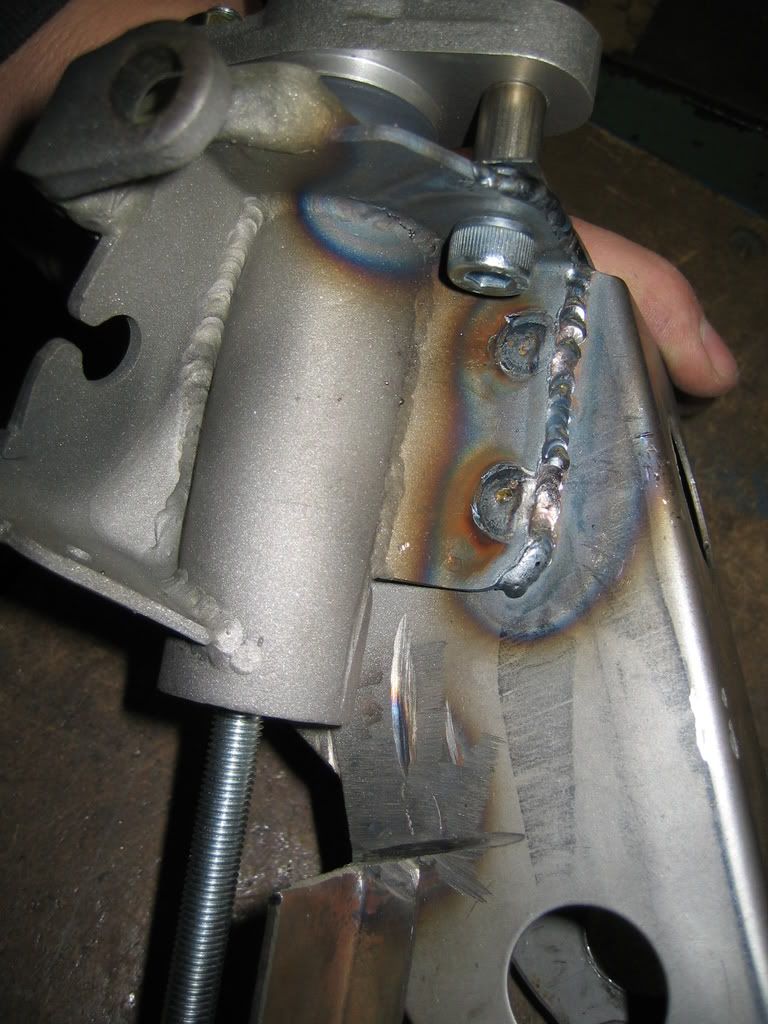
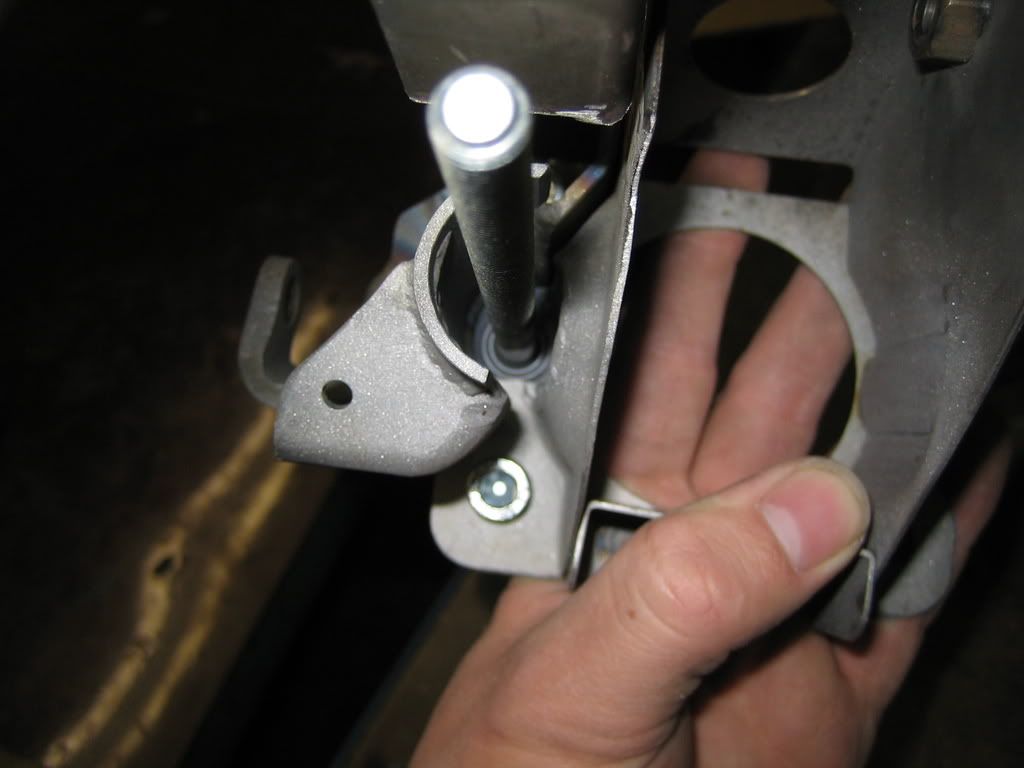
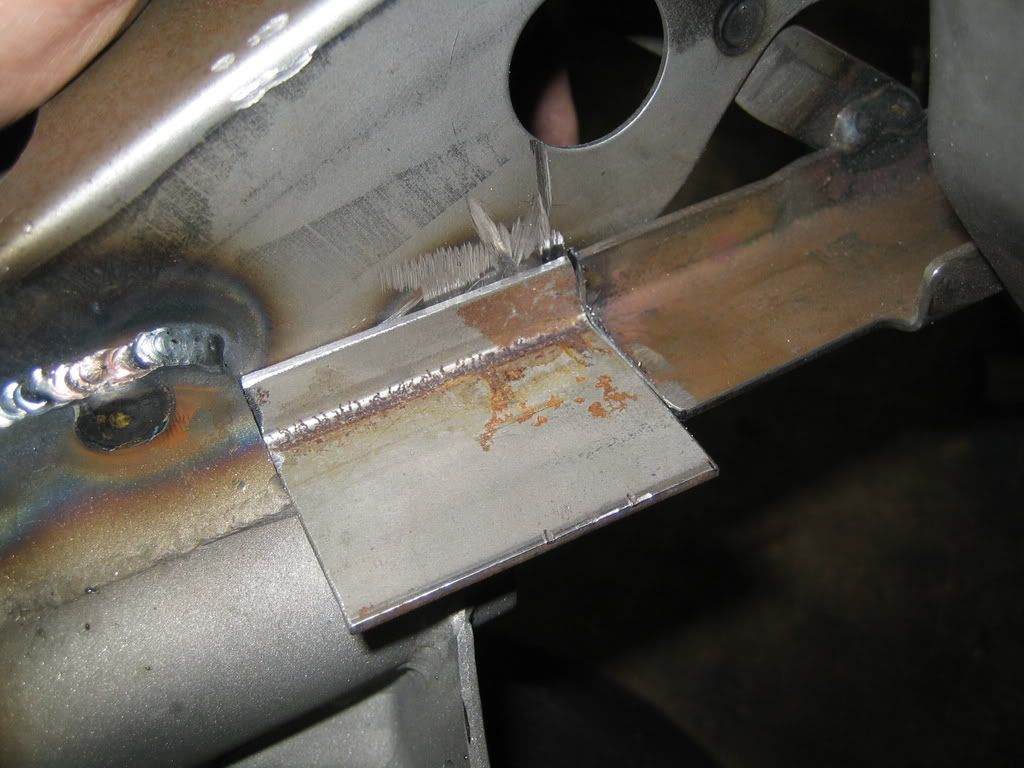
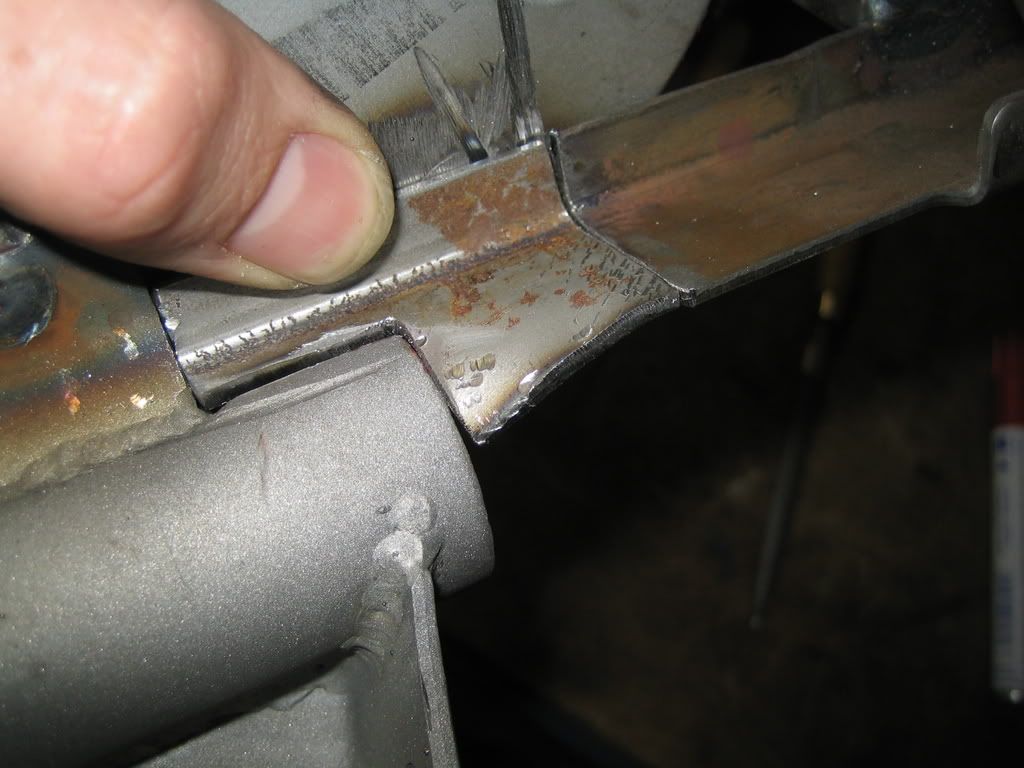
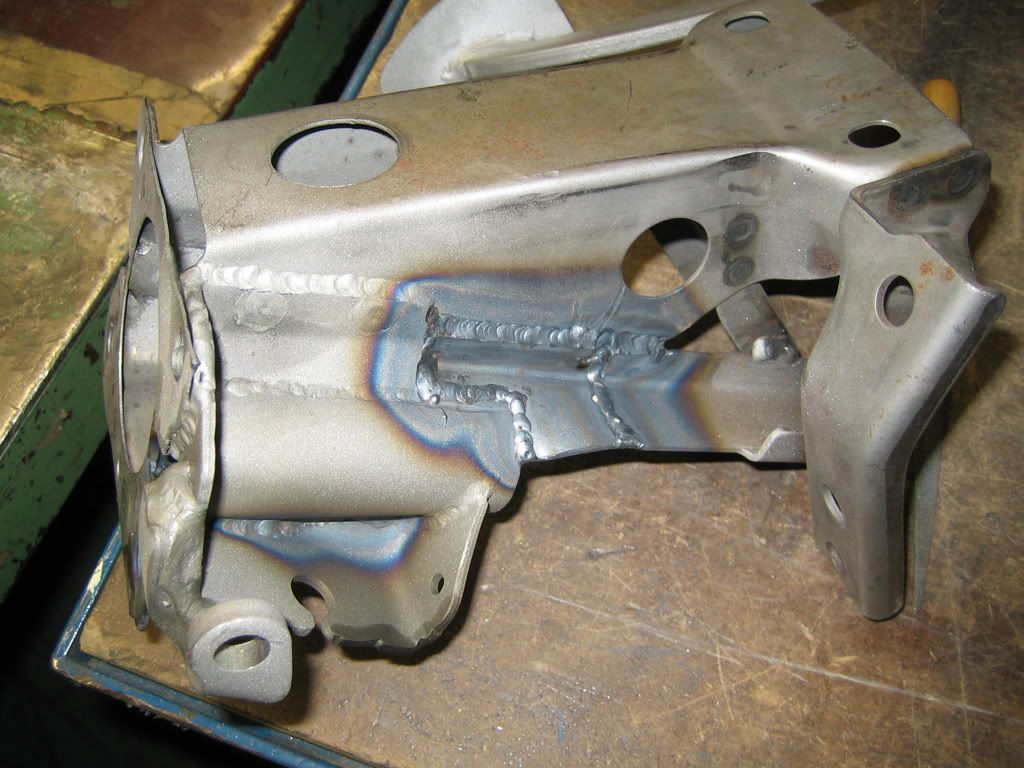
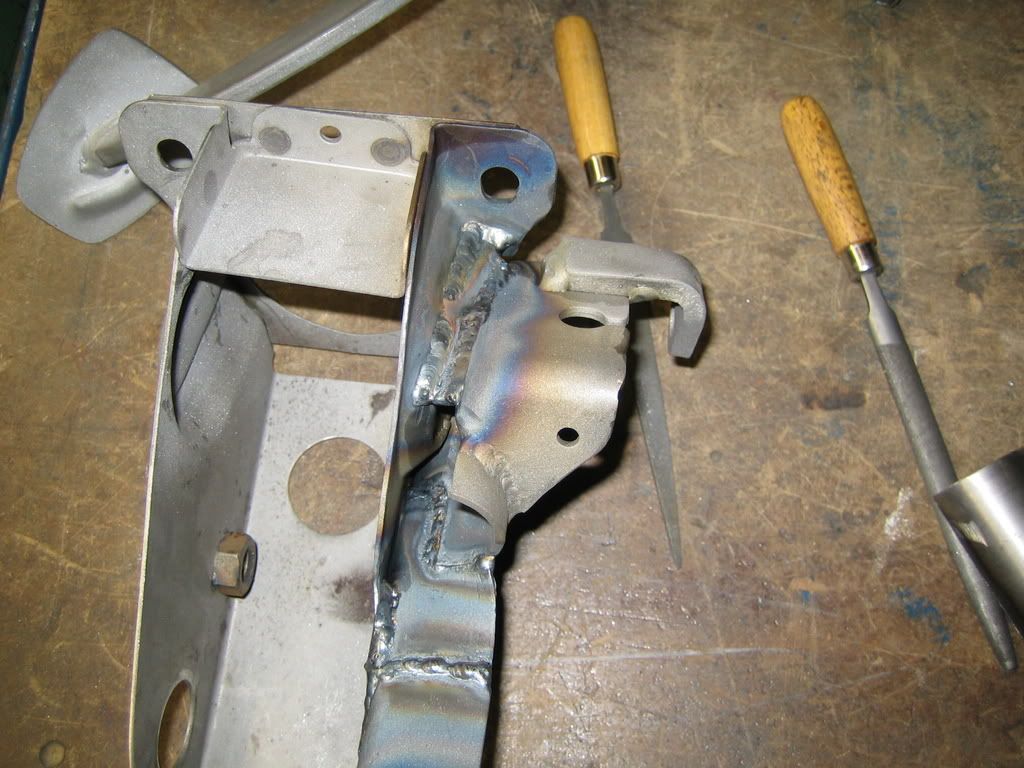
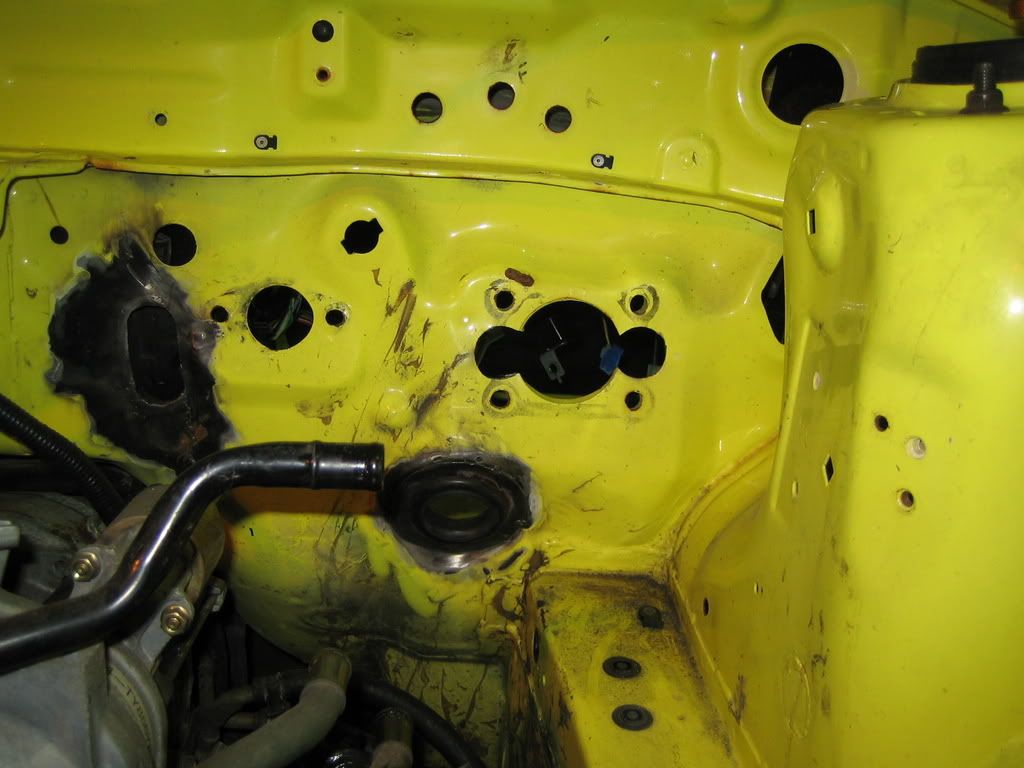
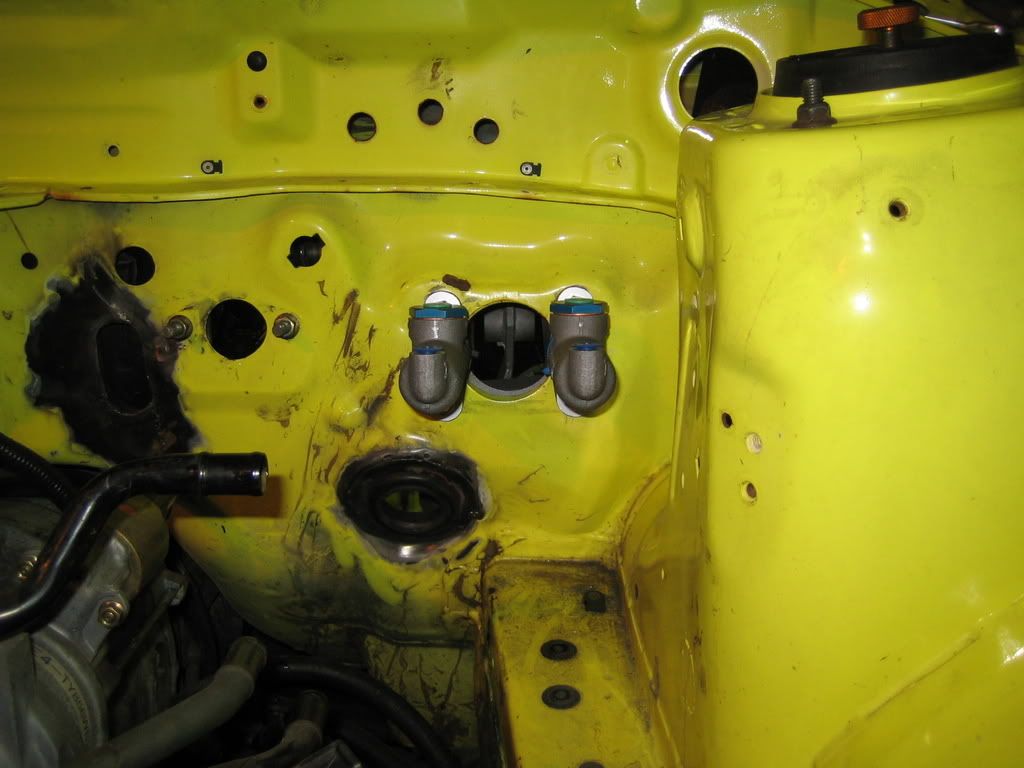
Anyway, I wanted to fix up the pedalbox and the 2 brake cilinders but it turns out the guys at Prodrive welded the attachmentplate on the firewall crooked!
Argh..., I'm not gonna accept that so I will be doing some more welding and grinding, thank god I didn't have much to do anyway....
But I can still work out the brakelines when they are a bit out of line, so no prob there.
Crooked:
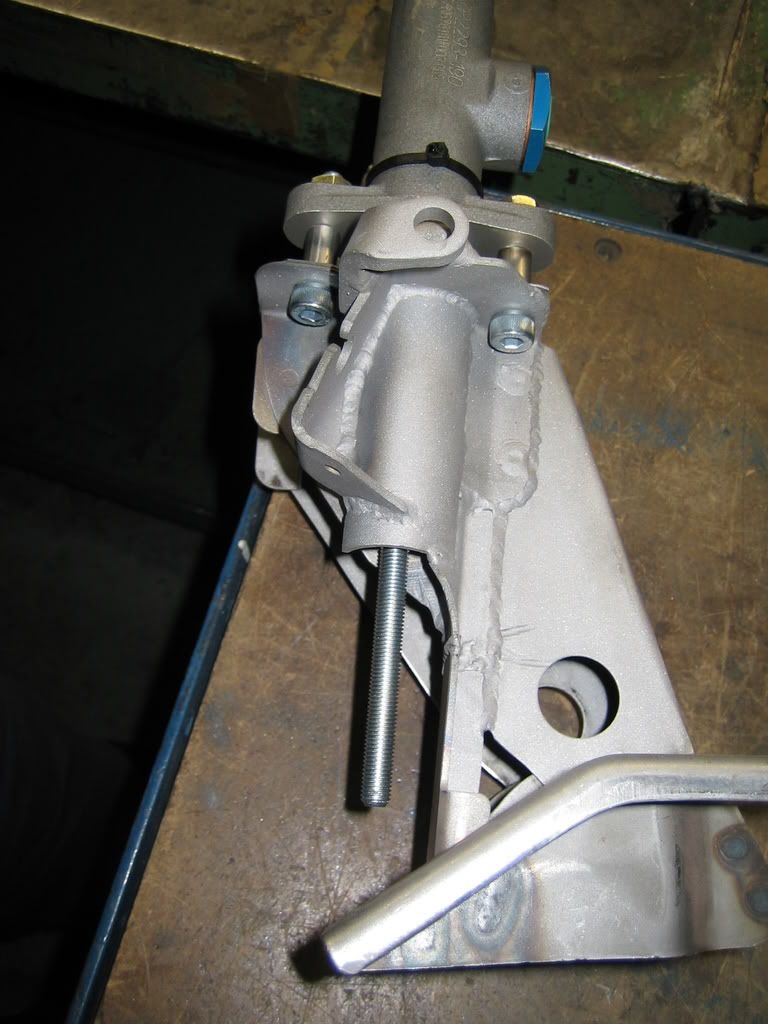
Put them in anyhow:
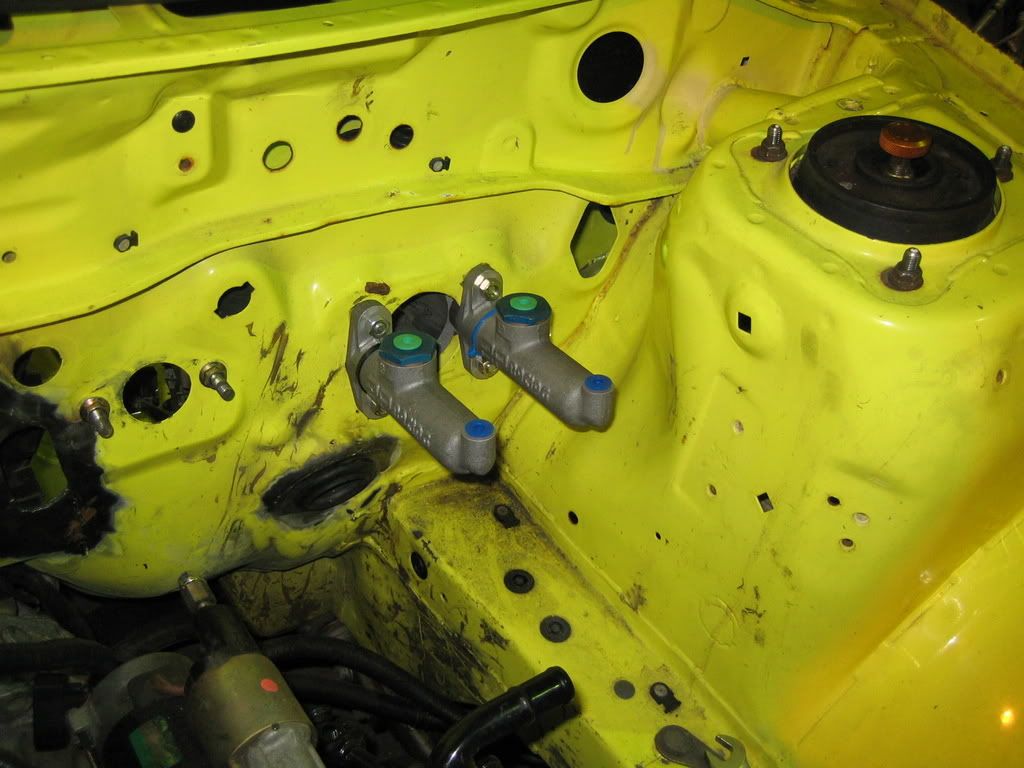
Then I let the parking brake get used to it's new habitat:
This is what it looked like, and there is no heating in the workshop.
My old red faithfull:
My current white faithfull:
Anyway, I wanted to fix up the pedalbox and the 2 brake cilinders but it turns out the guys at Prodrive welded the attachmentplate on the firewall crooked!
Argh..., I'm not gonna accept that so I will be doing some more welding and grinding, thank god I didn't have much to do anyway....
But I can still work out the brakelines when they are a bit out of line, so no prob there.
Crooked:
Put them in anyhow:
Then I let the parking brake get used to it's new habitat:
Thread Starter
Scooby Regular
Joined: Dec 2002
Posts: 458
Likes: 0
Well, it has been a while with the updates for the hachi, I am to busy with my Impreza for now.
The things done are quite the standard upgrades I think.
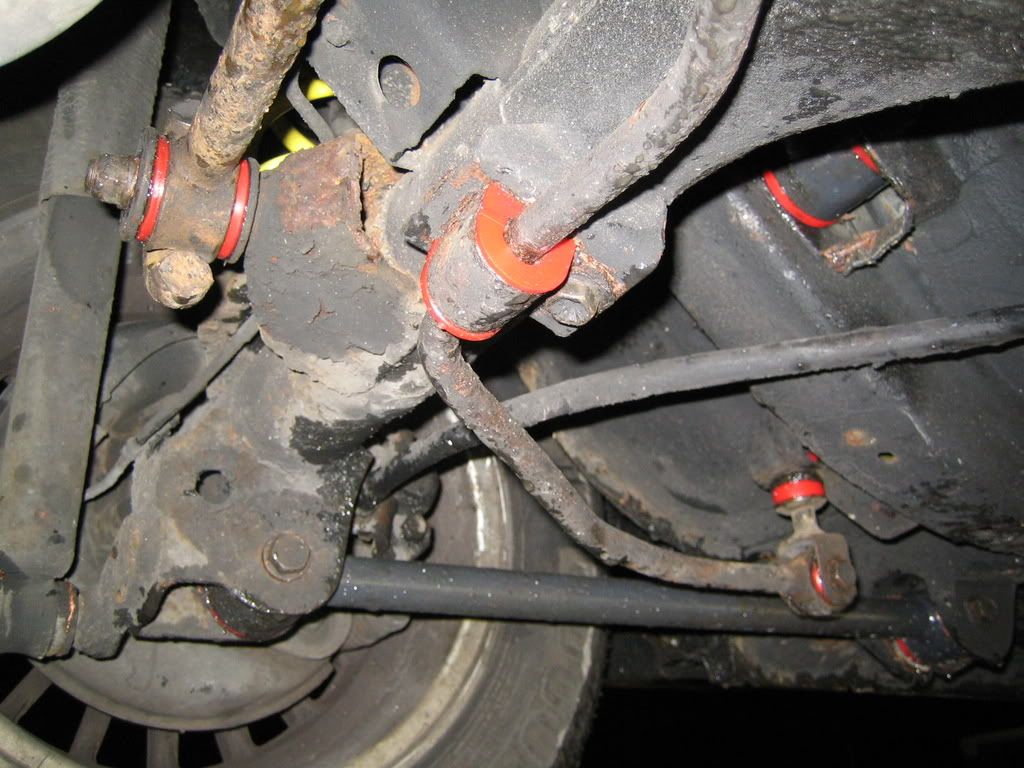
First up the bushings, this brings a big improvement for handling!
Then I did some maintenance on the engine and a change of oils everywhere.
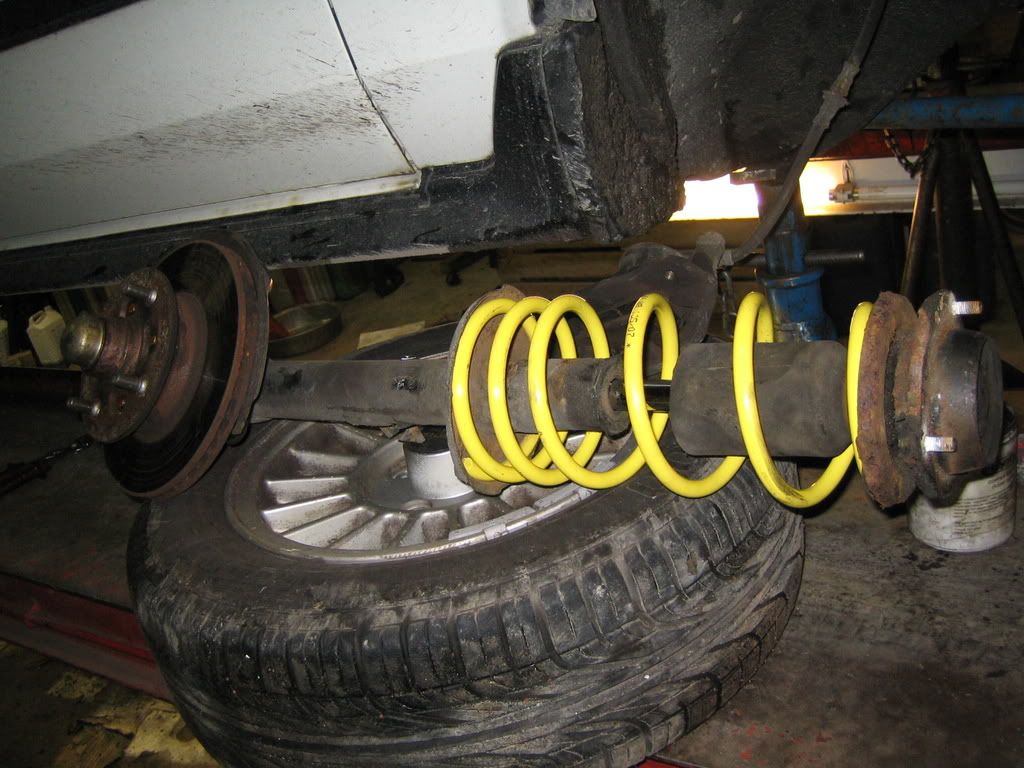
I changed the springs, but the dampers need to be changed for a better quality ride, I am not satified with the handling yet.
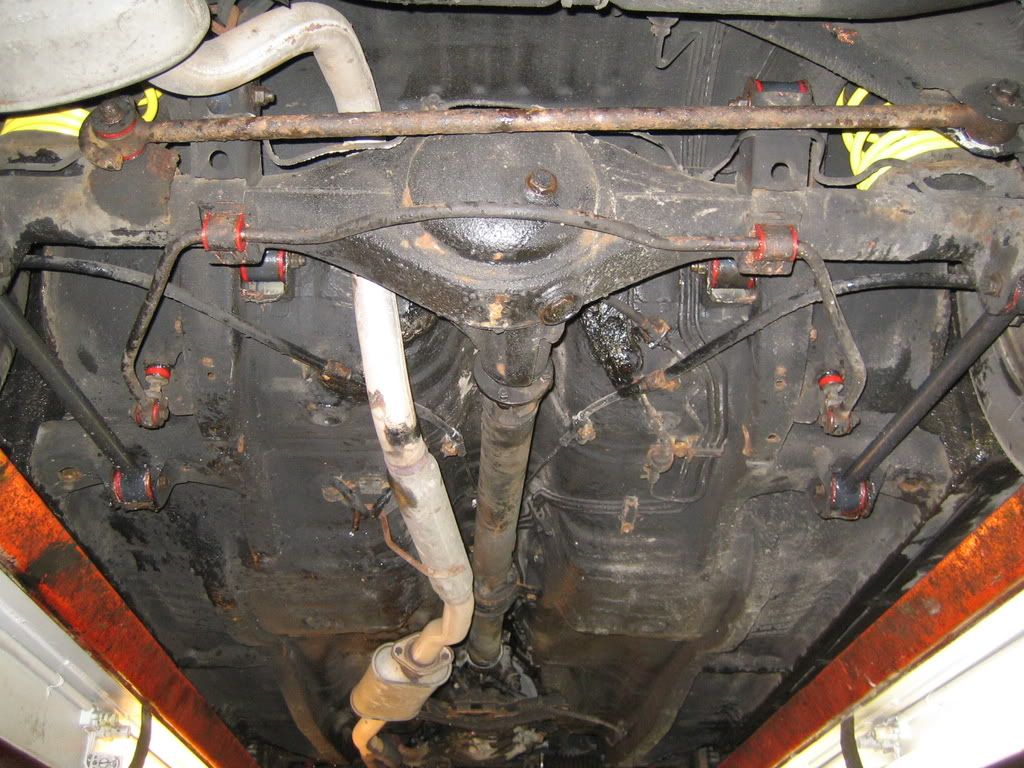
The brakelines were changed for stainless steel ones.
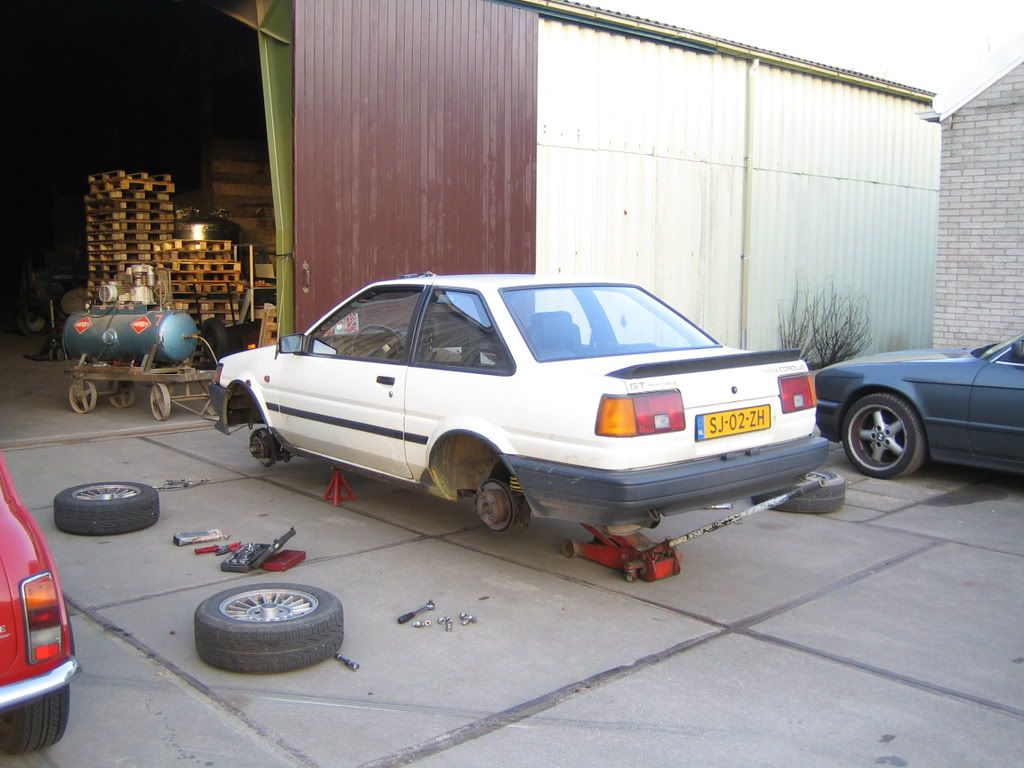
And I bought a Quaife quick rack steering upgrade through a groupbuy on club4ag, this arrived today.
The things done are quite the standard upgrades I think.
First up the bushings, this brings a big improvement for handling!
Then I did some maintenance on the engine and a change of oils everywhere.
I changed the springs, but the dampers need to be changed for a better quality ride, I am not satified with the handling yet.
The brakelines were changed for stainless steel ones.
And I bought a Quaife quick rack steering upgrade through a groupbuy on club4ag, this arrived today.

Thread Starter
Scooby Regular
Joined: Dec 2002
Posts: 458
Likes: 0
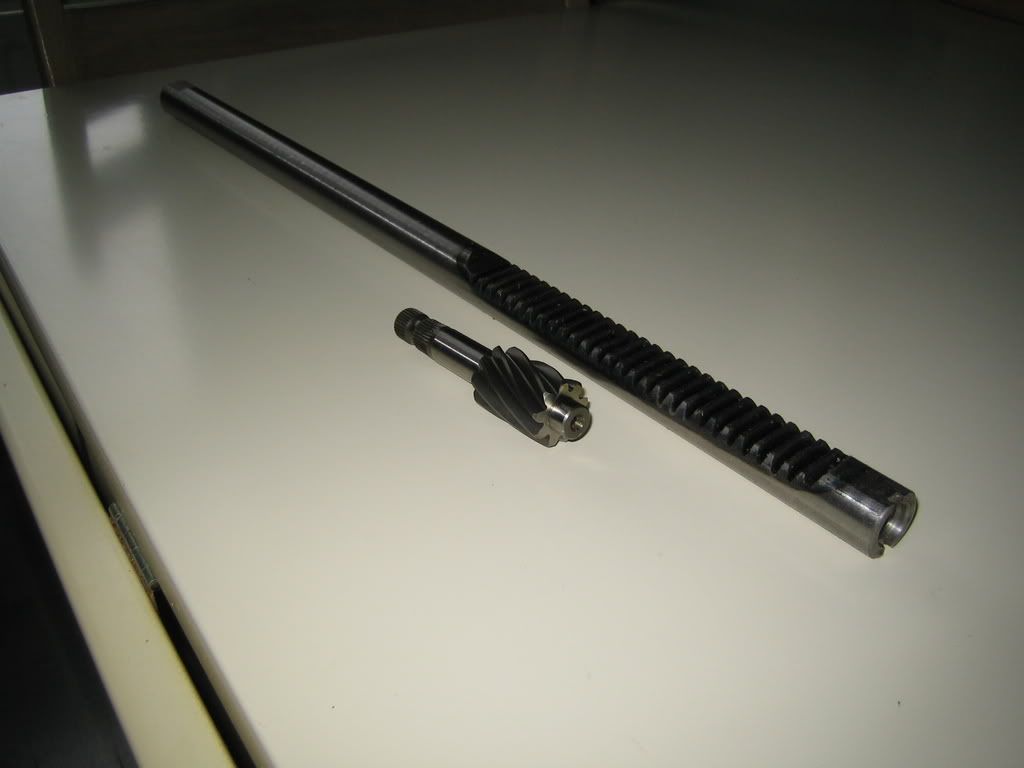
Oh, I did that a few months ago, but I got the rack today.
So I thought I'd update today a bit.
Meanwhile I'm drawing a solution for the crooked brakecilinder problem in autocad.
It will be a brakebracket also, quite a construction.
Great Porsche b.t.w.
So I thought I'd update today a bit.
Meanwhile I'm drawing a solution for the crooked brakecilinder problem in autocad.
It will be a brakebracket also, quite a construction.
Great Porsche b.t.w.