Notices
Projects For Serious DIY Car Projects

Bugeye Wagon Driveway Project

Thread Tools
 
Search this Thread
 
Old 22 April 2020, 09:29 PM
  #31  
RobsyUK
Scooby Regular
iTrader: (2)
 
RobsyUK's Avatar
 
Join Date: May 2009
Location: Milk on Beans
Posts: 6,404
Received 183 Likes on 141 Posts
Default

Post 7. The wire to the hand break is for the stereo.
it's so that you cant play with it while driving.
Old 22 April 2020, 10:10 PM
  #32  
RockyRoad
Scooby Regular
Thread Starter
 
RockyRoad's Avatar
 
Join Date: May 2018
Location: Scottish Borders
Posts: 527
Likes: 0
Received 123 Likes on 104 Posts
Default

Originally Posted by RobsyUK
Post 7. The wire to the hand break is for the stereo.
it's so that you cant play with it while driving.
That makes sense but also a little pointless. Just don’t fiddle with it if you want to avoid fiddling with it.
Old 24 April 2020, 07:06 PM
  #33  
RockyRoad
Scooby Regular
Thread Starter
 
RockyRoad's Avatar
 
Join Date: May 2018
Location: Scottish Borders
Posts: 527
Likes: 0
Received 123 Likes on 104 Posts
Default

Engine, gearbox, rear diff and subframes came out yesterday.


Clutch looks fairly new but the rear seal definitely isn't.


Today the engine was stripped of all its ancillaries. Made a bit of a mess on the patio that I'll need to clean up at some point.


Next job will probably be to drop the fuel tank but first I'm going to take a few days to relax.
The following users liked this post:
Old 24 April 2020, 08:38 PM
  #34  
johnoggy
Scooby Regular
 
johnoggy's Avatar
 
Join Date: Jan 2020
Location: middlesbrough
Posts: 303
Likes: 0
Received 74 Likes on 56 Posts
Default

another good days work
Old 24 April 2020, 09:46 PM
  #35  
Kaosone
Scooby Regular
 
Kaosone's Avatar
 
Join Date: Aug 2018
Location: Southampton, UK
Posts: 631
Received 86 Likes on 76 Posts
Default

Originally Posted by RockyRoad
Made a bit of a mess on the patio that I'll need to clean up at some point.
Throw it on the list with cutting the grass

Looks like you've been having fun
Old 24 April 2020, 11:39 PM
  #36  
RockyRoad
Scooby Regular
Thread Starter
 
RockyRoad's Avatar
 
Join Date: May 2018
Location: Scottish Borders
Posts: 527
Likes: 0
Received 123 Likes on 104 Posts
Default

Who’s got time to look after the garden when there’s cars to be playing with?
The following users liked this post:
Old 29 April 2020, 10:14 PM
  #37  
RockyRoad
Scooby Regular
Thread Starter
 
RockyRoad's Avatar
 
Join Date: May 2018
Location: Scottish Borders
Posts: 527
Likes: 0
Received 123 Likes on 104 Posts
Default

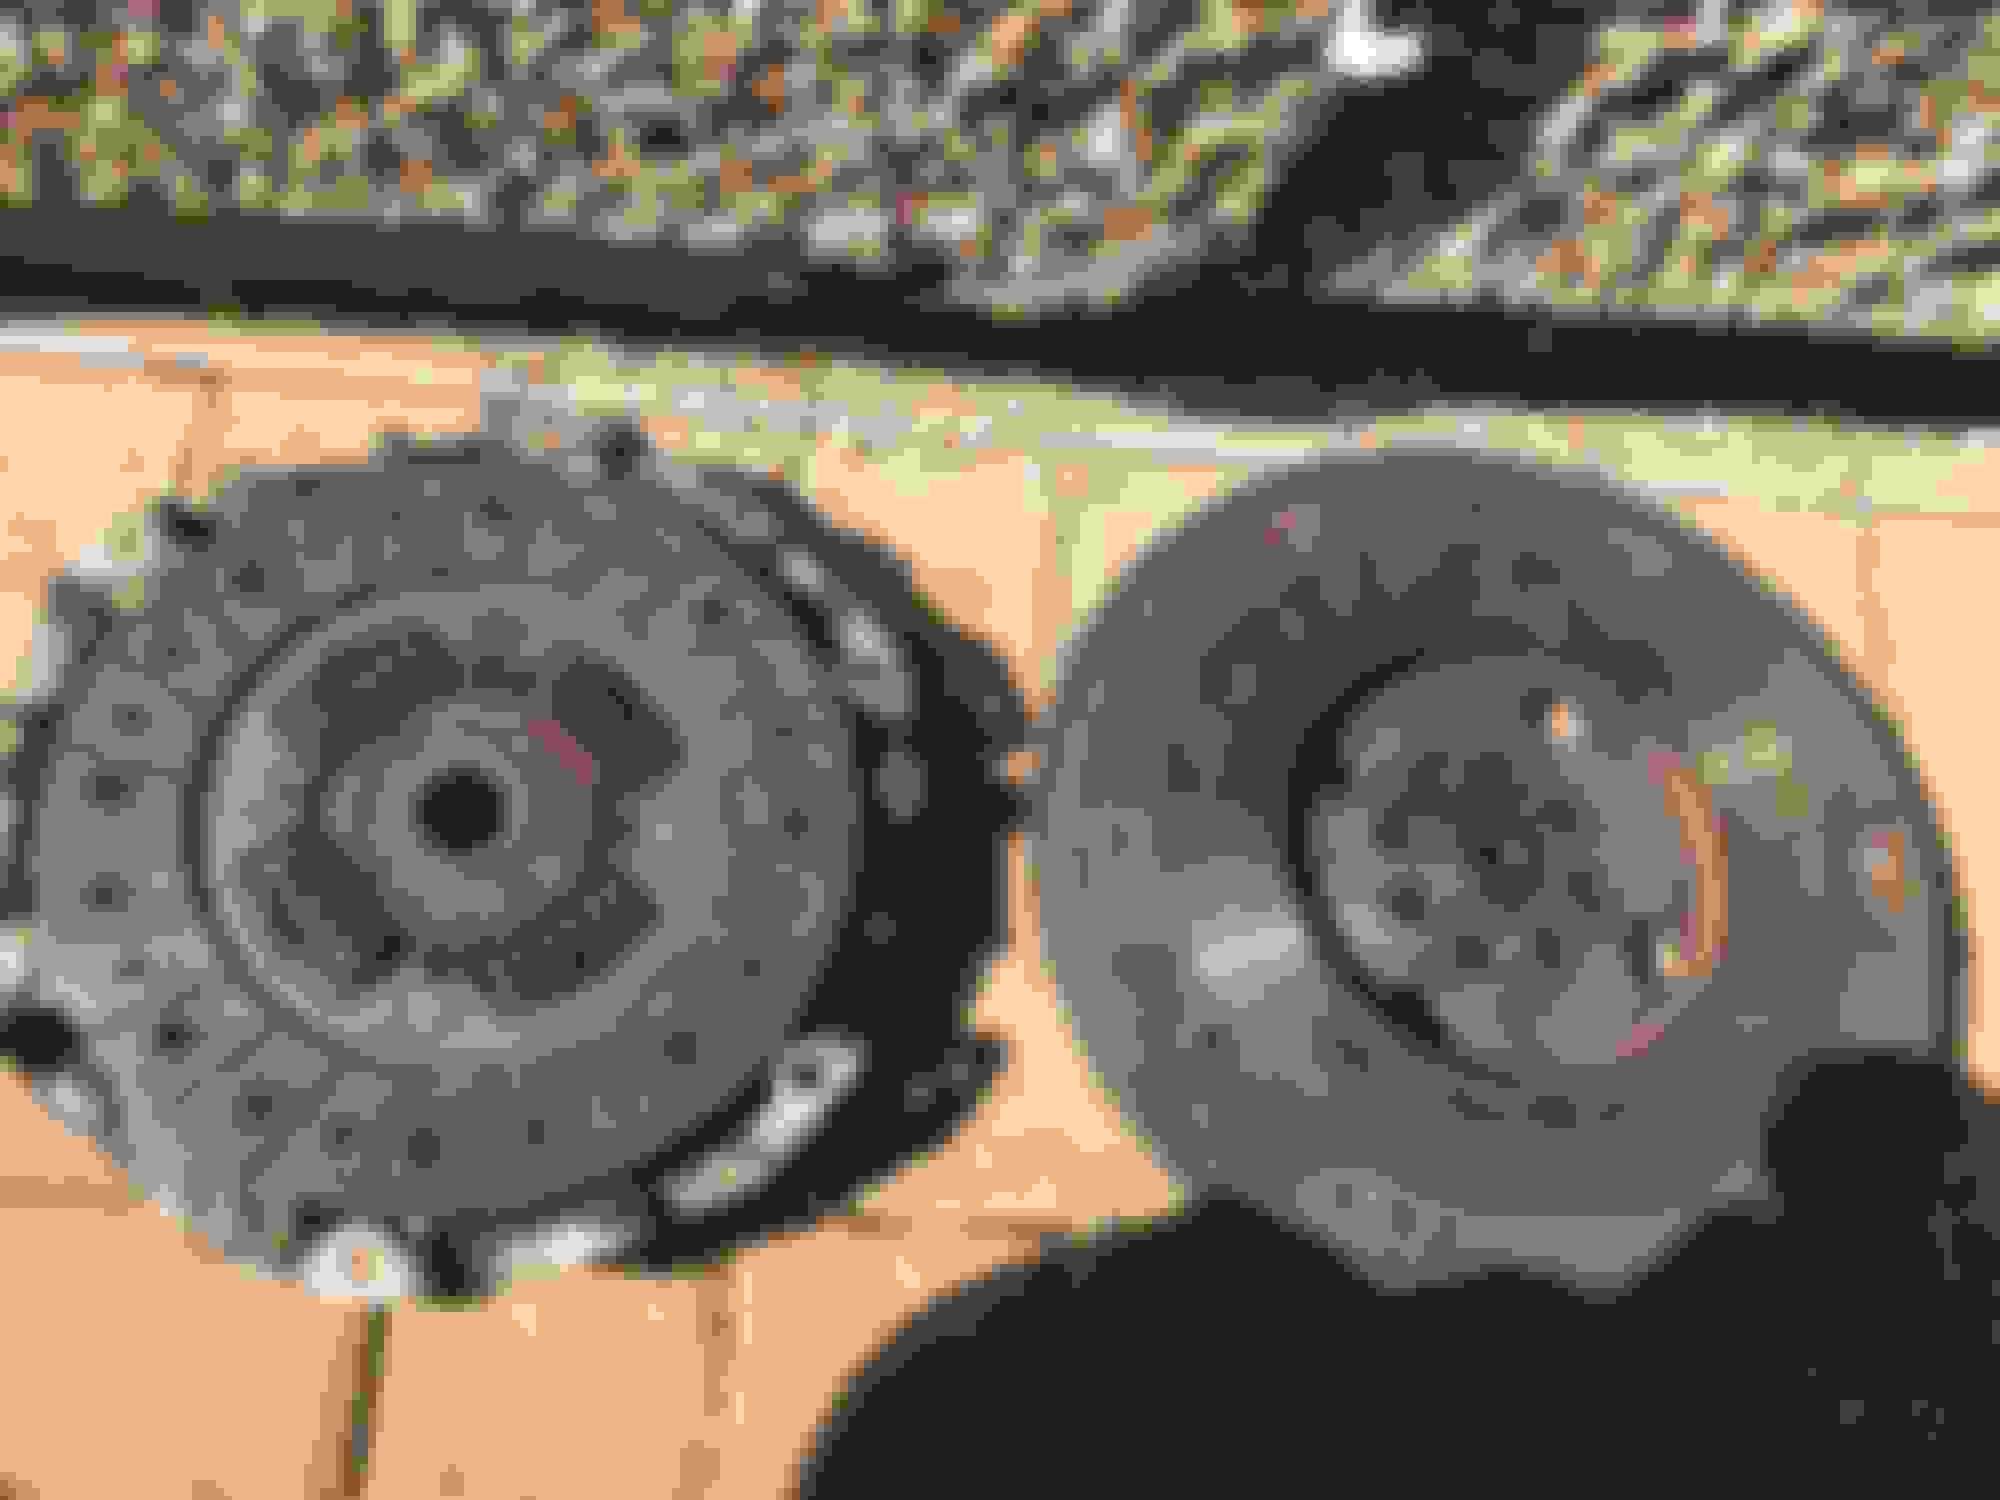
Started stripping down the turbo today. Few fins have some chips but I might have done that getting the thing apart. Rust had made the joint very very tight and it took nearly an hour of hammering and prying to finally get the exhaust housing free. Current plan is to rebuild it into a hybrid 19t with a new housing and CHRA from the likes of Kinugawa or Mamba but still not set on that.


I’m hoping that ground down stud (only way to get the thing off the car) won’t be too bad to remove after some penetrating spray overnight.
Old 30 April 2020, 04:33 PM
  #38  
Henrik
Scooby Regular
Support Scoobynet!
iTrader: (5)
 
Henrik's Avatar
 
Join Date: Jun 2003
Location: London
Posts: 4,118
Received 145 Likes on 109 Posts
Default

Small warning on the kinugawa 19t CHRAs - they are all TD04HL based as far as I remember (which means you need to modify the exhaust housing).

You could replace the comp side only fairly easily, though (small amount of lathe work required), if you want to just rebuild your own turbo with a 19t wheel / comp cover. You'd be stuck on the TD04H turbine, but that should give you better spool, but limit top end power (compared to a TD04HL)
Old 30 April 2020, 04:35 PM
  #39  
Henrik
Scooby Regular
Support Scoobynet!
iTrader: (5)
 
Henrik's Avatar
 
Join Date: Jun 2003
Location: London
Posts: 4,118
Received 145 Likes on 109 Posts
Default

also regarding the stud, if you have access to a welder, I've had a lot of success with welding a nut onto the stud itself (and thus making it super hot), and then using an impact gun on the nut whilst it is still hot
Old 30 April 2020, 04:42 PM
  #40  
RockyRoad
Scooby Regular
Thread Starter
 
RockyRoad's Avatar
 
Join Date: May 2018
Location: Scottish Borders
Posts: 527
Likes: 0
Received 123 Likes on 104 Posts
Default

Thanks for the warning Henrik! I’ll make sure I pay close attention when I’m buying the CHRA. Quick spool and not outright power is the aim.
Old 01 May 2020, 09:49 PM
  #41  
RockyRoad
Scooby Regular
Thread Starter
 
RockyRoad's Avatar
 
Join Date: May 2018
Location: Scottish Borders
Posts: 527
Likes: 0
Received 123 Likes on 104 Posts
Default

Gone even further down the rabbit hole today. Decided to take the brake lines out from the car but it turns out to do that the sound deadening needs to be removed and to remove that the heater matrix and blower needs to come out. So what I thought was going to be a quick and easy job turned into an all day PITA. Eventually finished just as it was getting too dark to do any more.


Also dropped the fuel tank this morning. Few spots of rust behind the tank but nothing that doesn't look like it'll clean up.


And finally I got the rear speakers fitted thanks to a bit of massaging with a die grinder. Totally the wrong time to be sorting out anything audio wise but the speakers were on sale.


Old 05 May 2020, 08:19 PM
  #42  
RockyRoad
Scooby Regular
Thread Starter
 
RockyRoad's Avatar
 
Join Date: May 2018
Location: Scottish Borders
Posts: 527
Likes: 0
Received 123 Likes on 104 Posts
Default

Not the most fun jobs but the last few days I removed the wiring loom, gave the engine bay a quick clean and decided to remove the sound deadening tar stuff.


And how much did all of that material weigh? A whole 5kg. Hardly the massive weight saving some make it out to be.

What was really tedious though was stripping the whole loom apart and tracing all the ABS cables to be removed. I know some won’t agree with the decision to remove the ABS but I’ve never liked how it worked in my Hawk, always kicked in far too early, and the ABS light was on before stripping the car so that was the perfect excuse to myself to get rid of it.
Old 14 May 2020, 10:46 PM
  #43  
RockyRoad
Scooby Regular
Thread Starter
 
RockyRoad's Avatar
 
Join Date: May 2018
Location: Scottish Borders
Posts: 527
Likes: 0
Received 123 Likes on 104 Posts
Default

Back to work yesterday after a few days of doing nothing. Removed the heat shields from the headers which took forever. Nearly every single nut and bolt was seized and rounded so needed cut. Big grinder cut through with no problem but the little air powered one was struggling a bit on the ones where clearance was too tight for the big one. Then started work on porting them but decided I needed some angrier bits if I didn't want to still be there next year so they're on order. Plan is to finish porting them, paint them then wrap them instead of using the heat shields.


Then today I spent far too long giving the engine a bit of a clean. It's not perfect but it's so much better than it was. Also knocked the sump off to take a look inside the engine.


Old 15 May 2020, 08:11 PM
  #44  
johnoggy
Scooby Regular
 
johnoggy's Avatar
 
Join Date: Jan 2020
Location: middlesbrough
Posts: 303
Likes: 0
Received 74 Likes on 56 Posts
Default

looking good as usual , making good progress
Old 16 May 2020, 03:41 PM
  #45  
RockyRoad
Scooby Regular
Thread Starter
 
RockyRoad's Avatar
 
Join Date: May 2018
Location: Scottish Borders
Posts: 527
Likes: 0
Received 123 Likes on 104 Posts
Default

Made a start stripping the coatings off the underside. This is going to take a while.


So why am I removing what looks to be perfectly good coatings? Well a picture paints a thousand words:


That looked solid underneath the stone chip but turns out that was about all that was holding it together. Looks like I'll be needing to learn how to weld after all.
Old 16 May 2020, 05:53 PM
  #46  
RockyRoad
Scooby Regular
Thread Starter
 
RockyRoad's Avatar
 
Join Date: May 2018
Location: Scottish Borders
Posts: 527
Likes: 0
Received 123 Likes on 104 Posts
Default

Angry bits arrived for the die grinder so I’ve just finished porting the headers to give myself a break from underneath the car.


Next job is to remove the mounting tabs since I’m wrapping them then they’ll get a coat of paint just to protect them from corrosion a bit.
Old 23 May 2020, 08:46 PM
  #47  
RockyRoad
Scooby Regular
Thread Starter
 
RockyRoad's Avatar
 
Join Date: May 2018
Location: Scottish Borders
Posts: 527
Likes: 0
Received 123 Likes on 104 Posts
Default

Another small job ticked off the list. Originally I had planned to get something 3D printed by a mate but decided just to take a shot with some sheets of aluminium. Turned out ok I think.


Paint wasn't fully cured when I clamped it together so that's what the dodgy marking on the corner is. I might end up painting/coating the whole piece in the same colour but the satin black looks ok for now.
Old 24 May 2020, 07:35 PM
  #48  
johnoggy
Scooby Regular
 
johnoggy's Avatar
 
Join Date: Jan 2020
Location: middlesbrough
Posts: 303
Likes: 0
Received 74 Likes on 56 Posts
Default

nice job ,
Old 27 May 2020, 09:39 PM
  #49  
RockyRoad
Scooby Regular
Thread Starter
 
RockyRoad's Avatar
 
Join Date: May 2018
Location: Scottish Borders
Posts: 527
Likes: 0
Received 123 Likes on 104 Posts
Default

Finished getting one half of the side vortex trays from a Hawkeye fitted. Fits perfectly to the floor but there are obviously no mounting holes. Had to wait for my M10 nutsetter tool coming from China but it finally arrived yesterday. Why am I bothering? Partly because they were cheap, mostly because it’s some extra protection for the underneath. I don’t rally the car but I do drive on forest roads semi regularly plus the normal roads around here can be a bit dicey at the best of times so a little protection is no bad thing.


If it looks a little furry it’s only because I filled the holes with a little fibreglass just to add a bit of extra material to hopefully stop them tearing off the bolts. And that rust spot really isn’t as bad as it looks in the pic honest.
Old 30 May 2020, 07:11 PM
  #50  
RockyRoad
Scooby Regular
Thread Starter
 
RockyRoad's Avatar
 
Join Date: May 2018
Location: Scottish Borders
Posts: 527
Likes: 0
Received 123 Likes on 104 Posts
Default

Back in the sweat box today doing a bit of blasting. Lovely before and after comparison of the front knuckles.


And a couple of coats of zinc primer.


They’ll get a coat of epoxy mastic then satin black chassis paint eventually but I’m waiting to do a bunch of bits together rather than waste the epoxy.
Old 31 May 2020, 08:47 PM
  #51  
johnoggy
Scooby Regular
 
johnoggy's Avatar
 
Join Date: Jan 2020
Location: middlesbrough
Posts: 303
Likes: 0
Received 74 Likes on 56 Posts
Default

Cleaned up really well, i might have to invest in a blaster, i do have a compressor
Old 31 May 2020, 08:57 PM
  #52  
RockyRoad
Scooby Regular
Thread Starter
 
RockyRoad's Avatar
 
Join Date: May 2018
Location: Scottish Borders
Posts: 527
Likes: 0
Received 123 Likes on 104 Posts
Default

Fair warning, these aren’t industrial blasters and take forever. That one knuckle took several hours to finish. Wouldn’t use it with anything less than the 50l 2.5hp compressor I’ve got either as even that struggles to keep up and I need to stop to let the pressure build back up when I get a stubborn bit. And be prepared to get a load of ****e in your eyes. The visor I was using quickly got too scratched up to see out of. Now got some glasses with foam inserts which keep 99% of stuff out of the eyes but still it finds its way in occasionally. You’re going to want a respirator of some sort too unless you fancy breathing all that rubbish in.
Old 01 June 2020, 07:55 PM
  #53  
johnoggy
Scooby Regular
 
johnoggy's Avatar
 
Join Date: Jan 2020
Location: middlesbrough
Posts: 303
Likes: 0
Received 74 Likes on 56 Posts
Default

Thanks for the advice
Old 01 June 2020, 08:41 PM
  #54  
WUZ
Scooby Senior
iTrader: (14)
 
WUZ's Avatar
 
Join Date: Sep 1999
Location: Aberdeenshire
Posts: 3,384
Received 27 Likes on 20 Posts
Default

What sort of grade of blast media are you using?
Old 01 June 2020, 08:57 PM
  #55  
RockyRoad
Scooby Regular
Thread Starter
 
RockyRoad's Avatar
 
Join Date: May 2018
Location: Scottish Borders
Posts: 527
Likes: 0
Received 123 Likes on 104 Posts
Default

Originally Posted by WUZ
What sort of grade of blast media are you using?
Superfine 0.2-0.4mm glass grit. I’d heard reports of the cheap blasters getting clogged with anything above about 0.5mm so opted for the super fine stuff. It’s cheap and reusable which is also good.
Old 03 June 2020, 08:18 PM
  #56  
RockyRoad
Scooby Regular
Thread Starter
 
RockyRoad's Avatar
 
Join Date: May 2018
Location: Scottish Borders
Posts: 527
Likes: 0
Received 123 Likes on 104 Posts
Default

So a bit of a change of plan with the shell. Decided since it's all apart and I now own a welder I'm going to go through the effort of stitch welding the shell together. Obviously that means I can't do any of the recoating on the underside until that's done and it's going to mean at least a partial respray on the inside.

Also started stripping the fuel tank back to bare metal since there's a few rust spots, especially around all the edges, then it'll get a coat of zinc primer, epoxy, stone chip and finally some chassis paint. Much better than the original rubberised coating that lets water in behind it and rusts invisibly.


With the hot weather I've had a little "helper" most days giving me judgy looks and getting excited when I'm using the compressor. Usually she's hiding inside somewhere but it's been too hot for that.


Old 03 June 2020, 10:34 PM
  #57  
johnoggy
Scooby Regular
 
johnoggy's Avatar
 
Join Date: Jan 2020
Location: middlesbrough
Posts: 303
Likes: 0
Received 74 Likes on 56 Posts
Default

ha shes cute, is the tank still solid even the rust spots?
Old 03 June 2020, 10:57 PM
  #58  
RockyRoad
Scooby Regular
Thread Starter
 
RockyRoad's Avatar
 
Join Date: May 2018
Location: Scottish Borders
Posts: 527
Likes: 0
Received 123 Likes on 104 Posts
Default

Yeah the tank still appears to be solid. Wouldn't have wanted to leave it as it was though. At least the inside is totally clean. The worst was the whole seam at the back where water just sits because it's curled up. Don't know if it's supposed to be or not but if it is it's a stupid design.
Old 04 June 2020, 04:14 PM
  #59  
johnoggy
Scooby Regular
 
johnoggy's Avatar
 
Join Date: Jan 2020
Location: middlesbrough
Posts: 303
Likes: 0
Received 74 Likes on 56 Posts
Default

At least if you do it you know its done right
Old 04 June 2020, 05:05 PM
  #60  
Russell38
Scooby Regular
 
Russell38's Avatar
 
Join Date: Dec 2015
Location: Kent
Posts: 469
Received 55 Likes on 41 Posts
Default

Cracking project this just read from the start


Quick Reply: Bugeye Wagon Driveway Project


All times are GMT +1. The time now is 03:30 AM.