When you click on links to various merchants on this site and make a purchase, this can result in this site earning a commission. Affiliate programs and affiliations include, but are not limited to, the eBay Partner Network.
hats off its good to see someone getting on with a project and going into detail ,loving the twist knot grinding cup absolutely vicious with a 240 v grinder , not to bad with a battery grinder .
pretty much done with the stripping as far as underseal is concerned.
On the drivers side, found some very small areas of surface rust by the filler neck (towards outer arch) and down towards the very bottom of the arch at the rear. Also there�s a lip just up in the strut tower where there�s basically no seam sealer at all, so this is predictably brown, but looks like surface rust only, thank goodness!
now that I�ve stripped one down, I can definitely see how some of these cars suffer from rust unless extra protection is added. It�s quite shocking really that it�s so bad from the factory�
surface rust just starting by filler neck towards cap
check this (brown) rust trap seam out on the right hand side of the photo. Looking up into drivers side arch, and the seam is towards the outside of the car.
next steps:
* rub down with 80 grit sand paper to give the epoxy a key to grip onto
* treat rusty areas with hydrate 80
* maybe zinc primer
Finally done with all that stupid scraping and painting!
I roughed up all surfaces to this finish with some sandpaper:
Then applied white epoxy to the passenger side (first coat):
pas side rear:
pas side turret:
drivers side - ran out of white epoxy, so ordered some grey from Bilt Hamber. Interestingly, the grey epoxy is much more runny ... Perhaps the white one has the most solids in it.
Then seam sealer in the relevant places:
Fairly thick coats with a brush:
Against the grey background of the drivers side, the sealer looks much paler:
2nd coat of grey. The white epoxy is showing through in places, but not worried about that as with 2x coats it's definitely got a decent coat on now:
drivers side, which is 2x grey coats, looks completely opaque - no base metal showing through at all.
It's interesting to note that the seam sealer flattened itself out, even though it looked so rough, and now it's not too visible at all IMO.
Feels like a bit of a milestone tbh - now I'm just going to spray the UB wax on the bits I don't have good access to once I bolt e.g subrame etc back on, and then it's a case of re-attaching everything again
sprayed some cavity wax into the little nooks and crannies in the subframe� somehow I thought I had clear cavity wax , but it�s just the underbody wax that is clear, it seems. At least it�s not visible from the back 😭
also did the frame rails at the rear with the wax.. after this picture I found there�s holes in the boot (covered by rubber patches) that let you get further up into the rail with the hose, so should be covered all the way to past the bend now.
there are also rubber bungs under the car in front of the wheel arch, and also one to the rear of the wheel arch, which basically lets you cover the wheel arch on the inside and further down the straight rail that runs along the car. I can�t believe Subaru didn�t apply anything when the car was made tbh �
Complete pain to fit this on your own on your back under the car, I�m so over crawling underneath there..
fitting the t-bar / outrigger bolts where the worst bit� especially as I was fitting the power flex stiffener kit at the same time� one side was easy, but the other side was difficult to line up as the bar wanted to twist all the time, which caused me to almost cross thread the bolt .. in fact I did damage the first thread of the hole, but nothing that a m12x1.25 tap couldn�t sort out easily. Luckily I didn�t just brute force it like I sometimes do 🙄 after this incident I used a jack to lift it into position.
sprayed some cavity wax into the little nooks and crannies in the subframe� somehow I thought I had clear cavity wax , but it�s just the underbody wax that is clear, it seems. At least it�s not visible from the back 😭
also did the frame rails at the rear with the wax.. after this picture I found there�s holes in the boot (covered by rubber patches) that let you get further up into the rail with the hose, so should be covered all the way to past the bend now.
there are also rubber bungs under the car in front of the wheel arch, and also one to the rear of the wheel arch, which basically lets you cover the wheel arch on the inside and further down the straight rail that runs along the car. I can�t believe Subaru didn�t apply anything when the car was made tbh �
It looks like you've covered your subframe in caramel
Broke the refurbed coil overs out from the packaging:
fitted:
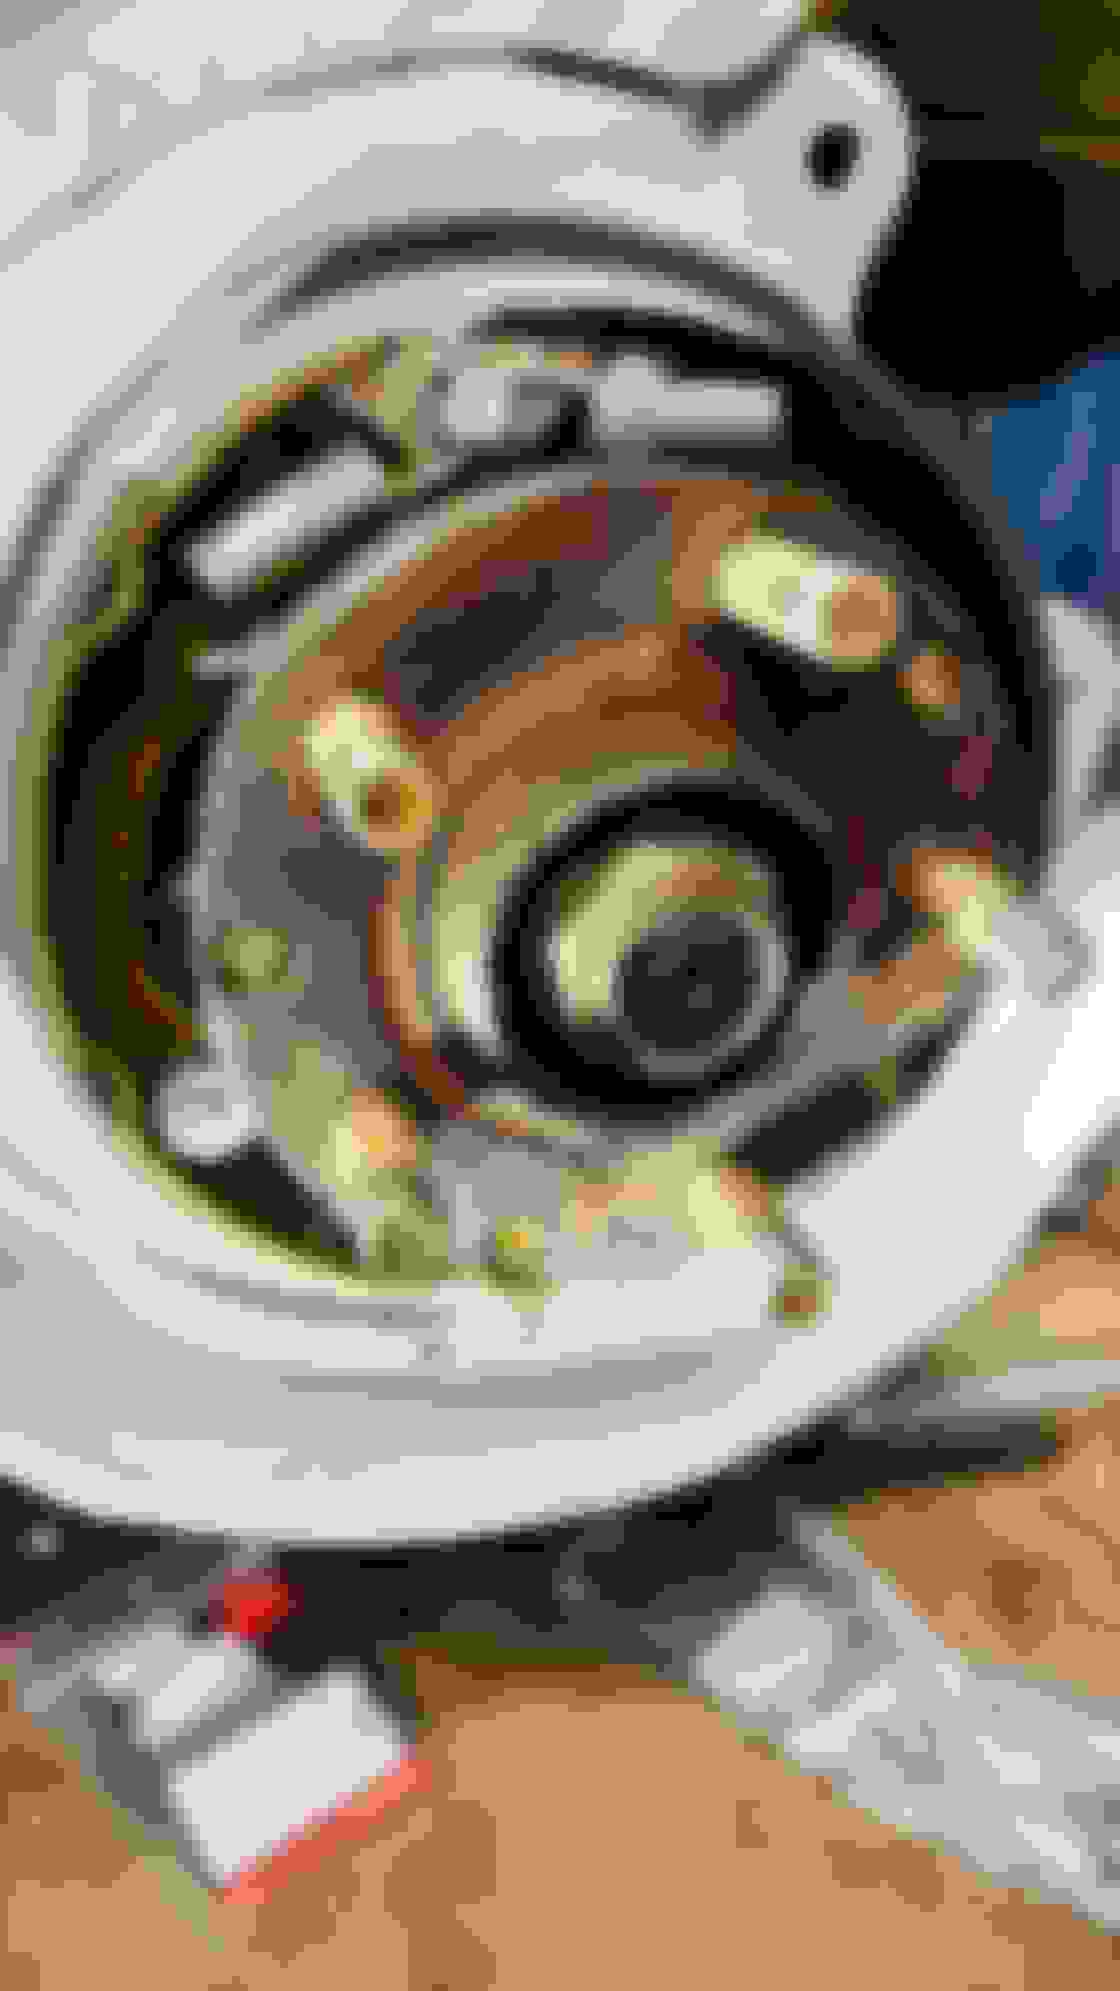
new handbrake shoes. Plenty of life left on the old ones, but might as well I guess�
and with disc and calliper:
Then I sadly didn�t have the phone with me as my uncle and I finished it up in about 4 hours the day before yesterday.
currently sitting like this:
Initial impressions are that it�s a lot tighter than it was before! I�ve got wheel alignment booked tomorrow and will have a longer drive after that, but in the ca 5 miles of shakedown so far it�s felt really good! The rear shocks feel more solid than before I would say, but oddly less crashy. Not sure what a service of shocks involves, but it feels good 😊
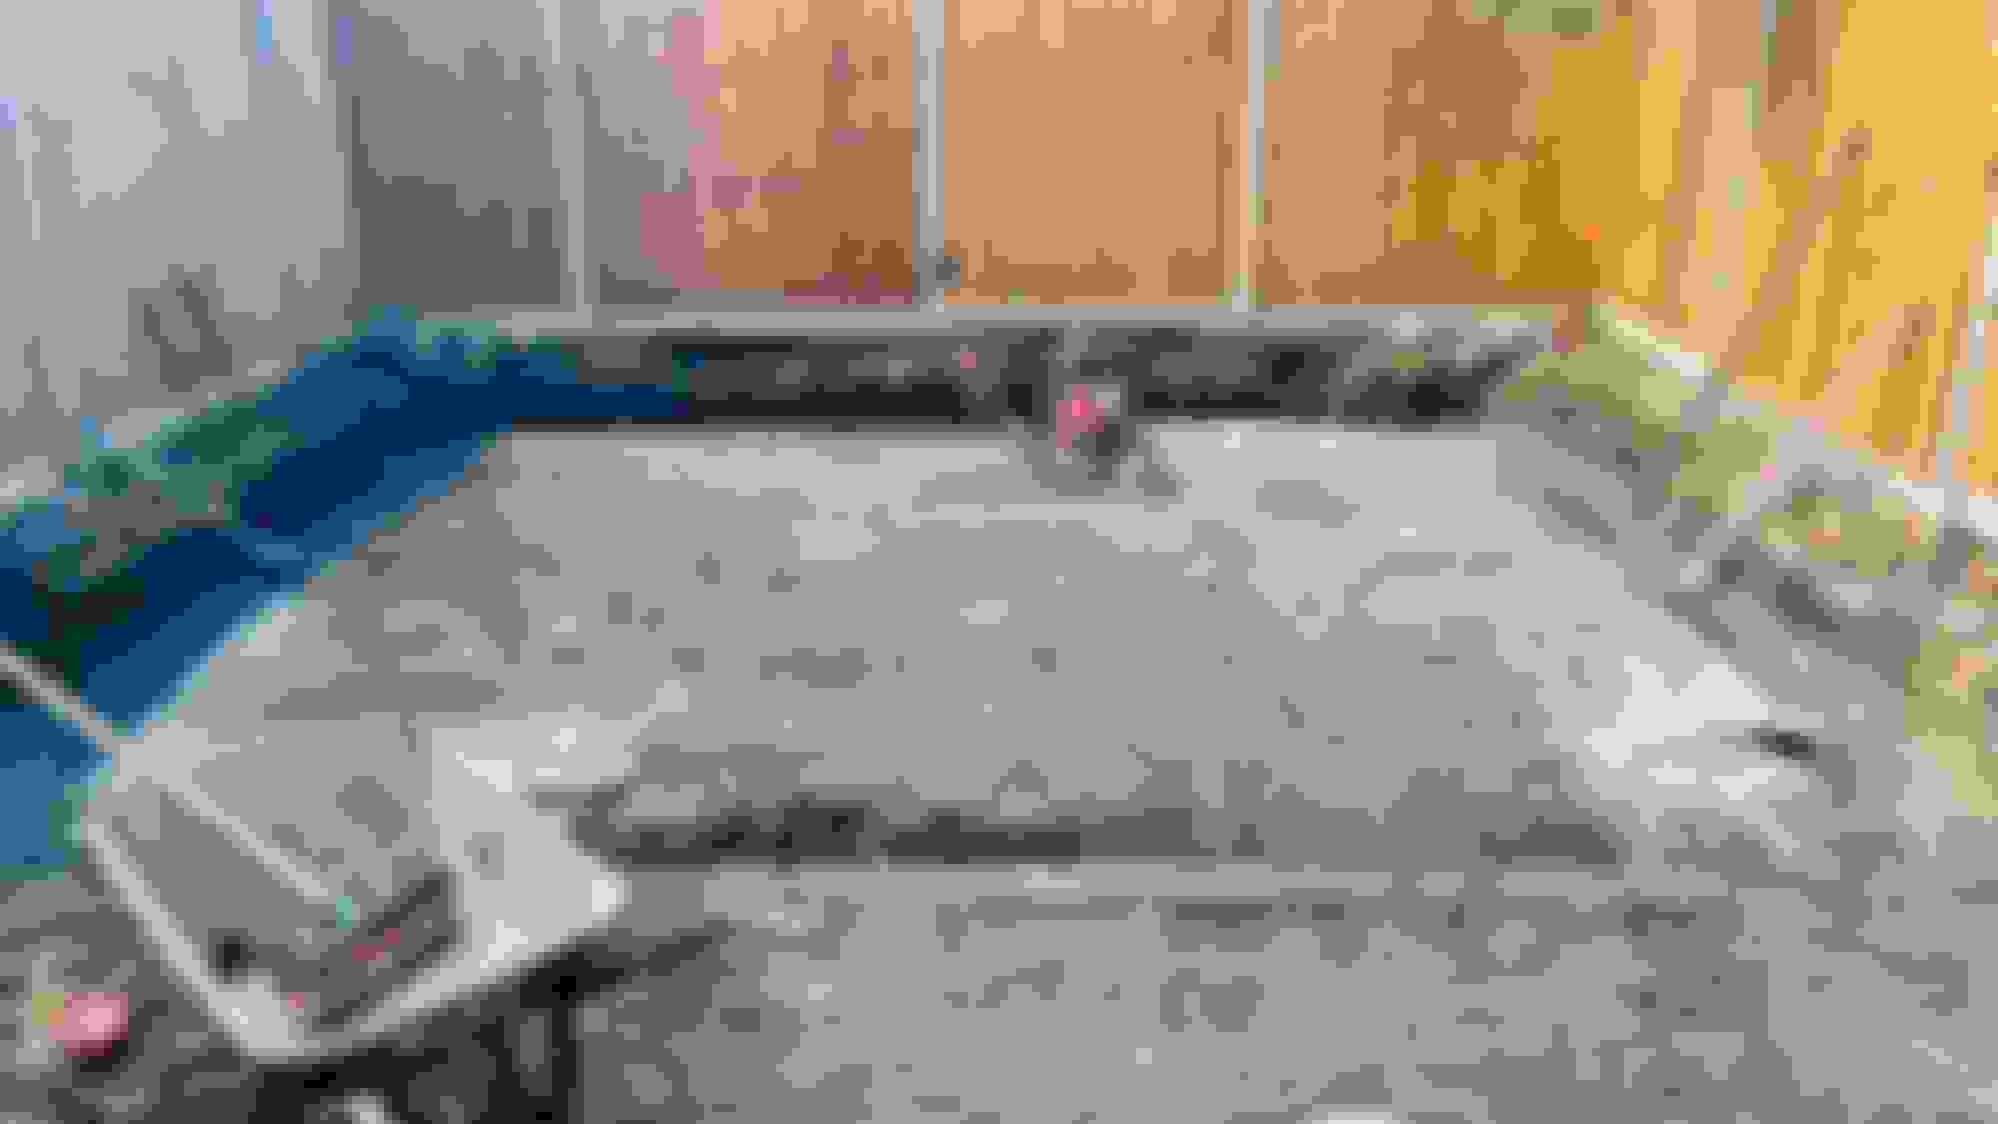
I�ve also bought some twisted STI skirts, but they will need paint before fitting, however that will have to wait slightly as I�m currently working on this hole in the garden. It will be a 5.5x4.5 workshop. Sadly no rear access for the car, but it should allow me a place to weld etc etc again, which is something I�m loathe to do in the current garage as it�s attached to the house.
Looking good Henrik! I love the evolution of this car over the years. If you want to give it a proper shake down then feel free to join a few of us at Snetterton on 7th nov.
i love this kind of diy restoration congratulations,
i'm the same way i restored rear arches and now remove drivetrain like you
did you paint over epoxy primer stoneguard or paint etc?
It�s a labour of love, for sure, especially doing it on axle stands 😖
I just painted two layers of epoxy mastic on in the end, and sprayed some clear wax on top (plus the other creeping cavity wax (brown) in sections). I didn�t want Stonechip or anything that can hide rust - rather see the issue and address it immediately for the use it�s getting.
Yay always great feeling , hows the new work shop getting on !
Building Control stuck their oar in and changed their mind about what they�d said earlier, so now it�s becoming a slightly smaller space than planned. The old size would have been about 21sqm, but now it will end up as exactly 15sqm (5x3 internal dimensions). Good news is that it�s sort of moving along slowly, and because of the change of layout it will be more insulated than the house (20cm insulation all around 🔥
frame is mostly up - next step is adding OSB for roof
You can get alot in a 5x 3 with no car in it ,insulation ?! Well that's part of life at the moment ,200 mm of kingspan or celotex has good u value .
I use insulation4 less its on the inter webs .
Look forward to seeing progress on the car and the workshop .
Back in the �because race car� days, I cut the cables to the rear demister for some unknown reason (maybe it looked messy without interior or something), but of course no demister is horrible in winter.
I remembered cutting the wires somewhere, but not exactly where. Luckily @Don Clark provided a wiring diagram, which helped me find the cut cables.
I fitted a temporary connector block and set about studying the wiring diagram.
both sides have these funny looking coils. They are apparently some (electrical) noise suppressors (choke coils) which lets the antenna (top three rows in the rear window) work better when the demister is on.
drivers side cable resoldered
pas side cable
I tested it quickly in the garage and I think it�s actually working! I�m going to take the car out some evening and test it, but I think I can feel the windscreen heating up a bit 😎
now I quite fancy refitting the antenna electronics too 🙄
now I quite fancy refitting the antenna electronics too 🙄
Unfortunately the aerial cord, amplifier and noise suppressor are not shown in the actual wiring diagrams but are shown in the parts database and ws manual.
see attached
so everything was hunky-dorey for a bit, and then the car developed this horrible clunking noise when going over bumps.
At first I thought it might be the exhaust, but that was fine, so took the wheels off and found the arb bush had wandered off
not sure why it moved, but if it does it again I will replace them.
also took the opportunity to swap it over to the stiffest setting - a bit of a pain if I�m honest, but finally figured out that the trick is to lift the wheel in the opposite corner, as that moves the bar on the side you�re trying to do up
If they are not worn. What about winding some seizing wire (chandler�s) around the rubber and the clamp just above the arb.
yes, that might actually work 👍
Tbh that bush design feels a bit stupid anyway. I think the bush should have a shoulder to prevent lateral movement, or maybe the clamp should have some sort of fence that could hold the bush in place
Agreed, this sort of movement obviously happens to all manufacturers, and the problem is not limited to cars. In other equipment that I worked on , I have seen clamps with shoulders, bushes with shoulder profiles and holes in the clamps with reciprocal protrudes lugged on the bushes. The problem with the arb is that the bushing has to cope with both compression and thrust. In similar situations we used Dow Corning High Vacuum Grease ( applied only on the arb bar ) this is waterproof and will greatly reduce the thrust effort exerted from the bar to the bushing. Importantly this material does not affect the bushing as it is Silicon based. Available on fleabay , comes in a toothpaste type tube.
If the bushing keeps working it�s way out , I would start to suspect that there�s another source of thrust, that might be coming from twist derived from movement in other bushing�s such as the trailing arms. These are bound to be wearing at much higher rate due to the higher loads experienced on track cars.
Tbh that bush design feels a bit stupid anyway. I think the bush should have a shoulder to prevent lateral movement, or maybe the clamp should have some sort of fence that could hold the bush in place
Did they come with an aftermarket bar or something? I thought it was only the Classic�s and some Bugeye�s that used that style of bush. Other Newage do have shoulders on the bush. IIRC my Bug came with that style bush but the clamps were rounded to stop the bush popping out.
Did they come with an aftermarket bar or something? I thought it was only the Classic�s and some Bugeye�s that used that style of bush. Other Newage do have shoulders on the bush. IIRC my Bug came with that style bush but the clamps were rounded to stop the bush popping out.
yes, good shout - came with the bar, but they definitely look like the gc8 style of bush.. guess time for an upgrade again� funny thing is, they stayed in place for about 10000 miles, and now less than 300 maybe the surface ended up too smooth when I painted it, vs surface rust