When you click on links to various merchants on this site and make a purchase, this can result in this site earning a commission. Affiliate programs and affiliations include, but are not limited to, the eBay Partner Network.
So thought I�d squirt some quick anti rust wax under the wheel arches etc. Only little miscolouration I could see was where the cage legs had been welded in.
anyway, the lanoguard kit: 60 quid for an organic wax fluid that can apparently be sprayed everywhere. I also bought a better spray bottle and a cavity spray tube.
Kit:
unfortunately the sill wand tube thing has too big holes (and too many) at the end for atomisation, so instead of spraying everywhere it�s more like an old man dribbling. I solved this by pushing the end further in so that only a couple of the holes were able to spray, after which the spray is much better.
Did one sill on the inside (I know the sills are rust free as I had a good poke around inside them when they were open for cage removal). The lanoguard is runny enough to go everywhere with the cavity tube, I think.
Access to the inside is good if you remove the plastic threshold pieces (rear one needs rear seat base removing) as there are holes to spray into (remove the rubber discs on top of the sill for access).
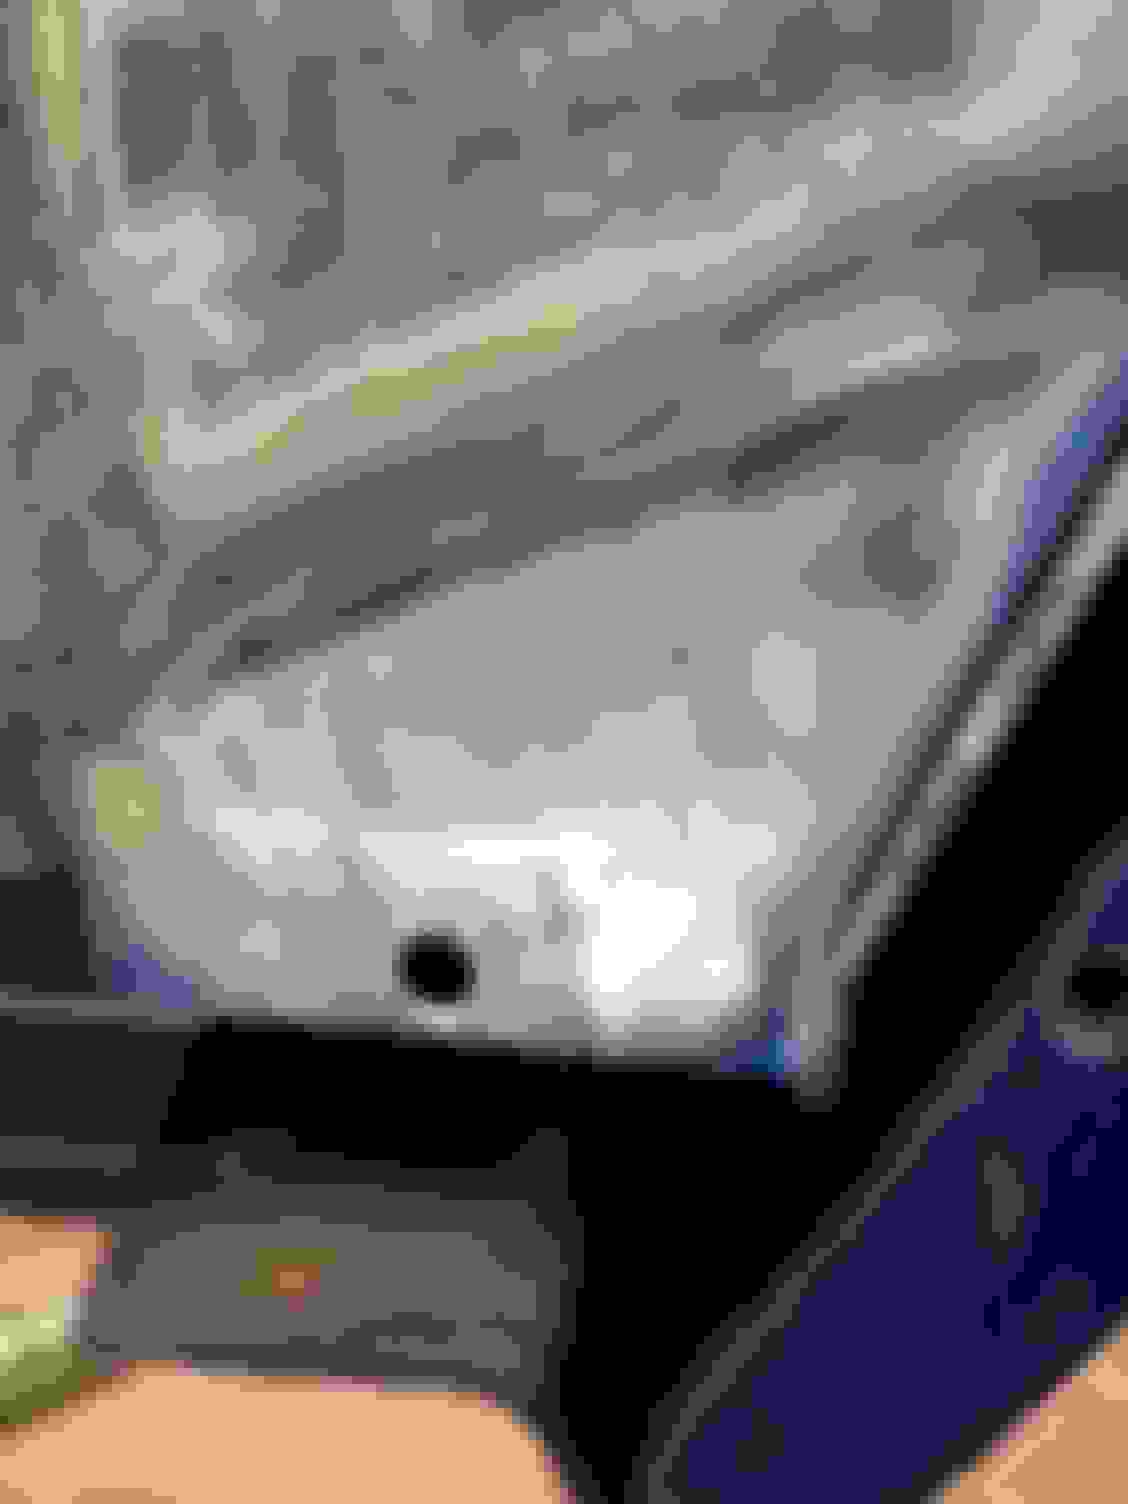
Then I washed off the rear arch and poked my head up there. The only thing that looked out of the ordinary was where the cage foot had been welded in. The section has been replaced and coated over with underseal over a painted piece of steel.
looks like the under seal is failing and with some corrosion around the weld 😭
stripped back:
rust remover applied a couple of times:
the brown in the middle of the patch is actually some red paint, over coated with some black bitumen type stuff:
someone who isn�t an idiot would have probably stopped here and applied paint and some stone chip and been done with it.
Unfortunately, I�m not like that. Before I knew it, I had scraped some more off:
and then I had to keep going:
rear:
rust patches under the under seal towards the rear of the car (under seal came off alarmingly easily here):
under the rear bumper �black plastic thing�:
Front looks better, but still some oddities under the underseal eg under the shiny torch reflection there�s some odd looking shiny rings. I think these were about to start becoming rust blisters):
another shot towards the front:
Not shown, but the Subaru under sealing is a joke! There�s a strip of about 3cm of the actual arch �roof� that has no under seal at all (just normal paint), and this had several paint blisters). Also on the inside vertical section (above the lip) there is also just paint, and the situation was the same there - blisters and blisters).
luckily the blisters and rest of the paint came off easily with the drill and a steel brush attachment, but I now understand why all the Subarus are rusty around this area.. lucky that I started poking around and didn�t know how to stop, otherwise in the next couple of years it would have had a hole probably.
messy work, but at least it comes off. Easiest method seems to be a thin wood chisel to cut the under seal off, and then go over it with the drill with wire brush attachment.
might take the suspension out so I can get to the back of the arch.
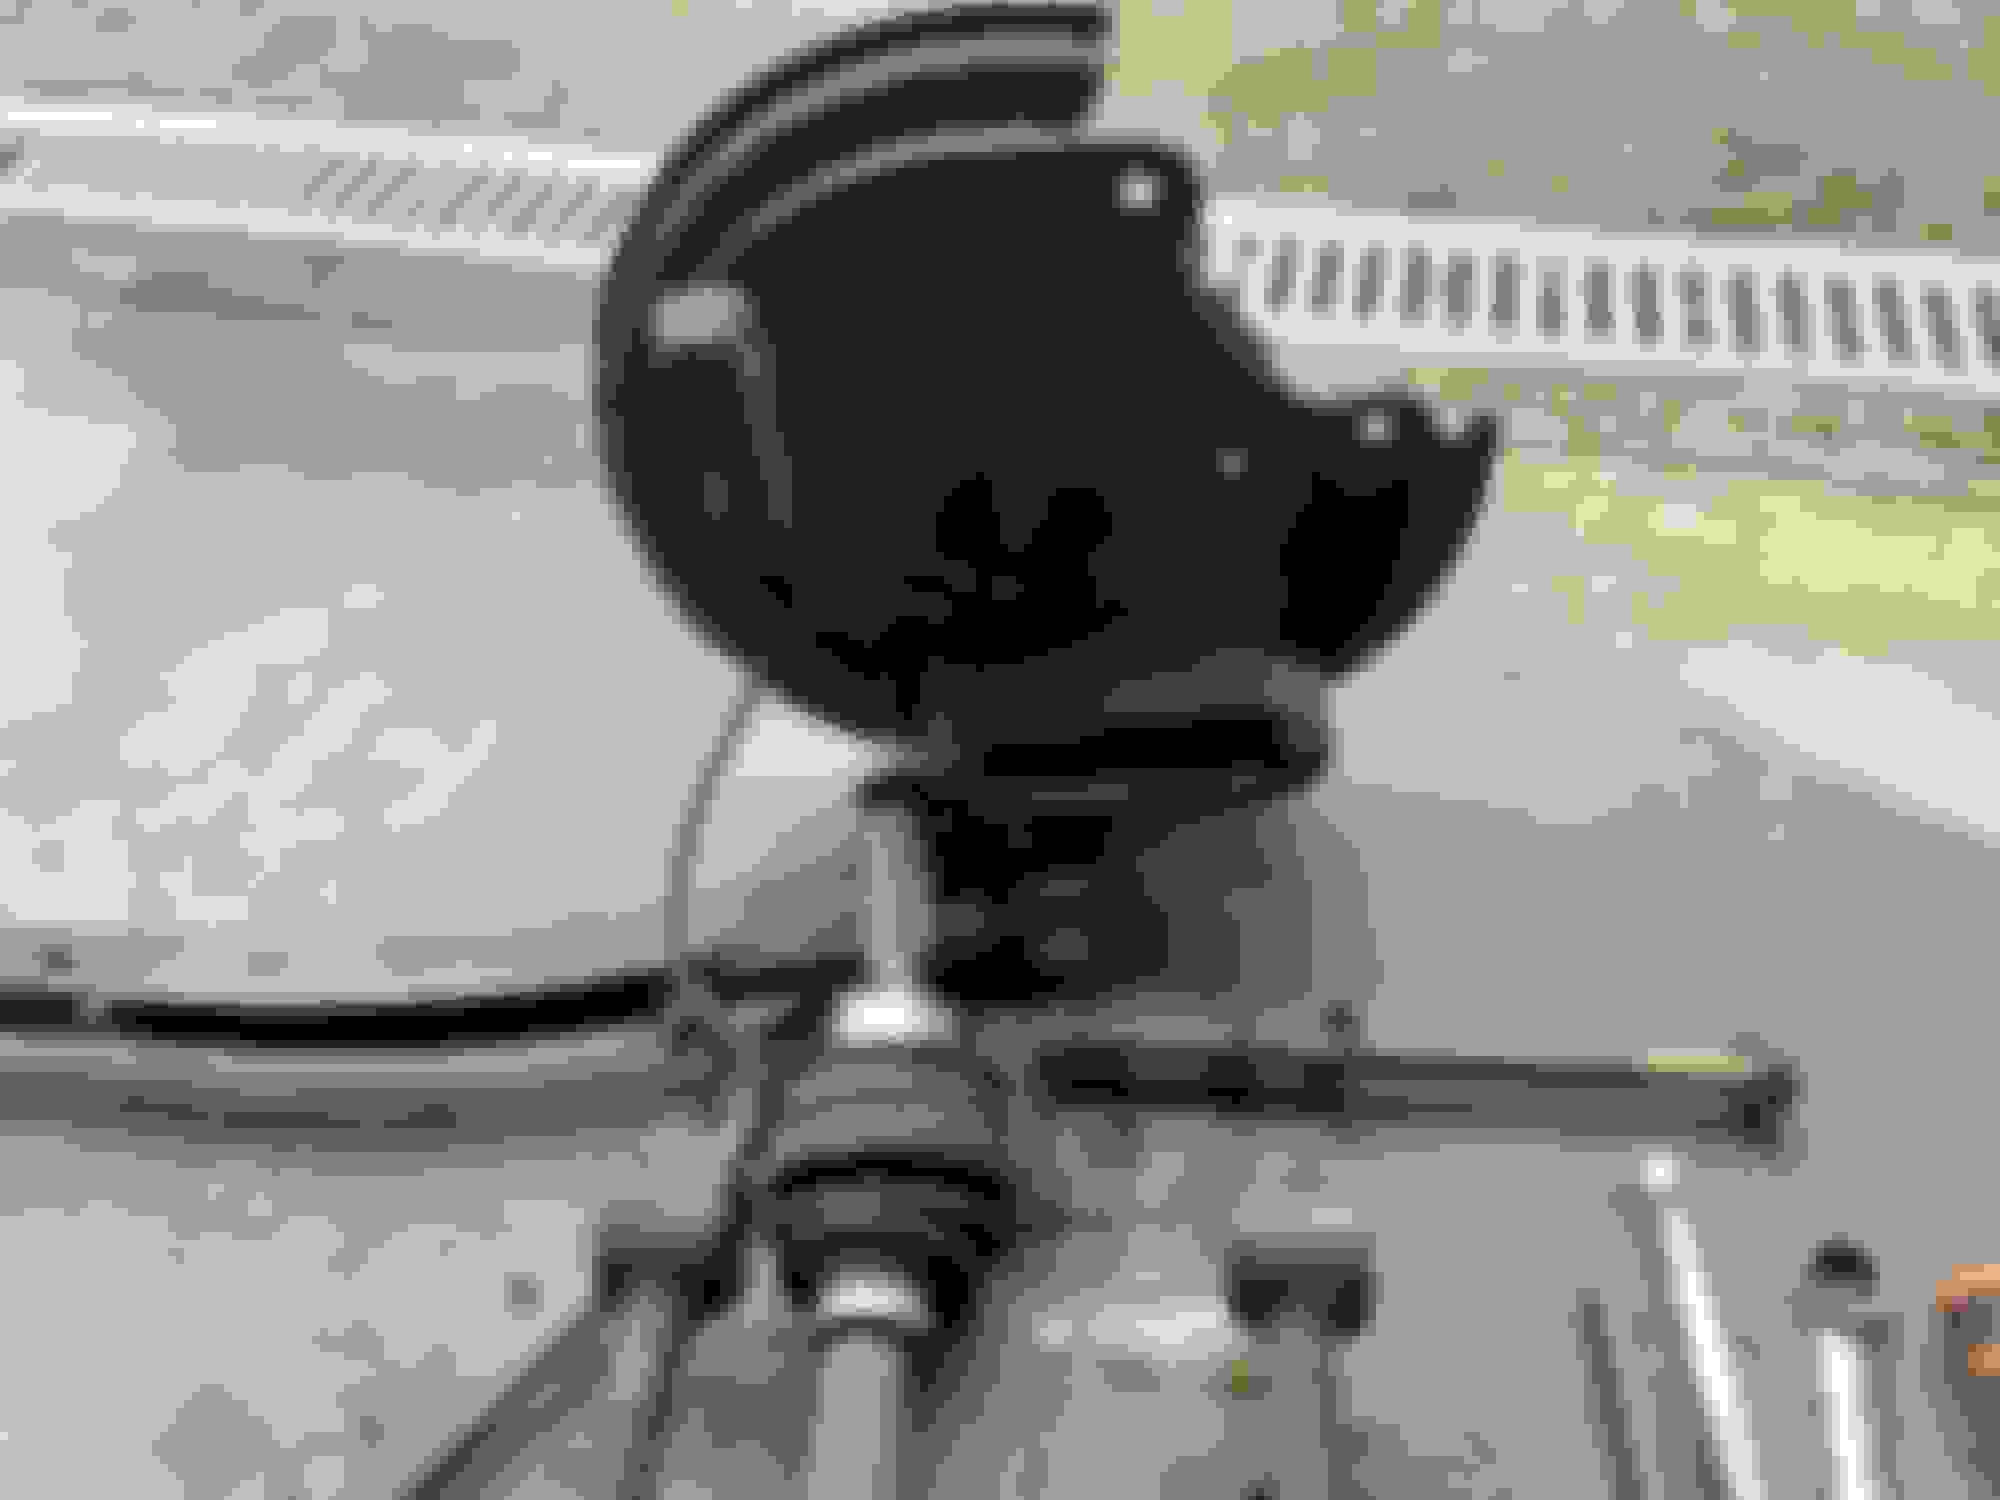
The bolts were horrendously stuck.. had to remove the brake caliper so I could get the air impact onto the nut for the top bolt, and the bottom one was just brute force with the breaker bar� even the snap on air impact wouldn�t shift it 😓
access is a lot better now, and hopefully there�s no rust hiding behind there.
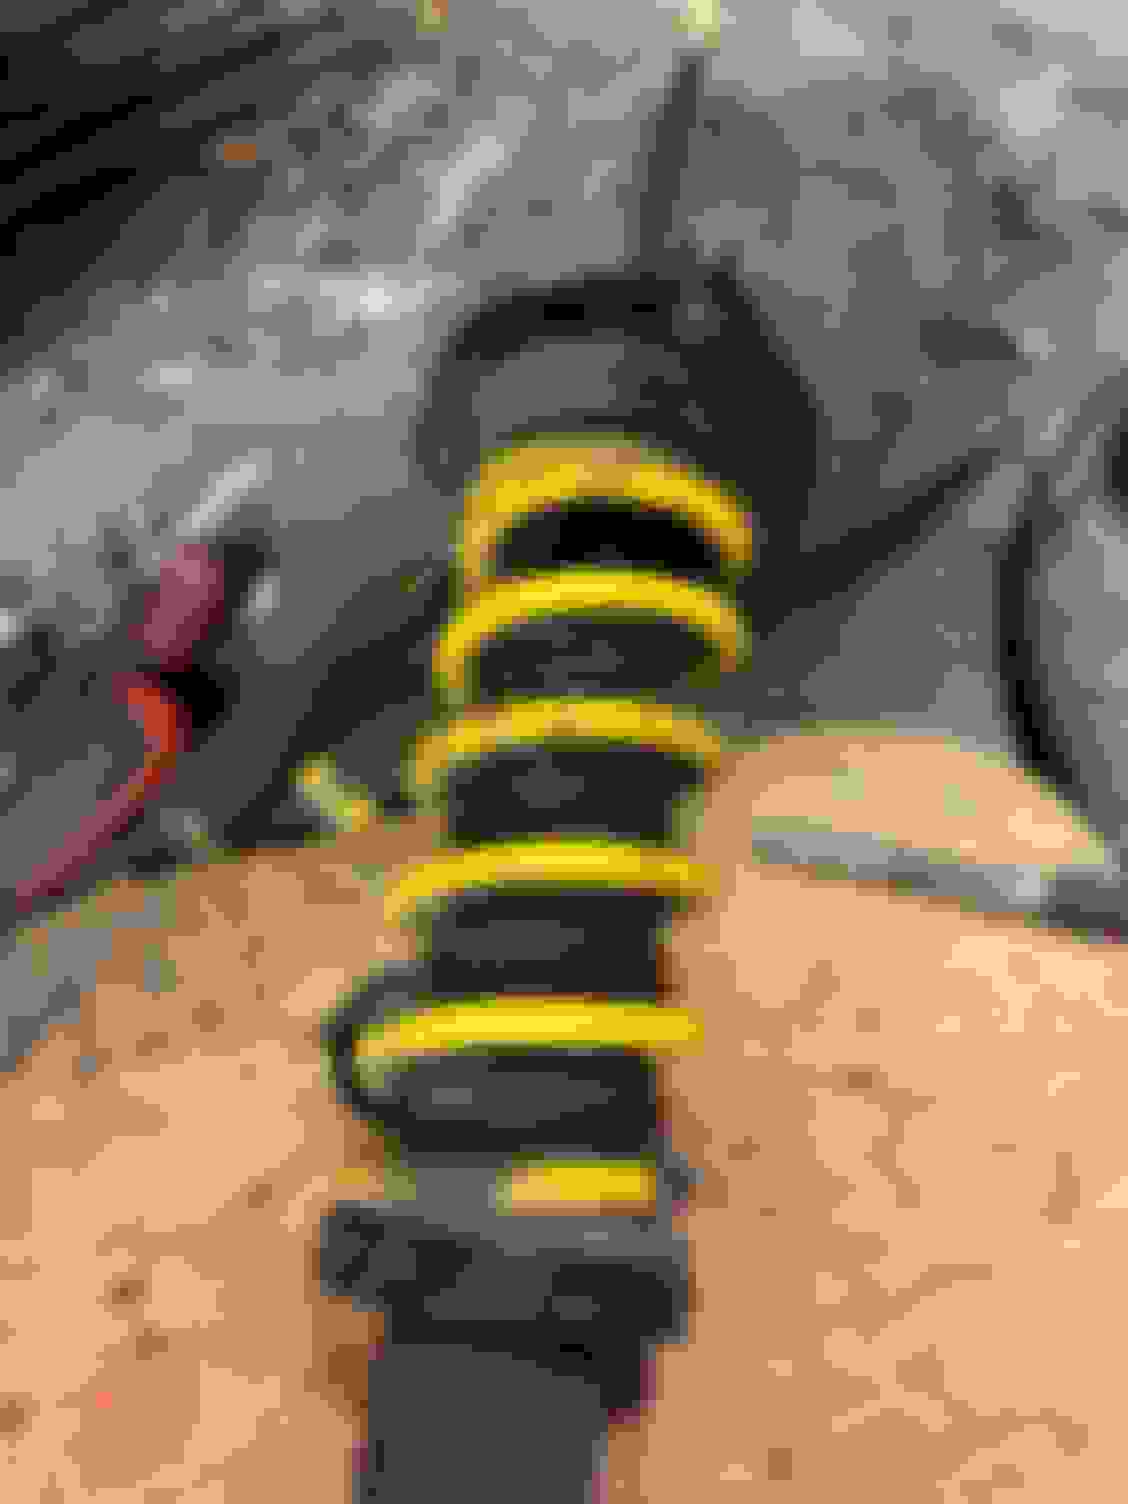
the rear strut looks quite sad with paint flaking off the spring etc etc, but where do you stop?
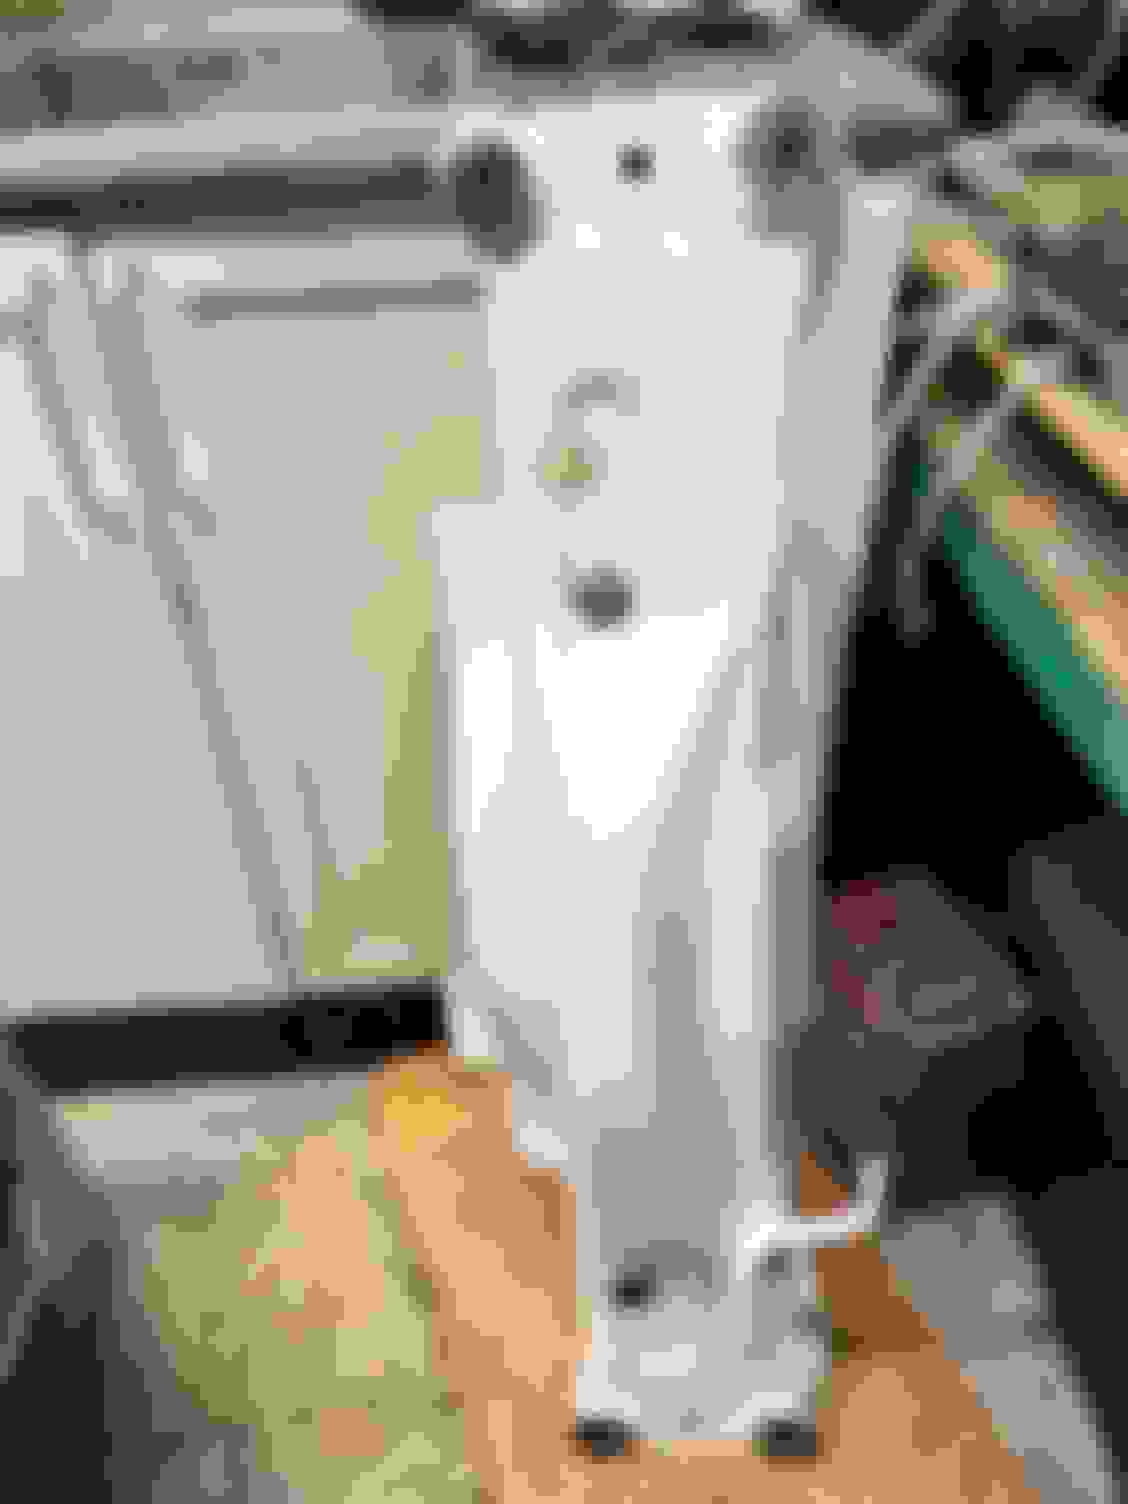
Drivers side strut came out without any drama at all.. I've sent an email off to AST to see if they will refurb these too (they did the fronts many years ago), but yet to hear back - hopefully get a reply after xmas some time.
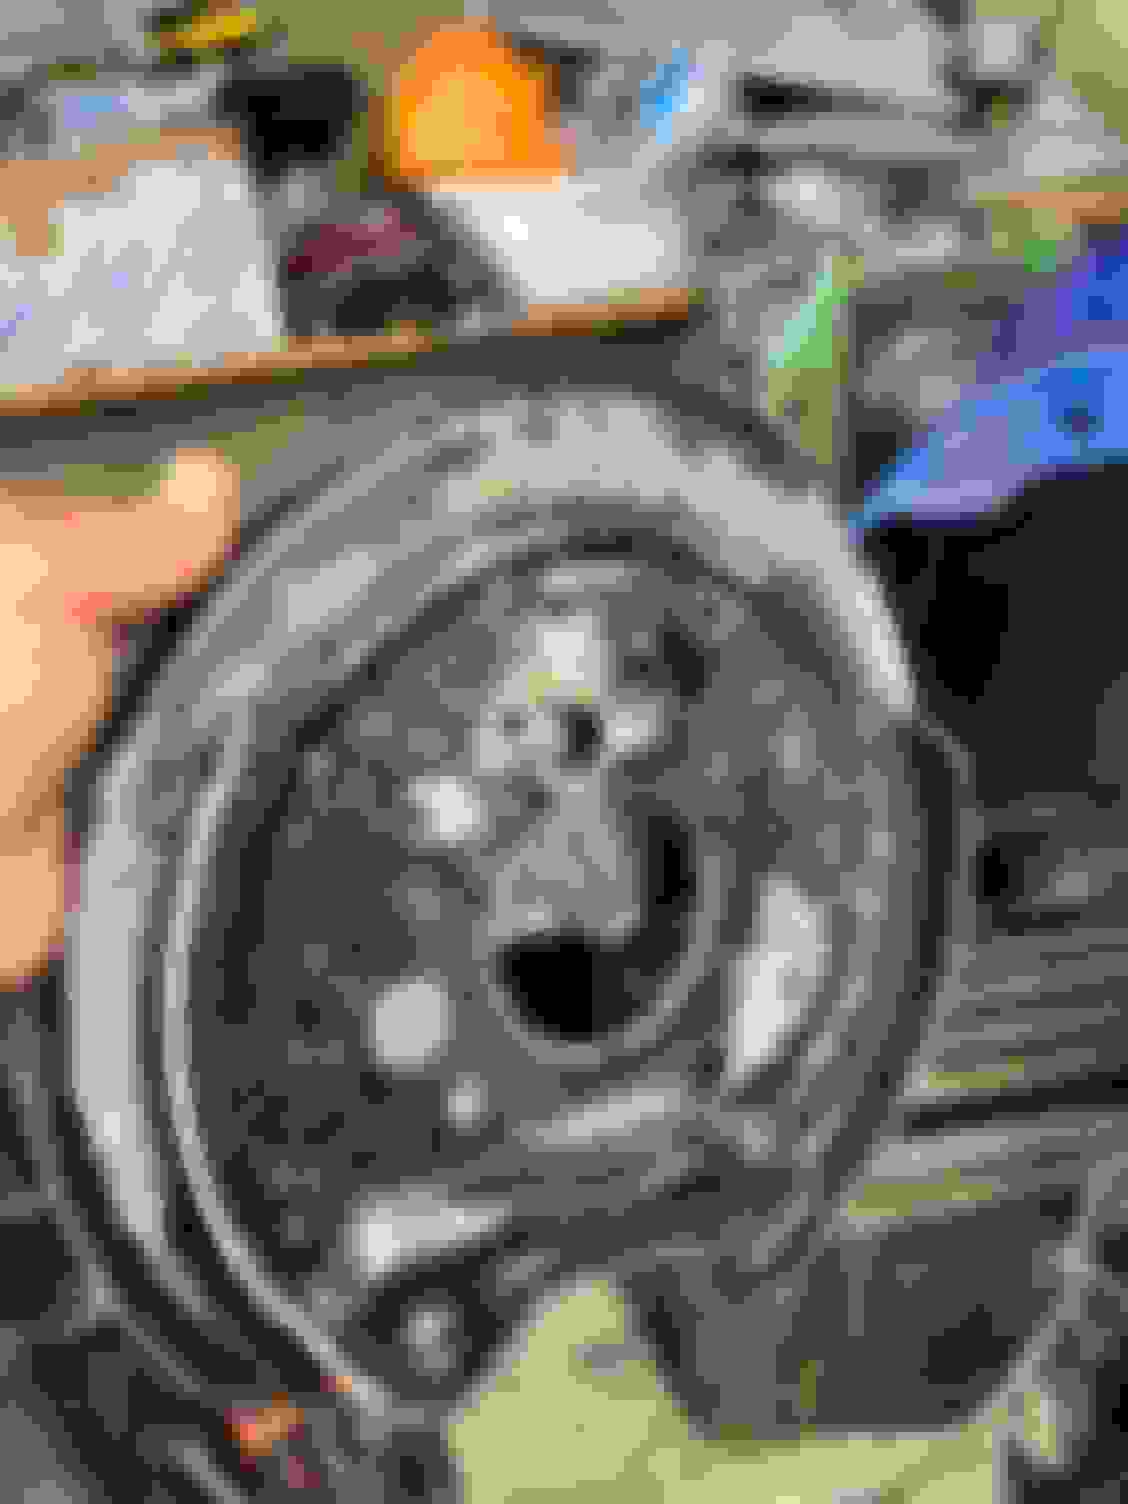
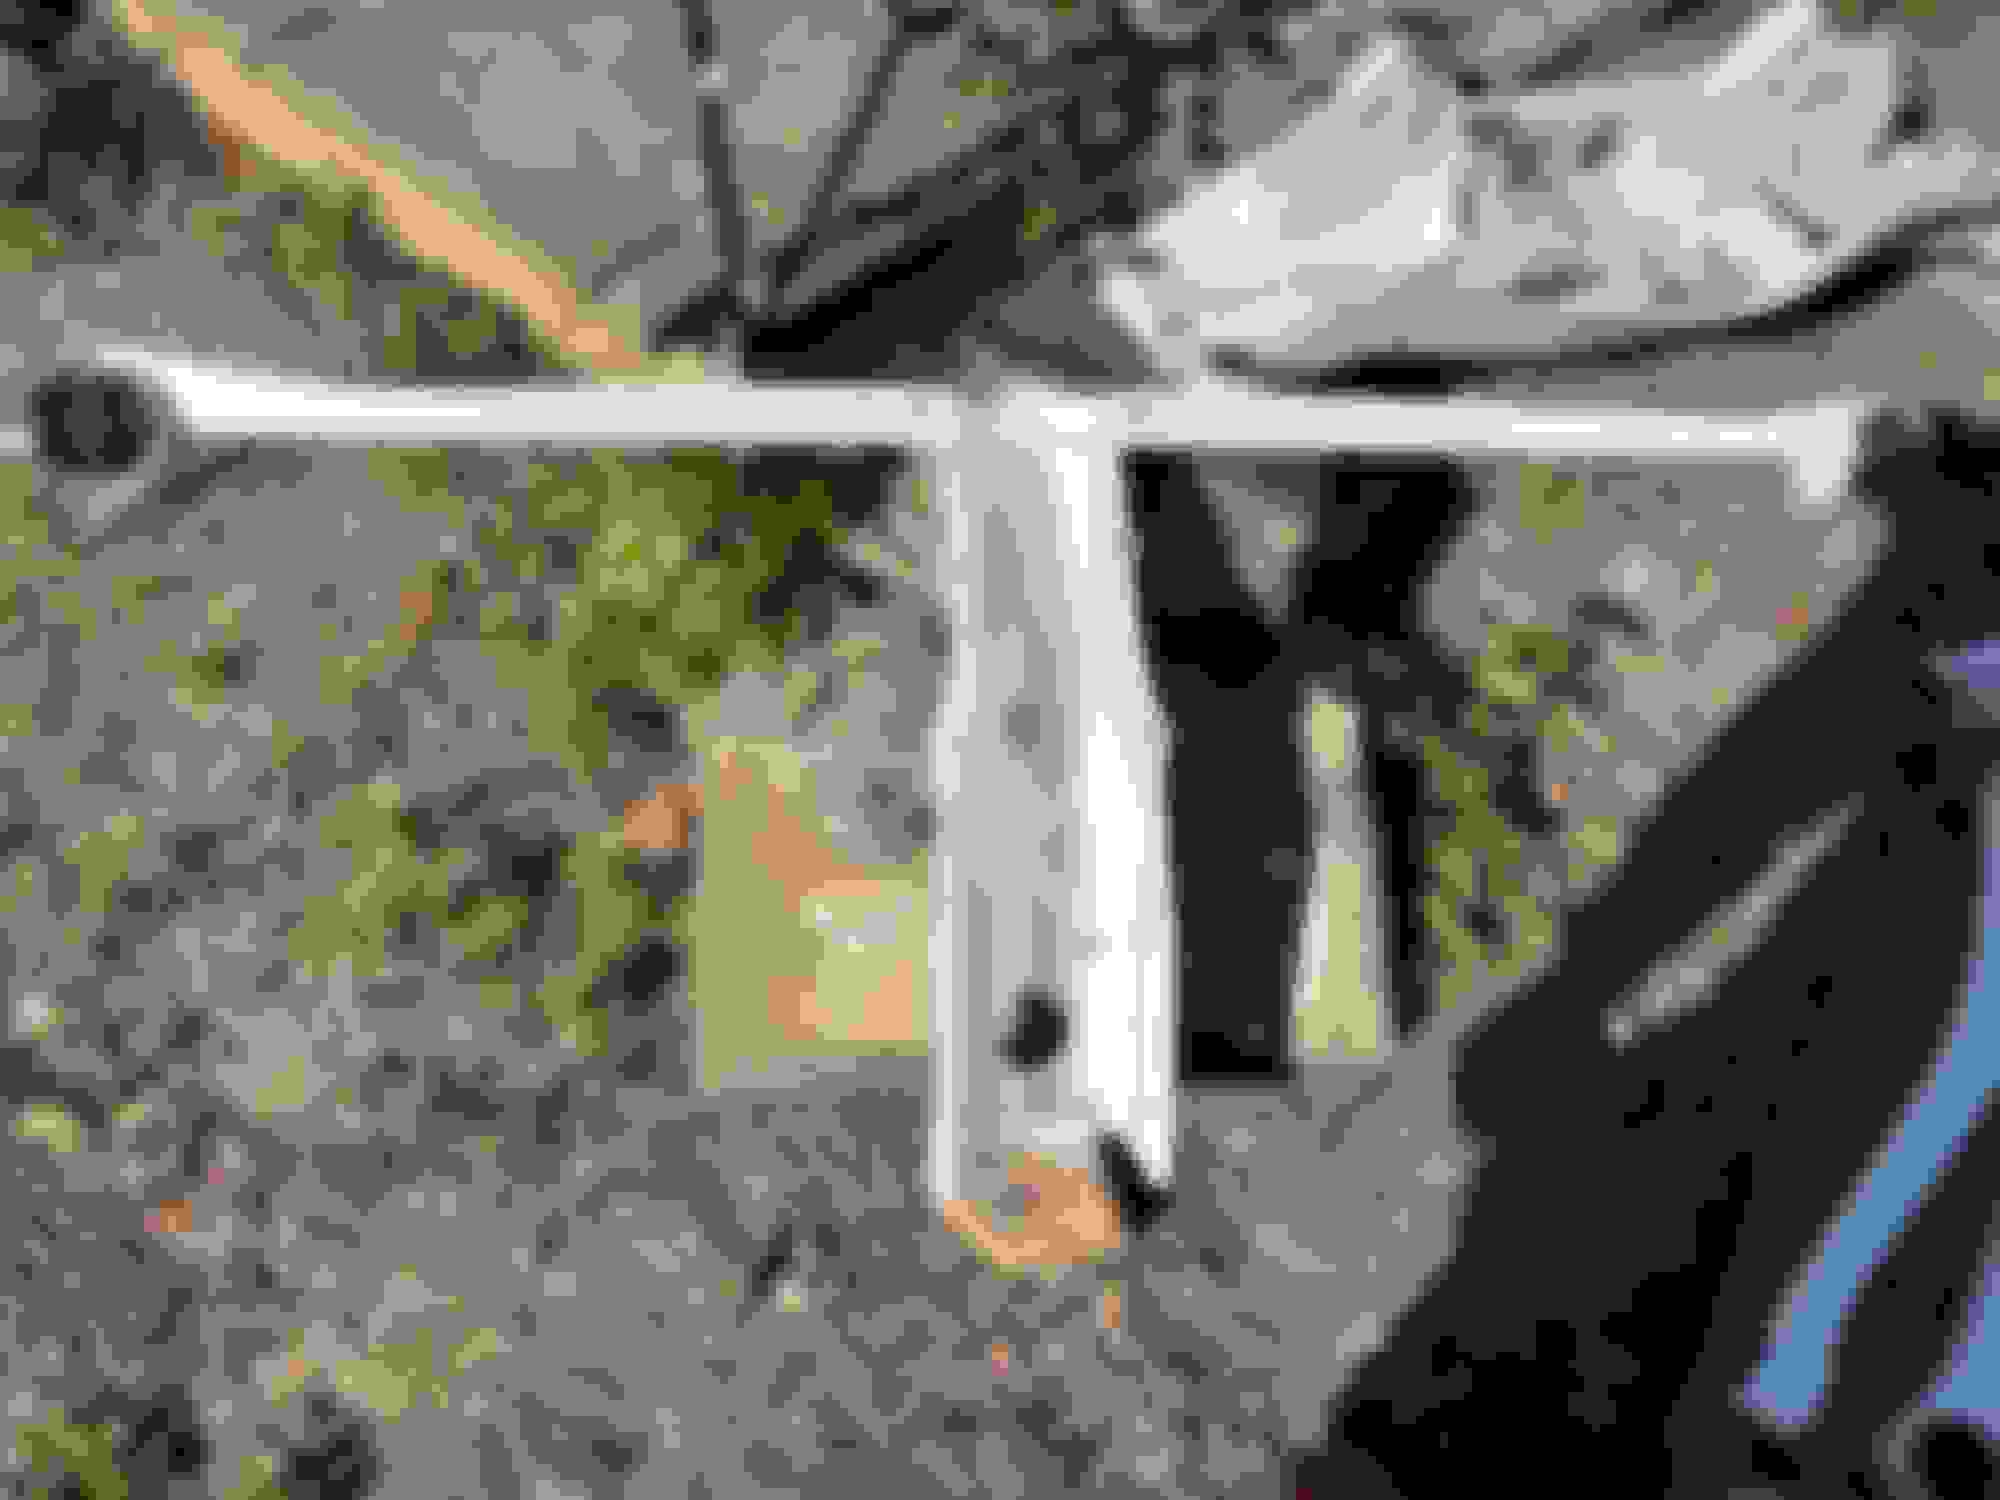
Strut tower looks OK, but who knows what horrors lurk under the underseal and dirt The cage foot patch is visible to the right, and there's the same slight discolouration as on the passenger side starting in the left corner of the patch - hopefully it wont be any worse than the other one, but..
A nice surprise was the brake pads, which have worn unevenly... Guess I'll be getting some new ones, and might as well have a look at the calipers at the same time, and swap the brake discs. The discs are the original ones, so they've done OK I think
Took the rear bumper off for better access. A lot easier than I thought in the end - certainly less work than the front bumper at least!
Everything here looks fine, except for the centre bumper hanger, which I crushed when the car fell of its jack stands once upon a time, and rolled into a wall... At least it should be an easy fix
No real rust underneath, but some surface rust on e.g. bolts etc in the rear subframe, and the ARB and ARB mounts look like they have seen better days (still "fine", but definitely all brown).
Peeking into the frame rails, they look completely clean:
Passenger side.. The bumper mount may need a coat of something, but the rail itself looks good.
Underneath the exhaust head shield:
sad looking bracket to be replaced or at least bent back into shape and "hydrate-80'd" and painted:
As everything kind of looks "fine" underneath, I am in two minds about dropping the subframe with all that that entails... it feels as if I'm maybe just making extra work for myself for no real benefit, except looking blingy (which is a benefit in itself, I guess). My thinking here is that as it's not being driven in winter etc anymore (or even rain if I can avoid it), then protecting what is there already will mean that it's not getting any worse (not that it's bad anyway), and stripping things down just means less miles done this year, and if I was to sell it at some point people might question why I'd stripped down a perfectly fine example to just paint it...
In other news, the rear suspension is being posted to AST for a quick rebuild, and I will be ordering discs and pads from Godspeed shortly.
So after a couple of months of life getting in the way, I'm back on this for a bit.
The suspension came back full rebuilt. I ended up spending 370 for the two rear struts, but that includes new springs (nothing wrong with the old ones, just looked rusty...). More expensive than last time, but now all four struts have been rebuilt within the last couple of thousand miles, so should hopefully last for a long time
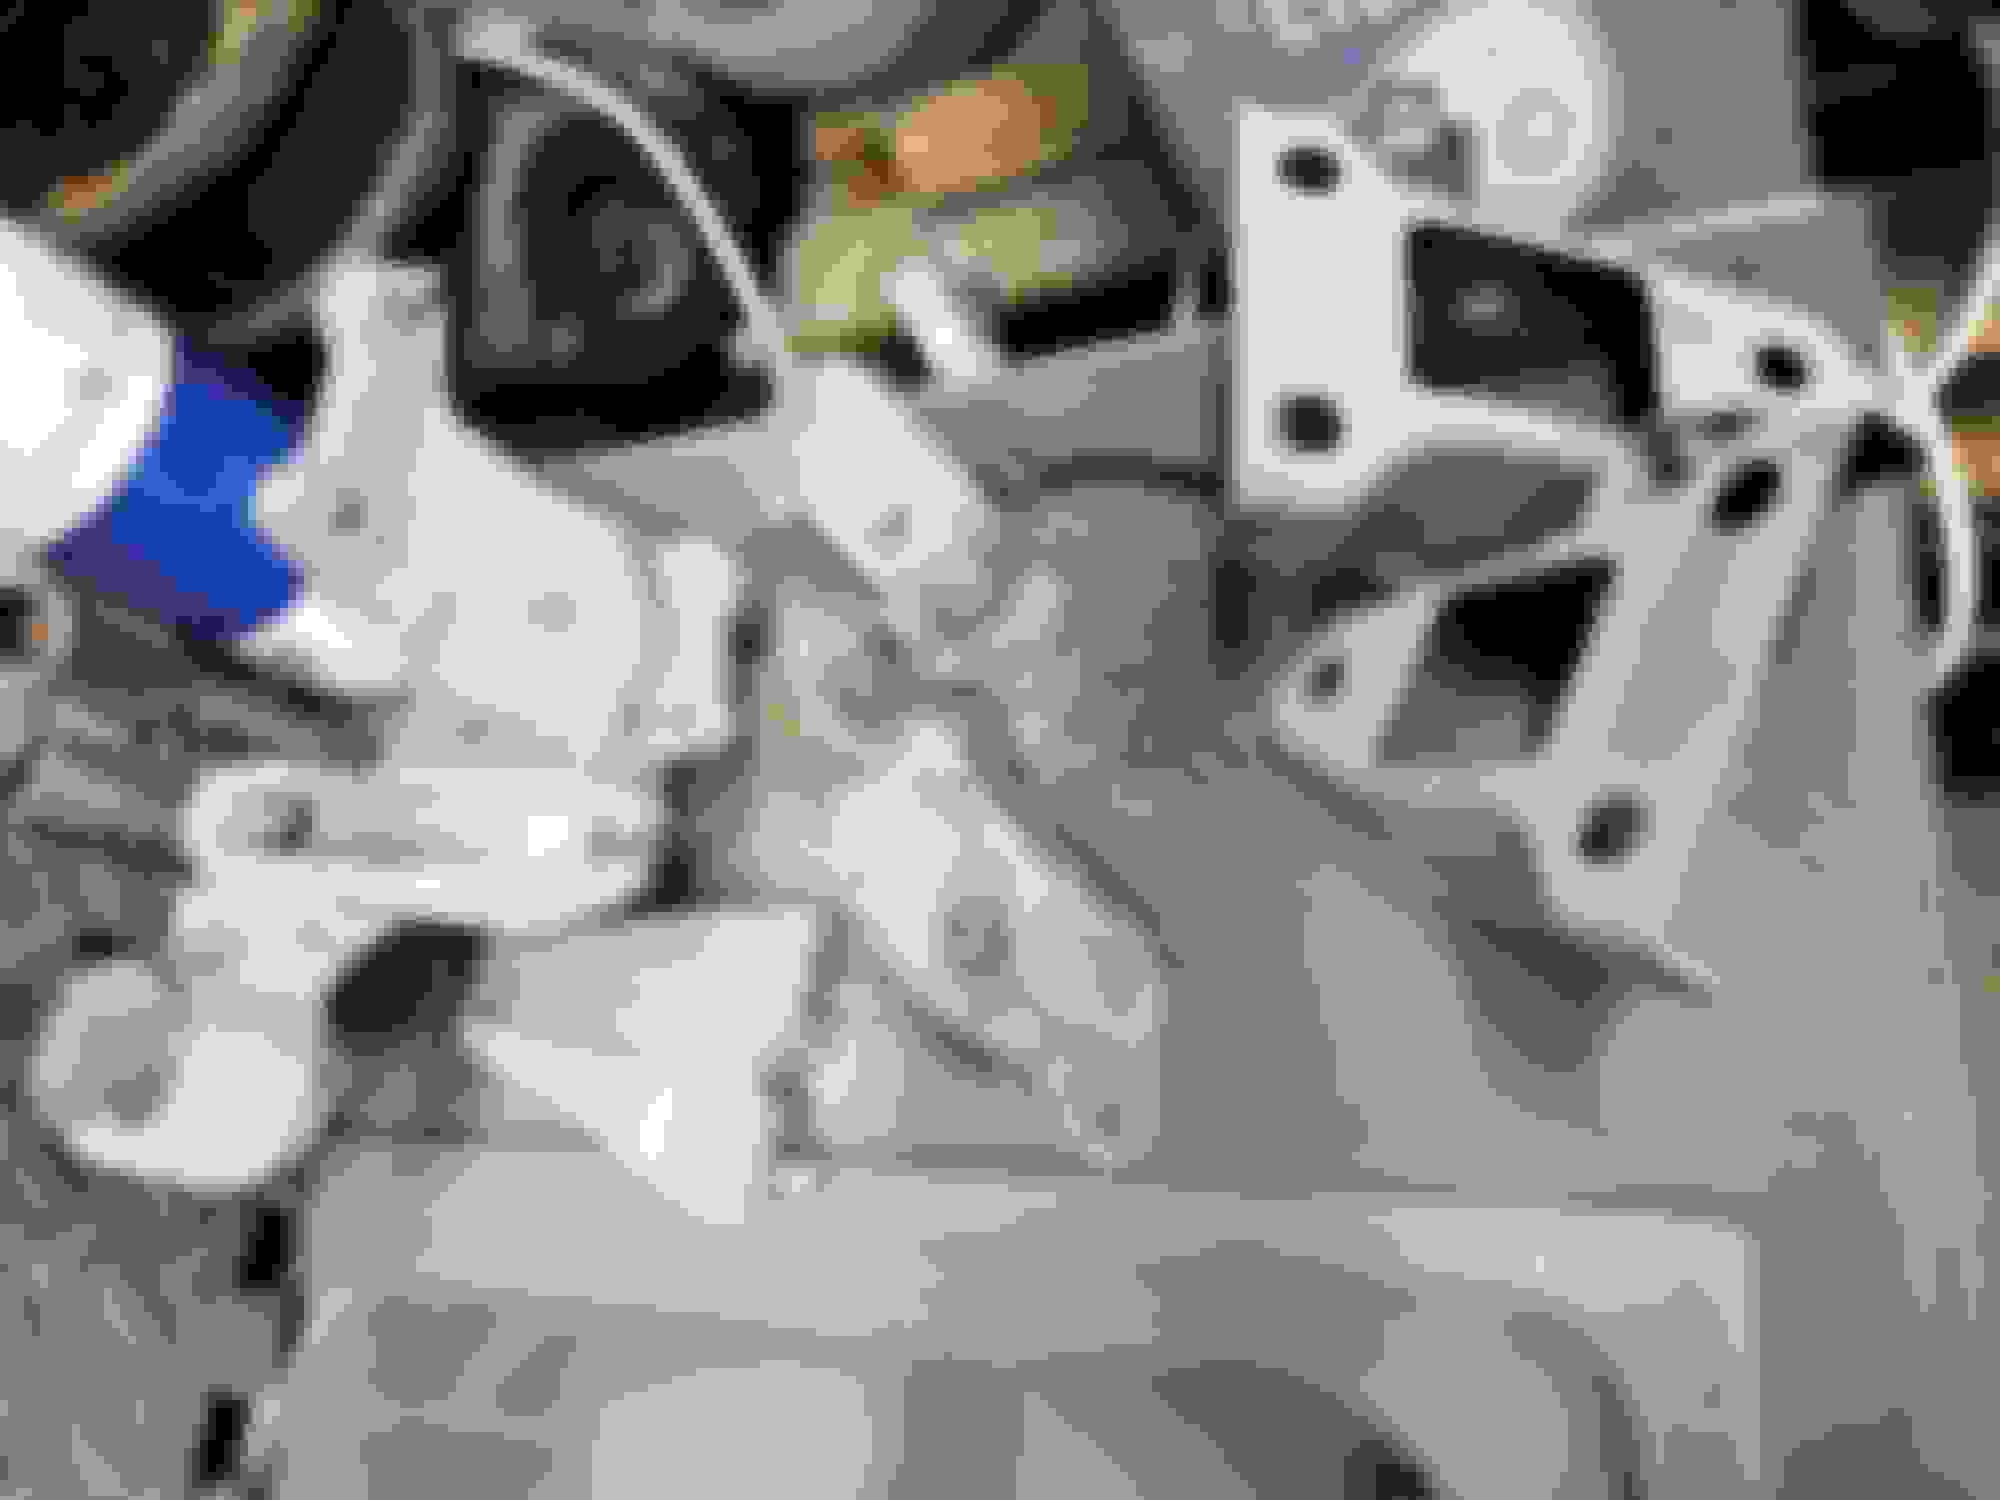
In other news I've been slowly removing the subframe too. It was an utter. utter pain, especially getting the t-frame (outrigger?) off from the brackets that hold the bushes in. Also had to figure out how to take the hand brake cables off, and the ABS sensors etc etc, but it finally came out today at lunch time. There's no rust underneath that I can see from my quick glance, but will clean and take some photos when I get a chance.
The subframe itself needs a clean before assessing, but you can already see some discolouration in parts on it (but I've not discovered any rot or similar at all yet, which is good)!
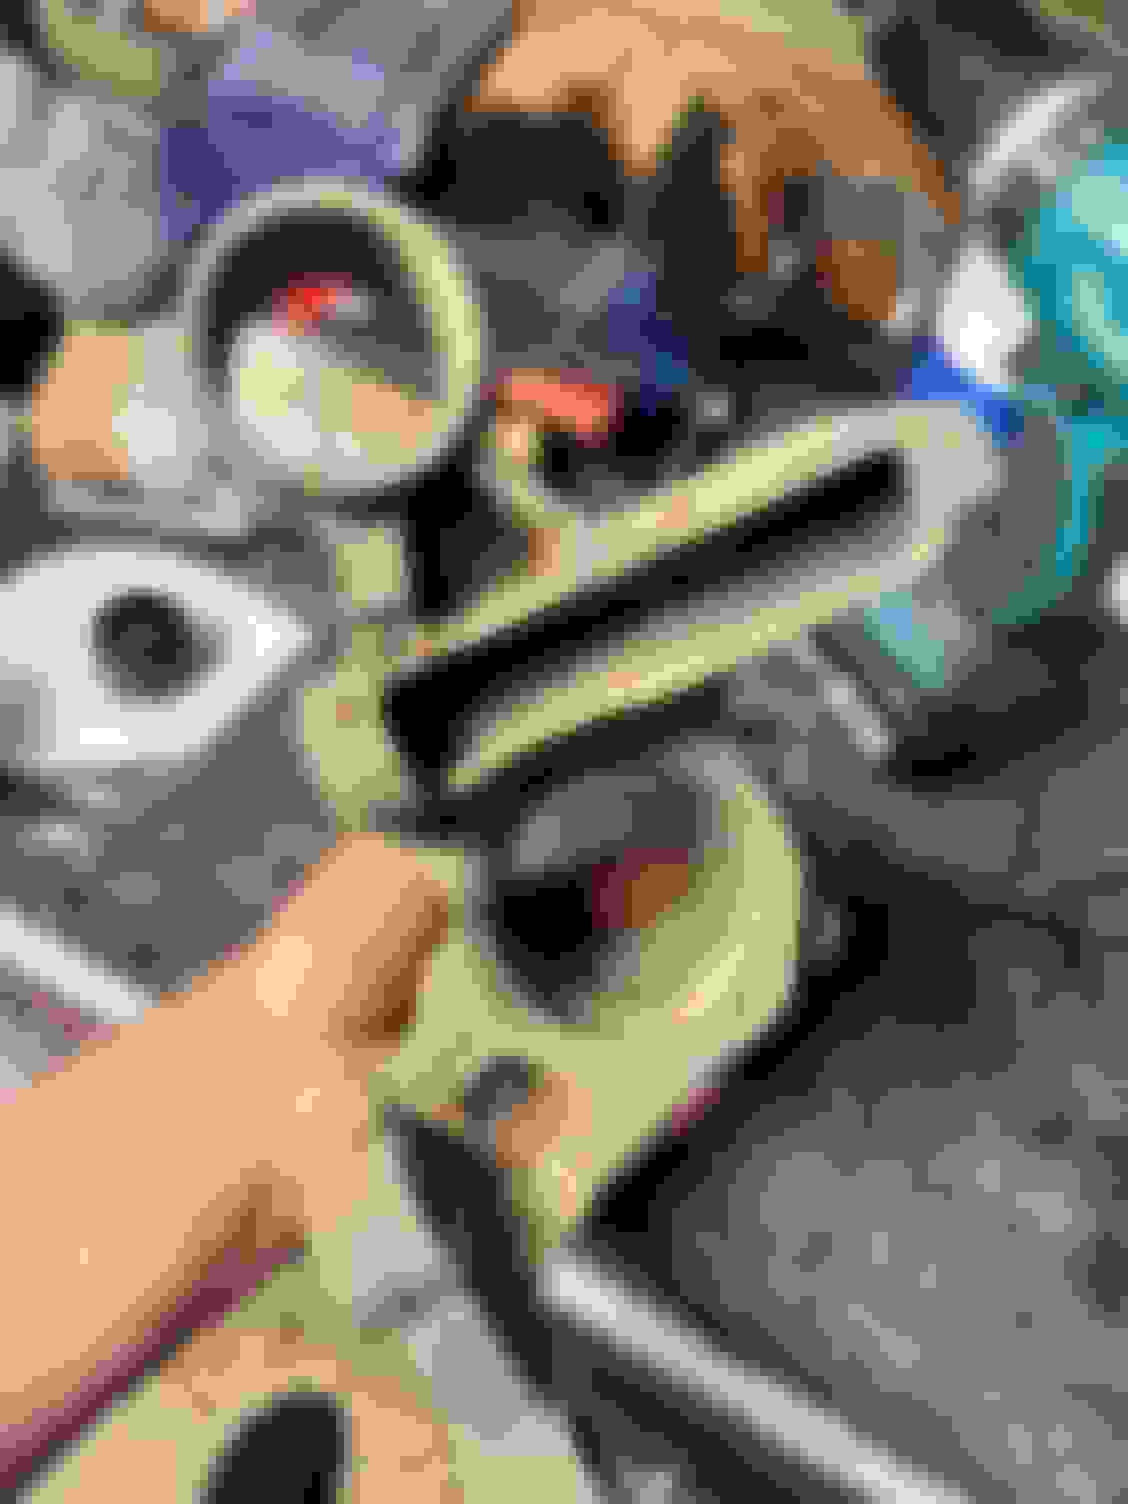
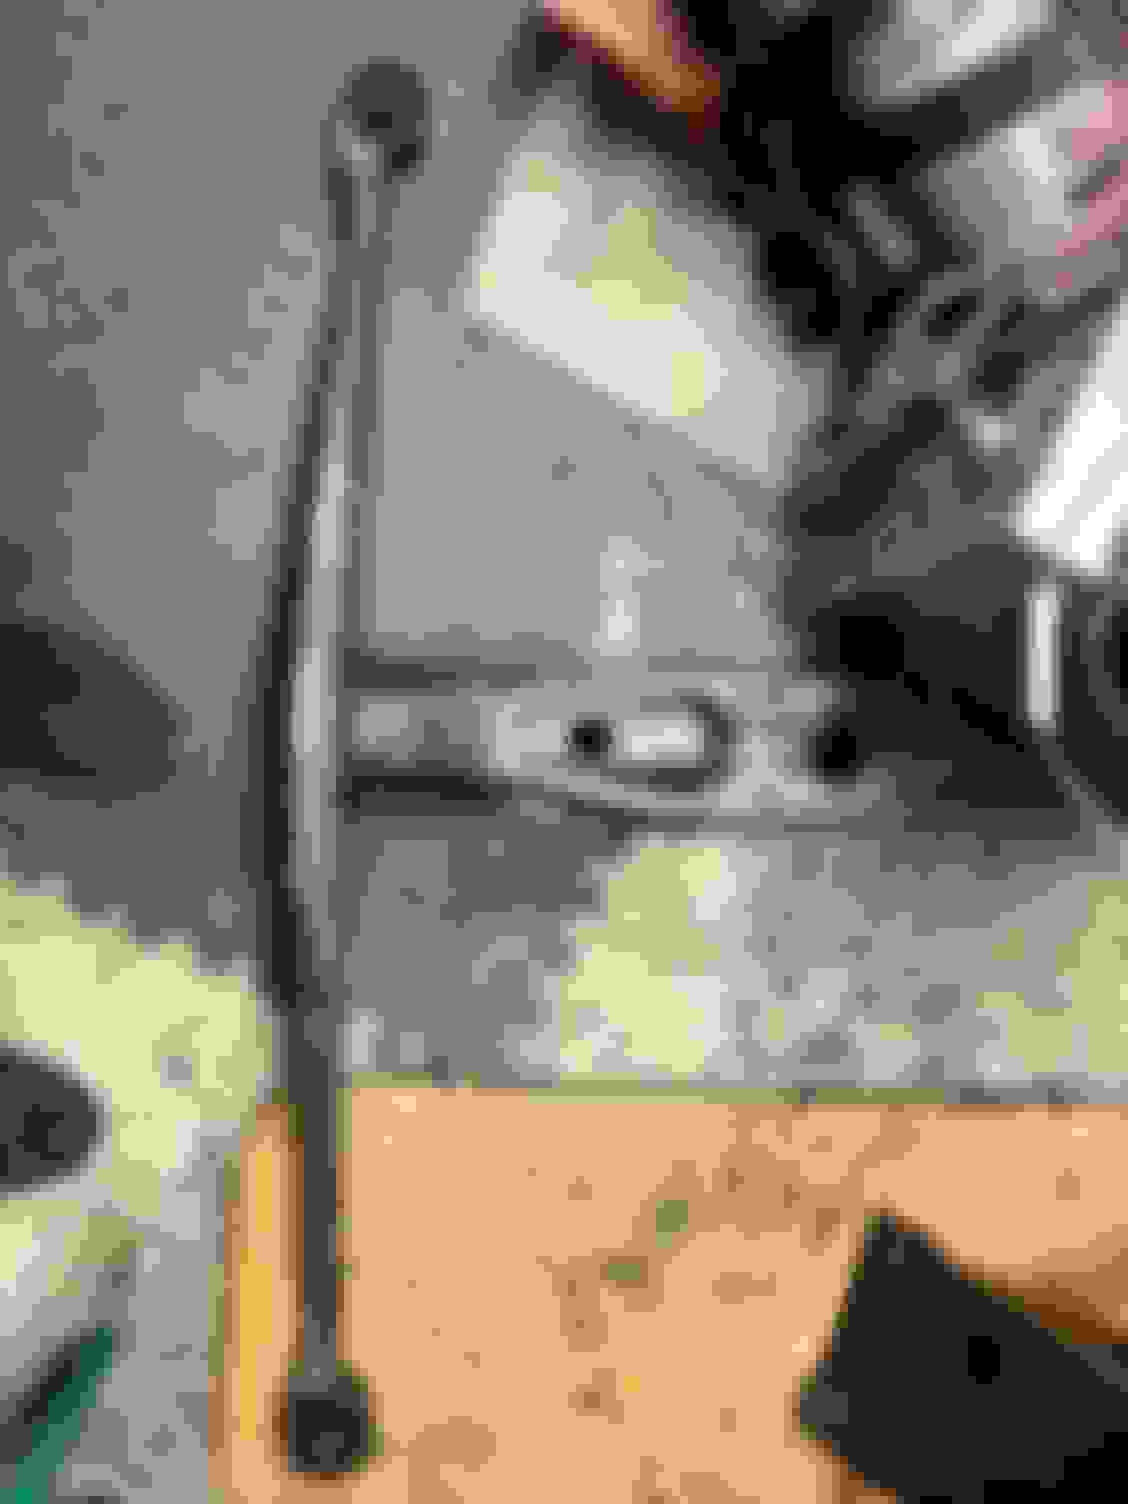
I have started pressing out the bearings in the link arms:
also used the press to remove the spindle on the rear passenger hub, as I was doing battle with the rusty link arm bolt.
abs sensor bolt sheared and had to be drilled out
after much swearing, drilling and hammering the bolt finally gave up.
The drivers side was a completely different story. This side came out without any drama at all, and in general the drivers side bits and pieces seem to be in much, much, better condition.
next steps:
- get all bushings pressed out of link arms
- treat link arms and sub frame with some new paint
- paint hubs etc
Not sure what bushings I will run yet, but probably just normal rubber STI or Group N items.
I've found a similar story with the bolts on my classic that I'm rebuilding. The nearside has been a bit more stuck or corroded and the cill was in worse shape too.
My assumption is that its down to dirty/salty water congregating towards the kerb and thus that side of the car gets sprayed with more grit and salt.
I've got Hardrace rear arms purchased through AS Performance. I've had them on for a few years.
They're rubber (the correct material for a suspension bush vs. a mounting bush in my opinion) and they're very easily adjustable which is nice. They weren't silly money either.
Good work @henrik! I see you've decided to go the whole hog on the refurbishment. It will be worthwhile when finished.
Hope so :-)
Slow progress, but I have:
Bought myself some bilt hamber products finally - about 200 quids worth:
Started with the deox-c immediately. I think this is basically some crystals that make phosphoric acid when added to water... Not 100% convinced about the rust removal rate on it, if I'm honest (though I have diluted it to 1:20) - maybe a stronger solution would be quicker / more powerful.
Starting points:
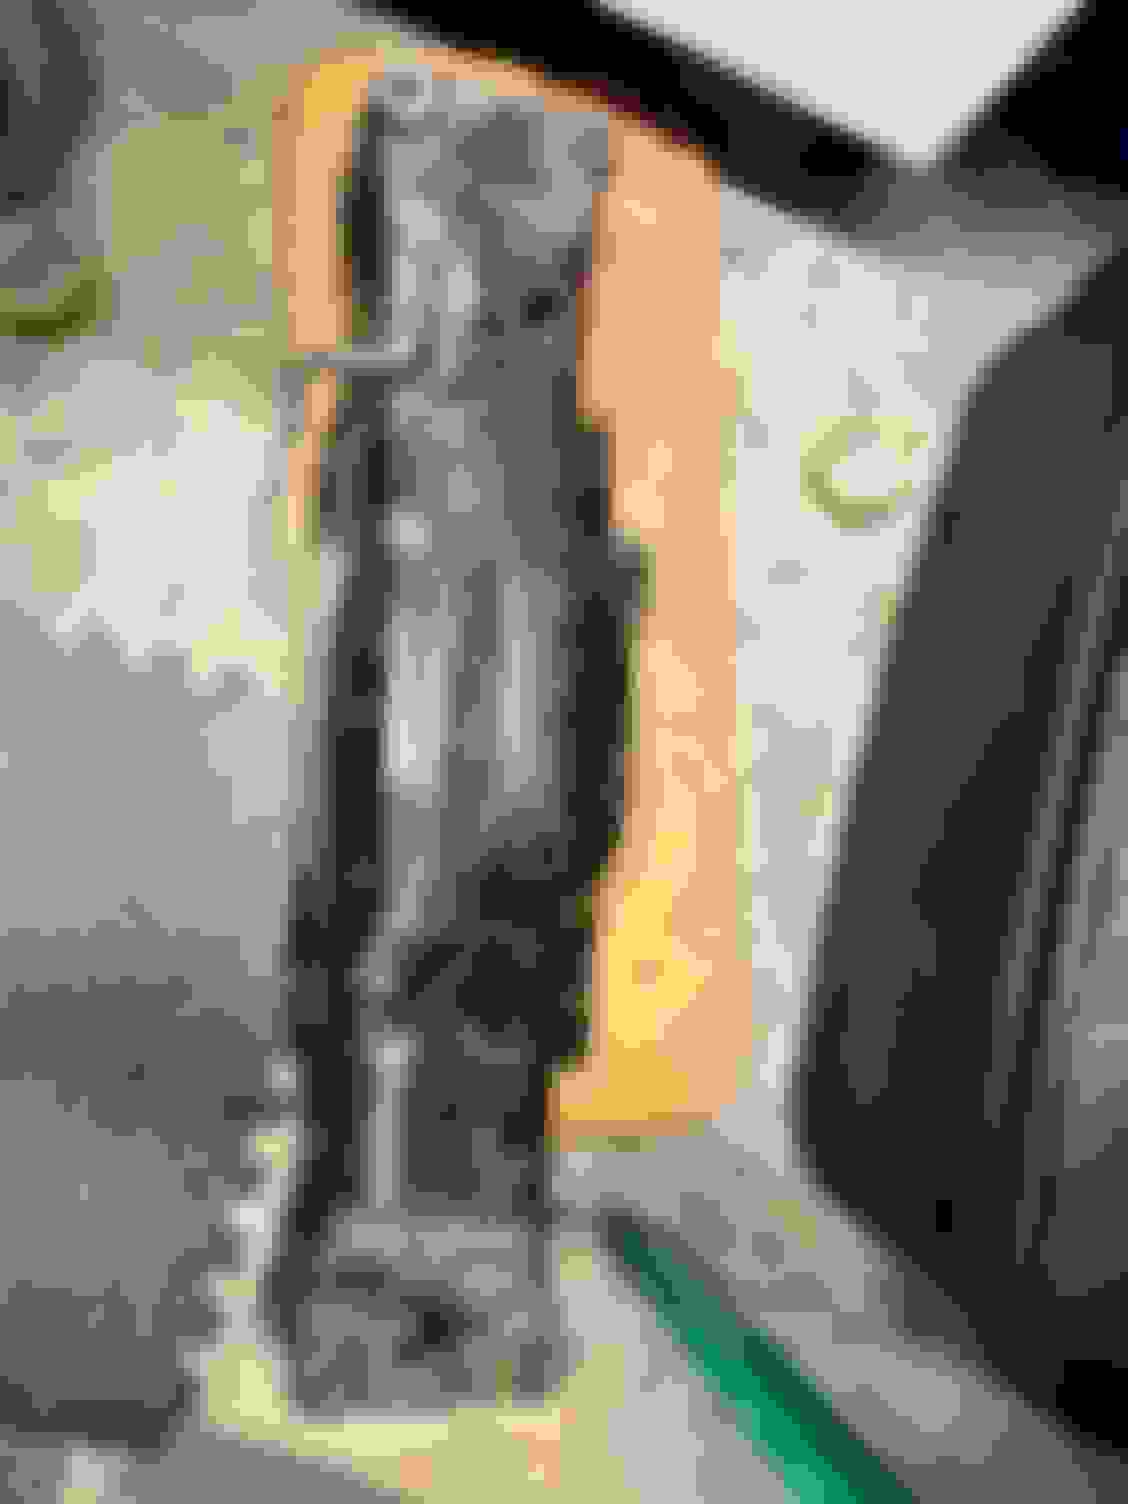
Fuel filler neck holder:
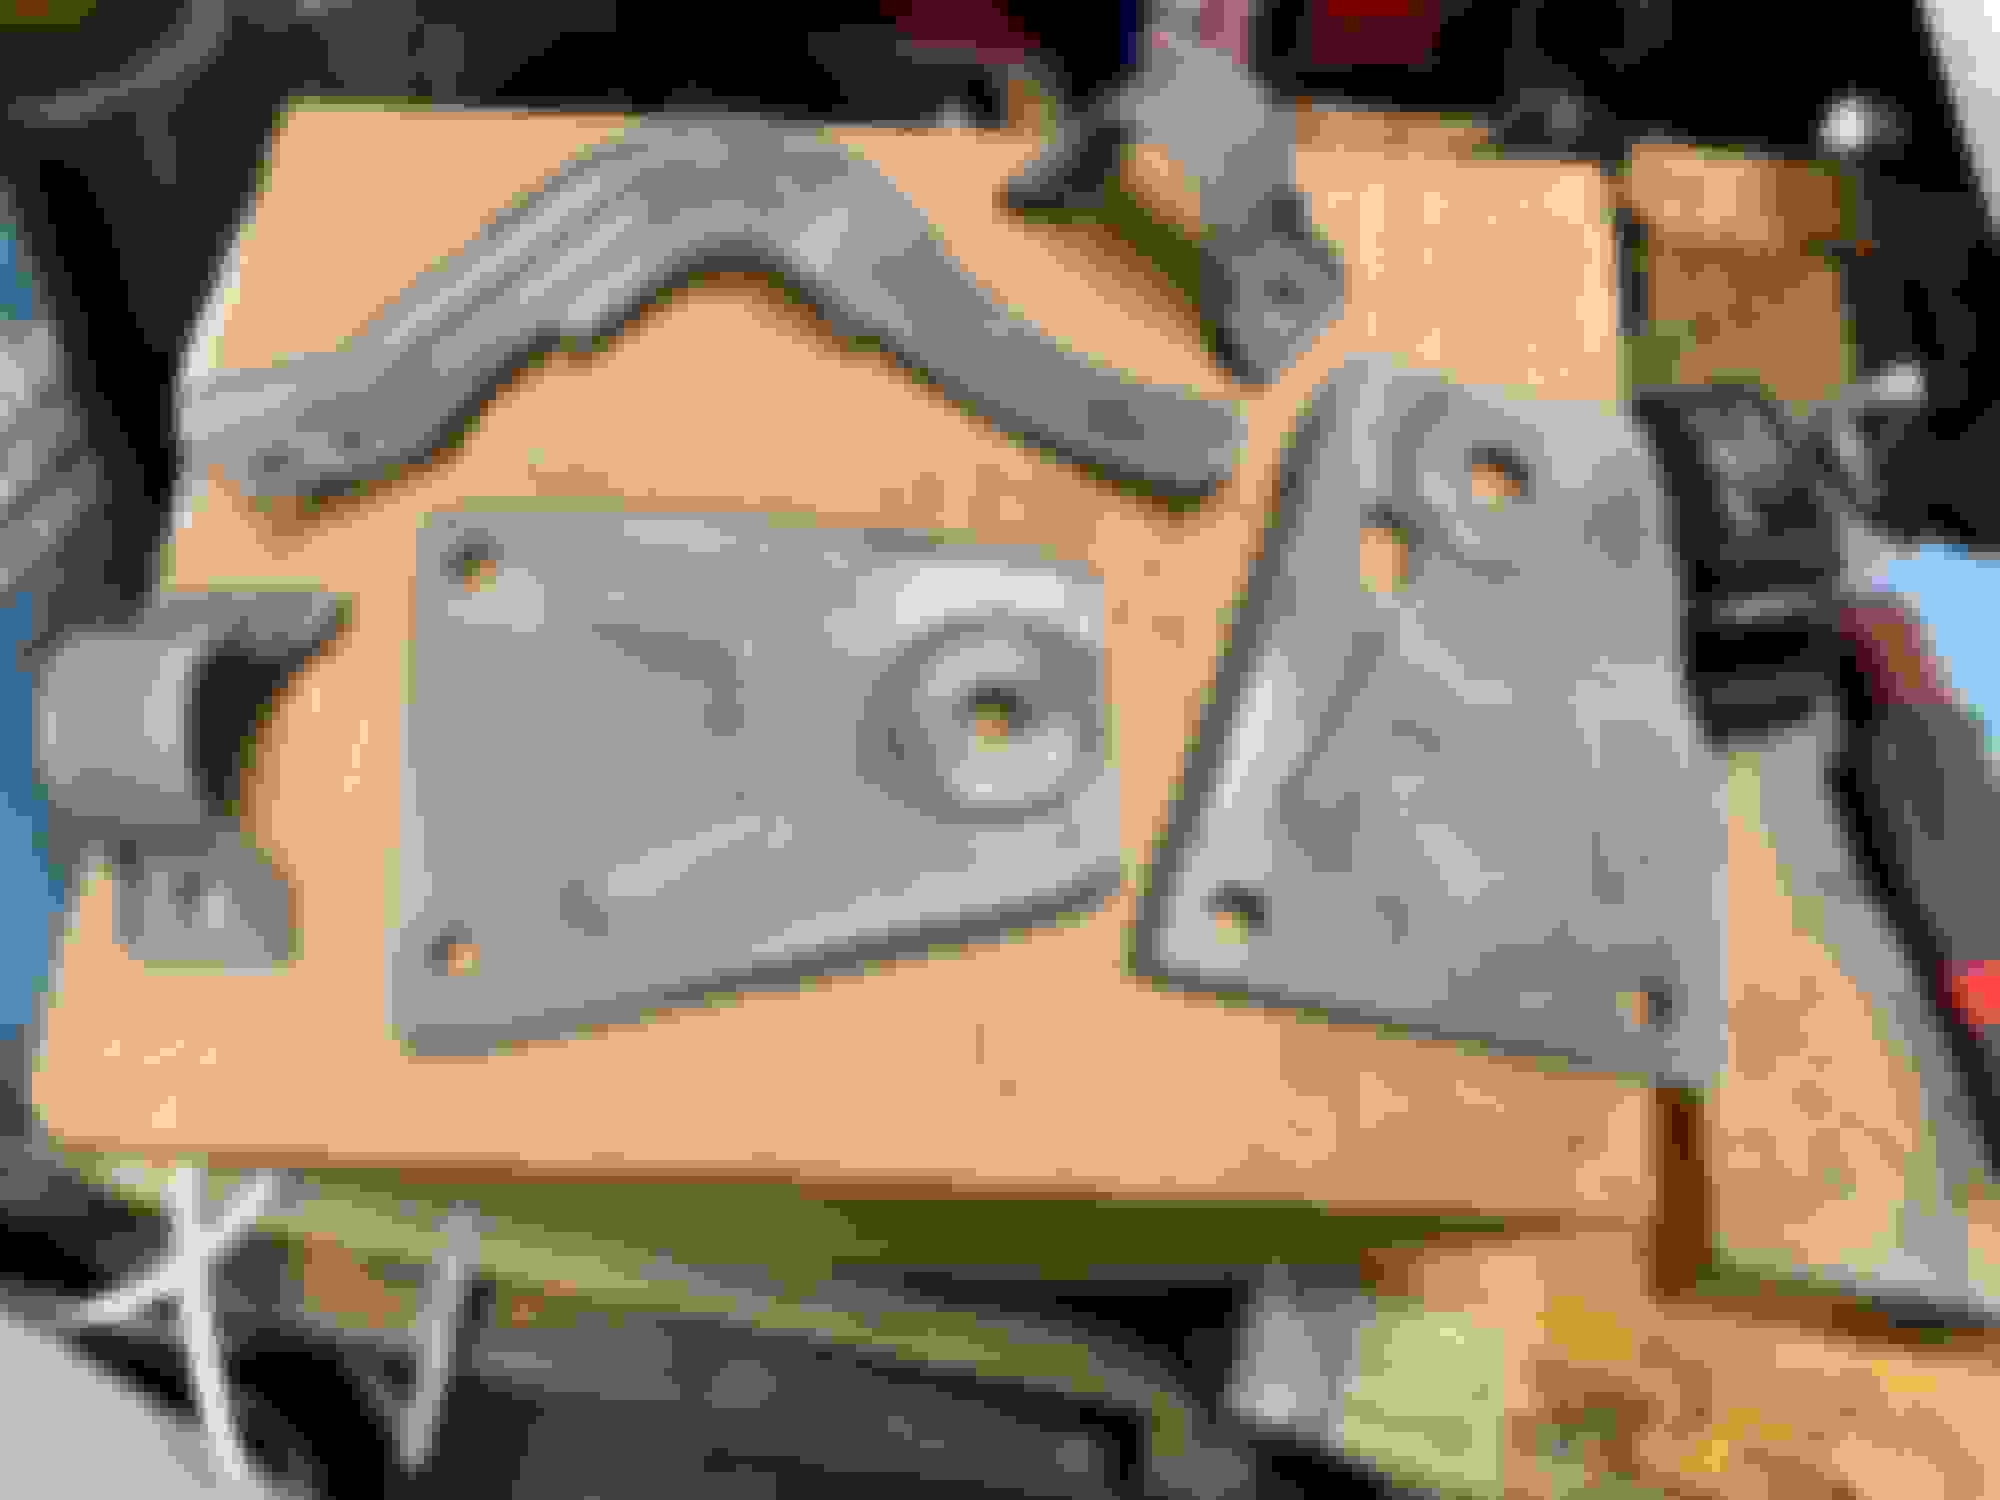
outrigger brackets + arb mounts
Into the brew with the link arms:
Comes out like this after a day or two (after some wire brushing):
The outrigger mounts and ARB mounts came out really well.
It also seems to lift the paint off if there are any rust bubbles underneath, such as on the link arms here:
This is probably a good thing, as I'll be painting all the bits anyway.
In theory the visible rust spots that didn't come off should also now be passivated, so should be able to take a coat of paint.
Oh, also all the bushings have been pressed out, except for the subframe itself, where I've only done one so far... These are real b*stards to get out - had to cut the outer sleeve with a little saw, and knock it out.. Got a socket stuck in there from the press, which I had to burn out with my new flame thrower:
Finally I got one out,
It was at this stage, I realised that you can't buy the bushings on their own I think Alyn sells aluminium replacements, but if not I will spin some up on the lathe...
The rusty ARB got wire-brushed, coated in hydrate-80, primered, and top coated in "mazda mx5 red". I should have made more of an effort with this in terms of sanding, but hey-ho... it's at least better looking than it was before, but it's a rough rough surface finish
So for the mix its 1:10. Give food grade citric acid a go @RockyRoad will be able to share more details on it.
I can't tell a difference between the Deox C and citric acid. Same mix ratios and it appears to do the same job. Using hot water does seem to speed up the working time too but that's not very practical except when you first mix it. I can't remember the mix ratio I've used off the top of my head but I'm sure it was a lot stronger than 1:20. 1:10 does sound about right.
EDIT: Just went and searched my old posts. Turns out 1:20 is about the mix ratio I use.
Last edited by RockyRoad; May 19, 2022 at 09:28 AM.
I can't tell a difference between the Deox C and citric acid. Same mix ratios and it appears to do the same job. Using hot water does seem to speed up the working time too but that's not very practical except when you first mix it. I can't remember the mix ratio I've used off the top of my head but I'm sure it was a lot stronger than 1:20. 1:10 does sound about right.
EDIT: Just went and searched my old posts. Turns out 1:20 is about the mix ratio I use.
I stand corrected, I may have read a ration of 1:10 somewhere else. Stronger the better as they say
Good shout - I was thinking about exactly this yesterday actually I've used that method successfully for many rusty lathe bits etc back when I was restoring that... going to give that a go with the subframe and the T-shaped thing
Regarding the mix ratios, i've re-read the deox-c tub, and it does say that stronger mixes can be used too, so I have now started another batch with higher ratio to see if it comes out better (probably more like 1:8 or thereabouts).
@RockyRoad did you do anything to wash the citric acid off after soaking? I've noticed that if I wash the parts off in water after soaking in the Deox-C, then they end up with a rusted surface again, but if I dip the parts again after washing them (or indeed don't wash them), then the surface seems to stay non-rusty, which leads me to think it's phosphoric acid. Curious to know if the citric acid derusted parts start rusting again after the bath or not, basically.
Yeah I always find stopping the part immediately rusting again a problem. Good wash in cold water followed by a dry with a cloth or even better an airline then a spray with WD40 if it's not immediately going to get a coat of paint or stuck in the sand blaster. Or you can just not wash the part off and let it dry naturally like you say. That'll leave a coating that should stop the surface rust but it then needs more work to remove it so I prefer to clean it off. Because I usually still sand blast the parts a little surface rust is still a lot better than the heavy corrosion that can be there before the bath. Again, everything after the bath happens the same with real Deox or citric acid in my experience.
Yeah I always find stopping the part immediately rusting again a problem. Good wash in cold water followed by a dry with a cloth or even better an airline then a spray with WD40 if it's not immediately going to get a coat of paint or stuck in the sand blaster. Or you can just not wash the part off and let it dry naturally like you say. That'll leave a coating that should stop the surface rust but it then needs more work to remove it so I prefer to clean it off. Because I usually still sand blast the parts a little surface rust is still a lot better than the heavy corrosion that can be there before the bath. Again, everything after the bath happens the same with real Deox or citric acid in my experience.
I use this, it destroys rust. I scurf off as much rust as i can with a twist not on a grinder and then apply with a brush a little goes along way (observe safety gloves, glasses ect) Repeat above untill theres no rust left. Then neutralise acid with boiling hot water straight out of the kettle, this way it dries the job at the same time.
Don't know why you're experiencing such bad flash rust. Are you using hot water to rinse? Sure I've read hot water encourages flash rusting because it can evaporate before your can dry it. I always use cold water and haven't had the same problems. Those hard deposits I've found the best thing to do is let the parts soak until they're a brighter orange showing they've been attacked then get a small hammer and maybe a screwdriver then start chipping away to remove the scabs then back in the dunk tank to clean up the metal. The fluid also doesn't last forever. If all those parts were done in the same fluid you'll probably find it's pretty spent. The darker the fluid, the less effective it is.
Given the quantity of parts you are refurbishing, perhaps hiring a media blasting machine for a weekend would have yielded better cost/time results?
Yes, this is a very fair point... in reality i should have probably paid someone to blast them, but I wanted to try out the deox-c for a while for other bits and pieces I've had in mind
Having said that, using something like the deox-c is quite nice for someone like me who has limited time to do things. For example, it's nice that I can just make up a bath and chuck the stuff in there at 10pm at night, or a quick 15 minutes at lunch time to go and scrub the bits and see how they're getting on. I find it very difficult to take enough time out of the day to drop things off at someone who does blasting, for example.
But, electrolytic conversion is good for me for the same reasons as deox-c, and IMO electrolytic conversion works better, so I think I'll stick to that in the future where possible
I've gone through a lot of this myself during the process of restoring my classic.
I used a mix of wire wheel/brush, chemical cleaning and media blasting (luckily I already have a decent size blast cabinet & big compressor)
Media blasting (with glass bead) gave the best final finish, but often I'd have to first attack parts with a wire wheel first to remove heavy grime or rust.
Leaving parts in a warm citric acid bath was also pretty good. I bought 500g of food grade citric acid powder online for the price of a beer. Fish tank heater was about �10. I basically followed what this guy did
I also bought a �180 zinc plating kit on ebay and cleaned up and re-plated the majority of the hardware from under the car myself too. This was a much bigger job than I anticipated, not sure I'd do it again but it was pretty satisfying.
Not going to fit these just yet, but these are a set of STI5 cams that I bought to keep on the shelf...
Bits covered in zinc phosphate primer (aka Bilt Hamber Electrox):
Uprights too:
and more bits...
link arms + trailing arms + diff mount
The subframe looked a bit sad - no structural issues, but definitely some heavy surface rust creeping in.
T-bar had a similar story going on:
Rigged up an electrolysis tank, with the power provided by an old PSU I had lying around. The process is dead easy to set up, and IMO gives great results (probably better than the DeOx IMO). It took me about a week to do the subframe + t-bar, but that's only because I had to do them in sections because I didn't have a big enough tank.
This photo shows what the corrosion ends up looking like after sitting in the bath for a couple of days.
All the scaling is completely gone, and e.g. around the exhaust hanger, which looked terrible to begin with, there is now only clean metal:
The nice thing is that it lifts the paint off where there is rust underneath, so after some high pressure washing, the t-bar ended up like this:
Random interlude: Used a cheapo bearing puller to pull the wheel bearing collars off from the hubs. Incredibly tight!
Initial coat with Hydrate-80 (rust converter). In hindsight it might have been better just to go straight to epoxy.
The bits all received two coats of epoxy with a paintbrush. I quite wish I had sprayed this instead, but unfortunately every time I spray anything in the garage the whole house stinks out, so that's a no-go at the moment. At least the bits are hidden unless you go and specifically look at them.
I also got a set of Group-N bushings from Import Car Parts. As I don't have a press at home, I used a bunch of bolts and bits and pieces to drive them in. Should have really bought a garage press, but not sure I want to give up the required space for one. Maybe when I do the fronts. Unfortunately I managed to maul the epoxy surface when pushing the bushes in, so needs a bit of touching up.
Not sure if the STI vs WRX trailing arm rear bushes are different, but the group-n's that I got were something like 46mm outer diameter, and the internal diameter of the hole is only 41... I tried pushing it in using the above screw method, but it just wasn't happening, so I fitted some SuperPro bushes instead:
Not sure what happened here, but one of the bushes delaminated New bush is on order.
The wheel arch has gotten some love from one of these bad-boys. It's a knotted wire wheel from screwfix, and it's a real beast! Eye and breathing protection absolutely essential:
Getting ready for a coat of zinc primer. Not a whole lot of rust - only some light surface rust on the rear-most lip of the inside arch, and some light surface rust on the chassis leg behind the wheel spray
Any thoughts on if I should use the rust-convertor, or zinc primer on the areas with surface rust? The zinc primer cannot go over the convertor, as it needs to be in contact with the rust/steel itself to work.
The convert/zinc will get a layer of epoxy on top, and then brushable seam-sealer, and possibly another coat of epoxy.
Not 100% sure yet on if I top-coat the epoxy or just leave it white in the wheel-wells. I think for the subframe etc I will probably just leave it white (and cover it in underbody wax).
Ordered a new bushing from DL Motorsport Parts ( http://dlmotorsportparts.co.uk ), which I fitted as soon as it arrived, so now I have new bushings in the entire rear end 🤘
I also stripped most of the underbody Stonechip etc on the drivers side, and there�s not a spot of rust anywhere, which was surprising. I thought I�d find at least a little bit like on the other side, but it was completely clean.
the red/brown colour visible before stripping turned out to be brown paint used to cover up the cage foot weld 🙄
Still need to clean up little bits and pieces, but getting there.


 The cage foot patch is visible to the right, and there's the same slight discolouration as on the passenger side starting in the left corner of the patch - hopefully it wont be any worse than the other one, but..


 I think Alyn sells aluminium replacements, but if not I will spin some up on the lathe...


 New bush is on order.


