When you click on links to various merchants on this site and make a purchase, this can result in this site earning a commission. Affiliate programs and affiliations include, but are not limited to, the eBay Partner Network.
Oh, also, as I was crawling around under the car, I had a look up into the wheel arches. Man, what a stupid design it is, with the lack of underseal around the turret area! Luckily there's no rust, but I definitely want to do something about the underseal in there before I do get rust issues.
Check your exhaust shields under the boot floor and fuel tank. I had a terrible exhaust rattle and it turned out to be them dropping onto the exhaust after the aluminium had corroded around the steel brackets. I tied them back in place using some old bike spokes and no more rattle since.
years ago, the car sat on the drive for about a year without a side window, and it was covered up with a black bin bag with parcel tape.
the parcel tape glue reacted with the window trim, causing this:
that�s the original b pillar trim that�s absorbed some glue, melted a bit from the acetone I tried cleaning it up with etc.
I got some 3m satin black vinyl off ebay and did this:
It�s not perfect, as the underlying surface wasn�t flat anymore, but it�s a lot better than before - hopefully good enough that it will stop annoying me every time I see it 😬
[QUOTE=Henrik;12111223]Long-term plans, I think I want it to go back to being usable on the road, basically. I had a bit of an eye-opener when I went to brands last time, where modern machinery is just *so* much faster now it's just quite ridiculous... I think even highly modded scoobies would find it difficult to hold a candle to a well driven recent M3/M4 etc, and the hot-hatches have _really_ moved on too. I think if I was to go down the track-route again, then I'd get some kind of Seven'esque kit-car I think, mainly because they're so fast for the money (both in terms of purchase, and in running costs).
I'm waiting for a drive to be put in to the house, so that the family-wagon can sit on the drive, and the Subaru in front of the garage (or at least have a clear path out without having to move the S-max), which should allow me to use the Subaru a bit more easily (at the moment I have to move the S-max onto the road, and the parking is a nightmare etc etc...)
They certainly don't compete with the modern metal when it comes to track work nowadays, but I guess they are 20 year old cars now. I was surprised and a little disappointed to have Golf's and Seat's overtaking me the last time I was on track in a scooby, and that had 460bhp and sticky tyres! They are still a great road car though and I've been running one as a daily for over 10 years now; perhaps a bit expensive if you need to do lots of miles though!
One of my mates has just taken the kit car route. He choose the MK5 which is a local company here in Essex and built on an MX5 donor. The build took him around 5 months working on it in the evenings and the cost was reasonable. It's fun to drive, I've had a go, but it still feels a bit slow so he plans on strapping a spare TD04 that I had laying around to it over the winter months. Apparently the MX5 engine can take a turbo without internal work and that should boost the power to around 180bhp (that's 300+ per tonne!)
Yeah, the mx5 engines are surprisingly decent even the little old 1.6 can make decent power with a turbo.
I found the source of the rattle. For some reason the miltek had a perforated section inside, which was loose and rattling around, but not so loose that I could pull it through
Instead of chopping it up, I�m trying something else as a quick bodge until I get a silencer.
I drilled 4 holes in various places, and then welded them up again, hoping to fuse the perforated section to the outside pipe.
holes:
No holes:
this means my old backbox was probably ok all along, but at least lucky I didn�t just order a new miltek backbox, as I was almost certain that�s where the rattle was coming from before checking
Just been out for a drive, and the rattle is no more 🥳
in fact, it all sounds rather civilised with the wrsport backbox.
I ordered a little silencer to add to the centre section, so will add that in too, which should make it even less noisy. Doesn�t really need it, but this gives option of going back to miltek backbox if I want later on
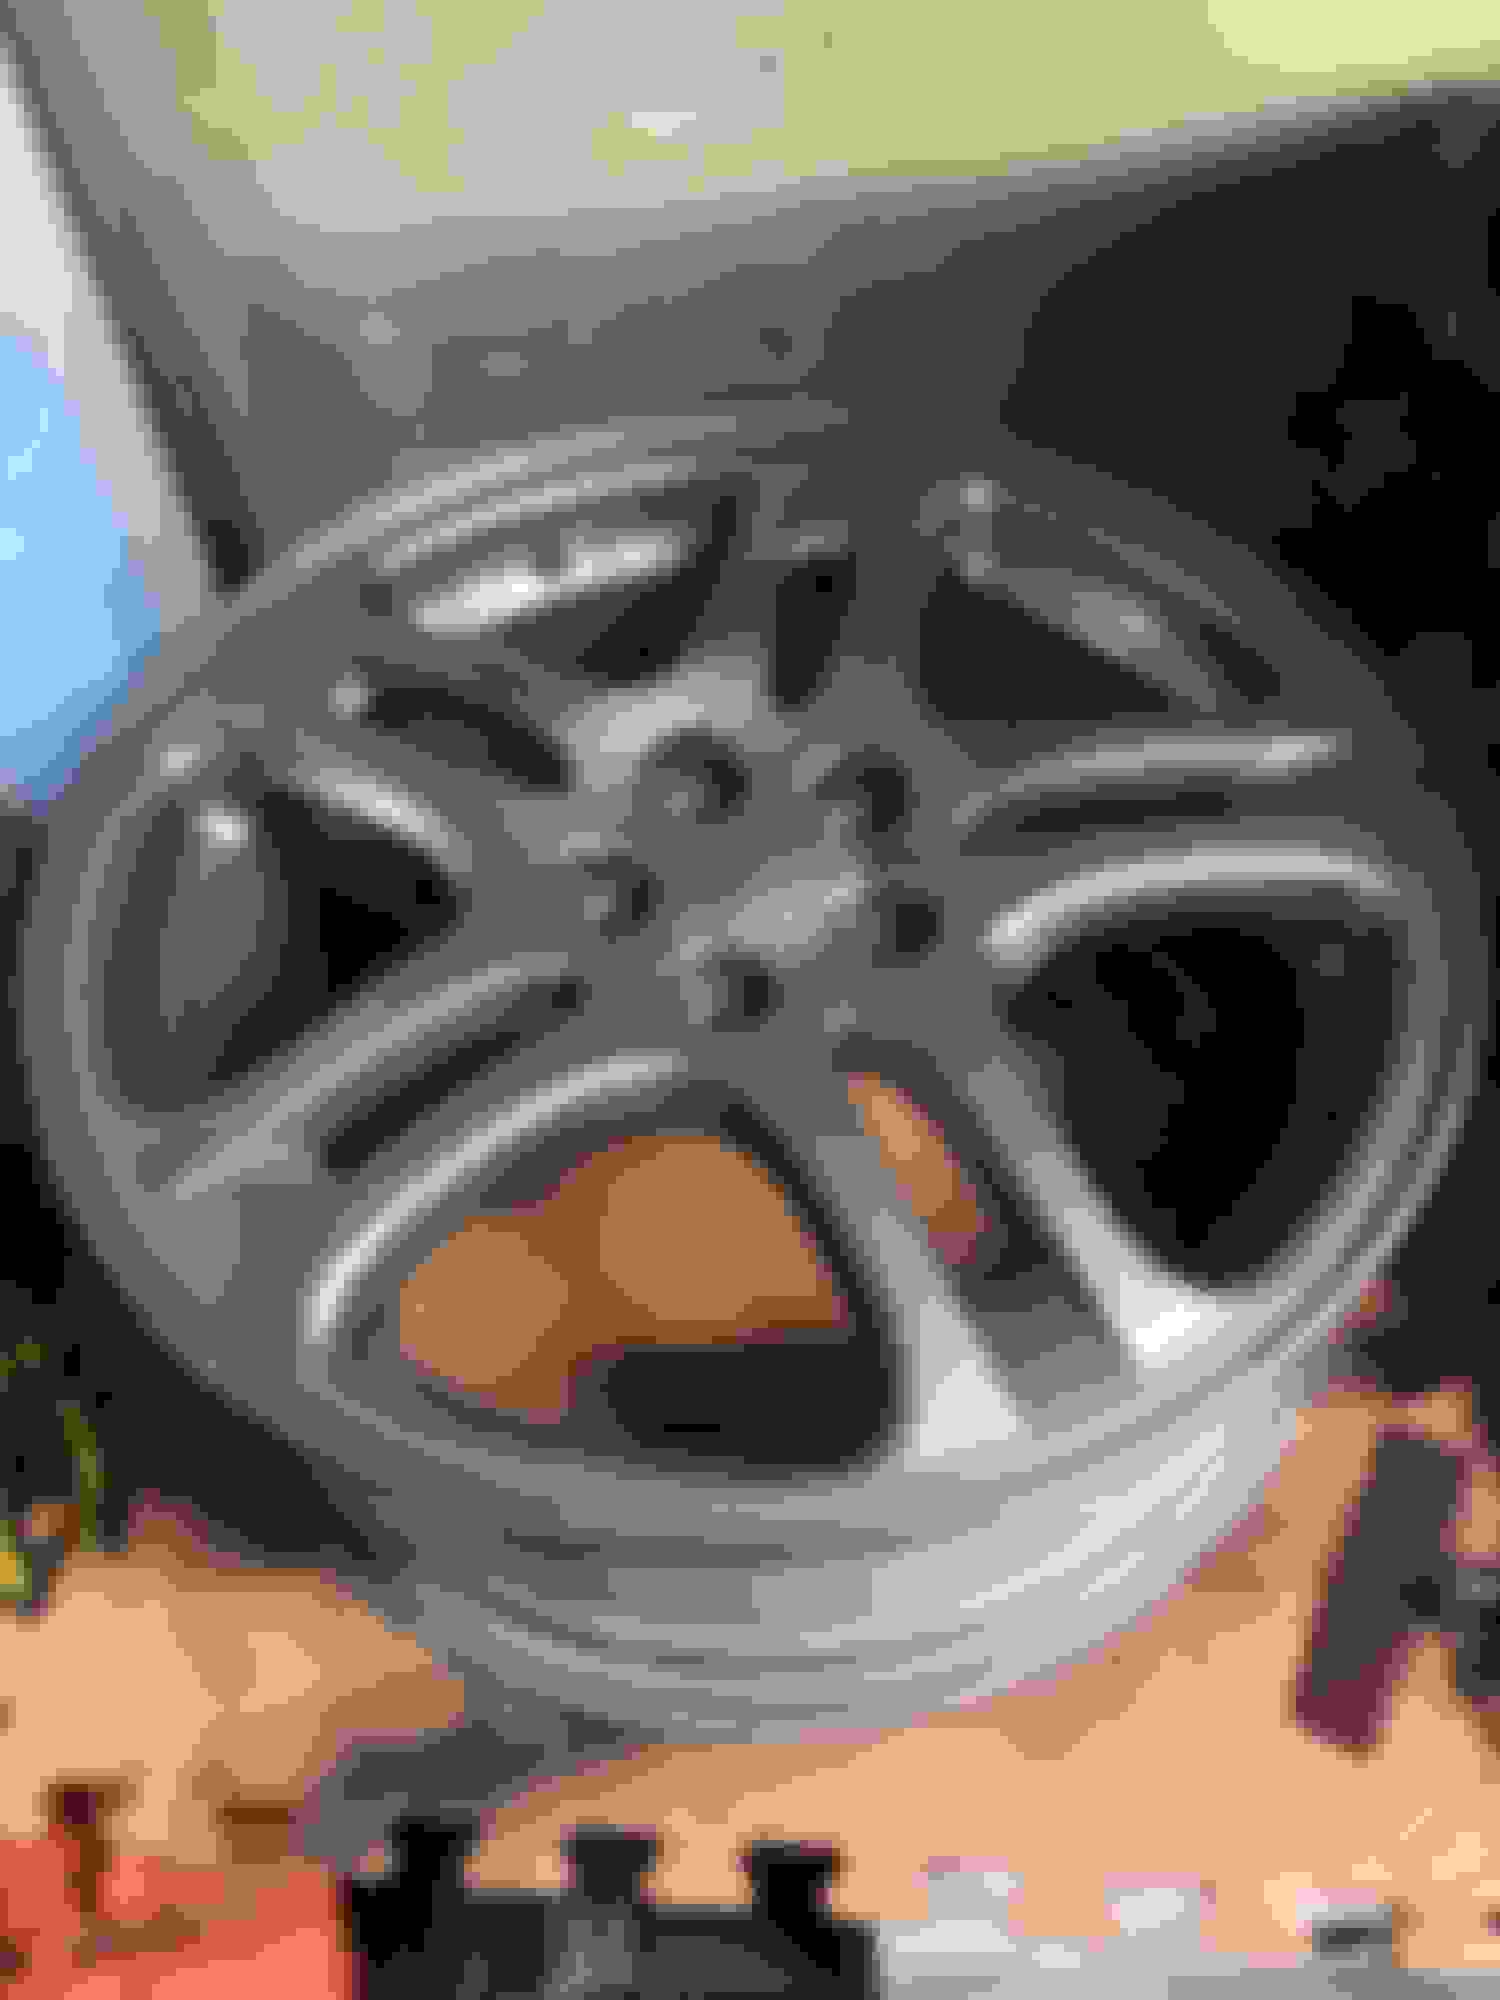
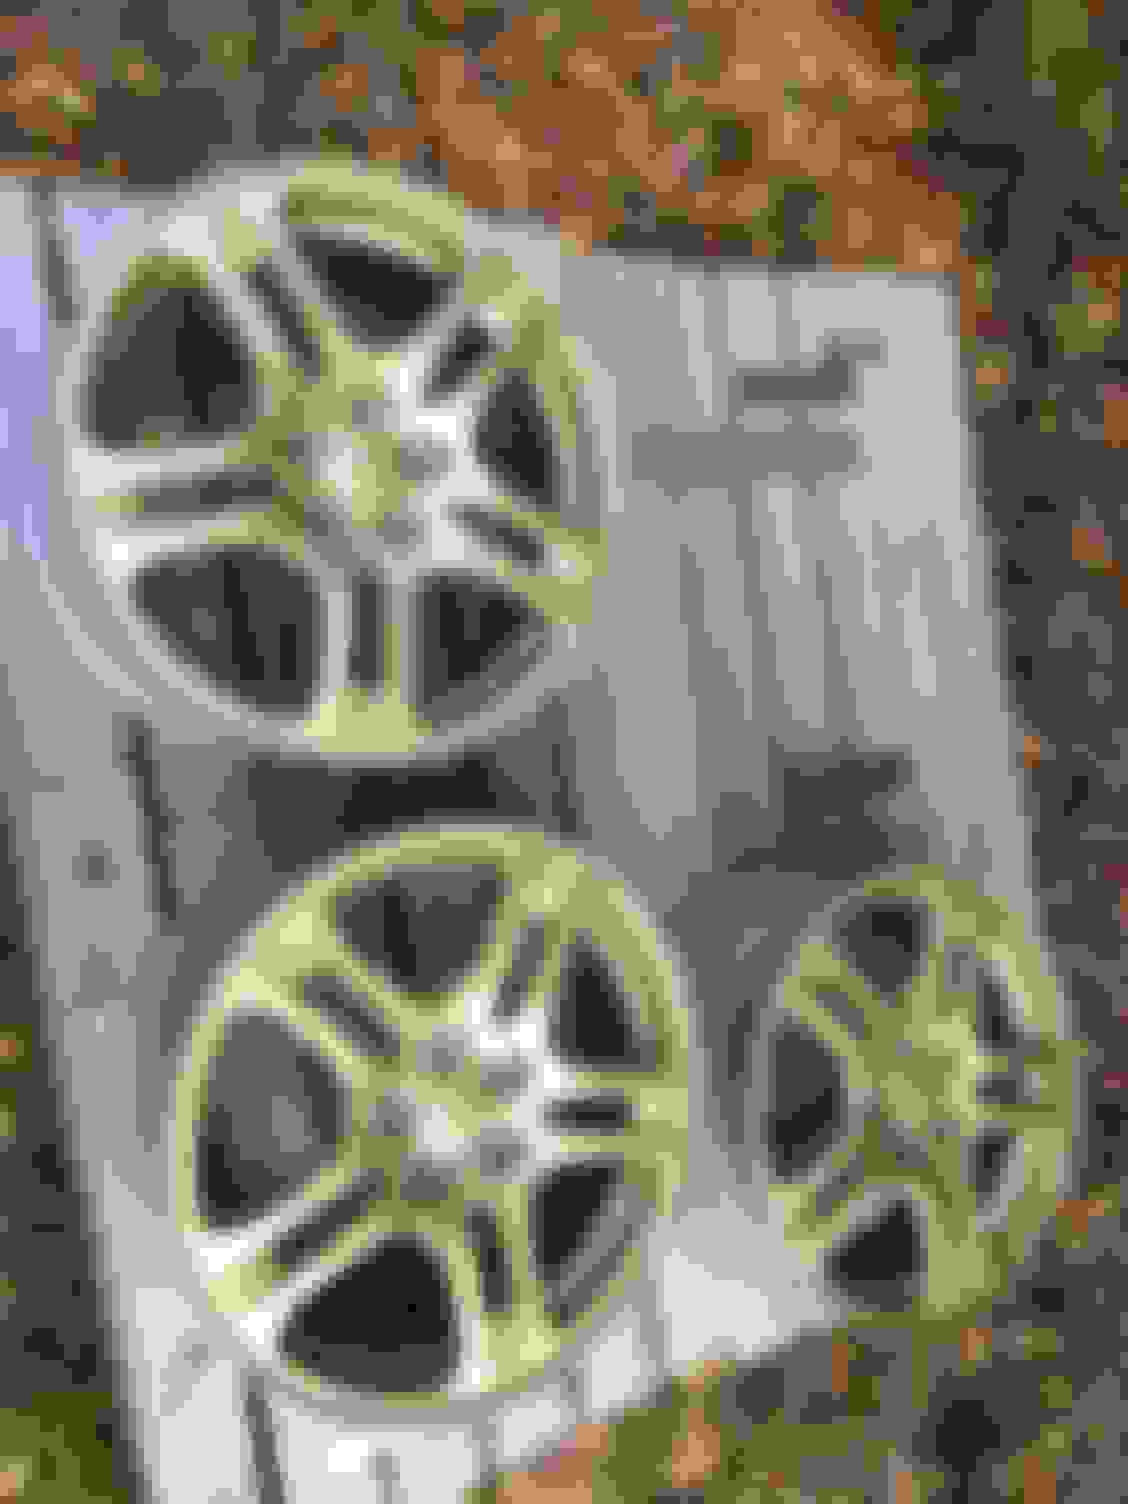
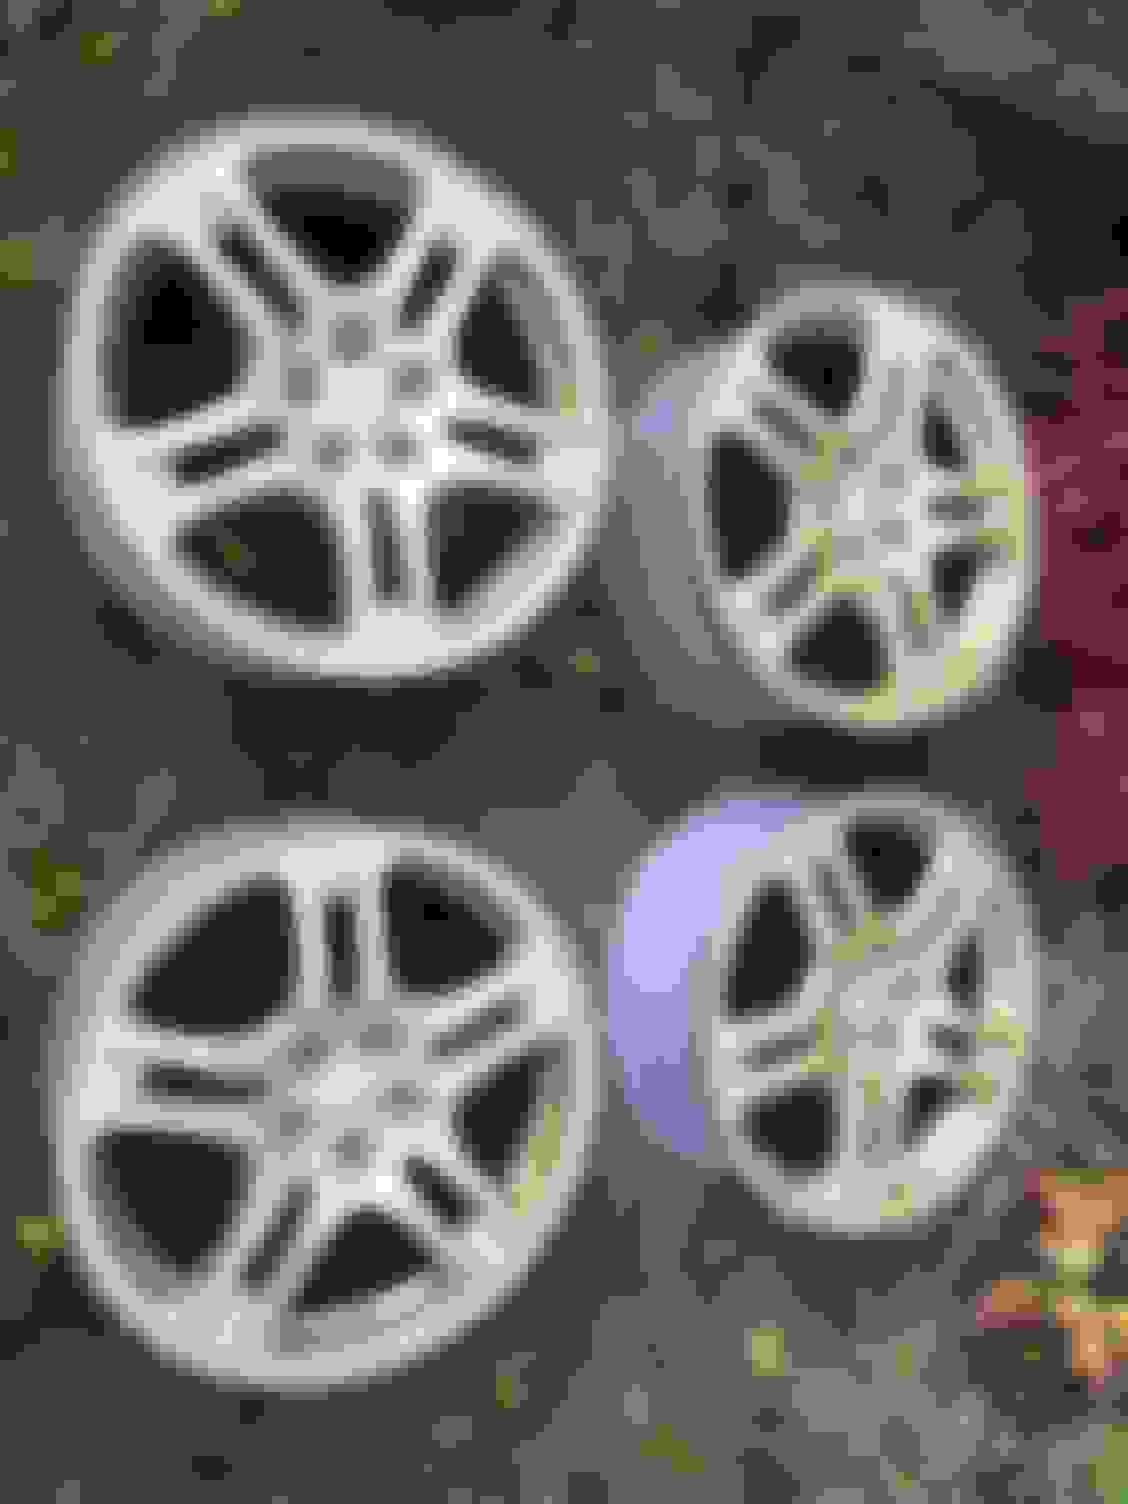
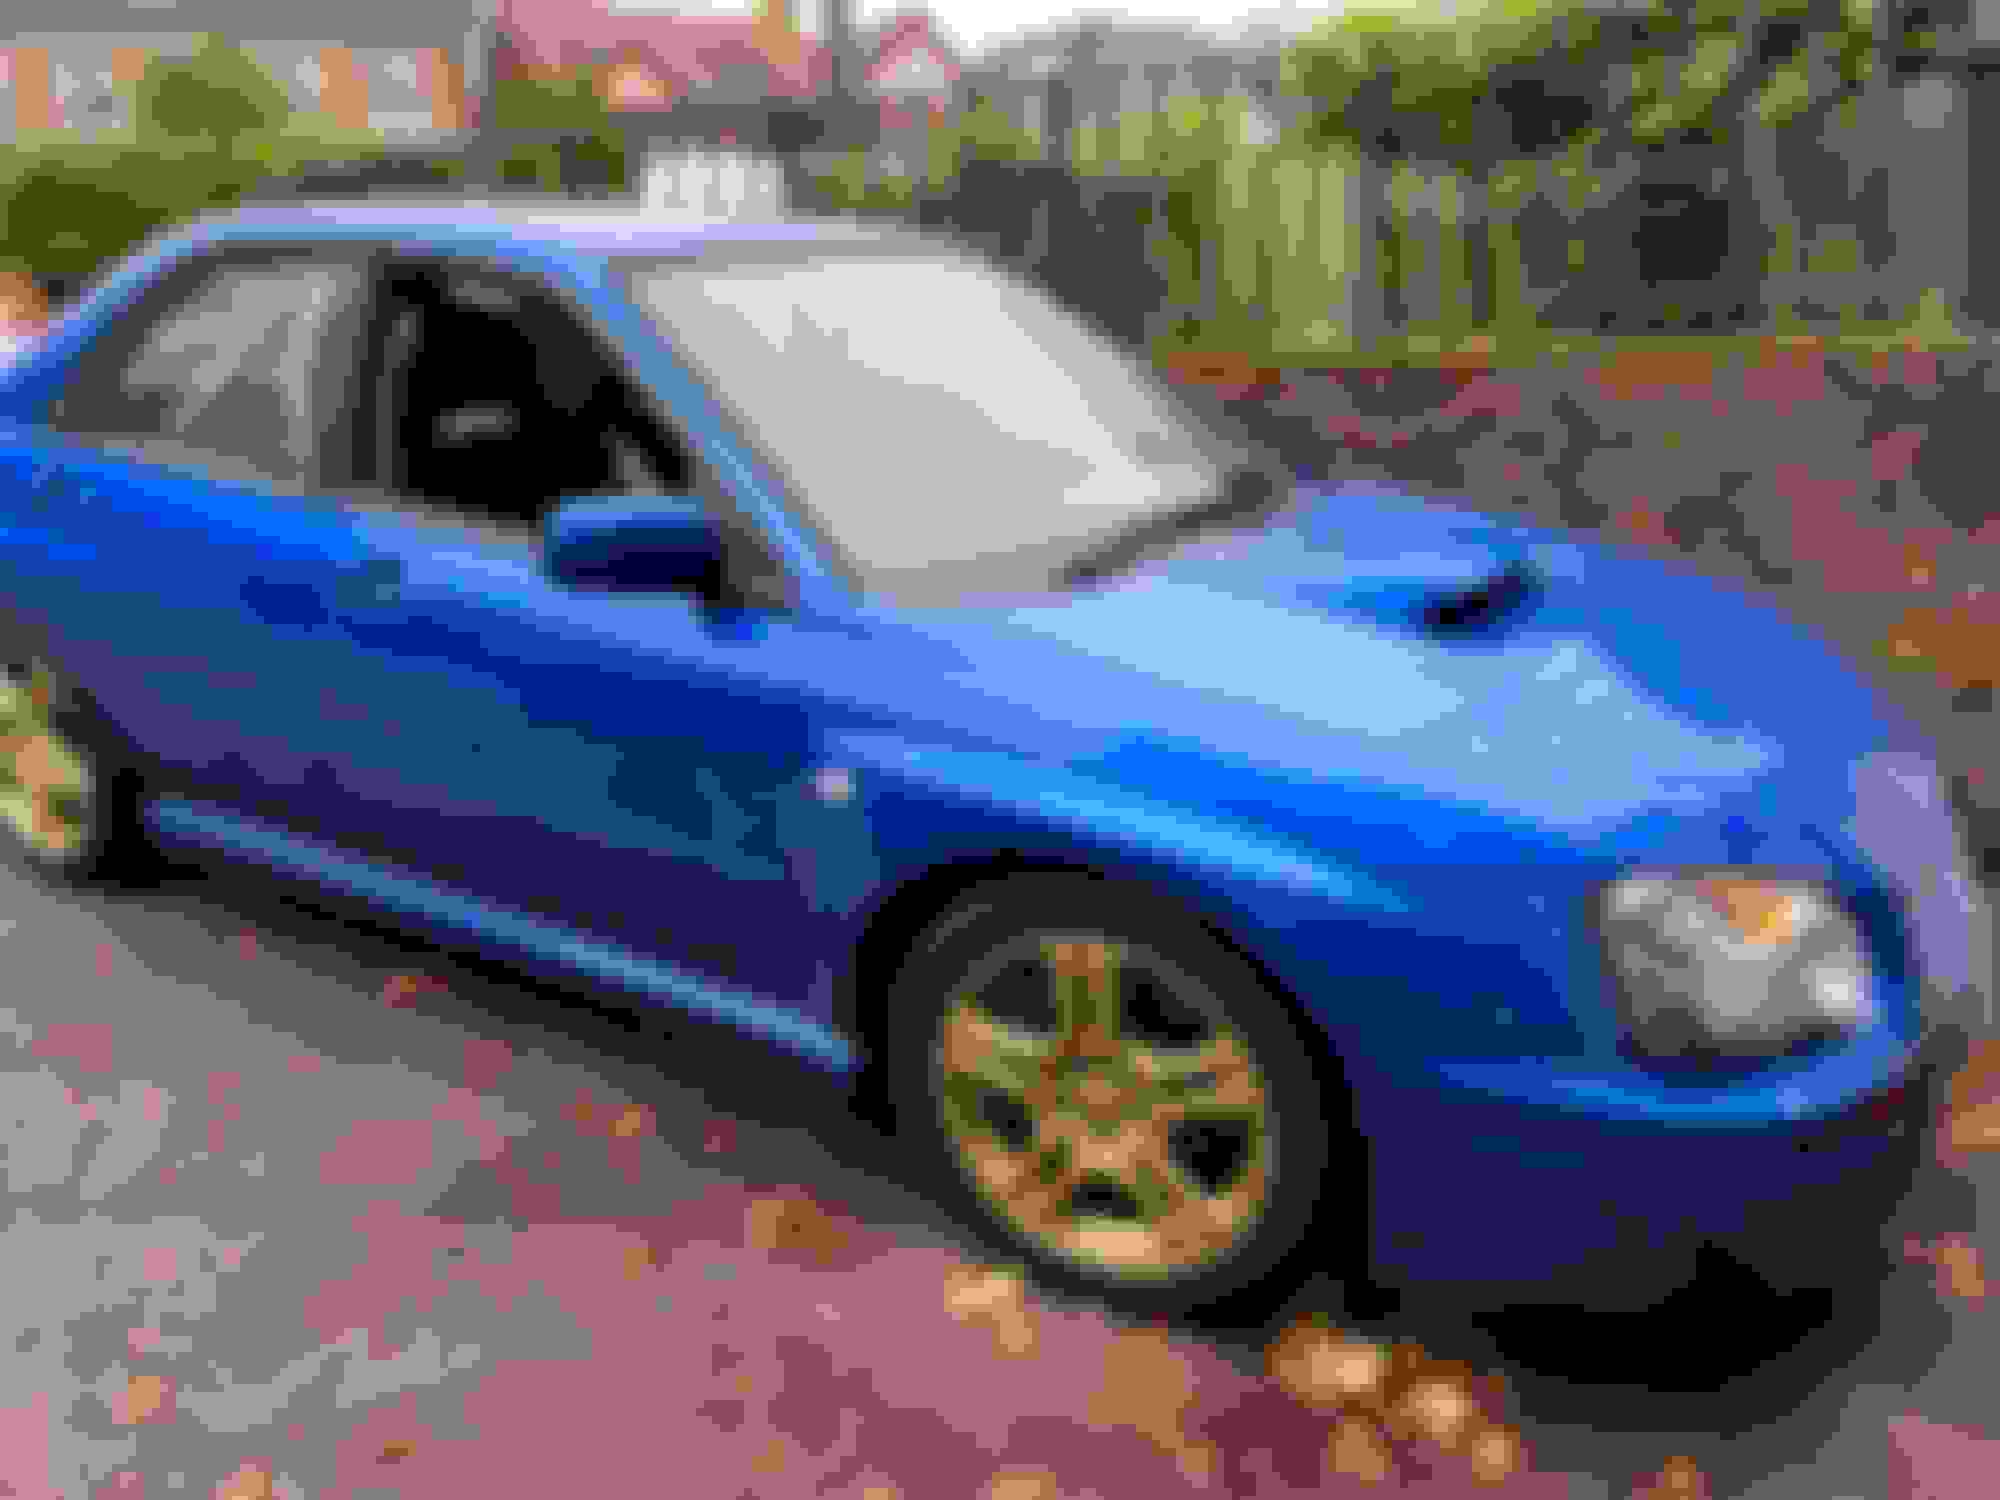
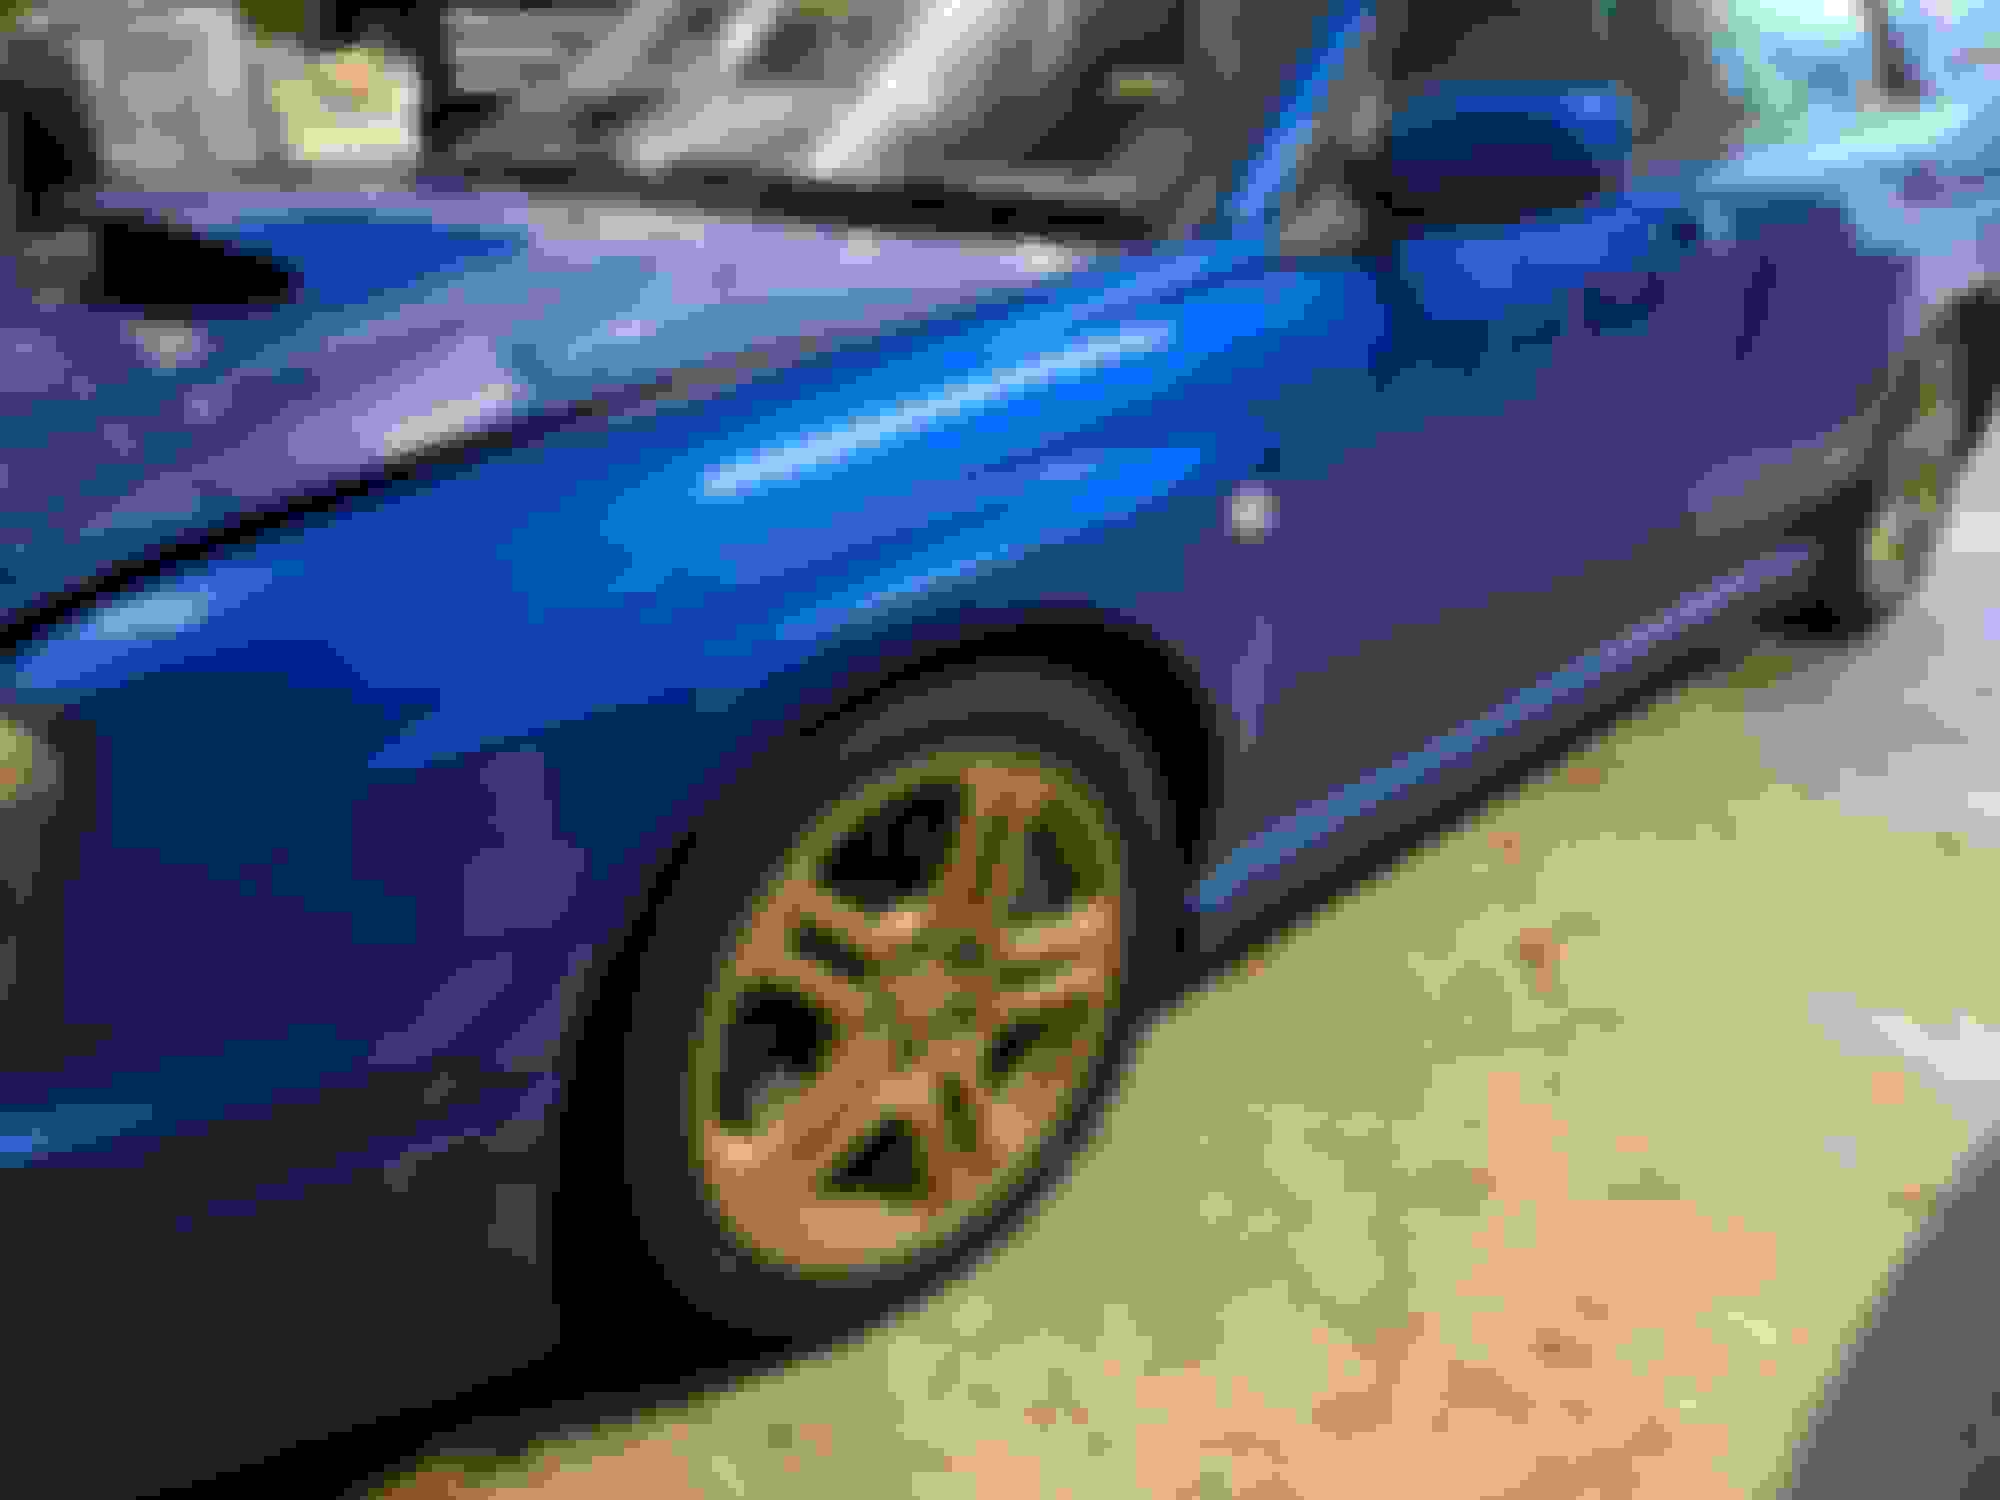
I've started looking at other wheels too. I need a set of road wheels, but I don't want to spend tonnes of money, so I'm refurbing 4 out of the 10 or so WRX wheels I have sitting around in the back of the garden.
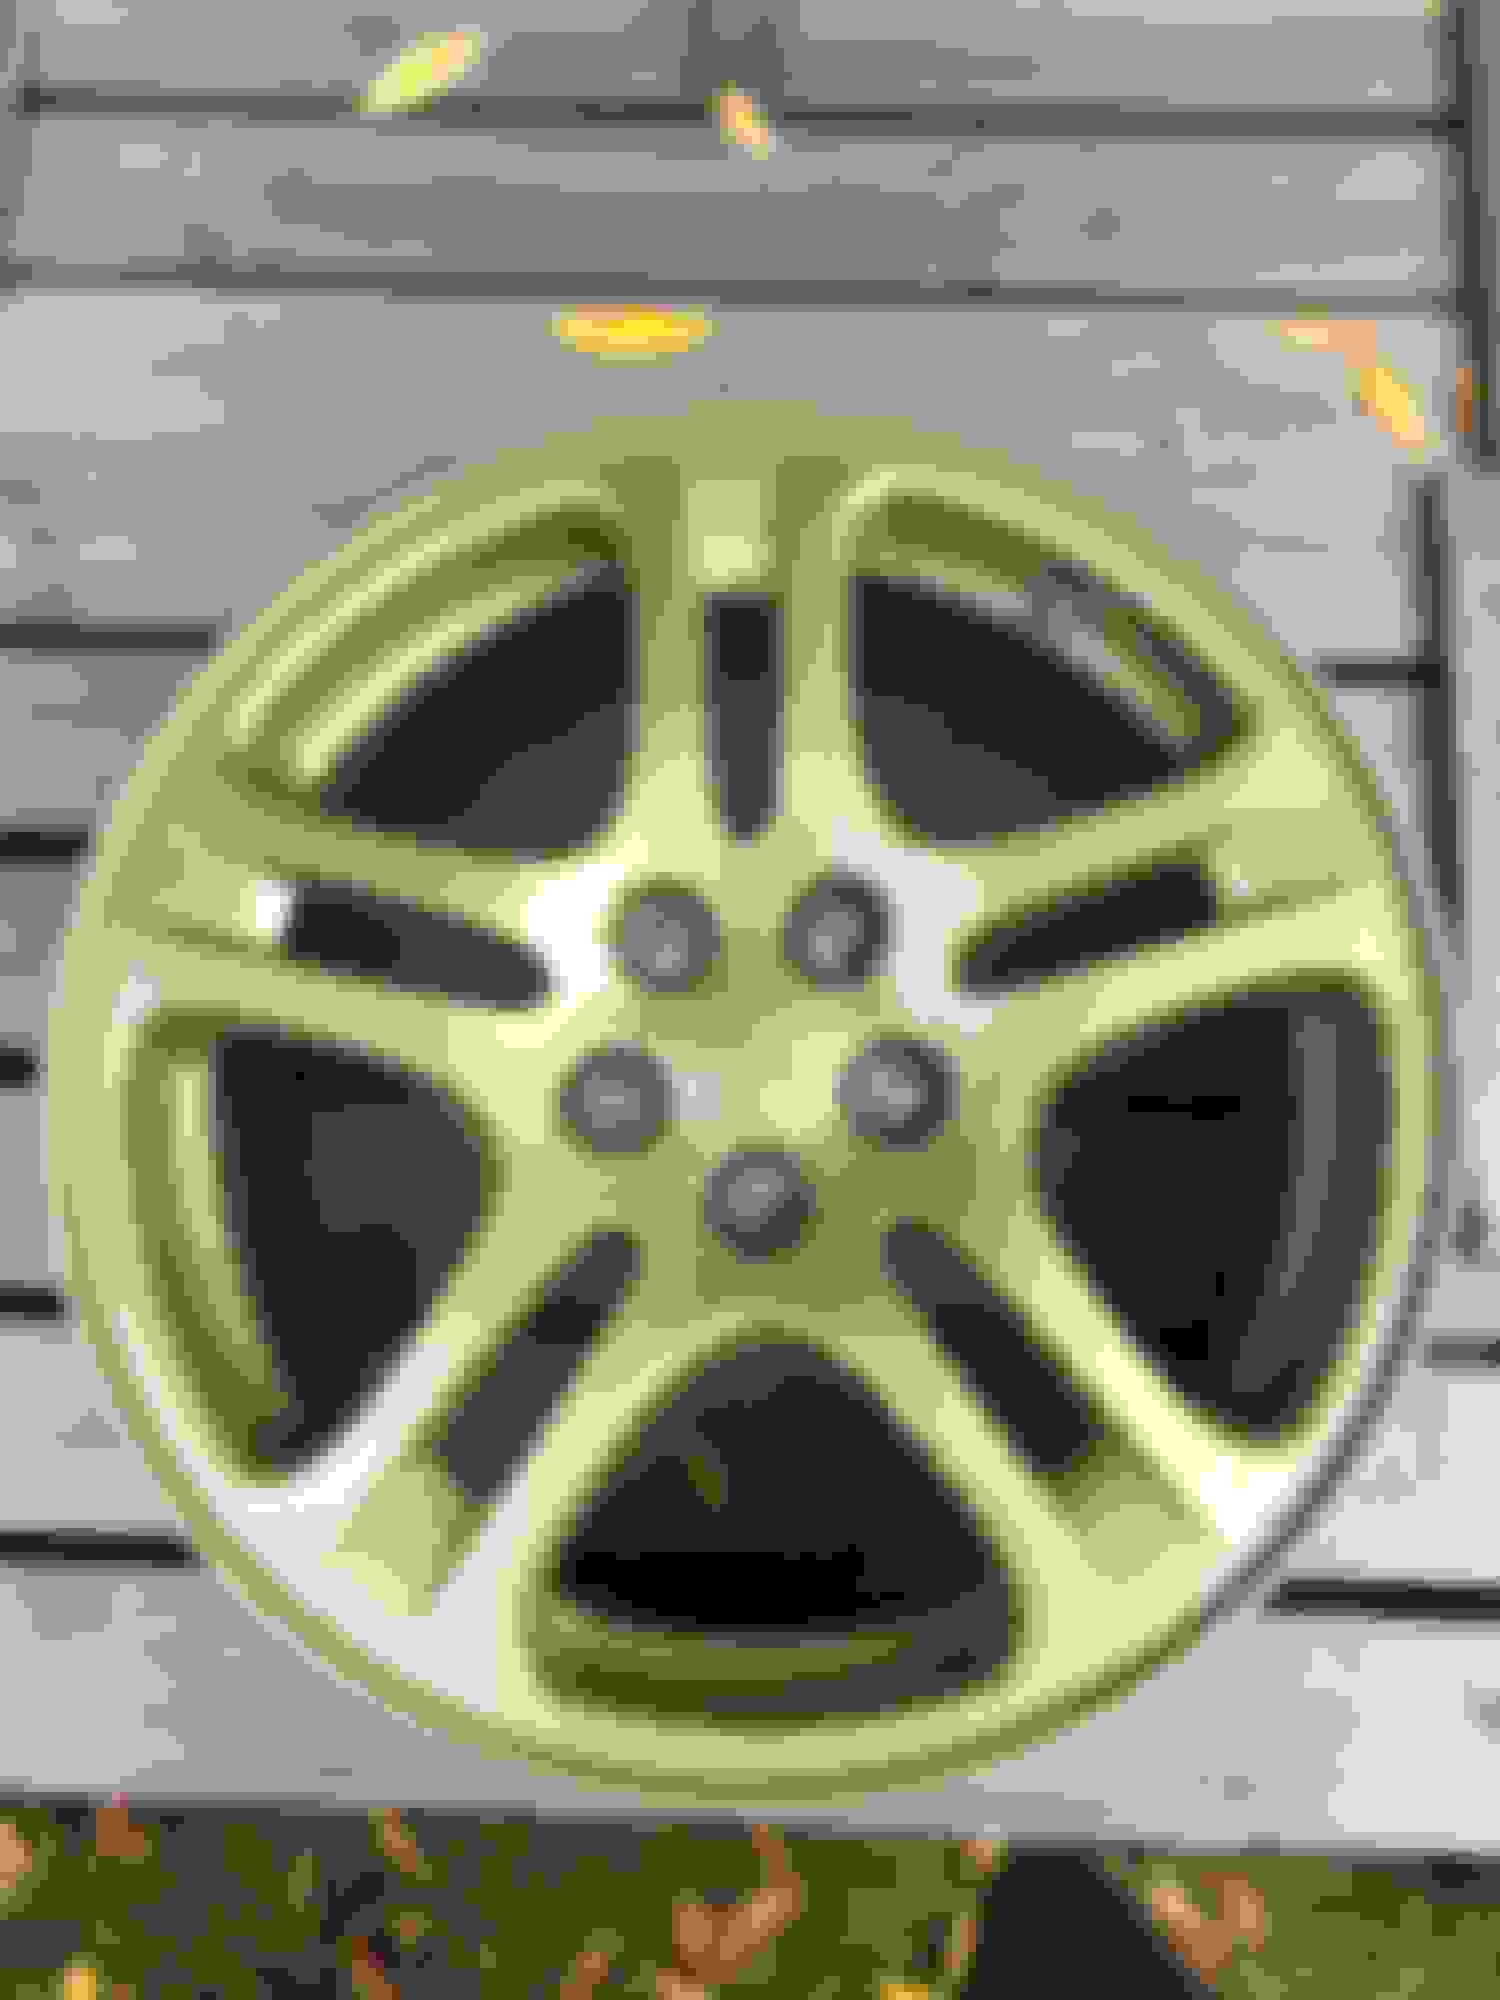
I wasn't quite sure if I should go for a bronze or a gold, so I painted one wheel in gold to see what it would look like.
The wheels all have kerb-rash, so require fixing, but... it's only time
I cleaned the test wheel as well as I could, and it ended up looking like this to begin with:
The kerb rash in the process of being sanded down with some 120 grit paper. Also a whole bunch of brake dust that refused to come off in the wash.
High build primer on. I ended up taking this off in the end and sanding some more, although looking at this photo it probably would have been OK anyway,
As the wheel was quite corroded in the barrel too, I ended up sanding it so much I had to apply etch primer (as down to the aluminium). The etch was then primered again with normal primer, which is what this photo shows.
Barrel painted first with 2x layers of top coat. The colour is "Ford Solar Gold" from Halfords.
And the front too. A third coat got rid of the light patches (after this photo).
And finally two layers of clear coat both in barrel and face.
and in the daylight..
Unfortunately I'm spraying in a leaky shed at the back of the garden. The shed is only 5ft x 4ft, full of other stuff, and there's also no light in there, so all the spraying has been done whilst holding a hand held torch. There's some inclusions in the clear coat around the centre cap, but apart from that I am super pleased! The colour came out looking great and really close to the OEM STI wheel colour.
This six speed setup followed me home when I went to see my friend... It's a complete 6sp setup with r180 diff and STI hubs too. The car was properly on it's a*se driving the 120 miles home
I'm not sure what to do with the box, though... I quite like the straight cut box, but if I'm going softie road spec, then maybe a 6sp is better... not sure.
the first three worked really well, with no issues encountered
unfortunately there is always the last component to get right 🤦♂️
for some reason the paint on this wheel kept cracking, pulling shrinking etc around two sections no matter what I did (sanded down to bare aluminium 3x times). Followed exactly the same procedure as with the other wheels, but two sections ended up looking like this
hopefully it won�t be too noticeable when on the car, but I�m really confused as to what happened with it.. maybe it was somehow contaminated with something the 1k paint didn�t like? I should have probably grabbed one of the other spare wheels when things went south the first time, but live and learn.
full set shown here.. the colour looks really washed out in the photo, but IRL they look as gold as they should
Did you apply filler to the road rash or just grind back?
most of it was simply sanded back as it wasn�t massively deep, with a couple of deeper cuts filled with an acrylic filler.
I opted not to use filler in a lot of areas in the end as I don�t think I�m good enough to shape the lip to the exact original contour, but then I didn�t have big chunks missing from the wheels either
I had a similar paint problem, eventually I just gave up with it,
On my "Winter wheel set" I discovered a stain in the wheel metal which I had just rubbed down just a week before ready for paint.
It turned out to be Motul race DOT4 , after doing a brake bleed Id run out of new fluid, On the last wheel it seems Id failed to lock off the nipple correctly and it had been slowly weeping fluid,
Being careful I change the fluid each year when I swap from summer to winter wheels saves a bit of time , Anyhow being safe Id replaced the wheel and lowered the jack,
but it must have been two or three days later that I got the new fluid delivered. Although Id gone back to finish the job properly after replenishing the fluid in the reservoir,
It was then I noticed the fluid had fallen onto the wheel.
Anyhow it seems the ally is microporous if not coated so no amount of scrubbing seems to make a difference to the contamination, you just can't paint onto it again,
yeah it seems likely that it's something like this
I think maybe 2k paints would work, but definitely the "standard home kit" type paint has issues.
Neil@Slowboy racing also had a play with the map, this time with fresh fuel (Tesco momentum). I forgot to ask exactly what he did, but it�s running more boost (I think? 1.3 bar) and some more timing now.
It feels really punchy past 3k rpm now, definitely a difference to how it felt previously (not that it was bad then either). There�s very little actual lag , but full boost isn�t reached until 3700rpm in 3rd, which is a bit odd because it�s pulling really hard before that too.
will book it in for a dyno test just to get some actual numbers and a graph, but driving-wise it feels really really good.
Nice! Who mapped it originally?
What dyno do you use? I want to get mine on the dyno at some point but have never used one around here.
So I think this map was �originally originally� mapped by Simon JGM, but it�s been to Neil many times after that, so I would say it�s completely Neil mapped now.
it could run more ignition now as the fuel is fresh rather than the old sludge I had in it at the last mapping session 2 years ago.
Regarding the Map on Momentum99 ,
I had a similar comment about being able to add more timing advance from Plymouth Enginetune.
Subjectively I would also say that even on the SC36 , I feel on the road a very strong pull well below the max boost , so much so that I find I often leave the map switch at 1.2 instead of 1.5 bar, just changing up faster on the 5spd rewards you with rapid progress.
Id be interested to hear 30-50 mph time and compare with 30-70 mph. On mine the second 20mph is achieved considerably quicker than the first.
Your TD04 is probably more linear in its delivery.
On the SC36 Boost level above 1.3 bar seems to make little difference.I imagine the above is due to the turbo efficiency just dropping off as the max cfm that can be flowed thru the WRX head/Sports Cat combination is approached.
Had some new �Goodyear eagle f1 asymmetric 5� (mouthful, or what) to the refurbed wheels. The difference in grip in the wet is crazy - the limit is much higher than the federals, and when they do come unstuck they are not scary feeling. The feds used to lose grip easily and regaining felt completely hit and miss.
I used to have the old original eagles any years ago, and the sidewalls of these feel much stiffer. Also kwikfit have an offer on at the moment, and I paid 296 fitted for all 4.
The wheels really made a massive difference to the looks. Totally worth doing 🥰
my brother in law came over to help me wet sand and machine polish the roof. We got almost all the scratches that had accumulated over the years out, so I�ll be doing the rest of the car in the coming weeks. Might not bother with wet sanding everything obviously, but definitely polishing it.
), and the results were OK. The kit comes with a sanding pad with two different grades of abrasiveness, some polishing compound and a couple of ceramic coating wipes.
I started off by just using the polishing compound, and that made the headlights much better already. The compound seemed to lift the yellow bits onto the microfibre cloth I was using, and I could have happily stopped here, really.
However, there was a tiny hint of cloudyness left, so I then sanded the headlights with the enclosed sanding pad, and then polished them again with the enclosed compound, but I think this actually made it worse (some swirl marks evident after the sanding, but I might have just been too rough, or not sanded enough with the less abrasive side of the pad).
However, my brother-in-law then showed me what a polisher can do instead - see below.
Starting point (before anything) - passenger side worse:
sanded with 2000 grit paper:
Polishing with Farecla compound (fine grade)
Finally covered with a ceramic coating (came in the turtle wax pack):
In person they look brilliant - so pleased with how they came out. The camera seems to be really highlighting some scratches there - in person they are definitely not as visible
A mate of mine clear coats them at his body shop and swears by it, he says the yellow never comes back, im not sure what the process is.
my brother in law mentioned this also. Basically the process is very similar except instead of ceramic coat he would put on a couple of coats of 2k lacquer instead (not sure if they�d be buffed between wet sanding and lacquer, though), and I f these start clouding up again I�m definitely going for clear coat.
Makes you wonder why the manufacturers didn�t just do it from factory? 🤔
Makes you wonder why the manufacturers didn�t just do it from factory? 🤔
They did, but headlights have a hard life at the front of the car & now they're old have seen some action.
When you sand & polish your headlights you remove the UV protection (hence lacquer or ceramic coat). If that ceramic coating wears off & you lose the UV protection the plastic will craze, like it has tones of little stress fractures in it (guess how I found out ).
Ceramic coat will be fine as long as it's topped up (which is only once a year or whatever). Fun fact
Polishing done on the actual car itself. For a 18+ year old car, I think it looks OK now, at least from a distance Polished with a rotary polisher - first with a cutting compound, then with a finer polishing compound and finally a coat of Bilt-hamber "Finis" wax paste.
Every panel has _something_ that could be "fixed" (small dents, some scratch etc), but unless I go full out on a full body respray, I think I'll just be chasing my tail with them.
The things I really do want to fix now are:
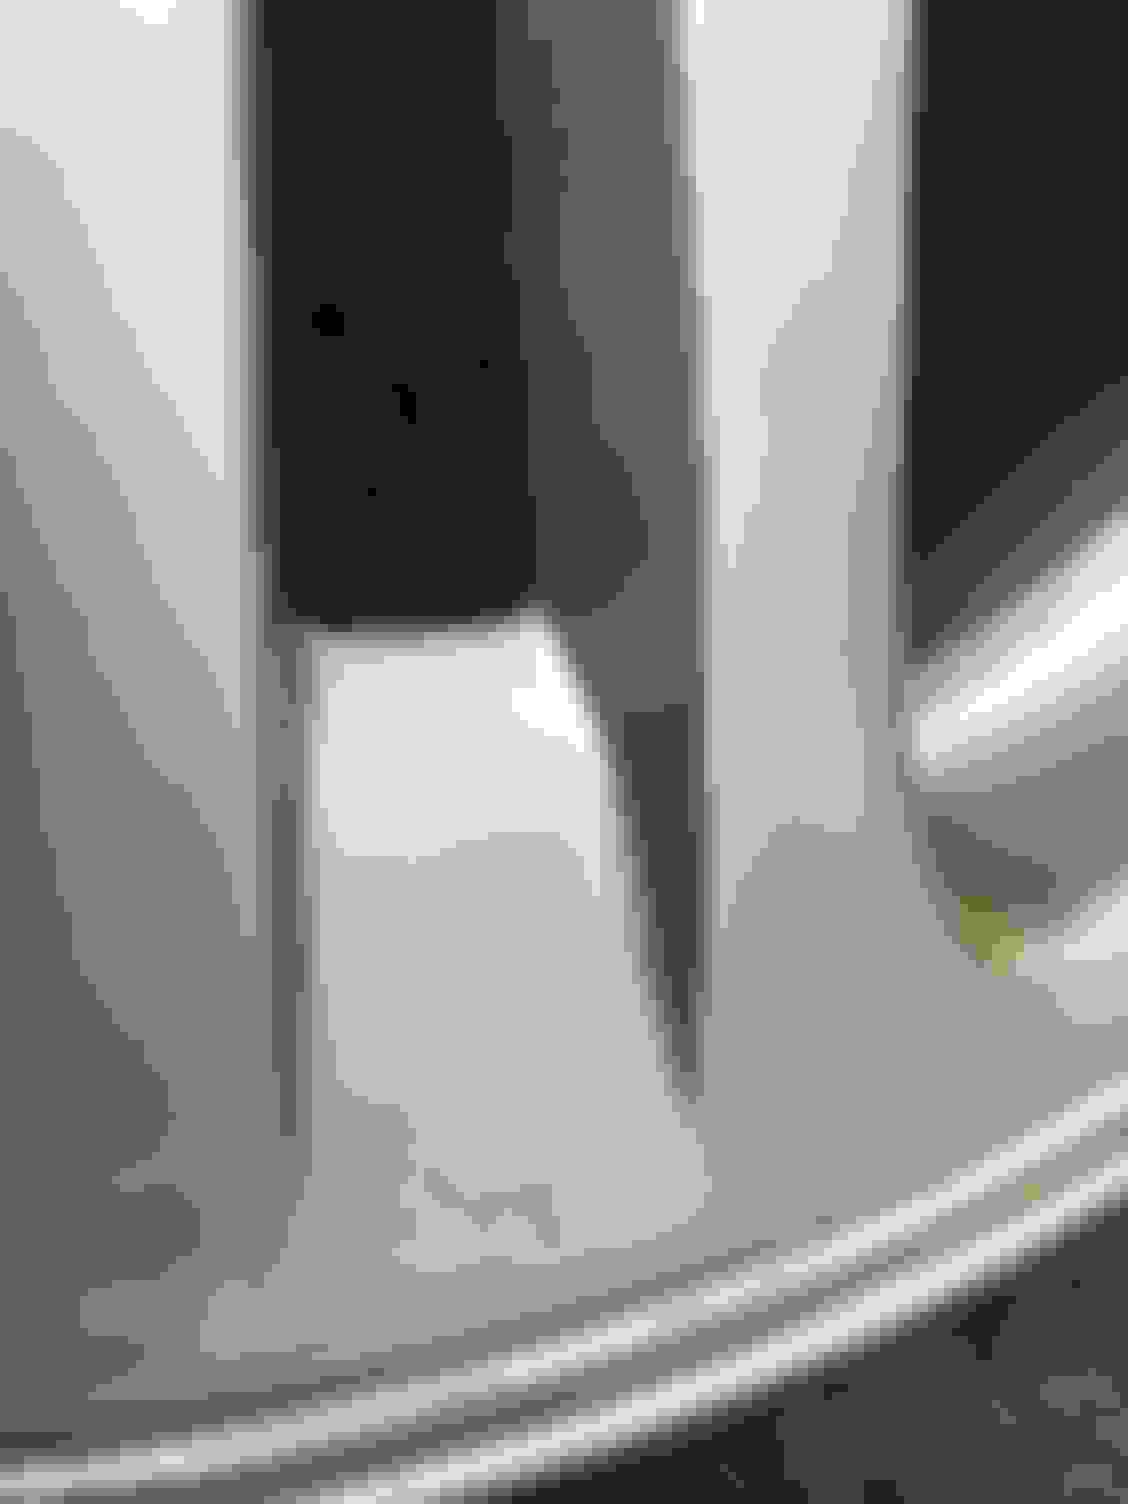
- rear drivers side door, where the colour match could be better
- scoop drivers side has that stupid paint peel
- passenger side rear window needs replacing as I burnt it with the plasma when taking the cage out.
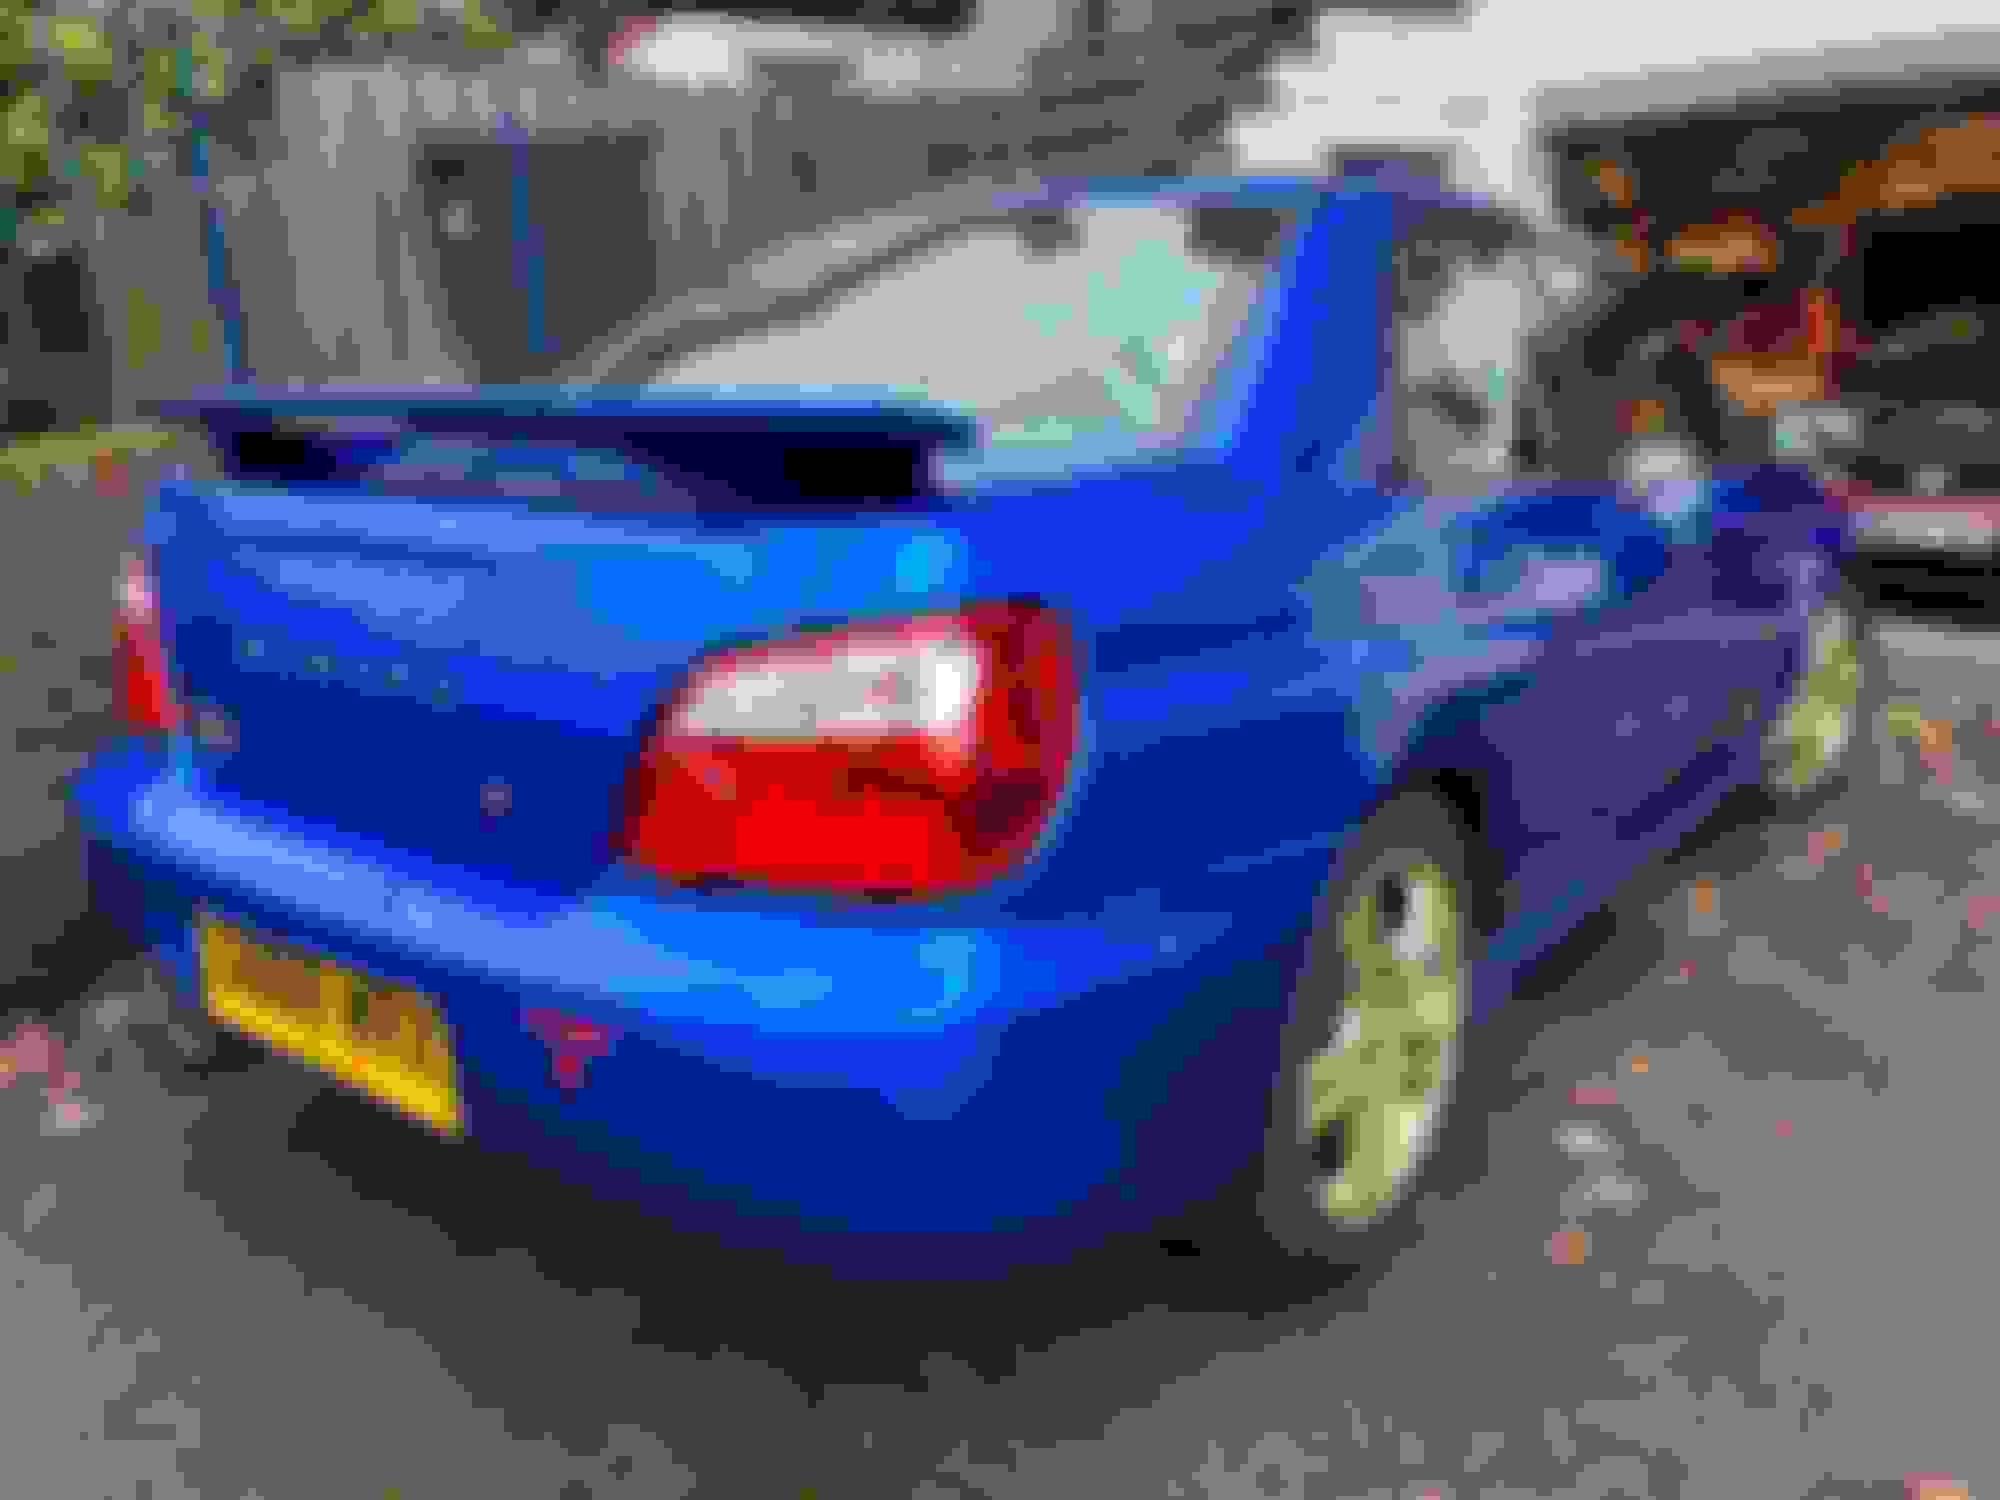
The WRX front end really looks quite soft and too "cutesy" ... I think I might have to get myself some of the STI spats and maybe a splitter...
Even the tail tip got a quick run over with the polisher... This one could be worked on a bit more, but.. at the end of the day it's an exhaust tail pipe
Ther wing has some scratches, sadly (not the xmas lights hanging on the railings...)
Bonnet has a lot of these little stonechips, but not as bad as many others I've seen... This is a close-up, obviously, and from a meter or so away it's not really noticeable IMO.
Next steps on the car - some underseal in the form of "lanoguard". I added some into the passenger side sills yesterday, and it's really nicely flowing etc, but makes your hands smell of sheep (really strongly...). I'll post some pics up when it's finished


 even the little old 1.6 can make decent power with a turbo.


 , after doing a brake bleed Id run out of new fluid, On the last wheel it seems Id failed to lock off the nipple correctly and it had been slowly weeping fluid,


 ).
).