When you click on links to various merchants on this site and make a purchase, this can result in this site earning a commission. Affiliate programs and affiliations include, but are not limited to, the eBay Partner Network.
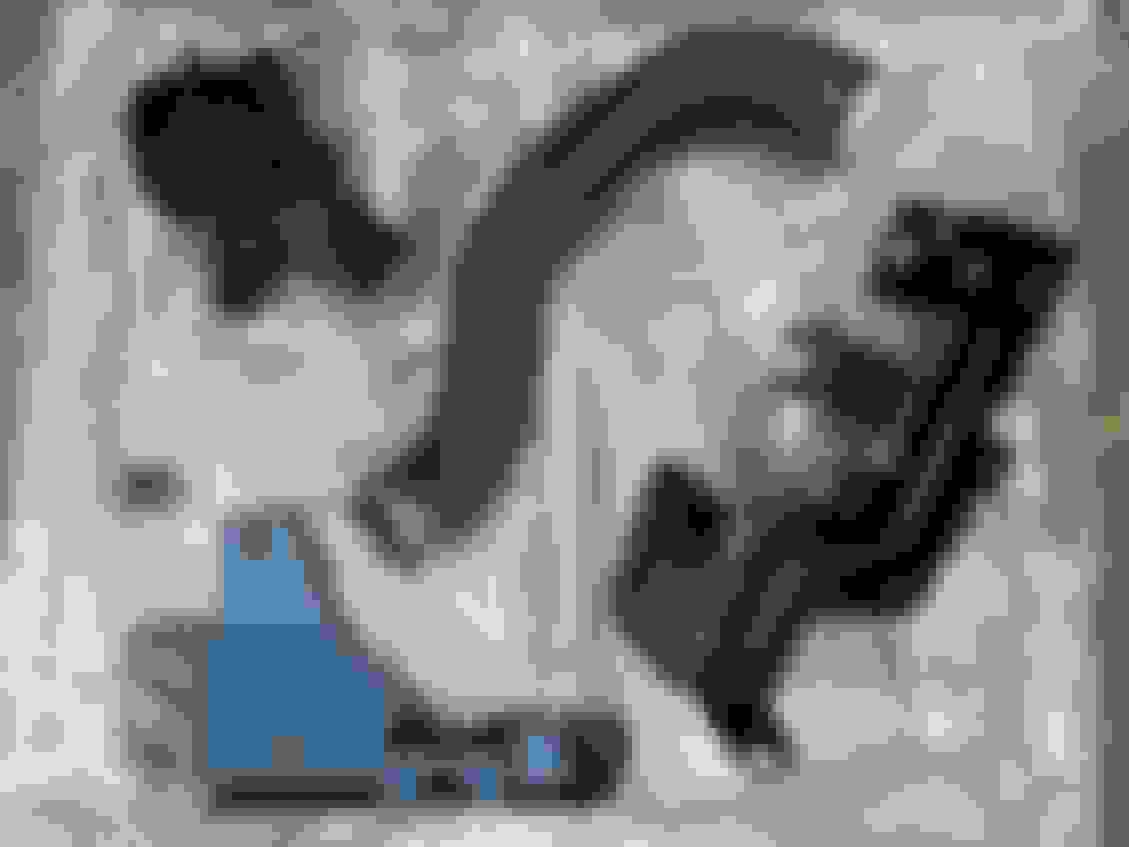
any of these any use to you mate? rear tie bar rear tie bar to front hub rear diff all powerflex black series. never got to fit them on.my old blob type uk.
Car looking ace mate, looking forward to the next post!
Cheers, I'll get right on it
Originally Posted by Bryan Gallacher
any of these any use to you mate? rear tie bar rear tie bar to front hub rear diff all powerflex black series. never got to fit them on.my old blob type uk.
Not really mate, seen the aggro involved in fitting them.
Parts continue to arrive, another �30 of A4 grade stainless...
Drivers side rocker gasket, half moons, modine oil cooler seal, oil filter, caps for the wiper nuts, header gaskets & an oil filter...
100% genuine STI oil filler cap (must be for �7) )
Another drivers side rocker cover gasket from AS Performance as I accidentally ordered a non-AVCS one from ICP (came in an RCM bag & with a sticker too)
My bonnet, has been getting various stages of work, this was from attempting to flyeye tint my lights & the film pulled the paint off ...
In the rare event that it was clean you could also see multiple stone chips through to primer as well...
Phase one of primer. The plan is repair the damaged area's, sand the whole thing back, blend in the paint to cover the repairs, lacquer the fresh paint, then sand & lacquer the whole thing & polish in...
Working the area's down. See when it's wet you don't see the sanding marks? A) That's how you know lacquer will take them out & B) Why you shouldn't view a car to buy in the rain.
Bit the bullet & bought some filler (generous layers of primer filler weren't cutting it )
And then at some point I realised this was getting out of hand so filler sanded, all damaged parts leveled, more primer added & then a final sand with 800 grit wet...
Then I gave it to a body shop who painted it for �130.
Spot on job, was worth the money all day long & the whole thing really needed doing as I'd have never been happy with a dodgy blend job & the metallic really needs doing in one hit & consistent layers to get it even).
New pin & spring for the rebuild (be prepared )...
A shiz load more swearing & hammering & in it went
At this point I realise there's actually a centre pin inside the pin that should be removed first & put in after fitting the main pin
So I salvaged the centre pin from the original one & pop that in...
And all back together, but I can't see where the spring goes
Turns out no-where, so I wan't missing one in the first place
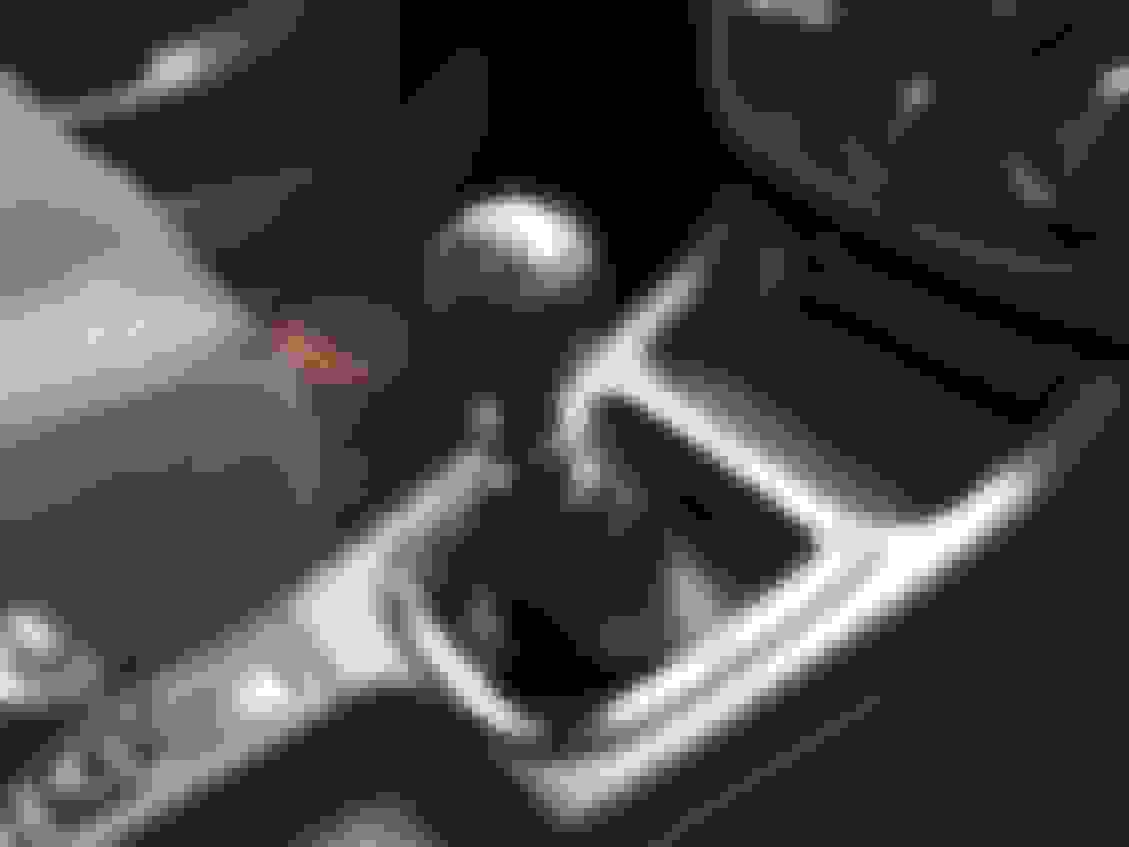
The final piece of the puzzle as I already have the whiteline main bush & rod guide thingy as well as a solid pitch mount.
When I got the car the shifting felt tight & solid, down the line it felt loose & trying to find a gear felt more like stirring a spoon in a bowl of soup the Whiteline kit improved this, but later it began to feel notchy & sloppy. The solid pitch mount was a massive improvement & I didn't notice any additional NVH when driving (I don't think).
After the solid pitch mount lever feel was much more direct but it still felt a little loose. I could feel quite a bit of vibration through the **** ( ) & felt like I had to really direct the lever to locate it as of the play. Now it's rock solid, no play in it whatsoever & vibration has dropped to a minimum. It's a small difference so it wasn't that bad to begin with on reflection, however now it's perfect.
Yes, I am painting stuff black. I've never liked how the windscreen wiper tray was bare & faded plastic, so it's getting the stealth treatment
A mate asked me "are you doing your whole engine bay black or will you be adding highlights?"
The answer is both, random parts will be painted satin black, highlighted parts will be gloss black. One of those highlight parts is the alternator belt cover (which has a small crack in it)...
I plastic welded (basically just melted with a soldering iron ), I later "plastic welded" the 1/2 of an SD card case to it to add some rigidity
Crack sanded back the end of it drilled, then fillered & sanded smooth...
Times are tough so I had to resort to Halfords own gloss black paint, which isn't actually as bad as I remember
Wiper tray also hit with Halfords finest...
And then lacquered. Complete with a few runs that need sanding out & the whole thing polishing (same as the alternator belt cover). However I am sick of painting stuff so I am not in a rush to complete them.
I acquired a bit of foam I've been kneeling / laying on while working on the car, said foam lives in the boot with my socket set & helps keep in place (as it makes a "thud" when it slides from side to side, battering my boot liner)...
So I had a brainwave
Cut to size...
And no more sliding toolbox...
Boom! No one would even know it's there
I just need more foam to make another layer, level it off & then trim the carpet to fit. But I need to wait for work to get more foam as I robbed it all
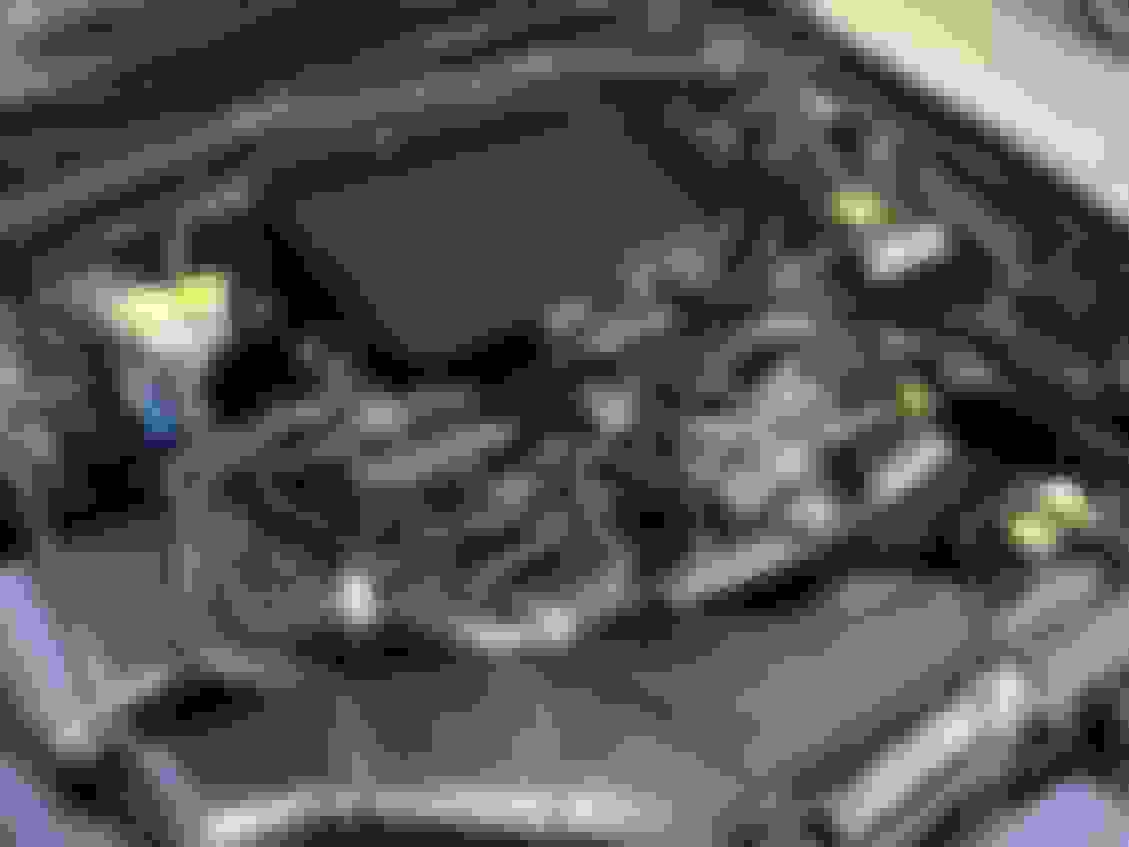
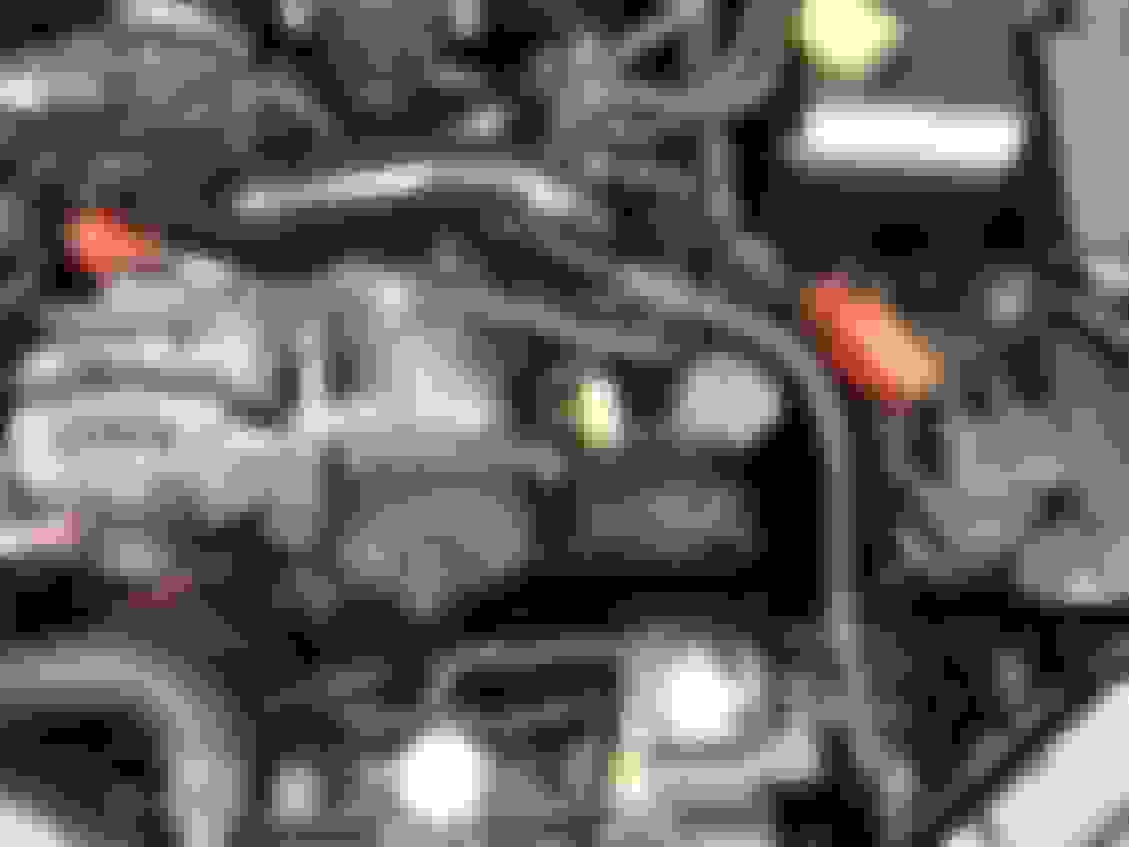
And the stock air inlet reinstalled, even though it's redundant I like the stock look of it...
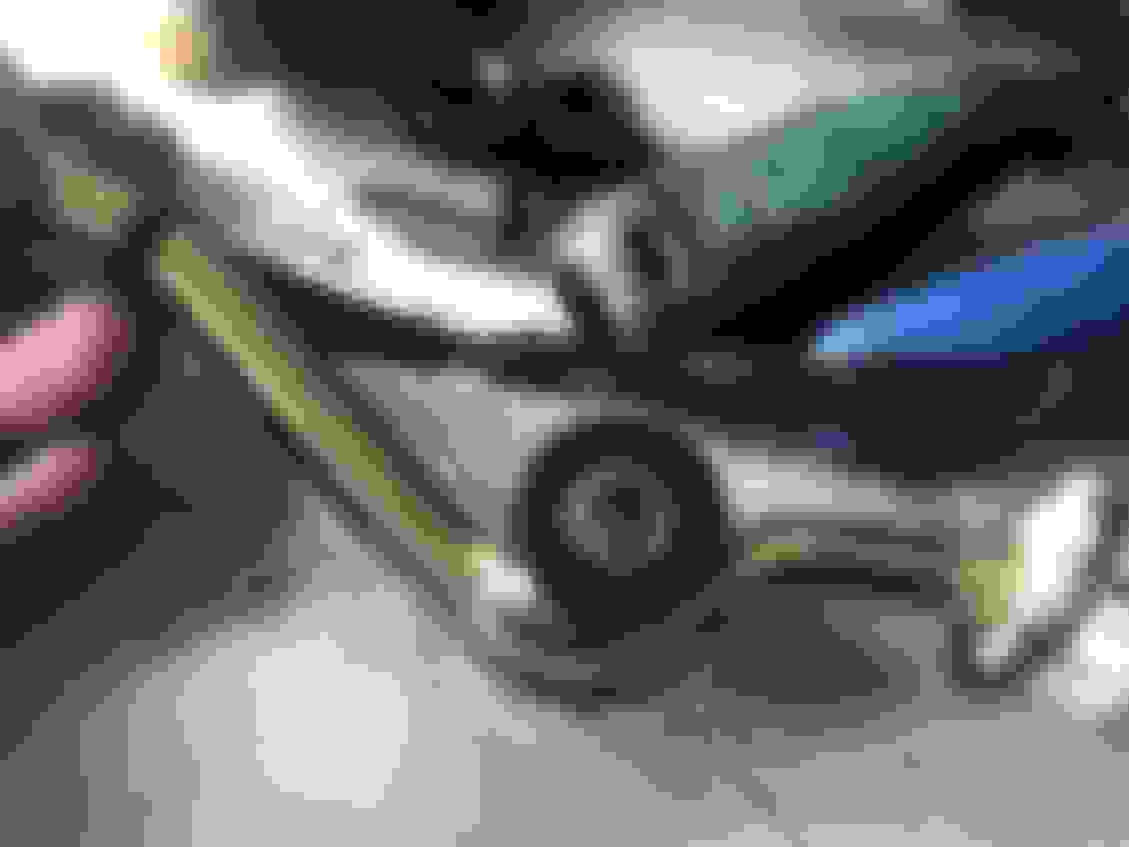
The last of the red in the engine bay, the live alternator cable & positive battery terminal covers...
And replaced with black ones (it's the little things that make all the difference). STI oil filler cap doesn't line up fo' shizzle, maybe another O-ring or two would reduce the threads needed & straighten it up
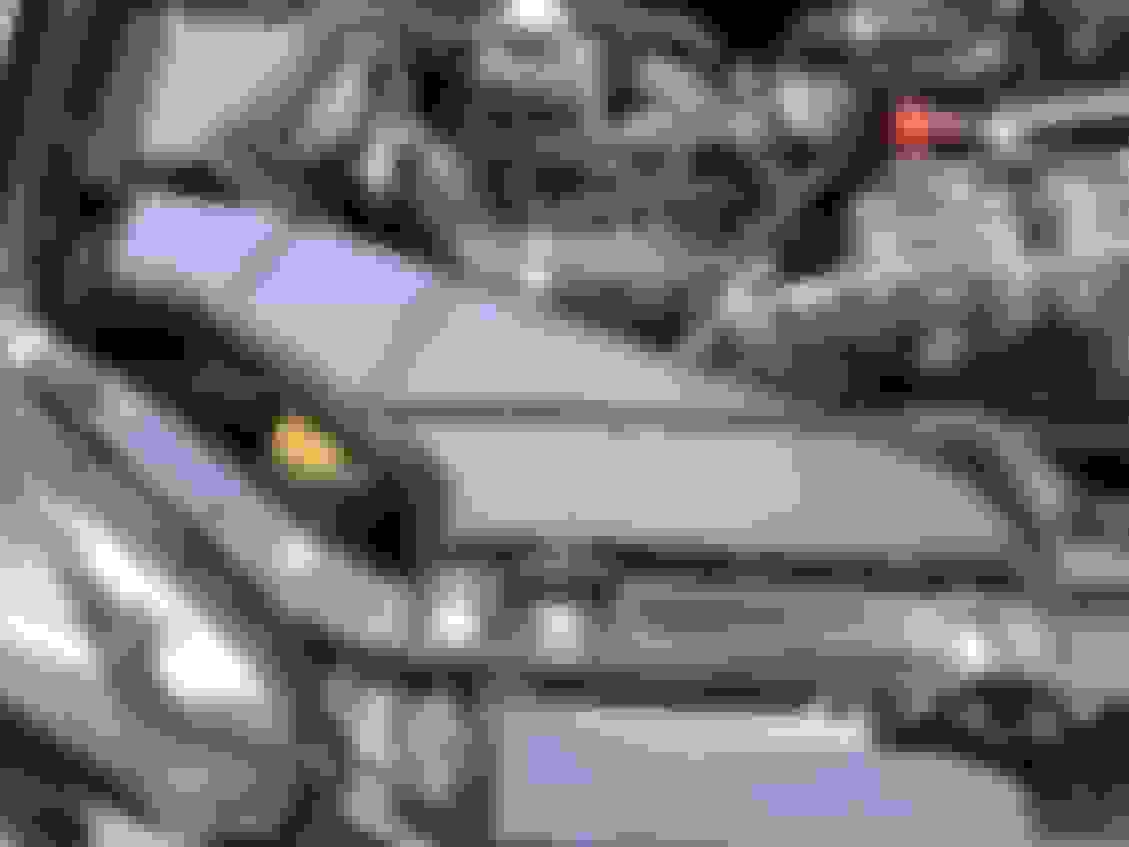
Having driven the car with & without a bonnet for a couple of weeks, I figured it was probably time to get her looking presentable again. The inner vent of the intercooler splitter has been Hammerited gloss (I could see it chipped back to aluminum when looking through the scoop which pi55ed me off )...
Subaru used these weird flat headed bolts that lock into the slots on the scoop as there's no access to get a tool in there for normal hardware...
I raided my stash for some A4 stainless M6 bolts that I was able to force into place & eventually tighten up. I didn't realise two were longer than the others however there's more chance of my cutting the longer ones down then going through refitting the whole thing...
Subaru also chose to use these weird hex headed self tapping screws to install the intercooler splitter, instead I'll be using the interior style screws (they're stealth & the threads are slightly larger)...
Splitter in place & (A4) penny washers used to hide the markings from where the previous hardware was installed (as **** painting stuff for a month or so )...
And the stock air inlet reinstalled, even though it's redundant I like the stock look of it...
The last of the red in the engine bay, the live alternator cable & positive battery terminal covers...
And replaced with black ones (it's the little things that make all the difference). STI oil filler cap doesn't line up fo' shizzle, maybe another O-ring or two would reduce the threads needed & straighten it up
How did you do the BOV?
I have the exact same one and would also love to have black like yours!
How did you do the BOV?
I have the exact same one and would also love to have black like yours!
First I took the Allen head screws out & dismantled it as I was expecting to have to paint the outer casings on their own. However the rear section with the holes in it where the �psssst� comes from Just has the outer edges of the diaphragm in it so didn�t see a problem with just painting the whole thing as one (also means I got to paint the screws ).
I just wet sanded the casing with 800 grit (as I was out of 600), roughed the screw heads up, put the thing back together & put three coats of Hammerite on it.
I would have liked to have done it gloss but there�s a nationwide shortage so I had to settle for satin (still it looks a million times better in satin than that polished finish).
When rebuilding it I accidentally clocked the housing so now the hose exits horizontally instead of pointing �north-east� which I think looks better
It's getting there, still moving forwards. I am having a lazy one this weekend as there's a bank holiday coming up, but I still got a few things done...
Alternator cover tray sanded back, a little paint thrown over the exposed primer & ready for lacquer...
And like that... It's done. Along with the windscreen tray. I still hate lacquer (if it's in / from an aerosol)...
Alternator belt cover is actually acceptable (it looks like it has crap in it, but doesn't in real life)
I also treated myself to some Happy-Shopper, wing stiffies. My excuse for not going with Perrin ones is I don't like bare plastic so would paint them & the Perrin logo is recessed in, which would be a bi7ch to sand (nothing to do with these only costing �22 )...
As I am not sponsored by Happy-Shopper, I am painting them (surprisingly ). Sanding them back...
After a coat of etch primer, a coat of filler primer, a few coats of black paint & a couple of coats of lacquer. A job well done
But with an ace up there sleeve, not just any black graphite black pearl to match the rest of the car
In the end I left the core painted with that Simoniz stuff & re-did the outside edges in gloss. Saying that I don't think it matters much & since installing a turbo blanket heatsoaking the intercooler isn't an issue.
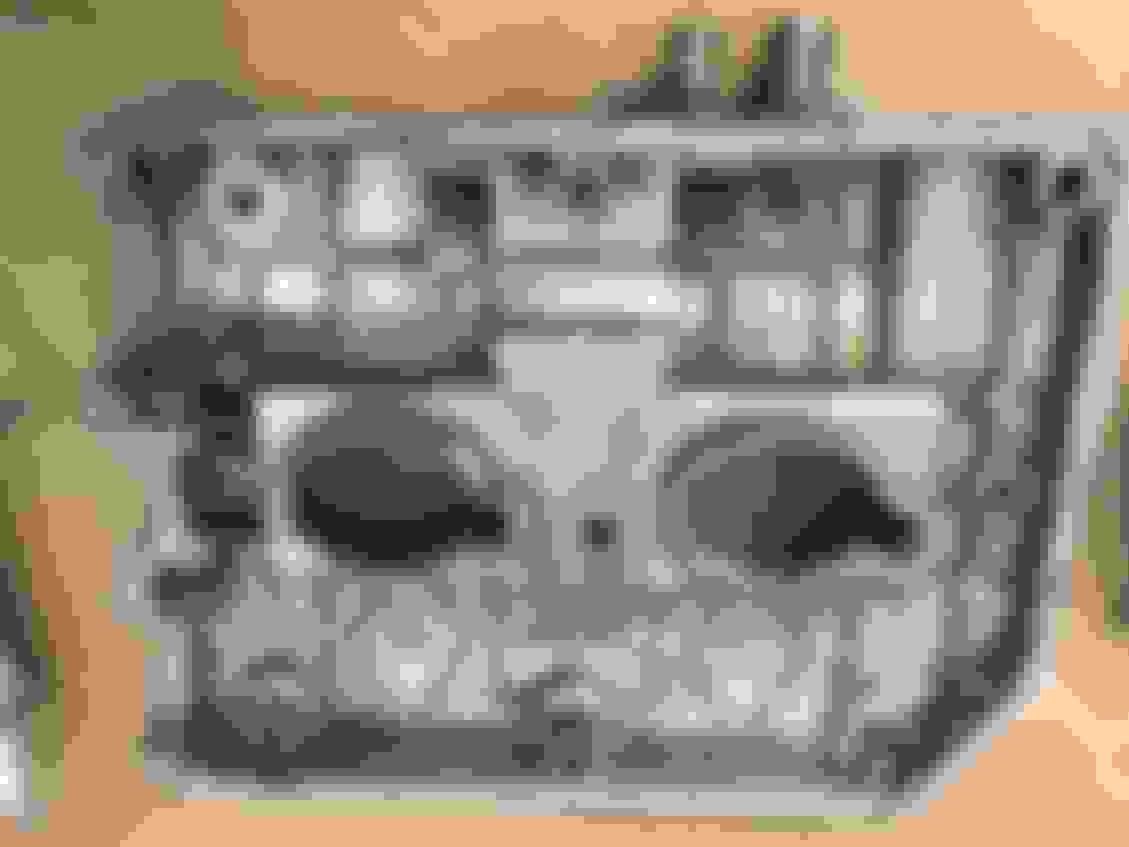
So after buying another gasket I was relieved to see the new 1/2 moons I just fitted were good...
Jacking the engine up also allows the oil to flow to the passenger side...
And success (2nd time lucky) . When I do my next oil change I'll replace the seal for the modine cooler which is also weeping & then degrease the whole thing & keep an eye on it...
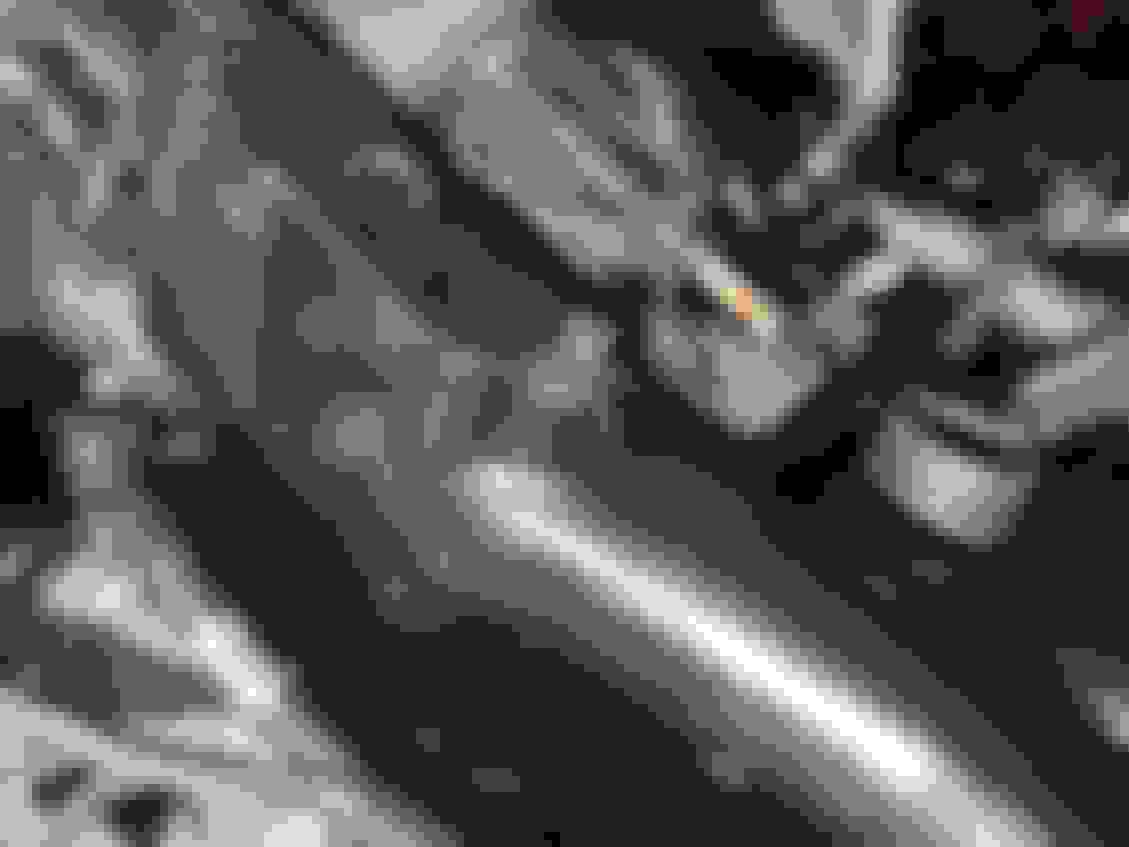
Speaking of leaks, I found this while I was under there too
If only I could find some plain black coolant hoses & not ones with logo's all over them
Looking Good Kaosone. Lifting the engine is just so much easier way to access everything. Not so sure about the socket extensions as props but hey if it works...
Another weekend & my second bottle of Millers finest down the hatch ...
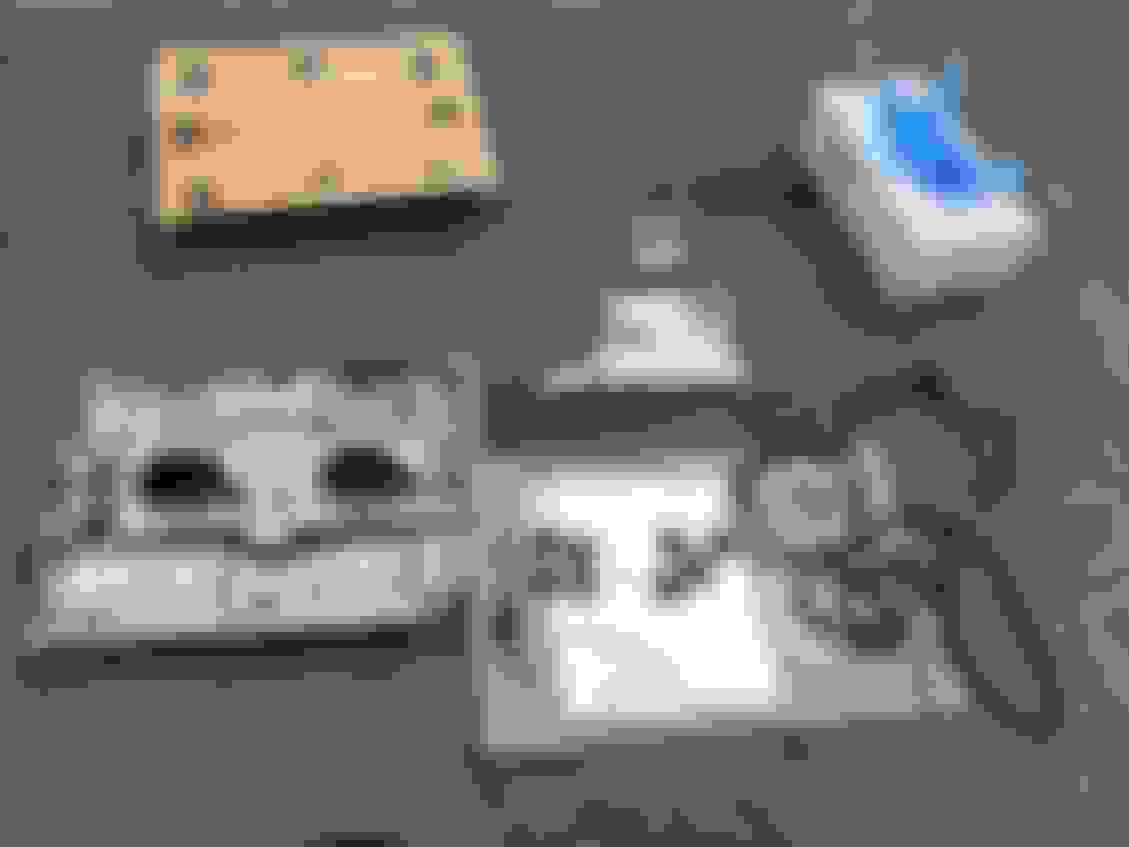
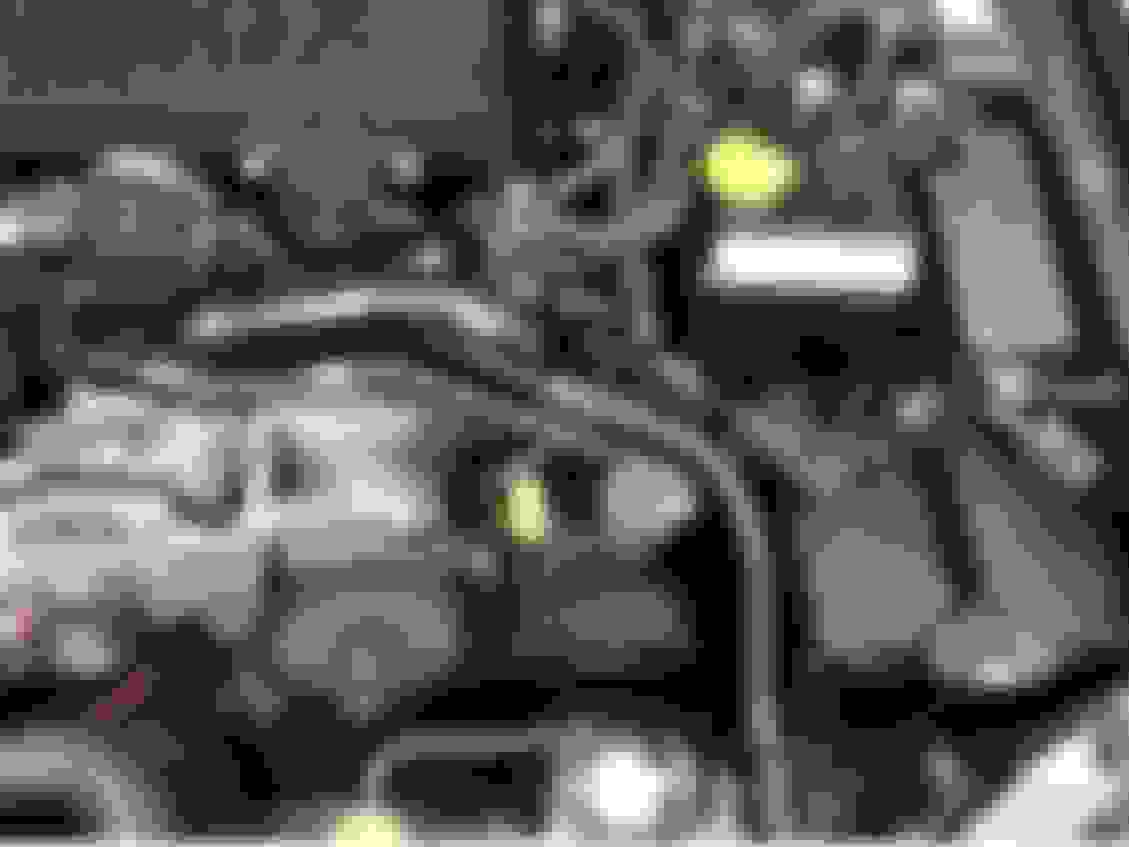
I am also finally completing this stage of the engine bay. Boost solenoid cover & master cylinder brace ready to refit (been knocking about a while) & a freshly Hammerited recirc valve
And after a drive, I can't feel a noticeable difference, but it's more grown up without the "PSSSSST" & I am sure given the fact an engine runs on air & fuel it's better in than out
I also fitted the alternator belt cover as well as some more stainless hardware & now that's this chapter closed so I'll refit my strut brace & we're in good shape


") )
)


 ...
...


 )
)


 ...
...
 ...
...


 )...
)...


 )...
)...