When you click on links to various merchants on this site and make a purchase, this can result in this site earning a commission. Affiliate programs and affiliations include, but are not limited to, the eBay Partner Network.
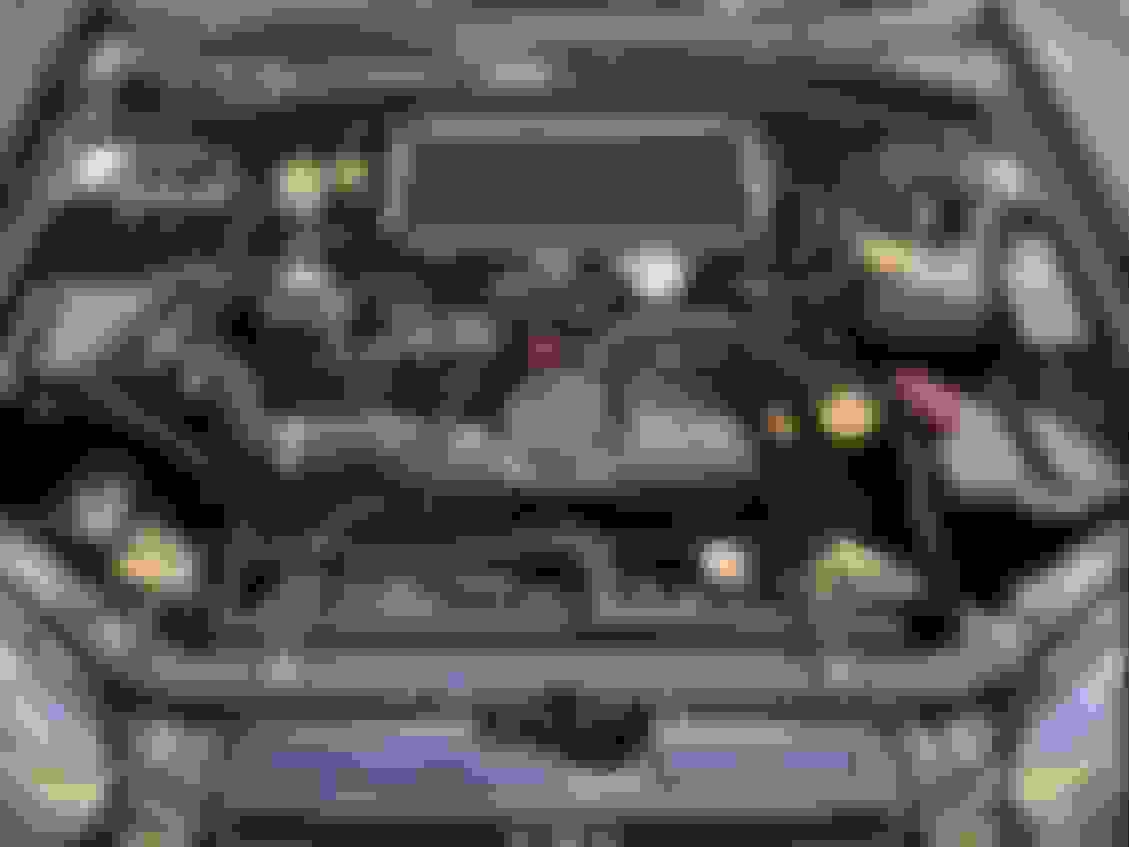
That engine bay looks really good in black, and a welcome change from the rainbow of other's.
Cheers, I like it subtle. I used to do all my bikes stealth back in the day. The theory being at a glance you don't notice but as you look you harder you see more & more...
Na no point painting the intercooler. Just go black front mount with black pipe work. You know you want to.
Yes I do, but I also want a black intercooler & the Japspeed ones only come in shiny. Which I could fix but I'd rather buy one with a black core than paint one as it'll eventually chip.
Not so much of an issue but I can't run the stock airbox with a front mount which means in intake & more expense so I'd need the front mount, 3-port, intake & then a map & I am guessing it would run lean on the way to the dyno (which scares me) & I'd like a Harvey Smith trick up pipe too.
Intake - �200+?
Japspeed Front Mount - �290
SWRD 3-Port Solenoid - �85
Harvey Smith Up-Pipe - �189
Race Dynamix Remap - �430
So another grand+
Another thing which is in the back of my mind are the headgaskets. As far as I am aware the engine in my car has never been touched which means the head gaskets are 17 years old & have covered 106,000 miles. I like to think the fact it's still intact is because it has been on the Prodrive map (since it had 1,100 miles on it) which is conservative.
Rather than having a failure I'd like to perform some preventative maintenance before upping the boost by pulling the engine, removing the heads & fitting a set of stopper gaskets & ARP studs (overkill I know but while it's off). My drivers side rocker cover seal is also leaking so the engine would need to come out anyway to sort this.
Bang for buck wise I'd also like to swap the VF35 out for a TD05 18G as after doing my homework it seems these come in stronger & hold the boost for longer & for the sake of �500 for a used one it seems like a good value when you look at it.
So...
Intake - �200+?
Japspeed Front Mount - �290
SWRD 3-Port Solenoid - �85
Harvey Smith Up-Pipe - �189
Race Dynamix Remap - �430
ARP Head Studs - �220
Stopper Gaskets - �100
Genuine rocker cover seal kit - �70
4x Genuine 1/2 moons - �15
Potential head skim / lap etc - ????
TD05 18G Turbo - �500
Basing that on the theory that it's more economical to do all that in one hit so you only pay for one mapping session it's ******* expensive with little or no change from �2k
Anyone know what stock head studs will take & would you like to buy a blue STI interior
Kaosone, I like the water bottle in blackas i never liked the o.e water bottle as it stood out to much in the engine bay...Just one big piece of plastic.SJ.
Kaosone, I like the water bottle in blackas i never liked the o.e water bottle as it stood out to much in the engine bay...Just one big piece of plastic.SJ.
I�d love to take credit but I copied the idea from @_dannyraine_ on Instagram. Also cost me nothing as I already had the supplies.
I’ve heard good things about the toyosport cooler which is like 100quid cheaper. But like you say. It is way more in depth than that. I’m literally in the same position as I’ve just fitted the cooler, just waiting till this corona **** blows over to fit the final 2 pipes before mapping. But then same again as I would like the up pipe, solenoid and fpr, possibly a bigger fuel pump too. So mapping may have to wait a while! Which is a shame.
still, you’re doing some great work!
did you ever fit a complete steering wheel from a hawk or was it just the airbag you tried?
I�ve heard good things about the toyosport cooler which is like 100quid cheaper. But like you say. It is way more in depth than that. I�m literally in the same position as I�ve just fitted the cooler, just waiting till this corona **** blows over to fit the final 2 pipes before mapping. But then same again as I would like the up pipe, solenoid and fpr, possibly a bigger fuel pump too. So mapping may have to wait a while! Which is a shame. Still, you�re doing some great work
Cheers, if only I was rich
I�ve looked at the Toyosport intercooler, it�s black but IIRC it�s shorter than the Japspeed & doesn�t fill out the gap in the bumper as much (I am an OCD weirdo ).
I have a Warlbro 255 fuel pump in mine from the Prodrive performance pack but should probably swap this out before mapping as it�s getting on a bit now.
Who are you planning on having yours mapped by?
Originally Posted by Aaronfoster
Did you ever fit a complete steering wheel from a hawk or was it just the airbag you tried?
I bought a Hawkeye wheel that was rough to use the airbag from, however being smaller the airbag didn�t fit my wheel correctly (it bolted in place but there was a 1cm gap on either side of it).
In the end I sold it on & just painted my gay silver airbag satin black. Thinking about it I just used the rest of that satin black can to paint my washer fluid bottle
I was also bored so decided to tick something else off the list...
Painted with the same Hycote gloss black I did the dash trims in (but lacquered for a bit of extra durability)...
After a lot of ******* about trying to refit it I then realised I needed to put the car in reverse to free off the slack in the cable & at this point the pin disappeared into the centre console & under the carpert So I had to get creative
Makes the gear **** look crap but whatever (whatever is code for I want a shiny RCM one ). Matches ally the gear surround that I Hammerited black nicely though
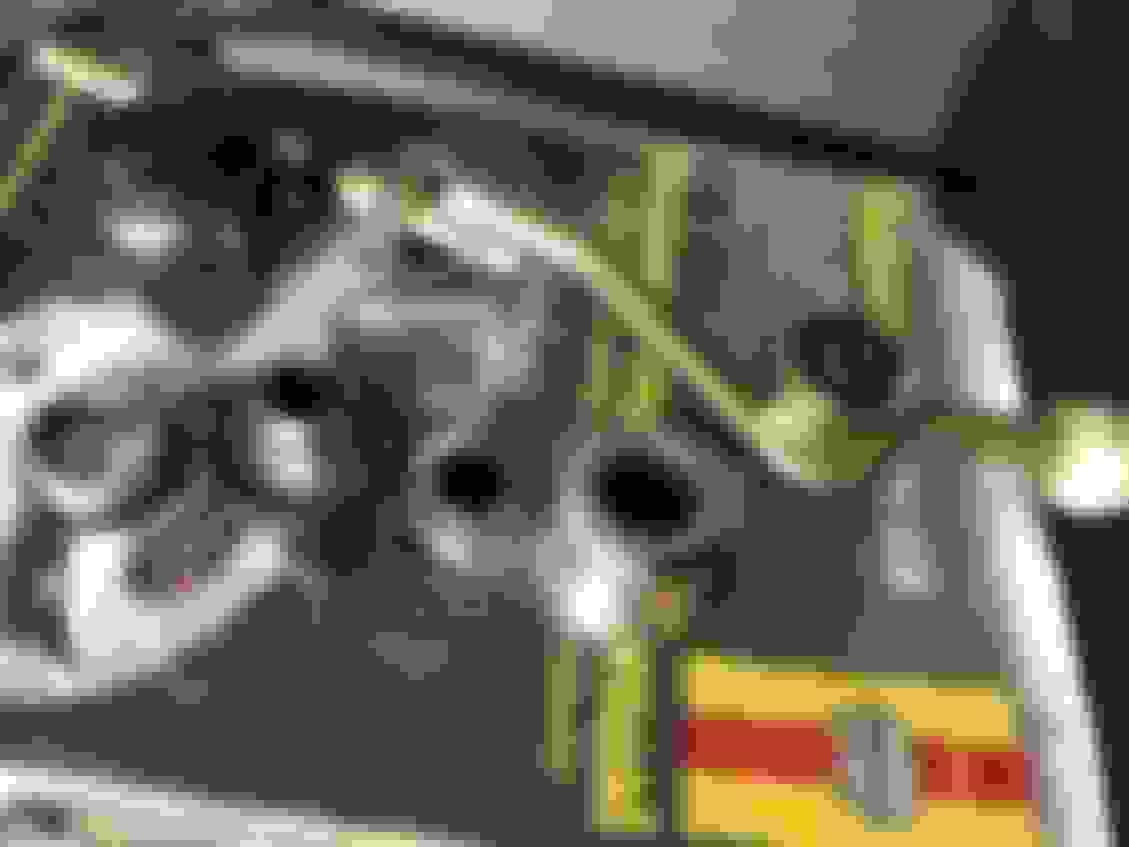
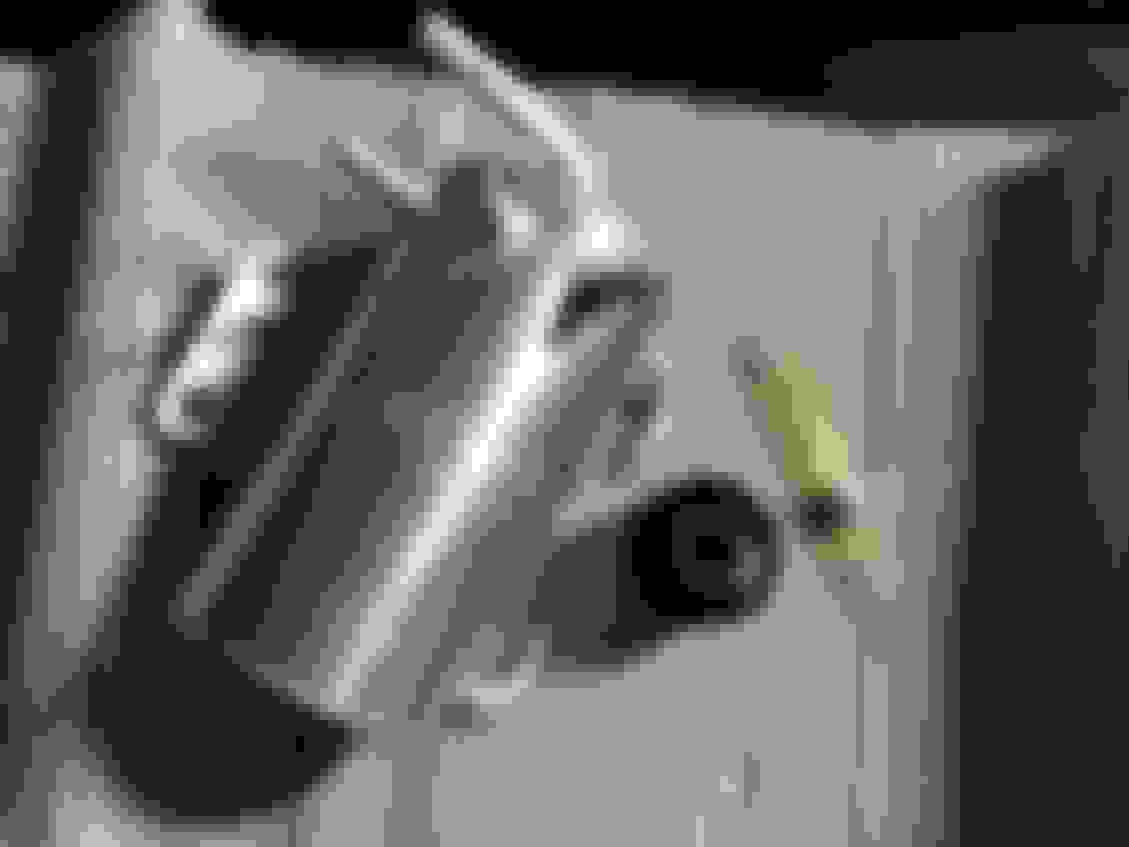
While waiting for the postman to arrive I am gonna break the stealth out , I emptied the catch can a week or two ago so I am guessing this is the sludge that stayed in the bottom of it...
Why I didn't paint this before fitting I don't know (those clips on the hose are b45tards)...
I was able to hang it from the oven tray with a cable tie to bake it
I also caved & painted the intercooler core with the last of the heat-dispersal Simonez paint...
I was just about able to get that in the oven too...
Catch can refitted (I told you I redid the catch can lines in stealth & made them nice & pretty)
Now... When I first got the car I wanted to keep it clean & original (I did hold out for a year ), tidy it up & keep it well maintained. I also wanted to do some preventative maintenance & on that list was an air oil separator.
As standard oil blow by gets pushed into the intake system mainly by the crank case breather but also by the cylinder head breathers. Oil in the air fuel mixture will lower the octane ratio of the fuel which can induce knock (anyone who has ever taken their intercooler off will notice there is oil residue in it). As standard there's also a PCV (Positive Crankcase Ventilation) valve on the inlet manifold from the crankcase breather. Under normal driving conditions the valve is open & it drawers air into the inlet manifold, under boost it closes & the crankcase breather is vented to the inlet pipe (in front of the turbo).
However the Perrin / IAG Air Oil Separators are �300+ & while they're a kit they're typically made for left hand drive cars. They're designed to filter the oil from the air, return the oil to the sump & put the air back into the intake. Short story long after a lot of reading & not wanting to pay �300 I went with a baffled catch can that's vented to atmosphere (doesn't work as a filter in between the ventilation & inlet),
There's a lot of contradicting information out there about how you shouldn't remove the PCV valve, PCV valves are unreliable & can cause issues & also the engine vents need the vacuum of the inlet system to operate properly. However the deciding factors were Andy Forrest & the diagram for the RCM kit both state to remove the PCV valve & set the system up this way. I am glad I did as I've recently seen the AOS setup kits are designed to still utilise the PCV valve so off boost oil can still get into the intake manifold & by venting to atmosphere you've completely removed any contaminates getting into the intake system. Even if clean air was filtered it would be hot & stale by the time it was fed into the engine.
I will say it does collect a lot of water which is condensation vapour from inside the engine cooling when it hits the can (the AOS's have a coolant line running through them to heat the can & prevent this). However I am happy to just empty the can as required rather than return anything to the sump (people say if you saw what a catch can collected you wouldn't return it to to sump but bear in mind all that oil residue & blow bu is mixed with water which is why you get a milky sludge in there). I plan on replacing the drain bolt with a threaded barb fitting to run a line with a valve on it to by the subframe so I can easily drain it from under the car.
Three months or running the catch can & the intercooler is clean
At some point I decided to install a cold air intake
I had a 3" glass tile cutter knocking about from drilling fish tanks & while it doesn't cut plastic that well it's the right size...
Glued in place with 2-Part epoxy...
And with the hose connected & just shoved in place as I need to pull the wheel & arch liner off to remove the resonator & am saving that for the bank holiday weekend
And finally for this update I've been on a mission for paint cleaning, touch up, decontamination, correction, polishing & ceramic coating
Gave it a jet wash, then foam followed by another jet wash & it actually came up nice (& more importantly I didn't physically touch it & risk scraping any contaminants into the paint)
I'll leave you with a full frontal (& will be painting the "STI" logo back on the intercooler core)...
A busy Easter bank holiday weekend here at Kaosone towers
First off I butchered the rear seat from the WRX rear interior I bought as I want the material to cover the foam rear back that's visible from inside the boot (yeah, I know )...
I thought I'd make use of the arm rest out the rear seat
It's awesome, not quite on the same level as a transit van armrest but better than nothing
Butchered the second trumpet by cutting the bellmouth off...
... To join an additional pipe to the existing one ...
76mm pipe fits directly into the ole in the stock airbox...
I am going to hack the original intake part of the resonator out & fit it back in its place so I can re-install the original intake (as I think it looks wrong without it)...
Bonnet's off to have a proper go at it (the job gets bigger every time I work on it) & the scoop has been removed from it...
The undertray is getting painted as seeing the bare ally through the scoop pi55es me off. I also plan to mock up a better solution to seal to the intercooler (like in Floyd's Economy Stage 3 build)...
Pile of shizzle to stealth
First round of cooking...
Round 1.5...
Sight window in the coolant overflow tank (cleaned up nicer with a razorblade)...
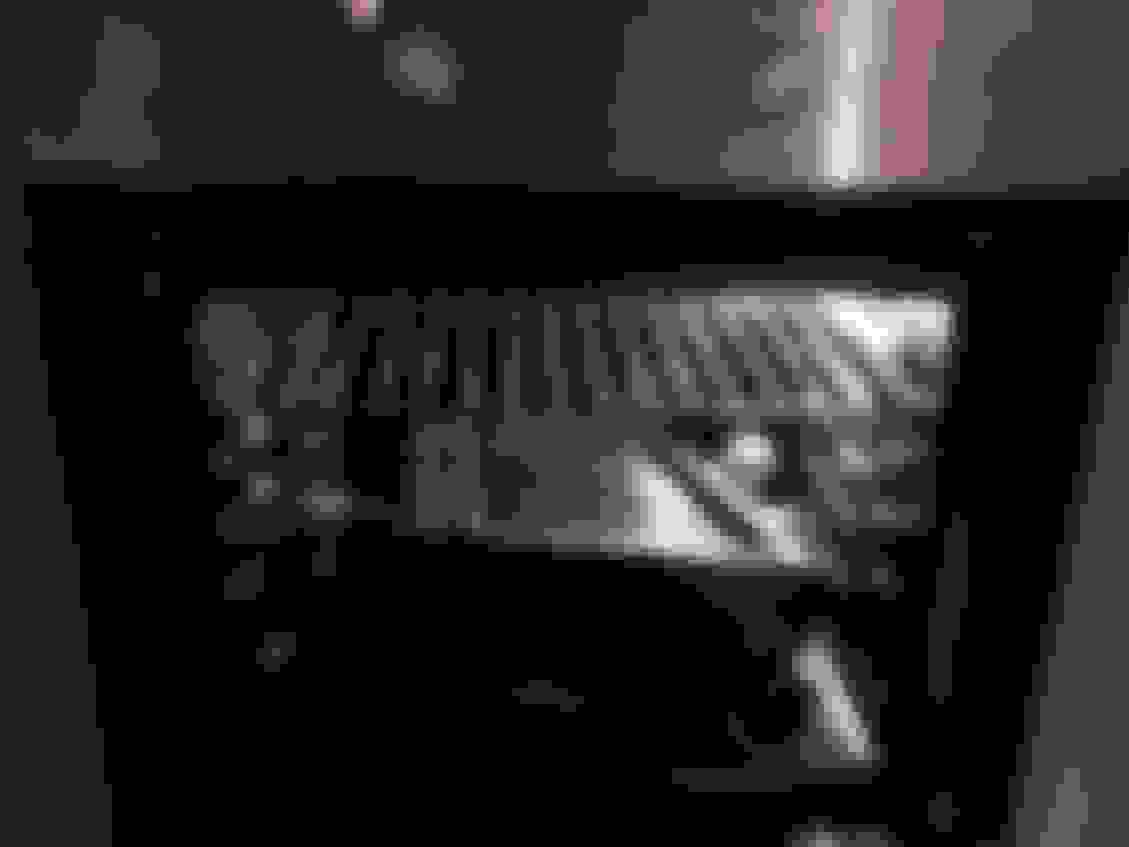
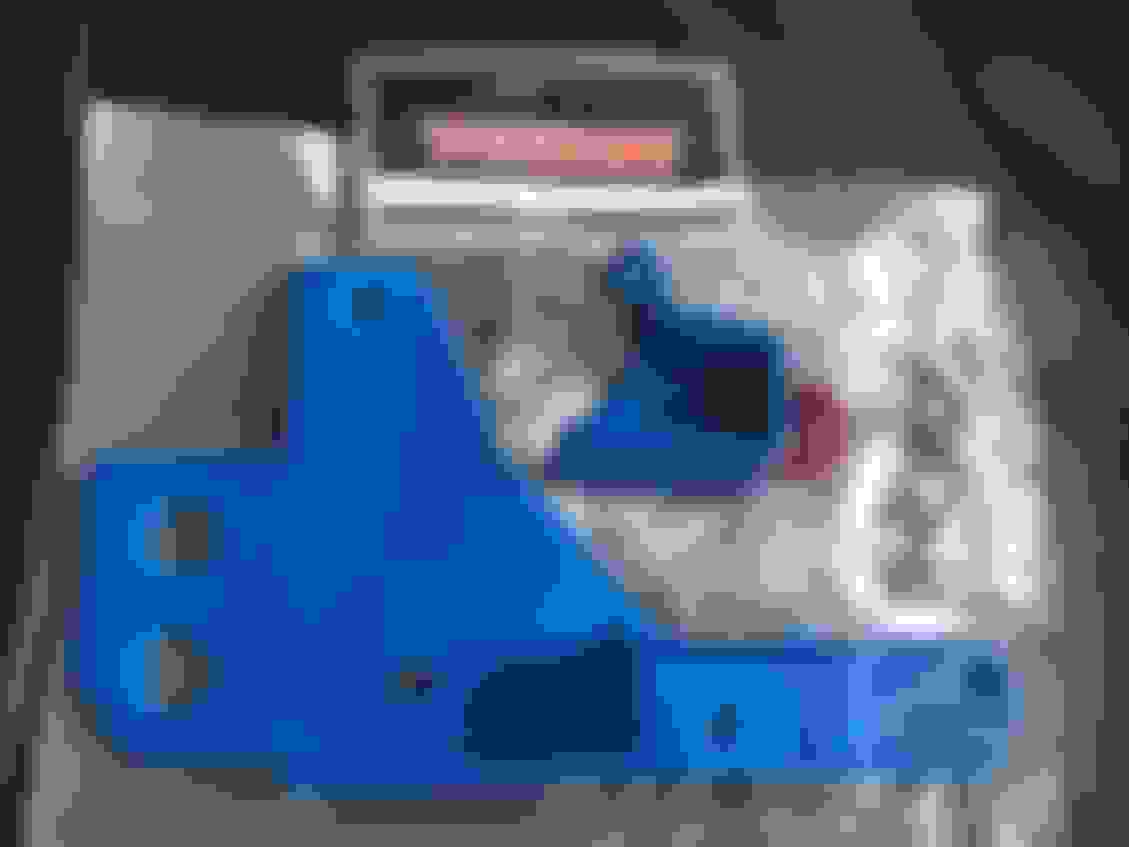
Airbox & battery tray have been gone over with back to black bumper shine (made no difference). Brake stopper, Fuse box mounting bracket, battery tie down, intercooler mount, clutch master cylinder reservoir bracket, coolant overflow bottle & battery painted (battery looks good if I do say so myself )...
Under cradle subframe brace thing has since been hit with underseal...
And the rest of the crap that also has to go back on
Turbo blanket showing signs of 3-4 months of action
Up-skirt shot of the ba5tard to get to downpipe bolt (I never thought I use that weird 1/2" drive right angle non-ratchet looking thing in the Halfords tool kit, but it came up trumps here)...
HT Auto's splitter on (looks better but out of the place with no bonnet)
And finally we're one step closer to the ultimate in stealthiness (however I realise I am going to have to paint the alternator )...


 ).
). )...
)... 


 So I had to get creative
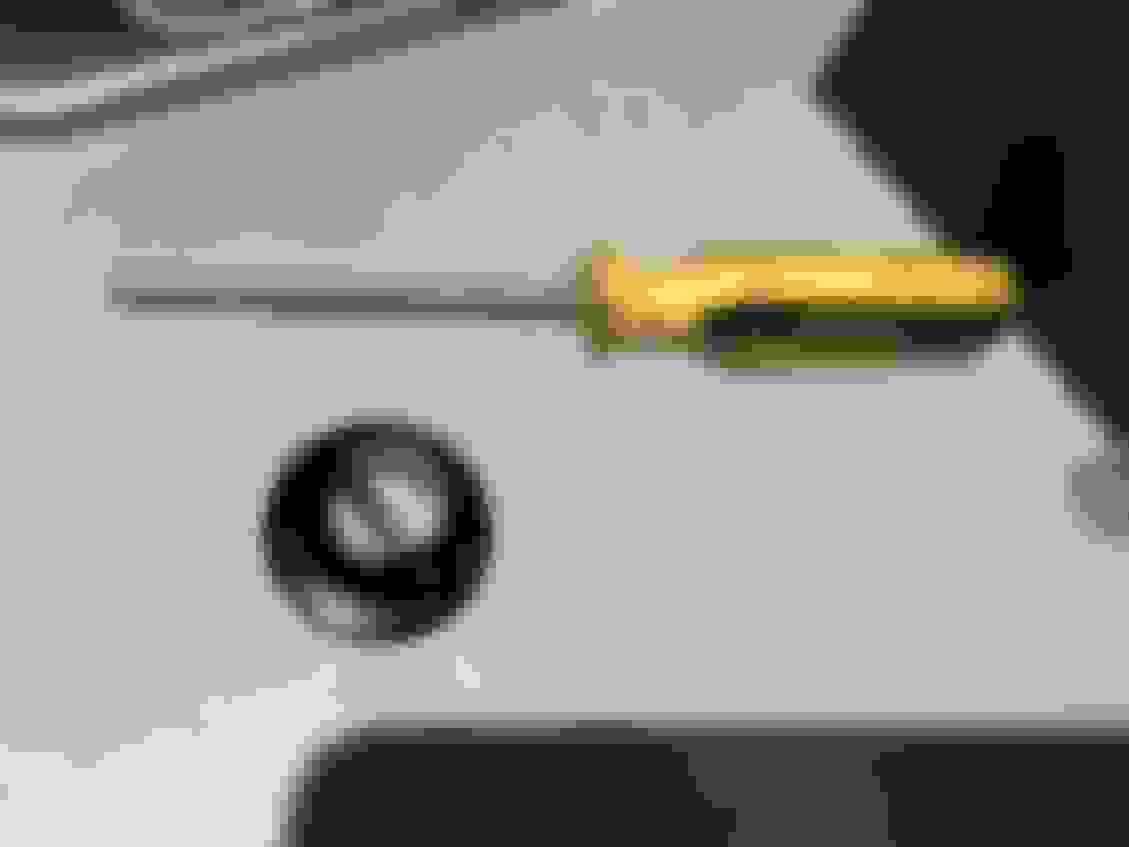


 , I emptied the catch can a week or two ago so I am guessing this is the sludge that stayed in the bottom of it...


") ), tidy it up & keep it well maintained. I also wanted to do some preventative maintenance & on that list was an air oil separator.
), tidy it up & keep it well maintained. I also wanted to do some preventative maintenance & on that list was an air oil separator.


 )...
)... 


 ...
... 


 ...
... 


 )...
)...