Meet the new Boss, just like the old Boss !


 13 July 2015, 12:46 PM
#33
cheers buddy. Also managed to remove the battery and completely degrease and clean the battery tray area, refit the rods and bracket with new ones, replace the crap std horns with better ones, fit radiator shroud in new one but no pictures 
So slowly getting there
So slowly getting there


 16 September 2015, 01:01 PM
#35
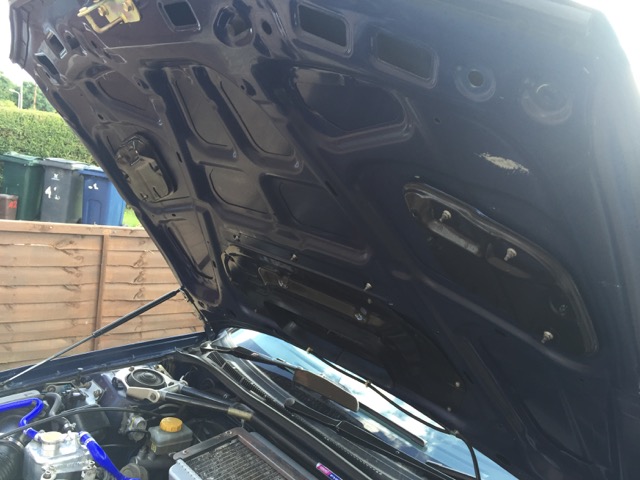
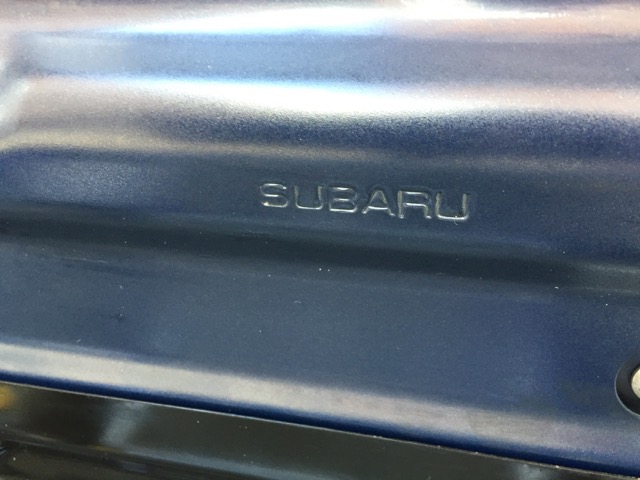
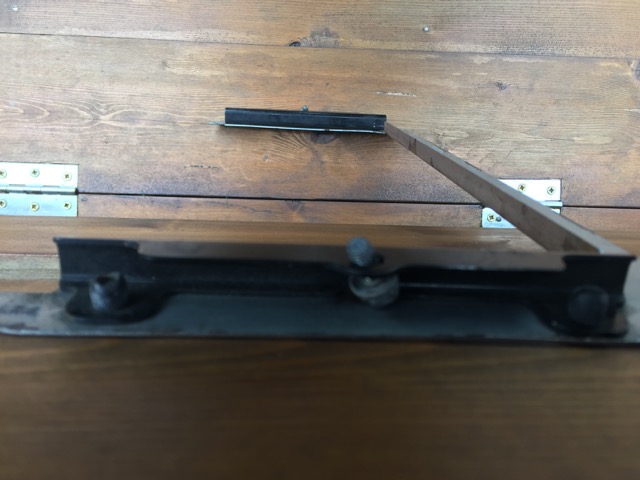
Next up the underbonnet.
Now normally I would have just cleaned this but as it happens I had a spare one sitting in my shed which was in better condition so decided to strip the parts I needed off the older one, transfer over and clean at the same time.
Before with the horrible fire blanket which is next to useless anyway.
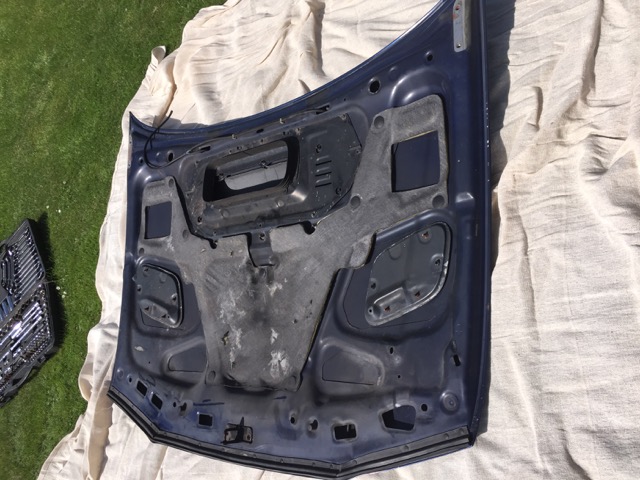

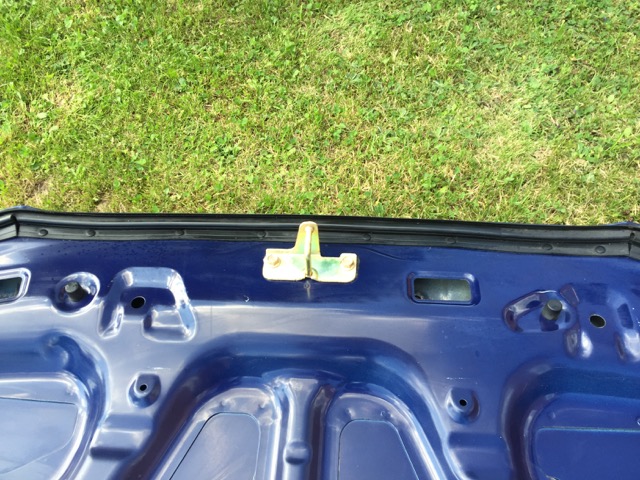
Weight saving on the car
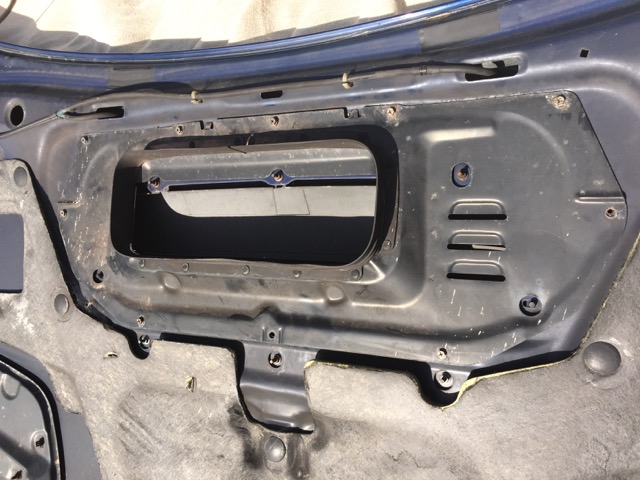
And after a lot of elbow grease


Back on the car
Now normally I would have just cleaned this but as it happens I had a spare one sitting in my shed which was in better condition so decided to strip the parts I needed off the older one, transfer over and clean at the same time.
Before with the horrible fire blanket which is next to useless anyway.


Weight saving on the car

And after a lot of elbow grease


Back on the car

 16 September 2015, 01:10 PM
#36
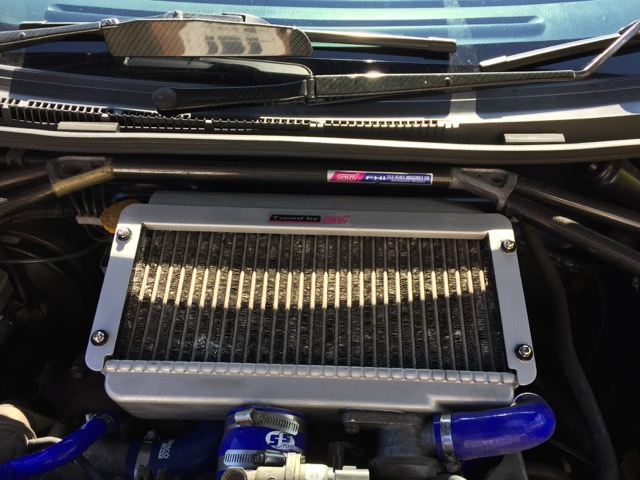
When I painted the TMIC, I wasnt exactly happy with the attempt at polishing the top frame and it looked , well crap 
So I was going to spray it as well but decided I didnt like the original design of the riveted frame as it is a pain taking it off. So thought there must be a better way.
The rubbish top frame
The rivets
The crap way it is held together
Dremel, angle grinder and some swearing and out they came
Spray painted and genuine Sti label purchased

A better way to fix it together

And fitted.
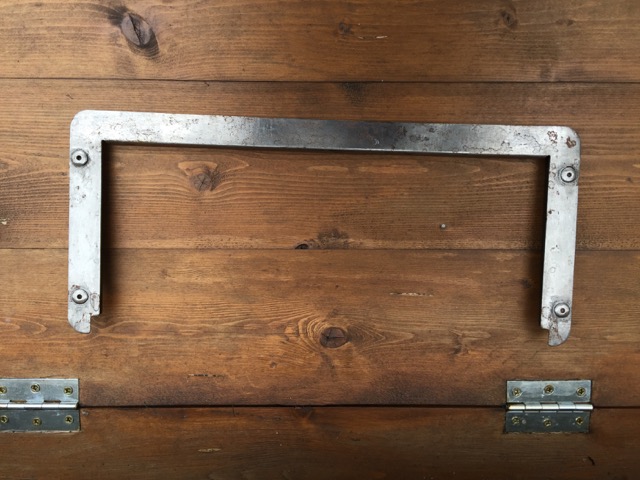
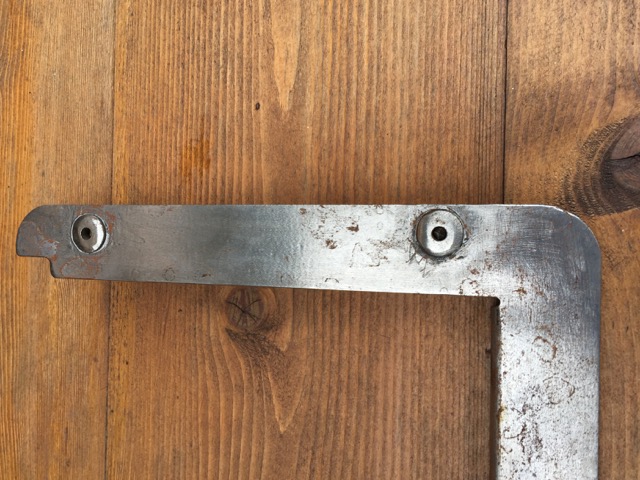
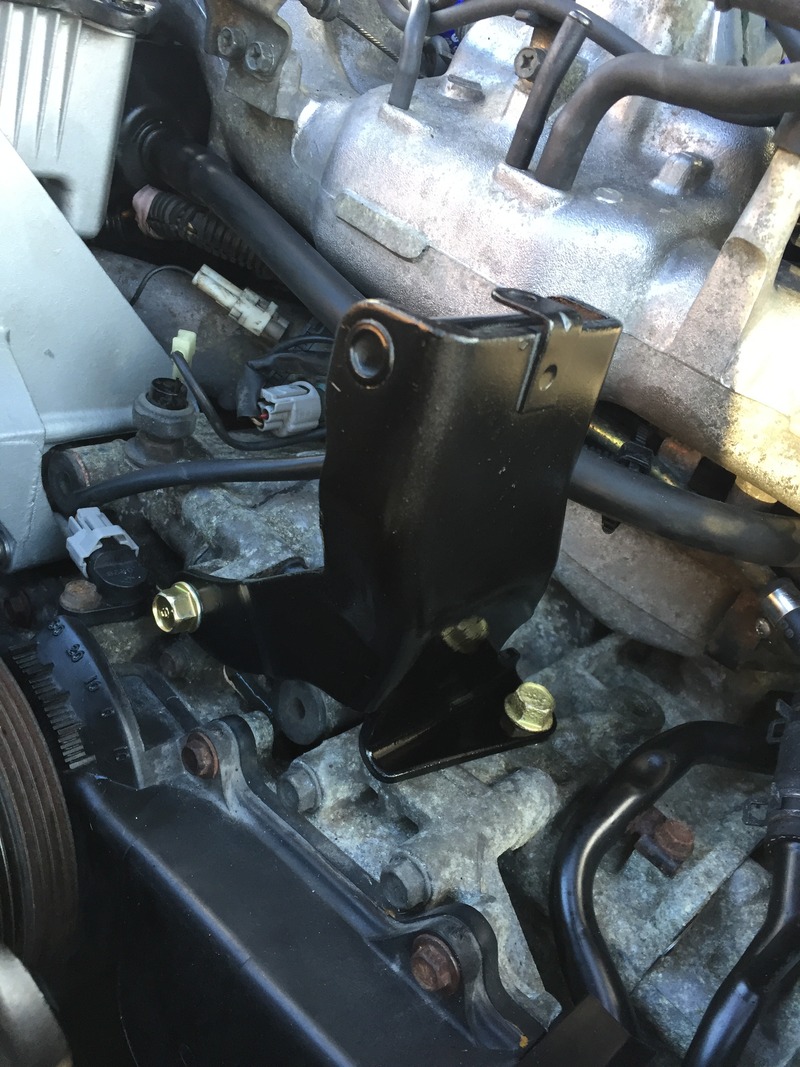
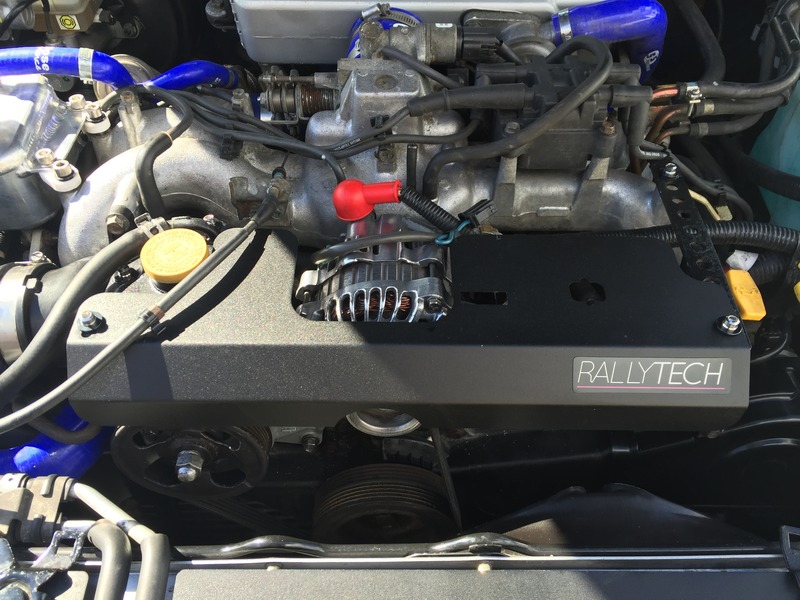
Also took the opportunity to fit my Rally Tech Alt cover but as it is a Uk with no bloody aircon , the cover needs a bracket made up so whipped up this temporary version. Looks okay for the time being
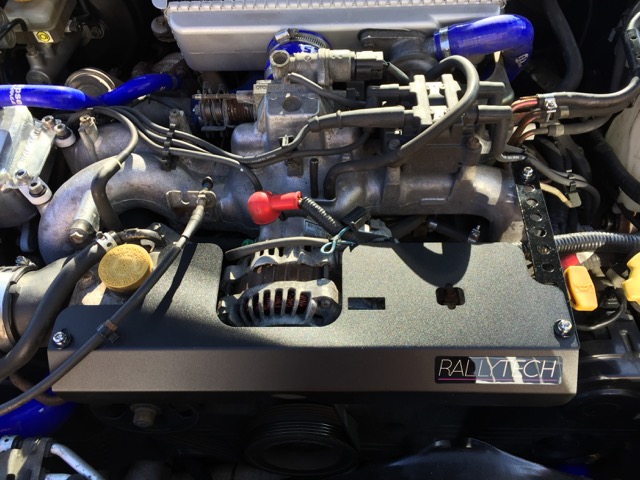
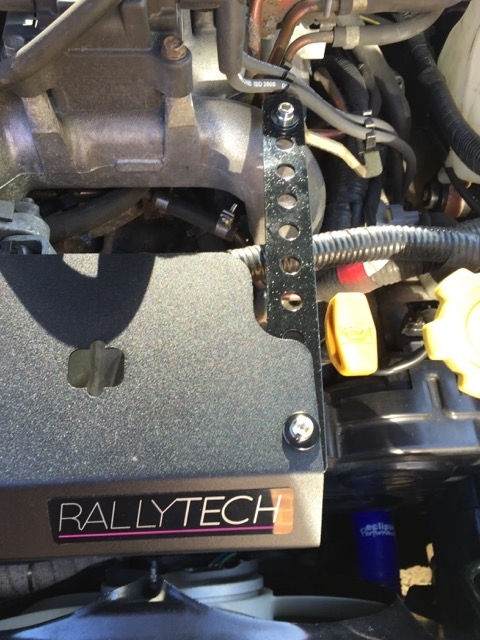
Next job is cleaning up the alternator and Power steering pump
So I was going to spray it as well but decided I didnt like the original design of the riveted frame as it is a pain taking it off. So thought there must be a better way.
The rubbish top frame

The rivets

The crap way it is held together

Dremel, angle grinder and some swearing and out they came

Spray painted and genuine Sti label purchased

A better way to fix it together

And fitted.

Also took the opportunity to fit my Rally Tech Alt cover but as it is a Uk with no bloody aircon
, the cover needs a bracket made up so whipped up this temporary version. Looks okay for the time being 

Next job is cleaning up the alternator and Power steering pump
28 September 2015, 09:42 AM
#37
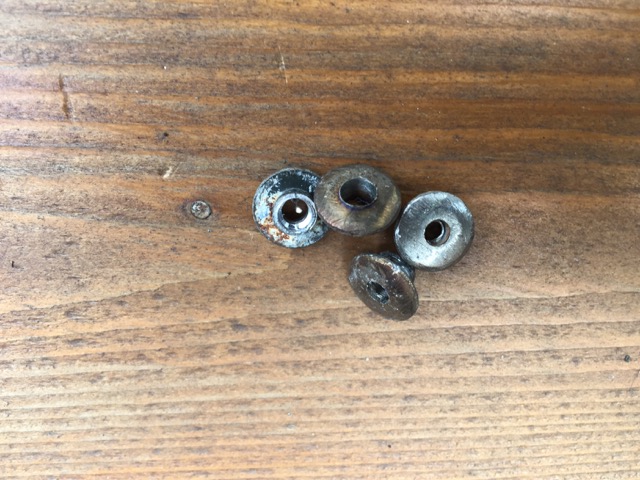
Getting there slowly as only weekends allow me to tinker
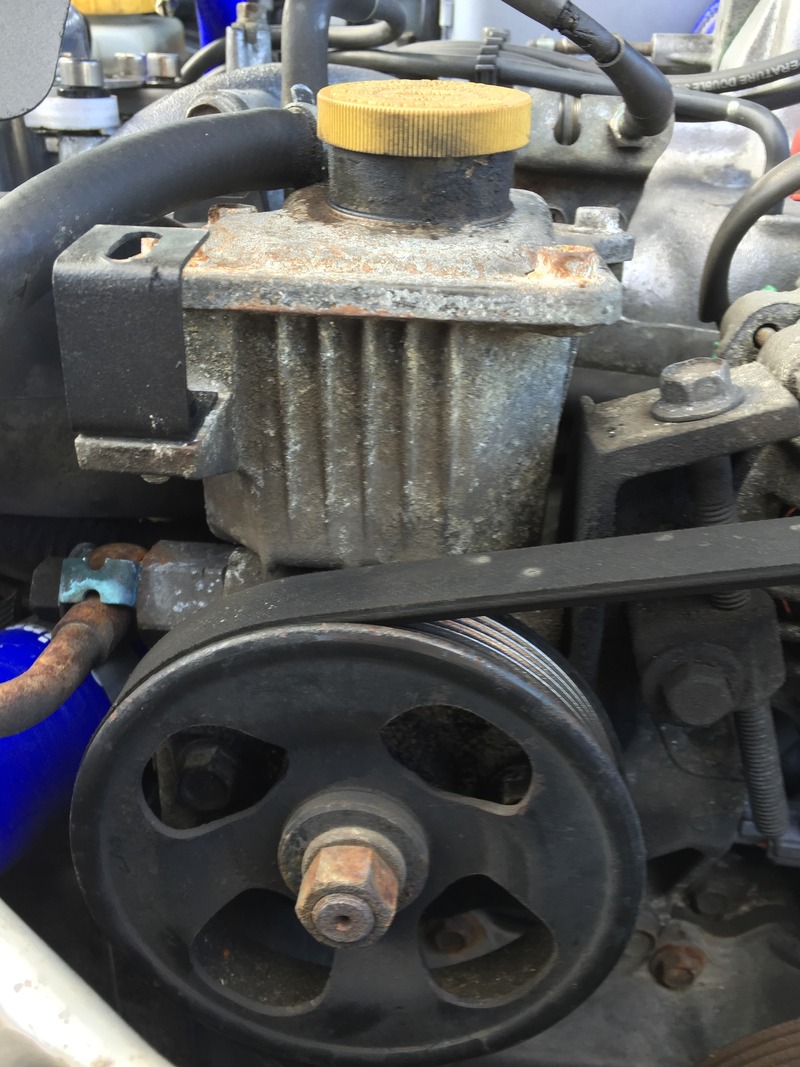
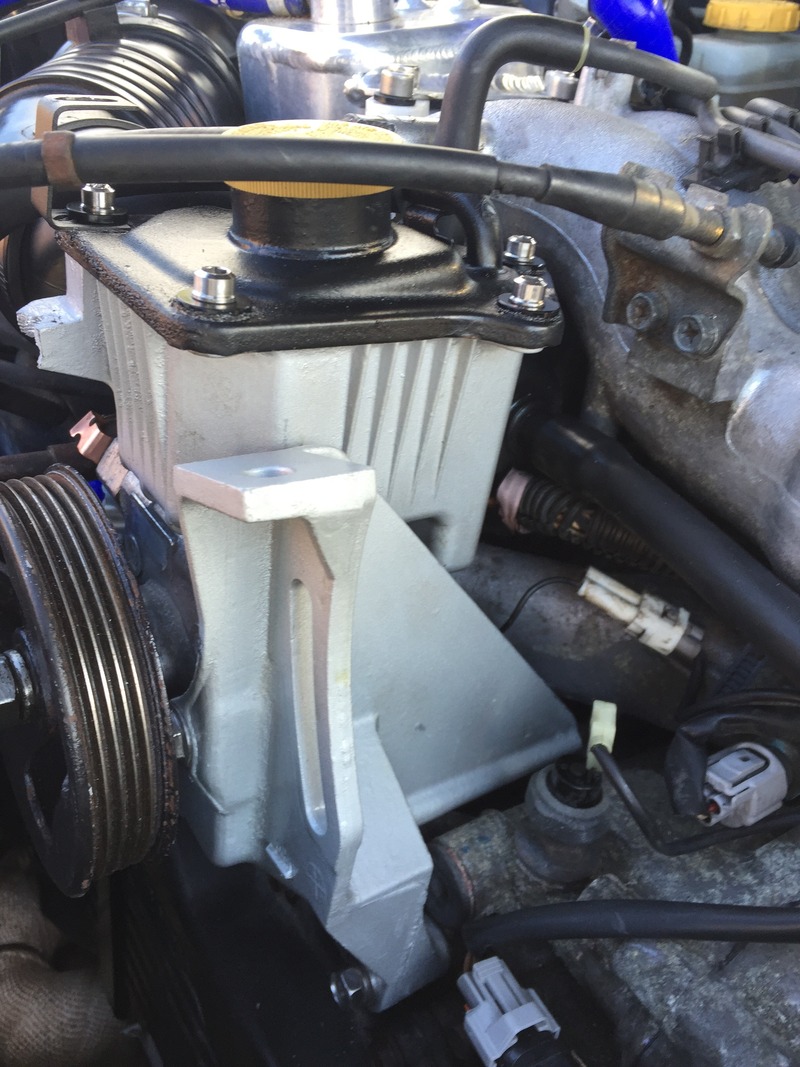
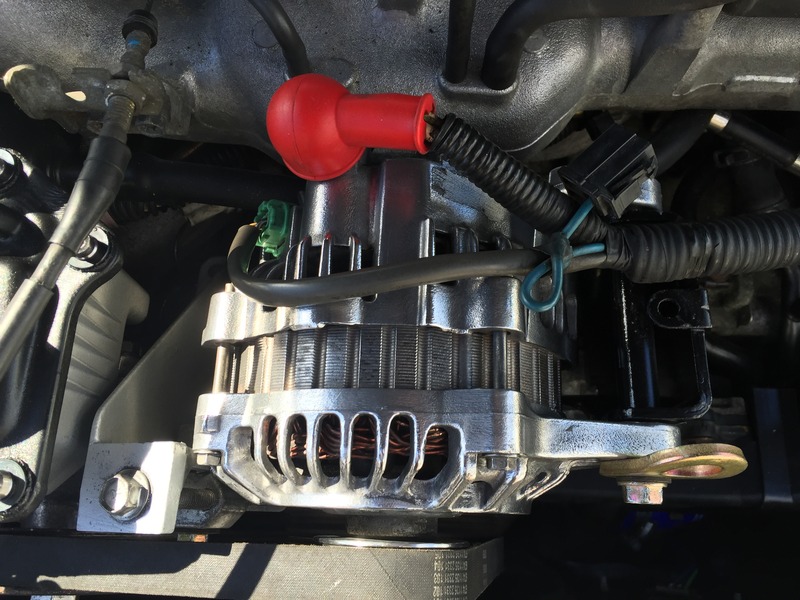
As I was doing the alternator I thought i best do the pas as well as one involves taking apart the other
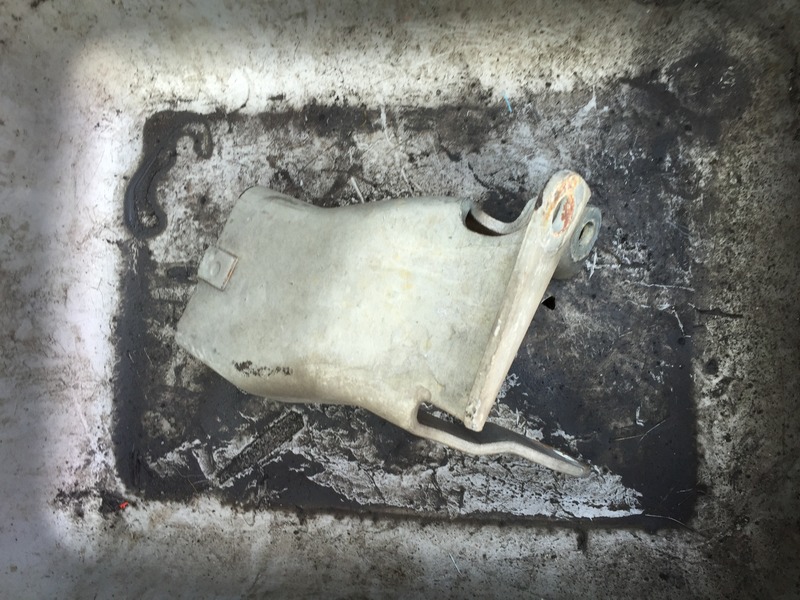
Alternator before


The bracket that is used for the alternator was also a bit scabby and rcm do an air con delete one for �49 so I thought I would save me some money and do it myself
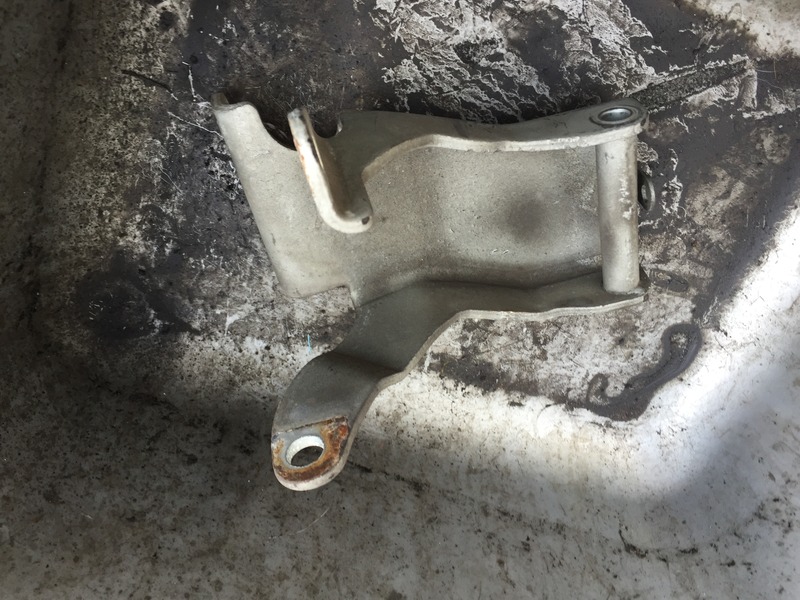
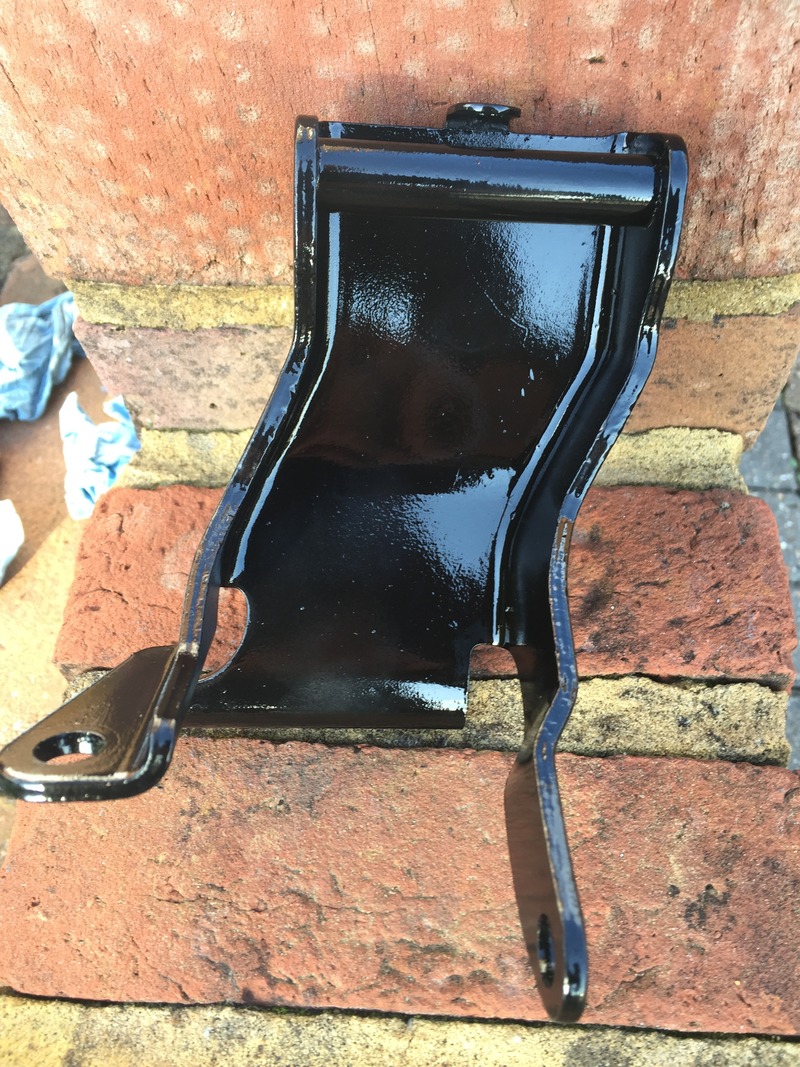
Shiny bolts and looks the business
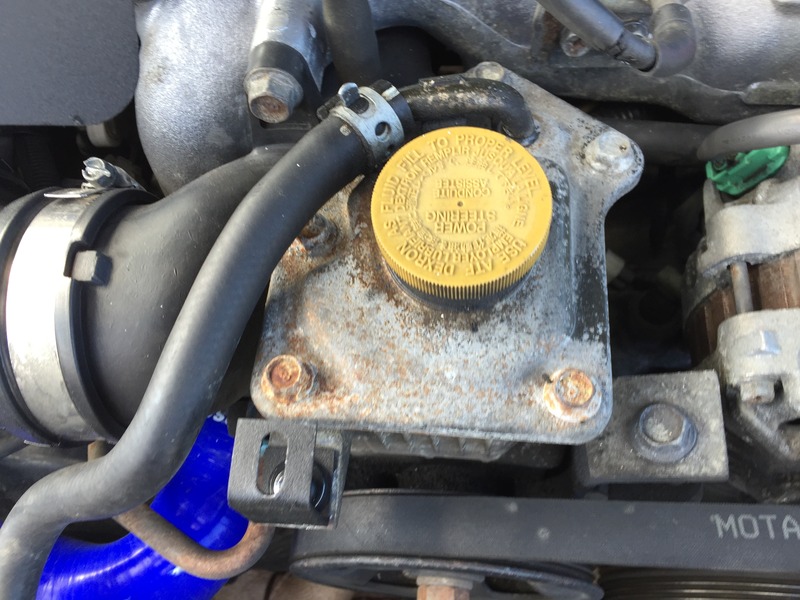
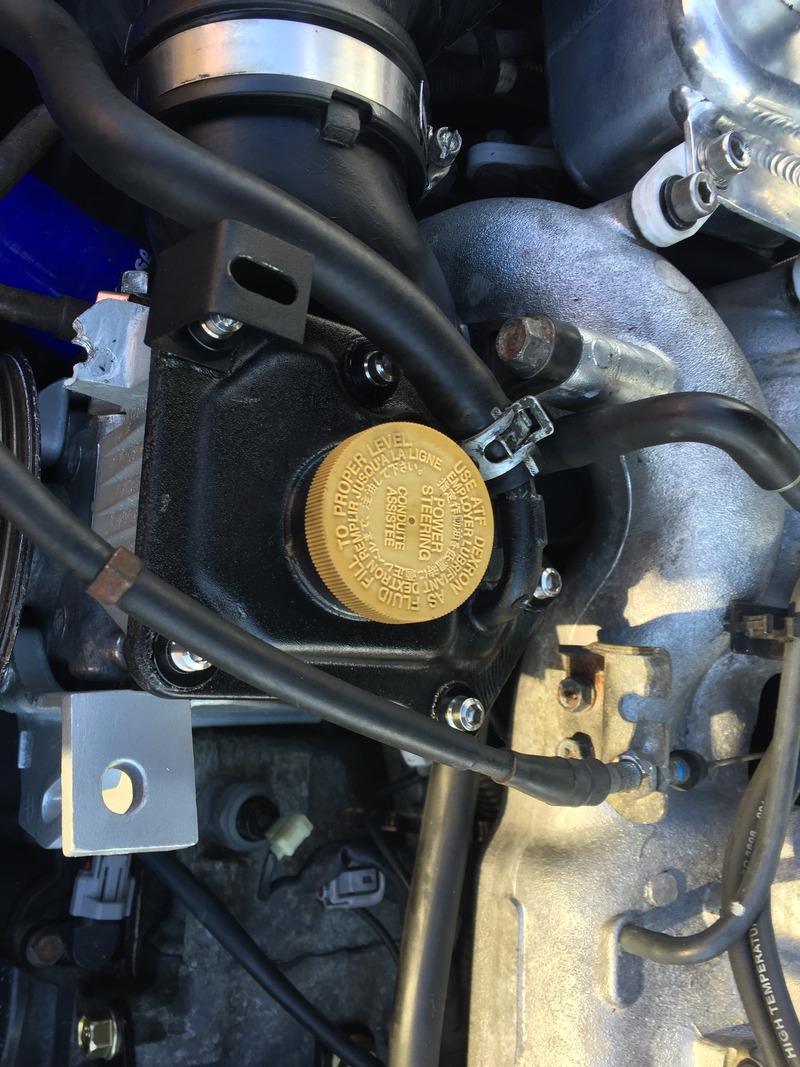
Now time to do the pas
Before
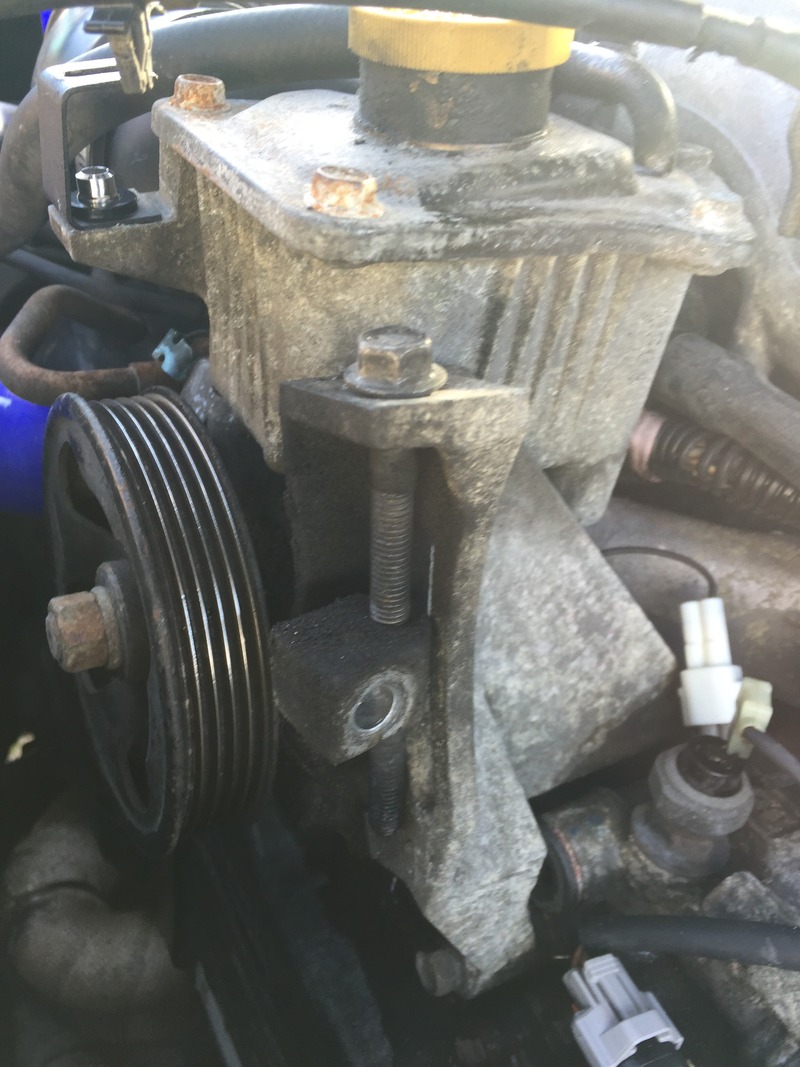
Stripped, cleaned and painted and reassembled
After
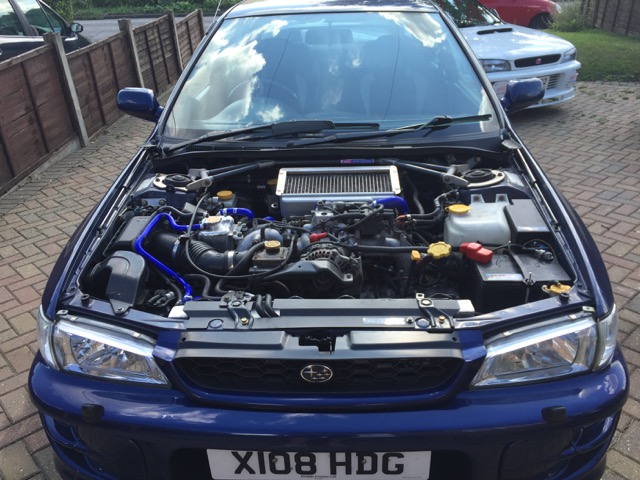
And the alternator back in after a good clean and polish

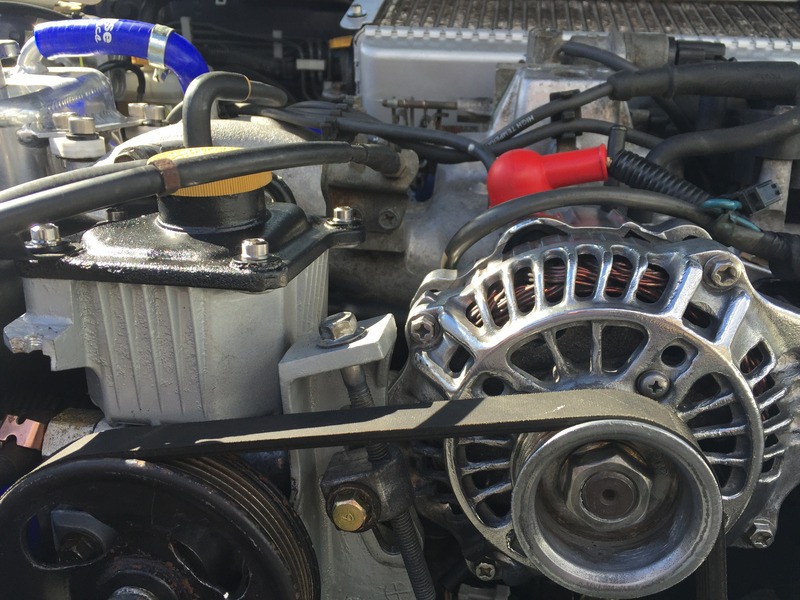
And all fitted-seems a shame to cover them up now
As I was doing the alternator I thought i best do the pas as well as one involves taking apart the other
Alternator before


The bracket that is used for the alternator was also a bit scabby and rcm do an air con delete one for �49 so I thought I would save me some money and do it myself


Shiny bolts and looks the business

Now time to do the pas
Before


Stripped, cleaned and painted and reassembled
After


And the alternator back in after a good clean and polish


And all fitted-seems a shame to cover them up now

Last edited by SwissTony; 28 September 2015 at 12:30 PM.
 28 September 2015, 12:34 PM
#39
When I did the bonnet I took off the bonnet so no chance of overspray but really if you cover the engine bay and wings you should be fine.
Have a look at my website below link in my signature and you can see the process there.
 05 October 2015, 10:18 AM
#45
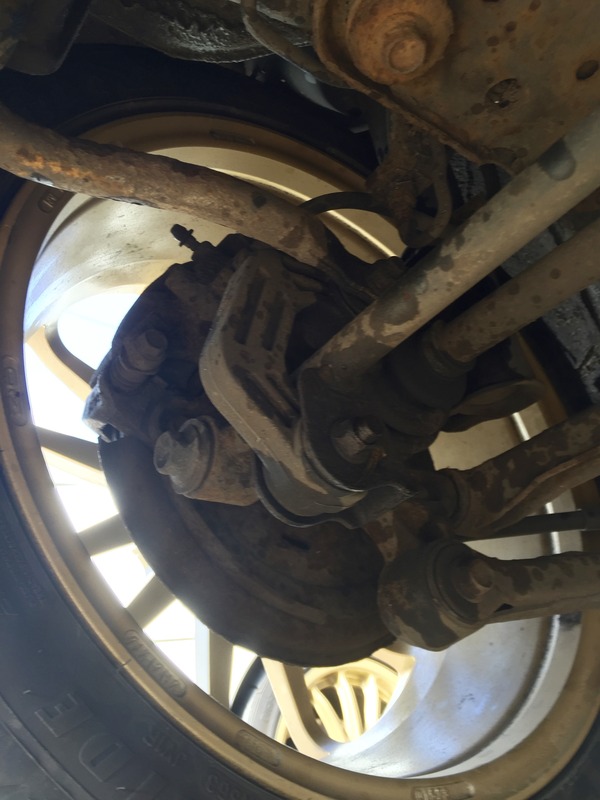
Today was handling day.
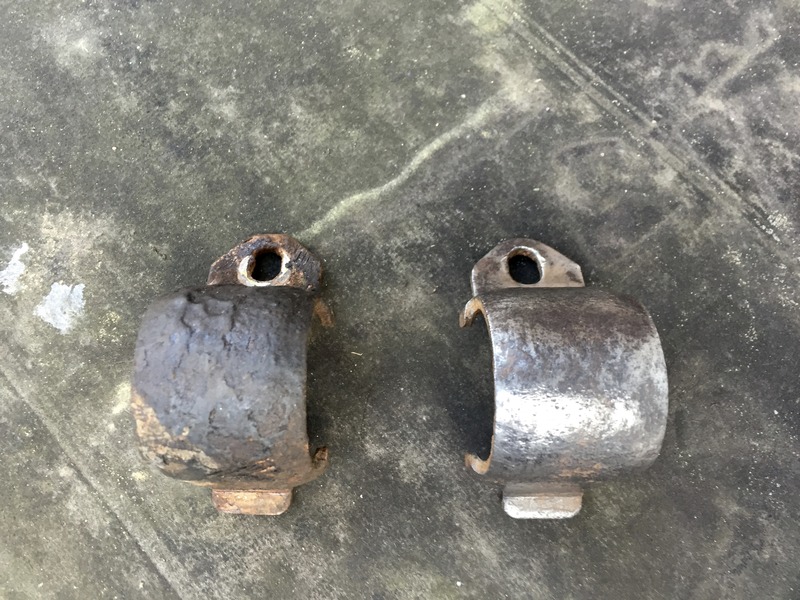
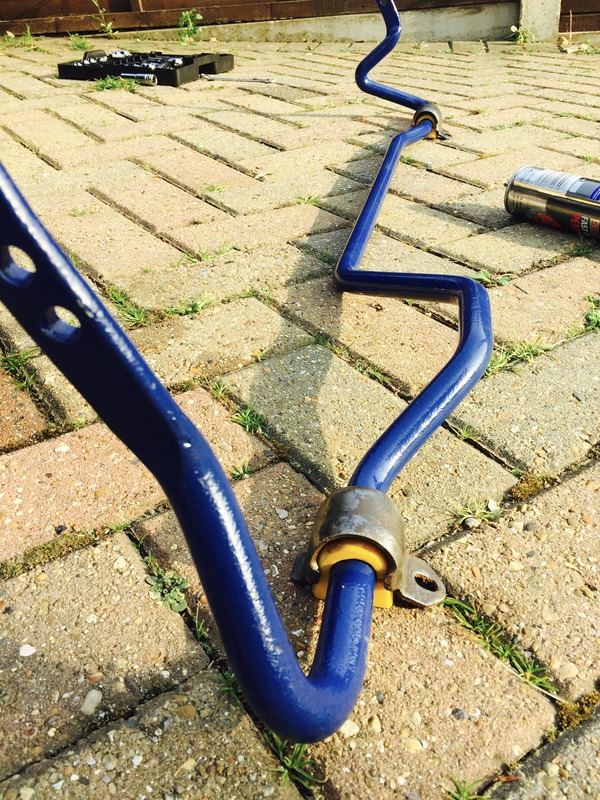
Got a second hand whiteline rear ARB together with drop links ( might add not a fan of the wire ones so these are just temporary) a while ago and got them power coated as boy were they rusty . Nearly as bad as the original one on there.
* Seen loads of posts on here on how to do this job and believe me, do it on ramps...so much easier
Before

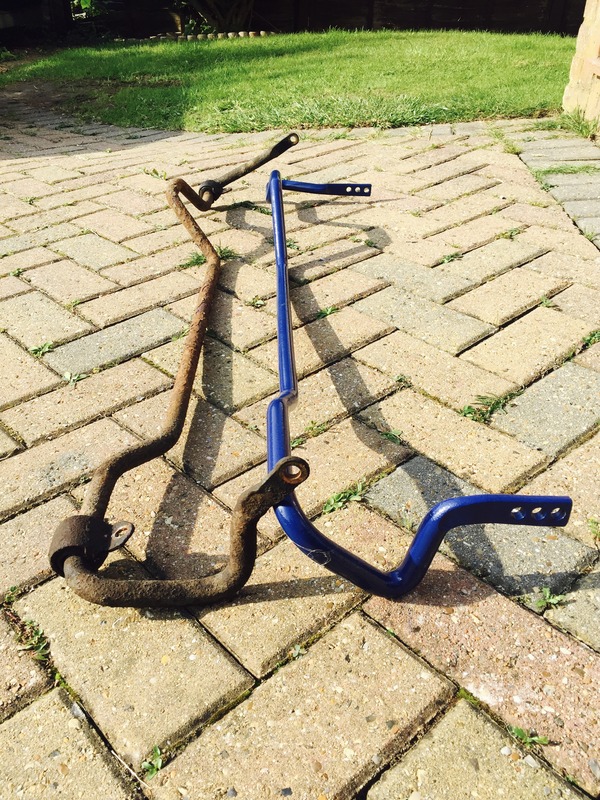
The drop links side by side
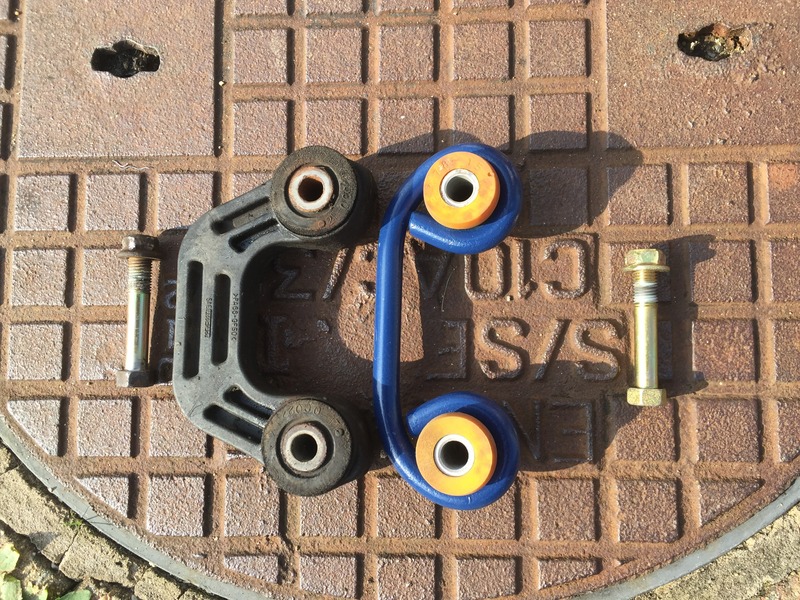
The ARB side by side
Couldnt resist tidying up the brackets
Loads of grease, new nuts and bolts and whacked it all back on
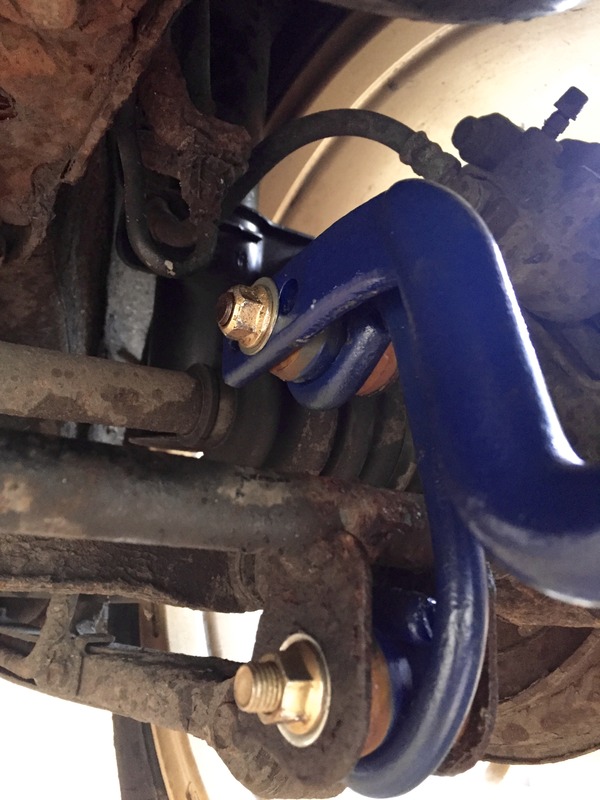
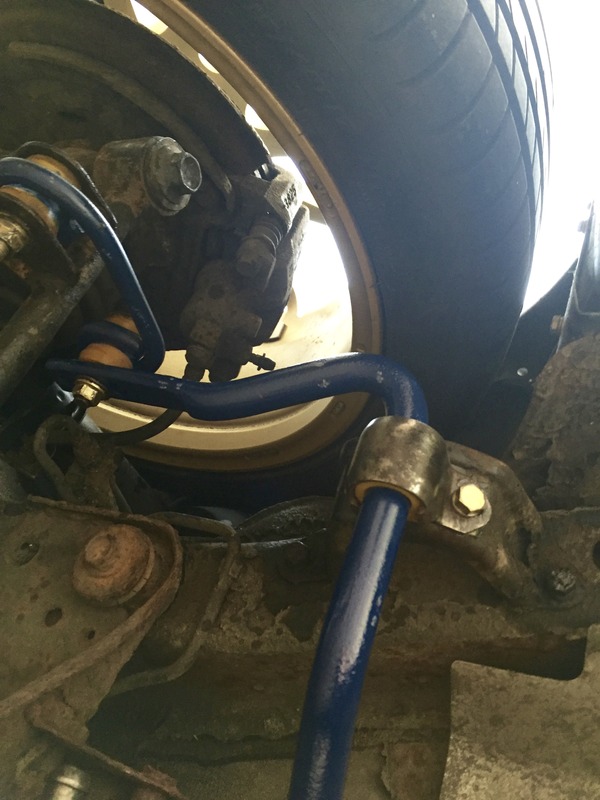
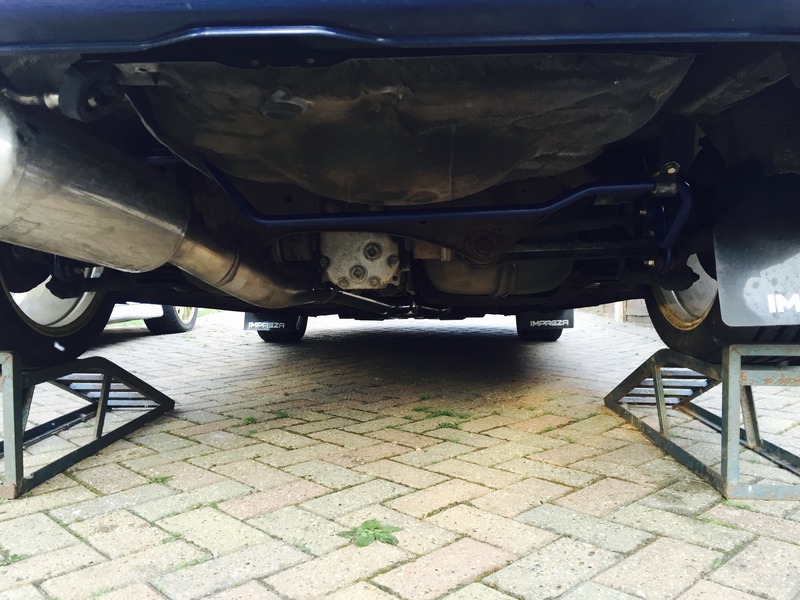
Off the ramps, made sure everything was tight and then tested it using the nearest roundabout
Next job
Got a second hand whiteline rear ARB together with drop links ( might add not a fan of the wire ones so these are just temporary) a while ago and got them power coated as boy were they rusty . Nearly as bad as the original one on there.
* Seen loads of posts on here on how to do this job and believe me, do it on ramps...so much easier
Before


The drop links side by side

The ARB side by side

Couldnt resist tidying up the brackets

Loads of grease, new nuts and bolts and whacked it all back on


Off the ramps, made sure everything was tight and then tested it using the nearest roundabout
Next job
11 October 2015, 03:45 PM
#46
Nice one will do
Meguirs Super Degreaser (diluted 1:8). Degreasing compound (not neat) is perfectly fine on bodywork as long as you remember that it will strip waxes and some final polishing finishes so best do this before polishing/waxing your car.
When I did the bonnet I took off the bonnet so no chance of overspray but really if you cover the engine bay and wings you should be fine.
Have a look at my website below link in my signature and you can see the process there.
When I did the bonnet I took off the bonnet so no chance of overspray but really if you cover the engine bay and wings you should be fine.
Have a look at my website below link in my signature and you can see the process there.

Thread
Thread Starter
Forum
Replies
Last Post