Impreza P1 restoration #1010
 28 December 2014, 11:26 PM
#31
Scooby Newbie
Thread Starter
Join Date: Jan 2014
Location: Cheltenham
Posts: 21
Likes: 0
Received 0 Likes
on
0 Posts
m3 stu
You have just been promoted I to the top ten league of great threads with the likes of silver sport ,joe and john Mc and fraze
Great work there
Zinc plating talk me through as I'm a non techie
Are they all the orginal parts which ate then shot blasted them sprayed ?
2015 sees my Greenwagon going down the same route and I was getting by big bits powder coated ( lime green ) as I like garish colours
Are all the nuts and bolts new from Subaru or do you match them up at an ironmongery or are all the old bolts treated ?
Another fan of these renovation threads as there is not many classics left
I took mine out today for the first time in weeks and it certantly turned heads as rarety value compared to 7/10/14 years when loads of people had them
Cheers
 28 December 2014, 11:32 PM
#32

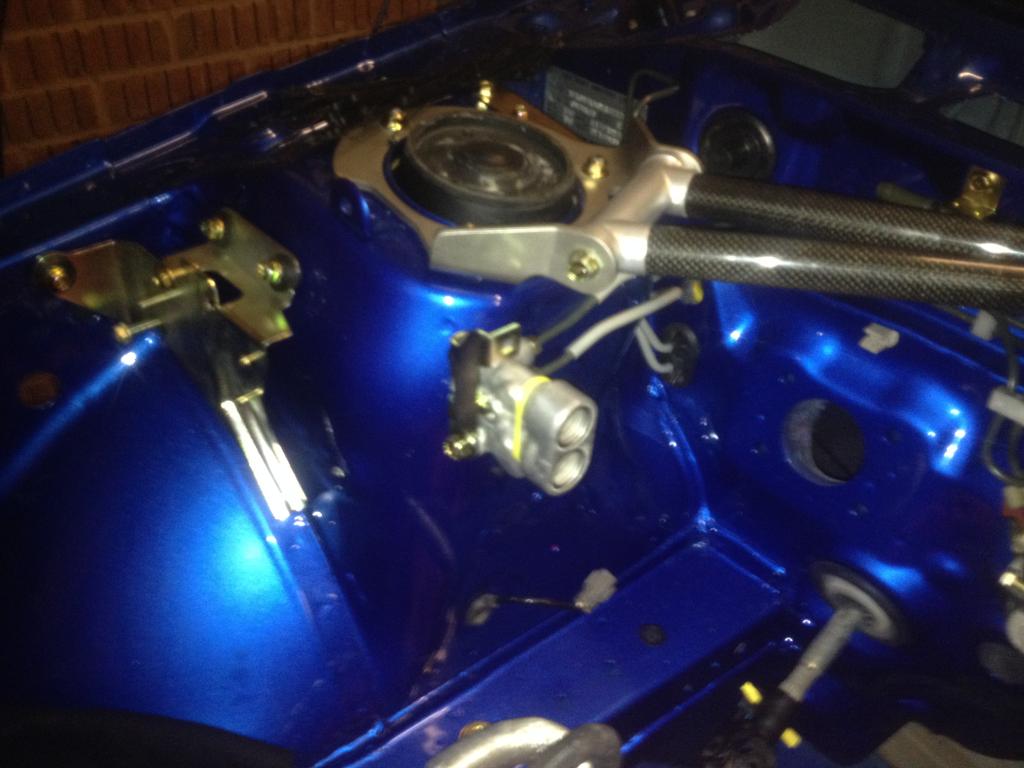
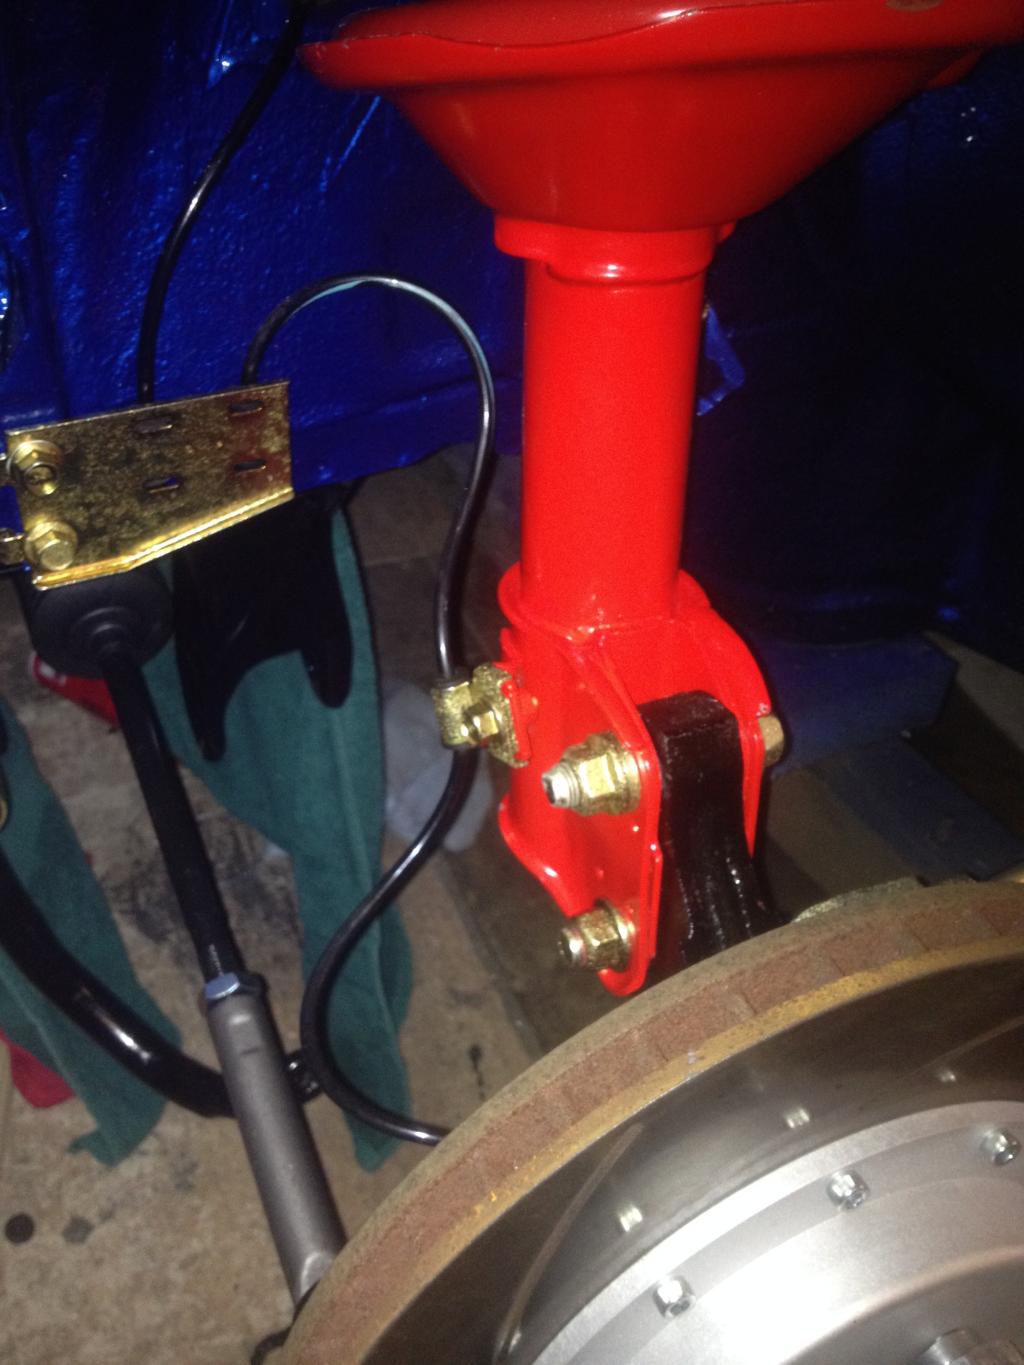
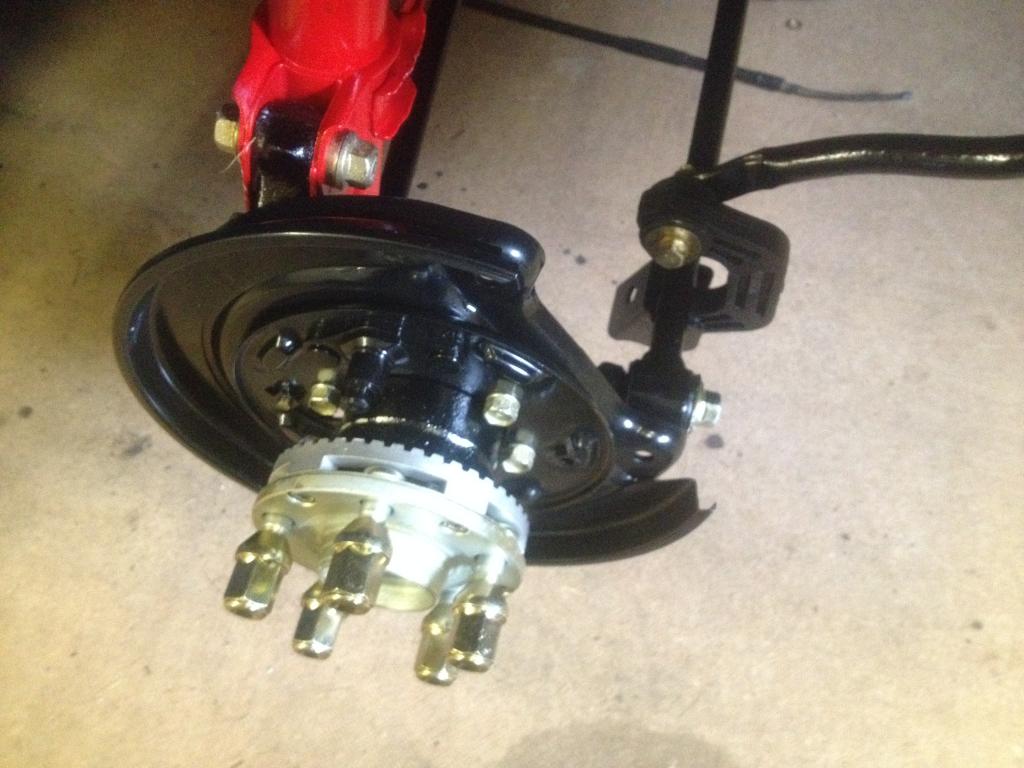
Yes all the parts you see were removed from the car, cleaned, acid dipped and electroplated with Zinc- only bolts that snapped on removal are new. It's almost impossible to source Jap spec bolts in any great quantity in the UK as they use JIS type fixings so an M8 bolt has a 12mm hex unlike our 13mm ones. I wanted to keep it original so saved as many parts as possible. The Zinc is very good at resisting corrosion so its a perfect pre paint / priming preparation.
Cheers
Cheers
Think this is where I'm going to struggle just bought at type r shell and need all the nuts and bolts!!
28 December 2014, 11:34 PM
#33
Scooby Newbie
Thread Starter
Join Date: Jan 2014
Location: Cheltenham
Posts: 21
Likes: 0
Received 0 Likes
on
0 Posts
You need to give it 36-48hrs then wash the parts and dry them with something that will absorb water quickly such as acetone this will prevent or limit flash rust forming- not a massive issue as the electroplater will acid dip prior to plating...


 15 January 2015, 09:26 PM
#40
Scooby Newbie
Thread Starter
Join Date: Jan 2014
Location: Cheltenham
Posts: 21
Likes: 0
Received 0 Likes
on
0 Posts
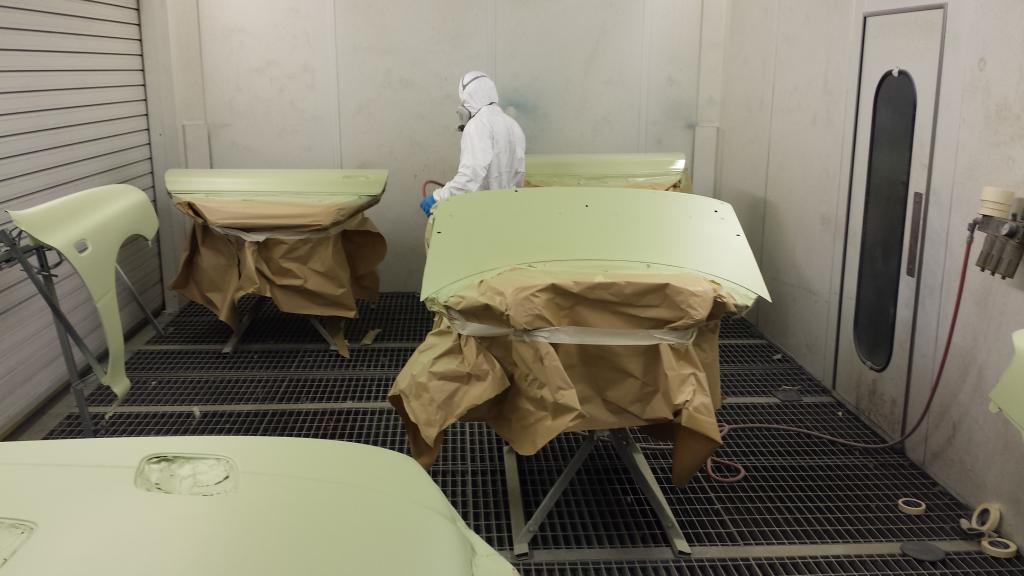
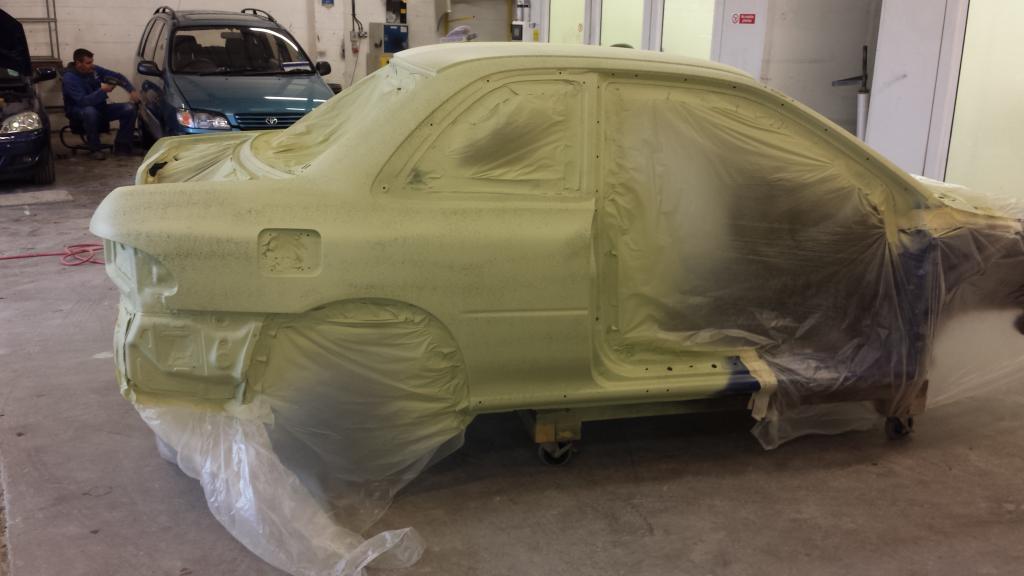
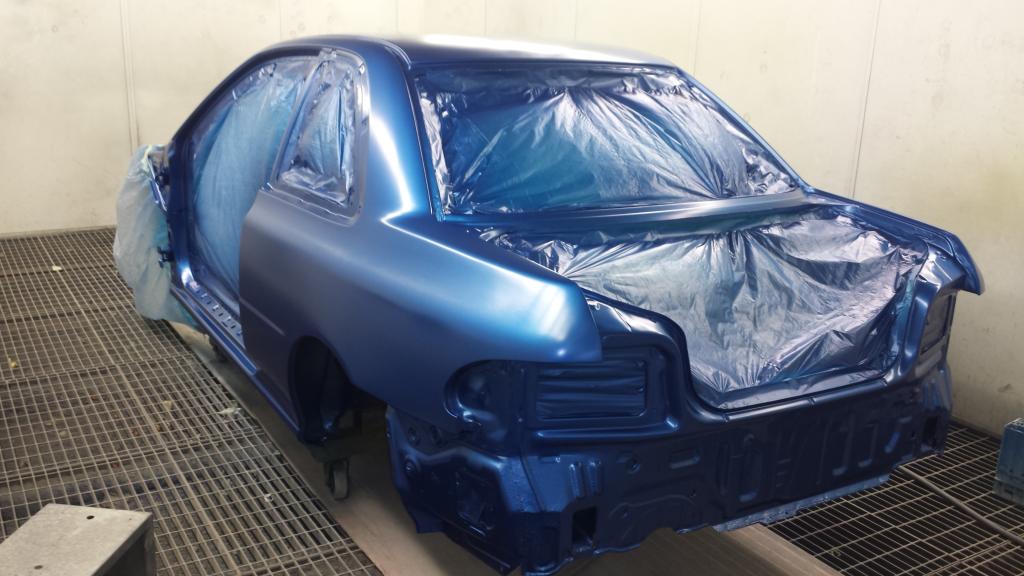
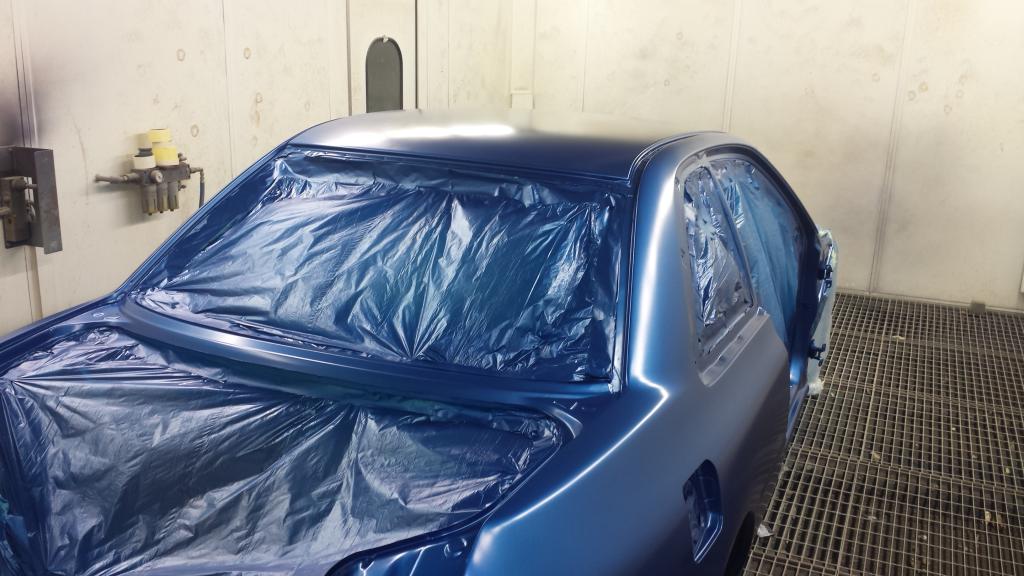
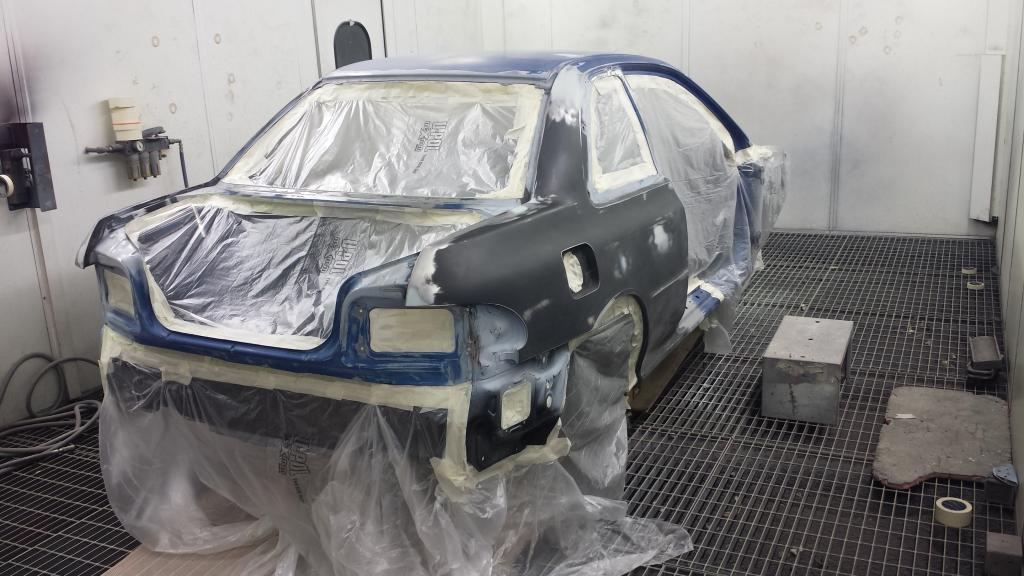
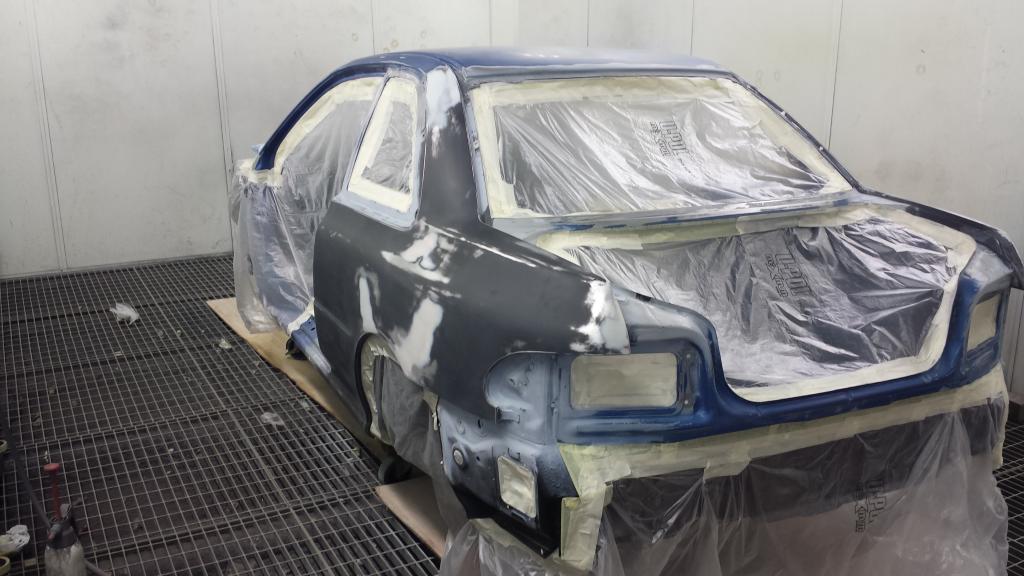
Some good news from BP Motors Cheltenham today...
Will post some pics of the completed respray over the next few days!
http://i1383.photobucket.com/albums/...psozthqzgu.jpg

Will post some pics of the completed respray over the next few days!
http://i1383.photobucket.com/albums/...psozthqzgu.jpg


 16 January 2015, 10:34 PM
#46

 This is fantastic, such commitment and effort. Fair play!!
 As discussed on P1woc I'd be very interested to speak with you or even pop by for a look and appreciate.
Love the P1, would love to do this to mine! Well big bhp in mine and this to another haha best of both!
01 February 2015, 05:10 PM
#49
Scooby Newbie
Thread Starter
Join Date: Jan 2014
Location: Cheltenham
Posts: 21
Likes: 0
Received 0 Likes
on
0 Posts
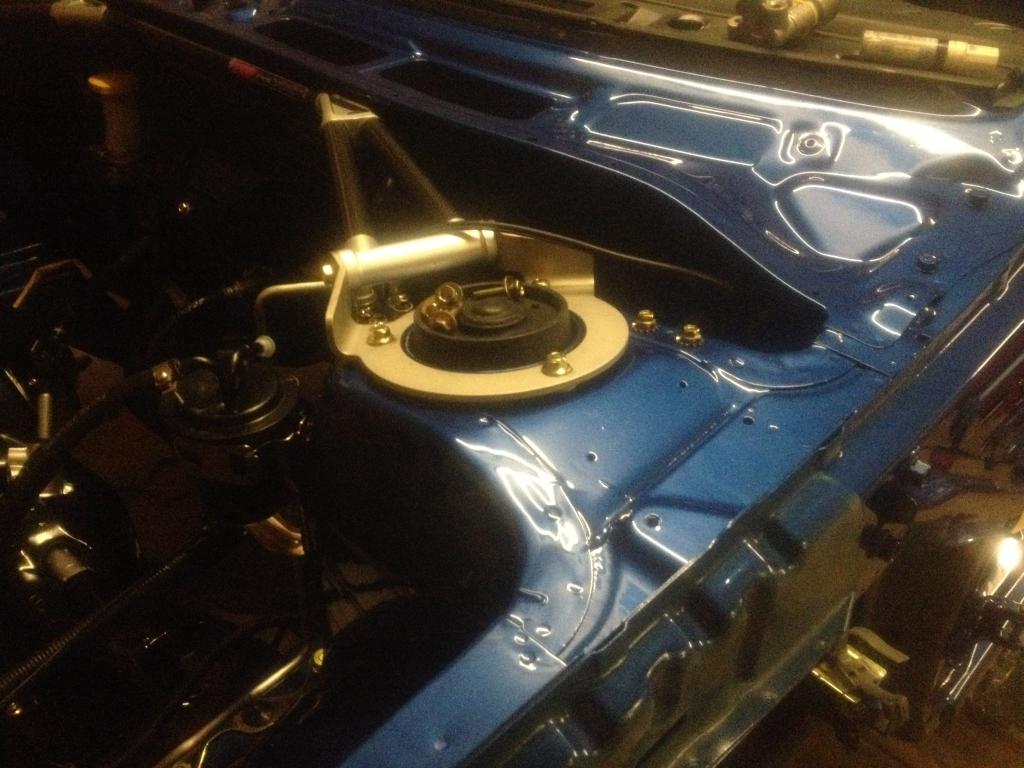
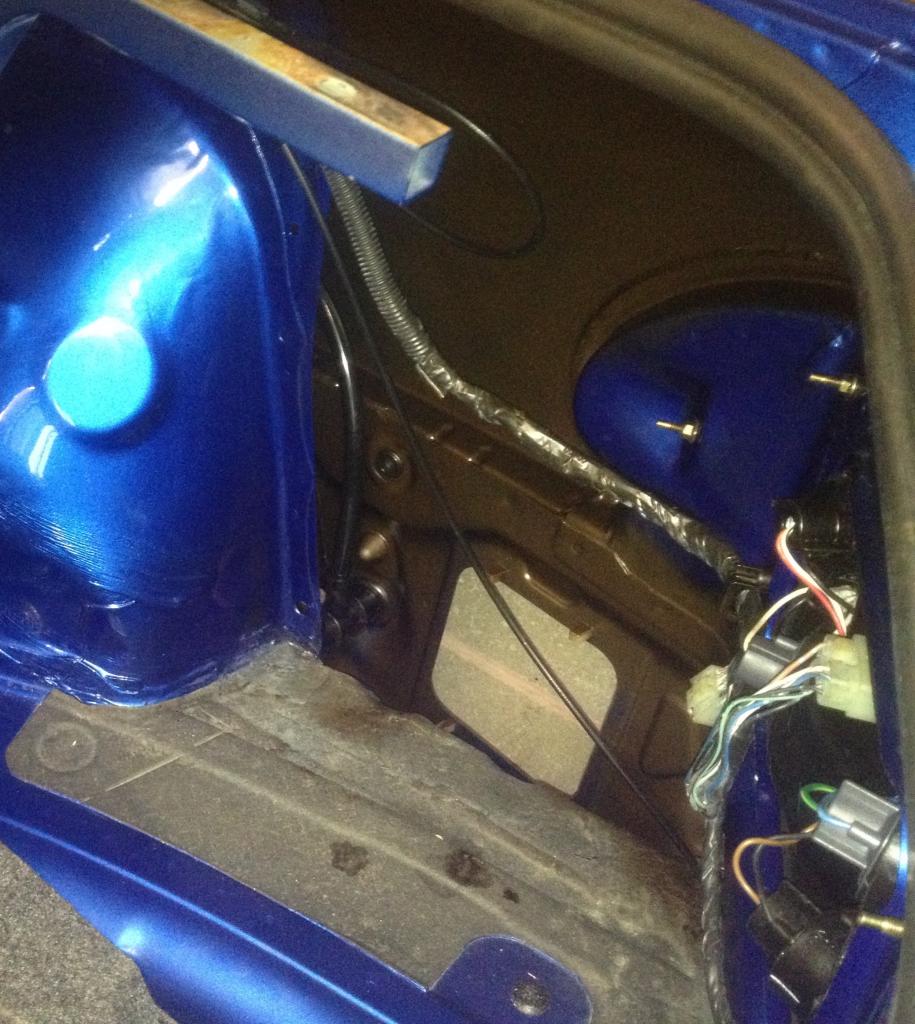
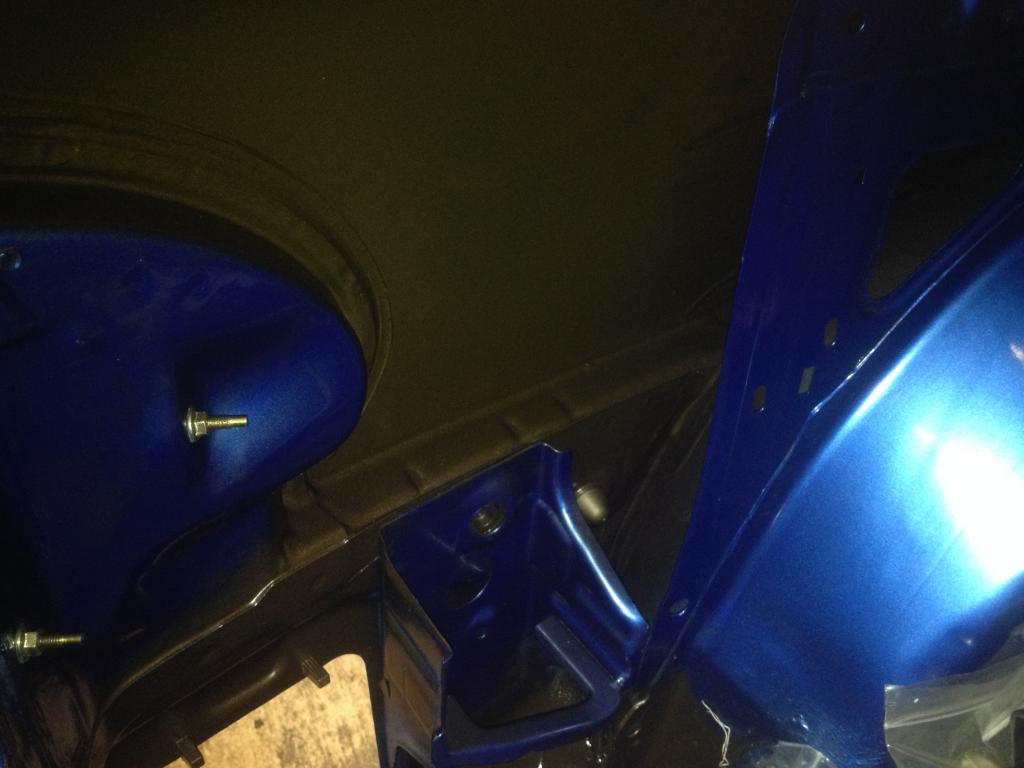
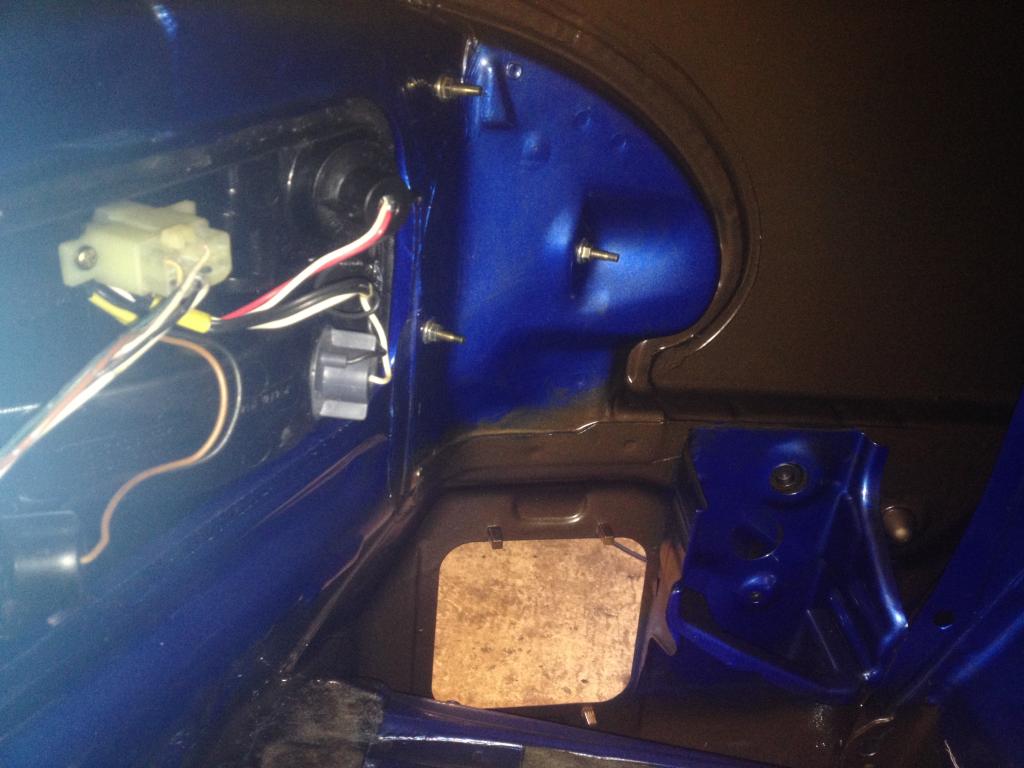
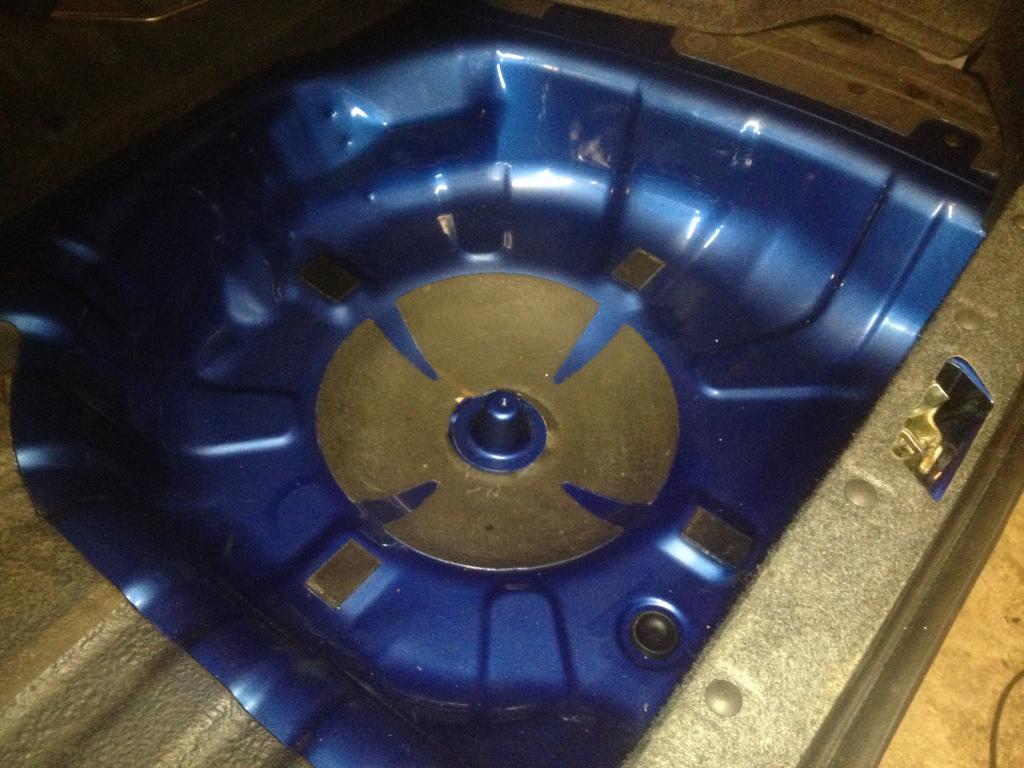
Quick update, shell is coming together very well... All of the shuts, sills and cavities have been treated with Dinitrol cavity wax / corrosion protector was fairly simple to do thanks to the small lance that comes on the tin!
http://s1383.photobucket.com/user/m3_stu/profile/


http://s1383.photobucket.com/user/m3_stu/profile/


Last edited by M3_stu; 02 February 2015 at 10:09 PM.
02 February 2015, 03:58 PM
#53
Scooby Newbie

Join Date: May 2012
Location: S. Yorkshire
Posts: 10
Likes: 0
Received 0 Likes
on
0 Posts
WOW! you sir are a legend, I know how frustrating a build like this can be, and it's easy to lose interest halfway through. It's only when you see results like this that you begin to see that all of the effort was worth it. Well done fella.
 02 February 2015, 09:40 PM
#56
Scooby Regular
iTrader: (3)
Join Date: Jan 2013
Location: Oxford
Posts: 739
Likes: 0
Received 0 Likes
on
0 Posts
This is awesome! Love the attention to detail and the plating of the parts.
I would love to be able to do a full restoration of this scale, can't wait to see it finished!
I would love to be able to do a full restoration of this scale, can't wait to see it finished!
02 February 2015, 10:06 PM
#57
Scooby Newbie
Thread Starter
Join Date: Jan 2014
Location: Cheltenham
Posts: 21
Likes: 0
Received 0 Likes
on
0 Posts
Thanks for all the replies and support, hoping to have it finished over the next few months subject to back order parts from Japan...
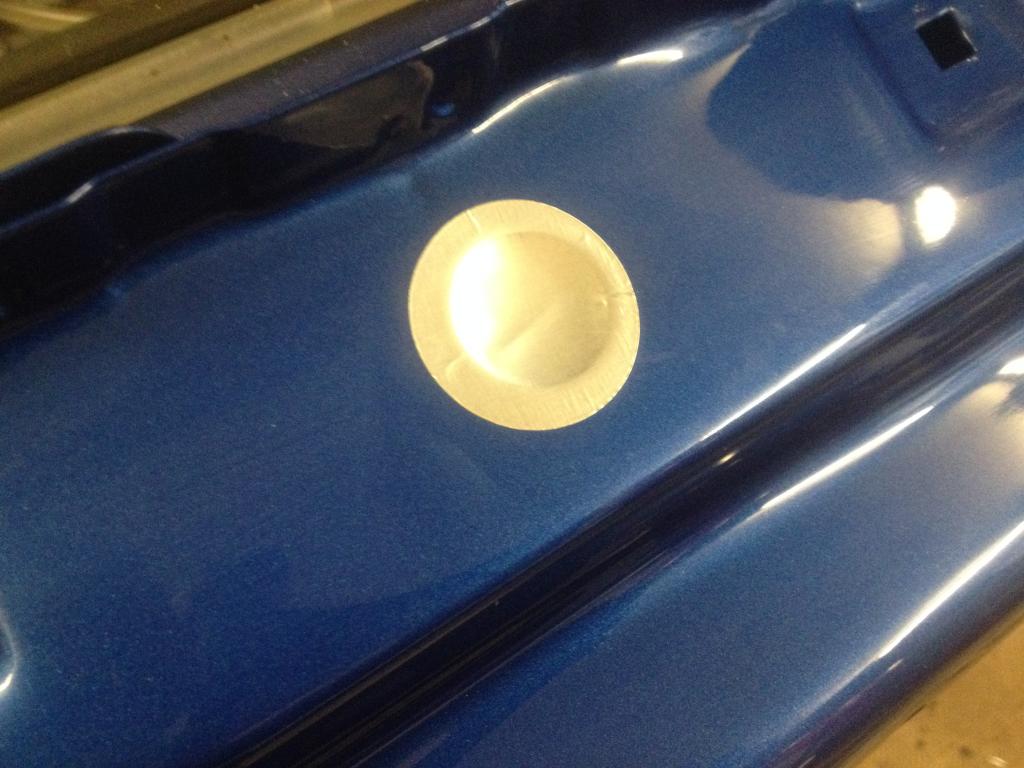
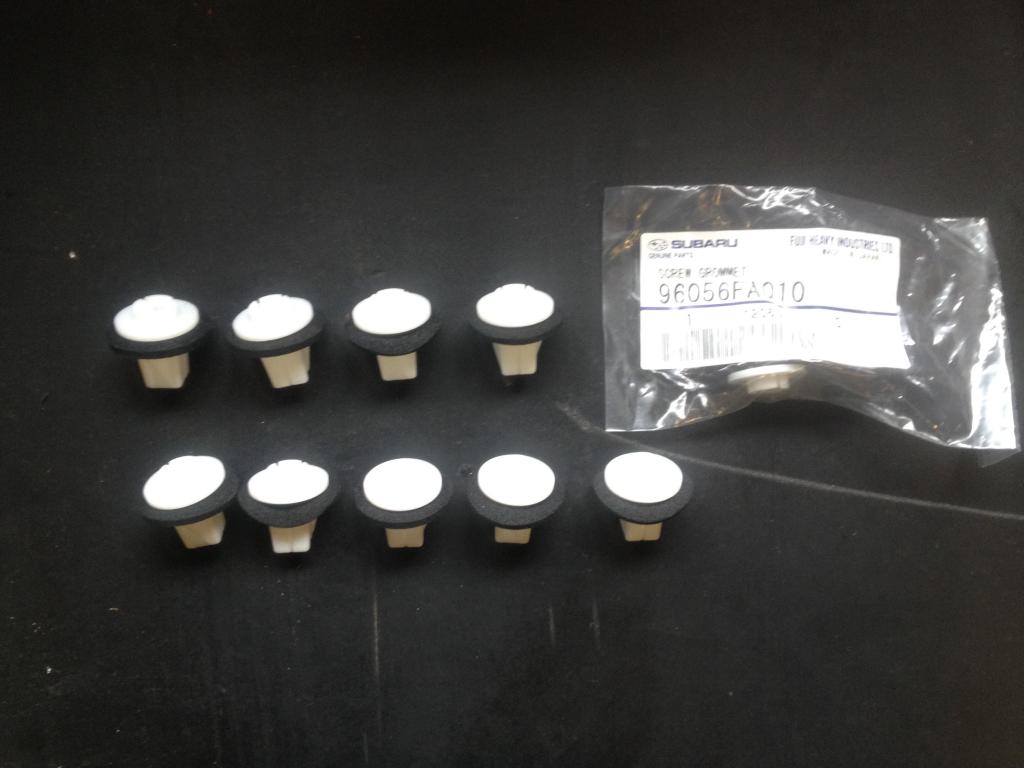
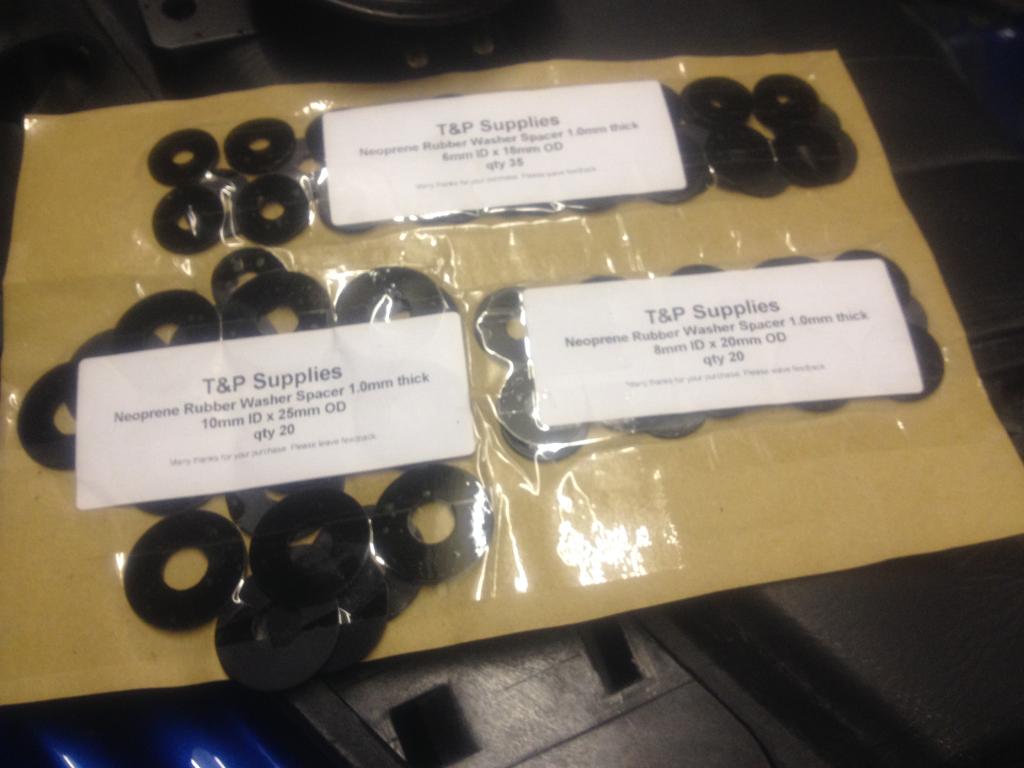
I had these made the other day, they replace the foam washers found on the rear wing, bonnet ducts / grilles and the upper sill moulding clips! They should last longer than the std foam washers!
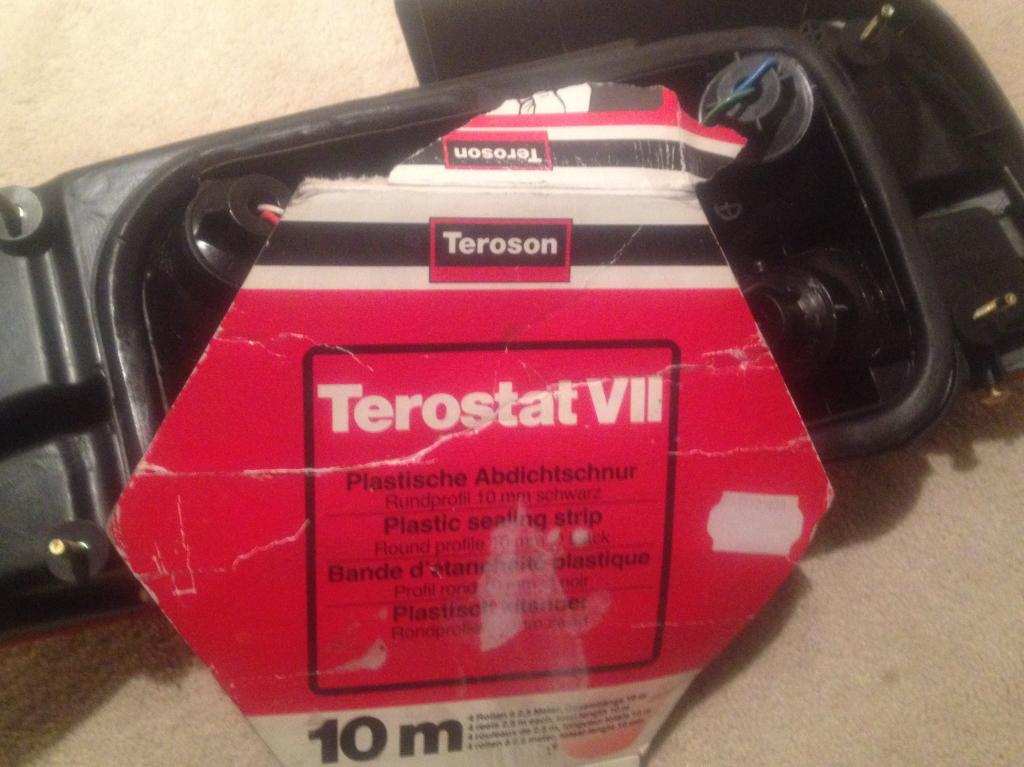
This was also a good find for the rest lights, not as messy as the std rear light sealant but just as effective...
 02 February 2015, 10:31 PM
#58
Scooby Regular
Join Date: Oct 2012
Location: Beds / Cambs border
Posts: 489
Likes: 0
Received 0 Likes
on
0 Posts
Enormous credit to you for starting this project, that is one lucky Impreza P1! Really looking forward to seeing the progress to end, good luck and thanks again for posting this thread for us all to enjoy and drool over all the pics. 


