
Impreza P1 restoration #1010

Thread Starter
Scooby Newbie
Joined: Jan 2014
Posts: 21
Likes: 0
From: Cheltenham
Hello all,
I've been busy restoring a P1, time has not been to kind to the classic Impreza whilst correcting the std rear strut tower corrosion I set about a full nut and bolt restoration of the car... feel free to browse the progress so far. I had uploaded to the P1 specific site but you have to be a member to view.
Restoration shots
http://s1383.photobucket.com/user/m3_stu/profile/
The shell arrives early in Jan so will post more progress as it happens...
Thanks
Stu
I've been busy restoring a P1, time has not been to kind to the classic Impreza whilst correcting the std rear strut tower corrosion I set about a full nut and bolt restoration of the car... feel free to browse the progress so far. I had uploaded to the P1 specific site but you have to be a member to view.
Restoration shots
http://s1383.photobucket.com/user/m3_stu/profile/


The shell arrives early in Jan so will post more progress as it happens...
Thanks
Stu
Last edited by M3_stu; Dec 27, 2014 at 03:43 PM.


Thread Starter
Scooby Newbie
Joined: Jan 2014
Posts: 21
Likes: 0
From: Cheltenham

Trending Topics


OP great work, I look forward to seeing more of this.
I've gotta agree with lee it's nice seeing these cars get restored
Joe

Thread Starter
Scooby Newbie
Joined: Jan 2014
Posts: 21
Likes: 0
From: Cheltenham
Thanks for all the replies, have pulled some info from the other Forums that may be useful�
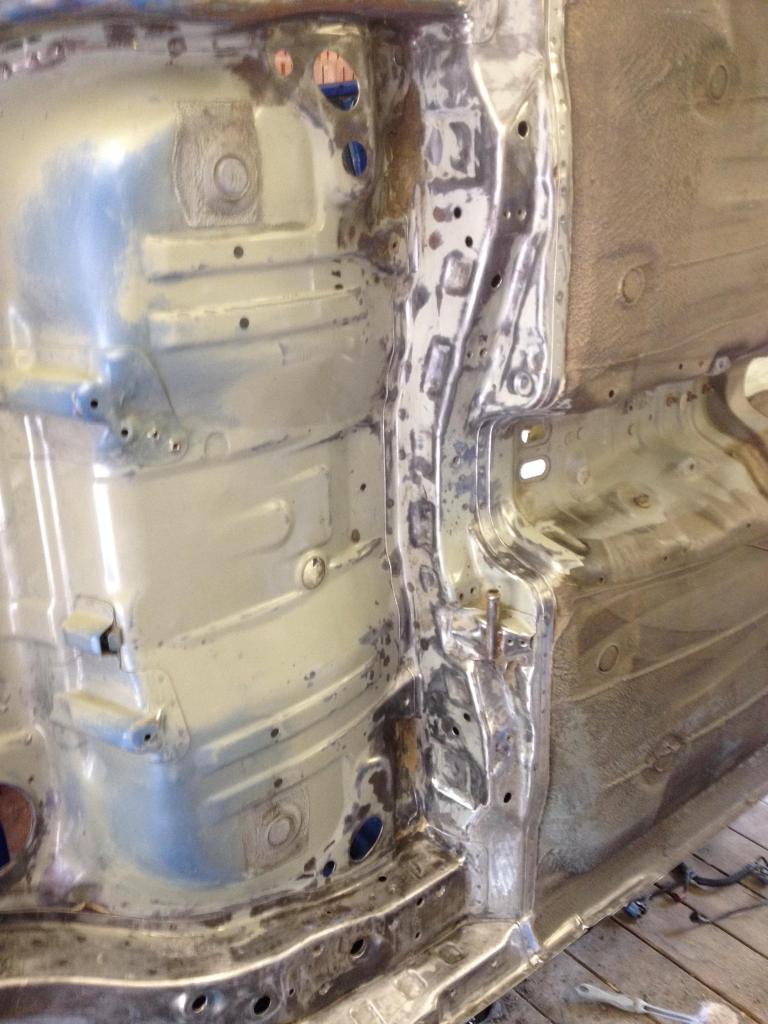
The corrosion issue on these cars-
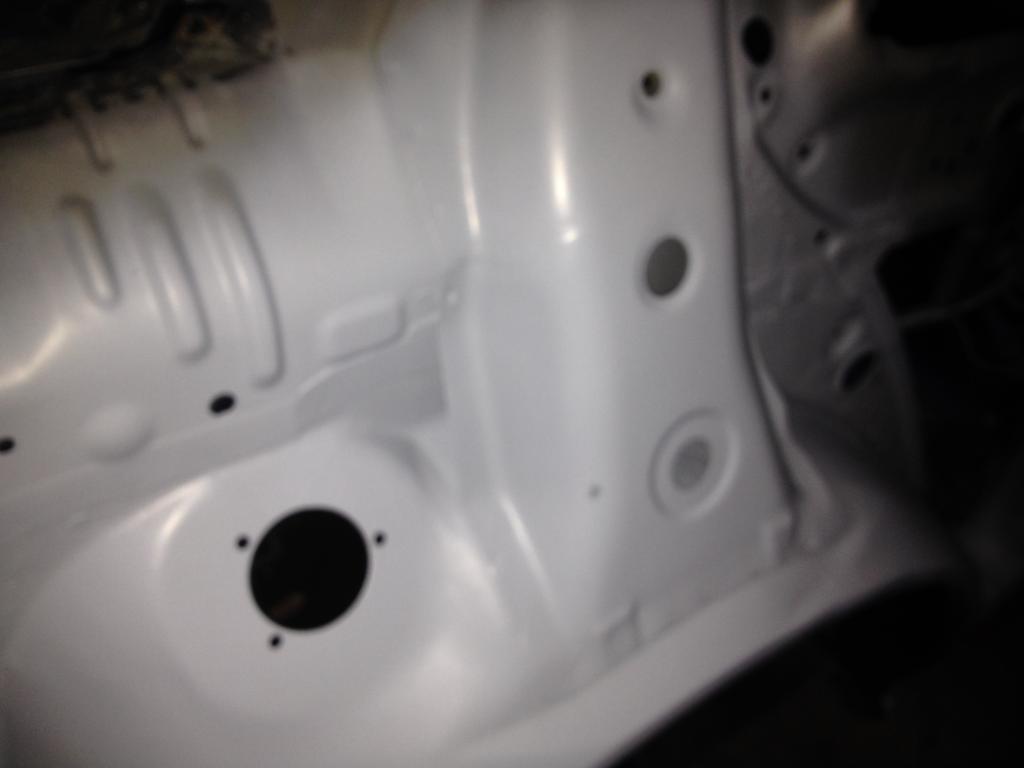
Corrosion was starting to form on the inner and outer rear �. Sound repairs are possible but for longevity both rear quarters have been replaced and the inner wheel arch on both sides- there is now zero corrosion in the chassis. The corrosion actually starts in the strut tower. For me the rear top mount needs a gasket this will prevent the chassis and top mount from fretting which will lead to corrosion. The corrosion then tracks down to the 3 layers of panel that form the rear � inner section / strut tower. It then eats through this area (where you cant see) and then lets water run into the boot and forward sill section so its an inside to out process. Strut towers were shotblasted to bare metal, treated and protected with epoxy mastic, thoroughly seam sealed etc.
The new outer wheel arch sections were from Subaru USA (Removed from larger panel). The interface between 1/4 and outer wheel arch will be bonded with Aviation adhesive- spot welding (factory spec) is not the best for corrosion prevention) Nor is the lack of cavity wax from new! This process is now common place for auto repair. Once painted the seams and shuts will be treated with wax...
The rear 1/4's were direct from IM in Birmingham but were shipped in from Japan they are still available or at least they were a few months ago- about �500 a side. I wasn't comfortable with a repair to the rear 1/4 it's a long way to go to strip it for paint and considering the price of a repaint it was worth the cost and I dont want to do it all again in a few years time!
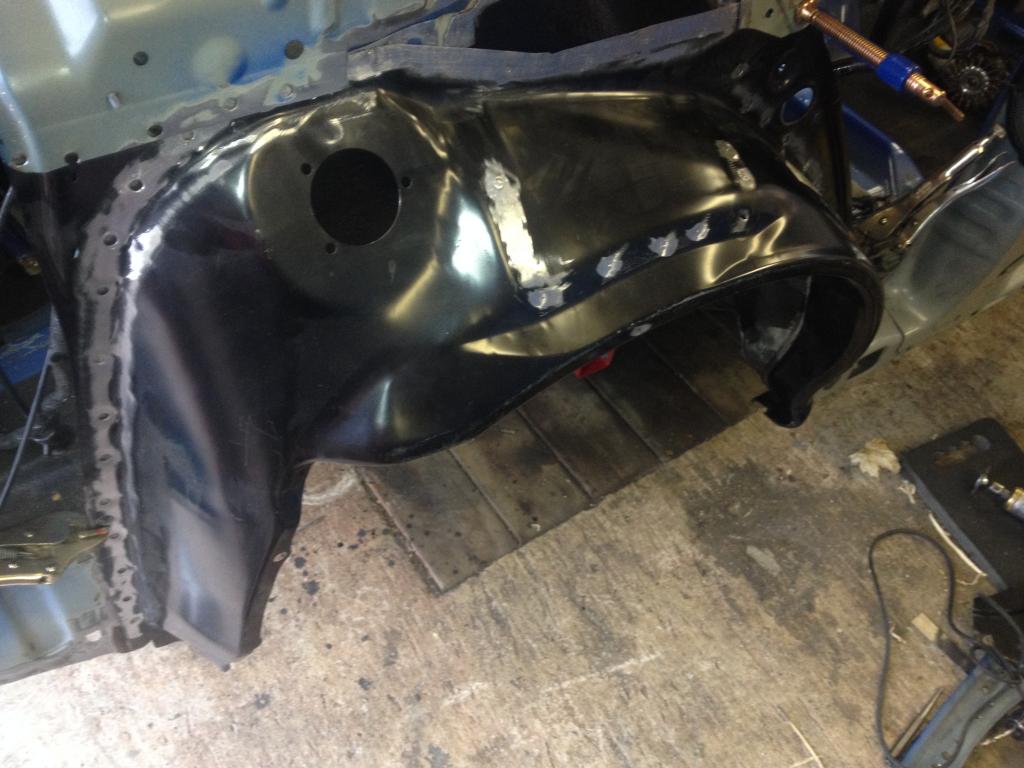
I also sourced a set of genuine front fenders as they can start to crack where the bumper mounts to them...
To answer a few questions on suppliers-
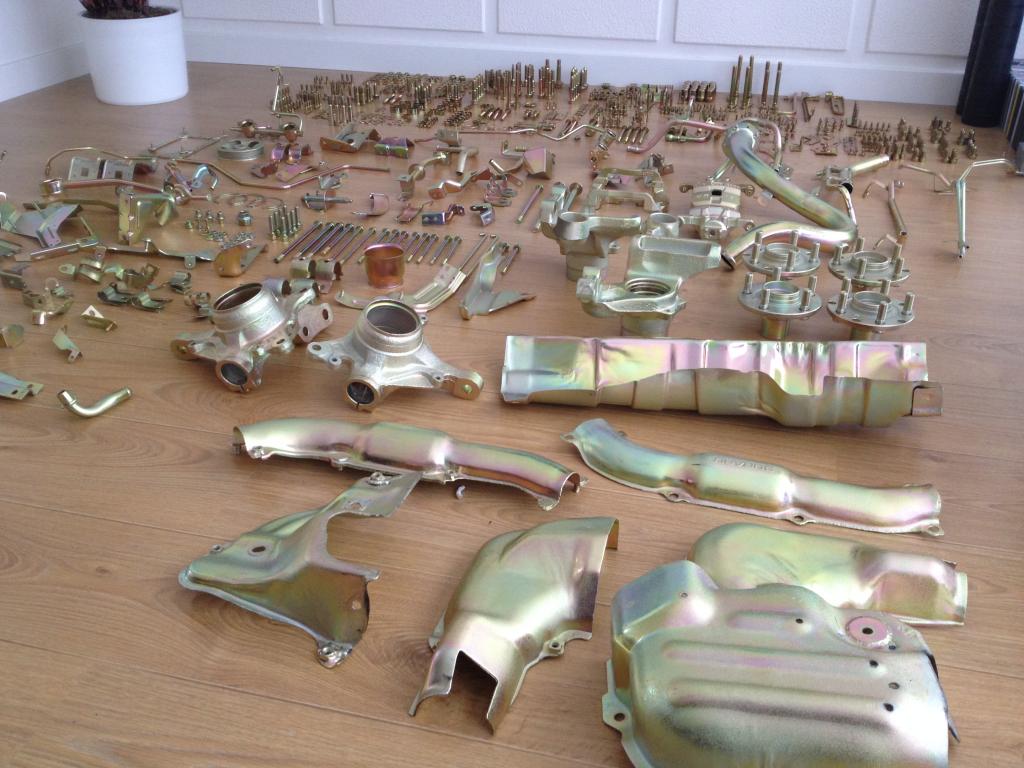
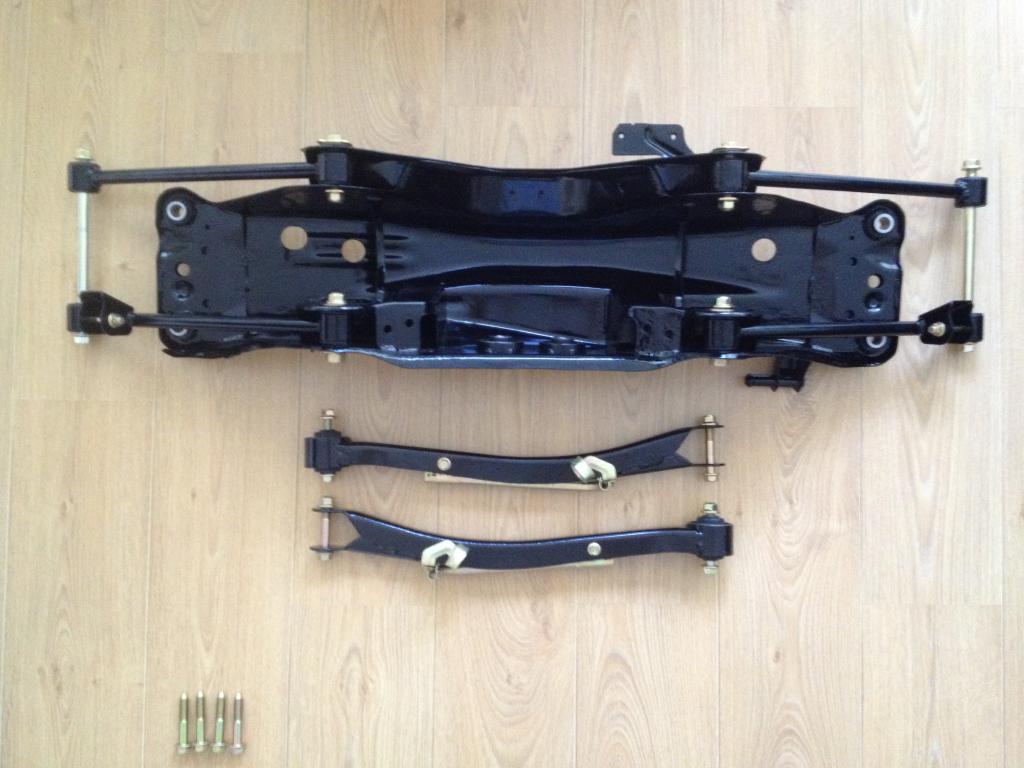
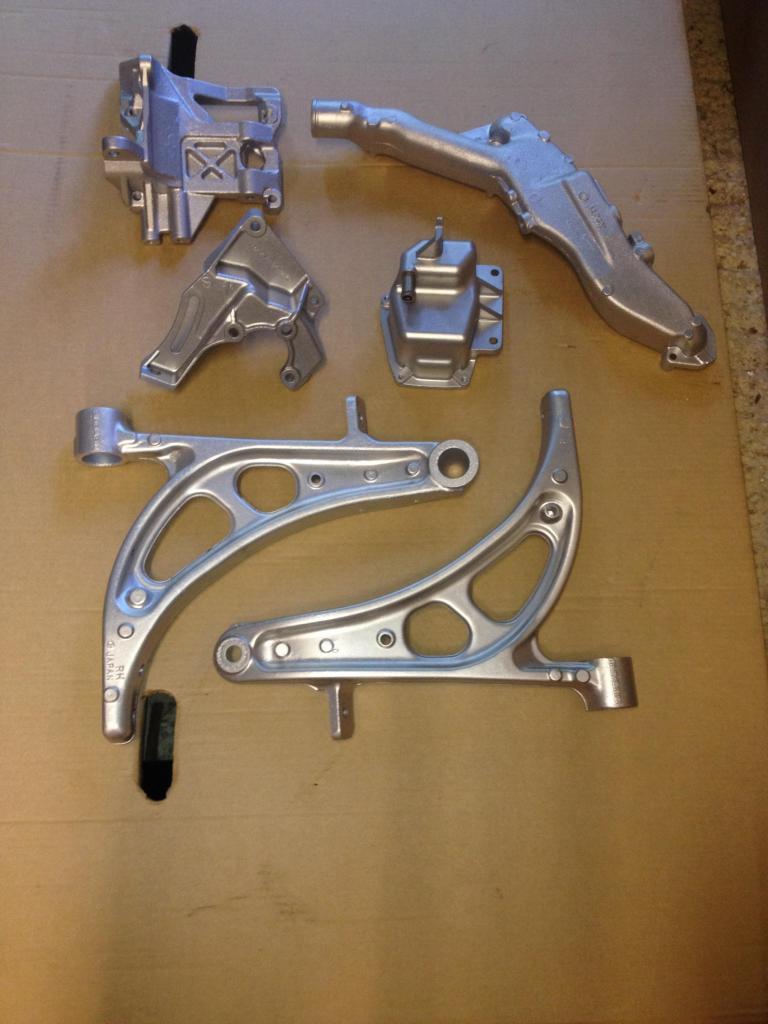
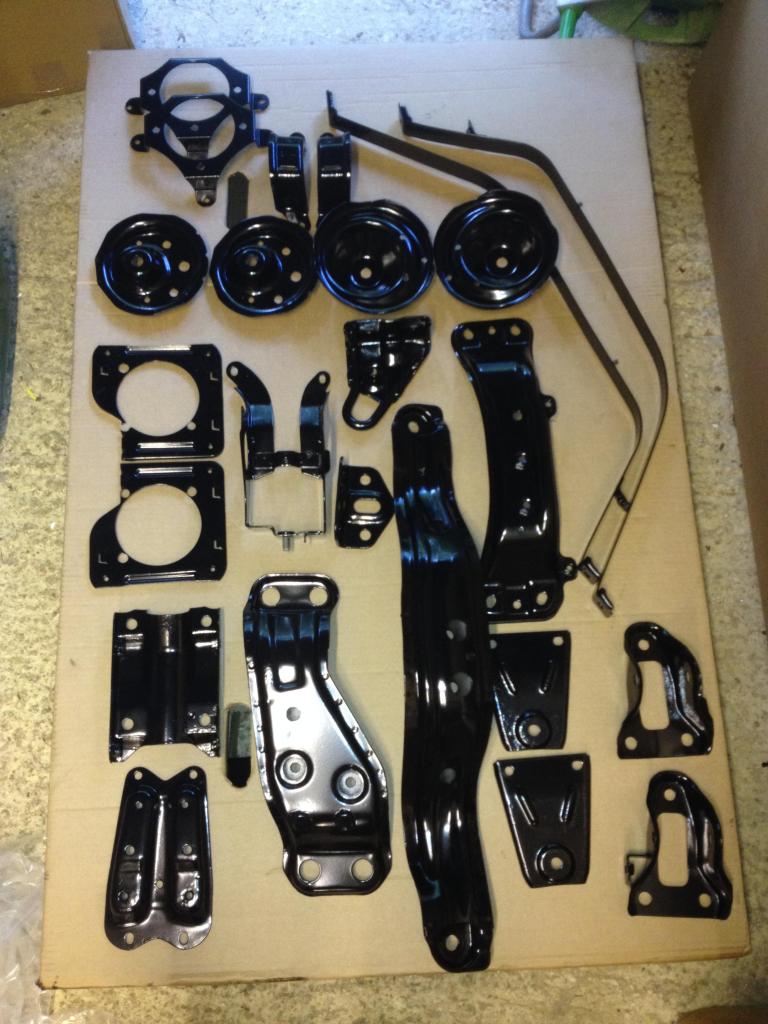
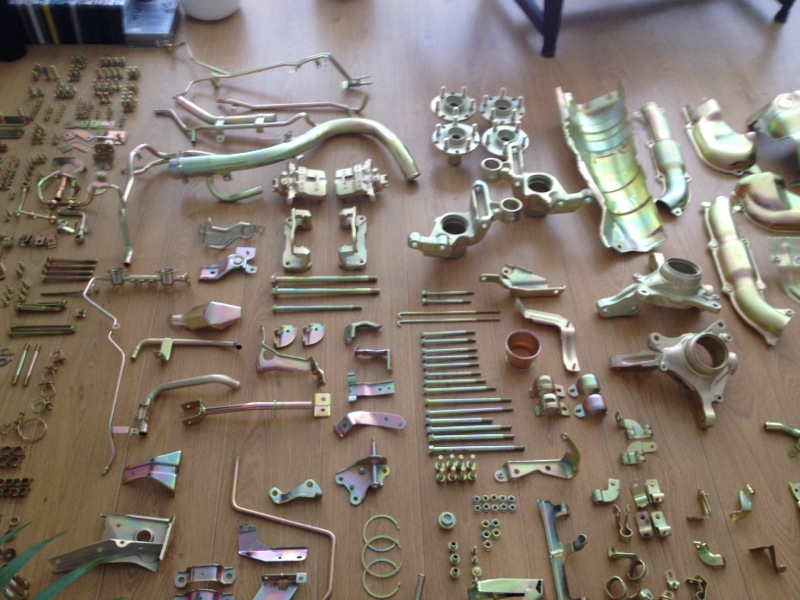
Plating- EC Williams in Birmingham (all parts stripped / shot blasted prior to arrival)
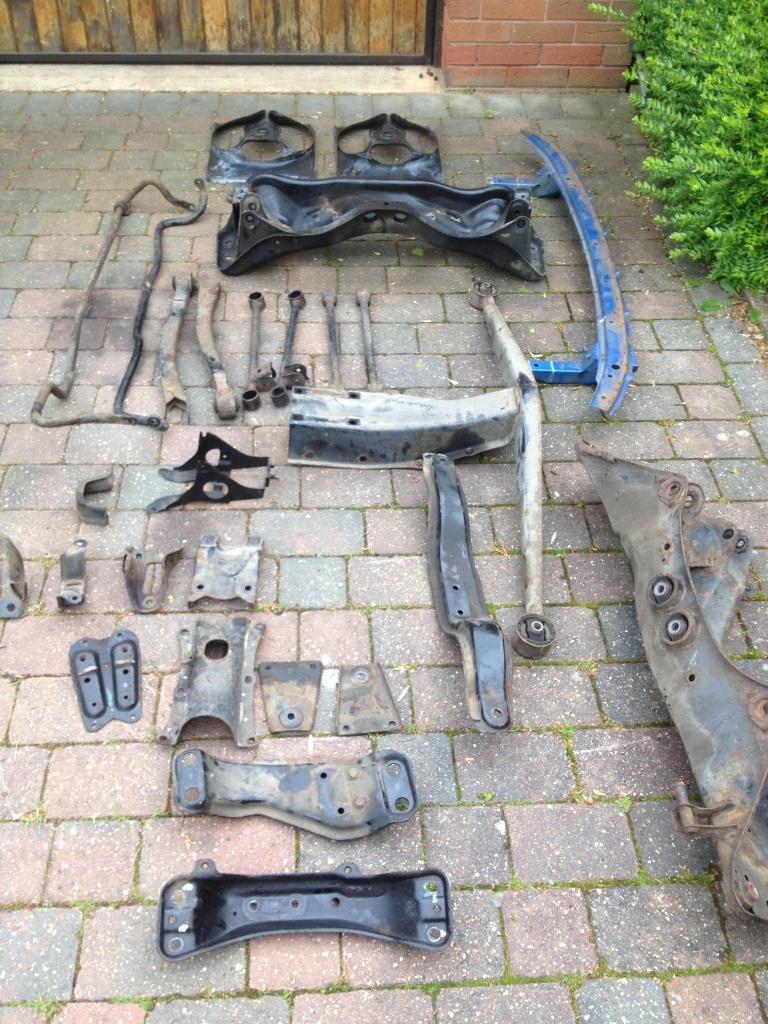
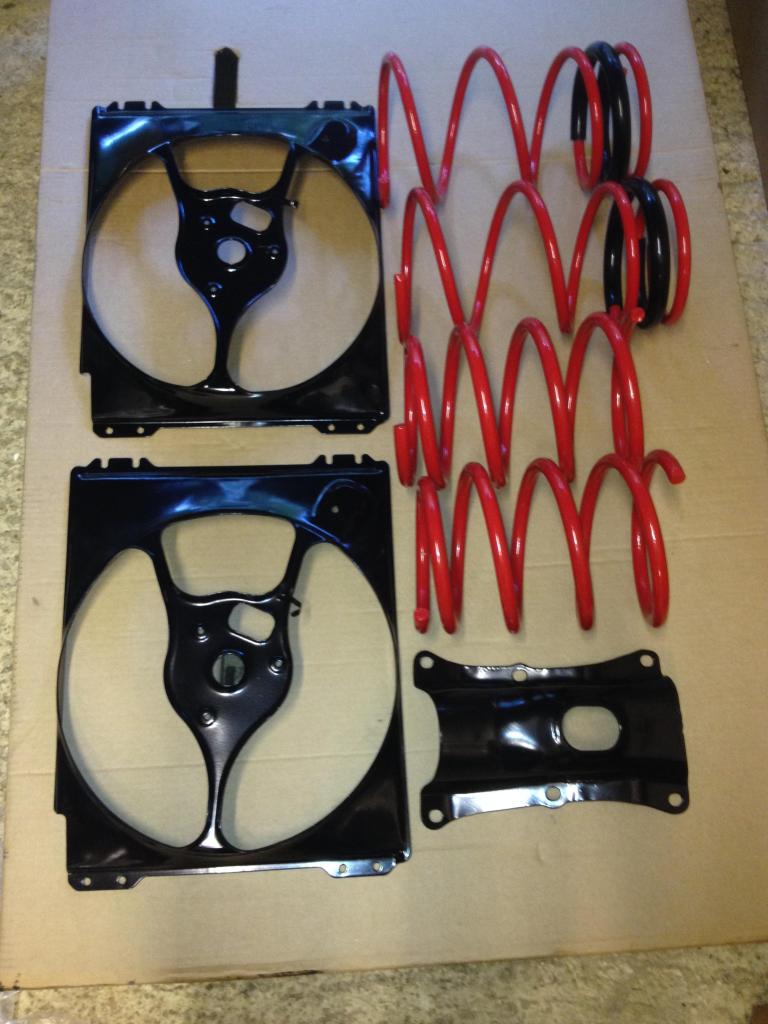
Powder coating / shotblasting of chassis components carried out at CFI in Banbury
Paint work will be in the skilled hands of Lee at BP Motors in Cheltenham
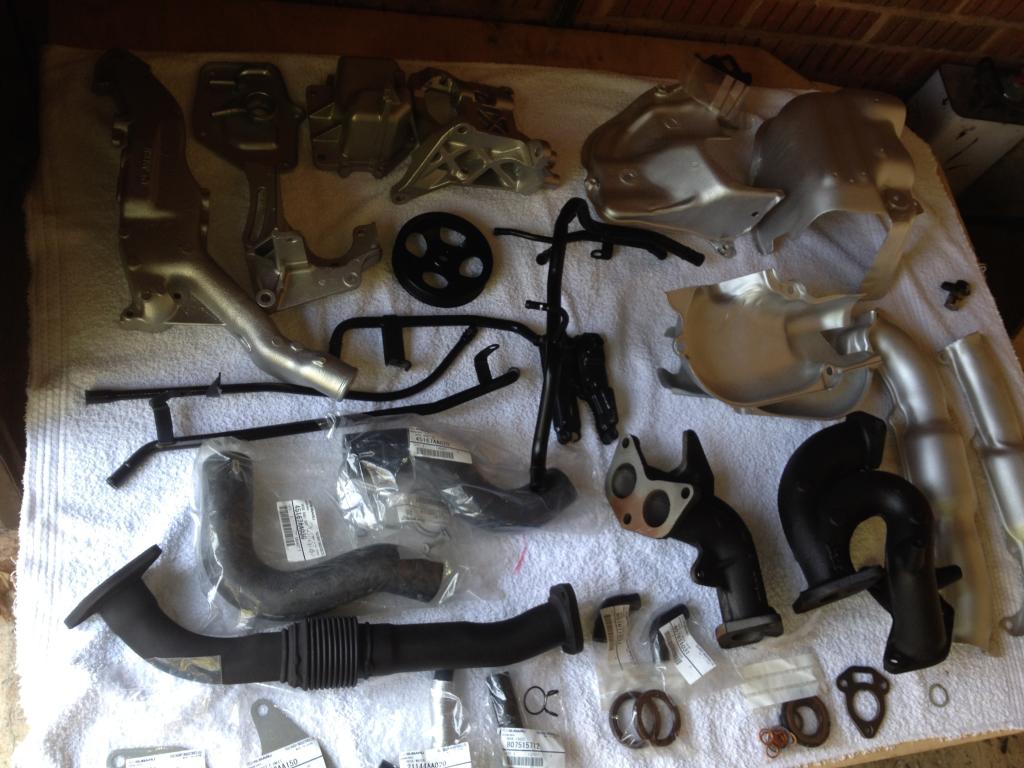
Various Genuine Subaru parts from Crossroads Subaru near Banbury and from Luke at ICP (Import car parts)
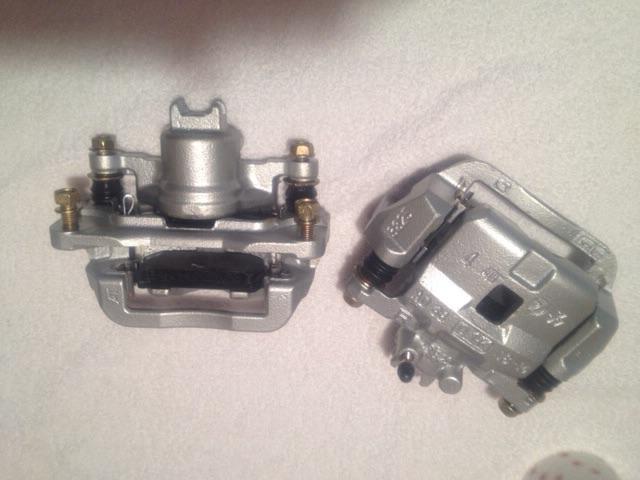
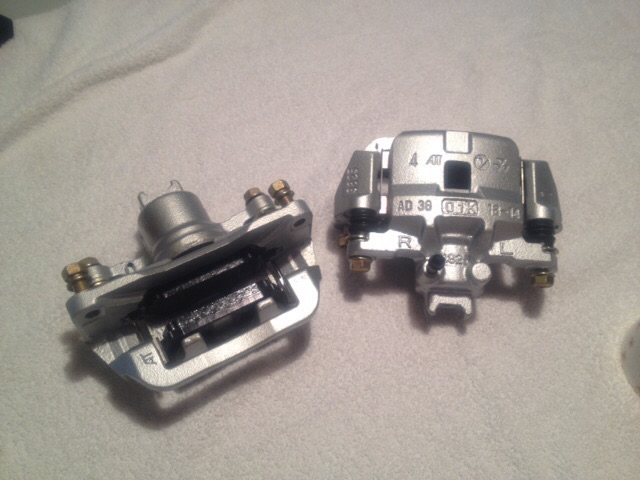
Various other parts (Starter, Alternator, Brakes etc from Gary at Frenco�s parts suppliers in Banbury.
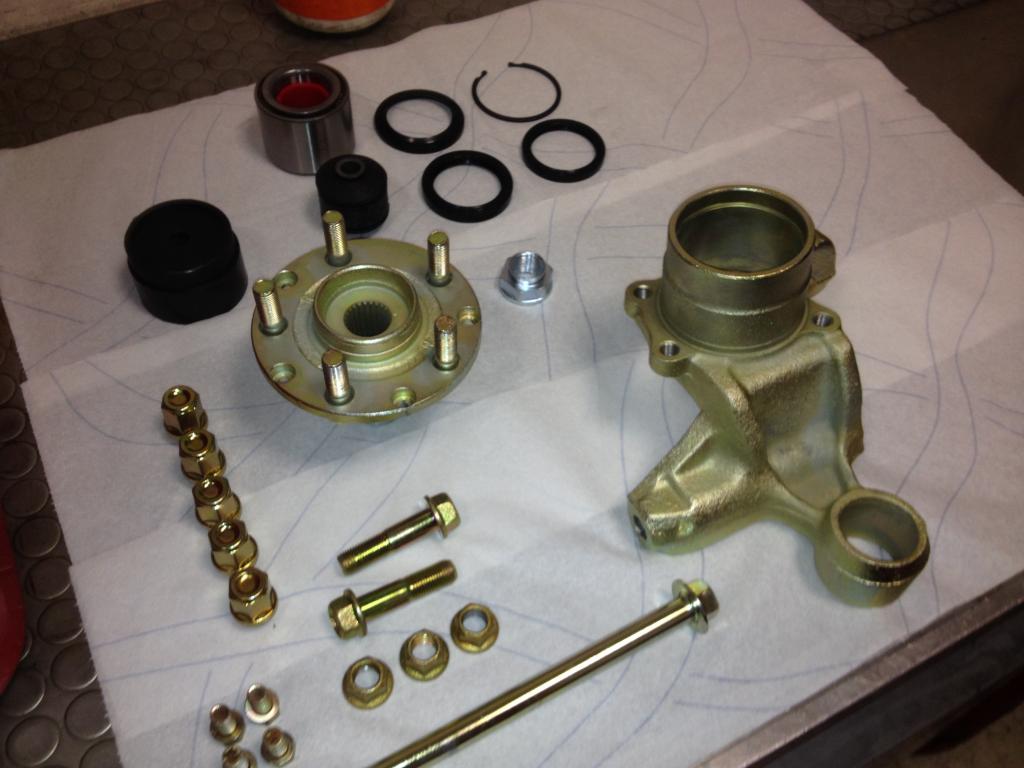
All of the genuine STi bushes came from Dave at Rallispec in the USA the gasket set from them is also considerably cheaper than I could find in the UK.
The corrosion issue on these cars-
Corrosion was starting to form on the inner and outer rear �. Sound repairs are possible but for longevity both rear quarters have been replaced and the inner wheel arch on both sides- there is now zero corrosion in the chassis. The corrosion actually starts in the strut tower. For me the rear top mount needs a gasket this will prevent the chassis and top mount from fretting which will lead to corrosion. The corrosion then tracks down to the 3 layers of panel that form the rear � inner section / strut tower. It then eats through this area (where you cant see) and then lets water run into the boot and forward sill section so its an inside to out process. Strut towers were shotblasted to bare metal, treated and protected with epoxy mastic, thoroughly seam sealed etc.
The new outer wheel arch sections were from Subaru USA (Removed from larger panel). The interface between 1/4 and outer wheel arch will be bonded with Aviation adhesive- spot welding (factory spec) is not the best for corrosion prevention) Nor is the lack of cavity wax from new! This process is now common place for auto repair. Once painted the seams and shuts will be treated with wax...
The rear 1/4's were direct from IM in Birmingham but were shipped in from Japan they are still available or at least they were a few months ago- about �500 a side. I wasn't comfortable with a repair to the rear 1/4 it's a long way to go to strip it for paint and considering the price of a repaint it was worth the cost and I dont want to do it all again in a few years time!
I also sourced a set of genuine front fenders as they can start to crack where the bumper mounts to them...
To answer a few questions on suppliers-
Plating- EC Williams in Birmingham (all parts stripped / shot blasted prior to arrival)
Powder coating / shotblasting of chassis components carried out at CFI in Banbury
Paint work will be in the skilled hands of Lee at BP Motors in Cheltenham
Various Genuine Subaru parts from Crossroads Subaru near Banbury and from Luke at ICP (Import car parts)
Various other parts (Starter, Alternator, Brakes etc from Gary at Frenco�s parts suppliers in Banbury.
All of the genuine STi bushes came from Dave at Rallispec in the USA the gasket set from them is also considerably cheaper than I could find in the UK.
Thread Starter
Scooby Newbie
Joined: Jan 2014
Posts: 21
Likes: 0
From: Cheltenham
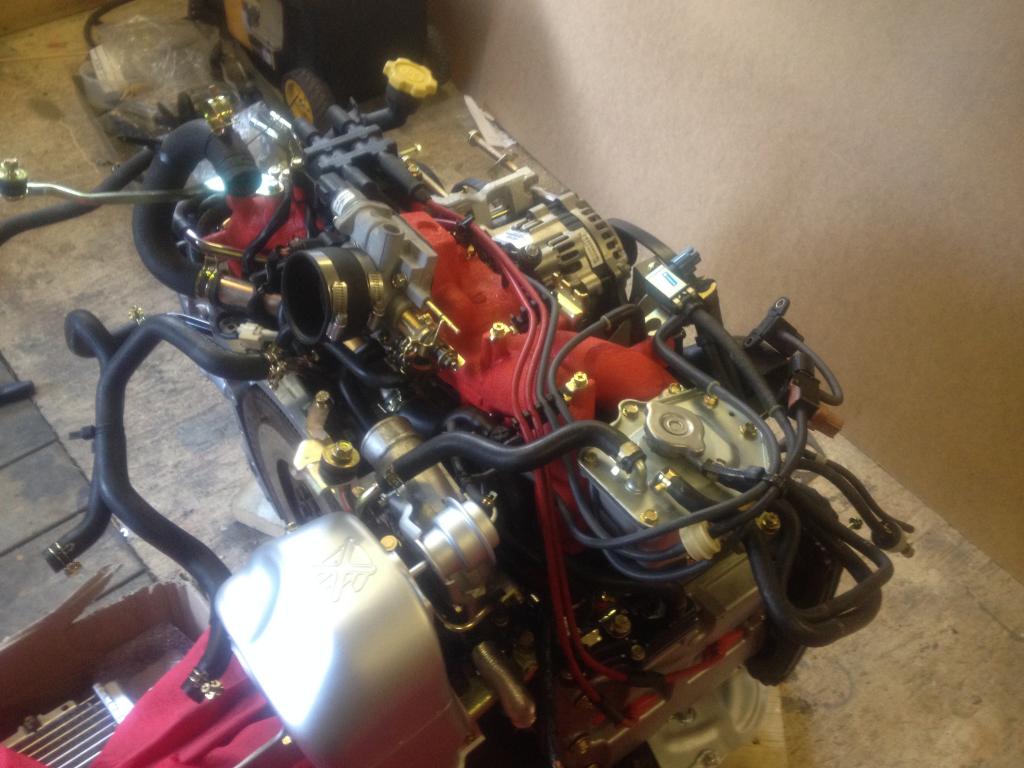
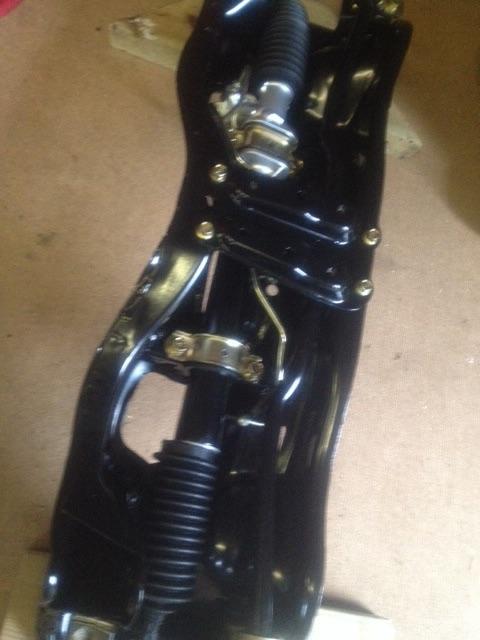
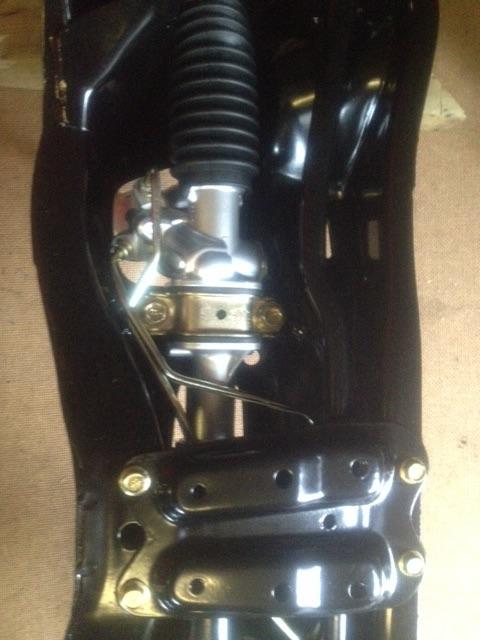
Last few bits going together, other photos can be found here-
http://s1383.photobucket.com/user/m3_stu/library/
http://s1383.photobucket.com/user/m3_stu/library/


Thread Starter
Scooby Newbie
Joined: Jan 2014
Posts: 21
Likes: 0
From: Cheltenham
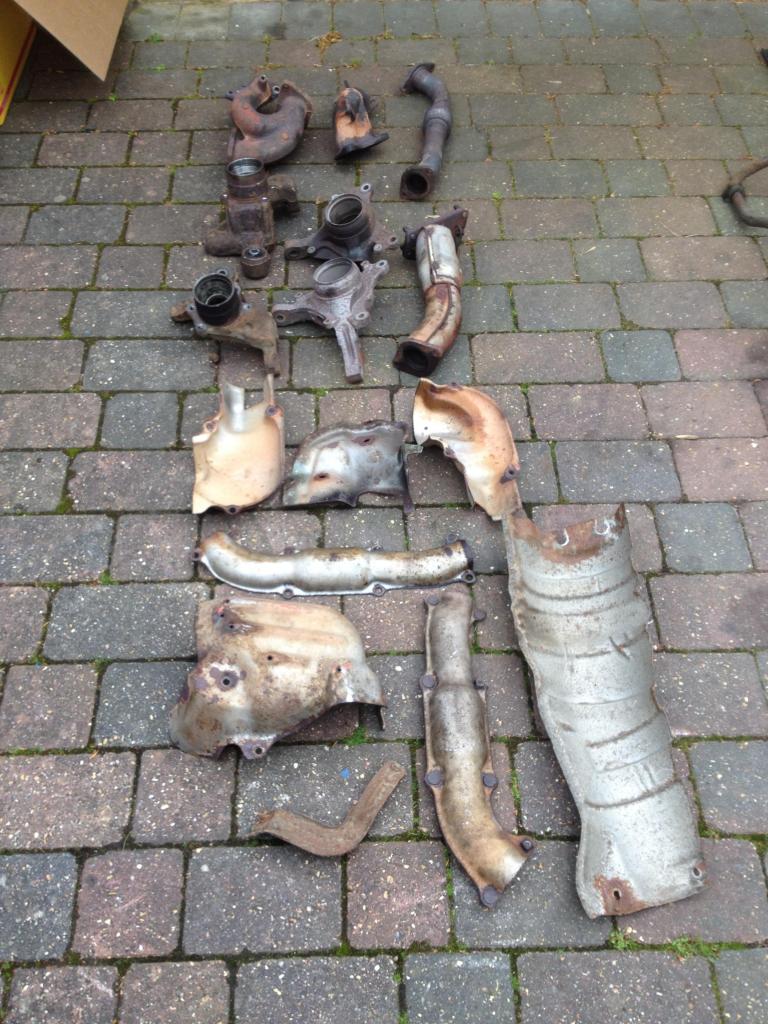
Also the larger parts have to be hung in the solution so you end up needing quite a few batch runs. A bucket full of bolts is about �60 though.
I would recommend shot-blasting first or floating the rust off the parts using electrolysis (battery / washing powder and a piece of scrap metal)
Cheers

m3 stu
You have just been promoted I to the top ten league of great threads with the likes of silver sport ,joe and john Mc and fraze
Great work there
Zinc plating talk me through as I'm a non techie
Are they all the orginal parts which ate then shot blasted them sprayed ?
2015 sees my Greenwagon going down the same route and I was getting by big bits powder coated ( lime green ) as I like garish colours
Are all the nuts and bolts new from Subaru or do you match them up at an ironmongery or are all the old bolts treated ?
Another fan of these renovation threads as there is not many classics left
I took mine out today for the first time in weeks and it certantly turned heads as rarety value compared to 7/10/14 years when loads of people had them