For the love of WRX (wagon!)


 27 March 2015, 01:42 PM
#182
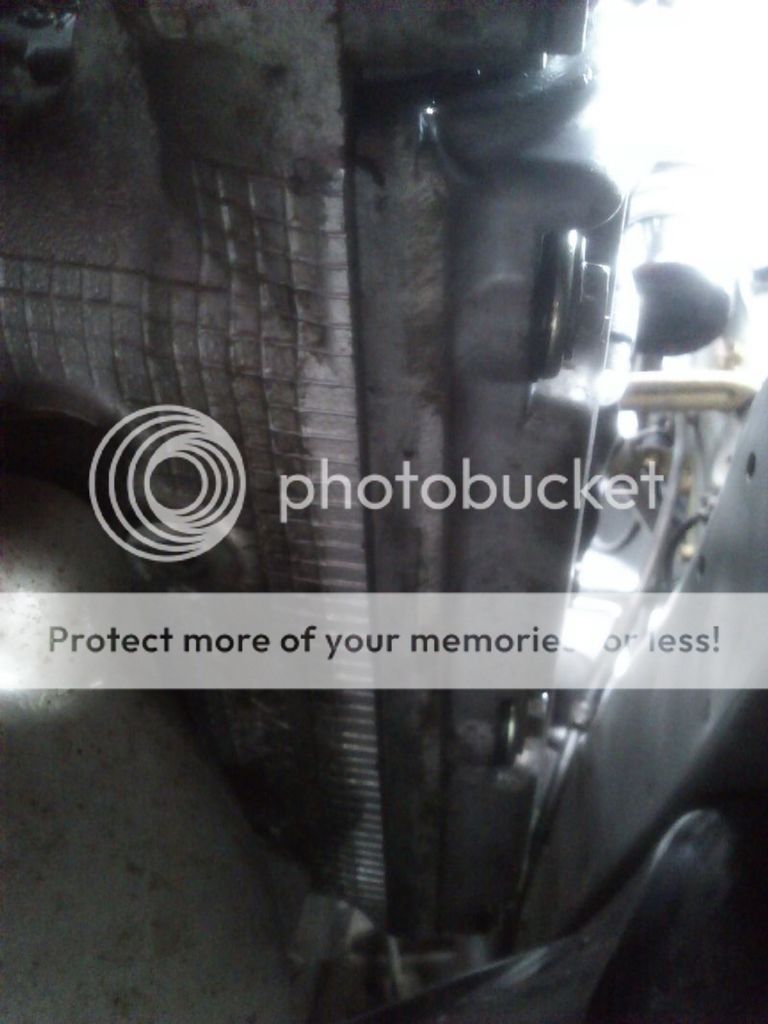
your recent experience sounds a lot like mine! I was driving home recently and steam started pouring out the front of my bonnet. I found that the std radiator had cracked in the black plastic at the top. So in very similar fashion to you, I replaced the radiator, fitted some new blue silicone hoses and a blitz cap to finish it off  The silicone hoses give me much more peace of mind over the tired oem ones, and look good too. I like your red ones....
The silicone hoses give me much more peace of mind over the tired oem ones, and look good too. I like your red ones....
27 March 2015, 09:53 PM
#183
Scooby Regular
Thread Starter
iTrader: (2)
Join Date: Mar 2014
Location: Mancunian in Edinburgh
Posts: 753
Likes: 0
Received 0 Likes
on
0 Posts
Thanks chaps.
Yeah I was in two minds whether to go for red or blue as I have the Prodrive blue Y pipe, but decided on red to go with the red header tank and glad I did as think it looks the dogs!
Where did you get your rad from Ste?
Yeah I was in two minds whether to go for red or blue as I have the Prodrive blue Y pipe, but decided on red to go with the red header tank and glad I did as think it looks the dogs!
Where did you get your rad from Ste?
28 March 2015, 03:20 PM
#184
Scooby Regular
iTrader: (1)

Join Date: Dec 2002
Location: Chacombe
Posts: 547
Likes: 0
Received 0 Likes
on
0 Posts
Thanks for the heads up on the 26mm core on the rad, my wagon let me down on the M40 on the way to work yesterday, luckily had 5 litres of water in the boot so made it back home and then whipped the rad out. Used your link so new one on its way ;-)
28 March 2015, 10:16 PM
#185
Scooby Regular
Thread Starter
iTrader: (2)
Join Date: Mar 2014
Location: Mancunian in Edinburgh
Posts: 753
Likes: 0
Received 0 Likes
on
0 Posts
You're welcome! Some of the ones I looked at looked identical but were more expensive and only had 15mm core so over 30% less efficient. Noticed when I fitted the new rad and was running the car up to temp the fan took forever to kick-in, just shows the difference in cooling efficiency between the new rad and the old, clocked-up original.
14 April 2015, 12:54 PM
#186
Scooby Regular
Thread Starter
iTrader: (2)
Join Date: Mar 2014
Location: Mancunian in Edinburgh
Posts: 753
Likes: 0
Received 0 Likes
on
0 Posts
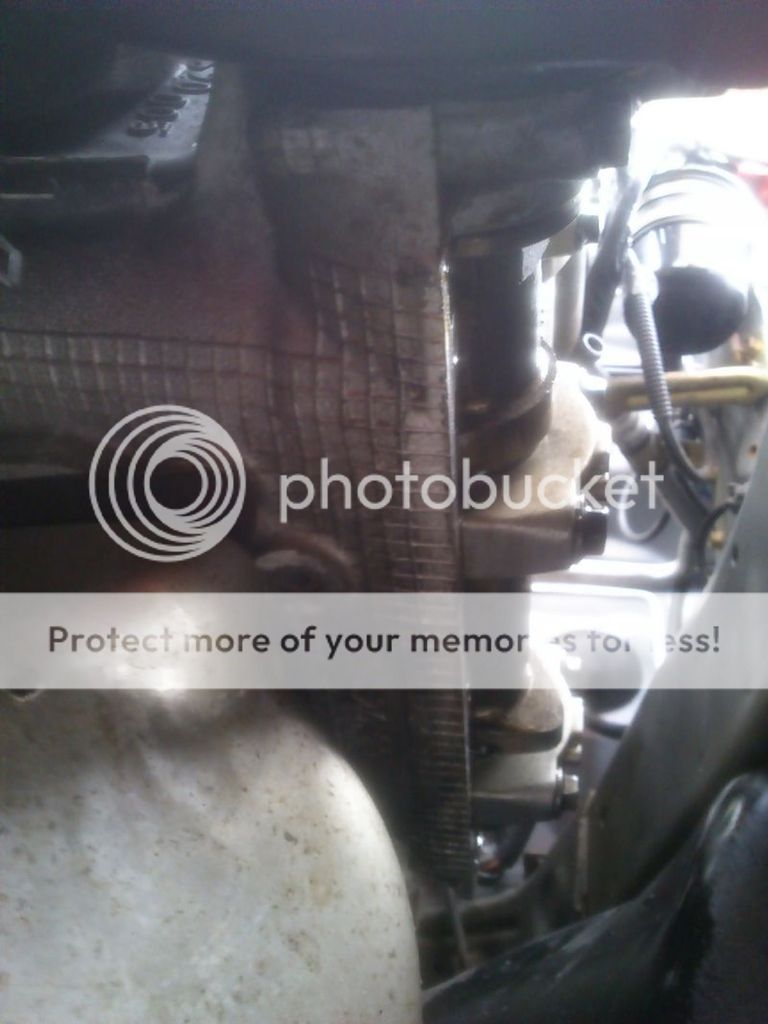
So I'd been getting a slight burning oil smell in the cabin after the 15-20min drive to work and a bit of research suggested it would most likely be the drivers side rocker cover gasket leaking onto the exhaust manifold. While I was under the car doing the radiator I noticed very slight oil residue on the underside of the passenger side rocker cover so assumed it must be the same or worse on the drivers side.
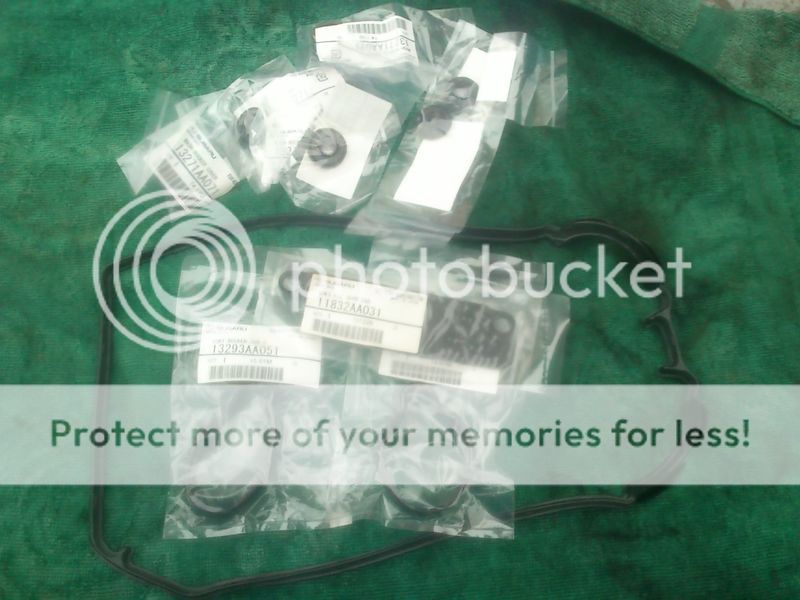
Ordered all genuine gaskets from Import Car Parts, the do a complete set for each side for about �45 inc. the spark plug hole seals, breather gasket and bolt washer seals.
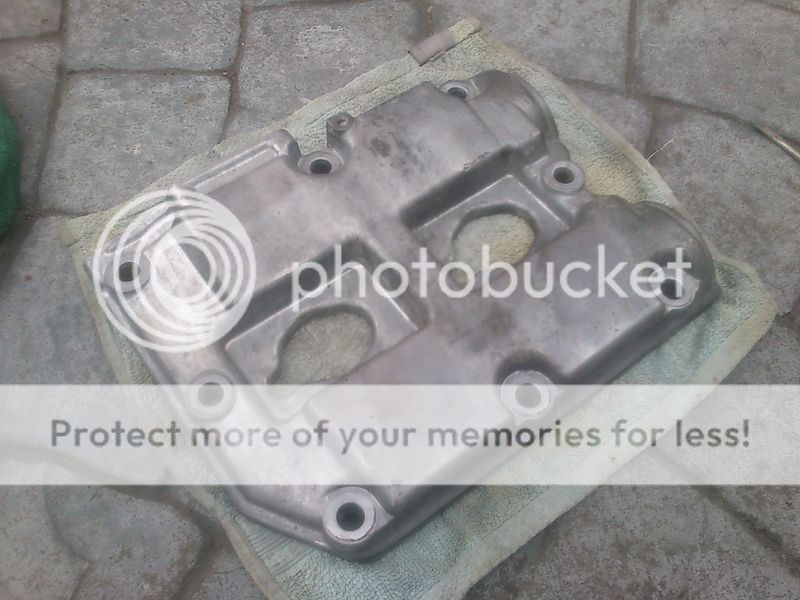
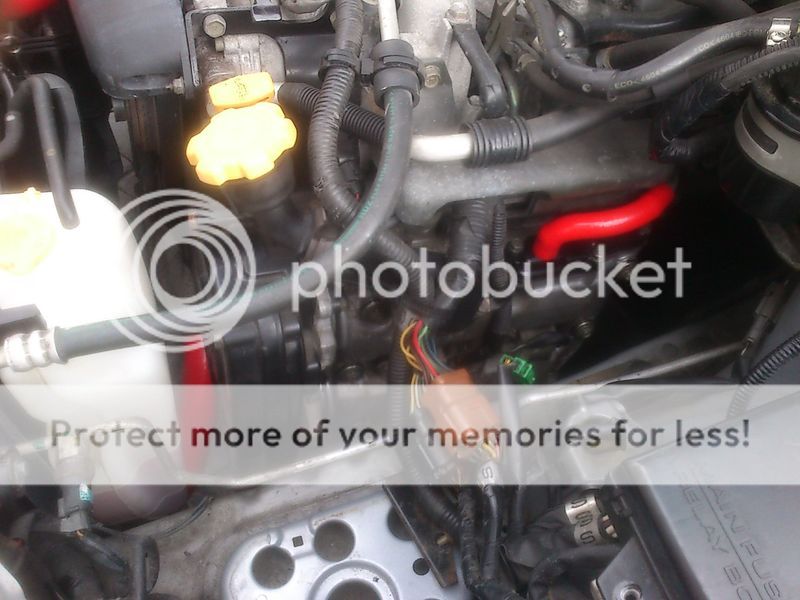
So out with the airbox...
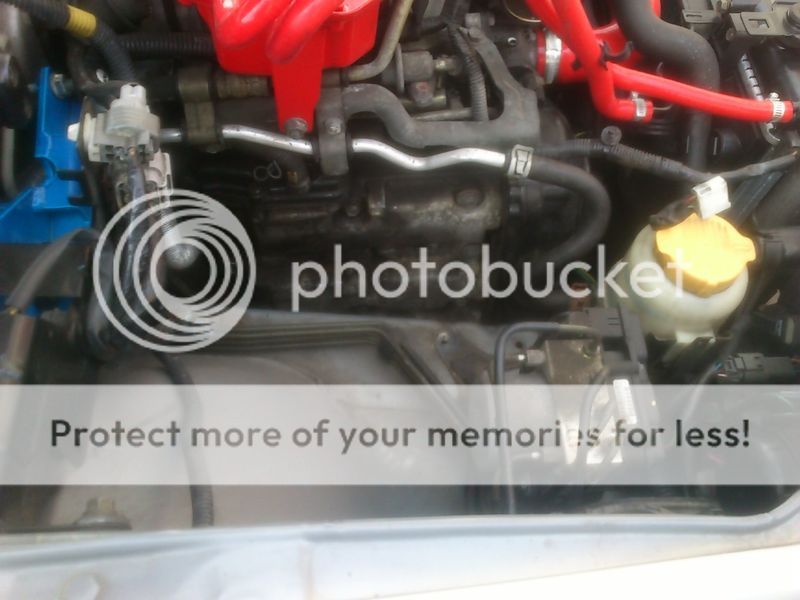
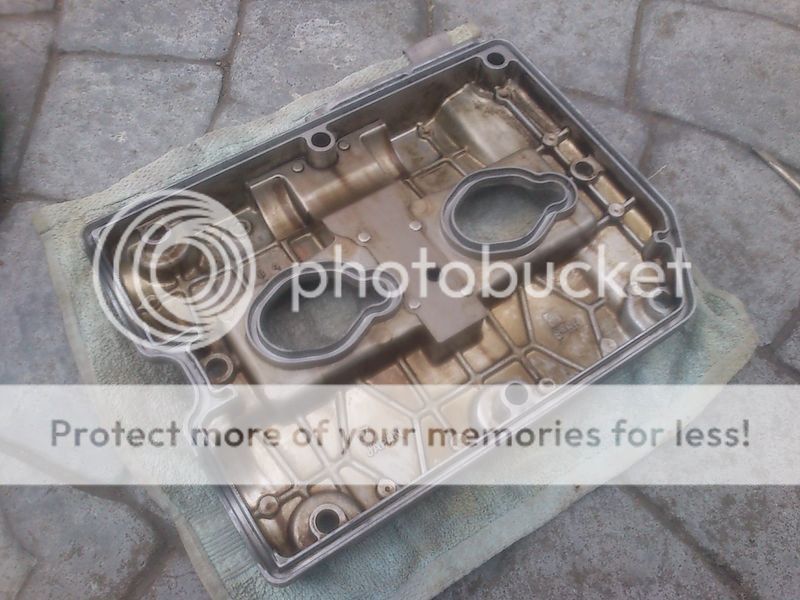
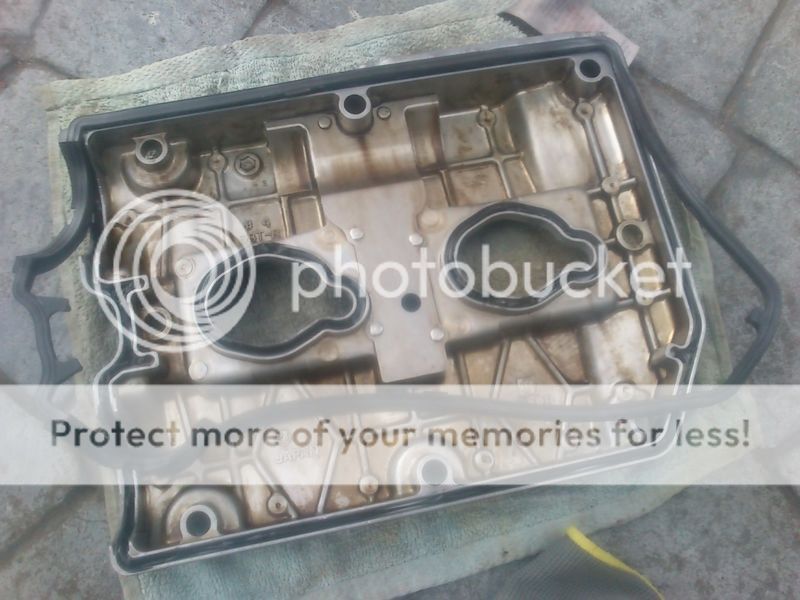
and off with the cover
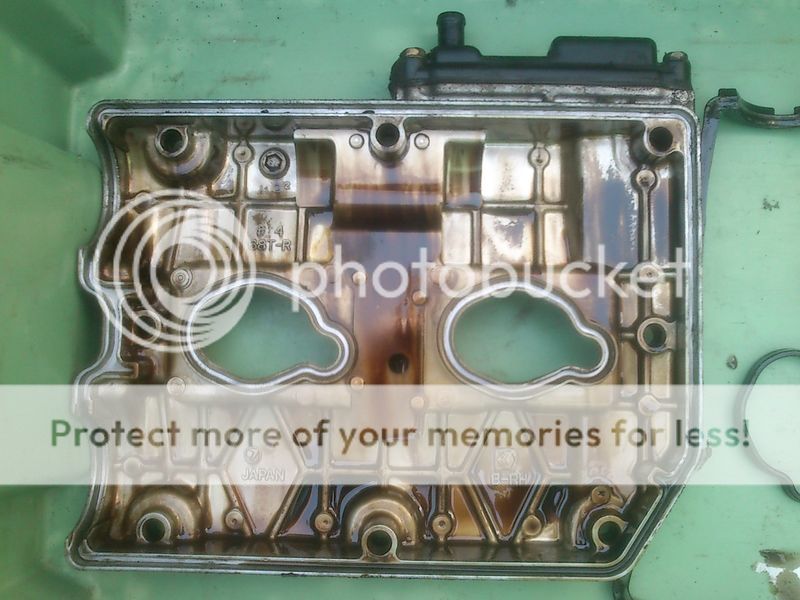
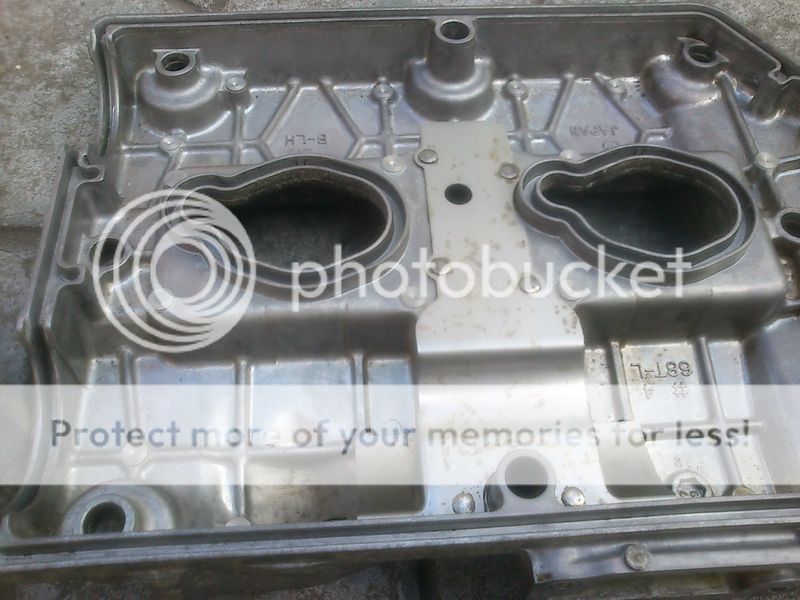
underside of cover shows signs of the leak
degreased the cover, breather cover and all bolts and dried the cover in the oven at 70deg C for 10mins just to make sure it was bone dry.
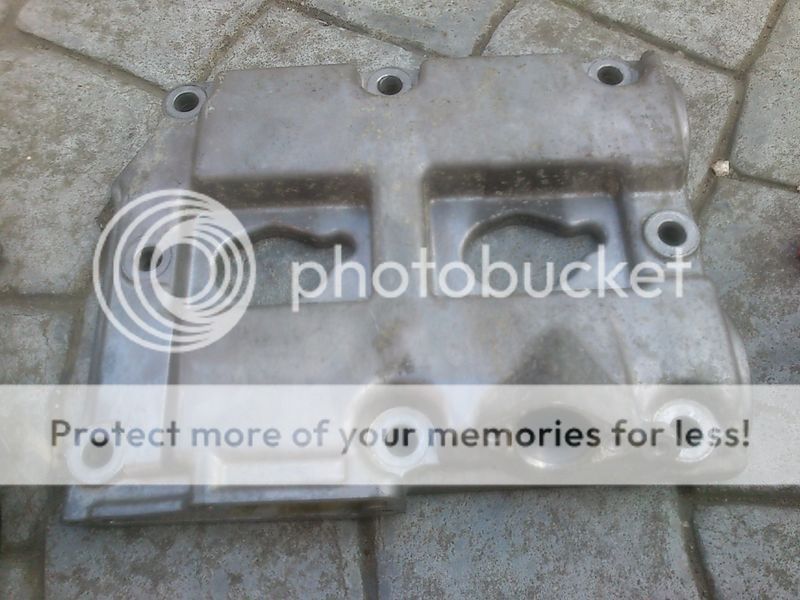
cover squeaky clean!
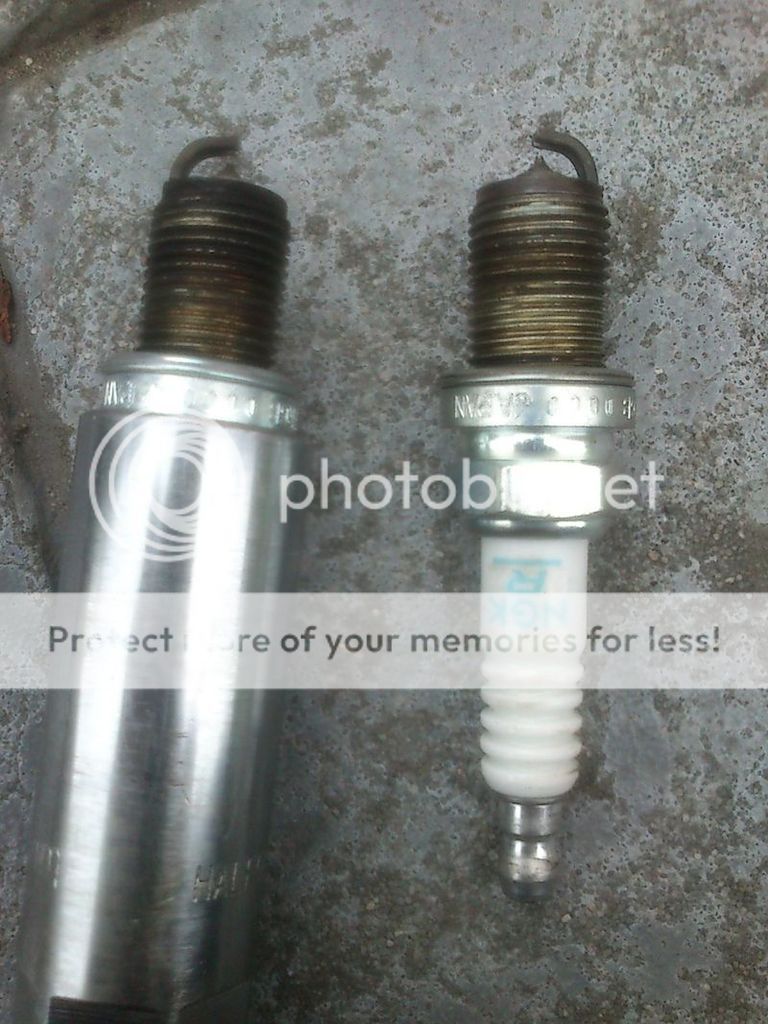
Cleaned the plugs whilst they were easy to get at, look in good condition, they were only changed by the dealer I bought the car off a year ago.
Genuine gasket set
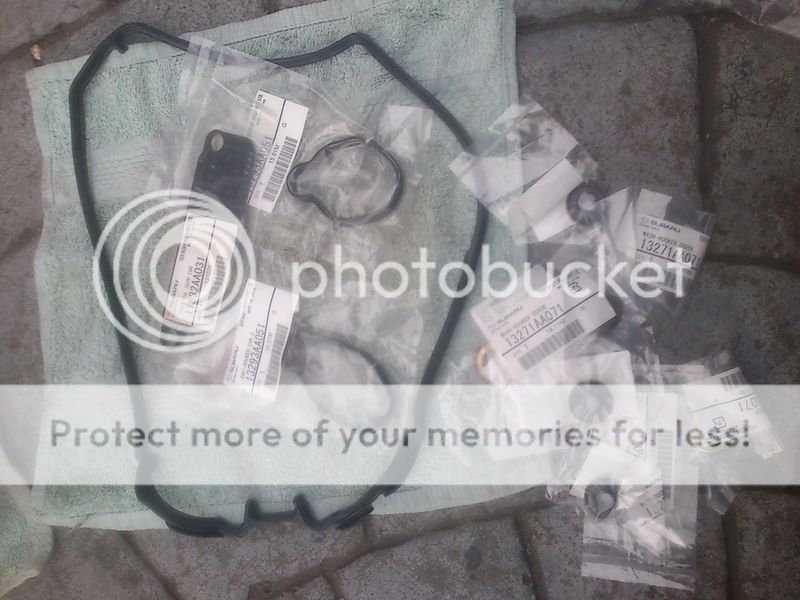
Loctite High Temp black sealant used sparingly before fitting new gaskets to cover. Also smeared sealant on the front face of the gaskets just to make sure!
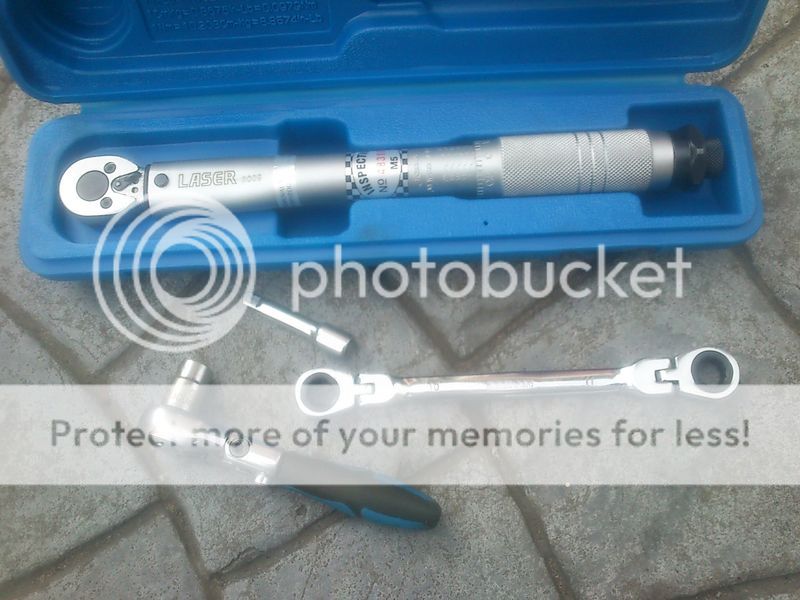
1/4" torque ratchet, ratchet spanner and mini ratchet are all you need and make reaching all the bolts a doddle. Cover bolts tightened to 7Nm.
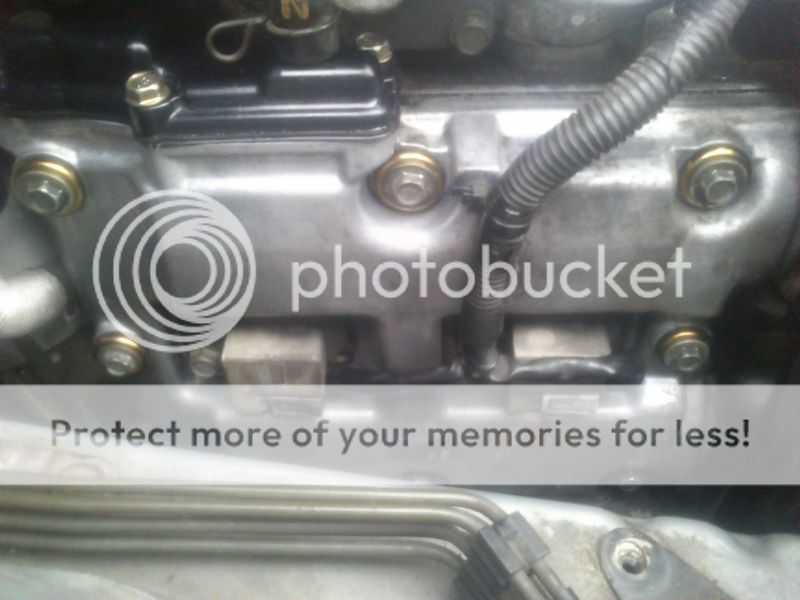
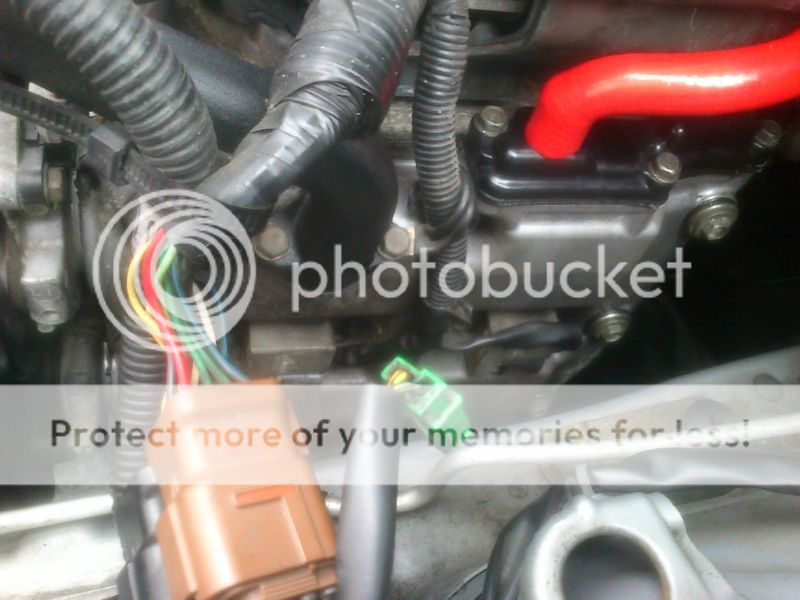
cover refitted looking like new!
Checked the Pro-R filter and filter box and just needed a quick hoover before refitting

Thought this job might have been a pain with a couple of bolts being close to the chassis but turned out to be very straight forward and really enjoyed doing it, only took a couple of hours taking my time and having plenty of cuppas! I checked the half moons and they were both solid so didn't attempt to remove/reseal them which seems to be the general consensus on here.
I did manage get some oil on the exhaust manifold though as I didn't have enough rags positioned towards the rear of the head which is where most of the oil runs out and for about a month after (only do 40-50miles a week) I've had a burning oil smell which is the oil on the manifold heat shields burning off. Burning smell has now gone thankfully, but was surprised at how long it took!
I did the passenger side rocker cover the following week and I needed to add about 750ml of oil to make up for what drains out of the heads. Will put pics up when I get a chance.
Ordered all genuine gaskets from Import Car Parts, the do a complete set for each side for about �45 inc. the spark plug hole seals, breather gasket and bolt washer seals.
So out with the airbox...
and off with the cover
underside of cover shows signs of the leak
degreased the cover, breather cover and all bolts and dried the cover in the oven at 70deg C for 10mins just to make sure it was bone dry.
cover squeaky clean!
Cleaned the plugs whilst they were easy to get at, look in good condition, they were only changed by the dealer I bought the car off a year ago.
Genuine gasket set
Loctite High Temp black sealant used sparingly before fitting new gaskets to cover. Also smeared sealant on the front face of the gaskets just to make sure!
1/4" torque ratchet, ratchet spanner and mini ratchet are all you need and make reaching all the bolts a doddle. Cover bolts tightened to 7Nm.
cover refitted looking like new!
Checked the Pro-R filter and filter box and just needed a quick hoover before refitting
Thought this job might have been a pain with a couple of bolts being close to the chassis but turned out to be very straight forward and really enjoyed doing it, only took a couple of hours taking my time and having plenty of cuppas! I checked the half moons and they were both solid so didn't attempt to remove/reseal them which seems to be the general consensus on here.
I did manage get some oil on the exhaust manifold though as I didn't have enough rags positioned towards the rear of the head which is where most of the oil runs out and for about a month after (only do 40-50miles a week) I've had a burning oil smell which is the oil on the manifold heat shields burning off. Burning smell has now gone thankfully, but was surprised at how long it took!
I did the passenger side rocker cover the following week and I needed to add about 750ml of oil to make up for what drains out of the heads. Will put pics up when I get a chance.
22 April 2015, 03:47 PM
#187
Scooby Regular
Thread Starter
iTrader: (2)
Join Date: Mar 2014
Location: Mancunian in Edinburgh
Posts: 753
Likes: 0
Received 0 Likes
on
0 Posts
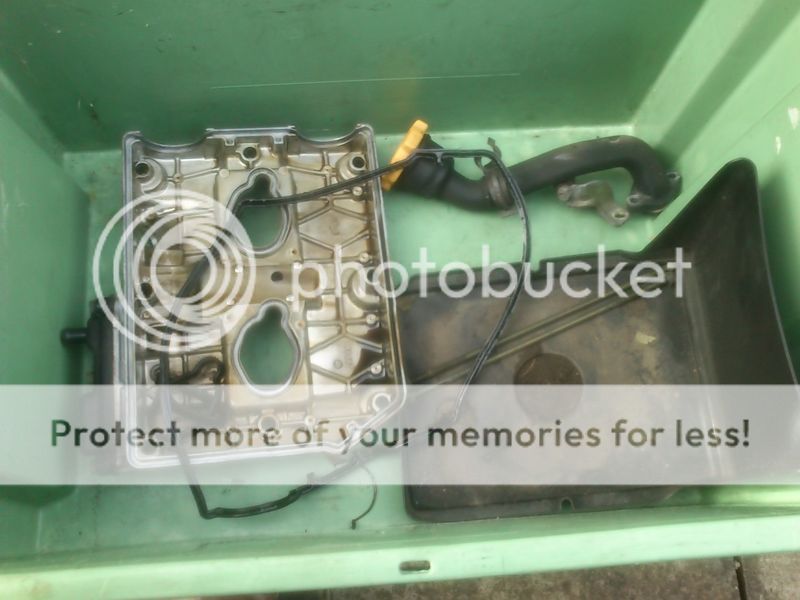
Pics of the left hand rocker cover gasket replacement
battery & washer bottled removed to access cover

bits for degreasing; including battery cover & oil filler neck. Didn't bother cleaning the old gaskets...obviously
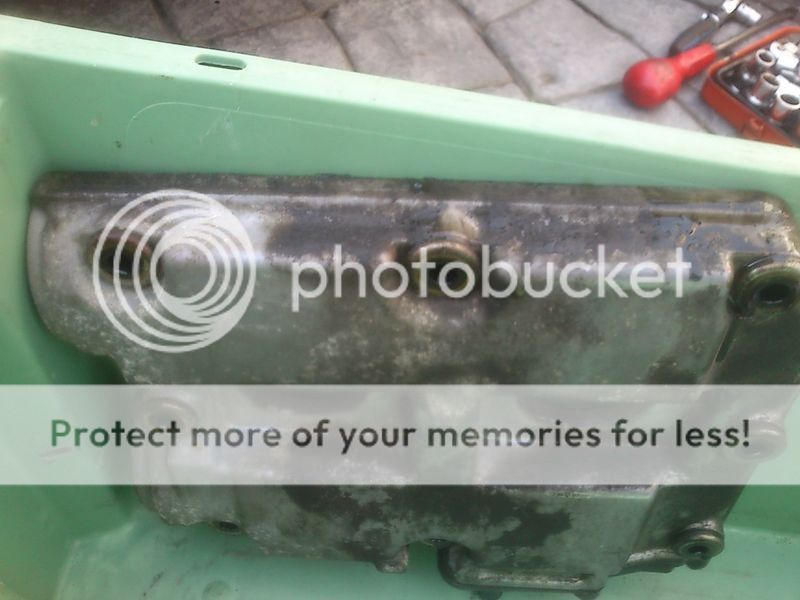
underside of block cleaned
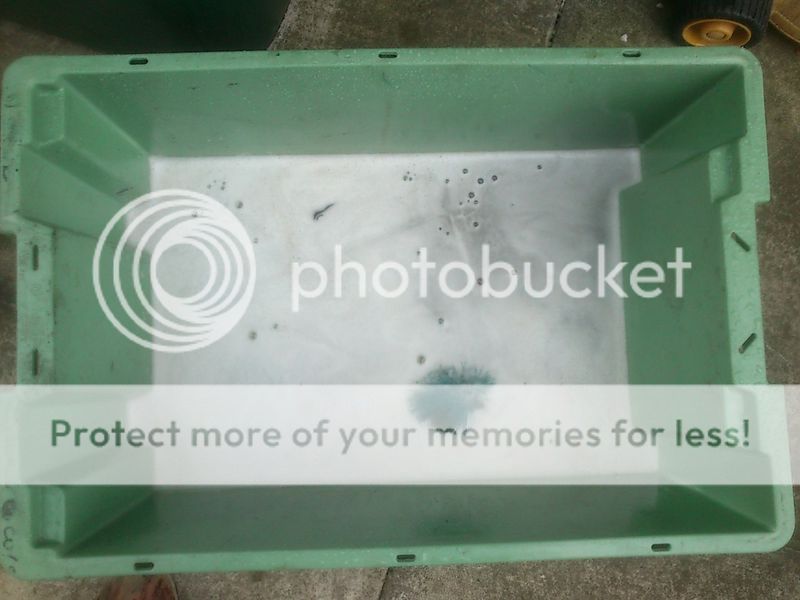
bits degreased
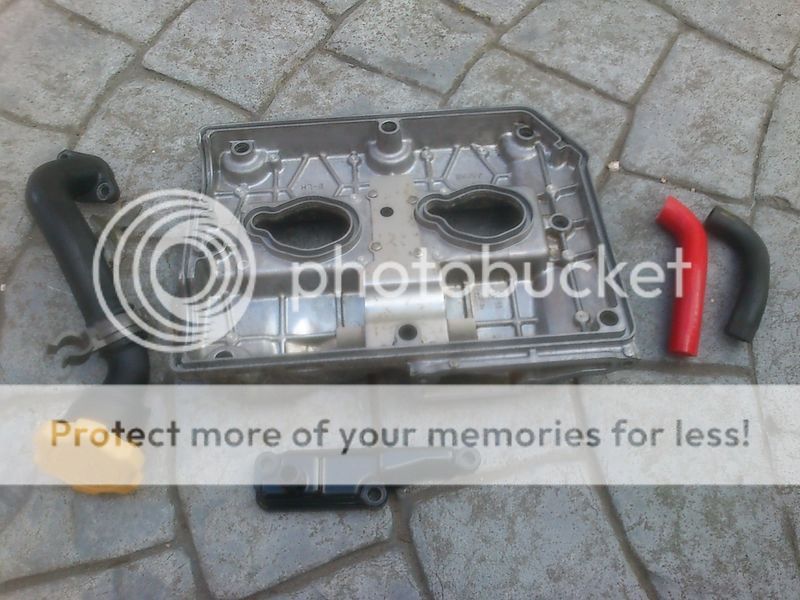
cam cover
new genuine gaskets
all refitted
another job crossed off the list!
battery & washer bottled removed to access cover
bits for degreasing; including battery cover & oil filler neck. Didn't bother cleaning the old gaskets...obviously
underside of block cleaned
bits degreased
cam cover
new genuine gaskets
all refitted
another job crossed off the list!
08 May 2015, 02:42 PM
#190
Scooby Regular
Thread Starter
iTrader: (2)
Join Date: Mar 2014
Location: Mancunian in Edinburgh
Posts: 753
Likes: 0
Received 0 Likes
on
0 Posts
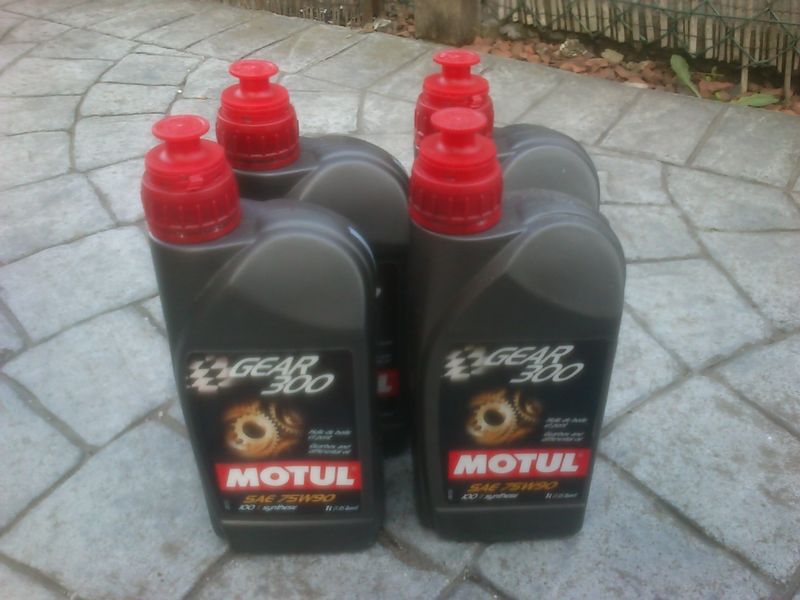
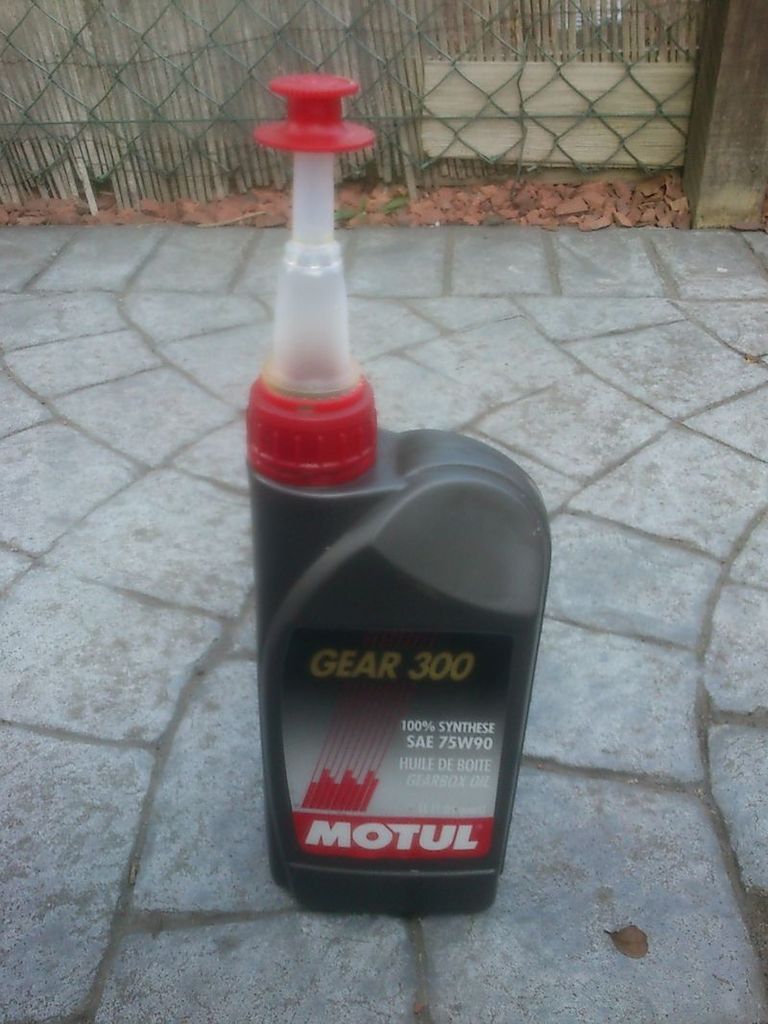
Over the winter I noticed that the first few gear changes from 1st to 2nd on a cold morning were noticeably notchy/awkward. My gearbox had 1 year old Castrol 80w90 gear oil in (done by selling dealer) and so wanted to try the highly recommended Motul Gear 300 75w90 before the warm weather kicked to see if it made any difference...
T70 Torx bit for gearbox
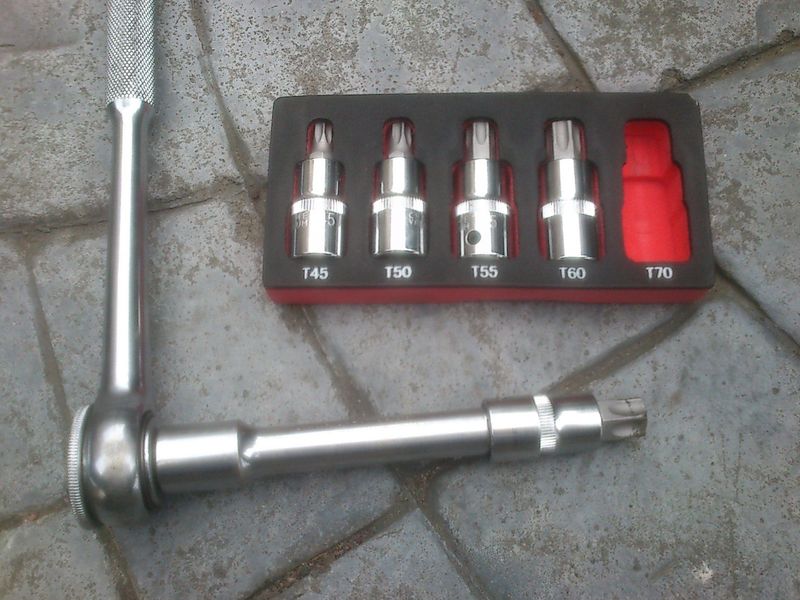
4litres of Motul Gear 300 75w90 for gearbox
Gearbox drain plug accessible without removing any under trays
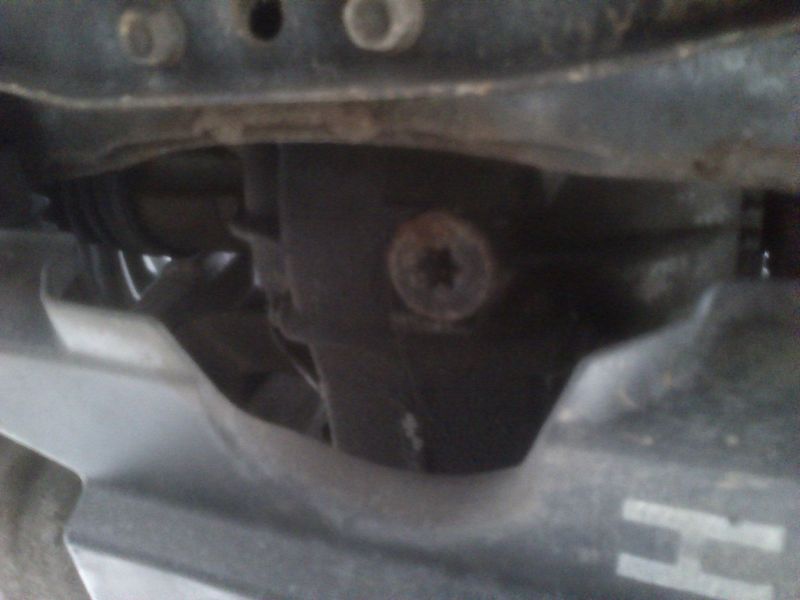
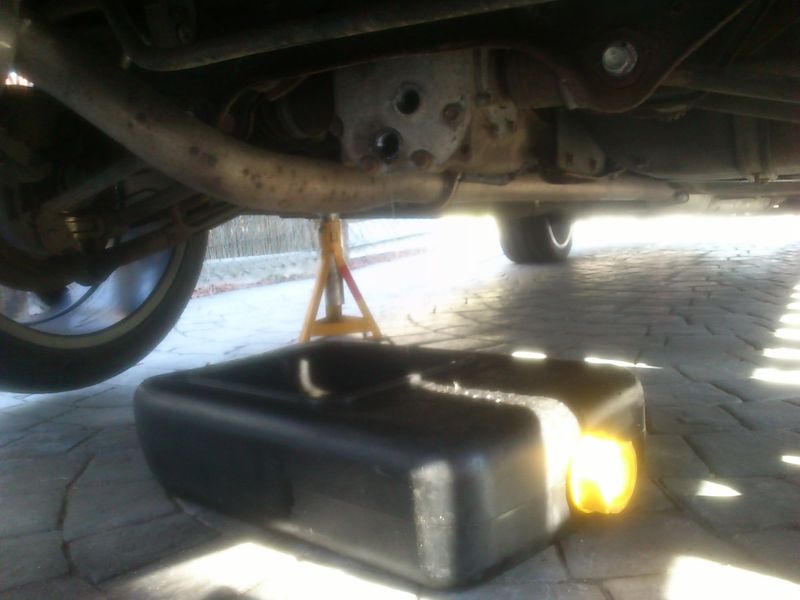
old oil out. After removing the plug and draining, removed the jack stands and sat the car on it's wheels to get any residual oil out. The gearbox took about 3.2 to 3.3 litres using a hand pump down the filler neck in the engine bay.
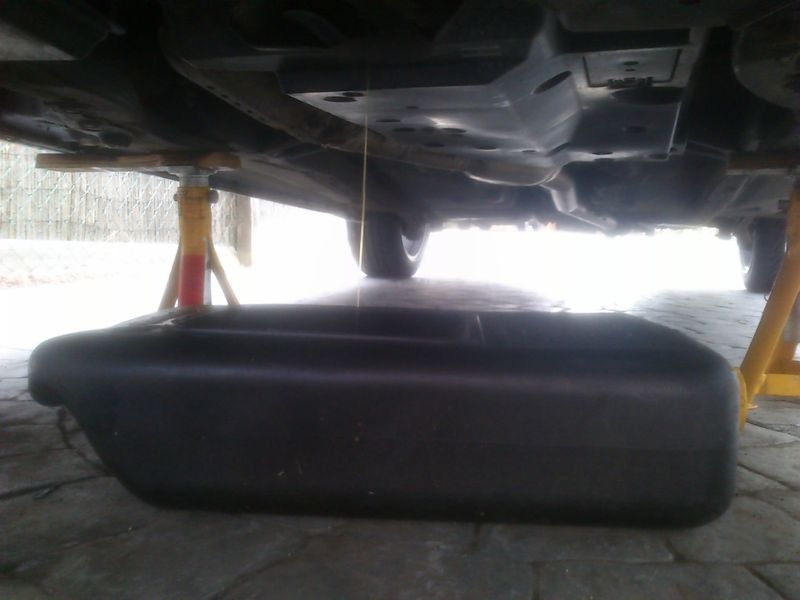
also did the diff oil with gear 300 as well, takes about 1litre
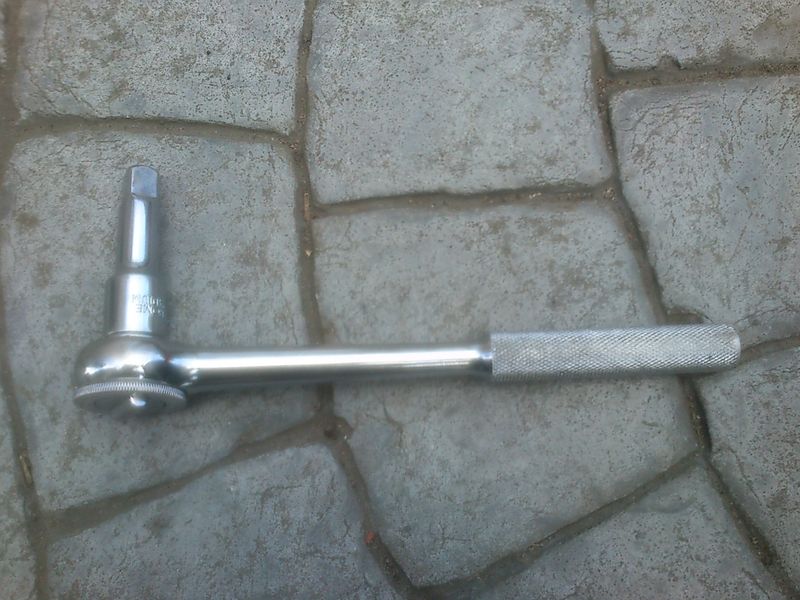
A 1/2" socket adapter did the trick on the plug
old oil out, again after removing the plug and draining, sat the car on it's wheels to get any residual oil out.
I would highly recommend doing this as straight away I could tell that the drive train feels so much smoother, almost silky smooth. Before this I had felt that something felt quite harsh on hard acceleration and put it down to the engine but it was obviously the gearbox, everything feels so much better now. Gear changes on cold mornings are massively better now and I no longer skip 2nd gear and go to 3rd on the first few changes.
T70 Torx bit for gearbox
4litres of Motul Gear 300 75w90 for gearbox
Gearbox drain plug accessible without removing any under trays
old oil out. After removing the plug and draining, removed the jack stands and sat the car on it's wheels to get any residual oil out. The gearbox took about 3.2 to 3.3 litres using a hand pump down the filler neck in the engine bay.
also did the diff oil with gear 300 as well, takes about 1litre
A 1/2" socket adapter did the trick on the plug
old oil out, again after removing the plug and draining, sat the car on it's wheels to get any residual oil out.
I would highly recommend doing this as straight away I could tell that the drive train feels so much smoother, almost silky smooth. Before this I had felt that something felt quite harsh on hard acceleration and put it down to the engine but it was obviously the gearbox, everything feels so much better now. Gear changes on cold mornings are massively better now and I no longer skip 2nd gear and go to 3rd on the first few changes.
 13 May 2015, 03:51 PM
#195
Scooby Regular
Thread Starter
iTrader: (2)
Join Date: Mar 2014
Location: Mancunian in Edinburgh
Posts: 753
Likes: 0
Received 0 Likes
on
0 Posts
Thought I would update this thread with the re-trimmed bug WRX seats I fitted back in January on my thread here:
https://www.scoobynet.com/projects-4...l#post11573923
They were in perfect condition
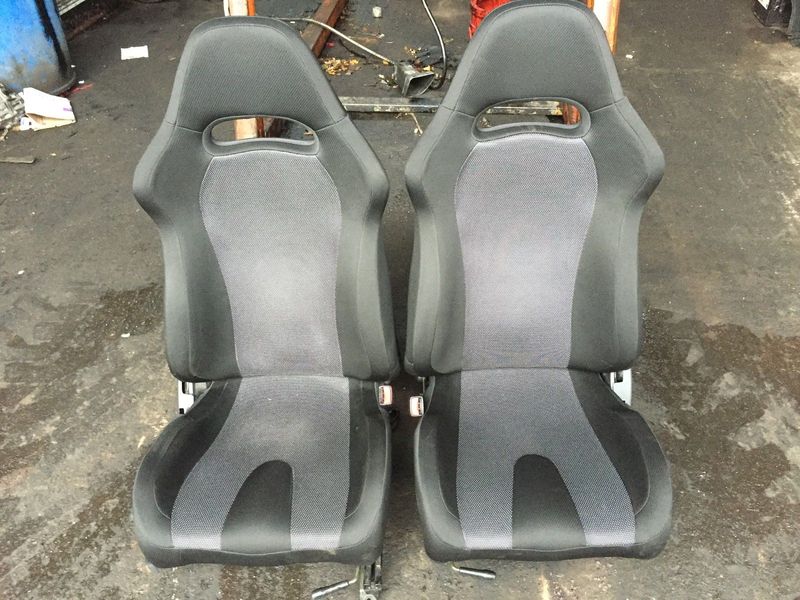
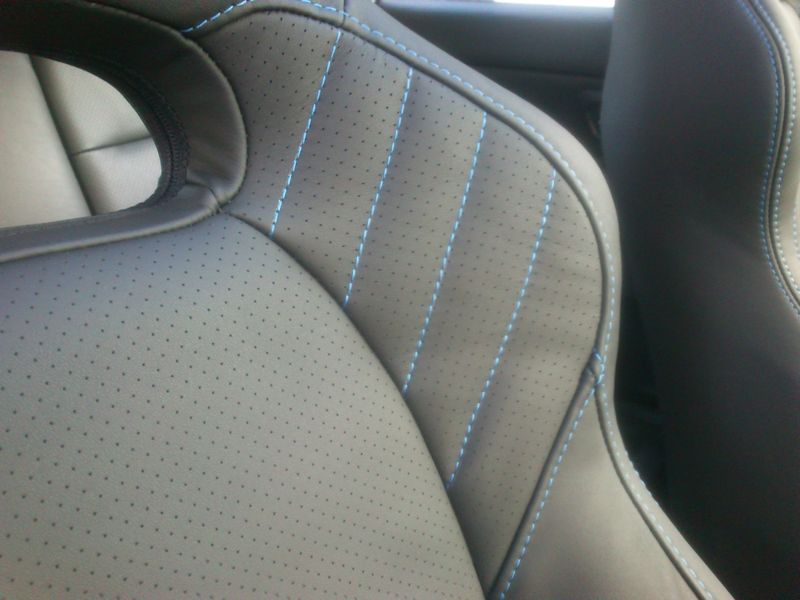
Had them trimmed with ribs in the side/shoulder bolsters, the same design as the bug STi seats (which are otherwise identical BTW)

Loving the quality of the stitching
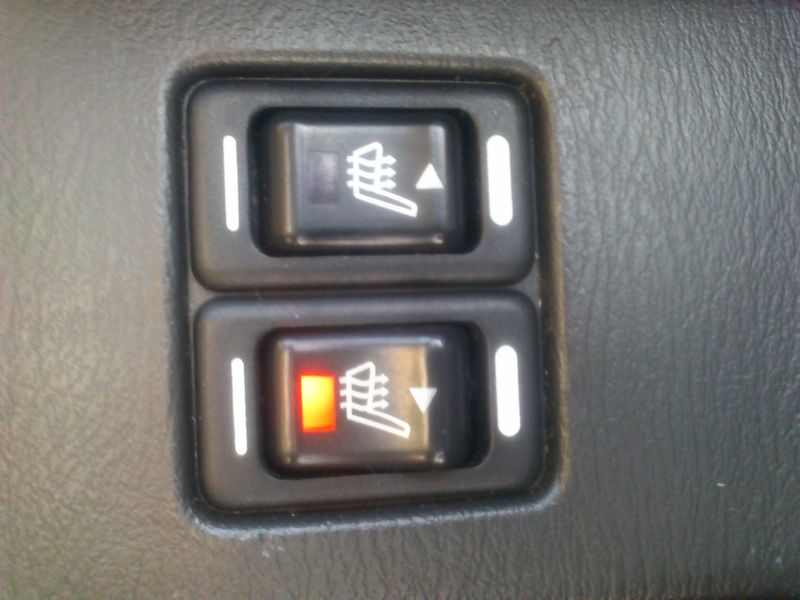
Had heating elements fitted as well and connected to the OEM switches
The seats are superb, they really hug you and are also very comfy which is a total contrast to the seats in my last 2 cars, an E46 M3; not very tight fitting and gave me back ache in the lumber regions on long journeys and the B7 RS4 buckets that were very tight fitting (a bit too tight) and weren't very comfy either on long journeys and were a pain to get in/out off due to the excessively high side bolsters. The bug WRX seats have to be one the best seats I've sat in, along with the seats in my old Renault 19 16v (if my memory serves me correctly!).
https://www.scoobynet.com/projects-4...l#post11573923
They were in perfect condition
Had them trimmed with ribs in the side/shoulder bolsters, the same design as the bug STi seats (which are otherwise identical BTW)
Loving the quality of the stitching
Had heating elements fitted as well and connected to the OEM switches
The seats are superb, they really hug you and are also very comfy which is a total contrast to the seats in my last 2 cars, an E46 M3; not very tight fitting and gave me back ache in the lumber regions on long journeys and the B7 RS4 buckets that were very tight fitting (a bit too tight) and weren't very comfy either on long journeys and were a pain to get in/out off due to the excessively high side bolsters. The bug WRX seats have to be one the best seats I've sat in, along with the seats in my old Renault 19 16v (if my memory serves me correctly!).

 15 May 2015, 12:09 PM
#198

So in the end Mark at TDRacing found one for me whilst my car was there, not sure where he got it from though, and I sent the scoobyworld one back for a refund.
15 May 2015, 10:07 PM
#200
Scooby Regular
Thread Starter
iTrader: (2)
Join Date: Mar 2014
Location: Mancunian in Edinburgh
Posts: 753
Likes: 0
Received 0 Likes
on
0 Posts
From what I've read the blob seats are wider, haven't actually sat in them as the SL leather seats are different again, maybe even wider. The bug seats really hug ya!
20 May 2015, 03:32 PM
#201
Scooby Regular
Thread Starter
iTrader: (2)
Join Date: Mar 2014
Location: Mancunian in Edinburgh
Posts: 753
Likes: 0
Received 0 Likes
on
0 Posts
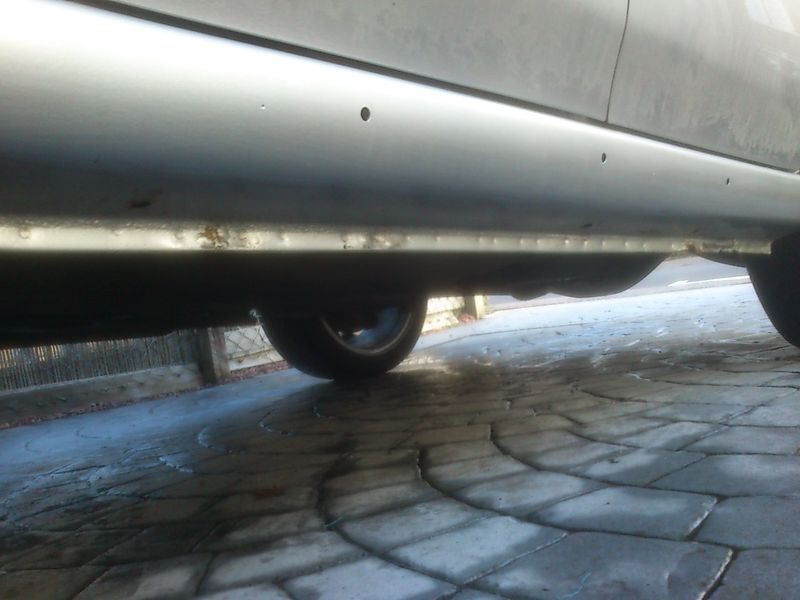
So the last few times I've washed the wagon I've spent a little extra time hosing out the wheel arches to make sure any salt build-up from the winter has gone, but couldn't help noticing that the underseal in the front arches is starting to peel away leaving bare body coloured metal. Tackled the same issue on the rear arches when doing the brakes last year (see post here: https://www.scoobynet.com/1004847-fo...l#post11490203)
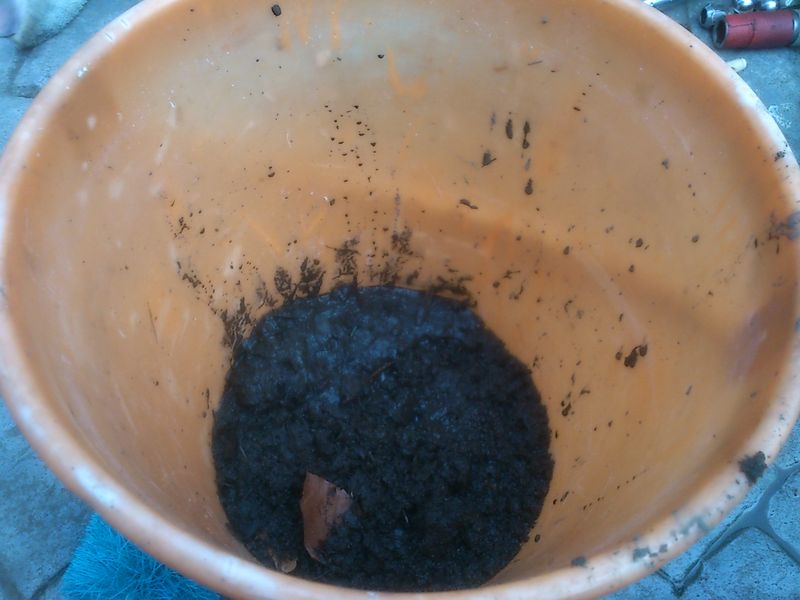
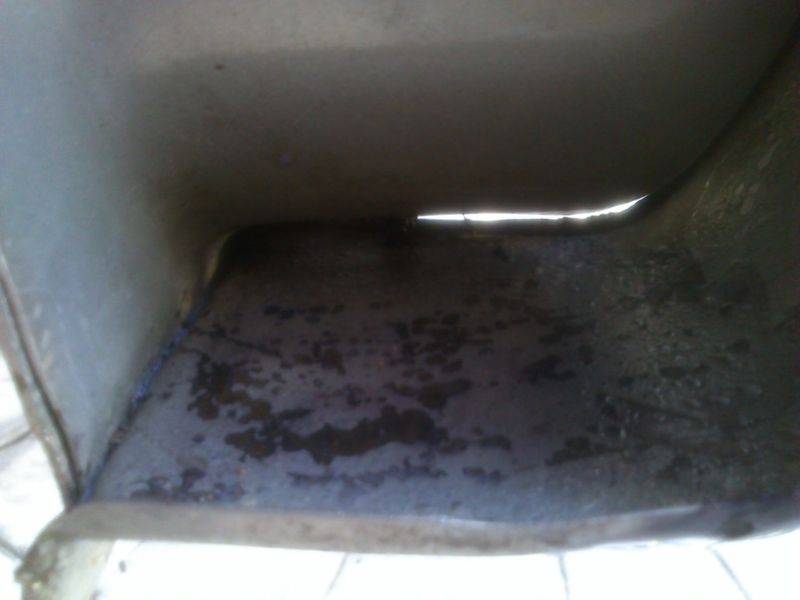
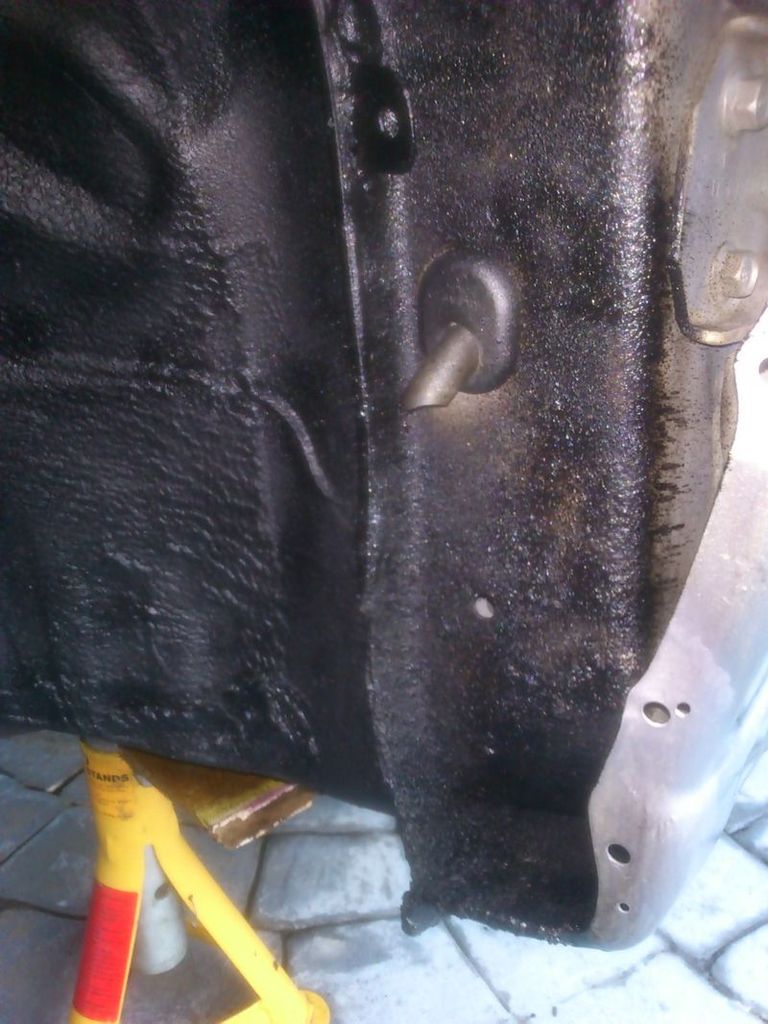
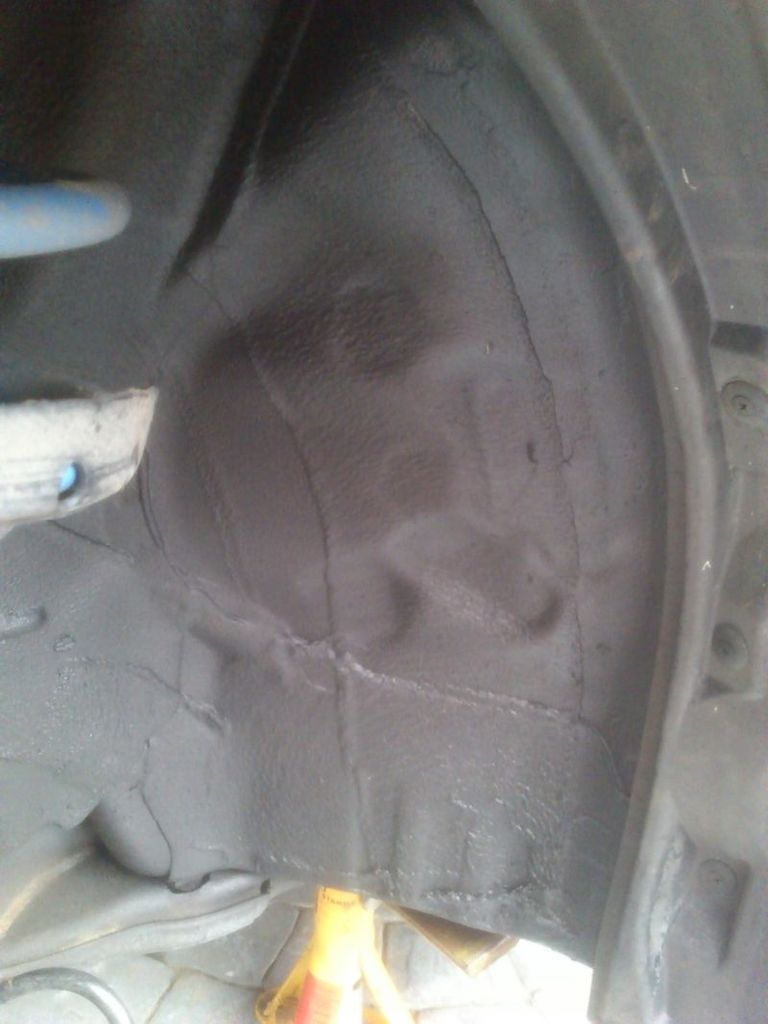
So managed to spend a morning sorting this with fresh underseal. Removed both arch liners only to reveal this nice build-up of wet mud (and a leaf or 2!) hiding away behind it...common on newages it seems from other posts on here
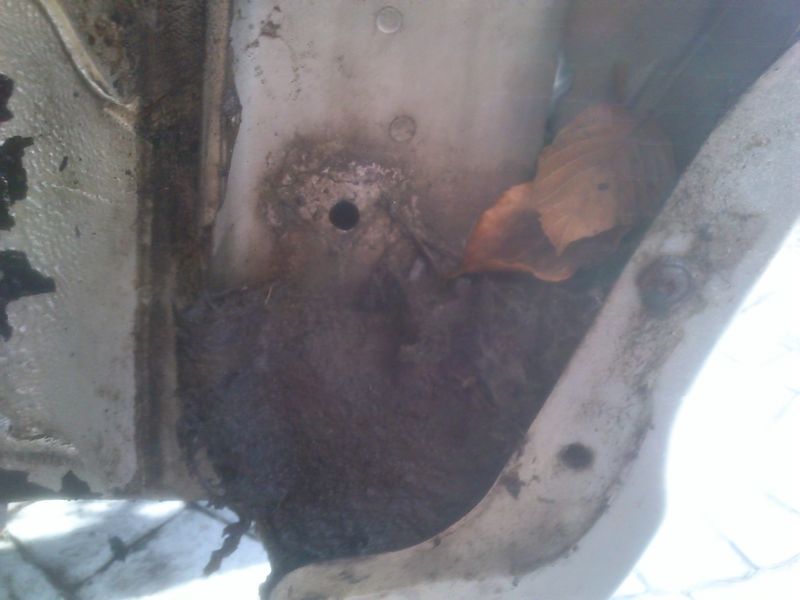
A surprising amount removed...
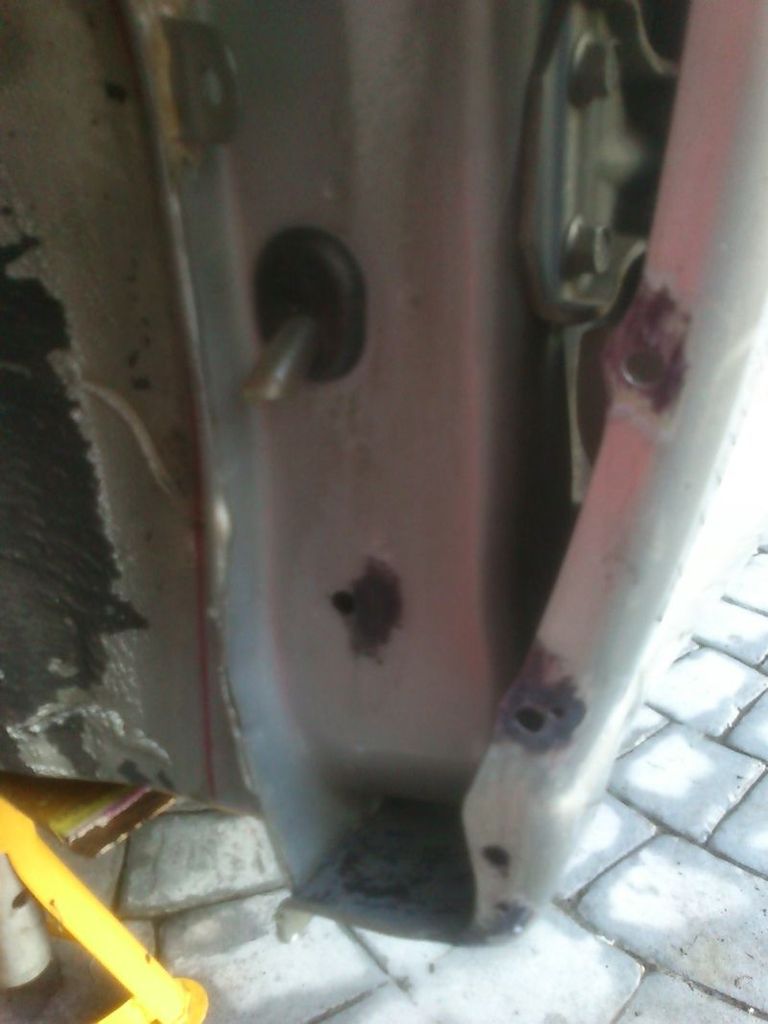
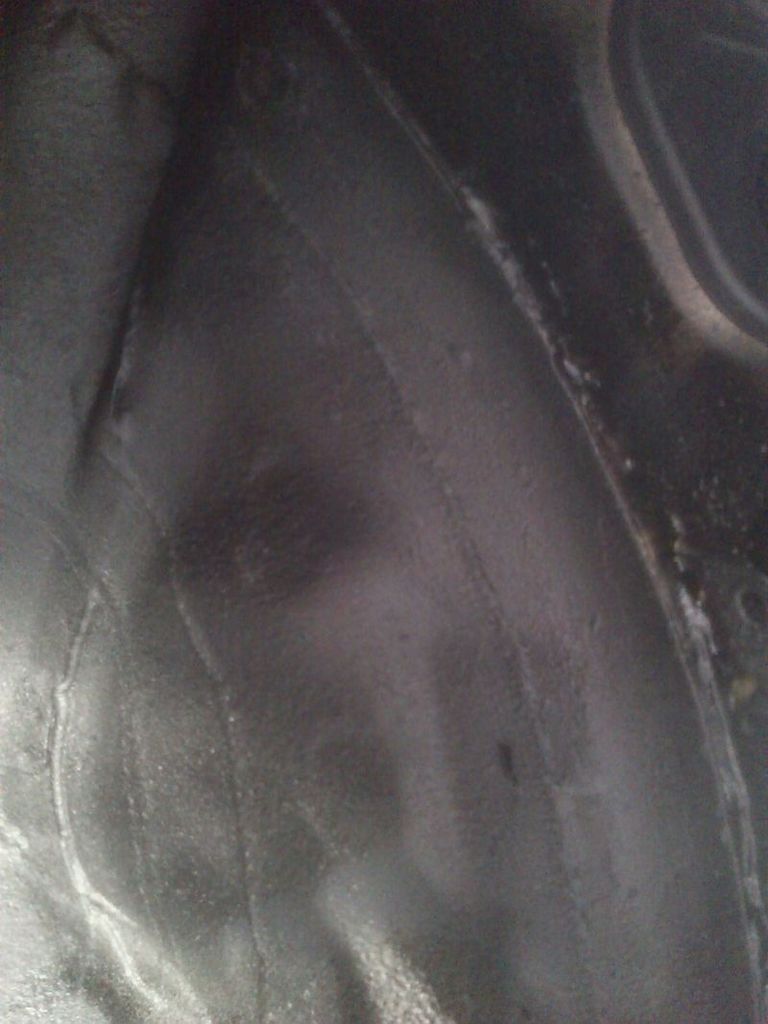
Scrubbed and cleaned with APC and hosed down to show the extent of the underseal peel, but no rust pleasingly....
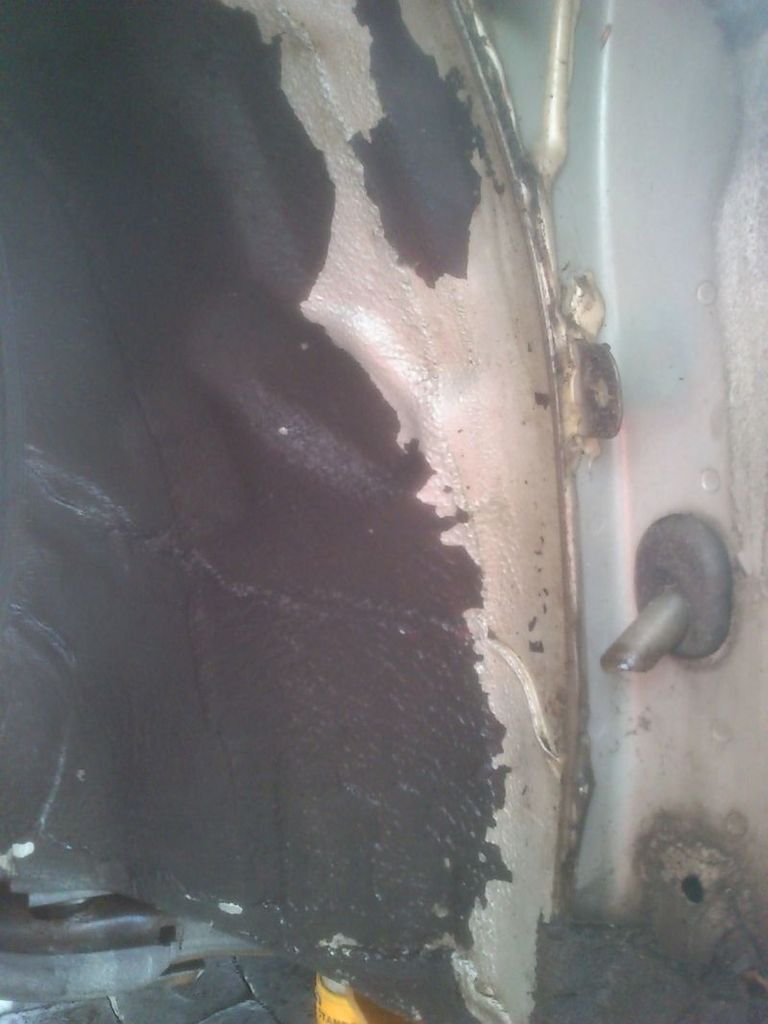
Thankfully only very light surface rust evident to the inside of the bottom of the front wings (steel on wagons not alloy) which I cleaned off and treated with Kurust
There were a couple of light patches of rust around the liner fixing holes so dremelled these clean and treated.
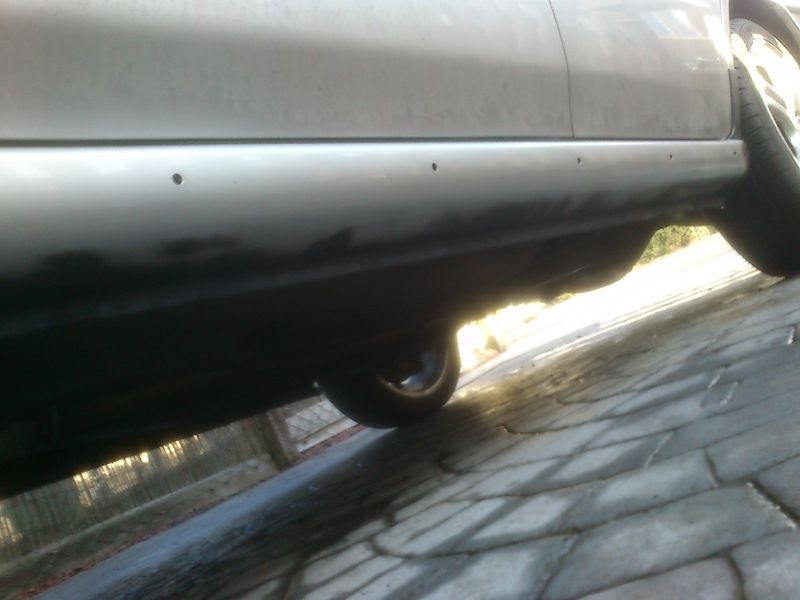
Seen as I had removed the side skirts I thought I would check and clean the sills which looked very good for a 10yr old car
Painted any bare treated metal with etch primer, none of which would be visible after the trim is re-fitted BTW

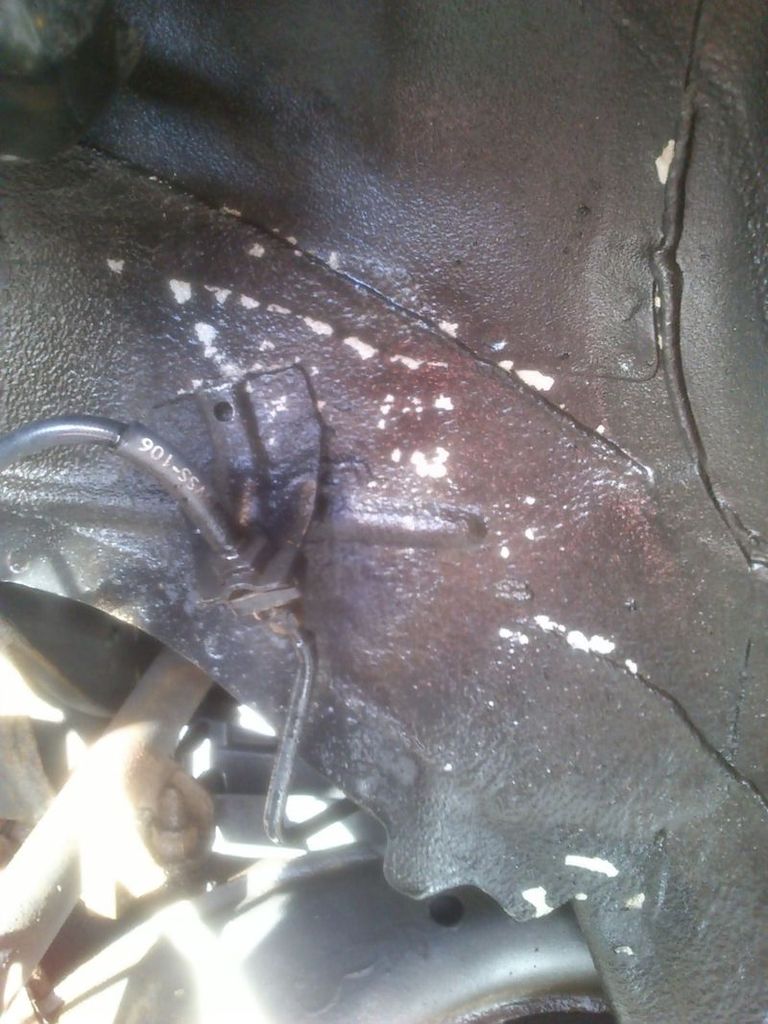
And started spraying on the fresh underseal
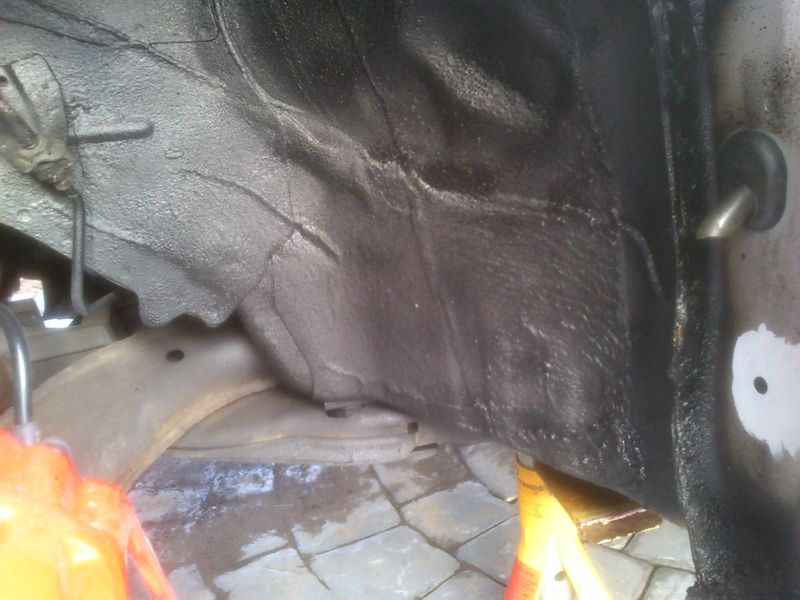
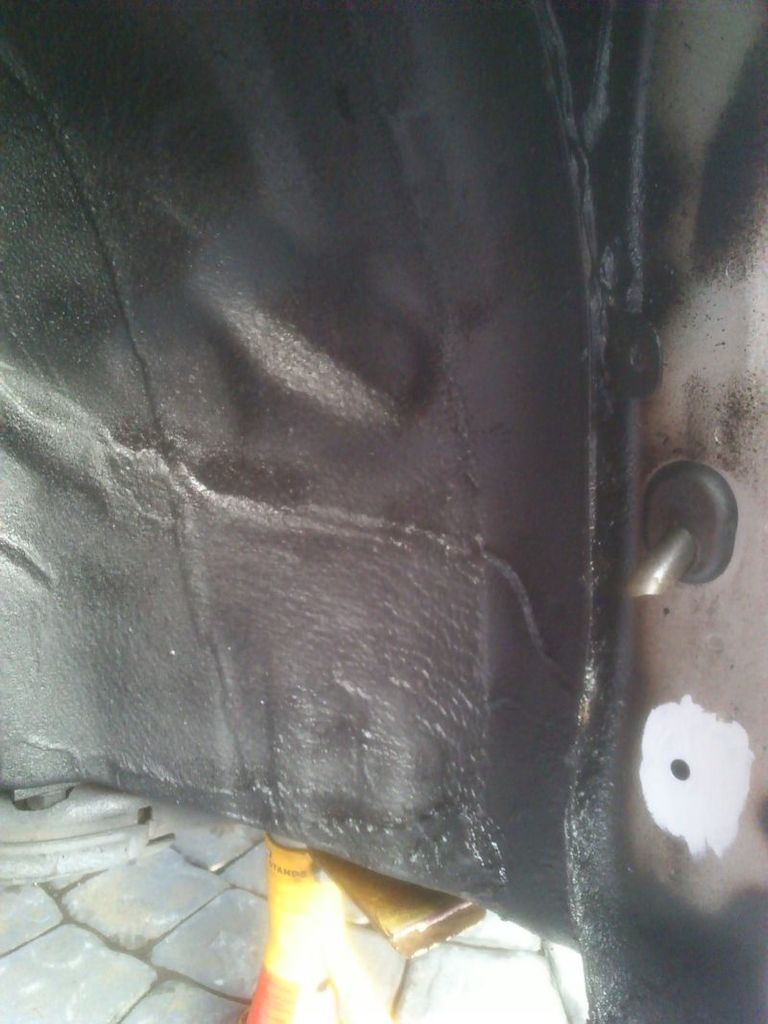
...and along the sill seams for protection. Why these aren't protected like this from the factory I'll never know...
Emptied the can of underseal in the area where the mud builds up behind each liner (will be cleaning this out every year from now on)
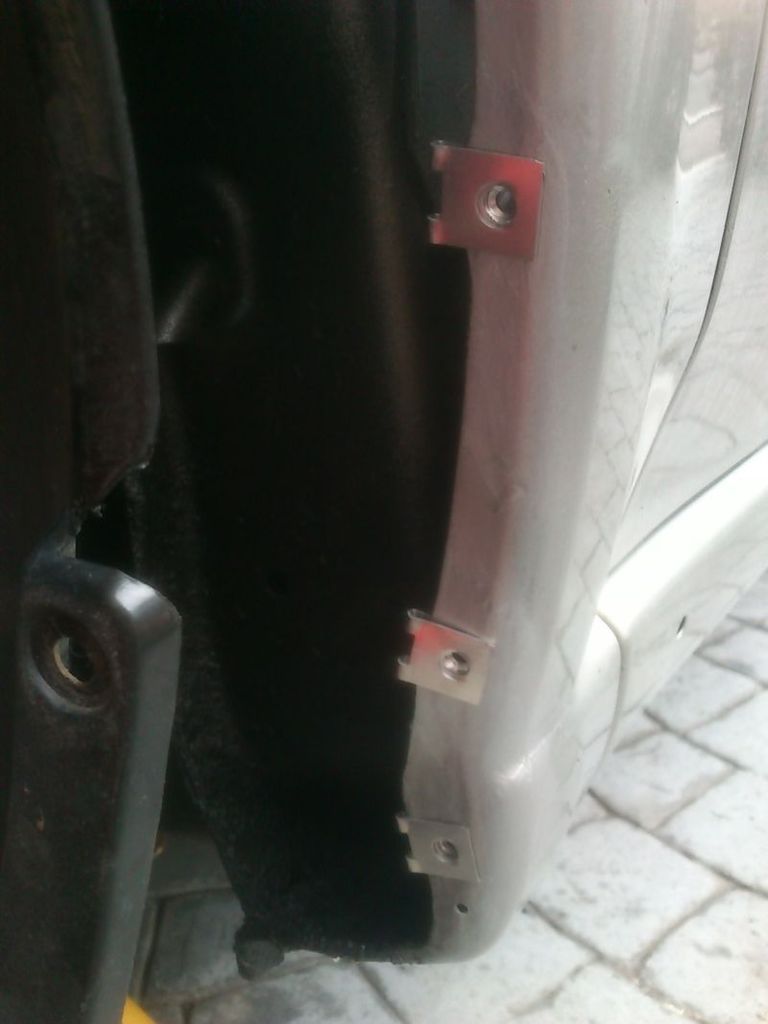
Gave the etch primer a quick dusting with Crystal Grey and fitted fresh stainless self tapper clips
Arch liner/trim/side skirts re-fitted with fresh black self tapers
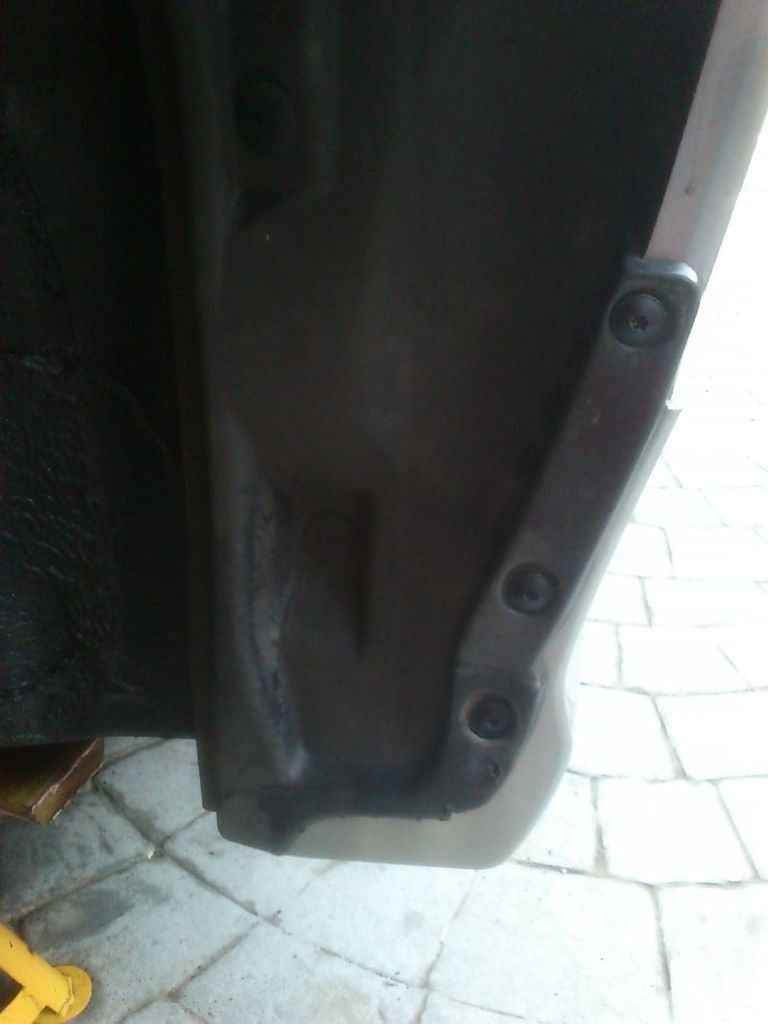
As good as new...
The off side arch was pretty much the same and did this at the same time. Glad I tackled this when I did as I think I've managed stop some future rust issues and extend the life of the front wings/inner arches/sills for a few more years!
So managed to spend a morning sorting this with fresh underseal. Removed both arch liners only to reveal this nice build-up of wet mud (and a leaf or 2!) hiding away behind it...common on newages it seems from other posts on here
A surprising amount removed...
Scrubbed and cleaned with APC and hosed down to show the extent of the underseal peel, but no rust pleasingly....
Thankfully only very light surface rust evident to the inside of the bottom of the front wings (steel on wagons not alloy) which I cleaned off and treated with Kurust
There were a couple of light patches of rust around the liner fixing holes so dremelled these clean and treated.
Seen as I had removed the side skirts I thought I would check and clean the sills which looked very good for a 10yr old car
Painted any bare treated metal with etch primer, none of which would be visible after the trim is re-fitted BTW
And started spraying on the fresh underseal
...and along the sill seams for protection. Why these aren't protected like this from the factory I'll never know...
Emptied the can of underseal in the area where the mud builds up behind each liner (will be cleaning this out every year from now on)
Gave the etch primer a quick dusting with Crystal Grey and fitted fresh stainless self tapper clips
Arch liner/trim/side skirts re-fitted with fresh black self tapers
As good as new...
The off side arch was pretty much the same and did this at the same time. Glad I tackled this when I did as I think I've managed stop some future rust issues and extend the life of the front wings/inner arches/sills for a few more years!
29 May 2015, 03:03 PM
#203
Scooby Regular
Thread Starter
iTrader: (2)
Join Date: Mar 2014
Location: Mancunian in Edinburgh
Posts: 753
Likes: 0
Received 0 Likes
on
0 Posts
So, time to focus my attention on the steering rack bushes and power steering fluid change.
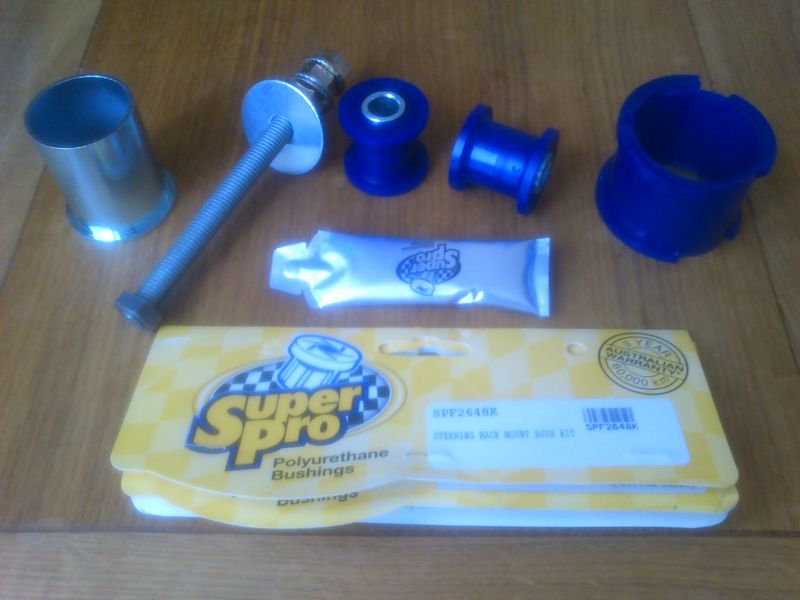
Whiteline SPF2648K bush kit for revised 2005> blob/hawk steering rack, make sure this comes with the removal tool as a lot of the early batches don't.
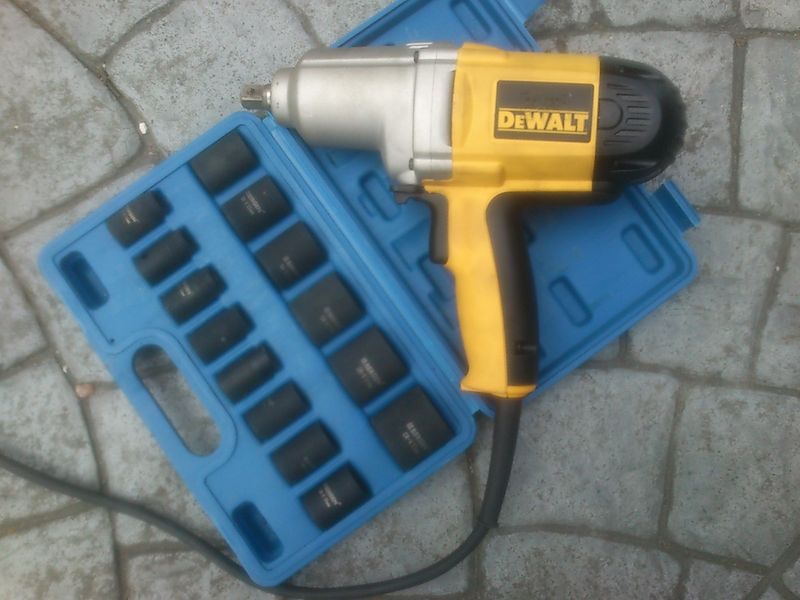
First time out for my new DeWalt impact wrench
Chassis brace to be removed
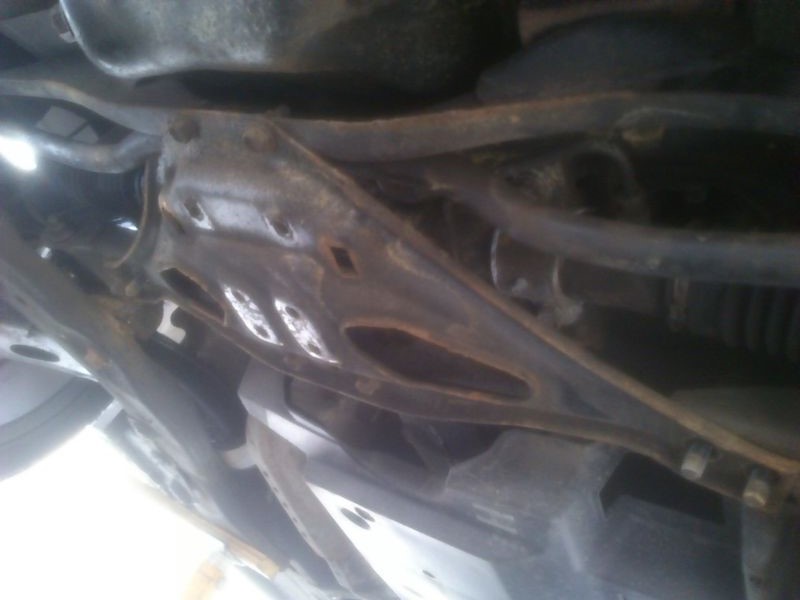
Awkward backing nuts on top of the brace held with flexi ratchet spanner
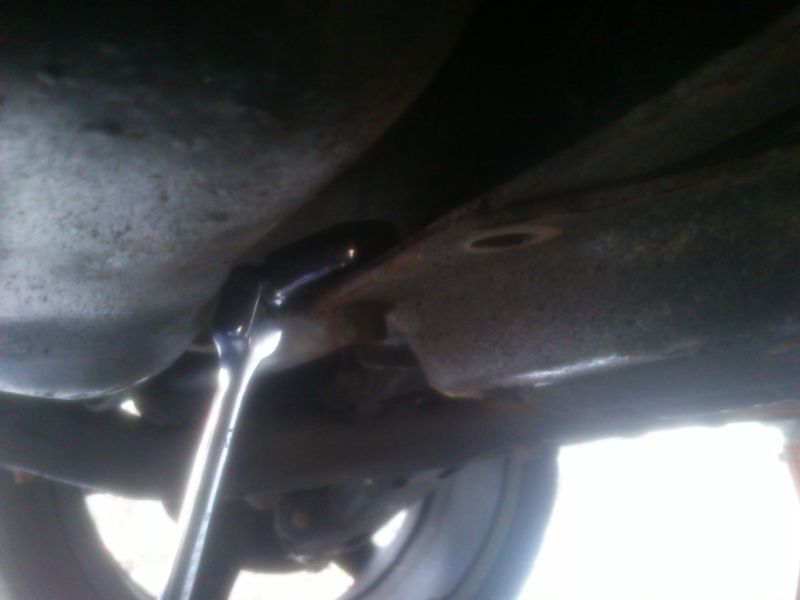
Once the brace is removed this is the 1st bracket/bush to be removed
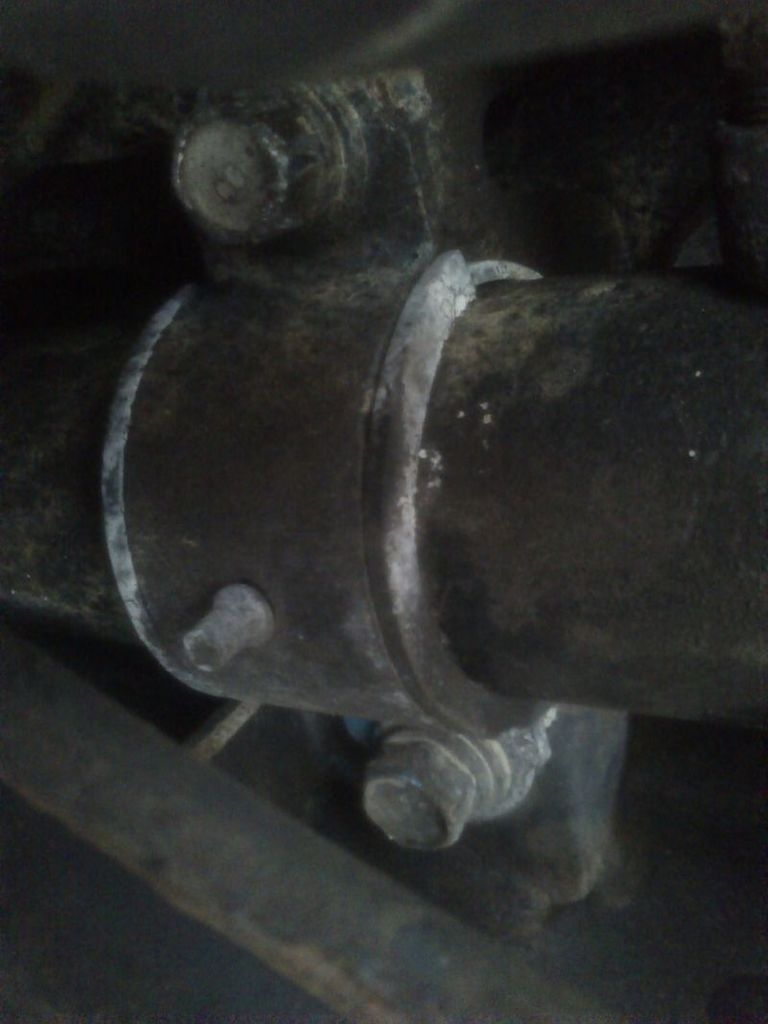
Then onto the awkward ones using the supplied removal tool. You need to pull the rack down enough to slide a nut above each bush then screw the tool into it through the centre of the bush, then turn the nut sitting under the washer until the bush is pulled out of the rack and into the cylinder.
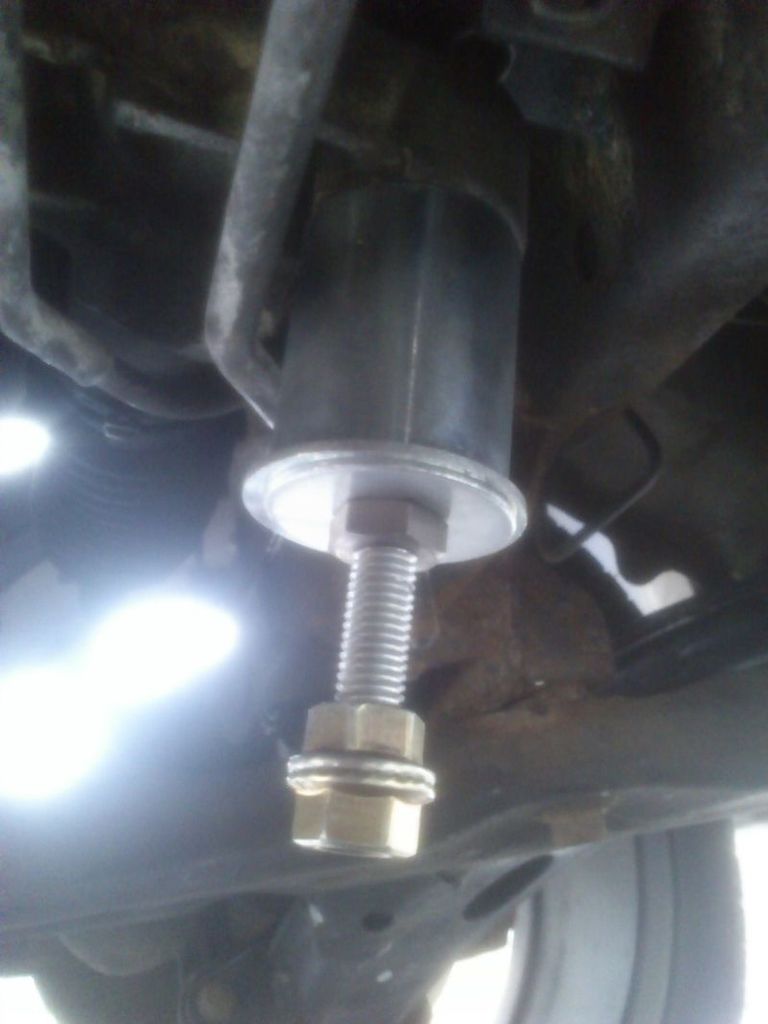
1st bush removed
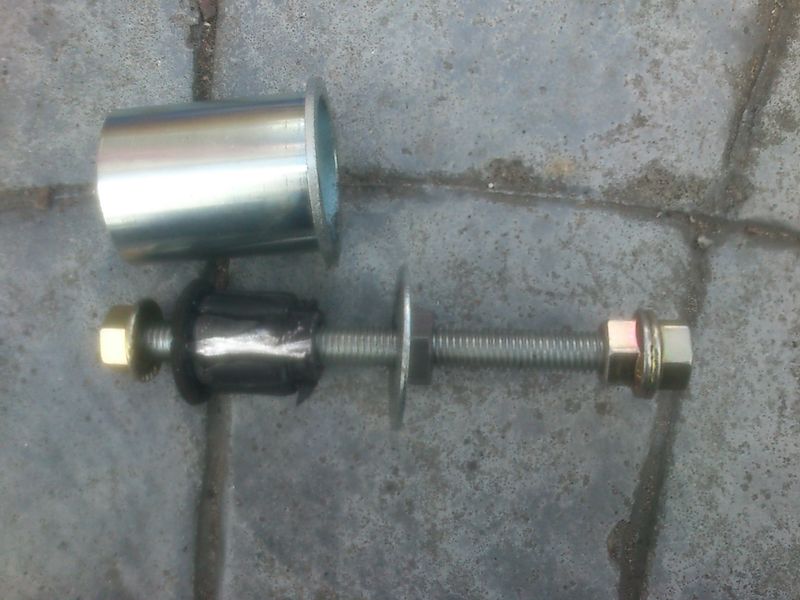
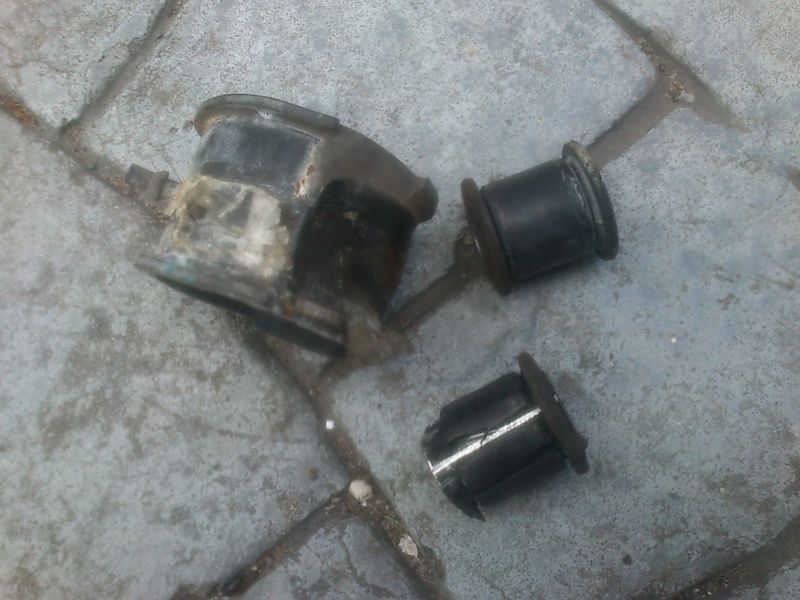
All OEM bushes out, they do feel quite soft compared to the Whiteline ones so hoping for a bit for feel from the steering after this

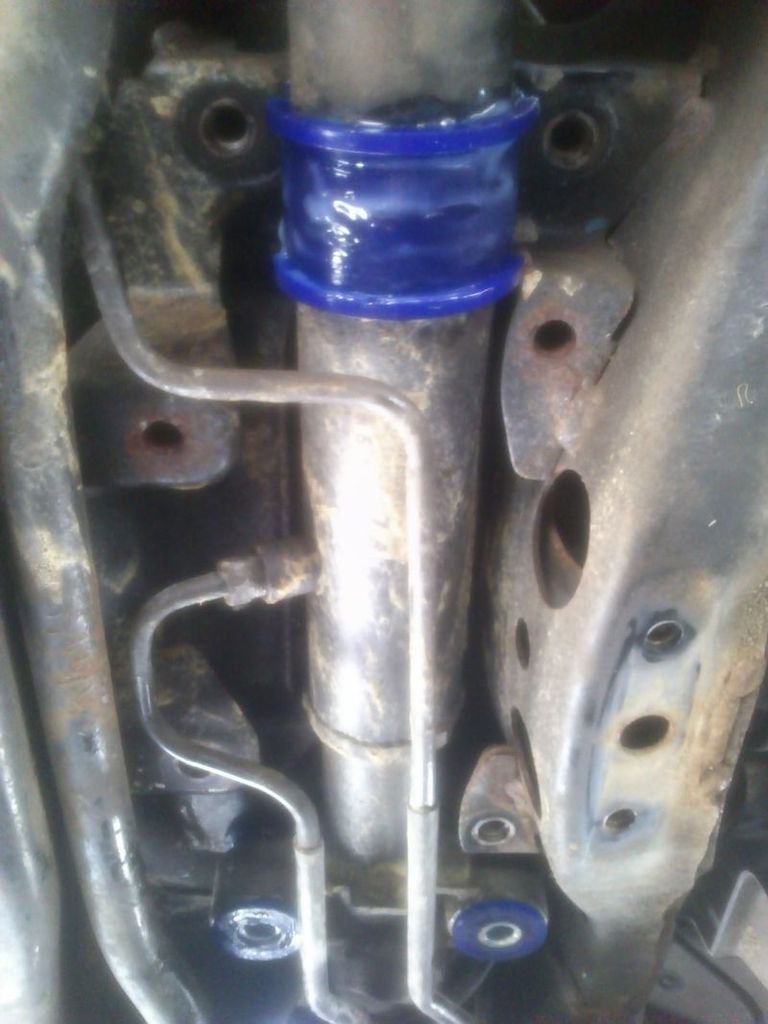
New bushes installed
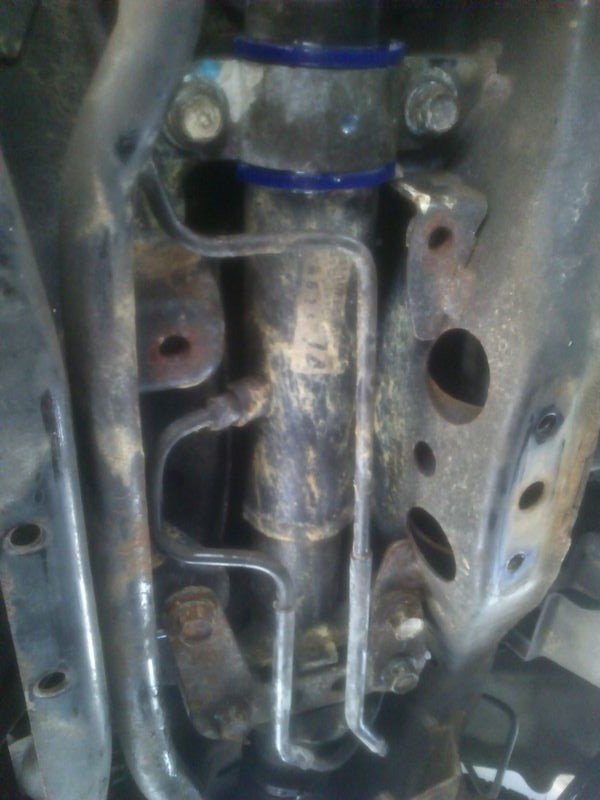
And brackets bolted in place ready to re-fit the chassis brace.
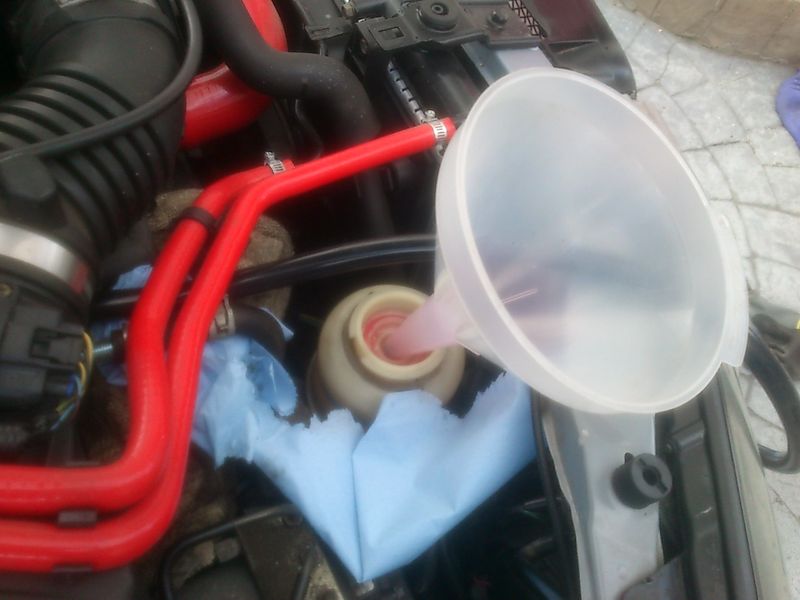
Next up was the power steering fluid change using ATF Dexron III, this is the basic process
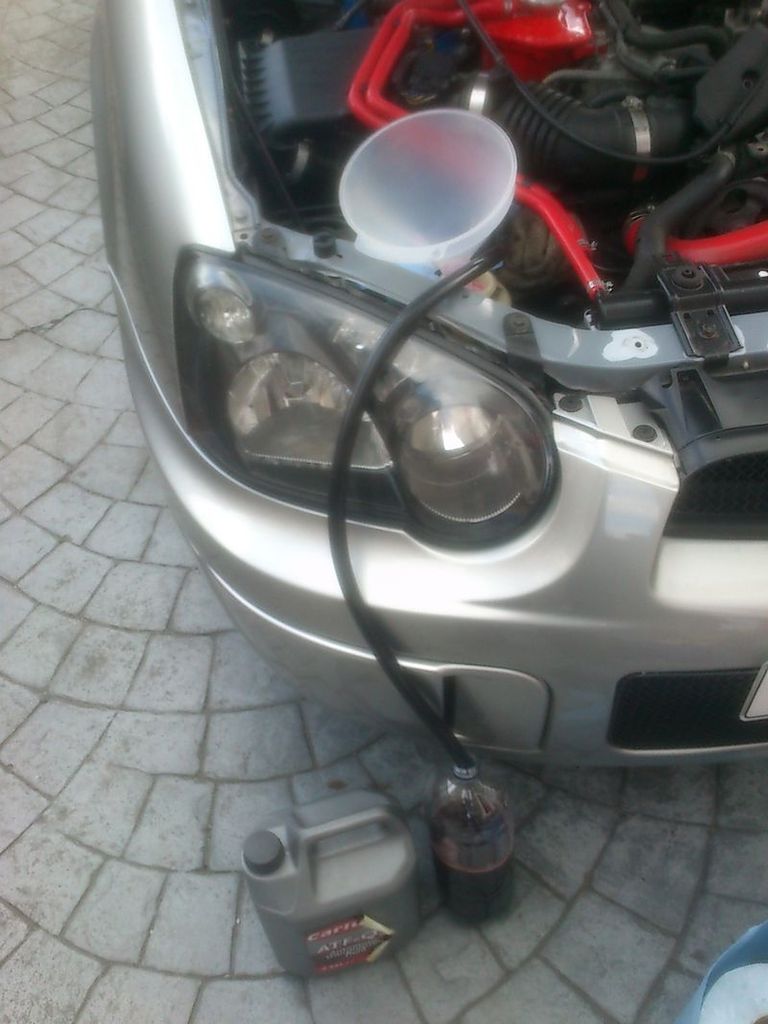
-Disconnect rubber hose from steel male PS pump return pipe to fluid bottle
-connect drain hose (10mm x1m) and run bottle/bucket
-plug disconnected hose with bolt and hose clip
-remove number 11 fuse (ignition) to stop engine firing-up
-crank engine for 10-15secs at a time (to stop starter motor over heating) until old fluid level is at base of bottle and top up with new fluid
-crank engine for 10-15secs at a time until all old fluid is removed from the system and fresh fluid starts to flow into drain bottle making sure to keep the fluid bottle topped-up with fresh fluid.
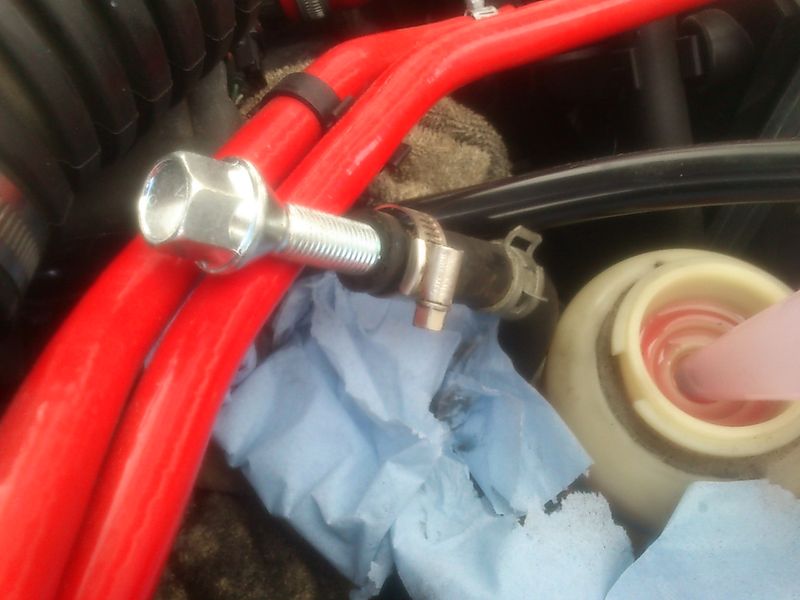
Return hose to bottle disconnected and plugged with bolt
Funnel ready for topping-up fluid
Drain hose
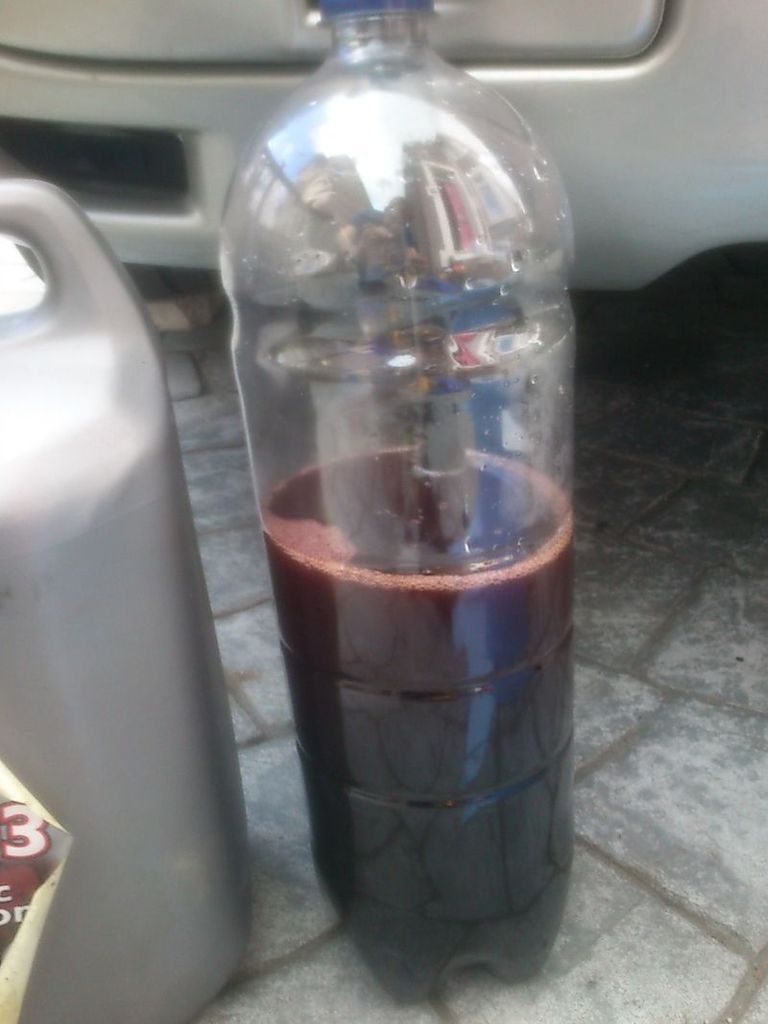
Dirty old fluid...
As well as doing the power steering fluid I also checked the aux belt for the power steering pump and found it to be quite slack so tightened. I had replaced this belt along with the AC belt when doing the radiator/coolant change and it appears to have slackened off slightly and was causing the power steering to feel quite 'gloopy/viscous' (if you know what I mean!) and this seems to have cured that. The steering also feels noticeably more direct/'feelsome' after changing the bushes, so another job worth doing.
Whiteline SPF2648K bush kit for revised 2005> blob/hawk steering rack, make sure this comes with the removal tool as a lot of the early batches don't.
First time out for my new DeWalt impact wrench
Chassis brace to be removed
Awkward backing nuts on top of the brace held with flexi ratchet spanner
Once the brace is removed this is the 1st bracket/bush to be removed
Then onto the awkward ones using the supplied removal tool. You need to pull the rack down enough to slide a nut above each bush then screw the tool into it through the centre of the bush, then turn the nut sitting under the washer until the bush is pulled out of the rack and into the cylinder.
1st bush removed
All OEM bushes out, they do feel quite soft compared to the Whiteline ones so hoping for a bit for feel from the steering after this
New bushes installed
And brackets bolted in place ready to re-fit the chassis brace.
Next up was the power steering fluid change using ATF Dexron III, this is the basic process
-Disconnect rubber hose from steel male PS pump return pipe to fluid bottle
-connect drain hose (10mm x1m) and run bottle/bucket
-plug disconnected hose with bolt and hose clip
-remove number 11 fuse (ignition) to stop engine firing-up
-crank engine for 10-15secs at a time (to stop starter motor over heating) until old fluid level is at base of bottle and top up with new fluid
-crank engine for 10-15secs at a time until all old fluid is removed from the system and fresh fluid starts to flow into drain bottle making sure to keep the fluid bottle topped-up with fresh fluid.
Return hose to bottle disconnected and plugged with bolt
Funnel ready for topping-up fluid
Drain hose
Dirty old fluid...
As well as doing the power steering fluid I also checked the aux belt for the power steering pump and found it to be quite slack so tightened. I had replaced this belt along with the AC belt when doing the radiator/coolant change and it appears to have slackened off slightly and was causing the power steering to feel quite 'gloopy/viscous' (if you know what I mean!) and this seems to have cured that. The steering also feels noticeably more direct/'feelsome' after changing the bushes, so another job worth doing.
Last edited by modrich; 29 May 2015 at 09:33 PM.
 29 May 2015, 09:39 PM
#205
Scooby Regular
Thread Starter
iTrader: (2)
Join Date: Mar 2014
Location: Mancunian in Edinburgh
Posts: 753
Likes: 0
Received 0 Likes
on
0 Posts
Yep, ATF Dexron III, and yes 1ltr will be fine, that's a 2ltr bottle I drained the old fluid into so was just over 1ltr in there and I did over kill the drain as I had 5ltrs sat in a tub not being used.
18 June 2015, 03:21 PM
#206
Scooby Regular
Thread Starter
iTrader: (2)
Join Date: Mar 2014
Location: Mancunian in Edinburgh
Posts: 753
Likes: 0
Received 0 Likes
on
0 Posts
Wanted to de-tango the side repeaters but blobs have the sealed units so can't replace the bulbs. Manged to get a new pair of bugeye versions that have the removable bulb holders.
Silvertec bulbs fitted
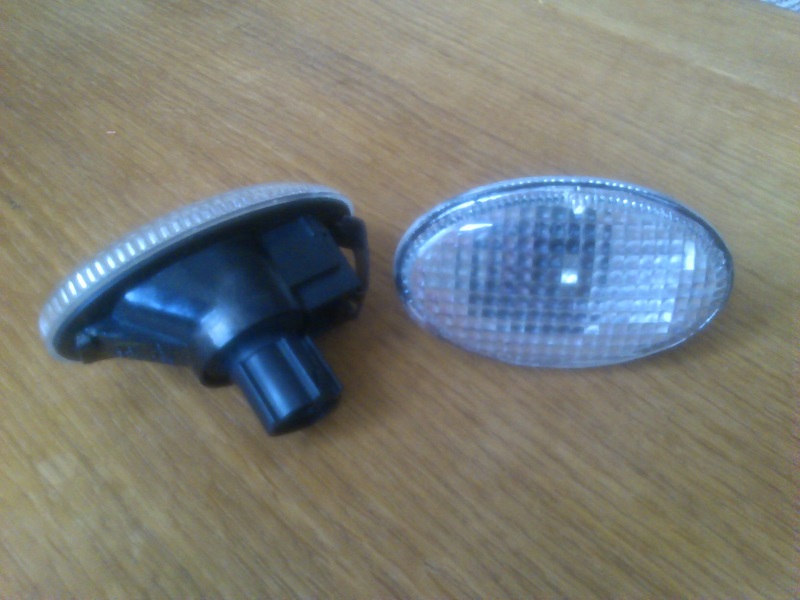
And 2 coats of Hycote smoke lense paint
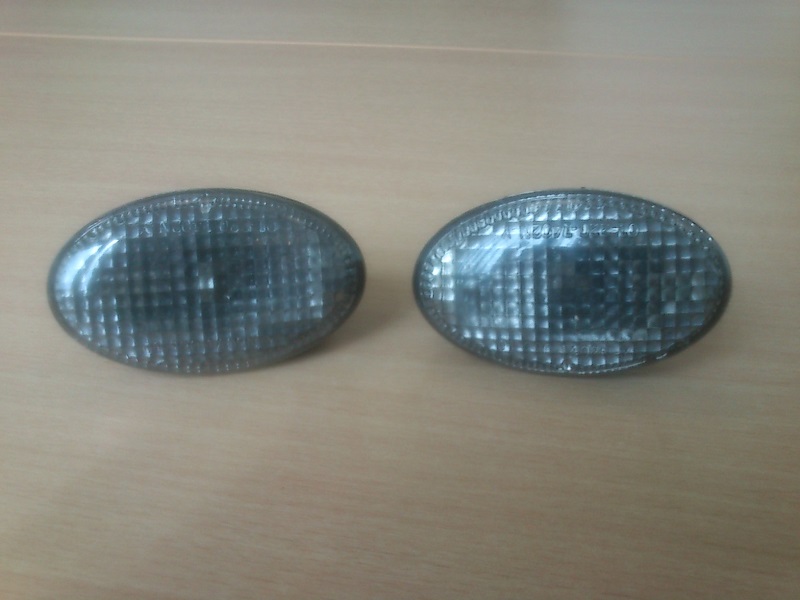
Didn't want them too dark so does the job nicely.

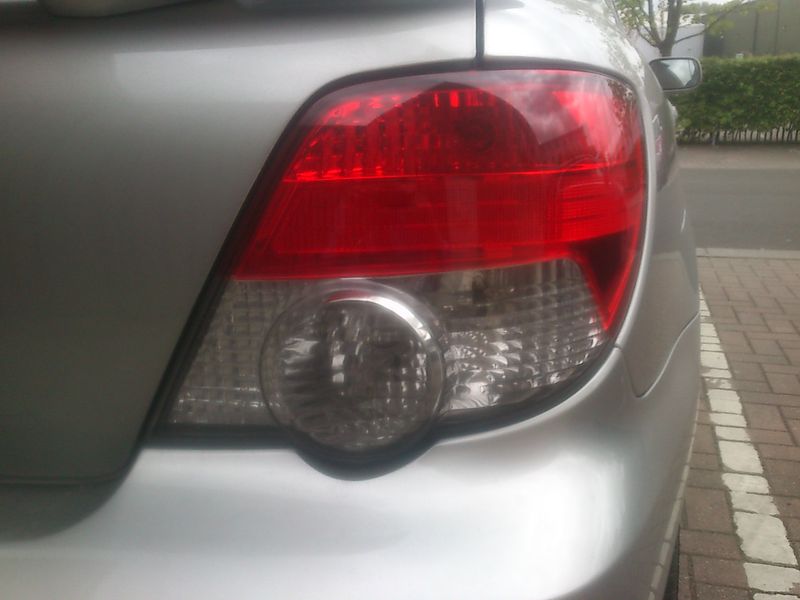
Decided to do the same on the clear parts of the rear lights, masked off the red section and 2 coats of Hycote
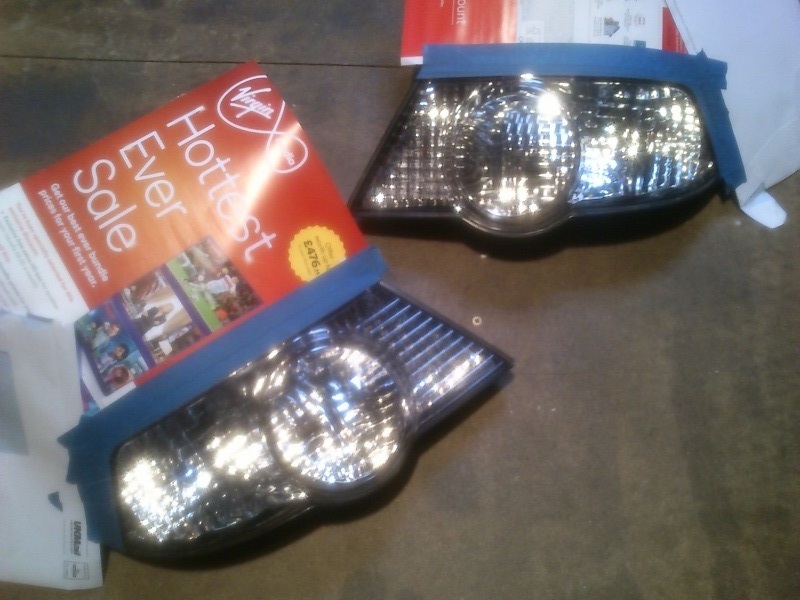
Again, not too dark for a subtle improvement
Lenses before tinting
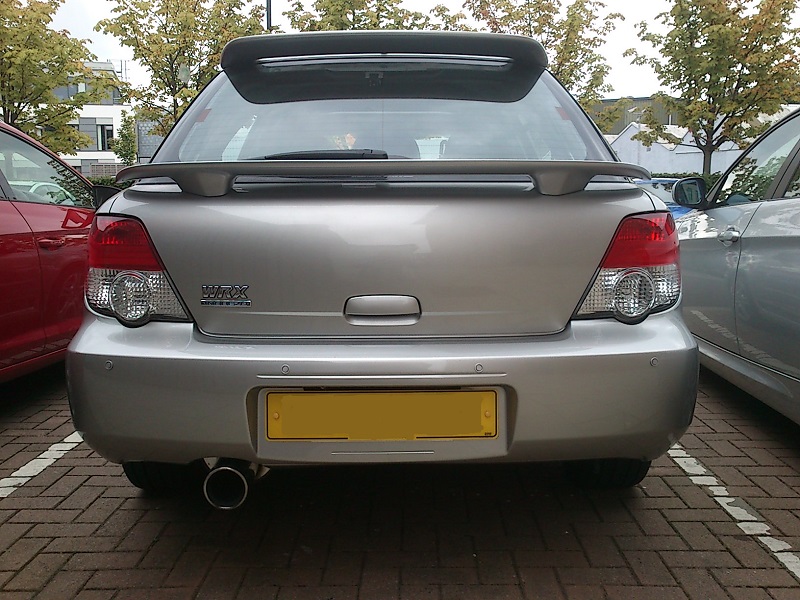
Quite impressed with the Hycote tint as you can build-up the tint with more coats. Tried some E-Tech lense tint and it was a very dark purple tint with
just one coat, not to my taste.
Silvertec bulbs fitted
And 2 coats of Hycote smoke lense paint
Didn't want them too dark so does the job nicely.
Decided to do the same on the clear parts of the rear lights, masked off the red section and 2 coats of Hycote
Again, not too dark for a subtle improvement
Lenses before tinting
Quite impressed with the Hycote tint as you can build-up the tint with more coats. Tried some E-Tech lense tint and it was a very dark purple tint with
just one coat, not to my taste.