
My white spec c


Scooby Regular
iTrader: (2)
Joined: Feb 2003
Posts: 2,726
Likes: 0
From: 2.1 Spec-C .......Pimms O'clock!!


Did the cambelt today with the help of a mate,
Here's the old belt
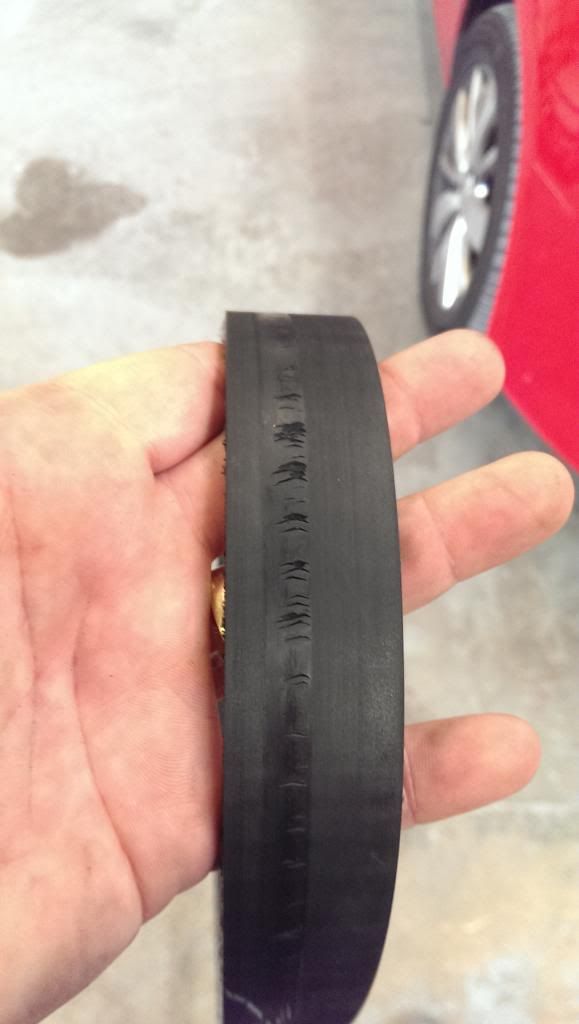
Not good,
Half way through
[URL=http://s5.photobucket.com/user/cuprajake/media/Mobile%20Uploads/IMAG2108_zpsxew09cch.jpg.html]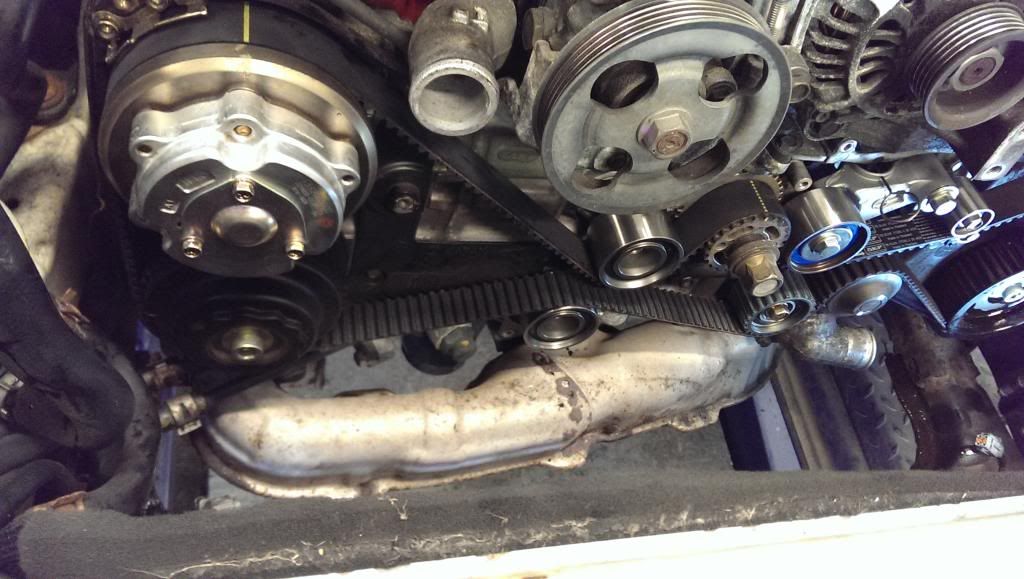 [/URL
[/URL
For the first time doing one for the pair of us it took about 4hrs,
All in all very happy, and best of all the Boise has gone so it was one of the tensioners
Jake
Here's the old belt

Not good,
Half way through
[URL=http://s5.photobucket.com/user/cuprajake/media/Mobile%20Uploads/IMAG2108_zpsxew09cch.jpg.html]
[/URL
For the first time doing one for the pair of us it took about 4hrs,
All in all very happy, and best of all the Boise has gone so it was one of the tensioners
Jake


I know, that will teach me for cleaning it, I left it fresh metal after soda blasting it and used a supposed alloy cleaner from auto smart and it did that !! Next week its coming off and once clean I'll seal it with a light dust of clear coat! That stuff from auto smart is terrible stuff.

It's not just cool it's uber cool lol
It's the titanium key.
My car being jap import doesn't have a chipped key , the original key is literally a piece of thin metal, the car a Clifford alarm and blackjax too.
Can't remember the stuff Chris, but not using it again.
It's the titanium key.
My car being jap import doesn't have a chipped key , the original key is literally a piece of thin metal, the car a Clifford alarm and blackjax too.
Can't remember the stuff Chris, but not using it again.
After the auto smart stuff destroying y header tank I took it off again and sand blasted then this time gave it a lick of silver, I'm not sure wether to try a have black plastic header tank to rid the bay of the corroded thing.
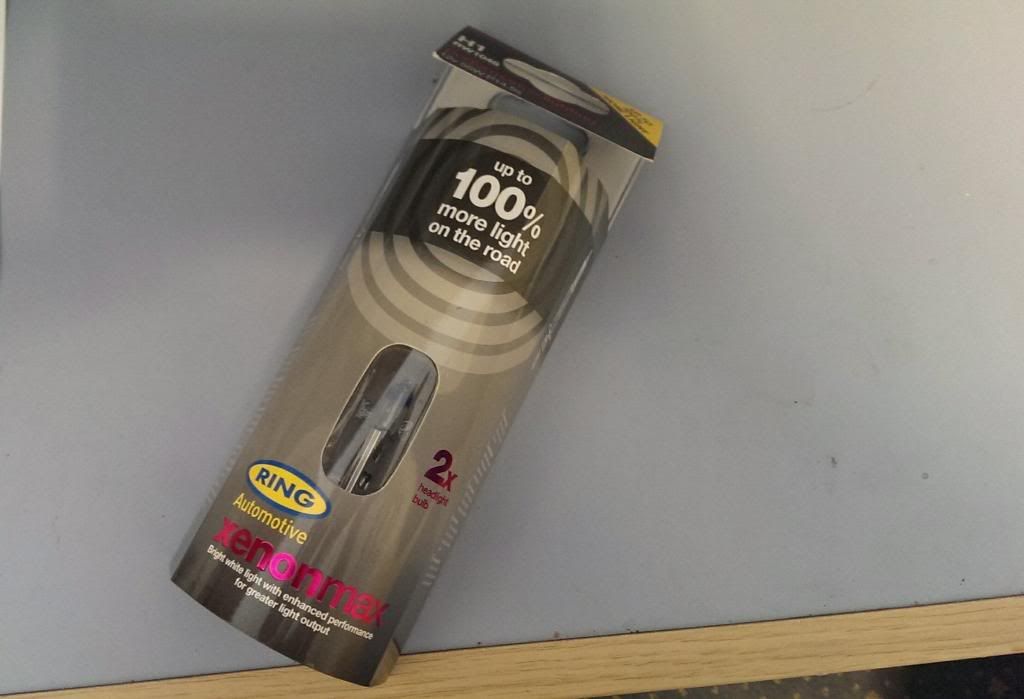
Also blacked some other pipes and brackets aswell as fitting some stainless bolts to rid the old Subaru ones, then I added silver indicator bulbs aswell as changing the head light bulbs for some more powerful ones.
[URL=http://s5.photobucket.com/user/cuprajake/media/Mobile%20Uploads/IMAG2119_zpsiltkybq3.jpg.html]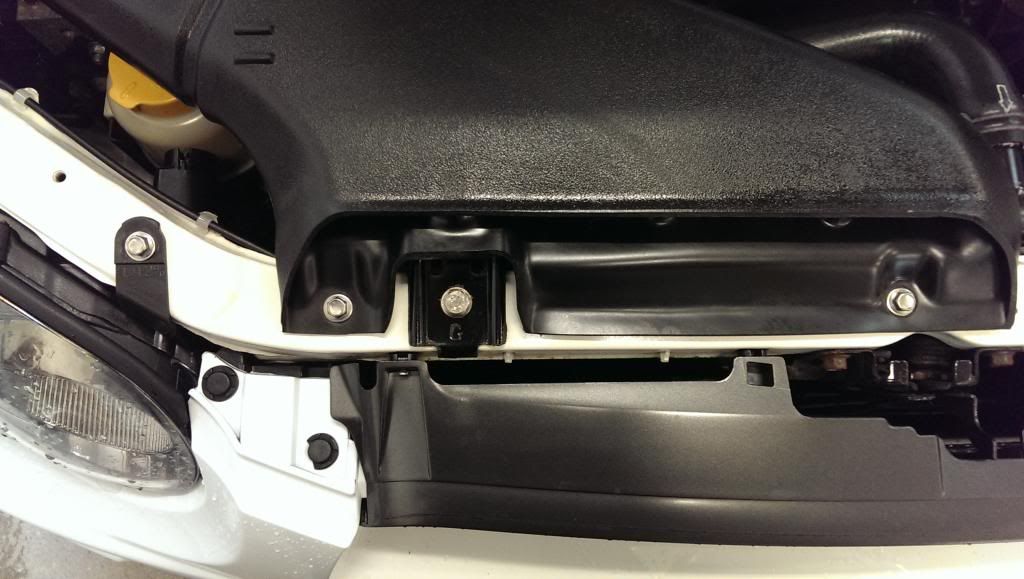 [/URL[URL=http://s5.photobucket.com/user/cuprajake/media/Mobile%20Uploads/IMAG2118_zpsvjkujtah.jpg.html]
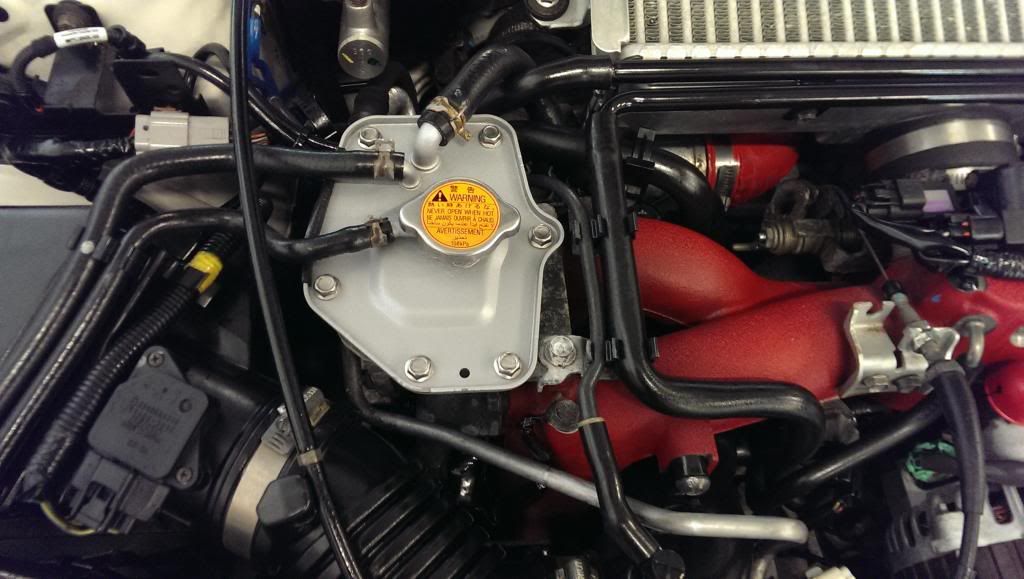 [/URL[URL=http://s5.photobucket.com/user/cuprajake/media/Mobile%20Uploads/IMAG2123_zpstoryckvr.jpg.html]
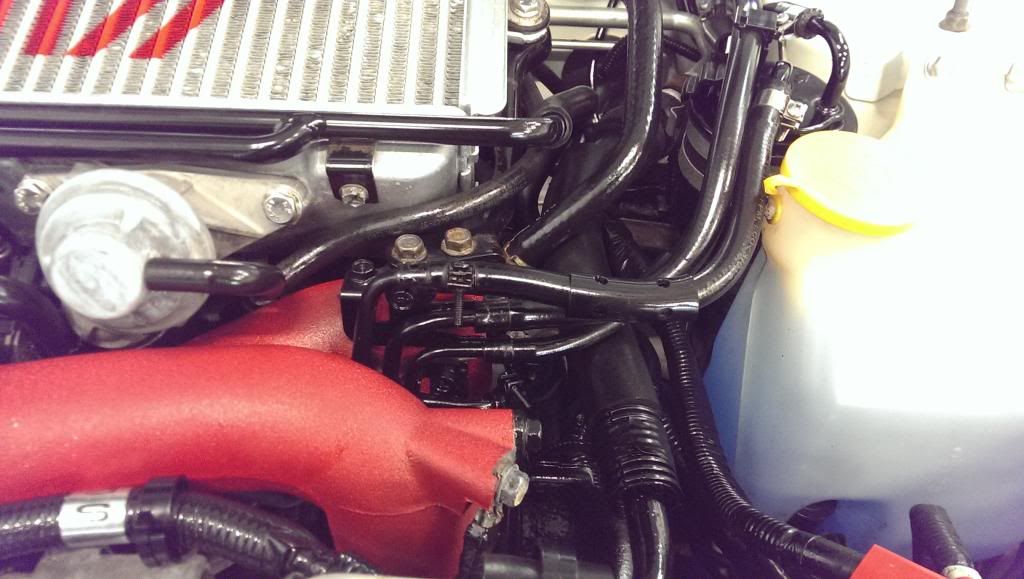 [/URL
[/URL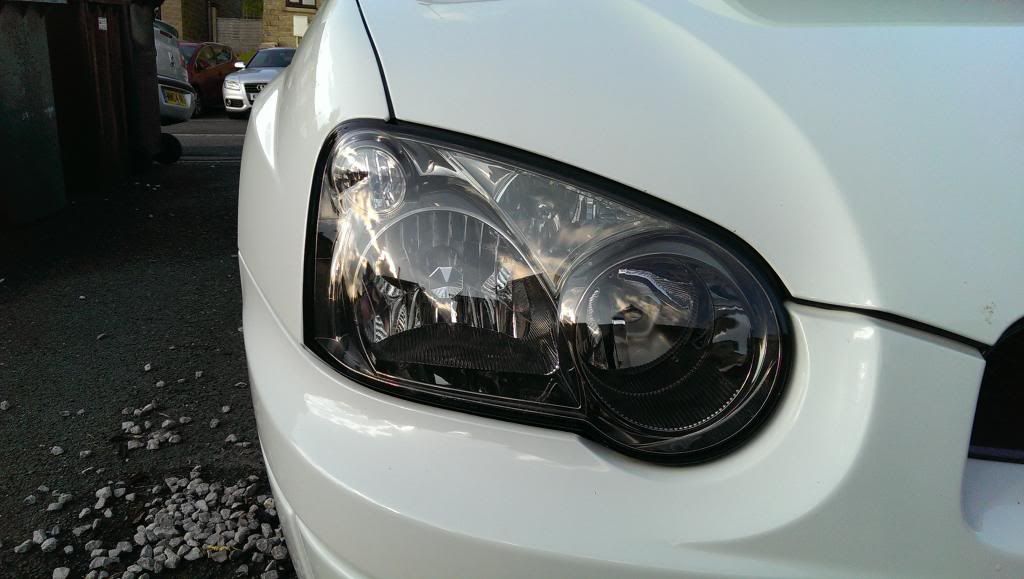
Next up need to find the hose clips.
Also blacked some other pipes and brackets aswell as fitting some stainless bolts to rid the old Subaru ones, then I added silver indicator bulbs aswell as changing the head light bulbs for some more powerful ones.

[URL=http://s5.photobucket.com/user/cuprajake/media/Mobile%20Uploads/IMAG2119_zpsiltkybq3.jpg.html]
[/URL[URL=http://s5.photobucket.com/user/cuprajake/media/Mobile%20Uploads/IMAG2118_zpsvjkujtah.jpg.html][/URL[URL=http://s5.photobucket.com/user/cuprajake/media/Mobile%20Uploads/IMAG2123_zpstoryckvr.jpg.html][/URL
Next up need to find the hose clips.
Last edited by cuprajake; May 13, 2014 at 08:38 PM.
Fitted a new pollen filter to the car, then had the dash in bits 3 times trying to find the dash vibration.
Turned out its the metal rods from the heater dials to the motor flaps, there in plastic cases and these along with loose ish motor flap screws rattles. In the end. Quick ish fix.
Secondly. Decided the miltek is too boomy for me, so I've bought a genuine sti back box, the one with writing on the tip to go on the car, oem plus style.

Well today, a bit unplanned we decided to get the spec c on the ramp,
We marked out any dents or flaws before stripping

IMAG2171 by cuprajake1, on Flickr

IMAG2172 by cuprajake1, on Flickr
Quite a bit, everything was blocked down, and any filling work done

IMAG2176 by cuprajake1, on Flickr
The sills have little dimples in them from the factory pressing, presume these are for we're skirt holes would go, these will be retained too
Spec c bumper bar, with added subaru rust

IMAG2174 by cuprajake1, on Flickr
Then into the booth,

IMAG2184 by cuprajake1, on Flickr

IMAG2185 by cuprajake1, on Flickr
This stage is a spray filler, this will be blocked down, then we will add three coats of primer,
Also got this, in my quest for oem-ness

IMAG2187 by cuprajake1, on Flickr
Ill prob do some surgery on it for some more noise
And a bit more oem-ness

IMAG2189 by cuprajake1, on Flickr
Bit better than a toggle switch that don't work lol
Jake
We marked out any dents or flaws before stripping
IMAG2171 by cuprajake1, on Flickr
IMAG2172 by cuprajake1, on Flickr
Quite a bit, everything was blocked down, and any filling work done
IMAG2176 by cuprajake1, on Flickr
The sills have little dimples in them from the factory pressing, presume these are for we're skirt holes would go, these will be retained too
Spec c bumper bar, with added subaru rust
IMAG2174 by cuprajake1, on Flickr
Then into the booth,
IMAG2184 by cuprajake1, on Flickr
IMAG2185 by cuprajake1, on Flickr
This stage is a spray filler, this will be blocked down, then we will add three coats of primer,
Also got this, in my quest for oem-ness
IMAG2187 by cuprajake1, on Flickr
Ill prob do some surgery on it for some more noise
And a bit more oem-ness
IMAG2189 by cuprajake1, on Flickr
Bit better than a toggle switch that don't work lol
Jake

