
Reconditioned Brembo Calipers, REBUILD THREAD


We have been sent a full set of Brembo Calipers to recondition by a member off another forum. We have decided to take pictures and document the process best we can
This is ready for stripping
They arnt the worst set we have had but they certainly need some TLC
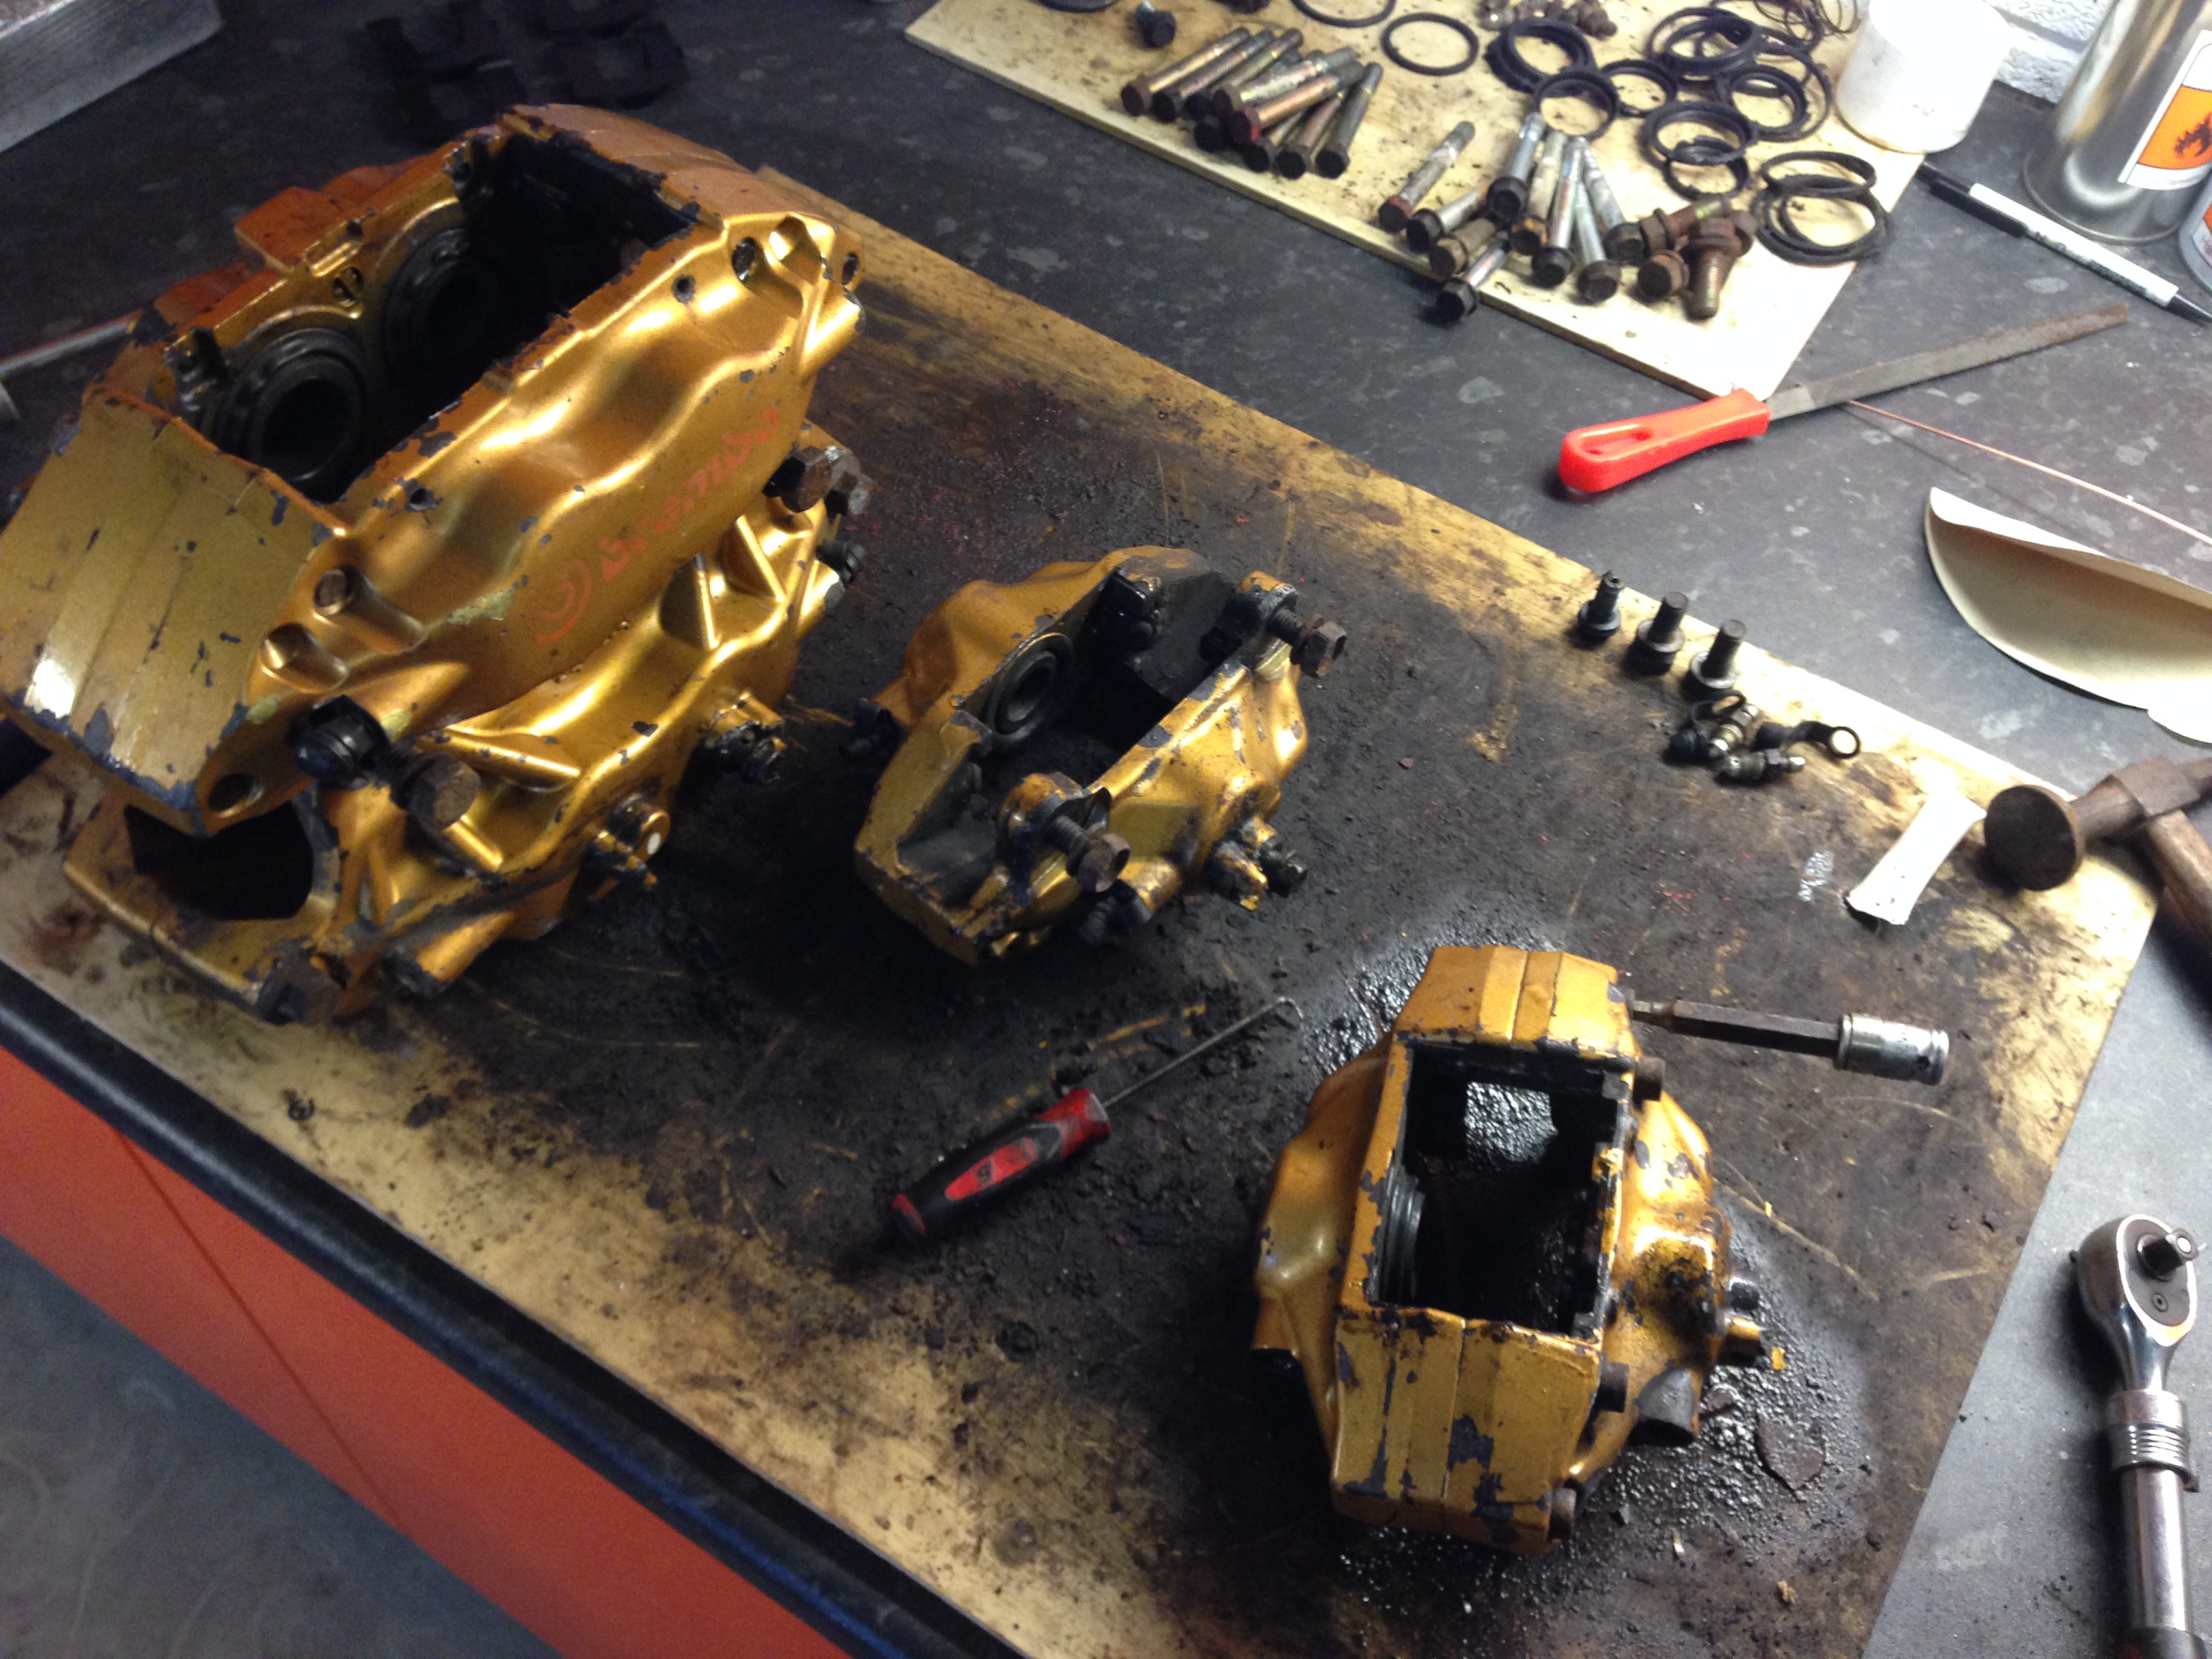
Starting with the rears

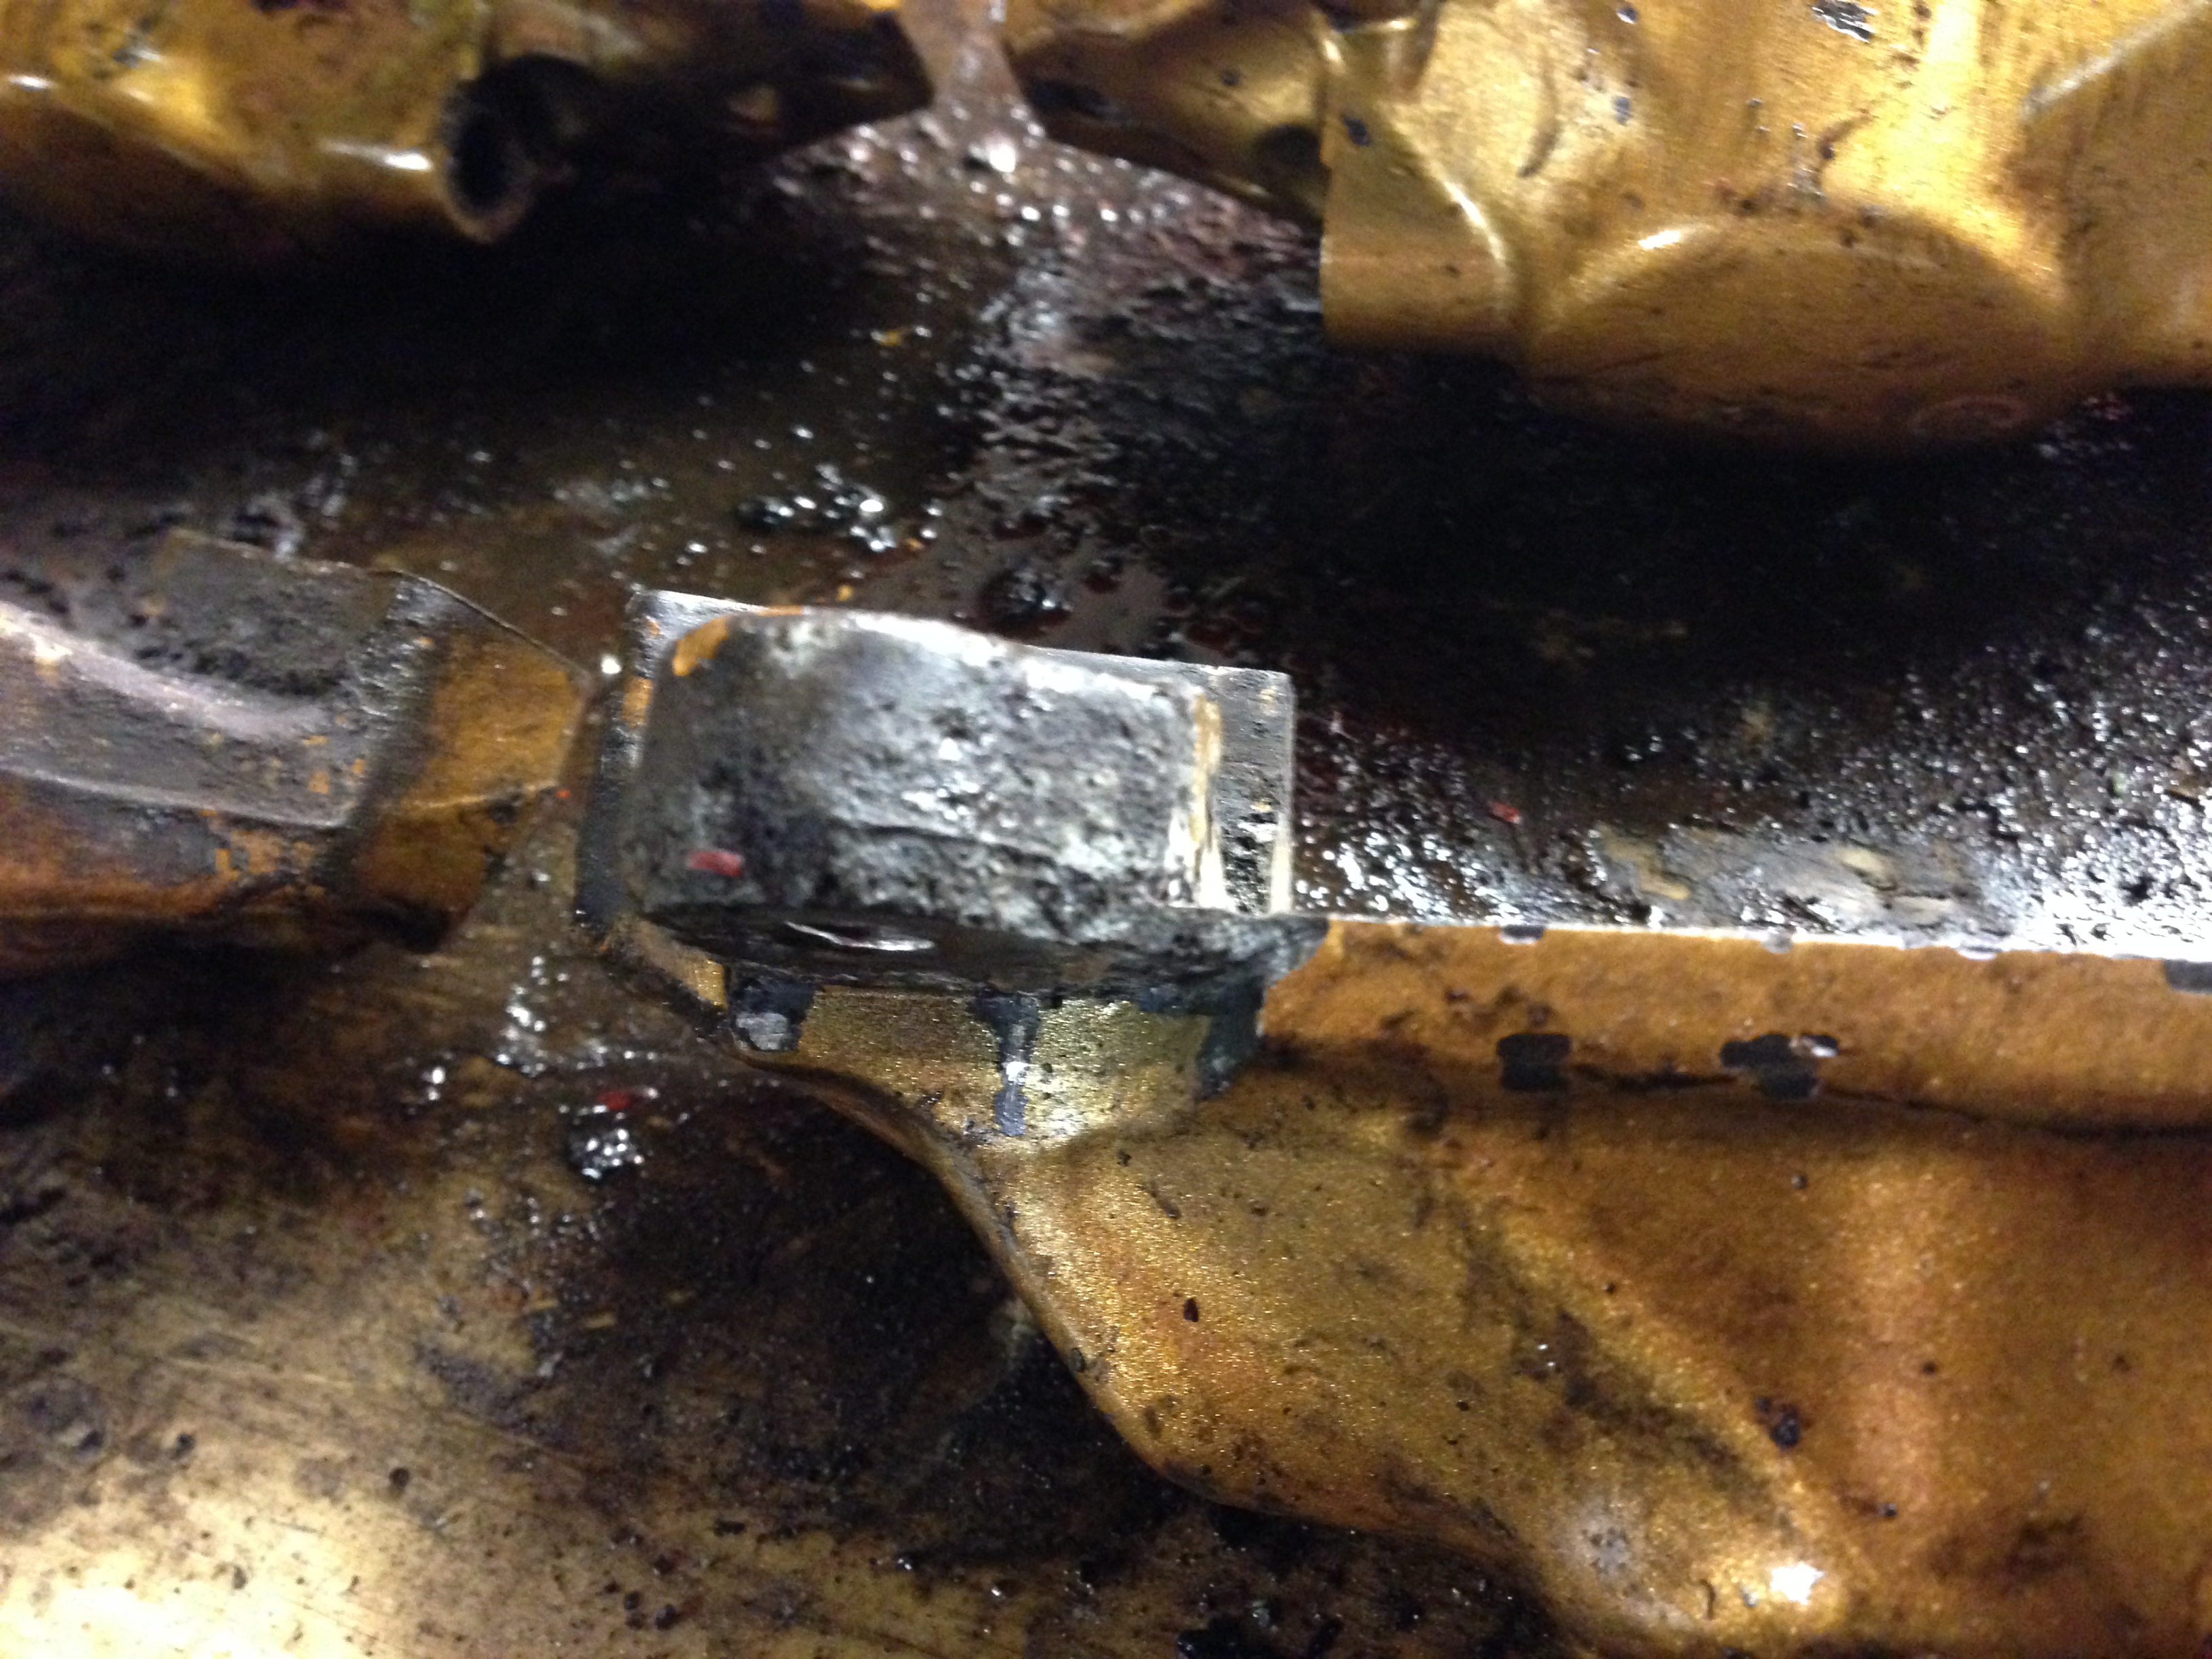
As usual some of the pad guide plate screws are corroded and need chiseling out
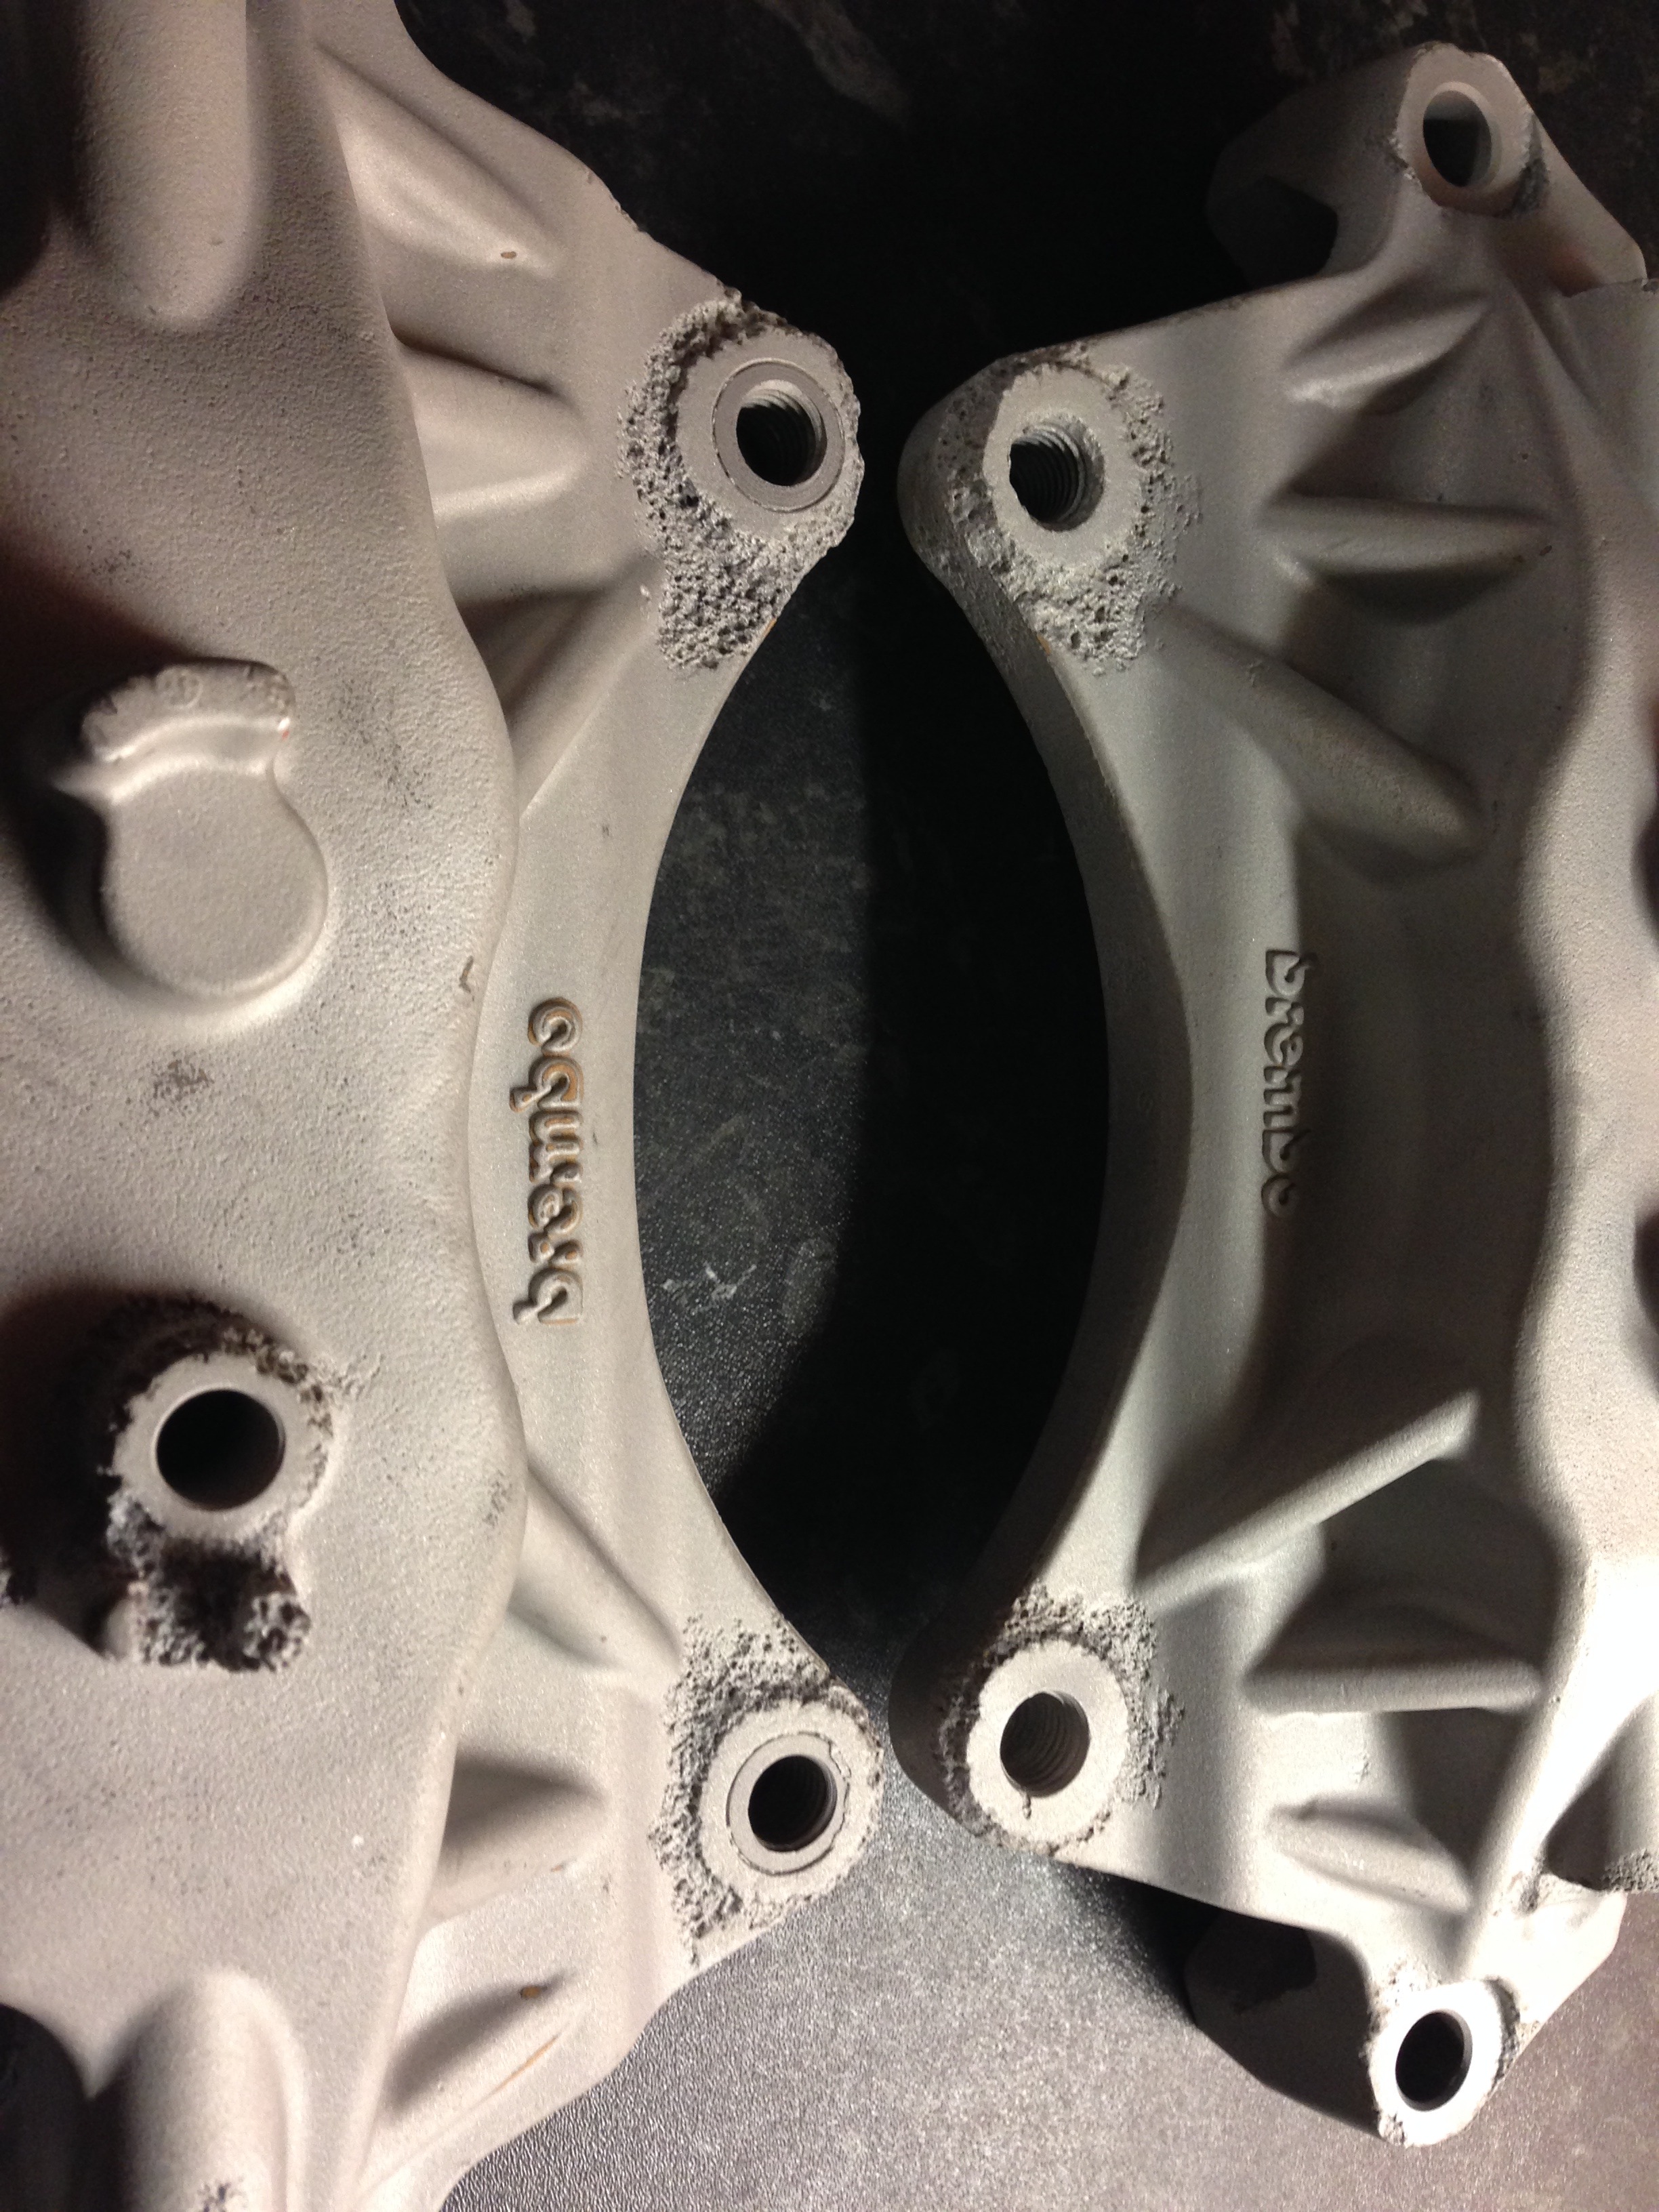
Looks to be slight corrosion on the lugs, normally it is worse than this on a bad set, i would rate this mild corrosion.
We will update again shortly
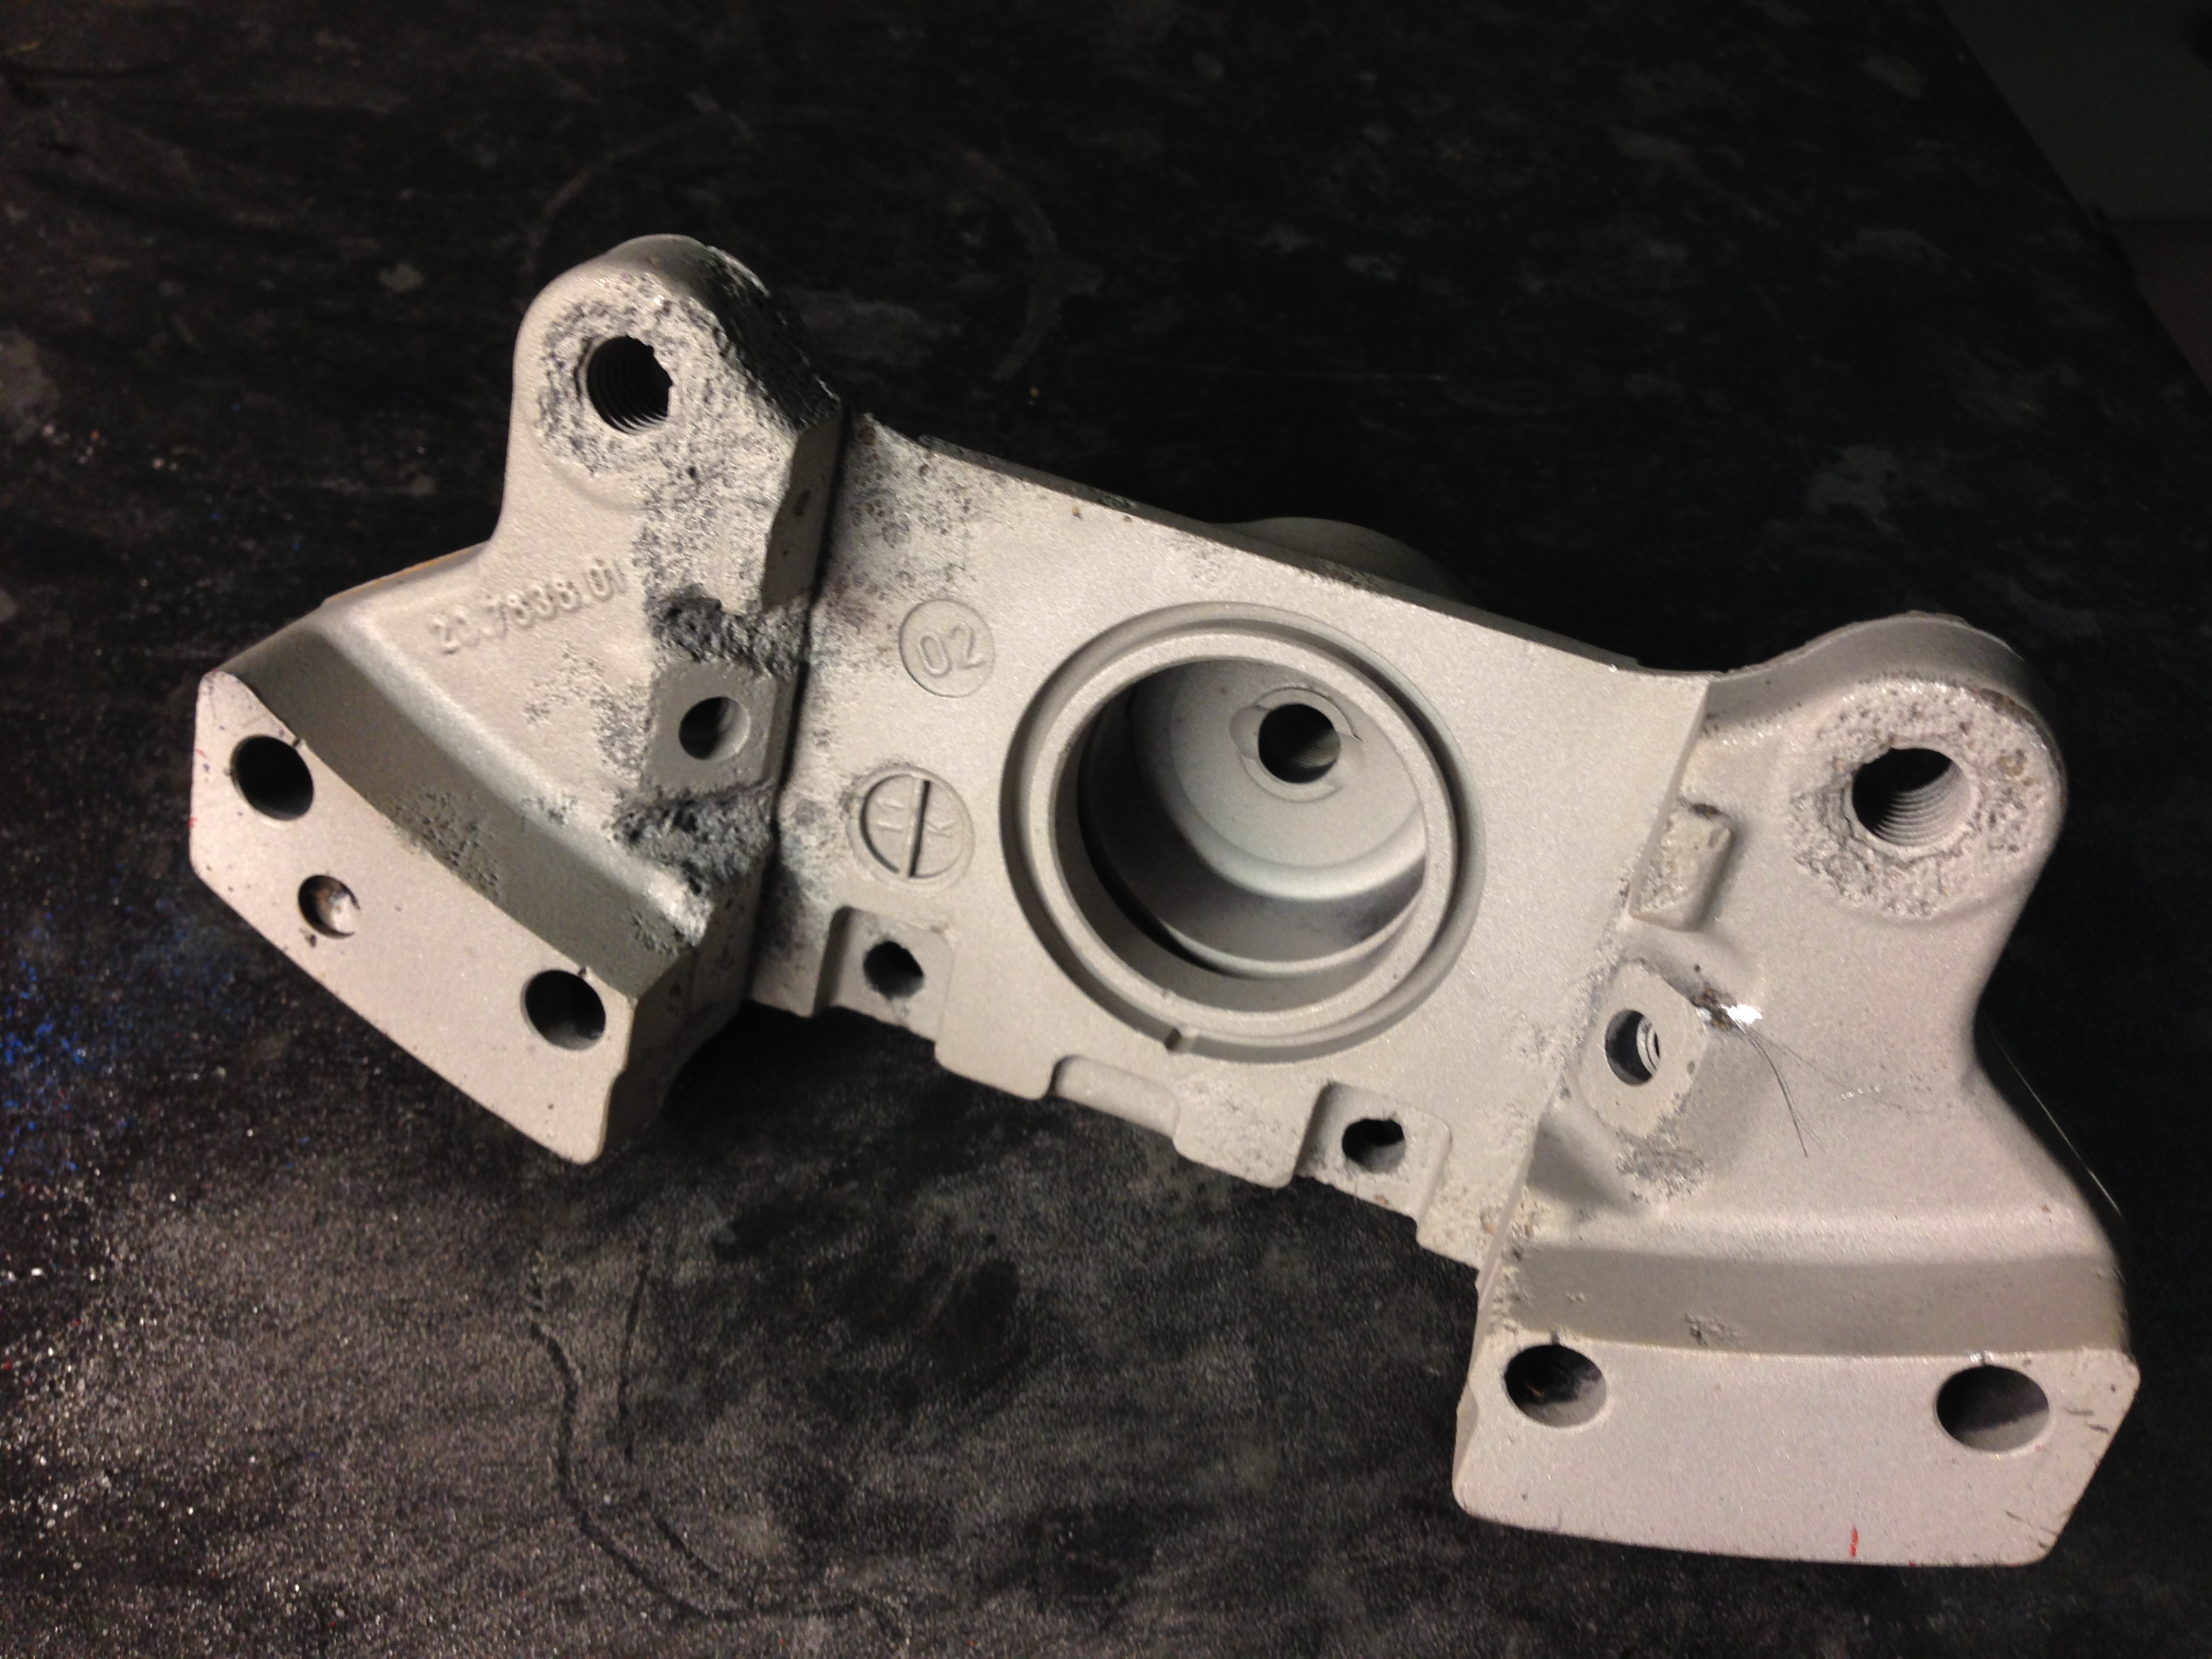
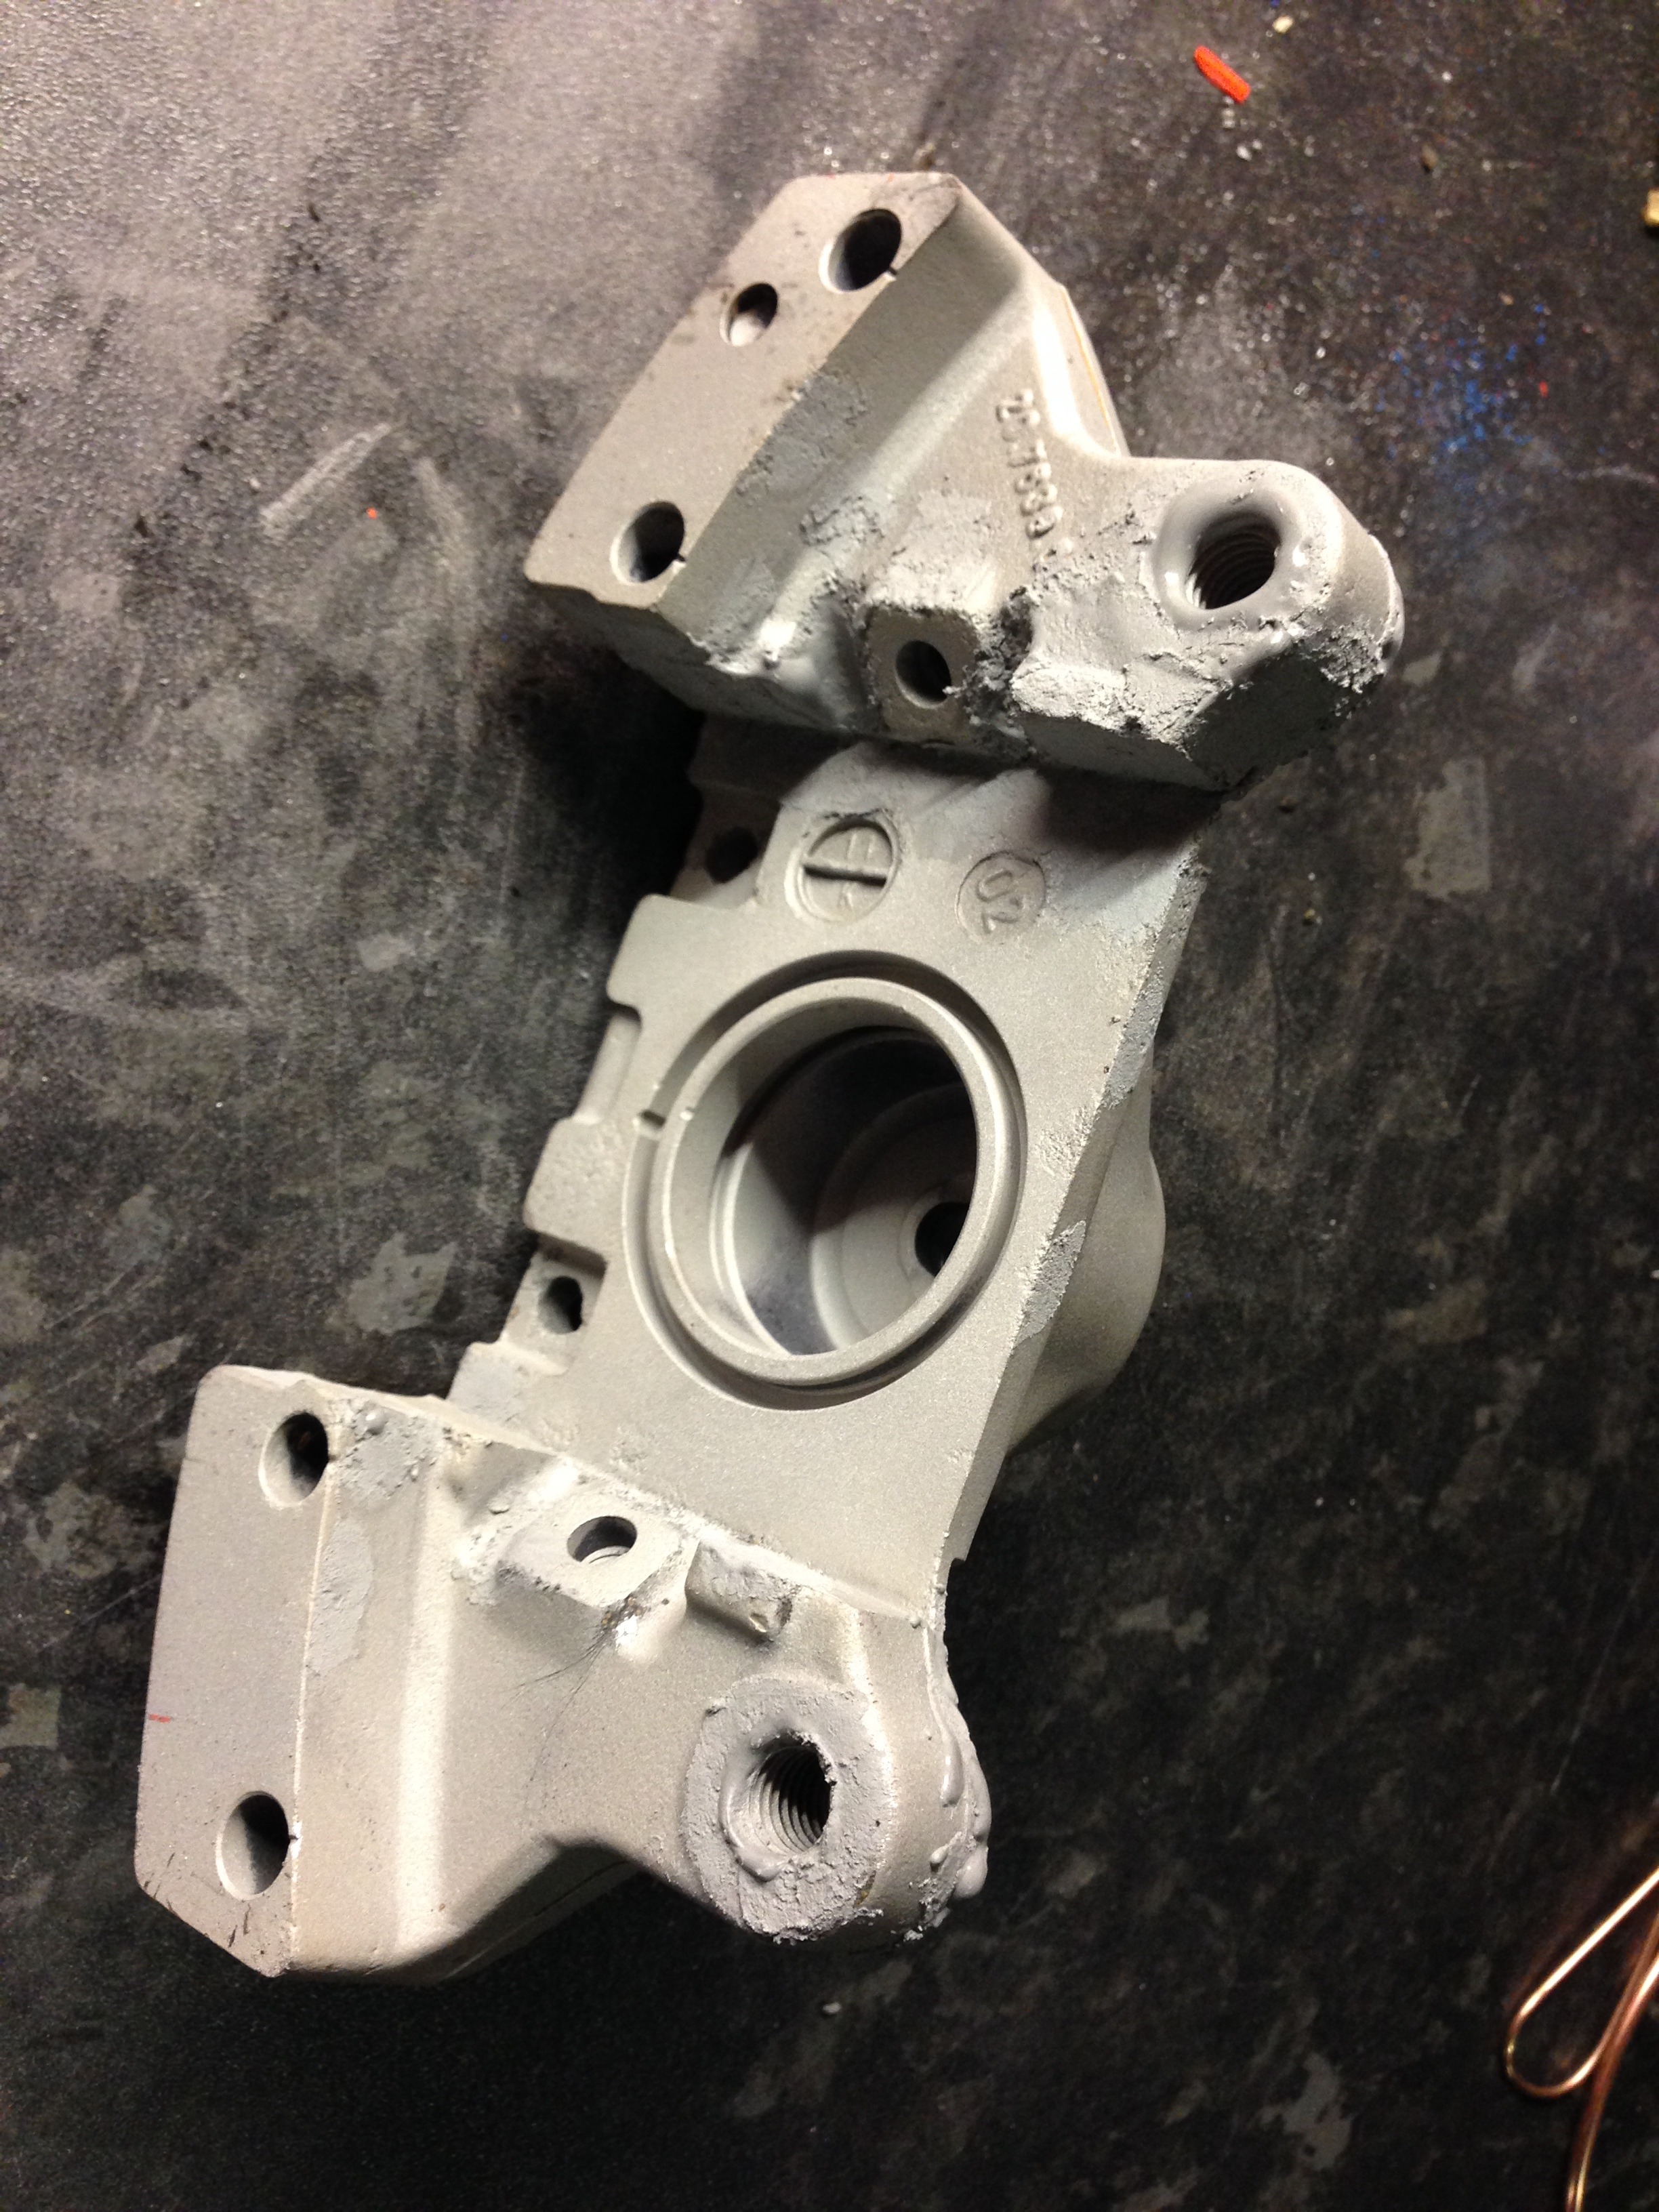
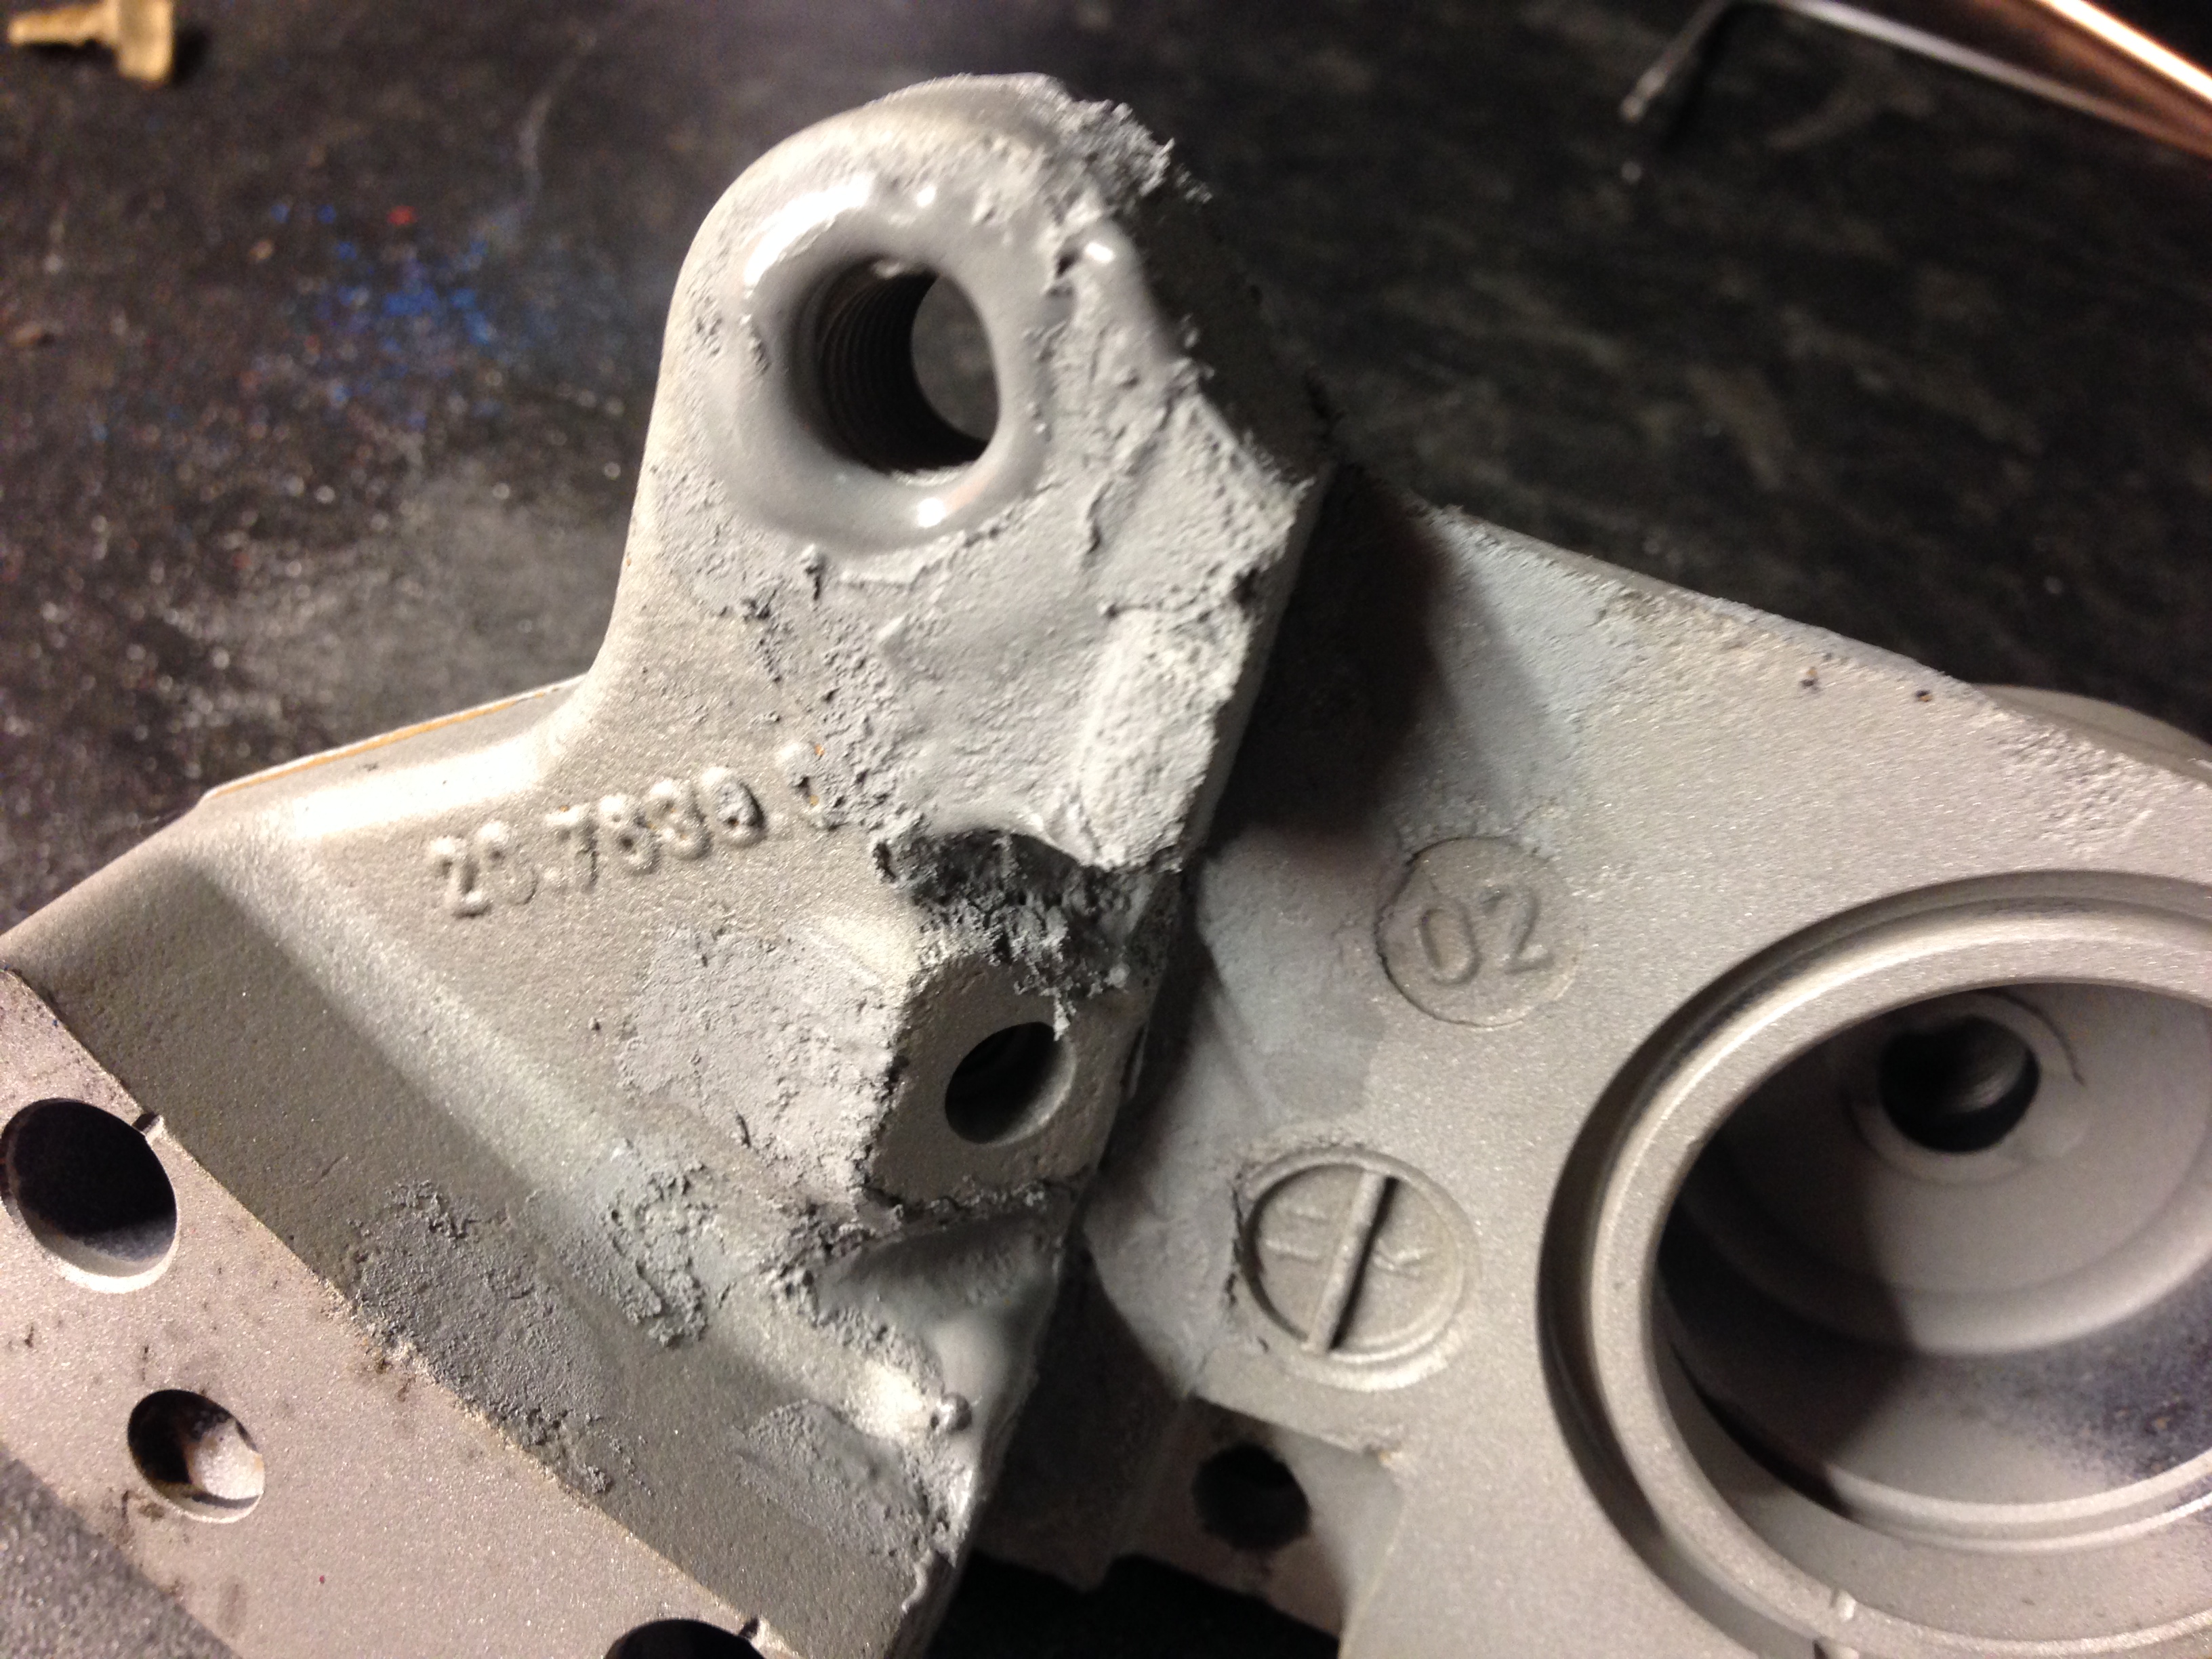
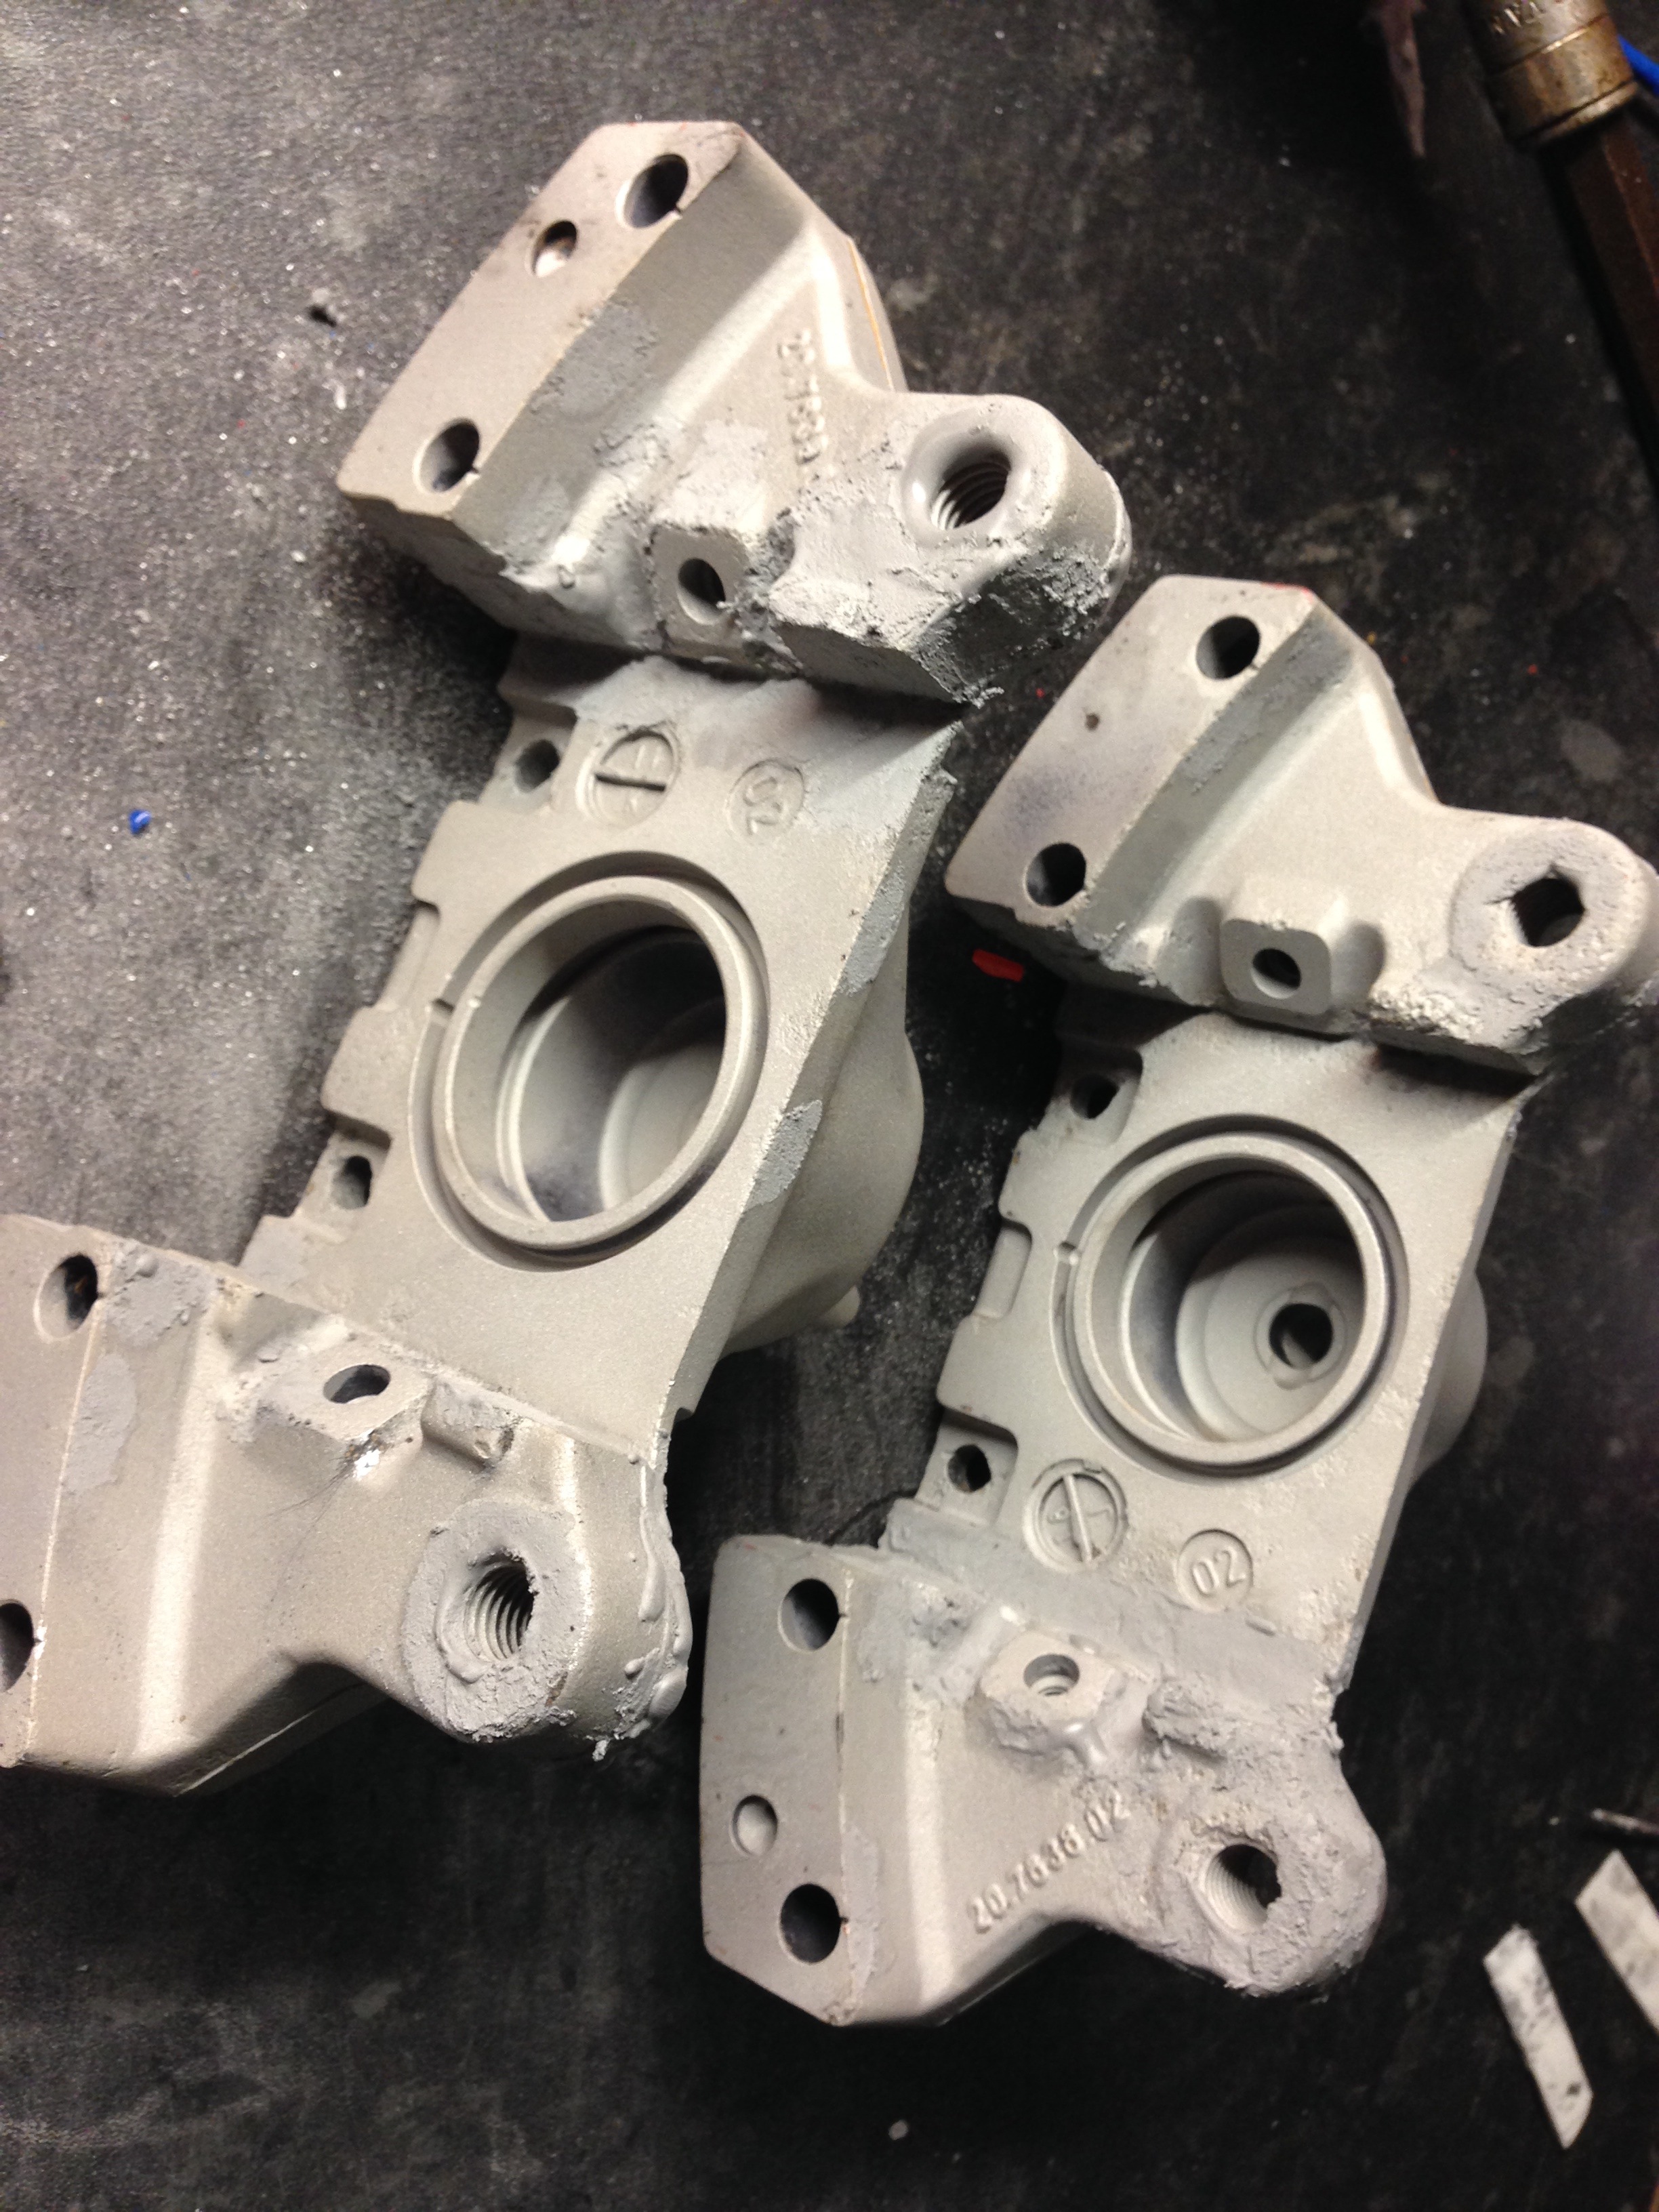
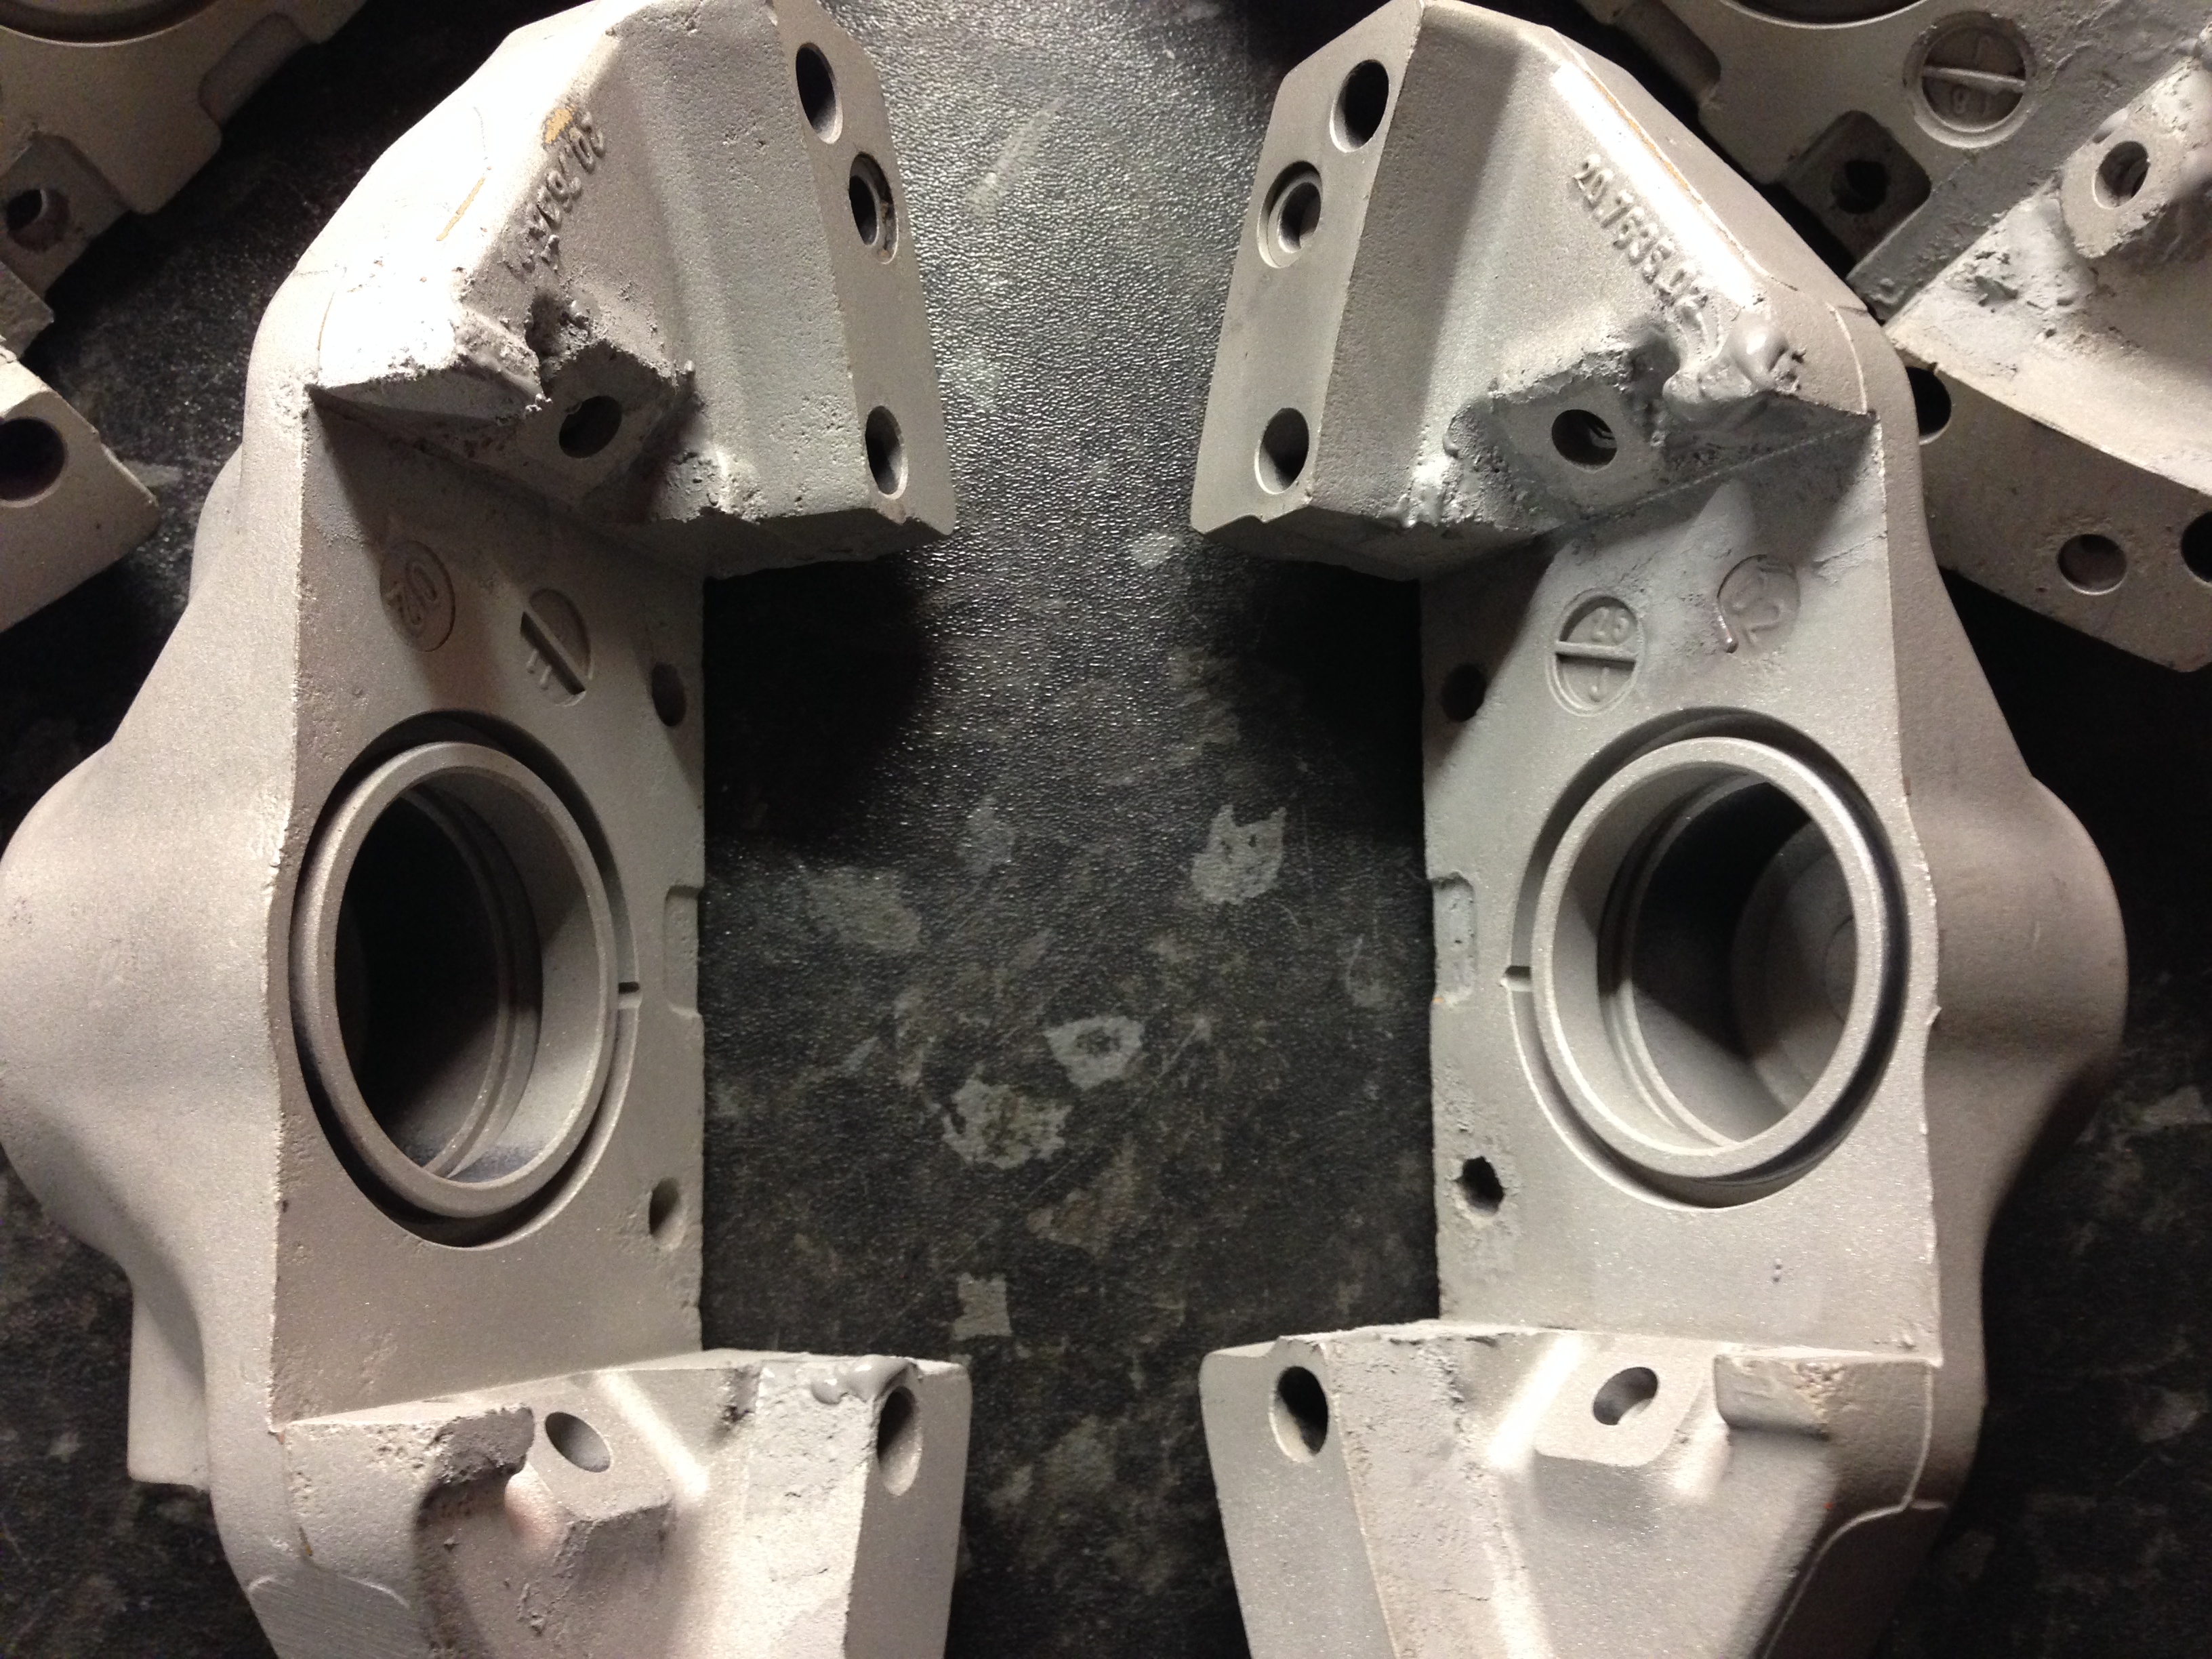
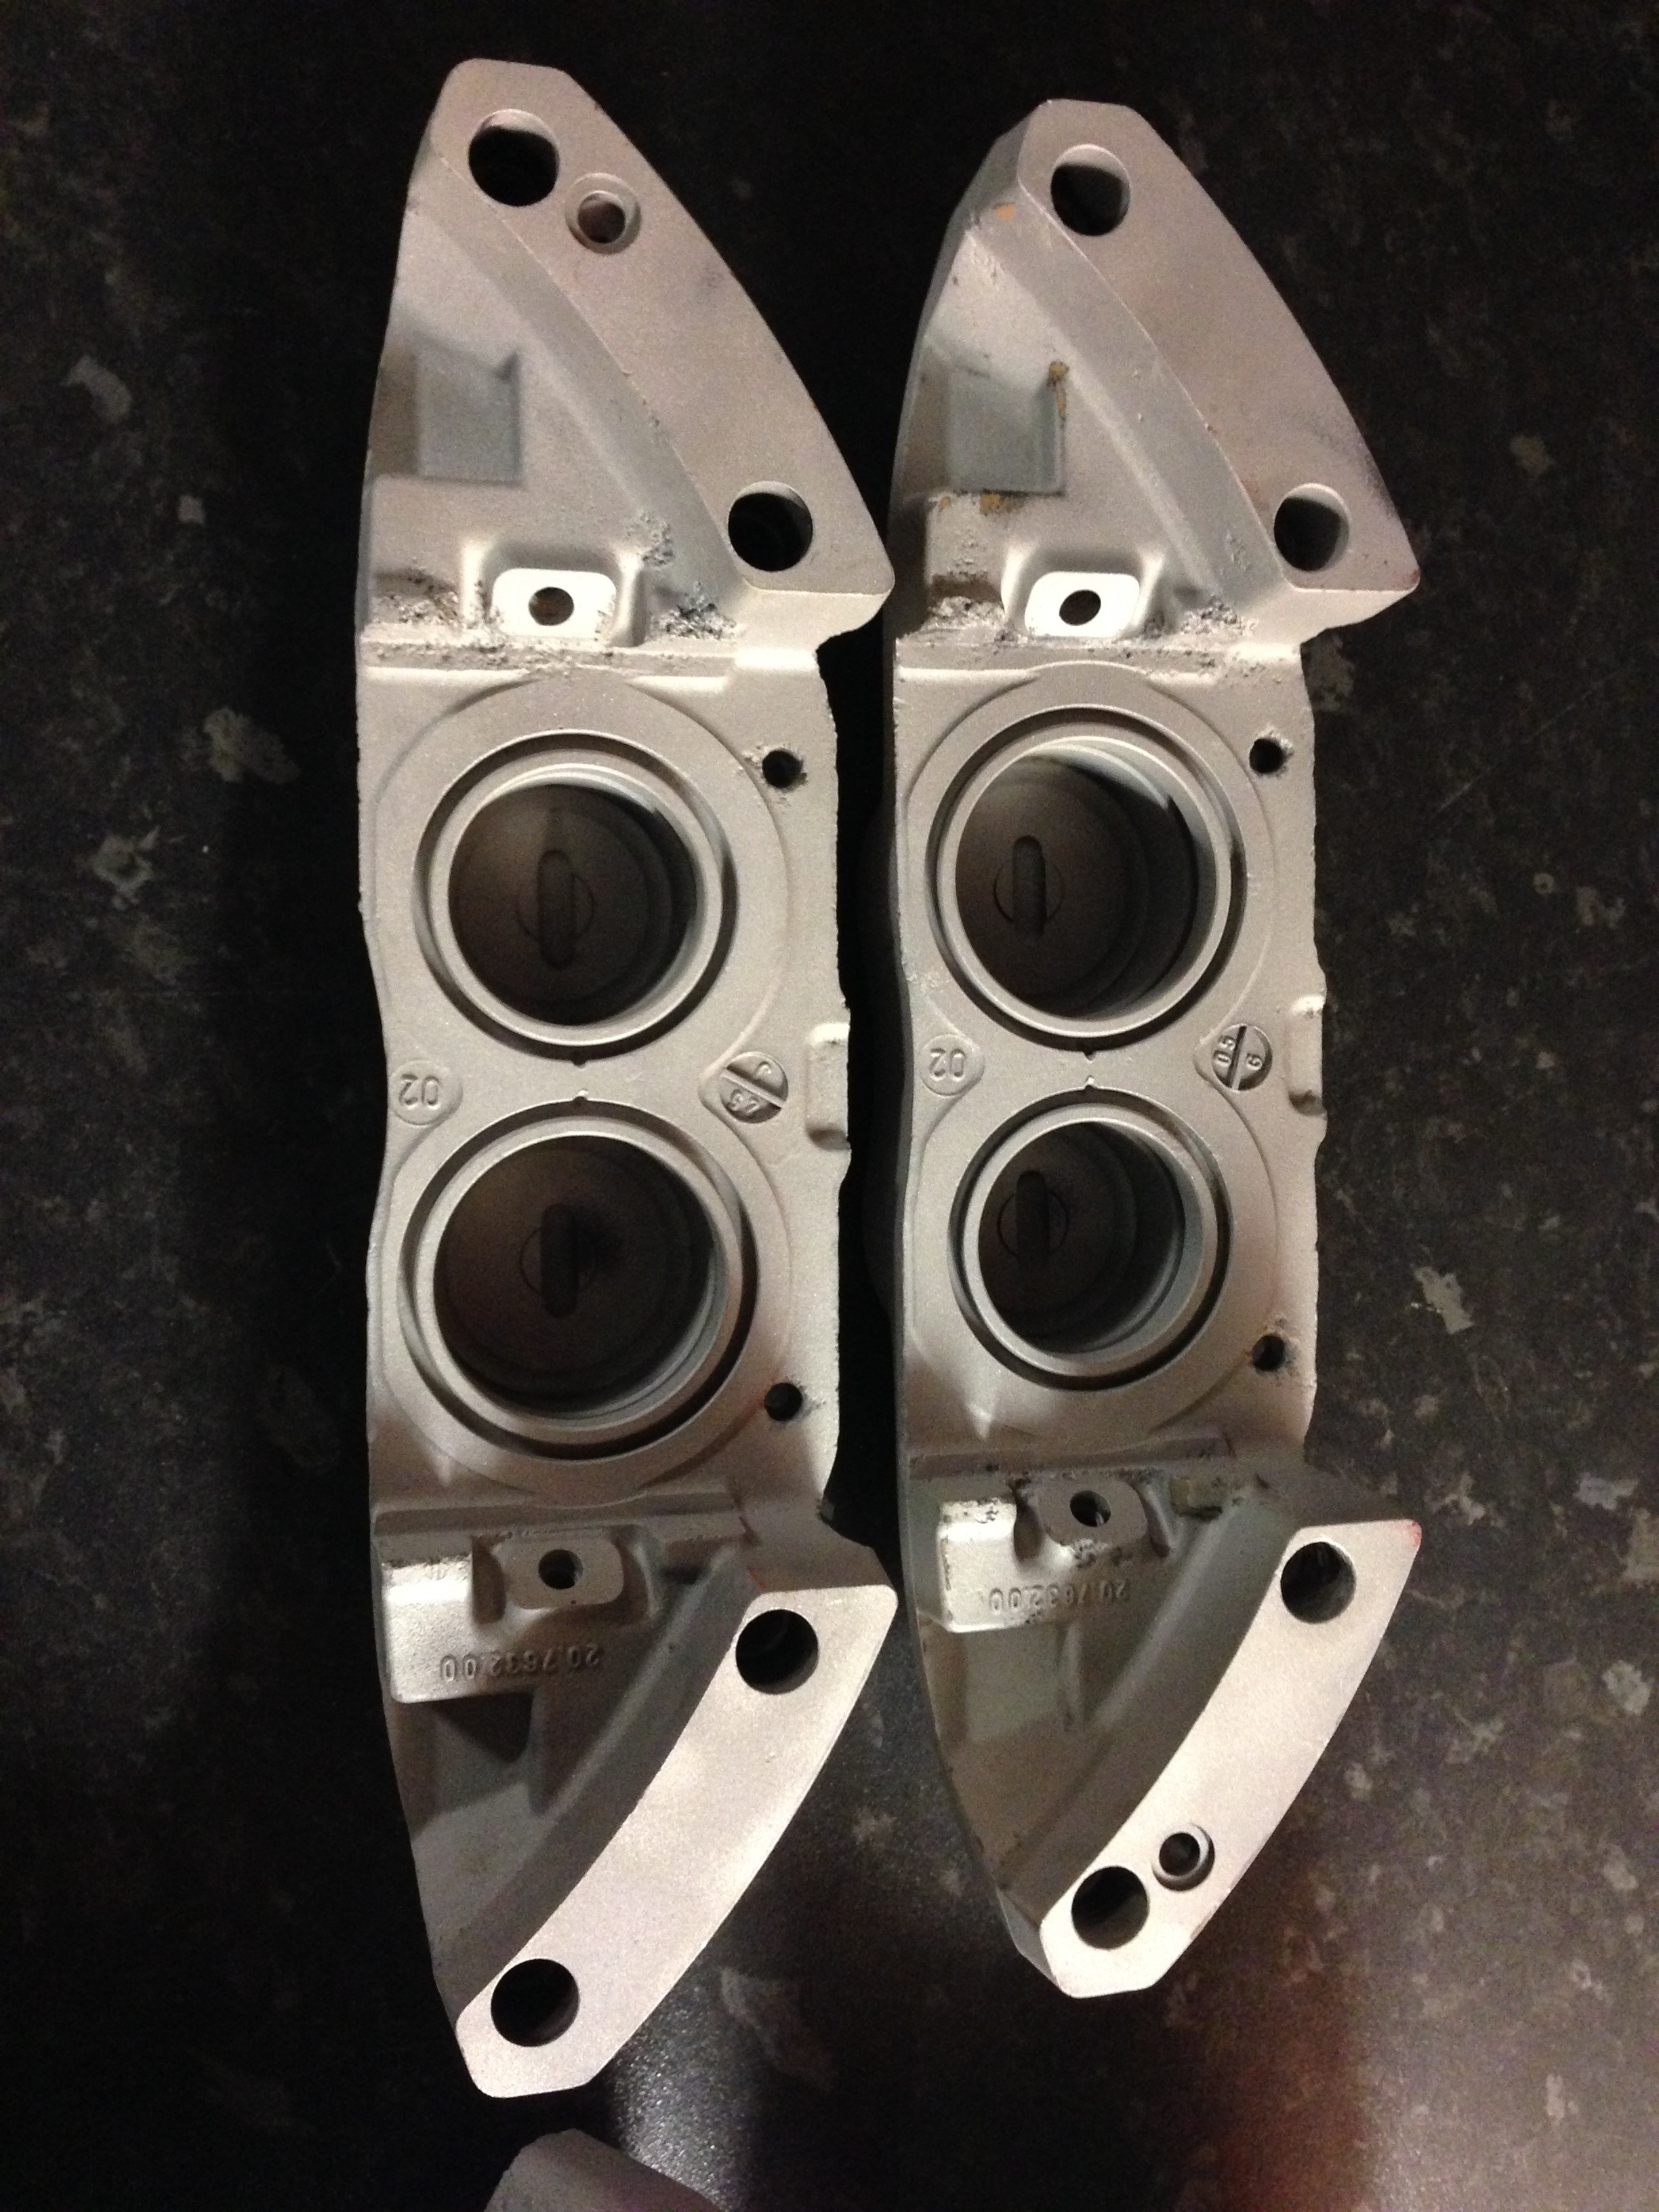
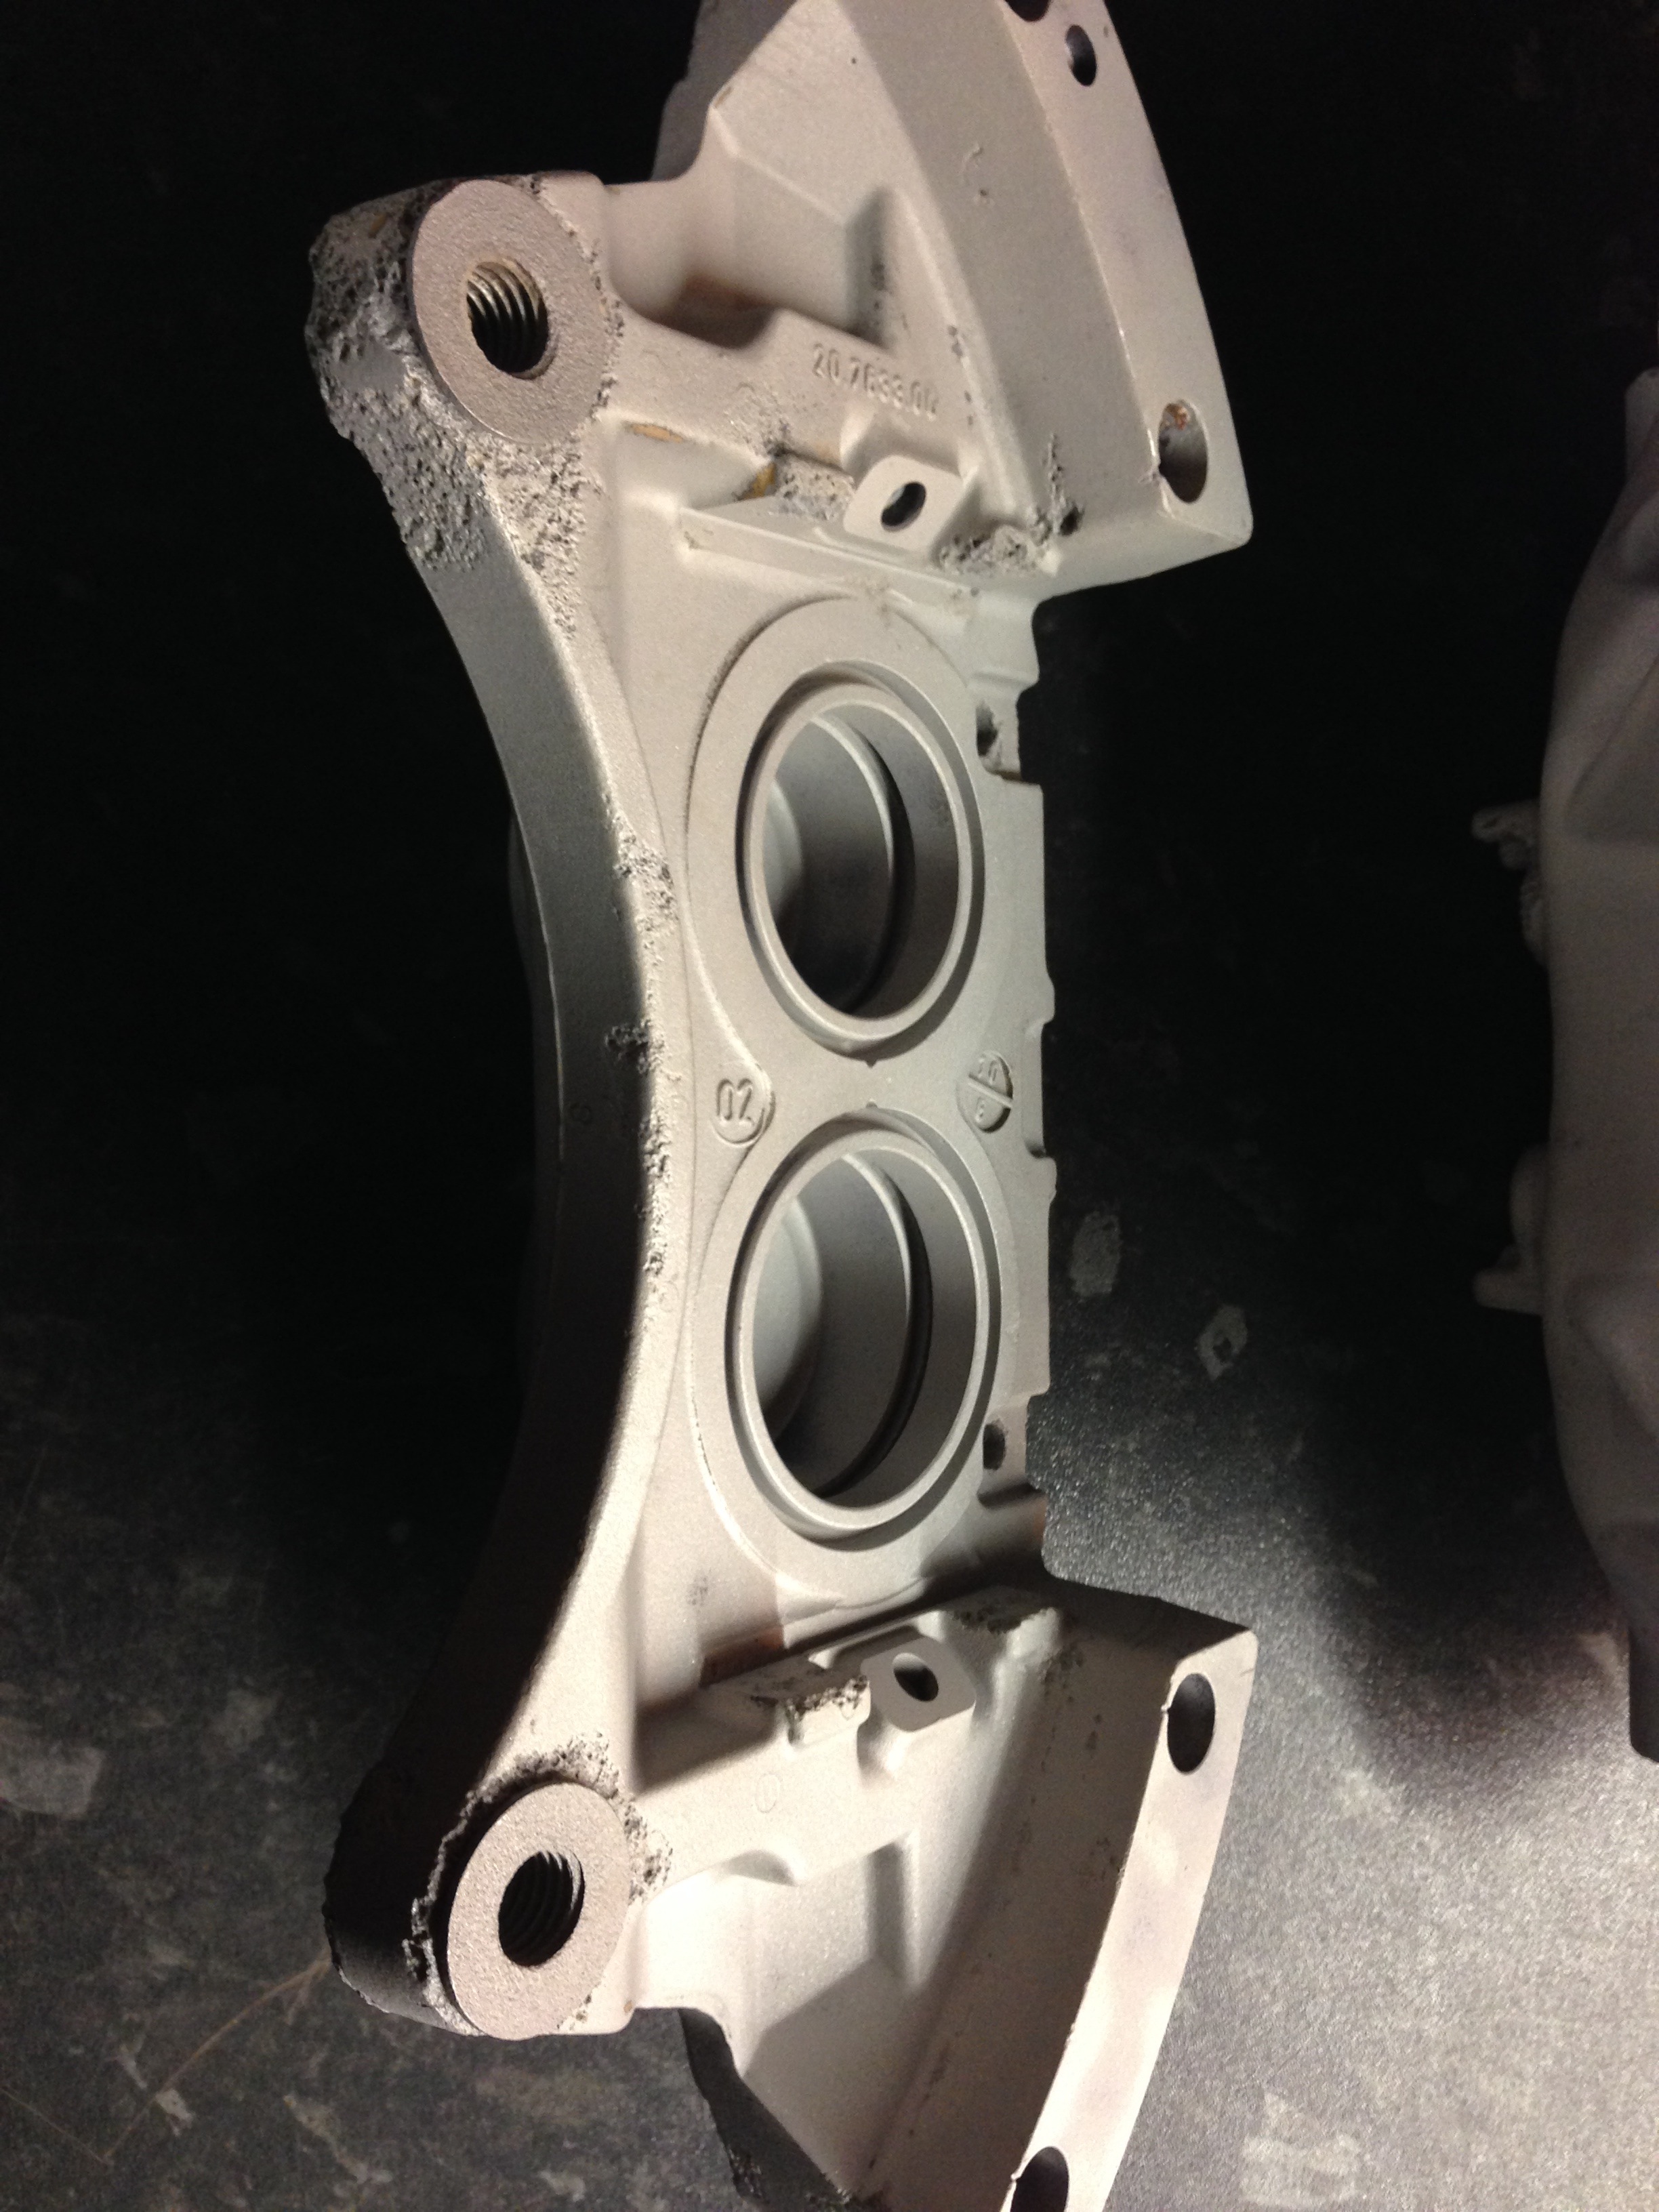
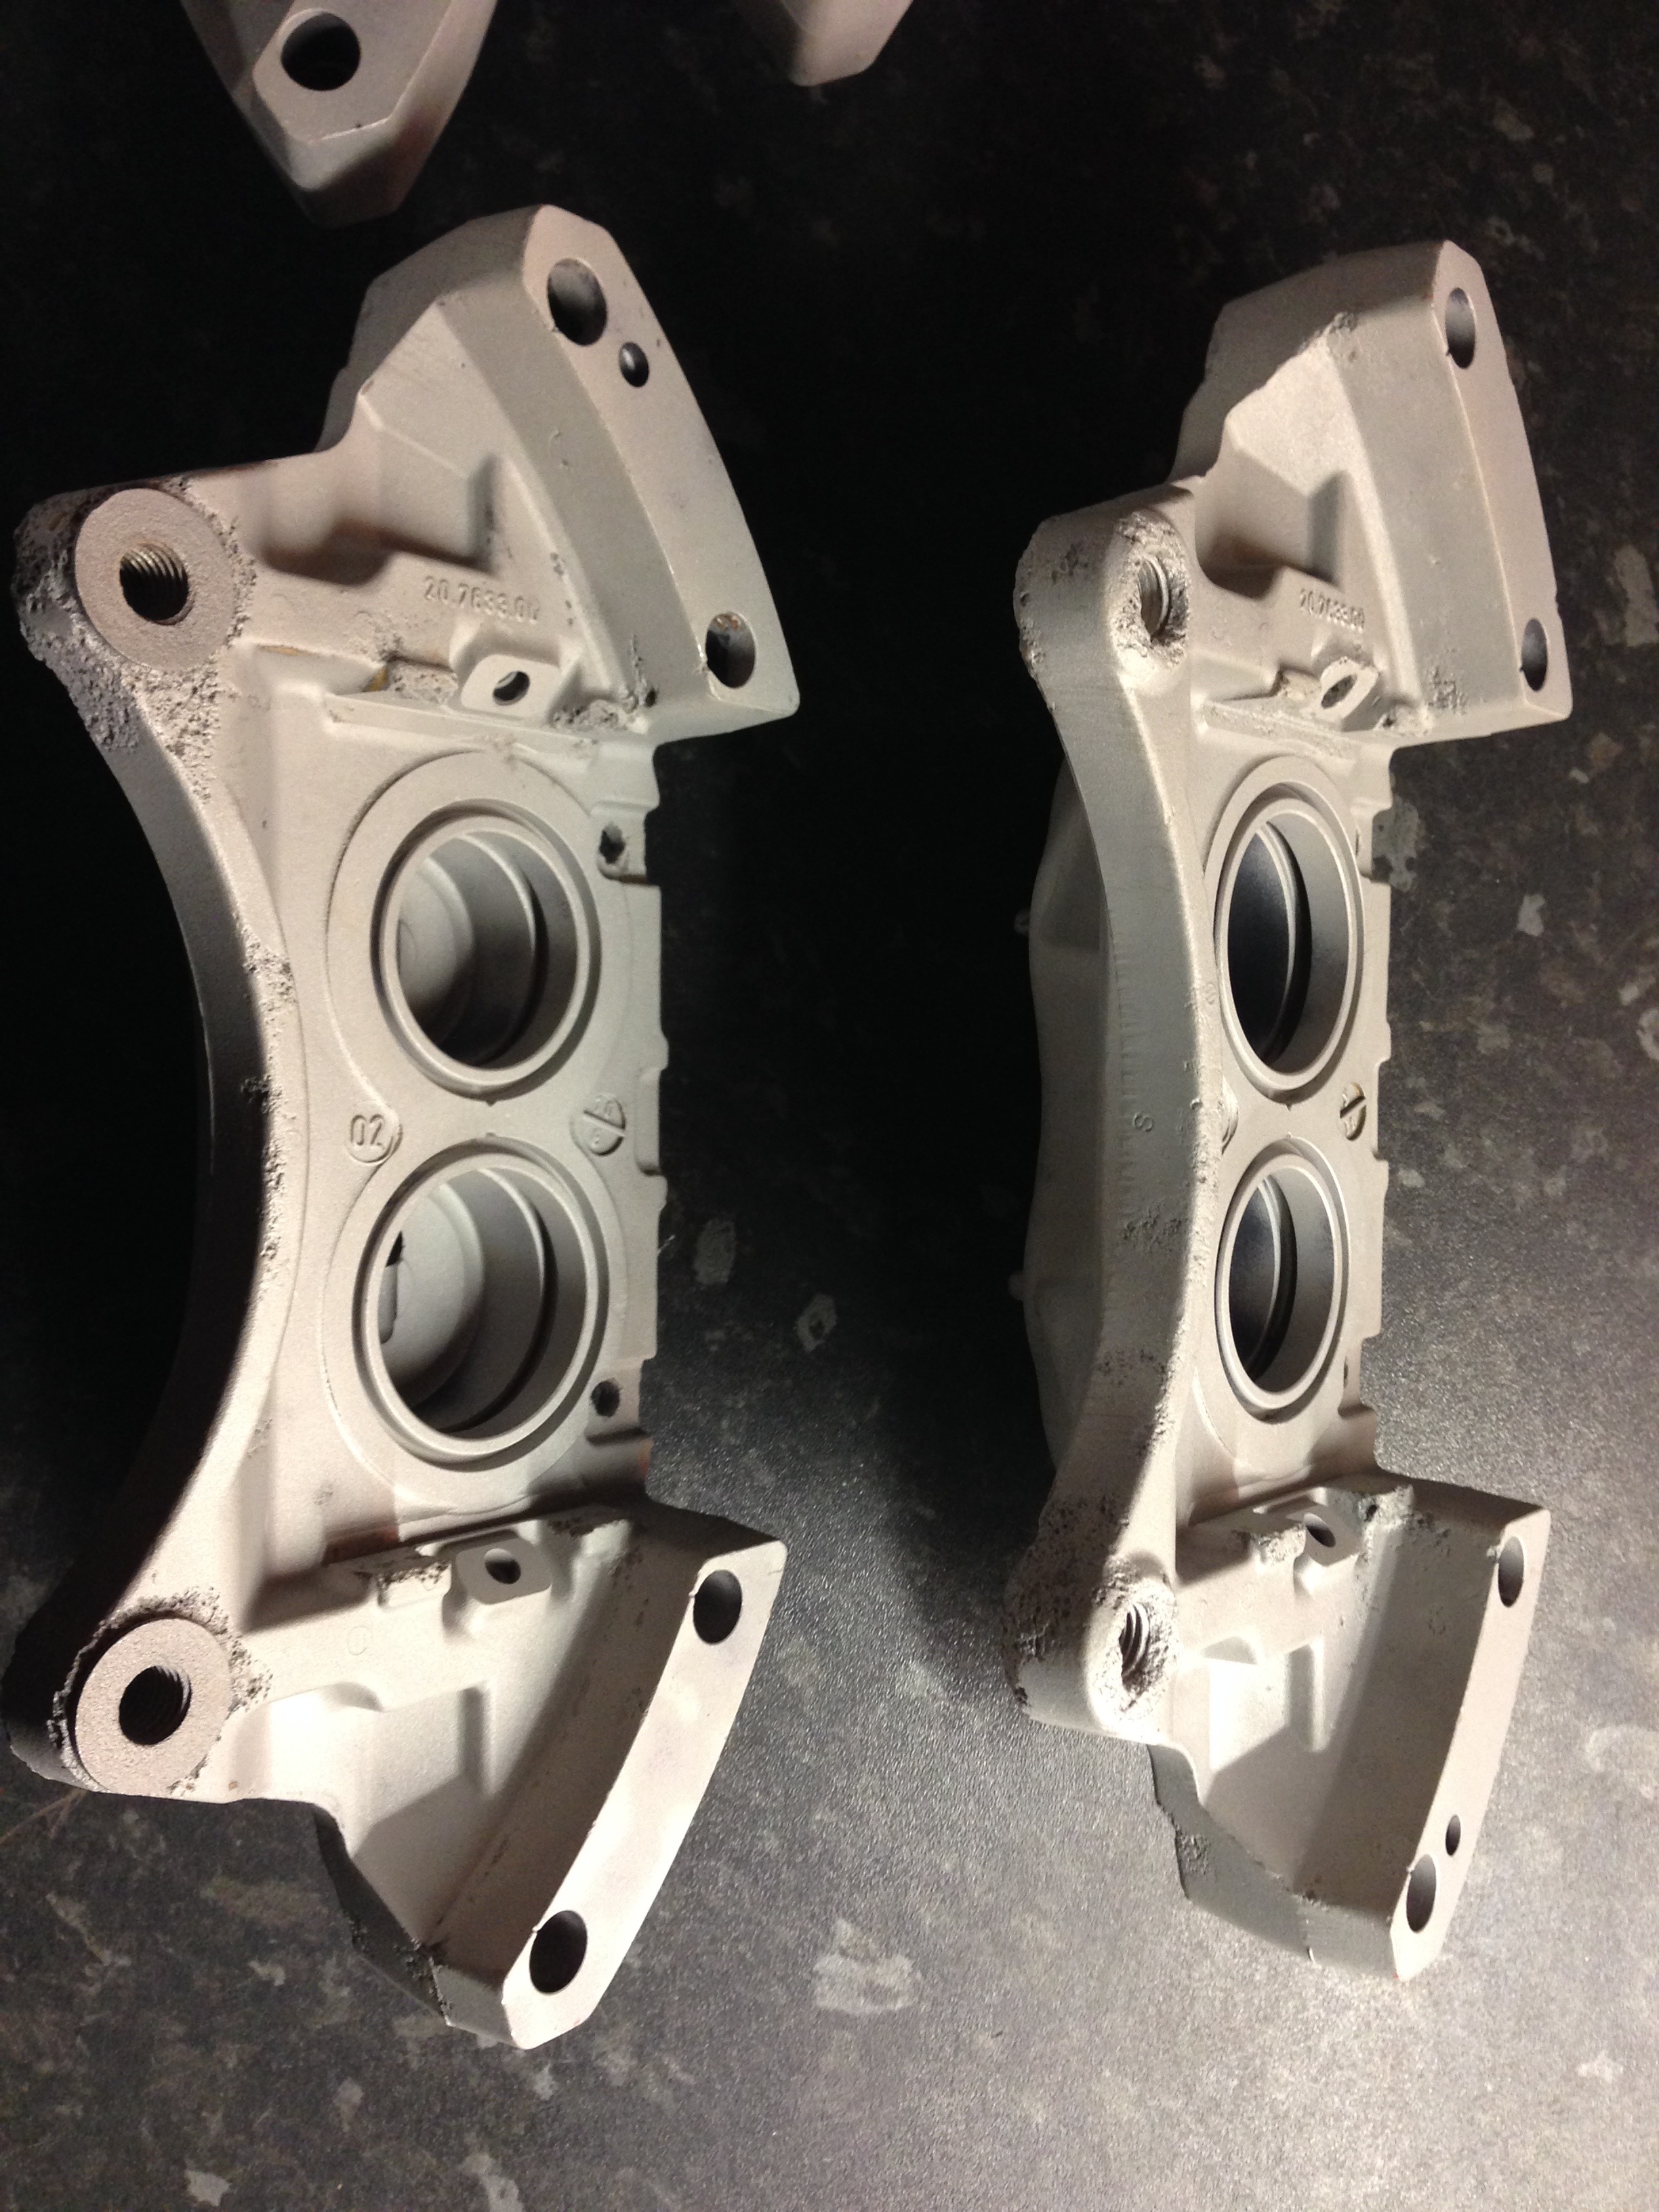
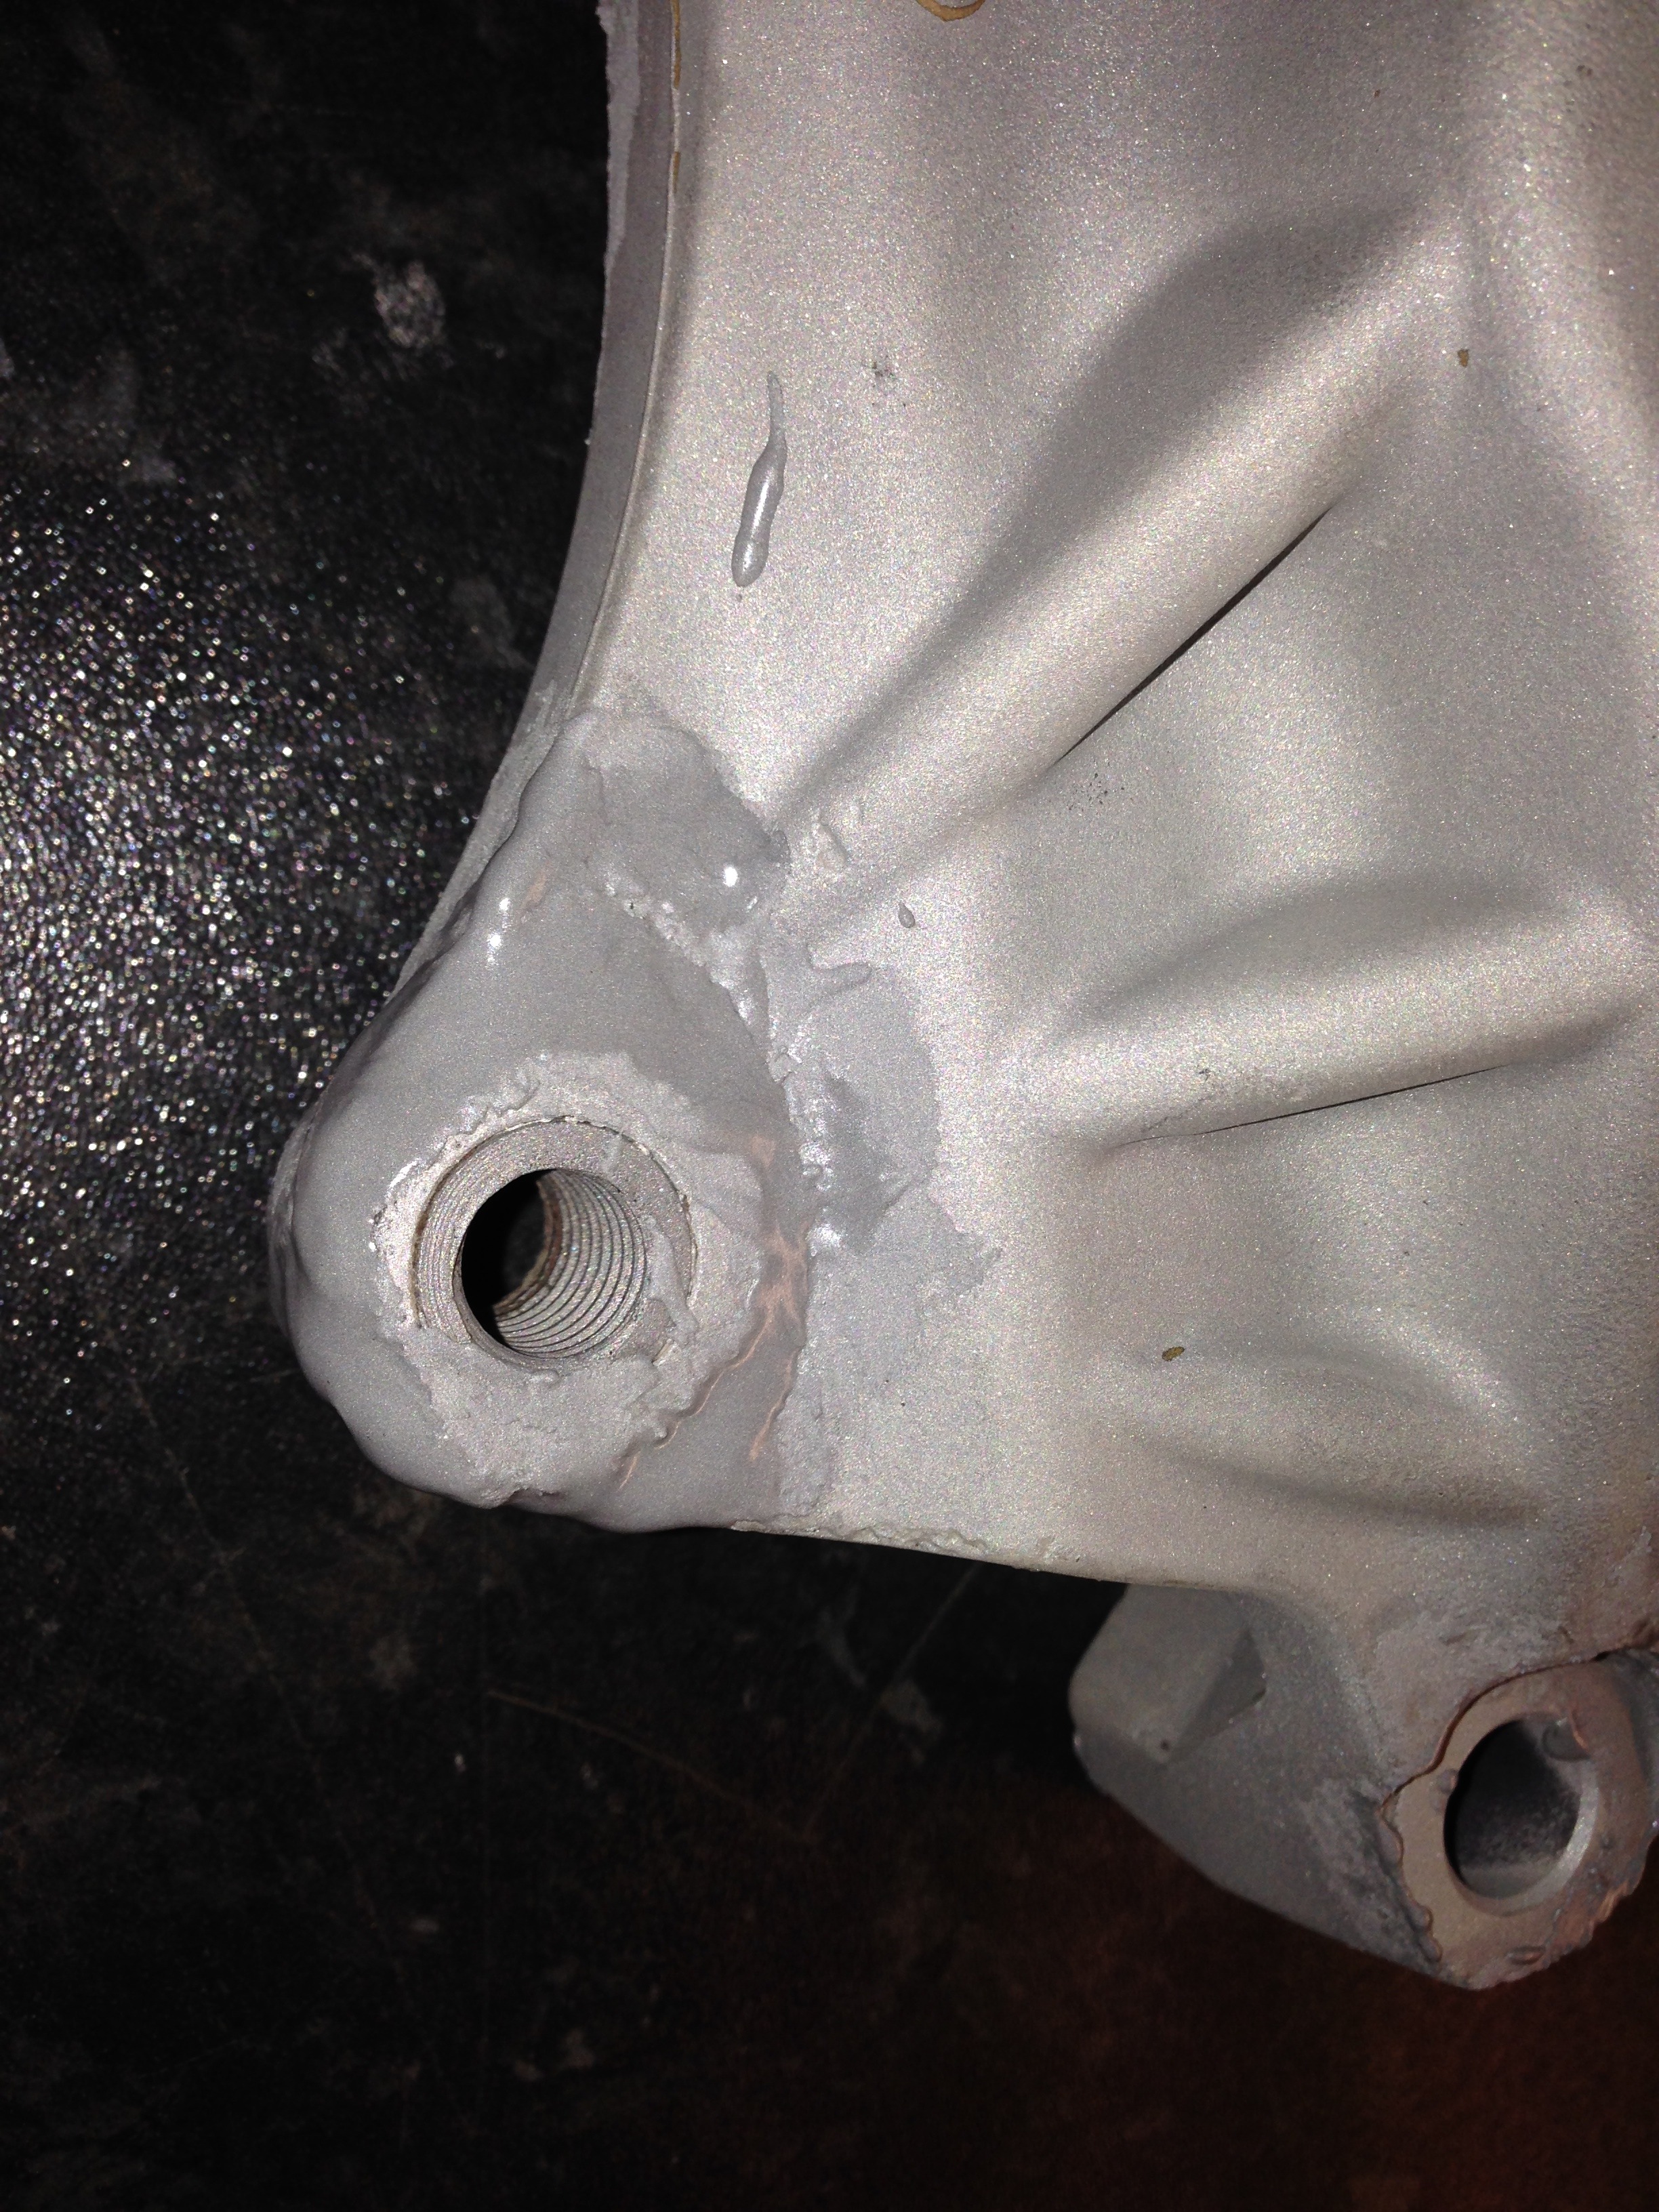
We have now Shot blasted the rear halves with the mounting lugs on, as you can see there is pitting/corrosion in various places. Nothing structural though so can all be sorted with our special metal filler.
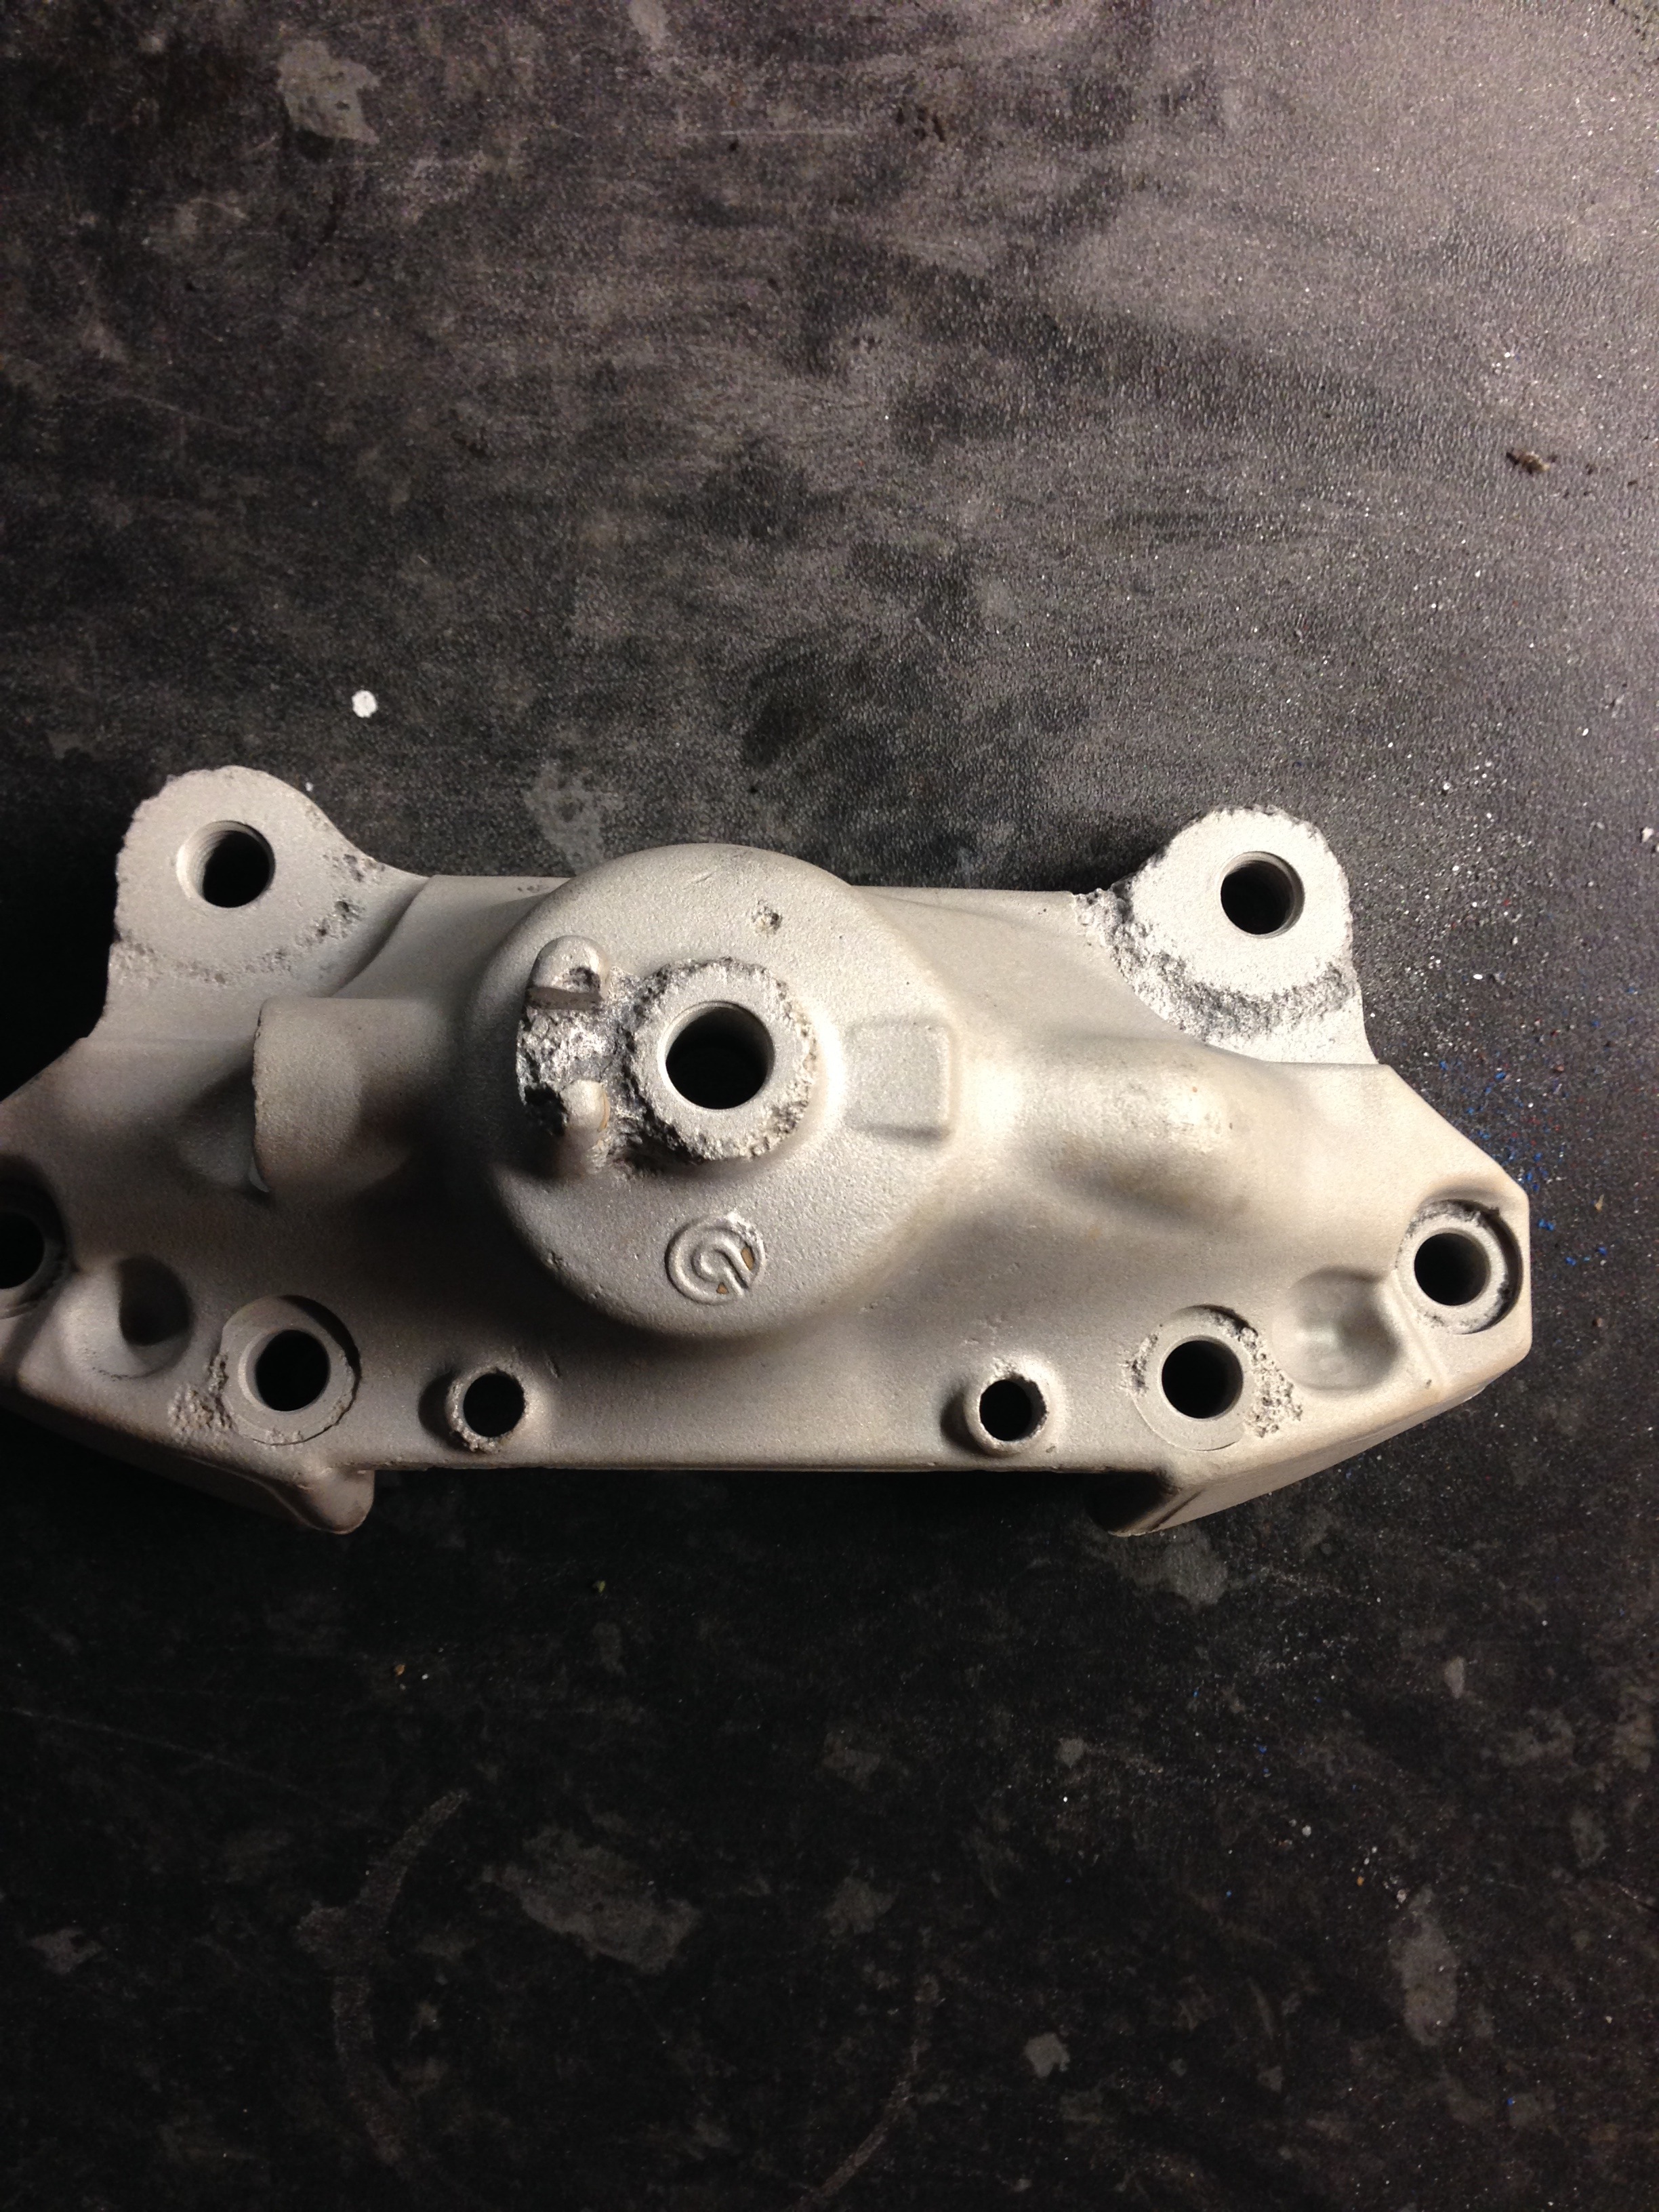
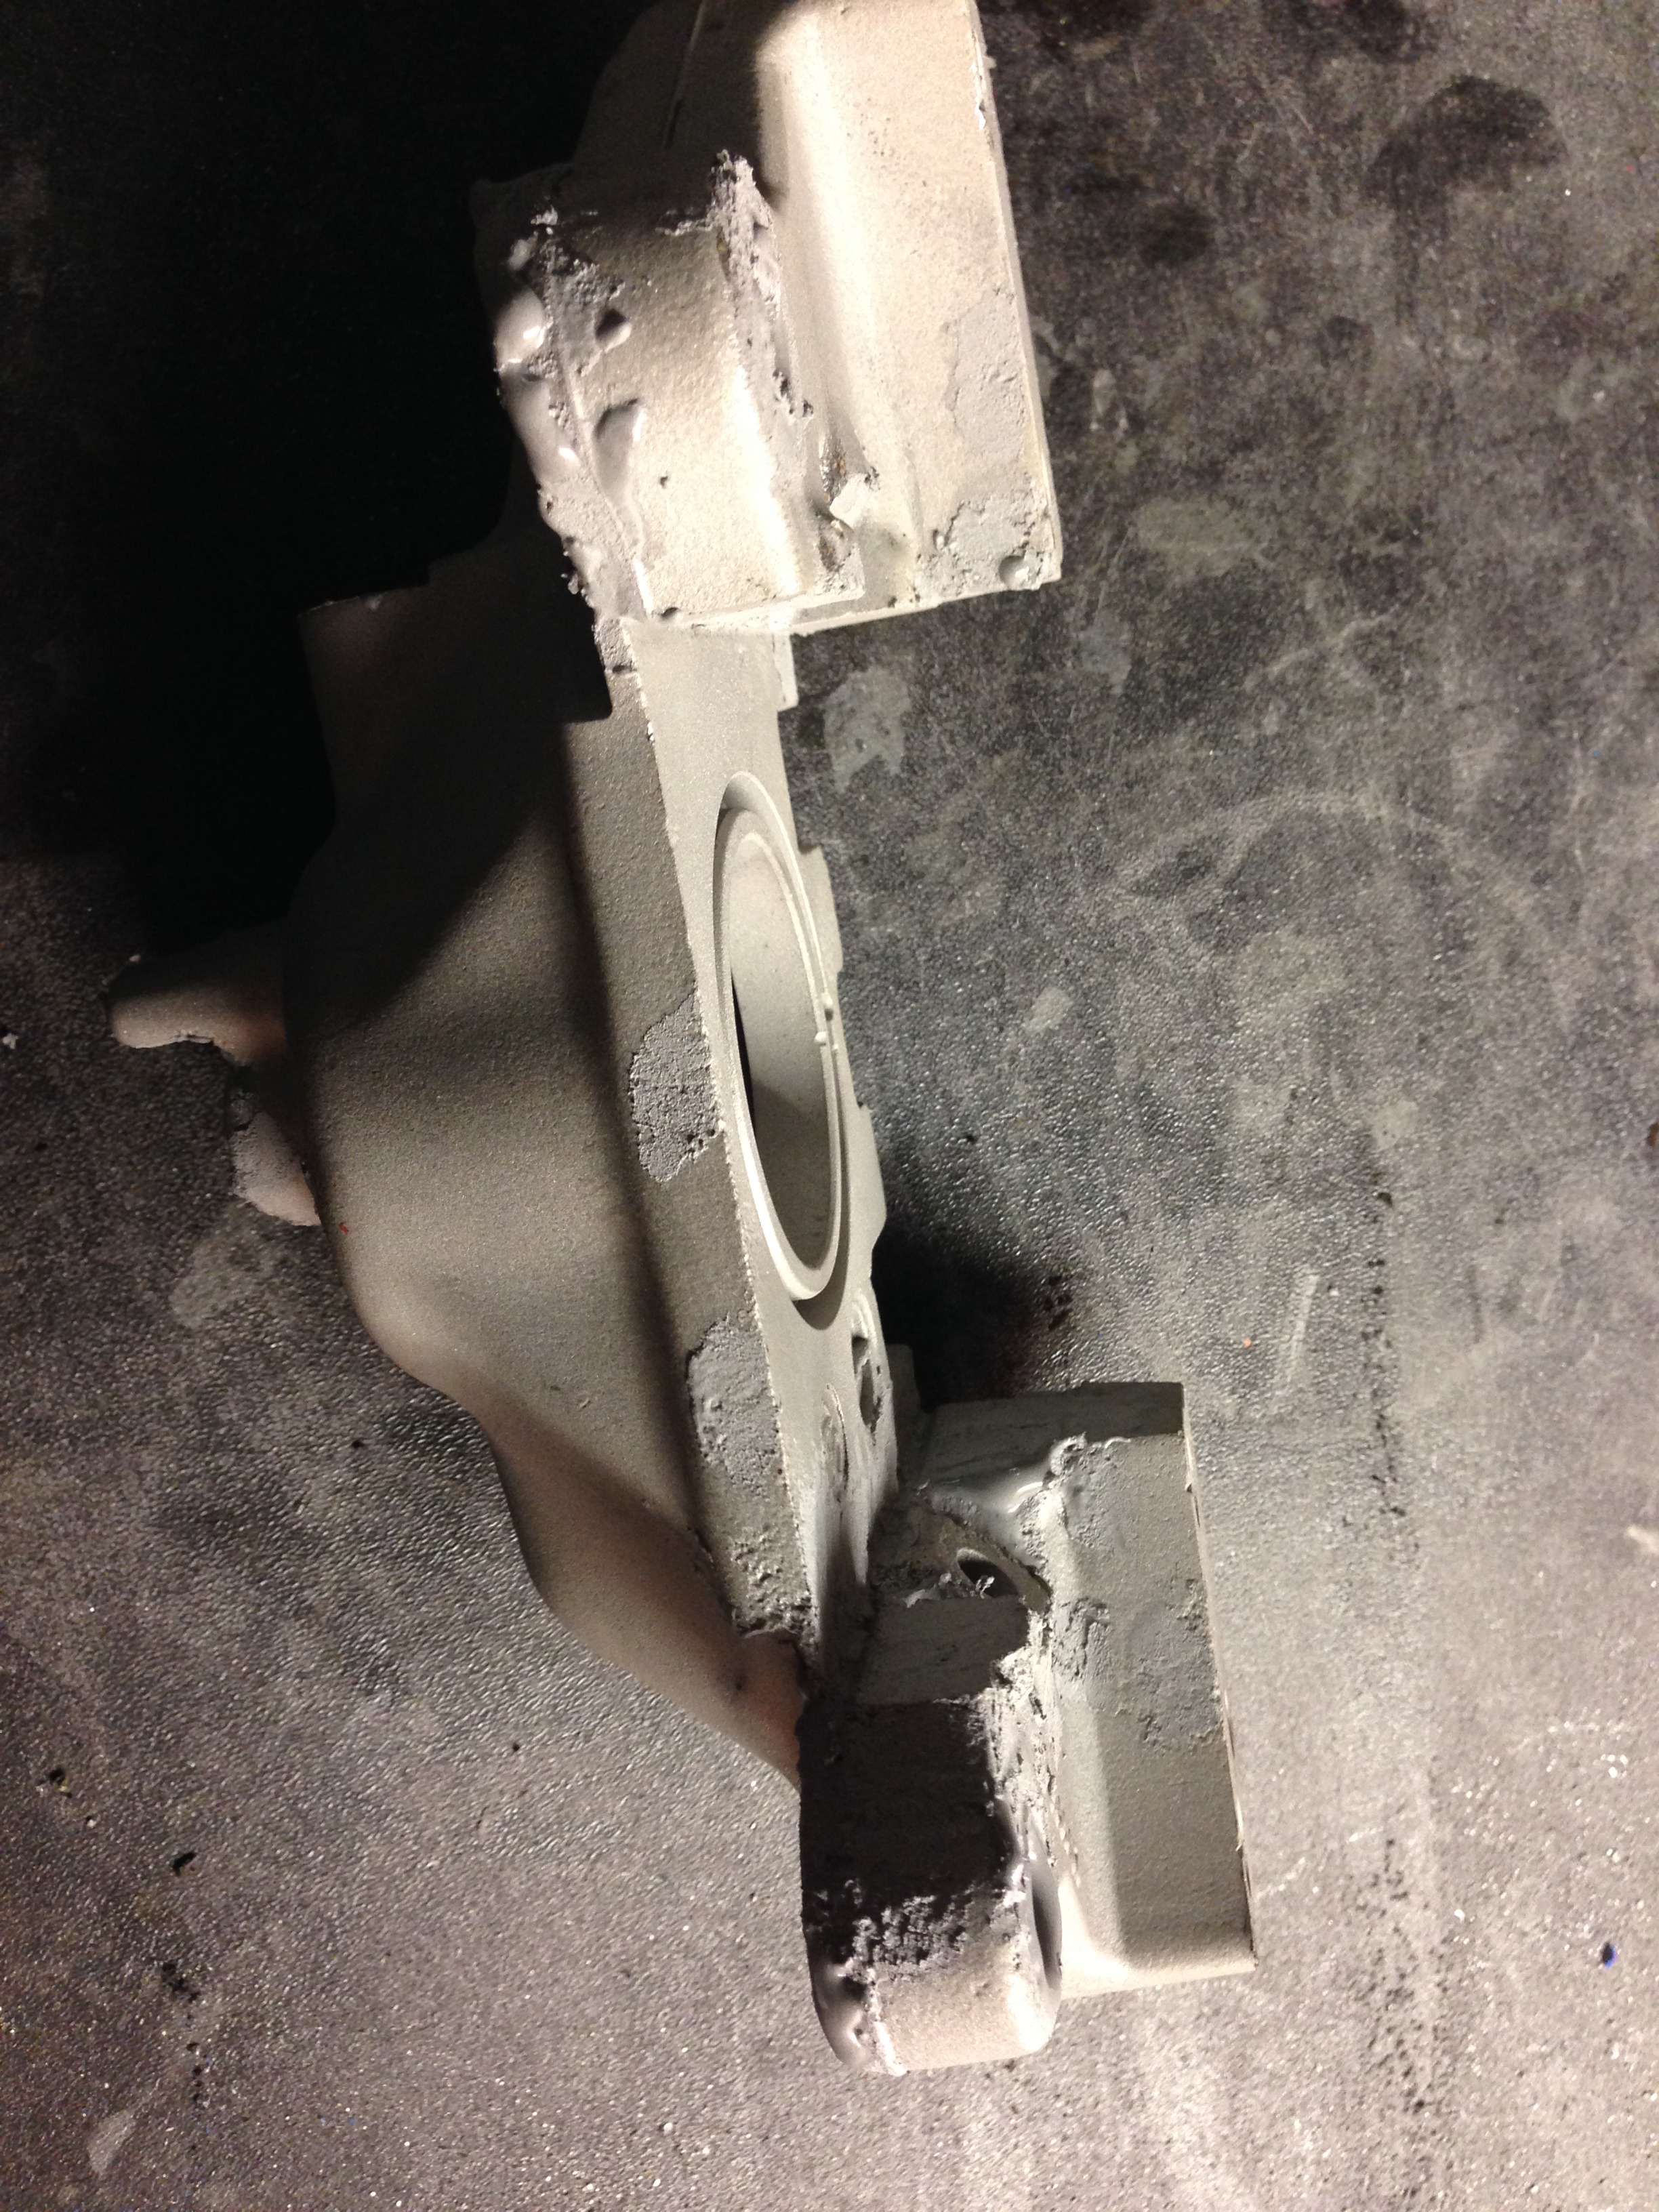
We have applied our metal filler which is to be left overnight before been baked in to oven to fully cure in the morning
It may not look pretty now but once sanded back to shape you will see the difference. Once sanded it may be that they require another small application of the filler to tidy up any final blemishes.
This is ready for stripping
They arnt the worst set we have had but they certainly need some TLC
Starting with the rears
As usual some of the pad guide plate screws are corroded and need chiseling out
Looks to be slight corrosion on the lugs, normally it is worse than this on a bad set, i would rate this mild corrosion.
We will update again shortly
We have now Shot blasted the rear halves with the mounting lugs on, as you can see there is pitting/corrosion in various places. Nothing structural though so can all be sorted with our special metal filler.
We have applied our metal filler which is to be left overnight before been baked in to oven to fully cure in the morning
It may not look pretty now but once sanded back to shape you will see the difference. Once sanded it may be that they require another small application of the filler to tidy up any final blemishes.
http://www.scoobyworx.com/brembo-2-p...ers-5613-p.asp
Extra's
If mounting lugs need welding �35 per pair of calipers
Re-Thread/Helicoil on stripped threads �12 each if required.
�220.92 including a new seal kit and powder coating with decals. This included minor filling work. Major filling may be a little extra
http://www.scoobyworx.com/brembo-2-p...ers-5613-p.asp
Extra's
If mounting lugs need welding �35 per pair of calipers
Re-Thread/Helicoil on stripped threads �12 each if required.
http://www.scoobyworx.com/brembo-2-p...ers-5613-p.asp
Extra's
If mounting lugs need welding �35 per pair of calipers
Re-Thread/Helicoil on stripped threads �12 each if required.
Turn around on clean set needing no filler 2 days generally, more work they need to make them look nice longer it takes, if they need filler and are medium corrosion to bad then it can be 3-7 days with cure times. Also depending on workload and how many sets we currently have in to recondition
Trending Topics
The other half of each rear caliper is now blasted and filled.
The rears have now also been baked to cure the metal filler, il get these filed down tomorrow hopefully and update again,

Now time to start the fronts
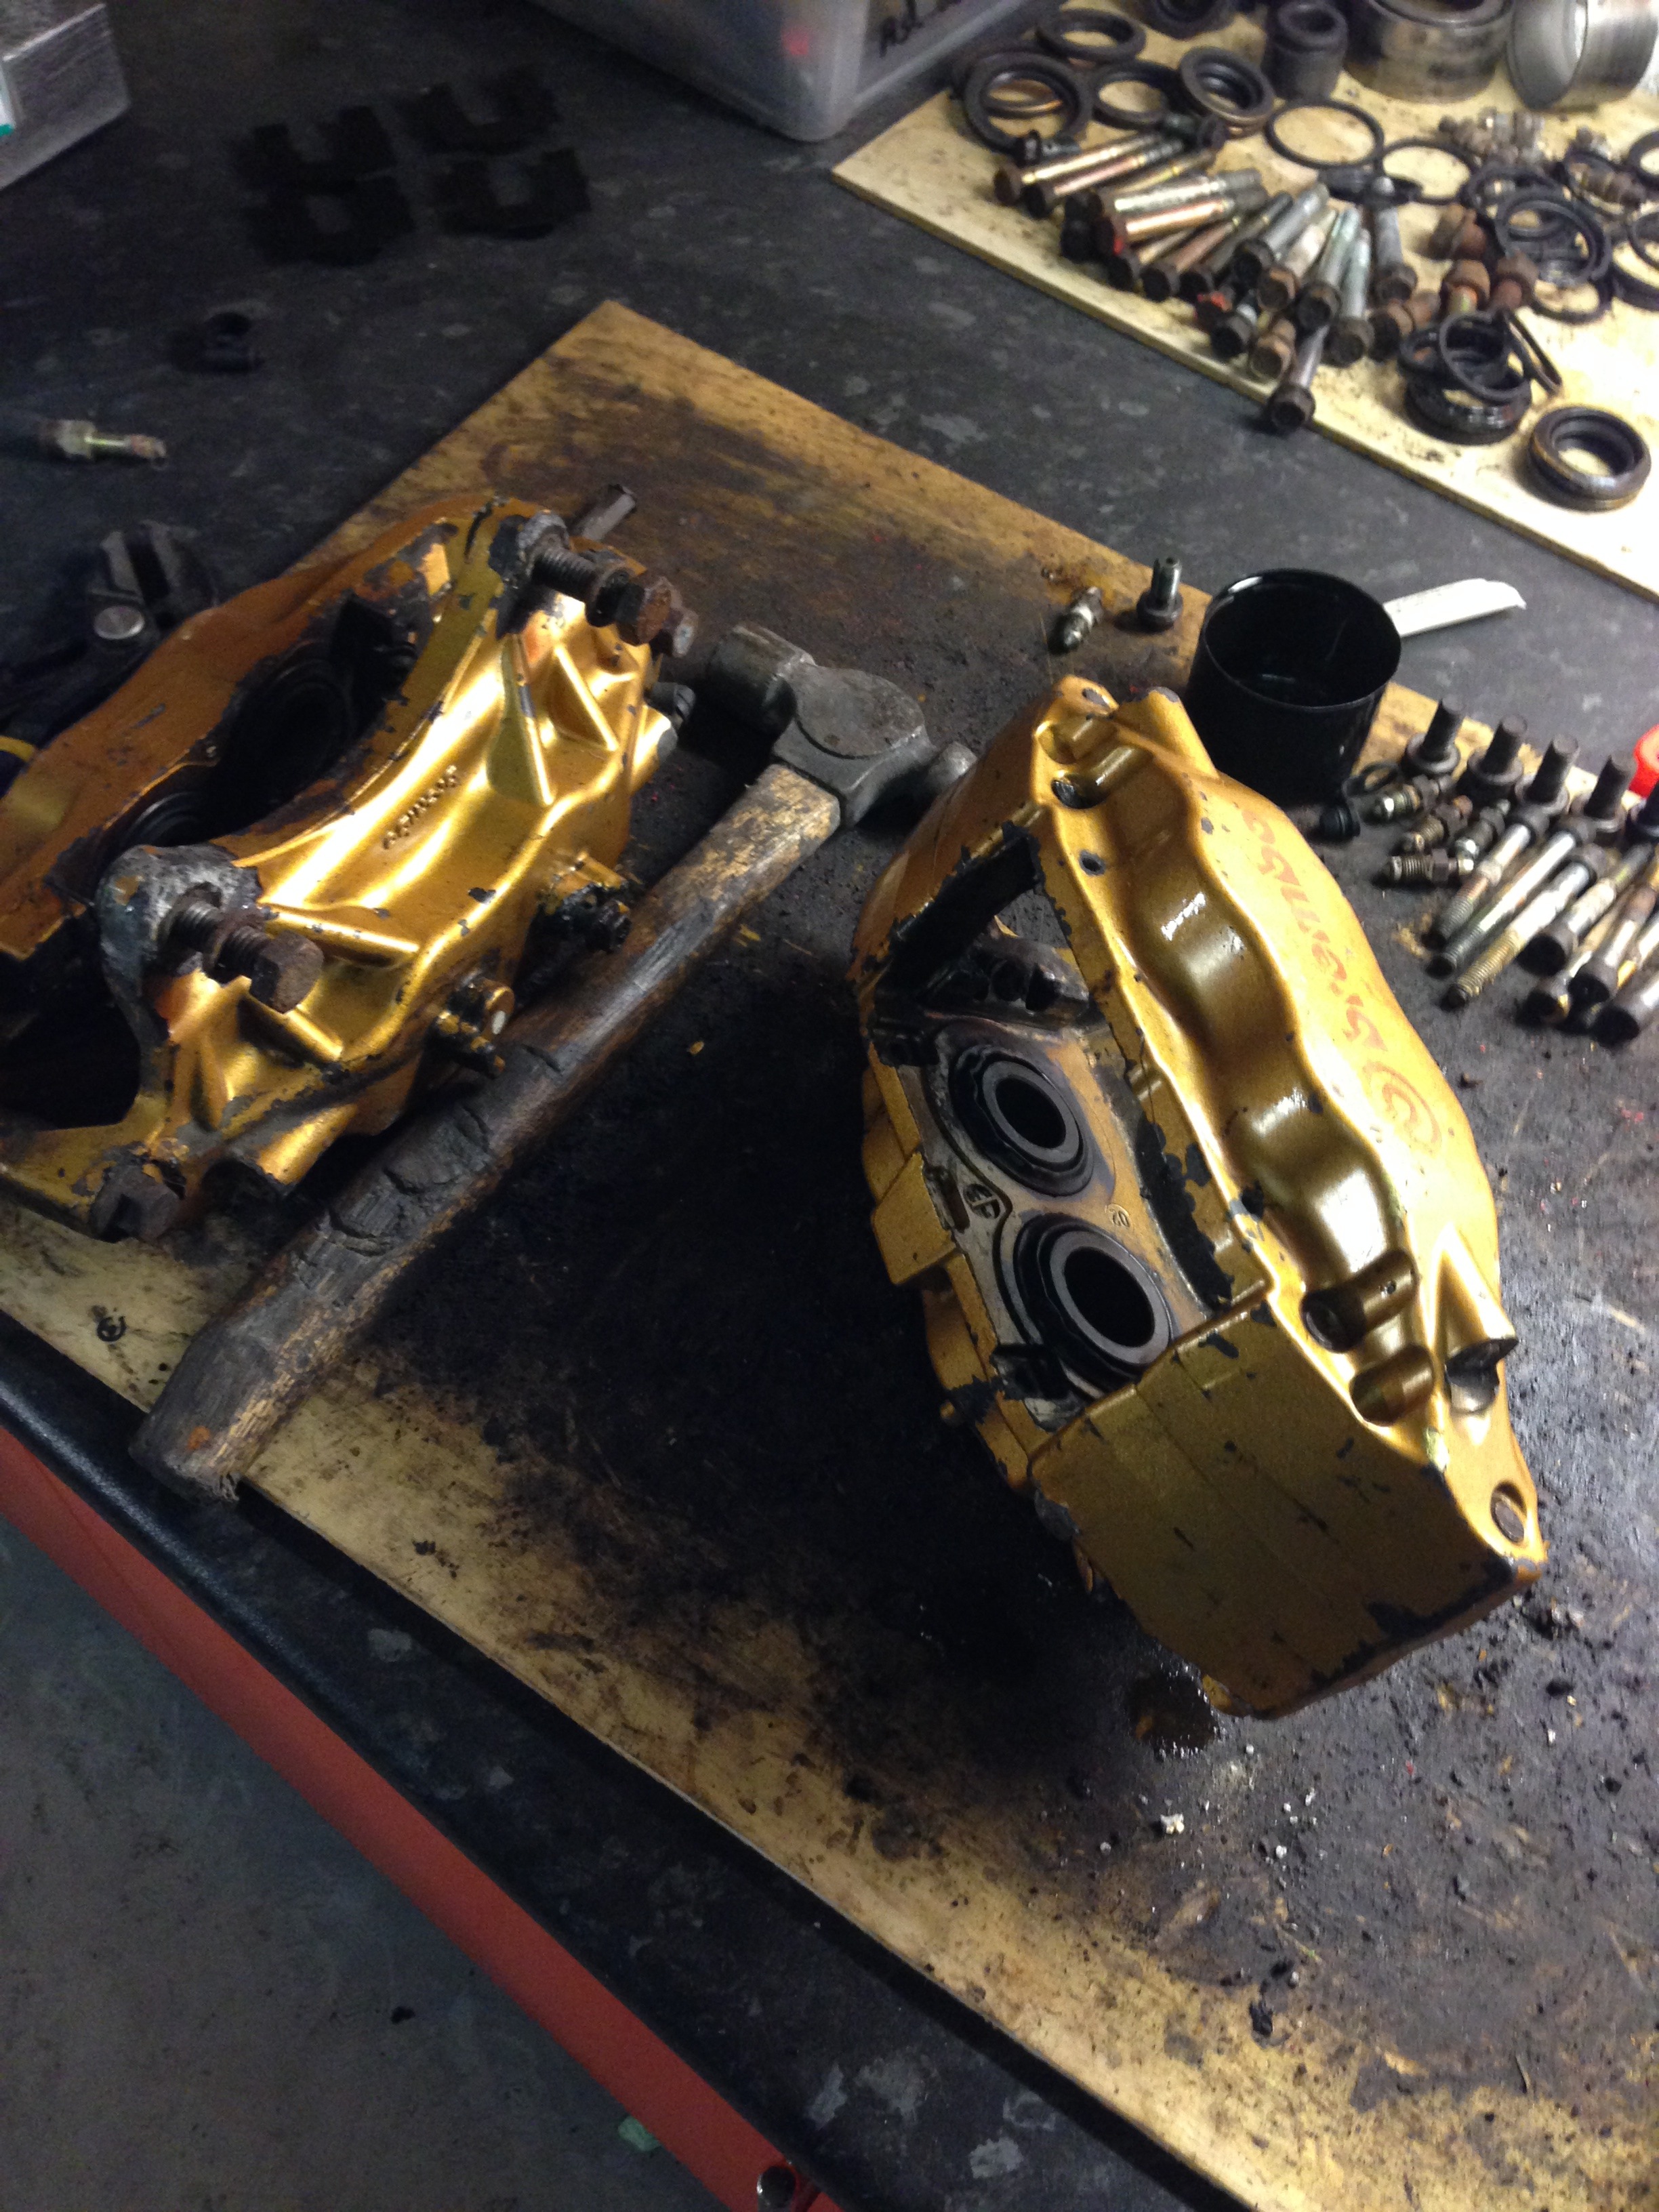
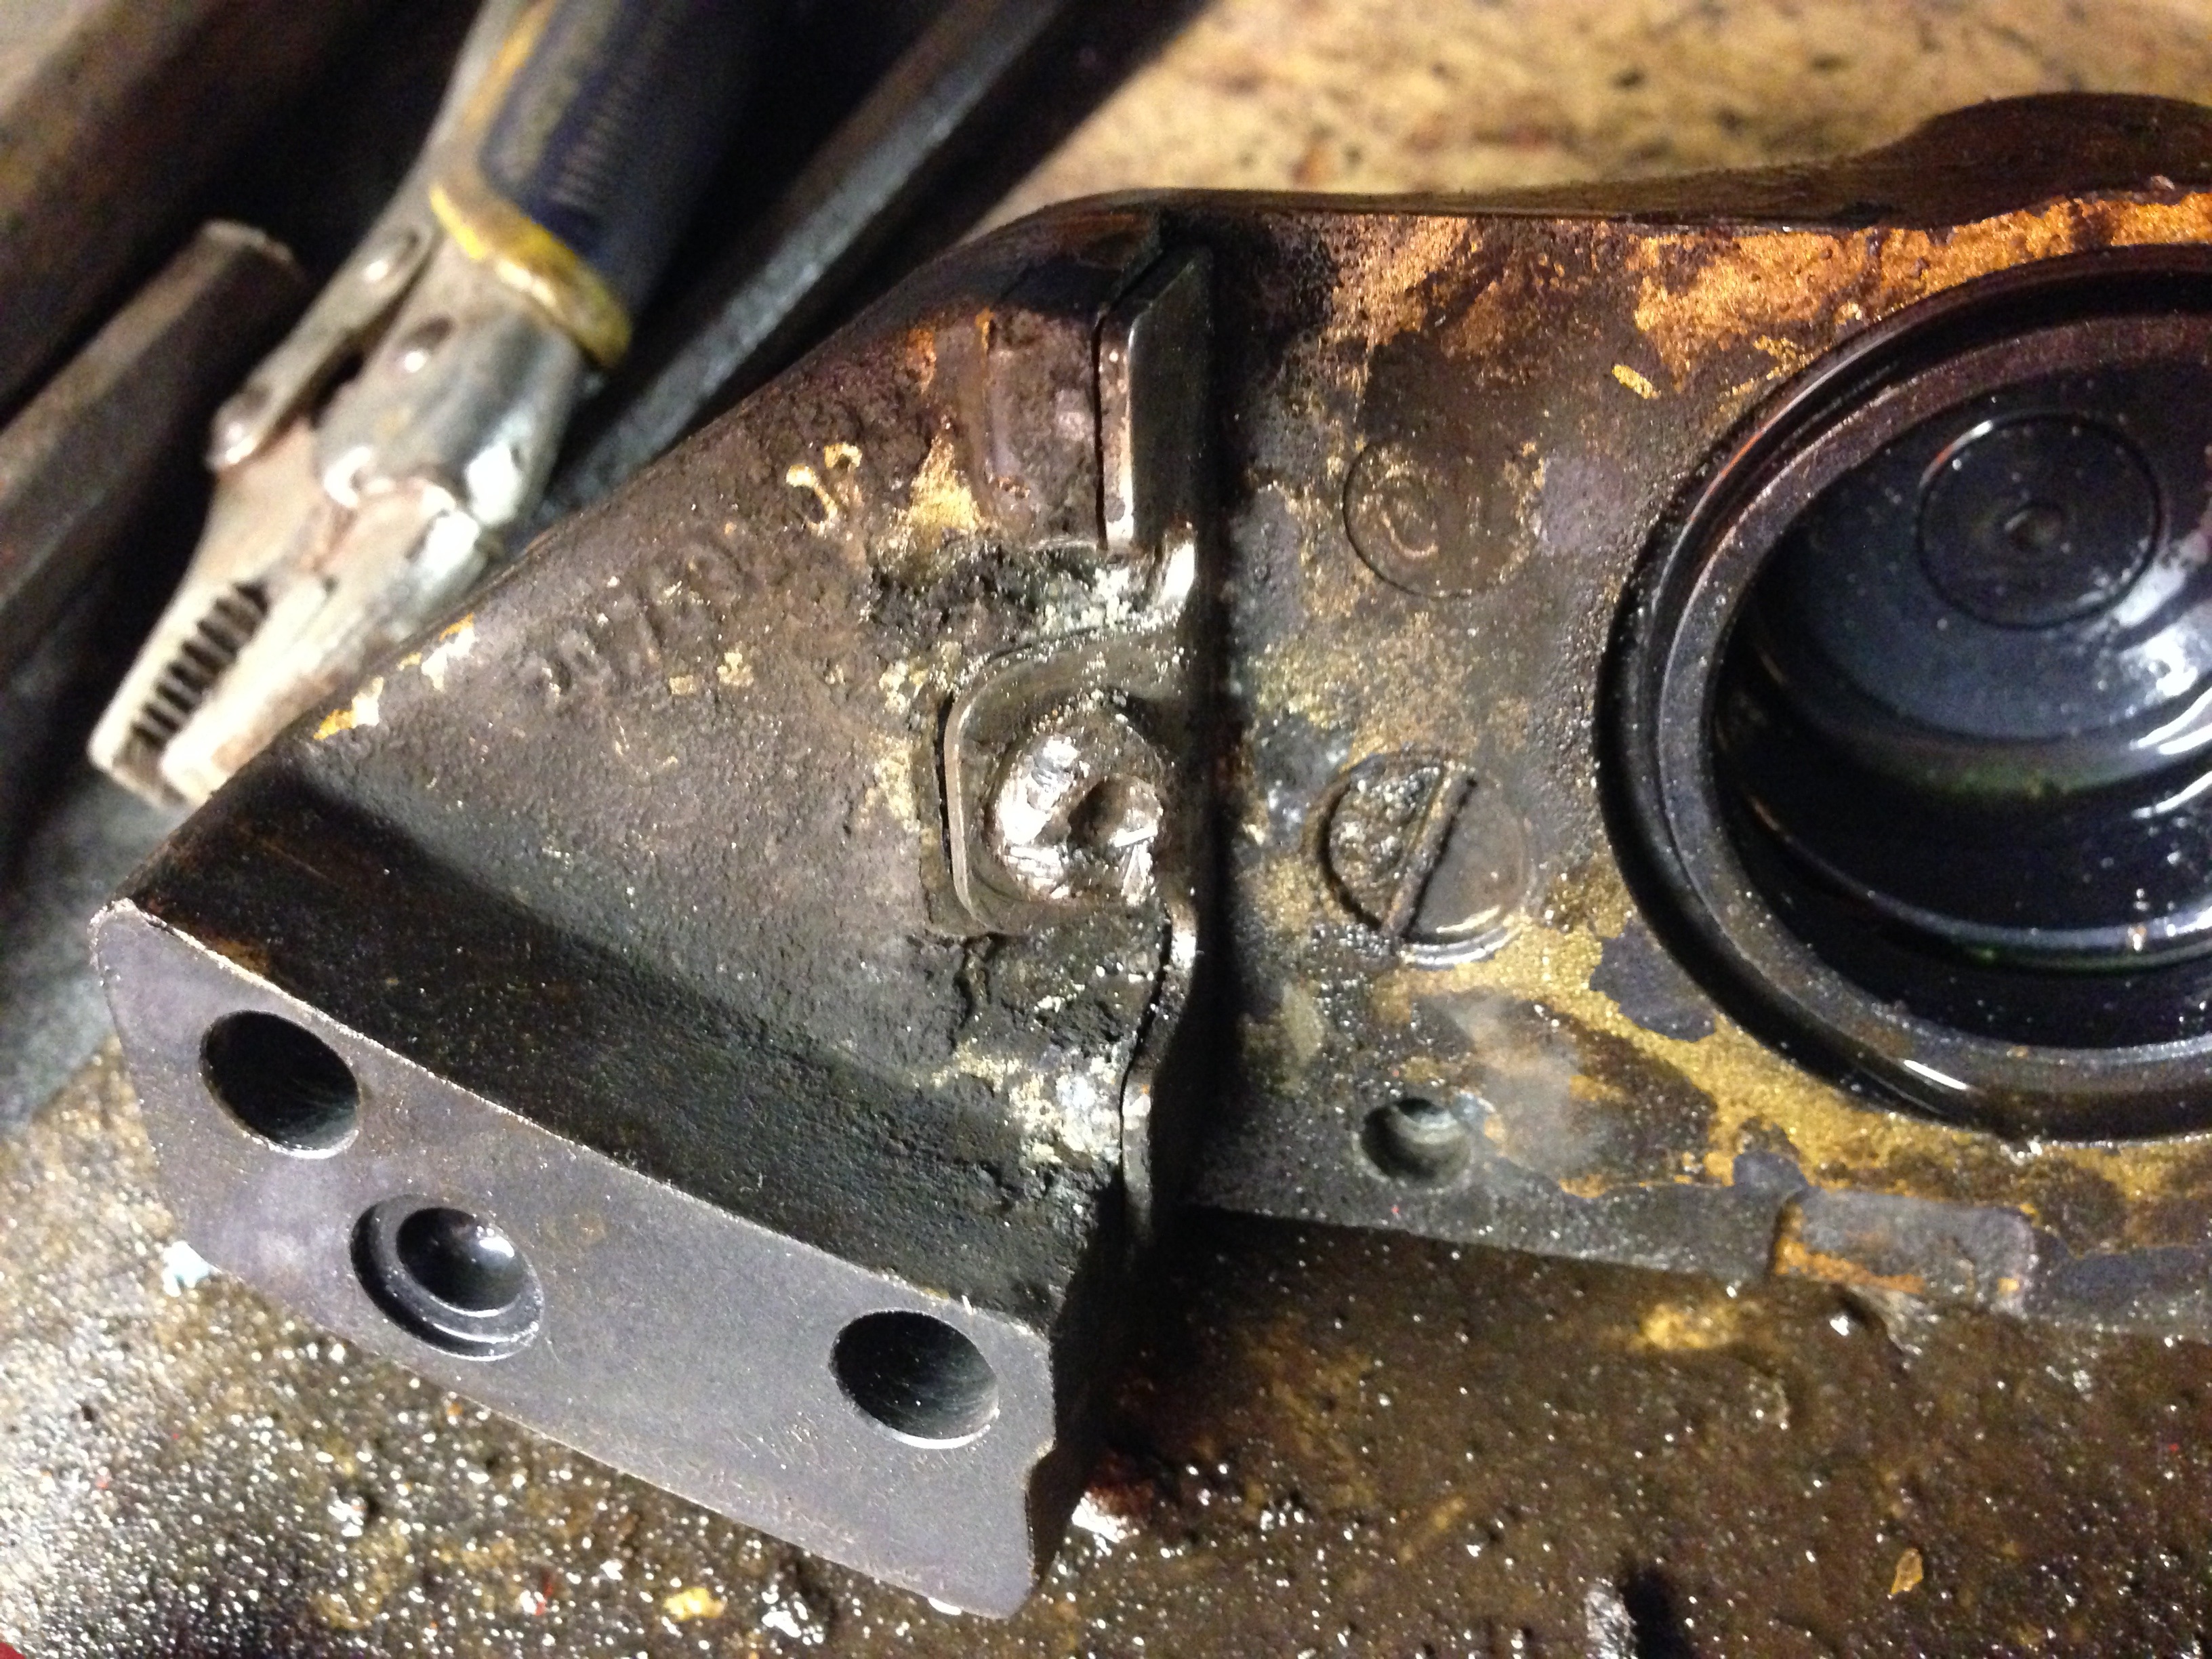
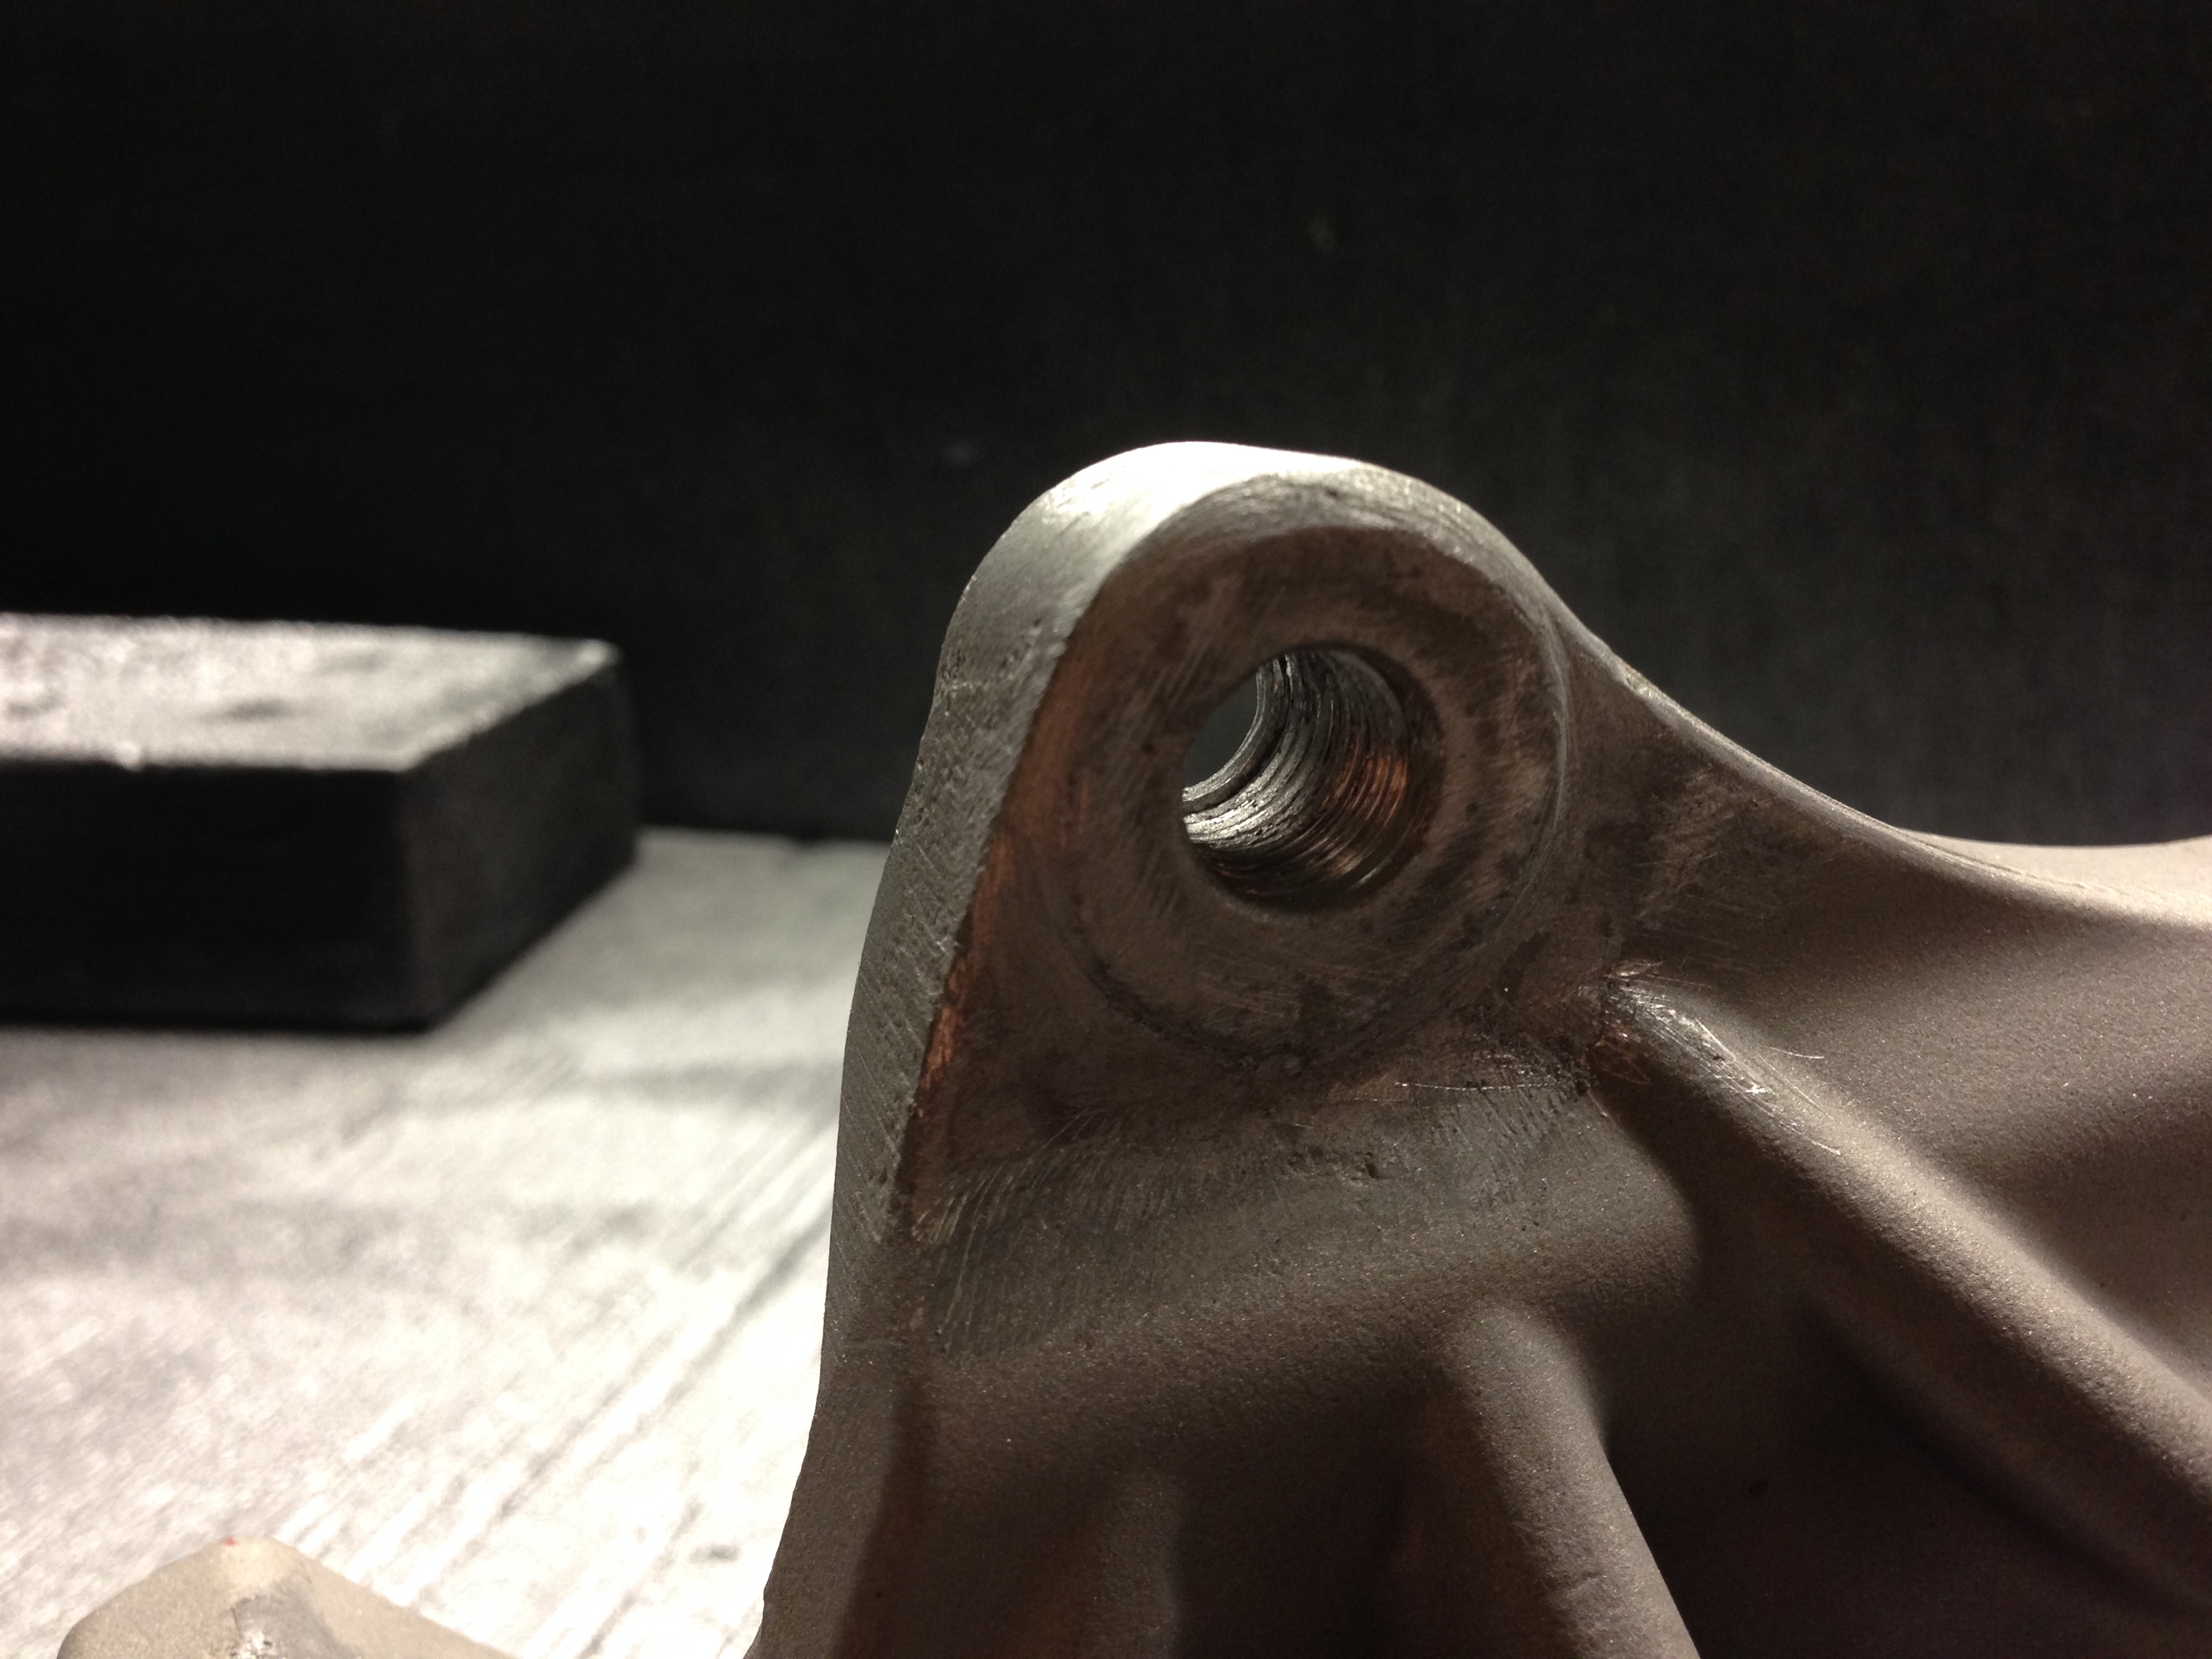
This really isn't what we want. A snapped bleed screw in the fronts. Time to start drilling
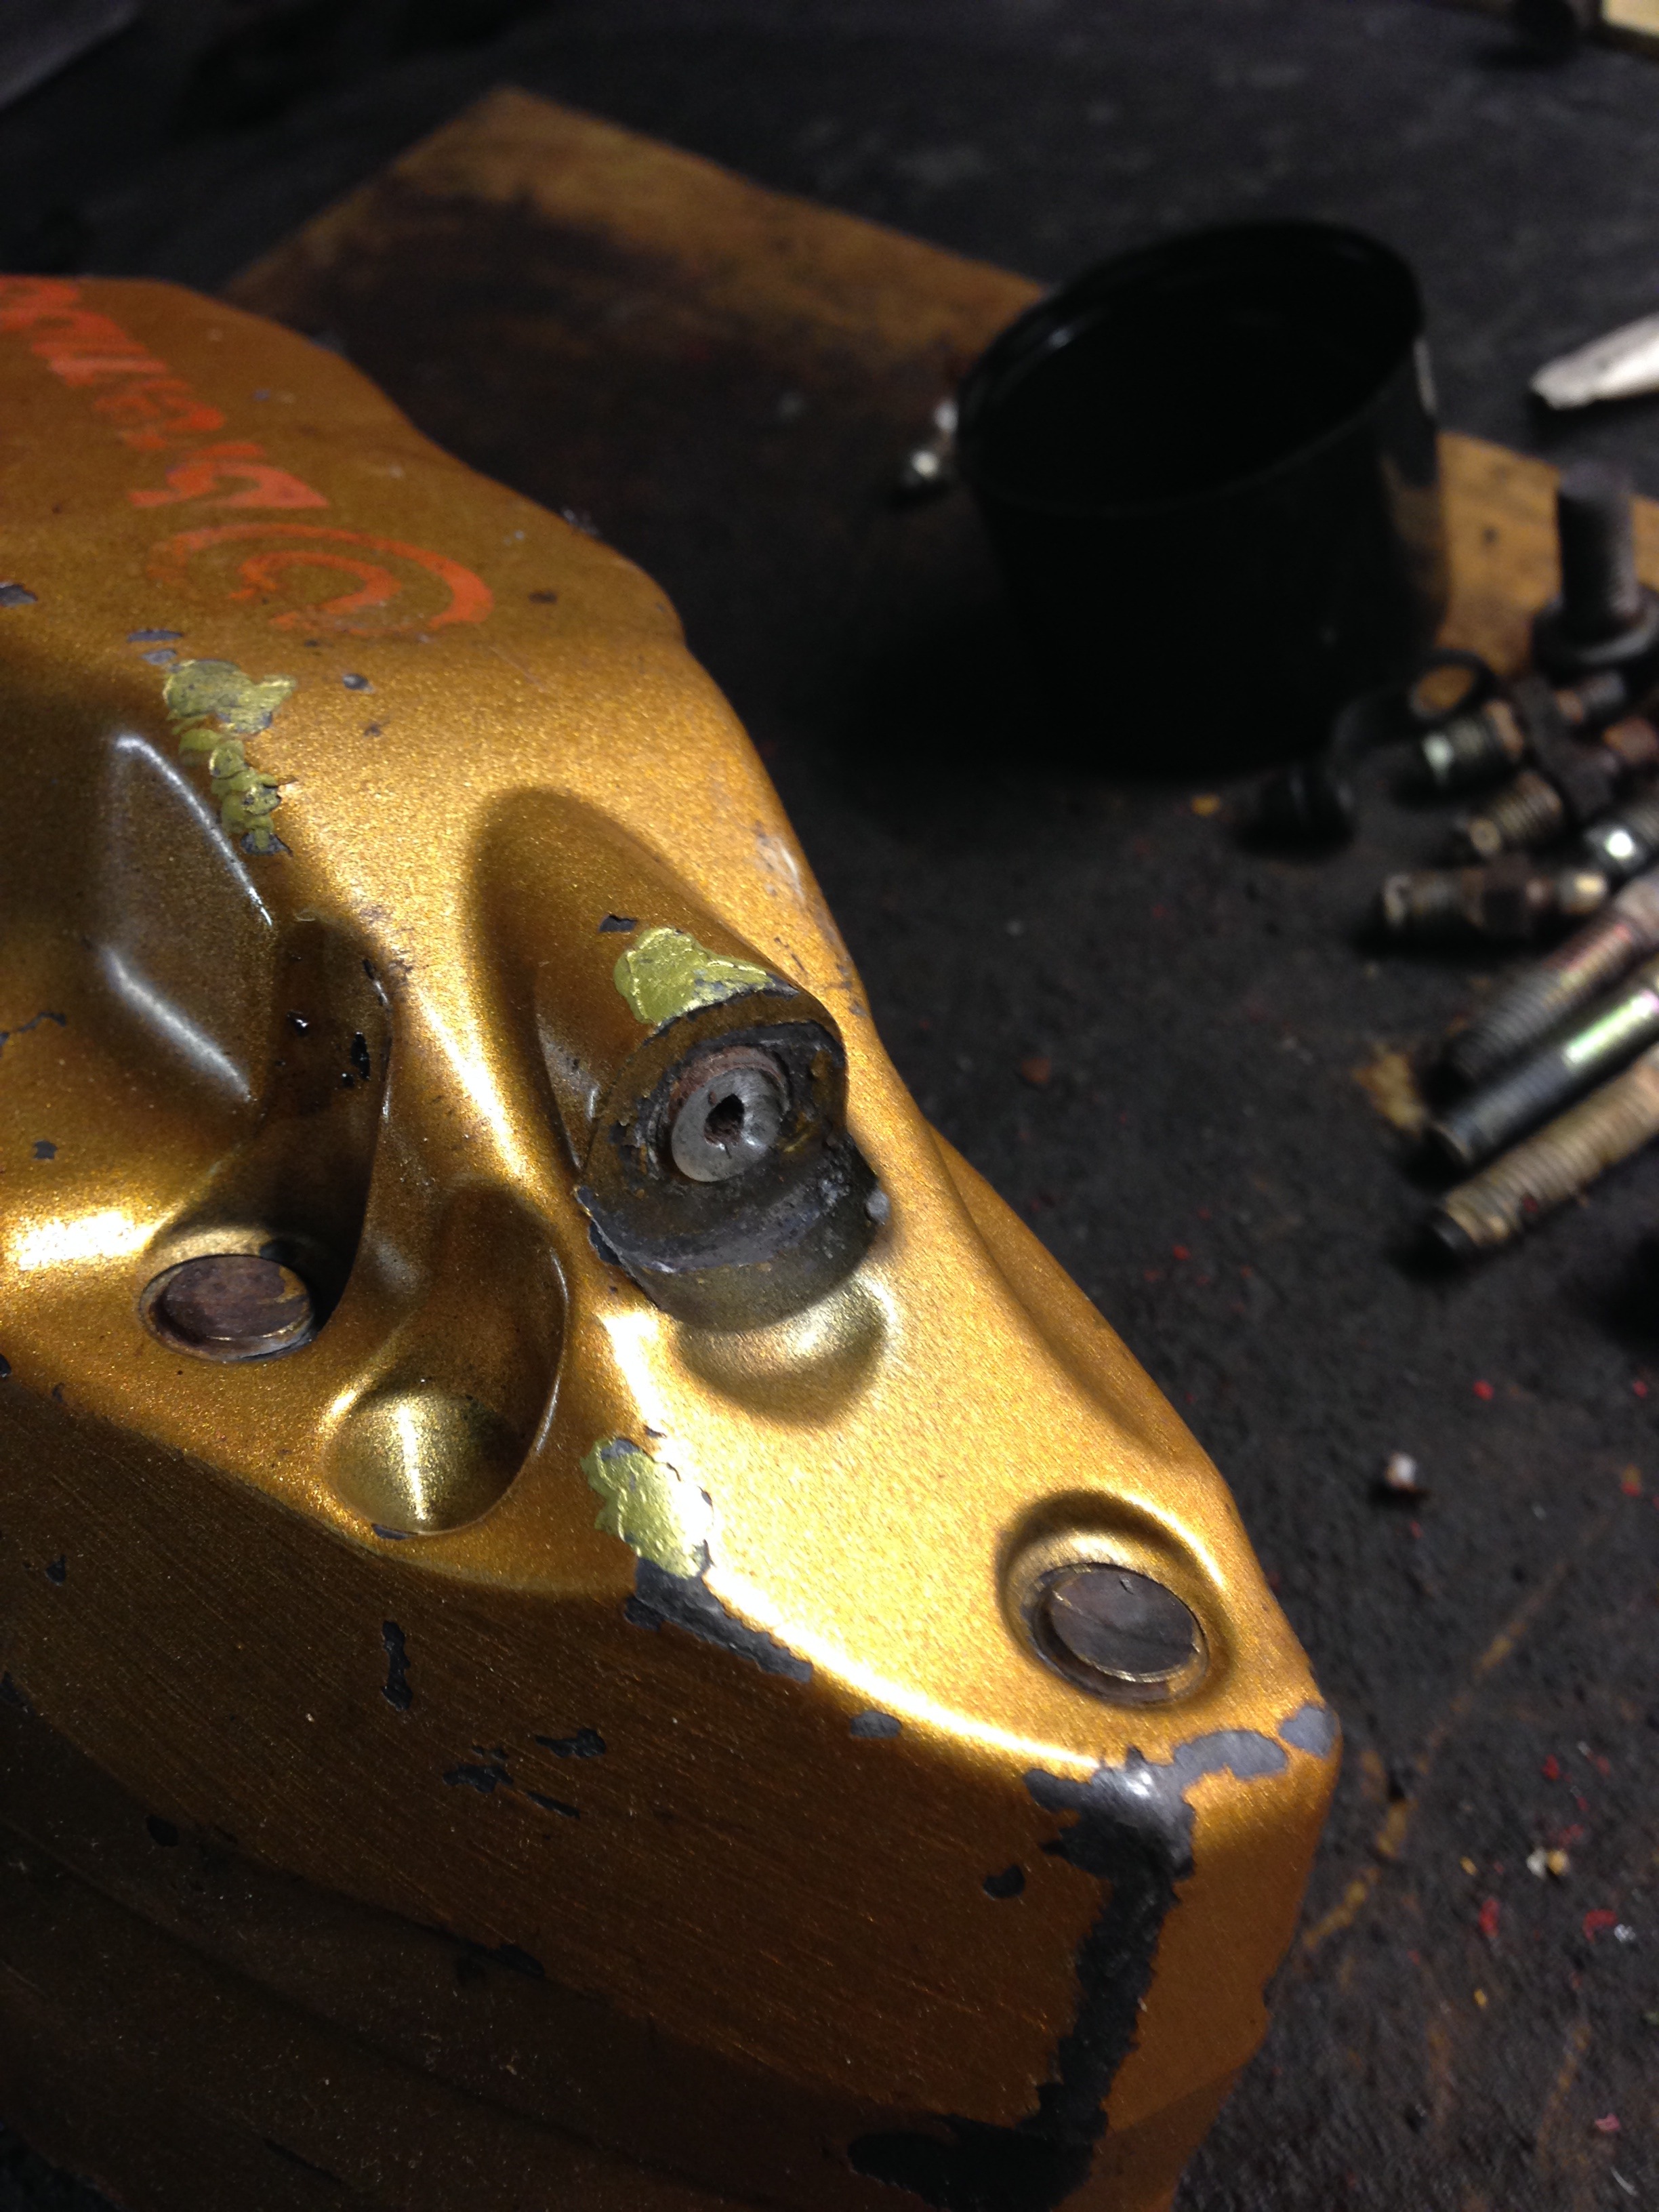
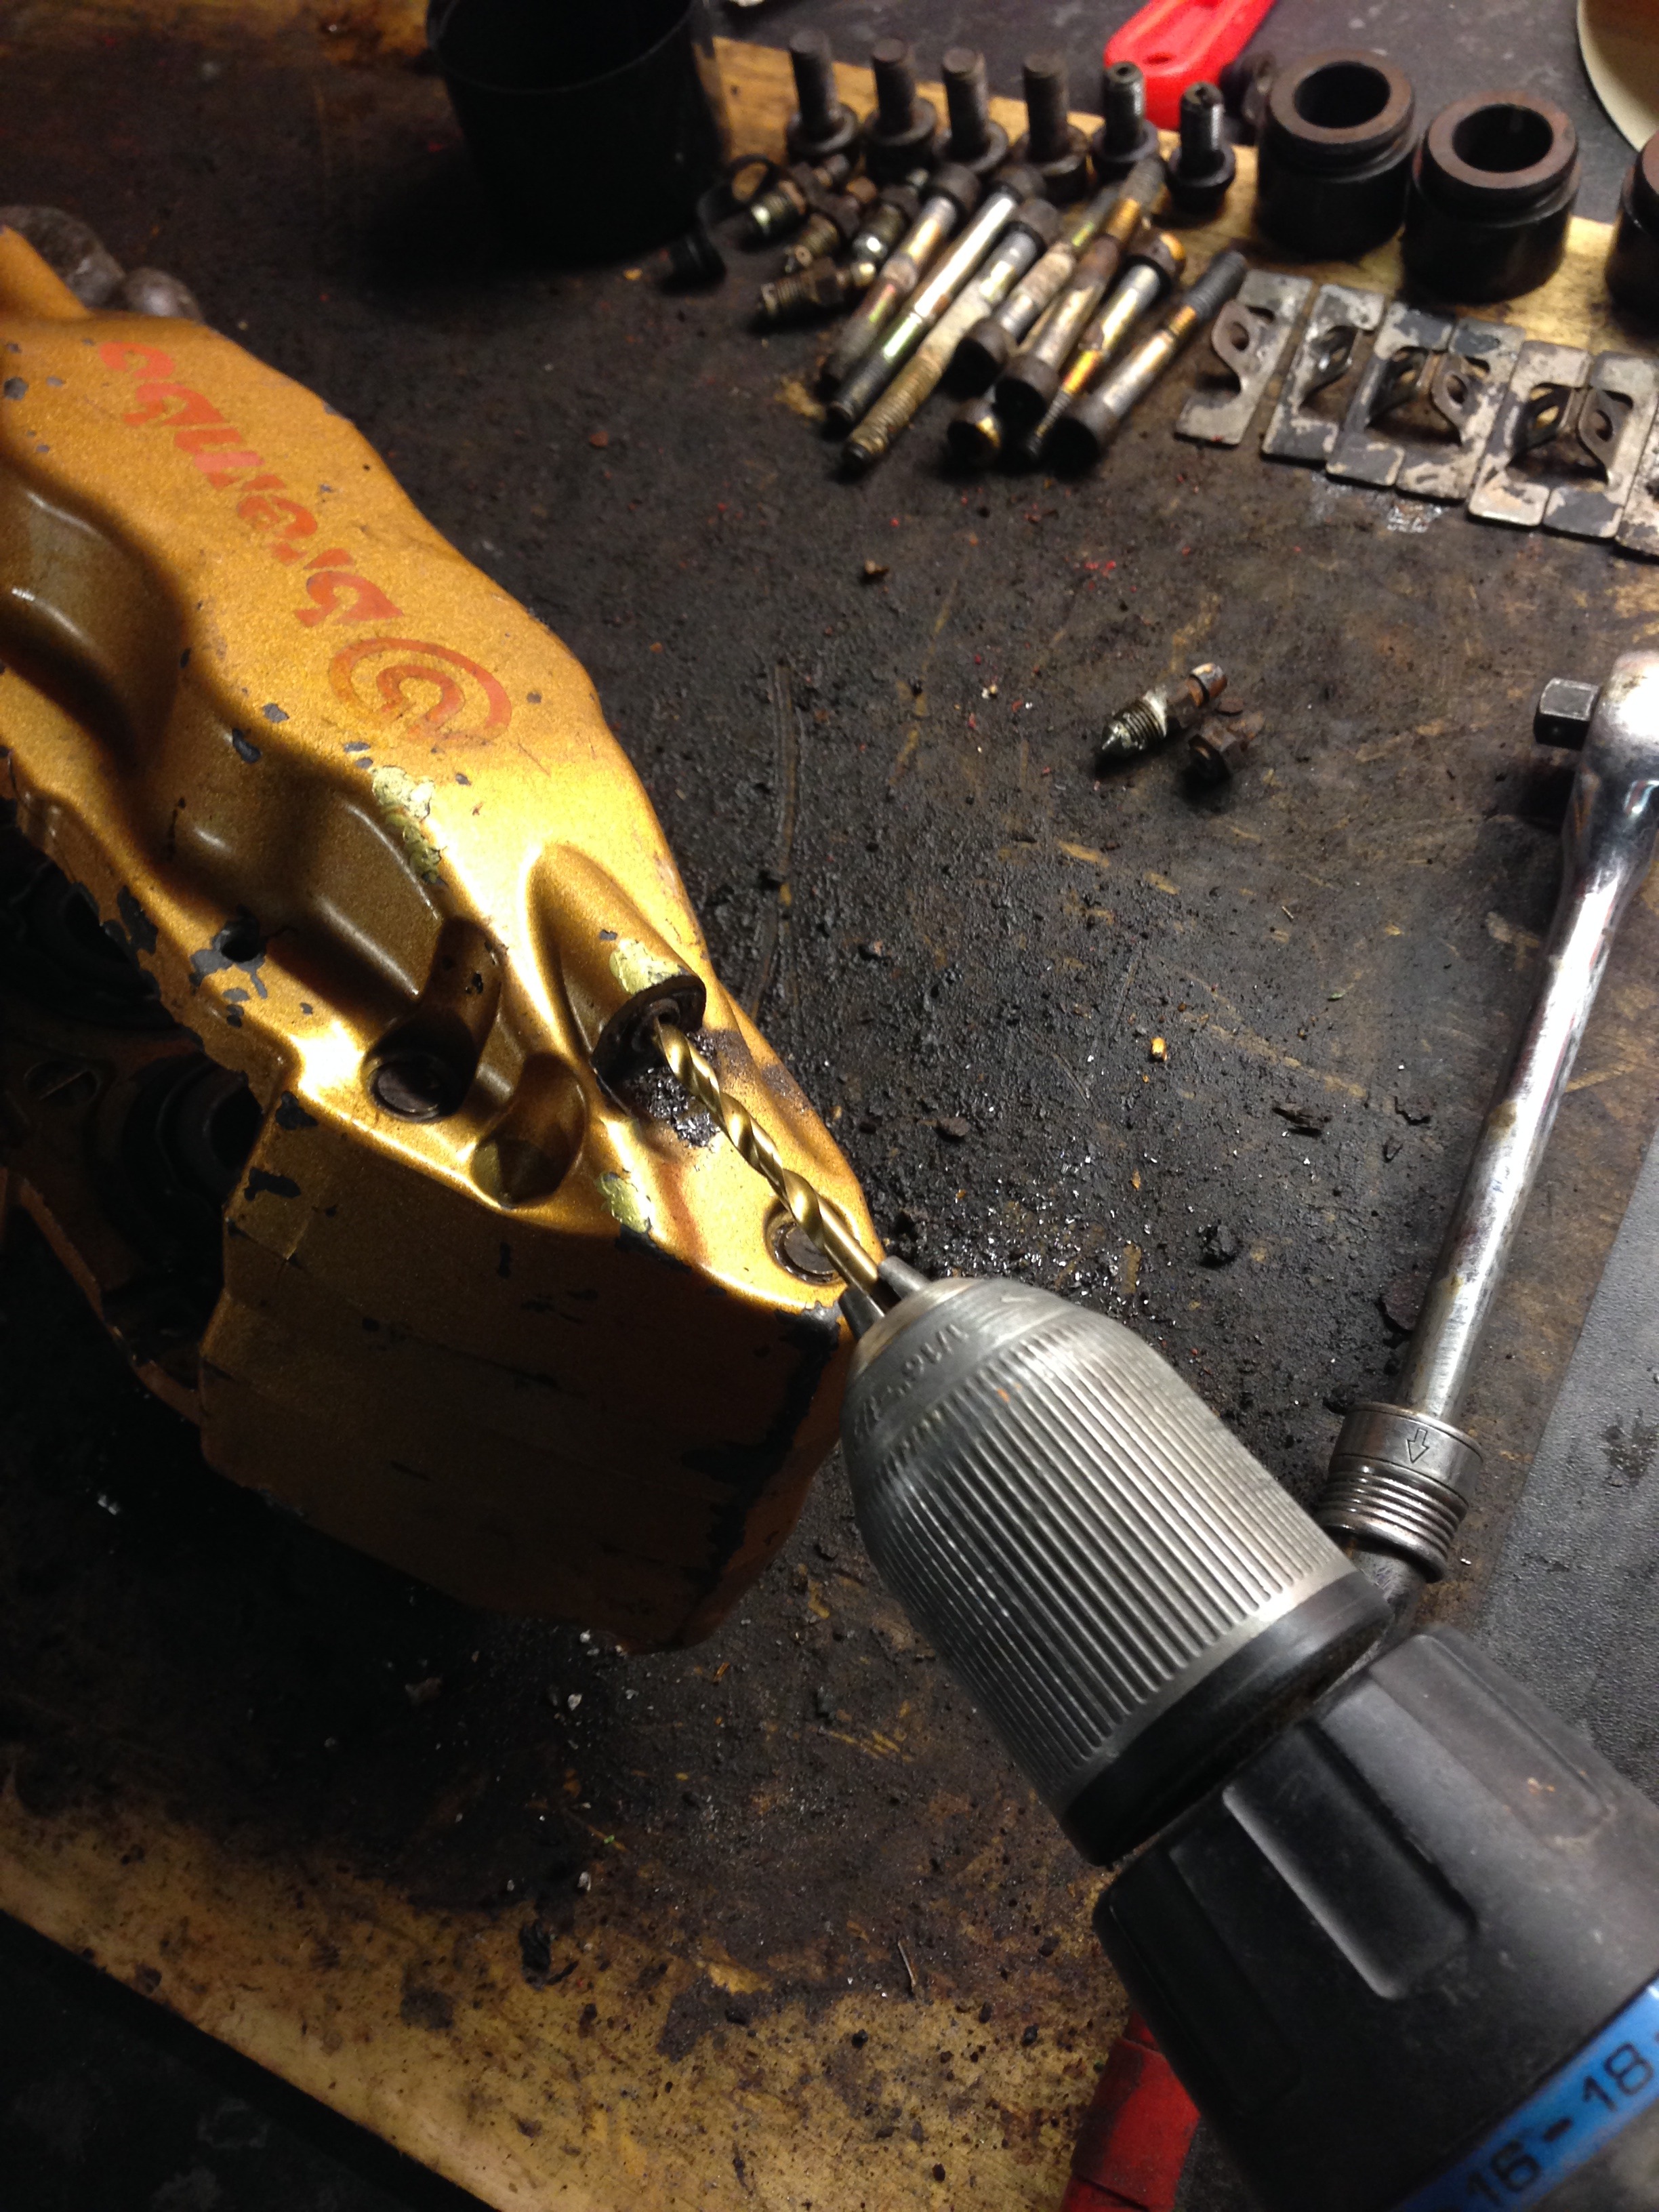
Now we tried drilling and using an easy out and also heating up the housing to try and release the seized bleed screw to no avail, even the easy out snapped in the drilled hole. So i had one final option before arranging for it to be spark eroded (this removes snapped bolts/bleed screws without damaging threads). I went to see Adrian who is a fabrication/welder expert a few units down who is great at solving snapped bleed screw issues, with a washer welded on and then a nut welded to the washer it came out.
The rears have now also been baked to cure the metal filler, il get these filed down tomorrow hopefully and update again,
Now time to start the fronts
This really isn't what we want. A snapped bleed screw in the fronts. Time to start drilling
Now we tried drilling and using an easy out and also heating up the housing to try and release the seized bleed screw to no avail, even the easy out snapped in the drilled hole. So i had one final option before arranging for it to be spark eroded (this removes snapped bolts/bleed screws without damaging threads). I went to see Adrian who is a fabrication/welder expert a few units down who is great at solving snapped bleed screw issues, with a washer welded on and then a nut welded to the washer it came out.
A little more progress
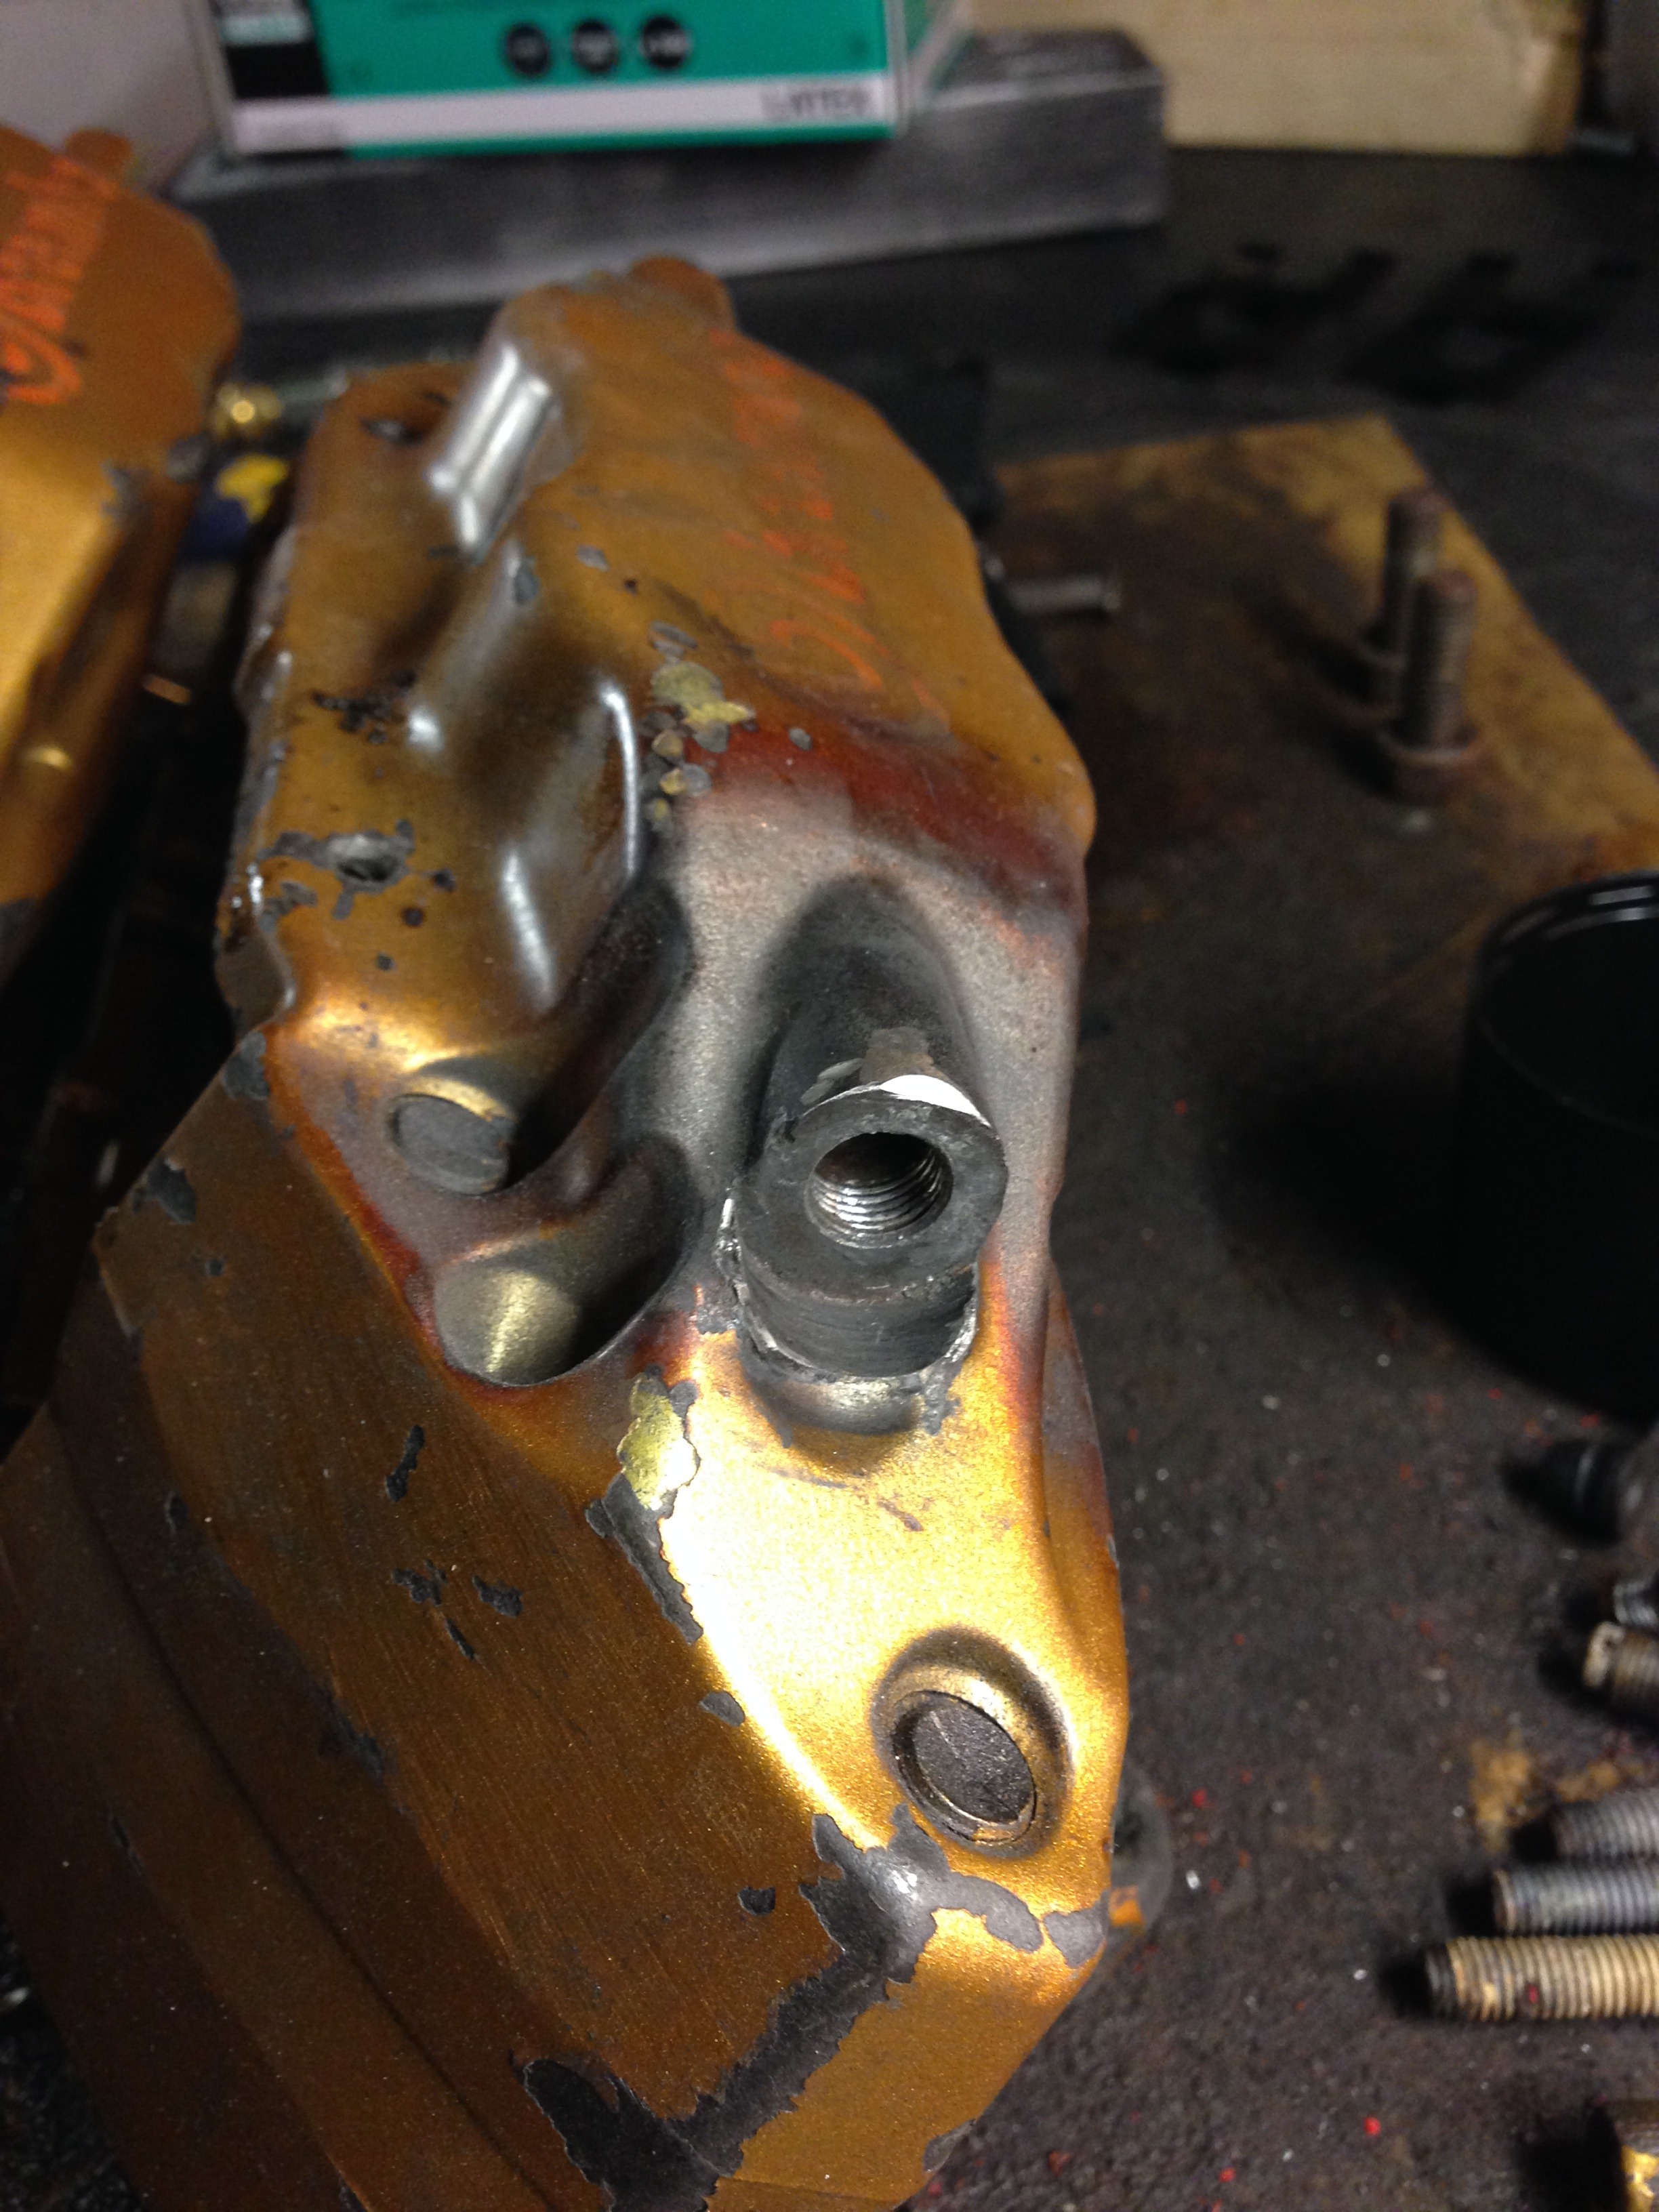
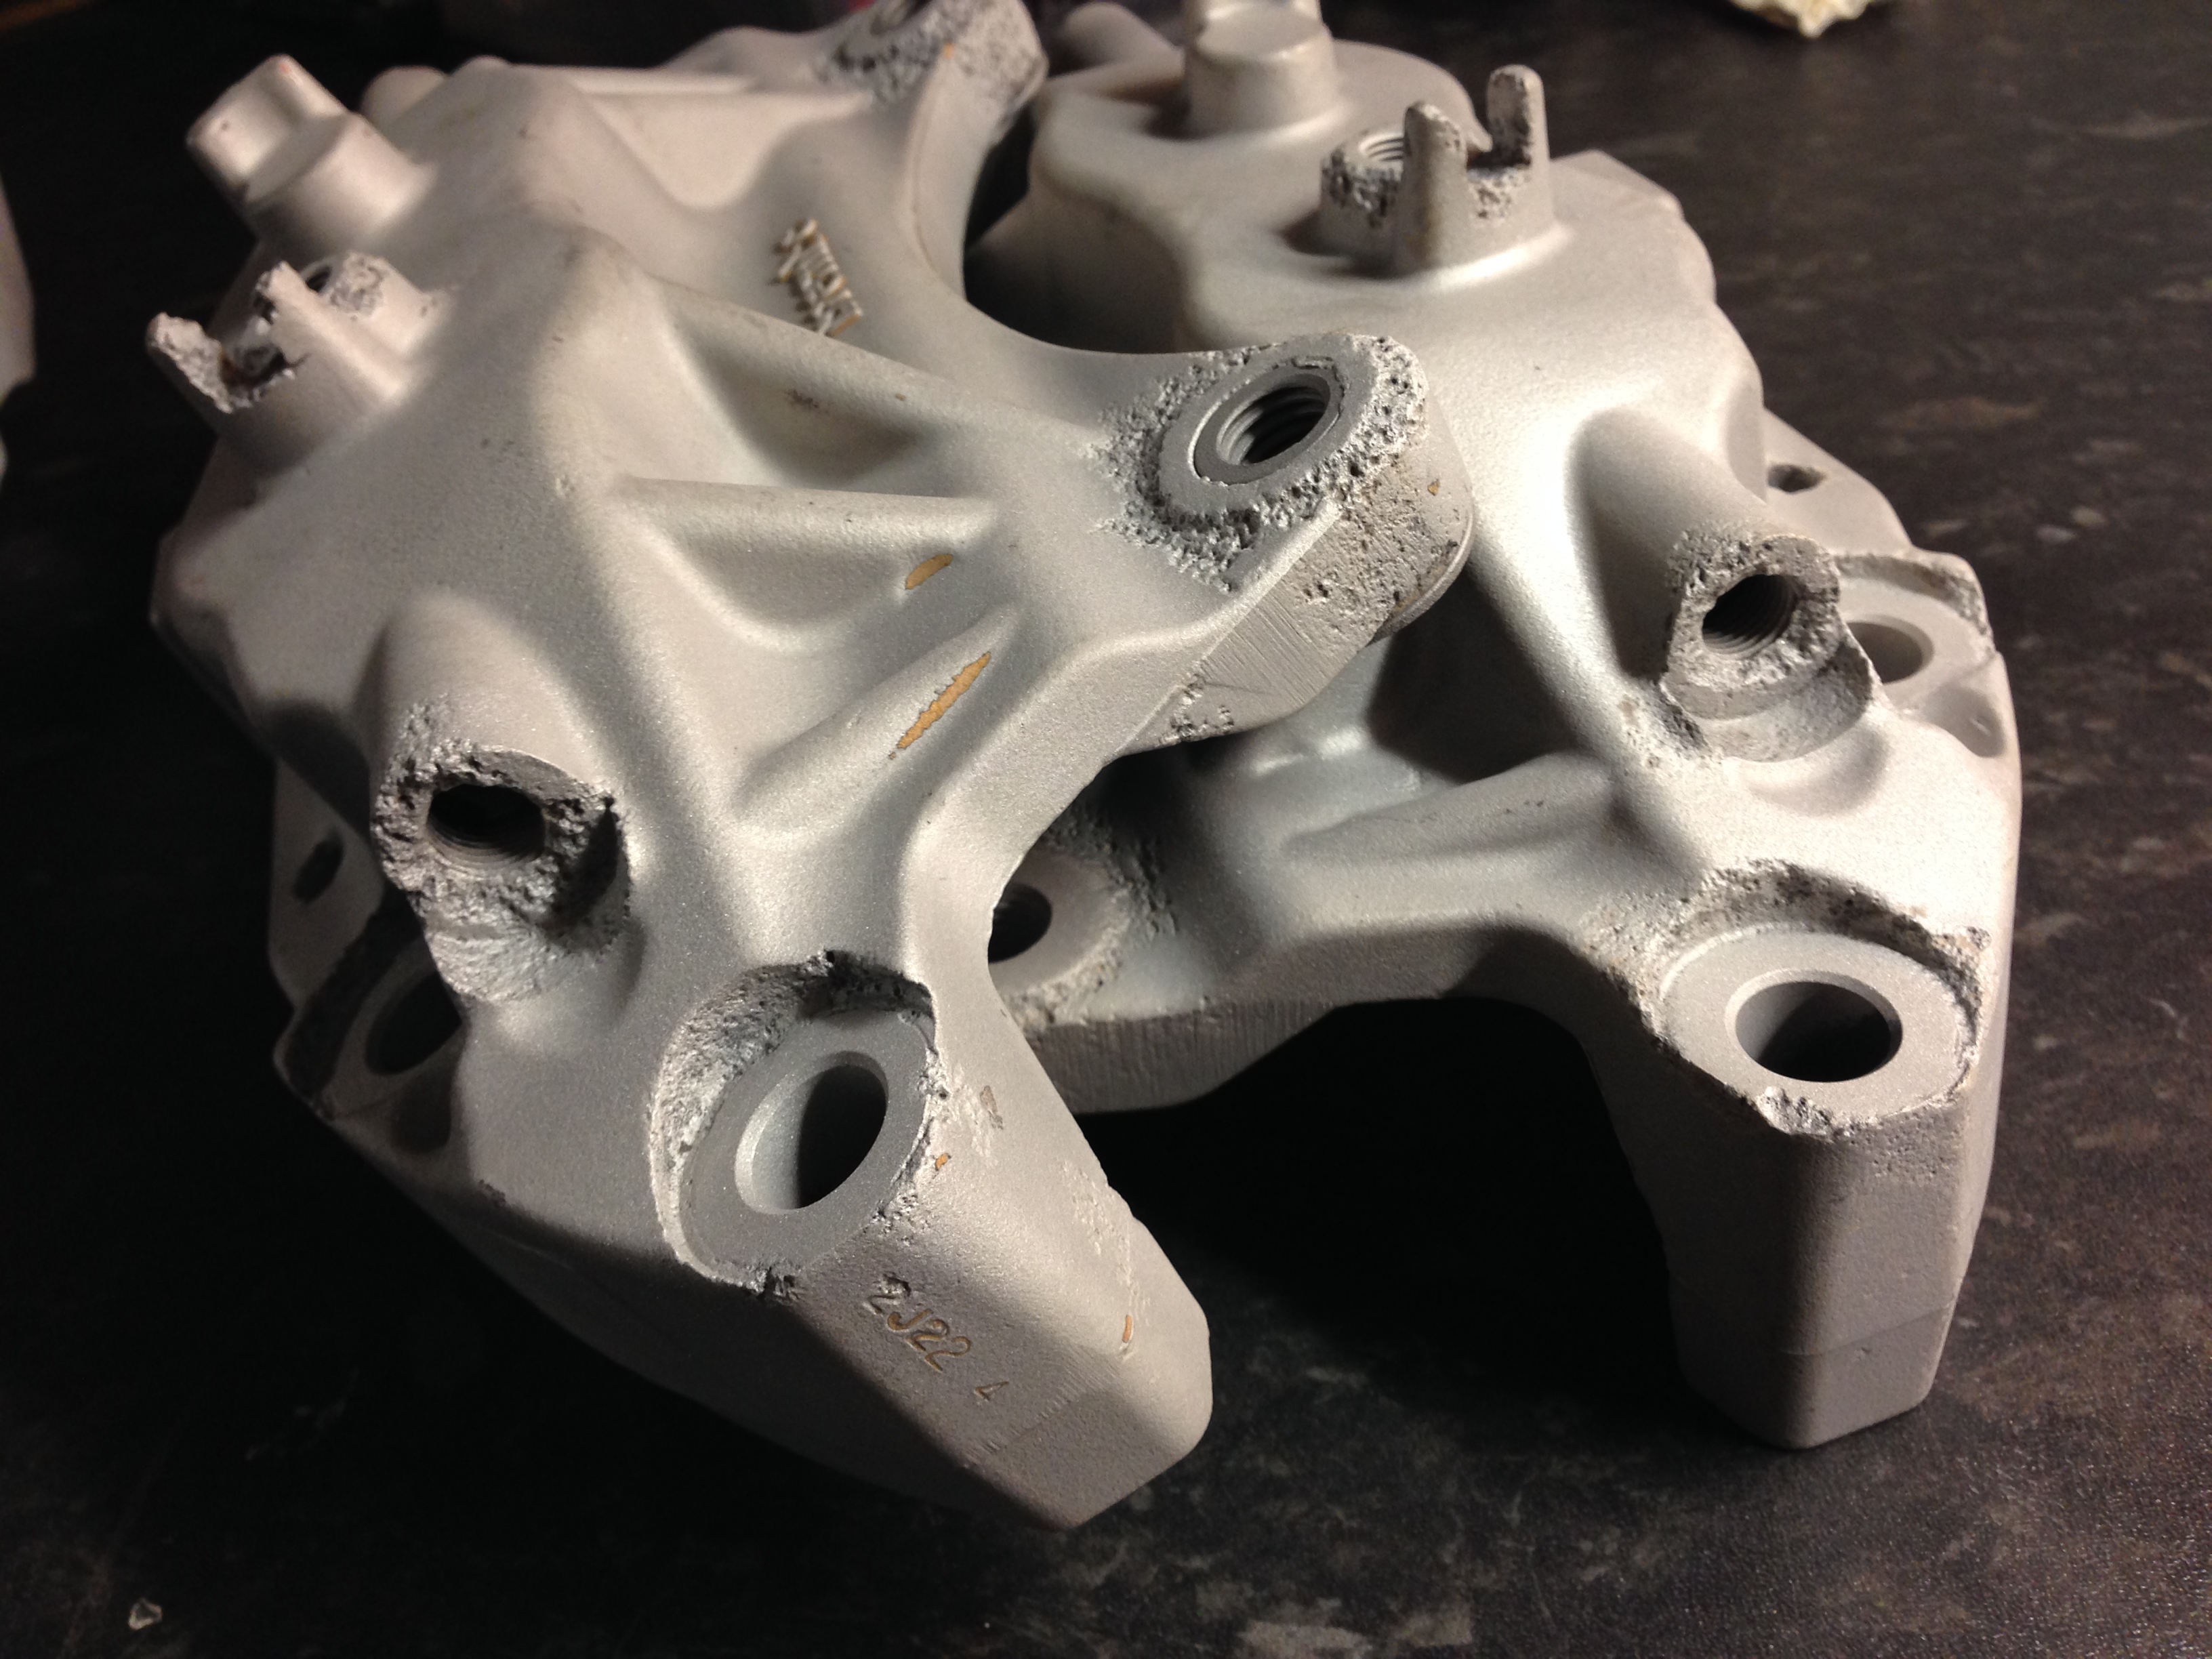
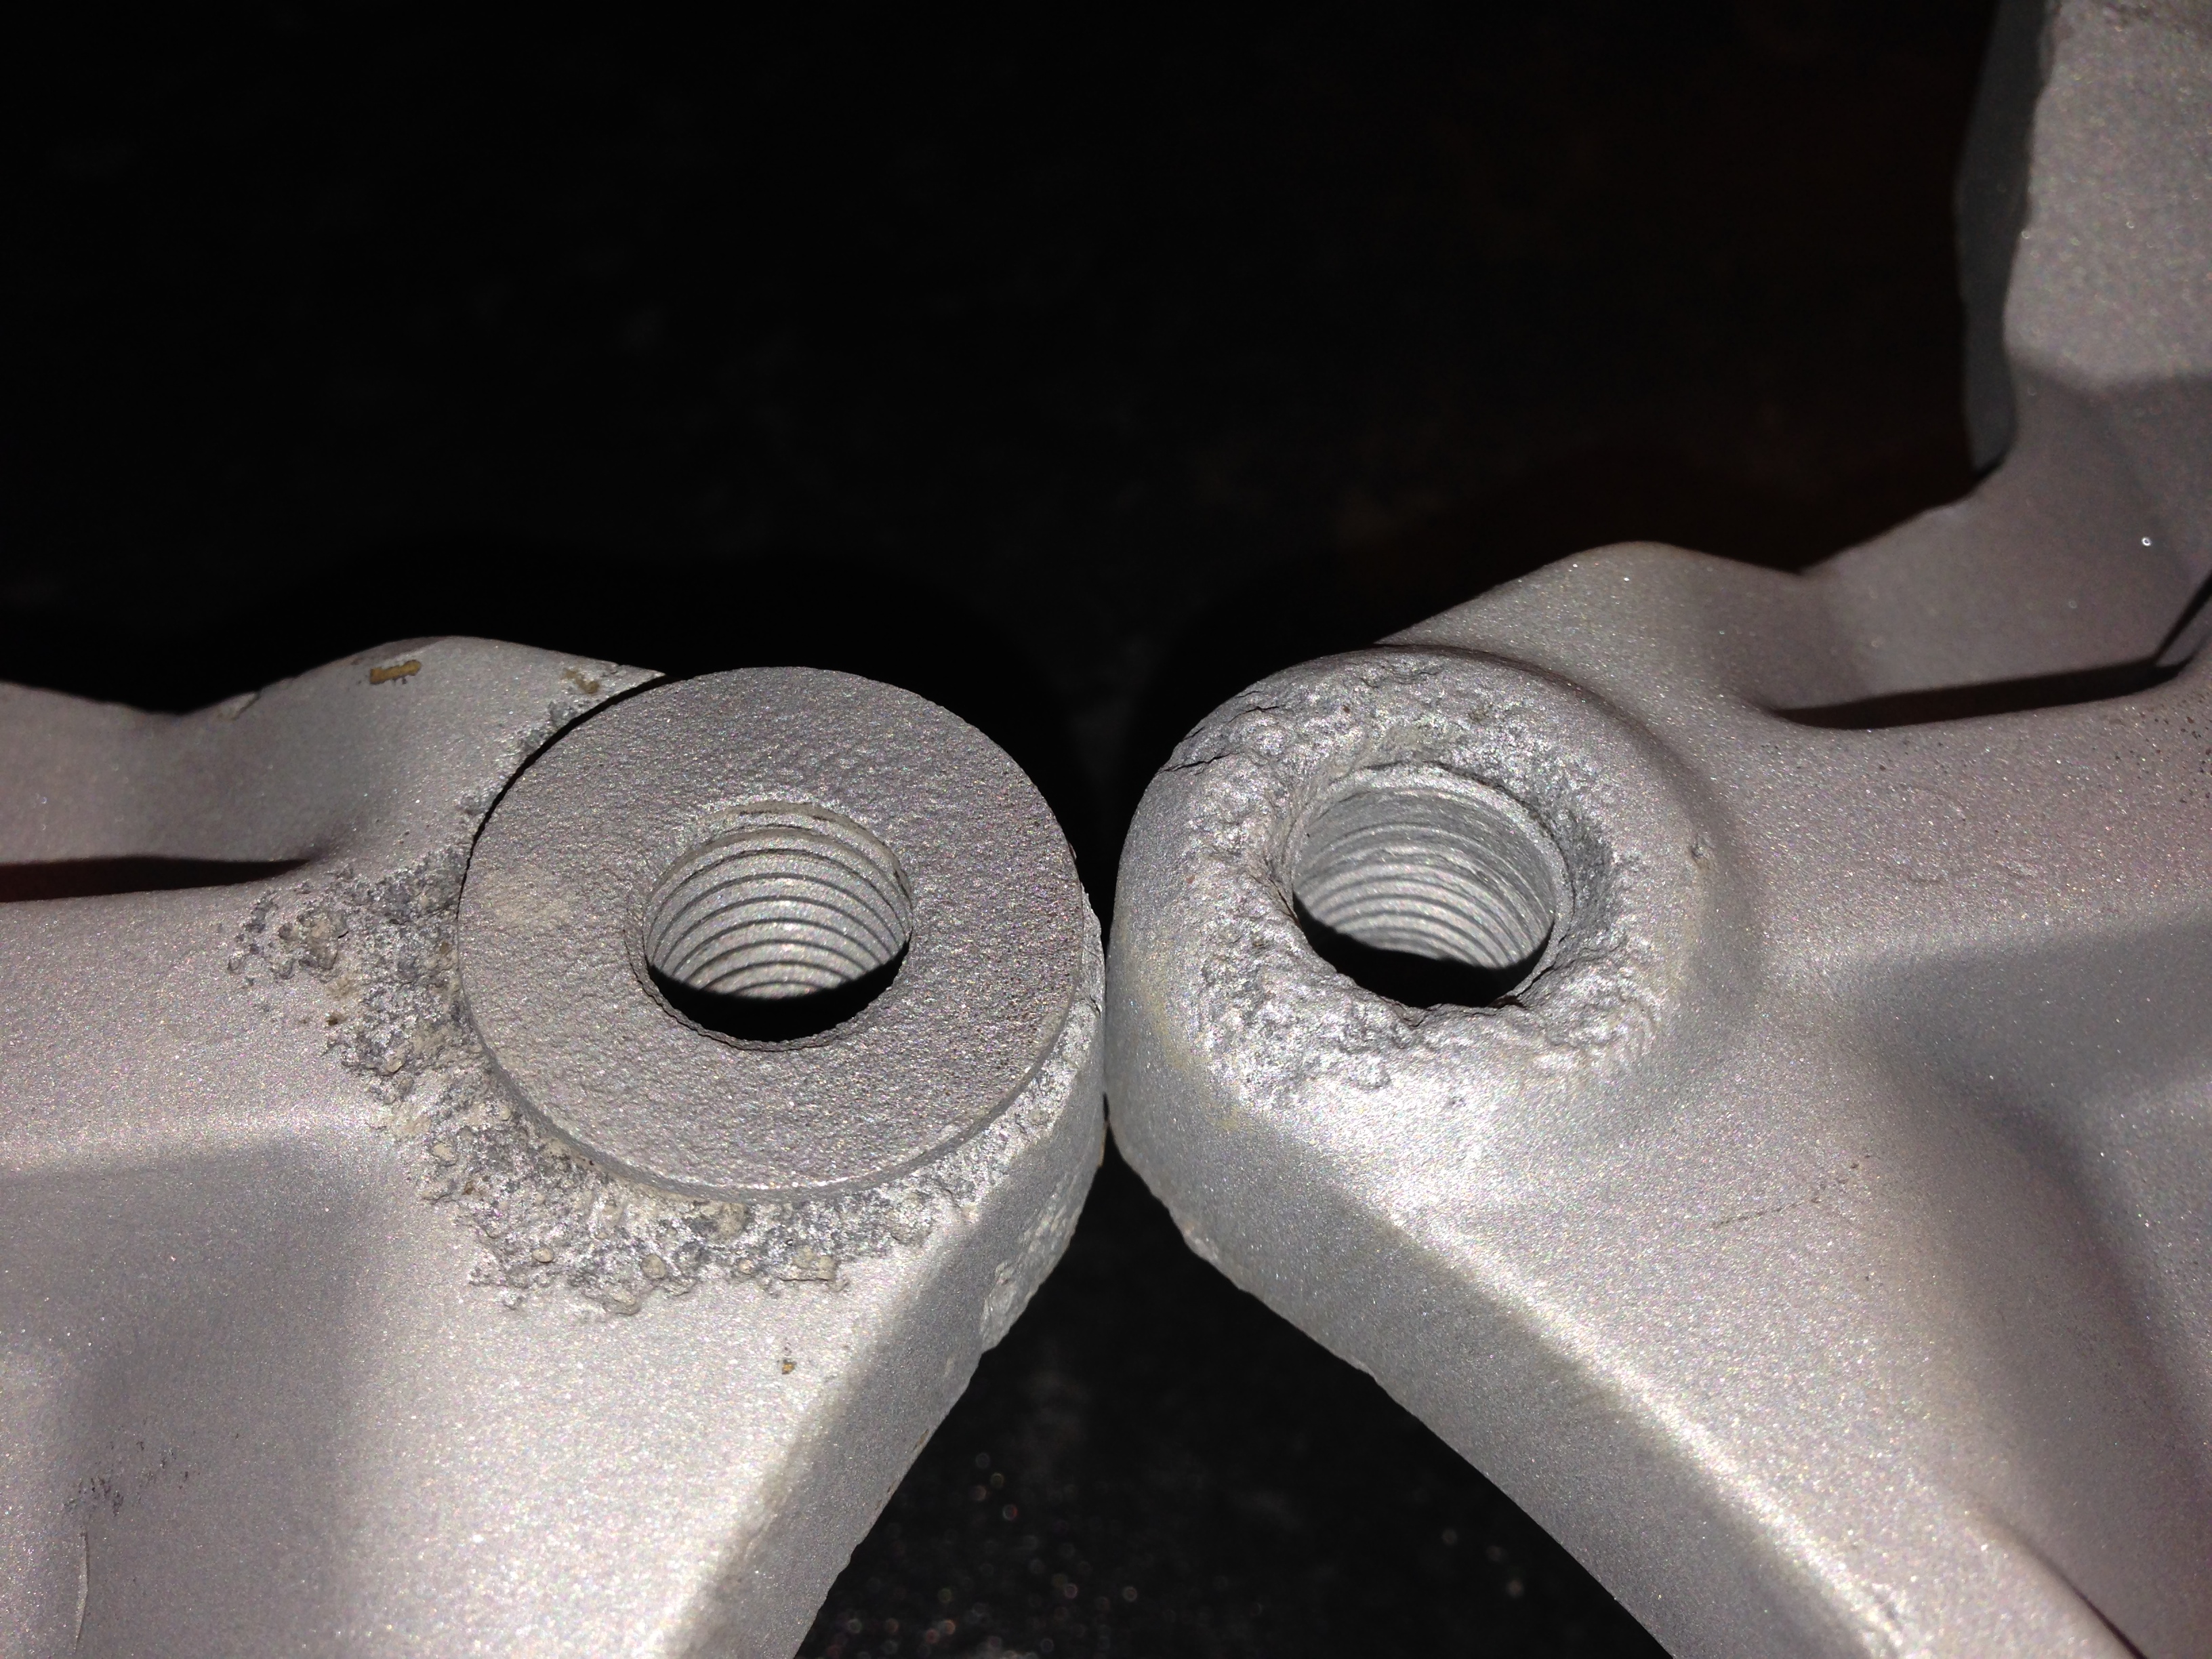
Corrosion on the front calipers is also quite bad, front halves arnt bad though
The rear halves are quite corroded, thread repair has already been done prior to us receiving these on one of the calipers
Filler is applied
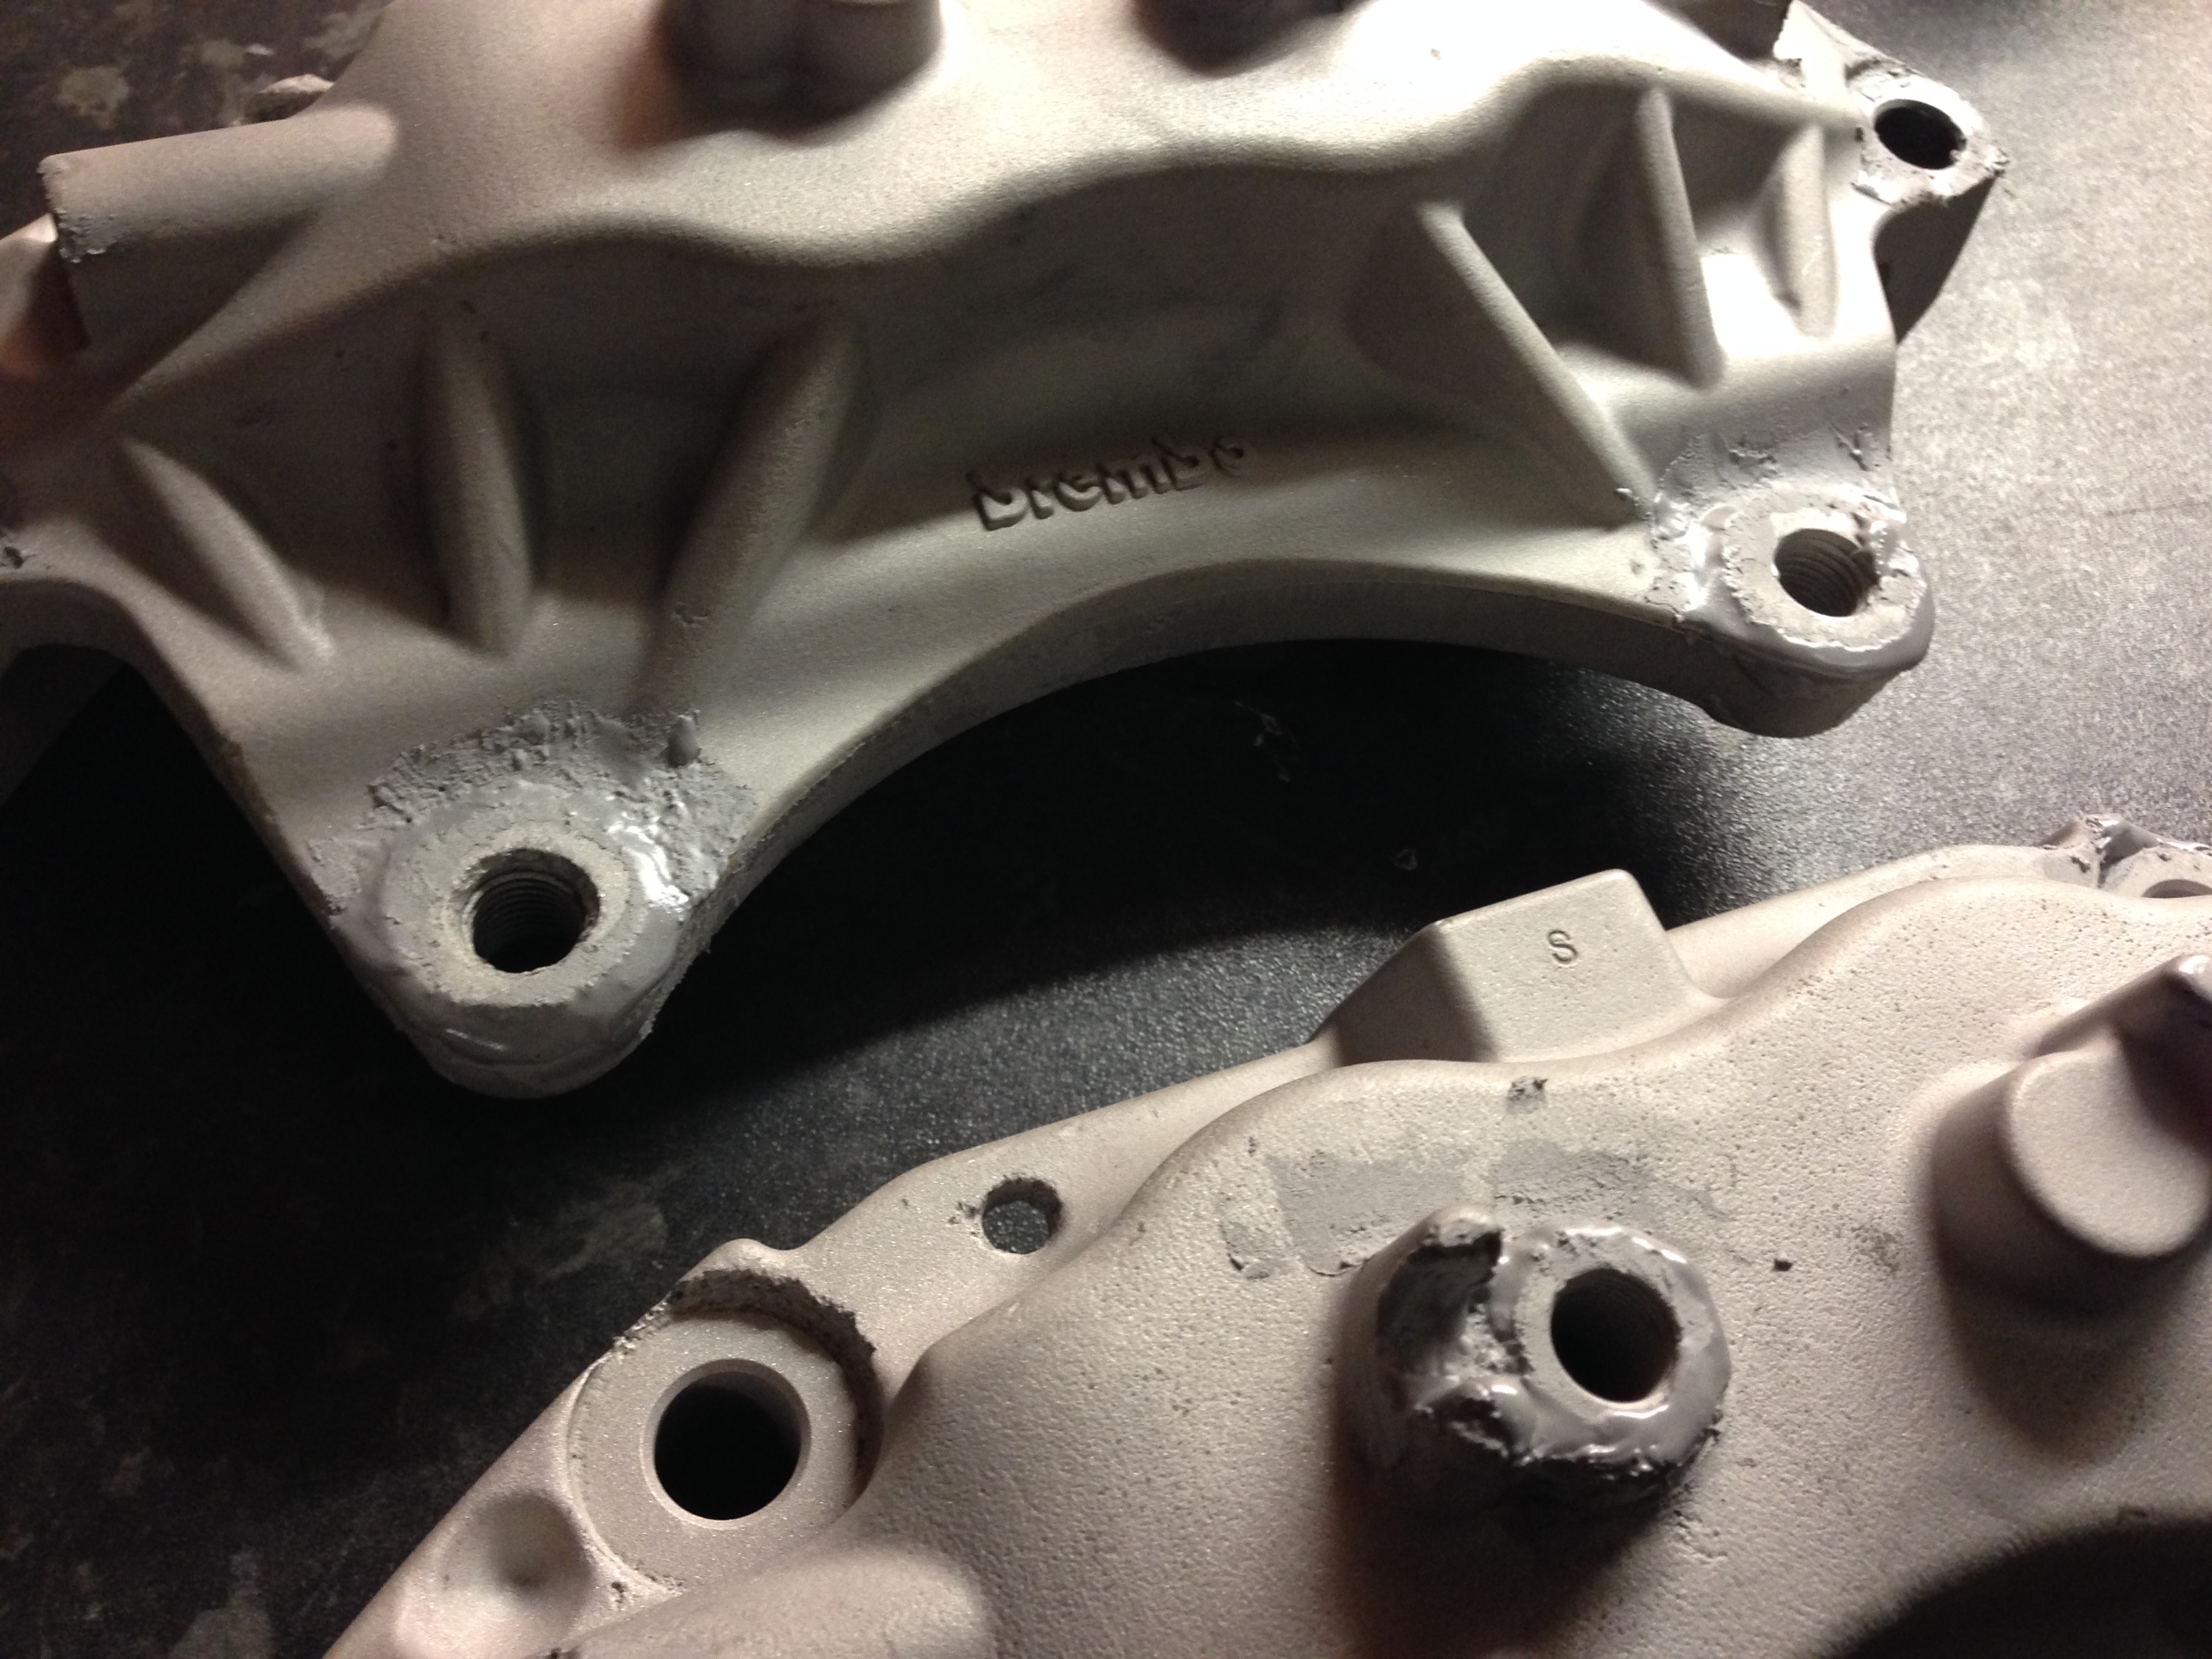
Corrosion on the front calipers is also quite bad, front halves arnt bad though
The rear halves are quite corroded, thread repair has already been done prior to us receiving these on one of the calipers
Filler is applied
Its a common trait of the Brembo calipers, the general opinion of most people is poor quality metal when cast when new. The Subaru 2 pot rears do the same though so it may just be the cast alloy used does this when not protected.
As long as they are structurally sound though once filled and powder coated they will be fine and protected from further corrosion also.
Its to do with the one part been ferrous metal and one been non ferrous metal this accelerates the pitting. I'm sure somebody who knows more about metals and reactions may be able to clarify exactly what happens and why
Last edited by Darrell@Scoobyworx; Jan 21, 2014 at 09:50 AM.
Scooby Regular
Joined: Nov 2012
Posts: 381
Likes: 0
From: mid wales
Its a common trait of the Brembo calipers, the general opinion of most people is poor quality metal when cast when new. The Subaru 2 pot rears do the same though so it may just be the cast alloy used does this when not protected.
As long as they are structurally sound though once filled and powder coated they will be fine and protected from further corrosion also.
Its to do with the one part been ferrous metal and one been non ferrous metal this accelerates the pitting. I'm sure somebody who knows more about metals and reactions may be able to clarify exactly what happens and why
As long as they are structurally sound though once filled and powder coated they will be fine and protected from further corrosion also.
Its to do with the one part been ferrous metal and one been non ferrous metal this accelerates the pitting. I'm sure somebody who knows more about metals and reactions may be able to clarify exactly what happens and why

This is a special powder coating filler
Sorry for the delay in updating this thread but we had a large engine change job on the last few days which has kept us busy
The front halves of the front calipers were the least corroded and these are now completed. The was some corrosion on the face of one which proved a pain and had to be flatted and re coated as it bubbled through the powder coat but looking good now.
The rear halves of the front calipers are currently having their second lot of the filler bakes off in the oven as they needed more work
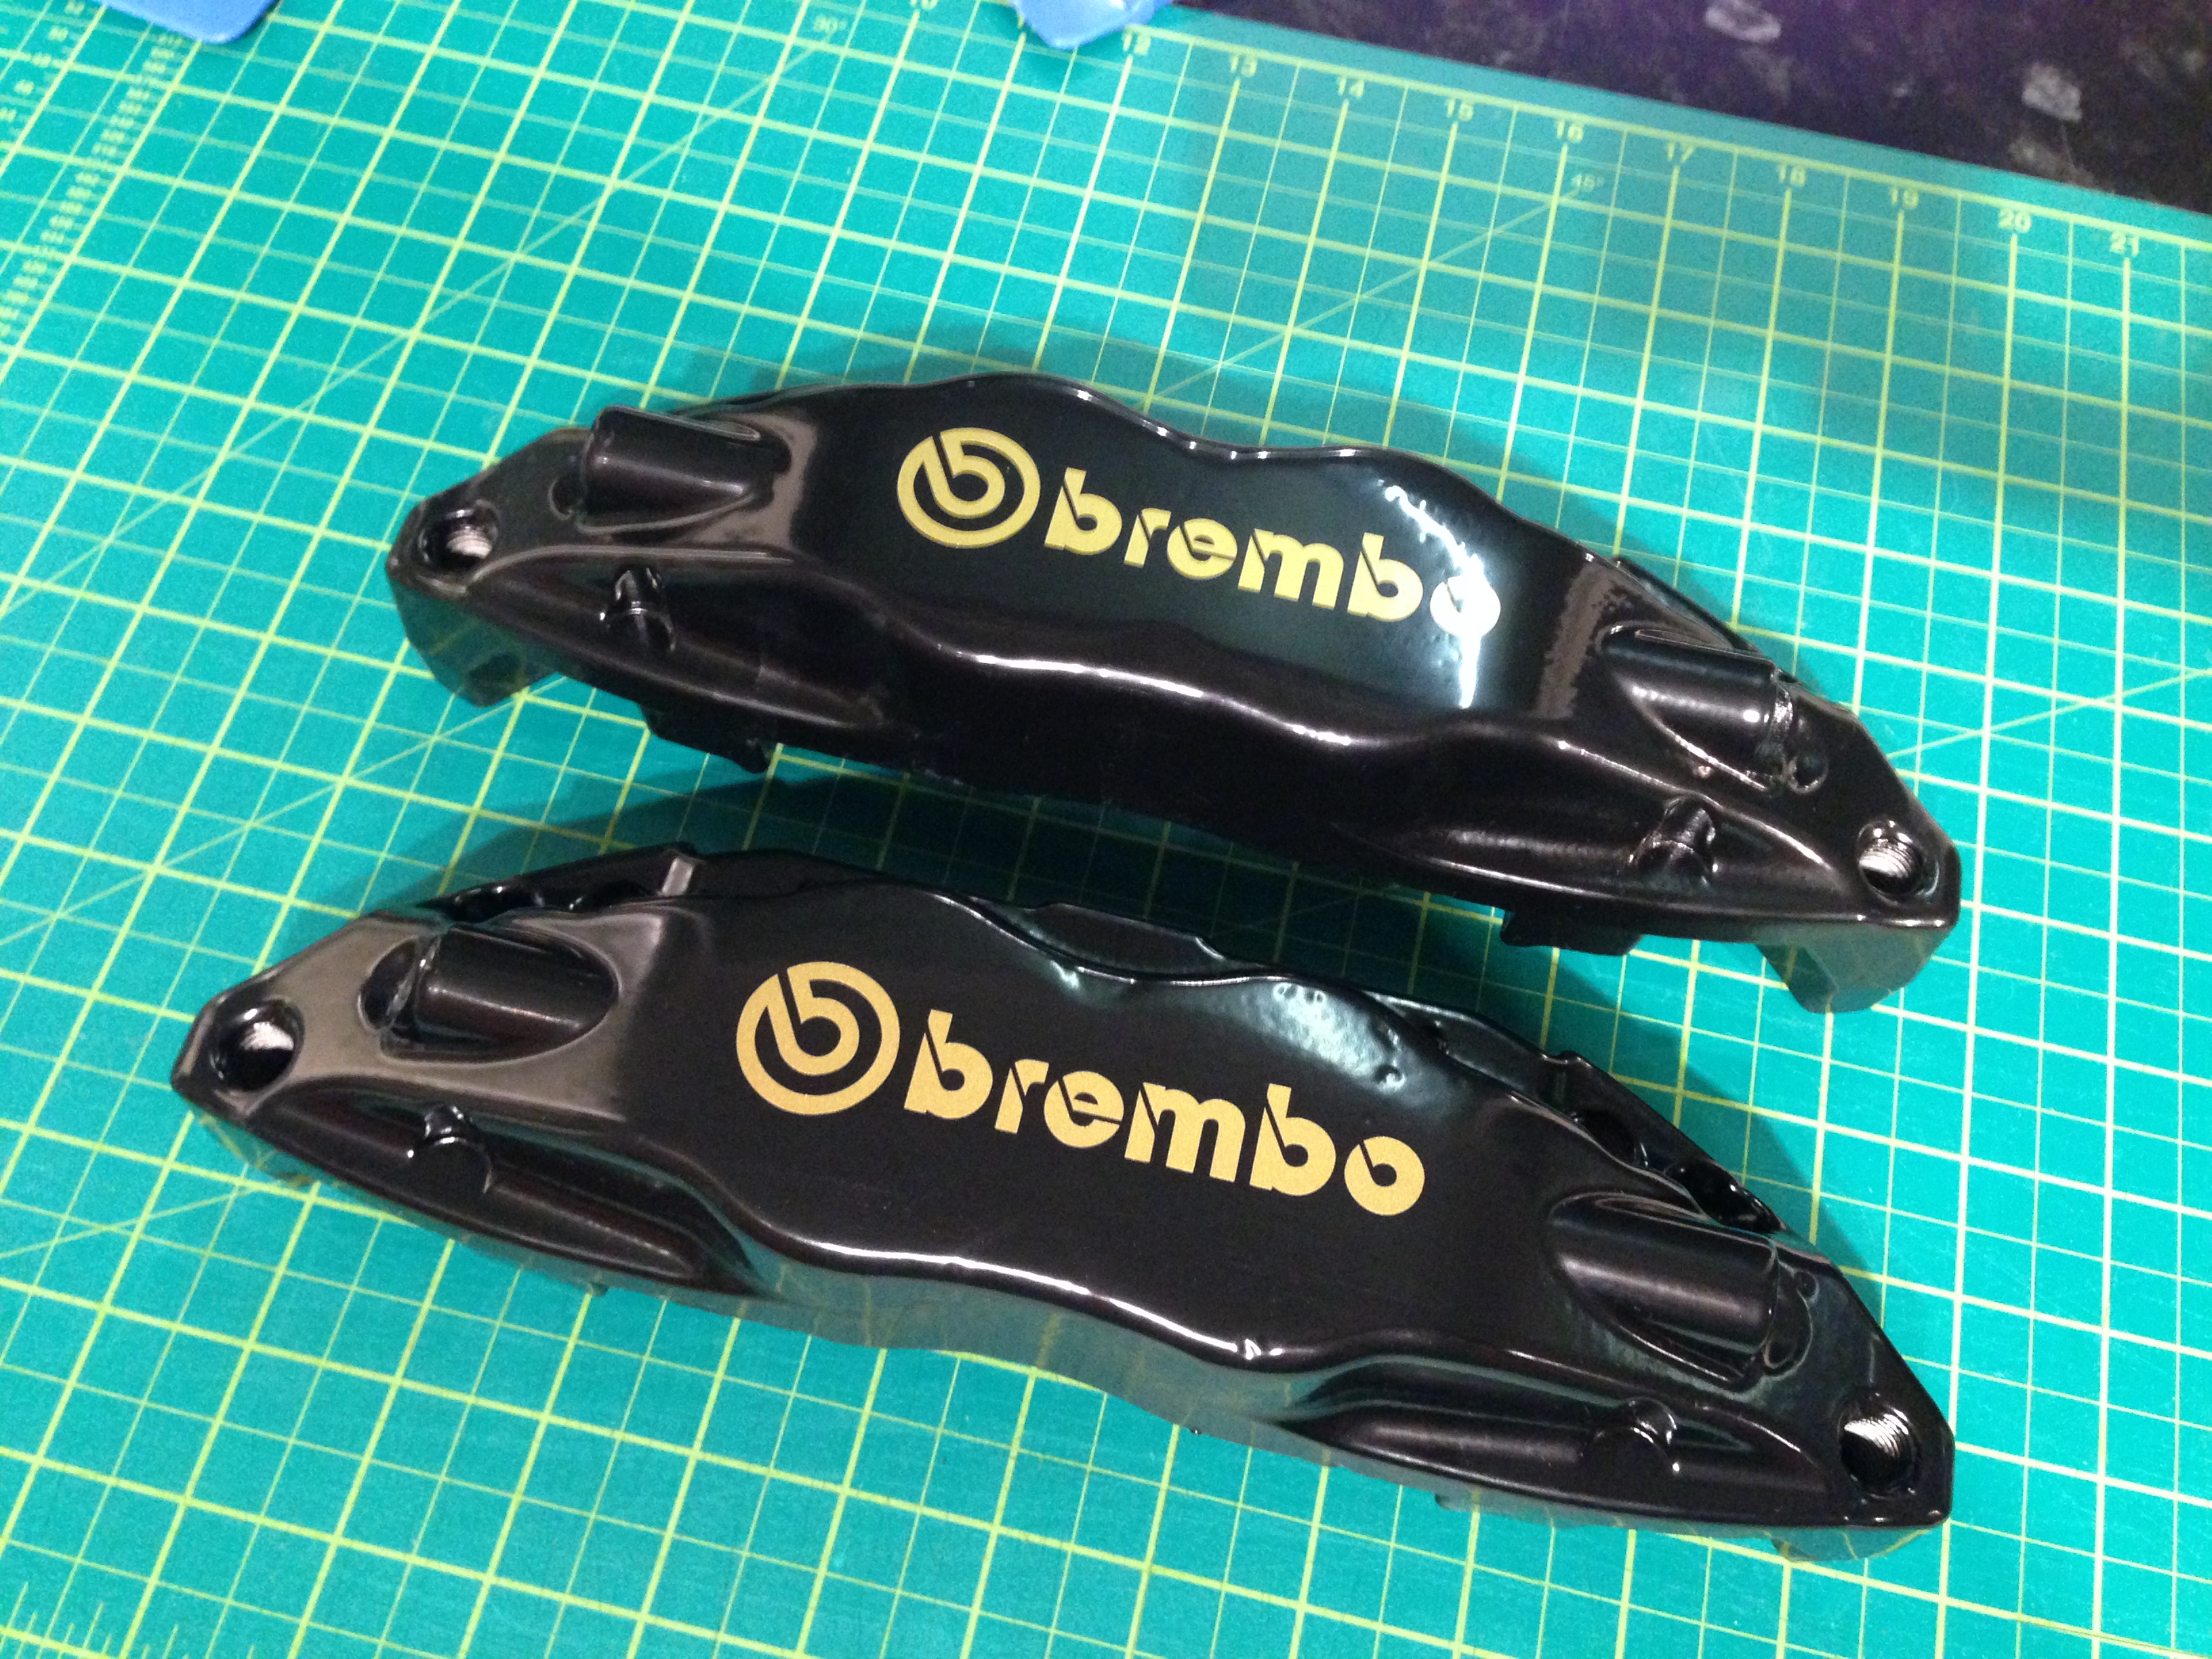
Last edited by Darrell@Scoobyworx; Jan 30, 2014 at 06:03 PM.
Scooby Regular
Joined: Dec 2012
Posts: 1,100
Likes: 1
From: Newcastle upon tyne
Looking forward to seeing how difficult it is to replace the pistons and seals, I've just replaced my front discs and pads today and the front callipers ideally need a strip down and clean, one of the piston seals looked like it was due to be changed aswell.
Nice work
Mick
Nice work
Mick
Progress Today........
Final fill cured on the front rear halves
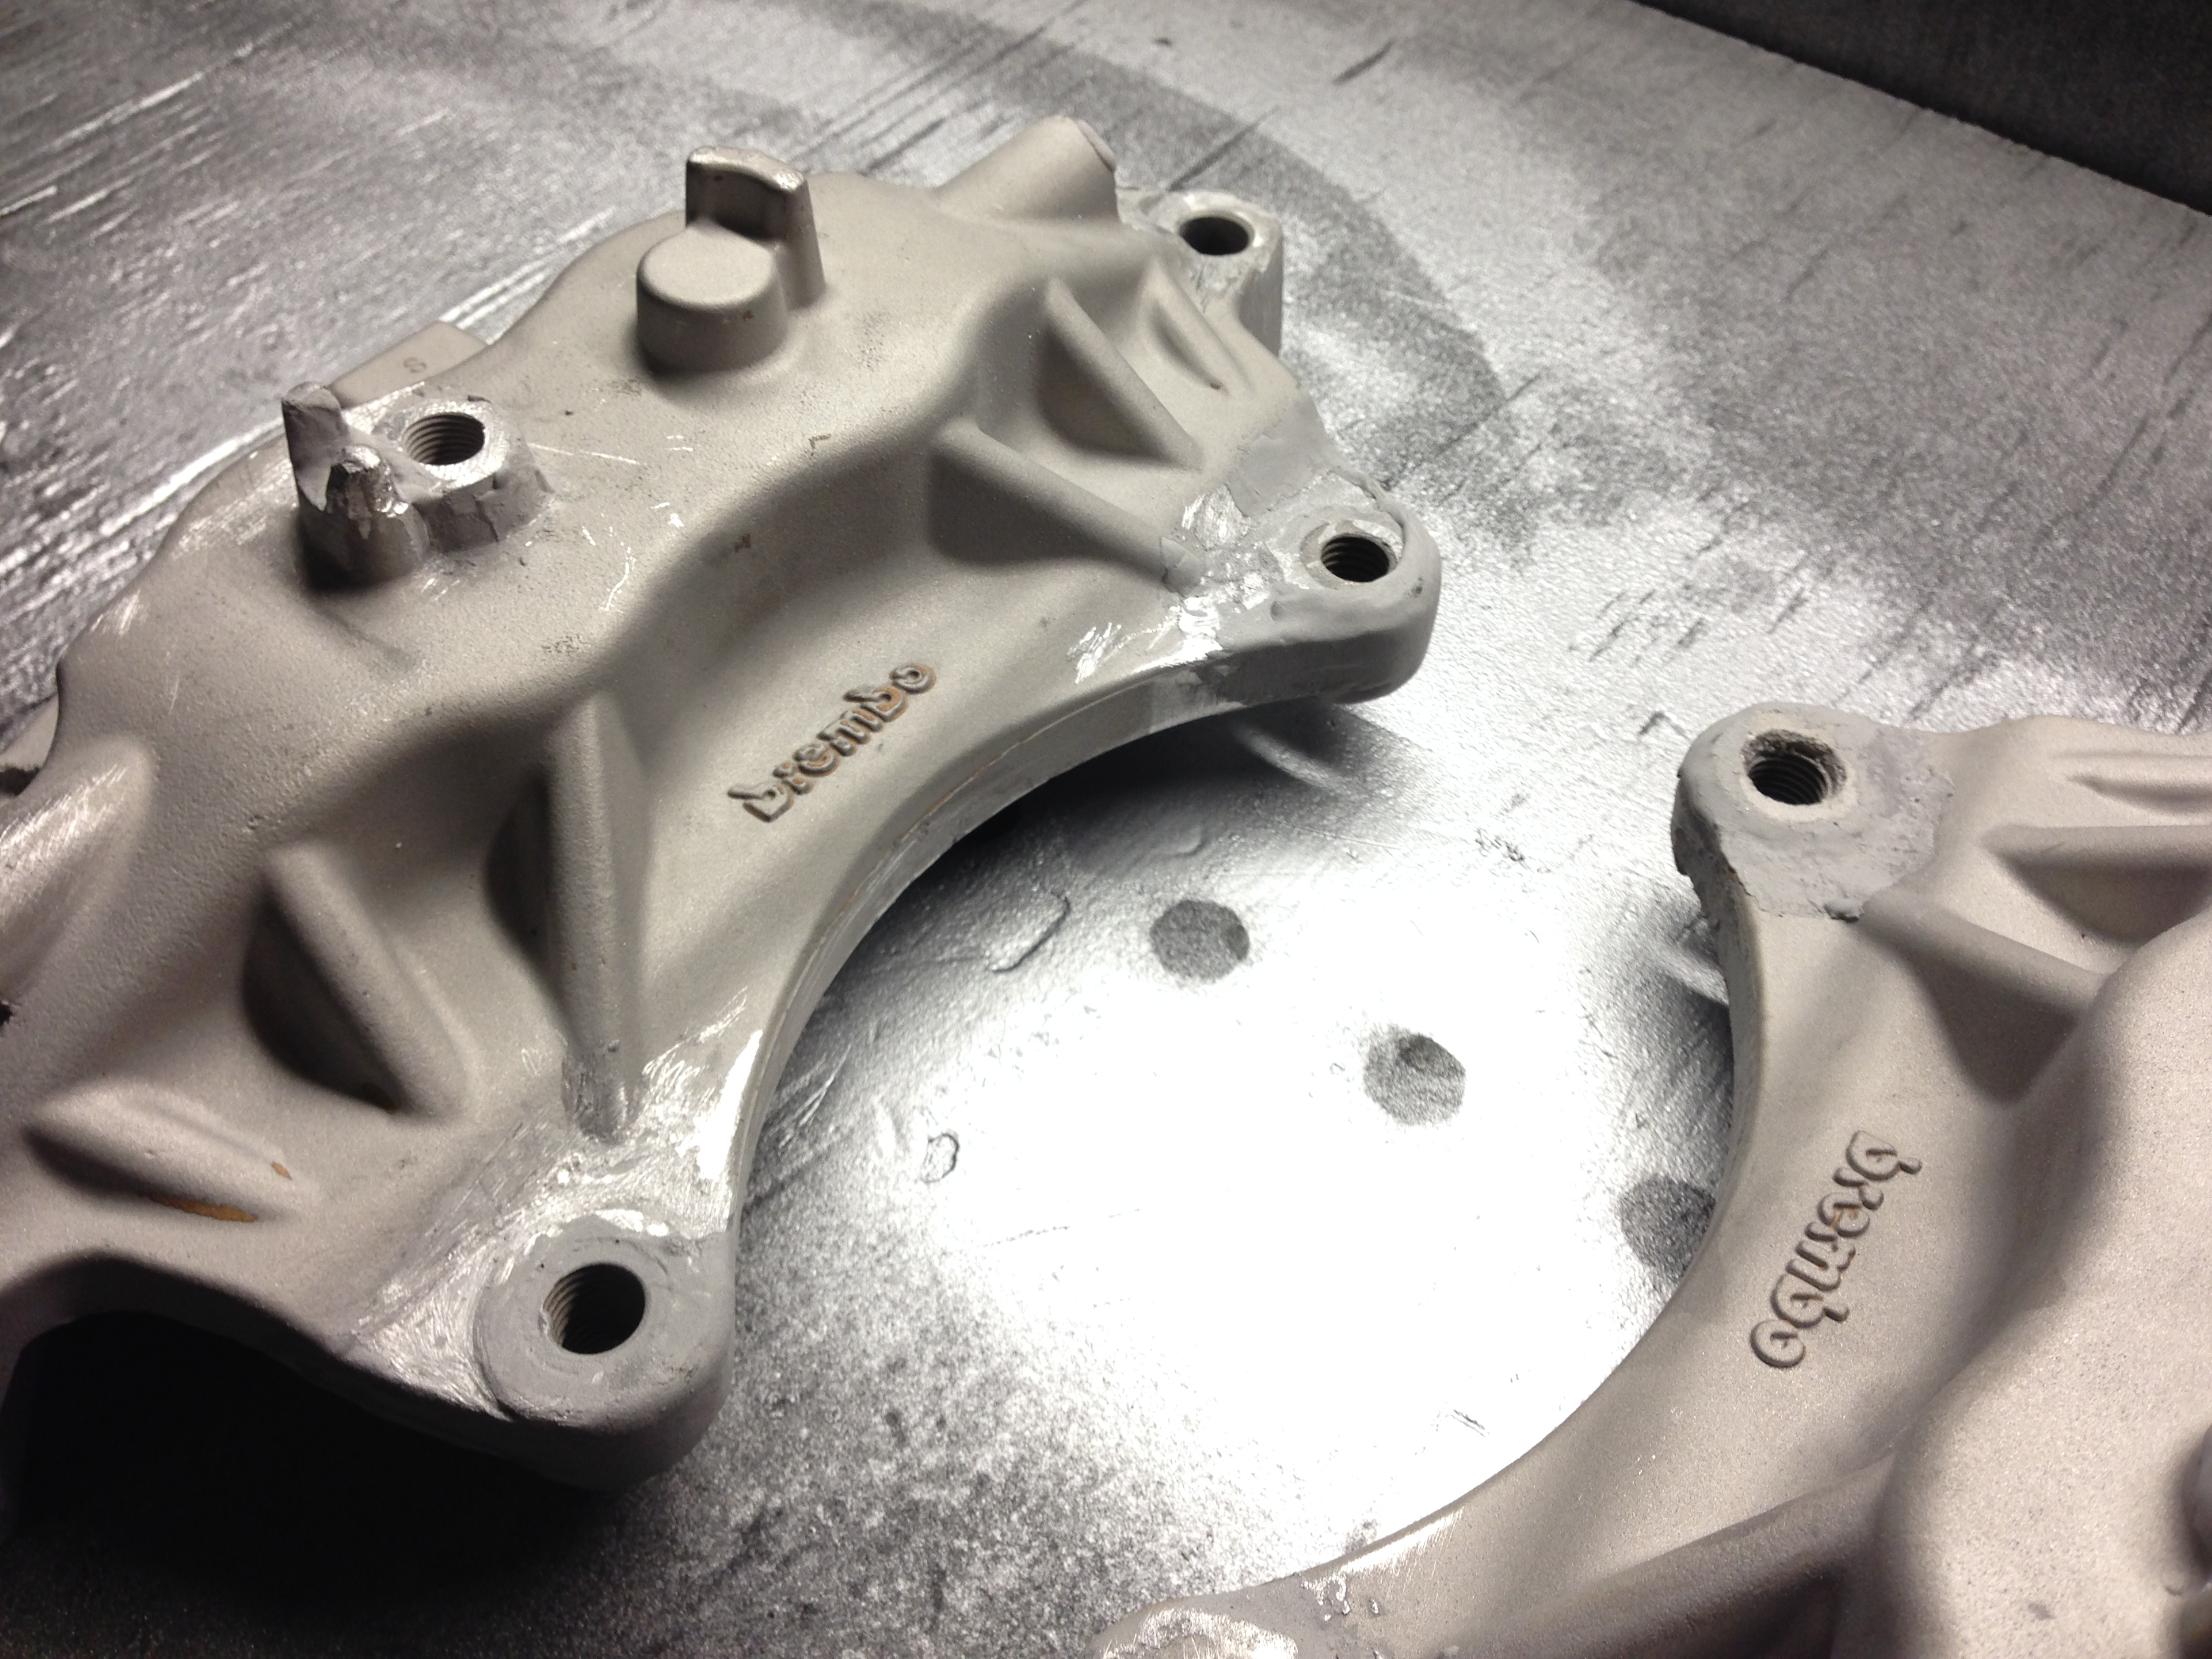
Filed and taking shape, be powder coated tomorrow after i have done a re-thread as they are shot in this one
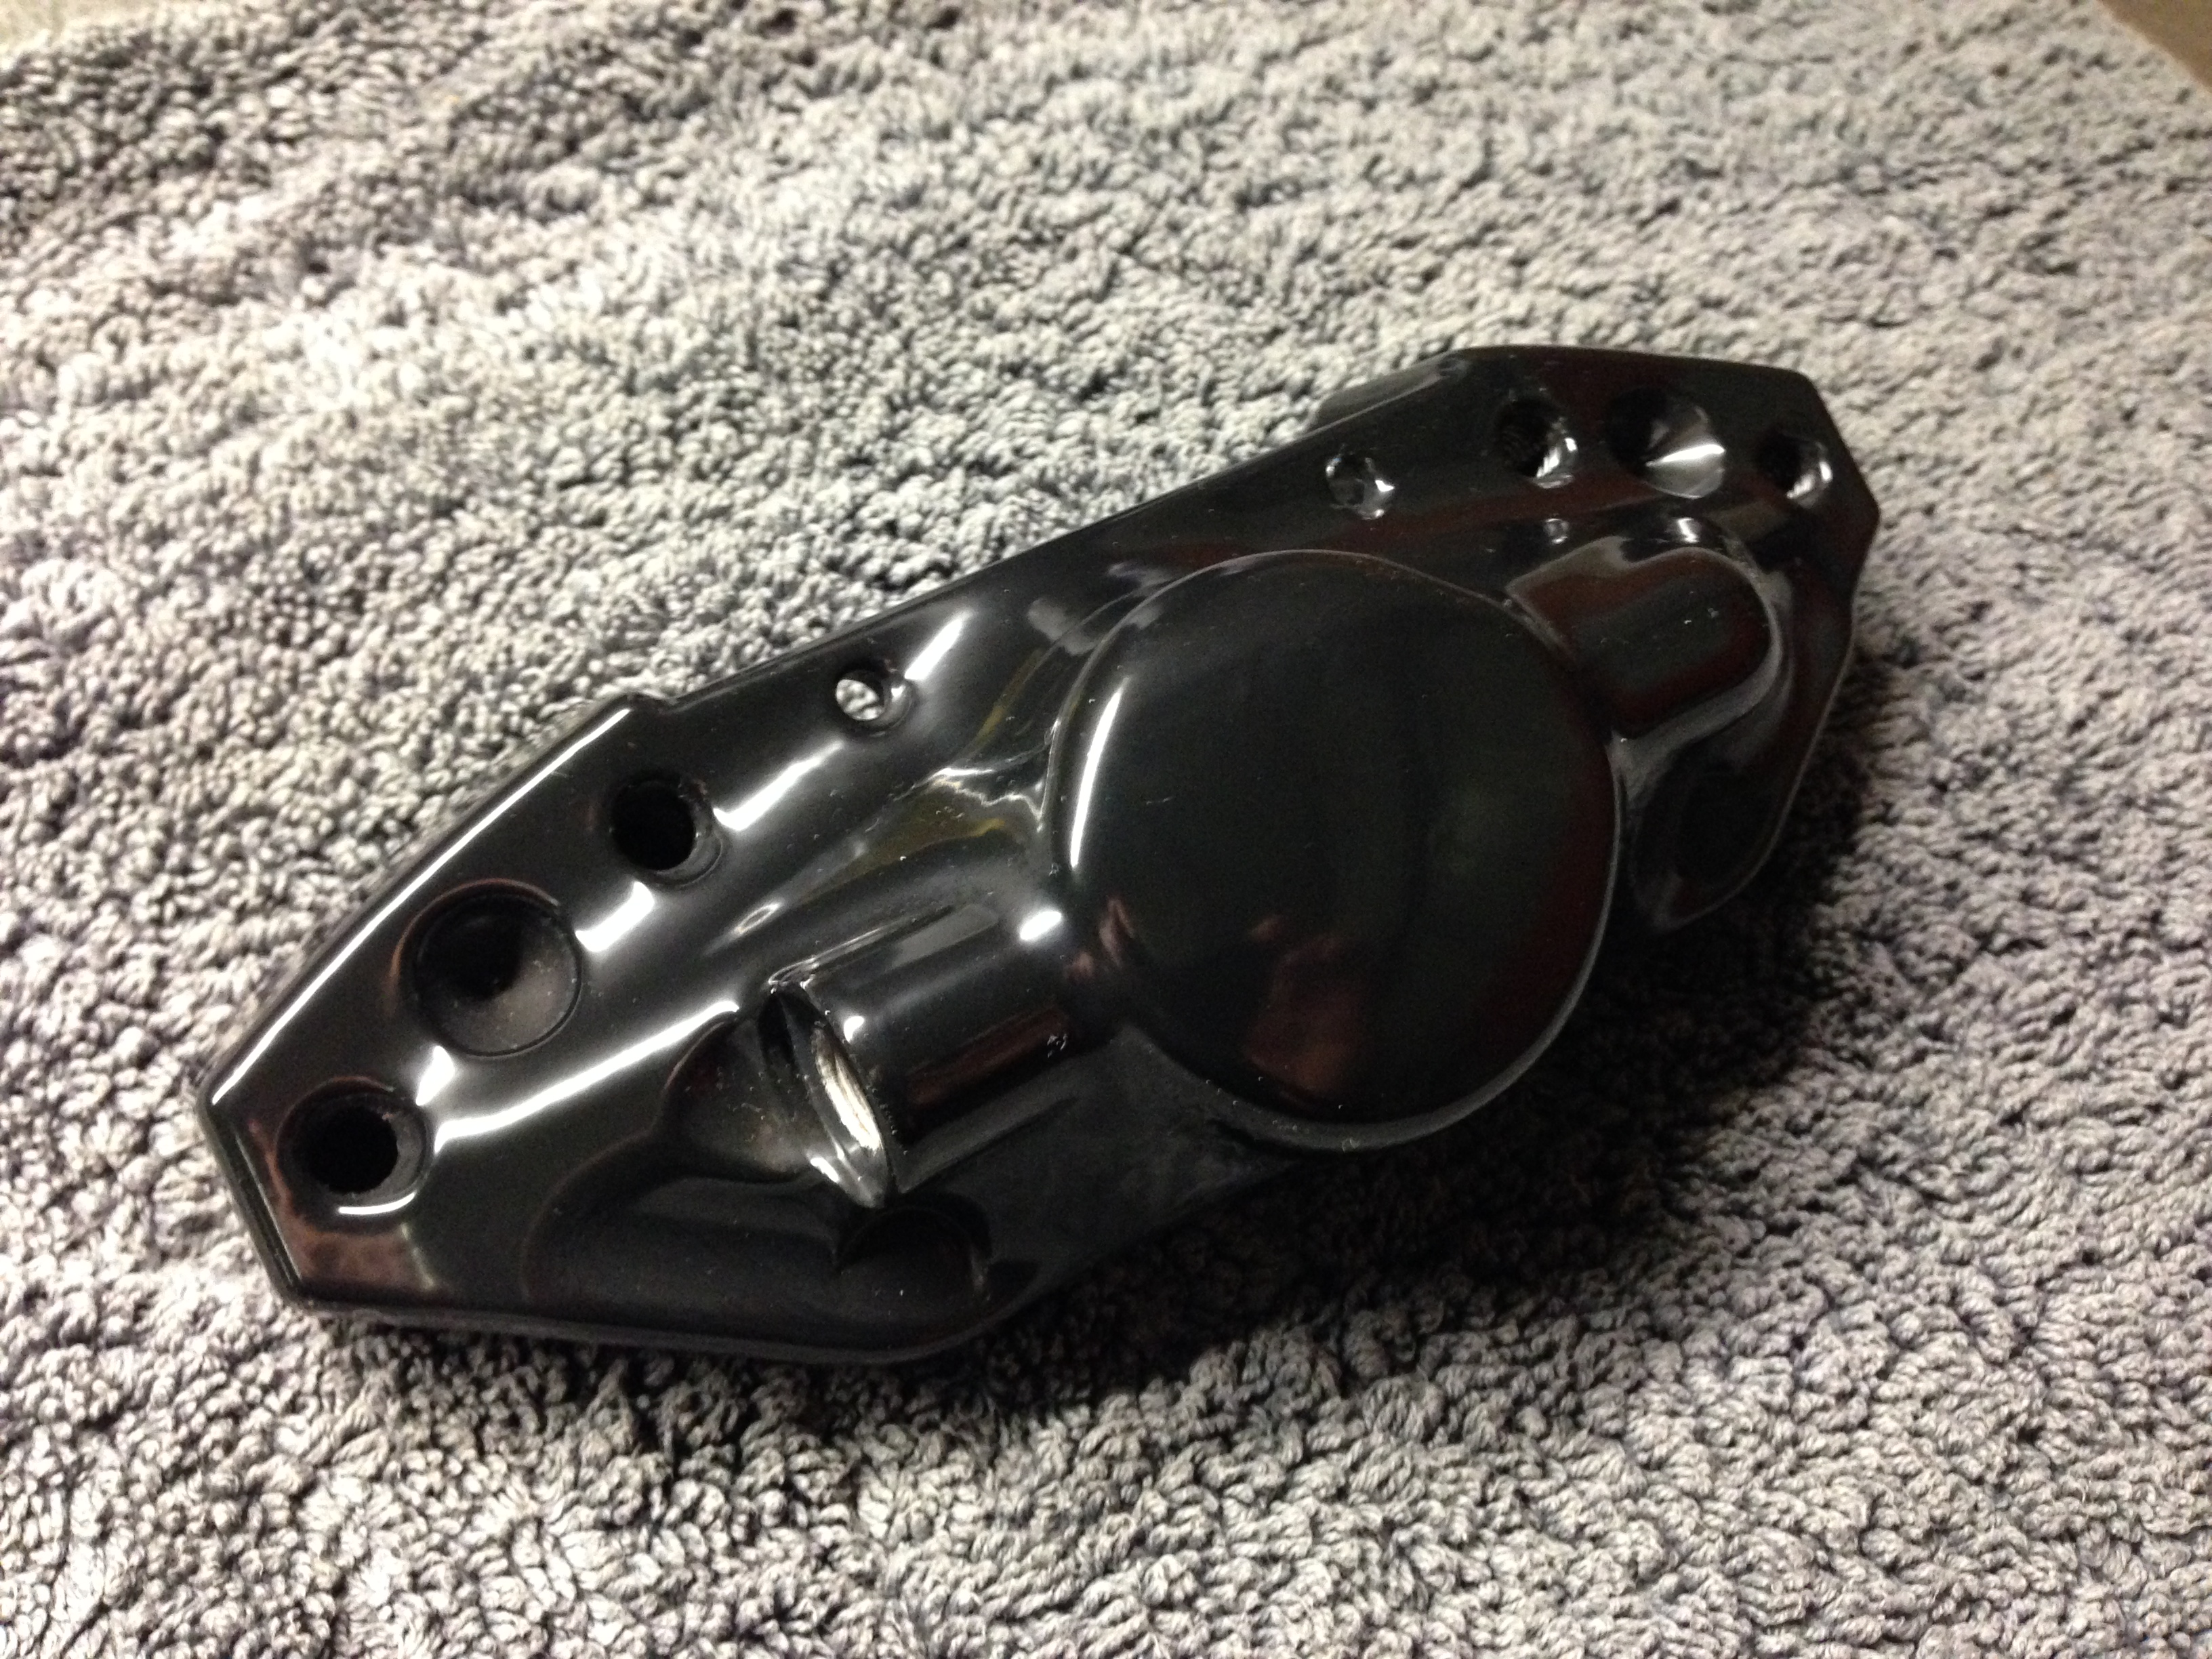
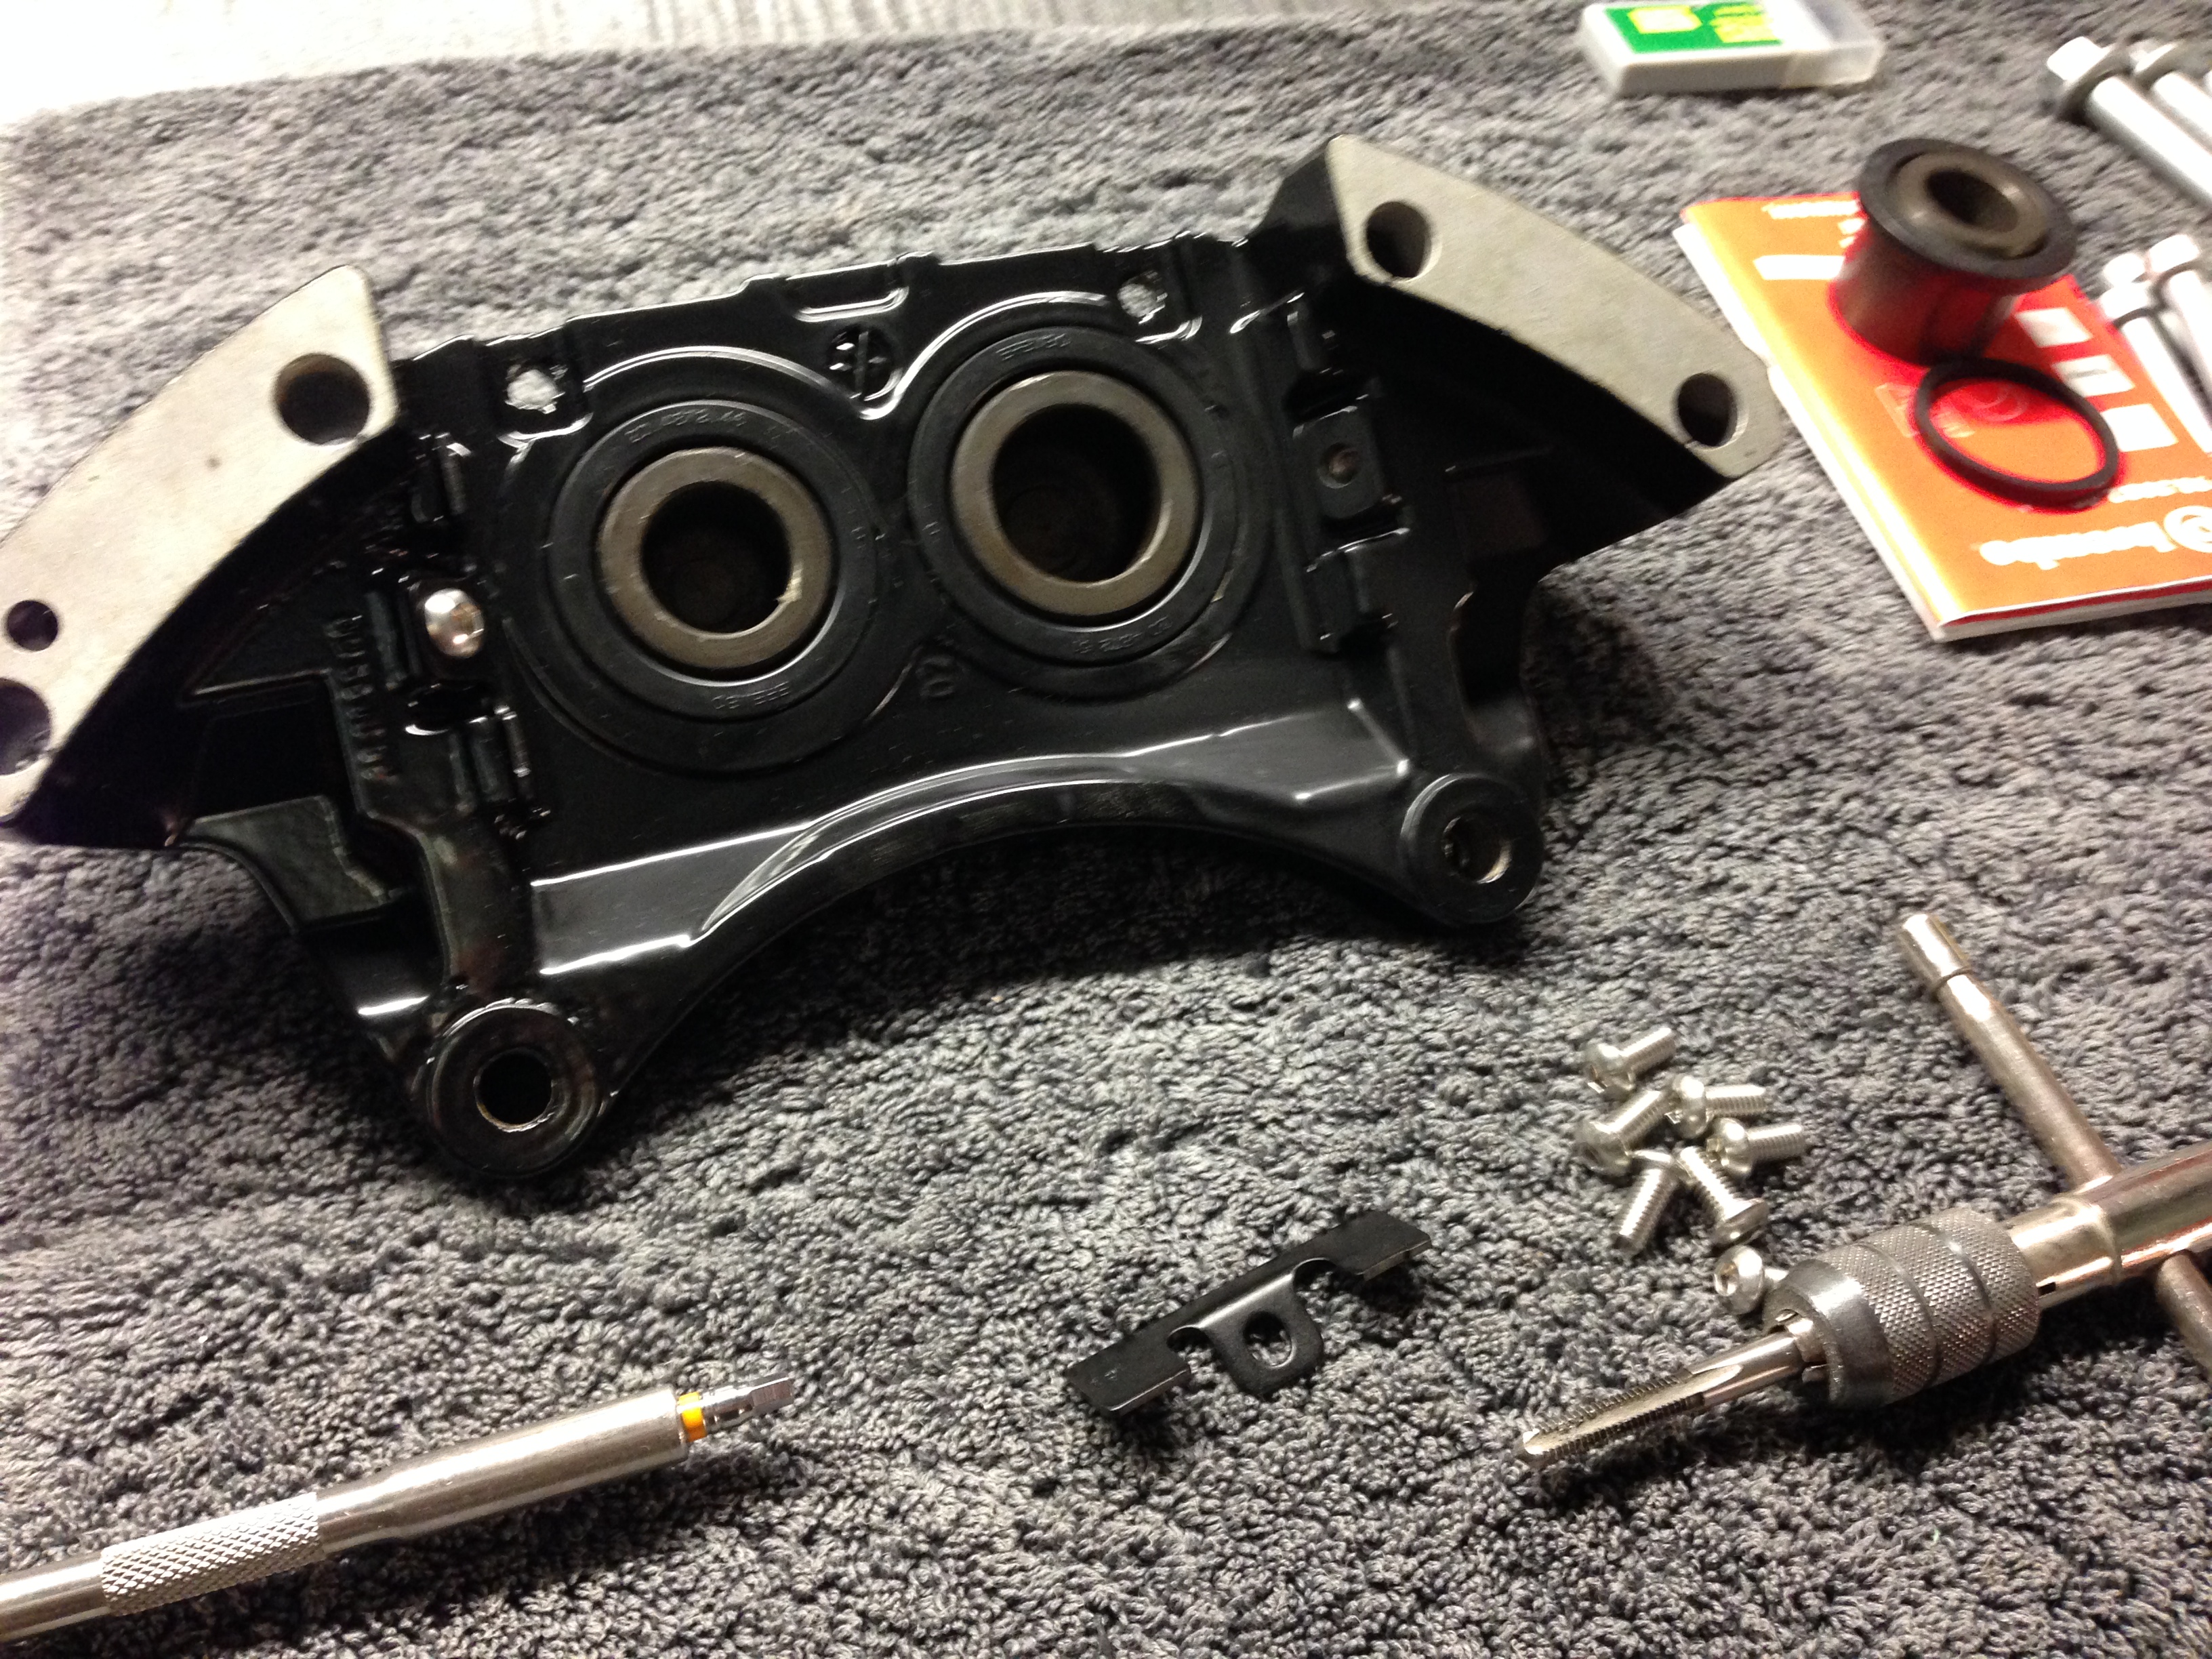
One of the rear caliper front halves coated and ready for building up
Final fill cured on the front rear halves
Filed and taking shape, be powder coated tomorrow
after i have done a re-thread as they are shot in this oneOne of the rear caliper front halves coated and ready for building up


Ive come in on Sunday to finish these off as i am now getting a backlog of calipers at the minute.
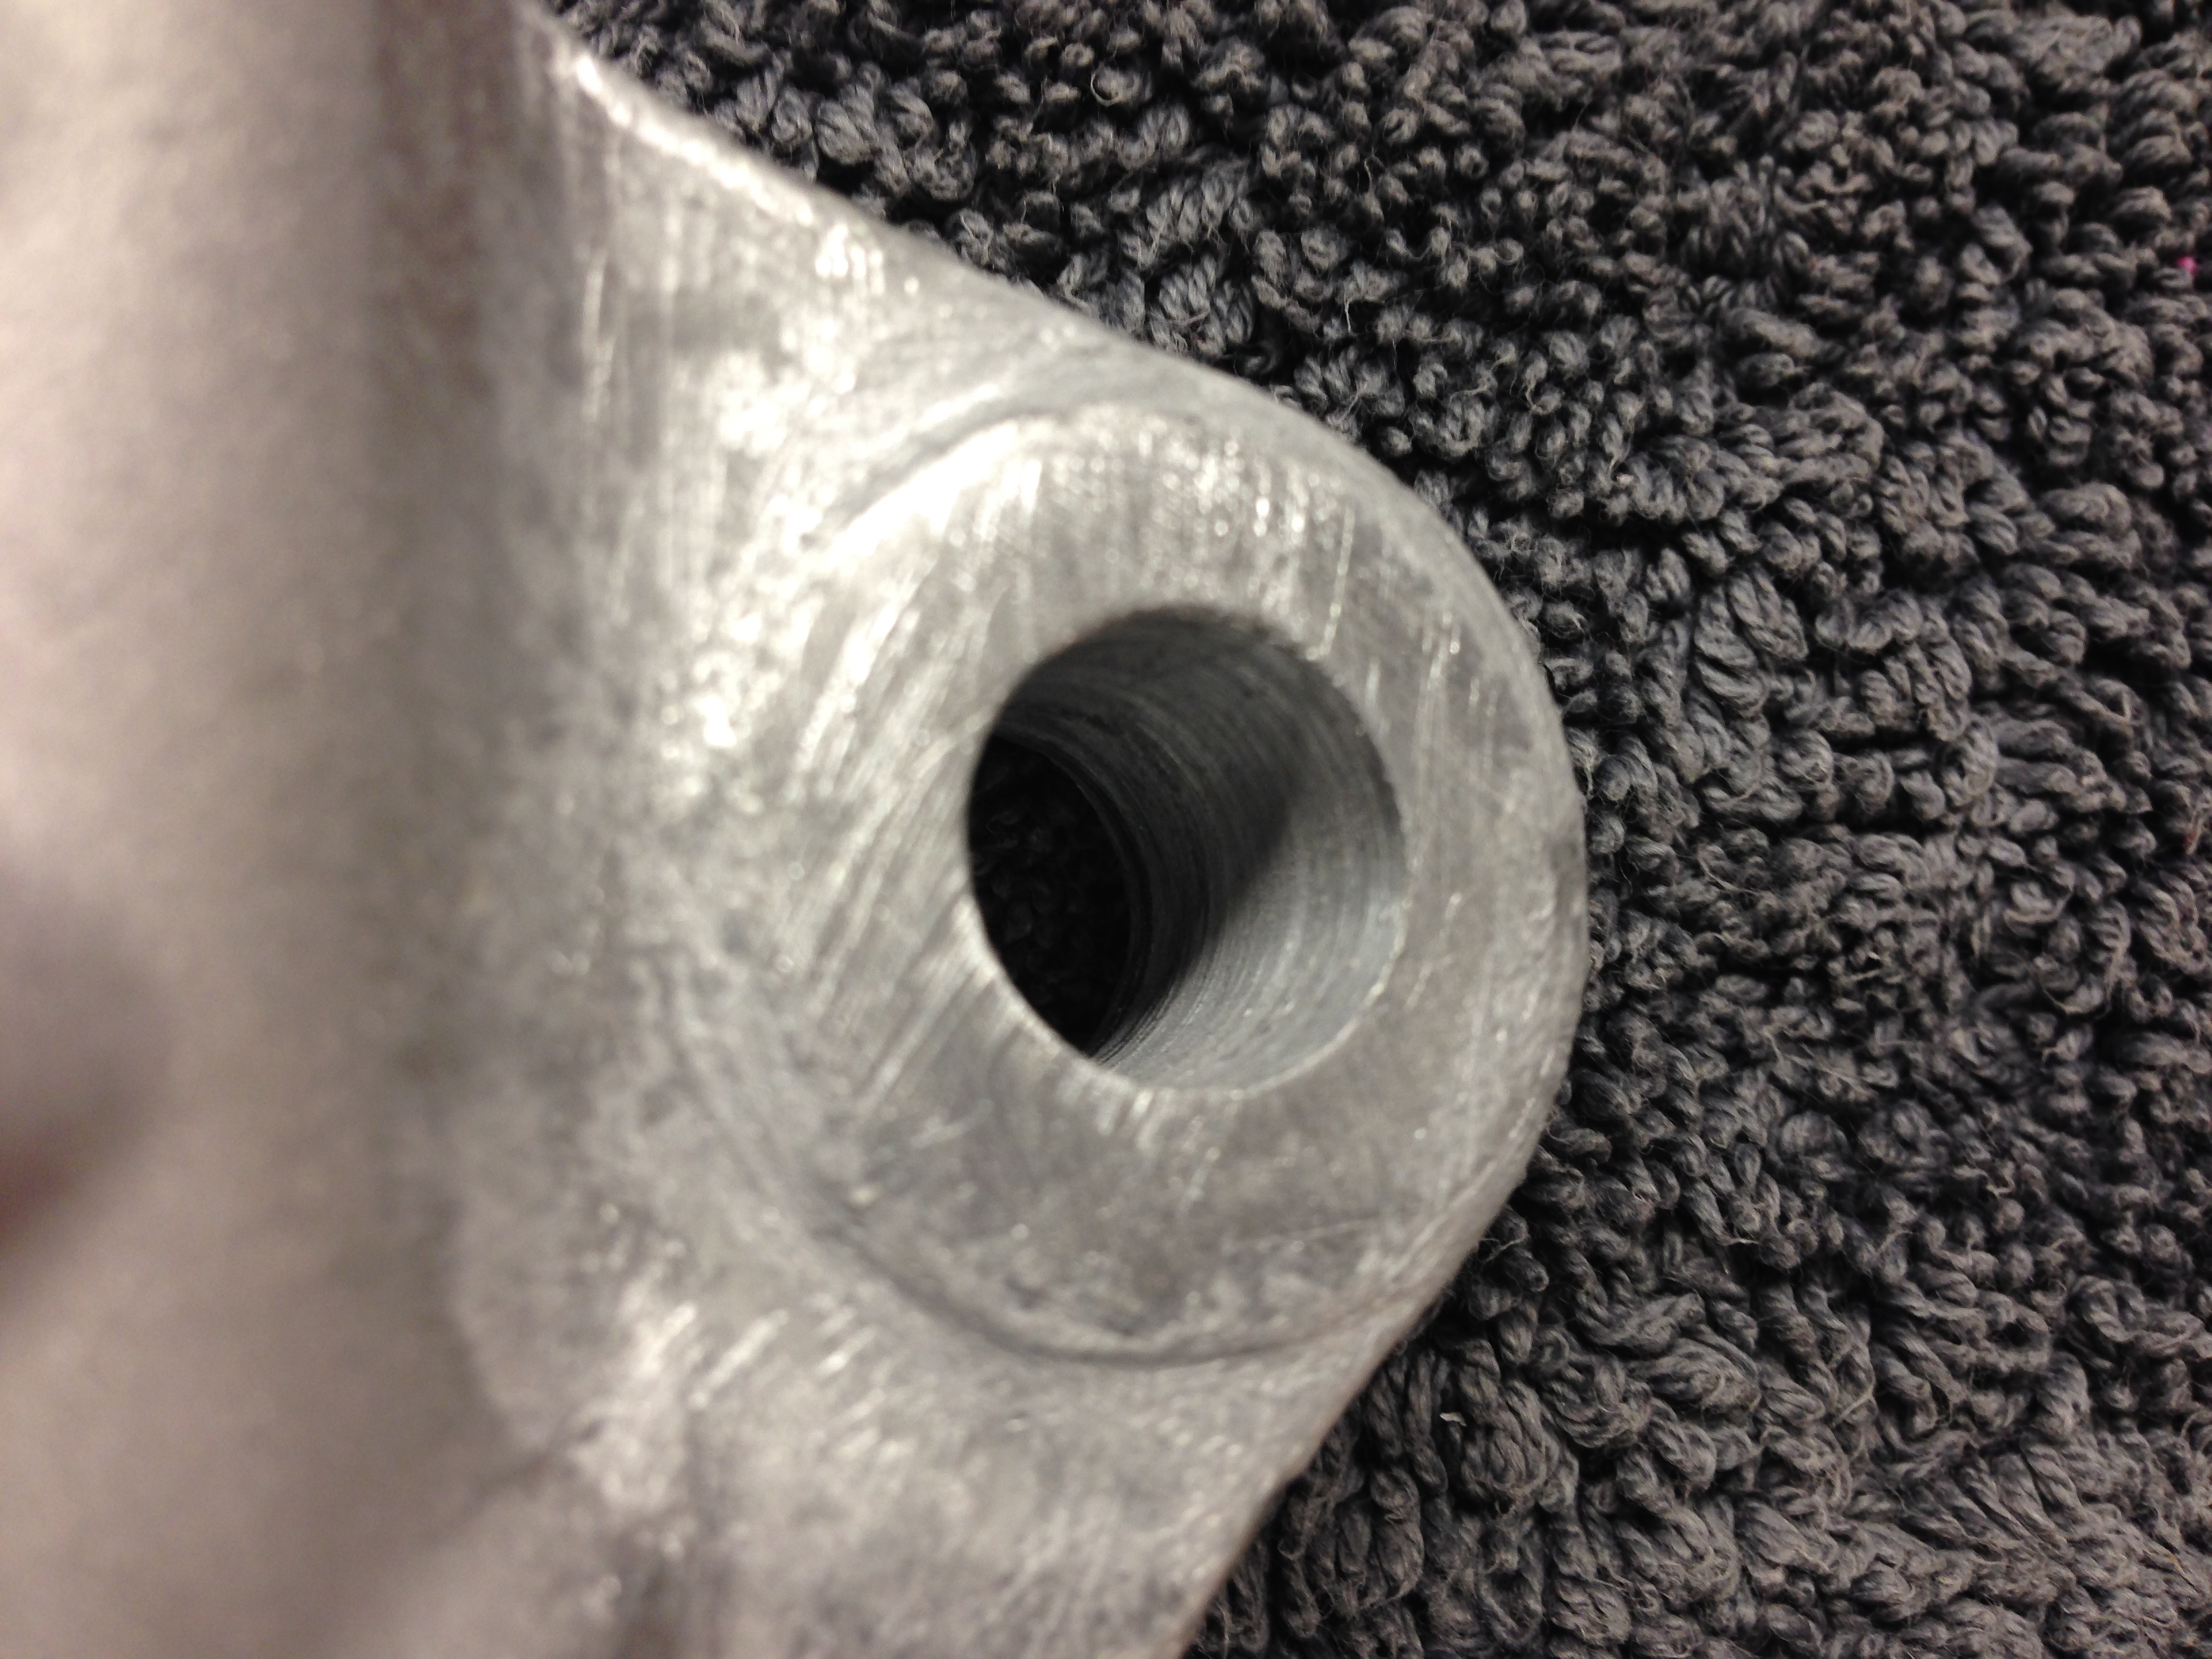
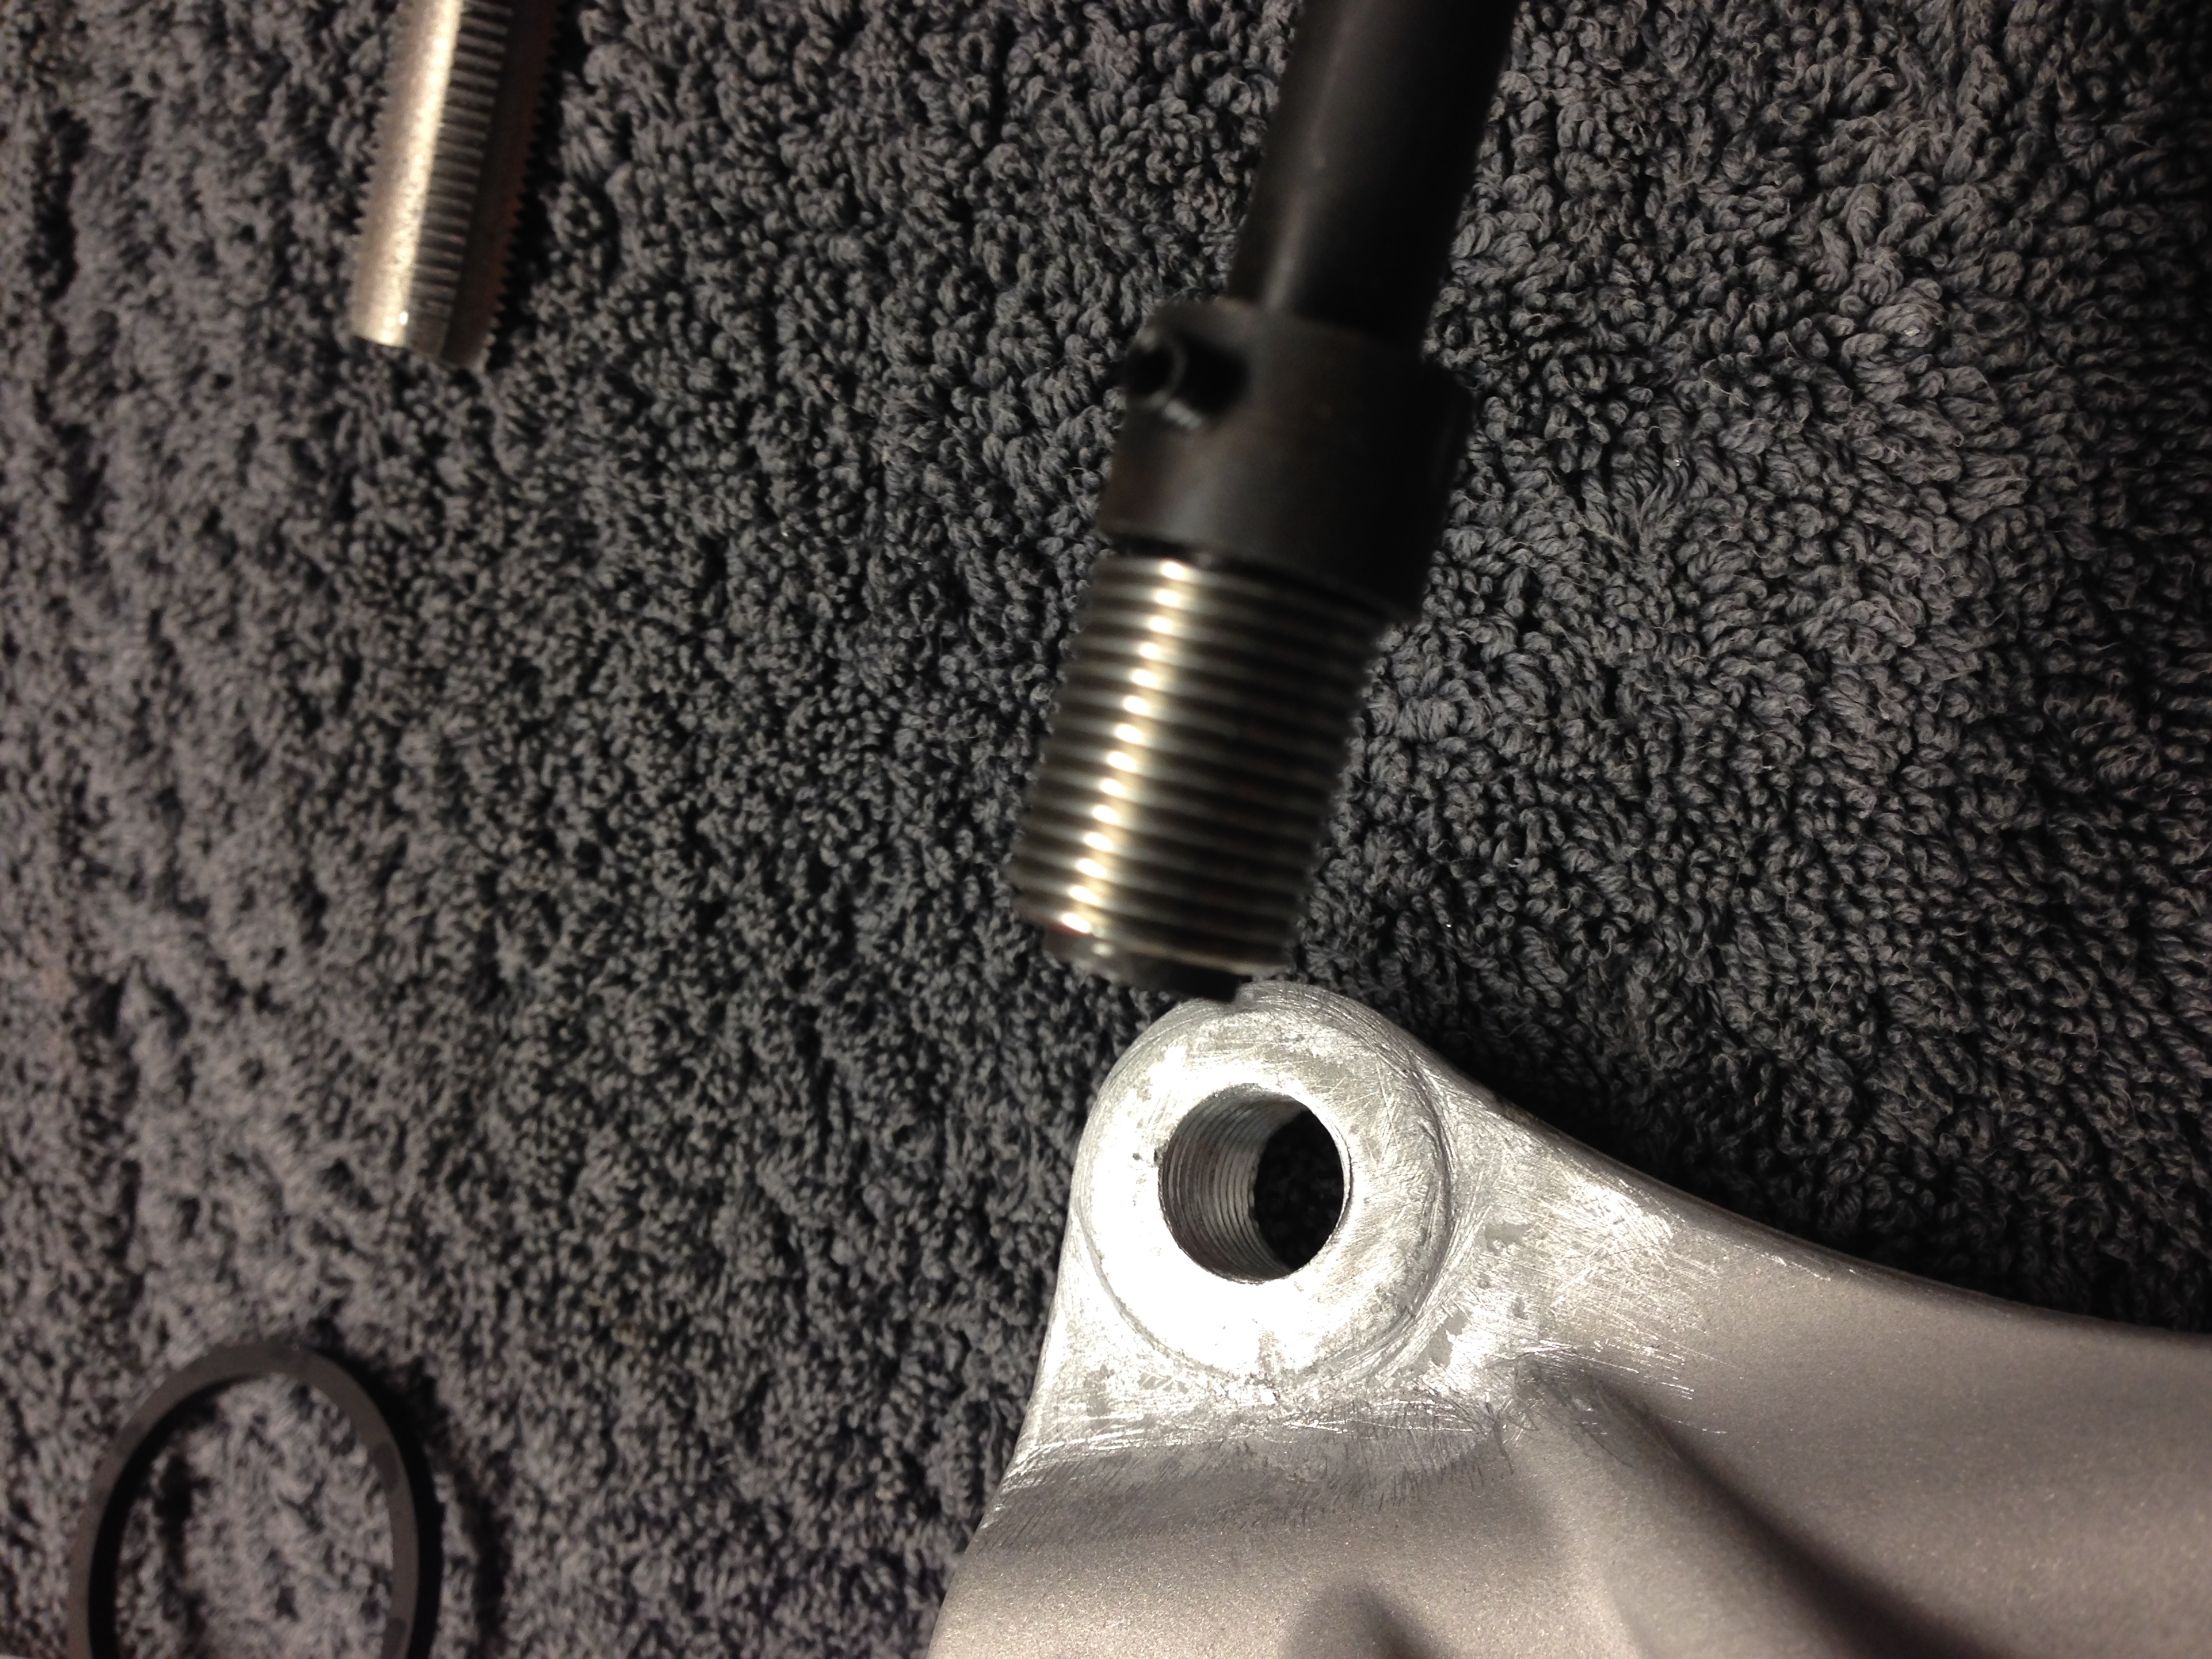
First job was to drill the damaged thread out ready for the re thread
Then tap the thread out
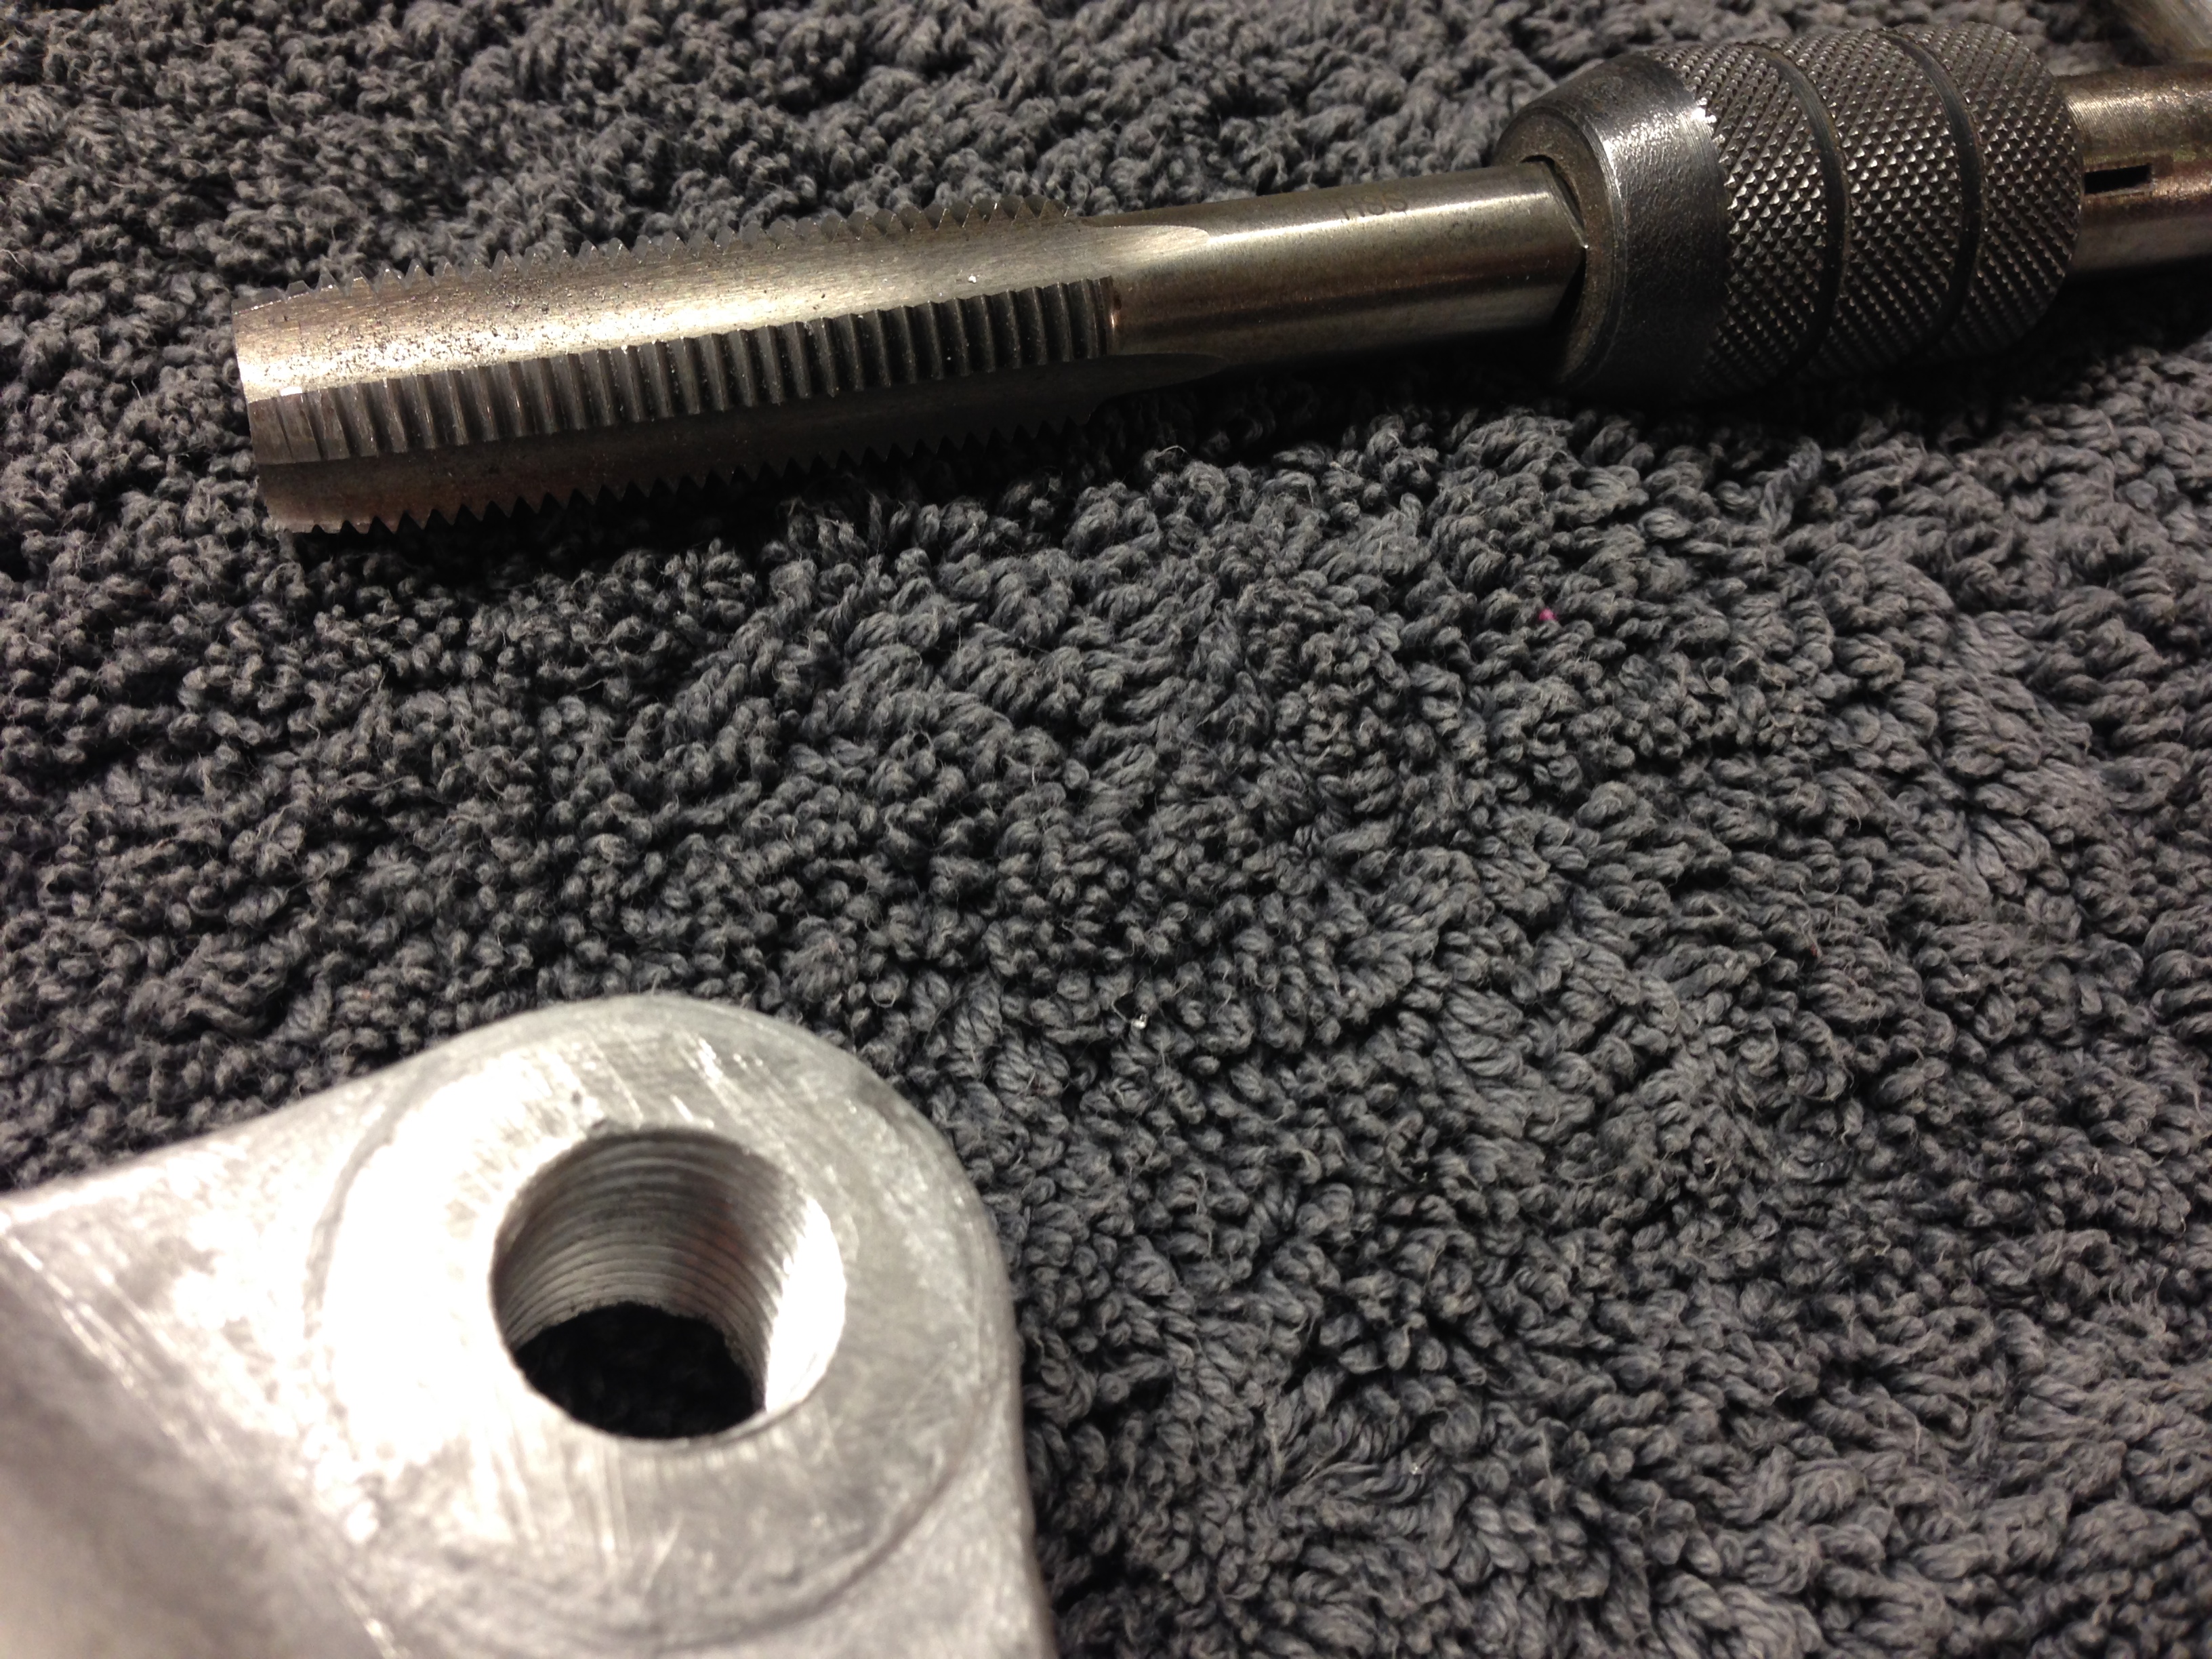
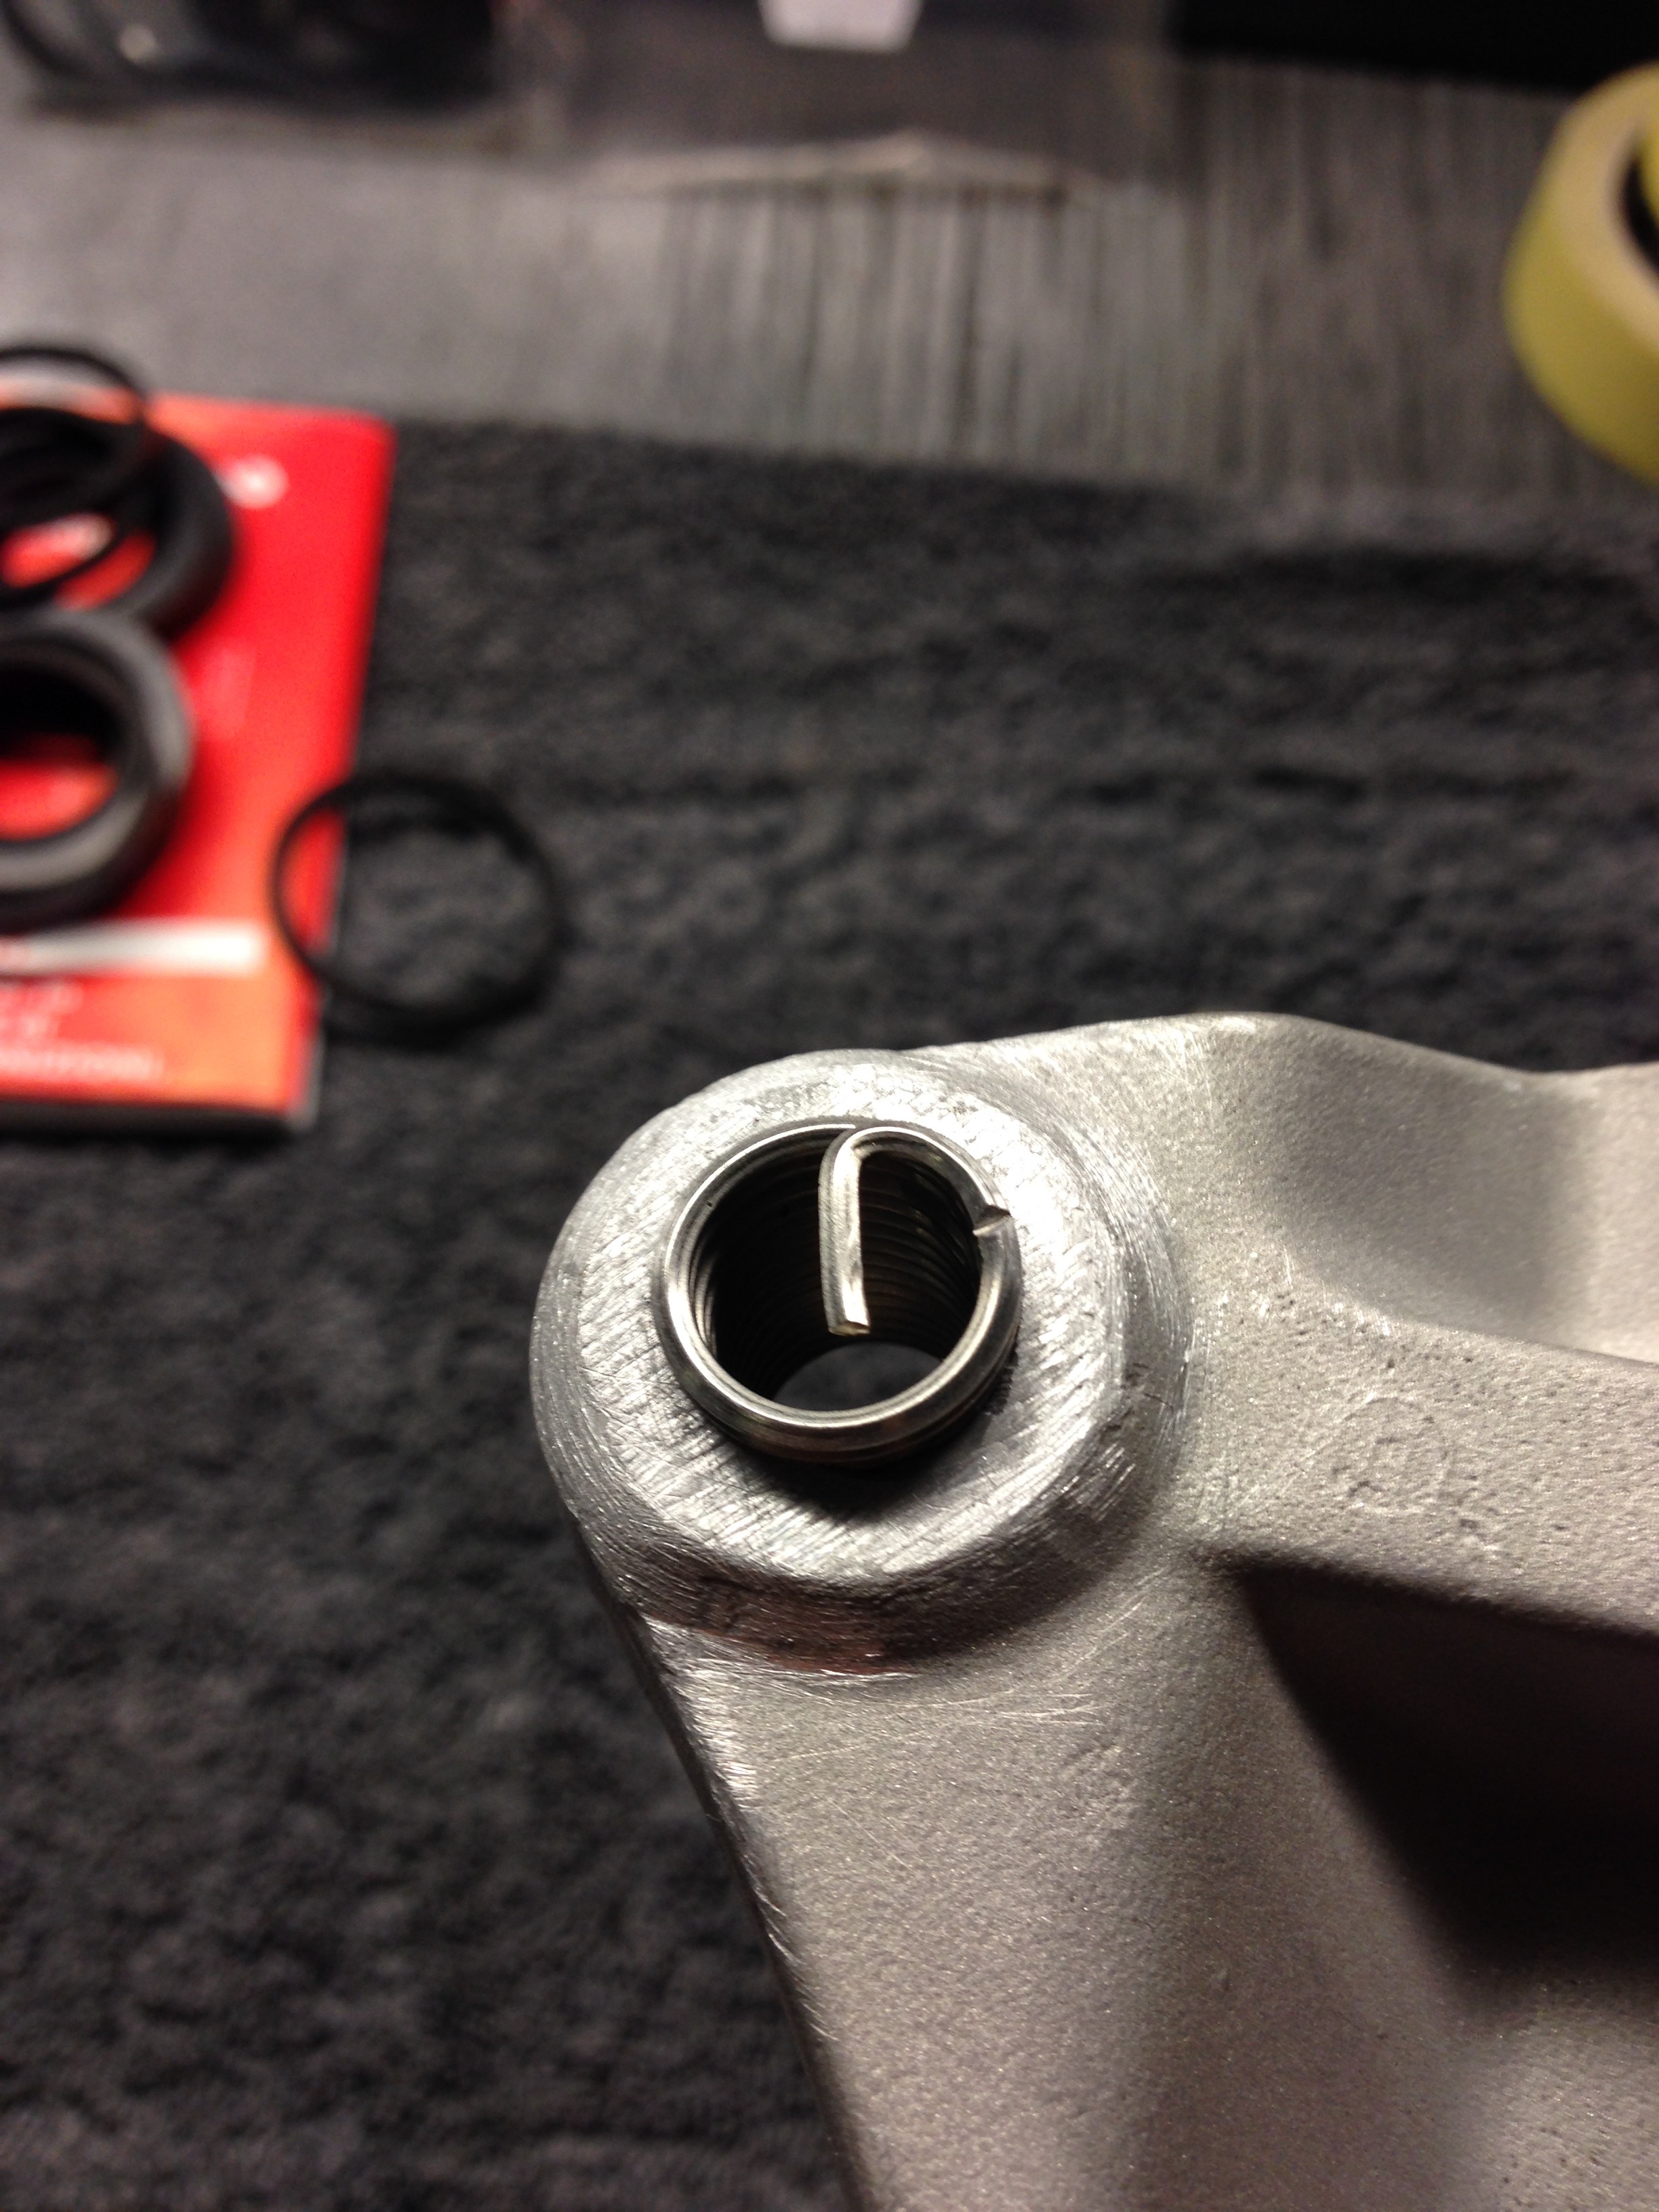
Fit the re thread stainless thread
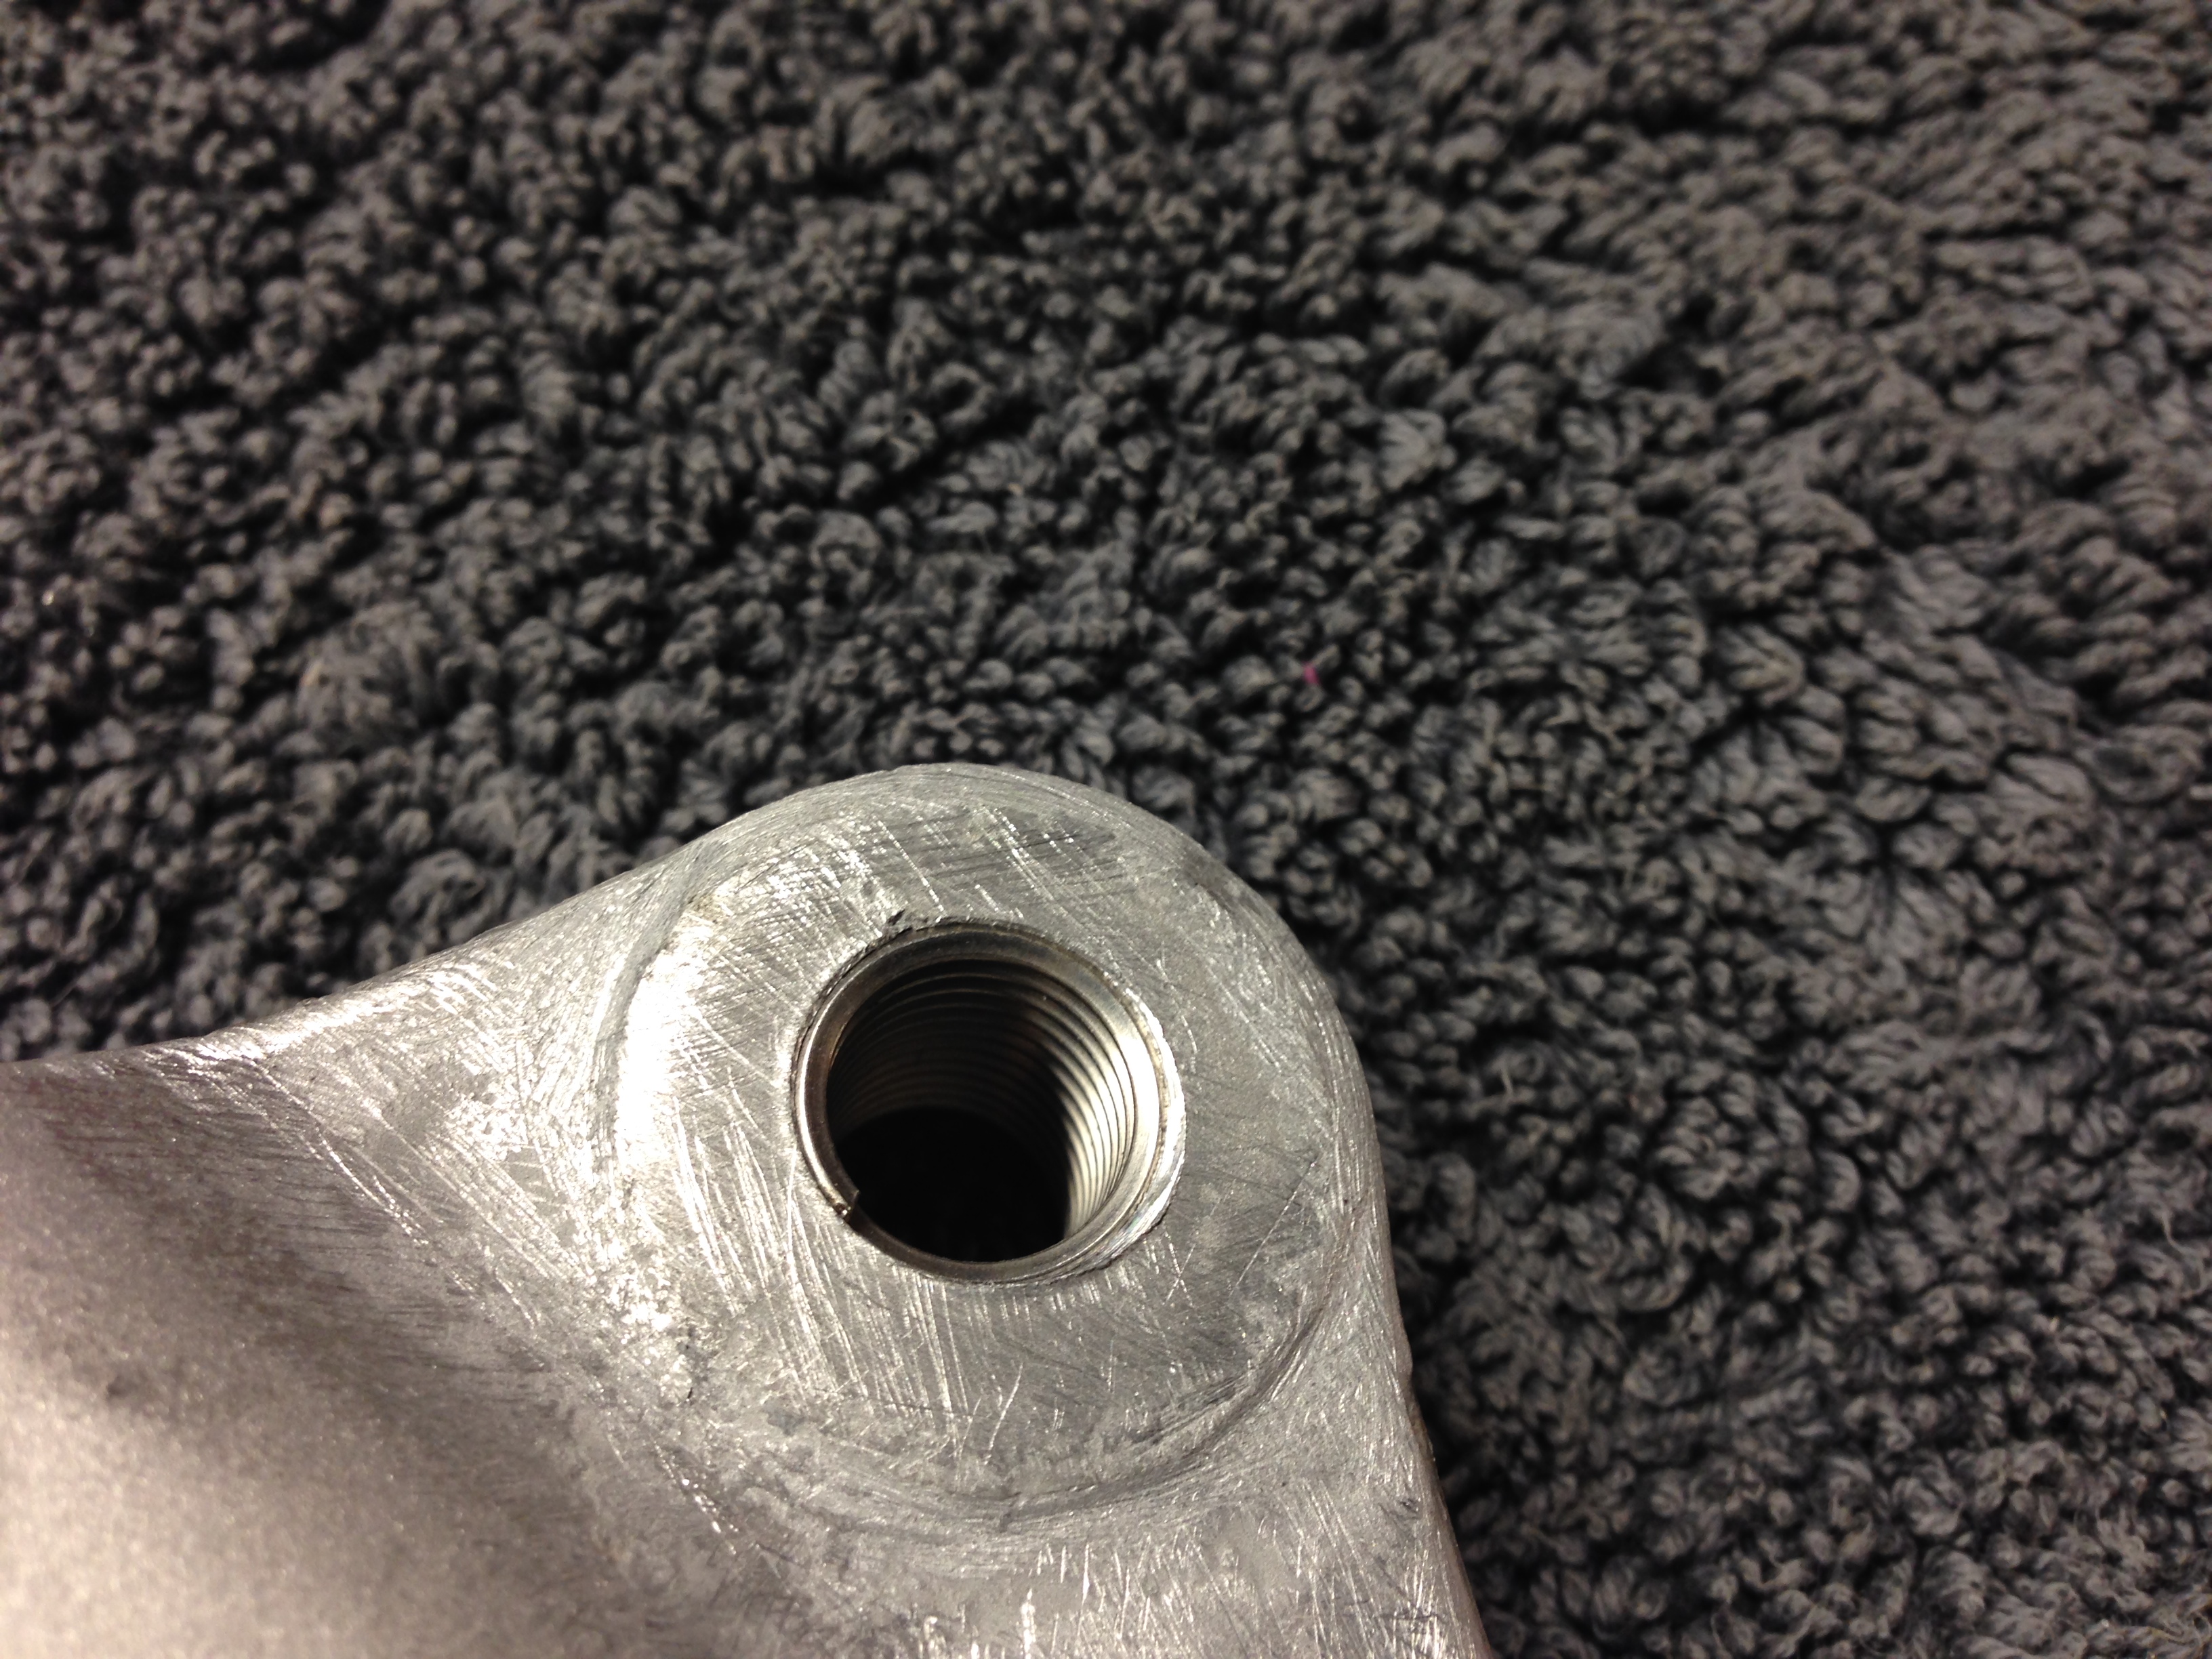
They need trimming off with a sharp pair of cutters
So your left with w nice neat thread
Genuine Seal Kits
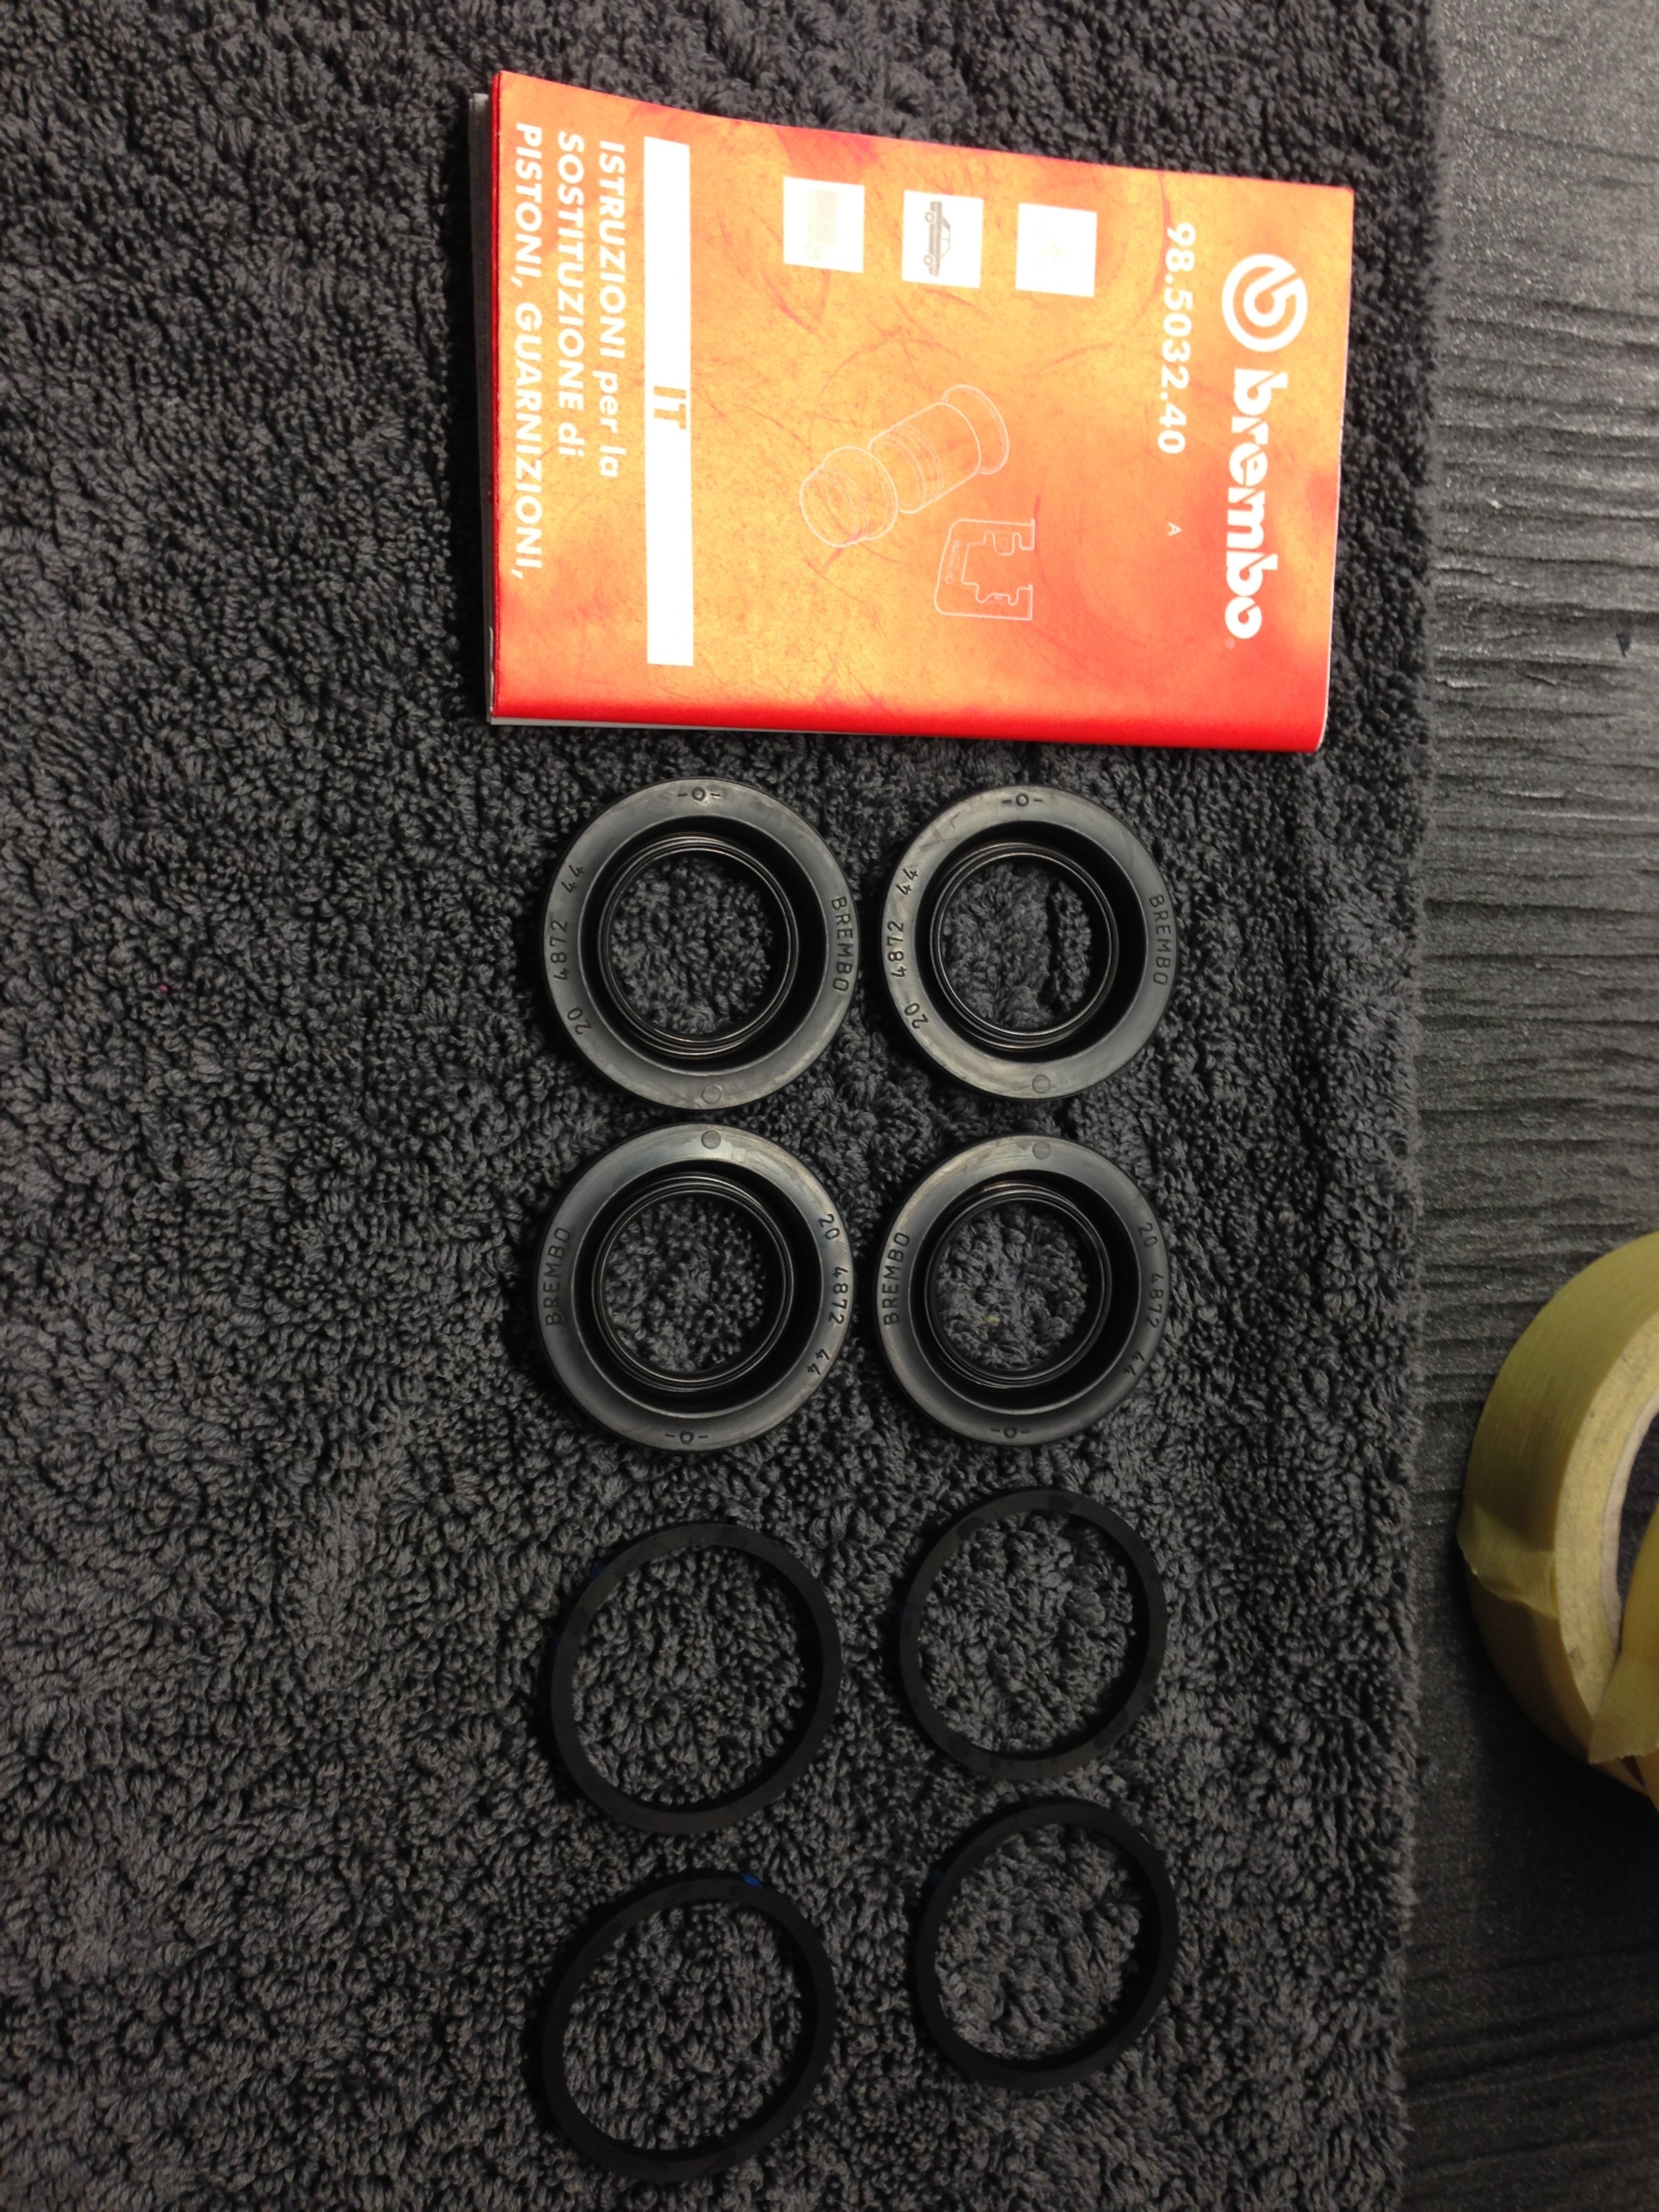
Use Silicone grease on the new seal, smear it round with your finger
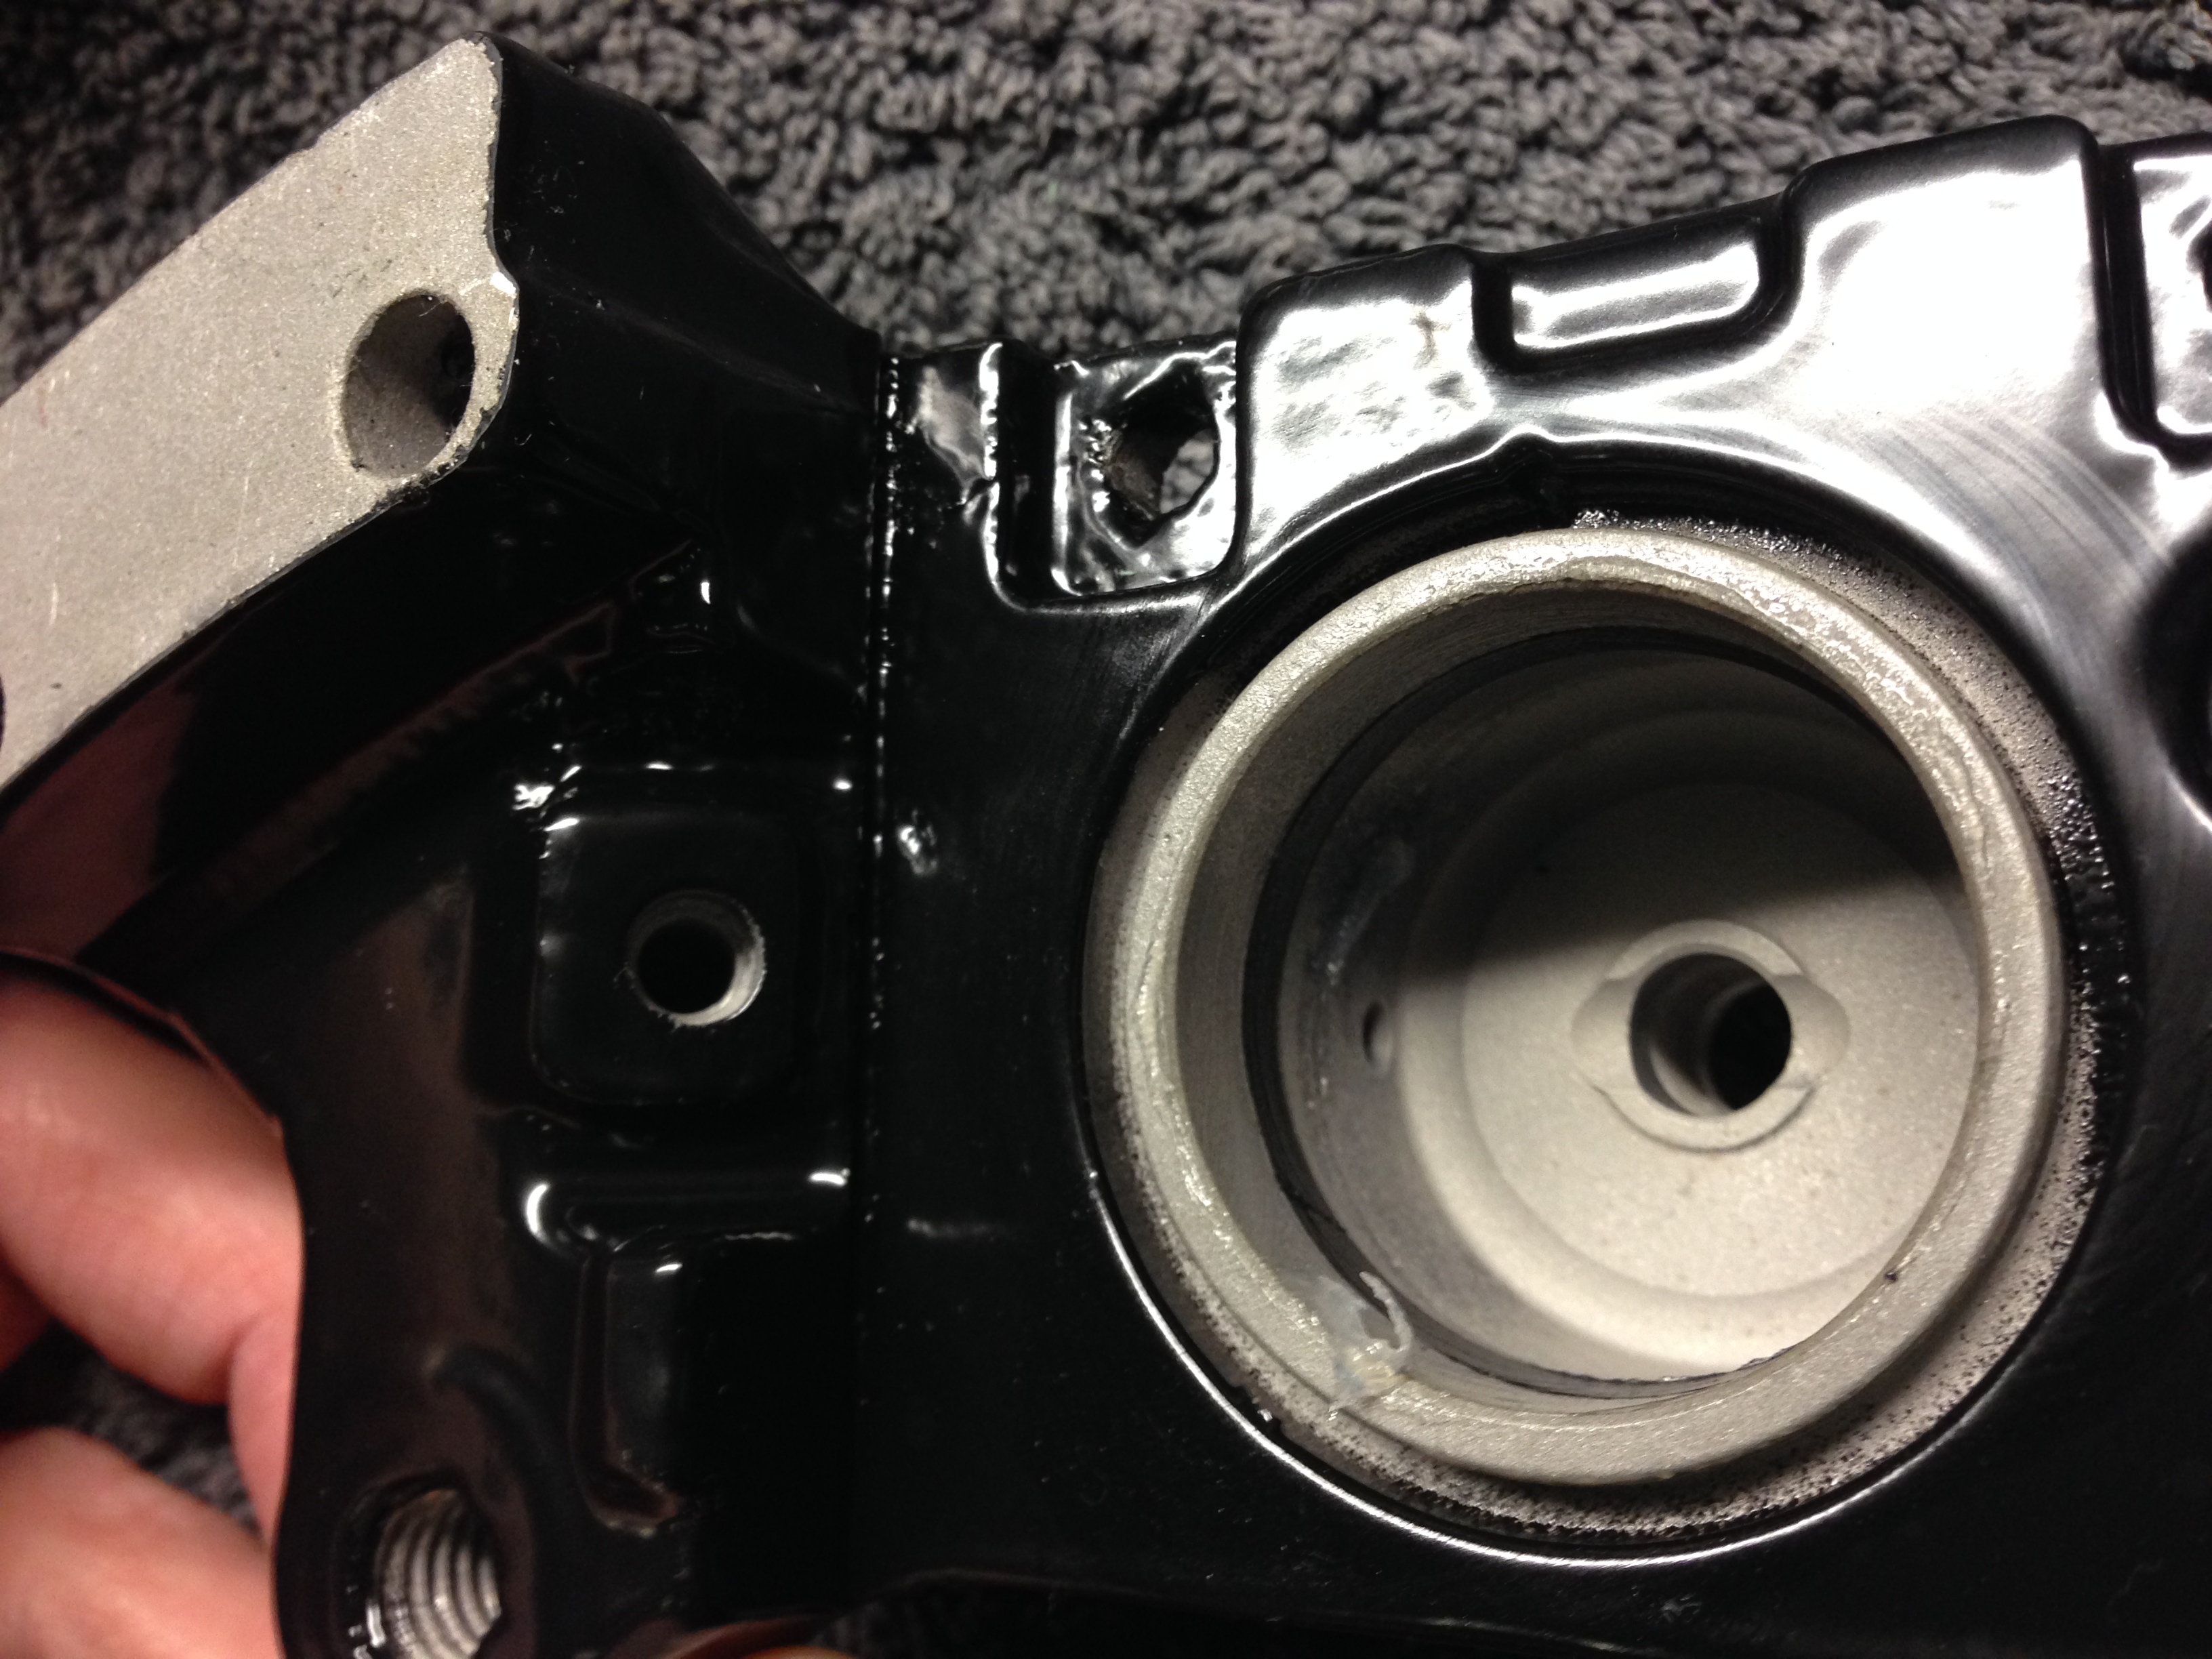
You have to grease the inside of the new seal also as they are tight to push in otherwise
Finally they just need building up tomorrow once we have painted the pad guides and bolts back up
First job was to drill the damaged thread out ready for the re thread
Then tap the thread out
Fit the re thread stainless thread
They need trimming off with a sharp pair of cutters
So your left with w nice neat thread
Genuine Seal Kits
Use Silicone grease on the new seal, smear it round with your finger
You have to grease the inside of the new seal also as they are tight to push in otherwise
Finally they just need building up tomorrow once we have painted the pad guides and bolts back up
Broddle is a small tool which you can buy http://www.ebay.co.uk/itm/Carpenters...-/290488091472
I use Snap-On ones but this is first i found as an example
I use Snap-On ones but this is first i found as an example
Cleaning up the reads for the guide plate bolts as oem are thread locked in.
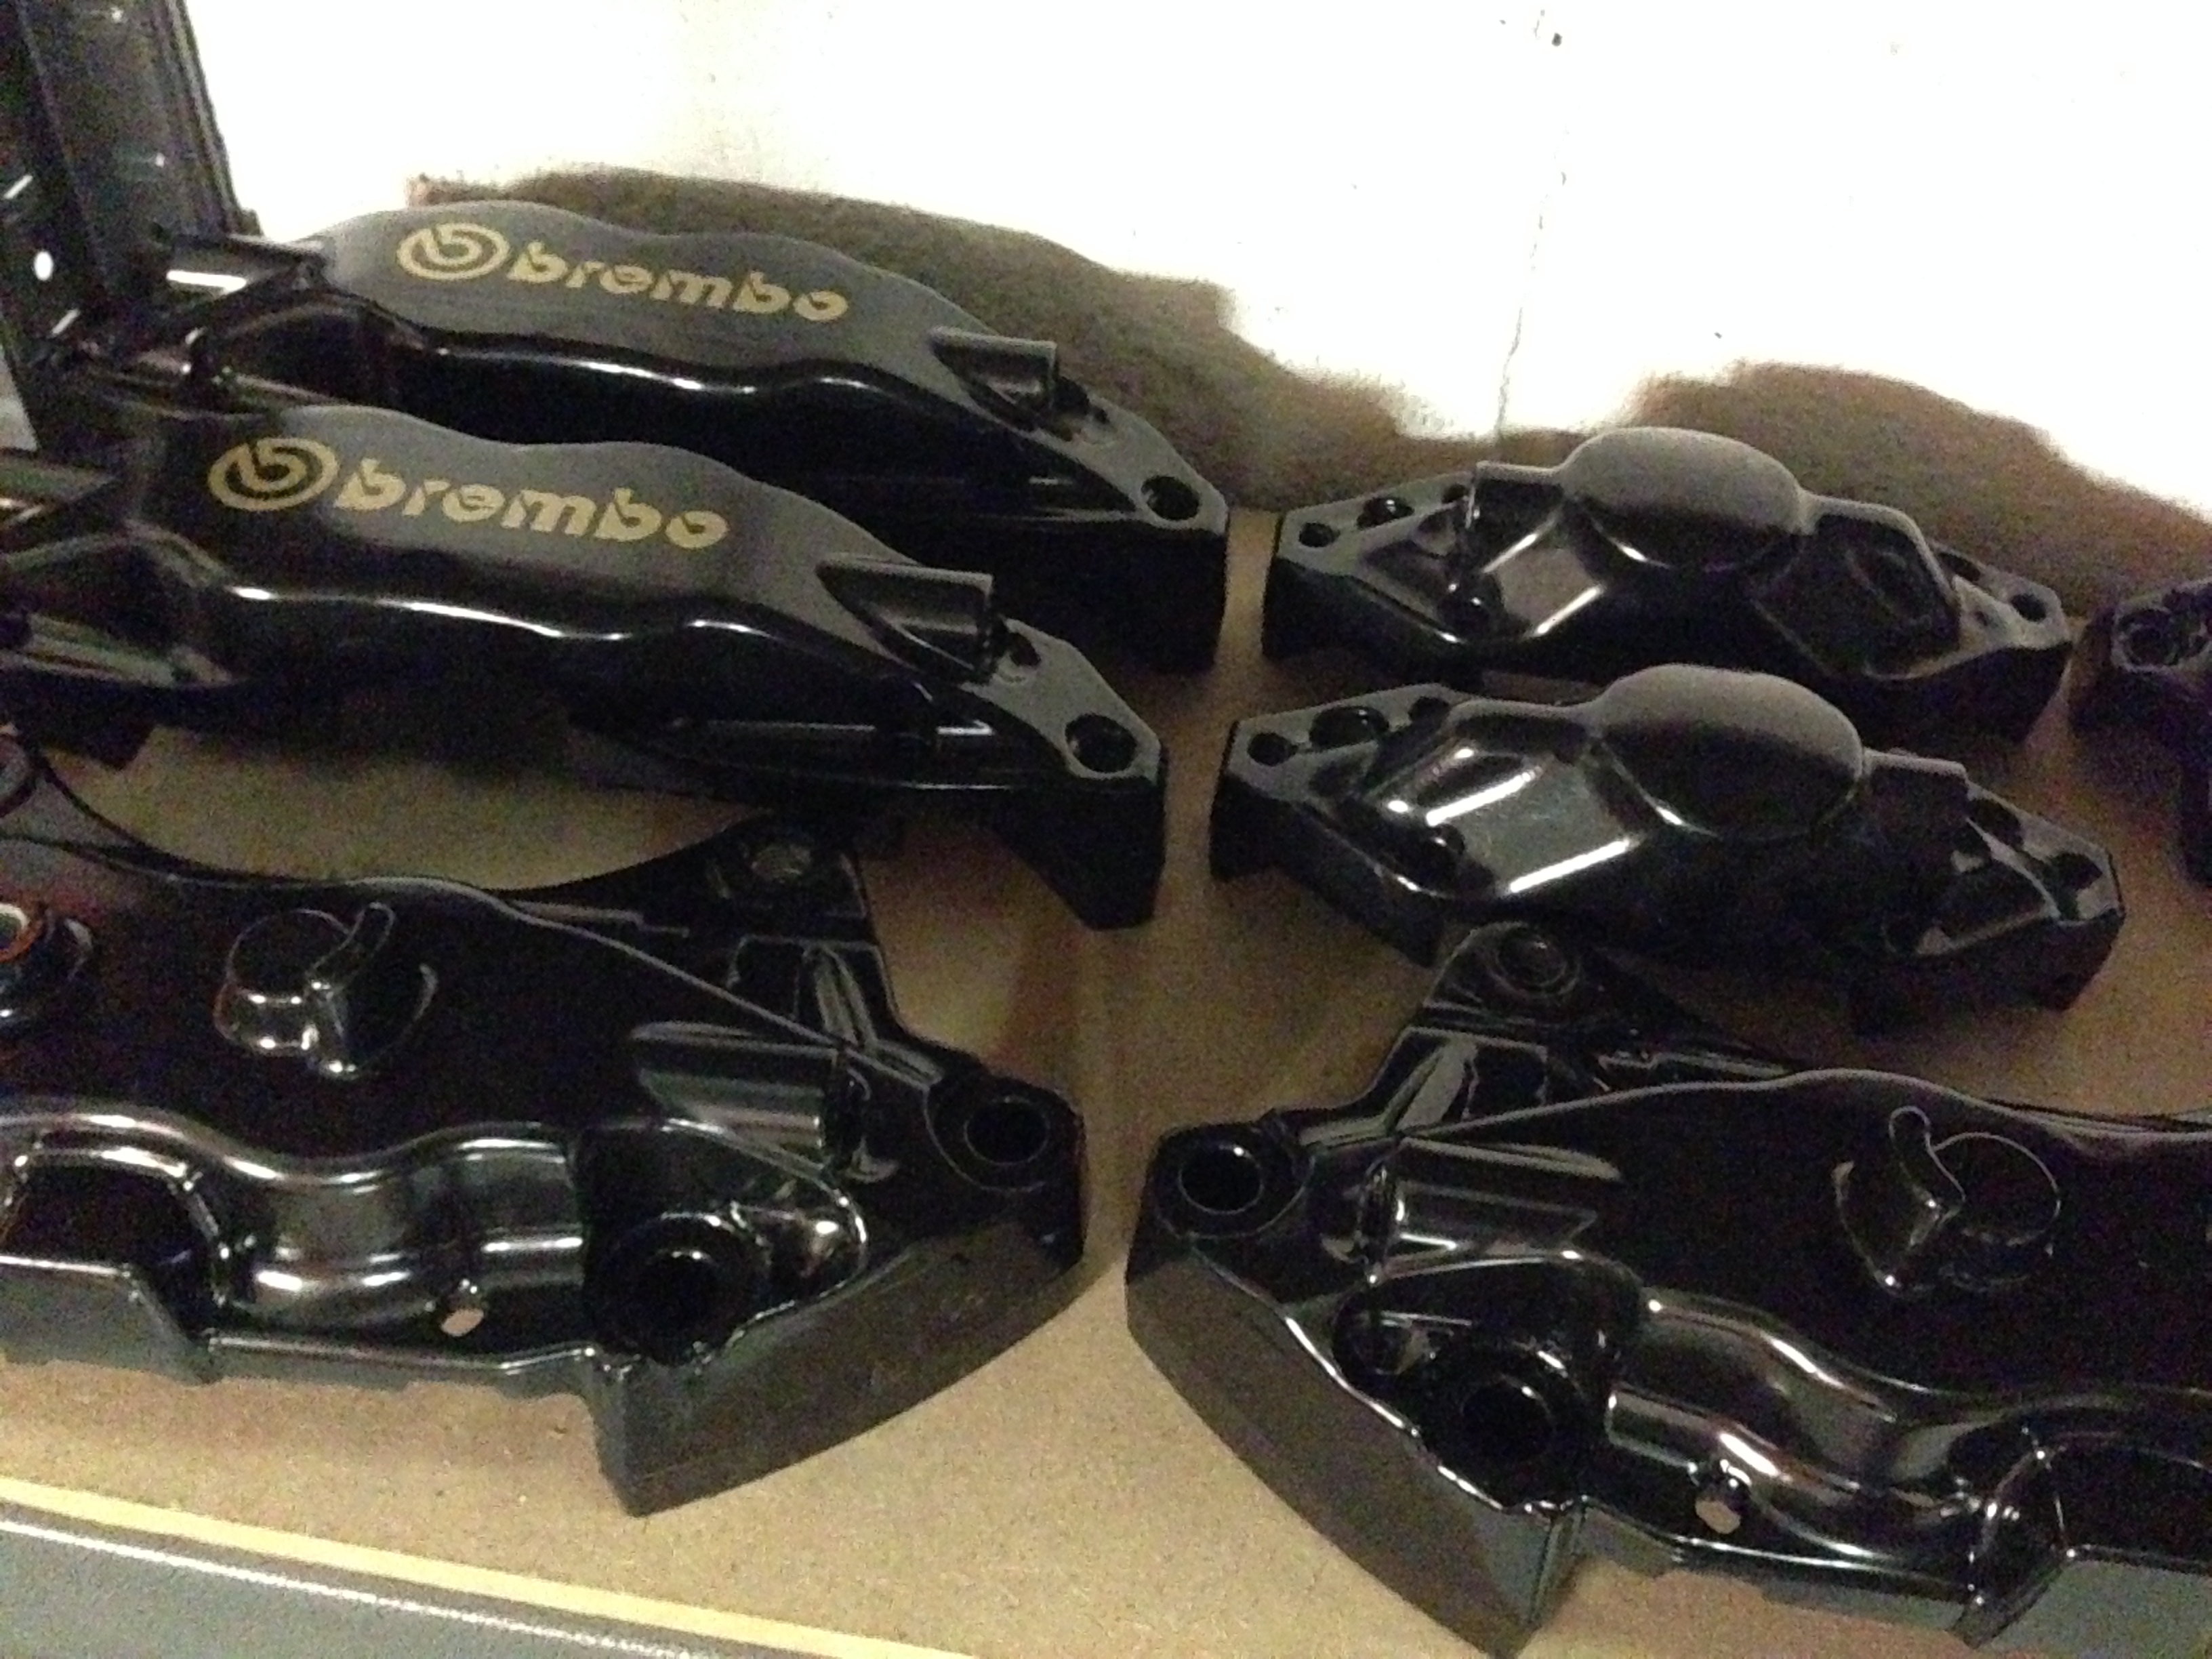
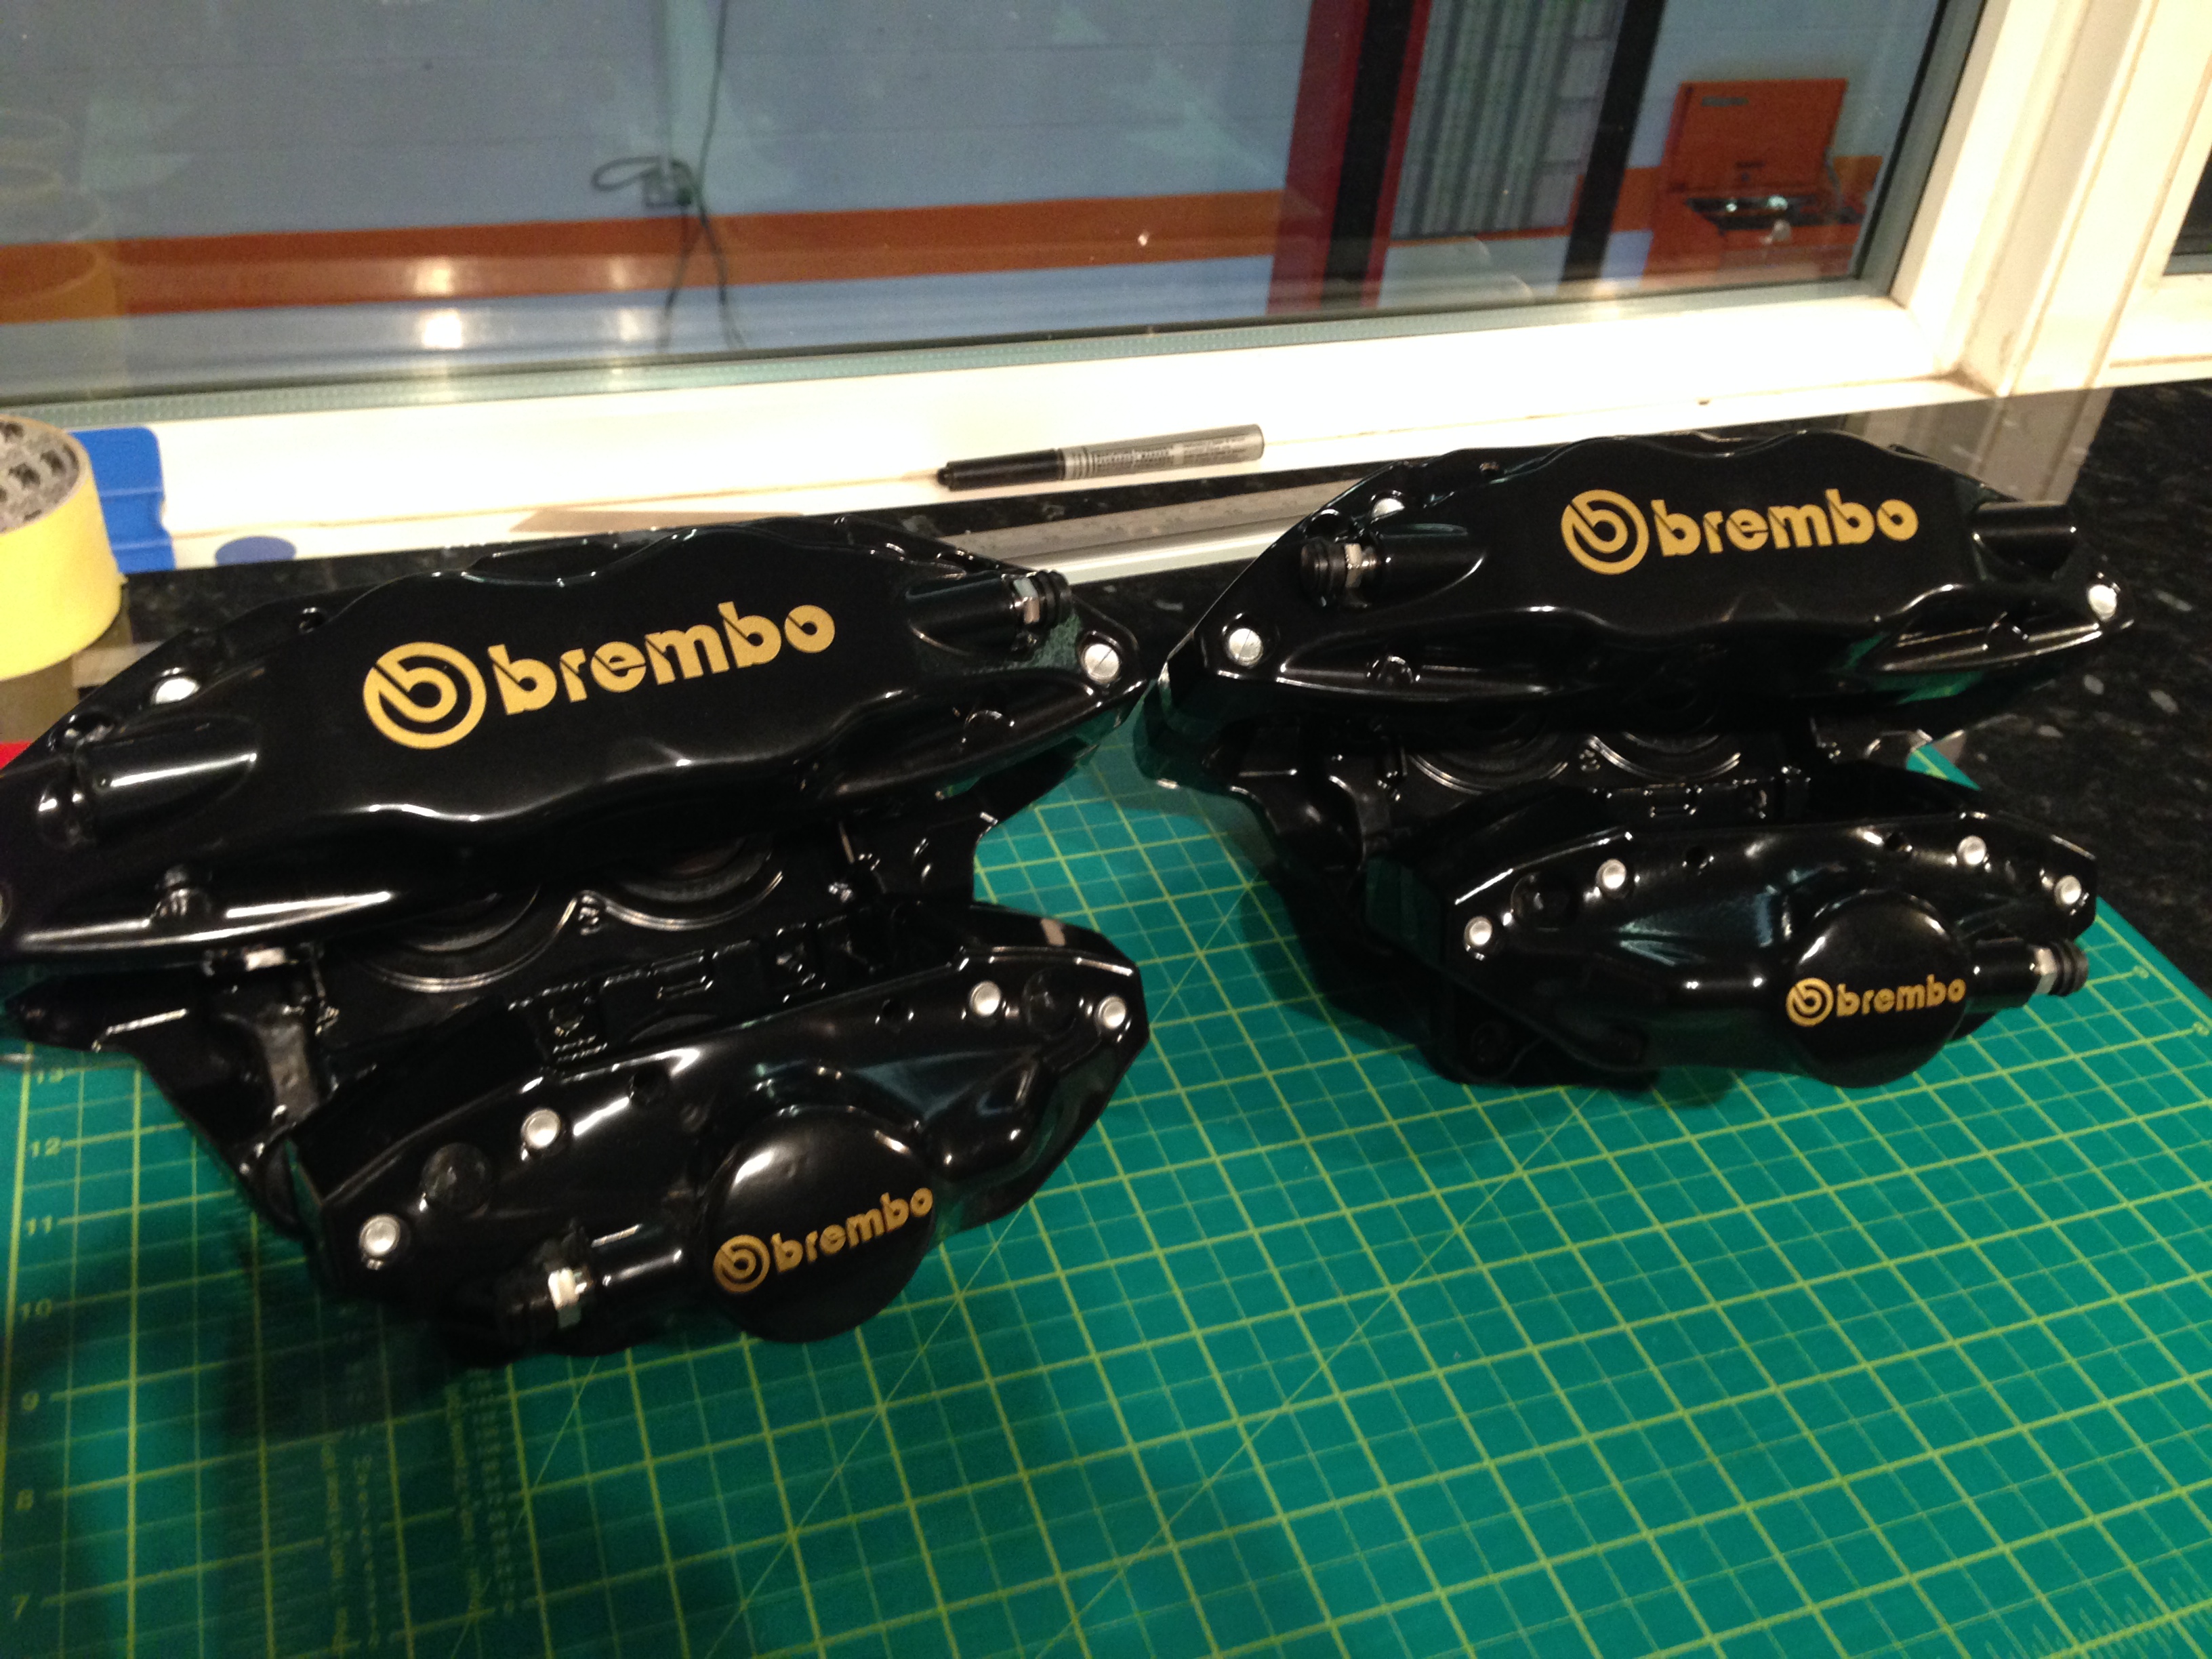
All built up and finished
These turned out to need a hell of a lot or work with filling along with a re thread as well. But they have made a nice set of calipers now finished
All built up and finished
These turned out to need a hell of a lot or work with filling along with a re thread as well. But they have made a nice set of calipers now finished


