When you click on links to various merchants on this site and make a purchase, this can result in this site earning a commission. Affiliate programs and affiliations include, but are not limited to, the eBay Partner Network.
I've done these for classics, thought I'd have a go for the widetrack newage.
@InTurbo mentioned the issue of front struts, for 114.3mmPCD widetracks, being supply limited, to Subaru only.
Koni part numbers.
Fronts:
8610-1351 bug/blob/hawk - normal and widetrack.
Rears:
8610-1408 bug
8610-1440 blob/hawk - normal and widetrack.
Bug and Blob/Hawk have differing rear top mounts.
You can put blob/hawk rear struts, complete with blob/hawk top mounts and blob/hawk springs, in a bug. But, if using bug struts in a blob/hawk, you must use blob/hawk springs, blob/hawk top mounts PLUS the Pedders spacers or scooby921 spacers.
Fronts:
The problem with the Koni + 114.3mm PCD front widetrack housing conversion, are the extra layers of preparation required. When compared to a front non-inverted, 100mm PCD, housing.
You have to punch out some internal circular supports, then slightly increase the housing ID (I'm pondering this, maybe 40 grit flap wheel?).
Rears:
Don't use inverted rear housings for a Koni conversion!
Find some normal, non-inverted, rear housings - it doesn't matter if they're bug/blob/hawk.
Don't use front or rear saloon strut housings, on a wagon, otherwise you'll lose camber.
You could use wagon housings on a saloon, if you wanted to gain camber.
But, how much of it is doable in your back garden? Fill base of strut with penetrating oil - leave to soak
The non-inverted rears I've got hold of are bug excel-g's.
Use a centre punch! The convex base metal is relatively thin, if you start drilling off-centre it's difficult to re-centralise.
Hold the strut horizontally and drill a 4mm pilot hole in the centre of the convex base.
I've found drilling horizontally the best, as you get a puff of air and less oil residue. If you angle the strut downward, it forces some oil out with the air.
If you cut the base off an old, plastic 2litre milk container, and fit it over the strut base, you can drill through it, like a shield.
Then slowly start pumping the damper rod, into a bowl, to expel all the oil from the strut, via the 4mm pilot hole - about 350ml.
Don't push the damper rod all the way down, whilst pumping! Until almost empty. Or it will suck itself into the down position.
Cutting the top off the rear strut:
On the rears, you need 50mm of tube left projecting above the perch.
You'll only get that cut-off height, on a rear newage strut, by hacksaw or a narrow steel tube cutter, no wider than about 30mm (or you'll hit the perch, before completing a full rotation of the cutter.)
I used a 18tpi hacksaw blade.
If you end up with more than a 50mm measurement, you'll need to get a longer bolt (M12 x 25mm, fine 1.5 thread pitch comes in the Koni kit), because it won't reach the insert, to start pulling the insert into the housing.
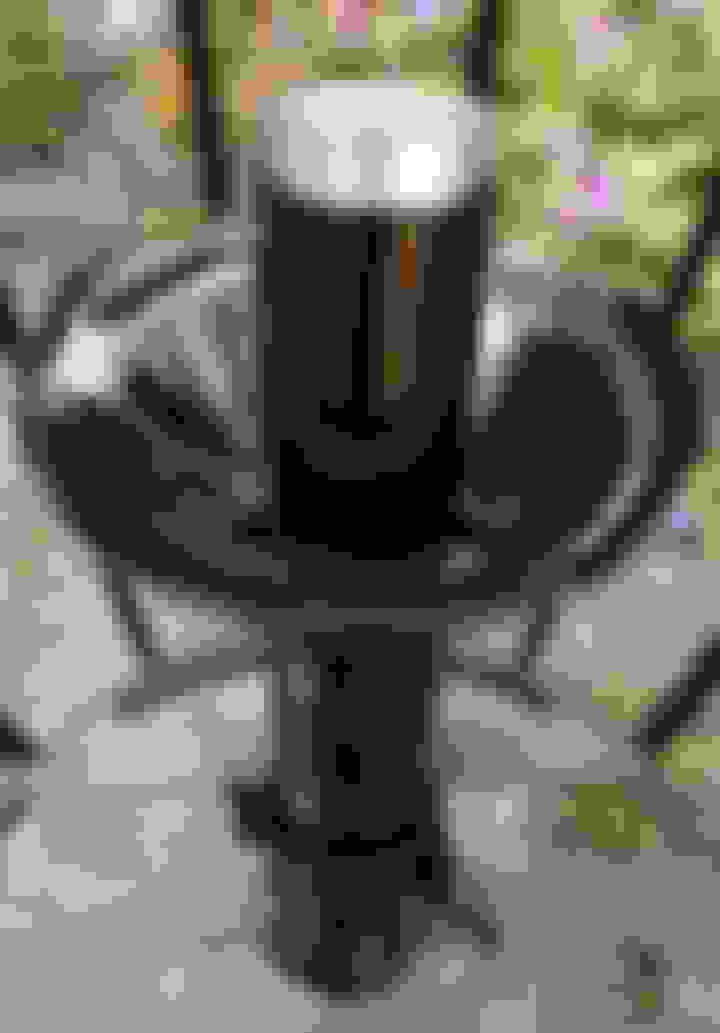
If you're going to use a pipe cutter, and you've got the style of strut below - you'll need to remove the cap first - I knocked it of with a bolster chisel.
The base pilot hole, that started at 4mm, to release the gas and oil - open it incrementally to 13mm.
Last edited by 2pot; Jun 24, 2016 at 05:41 PM.
Reason: clarity
Front strut disassembly:
Undo 14mm nut - pull out insert.
One front strut disassembled.
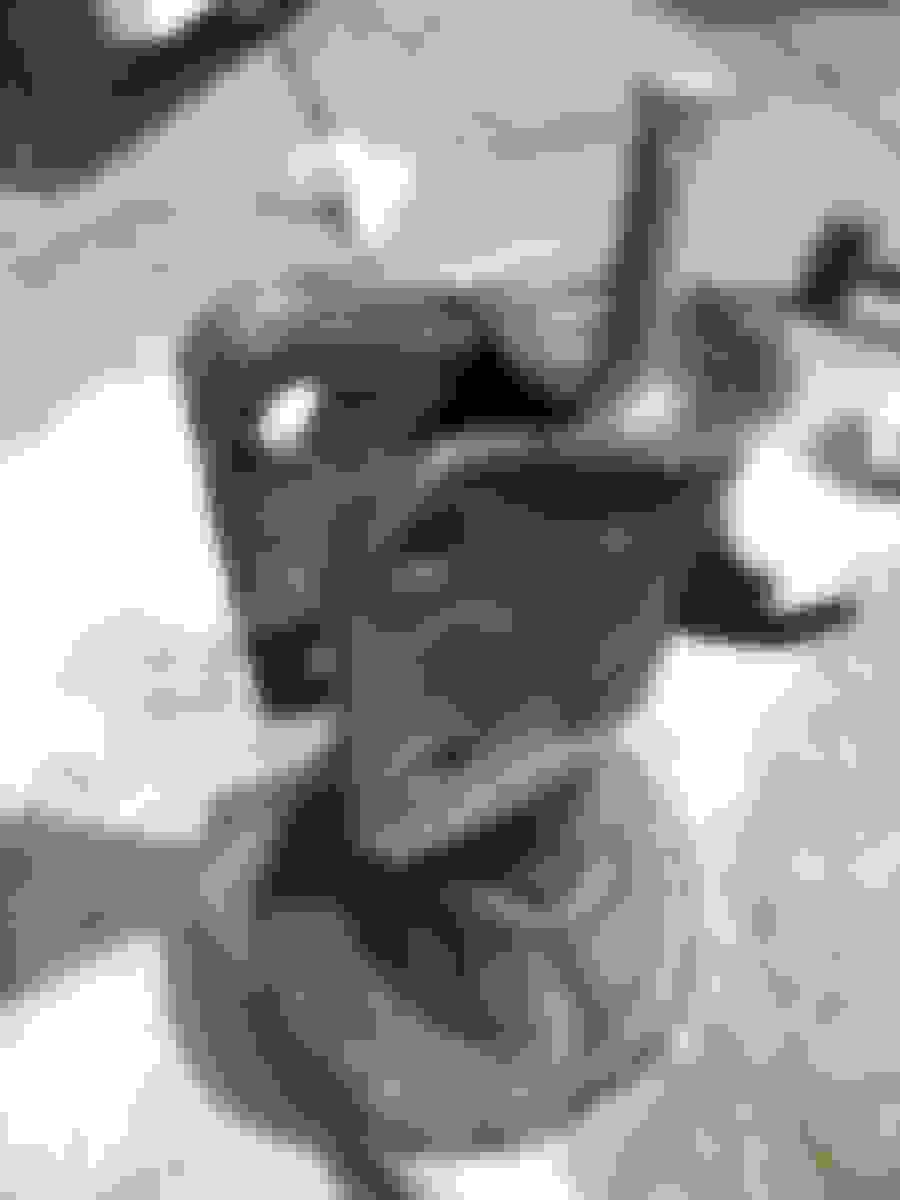
One rotated in the housing - the two metal 'flats', under the nut, that held the original insert, allowing it to be torqued up, have now become an oval hole. I'll return to this (with pics) with a cut off wheel, to remove the nut.
On the one that came apart - drill out the hole, in base of strut, to 13mm.
Knock off top seal
The supports below, are inside the housing. Knock out with a drift (I had �5 worth of 15" Chinese 3/8" socket extension)
For the fronts, hacksaw 20mm from the top of the housing.
If using a pipe cutter - knock out the large, first visable support, first, or it will jam the cutter.
The lower wall of the strut is 3.5mm. The tapered top of the housing is 2.25mm.
Then knock out the remaining internal supports.
I used an aerosol can of Jizer, to de-grease the inner tube.
The front Koni insert is only going to go 130mm, into the housing. As the Koni is a smaller diameter, in its lower length - 43.15mm dia.
The housing is 44mm ID. The same dia OD, as the middle section of the Koni insert.
Use a 40 grit, 50mm x 40mm by 6mm spindle flap wheel.
The part numbers stamped into the Koni, cause a localised bulge to the insert body.
Remove the part numbers, and all paint from under the locating lugs, to the lower bulge - a distance of 170mm. Pay attention to another bulge, at the transition between the lower and middle diameters of the insert
New versions of insert, have the part number on a label, but you'll still need to remove the paint.
Before using the flap wheel inside the tube, cut out every 3rd flap, with a Stanley knife (otherwise you'll stall out the drill/grinder).
Re-fix the flap wheel in the chuck, to expose the maximum length of spindle.
The process of welding the spring perch, to the strut housing, causes a pinch point.
Run the flap wheel, and chuck, into the cut strut housing.
Don't exceed 45.5mm ID at the entrance to the cut strut hosing.
To gain additional clearance, after you've done the inner housing, it's easier to remove material from the insert - the witness marks, showing you where to grind, are left on the bare metal, after an attempted insertion.
Remove enough material, to allow the insert to slide in as far as the 3 locating lugs.
I used a vacuum to clear out the debris.
The flap wheel heats up the strut housing, temporarily reducing the ID. You will get more clearance, when allowed to cool - same applies, after grinding the insert.
Now to the powder coaters - chemical bath, shot blast, etch prime and red.
For the strut that was spinning in its housing - 50mm x 2mm cut-off wheel, in a drill. Any larger diameter wheel than 50mm, and you'll gouge the housing.
The concave washers, that come with the Koni inserts, are for the domed base of the non-inverted, sealed struts.
The inverted, front strut housings have a flat, central base. So, the supplied, concave washer will leave a void - I used an M12, A2 stainless, form C (28mm dia) washer, instead.
I didn't use the supplied lock washers either - I used hand-tool removable thread lock - torqued to 75N/m.
Just in case any one's doing classic fronts - the 8610-1351 kit also comes with 15mm deep reducers.
These get tapped into position, at the top of the housing, ONLY IF the housing internal diameter is too big for the 3 locating lugs on insert.