When you click on links to various merchants on this site and make a purchase, this can result in this site earning a commission. Affiliate programs and affiliations include, but are not limited to, the eBay Partner Network.
You're really make me feel bad about how I'm neglecting my legacy.
That really is in fantastic condition.
Stu,
To be honest I am really surprised in the condition myself. Apart from some dust and a small amount of UK road crud everything is pretty good. I get bored, investigate and take stuff apart.
I have managed to down load a number of Service Manuals for the BP/BL Legacy. Drop me a PM and I will send them over if you want them.
Ian
Last edited by The Trooper 1815; 13 February 2018 at 10:36 AM.
To be honest I am really surprised in the condition myself. Apart from some dust and a small amount of UK road crud everything is pretty good. I get bored, investigate and take stuff apart.
I have managed to down load a number of Service Manuals for the BP/BL Legacy. Drop me a PM and I will send them over if you want them.
Ian
Thanks for the offer, I'll just clean out my inbox..
Plugs in.
Plugs socket and a 19mm on the end. A bit of a fiddle but it works in the end. Get them finger tight as this will ensure they are not cross threading. I used some cloth adhesive tape on the end for grip, then plugged the plug off with long nose pliers.
The Leggy Twinscroll plugs are gapped to 0.65.
Ensure you remove the chassis member protection pad on a Gen 4 it makes it so much more easier.
Last edited by The Trooper 1815; 15 February 2018 at 03:05 PM.
Love the attention to detail. I've just removed a rear light assembly on my leggy and I was amazed at the filth behind it.
Seriously thinking about attempting to replicate some of your work.
I would seriously think of going over the whole underbody again with this.......not cheap this lot was getting on of Ł200.
Not trying to be detrimental Trooper, but if your going to be serious about saving the underbody from corrosion stone chip is not the way, Tetrosyl has a very high solvent content and very little pigment so will offer very little protection, to be honest it is cheap crap. sorry!
As you have easy access, its a golden opportunity to do it right now, as it is super clean.
You will not regret it if its a keeper!!!. keep it "topped up" over your ownership every so often it will pay for it self over time.
Trooper thats come up good as new. What did you use?
A good dose of penetrating oil to clean off the road deposits.
Then a good rinse off with some 79p Aldi Multi Surface cleaner. Finally, elbow grease and Meguires Metal polish
A bit of OCD on Sunday. I was thinking that after 14 years there would be some sh%te under the front seats.
Wrong!
And back in.
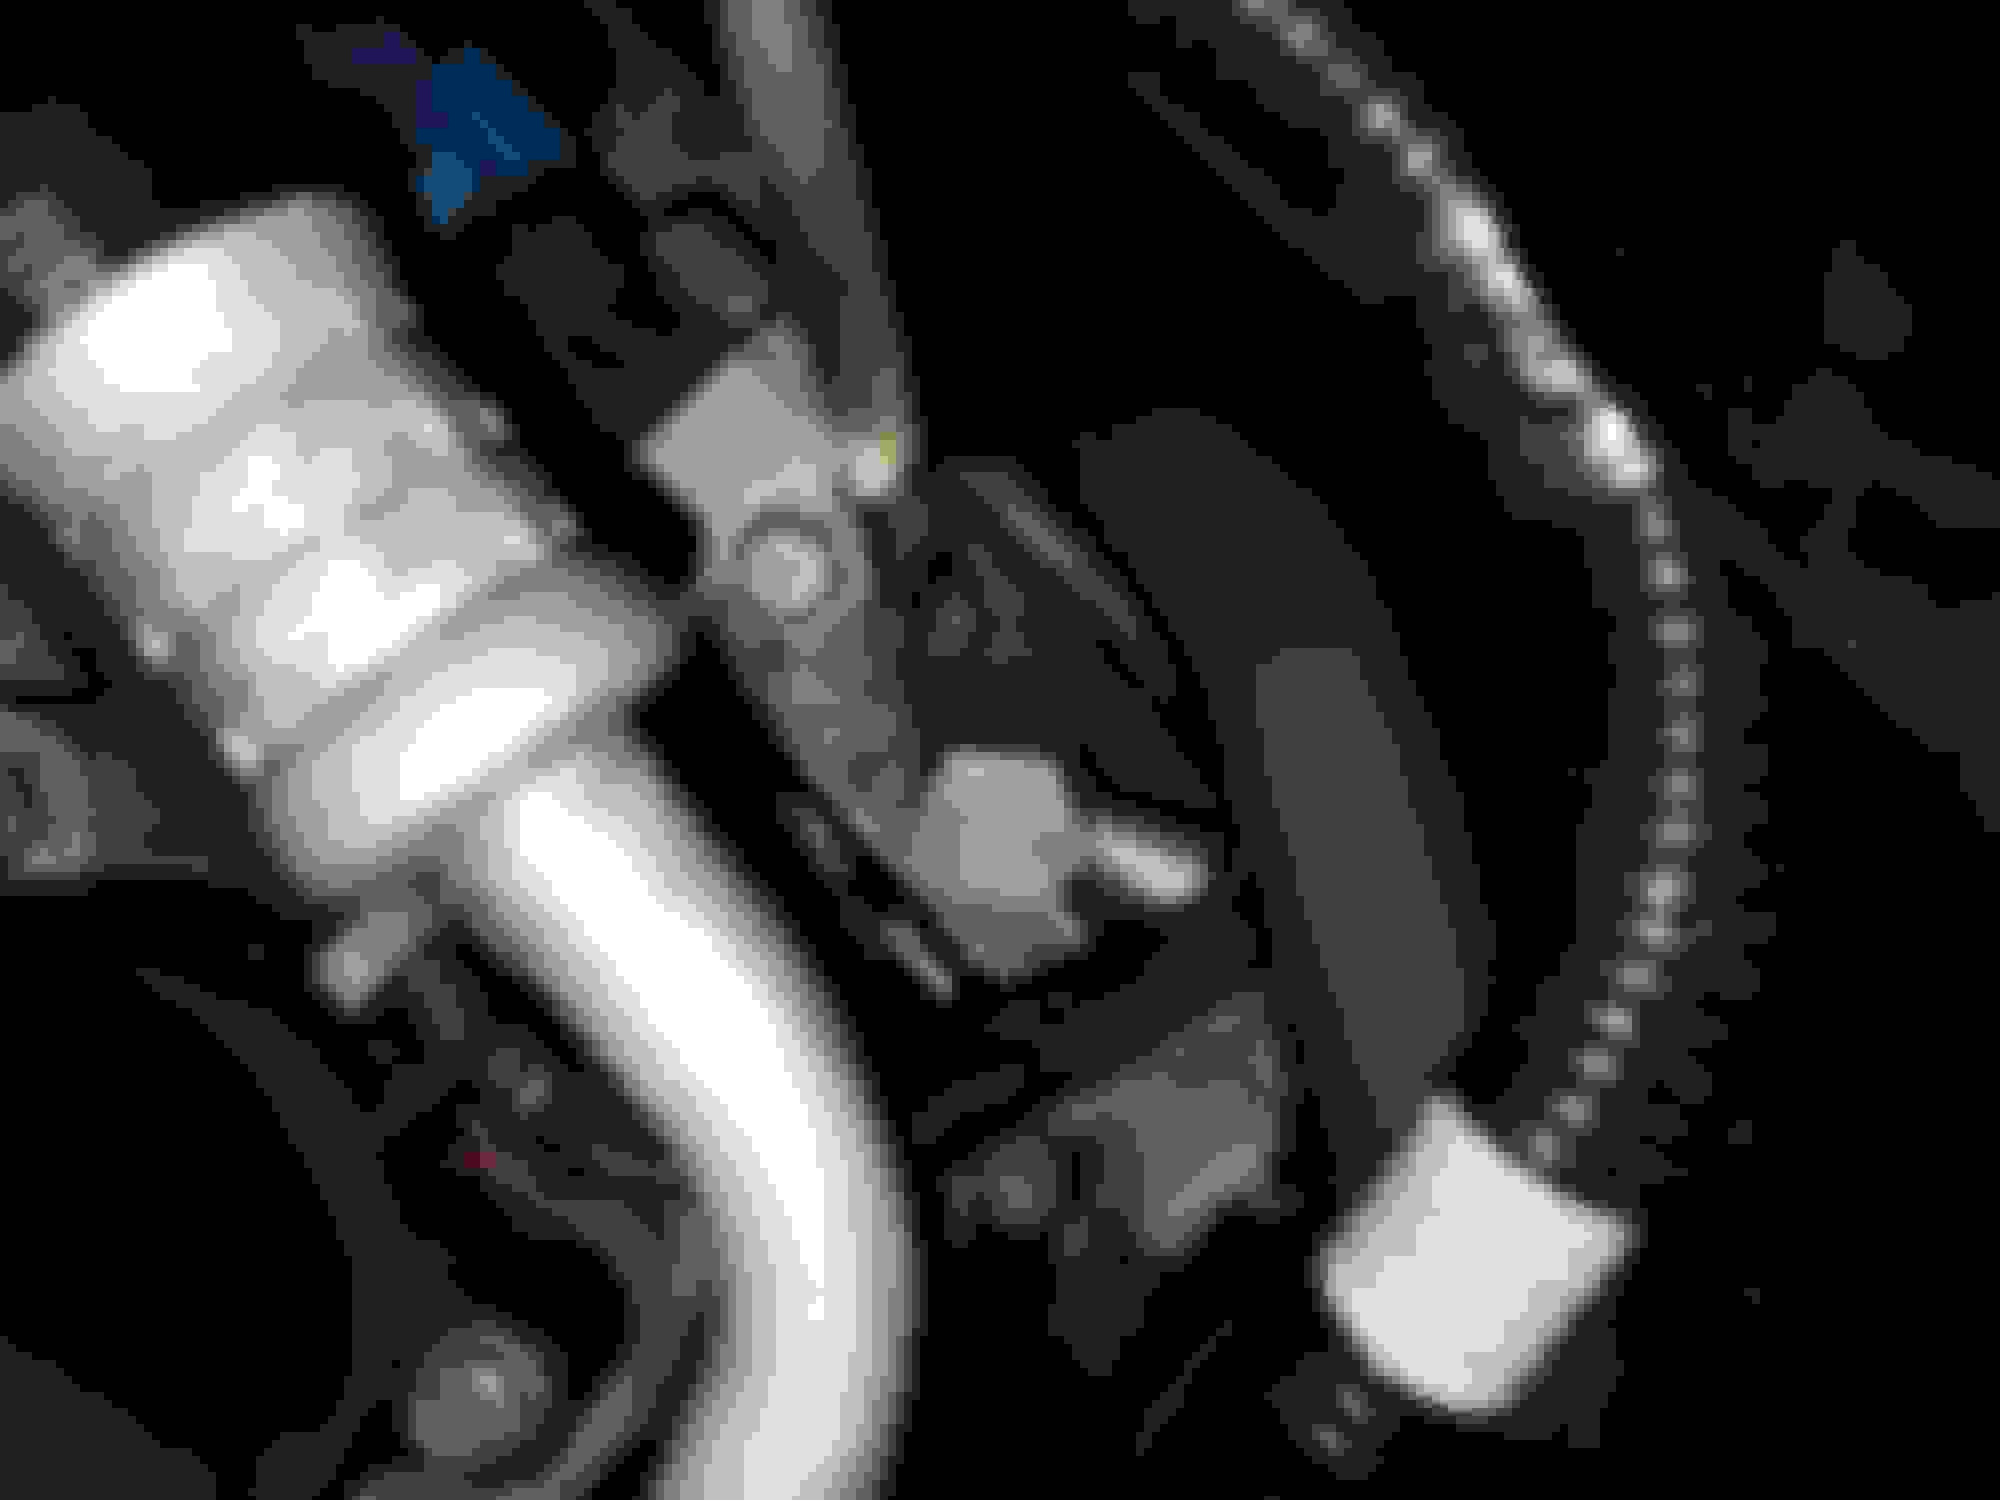
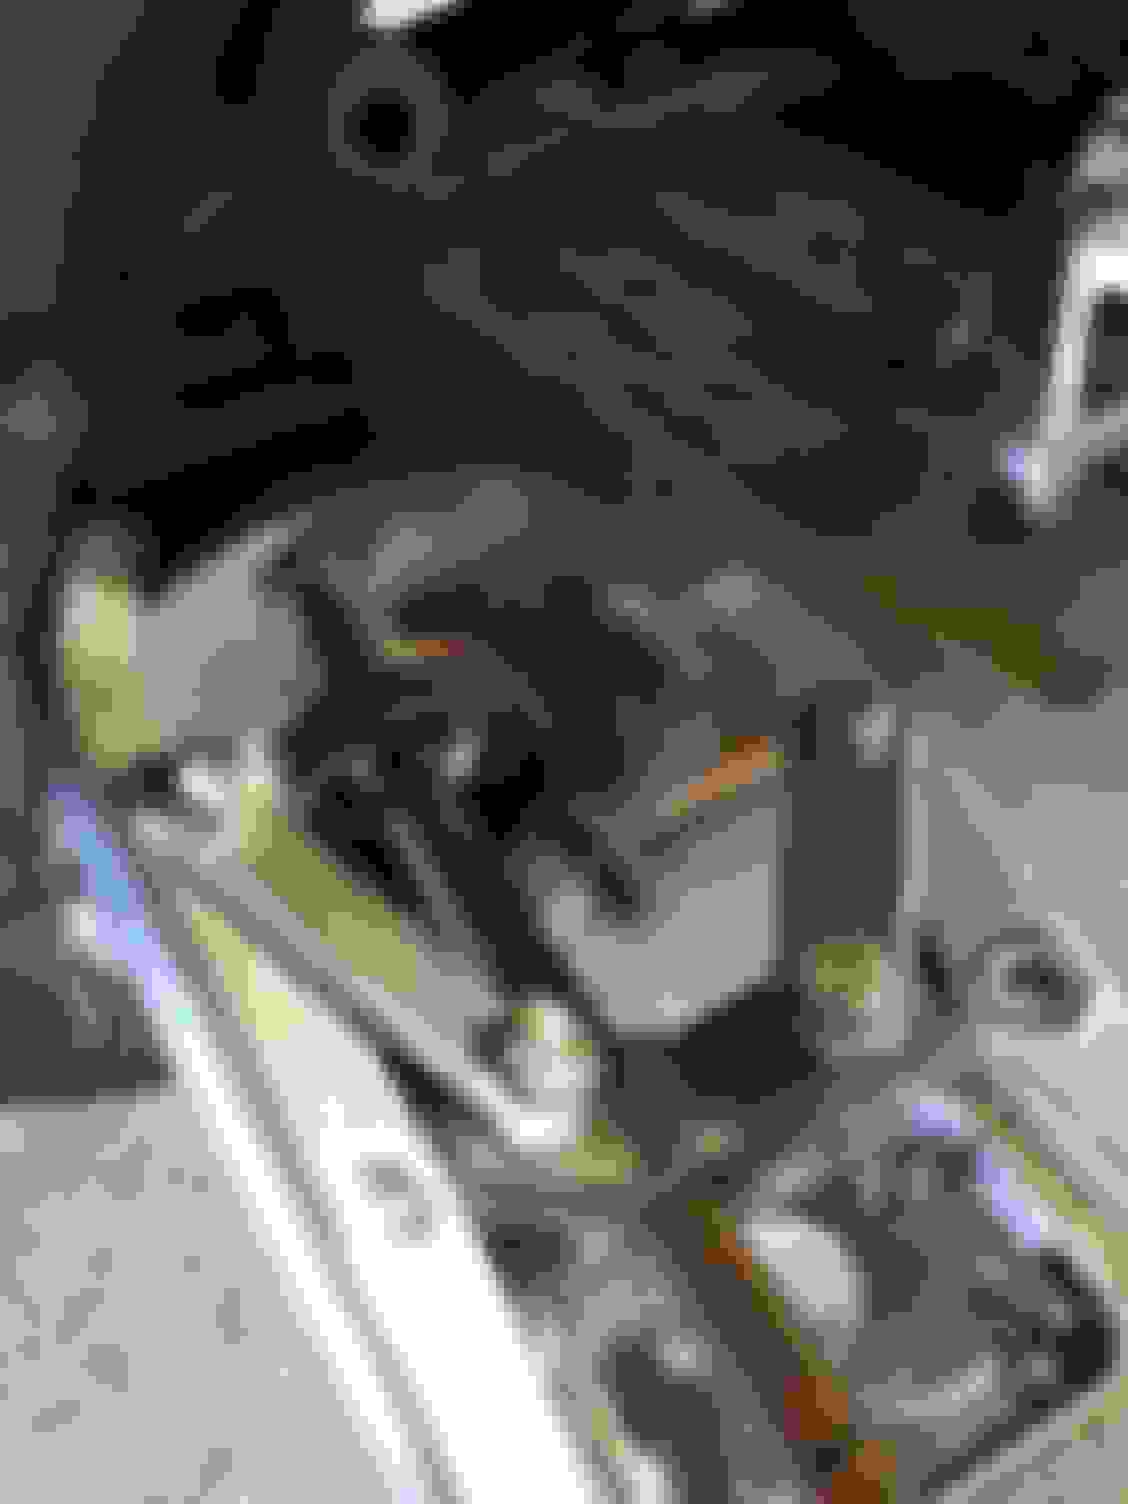
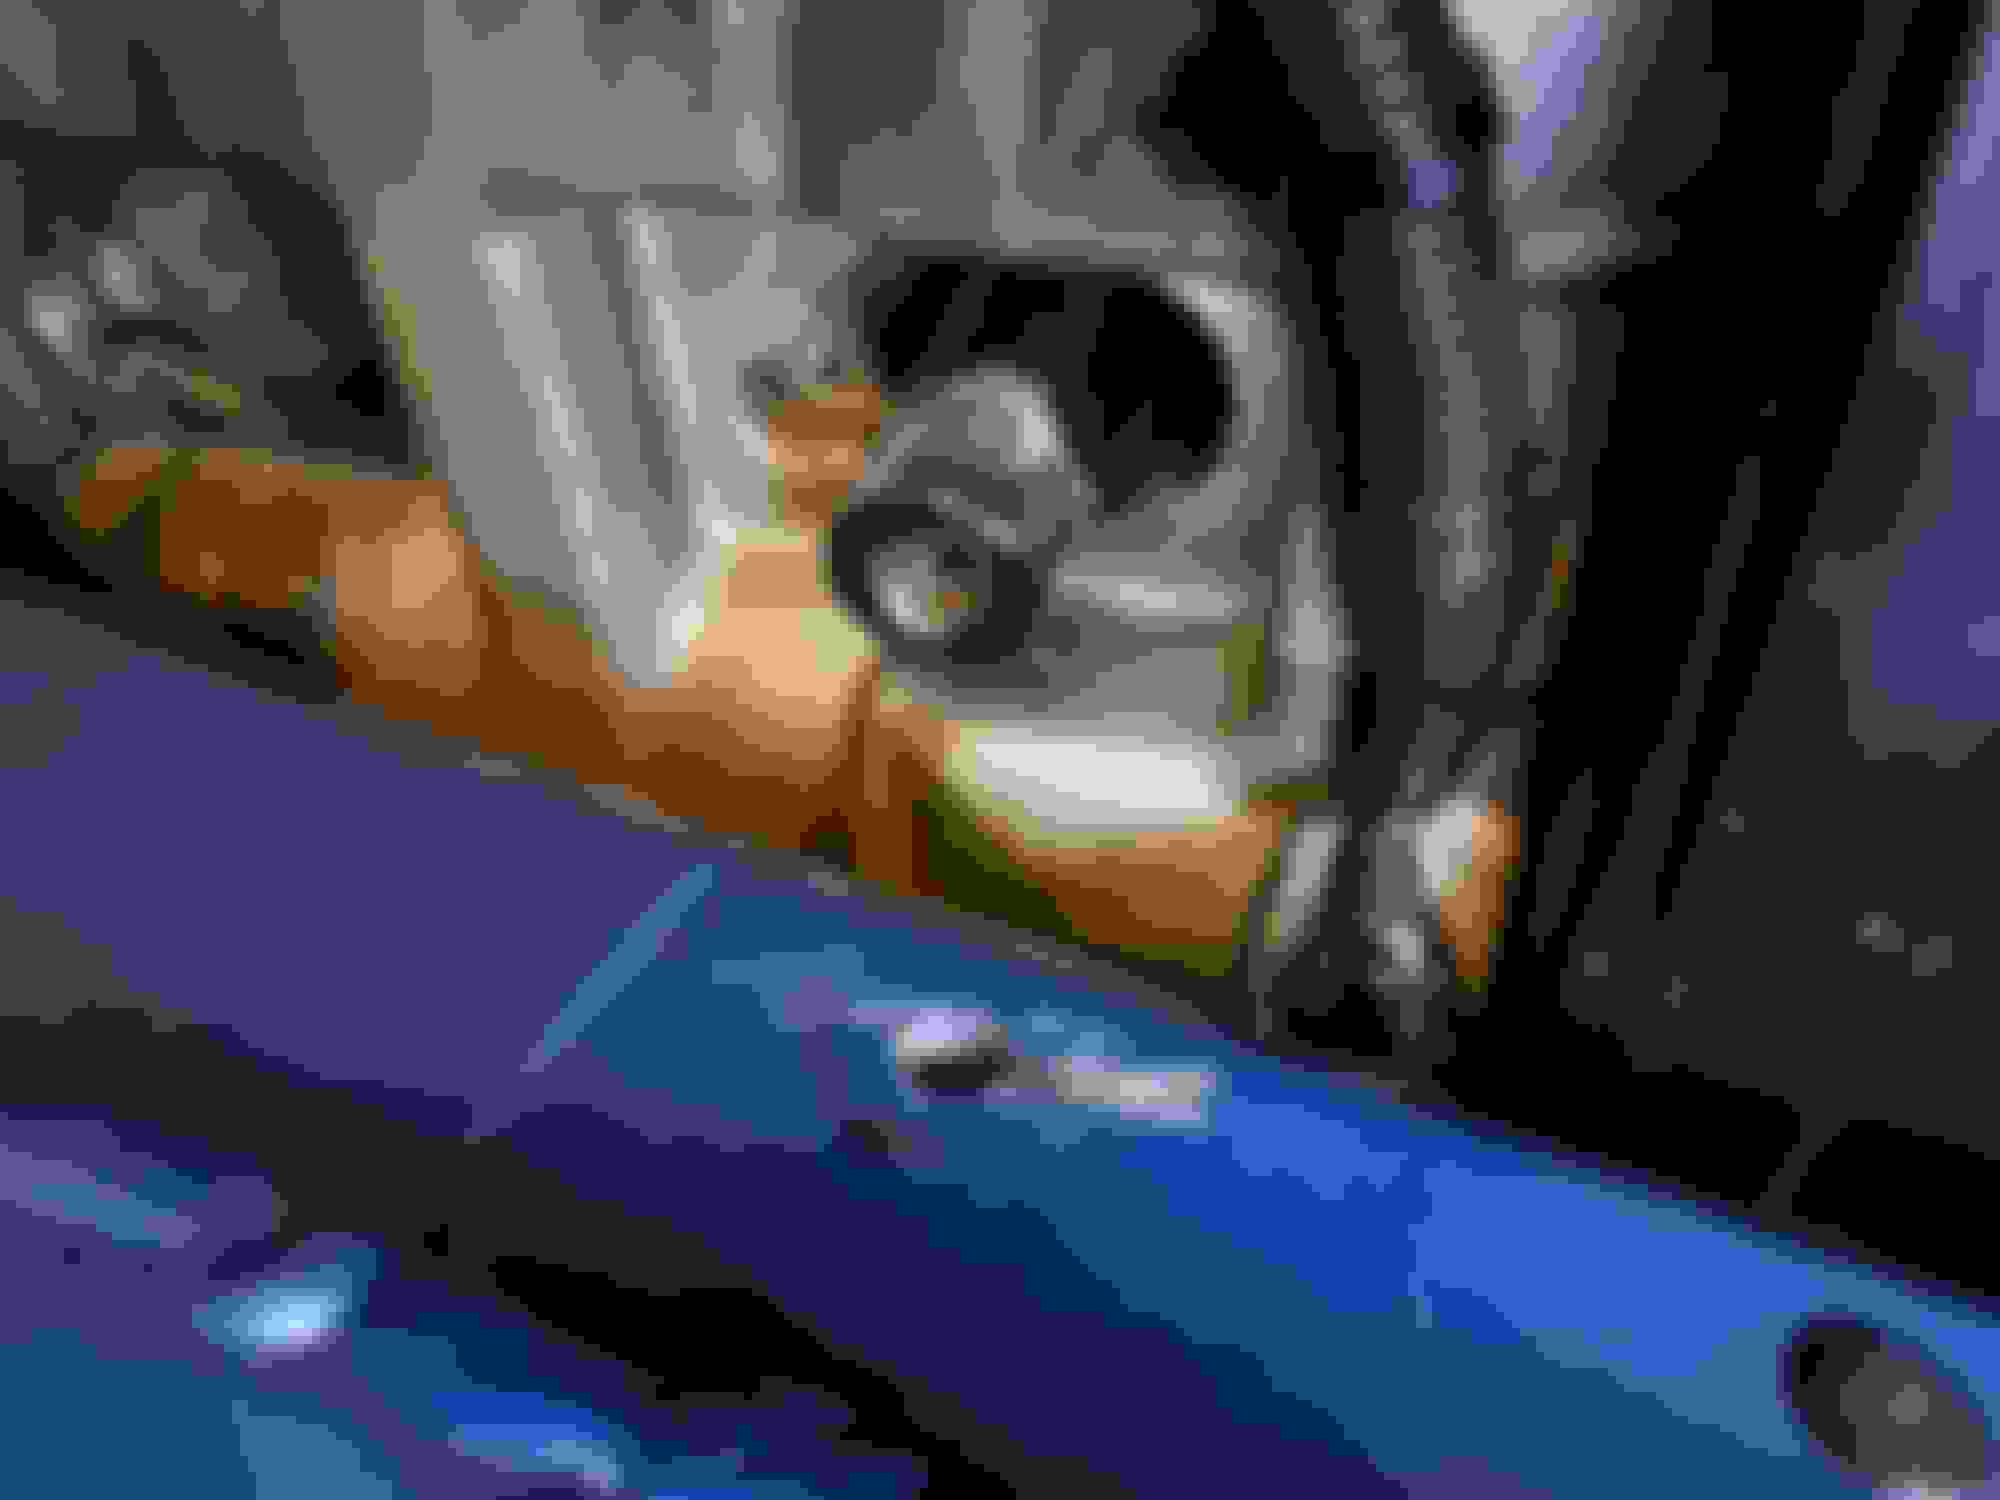
While I was at it the AVCS Banjo bolts were changed and filters removed.
Easy job in all honesty. You can see them on the end of the screw driver. Air trunking out on the offside and a socket wiggle on the nearside.
Last edited by The Trooper 1815; 14 May 2018 at 09:18 AM.
Are you going for a map tweak now you've had the sports cat fitted?
Stuart,
Yes I am as the CEL is illuminated. The car is currently tucked up as I have been on holidays for a few weeks. I have spoken with a local specialist near me (360 Motorsport) for a diagnostic and tweak.
I managed to cut a small amount of the old turbo shield away to give it the OEM look too. Pics to follow.
Results in a week or two but daughters upcoming wedding is a big money pit at the mo.
Last edited by The Trooper 1815; 20 June 2018 at 03:48 PM.
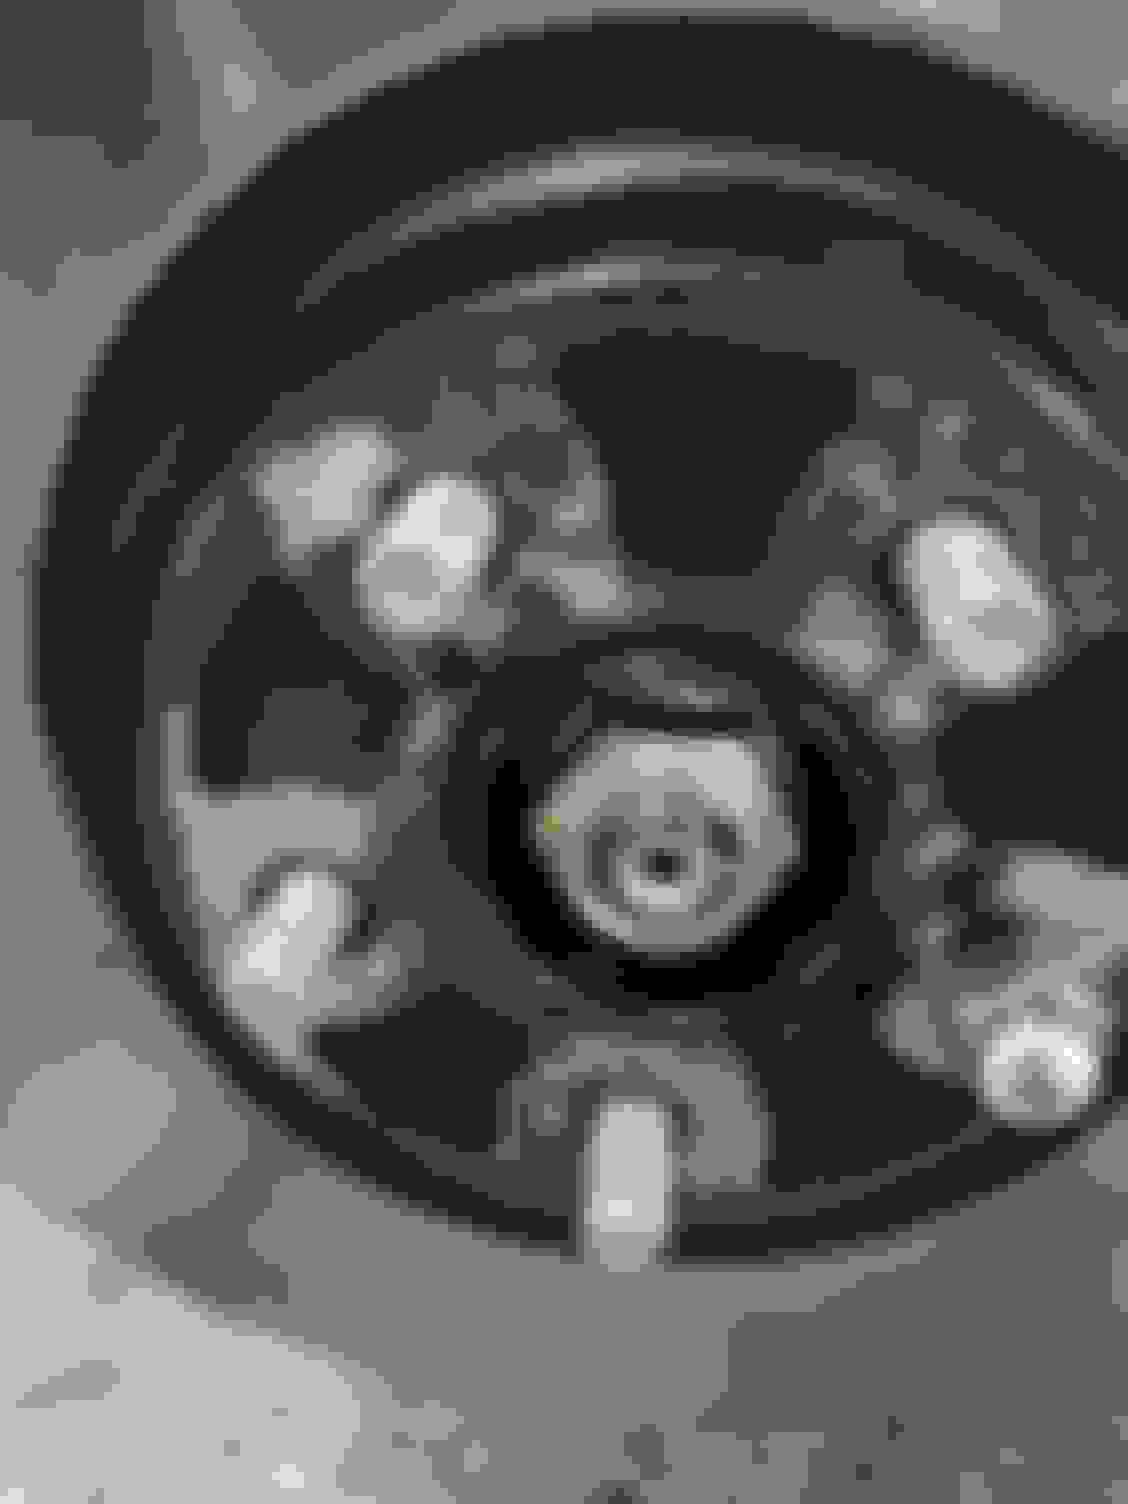
I had an advisory wheel bearing on the front NS hub when the MOT was carried out. Never one to pass up a challenge it was spanners out time.
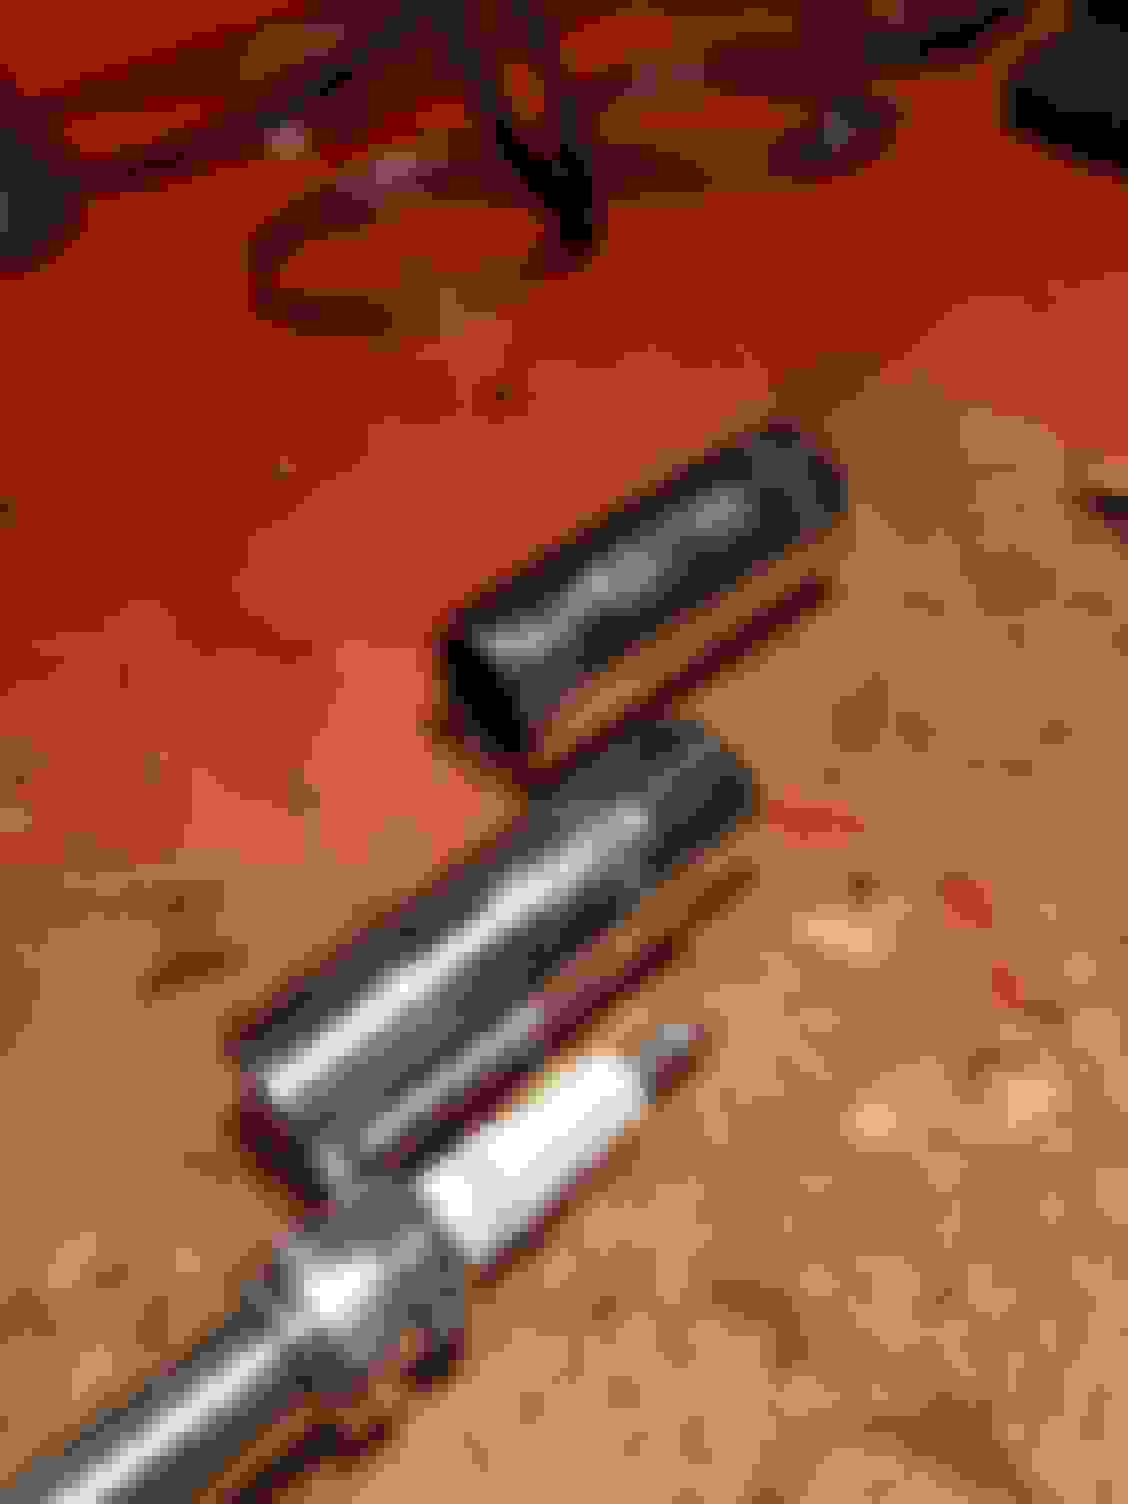
So wheel centre cap off and crack the king nut on the drive shaft. Jack the car up, caliper and disc off. A sprocket puller is used to push the shaft out.
There are 4 bolts on the back of the hub which hold the bearing on.
The old bearing needed a little bit of love with the hide hammer.
A quick clean up of the backing plate with some etch primer and VHT Black paint prior to refitting.
New bearing courtesy of ICP.
New nut fitted as tight as poss for now but the lock tab is not knocked in.
Assemble in reverse.
Wheel fitted. Off the jack and tightened the king nut with a torque wrench the tab knocked in.
Job done
Last edited by The Trooper 1815; 27 July 2018 at 11:42 PM.


 13 February 2018, 10:30 AM


 sorry!