
More goodies
 03 February 2017, 08:12 AM
#1
Scooby Regular
Thread Starter

Join Date: Aug 2016
Location: Auckland, NZ
Posts: 55
Likes: 0
Received 0 Likes
on
0 Posts
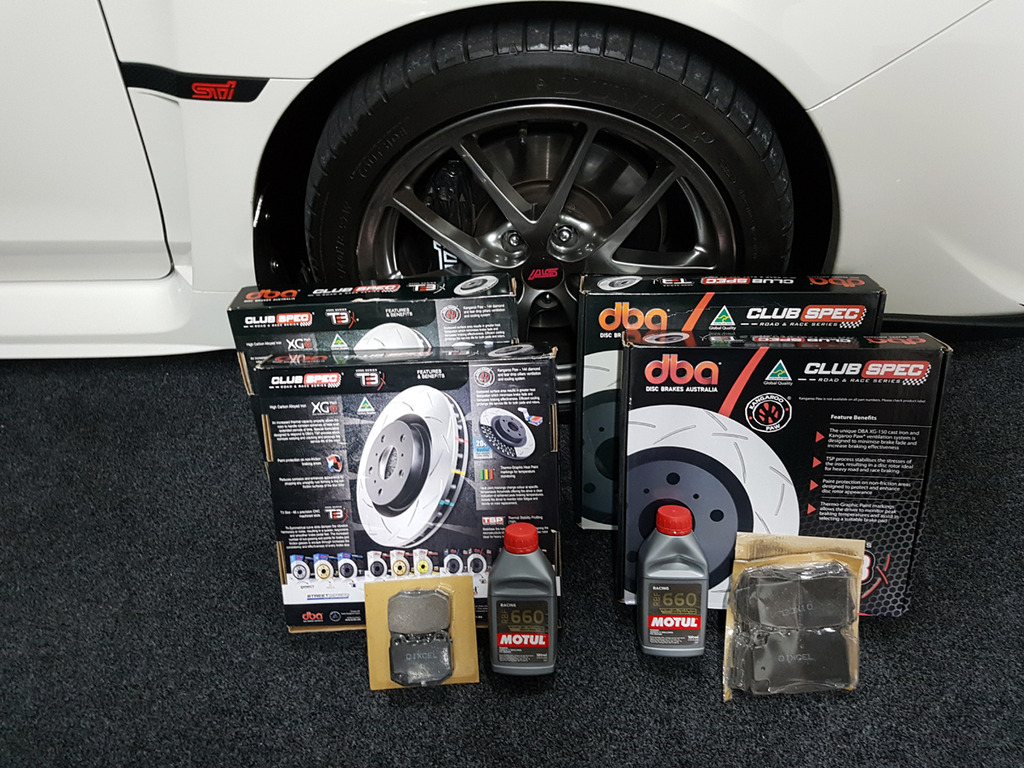
Arrived this week while I was working away from home. Just waiting on some braided hoses now.
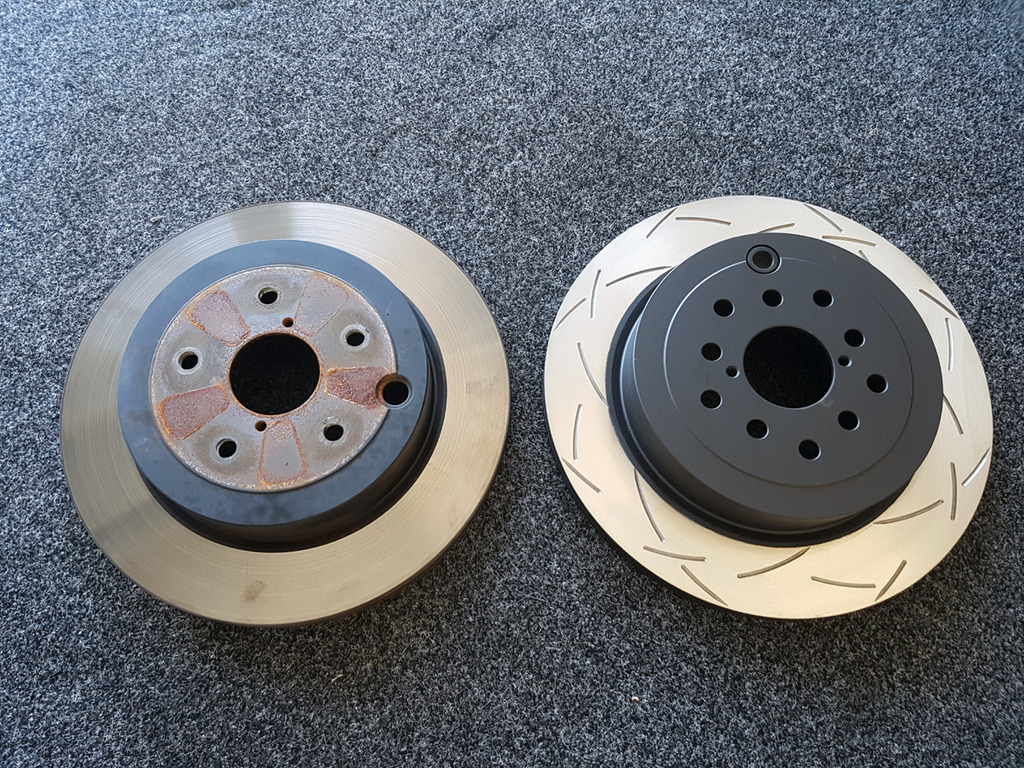
dba T3 discs, Dixcel ES pads and Motul 660 fluid...
dba T3 discs, Dixcel ES pads and Motul 660 fluid...

 04 February 2017, 04:45 AM
#5
Scooby Regular
Thread Starter
Join Date: Aug 2016
Location: Auckland, NZ
Posts: 55
Likes: 0
Received 0 Likes
on
0 Posts
Perfect day for working on the car and with a few hours free until our grandson is dropped off for the afternoon, time to get cracking with some much needed upgrades.....
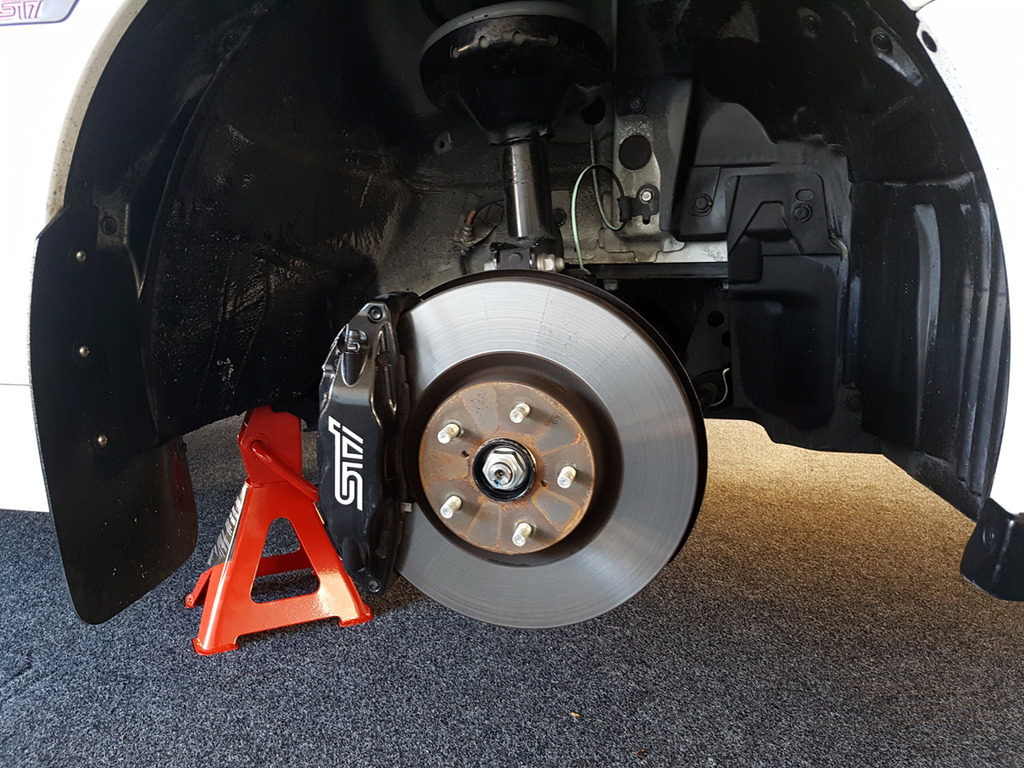
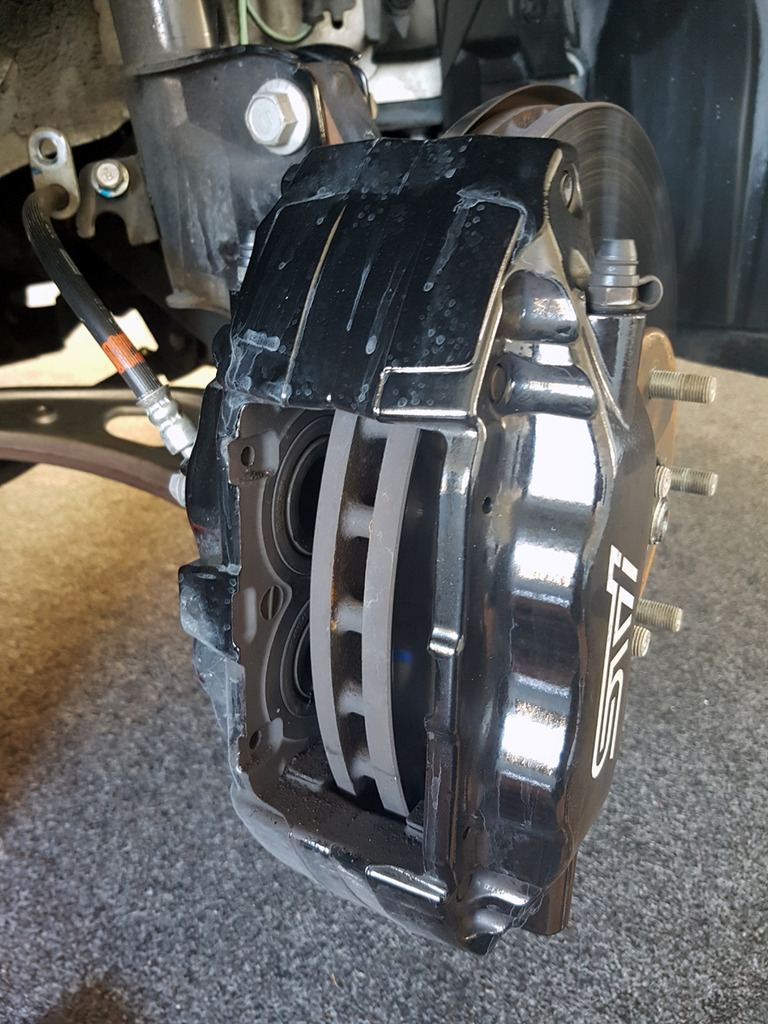
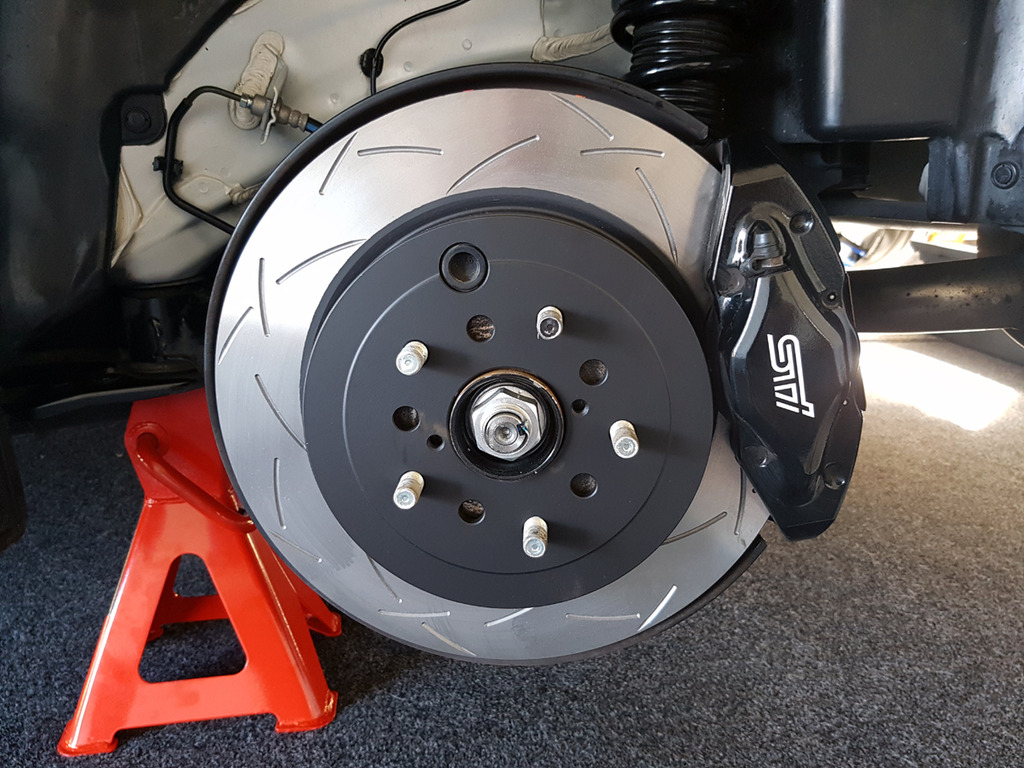
Safety first. After placing securely on a pair of stands, the wheels come off...
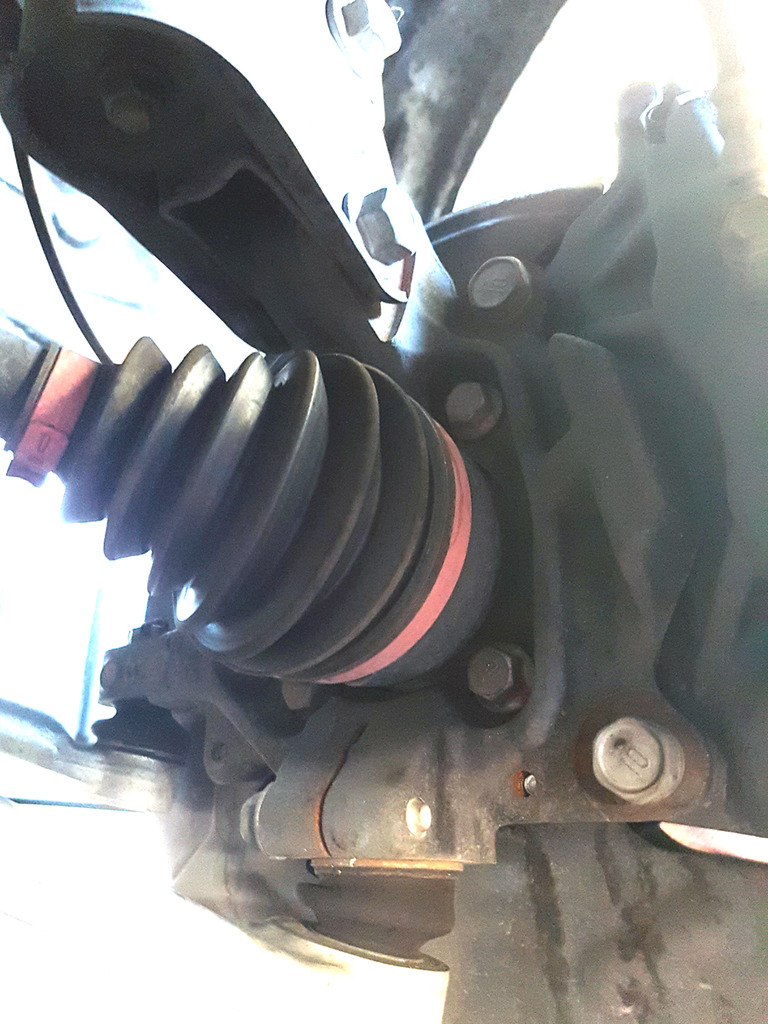
The 2 x 19mm bolts securing the caliper to the hub and loosened off...
Next step is to remove the pain retaining pins.
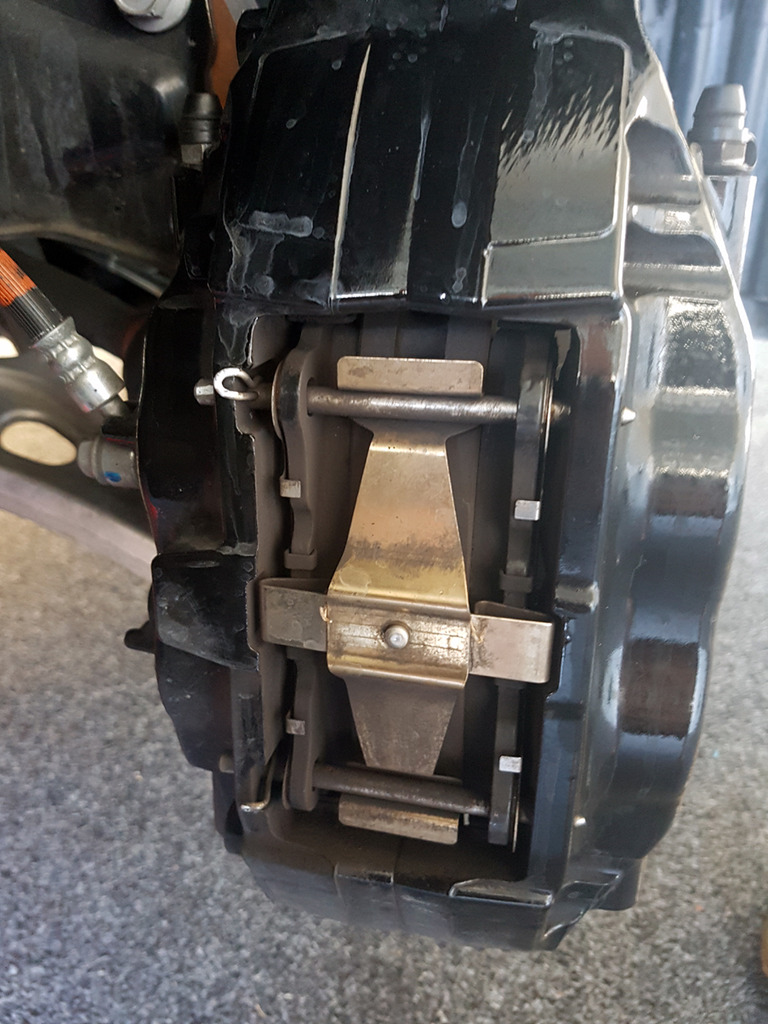
These have two small spring clips keeping them in place. Simply pull out with some needle nose pliers and slide out the pins.
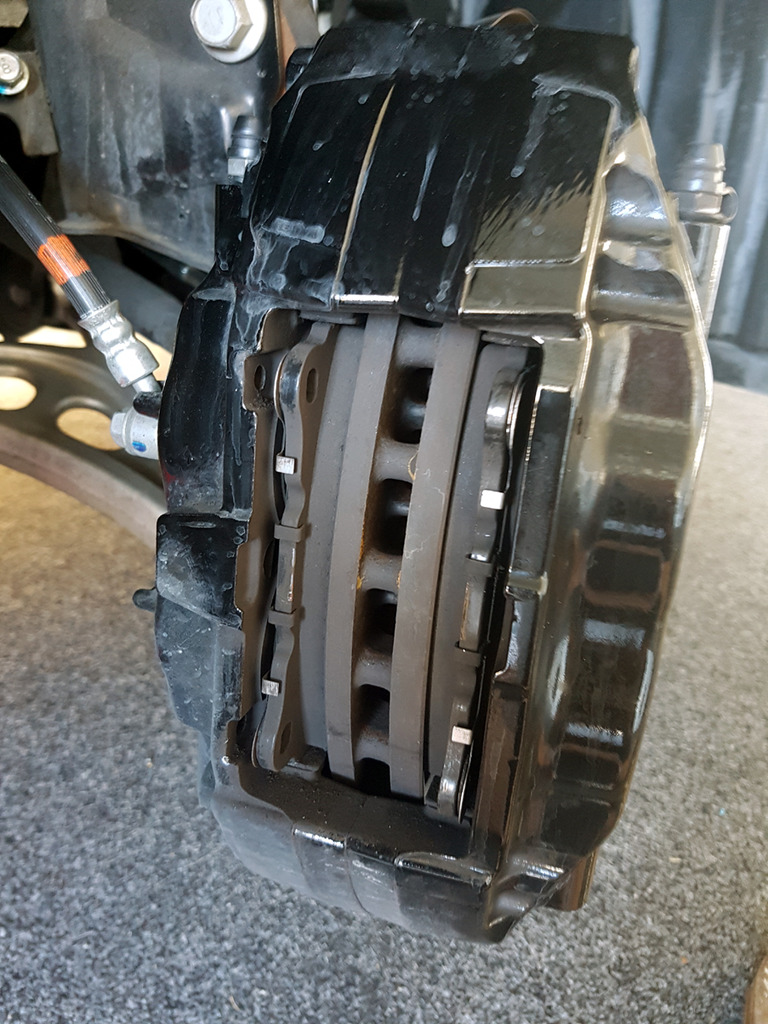
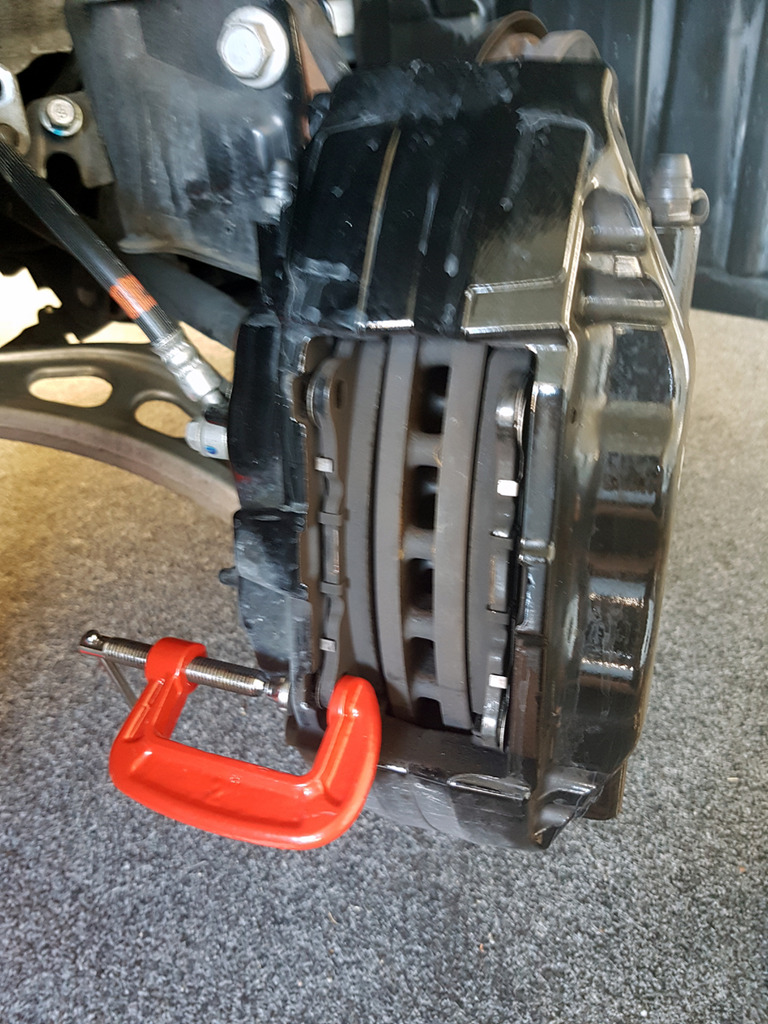
A small G clamp is used to squeeze the pads to push the pistons back into the calipers...
The pads are then simply slid out from the caliper with their backing plates (take note of how the plates are positioned for refitting)...
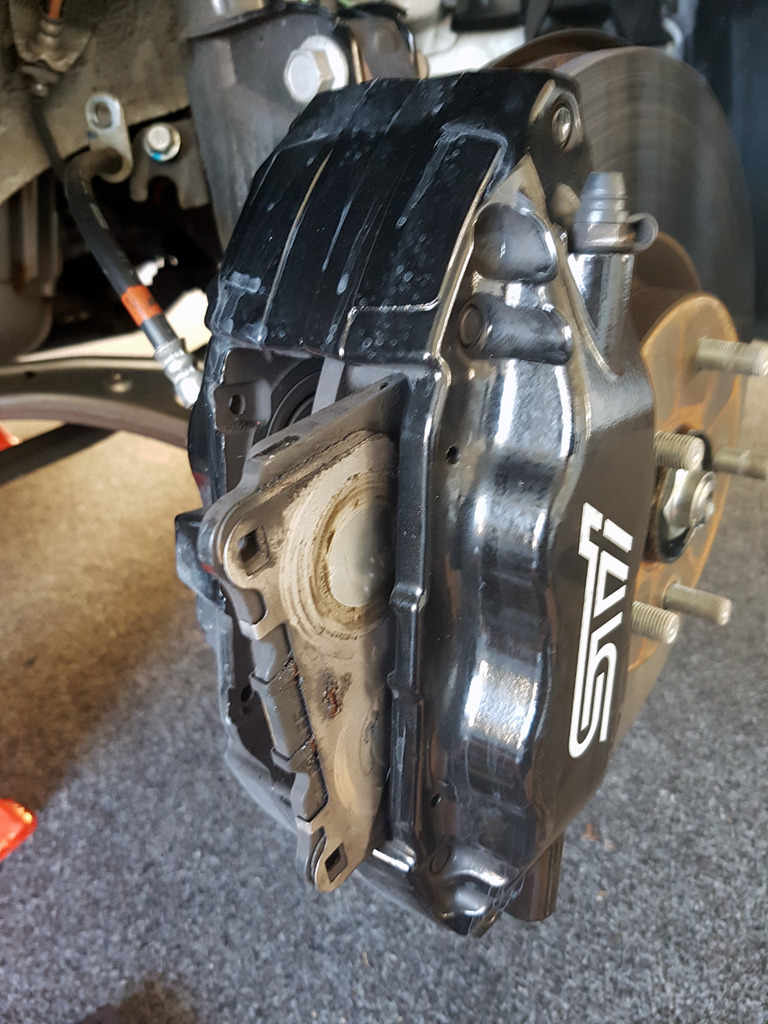
With the pads out, the calipers can now be removed. I used a small bunjee cord to hang the caliper from the coil spring to prevent damage to the brake hose...
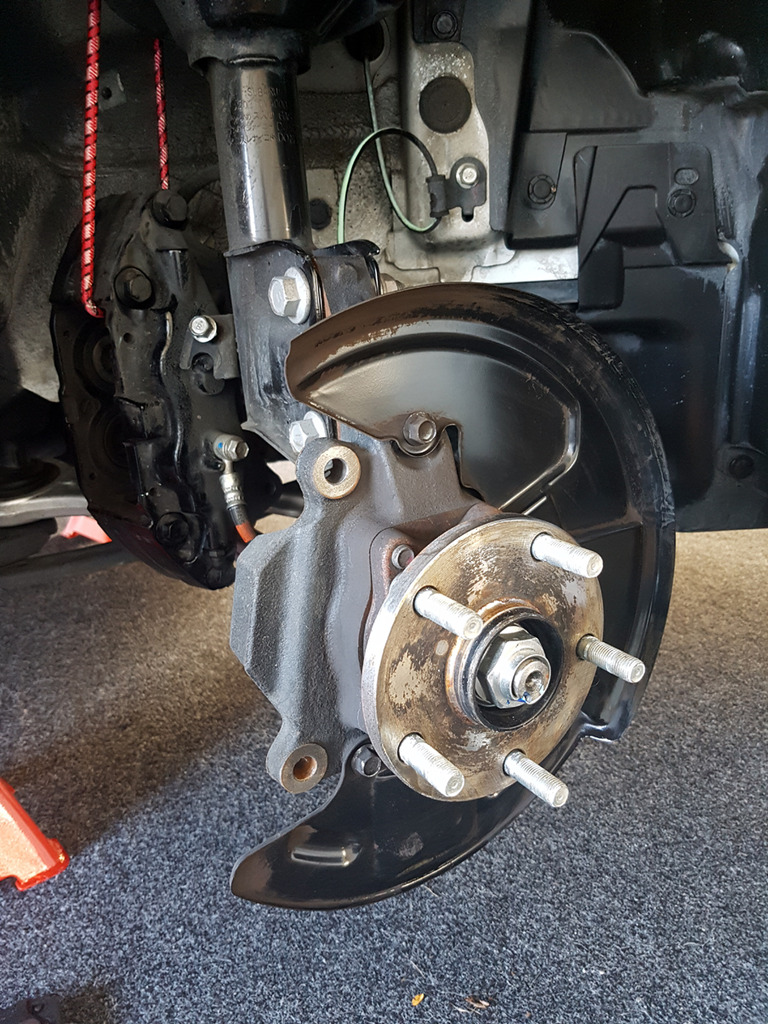
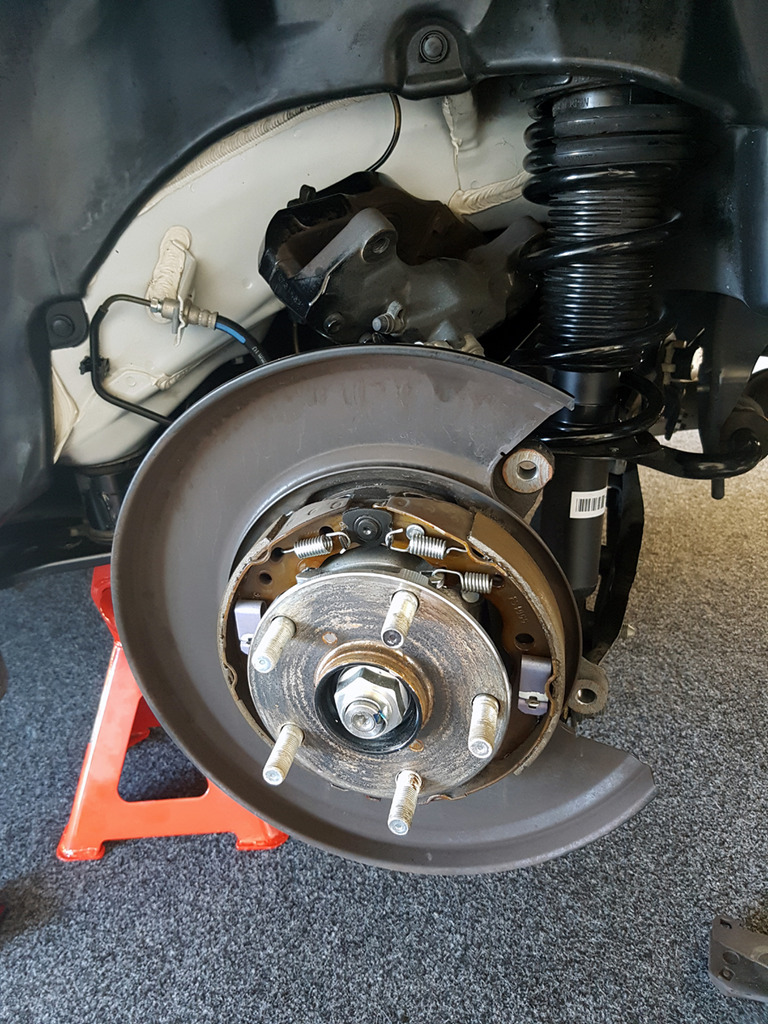
The rotor is then removed from the hub. If it's stuck on due to corrosion, etc, use a small bolt as in the below pic to help 'push' the rotor off the hub. I simply used the bolt which holds the brake hose bracket to tyhe strut as it's the same thread...

First part complete...
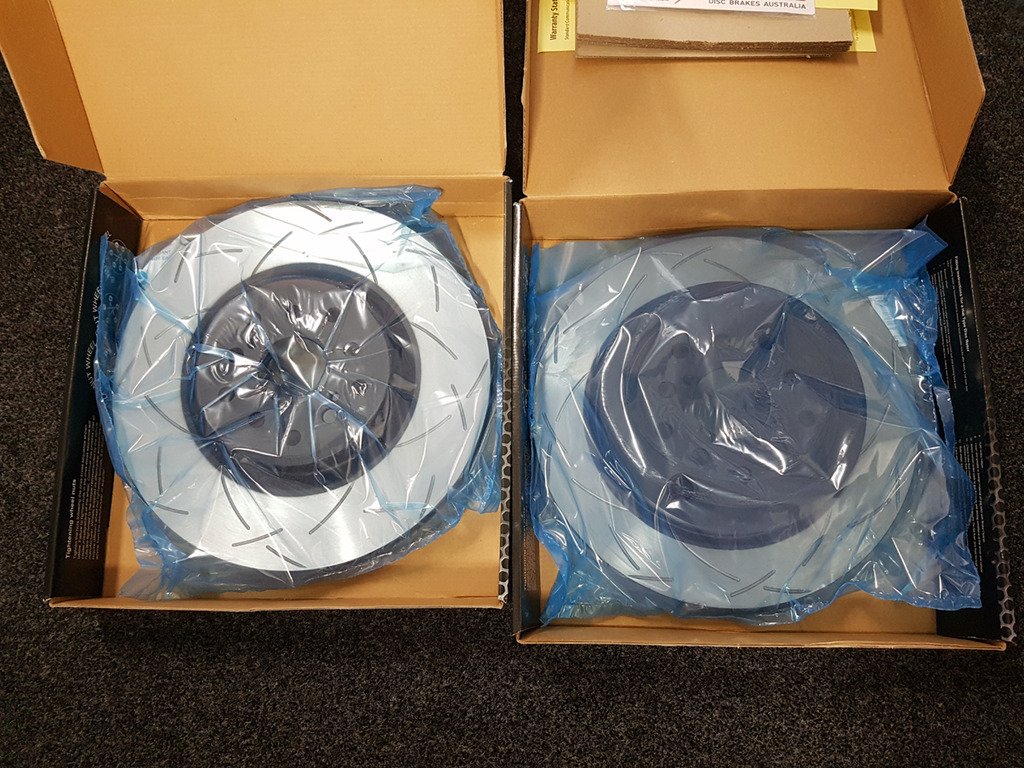
Protective film applied in the factory is removed from the new rotor using brake cleaner. Just be careful not to get any on the paint!
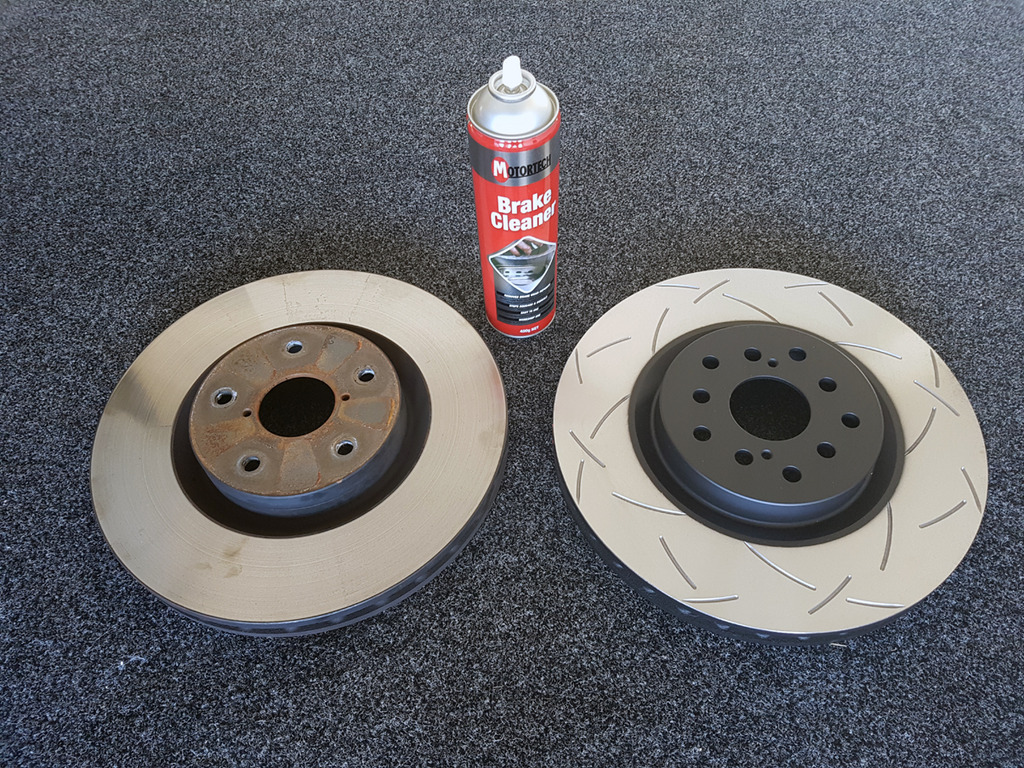
The replacement rotor slides straight onto the hub and the caliper is bolted back into place.
I'm using Dixcel ES pads from Japan. I have no experience with them, but have read good reviews so happy to give them a try. They are essebntially a fast street pad - perfect for me as I'm not intending on any track use. Only thing of note at this stage is the lack of a pad wear indicator. The Brembo pads have a mechanical indicator which squeals when the pads gets below a certain thickness. Will need to keep a close eye on these when they start to wear down. Instructions say 300+ km bedding in period of 'normal' road driving. So will need to drive like a nanna for a couple of weeks :rofl:
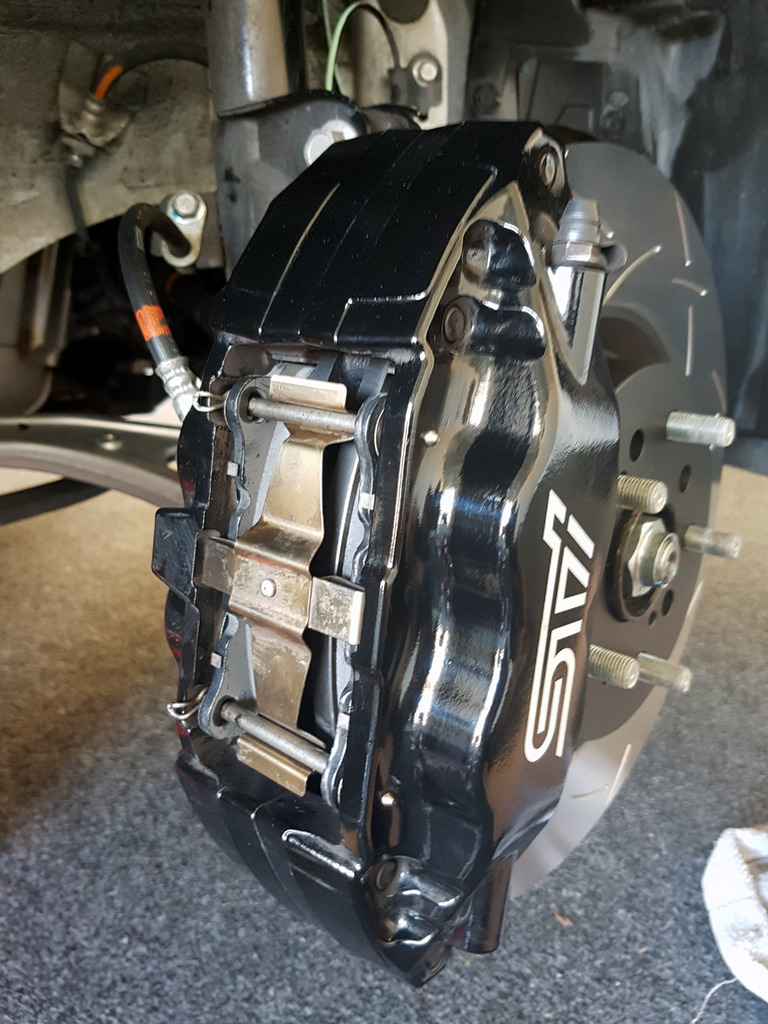
Fitment of the pads is the reverse of removal essentially. I used some copper grease on the backing plates to help prevent any squealing...
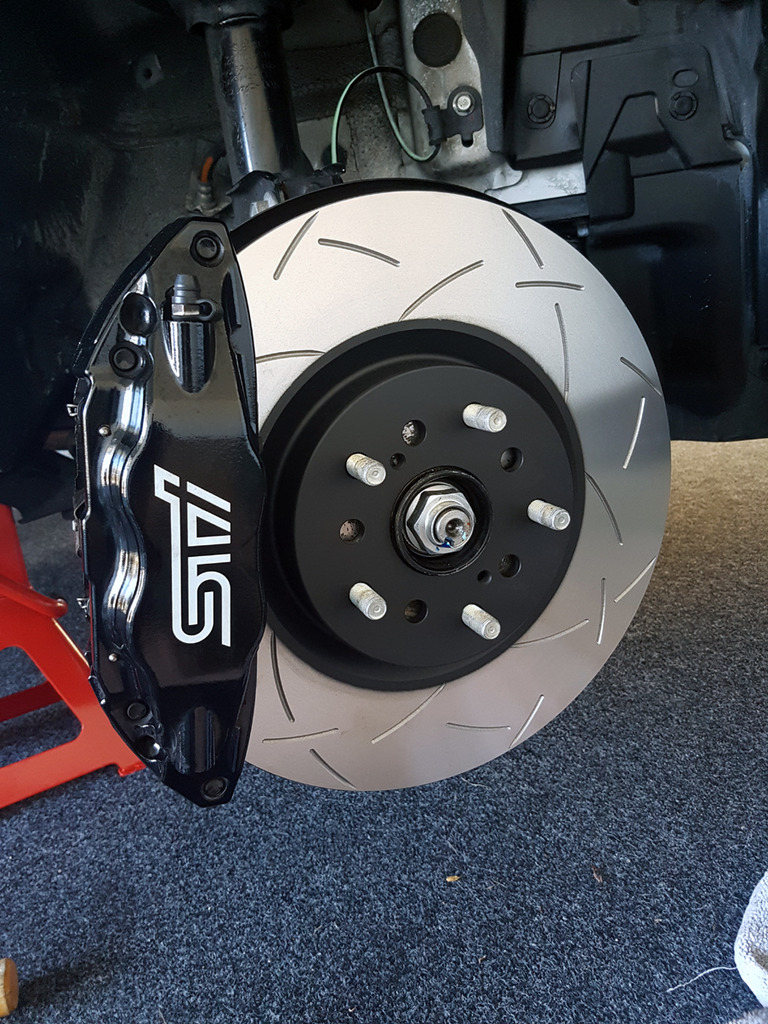
dba paint 3 strips on their rotors. These are temperature indicators and change to when a certain temp is reached -
Red - changes to white above 610�C
Orange - changes to yellow above 560�C
Green - changes to white above 430�C
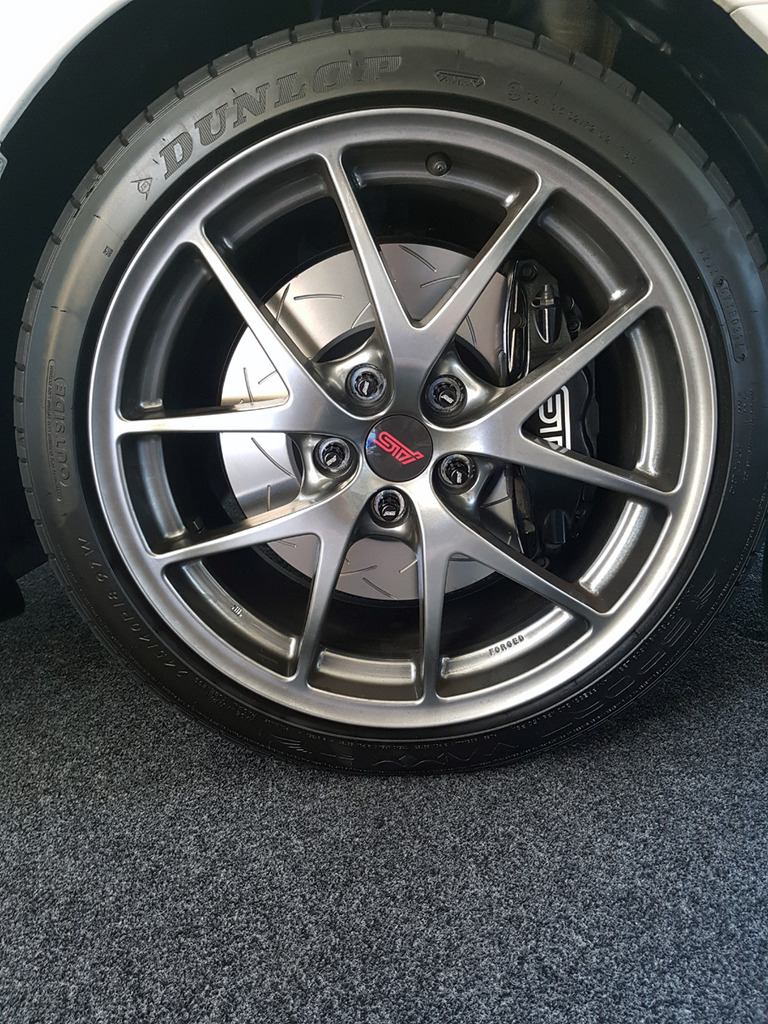
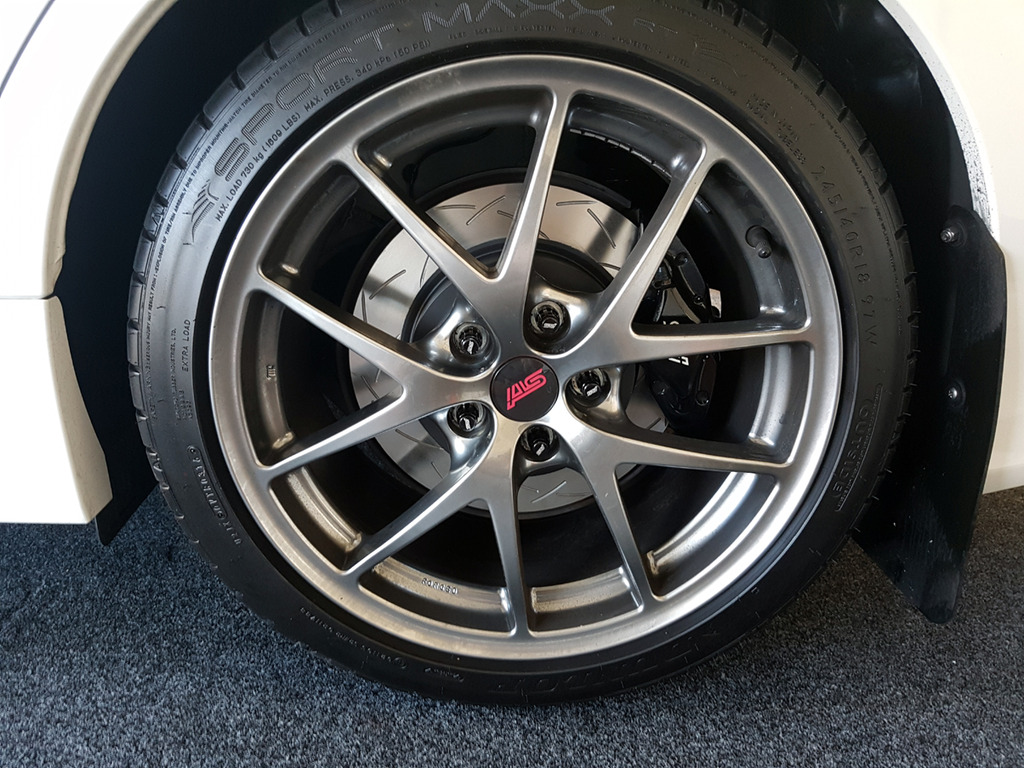
And completed...
I also did the rears, but was pushed for time so didn't take some many pics. 17mm caliper bolts at the rear - pads use the same retaining pin set up. As my car is relatively new, I had no issues removing the rotors but you may need to adjust the handbrake shoes on higher mileage cars probably?
Will be a couple of weeks at least before I can report back on how they are going. By then, I should also have some braided lines fitted and some Motul 660 fluid to replace the stock stuff.
Safety first. After placing securely on a pair of stands, the wheels come off...
The 2 x 19mm bolts securing the caliper to the hub and loosened off...
Next step is to remove the pain retaining pins.
These have two small spring clips keeping them in place. Simply pull out with some needle nose pliers and slide out the pins.
A small G clamp is used to squeeze the pads to push the pistons back into the calipers...
The pads are then simply slid out from the caliper with their backing plates (take note of how the plates are positioned for refitting)...
With the pads out, the calipers can now be removed. I used a small bunjee cord to hang the caliper from the coil spring to prevent damage to the brake hose...
The rotor is then removed from the hub. If it's stuck on due to corrosion, etc, use a small bolt as in the below pic to help 'push' the rotor off the hub. I simply used the bolt which holds the brake hose bracket to tyhe strut as it's the same thread...
First part complete...
Protective film applied in the factory is removed from the new rotor using brake cleaner. Just be careful not to get any on the paint!
The replacement rotor slides straight onto the hub and the caliper is bolted back into place.
I'm using Dixcel ES pads from Japan. I have no experience with them, but have read good reviews so happy to give them a try. They are essebntially a fast street pad - perfect for me as I'm not intending on any track use. Only thing of note at this stage is the lack of a pad wear indicator. The Brembo pads have a mechanical indicator which squeals when the pads gets below a certain thickness. Will need to keep a close eye on these when they start to wear down. Instructions say 300+ km bedding in period of 'normal' road driving. So will need to drive like a nanna for a couple of weeks :rofl:
Fitment of the pads is the reverse of removal essentially. I used some copper grease on the backing plates to help prevent any squealing...
dba paint 3 strips on their rotors. These are temperature indicators and change to when a certain temp is reached -
Red - changes to white above 610�C
Orange - changes to yellow above 560�C
Green - changes to white above 430�C
And completed...
I also did the rears, but was pushed for time so didn't take some many pics. 17mm caliper bolts at the rear - pads use the same retaining pin set up. As my car is relatively new, I had no issues removing the rotors but you may need to adjust the handbrake shoes on higher mileage cars probably?
Will be a couple of weeks at least before I can report back on how they are going. By then, I should also have some braided lines fitted and some Motul 660 fluid to replace the stock stuff.
 04 February 2017, 05:24 PM
#7
Scooby Regular

Join Date: Dec 2012
Location: Down south!
Posts: 146
Likes: 0
Received 0 Likes
on
0 Posts
Curious for your feedback on the DBA T3 rotors. They are available here in the UK and I have been thinking on using them for a while now as a more cost effective performance disc option for the Brembo setup. Obviously the PFC 2 piece floating disc option is amazing, but I have heard people do fast road and a bit of occasional track work with the DBA's and have good results/don't cook the discs.
Heat is an issue on the Brembo setup, but the DBA's seem up for a bit of it! Nice work and enjoy : ).
Heat is an issue on the Brembo setup, but the DBA's seem up for a bit of it! Nice work and enjoy : ).