
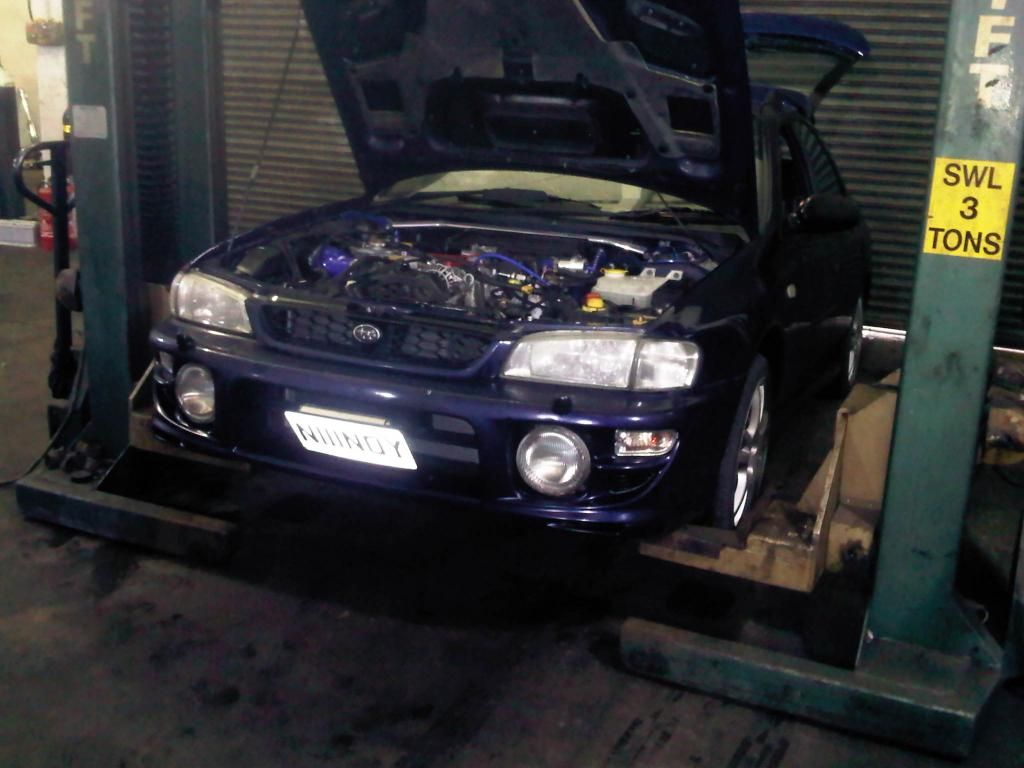
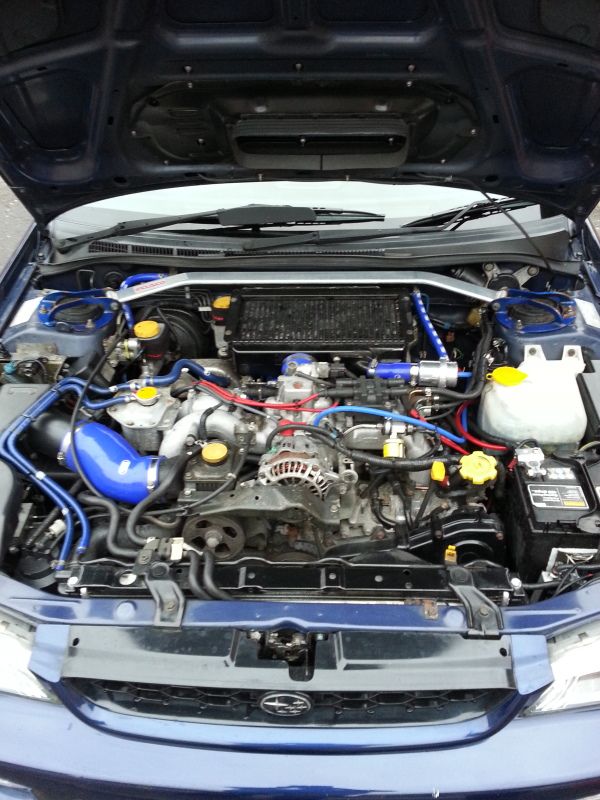
Might as well...99 Turbo Wagon. Picture heavy.


Thread Starter
Scooby Regular
Joined: Aug 2012
Posts: 423
Likes: 0
From: South Essex
Hey all.
I might as well keep track of what I am up to, and possibly share some ideas.
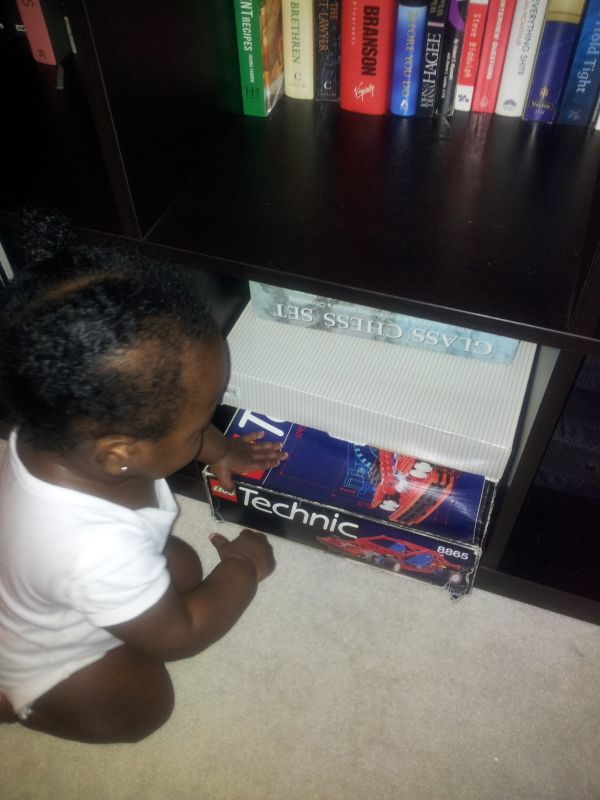
I bought my car pretty much standard in August last year and absolutely love it...so much that I don't even use my EH9 Civic as it's intended daily use.
I can't believe she still loves her mama's car. lol
I bought the car with Stainless system, 4 pots, braided hoses and that's pretty much it. This car is not intended to be a fire breathing monster. The plan is to have fun tinkering with it, but keep it user friendly and vulture as much OEM+ / uprated parts as possible. Call it Project Recession.
One of the first things I did was replace the VTA dump valve on the car with a FORGE fully recirc item.
It had just been serviced when I bought it, and cambelt also done. Mileage is just a few shy of 100k.
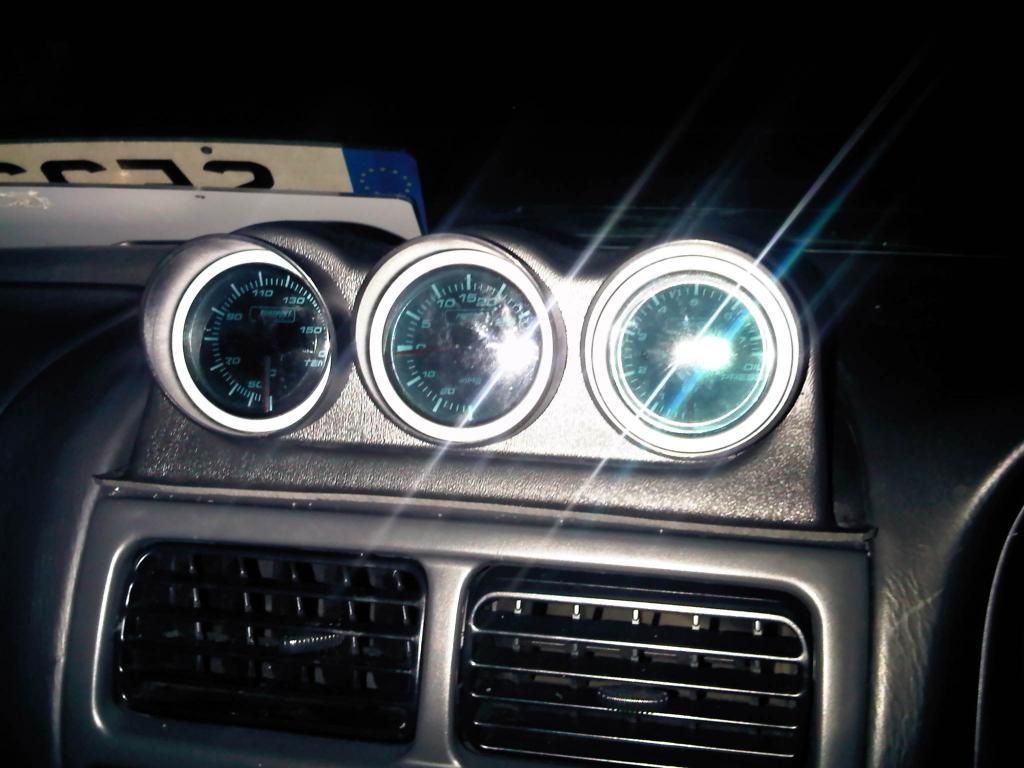
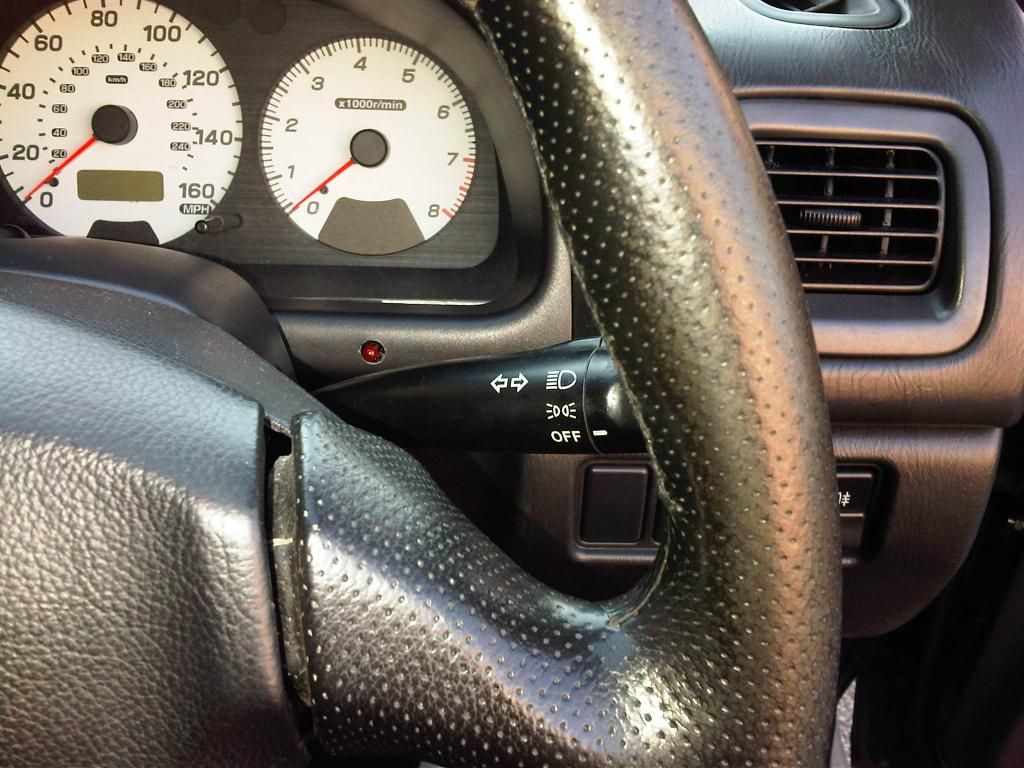
Gauges:
I bought a set of Prosport gauges for �50 off a mate, plus the fitting kit on here and the necessary wiring from TDi as they are local to me.
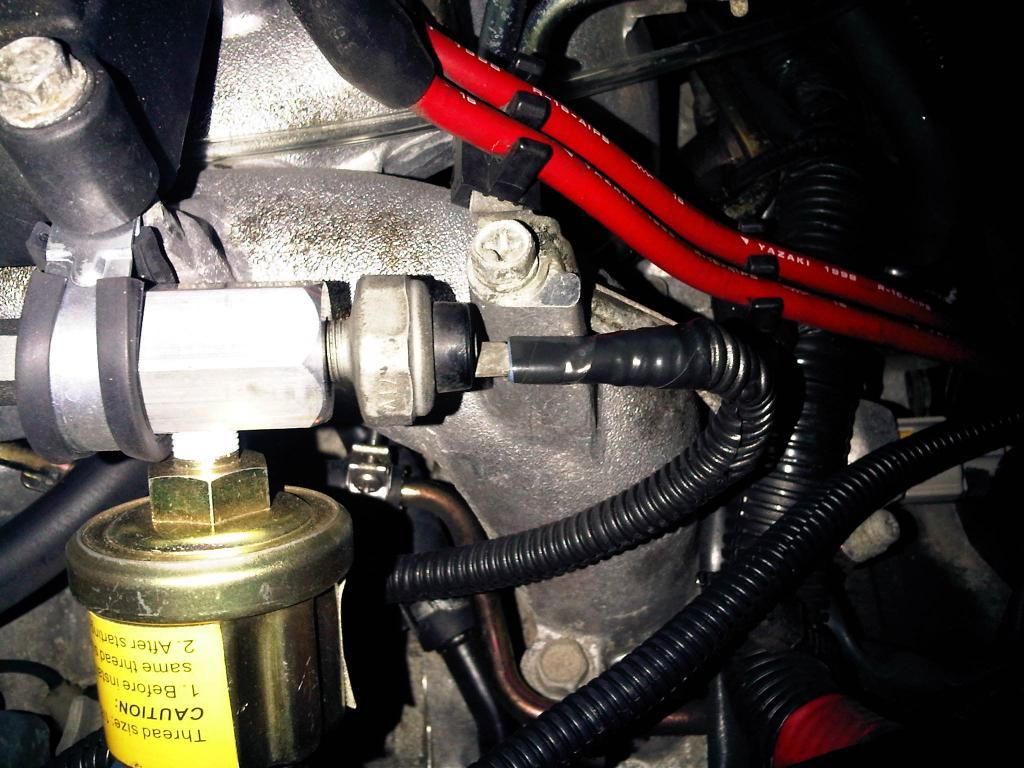
Oil Pressure port
mounted....
+ve feed while cranking taken from ignition switch...fused of course.
power, sensor earth, vacuum hose and signal wires. I have run a white wire also into the engine bay to use as water temp signal at some point.
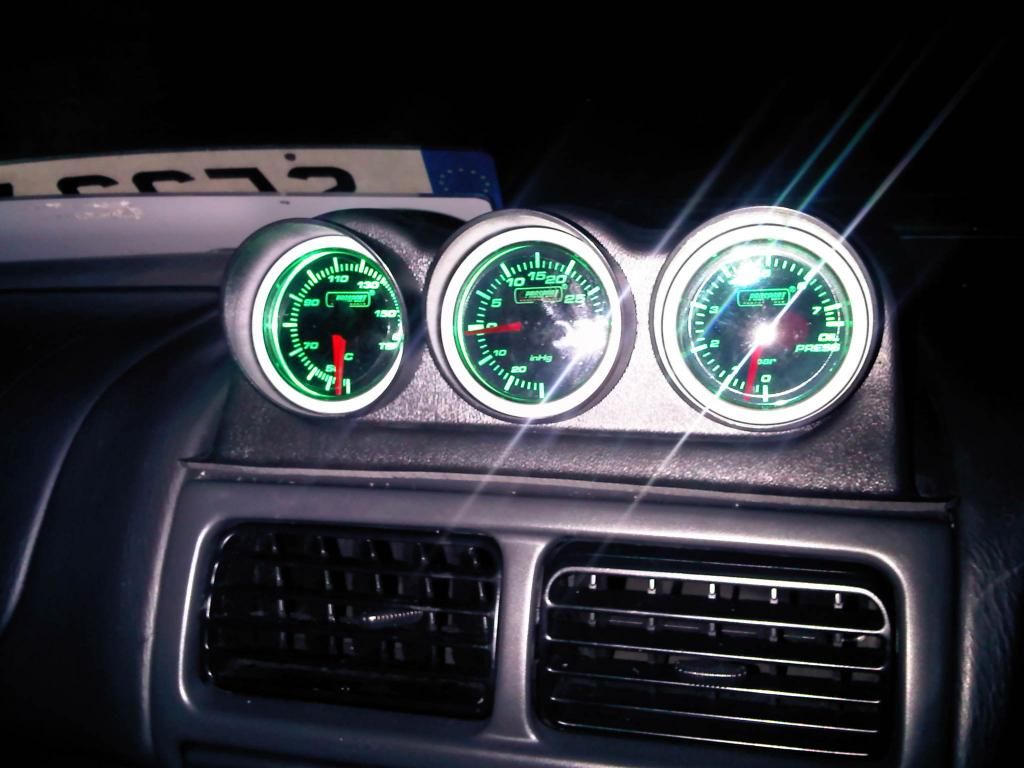
mounted
Permanently green
Just before it got cold I got some oil and filter from OPIE oils.
Oh so JDM....So I have this thing about JDM spec cars. I did this to my old Celica, and also the BB8 Prelude. Basically fitting as many JDM spec parts as possible such as indicators, mirrors etc.
Thanks to MATTY @ Pole Position.
Looming

some alterations
That must be for the alarm then....
I had to tap the new loom for the indicators to flash with the alarm.
Back together
I broke the LED holder so upgraded to this
Mirror signal, next maneuver??
Thanks to Super Ted and Acazar, I installed the JDM mirrors. I specifically asked Ted for the pigtails too which means I have my UK mirrors with their switch, and another pigtail so changing over will take all of half an hour.
ICE
I do love my music. The username kinda gives it away. I usually have just a pair of amped components and a subwoofer in my cars, but now that I am a daddy and my daughter loves music...I wanted her to hear the vocals too.
My set up is as follows....
*FLi 6.5 inch components front
*FLi 4 inch coaxials rear
*Pioneer HU with iPod connectivity and car phone
*Pioneer 12 inch sub in a ported box (�10 on ebay collected). This will have a new home in the spare wheel well in the summer.
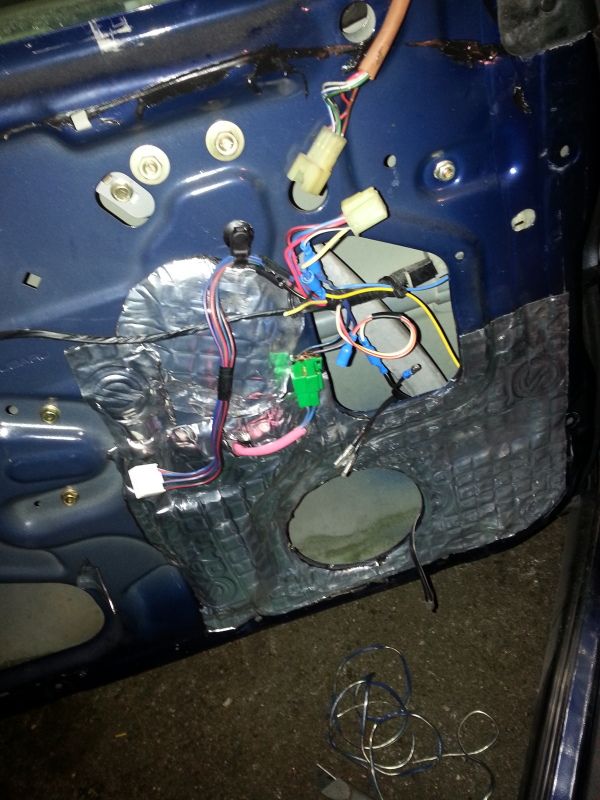
*4AWG power from battery into cabin, split into 2 x 8 AWG for amps. Ditto for earth. The distribution blocks are all behind the glovebox. I also have a new earth for the stereo so both amps and HU will have the same earth point. I also have another live for a relay for the remote leads, and same earth for the relay. The last live will be for a charging circuit for satnav/phone.
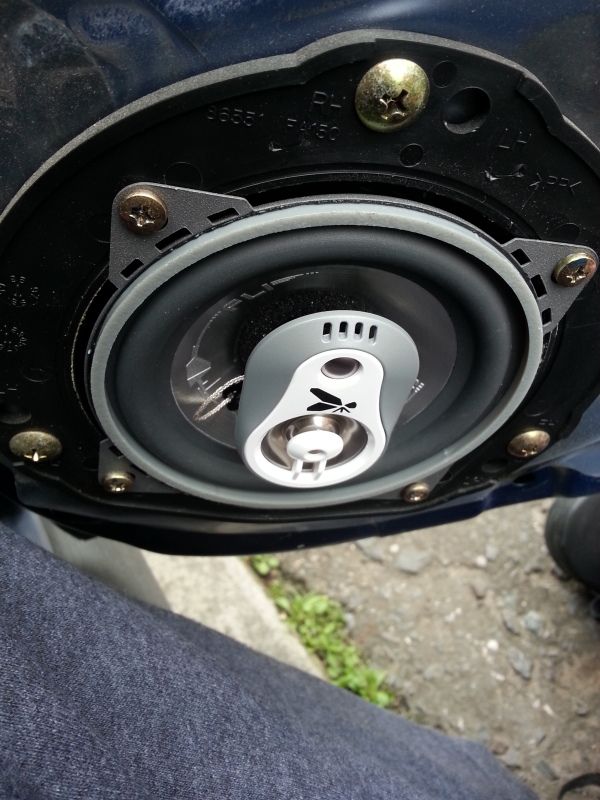
* MDF rings for the speakers, though there was a mistake with the rears so they are mounted ghetto for a week until the rings turn up. The rings were �5 from ebay.
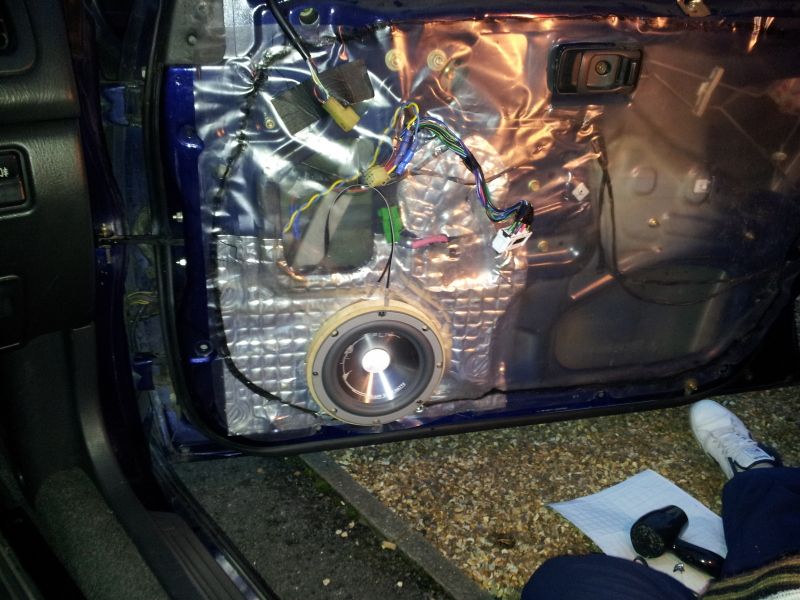
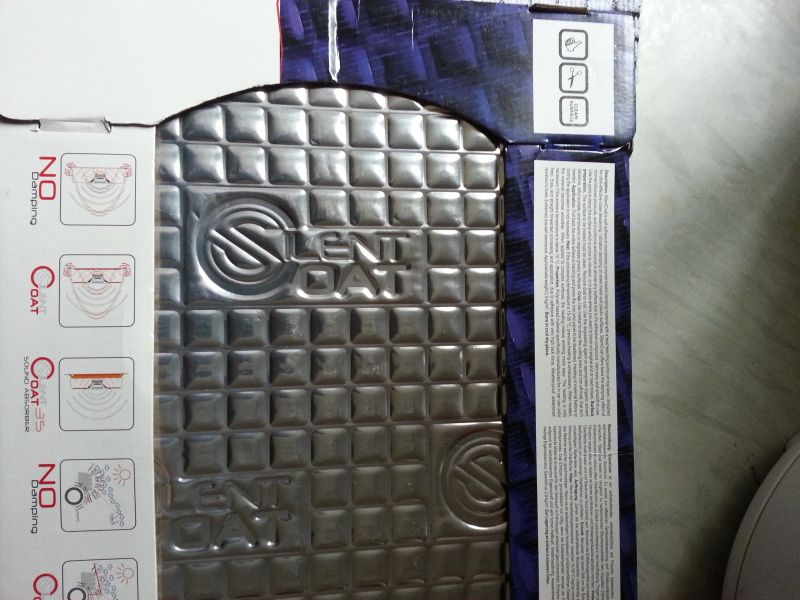
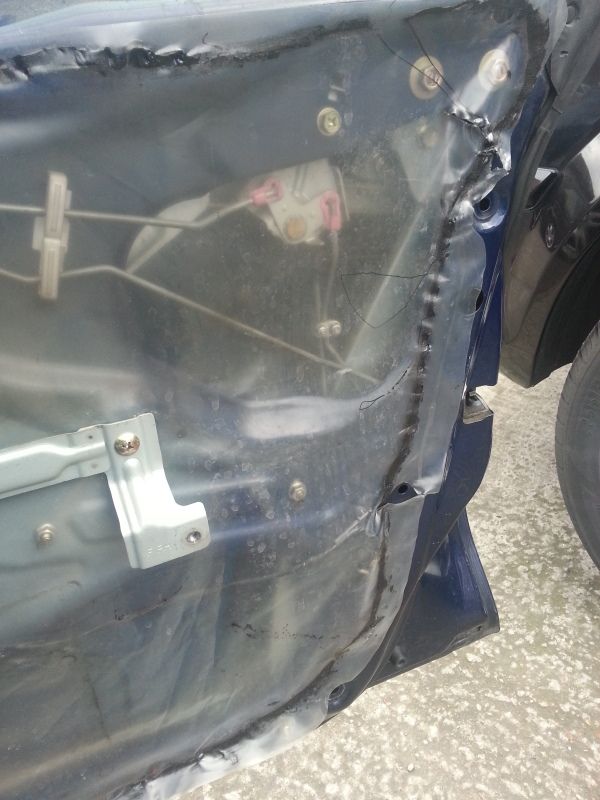
* Silent coat sound deadening material. I have only done the bare minimum on the front doors. Bl00dy freezing. I will do the rear doors, outer skins and boot in the summer.
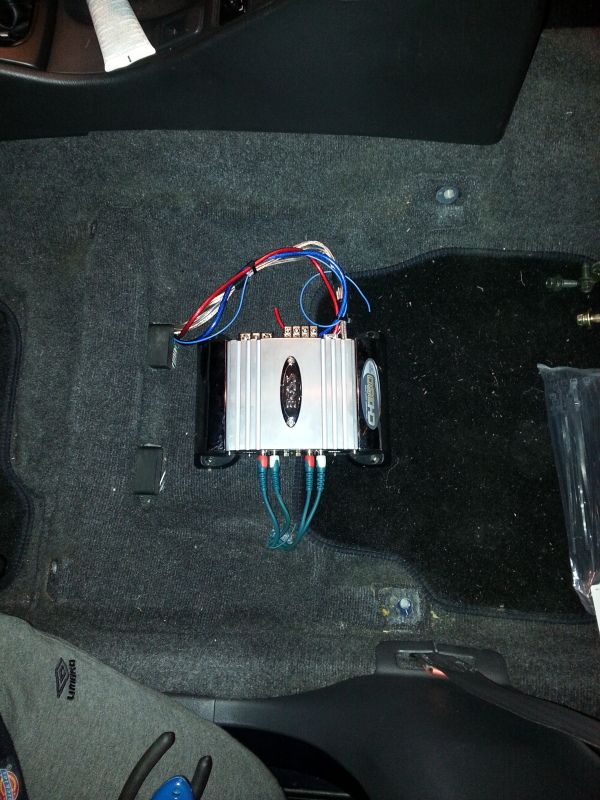
* Amps under each seat. Phoenix Gold amp was �25 on ebay and the Boss was �30 from Celica Club.
A lot of this stuff I have had for ages...I have learned to be patient in my old age.
Now the ICE pics. Not finished yet. Hopefully this weekend.
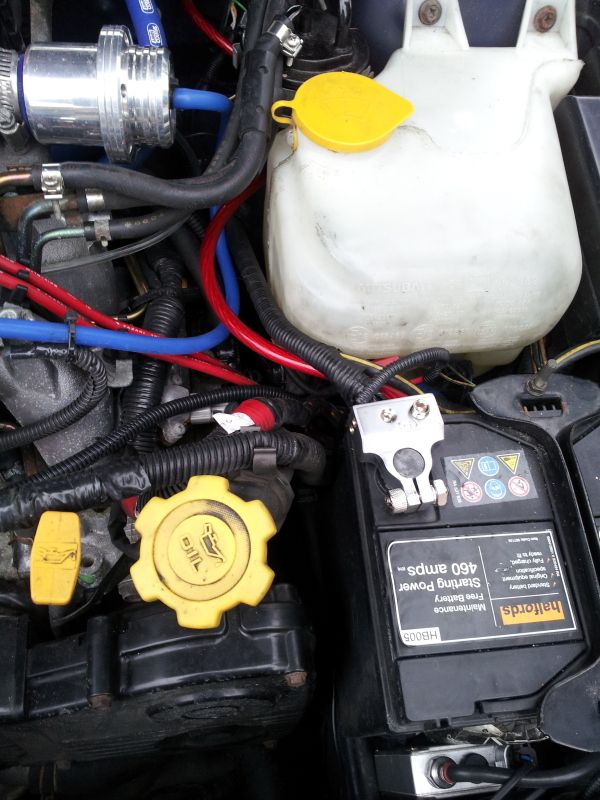
Positive terminal and 4 AWG cable mocked up
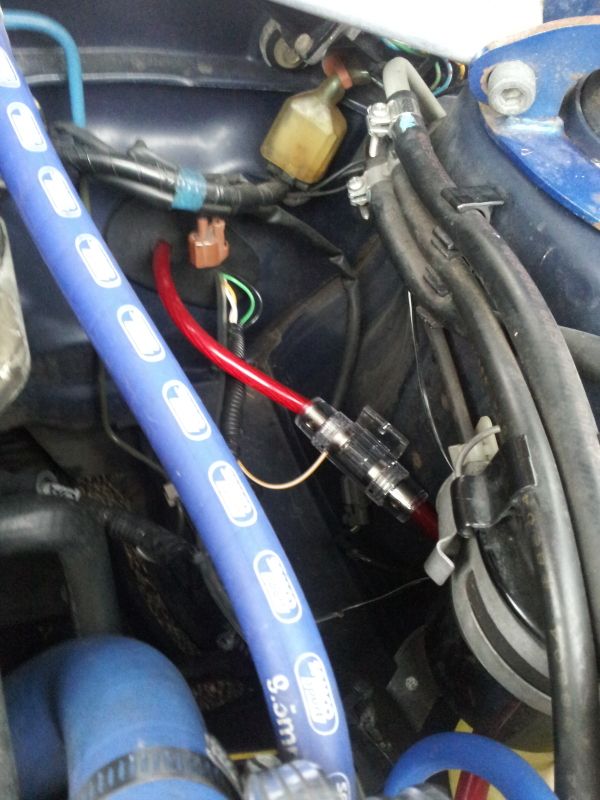
Fuse
Components mounted on MDF spacers
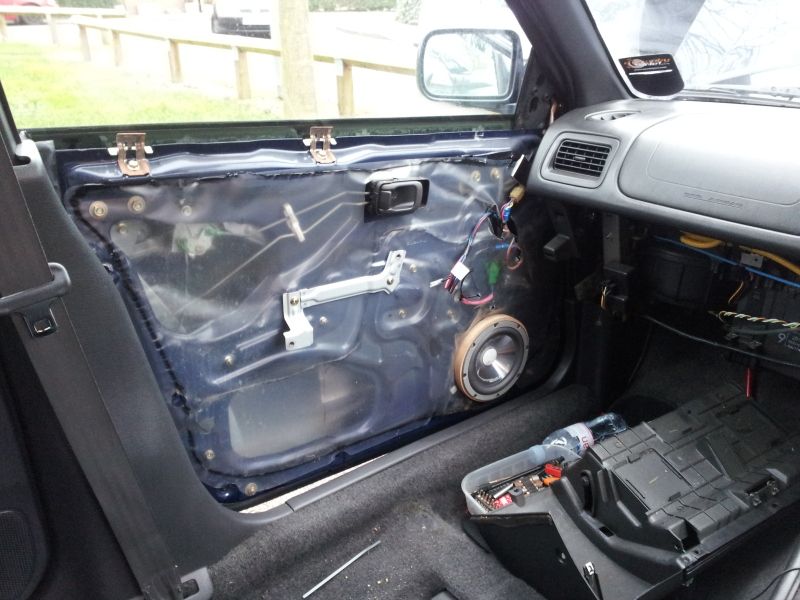
Took much of the interior out to make life easy...and to be neat.
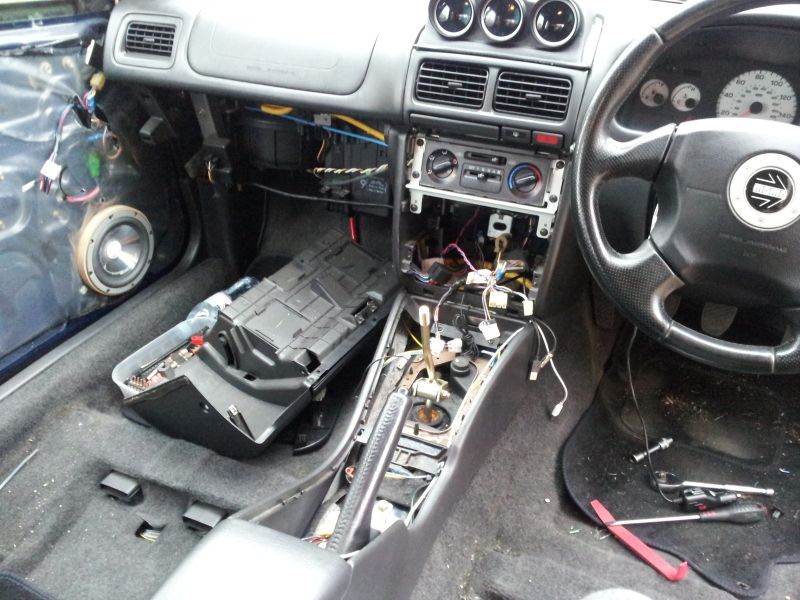
Wish I had a warm garage....it was 1 Degree outside
Going hard
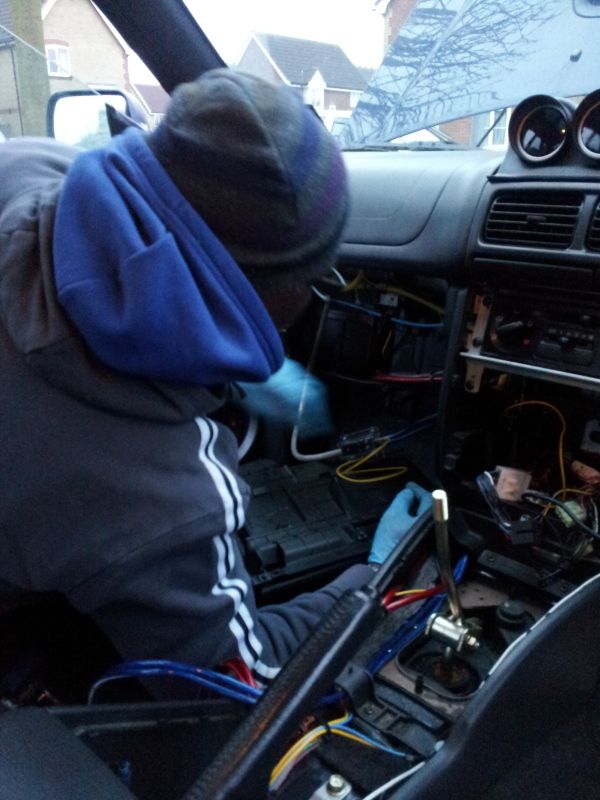
My mate Gary had a really good eye for doing things properly. You can see how dark it was outside lol
Earth loom...I used yellow for the relay.

Neatness
Sound deadening at 6.30pm in the freezing cold is no fun. Charlotte was not impressed we used her hair dryer lol.
Now that I think about it I could have gone for 5.25 rear speakers but oh well. The MDF rings will sort that gap out.
Silent coat.... �20 for 8 sheets
Amps

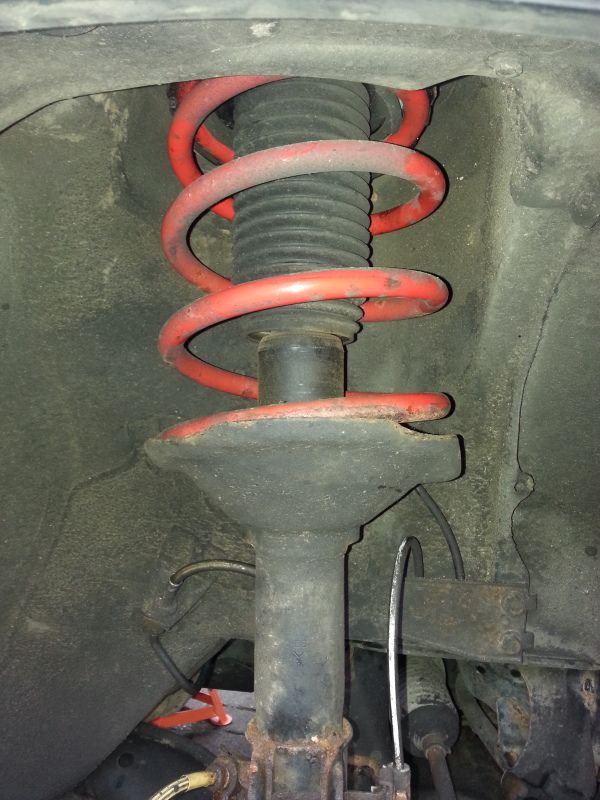
Suspension
Thanks to Wongy and my mate Dave 'Onion' Peacock for the help in swapping over the suspension.
Dirty right?
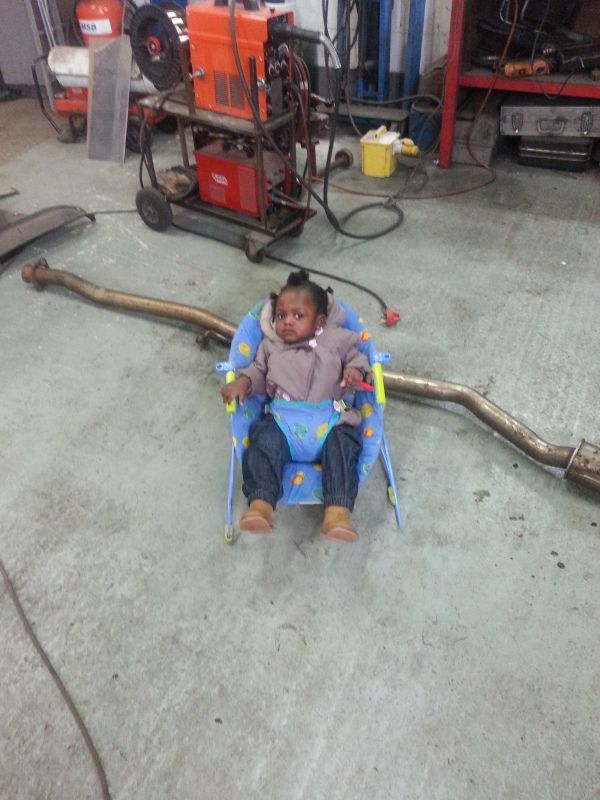
My daughter actually loves my stuff...
She spent an afternoon with me at the workshop repairing the exhaust.
That's it for now.
Most of these parts I have owned for ages, or just vultured on ebay/trade section.
My next planned mods are...
1. Cheap decat downpipe modified with a sports cat / or sports cat downpipe - whichever I get first.
2. TD05 turbo
3. Walbro fuel pump or equivalent
4. 3 port boost solenoid (I already have this).
5. AEM FIC / ECUTEC and bigger injectors if necessary (whichever is cheaper and comes first). I am a fan of the AEM. I was one of the first to import and install it in a UK car for my Celica NA/Turbo conversion that was featured in Banzai).
6. Rear wiper delete.
7. Parallel fuel rails with braided hoses.
I'm sure there is a host of other stuff. I plan to enjoy this car for a while, then maybe upgrade to a newer wagon in the next couple of years.
Thanks for reading. Comments and advice most welcome.
J
I might as well keep track of what I am up to, and possibly share some ideas.
I bought my car pretty much standard in August last year and absolutely love it...so much that I don't even use my EH9 Civic as it's intended daily use.
I can't believe she still loves her mama's car. lol
I bought the car with Stainless system, 4 pots, braided hoses and that's pretty much it. This car is not intended to be a fire breathing monster. The plan is to have fun tinkering with it, but keep it user friendly and vulture as much OEM+ / uprated parts as possible. Call it Project Recession.
One of the first things I did was replace the VTA dump valve on the car with a FORGE fully recirc item.
It had just been serviced when I bought it, and cambelt also done. Mileage is just a few shy of 100k.
Gauges:
I bought a set of Prosport gauges for �50 off a mate, plus the fitting kit on here and the necessary wiring from TDi as they are local to me.
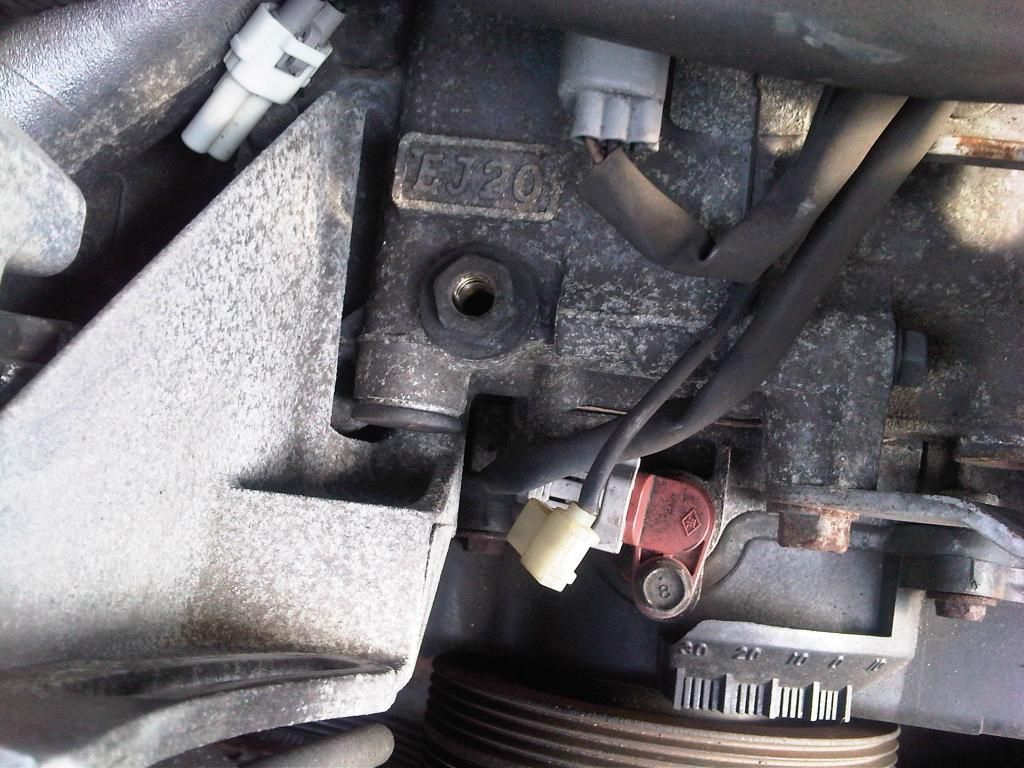
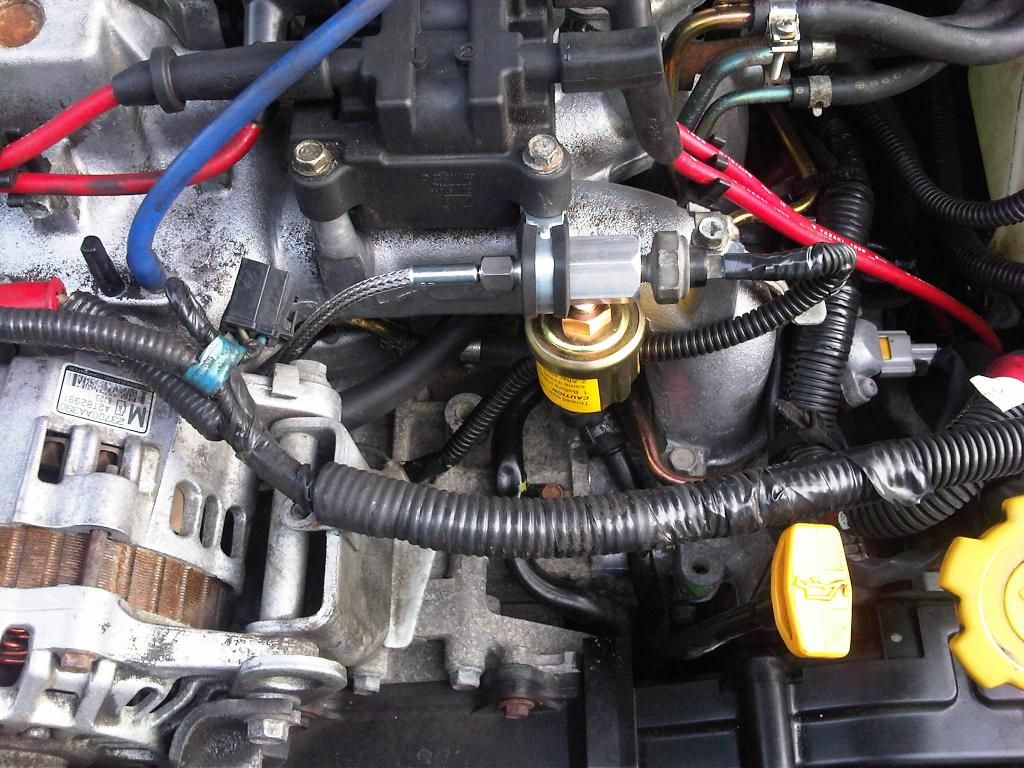
Oil Pressure port
mounted....
+ve feed while cranking taken from ignition switch...fused of course.
power, sensor earth, vacuum hose and signal wires. I have run a white wire also into the engine bay to use as water temp signal at some point.
mounted
Permanently green
Just before it got cold I got some oil and filter from OPIE oils.
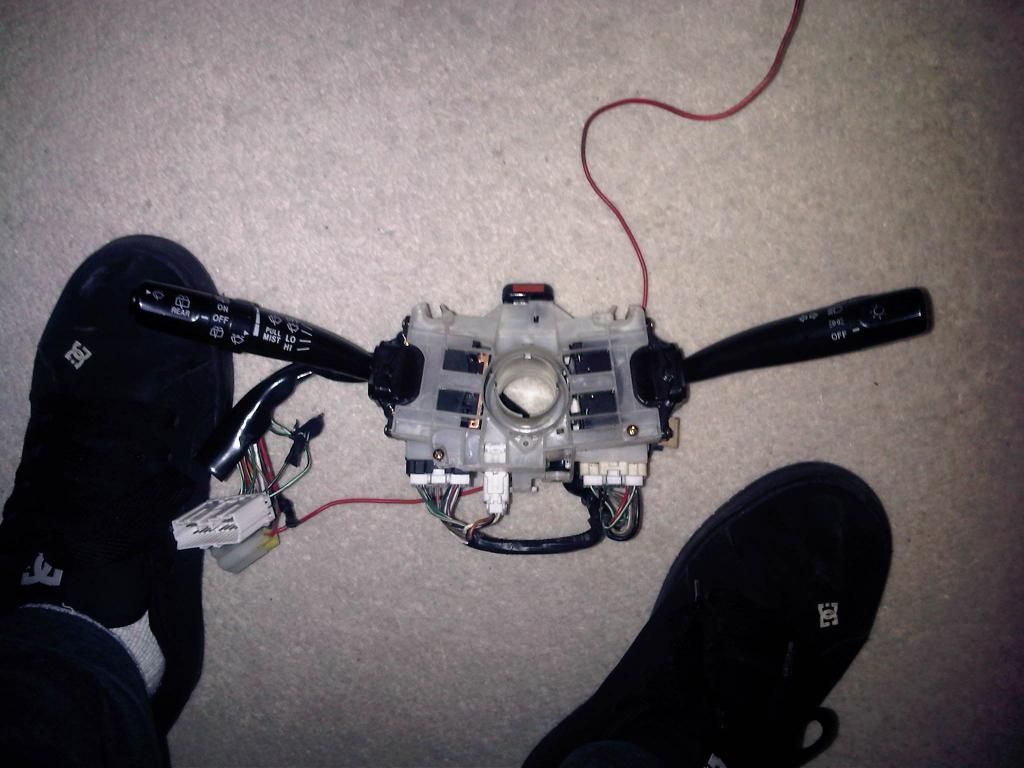
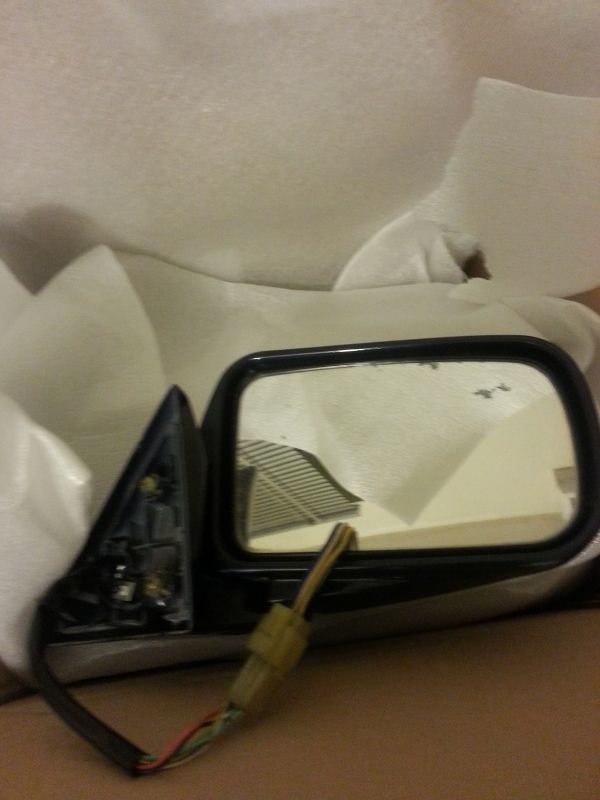
Oh so JDM....So I have this thing about JDM spec cars. I did this to my old Celica, and also the BB8 Prelude. Basically fitting as many JDM spec parts as possible such as indicators, mirrors etc.
Thanks to MATTY @ Pole Position.
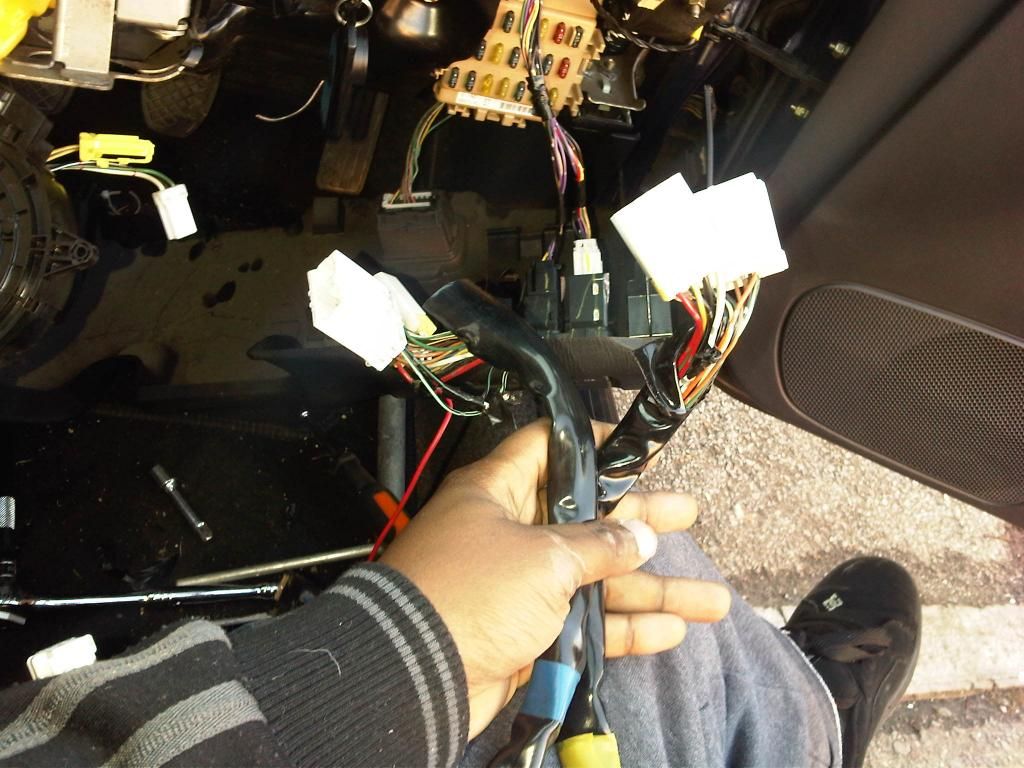
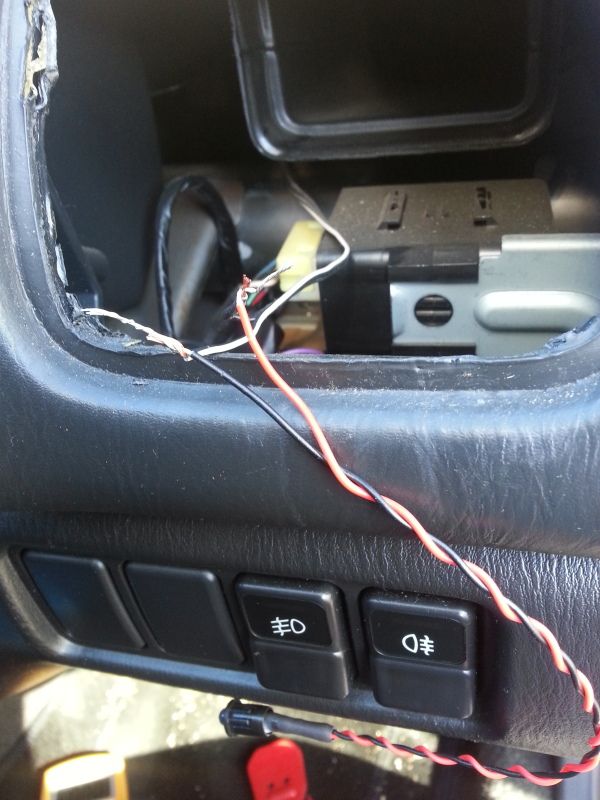
Looming
some alterations
That must be for the alarm then....
I had to tap the new loom for the indicators to flash with the alarm.
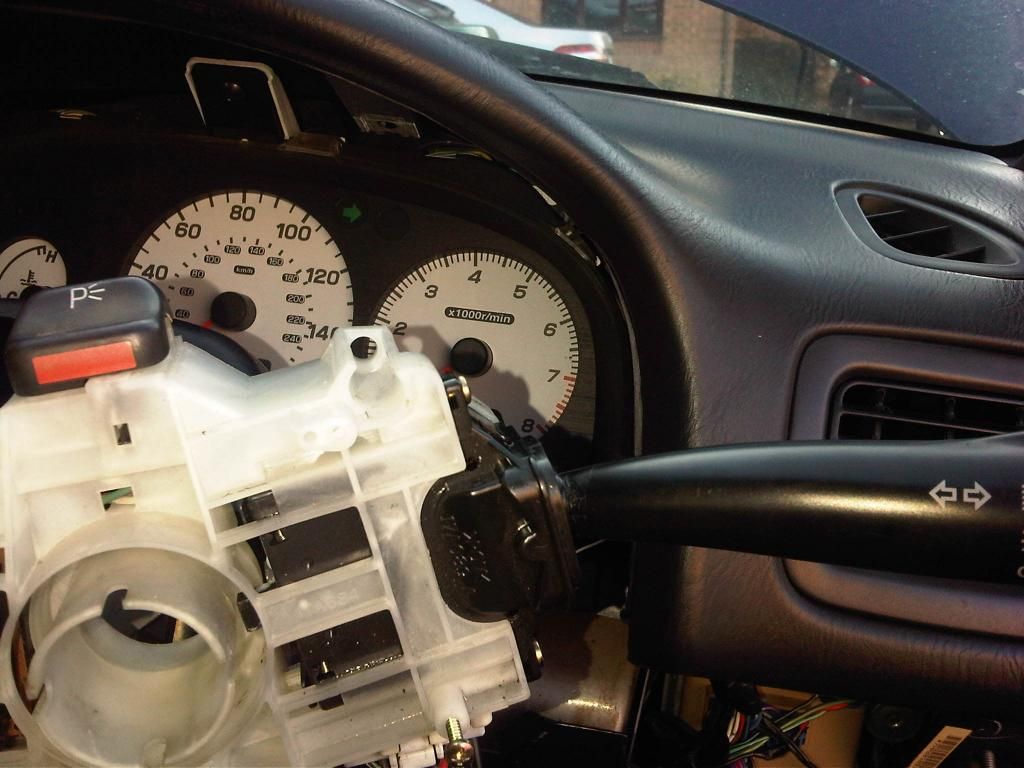
Back together
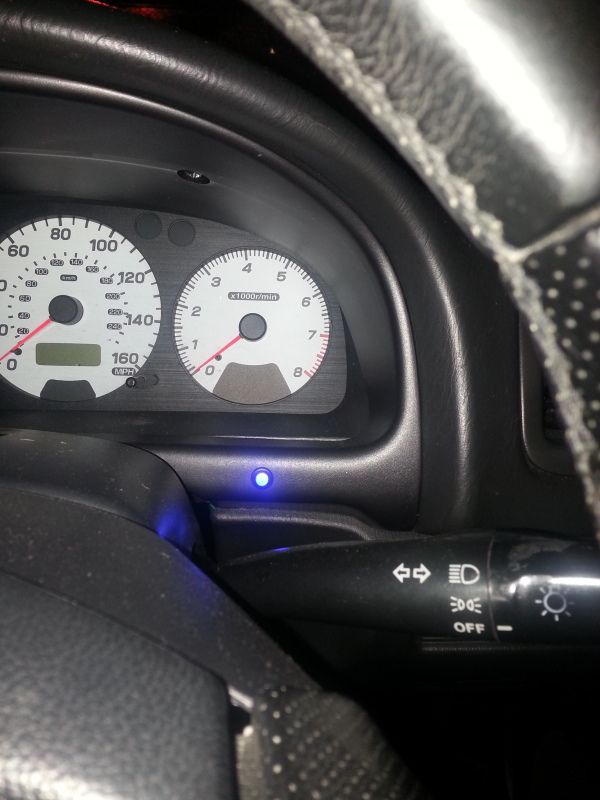
I broke the LED holder so upgraded to this
Mirror signal, next maneuver??
Thanks to Super Ted and Acazar, I installed the JDM mirrors. I specifically asked Ted for the pigtails too which means I have my UK mirrors with their switch, and another pigtail so changing over will take all of half an hour.
ICE
I do love my music. The username kinda gives it away. I usually have just a pair of amped components and a subwoofer in my cars, but now that I am a daddy and my daughter loves music...I wanted her to hear the vocals too.
My set up is as follows....
*FLi 6.5 inch components front
*FLi 4 inch coaxials rear
*Pioneer HU with iPod connectivity and car phone
*Pioneer 12 inch sub in a ported box (�10 on ebay collected). This will have a new home in the spare wheel well in the summer.
*4AWG power from battery into cabin, split into 2 x 8 AWG for amps. Ditto for earth. The distribution blocks are all behind the glovebox. I also have a new earth for the stereo so both amps and HU will have the same earth point. I also have another live for a relay for the remote leads, and same earth for the relay. The last live will be for a charging circuit for satnav/phone.
* MDF rings for the speakers, though there was a mistake with the rears so they are mounted ghetto for a week until the rings turn up. The rings were �5 from ebay.
* Silent coat sound deadening material. I have only done the bare minimum on the front doors. Bl00dy freezing. I will do the rear doors, outer skins and boot in the summer.
* Amps under each seat. Phoenix Gold amp was �25 on ebay and the Boss was �30 from Celica Club.
A lot of this stuff I have had for ages...I have learned to be patient in my old age.
Now the ICE pics. Not finished yet. Hopefully this weekend.
Positive terminal and 4 AWG cable mocked up
Fuse
Components mounted on MDF spacers
Took much of the interior out to make life easy...and to be neat.
Wish I had a warm garage....it was 1 Degree outside
Going hard
My mate Gary had a really good eye for doing things properly. You can see how dark it was outside lol
Earth loom...I used yellow for the relay.
Neatness
Sound deadening at 6.30pm in the freezing cold is no fun. Charlotte was not impressed we used her hair dryer lol.
Now that I think about it I could have gone for 5.25 rear speakers but oh well. The MDF rings will sort that gap out.
Silent coat.... �20 for 8 sheets
Amps
Suspension
Thanks to Wongy and my mate Dave 'Onion' Peacock for the help in swapping over the suspension.
Dirty right?
My daughter actually loves my stuff...
She spent an afternoon with me at the workshop repairing the exhaust.
That's it for now.
Most of these parts I have owned for ages, or just vultured on ebay/trade section.
My next planned mods are...
1. Cheap decat downpipe modified with a sports cat / or sports cat downpipe - whichever I get first.
2. TD05 turbo
3. Walbro fuel pump or equivalent
4. 3 port boost solenoid (I already have this).
5. AEM FIC / ECUTEC and bigger injectors if necessary (whichever is cheaper and comes first). I am a fan of the AEM. I was one of the first to import and install it in a UK car for my Celica NA/Turbo conversion that was featured in Banzai).
6. Rear wiper delete.
7. Parallel fuel rails with braided hoses.
I'm sure there is a host of other stuff. I plan to enjoy this car for a while, then maybe upgrade to a newer wagon in the next couple of years.
Thanks for reading. Comments and advice most welcome.
J
Last edited by funkmasterjay; Jan 16, 2013 at 02:46 AM. Reason: forgot the amps etc

Trending Topics


Thread Starter
Scooby Regular
Joined: Aug 2012
Posts: 423
Likes: 0
From: South Essex
Evening all.
So it's been a few weeks and weather, time and opportunity have been bad. I managed to take a few pics of my activities so here goes.
speaker rings turned up for the rears, but my drill's battery was out...and light was scarce, so might do it tomorrow.

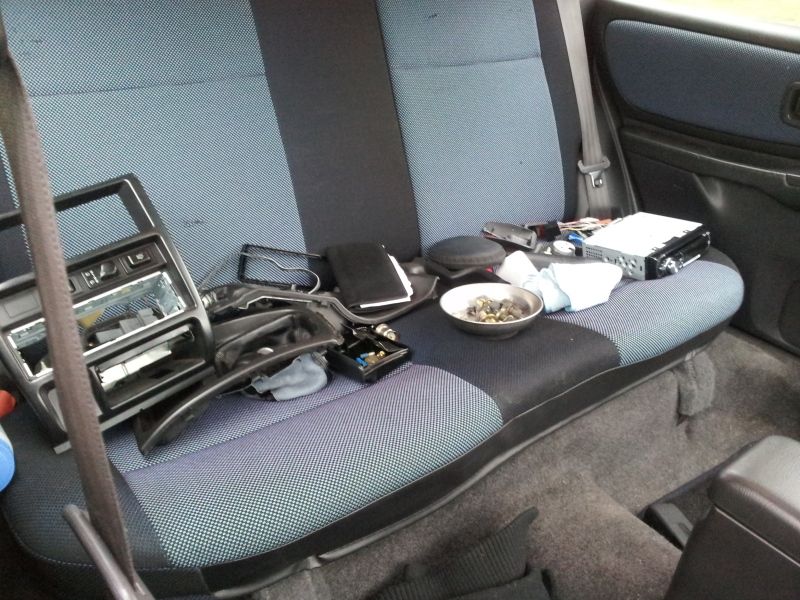
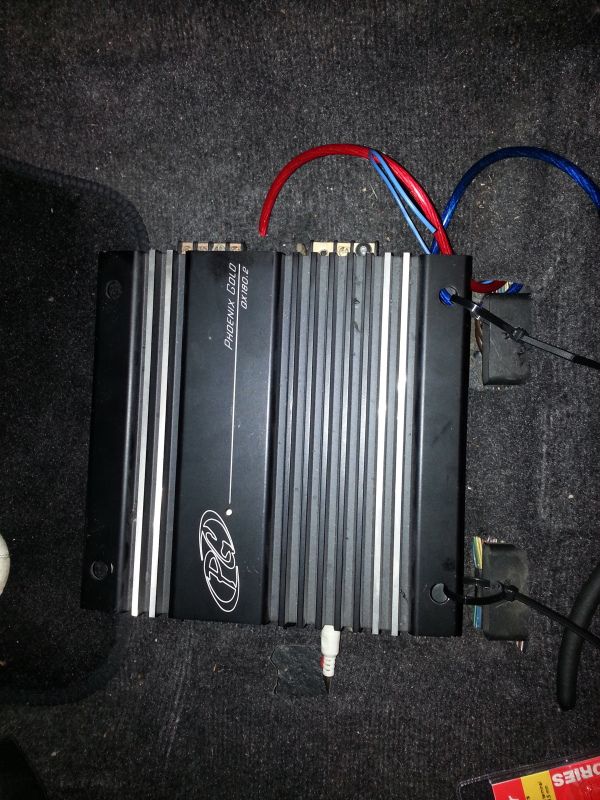
The Phoenix Gold amp was too small, so replaced with a 600W item on ebay.
Now you see the sub amp (2ch under driver's seat)
now you don't
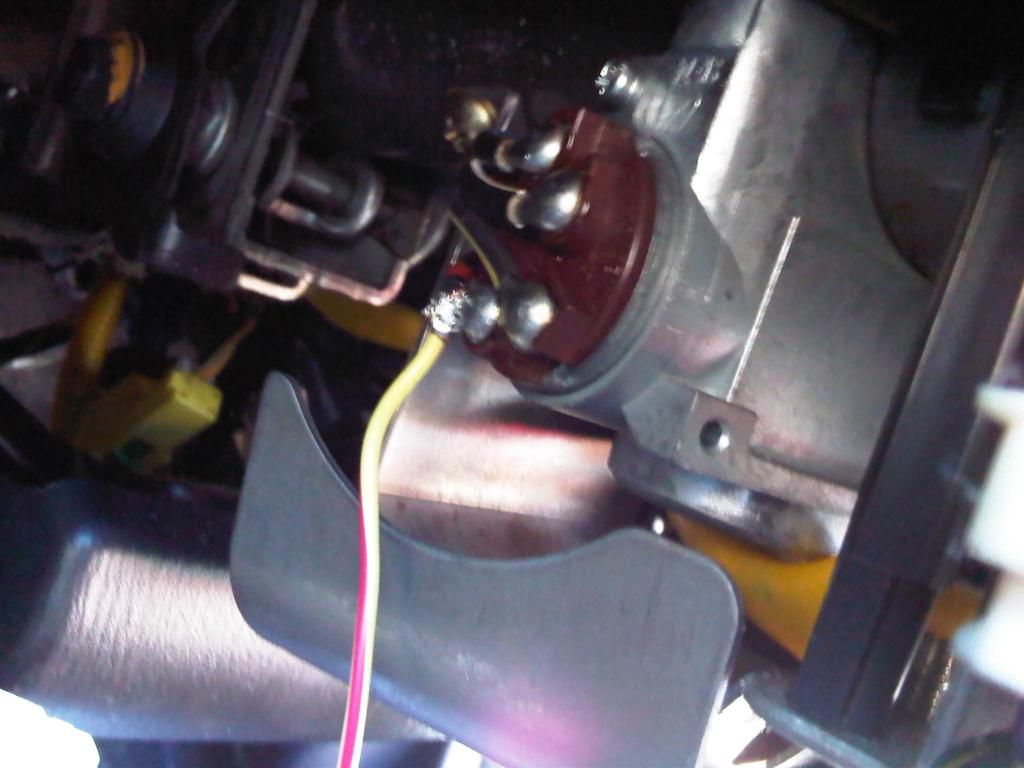
So I've been moaning about my buzzing door lock actuator for ages. I did a temporary fix which lasted two weeks.
This is the old offending article...simple 2 wire slave motor/actuator. Basically the motor drives a rack up or down. the mechanism is not screwed inside, but just secured when the casing is closed. Mine was loose by just 1mm so I used cable tie to tighten it up.
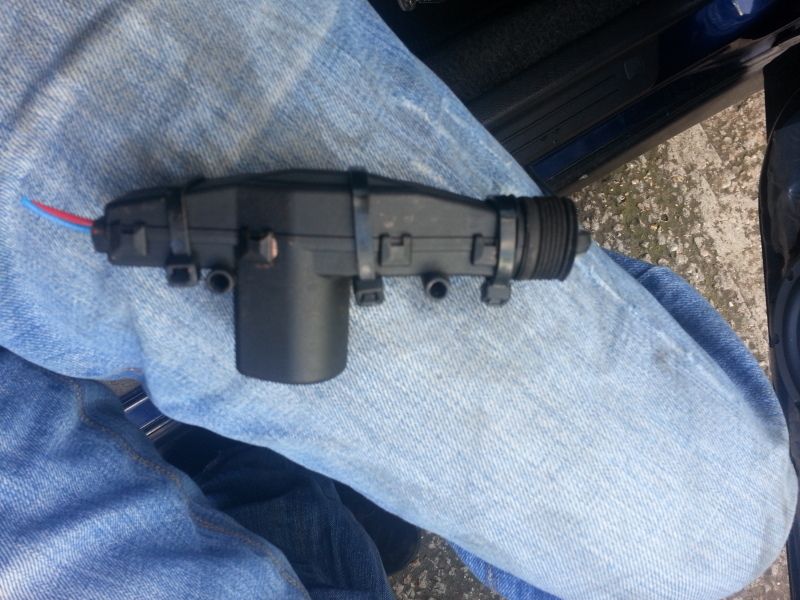
After a while it gave up, so I stopped being TIGHT and got replacement on eBay. Only �2 but I have been brought up to repair before replace. LOL
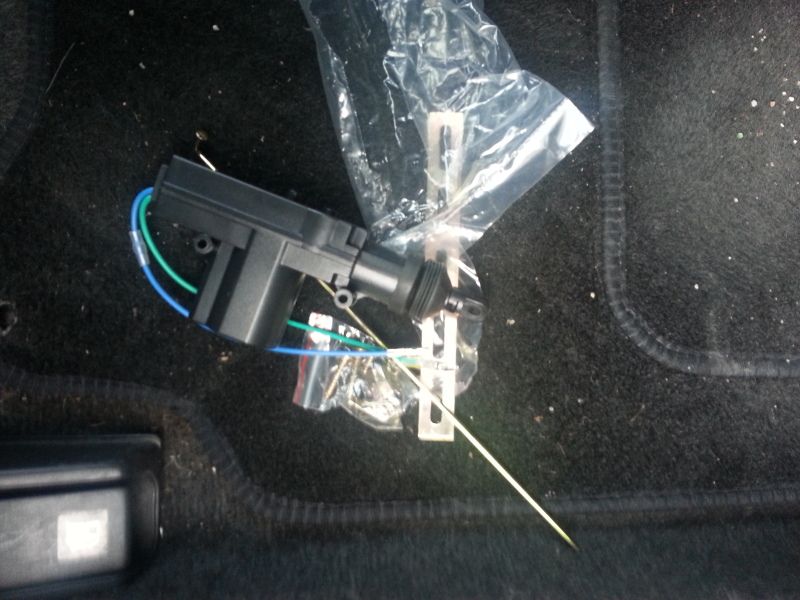
new one
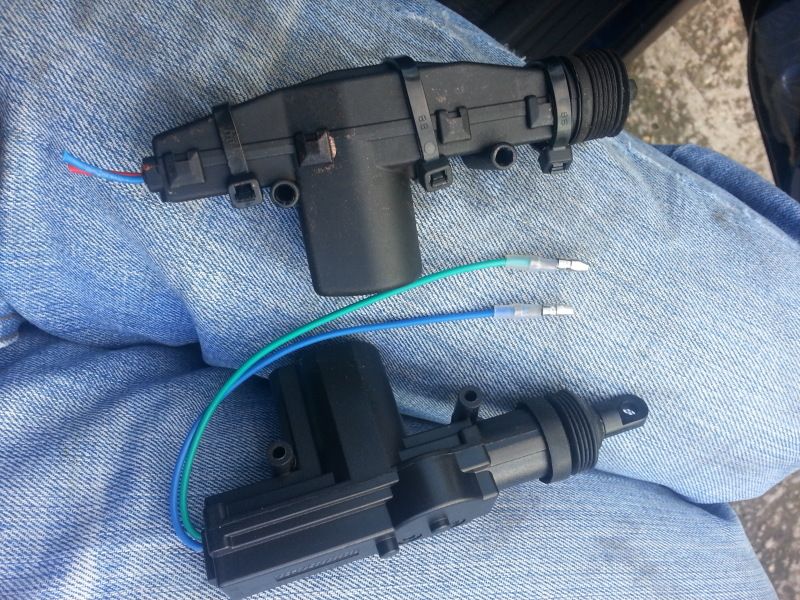
old v new
back together again
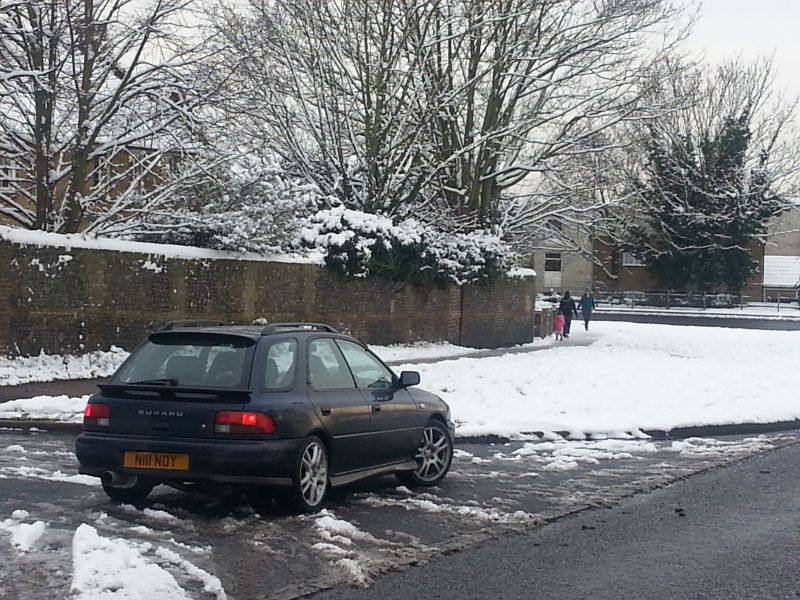
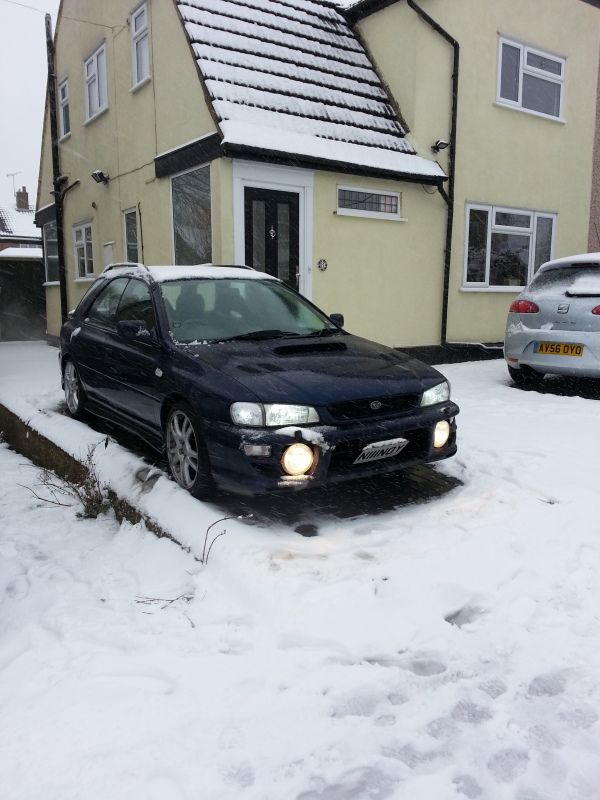
Obigatory snow pics - I was driving through the village after seeing the dentist. Loved the view by the river so took this.
It snowed heavily but I still went to work - Installed a Parrot in the Seat Leon
random

OK back to business
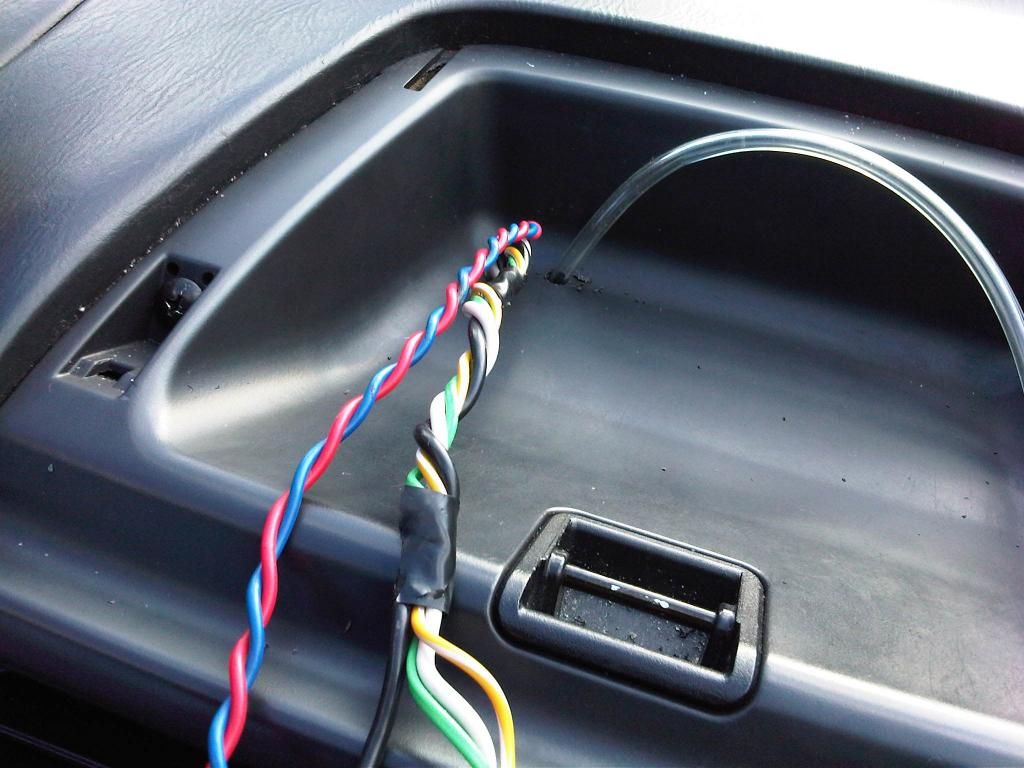
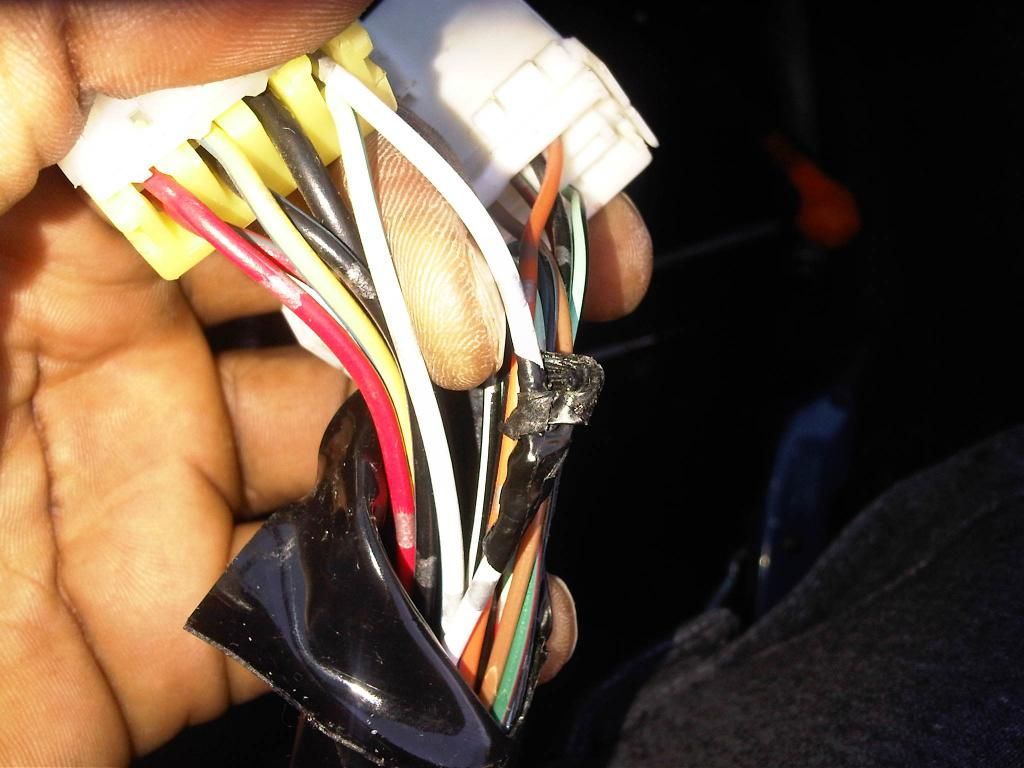
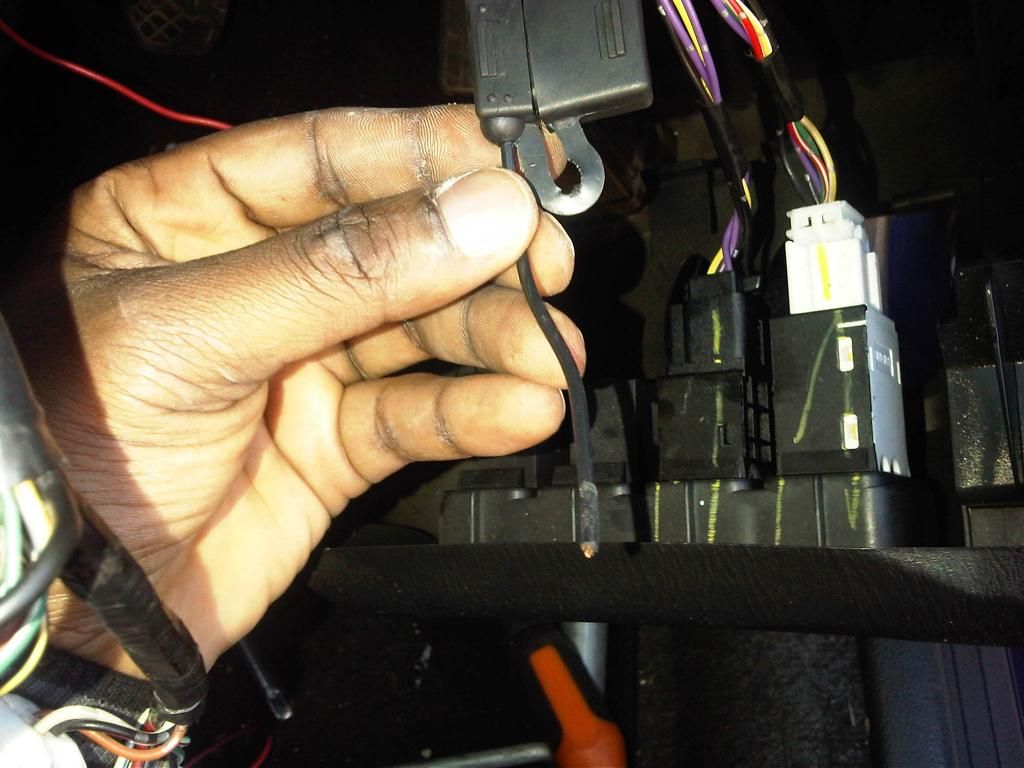
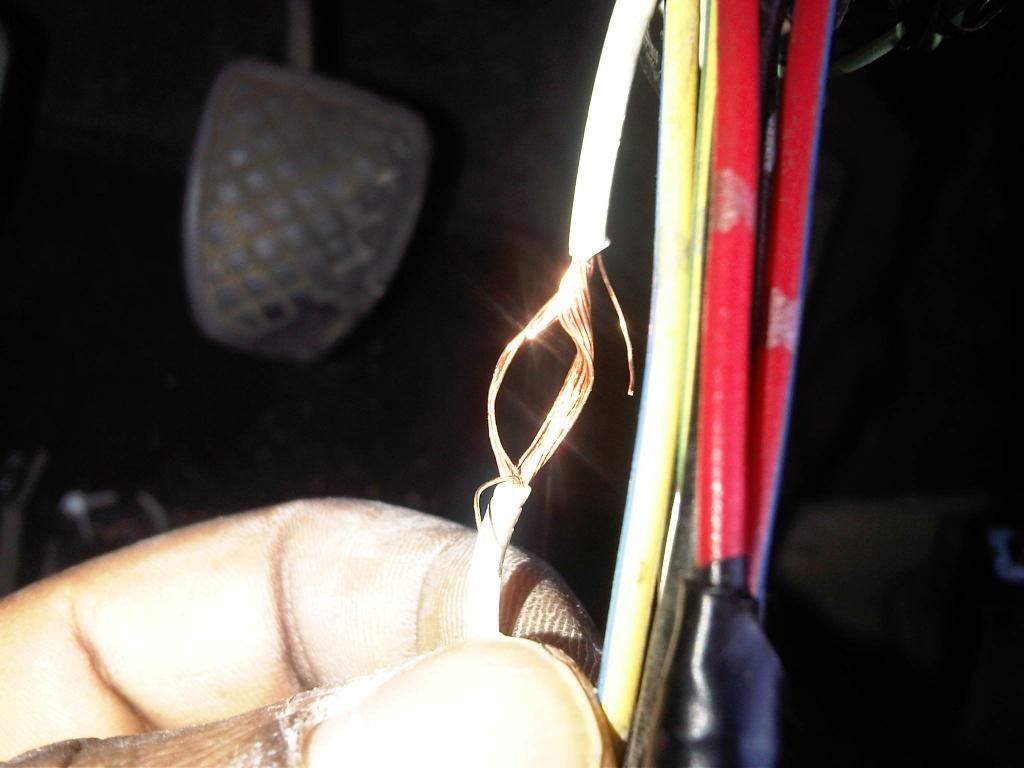
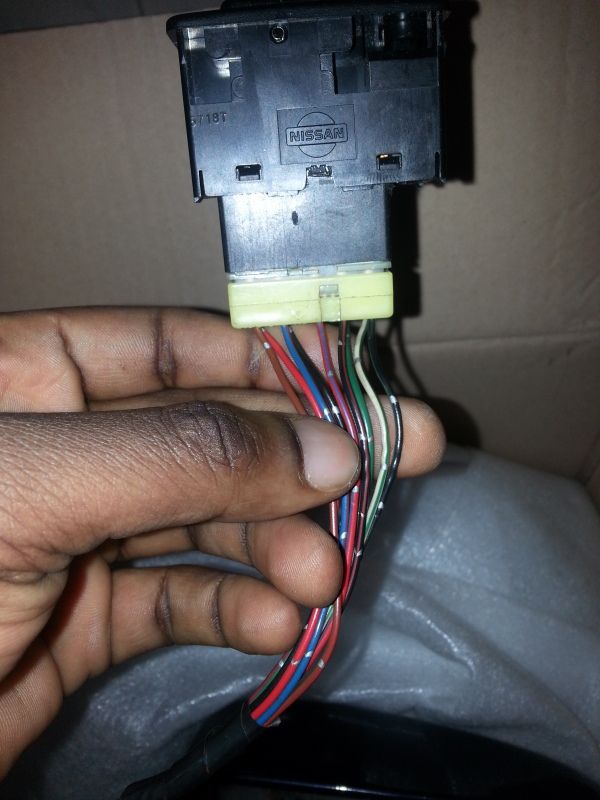
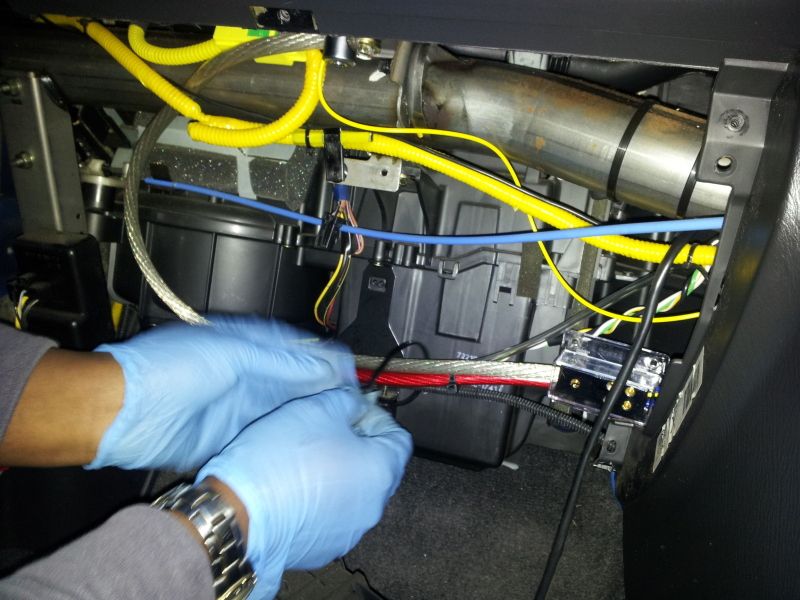
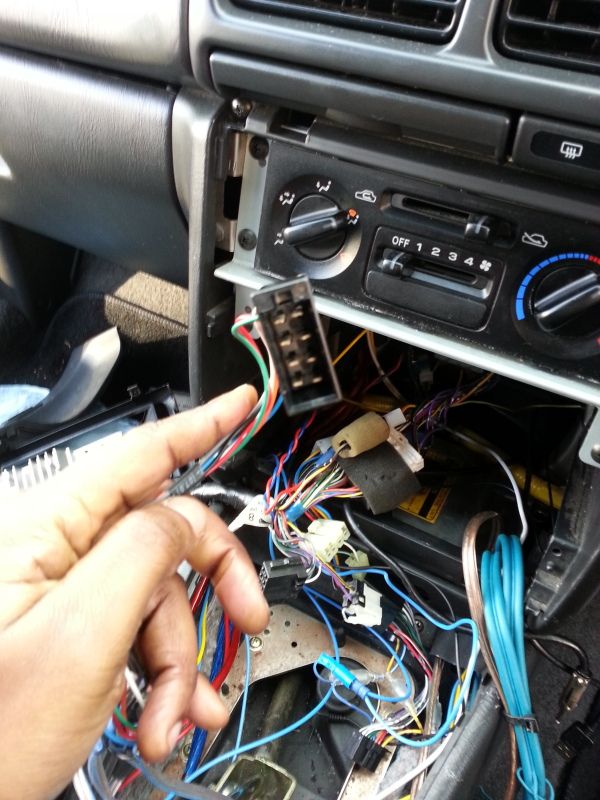
I remember talking about running speaker signal fom the amp back to the ISO connector. This is 'Ghetto' but it saves running wires through the door grommets. Also, there is no cutting in case you return to stock.
The female connector in my hand has 8 wires ie 4 speakers from the amp...this plugs into the ISO connector already in the car.
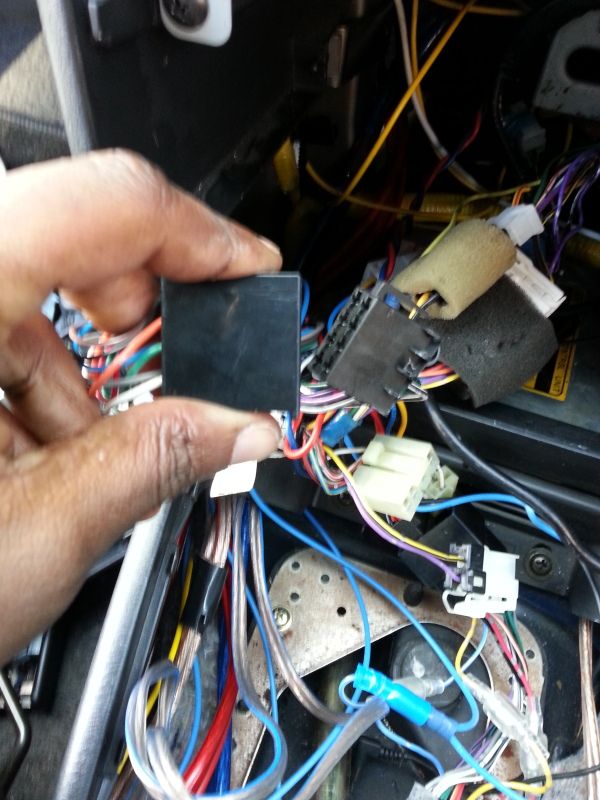
better view
Yay - shame i couldnt get 100k dead on, but i was driving.

Tomorrow I will replace o2 sensor and do the rear speakers.
J
So it's been a few weeks and weather, time and opportunity have been bad. I managed to take a few pics of my activities so here goes.
speaker rings turned up for the rears, but my drill's battery was out...and light was scarce, so might do it tomorrow.
The Phoenix Gold amp was too small, so replaced with a 600W item on ebay.
Now you see the sub amp (2ch under driver's seat)
now you don't
So I've been moaning about my buzzing door lock actuator for ages. I did a temporary fix which lasted two weeks.
This is the old offending article...simple 2 wire slave motor/actuator. Basically the motor drives a rack up or down. the mechanism is not screwed inside, but just secured when the casing is closed. Mine was loose by just 1mm so I used cable tie to tighten it up.
After a while it gave up, so I stopped being TIGHT and got replacement on eBay. Only �2 but I have been brought up to repair before replace. LOL
new one
old v new
back together again
Obigatory snow pics - I was driving through the village after seeing the dentist. Loved the view by the river so took this.
It snowed heavily but I still went to work - Installed a Parrot in the Seat Leon
random
OK back to business
I remember talking about running speaker signal fom the amp back to the ISO connector. This is 'Ghetto' but it saves running wires through the door grommets. Also, there is no cutting in case you return to stock.
The female connector in my hand has 8 wires ie 4 speakers from the amp...this plugs into the ISO connector already in the car.
better view
Yay - shame i couldnt get 100k dead on, but i was driving.
Tomorrow I will replace o2 sensor and do the rear speakers.
J
Thread Starter
Scooby Regular
Joined: Aug 2012
Posts: 423
Likes: 0
From: South Essex
Hey all.
So the weather has been kind lately so I have been tinkering again. I am yet to do the rest of the sound deadening. I think I will leave that til the spring.
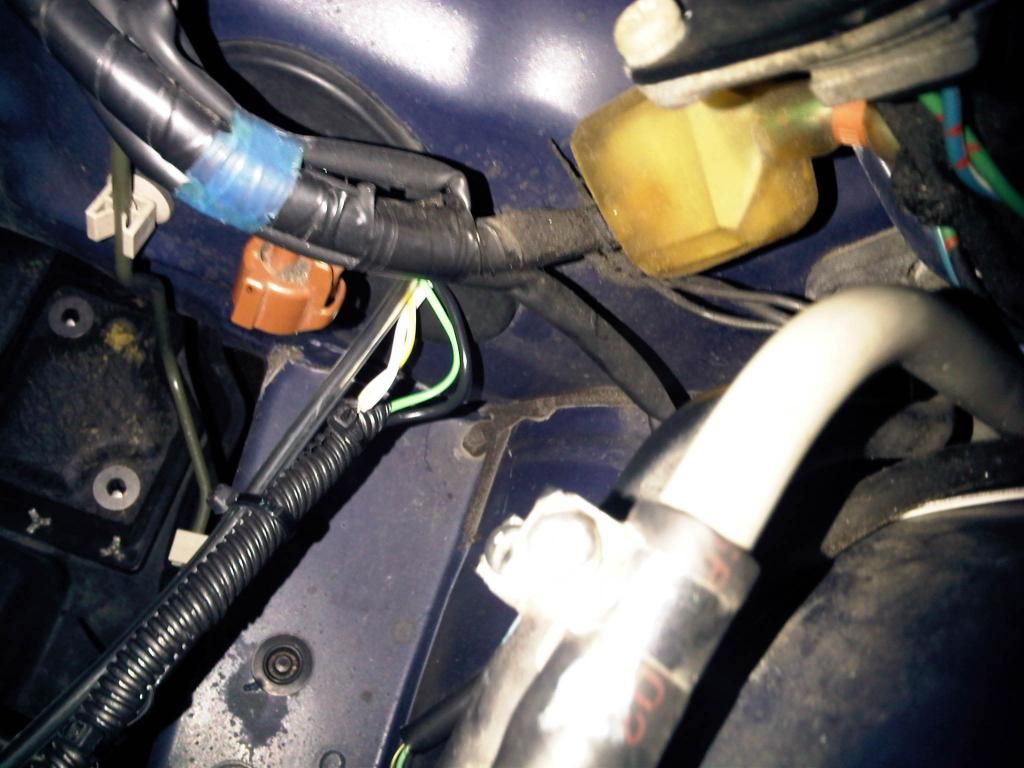
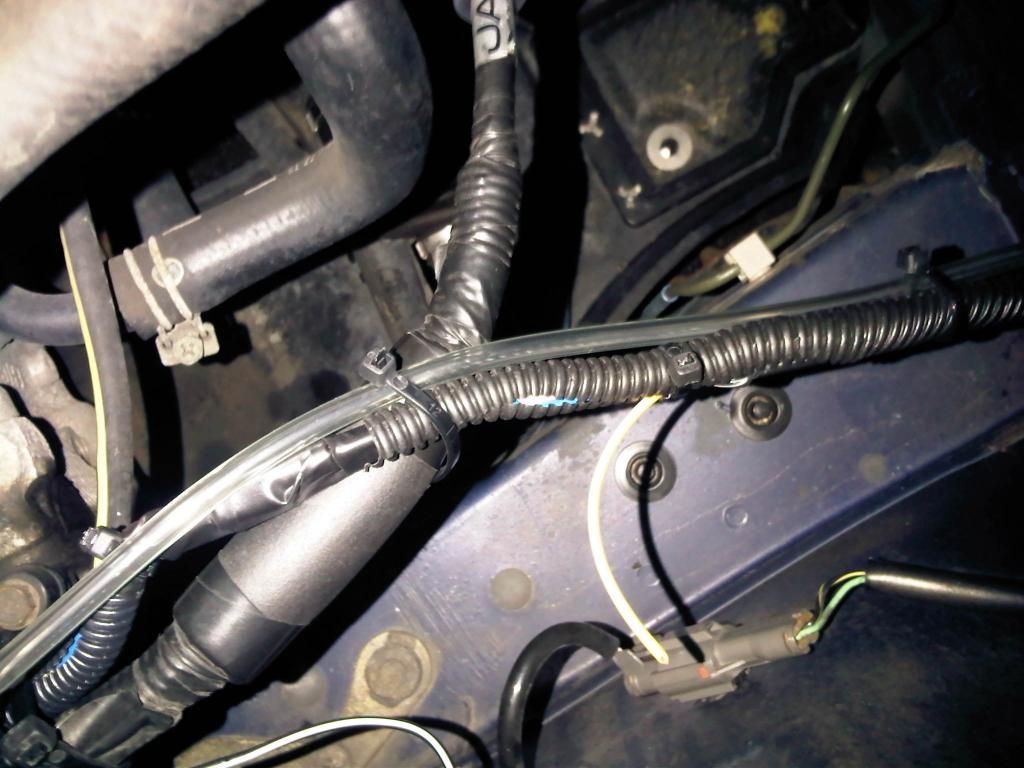
I replaced he o2 sensor recently. It took all of 15 minutes. I tell you, anyone with a TMIC should invest in silicone hoses - it makes taking the i/c off very easy indeed.
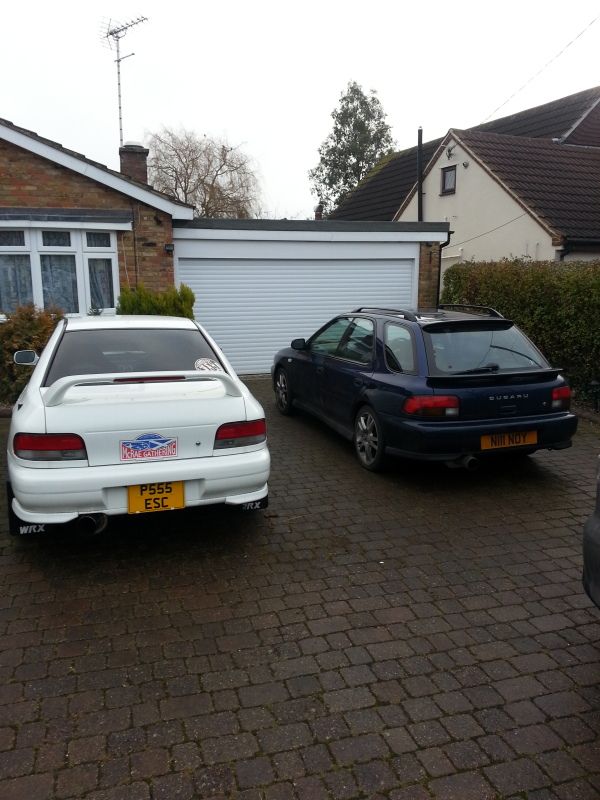
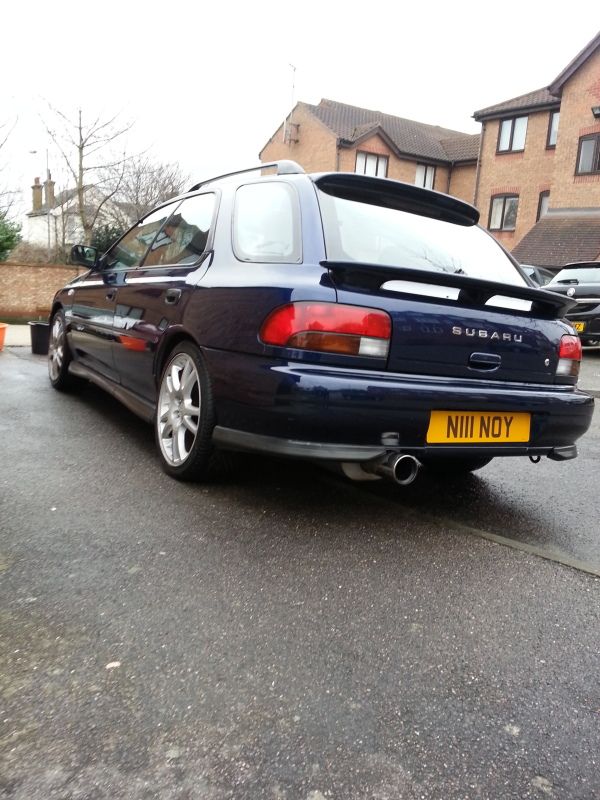
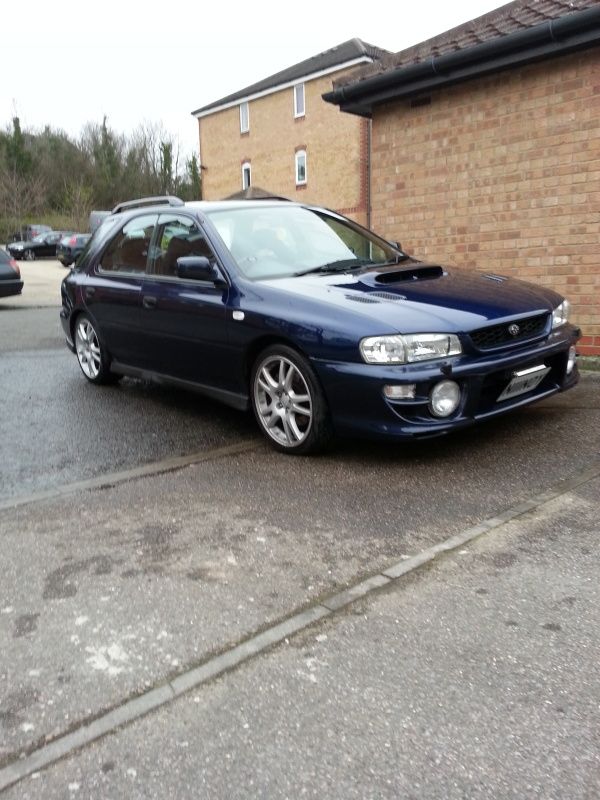
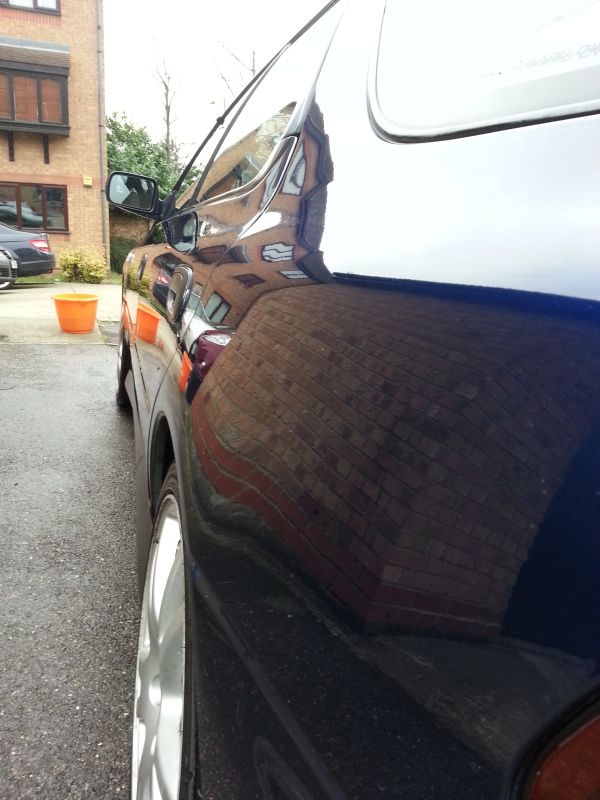
After the o2 sensor, I decided on a quick wash. I am no detailer - the car desperately needs it. What do you think about black wheels, black mirrors, black vinyl roof and black door handles?
2 bucket method - with 4 buckets
Anyway, back to tinkering.
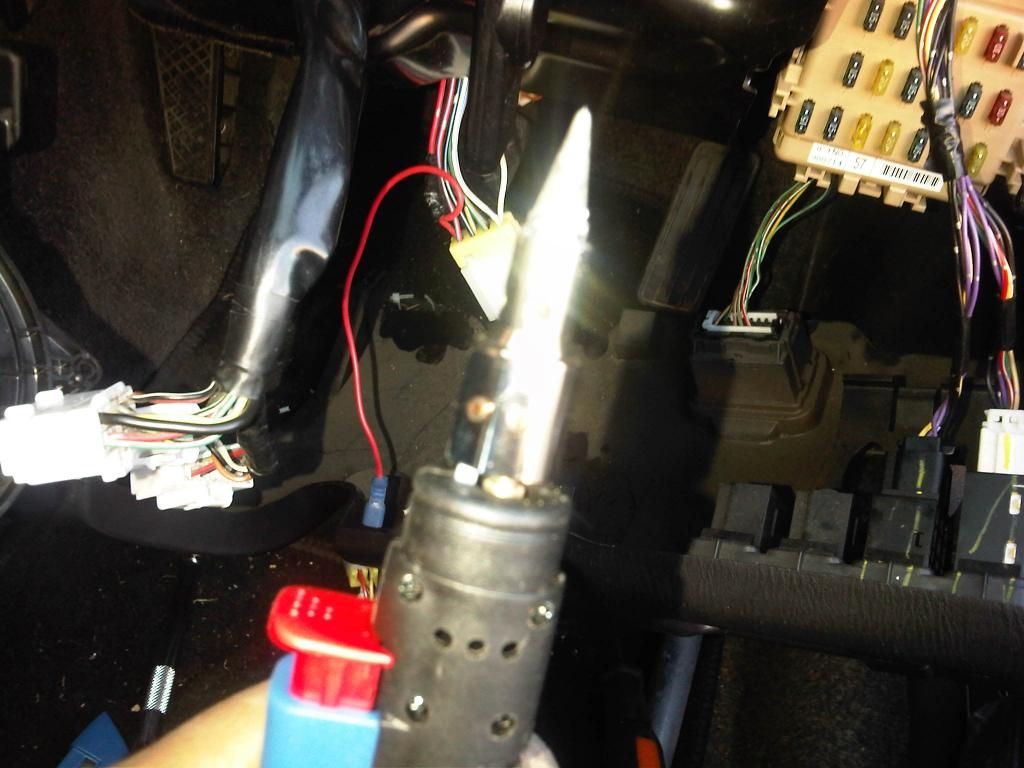
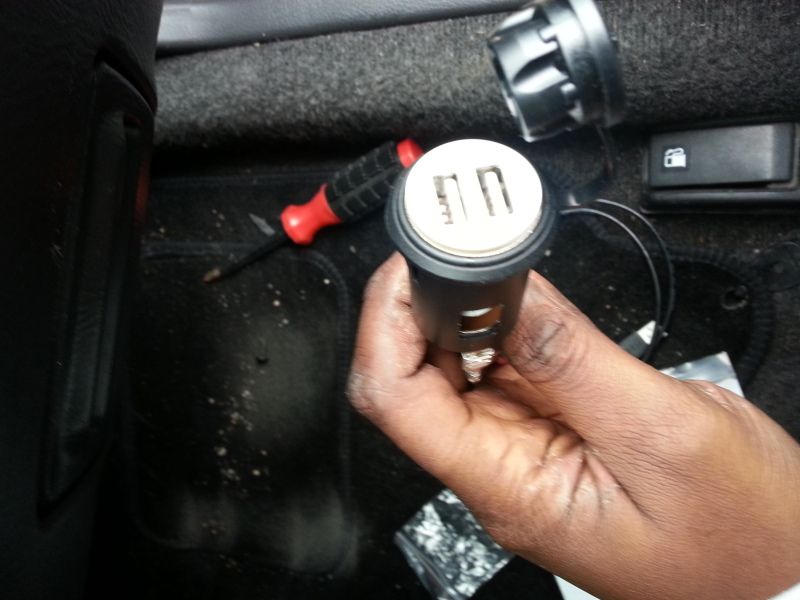
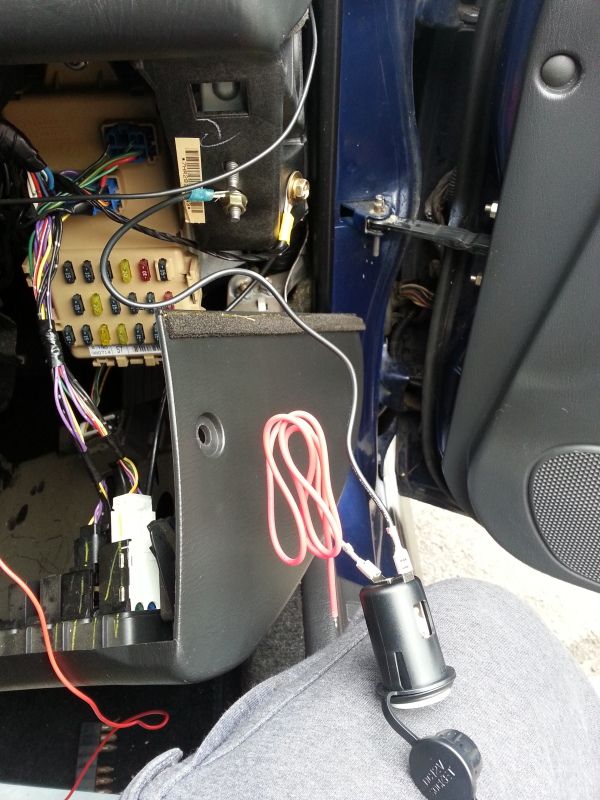
So I use my mobile a lot - for Navigation and also it is connected my my stereo via bluetooth. I hate the idea of charging from the cigarette lighter, and as an android, the straight charger plug scares me.
So, I thought of buying a 12v -> 5v hard wire charger kit. The cost wasnt too bad, but for �8 I could make my own and it would be more fun.
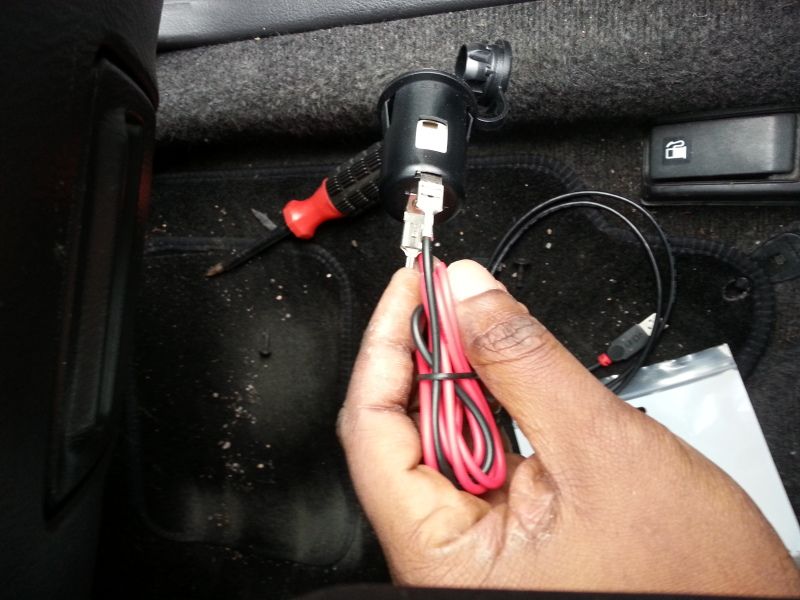
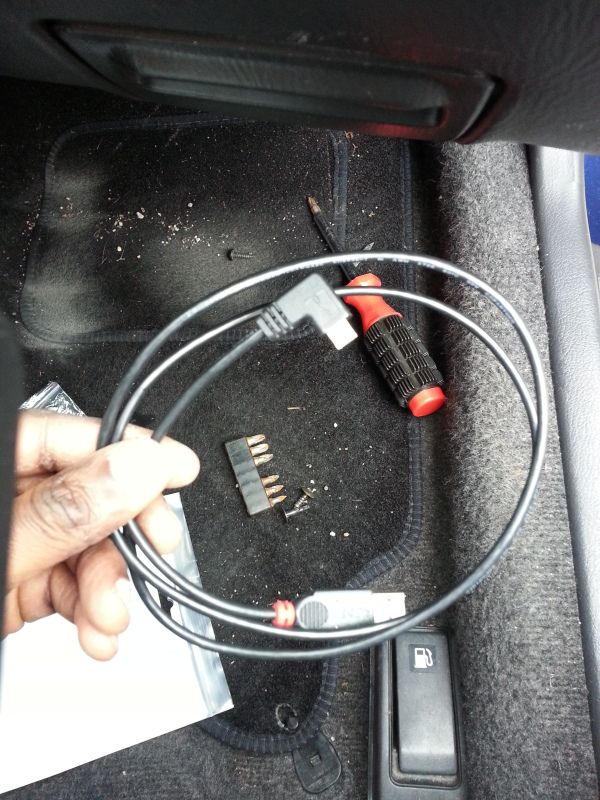
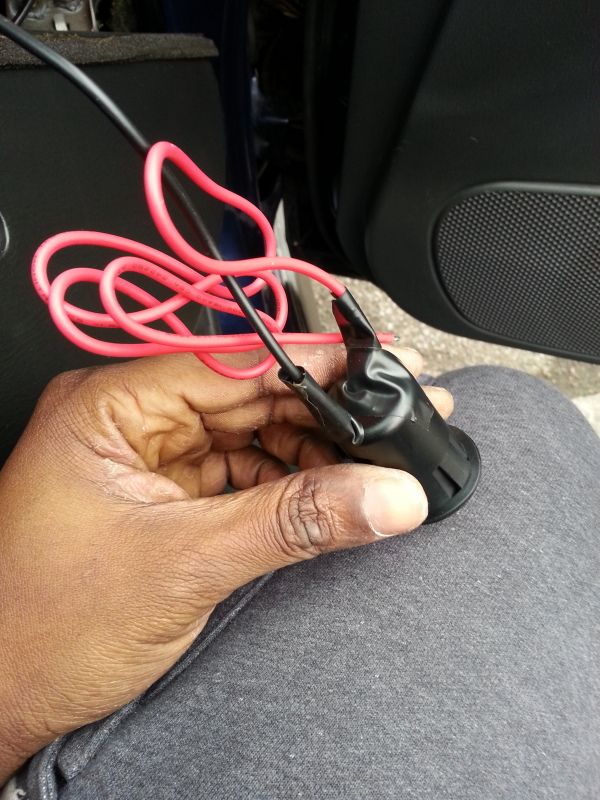
So I got this lot from eBay.
1. Micro USB plug with 90 degree bend.
2. universal cigatette lighter socket
3. dual USB bullet plug.
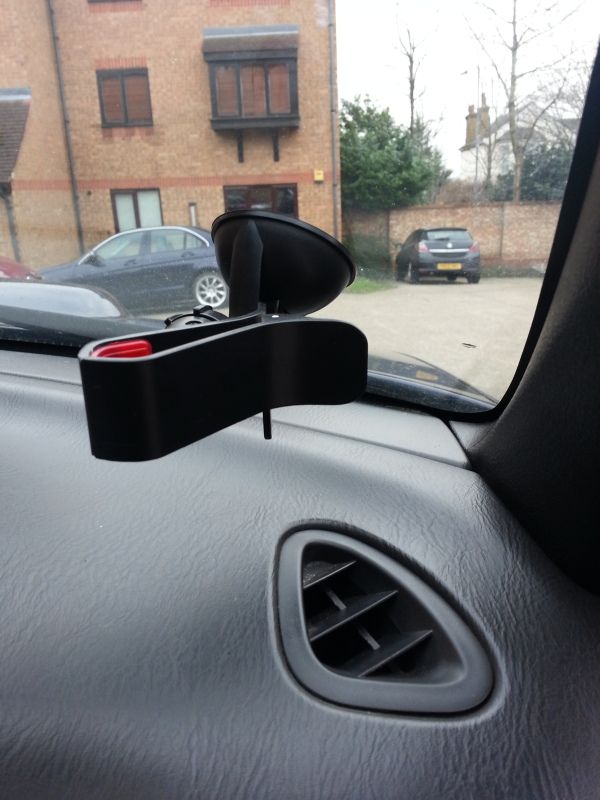
The plan was to hide it behind the scenes, with just a few inches protruding above the dash.
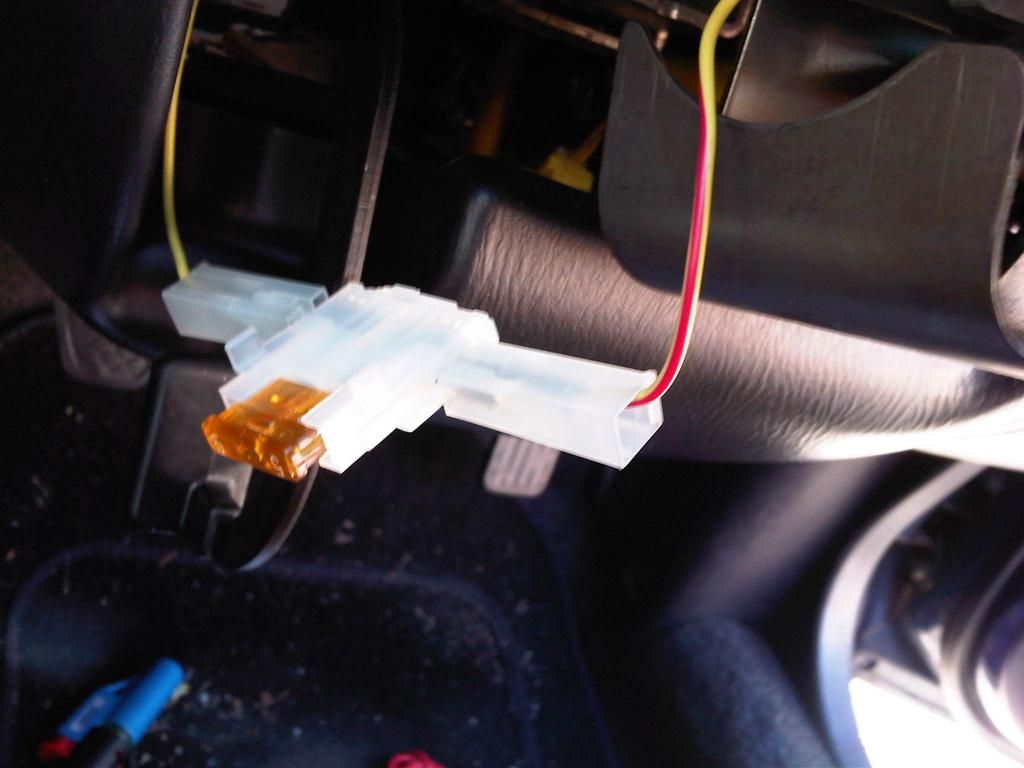
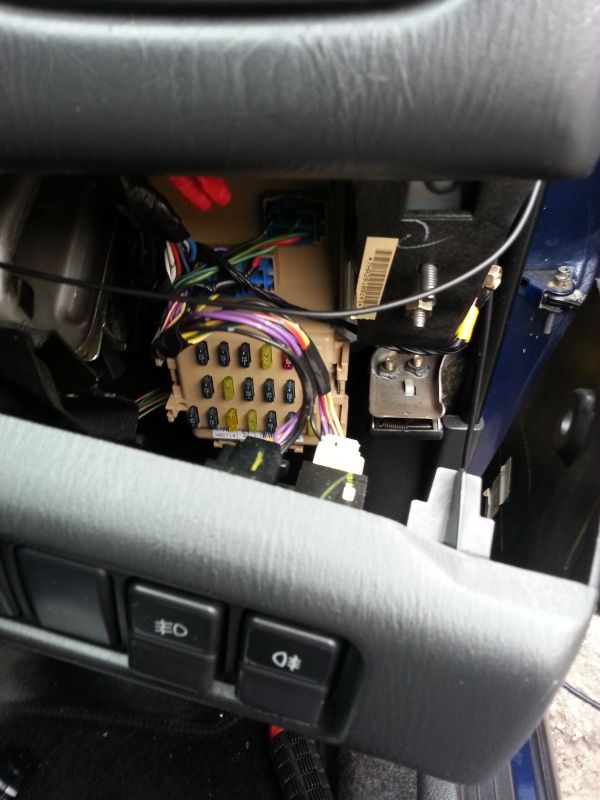
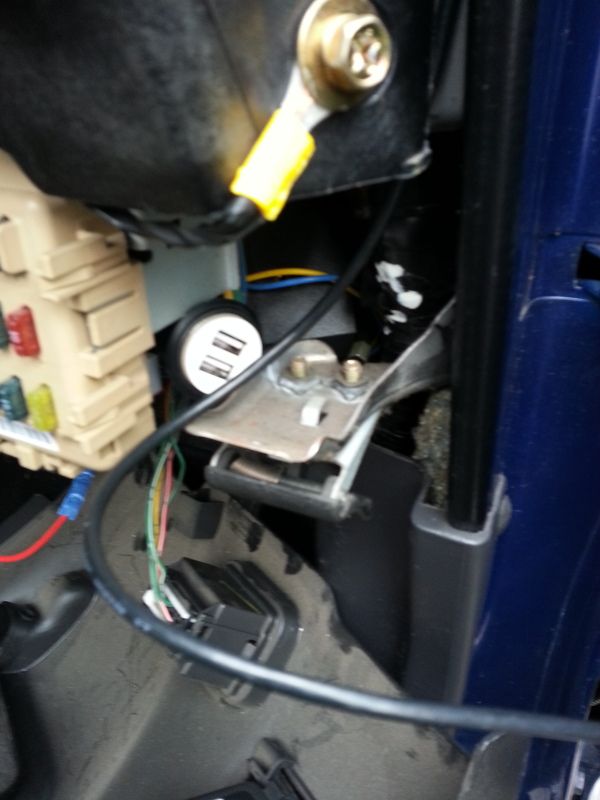
I found a suitable earth, and for the power, I used the same fused live circuit for the gauges. I specifically chose this so it only works while the engine is running, and stable while cranking. I upgraded the fuse to 10A.
I just won a bigger 4 ch amp on eBay which means my 350W Boss amp is up for grabs.
http://www.ebay.co.uk/itm/1308447717...84.m1439.l2649
Thanks for looking.
J
So the weather has been kind lately so I have been tinkering again. I am yet to do the rest of the sound deadening. I think I will leave that til the spring.
I replaced he o2 sensor recently. It took all of 15 minutes. I tell you, anyone with a TMIC should invest in silicone hoses - it makes taking the i/c off very easy indeed.
After the o2 sensor, I decided on a quick wash. I am no detailer - the car desperately needs it. What do you think about black wheels, black mirrors, black vinyl roof and black door handles?
2 bucket method - with 4 buckets
Anyway, back to tinkering.
So I use my mobile a lot - for Navigation and also it is connected my my stereo via bluetooth. I hate the idea of charging from the cigarette lighter, and as an android, the straight charger plug scares me.
So, I thought of buying a 12v -> 5v hard wire charger kit. The cost wasnt too bad, but for �8 I could make my own and it would be more fun.
So I got this lot from eBay.
1. Micro USB plug with 90 degree bend.
2. universal cigatette lighter socket
3. dual USB bullet plug.
The plan was to hide it behind the scenes, with just a few inches protruding above the dash.
I found a suitable earth, and for the power, I used the same fused live circuit for the gauges. I specifically chose this so it only works while the engine is running, and stable while cranking. I upgraded the fuse to 10A.
I just won a bigger 4 ch amp on eBay which means my 350W Boss amp is up for grabs.
http://www.ebay.co.uk/itm/1308447717...84.m1439.l2649
Thanks for looking.
J
Last edited by funkmasterjay; Feb 9, 2013 at 11:45 PM. Reason: more info -
Thread Starter
Scooby Regular
Joined: Aug 2012
Posts: 423
Likes: 0
From: South Essex
Thanks Wongy. I need to come to yours to get some bits. I must say a massive thanks o Wongy who has helped me a lot in the recent months.
Thanks for the comments. I'm really enjoying the car.
Plans for the summer are VF28, Walbro fuel pump and attention to engine management. I'm not sure what size my injectors are...if anyone can enlighten me.
I plan to keep the oem downpipe as it is.
J
Thanks for the comments. I'm really enjoying the car.
Plans for the summer are VF28, Walbro fuel pump and attention to engine management. I'm not sure what size my injectors are...if anyone can enlighten me.
I plan to keep the oem downpipe as it is.
J
Thread Starter
Scooby Regular
Joined: Aug 2012
Posts: 423
Likes: 0
From: South Essex
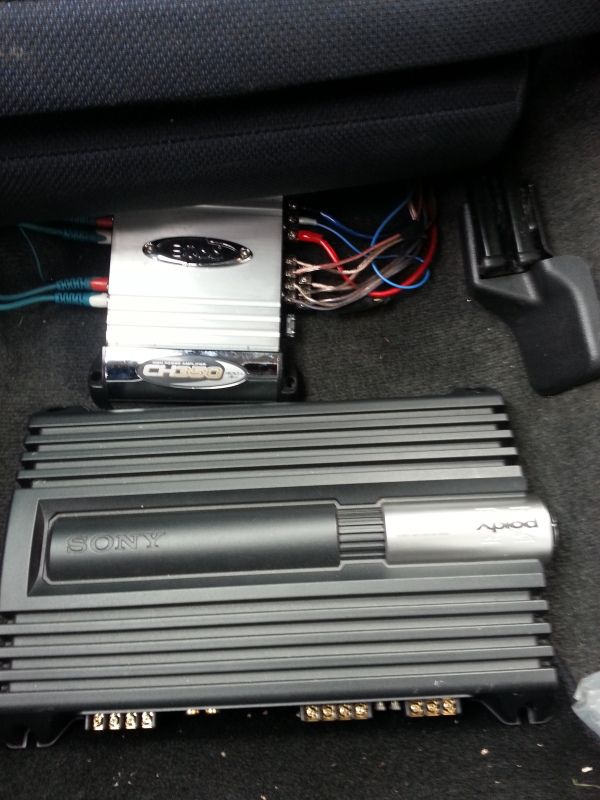
Well, as mentioned earlier I had a lucky find on eBay for a Sony 600w 4 channel amp to powe the cabin speakers. My Boss 350w amp was good, but I wanted more as the sub was over powering the components...even at -15 lol.
Anyway, the baby had a nap with her am so I quickly went outside to install it. The wires were already there so it was no major drama. Just as I mocked up the install, connected power etc, I got the dreaded phone call that Zoe(baby) was awake. I managed to wire it all, but gain really low and will tune it tomorrow....when I also fit my short shifter.
This car is being funded purely through beer money or any extra cash I earn doing odd jobs. It makes it more fun and I still prioritise my responsibilities at home. On this occasion, I sold my Nintendo Entertainment System (1980 NES) on eBay for a bit more than expected so I treated the car to a short shift for valentines. �21 bargain.
Here is a pic of the new v the old amp. The old amp is now surplus to requirements so if anyone wants an amp jus for components -this might be for you.
More pics tomorrow when I do the shor shifter.
j


Thread Starter
Scooby Regular
Joined: Aug 2012
Posts: 423
Likes: 0
From: South Essex
Yep. One of the first things I changed on my old celicas was the shift bushes. There used to be a trader on the celica club who sold bearings to replace the bushes for like �10.
Whats involved witg the impreza? Also whats the sizes of the bushes?
Cheers.
J
Whats involved witg the impreza? Also whats the sizes of the bushes?
Cheers.
J
Joined: Nov 2003
Posts: 13,356
Likes: 58
From: in the woods...........555 Wagon Sqn
I can have a measure up if you like, I run kartboy bushes but Alyn at ASP does some nice kits...best off giving him a buzz. Frayz has some fitted so you can't get a better recommendation 
Thread Starter
Scooby Regular
Joined: Aug 2012
Posts: 423
Likes: 0
From: South Essex
hey mate. Any replacement will be an improvement on my 13 year old items.
The brief of this project is as cheap as possible. As im not racing it etc, something like this will focus on cost. Hpw much are your bushes and how easy to fit?
Ps I fitted thw short shift yesterday. It was so simple so only took a couple of pics.
J
The brief of this project is as cheap as possible. As im not racing it etc, something like this will focus on cost. Hpw much are your bushes and how easy to fit?
Ps I fitted thw short shift yesterday. It was so simple so only took a couple of pics.
J
Joined: Nov 2003
Posts: 13,356
Likes: 58
From: in the woods...........555 Wagon Sqn
very easy to fit...just makes for a more positive gear change, I've fitted these;
http://turninconcepts.com/product_in...products_id=34
Turn In Concepts are super helpful and will ship to the UK.
http://turninconcepts.com/product_in...products_id=34
Turn In Concepts are super helpful and will ship to the UK.
Thread Starter
Scooby Regular
Joined: Aug 2012
Posts: 423
Likes: 0
From: South Essex
Thanks SJ.
Slowly but surely getting there. It's nice to enjoy a car again.
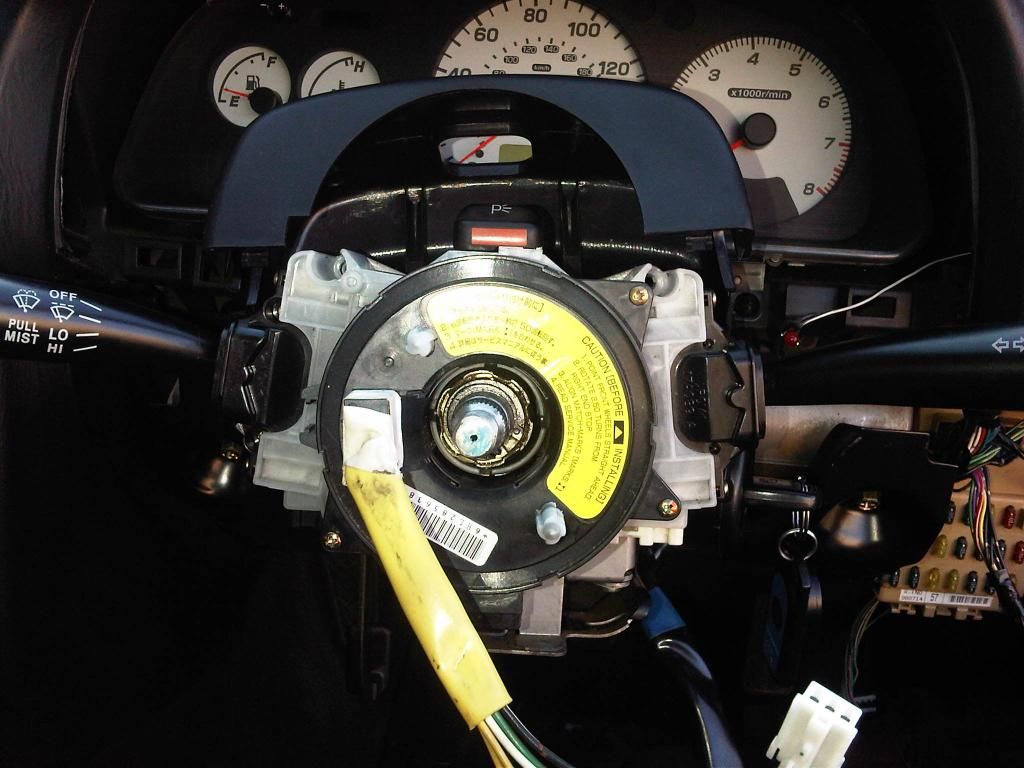
Here are pics of the short shift.
Old item
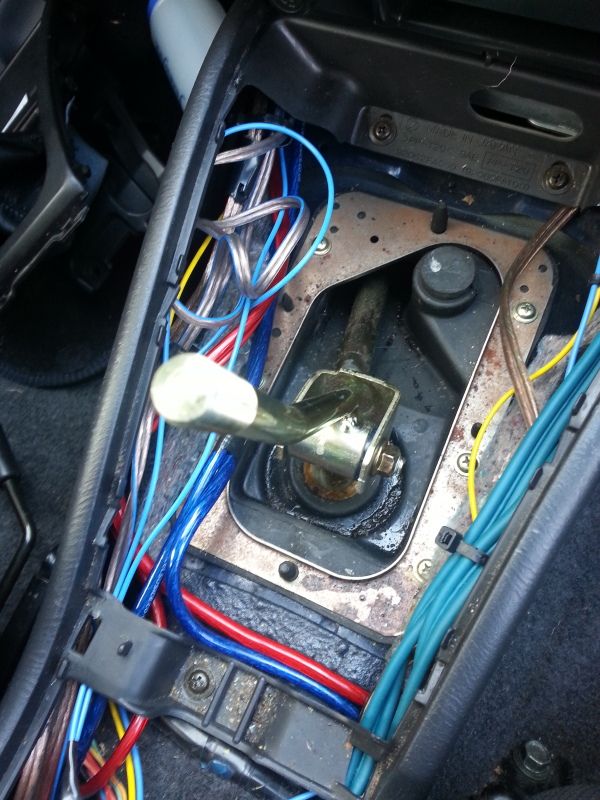
The new item came with a range of tubes and washers. It had a bearing type bush installed already. The supplied tube that hosts the bolt didn't quite fit, but the oem one was perfect so I just lubed and tubed it.
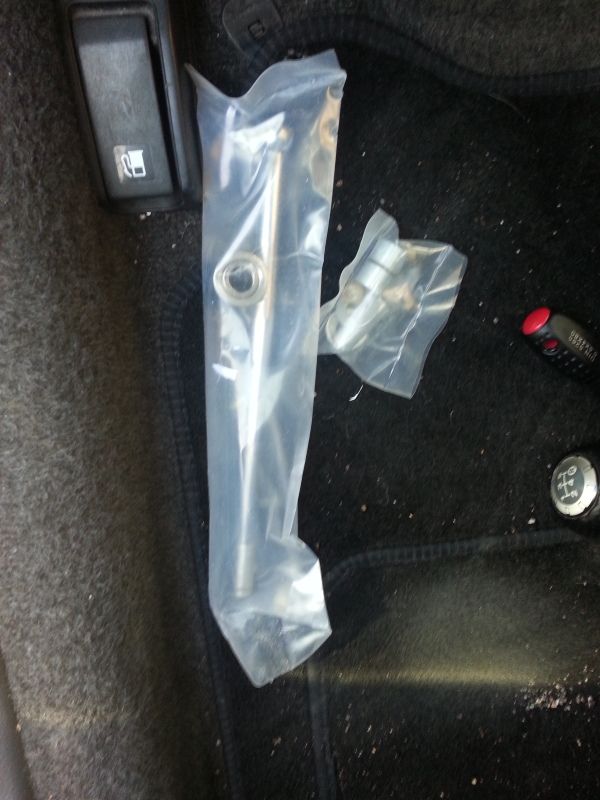
All back together, but alas there had to be a problem, the tread was too big for the oem ****. I was officially **** less until I remember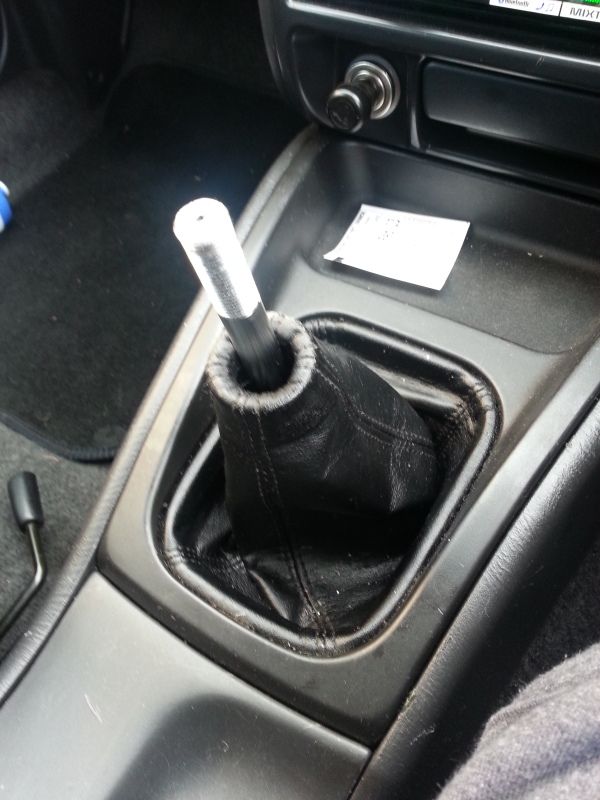 ed to rummage through old stuff. Found an old Sparco **** that will do until I get a weighted discreet ****.
J
Slowly but surely getting there. It's nice to enjoy a car again.
Here are pics of the short shift.
Old item
The new item came with a range of tubes and washers. It had a bearing type bush installed already. The supplied tube that hosts the bolt didn't quite fit, but the oem one was perfect so I just lubed and tubed it.
All back together, but alas there had to be a problem, the tread was too big for the oem ****. I was officially **** less until I remember
ed to rummage through old stuff. Found an old Sparco **** that will do until I get a weighted discreet ****.J
Last edited by funkmasterjay; Feb 19, 2013 at 03:14 PM. Reason: New gear linkage
Joined: Nov 2003
Posts: 13,356
Likes: 58
From: in the woods...........555 Wagon Sqn
Thread Starter
Scooby Regular
Joined: Aug 2012
Posts: 423
Likes: 0
From: South Essex
I'm so stupid.
So now I know why the gear **** would not fit....I installed the lever with a hammer when I should have used a mallet or block of wood.
I will file the top off a bit an see if it works.
J
Ps ted, I will pm you.
So now I know why the gear **** would not fit....I installed the lever with a hammer when I should have used a mallet or block of wood.
I will file the top off a bit an see if it works.
J
Ps ted, I will pm you.
Thread Starter
Scooby Regular
Joined: Aug 2012
Posts: 423
Likes: 0
From: South Essex
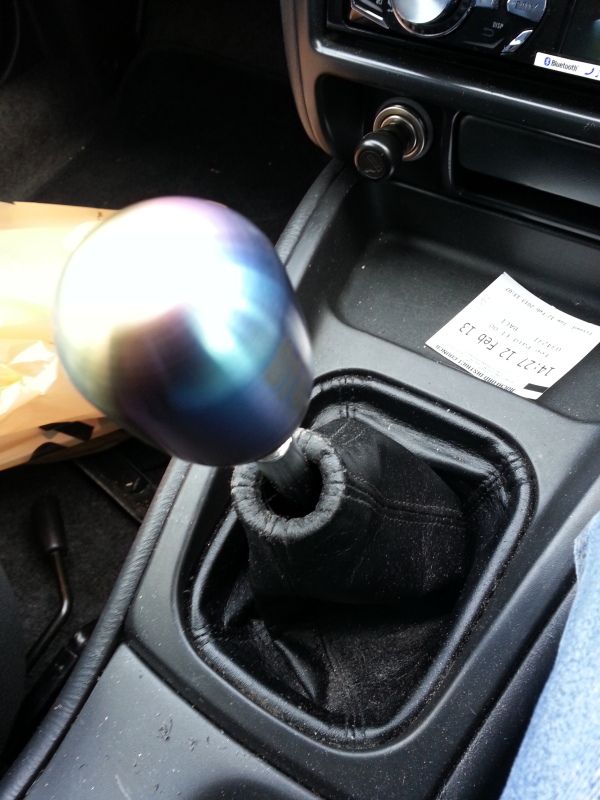
So I got a new D1 spec gear **** fitted. I feel I have ruined the tread at the top of the gear lever so when I am next at the workshop I will get Mike to chop 10mm off.
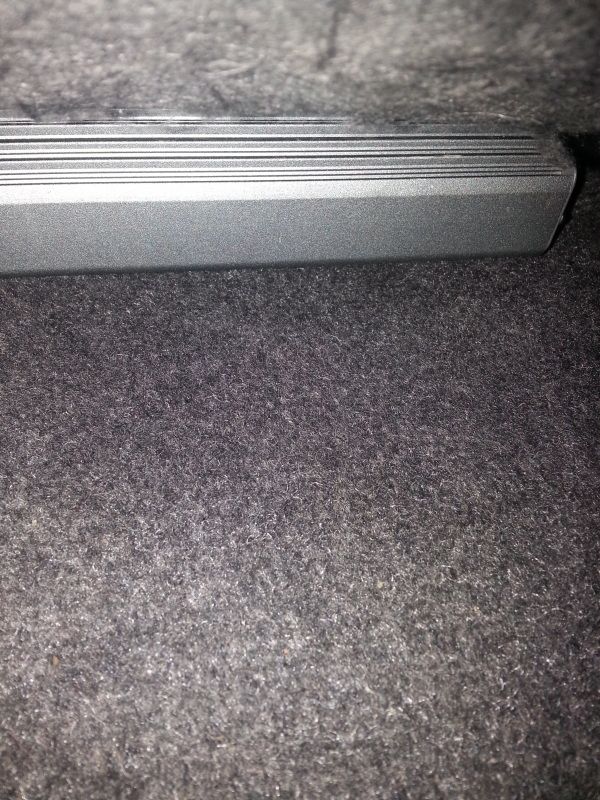
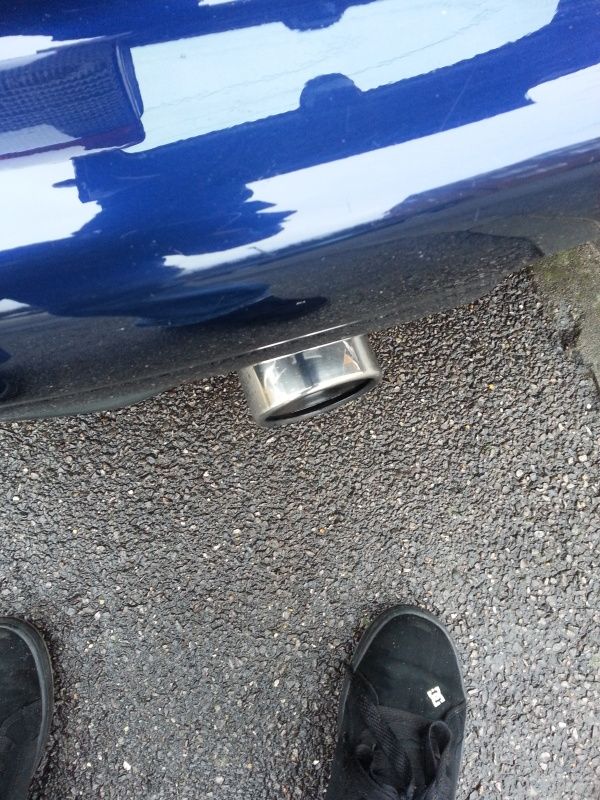
Also, I wanted a more aggressive looking tailpipe so Jamie sorted me out with a slanted back box. The sound is a bit raw for me so I will fit a resonator to me de-cat centre pipe.
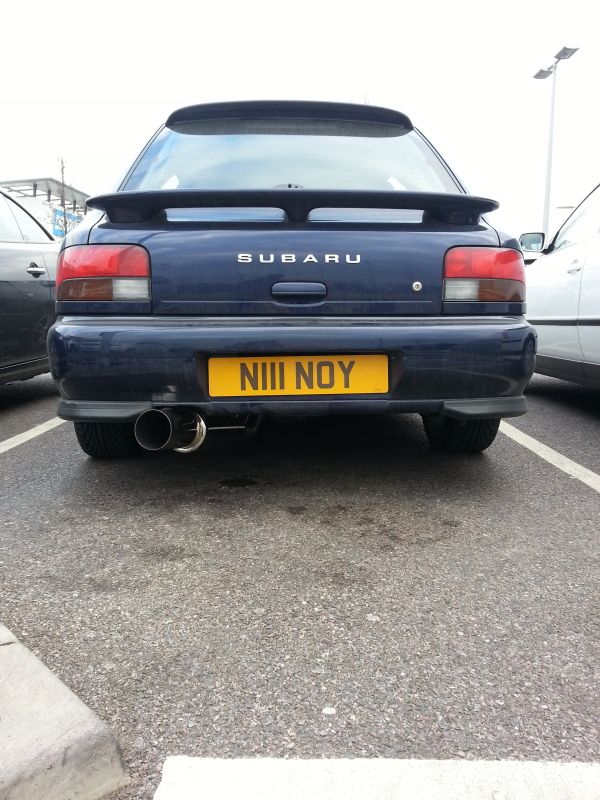
Also, I wanted a more aggressive looking tailpipe so Jamie sorted me out with a slanted back box. The sound is a bit raw for me so I will fit a resonator to me de-cat centre pipe.