When you click on links to various merchants on this site and make a purchase, this can result in this site earning a commission. Affiliate programs and affiliations include, but are not limited to, the eBay Partner Network.
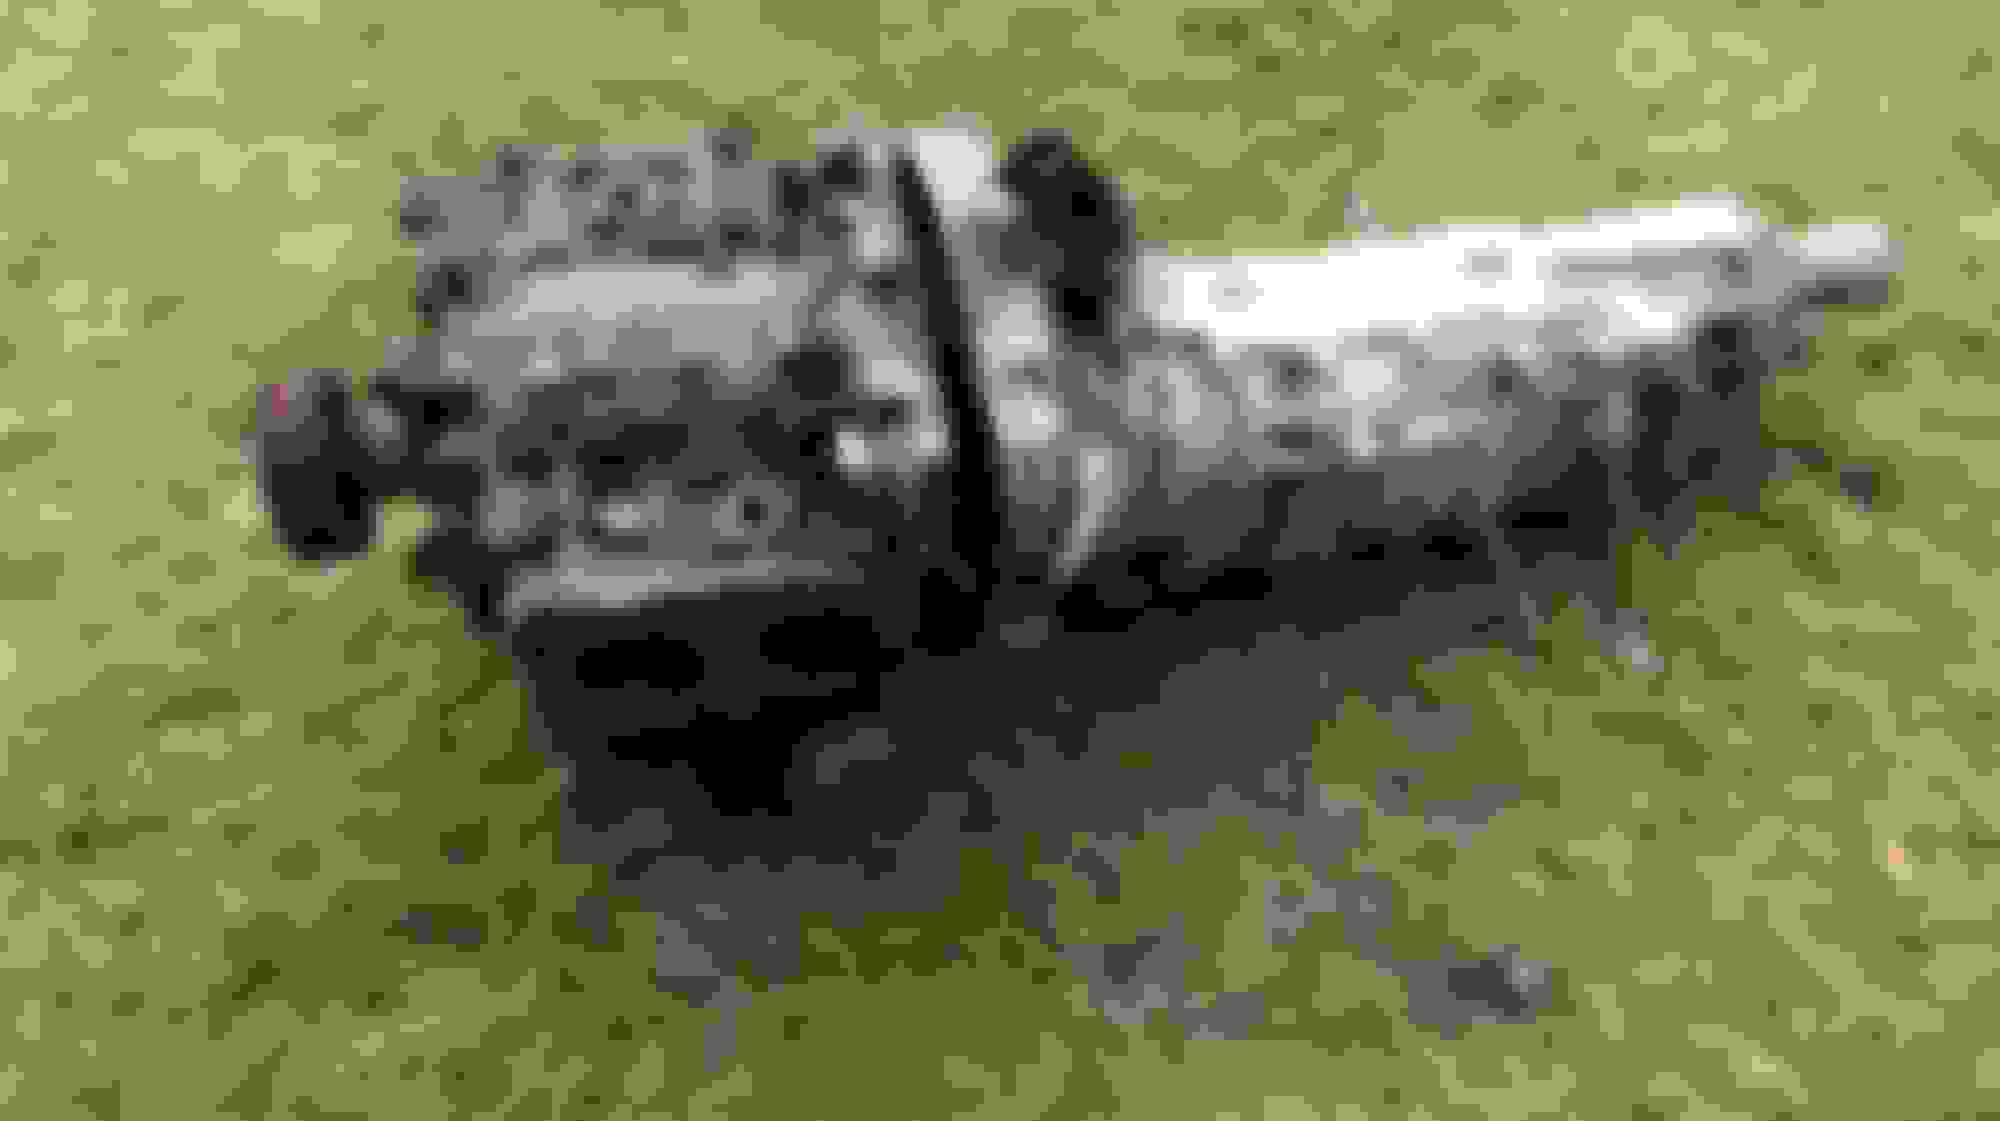
I purchased a 2000 GF1 1500cc fwd. Not running, with cracked radiator. I paid only just a little bit more than what the wreckers were going to pay the owner. I got it home to find out it was out of oil aswell.. So topped up the fluids and tow started it to find out it had run a bearing. So I hunted around and found a rolled 1996 2.0l Na Awd to use as a donor.
So out with the 1500. So I didnt really do to much research before starting this swap and I was highly amazed as how they really are like playing Lego (really painful and dirty lego). In this swap I removed all the running gear along with the engine. Found out along the way that the fuel tanks aren't a match (rear diff and all)
I didnt swap the Ecu or loom. Was able to use the manifold from the ej20 with the loom from the ej15. Had to blank off the Iacv and drill and tap the manifold to take the TB from the ej15. The injectors seem like they were upside down but after some research I was able to find that if you trim the tabs off the plugs just slip on like they were made for it. The Fuel pump was problem as they had different systems altogether but was able to use the ej20 pump and the ej15 Fuel sender.
The body has a 3 plug Ecu same as the ej20. I did make the mistake of trying to install the ecu without checking the pinouts as the GF1 is very limited paperwork out on the webs. However it smoked the ej20 ecu.
I ran the car like this for over a year. It ran but not aswell as it should have, It was able to keep up with a stock legacy Wagon Na ej20. It never really ran nice and smooth always felt like it had a little surging when accelerating slowly and had a fairly solid hesitation.
Then a 96 GF8 wrx showed up Barn find not running for 5 years.
It had become home for a family of rats. The smell of the car was less than average
The Donor car was not in good repair the rear brakes were seized so pads were removed to get it rolling and driveshaft was removed aswell so could A-frame tow it. Front Cailpers had been hanging on the ground for years so the smaller wheels could be fitted. Rats had chewed thru most of the plastics up from the gearbox rubber thru the center console to make a home in the spare wheel well in the back.
Some parts of the car have been removed in its time and it didnt come with a fuel pump. Attempts from the previous owner to get it running or use parts from it meant this was going to be a challenge.
At this point I feel I should mention the list of the mixed up parts this car is currently made out of.
Front hubs are from the GF1 to match up to the abs unit, Front Shafts 96 NA 2.0, Front discs I cannot remember, Speed sender from the Ej15, Front shocks Blistens from a Legacy Unknown year, 01 Forrester rear disc brakes, 96 hydraulic clutch setup.
The body was sitting a 330k so things had been dieing on it so over the time I had made repairs to things like making the windows all go up and down. Got the Oem spotlights working. Replaced missing dashcovers and stitched up tears in the seats.
I tryed to start it but got the sound of a heating up starter motor and nothing else it was seized solid.
I started to pull down the engine to find the exhaust manifold was full of water.. to almost the bottom of the turbo. I removed the Intake manifold to find rusty water sitting on the valves....
It wasnt looking good for using any parts from this donor. So I pulled the Wrx seats Pressure washed them alot. Then scubbed them alot. Swapped the seats over after they had a good week to dry.
Checked the front brakes, Larger diameter and twin piston calipers. So cleaned them up derusting them and making sure the pistons still moved. Along with the upgrade brakes it had Stainless braided lines. So they got installed aswell.
As the project car is still drive able at this stage I got to run them in to make sure they were ok. They feel much nicer and seem straight no wobble or vibration.
Then went back to stripping the motor down pulled the turbo off (after much swearing and busted knuckles). It feels tight with no signs of water damage.
Then I pulled the heads.... I did not put the rusty junk in there its how it was. I cleaned the grit out and was able to dig the sidewall with my finger nail..
I then set about cleaning up the heads in the hope to use them on my 2.0NA block.
It took about a week of after work nights cleaning and stripping to get the rusty blocks to look like components again. Couldn't even tell the intake cams as cams under the rust.
But after heaps of cleaning Bulk of the build up removed from face and down the ports Cams, Springs, all cleaned up nice very little wear marks on the bearing faces. Ended up taking .006 off the face to get them within .0015
I did a light port and polish to the heads, cleaned the valves up good and then went about lapping them in. I had a valve regrind set for this so replaced the stem seals as i went.
As Im in NZ and we have been in Lock down for good ole Covid-19 I figured this was a good time to strip down my daily and start the swap.
So stripped the exhaust, intake, then the heads. Left the block in the car attached to the gearbox. Stripped all the front suspension out, supported the engine and removed the front cross member. Once the heads were off I was able to calculate a compression ratio it came in a little high at 9.8:1 but this is a concept build ie. can i even make it work.... Isnt about being a big power unit.
The block is a open deck with indented pistons.
I haven't been able to find out if the blocks are made from any different parts.
Swapped in the front cross member with the steering rack but haven't used the sway bar as the links are toasted and as the mount differently to the alloy LCA's I will swap that over once I have some replacement links.
Then came assembling the engine. The heads bolted on nice torqued down to the specs released and re torqued as spec'd. Had to swap over the turbo water pump unit as I wanted to use the stock oil cooler system and the cambelt cover backing plastics. I installed the turbo tensioner only to swap it out for the new style swing arm tensioner.
Had to swap over power steering pump to fit around everything was a minor over sight that I wish I had known so I could have just removed it till it was time to install it and I didn't have to change the pipes over when the engine and turbo were already installed... Even tho its just out of summer here much of this is still done between rainy days. Test fitting hoses and hoses and hoses trying to figure out which pipe went where. But it is all getting there.
The Allen key welsh plug next to the oil filter underneath the engine was rather hard to undo without the right size allen key (14mm) Ended up welding a 14mm bolt into it with a 17mm nut on top to undo the sucker. 3 hrs i fought with it till I decided to do it.
I didn't want to swap the entire loom. The donor loom had been cut and modified in quite a few places, Alarms, immobilizers and rats had made quite a mess of the loom. So I decided to try to merge the looms. As the EJ15 loom passes into the cabin above the gearbox and the EJ20 is through the right hand guard, I felt that all the body stuff can stay as is and I will run the Engine parts separate into the cabin. So I went and pulled all the power and lighting circuits from the ecu loom.
The Ecu is old smoked 1 from the EJ20 NA I just kept it plugged in to keep those plugs referenced After having worked on it sitting on a cold concrete floor and taking it down to a manageable size I brought inside. (Much to my wifes disgust) Started to rewrap the loom groups back together
At this stage I still hadn't found a wiring manual that was even vaguely close to a match to the Loom or current ecu config or colors. The Engine all assembled with the loom installed in the engine bay back to the cabin
The cabin side of it wasn't any near as nice as I was hoping to be able to do this without the removal of the dash board and all that is part of it. The inside basically got stripped out. and I removed all the wires that used to run through the firewall to the ecu. Then after much searching I found a guy that had photocopied a Manual that had almost the same wiring setup as I have. When I find where his name is he will get a shout out for it. It was a life saver as I continued to merge these looms. Having not worked on Subarus electrically in the past they have quite a few concepts for power that took awhile for me to get my head around like they switch Neutrals quite often but not always. Which gives off false positives when looking for a power source or a control path. Can be rather daunting when testing a 12v line to ground hoping it doesn't cause a full short.
As I felt it would only be the power source required to get it running I was in good sorts at this point till it still wouldn't fire with 12v applied to the right pins. I was losing hope as this was removed from a non running car. I traced back the Fuel pump wiring and made sure it was correct. But was stumped untill I read about the main relay which is activated via the ecu to power the ecu... When I traced the wires back and linked them up, I twisted the key to hear the sound of the fuel pump prime up, things were looking up. Now I need to get some HT leads. The donor leads had rusted to the plugs and they got rather damaged removing them from the engine. I was able to use 2 from the sohc engine and 2 from the donor dohc. I then turned the key again and got some life from the engine. Still without Radiator or water so Just a quick sound of the motor run. Then moved on to completing the cooling system. Once done got the engine started again and let it warm up, still didn't have a thermostat or thermo fans connected but the engine was surging from almost dead to 2k rpm ish.
Spent the next week tracking back how the Neutral switch in the gearbox works, Temp gauge in the dash, Had to swap the tri pin thermostat sensor from the EJ15. Tested in water to check resistance changes at 20c was .11 ohm of difference @ 65c it was down to .03 ohm apart. Spent quite a bit of time tracking how the tacho actually works but in the end its just the same system just different colored wires.
After much time sitting in the passenger seat looking at many drawings. Tracking and tracing cables and colors. I have gotten down to 1 wire from the Ecu that doesn't have a home "Exhaust sound warning lamp" Which I haven't found a reason the be linked up but I will keep looking.
Current idle speed. I have cleaned the IACV when the manifold was out and yeah it was seized and very coked up with stuff. I freed it up but have the feeling that maybe I need to clean it better
So I have let the engine warm up not enough to kick off the thermo fans but to get the temp gauge to reach normal running temp and noticed the return water line from the turbo to the header tank is leaking so decided to check the hose and fittings..... Lets say I need to order new hoses, the build up on the inside of the donor hoses is hideous. But after that I noticed that the header tank was holding water even with the turbo outlet below the tank so tried to blow some water thru the turbo and its a no go. Completely jammed up. The Donor came with a unbranded oversized turbo, Im never sure about such things as all Subaru used labeled or named brands. I have a TD04l from a 01 Forrester So a turbo swap is in order I love wrenching Im sure. Even tho the TD04 is smaller I feel better with it in. Does anyone that knows what the other turbo might be. It has no markings to speak of. But mounts very tightly in the correct spot. Header tank full and nothing coming out the turbo Water return pipe
Decided as the weather has been bad to move on the some body works. The donor bonnet is trashed but is aluminum slight corrosion on the edges and seems the clear coat had given way so it had been brush with matt black which was failing aswell
The finish on the bonnet is very average as I'm short on sand paper. So the base coats were ripped down with a 40grit on a orbital sander then a bit of a run over with some 80 grit.. Layed down 2 coats of high build primer then wet lapped 2 coats of gloss black over it. When the shops open up I can get some fresh sandpaper and the get around to smoothing out the roughness and apply a nice clean coat. Not sure if I want to run the black bonnet look.
The 18s aren't really good for where I live but they came at a good price and as the wrx brakes wont allow the bronze 15s to fit on the front its what its going be on for now. Have started to repaint the wheels they were dark grey with polished alloy spokes. I do prefer them in gloss white but they are extremely fidgety to sand and prep all the little corners and edges. Have mounted the Wrx side skirts and rear bar lips.
I have been trying to find the source of the high idle and it seems that the Ecu if it picks up a fault Eg. Knock sensor, Misfire, or bad read on tps if defaults to a high idle to keep it from stalling. Most things I have read start with the car failing to idle smooth will start surging then develops a constant high idle. Now I haven't actually come across any forums that have someone say they found the issue beyond the Cruise control been the issue but that's a non starter for me as I don't have that option. Have tested voltages and ohms to the Iacv and they are as the Manual specs. The Tps however seems to be backwards from all that I have read maybe its because it is straight JDM as all NZ cars are straight imports for Japan. Most of the forums I have read about them are USDM so I get 4.9v on throttle closed and .5v WOT I have the EJ20 na throttle body and it reads .5v closed and 4.8v WOT but is not use able on this manifold, it would be upside down to keep the throttle cable working.
I bypassed the water piping that runs through the throttle body and the Iacv. While it was all out couldn't see the point in keeping it for a weekend car that probably will never be driven in less than 20c weather.
I hadn't completed the charcoal canister setup was missing the oneway valve from larger pipe so swapped it from the old EJ15 hosing.
While I have had the TMIC out I noticed I hadn't connected a ground under the intake manifold. So linked that on to the manifold and another ground from the fire wall to the gear box bolted it back to the gearbox as well. Started the engine with the IC not in place and it seemed to start and idle under 1000rpm. So replaced the IC and gave it another run.
I now have a normal idle..... but as the engine warmed up they idle went up with it......
Back on the hunt might be a different problem now tho but I did have the battery disconnected while I was working on the turbo so it might have just been its relearning time and re found its fault.
So while on the forums back to doing some reading as it sounds like it has a miss at low idle thinking maybe a stuck injector or a miss placed injector plug transposed on the header tank side I came across this forum about EJ20K electrics on a EJ20G https://forums.nasioc.com/forums/sho...ght=ej20G+1997
And noticed it the picture how the IACV plug faces forward to the radiator not rear as mine was/is. So I have flipped it around.
Now the car idles nicely at 800rpm. Getting excited for a test drive but need some 12.5mm radiator hose to go from the turbo to the header tank, the td04l has different sized outlets and the hose from the other turbo is not long enough to reach, And my temporary garden hose wont take heat and pressure.
Still have to change over the rear brake lines to stainless lines pull apart the rear shocks and add some bump stops and dustcovers. Replace all the radiator hoses. Needs new ht leads, etc.
Yeah the list is quite large on the wall of my shed.
So having everything running as per normalish I have pulled the IACV and have heavily lubed with WD40 and set the TPS as per https://www.scoobynet.com/general-te...-problems.html
Have taken it for a test drive still has issues with anything more than partial throttle. Heavy hesitation and feels like solid miss fires and feels completely flat over 3k rpm. Even so still faster than the previous build.
As most of the eleltrics are of unknown condition and not having to many spares that are accessable at this stage trail and error is going to be hard at this time. I know that I need new leads and they couild be causing spark breakdown. The spark plugs arent to old, replaced them when I switch to the EJ20 about 12months ago. They only showed a little carbon build up when I swapped them over. I had swapped out the Coil when trying to sort out the idle issue might be worth a try to change it back over again.
Not so sure about that as its well outside the TPS range to get to 0.5 v but having flipped the IACV around and tuning the TPS to 4.53 closed (Was final position when all was tight) and swapping the Coil back to the donor car Coil. The engine is idling as it should, revs nicely response is good and runs out to 4-5k at 3/4 throttle smoothly on the road way. All the hesitation seems gone. Only short trips so far. Warming the engine then 15-20 mins drives. Power feels good. The TD04 has smaller pipes for the waste gate actuator so have bypassed Subaru's boost override system and allowing the waste gate to control boost pressure so should be down at 7psi. I have/had a boost gauge but old age and storage seems to have got the better of it and has given up the go. So a new 1 is on order.
Still waiting on the Radiator hoses and new HT leads (Have been looking into swapping to coil-on-plug) as the price is near the same and I like the cleanliness of them for the engine bay, but as its running nicely as is, decided to just replace broken parts (1 lead is actually got as join in the middle of it....was a bit short).
I have moved on to other things that require attention while waiting on parts.
Seems there is a strange rubbing sound from underneath while driving. Turns out while swapping the front cross member I kept the steering rack and the sway bar (The links were heavily rusted and broke when removing) as they looked almost the same I didnt want to spend the time measuring and check the swaybar. But they are very different as the NA has hoops to go over the exhaust which rubs on the underside of the cross member when the car is at running height (Had clearance when up on stands) So had to cut the links from the Turbo swaybar, clean it up, rust treat and paint. Installed it and the rubbing grinding sound has gone away.
At the same time had some exhaust leaks around the manifold. A large leak on the manifold to up pipe, 1 on the flex between the 2 halves of the manifold and both at the heads. Welded up the leak in the flex it was where the flex joined to the pipe. Have grounded down the manifold to head face to help get a better seal (has new gaskets) . The Up pipe is just the wrong size gasket so just goo'ed it up and ordered a replacement gasket. All back together and sounds good no leaks ( till the goo gives way as it will).
Now have a metal on metal or maybe rubber squeak happening on a test drive after swapping the swaybars around and the exhaust repairs. But that was enough for that day.
Next day was raining and I have removed the front grill as its loose and could be squeaking on the bonnet but everything is wet. No squeaks. damn when you try 2 things and not sure what actually fixed the problem.
Have moved on to working on the rear suspension as work has restarted here so time has gotten short again.
The rear shocks have no bumpstops and 1 is missing a boot so need to pull em down and put some in. Gave them a bit of a clean before Im going to work on them but that will be another day when they are dry.
Need to swap over the rear to have stainless brake lines to match the front. Cleaned up the parts and the wheel arch's before working in them. Have already swapped in the rear swaybar and arm to suit. All the parts have light rust patches as Im going I clean them up rust treat them then Paint them as I had plenty of Purple left over from 1 of my daughters projects we made, Purple has become the trend for the suspension parts under the car. The caliper I cleaned up when I swapped in the Forrester disc setup into the rear and just painted with Acrylic wheel silver and seems to be holding up quite well not being a heat treated paint.
I finished refitting the rear suspension and swapped in the stainless brake lines over a few days at night in the dark didnt take any photos as they dont come out very good.
I spent some time reading through Kaosone build log and felt compelled to clean up some of the anti black wearing through and to remake it black
Just wondering what else to do black at this stage
And just a few things in some nice fresh black bits....
Had started to straighten some of the fins on the TMIC but for some reason it seems a previous owner has pushed a screwdriver down in the coils in quite a few places so as i was cleaning them up I started to find some more and more.... So the TMIC is never guna look very good.
And finally put a belt gaurd on which didnt quite sit right. I've picked up the correct one for the turbo powersteer. More blacking to come.
I swapped the larger carbon canister to the newer smaller model unsure of the effect but it seems nicer to have smaller tighter fitting parts.
Took it for a drive today so had to do some shameless photo opps.
Finally got around to painting the last of my wheels white, been almost 5 months on that little job....
The interior is almost all tidied up still need a stereo bracket (out of the 3 cars none have had a bracket) and the previous owner had mounted a stereo on a sponge to space it.... just waiting for wreckers to reopen to get a replacement. The seats cleaned pretty good only a couple of small marks on the drivers seat, But the water that came out of them on the first wash was nasty. Still wonderning if I should scrub the life out of the rear seats and have the full set match.
You can see the donor car in the back round, what you cant see is the mess of parts around the poor thing so had a bit of a clean up in and around it got the steering rack and swaybar back in. Put the steel dash support back in swept out the broken plastic parts and started to strip whats left of the loom. Its another project that is yet to be properly started, Go cart / offroad toy.
While cleaning out the bits, was also gathering other small parts I still required.
Salvaged the overflow tank from the left hand guard, the little rubber bung the goes in the block and covers the flywheel. Was looking at the spot/fog light button and figured it was worth at least trying to see how to fit it in the newer dash. To my surprise the whole assembly just fitted nicely and clicked into place so happy... now to check if it actually will plug into the loom as well. And yes it does and works just as it should. So happy with that little button. The didn't come with the fog lights and never had a button to operate them, I had traced back the wiring and had installed a relay in the loom where it should have been if optioned, and then shorted the neutrals to make them work when the car was running always. Had some battery troubles a while back so had removed the shorted wire until I sorted the issue, was a dieing battery, that was sorted by buying a new 1, and never reconnected them in again.
On my last night drive didn't have any lights behind the speedo, clock and tacho.... rather hard to judge speed when you cant see anything to judge by. The light behind the fuel and temp I only just replaced about 3 months ago was the only working light. So grabbed the donor cluster and swapped some globes over tonight untill all the back lights were working. Reassembled the cluster and steering column and drove home in the dark. So nice beaning able to see all that was happening. ... Till I turned on my left indicator and nothing showed on the dash.... Dammit swapped in a bad globe..... Guess its all coming apart again. Im ordering some Led globes in blue but still want to see whats going on till they turn up.
Decided it was time to install the overflow tank system. But as you can see the gunk that has coated the inside of the tank makes having a nice clean engine fairly pointless.
So first was a mix of dishwashing liquid, gravel (straight from the drive) and Boiling water. Trying to de grease and scrub on first wash.
Now a disclaimer on that, is make sure if you need the sort of agitation as I did make sure all the stones are out at the end of cleaning.
I shook that little beggar for quite a while untill all I could see was a caramilk sloth in the bottle.
After that was washed out rinsed and checked clear of gravel. This is what I was left with, A much cleaner bottle.
Now I did a gravel wash with CLR (a rust stain remover) and shook that little guy a bunch more then let it sit for 10 odd mins and shook again.
The liquid that came out was a brown stringy substance. But I kept flushing untill it was all clean and clear of anything other than clear water.
I cleaned the outside and this is what I was left with.
The backside didnt come out as clean but I feel the damage of the gravel and chemicals inside the tank to be greater than the gain of getting the very last little bits out of it. Im still going to do an engine flush to the Radiator system so hopefully some more will clean up with that.
Its hard to see but I can see clear water inside the tank.
So finally had some Bits and pieces arrive so a bit of a birthday can start to happen
As soon as they arrived I ran a Prestone Radiator flush. Triple flushed the system then stripped it all down again. Didnt get anywhere near the horrible coloured water come out that I have had in the past, hopefully the insides of the block and rad are fairly clean at this stage.
All back together ready for a run. The Hose kit I got didnt come with the hose from the Top tank to the crosspipe and it split when I removed the tank to clean and paint it. So the Turbo to tank got some plain 1/2 inch rad hose, and used the kinked shaped turbo return pipe under the tank instead.
Ive resolved the squeak that was bothering me, was a subframe bolt that wasn't fully done up and was rubbing. Always check and recheck every bolt, and if you hear something out of place track, chase and find it.
Its prob going to go a little bit slower from here on. Its booked in 8 days time for a mechanical inspection to see if anything is a miss underneath that I have missed. I know it needs new sway bar links they are on order and HT leads. The return pipe on the power steering needs to be replaced, cracks are showing. Looks like I have a small leak from the cam cover seal right next to the turbo, The VRS I purchased for this build didnt have cam seals as it was a change over year? and going into Covid Lockdown just didn't take a chances to get the right one. But in saying that I have a sticky bucket on the left bank so gives me more reason to dig back into that side to check on things (hoping its just worn not a blocked oil gallery) noisy on warm up and then goes away. Needs a few more ks before I do a engine flush and a service to the Oil. Not so sure about the supercheap oil init at the moment but going to run 10w40 Magnatec Ive had good service on this oil in the past.
Took it for a hour long drive today, temps are good, seems cooler now after the flush, new pipes and antifreeze in the system. All the sounds from up the front are good. Dump valve isnt very noisy pretty sure its for a much larger/higher pressure system, but for my need to be engineered quite is good. The Exhaust had a few holes that Ive patched but Im not so sure on its ability to flow very well (25yrs old with rusty patches and crushed under the diff) But again is nice and quite.
A rear cv is clicking.....
And a squeak in the back has formed... sounds like old age plastic squeak but still gotta get it gone. Im thinking next weekend I might get down to a pick-a-part and track down a dash board mechanic bracket. 1000w and a 12" sub cures most noises that you can hear.
Old cars just keep you busy when when you want spare time.
Ohh and the gear lever when in gear has more slop than a normal car in Neutral. And the clutch is impregnated with oil (the block and gearbox donor was a rolled over car).
Plan moving forward is the track down a Replacement engine (this build was to see if I could convert the looms to work at a minimal cost. All up its cost me 3k NZD.) Swap in the WRX gearbox, rear diff and flywheel/clutch assembly. Clean up the WRX rear seats to have a full set. Get the stereo mounted up. Install an alarm.
Lorolla, this is one of my favourite threads at the moment! Excellent bodgery going on here, and thank you for documenting the swap (especially the electrics side).
Cheers Henrik, hopefully the bogey bits get replaced as it gets further along but in saying that.....
The gear shifter had a post code between gears so decided it was time to pull it to see what could be done about it. While I was pulling it out, dropped the gearbox/rear engine mount cleaned it up.
Showing only signs of wear on the outer C shaped section rubber. But always like the Solid mount feeling so went for a tube of Sikaflex-11fc Adhesive to fill in the voids in the mount.
Stripped apart the 3 shifter setups that I had and pulled the best bits from all three cleaned them up. Prime and some gloss black. The boot from the donor wrx was much softer and cleaner but the large Rat highway hole in it, So I cleaned up the dirty growing 1 that came from the Gf1.
You can see how trashed out the union for the linkage is. There was no bush left just metal on metal so much slop.
The Shifting is now nice and tight but was unable to get the centering spring back into place (not that I have had 1 in this car before)
Then took it in for a mechanical check to have a professional check over everything I have pushed swapped and changed. Only comments came from the negative side were Need proper retainers for the Stainless brake lines to the struts. (Something I havent found a proper clip to do). Brakes didnt feel right, but in saying that they are from a 26yr old car that hadnt moved in 5yrs. It was wet with bad tyres, was locking up the fronts at half brake pedal travel, ABS still kicking to try keep traction. Need to do more research on Brake master cylinders and feel. I havent swapped the Booster or Master from the Wrx May just be a Bias issue.
Took it for a near thousand Kilometer round trip to pick these up. All went well apart from a rattly Exhaust mount the is on the back of the gearbox which was bent and when I put it on the gearbox when I swapped the shifter linkages couldnt get a bolt to got into it
BC Golds with adjustable damper and camber. And Hardrace swaybar links.
So out with the old
And in with New
Thinking the inner guards and brakes may do with some more love and attention in the coming weeks.
Also swapped in New Swaybar endlinks for the front rather than the thrashed Gf1 plastic 1s
The Weather Has turned quite damp now so only got the fronts in. Still need to do the rears.
Had some good weather days so got the Rear Bc's in and flipped the brakeline around to remove the twist. Didnt get to take it for a drive with all 4 in but with just the fronts and having the damping on 3 clicks they felt quite good. I have always liked the feel of KYBs but these require a mechanical cert to run them so want them added to the list getting checked off.
One of the other advisory from the mechanic was that I had no rubber on the clutch pedal. So as the weather still hadn't been good I went down and went to pick up a new rubber cover.. and just for a little bit more brought home a set of Sparco pedals instead.
Then I moved on to getting the Turbo timer swapped in to this car from the Wrx. Have been trying to fit gauges and parts in without having them right in my face. So spent some time placing and moving it around till I figured where it could tuck into without bothering me.
Just a little bit of shaping the drop down door and leaving plenty of tail to allow the door to drop away for access to the fuse panel. Clicks shut and cant even tell its there.
Started to carry on stripping down the Wrx donor again this time to see if the clutch is salvageable. As the motor and box were already out of the car but still had the axles and Lcas still attached. I popped all those parts off no worries at all. Got all the bolts from the gearbox to engine out no problem.
3 hours later I had only gotten them this far apart
After much cursing and swearing. Removed the retainer bolt for the clutch fork and then undoing the Allenkey bolts holding the pressure plate to the flywheel (In a good world the would have still been the 12mm bolts)
I facially got it apart to much disappointment that they had absolutely fried the clutch.
Even had to pry the clutch plate off the pressure plate...
Not to be to disheartened took the gearbox home to start cleaning it up. Much black oil/soot mixture had settled in the bellhousing. Even after 2 de greases and scrubbing the tint to the alloy had stuck
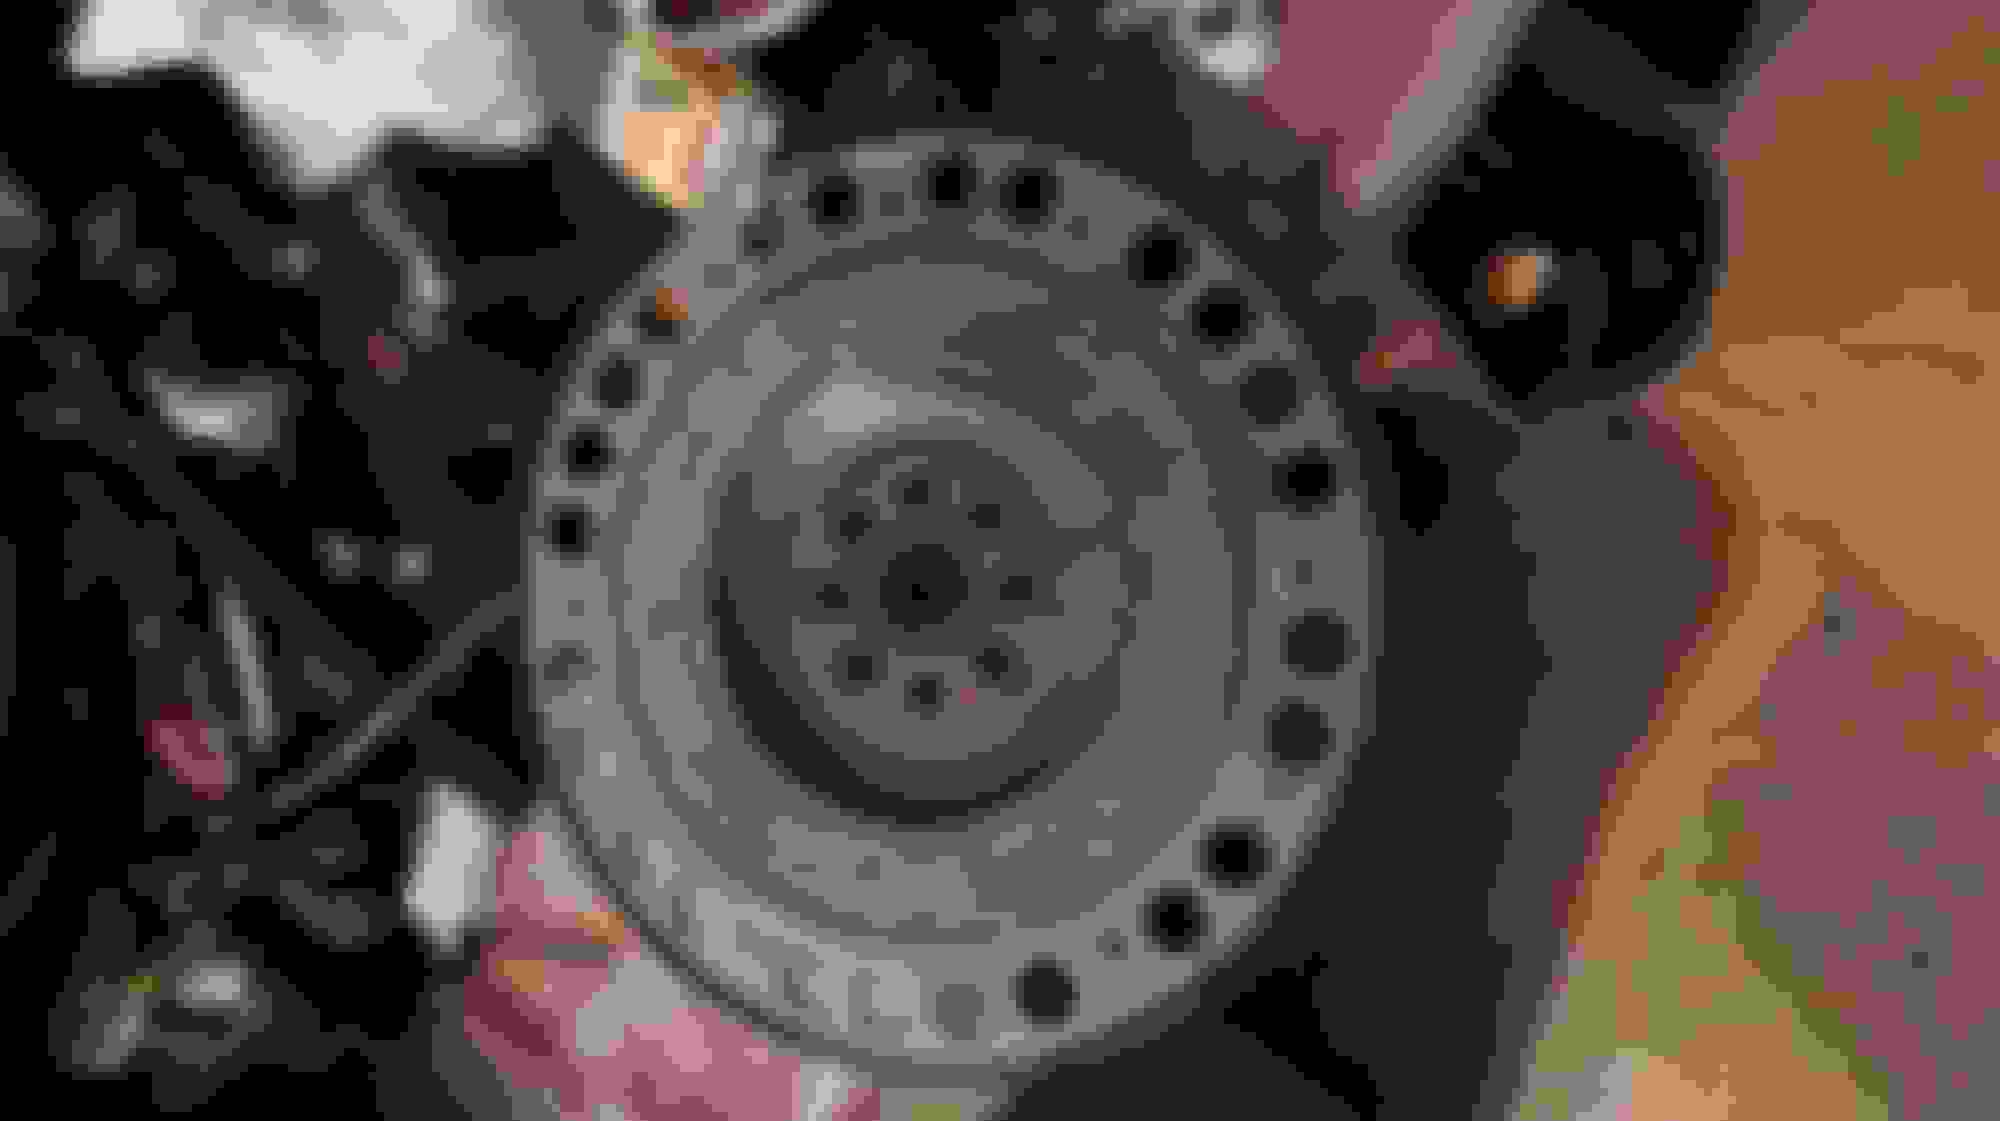
The Flywheel isnt in the best shape but I have never run a lighten wheel before and as the clutch in the GF1 is Ok once it bites it wont spin the tires on wet grass without slipping. (Had a stuck ride on mower that I wasnt able to pull out cause of the clutch slippage)
The flywheel still needs lots of work. I just wish we had a machine shop somewhere nearby for such jobs.
So now that I dont like my clutch setup it is time to split the gearbox and engine in the wagon to see just where the issue lies. As this donor engine and box came from a rolled car I figured it was oil contamination to the clutch disc.
Once it was out the reality is the clutch was fine near new apart from slight rusting on the housings. The plate barely shows and sings of wear. The flywheel however is absolutely F**ked. Has grease/oil/mud around the face outside the contact face. But the entire contact face is covered in hairline cracks and cooked grime.. No sign of the grease on the pressure plate, so I would say they never cleaned/Machined the flywheel when they put it in.
The spigot bush crunches as it rotates... So need a new 1 of them but I have a near new Clutch setup to go into this. I still dont know how I feel about the lightened flywheel so after a little while will be looking into replacing the clutch flywheel assembly just not sure which way to go yet.
When I pulled the Starter I noticed a weird few dents in the housing, figured someone had just been rough and dropped it in the past. But when I pulled the flywheel I scooped up a random dented washer..... sitting down in the cover plate at the bottom.
Think I may have been the culprit. Good reason to keep all those little black plastic covers in place. The rolled engine never had 1 and when I was stripping down the Wrx I swapped it over.
Next thing on the list while that was all out is to strip down the starter as it seemed to have a flat spot that made the staring sound out of round.....
What you cant see in the photo other than the pile of rubbish in the stator is it has a cracked magnet with chunks missing...... All cleaned up ok but when pulling apart both the retainer bolts snapped off in the front housing....
Lucky I have a replacement. Not so keen to pull it apart but I know I should before it goes in.
Also got my 1000w monoblock mounted and hooked up. Was super glad it still works after traveling with me for over 12 years and been installed in a various cars/trucks. (Its almost era correct)
My list of things to do gets smaller but then I remember some of the bigger things still to do.
As the certifaction requires wheels of known branding and I'm running Advanti racing I need to see if the crack in 1 of them can be repaired. Hasnt leaked and doesn't seem to flex. (I brought them damaged) I assume they slid into a post and flexed the lip it still runs true but has cracked
The wheels were clear over the machined aluminum and I refinished them in 2k white. Which once the grime got it the crack really made the whole crack show up.
So just got the gearbox back in. set up the starter made sure the clutch disengaged smoothly. most of the parts are still in bits. dropped the battery and flicked the key on to turn over to check all smooth... and rotate and it fires nicely. Then remove the key and it didnt turn off.... jumped out ripped the terminals off the battery.. still running. Hand over the intake still runs.... pull the Maf and it putts out.... Then I hear the beeping of the turbo timer.............
I have had this car for around 16 months and never had I driven it with a run on timer. The things you can easily forget.
i did some work on my car a couple of months ago, fired it up to check everying thing is ok, it wasn't, the car was idleing at at around 2000rpm and surging all over the place. Spent the next 2hrs rechecking every thing i had done and then noticed the anti lag switch had been turned on accidently whilst everything was apart.😔
While the Gearbox was out Cleaned up the brackets and gave them a fresh coat of black
Got all the gearbox bolted back in actually attached the rear exhaust hanger on the back of the gearbox to the exhaust. (More spares that came from the donor that mine never had.)
Got a spring onto the gear linkages to center the shifter.
All the little finishing touches to some of the changes that have happened dont allow factory parts to go back in place. So some drilling and cutting was in order.
Theres not enough of it showing through the final skin to actually operate it but it allows the covers to sit back on nicely
And with the boot liner back in place you cant even tell its been modified
I purchased the full set of these with a large plan but without fully thinking it all through. So have had them sitting around for quite a while now. They are 16x10s all steel the centers are made from 10mm thick plate steel they originally came from a Suzuki 4wd 5stud. Was going to get them redrilled to suit but the center bore ended up being 108mm........ so they got put on the back burner for the skid/hack left over parts car. With the cracked wheel having no tire I had to get the car back on the ground after 3 weeks air born.
Still cant drive it tho as that tyre is making contact to the guard.
Things have been moving a little slowly on the Wrx wagon as of lately.
The Funds have dried up for toys as we are saving for a house.......
Got all the Adjusties in and got it all aligned to almost within OE specs. Slightly out of caster spec on the left rear which maybe the rear subframe not dead center but I dont have adjustable top cambers or and adjustment beyond the 1 oval bolt by the diff head. Got to take it out for a Charity Drive for Breast cancer before its WoF "MoT" expired.
Have been having issues with the Stainless lines not being "Attached" to the struts so have swapped the fronts back to the OE rubber lines with the metal Knuckle to clip the lines as per OE. Will be looking into proper Stainless lines in the future as the build progresses.
In the mean time have been helping a friend with a twin turbo B4 legacy with a blown clutch.....Actauly a really long story of theft and other issues but thats in the past and time to help get it back on the road.
Thats the clutch from his car, Worn down to the rivets.... grooved the pressure plate and flywheel. He had the car returned to him on a trailer. He has purchased a Donor B4 leggy that had a stripped down motor but in really good nick otherwise. The donor had a near new clutch assembly and the flywheel has had 1.5mm machined from the face when replaced. But has been sitting for over a year now and the surface rust had gotten to it. Luckily it had the clutch assembled on it so the mating faces were still clean.
Now thats covered I have my eye on a couple of things on it for the Wrx build.
B4 engine is in bits. Has been cleaned and checked over to be in "Spec". Will need all seals bearings and rings. Downside is it has HSB pistons (higher compression ratio) as I can figure out from forums. They only have small valve relief cuts.
They dont have the larger square Relief in the face of the piston but havent got much in the way of actual dimensions to confirm ratio changes. But it will get me a Turbo factory block and some decent heads/cams.
But I need to get the pistons from the Seized WRX block out I have had it soaking with WD40 on the pistons but it still wont budge any ideas on getting them sucker apart without being able to turn the crank..? Would like to salvage the pistons (not cause more harm than they may already have had) so dont want to hit them to try free them up.
As there is no signs of scoring/piston material on the bores hoping its just rusted rings locking it in place. Suspected failure of the motor is blown head gasket that has caused premature failure of the cylinder wall after it got parked up, water sat in the cylinder and rusted the rings to seized the motor.
It also has the 4 pot calipers up front. Now from what I have read its not much of an improvement but My car will prob never hit a track day and beyond its weekend drives is more a resto / dream on a budget build. From anyone that has done it. Would it be worth it (better feel, etc)?
Im almost keen just for the aesthetics and the fact they are 4 pots of 2 pots.
Also have picked up a full set of early 2000's molds to make a bodykit from fibreglass. Full front bar looks like the standard on steirods and squares up the front to not roll under the car. Rather JDM sideskirts very flat and square. A rear lip to attach the full length of the rear bar.
The whole kit will drop all the edges about 50 - 60 mm lower than the standard wrx plastic parts. I have made molds with glass before (Around 10 yrs ago) and will prob hate myself for the sanding and repairs when they get cracked.
Got back into pulling parts from the donor today.
Got the rear diff out so have the matching 1 to the gearbox. Going to swap to the WRX box with a Pull clutch when I build the next engine.
Some of the rear subframe parts so I can clean them up to swap over on a rainy bored day.
Handbrake cables as mines was originally Drum rear end and the fitting on the end doesn't fit the clip on the disc entry point.
Figured I might aswell take the rear brake calipers and discs while I had it all in bits.
Still need to pull the front Lcas (genuine alloy arms)
The brake booster....
and the rear seats I want the fronts and rears to match but going to have to re trim the door cards to suit, they seem easier than retrim a whole seat....
After much WD40 and degreasers cleaning and some wire wheel work and some persuasive hammering I managed to actual get the motor to start to move.
This is why if you blow your headgasket fix it dont leave it to sit in your yard to rust out the cylinder walls. This is obviously the extreme end of the scale but has rendered the block completely trashed. You can see the clean liners that were behind the rings.
Water blasted and scrub the life out of the rear seats to get them nice and clean.
After the fight to get the oil cooler water feed plug out of the NA block due to the 14mm hex drive plug. I went and brought a set of Impact Hex drives. That makes life much easier to remove them all.
The engine rotates quite freely now. Took it outside and gave it a blast to reduce the amount of gunk when working on it. I got all the wrist pins out and started to look at splitting the block where I have hit a wall again my 12mm 6point sockets don't fit in the water jackets the undo the bolts.... so I need another trip to a autoparts store.
In the mean time out with the factory rear seats.
When I had the seats out I noticed the metal bases were in much better condition so stripped them down and swapped the foam and covers over as I went.
I do think the design of the Factory rear seats is better looking but the Matched seats look better overall.
I pulled the booster and brake master from the Wrx. To find out the MC is the same 1inch size as the wagon already has..... So looking for and 1 1/16 MC to go up to.
Also found a white back faced Wrx cluster for a good price now waiting for it to show up so I can try swap them over.
Have been doing a lot of reading on the buckets HLA over and under etc... And now I have an idea that I missed a slight detail when I was assembling the heads.
As I thought I had Hydraulic buckets so I didn't check my clearances (this was the first bucket engine that I have touched in nearly 15years) and it seems I actually have Over bucket shims. So I'm thinking that I have swapped a exhaust bucket and a intake on assembly causing my right hand head to have a rattle that doesn't go away and it sounds like a loose tappet.
Never made it to a store for the socket but got creative with a valve lapping tool and was able to sucker them out of the holes.
Only 1 top ring was in working order all the rest had rusted and jammed. managed to get all no1 rings out, only 1 no2 ring came out complete no signs of cracks in the rings just broke into bits hammering them out of the grooves.....
Its sad when you know this was a 160,000k engine..... Havent seen any signs of oil starvation yet but certainly signs of a straight lack of servicing. Lots of black gunk and discolouration on parts but no actual score marks yet.
Update:
Got my WRX cluster in. When I swapped from the Front wheel drive to awd the fuel gauge was always wrong. It showed full until half a tank then it would start to work. I read heaps of wiring diagrams. Have lived with it for around 1.5 years and sort of just got usesd to it. Changed the cluster and it now shows accurately. I didnt use the donor cluster as I didnt use the dash loom and the plugs on my loom were 3 green ontop and the donor was 1 large in the center plug with cable speedo.
Have started to strip down the engine to drop it out the bottom to go over the heads and sort out my little issue with the buckets that i missed when I assembled the heads.....
Have cleaned up the replacement booster to get away from this rusting booster
 22 April 2020, 11:34 AM