
Bugeye STi headlight restoration Part 1


Hi all,
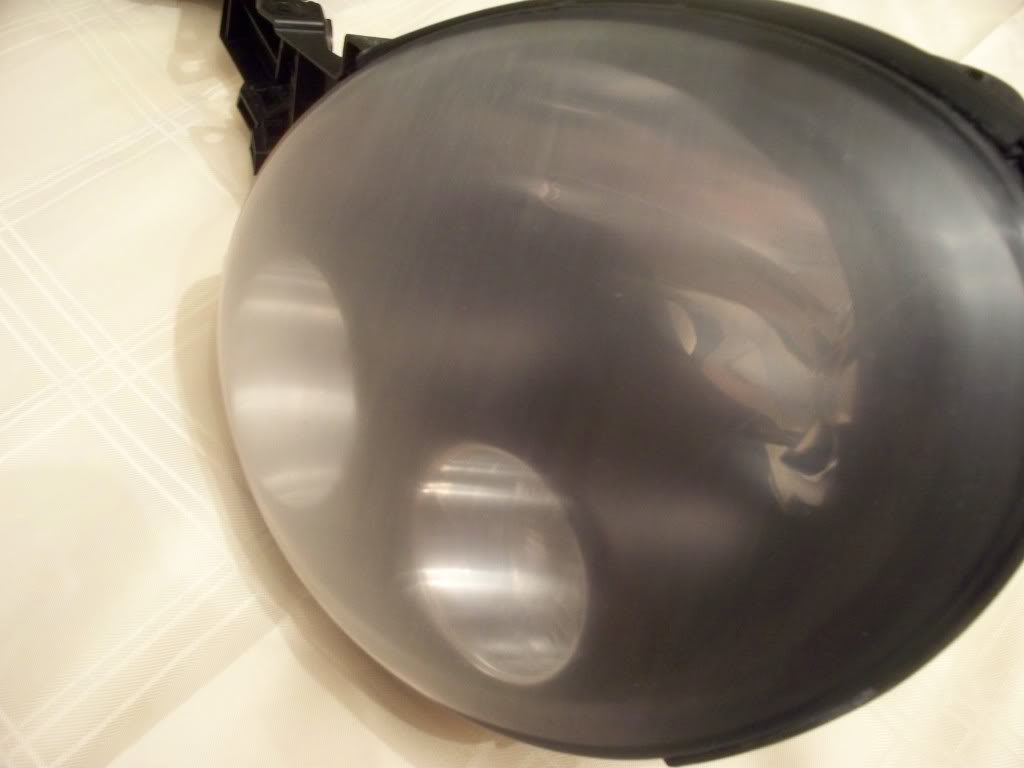
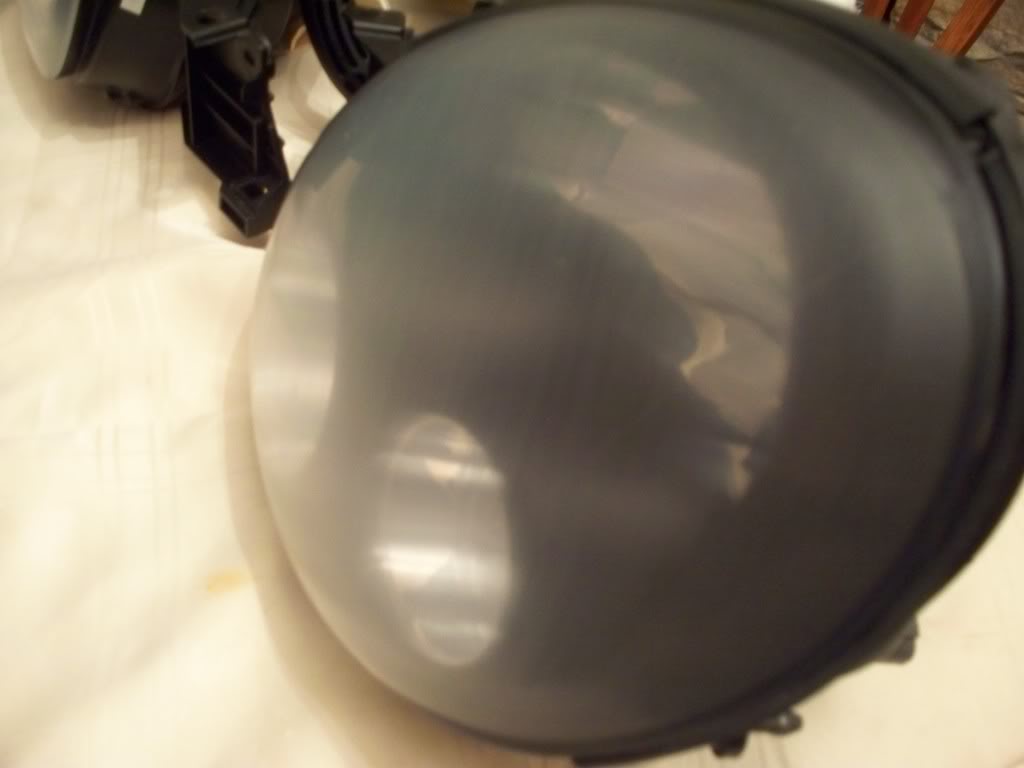
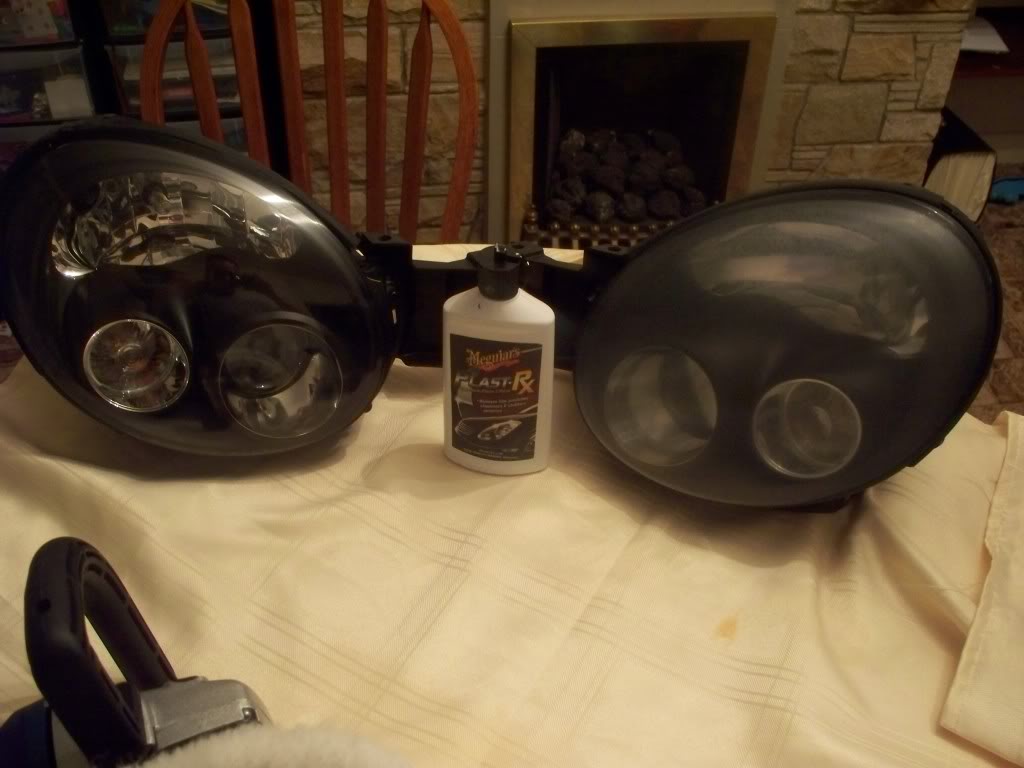
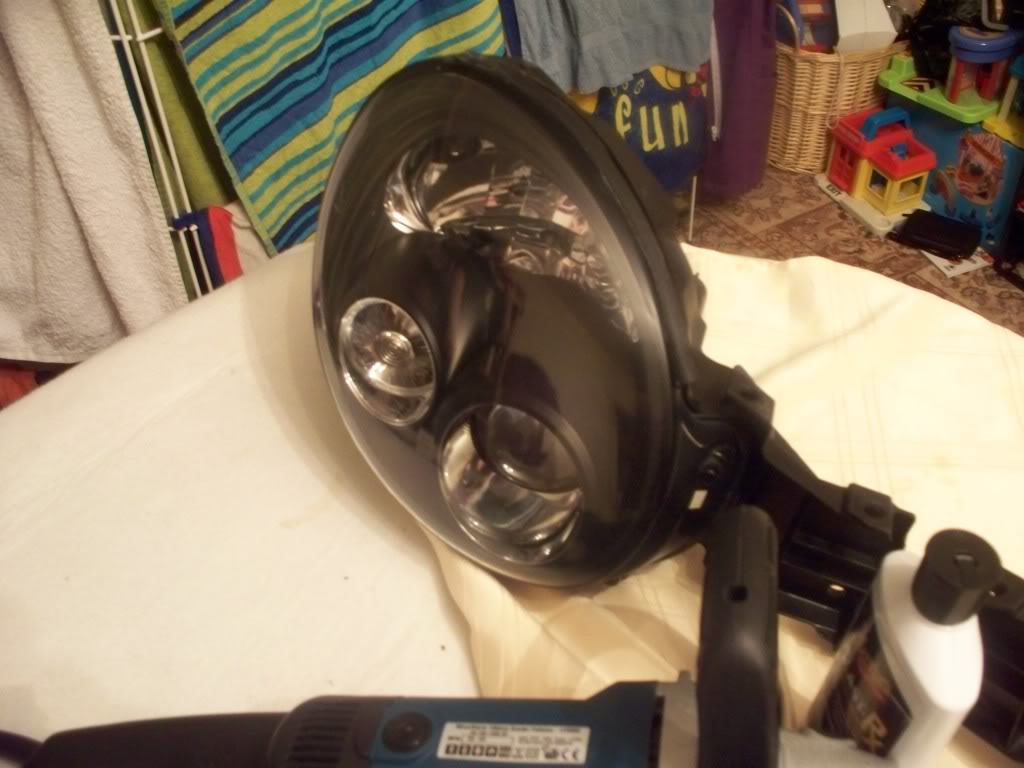
after searching around a bit prior to starting this and not finding much info ive decided to try and recondition my bugeye STi lights before I put them on my car as they have lots of small scratches and chips to say the least. (Bought second hand from ebay for �320)
Condition before 1st stage...
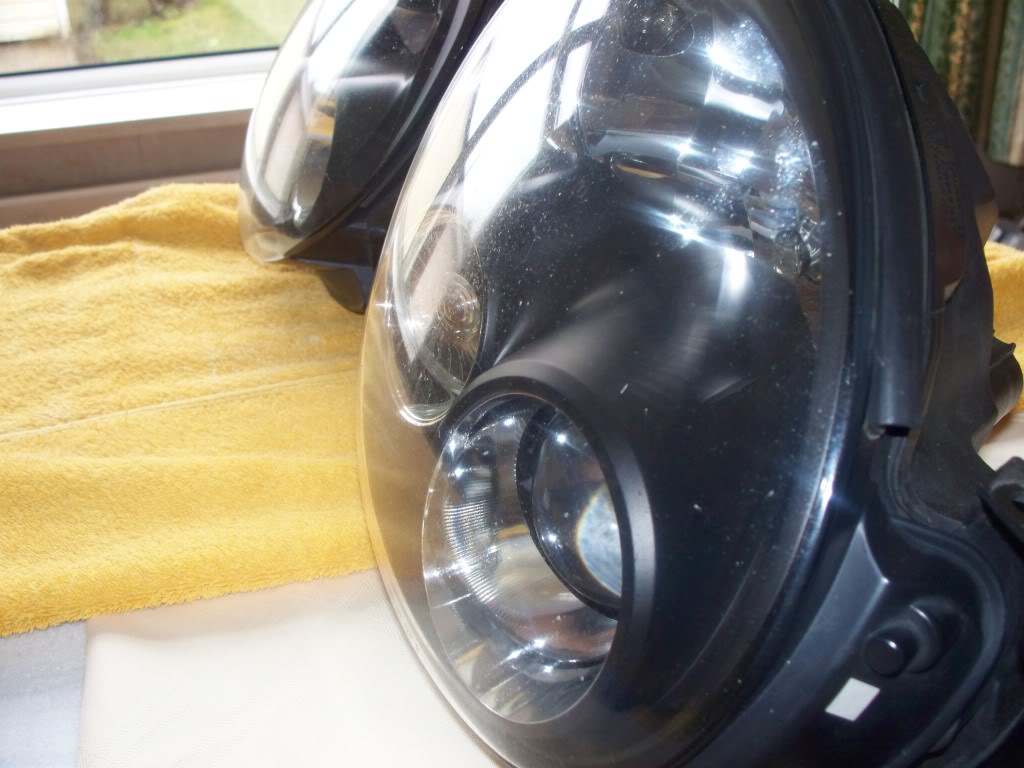
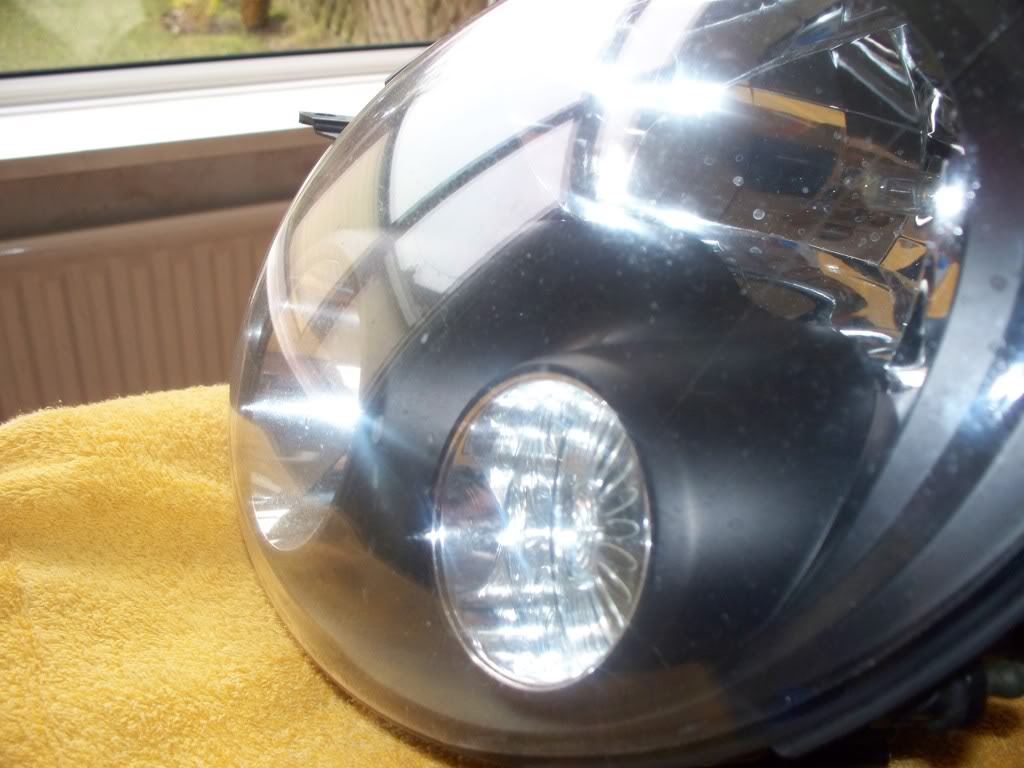
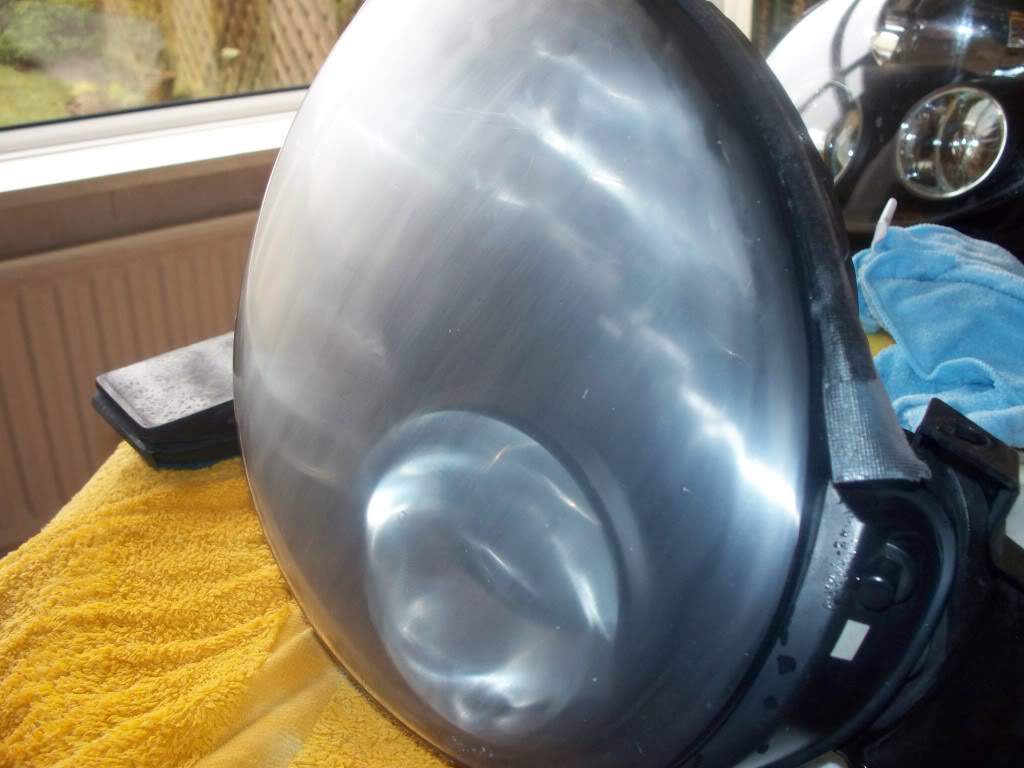
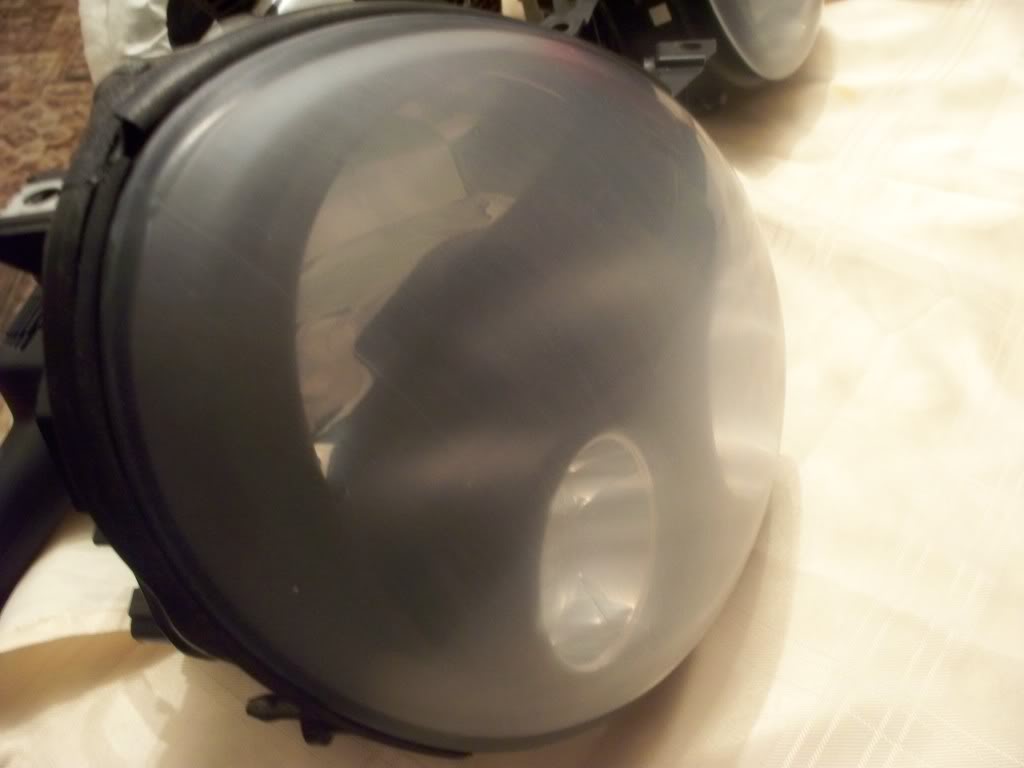
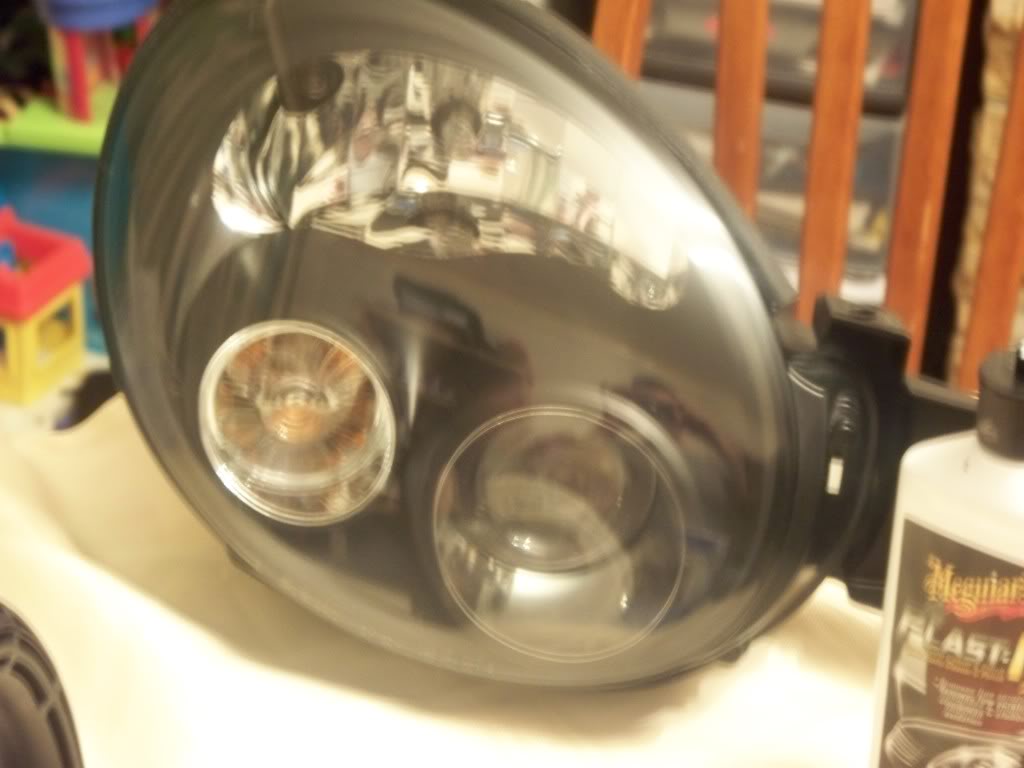
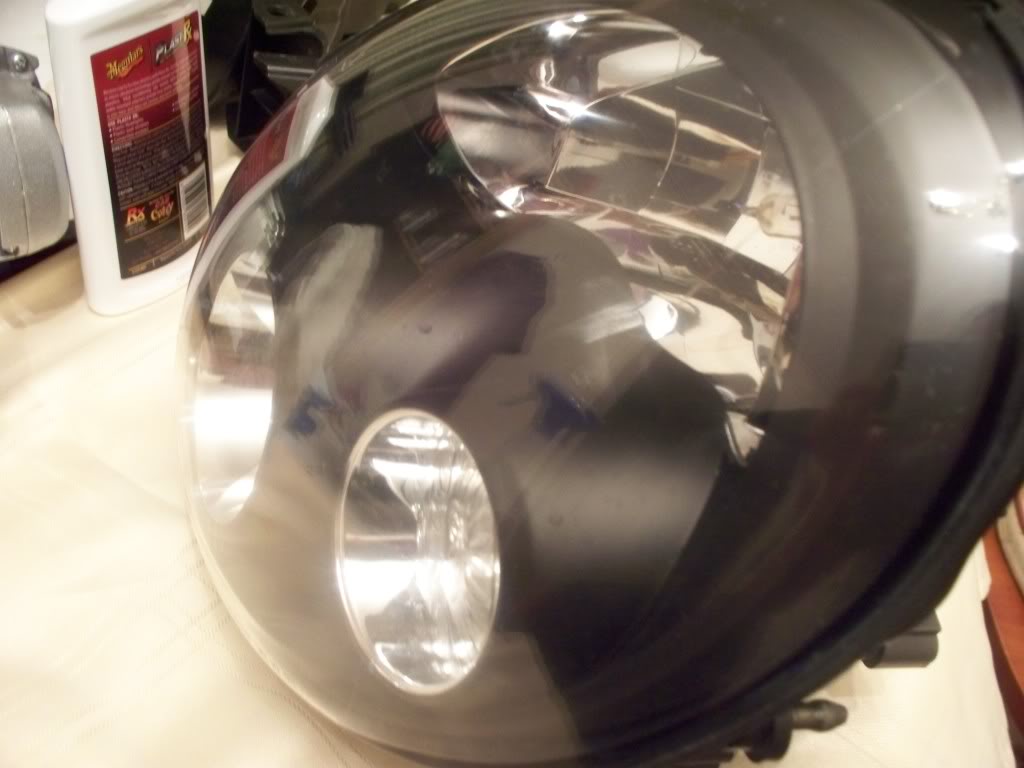
Condition after a good soapy water wash and wet sanded with halfords 800, 1200 & 1500 grit wet/dry sanding paper...
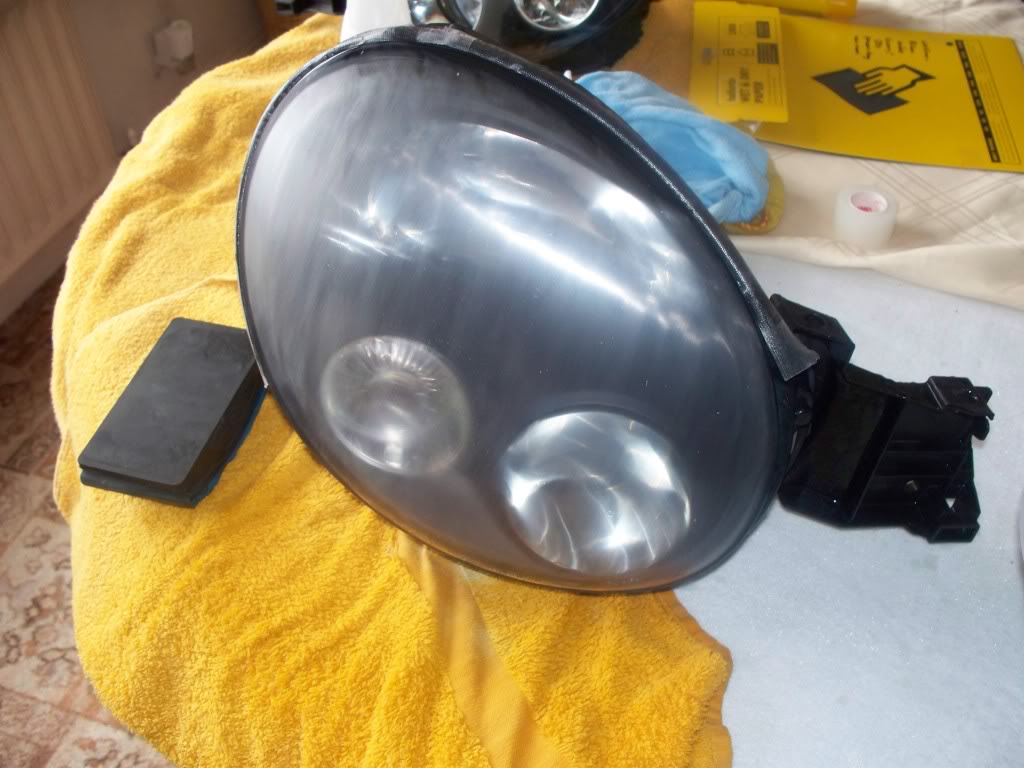
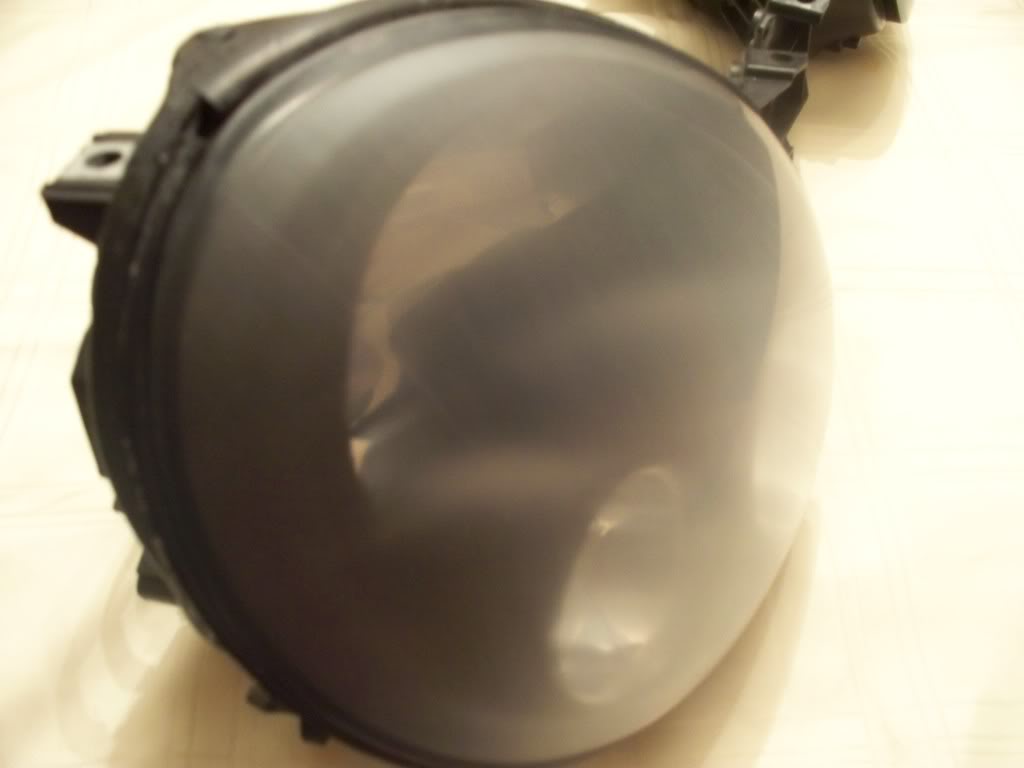
To do..
Wet sand with 2500 and 3000 grit wed/dry sanding paper and polish with maguires plast x clear plastic polish, both of which are on order atm, will keep updated with pics and progress once they arrive.
after searching around a bit prior to starting this and not finding much info ive decided to try and recondition my bugeye STi lights before I put them on my car as they have lots of small scratches and chips to say the least. (Bought second hand from ebay for �320)
Condition before 1st stage...
Condition after a good soapy water wash and wet sanded with halfords 800, 1200 & 1500 grit wet/dry sanding paper...
To do..
Wet sand with 2500 and 3000 grit wed/dry sanding paper and polish with maguires plast x clear plastic polish, both of which are on order atm, will keep updated with pics and progress once they arrive.


Hi fella
Thats just about what im about to do, but would you have not been better buffing the lamps up rather than using that meggs stuff?
As it says
This easy-to-use, rich gel formula quickly restores optical clarity to both rigid and flexible clear plastics. Cutting-edge advancements in Meguiar�s� exclusive Microscopic Diminishing Abrasive� Technology (MDAT) remove light oxidation, chemical degradation, surface contamination, stains and light surface scratches with ease. Special highly water resistant polymers provide long lasting durable protection to keep your clear plastics clear and beautiful longer. We recommend applying PlastX with a High Tech Applicator Pad or Ultra Plush Super Terry and using an Ultra Plush Super Terry or Supreme Shine� Microfiber for the final wipe-off.
Should this have just been used direct without prepping the lamps.
Good work so far fella though, how long did that take you to rub em down.
Thanks guys, I felt rubbing down was needed for the best result possible as quite a few of the scratches could be felt with finger nails so were not so light, also most of the stone chips were at least 1mm deep and would not have just buffed out. I don't have a buffing machng so it'll be polished by hand which I have no doubt will take a bit of time, good point being i'll have more control by hand.
The wet sanding process took approx 30 mins per grit per light and they feel as smooth as a babys bum atm
The wet sanding process took approx 30 mins per grit per light and they feel as smooth as a babys bum atm
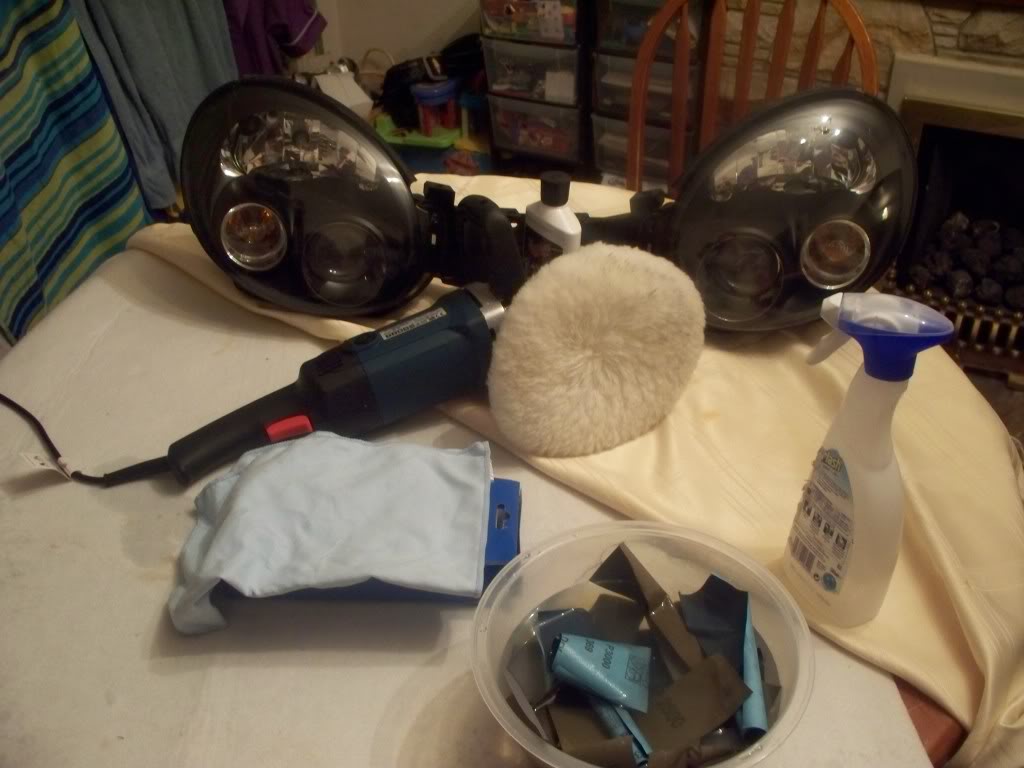
I will post some more pics up during the week after ive sanded them with the 2500 and 3000 grit, ive also ordered one of these to make the polishing job alot easier and to also get the best possible end result ...
CAR POLISHER / SANDER. 'SOFT START', 6 SPEED & FREE KIT on eBay (end time 01-Mar-10 07:40:35 GMT)
...CAR POLISHER / SANDER. 'SOFT START', 6 SPEED & FREE KIT on eBay (end time 01-Mar-10 07:40:35 GMT)
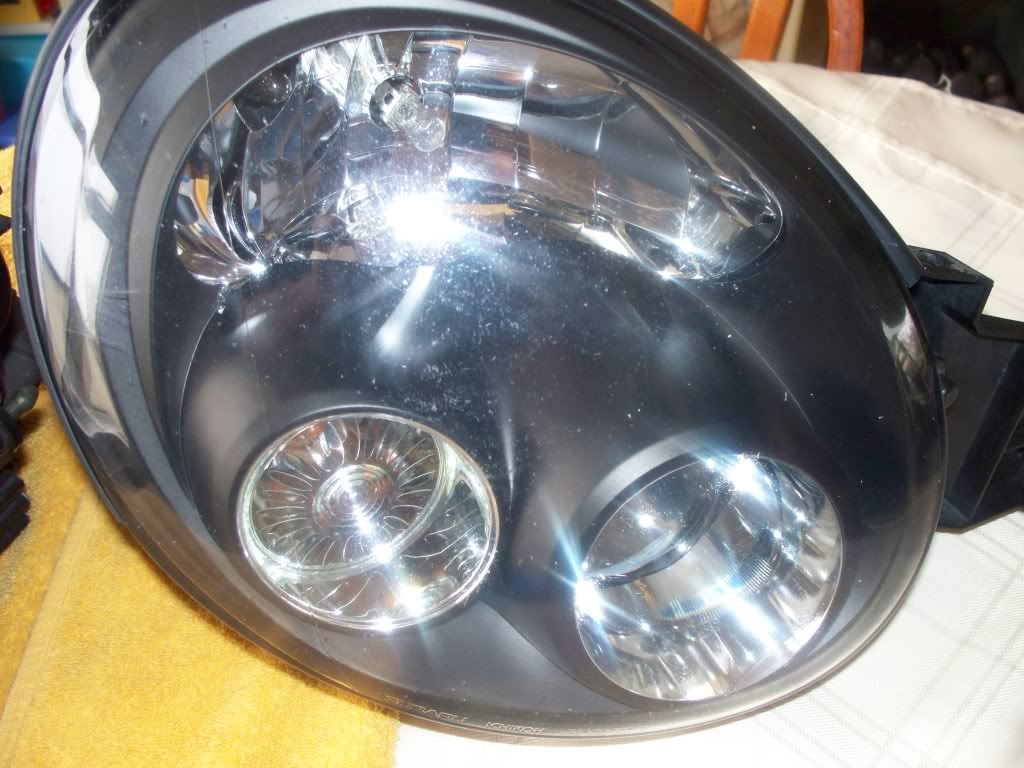
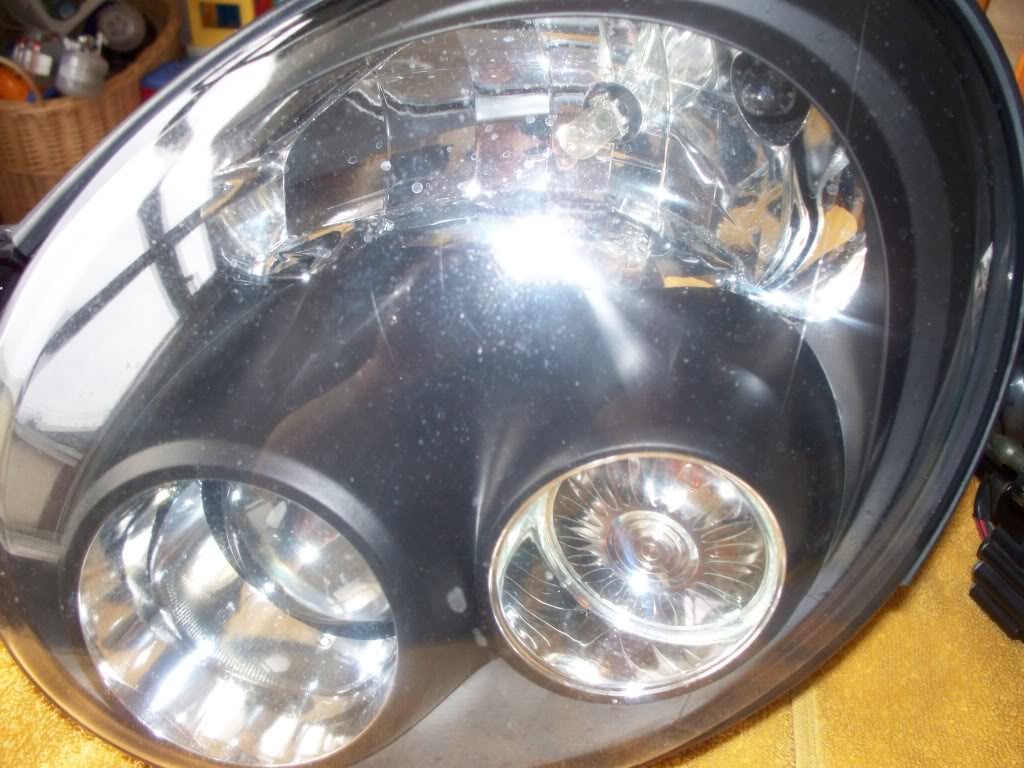
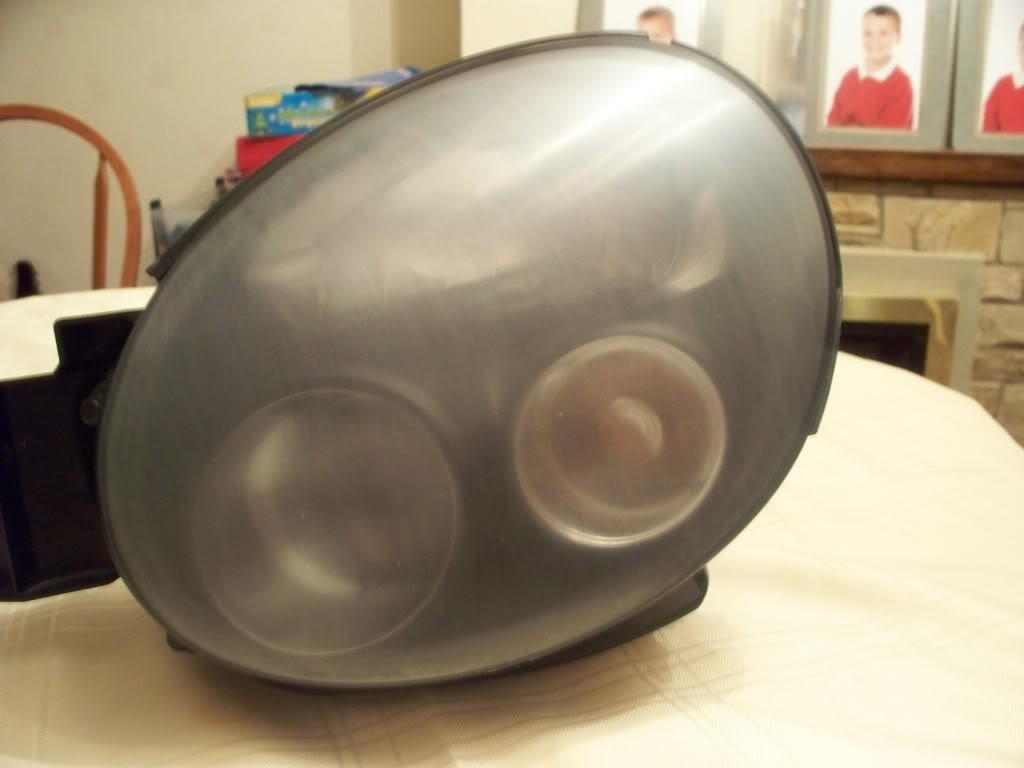
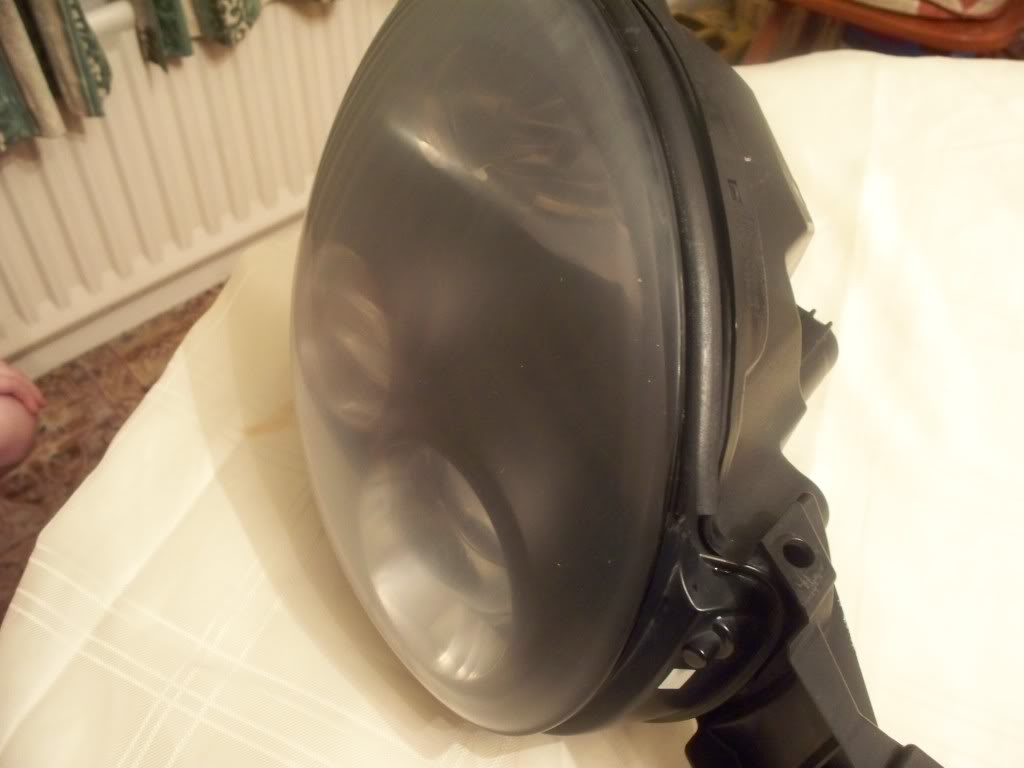
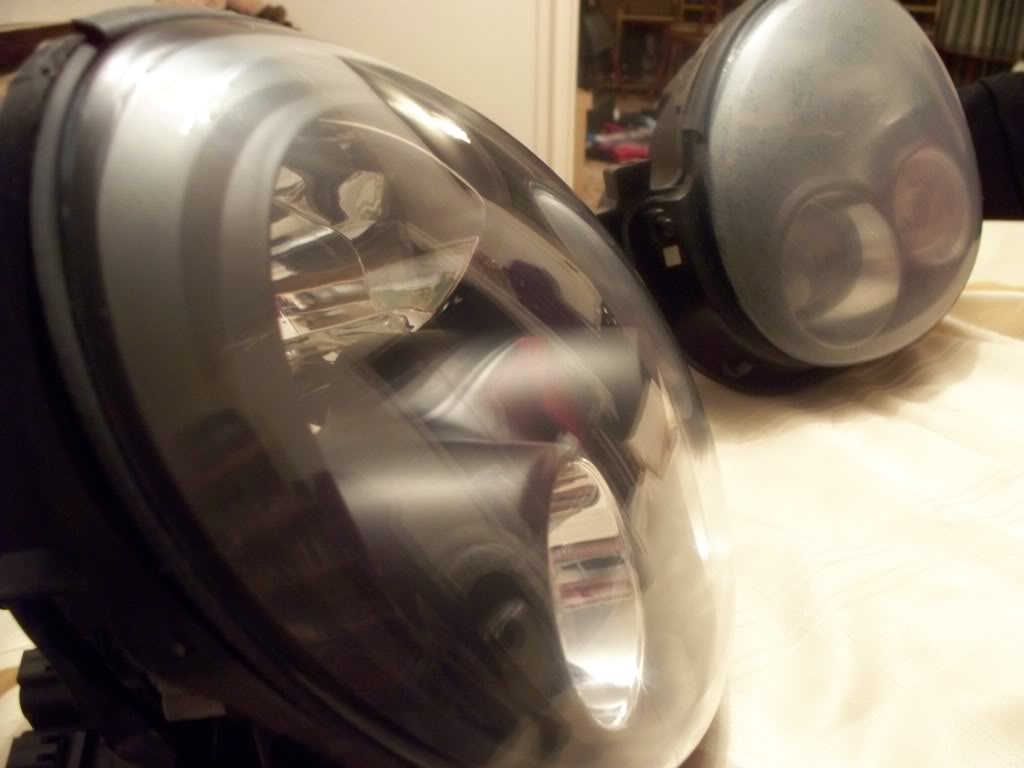
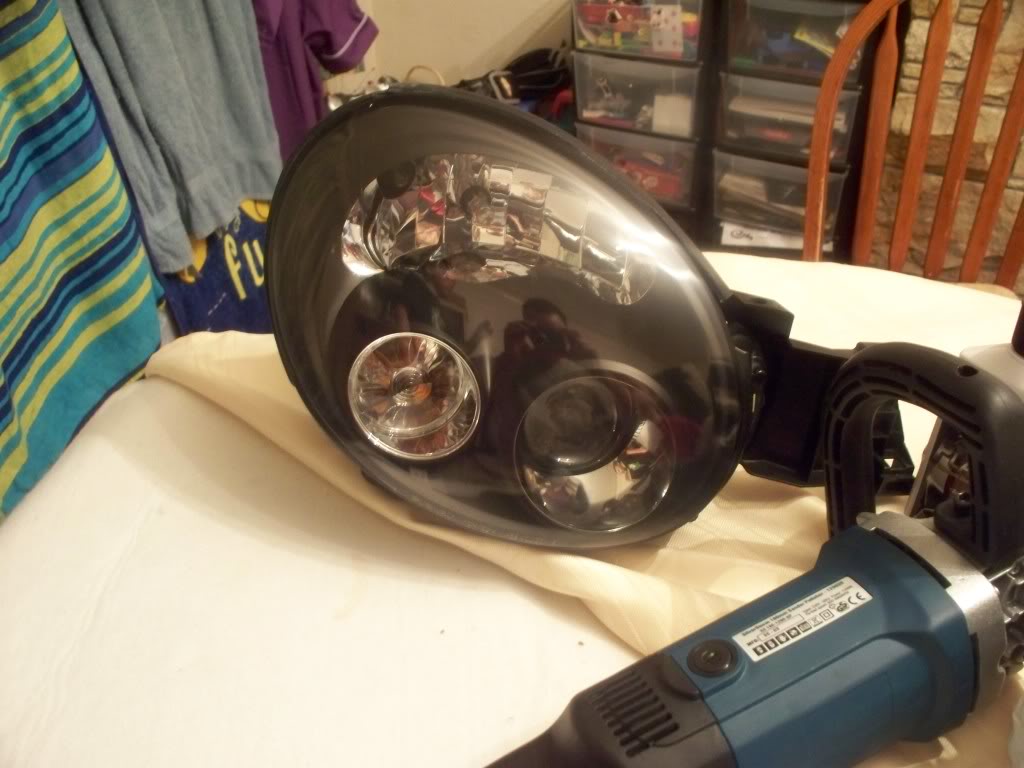
Ok so the bits i ordered arrived today so when i got in from work i decided to finish off the lights.
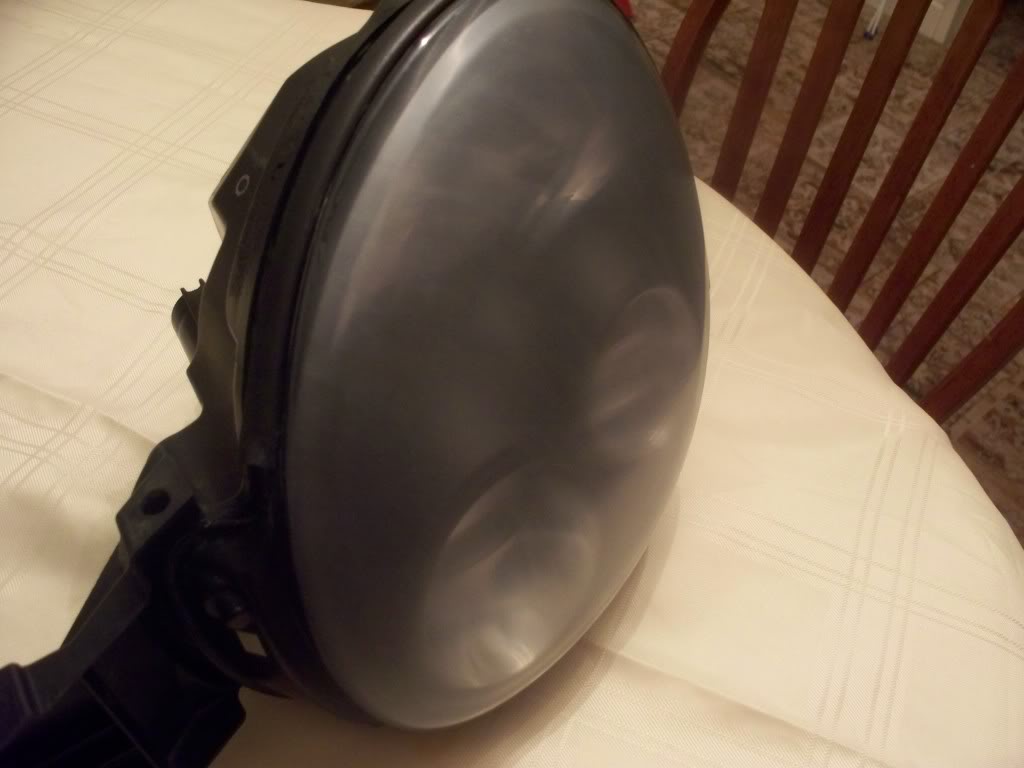
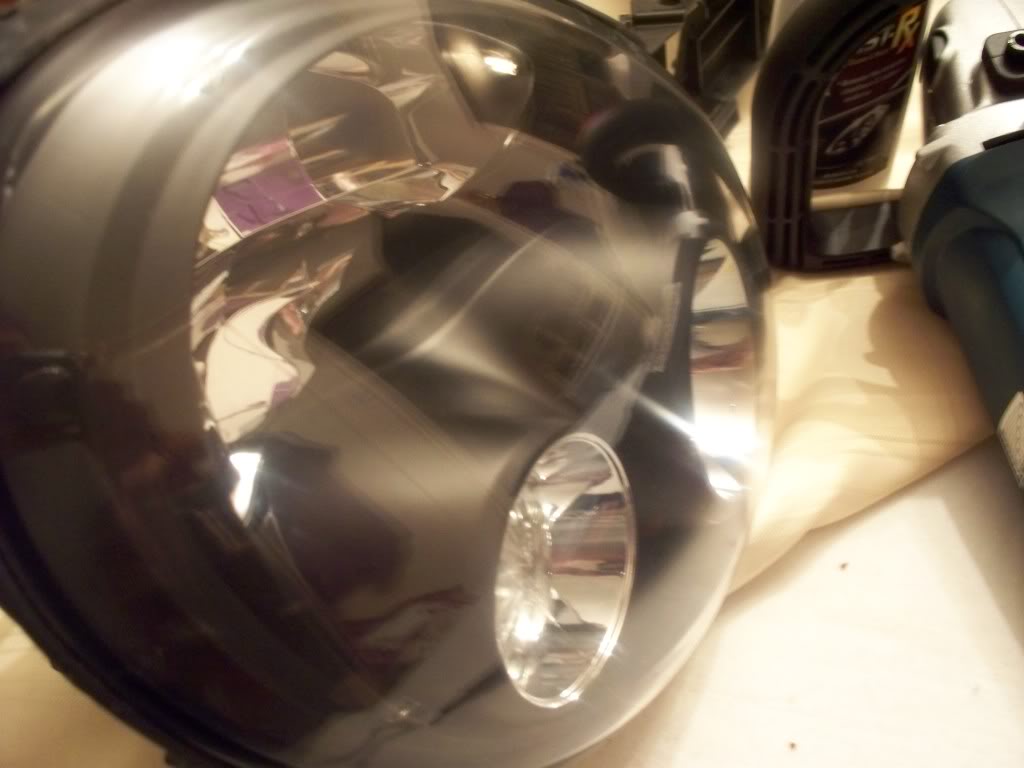
Part 2 consisted of a final rubbing down with wet/dry 2500 and 3000 grit sandpaper then machine polishing in maguiars Plast X, the results speak for themselfs final pics are as follows

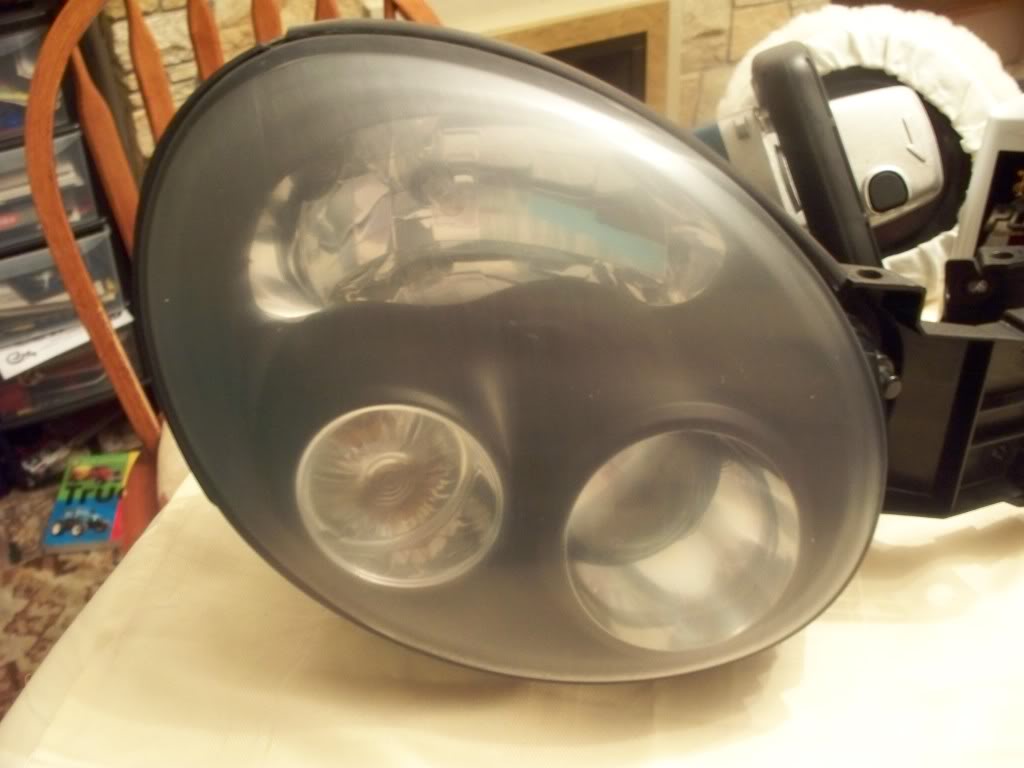
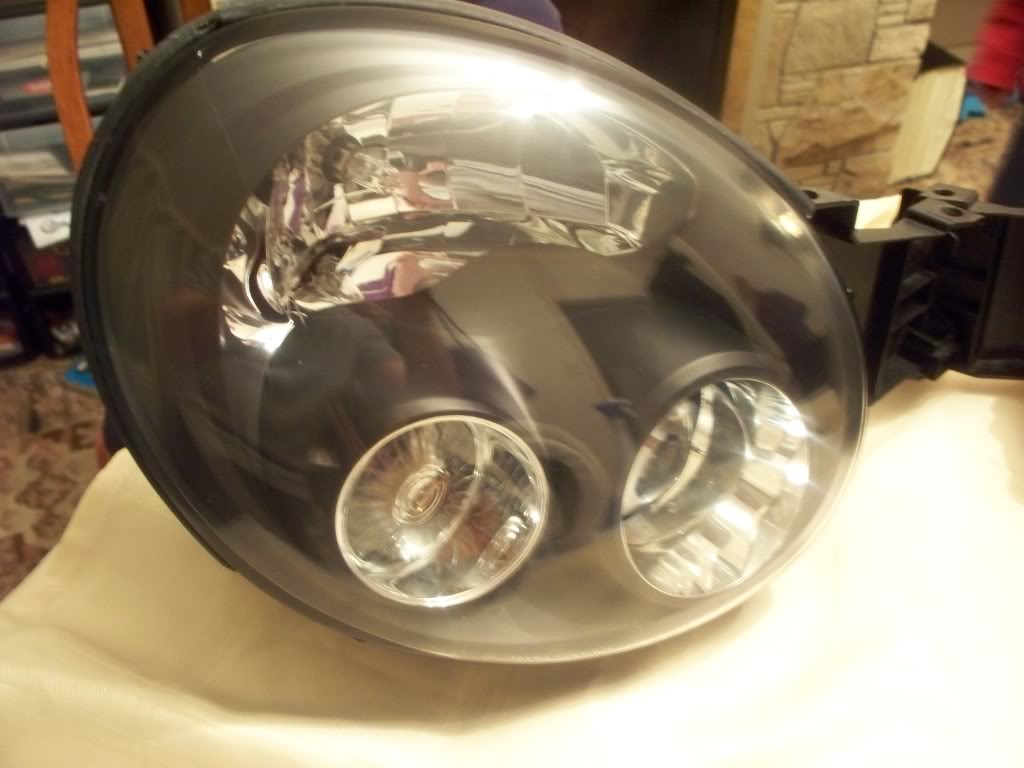

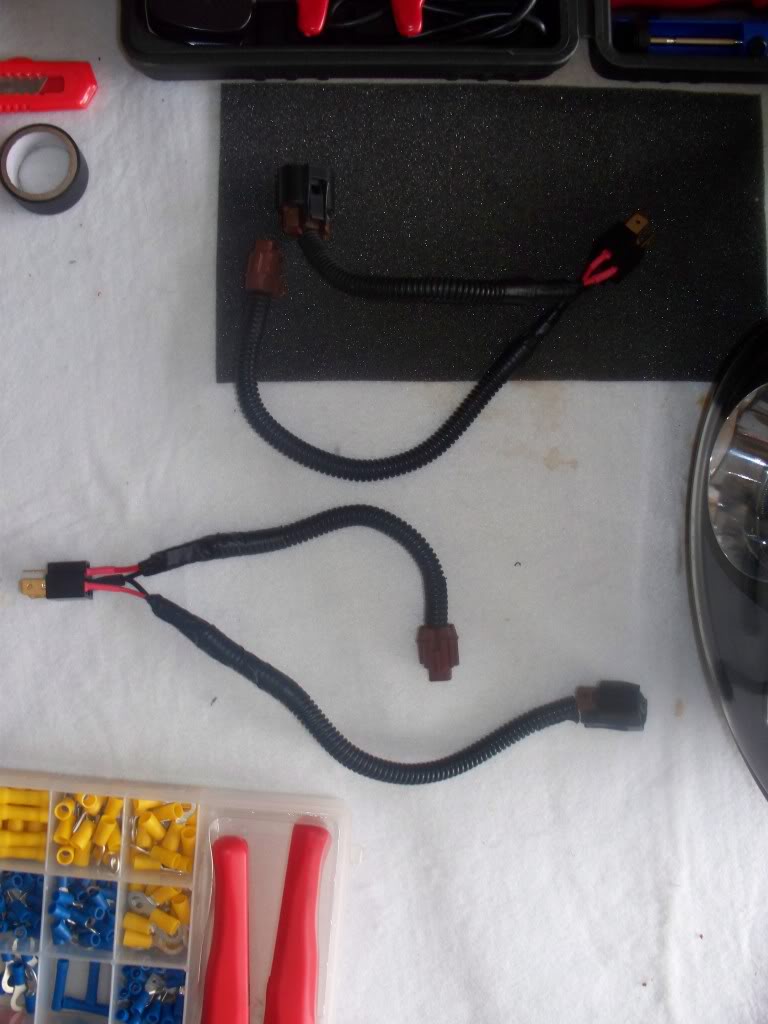
I will prolly go over them once more with the maguiars Plast X befor i fit them to the car, just in the process of making a wiring harness now
Was hard to get a proper sharp picture there so shiney now lol
Part 2 consisted of a final rubbing down with wet/dry 2500 and 3000 grit sandpaper then machine polishing in maguiars Plast X, the results speak for themselfs final pics are as follows
I will prolly go over them once more with the maguiars Plast X befor i fit them to the car, just in the process of making a wiring harness now
Was hard to get a proper sharp picture there so shiney now lol
Trending Topics
 work
work
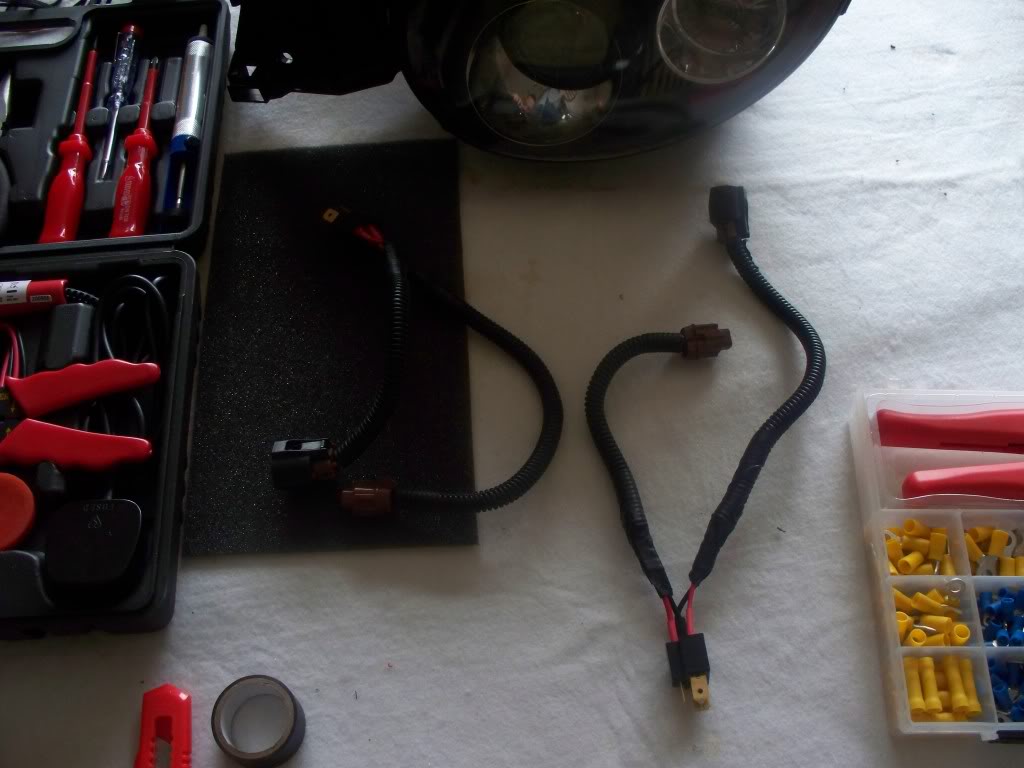
Heres a couple of pics of my homemade plug and play wiring harness
And heres the link to how the lights look on the car...
https://www.scoobynet.com/members-ga...-now-pics.html
And heres the link to how the lights look on the car...
https://www.scoobynet.com/members-ga...-now-pics.html

Thread
Thread Starter
Forum
Replies
Last Post
Scott@ScoobySpares
Full Cars Breaking For Spares
61
Jan 11, 2021 03:08 PM
Scott@ScoobySpares
Full Cars Breaking For Spares
7
Dec 14, 2015 08:16 AM