Full detail on my black STI
 15 April 2011, 12:16 AM
#1
Scooby Regular
Thread Starter
iTrader: (14)
Join Date: Mar 2007
Posts: 730
Likes: 0
Received 0 Likes
on
0 Posts
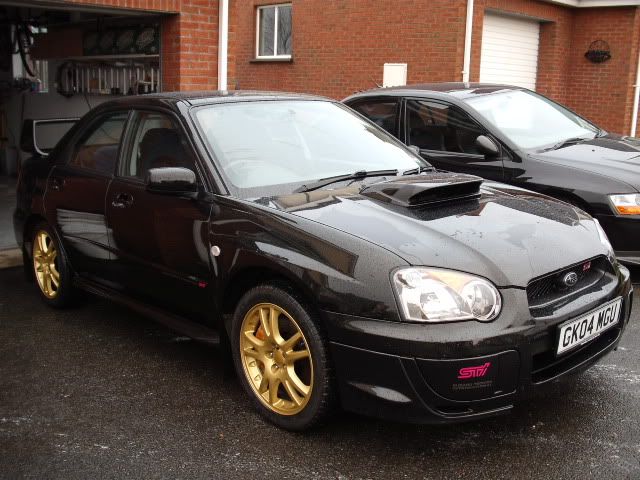
Picked up the car a few weeks ago to replace the Evo, but Im only getting round to putting up the detailing thread now.
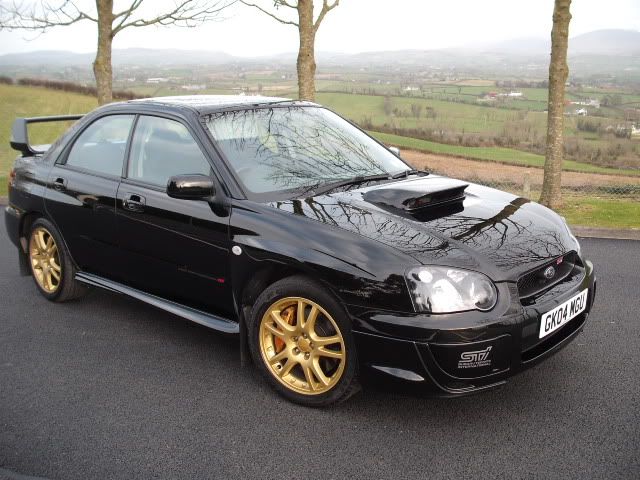
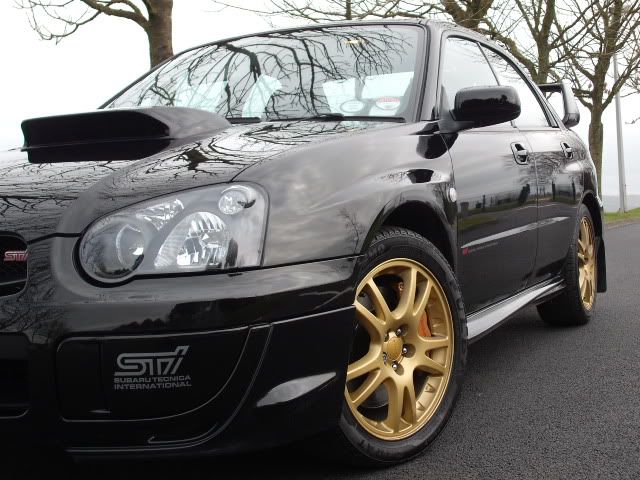
Its a 2004 STI Prodrive with 305BHP
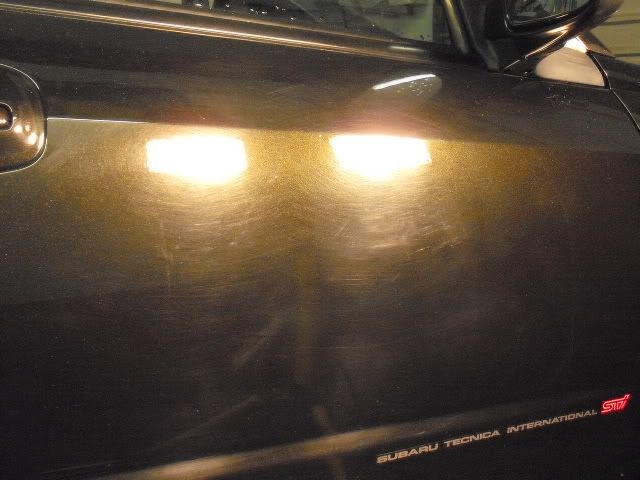
When I first got it I knew there were a wonderful collection of swirls all over the car
There were a few stone chips, but nothing serious, and there were remarkably few scratches on the car apart from one on the bonnet where a hose had been dragged across it.
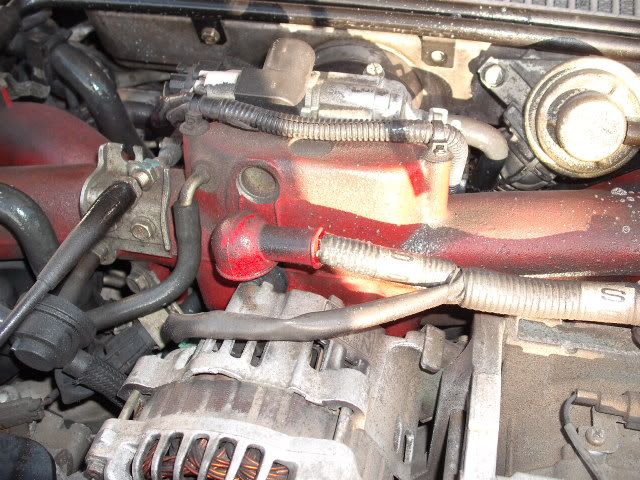
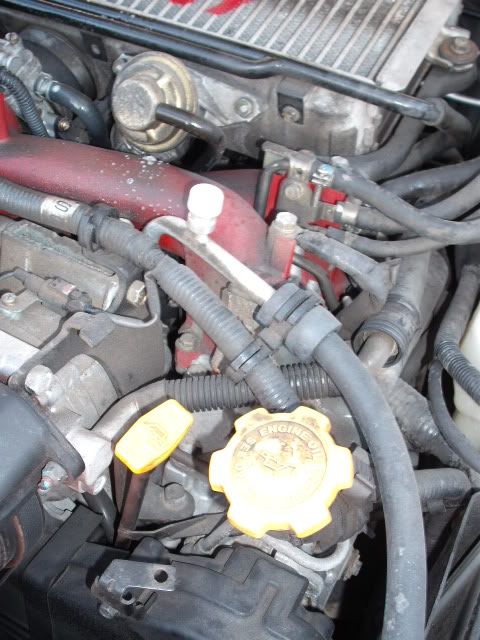
Some grubby engine bay pics
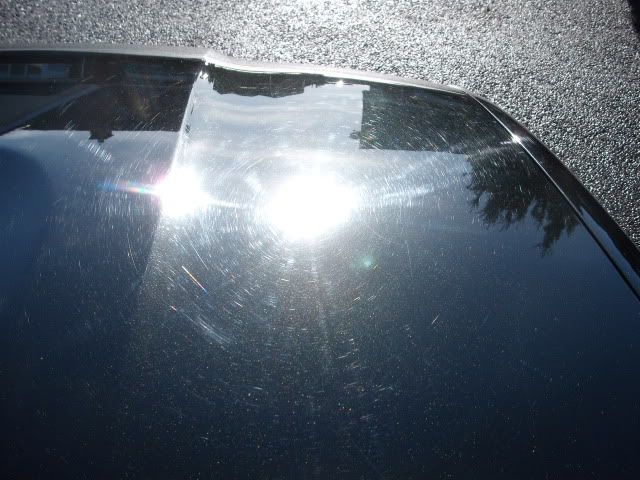
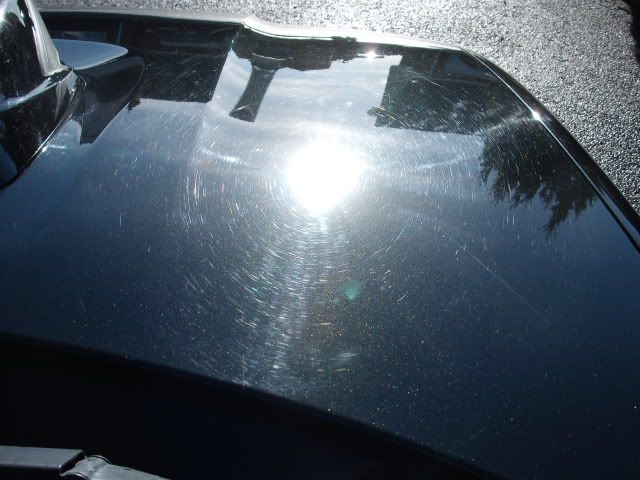
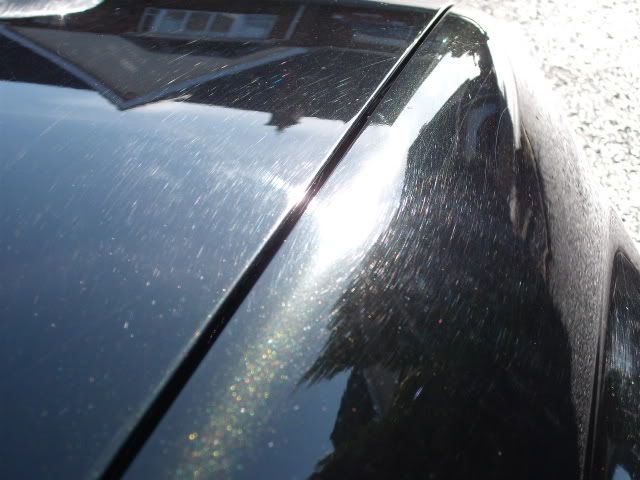
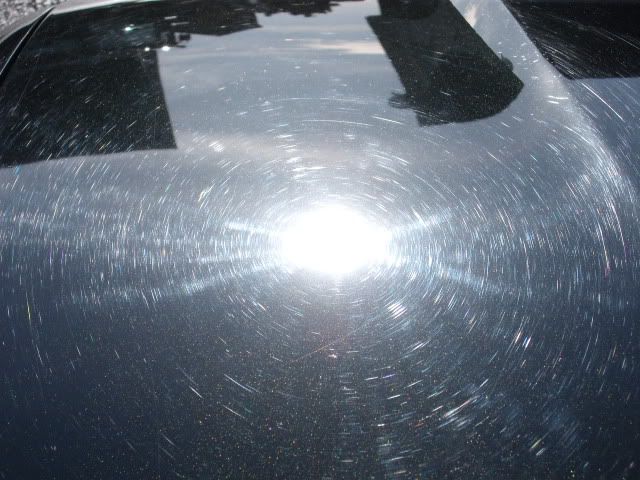
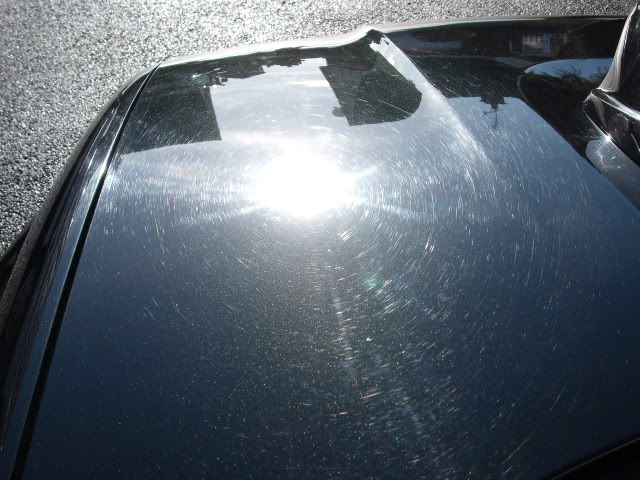
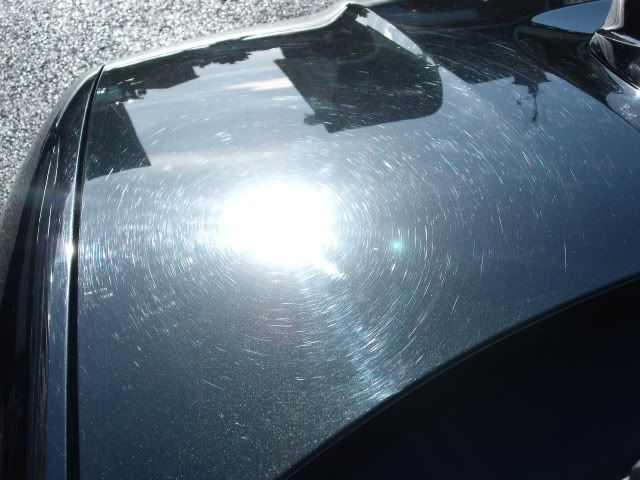
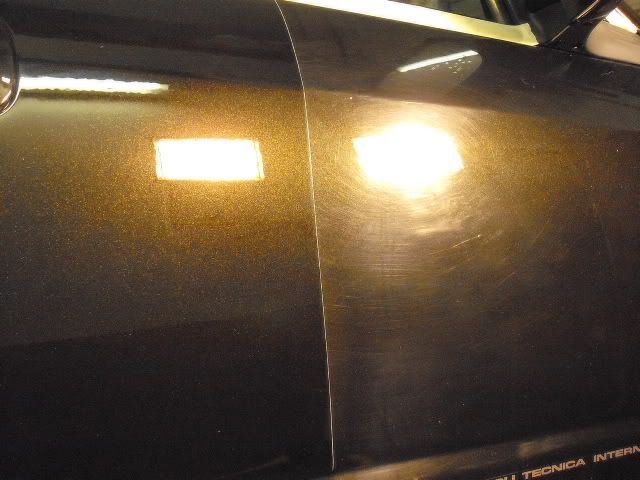
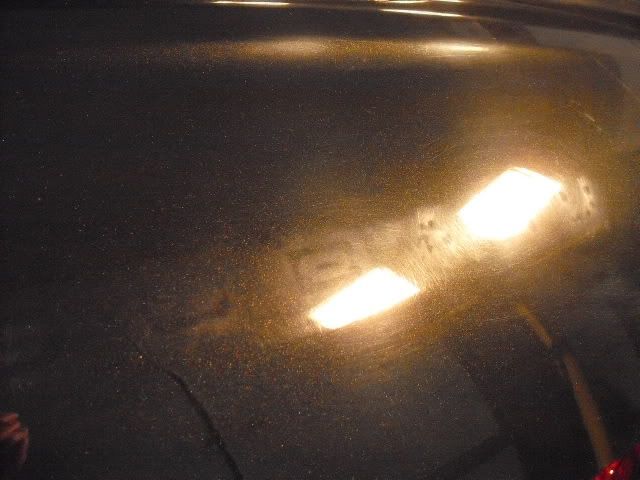
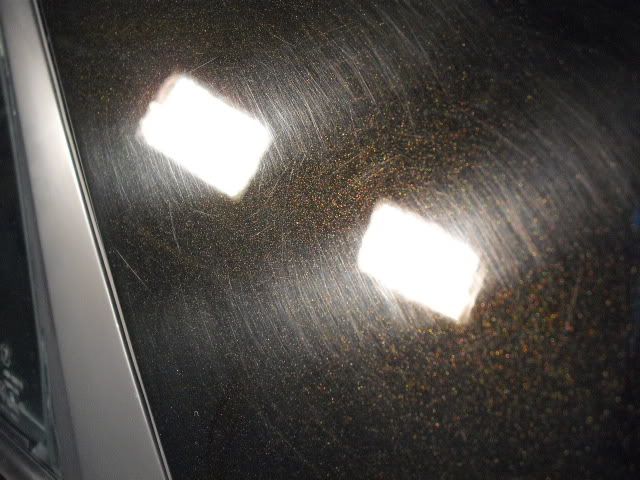
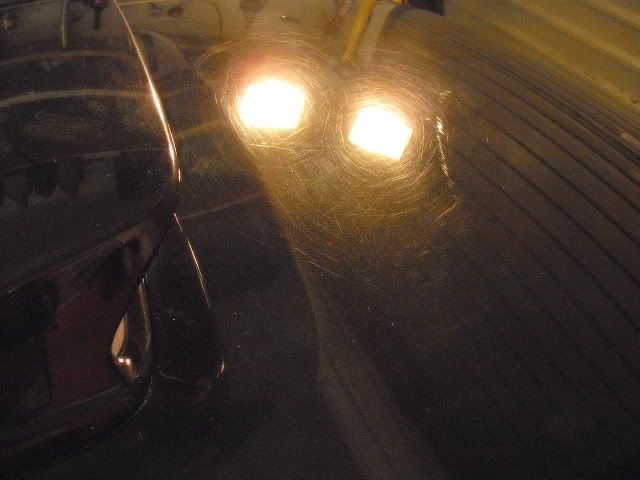
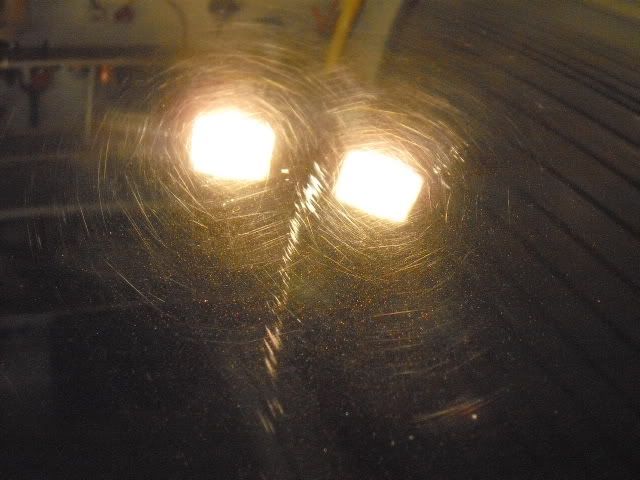
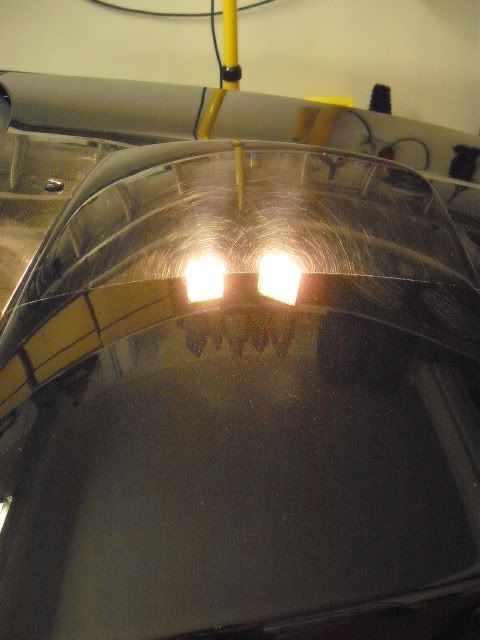
Some lovely natural daylight swirls on the bonnet and wings!!
On to the detail itself.
Wash process.....
Car foamed and allowed to dwell, arches and wheels powerhosed and then whole car powerhosed,doorshuts and trim lines etc cleaned, foamed again and washed with 2 bucket method with Chem Guys Citrus, lambswool wash mitts, rinsed off, dried, detarred, fallout remover brushed on, rinsed, clayed, washed again and dried.
The rims were not removed as a new set of 18's will be fitted soon.
Correction.....
Kestrel DAS polisher.
Bluepoint rotary polisher.
Compound - 3M Perfect-it Extra Fine Compound.
Polish - 3M Perfect-it UltrafinaSE.
Pads....Hexlogic orange componding pad.
3M blue polish pad.
Hexlogic glazing pad.
Hexlogic polishing pad.
Hexlogic finishing pad.
Glaze - Poorboys Blackhole.
Sealant - Poorboys EX-P.
Wax - Valentines Road n' Track.
Eurow microfibre buffing cloths.
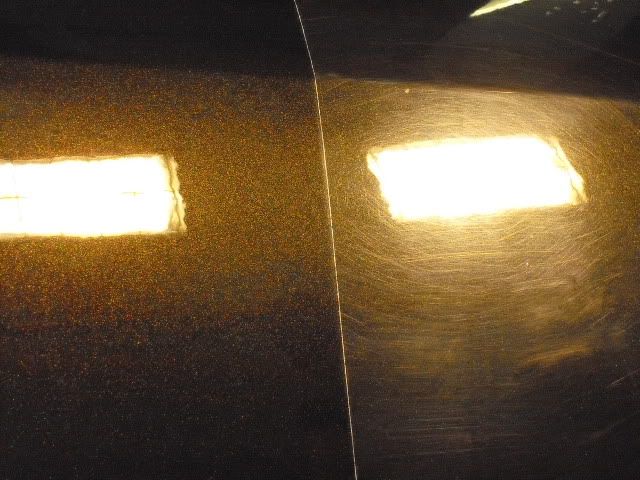
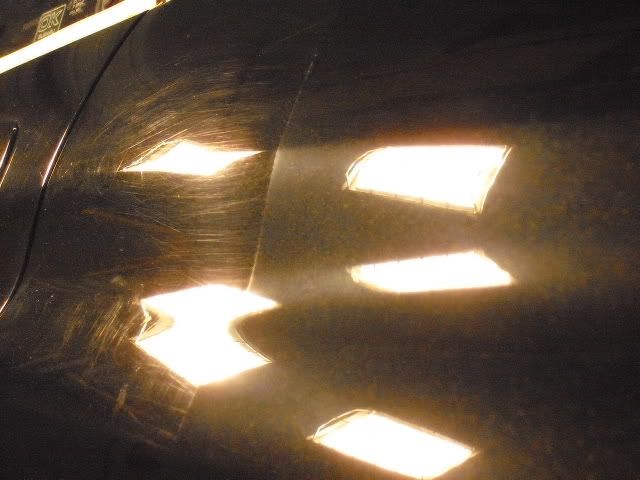
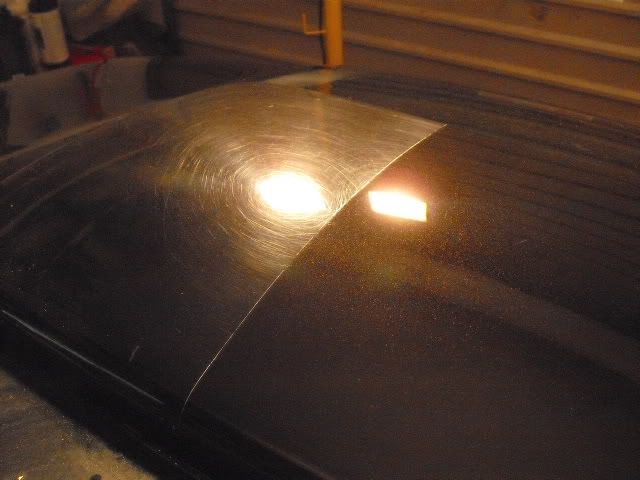
50/50 on drivers door.
Before
During.
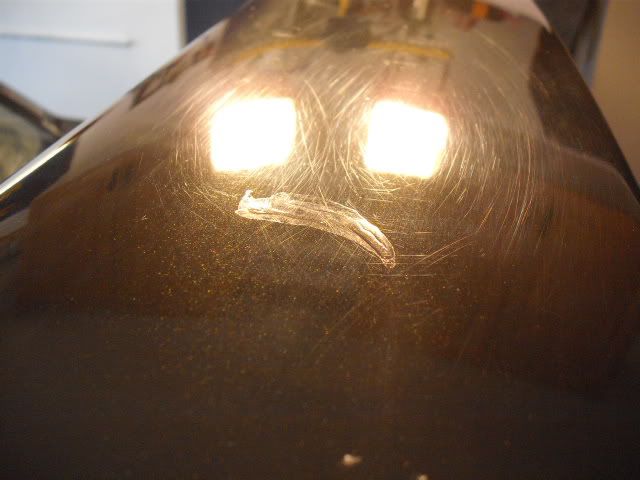
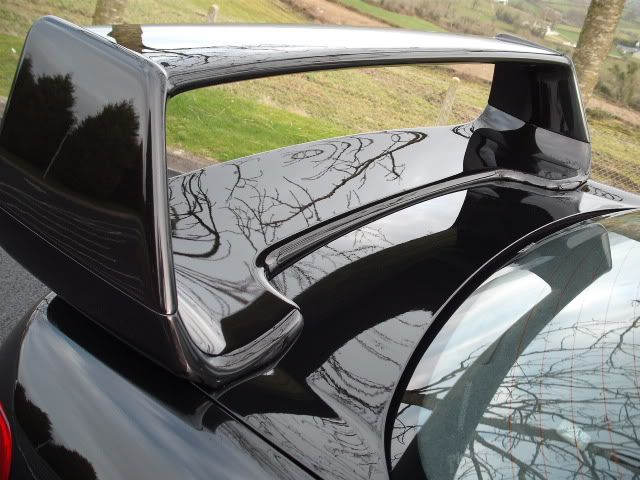
Rear spoiler swirls and blob.I originally thought the blob was paint but after some work I realised it was superglue
Area taped off and run razor used to gradually remove
glue.
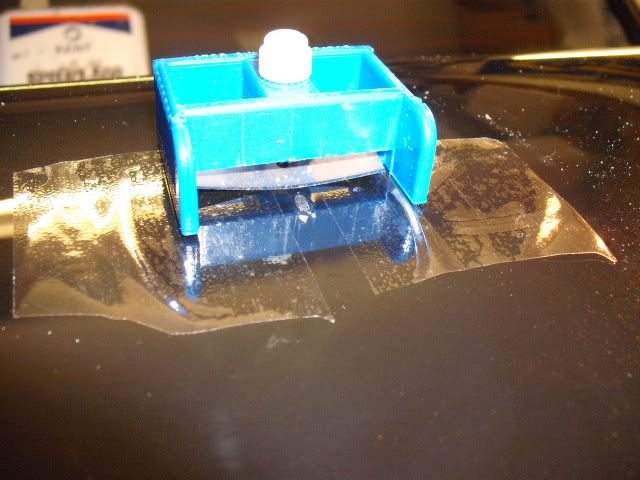
After most of glue had been removed with the run razor I used some adhesive remover to finish the area off.
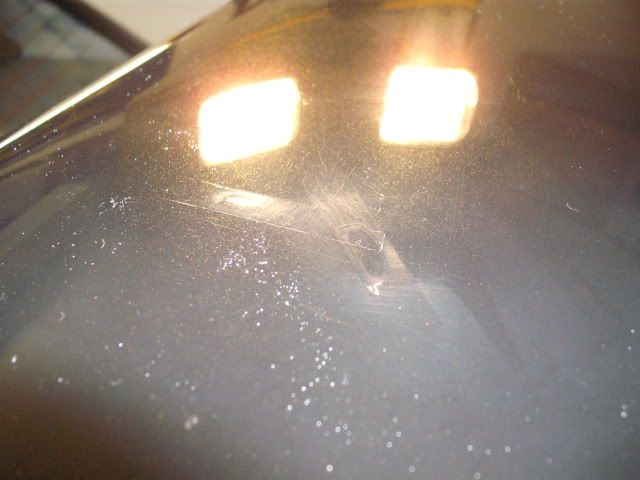
Finished.
Bootlid before de-badging
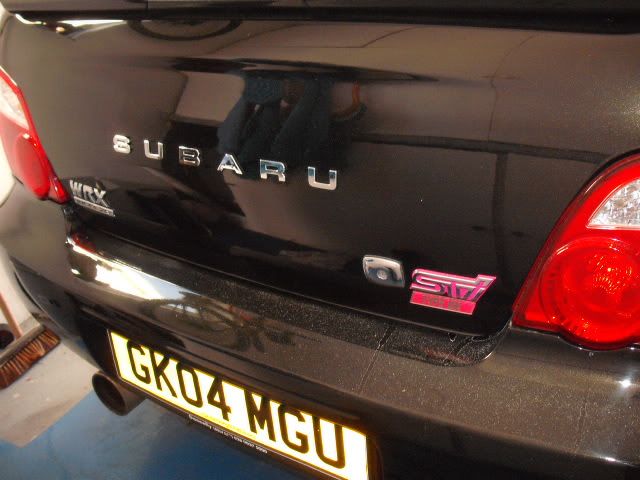
Marks left behind from adhesive under SUBARU lettering
Passenger side rear quarter panel swirls


50/50 of same area
Rear panel corrected but not polished, glazed or waxed yet.
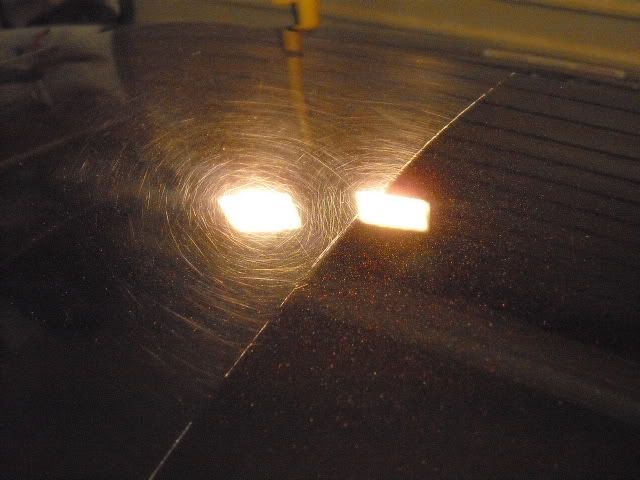
Scratches across bonnet where a hose had been dragged across it.
Closer pic of same area
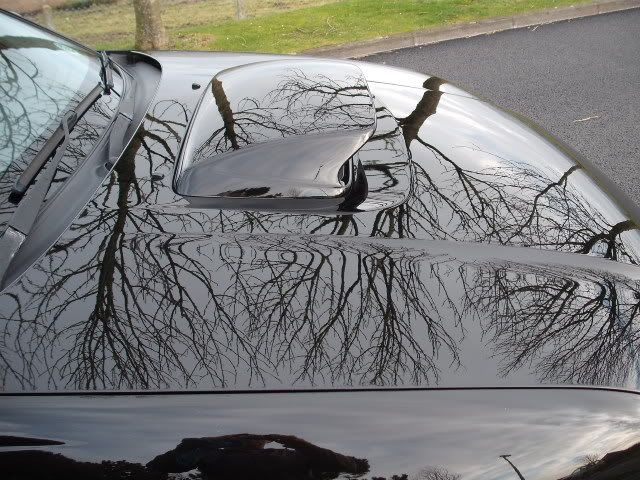
Bonnet scoop 50/50 pics
Exhaust tip and back box had possibly never been cleaned properly before
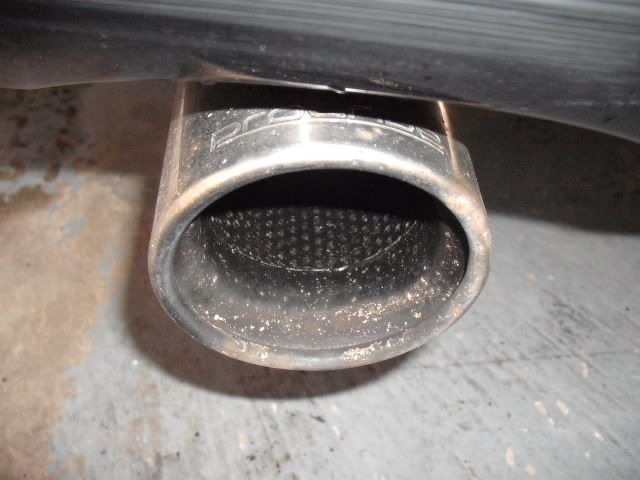
After cleaning with Autosol, also used a drill with wire brush attachment for inside tailpipe

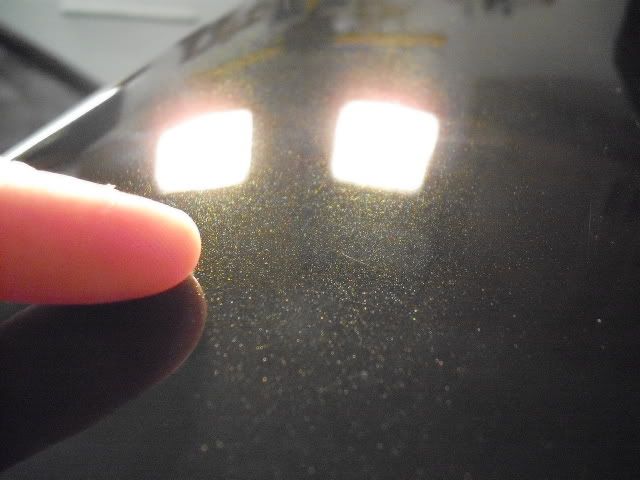
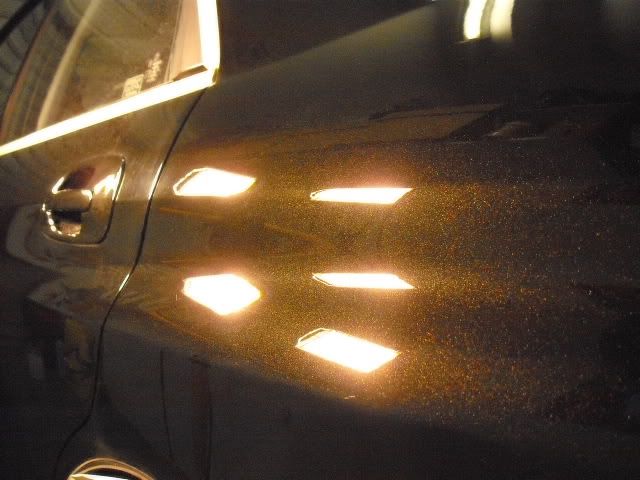
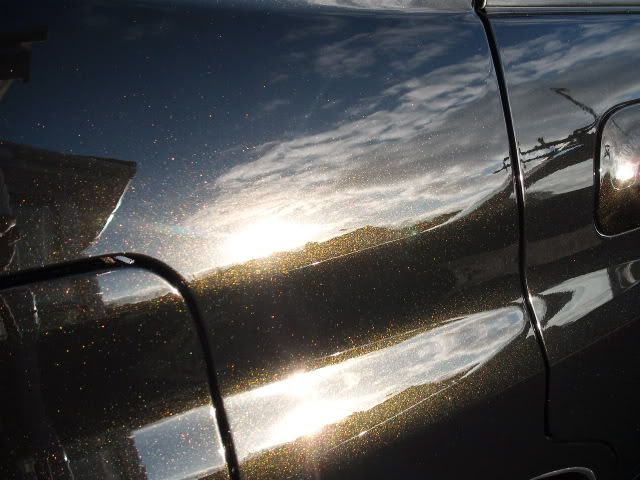
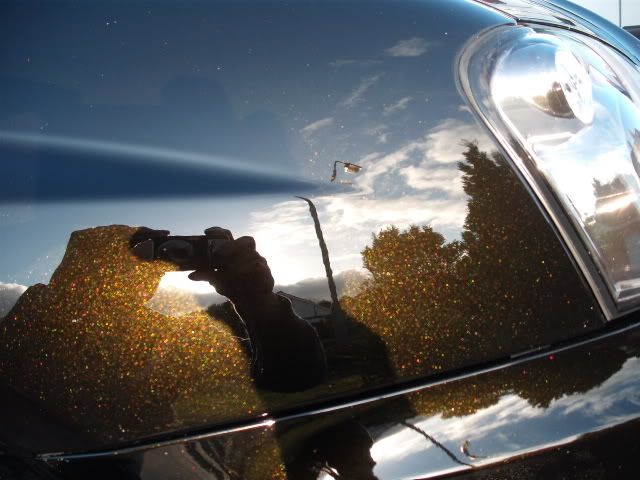
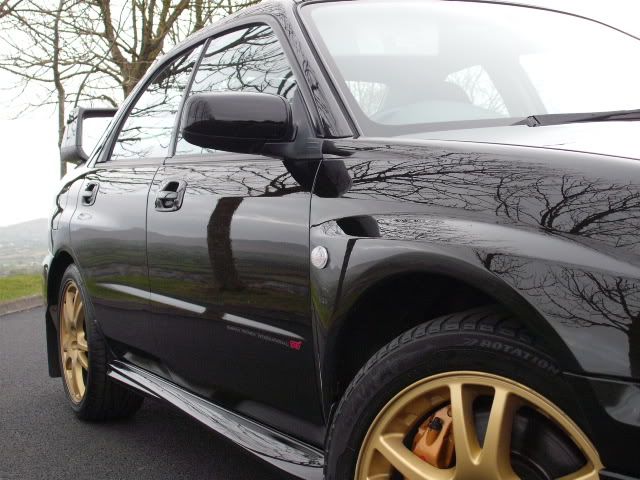
Some pics of the gold metallic flake in the paint

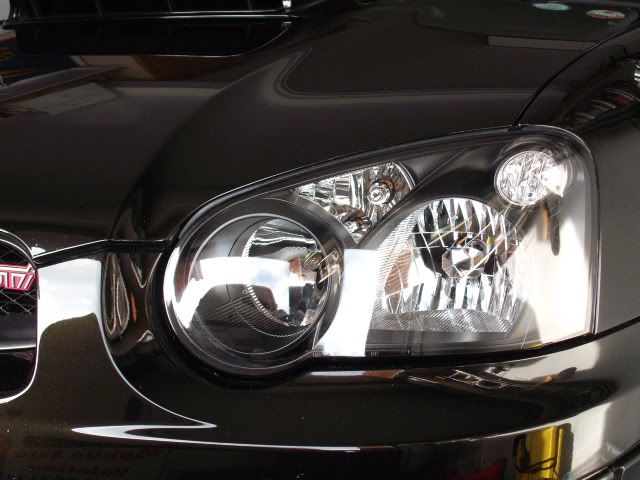
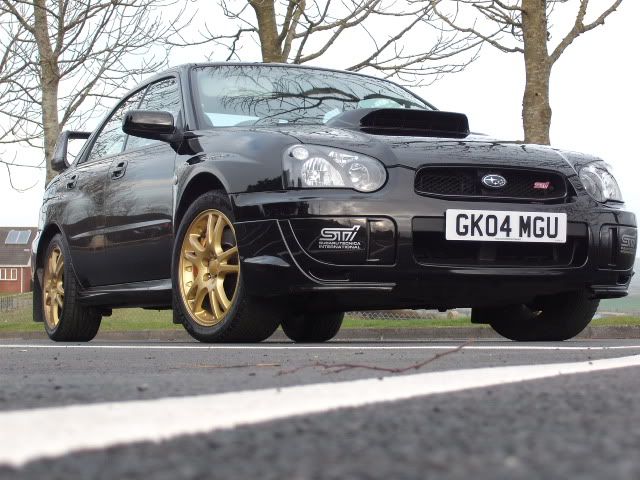
Headlights were removed, heated and separated, then orange indicator lense removed, Silvatec bulbs installed and surrounding plastic sprayed matt black.
At the same time the foglight covers were removed, old decals were peeled off and replaced with new silver/grey ones.
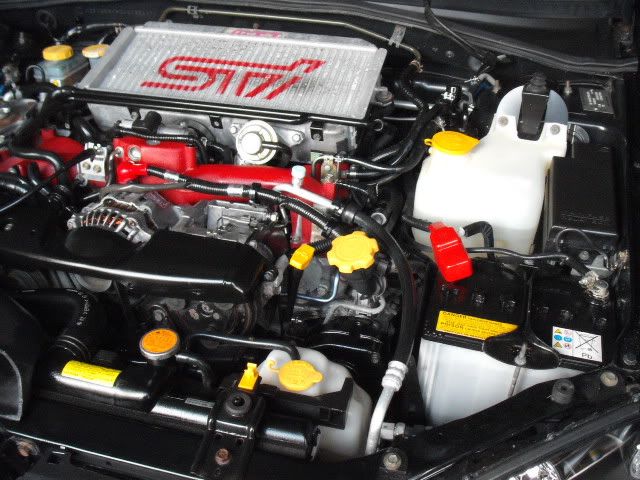
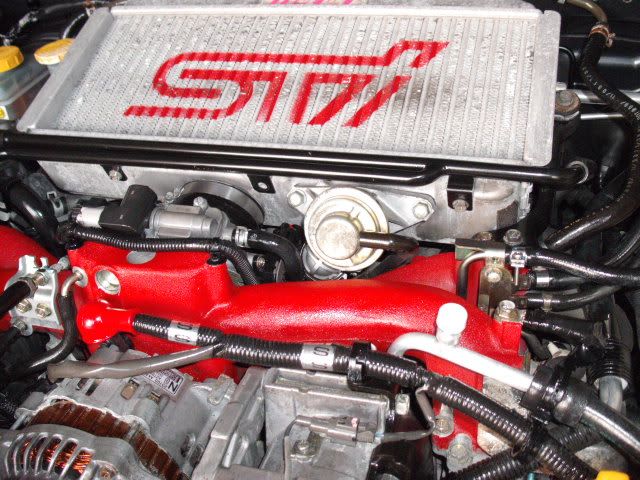
Engine bay finished and dressed.
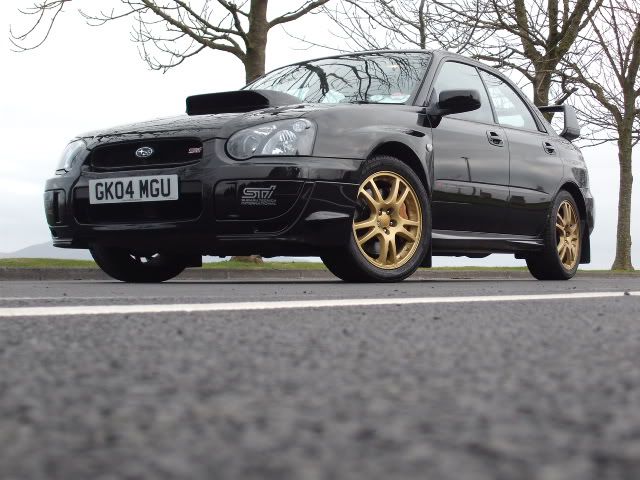
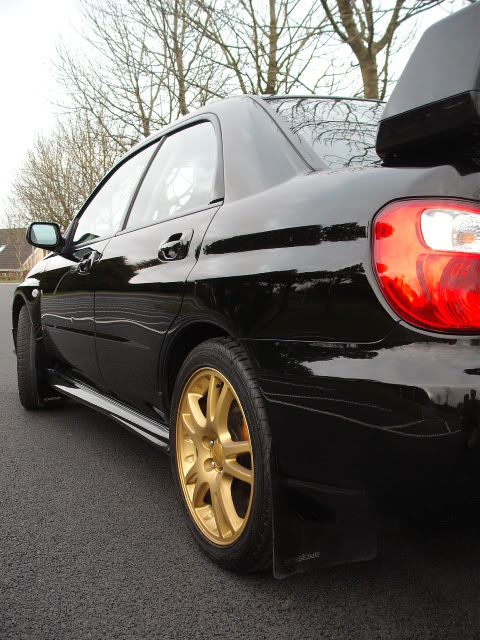
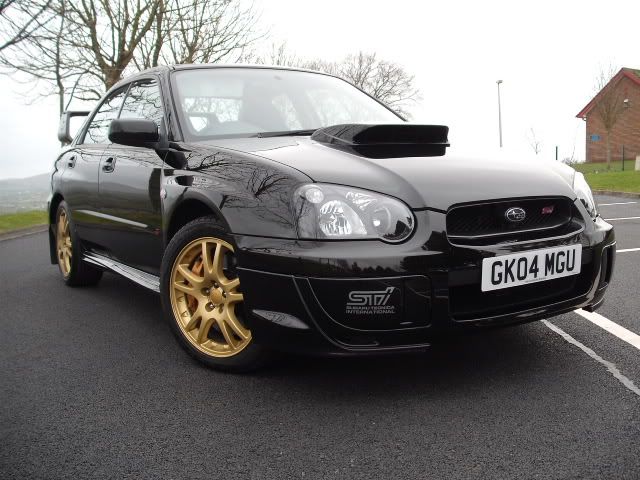
Some more finished pics
Its a 2004 STI Prodrive with 305BHP
When I first got it I knew there were a wonderful collection of swirls all over the car
There were a few stone chips, but nothing serious, and there were remarkably few scratches on the car apart from one on the bonnet where a hose had been dragged across it.
Some grubby engine bay pics
Some lovely natural daylight swirls on the bonnet and wings!!
On to the detail itself.
Wash process.....
Car foamed and allowed to dwell, arches and wheels powerhosed and then whole car powerhosed,doorshuts and trim lines etc cleaned, foamed again and washed with 2 bucket method with Chem Guys Citrus, lambswool wash mitts, rinsed off, dried, detarred, fallout remover brushed on, rinsed, clayed, washed again and dried.
The rims were not removed as a new set of 18's will be fitted soon.
Correction.....
Kestrel DAS polisher.
Bluepoint rotary polisher.
Compound - 3M Perfect-it Extra Fine Compound.
Polish - 3M Perfect-it UltrafinaSE.
Pads....Hexlogic orange componding pad.
3M blue polish pad.
Hexlogic glazing pad.
Hexlogic polishing pad.
Hexlogic finishing pad.
Glaze - Poorboys Blackhole.
Sealant - Poorboys EX-P.
Wax - Valentines Road n' Track.
Eurow microfibre buffing cloths.
50/50 on drivers door.
Before
During.
Rear spoiler swirls and blob.I originally thought the blob was paint but after some work I realised it was superglue
Area taped off and run razor used to gradually remove
glue.
After most of glue had been removed with the run razor I used some adhesive remover to finish the area off.
Finished.
Bootlid before de-badging
Marks left behind from adhesive under SUBARU lettering
Passenger side rear quarter panel swirls
50/50 of same area
Rear panel corrected but not polished, glazed or waxed yet.
Scratches across bonnet where a hose had been dragged across it.
Closer pic of same area
Bonnet scoop 50/50 pics
Exhaust tip and back box had possibly never been cleaned properly before
After cleaning with Autosol, also used a drill with wire brush attachment for inside tailpipe
Some pics of the gold metallic flake in the paint
Headlights were removed, heated and separated, then orange indicator lense removed, Silvatec bulbs installed and surrounding plastic sprayed matt black.
At the same time the foglight covers were removed, old decals were peeled off and replaced with new silver/grey ones.
Engine bay finished and dressed.
Some more finished pics


 Absolutely stunning. Knocked years off it mate, and the engine bay! A lot of hard work I'd guess and what a result. Nice one


Trending Topics

 16 April 2011, 11:07 AM
#11
Scooby Regular
Thread Starter
iTrader: (14)
Join Date: Mar 2007
Posts: 730
Likes: 0
Received 0 Likes
on
0 Posts
Engine cleaned first with G101 on the bonnet underside, inner wings, sprayed on and brushed, then hosed off.
Tardis used on wax deposits on inlet manifold, bulkhead etc and G101 used on any other dirt areas, powerhosed off, aluminium parts were sprayed and then brushed with Alu cleaner and hosed off. Whole area dried and left to sit for a day, then plastics dressed with AutoSmart Finish and rubber pipes and hoses dressed with AS Trim Ultra
16 April 2011, 09:37 PM
#17
Scooby Regular

Join Date: Oct 2008
Location: co.louth,eire
Posts: 729
Likes: 0
Received 0 Likes
on
0 Posts
what type of prep was involved in painting inside of headlamps..well interested in this mod..have same car and man i wish mine was at that standard of care!!!!


