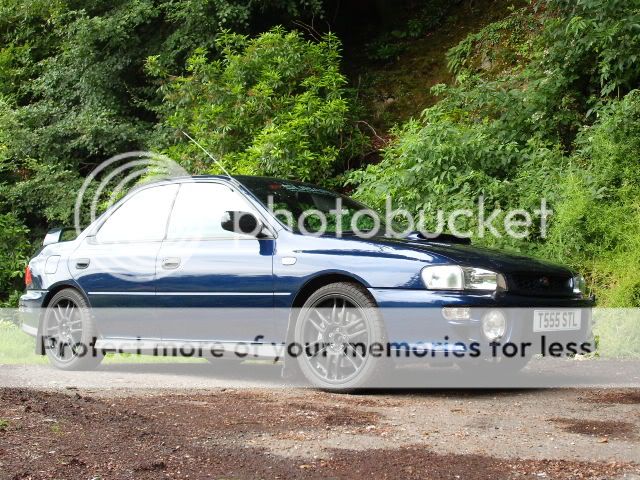
99 Mica blue Impreza Turbo 2000 detailing project.
 21 June 2010, 12:54 AM
#1
Scooby Regular
Thread Starter
iTrader: (14)
Join Date: Mar 2007
Posts: 730
Likes: 0
Received 0 Likes
on
0 Posts
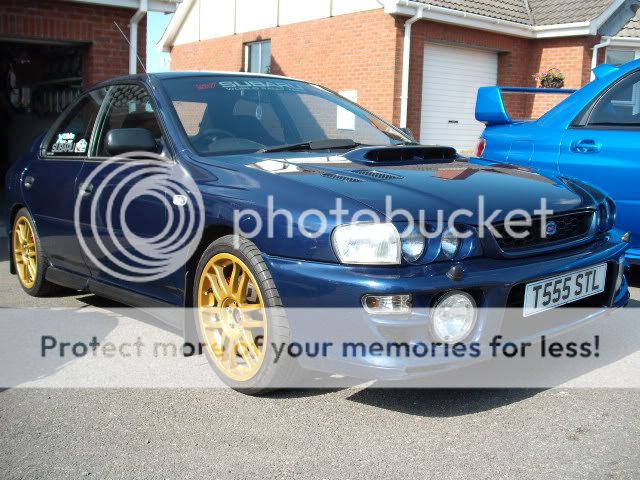
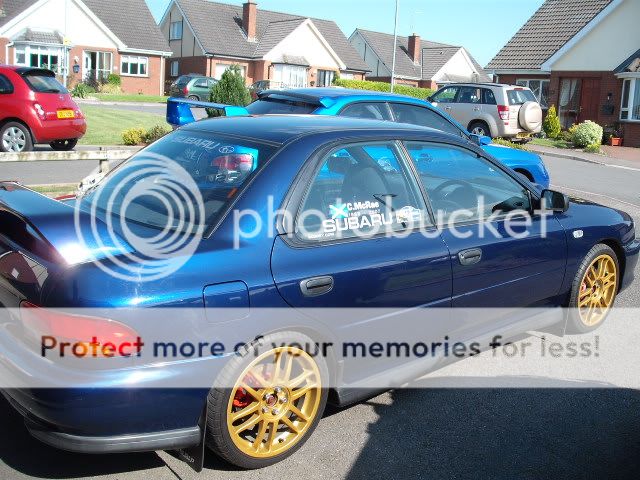
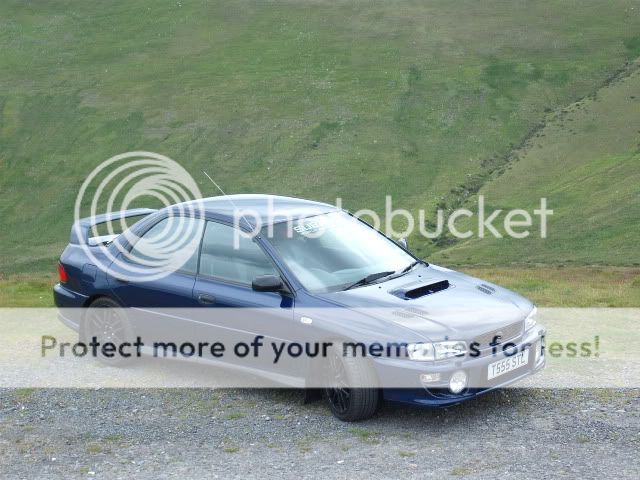
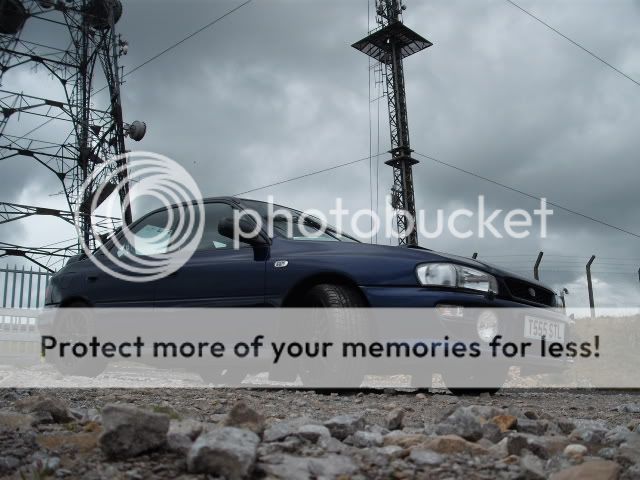
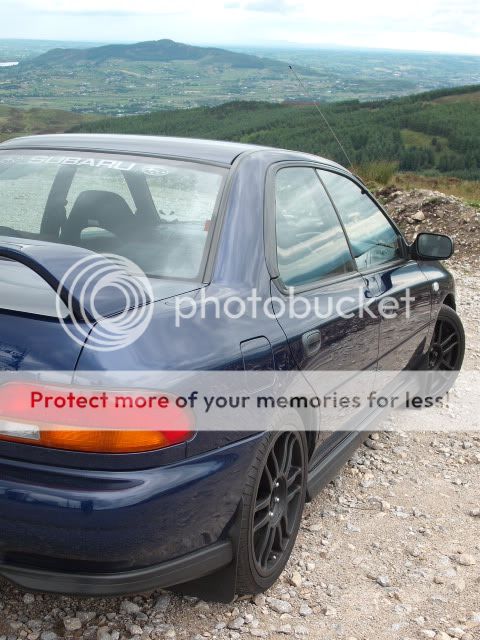
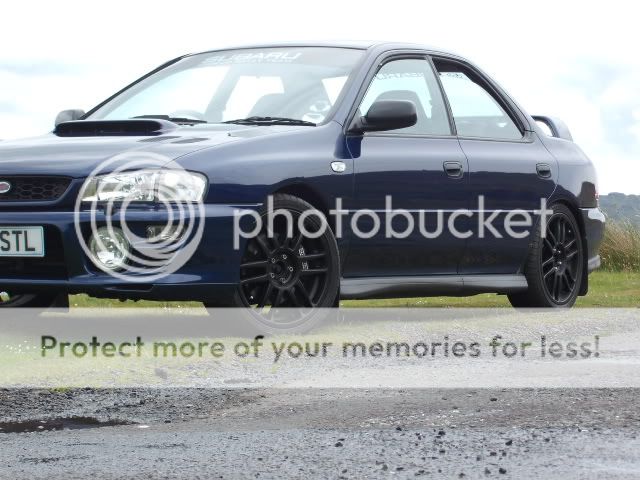
Just bought this 99 Mica Blue Classic to tidy up /clean /detail /mess about with /drive /enjoy in my spare time.
Took it out for a run on Tuesday evening and was very impressed with how solid the car felt, no knocks, rattles and not even a squeak in the car.
The engine has had a complete rebuild by API at a cost of over �3000 and there are quite a few modifications done to the car as well.
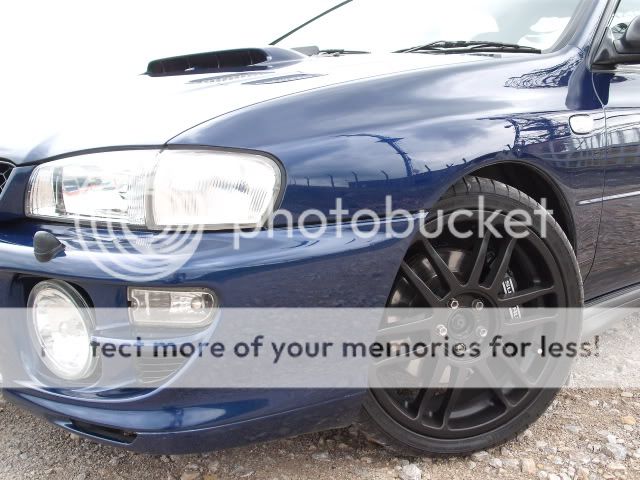
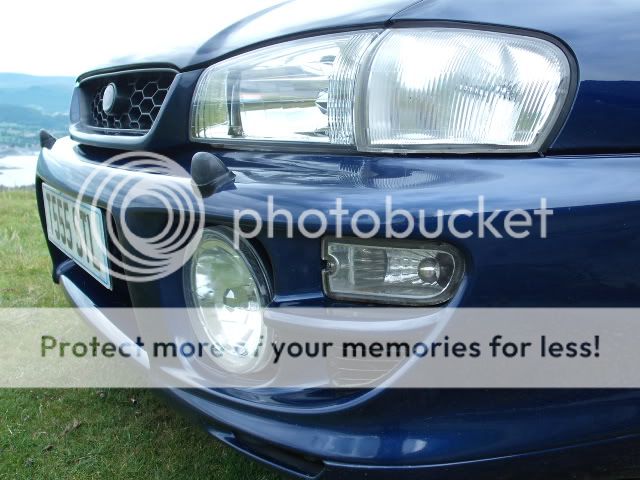
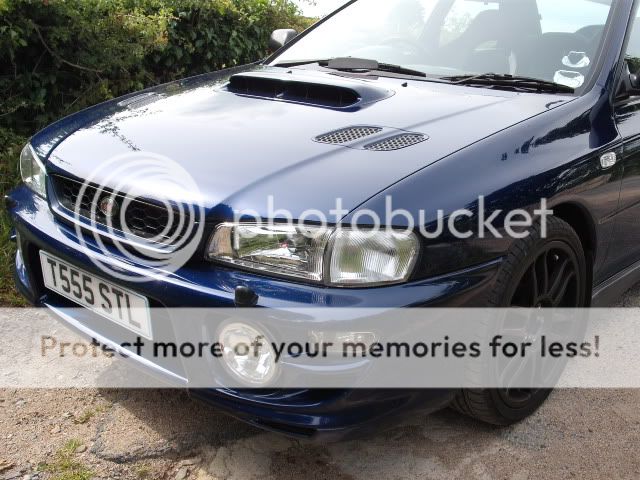
Morette headlights,17" rims,Pipercross filter, HKS dump valve, Stainless exhaust, lowered, Spax strut brace, it a PSI3 monitor but it has now been sold.
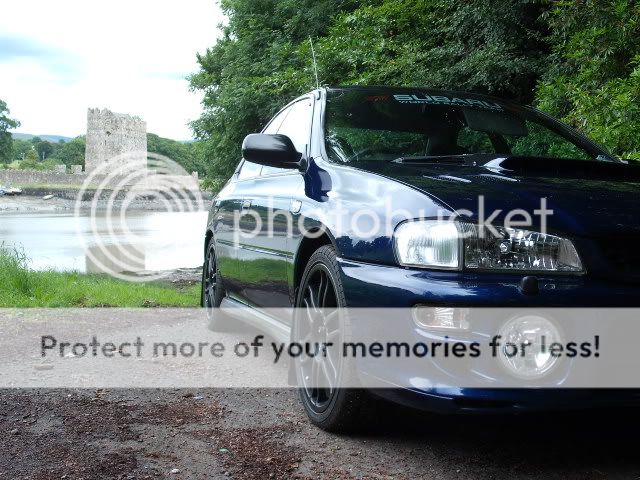
Over the next few weeks I'll spend some time working around it and posting plenty of pics of the work.
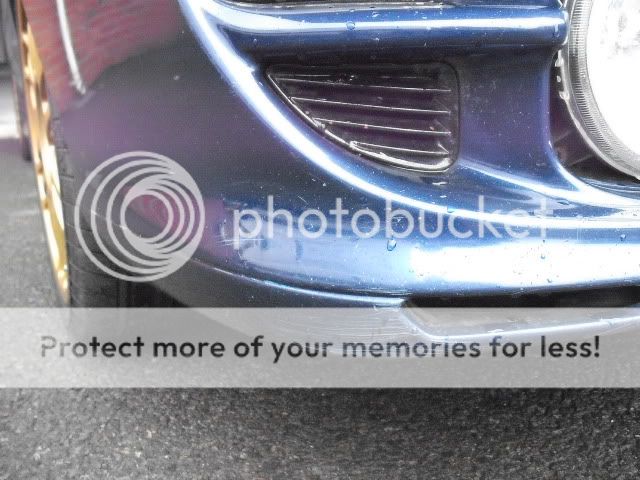
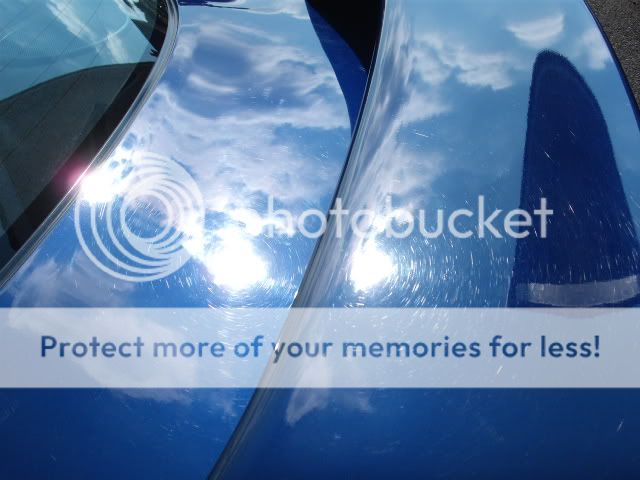
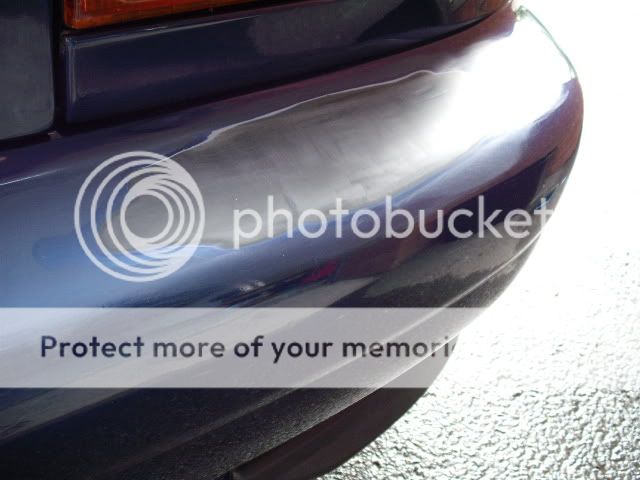
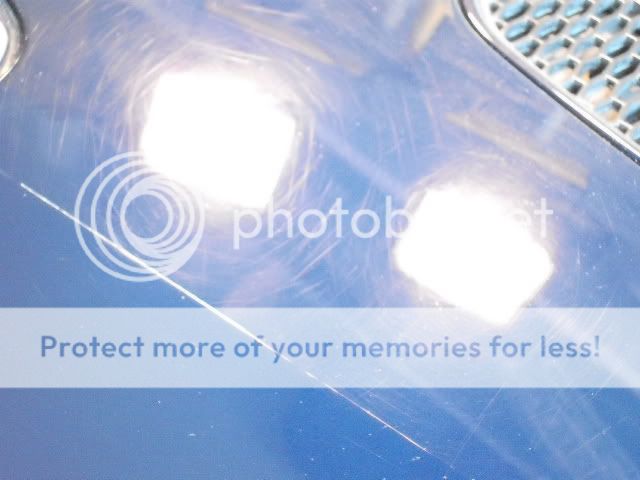
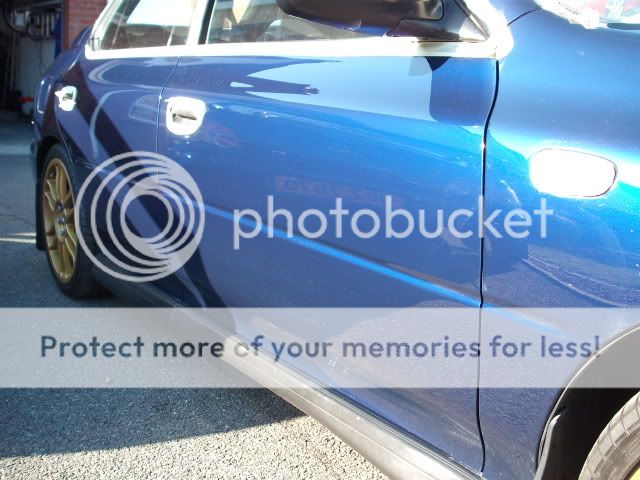
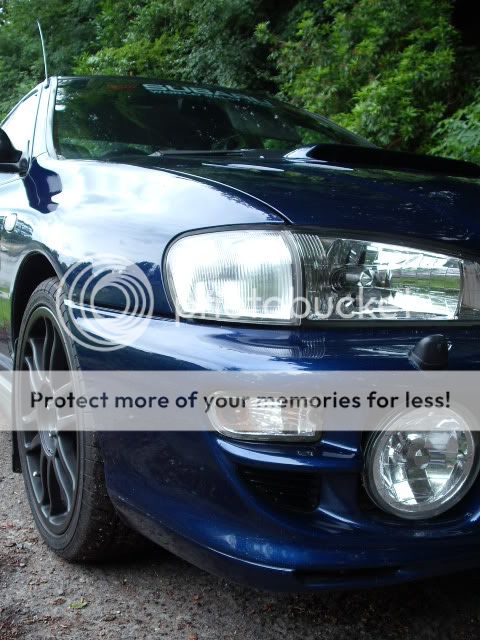
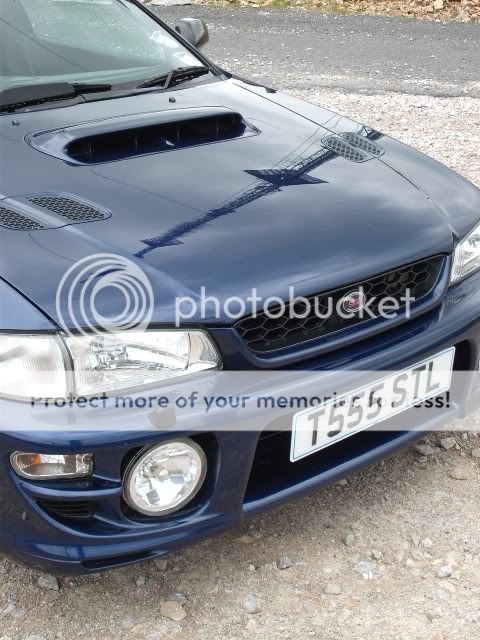
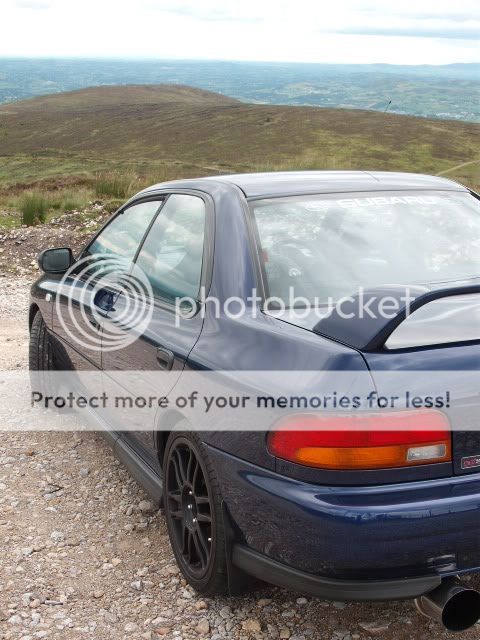
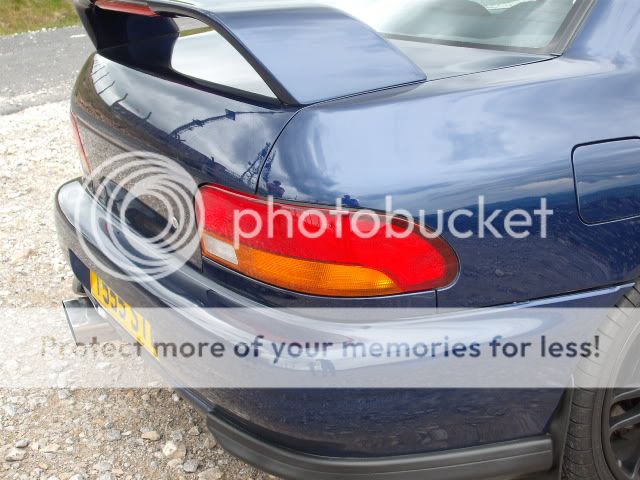
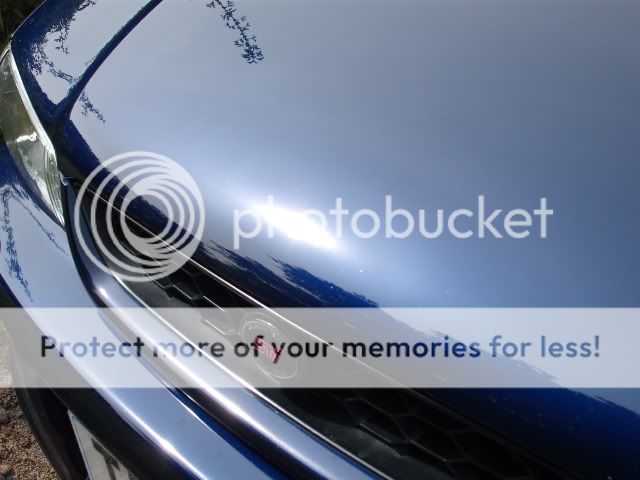
On the bodywork there are lots of swirls and many scratches that became more visible after a good wash and de-tar etc.
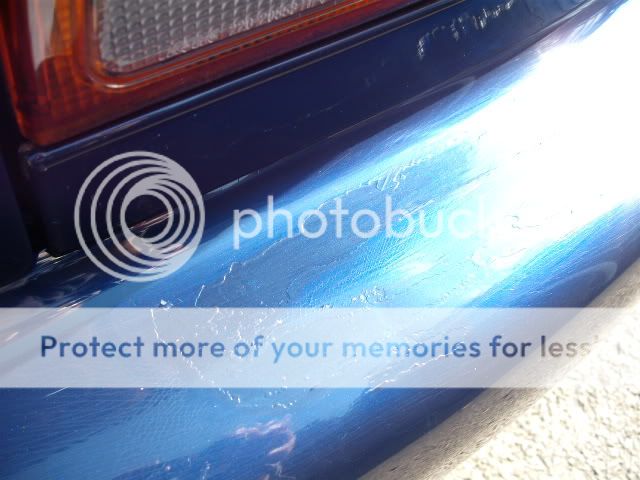
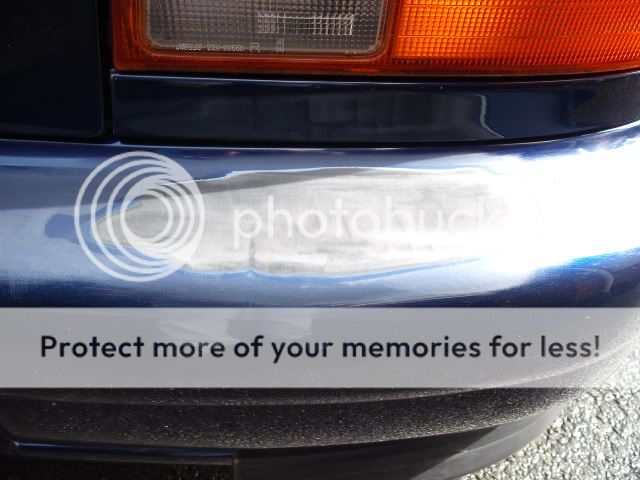
On the back bumper there is an area that the paint has cracked on and then painted over roughly, some laquer peel on the Morettes and the bottom of the passenger doors, various other different scratches and scrapes everywhere.
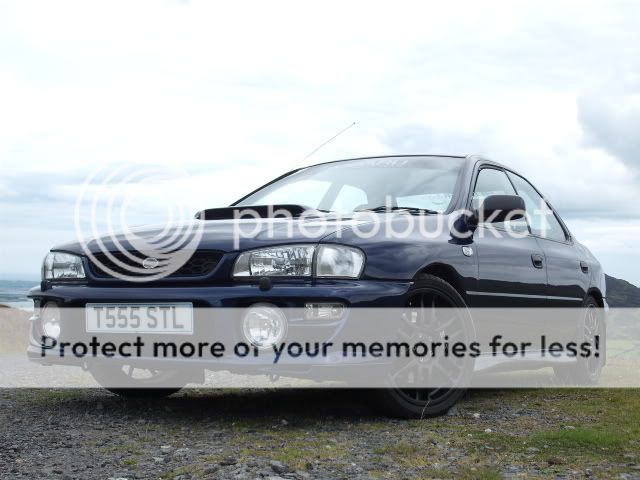
Rims will also be resprayed but I just cant decide what colour yet, any suggestions ??
This thread will be updated over the next few days and weeks so bear with it !


Took it out for a run on Tuesday evening and was very impressed with how solid the car felt, no knocks, rattles and not even a squeak in the car.
The engine has had a complete rebuild by API at a cost of over �3000 and there are quite a few modifications done to the car as well.
Morette headlights,17" rims,Pipercross filter, HKS dump valve, Stainless exhaust, lowered, Spax strut brace, it a PSI3 monitor but it has now been sold.
Over the next few weeks I'll spend some time working around it and posting plenty of pics of the work.
On the bodywork there are lots of swirls and many scratches that became more visible after a good wash and de-tar etc.
On the back bumper there is an area that the paint has cracked on and then painted over roughly, some laquer peel on the Morettes and the bottom of the passenger doors, various other different scratches and scrapes everywhere.
Rims will also be resprayed but I just cant decide what colour yet, any suggestions ??
This thread will be updated over the next few days and weeks so bear with it !

 22 June 2010, 10:15 AM
#4
Former Sponsor
iTrader: (3)

Join Date: Feb 2006
Location: AB51 0TH
Posts: 2,562
Likes: 0
Received 0 Likes
on
0 Posts
Me too... that's a project and a half, and I'm looking forward to seeing you chew your way through it. If you can stomach the cleaning requirement, I'd go with white wheels. 
 22 June 2010, 09:14 PM
#6
Scooby Regular
Thread Starter
iTrader: (14)
Join Date: Mar 2007
Posts: 730
Likes: 0
Received 0 Likes
on
0 Posts
Right some more pics ...
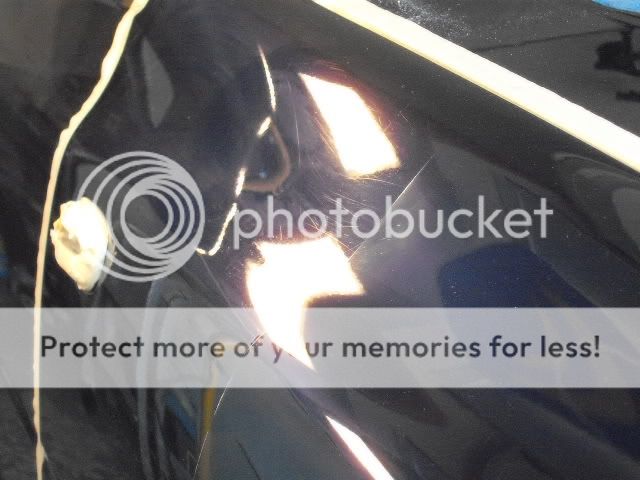
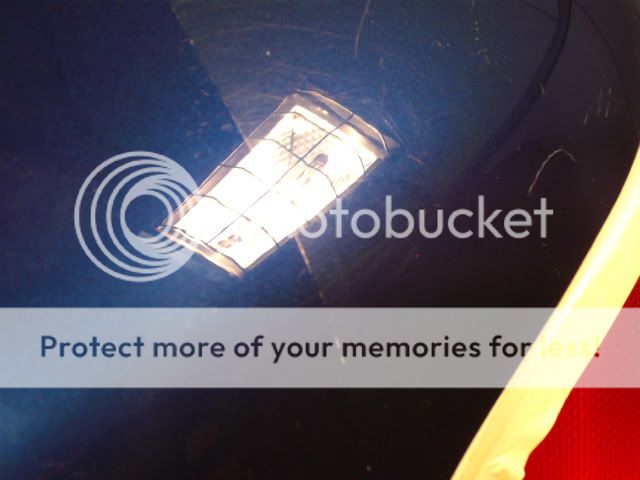
Lots of scratches and stone chips had been touched in and allowed to dry over night. They were then sanded down with 1500 wet and dry paper with plenty of lubrication ( water and Fairy lquid) from a spray bottle.

Loads of stone chips were touched in along the drivers side, the chips were filled proud of the surface and then sanded down with W+D 1500 and then 2000 W+D.

De-stickering has also started .

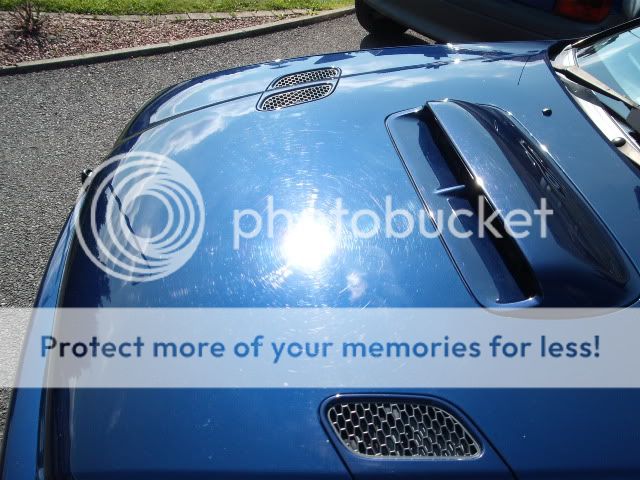
The front edge of the bonnet had many small stone chips and some larger chips, so I decided to touch in the larger chips and spray the numerous smaller chips. The only way to properly attack the smaller chips was to lightly spray the entire front of the bonnet, allow it to dry and then wet and dry sand the leading edge of the bonnet.
Many of the larger chips had to be touched in again, as I'm a fussy bugger !!
As they say, it'll be worse before it gets better.

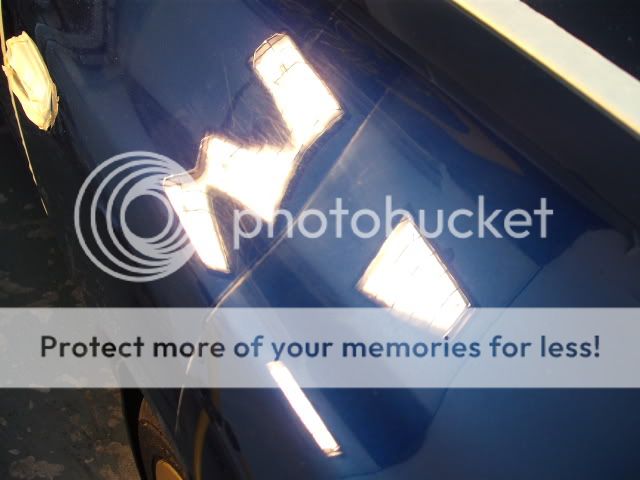
Another good pic of the wet sanding to the bonnet, the scrapes have almost disappeared, but a lot of correction will still be required.
Lots of scratches and stone chips had been touched in and allowed to dry over night. They were then sanded down with 1500 wet and dry paper with plenty of lubrication ( water and Fairy lquid) from a spray bottle.
Loads of stone chips were touched in along the drivers side, the chips were filled proud of the surface and then sanded down with W+D 1500 and then 2000 W+D.
De-stickering has also started .
The front edge of the bonnet had many small stone chips and some larger chips, so I decided to touch in the larger chips and spray the numerous smaller chips. The only way to properly attack the smaller chips was to lightly spray the entire front of the bonnet, allow it to dry and then wet and dry sand the leading edge of the bonnet.
Many of the larger chips had to be touched in again, as I'm a fussy bugger !!
As they say, it'll be worse before it gets better.
Another good pic of the wet sanding to the bonnet, the scrapes have almost disappeared, but a lot of correction will still be required.

Trending Topics

 07 July 2010, 02:33 AM
#11
Scooby Regular
Thread Starter
iTrader: (14)
Join Date: Mar 2007
Posts: 730
Likes: 0
Received 0 Likes
on
0 Posts
Sorry this has not been a bit better updated.
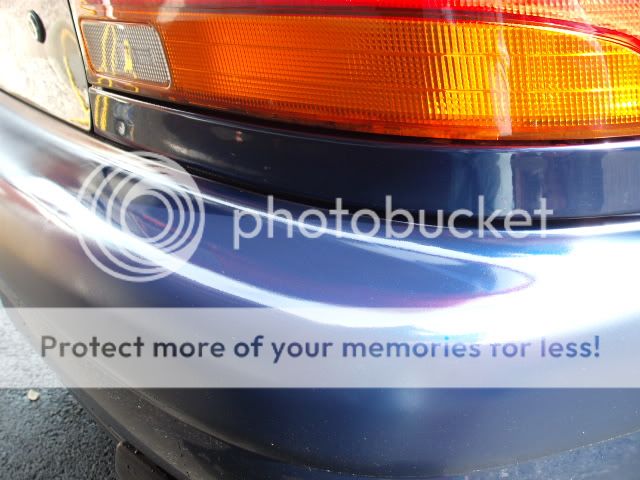
Got some more work done , the back bumper has been sanded down with a sanding block initially and the 800 wet and dry,
the door mirors were scraped so I used 1500 W+D on them .
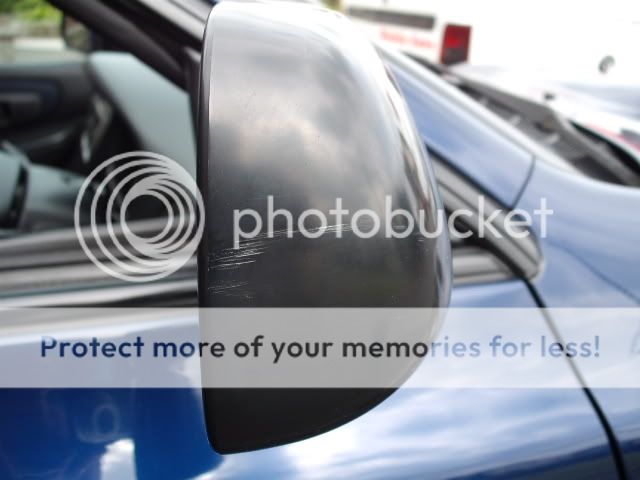
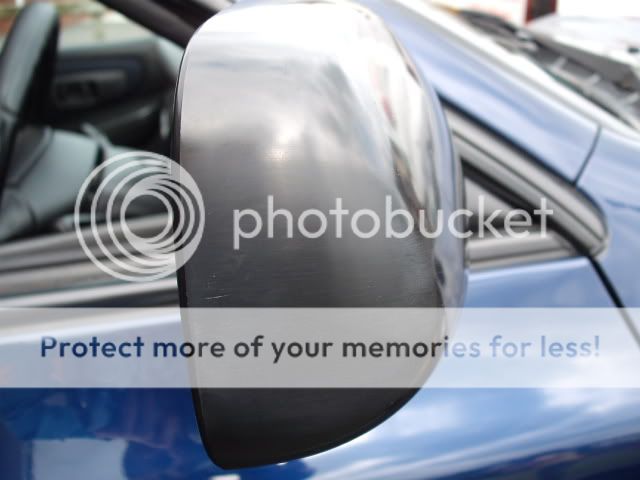
The mirror covers have not been compounded/polished yet
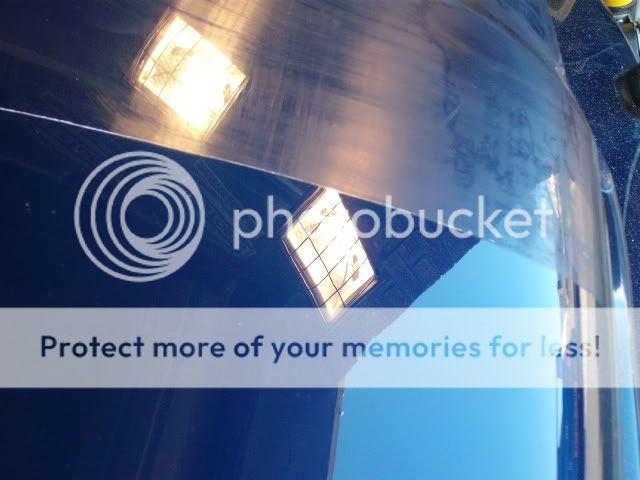
I also could not wait to have a look at how the bonnet would turn out, so I got the rotary polisher out and started on it with 3M Fast cut compound. I masked off a part of the bonnet ( about 30%) just to see the difference,and I have to say I'm pretty happy with it so far.
I will post up some pics of it, but it is still work in progress as the initial correction has only taken place
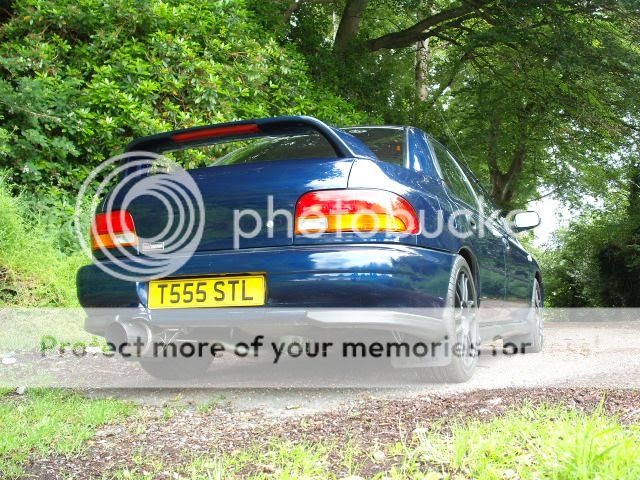
The Morette headlight are being sold and a set of crystal lights will be replacing them,
Got some more work done , the back bumper has been sanded down with a sanding block initially and the 800 wet and dry,
the door mirors were scraped so I used 1500 W+D on them .
The mirror covers have not been compounded/polished yet
I also could not wait to have a look at how the bonnet would turn out, so I got the rotary polisher out and started on it with 3M Fast cut compound. I masked off a part of the bonnet ( about 30%) just to see the difference,and I have to say I'm pretty happy with it so far.
I will post up some pics of it, but it is still work in progress as the initial correction has only taken place
The Morette headlight are being sold and a set of crystal lights will be replacing them,
07 July 2010, 02:35 AM
#12
Scooby Regular
Thread Starter
iTrader: (14)
Join Date: Mar 2007
Posts: 730
Likes: 0
Received 0 Likes
on
0 Posts
Some more pics of work done to the bonnet.
These pics are after the first step in the correction with 3M Fast Cut compound, it still has to be finished with Menzerna power finish, polished and waxed etc.

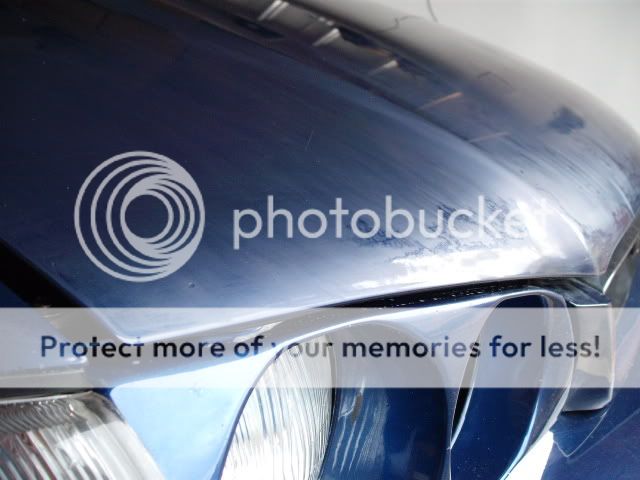
The drivers side wing has also received a bit of attention
These pics are after the first step in the correction with 3M Fast Cut compound, it still has to be finished with Menzerna power finish, polished and waxed etc.
The drivers side wing has also received a bit of attention
07 July 2010, 11:43 PM
#15
Scooby Regular
Thread Starter
iTrader: (14)
Join Date: Mar 2007
Posts: 730
Likes: 0
Received 0 Likes
on
0 Posts
Some more of this weeks work....
The back bumper has been primed,sprayed and laquered, it will be wet sanded tomorrow and the compounded/polished etc. Colour match and finish look spot on so far.

Both sides of the car have now been given the first stage of correction with 3M compound to remove the heaviest of scratches and swirls but still have to be further refined/polished etc.
Rear panel 50/50
To be continued.
The back bumper has been primed,sprayed and laquered, it will be wet sanded tomorrow and the compounded/polished etc. Colour match and finish look spot on so far.
Both sides of the car have now been given the first stage of correction with 3M compound to remove the heaviest of scratches and swirls but still have to be further refined/polished etc.
Rear panel 50/50
To be continued.
07 July 2010, 11:45 PM
#16
Scooby Regular
Thread Starter
iTrader: (14)
Join Date: Mar 2007
Posts: 730
Likes: 0
Received 0 Likes
on
0 Posts
Another wee update...
The Morettes have now been replaced.
The bonnet has had the paint corrected, just need a final polish and waxed at the finish.
Corrected with 3M Fast cut compound and further refined with Meguiars Diamond cut and Menzerna Power Finish


The drivers side is also almost complete

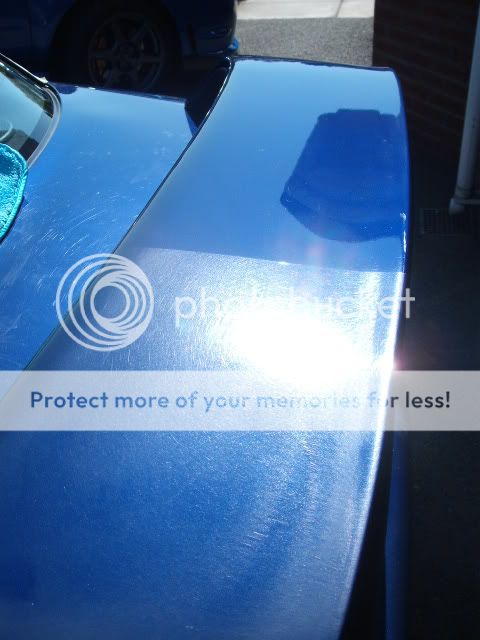
The condition of the paint on the rear spoiler was pretty scary, with lots of scratches and swirls. I rubbed it lightly with 2000 wet and dry paper to see if it made the paint correction any simpler.
Rear spoiler 50/50
The Morettes have now been replaced.
The bonnet has had the paint corrected, just need a final polish and waxed at the finish.
Corrected with 3M Fast cut compound and further refined with Meguiars Diamond cut and Menzerna Power Finish
The drivers side is also almost complete
The condition of the paint on the rear spoiler was pretty scary, with lots of scratches and swirls. I rubbed it lightly with 2000 wet and dry paper to see if it made the paint correction any simpler.
Rear spoiler 50/50


 16 July 2010, 03:45 PM
#21
Former Sponsor
iTrader: (3)
Join Date: Feb 2006
Location: AB51 0TH
Posts: 2,562
Likes: 0
Received 0 Likes
on
0 Posts
Tremendous turnaround; if you've ordered from us recently pop a show n shine entry in (see website 'Show Off' section for details). It would make a deserving winner. 
18 July 2010, 01:30 PM
#23
Former Sponsor
iTrader: (3)
Join Date: Feb 2006
Location: AB51 0TH
Posts: 2,562
Likes: 0
Received 0 Likes
on
0 Posts
Months ago is fine, e-mail a link to this thread in asap. I'm a couple of months behind on the write up's, but you'll be entered into either the July or August competition, and you never know your luck.

 21 July 2010, 01:08 AM
#28
Scooby Regular
Thread Starter
iTrader: (14)
Join Date: Mar 2007
Posts: 730
Likes: 0
Received 0 Likes
on
0 Posts
Big thanks to all the comments so far.
There were a few other jobs that needed tending to before it can really be called finished.
1. The engine bay was soaked with G101, agitated with a brush, hosed off and soaked again. Inlet manifold cleaned with brush and Autosmart Alu cleaner, finally when dried the intercooler, top of radiator, pulley cover and various other little brackets were sprayed with satin black, lastly it was dressed with Autosmart Finish.
2. The area on the passenger doors where the laquer had peeled was not finished properly in my opinion. Where the laquer had peeled the paint underneath had faded slightly with the result that when it was laquered over again the colour match was not great. The affected area was sanded again, sprayed with 52D aerosol, then laquered, wet sanded and then compounded, polished and sealed again.
I'm much happier now with the finish.
Pics will follow......
