Polished Bliss: DB9 Full Works
 03 February 2009, 02:10 PM
#1
Former Sponsor
Thread Starter
iTrader: (3)

Join Date: Feb 2006
Location: AB51 0TH
Posts: 2,562
Likes: 0
Received 0 Likes
on
0 Posts
One of last week's details, done as always by Clark...
---
This was the second detail of the week after completing a minor correction on a 997 C4S on Monday and Tues.
Car:


Service Option: 3 day Major Paint Correction Detail.
The owner had travelled all the way up from Glasgow so it was no real surprise to find the car was quite grubby upon its arrival, so an extra generous helping of APC in the foam lance (60 degrees) was used to try and remove as much dirt and grime as possible:

This was left to dwell for 5 minutes before foaming again and then rinsing at high pressure (again at 60 degrees):

The hot water pressure washer comes into its own in these times - not much dirt left on the paint now.


The wheels and tyres were cleaned with Blackfire's wheel and tyre cleaner (menzerna 7.5 replacement), then Autosmart Tardis followed by Megs Super degreaser in the arches:

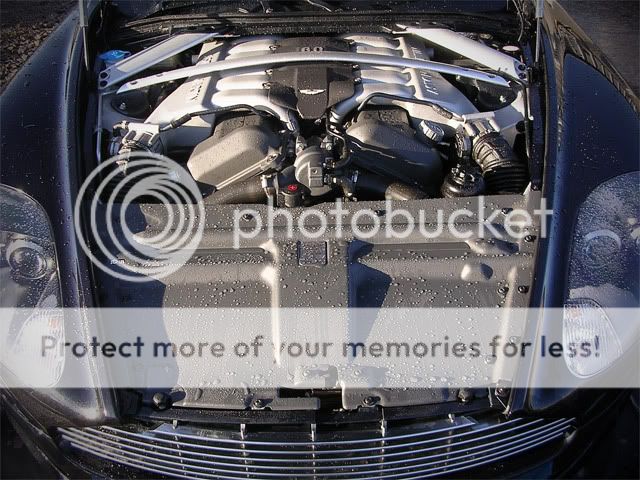
The engine bay was rinsed at medium pressure after being soaked with Super degreaser:

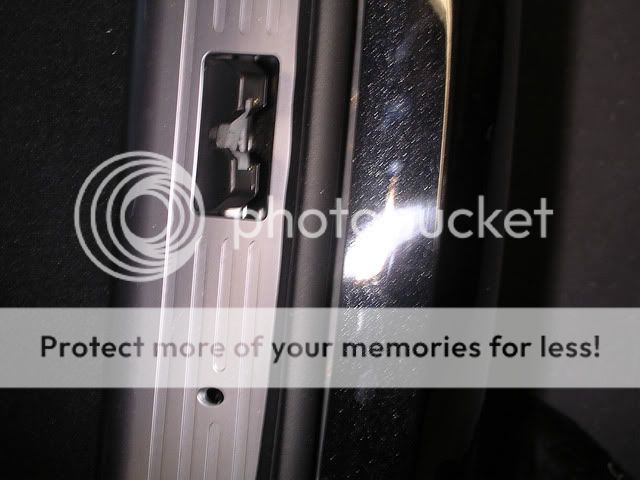
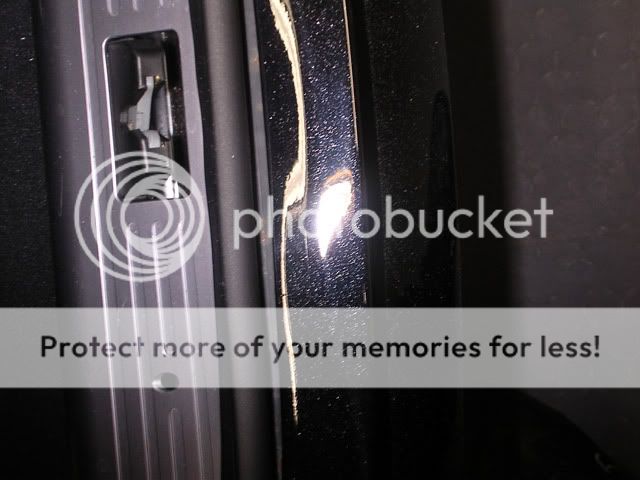
All the exterior trim and shuts were cleaned with APC and a slide lock brush before I then washed the car with the 2BM and Meguiars Shampoo Plus:

Tardis was used again to remove some minor tar spots along the lower half of the car and arch lips and I then put the car inside for claying.
Meguiars Quick Clay was used as there wasn�t a huge amount of contamination present as you can see from the (out of focus!) pic:

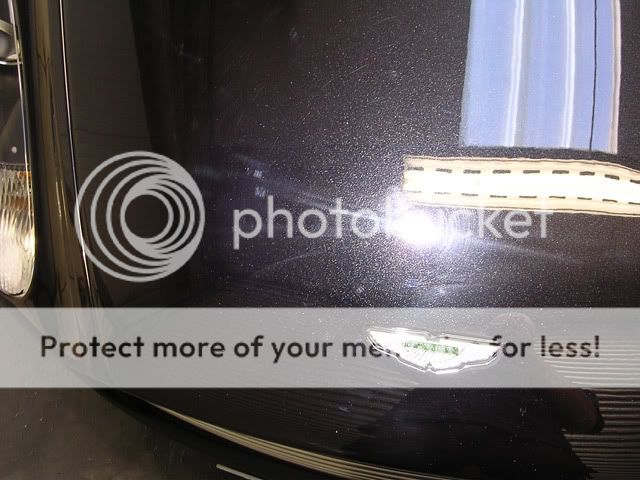
Once dried off I took paint readings which showed everything on the car was original except for an area on the o/s rear quarter which had been blown in. The paint readings were anything from 65 to 150 microns but the composite gauge was able to split the layers nicely and I found that I still had decent (and safe) levels of clear to play with even on the low areas.
Now time to inspect the paintwork...

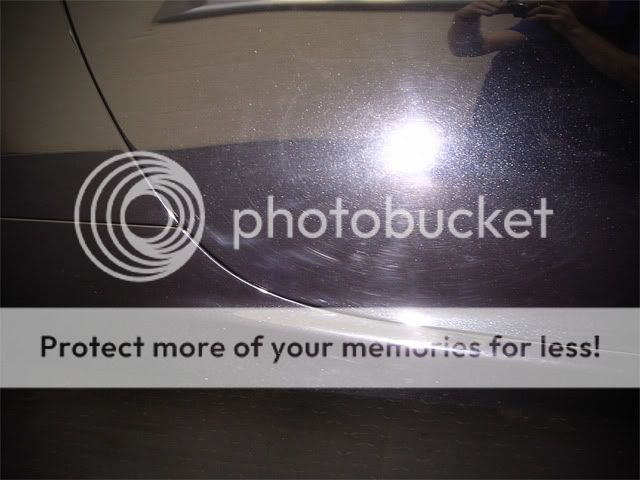
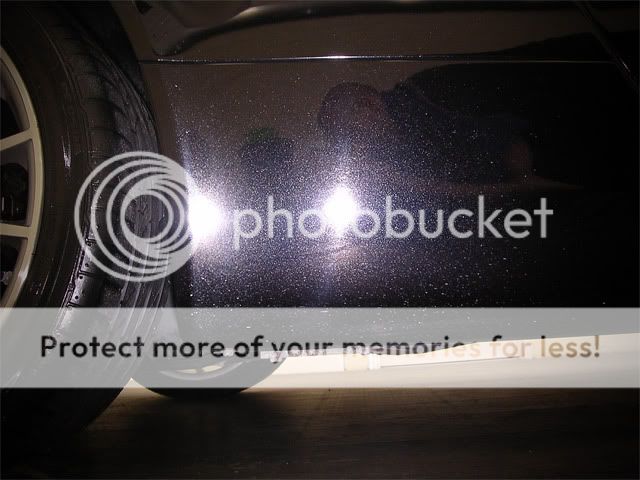
buffer trails:

Micro marring from a sanding disc used by machine:


More micro marring:


And here you can see where the rear arch has been blown in:

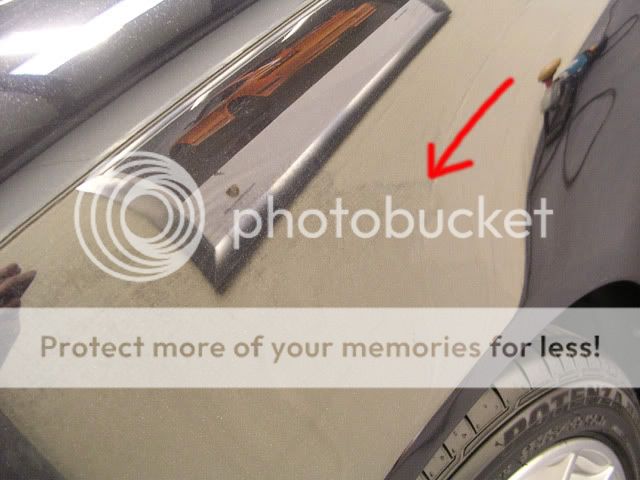
So overall the paint was in a pretty poor state of affairs, with pretty much every panel showing signs of sanding haze not properly polished out and some areas not even polished at all. As the paint was all original I can only assume this was due to the prep done by Aston Martin themselves as I have seen similair examples on various detailing forums before and have heard of new car prep problems of this sort...
Correction:
After a quick play about with polish and pad combinations I settled on a mix of Menzerna 3.02 and 3M Fast Cut Plus with a Meguiars Cutting Pad:

This achieved the desired result with some areas needing 2 hits:

The smaller areas were cut in with 4" and 3.5" pads throughout the detail:
Some more correction shots in no particular order:
Before:


After:


Rear quarter which had been blown in:
50/50:

completed:

50/50 on top of rear quarter:

Before:

After:

Before:

After:

This 50/50 shows how much clarity you lose in the paint from all the micro marring:


The lower lips on the doors were done with the smaller pads:
Before:

After:

Before:

After:


The back bumper took a bit of extra effort where the worst of the micro marring was:
Before:

After:

Top of back bumper before:
After:

Before:

After:
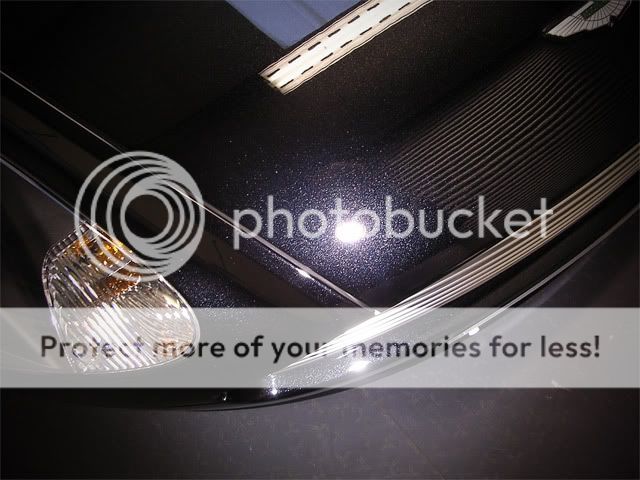
Once all the correction work was completed I then refined the paint further with Menzerna PO85 RE5 and a Meguiars finishing pad. This stage alone took well over 7 hours to do properly.
The flake really started to show through the nicely prepped surface though...
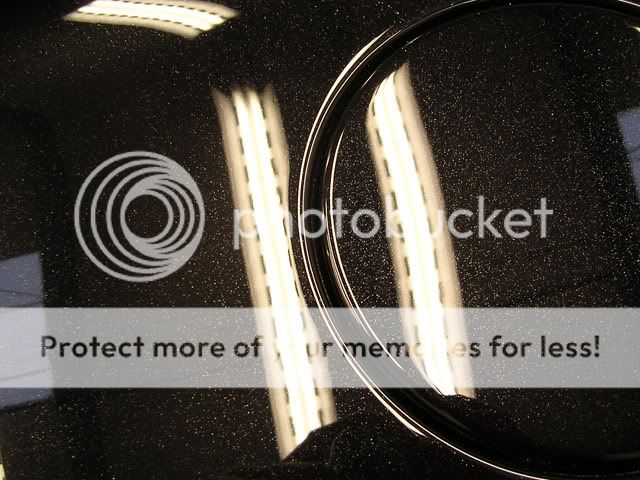
A lambs wool duster was used to remove all traces of polishing dust and the paint was then given a thorough wipe down with Top Inspection to remove any remaining oils.
A classy car needs a classy wax so Vintage was applied by applicator pad to the whole car and then buffed off after 10 minutes, meanwhile Marsha had sealed the wheels (Blackfire Metal Sealant), dressed the tyres (Gloss-It) and polished the tailpipes (Megs NXT).
This was the interior process:
- Thoroughly hoovered
- APC wipe down
- Glass cleaned with Eimann Fabrik
- Leather fed with Raceglaze Leather Balm
- Shuts waxed with Vintage


The engine was dressed with Aerospace 303 and the underside of the bonnet was wiped down with Gloss-It QD:


And here are the obligatory Sun Gun shots to show the final finish. I should point out that these were taken before the final wipe down so there are some smears from the Vintage in a couple of the pics:


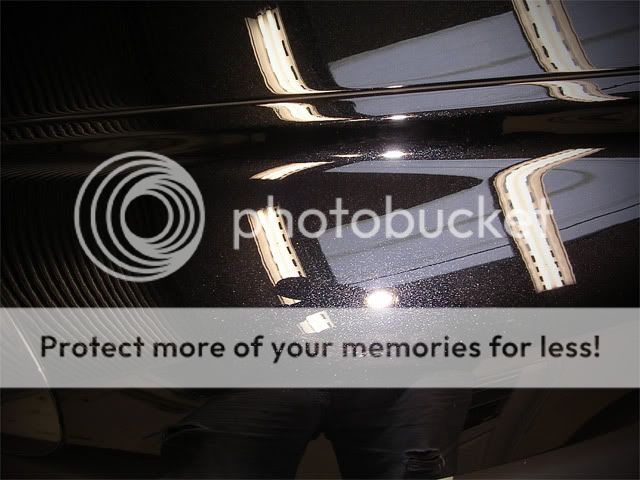
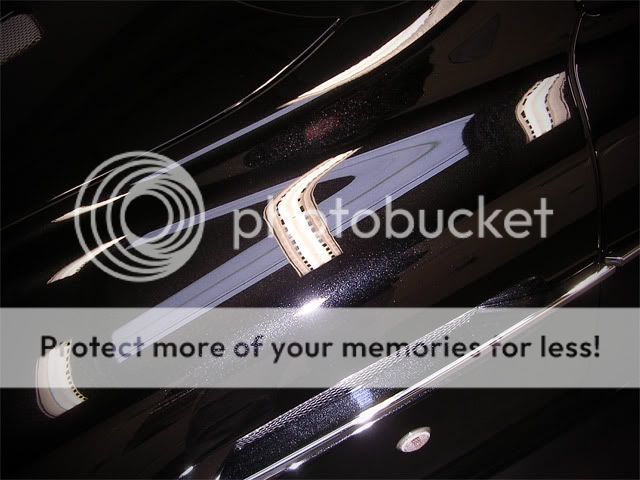


And here's the ones Rich took with his SLR:


Total Work Time: 33 Hours
Thanks for taking the time to read as always.

---
This was the second detail of the week after completing a minor correction on a 997 C4S on Monday and Tues.
Car:
Service Option: 3 day Major Paint Correction Detail.
The owner had travelled all the way up from Glasgow so it was no real surprise to find the car was quite grubby upon its arrival, so an extra generous helping of APC in the foam lance (60 degrees) was used to try and remove as much dirt and grime as possible:
This was left to dwell for 5 minutes before foaming again and then rinsing at high pressure (again at 60 degrees):
The hot water pressure washer comes into its own in these times - not much dirt left on the paint now.
The wheels and tyres were cleaned with Blackfire's wheel and tyre cleaner (menzerna 7.5 replacement), then Autosmart Tardis followed by Megs Super degreaser in the arches:
The engine bay was rinsed at medium pressure after being soaked with Super degreaser:
All the exterior trim and shuts were cleaned with APC and a slide lock brush before I then washed the car with the 2BM and Meguiars Shampoo Plus:
Tardis was used again to remove some minor tar spots along the lower half of the car and arch lips and I then put the car inside for claying.
Meguiars Quick Clay was used as there wasn�t a huge amount of contamination present as you can see from the (out of focus!) pic:
Once dried off I took paint readings which showed everything on the car was original except for an area on the o/s rear quarter which had been blown in. The paint readings were anything from 65 to 150 microns but the composite gauge was able to split the layers nicely and I found that I still had decent (and safe) levels of clear to play with even on the low areas.
Now time to inspect the paintwork...
buffer trails:
Micro marring from a sanding disc used by machine:
More micro marring:
And here you can see where the rear arch has been blown in:
So overall the paint was in a pretty poor state of affairs, with pretty much every panel showing signs of sanding haze not properly polished out and some areas not even polished at all. As the paint was all original I can only assume this was due to the prep done by Aston Martin themselves as I have seen similair examples on various detailing forums before and have heard of new car prep problems of this sort...
Correction:
After a quick play about with polish and pad combinations I settled on a mix of Menzerna 3.02 and 3M Fast Cut Plus with a Meguiars Cutting Pad:
This achieved the desired result with some areas needing 2 hits:
The smaller areas were cut in with 4" and 3.5" pads throughout the detail:
Some more correction shots in no particular order:
Before:
After:
Rear quarter which had been blown in:
50/50:
completed:
50/50 on top of rear quarter:
Before:
After:
Before:
After:
This 50/50 shows how much clarity you lose in the paint from all the micro marring:
The lower lips on the doors were done with the smaller pads:
Before:
After:
Before:
After:
The back bumper took a bit of extra effort where the worst of the micro marring was:
Before:
After:
Top of back bumper before:
After:
Before:
After:
Once all the correction work was completed I then refined the paint further with Menzerna PO85 RE5 and a Meguiars finishing pad. This stage alone took well over 7 hours to do properly.
The flake really started to show through the nicely prepped surface though...
A lambs wool duster was used to remove all traces of polishing dust and the paint was then given a thorough wipe down with Top Inspection to remove any remaining oils.
A classy car needs a classy wax so Vintage was applied by applicator pad to the whole car and then buffed off after 10 minutes, meanwhile Marsha had sealed the wheels (Blackfire Metal Sealant), dressed the tyres (Gloss-It) and polished the tailpipes (Megs NXT).
This was the interior process:
- Thoroughly hoovered
- APC wipe down
- Glass cleaned with Eimann Fabrik
- Leather fed with Raceglaze Leather Balm
- Shuts waxed with Vintage
The engine was dressed with Aerospace 303 and the underside of the bonnet was wiped down with Gloss-It QD:
And here are the obligatory Sun Gun shots to show the final finish. I should point out that these were taken before the final wipe down so there are some smears from the Vintage in a couple of the pics:
And here's the ones Rich took with his SLR:
Total Work Time: 33 Hours
Thanks for taking the time to read as always.


Trending Topics


Thread
Thread Starter
Forum
Replies
Last Post
JonMc
Non Car Related Items For sale
0
12 September 2015 09:33 AM