4 Pot Caliper refurbing
 16 May 2013, 05:09 PM
#31
But! I recently sprayed a manifold with VHT Metalic paint that I got from halfords that has a slight sparkle to it.....


 16 May 2013, 07:48 PM
#33
 16 May 2013, 10:23 PM
#35
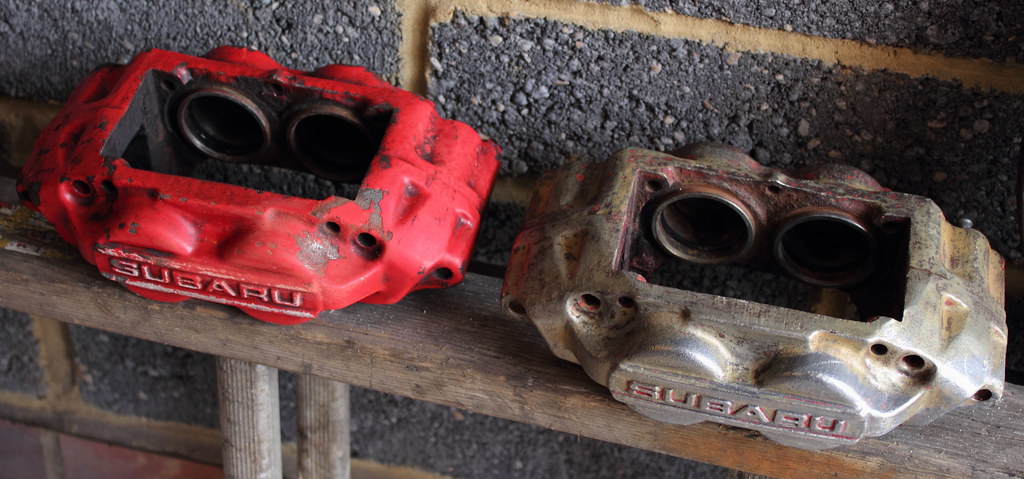
I'm doing mine too, started like this....
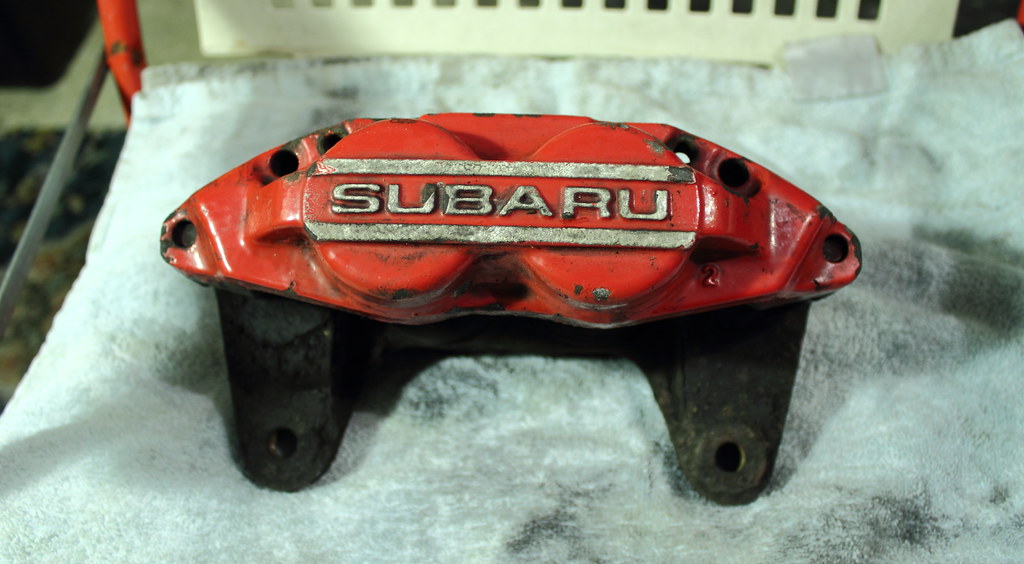
It literally took me hours to get the seized and rusted pistons out of these buggers!!!!!!!!!
Here is one caliper stripped right back and then primed for painting...

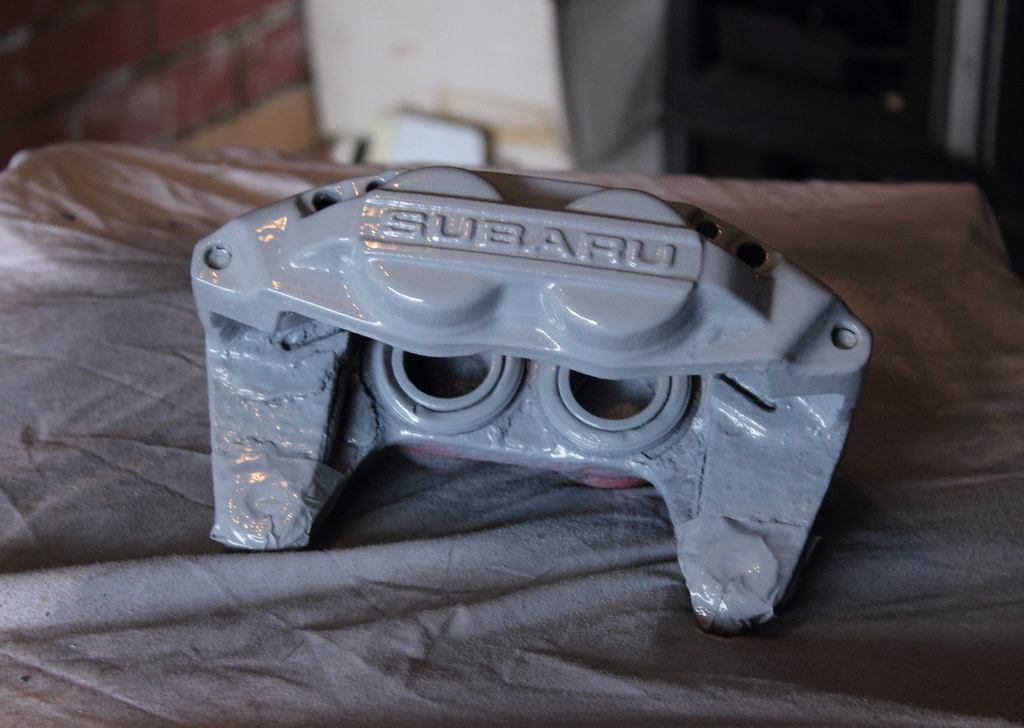
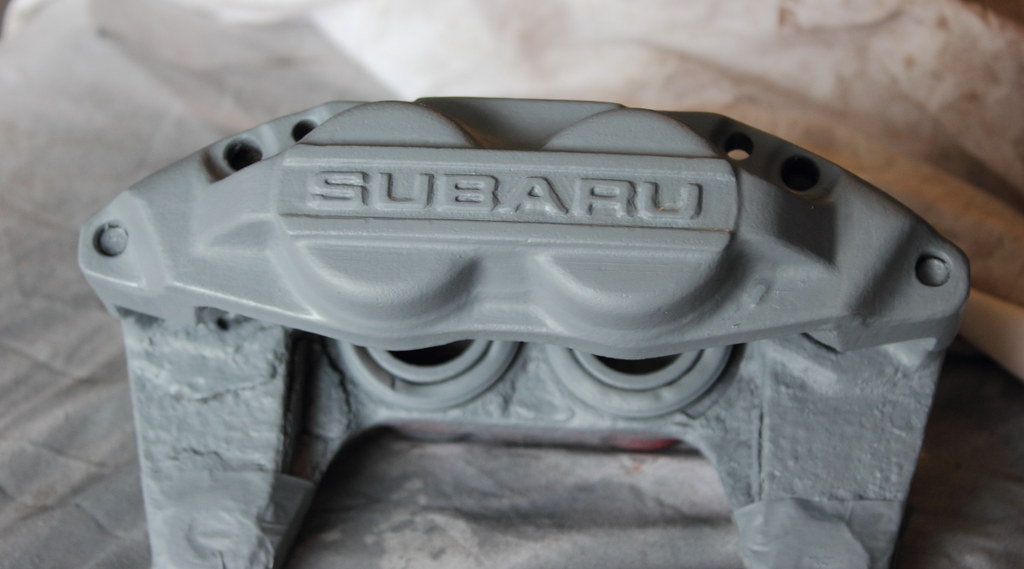
...and finally painted up ready for their new seal kits and pistons
It literally took me hours to get the seized and rusted pistons out of these buggers!!!!!!!!!
Here is one caliper stripped right back and then primed for painting...
...and finally painted up ready for their new seal kits and pistons
 . Good luck on the refurb Jay I need to do mine soon.
 25 May 2013, 11:46 AM
#45
Scooby Regular

Join Date: Jan 2011
Location: Hengoed
Posts: 351
Likes: 0
Received 0 Likes
on
0 Posts

 10 June 2013, 11:04 PM
#52
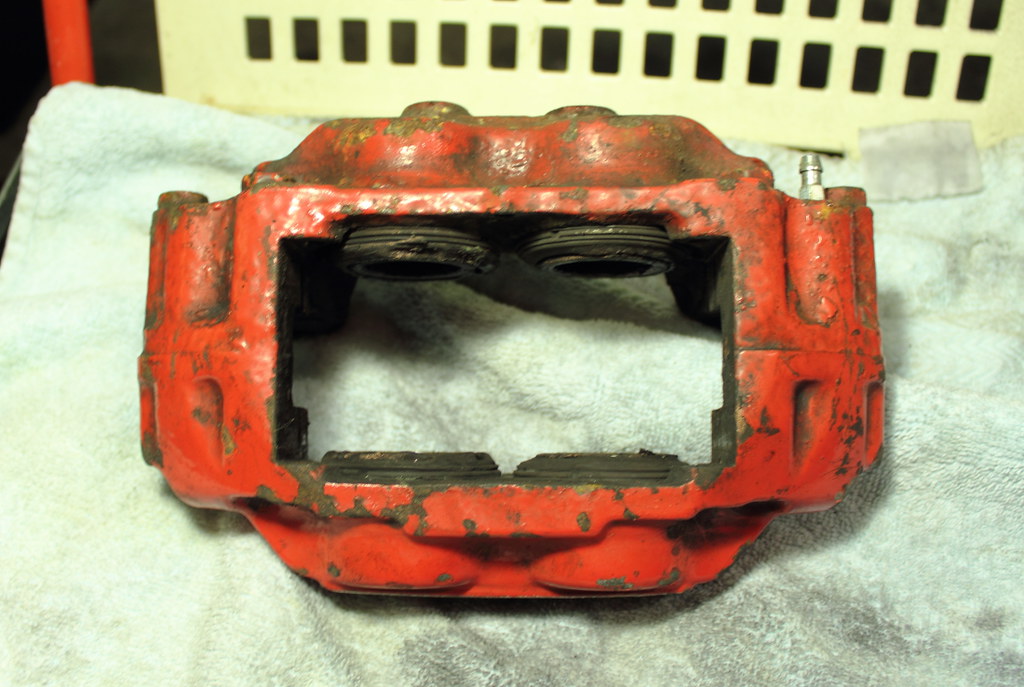
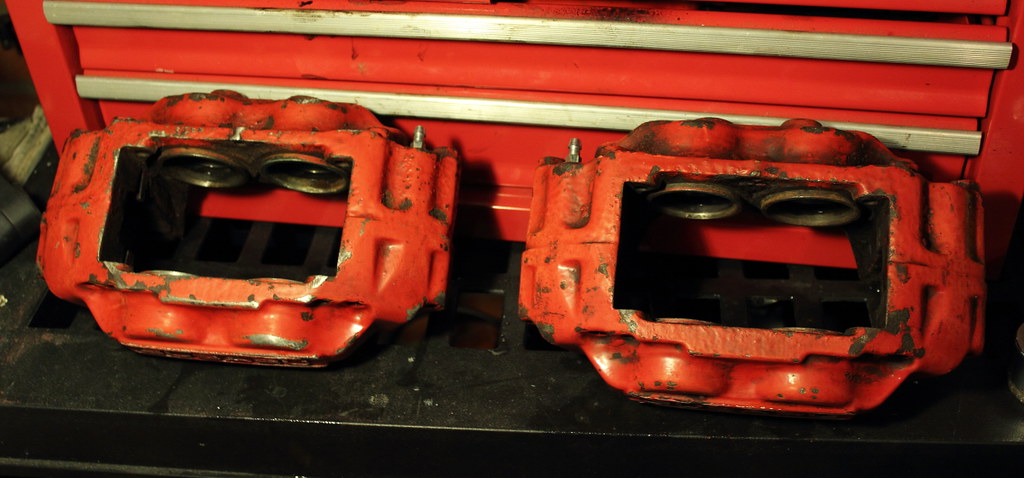
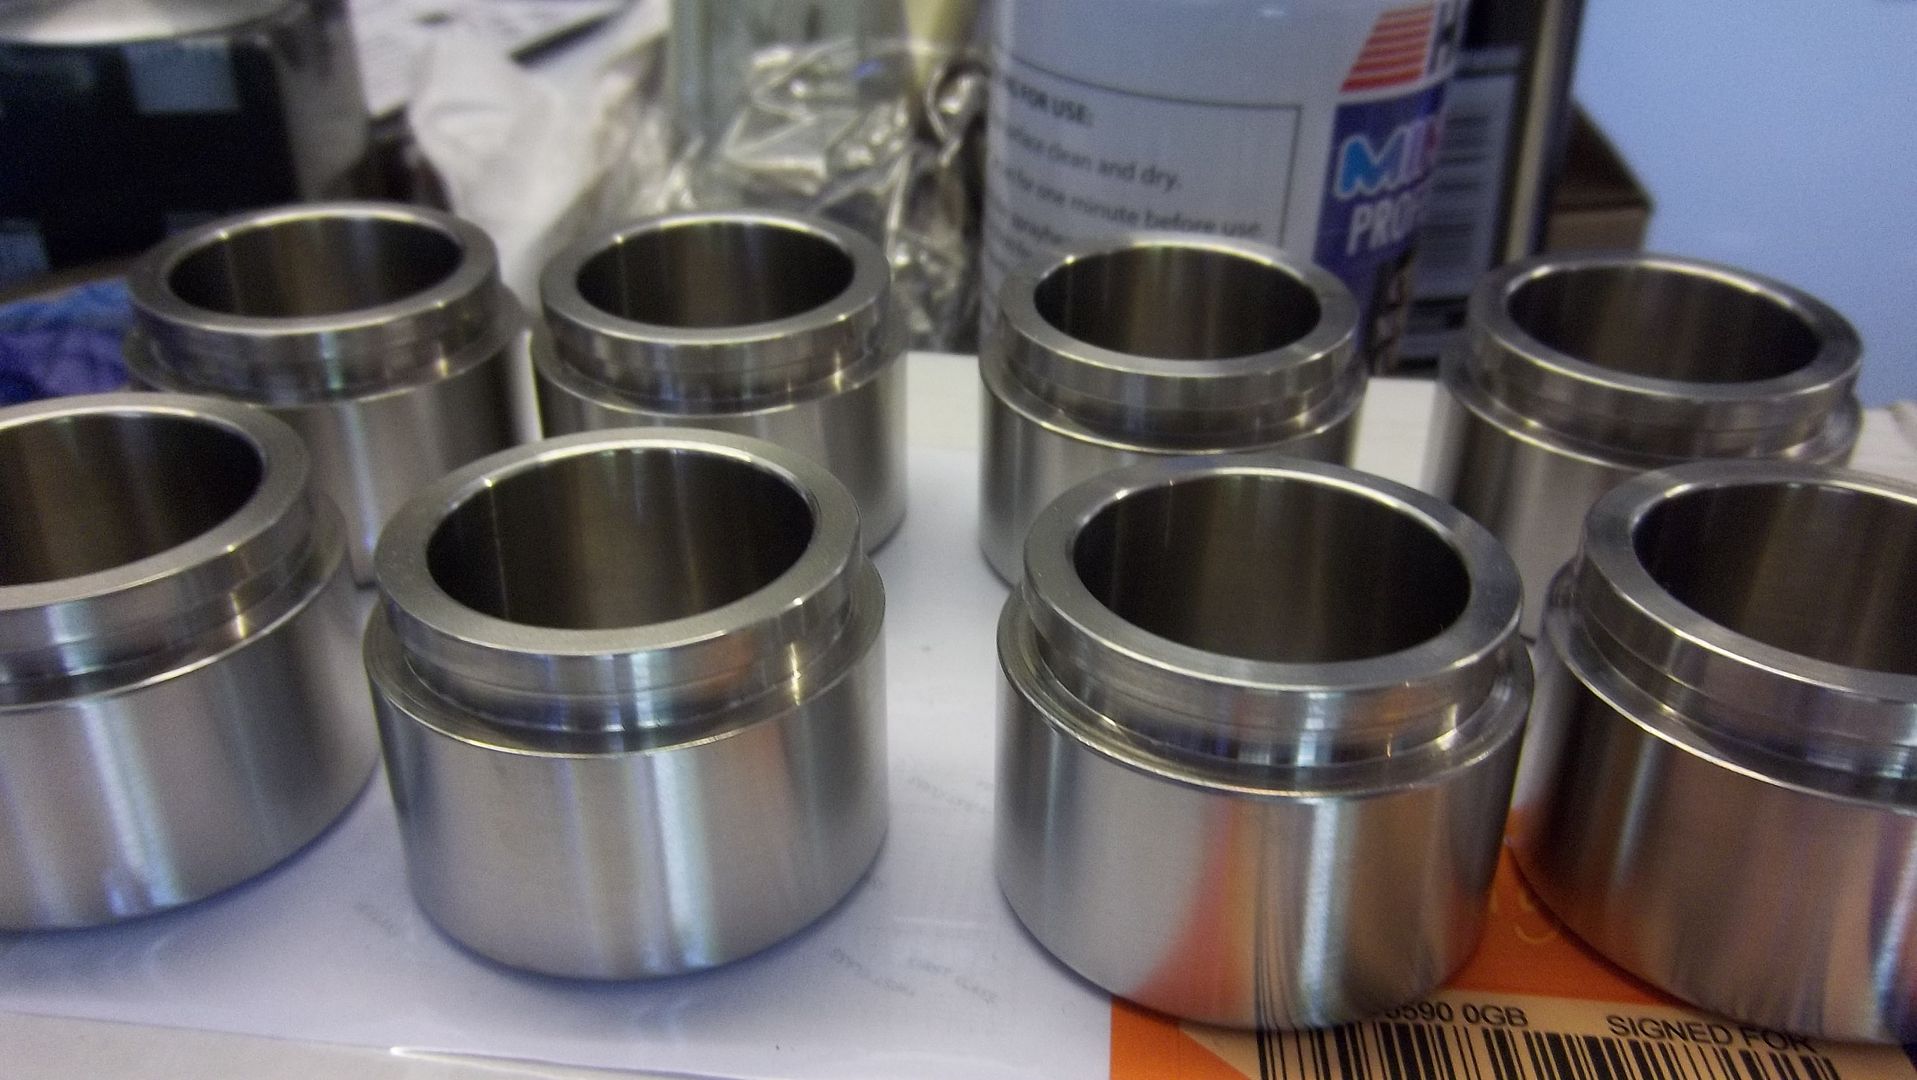
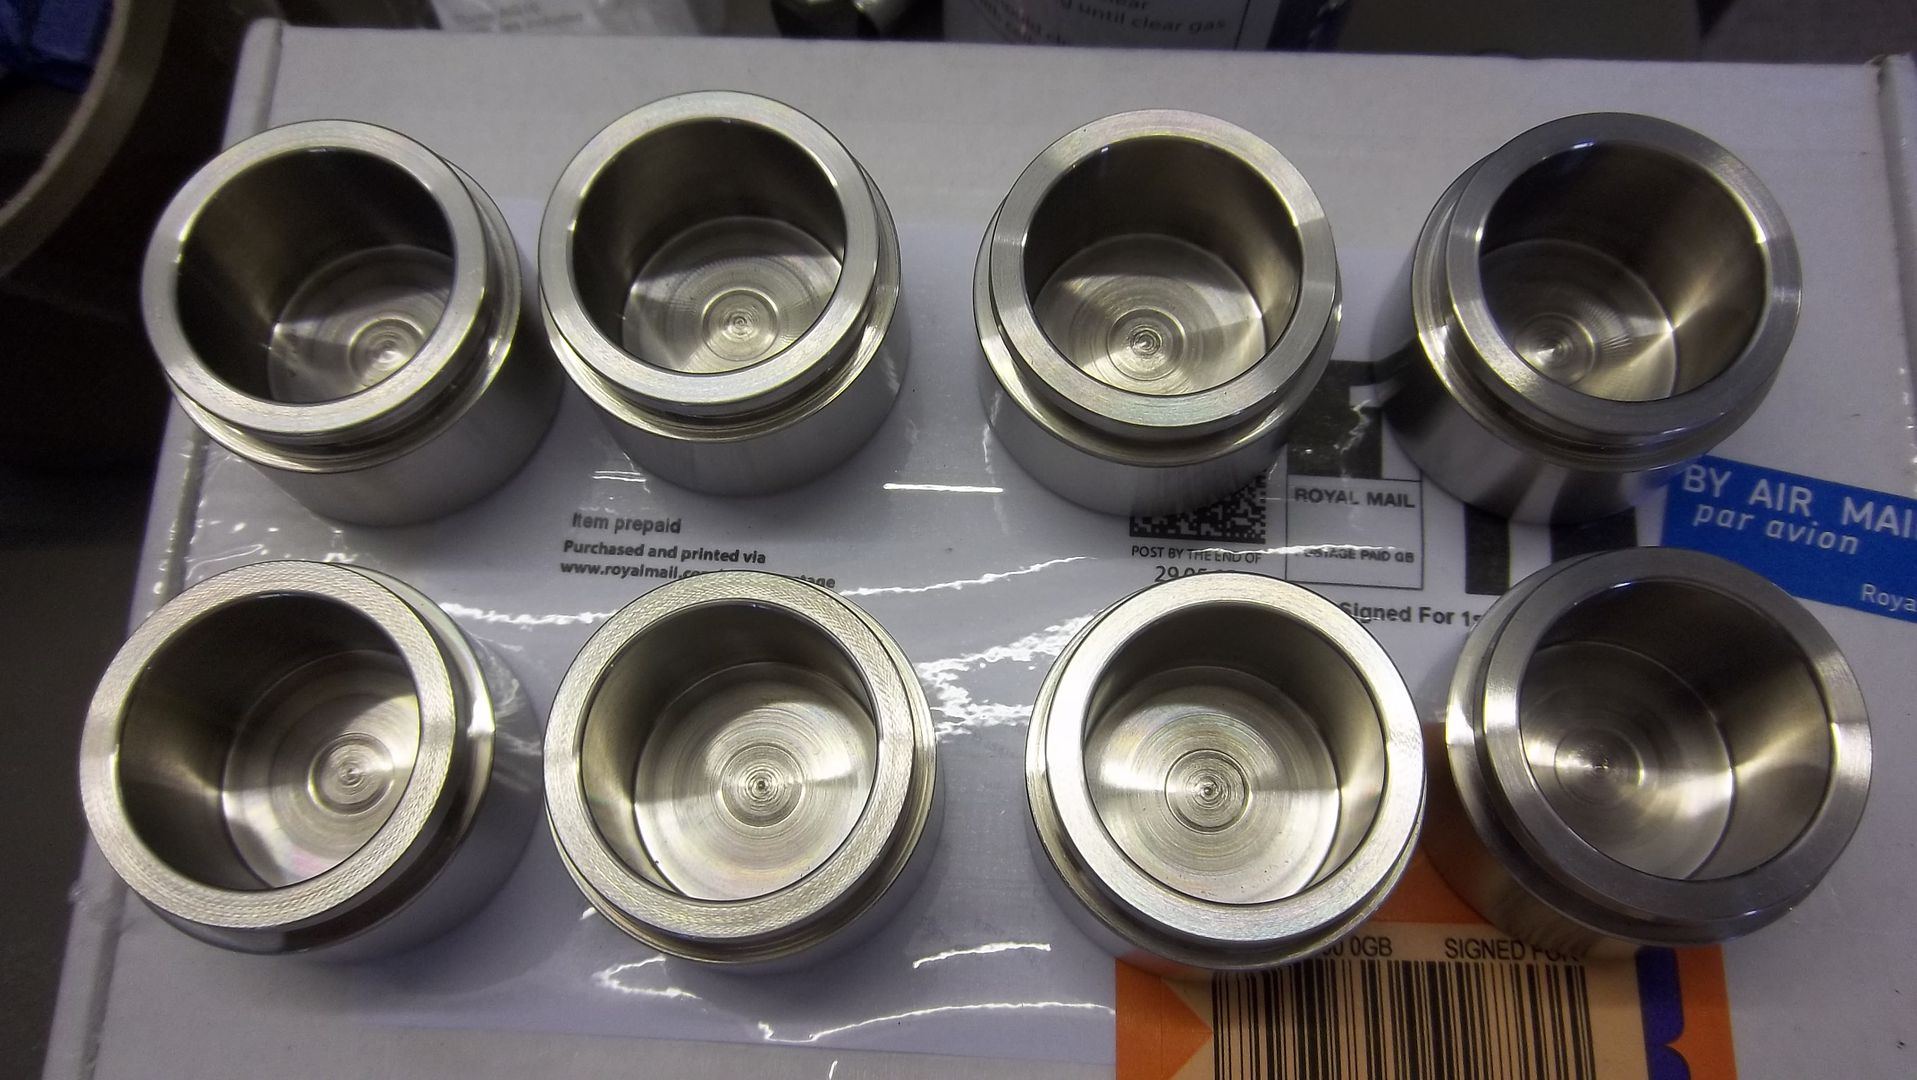
Currently doing this myself. Stripped the calipers down now and removed all but one of the pistons on the pair.
The cheapest and most effective rust removal: ELECTROLYSIS
Yes it looks dangerous but i have done it to caliper's and all sorts of car parts. Work's a treat
1:Get a plastic tub large enough to fit the item you want derusting, and can be fully submersed in water.
2: Find a piece of Steel or Iron (not stainless as gives off highly toxic fumes) to use as a sacrificial anode
3: Fill tub with water and add a granny's measure off Soda crystal's ( Get it from Tesco's in a green bag) next to the washing up stuff. So it's deep enough for said item to be de-rusted.
4: Take 1 brake caliper half, Attach the negative end of a battery charger or battery with leads attached, to the brake caliper ( or said item to be derusted) then submerse into the water/soda solution.
5: attach the positive lead to the sacrificial anode (Steel bar or iron work's fine paint free and clean as possible for good connection). Then submerse that into the opposite side of the tub !!!! DO NOT LET THE ANODE AND THE BRAKE CALIPER TOUCH !!!! WILL SHORT THE SYSTEM AND BLOW A FUSE OR WORSE, OR COULD MAKE A BATTERY EXPLODE
6: Do it in a well ventilated area as gases such as hydrogen are emmited from the process.
Once all the above is set up, double check the water is well and truly covering the rusted item. add more soda crystals if you like, makes me feel like it was working better.
DOUBLE CHECK THE ANODE AND BRAKE CALIPER FOR EXAMPLE ARE NOT TOUCHING AND HAVE A FEW CM'S BETWEEN THEM.
Make sure anyone around the house or garage is aware of the set up and know's not to touch,move or close door's or window's etc for ventilation
Finally, press the switch, so battery charger fires up or other end of negative lead if it's a battery by itself. Leave for a few hours, constantly checking.
Say 6 hour's later, admire your handywork.
Rotate the rusted item if you wish so it get's even rust removal attracted to the Anode. ( Do this with the power off and in a well ventilated place)
Will post up pic's of how my caliper's came out afterwards.
ENJOY, Best of all, no mess or black bogies!!!
11 June 2013, 09:06 AM
#53
Currently doing this myself. Stripped the calipers down now and removed all but one of the pistons on the pair.
The cheapest and most effective rust removal: ELECTROLYSIS
Yes it looks dangerous but i have done it to caliper's and all sorts of car parts. Work's a treat
1:Get a plastic tub large enough to fit the item you want derusting, and can be fully submersed in water.
2: Find a piece of Steel or Iron (not stainless as gives off highly toxic fumes) to use as a sacrificial anode
3: Fill tub with water and add a granny's measure off Soda crystal's ( Get it from Tesco's in a green bag) next to the washing up stuff. So it's deep enough for said item to be de-rusted.
4: Take 1 brake caliper half, Attach the negative end of a battery charger or battery with leads attached, to the brake caliper ( or said item to be derusted) then submerse into the water/soda solution.
5: attach the positive lead to the sacrificial anode (Steel bar or iron work's fine paint free and clean as possible for good connection). Then submerse that into the opposite side of the tub !!!! DO NOT LET THE ANODE AND THE BRAKE CALIPER TOUCH !!!! WILL SHORT THE SYSTEM AND BLOW A FUSE OR WORSE, OR COULD MAKE A BATTERY EXPLODE
6: Do it in a well ventilated area as gases such as hydrogen are emmited from the process.
Once all the above is set up, double check the water is well and truly covering the rusted item. add more soda crystals if you like, makes me feel like it was working better.
DOUBLE CHECK THE ANODE AND BRAKE CALIPER FOR EXAMPLE ARE NOT TOUCHING AND HAVE A FEW CM'S BETWEEN THEM.
Make sure anyone around the house or garage is aware of the set up and know's not to touch,move or close door's or window's etc for ventilation
Finally, press the switch, so battery charger fires up or other end of negative lead if it's a battery by itself. Leave for a few hours, constantly checking.
Say 6 hour's later, admire your handywork.
Rotate the rusted item if you wish so it get's even rust removal attracted to the Anode. ( Do this with the power off and in a well ventilated place)
Will post up pic's of how my caliper's came out afterwards.
ENJOY, Best of all, no mess or black bogies!!!
The cheapest and most effective rust removal: ELECTROLYSIS
Yes it looks dangerous but i have done it to caliper's and all sorts of car parts. Work's a treat
1:Get a plastic tub large enough to fit the item you want derusting, and can be fully submersed in water.
2: Find a piece of Steel or Iron (not stainless as gives off highly toxic fumes) to use as a sacrificial anode
3: Fill tub with water and add a granny's measure off Soda crystal's ( Get it from Tesco's in a green bag) next to the washing up stuff. So it's deep enough for said item to be de-rusted.
4: Take 1 brake caliper half, Attach the negative end of a battery charger or battery with leads attached, to the brake caliper ( or said item to be derusted) then submerse into the water/soda solution.
5: attach the positive lead to the sacrificial anode (Steel bar or iron work's fine paint free and clean as possible for good connection). Then submerse that into the opposite side of the tub !!!! DO NOT LET THE ANODE AND THE BRAKE CALIPER TOUCH !!!! WILL SHORT THE SYSTEM AND BLOW A FUSE OR WORSE, OR COULD MAKE A BATTERY EXPLODE
6: Do it in a well ventilated area as gases such as hydrogen are emmited from the process.
Once all the above is set up, double check the water is well and truly covering the rusted item. add more soda crystals if you like, makes me feel like it was working better.
DOUBLE CHECK THE ANODE AND BRAKE CALIPER FOR EXAMPLE ARE NOT TOUCHING AND HAVE A FEW CM'S BETWEEN THEM.
Make sure anyone around the house or garage is aware of the set up and know's not to touch,move or close door's or window's etc for ventilation
Finally, press the switch, so battery charger fires up or other end of negative lead if it's a battery by itself. Leave for a few hours, constantly checking.
Say 6 hour's later, admire your handywork.
Rotate the rusted item if you wish so it get's even rust removal attracted to the Anode. ( Do this with the power off and in a well ventilated place)
Will post up pic's of how my caliper's came out afterwards.
ENJOY, Best of all, no mess or black bogies!!!
 11 June 2013, 09:24 AM
#54
I TAKE NO RESPONSINILTY FOR ANY DIM WITTED INDIVIDUALS WHO MANAGE TO BUGGER ANYTHING UP RELATED TO MY ABOVE POST. ANY DEATH'S OR DAMAGE ARE NOTHING TO DO WITH ME. PLEASE ONLY ATTEMPT THE ABOVE IF YOU HAVE ANY MECHANICAL KNOWLEDGE AND A SAFE WORKING ENVIROMENT.
phew !!
phew !!
11 June 2013, 09:29 AM
#55
I TAKE NO RESPONSINILTY FOR ANY DIM WITTED INDIVIDUALS WHO MANAGE TO BUGGER ANYTHING UP RELATED TO MY ABOVE POST. ANY DEATH'S OR DAMAGE ARE NOTHING TO DO WITH ME. PLEASE ONLY ATTEMPT THE ABOVE IF YOU HAVE ANY MECHANICAL KNOWLEDGE AND A SAFE WORKING ENVIROMENT.
phew !!
phew !!
 11 June 2013, 10:11 AM
#56
I TAKE NO RESPONSINILTY FOR ANY DIM WITTED INDIVIDUALS WHO MANAGE TO BUGGER ANYTHING UP RELATED TO MY ABOVE POST. ANY DEATH'S OR DAMAGE ARE NOTHING TO DO WITH ME. PLEASE ONLY ATTEMPT THE ABOVE IF YOU HAVE ANY MECHANICAL KNOWLEDGE AND A SAFE WORKING ENVIROMENT.
phew !!
phew !!
12 June 2013, 04:50 PM
#58
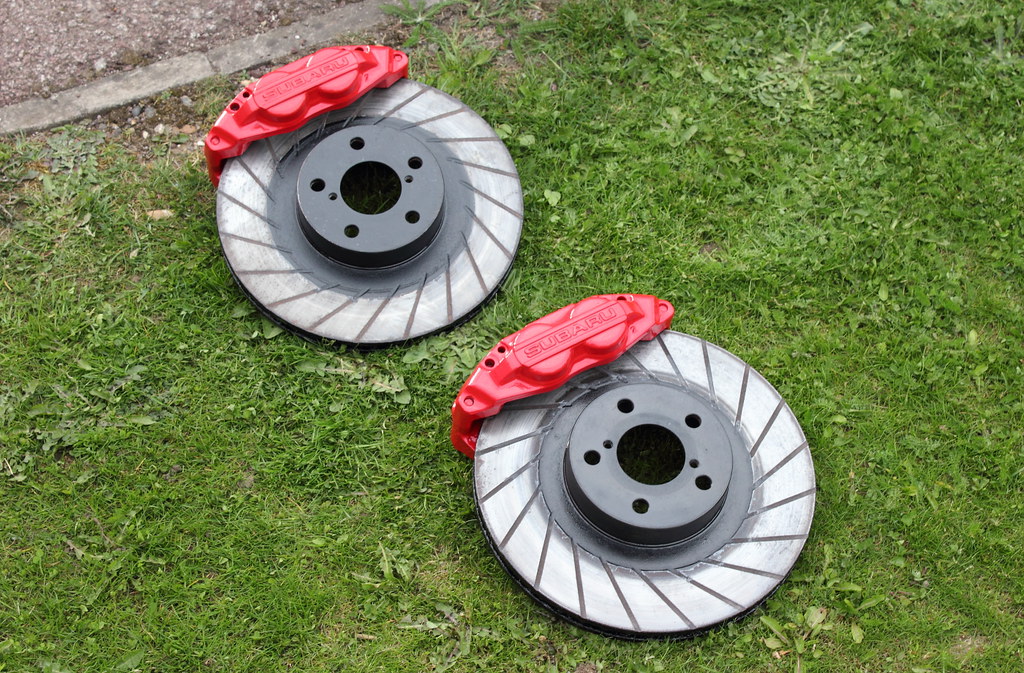
Finally got my brakes done and if I don't say so myself, they look quite good
From this
- See more at: http://s1321.photobucket.com/user/si....5iZqKLE8.dpuf
To this
- See more at: http://s1321.photobucket.com/user/si....asTqmWXr.dpuf
From this
- See more at: http://s1321.photobucket.com/user/si....5iZqKLE8.dpuf
To this
- See more at: http://s1321.photobucket.com/user/si....asTqmWXr.dpuf
Last edited by Davec30; 12 June 2013 at 05:00 PM.
14 June 2013, 02:34 PM
#59
Wonder where you got that idea from Tom... 
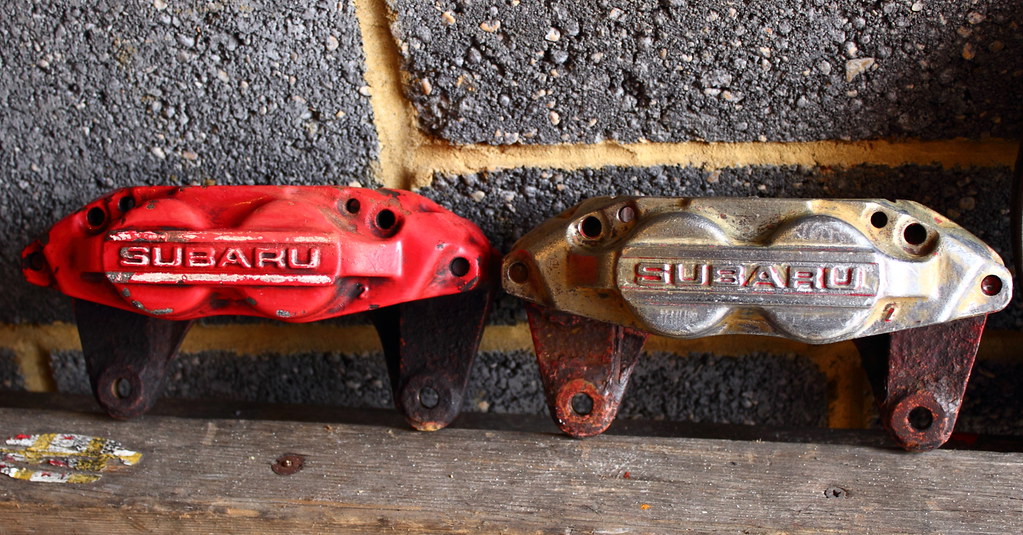
I did my calipers via electrolysis and they came up a treat. As tom says, its a piece of cake to remove the rust once its been bathed for a few hours. Pics of before, during and after my electrolysis.


And a couple of photos of my rig up...


After no more than 4hrs soak, the top of the tub looked like this...

So I removed one to inspect and this is what I found. The bare metal is left and the rust is very loosely attached for the most part.


I then spent 5mins giving them a cleanup with a cloth. The final results for tonight are below...


I did my calipers via electrolysis and they came up a treat. As tom says, its a piece of cake to remove the rust once its been bathed for a few hours. Pics of before, during and after my electrolysis.
And a couple of photos of my rig up...
After no more than 4hrs soak, the top of the tub looked like this...
So I removed one to inspect and this is what I found. The bare metal is left and the rust is very loosely attached for the most part.
I then spent 5mins giving them a cleanup with a cloth. The final results for tonight are below...
14 June 2013, 03:28 PM
#60
Aye Lewis, seen you doing it and well i thought i give it another stab in the dark after i tried and failed before on other caliper's
Easy to do and surely saves effort. Just got to clean up the bore's and make them as smooth as possible. Need a bigger anode though as i only got a few small bit's of metal.
Safe enough to do as long as its well ventilated and not likely to get moved or knocked,
I tried to open the bothie door to turn off the battery charger on Weds night, ended up smashing the glass because the door was stiff and had a nice big f*^k bit of glass 3 inches into my shoulder!!! Bloody sore!!