
My Engine build and maybe a bit more

Good read that was 
Good effort there my friend bit of **** news with the heads tho
  but like you say onwards and upwards it's a horrible thing this Scooby bug
Think I need to become a pro footballer or something that pays similar
Lookin forward to the updates, keep up the good work bud
Good effort there my friend
bit of **** news with the heads tho but like you say onwards and upwards it's a horrible thing this Scooby bug Think I need to become a pro footballer or something that pays similar
Lookin forward to the updates, keep up the good work bud

Thread Starter
Scooby Regular
iTrader: (23)
Joined: Jan 2010
Posts: 1,642
Likes: 0
From: Bedfordshire
I wish my email notifications would work, sorry for the delay
cheers mate, they're Corbeau Sportline RRB Seat
thanks matey, its a bottomless pit but hayho better for you than smack
I've replied to your PM buddy, the scoob belongs on the track. Funds permitting it will be on track a load next year
cheers mate, they're Corbeau Sportline RRB Seat
Good read that was
Good effort there my friend bit of **** news with the heads tho but like you say onwards and upwards it's a horrible thing this Scooby bug
Think I need to become a pro footballer or something that pays similar
Lookin forward to the updates, keep up the good work bud
Good effort there my friend
bit of **** news with the heads tho but like you say onwards and upwards it's a horrible thing this Scooby bug Think I need to become a pro footballer or something that pays similar
Lookin forward to the updates, keep up the good work bud
I've replied to your PM buddy, the scoob belongs on the track. Funds permitting it will be on track a load next year
Thread Starter
Scooby Regular
iTrader: (23)
Joined: Jan 2010
Posts: 1,642
Likes: 0
From: Bedfordshire
Thread Starter
Scooby Regular
iTrader: (23)
Joined: Jan 2010
Posts: 1,642
Likes: 0
From: Bedfordshire
A bit more
At Blyton I had a real strong smell of petrol inside the car. My initial thought was - running a bit rich. I thought I'd get a AFR gauge so I can keep an eye on it. I mentioned this to Duncan when he tweaked my map for the new valves and the mix was bang on but we found that the fuel sender panel in boot was letting some vapors out when pushing hard. Easy job, just need to order a new gasket.
But I still wanted a AFR gauge, but where to put it. I'm not a fan of the pillar pods - just my opinion. I wanted it in the centre console really, easy to see and it also helps its near the other gauges.
This might sound mad to some people but this is becoming more of a toy then a family / daily runner. Why don't I get rid of the stereo? Why can't I use all that space for gauges and switches? Although I do want some way of playing music as I often have a long journey to the tracks etc. I had this idea of mounting a small amp in the glove box and everything is controlled by my iphone. It seems sound, all my music is on it, you can get app's to do anything you want these days.
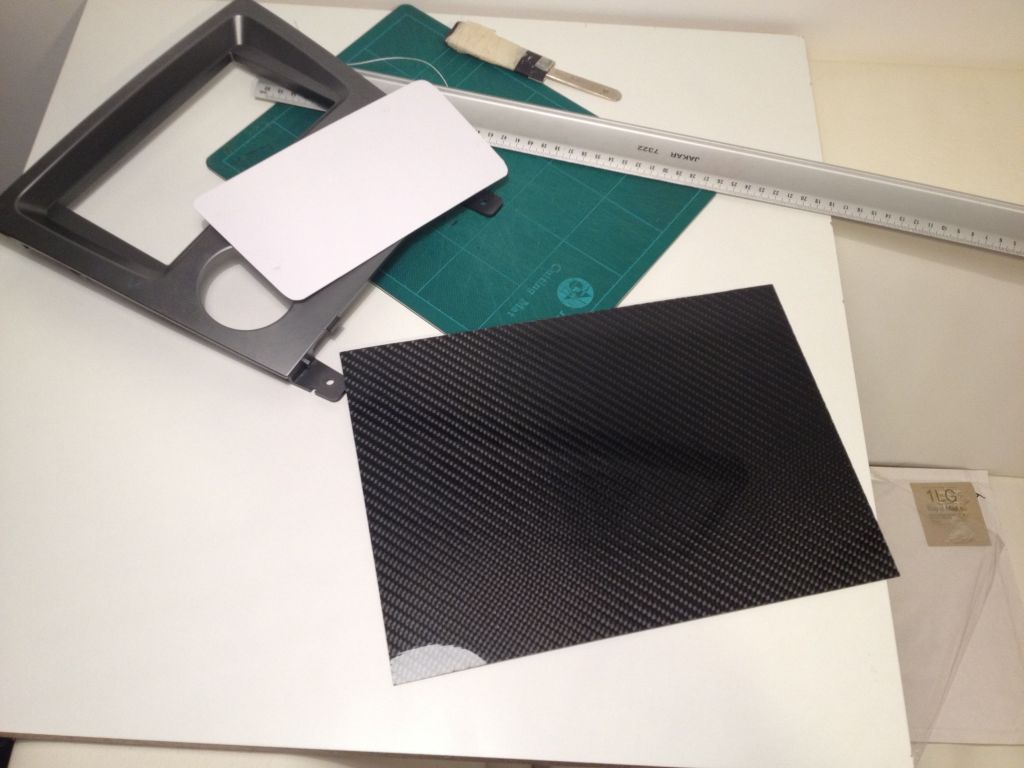
So I set about it, worst case scenario i just put it all back. I bought another stereo surround so I could go back.
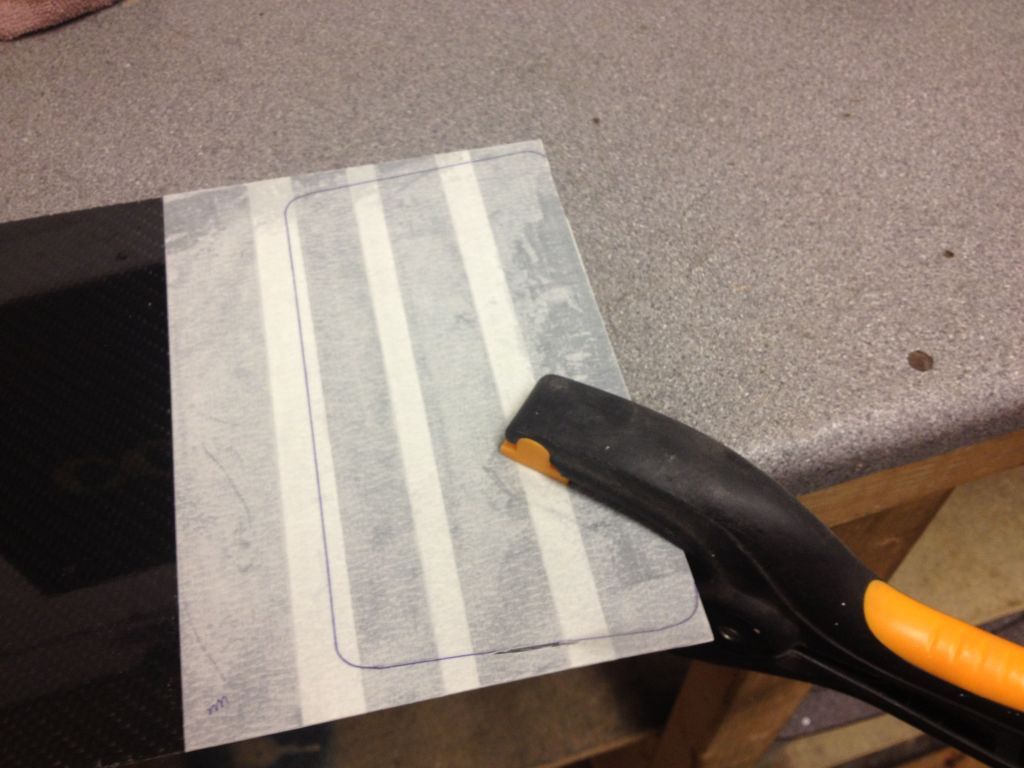
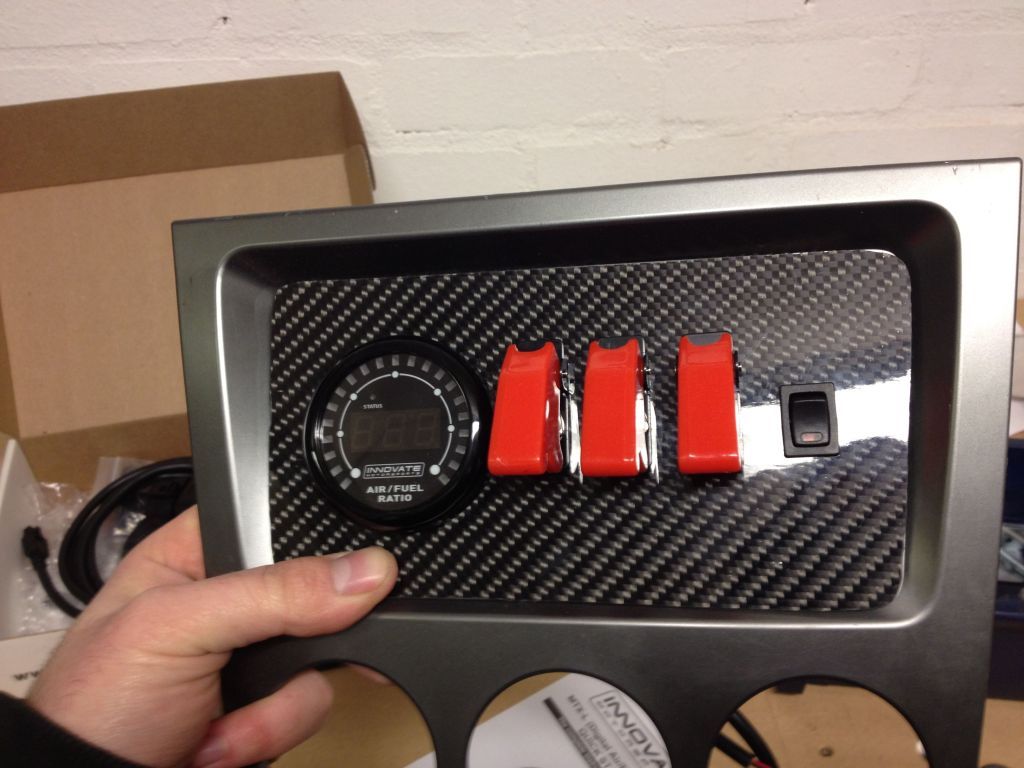
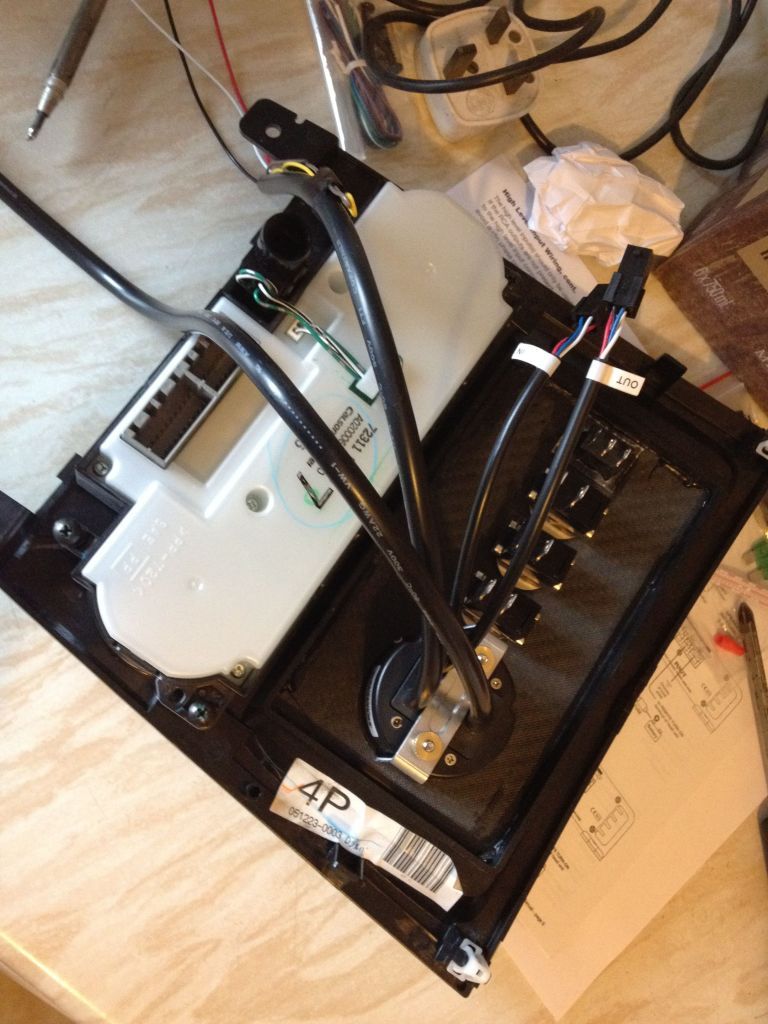
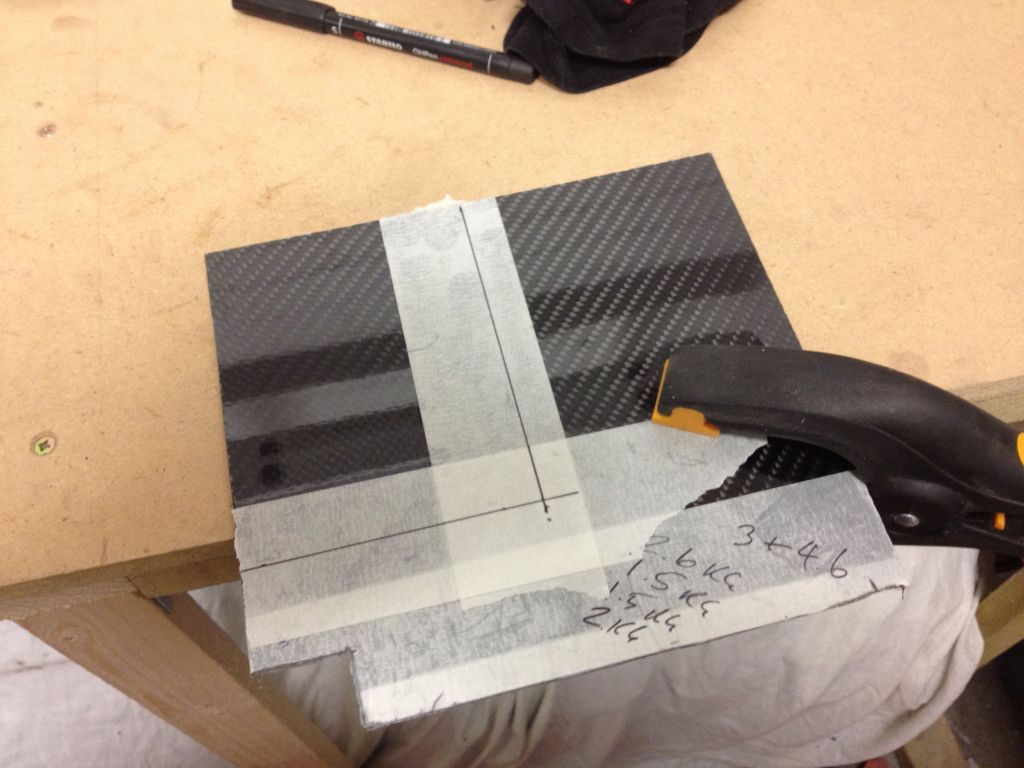
Made a card template for the stereo hole and then cut it out of some carbon fibre.
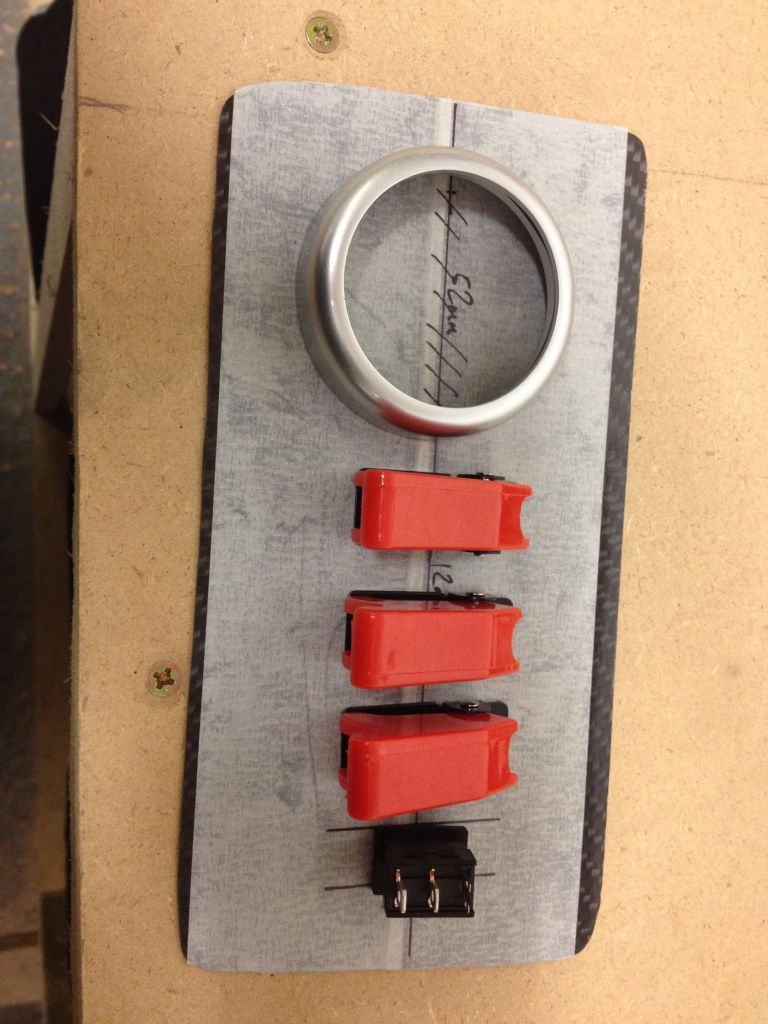
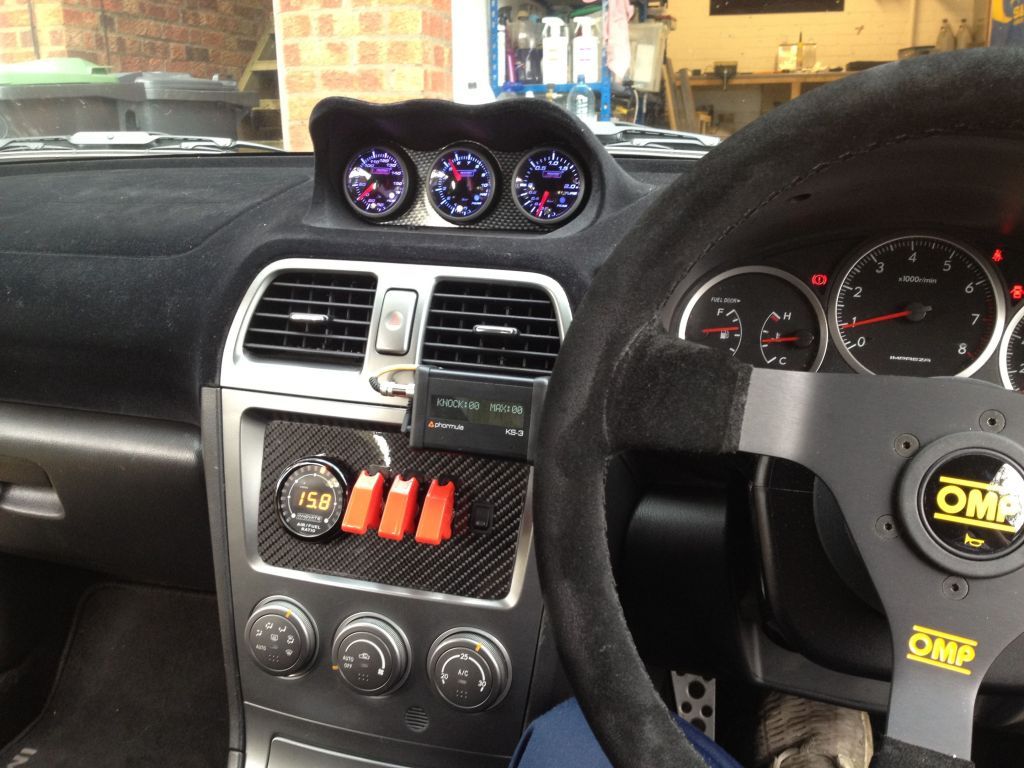
Innovite AFR from Amber Performance

AFR, three kill switches and a switch to kill the power to the amp.
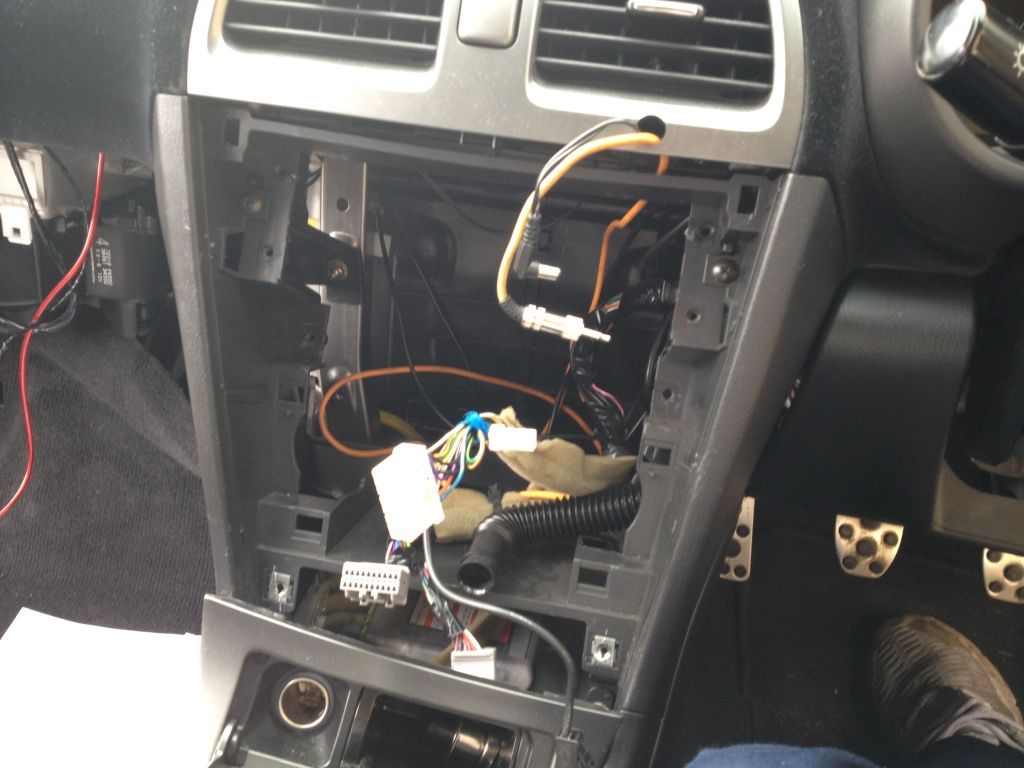
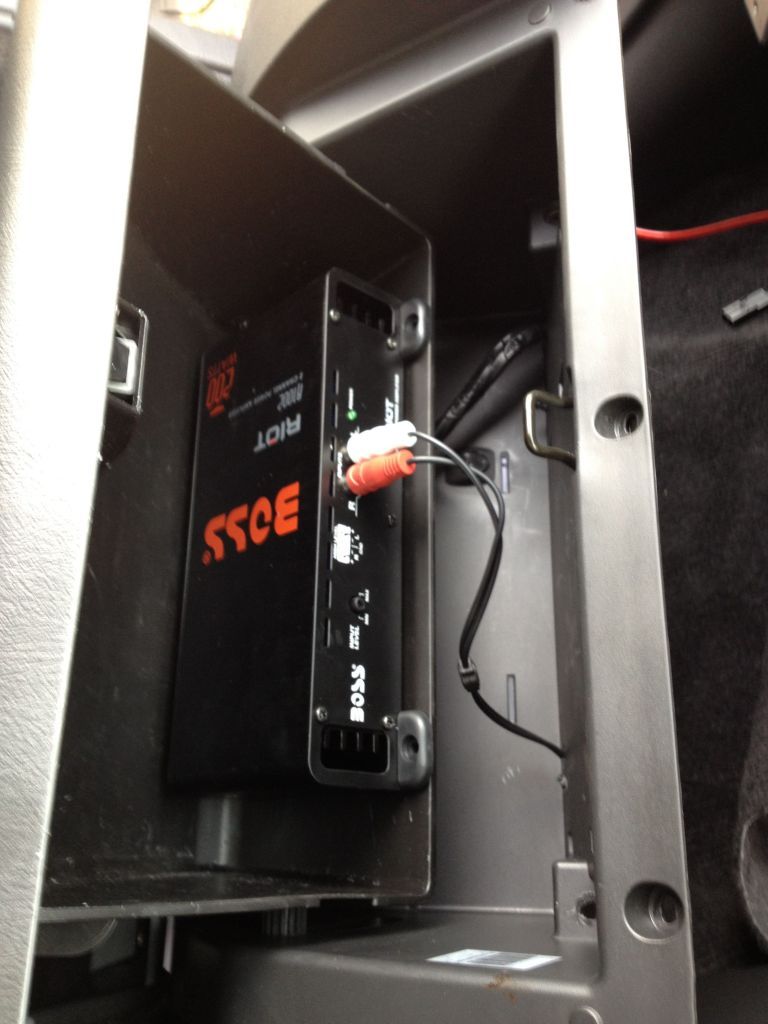
Just a simple audio jack wire that goes into your iphone. This is only a temp position until I find the best place for it to come out for me. I honestly don't know why this hasn't court on more. It's great having all that space and ease of everything being on my iphone.
There are a couple of teething problems. A few times on a long journeys I've had a slight bit of interference so I thought I'd change the wire to this type:
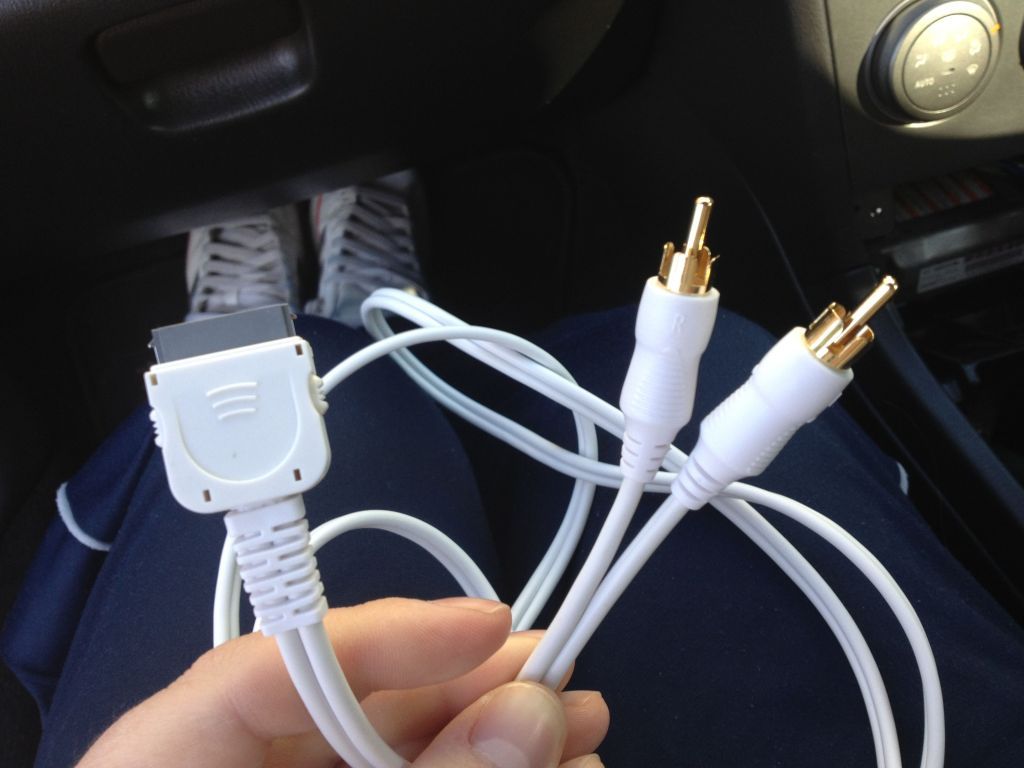
But with this you have no control over volume. You have to use something like the Denon app but is bit of a ball-ache. I've been told that If a buy a much better quality phono-jack wire thats insulated it shouldn't pick up that interference. Just need to get one and then hopefully should be sorted.
Thanks
At Blyton I had a real strong smell of petrol inside the car. My initial thought was - running a bit rich. I thought I'd get a AFR gauge so I can keep an eye on it. I mentioned this to Duncan when he tweaked my map for the new valves and the mix was bang on but we found that the fuel sender panel in boot was letting some vapors out when pushing hard. Easy job, just need to order a new gasket.
But I still wanted a AFR gauge, but where to put it. I'm not a fan of the pillar pods - just my opinion. I wanted it in the centre console really, easy to see and it also helps its near the other gauges.
This might sound mad to some people but this is becoming more of a toy then a family / daily runner. Why don't I get rid of the stereo? Why can't I use all that space for gauges and switches? Although I do want some way of playing music as I often have a long journey to the tracks etc. I had this idea of mounting a small amp in the glove box and everything is controlled by my iphone. It seems sound, all my music is on it, you can get app's to do anything you want these days.
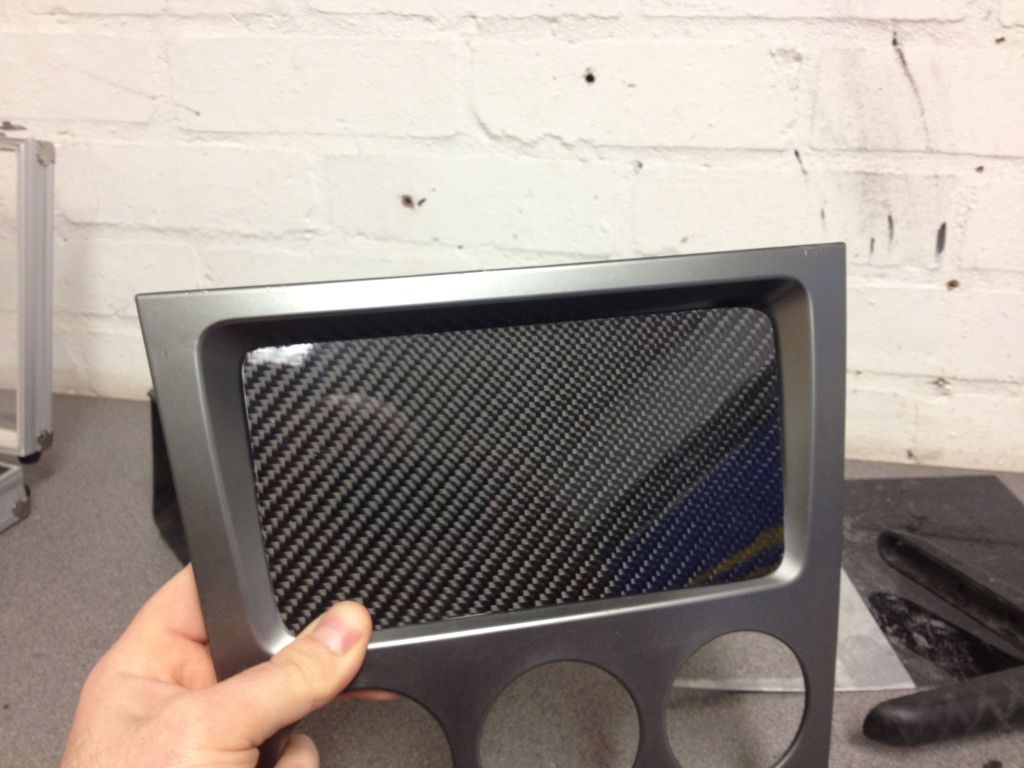
So I set about it, worst case scenario i just put it all back. I bought another stereo surround so I could go back.
Made a card template for the stereo hole and then cut it out of some carbon fibre.
Innovite AFR from Amber Performance
AFR, three kill switches and a switch to kill the power to the amp.
Just a simple audio jack wire that goes into your iphone. This is only a temp position until I find the best place for it to come out for me. I honestly don't know why this hasn't court on more. It's great having all that space and ease of everything being on my iphone.
There are a couple of teething problems. A few times on a long journeys I've had a slight bit of interference so I thought I'd change the wire to this type:
But with this you have no control over volume. You have to use something like the Denon app but is bit of a ball-ache. I've been told that If a buy a much better quality phono-jack wire thats insulated it shouldn't pick up that interference. Just need to get one and then hopefully should be sorted.
Thanks


Thread Starter
Scooby Regular
iTrader: (23)
Joined: Jan 2010
Posts: 1,642
Likes: 0
From: Bedfordshire
Thanks mate, I can't decide what to do with the centre console. Leave it as is, have you paint it or even maybe even dip it so the hole thing looks like carbon fibre. If I go paint, maybe jdm Matt black defo have you do it. Your paint skills look amazing in your build
They should have done them all in matt black,it looks so much better than the silver and grey!
Thread Starter
Scooby Regular
iTrader: (23)
Joined: Jan 2010
Posts: 1,642
Likes: 0
From: Bedfordshire
Thread Starter
Scooby Regular
iTrader: (23)
Joined: Jan 2010
Posts: 1,642
Likes: 0
From: Bedfordshire
After suffering from some fuel surge last time on the track, I wanted to sort out a swirl pot system. After a few conversations and some advice from some pro's. I'm gonna relocate the battery to the boot which will leave me with space to house all the parts.
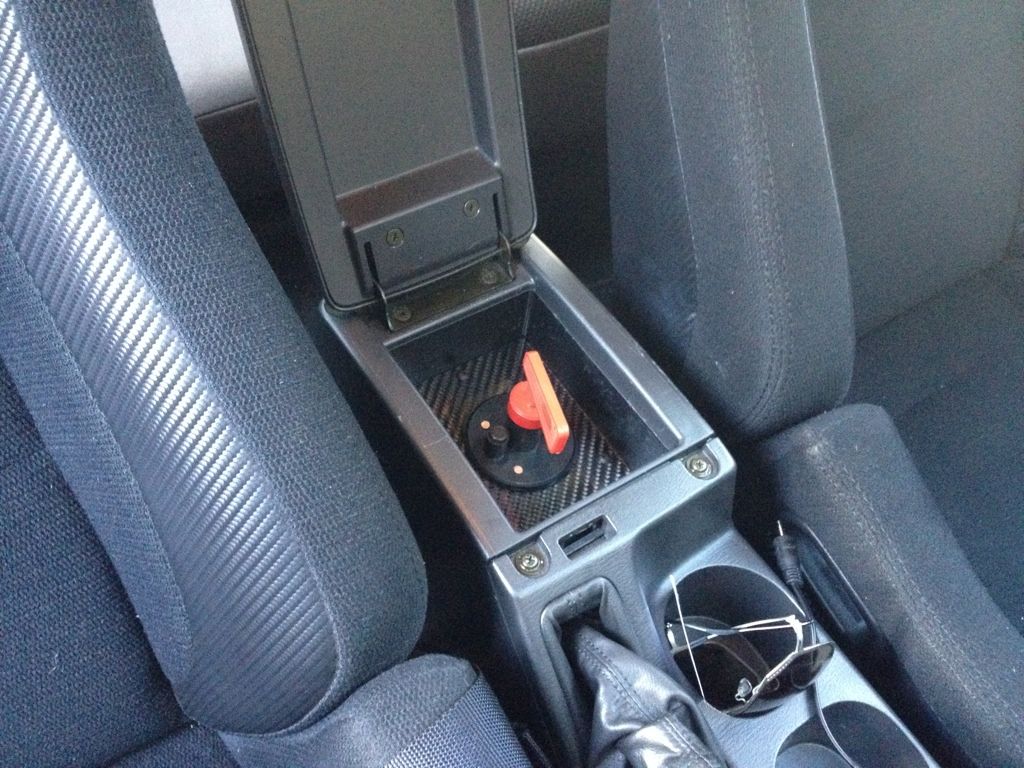
While we relocate the battery I wanted to put in a kill switch. I just want to be totally prepped as I've recently seen some nasty engine bay fire picc's which makes me wanna do an extinguisher system too but thats a later project.
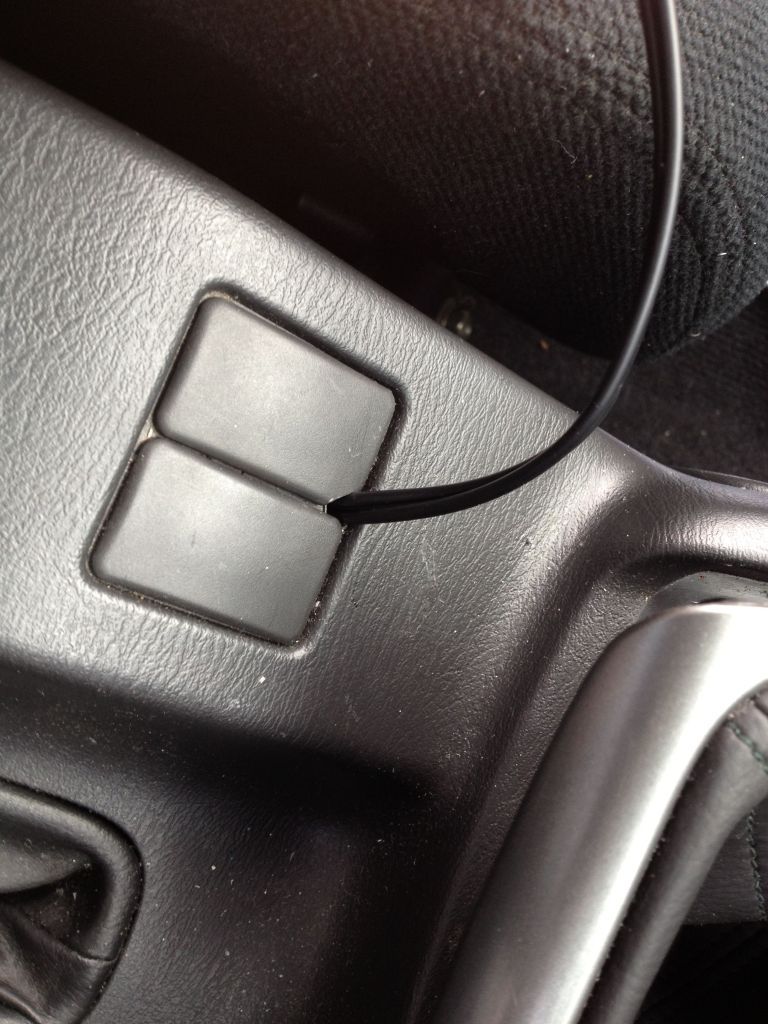
Where to mount the kill switch? I think this is gonna be a marmite thing. Could be genius or people are gonna think I'm mad/stupid
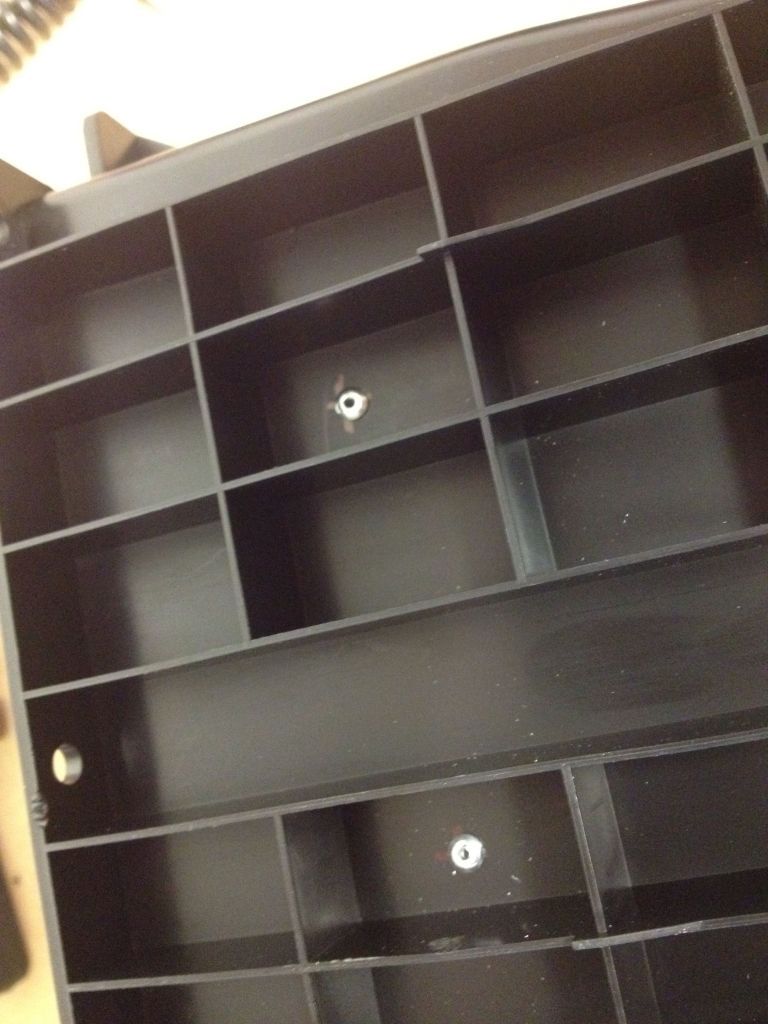
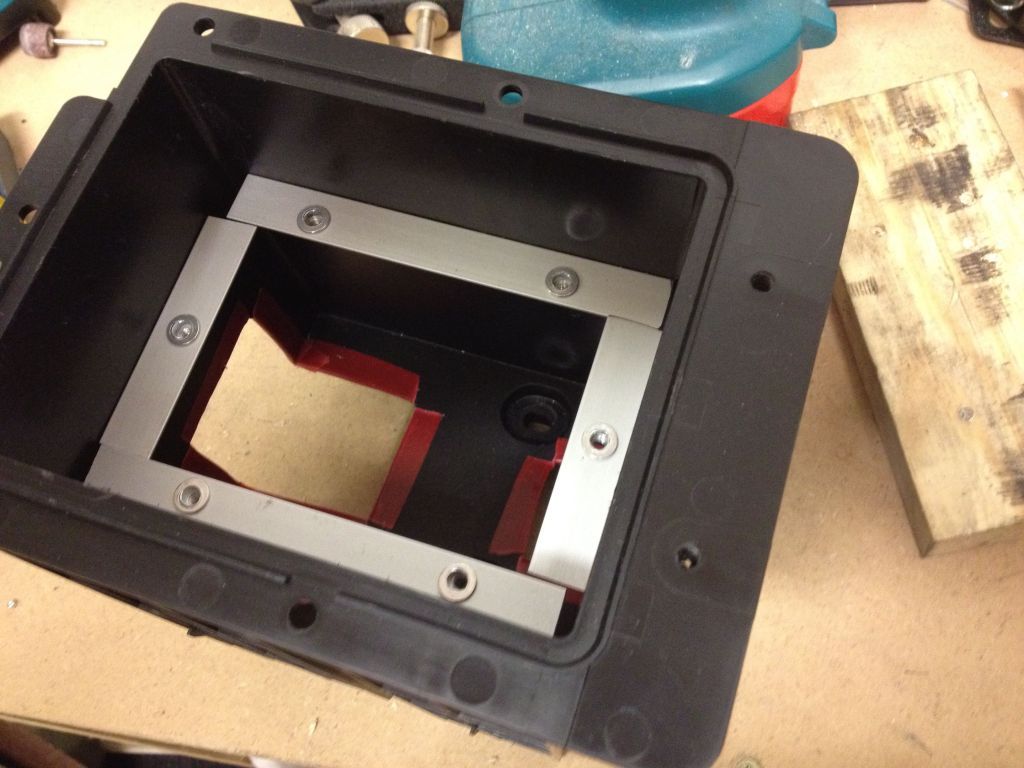
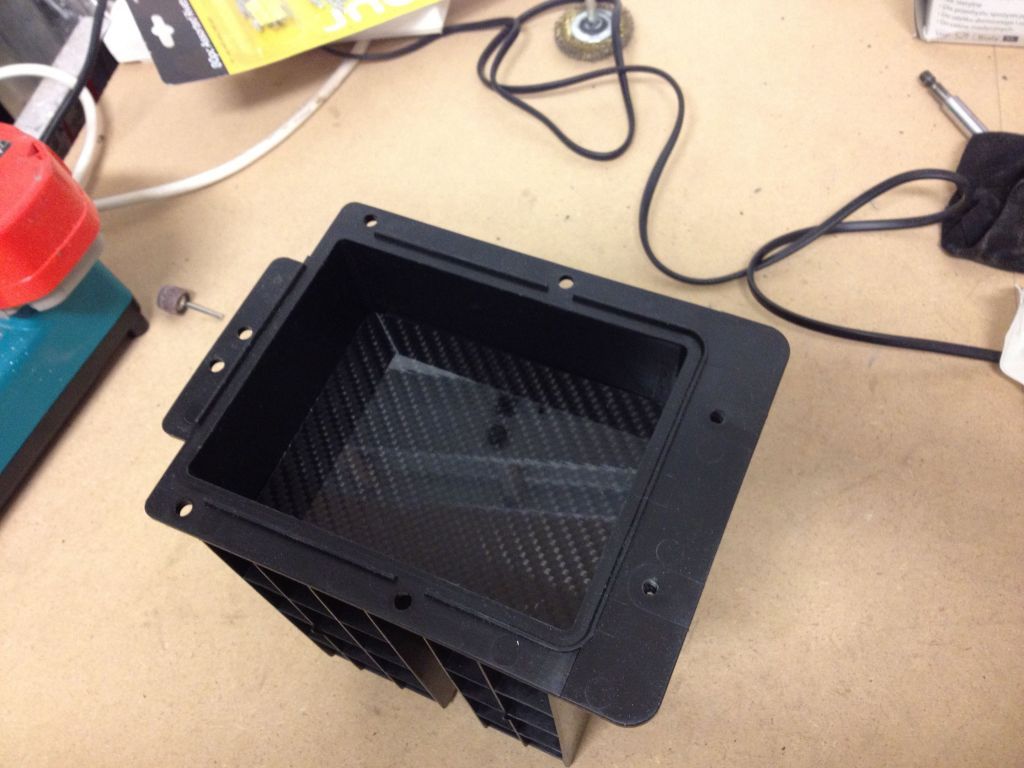
I chose to use the armrest box. I had some left over carbon fibre so set about making a platform in the box for the switch to sit.

Should be relocating the battery tomorrow
While we relocate the battery I wanted to put in a kill switch. I just want to be totally prepped as I've recently seen some nasty engine bay fire picc's which makes me wanna do an extinguisher system too but thats a later project.
Where to mount the kill switch? I think this is gonna be a marmite thing. Could be genius or people are gonna think I'm mad/stupid
I chose to use the armrest box. I had some left over carbon fibre so set about making a platform in the box for the switch to sit.
Should be relocating the battery tomorrow
Thread Starter
Scooby Regular
iTrader: (23)
Joined: Jan 2010
Posts: 1,642
Likes: 0
From: Bedfordshire
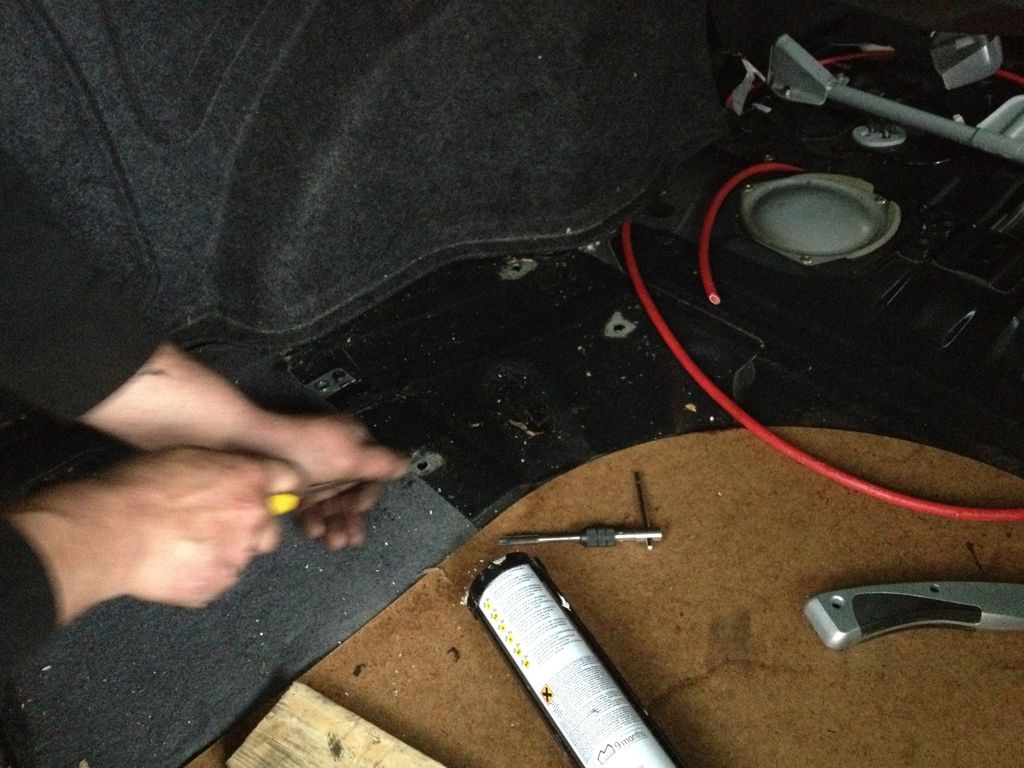
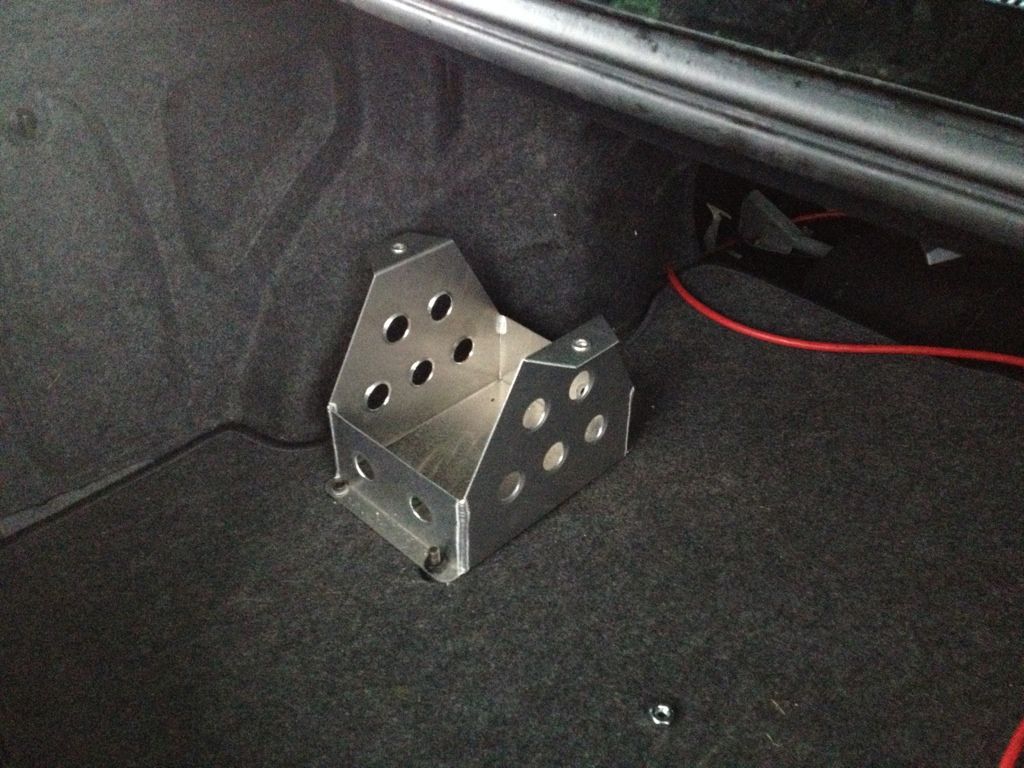
On Saturday we set about relocating the battery to the boot. We ran the cable through the wing into the car. Which left a nice space for the swirl pot, filter and pump. Nice and neat.
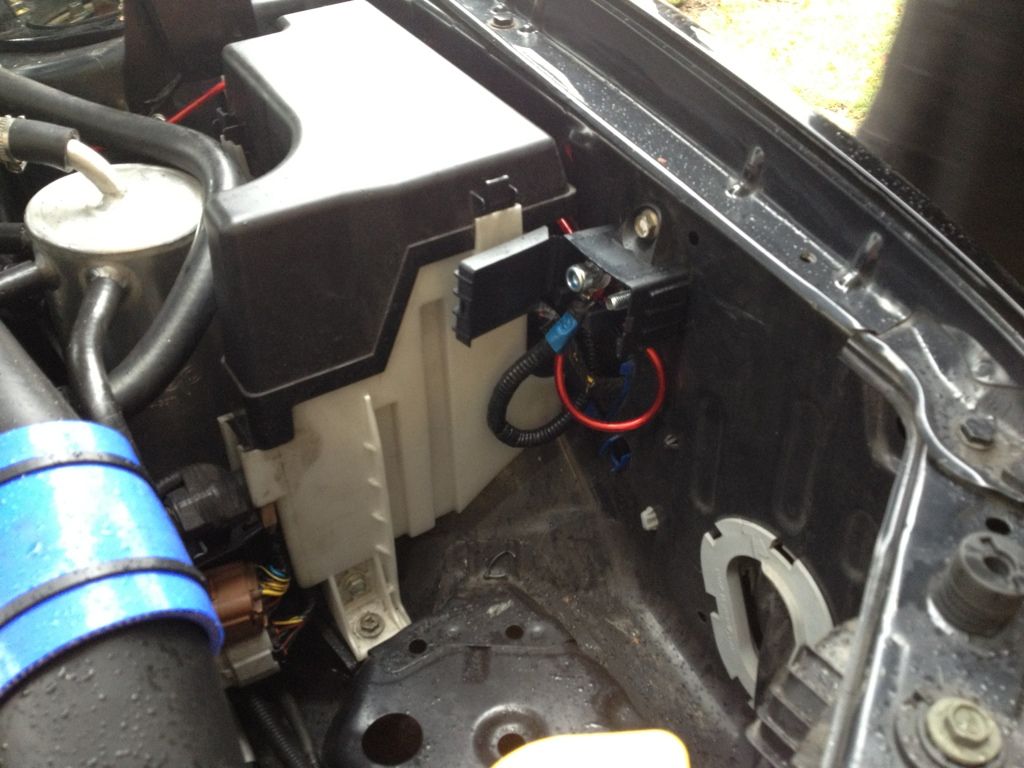
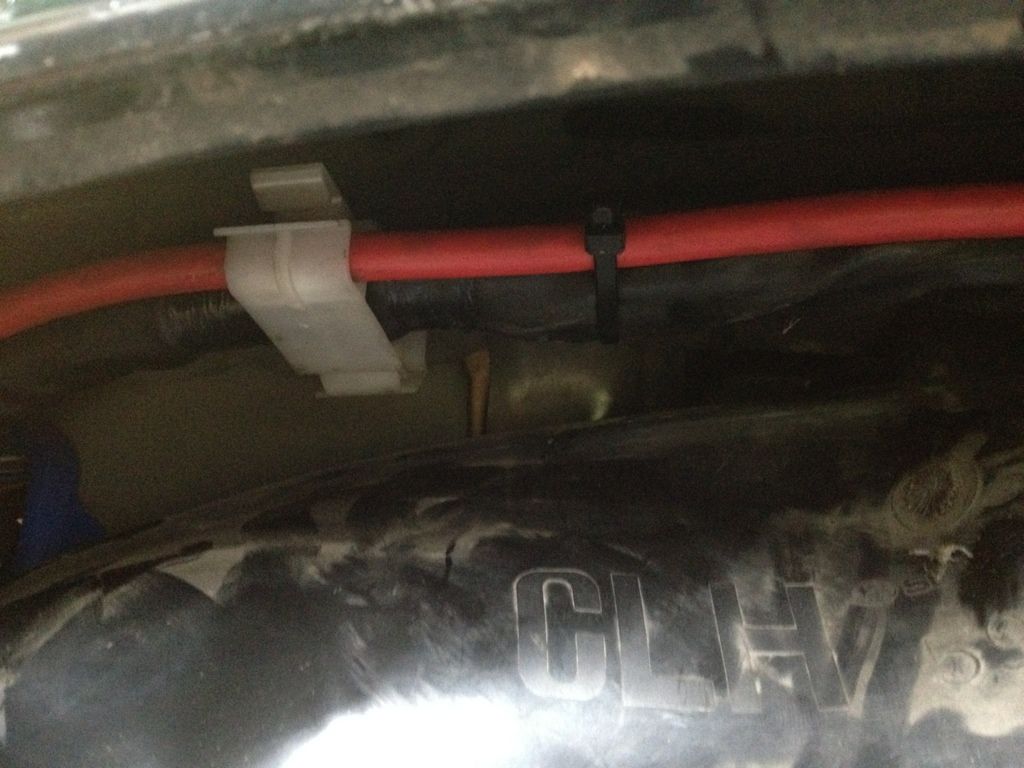
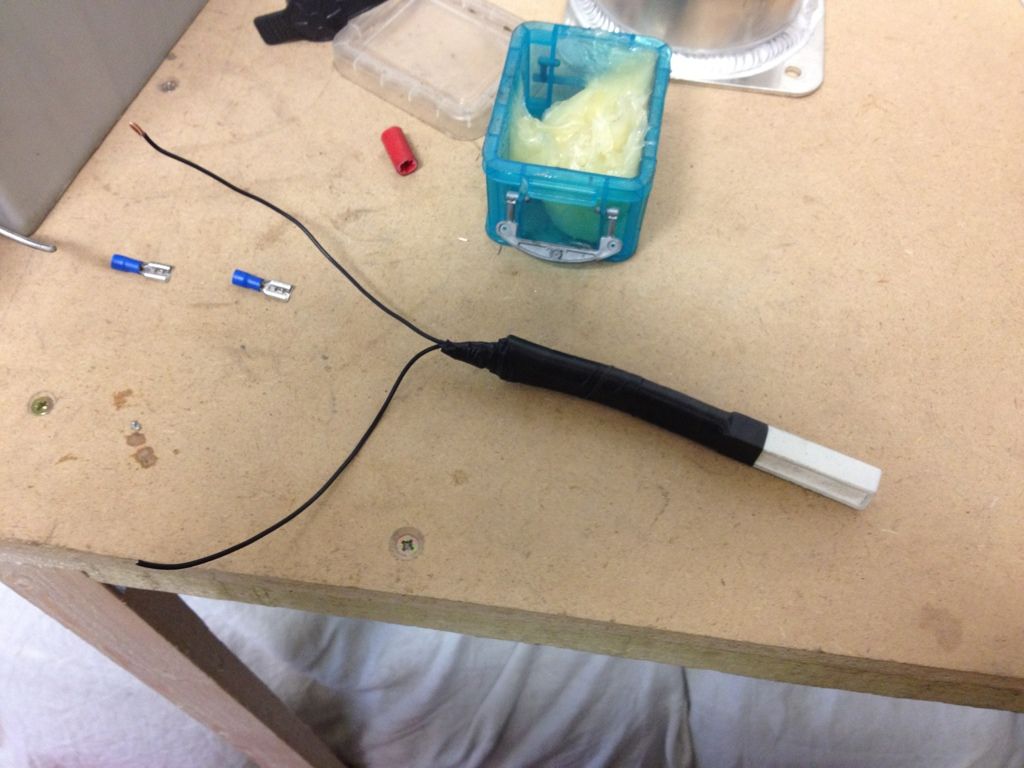
Quite a few nasty edges around the dash etc so a bit of extra protection around the cable.
Resistor all ready to go in
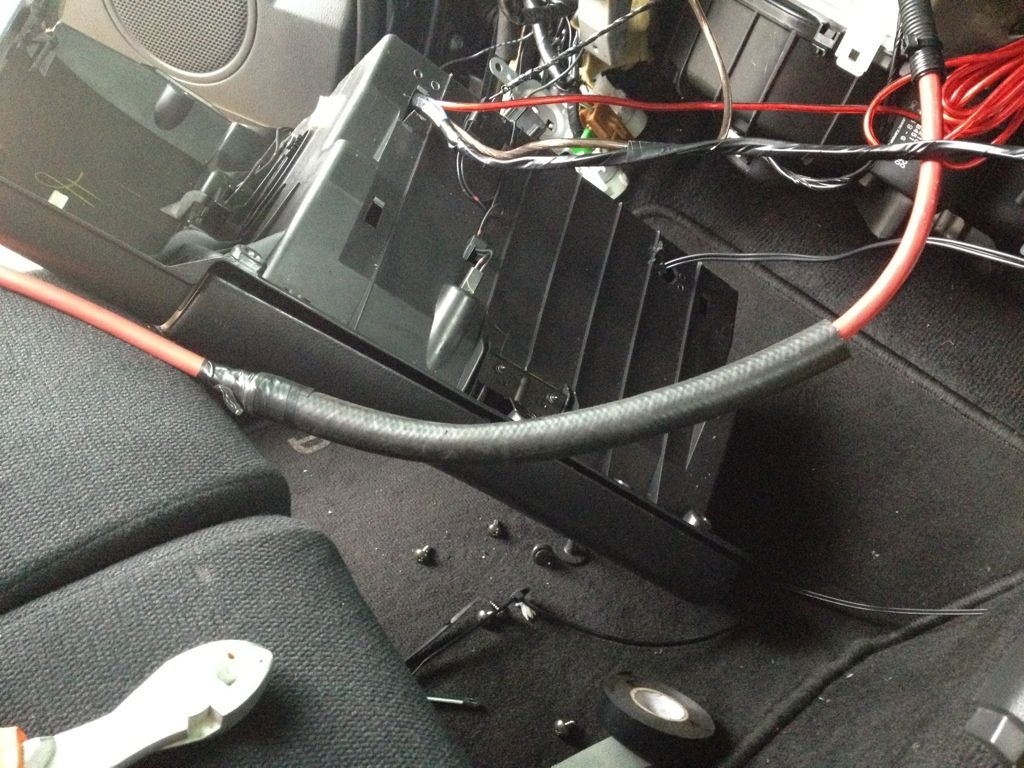
Clean some patches of the sound deadening for the bolts going up through the floor. Had to use one rivnut because of the chassis rail.
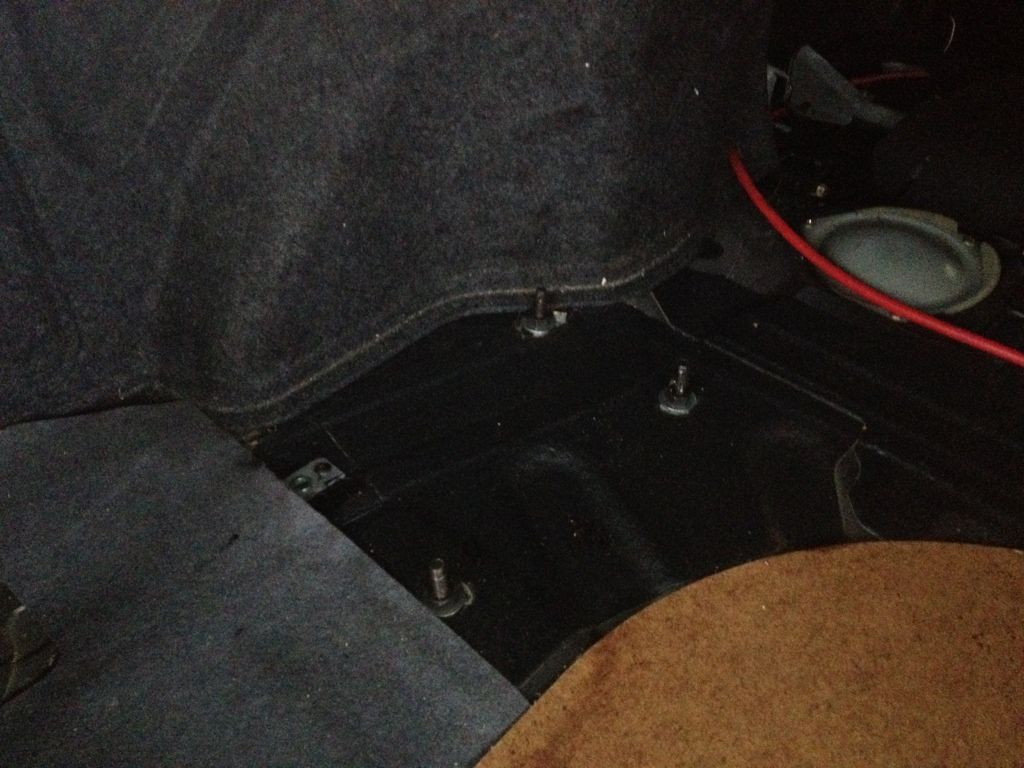
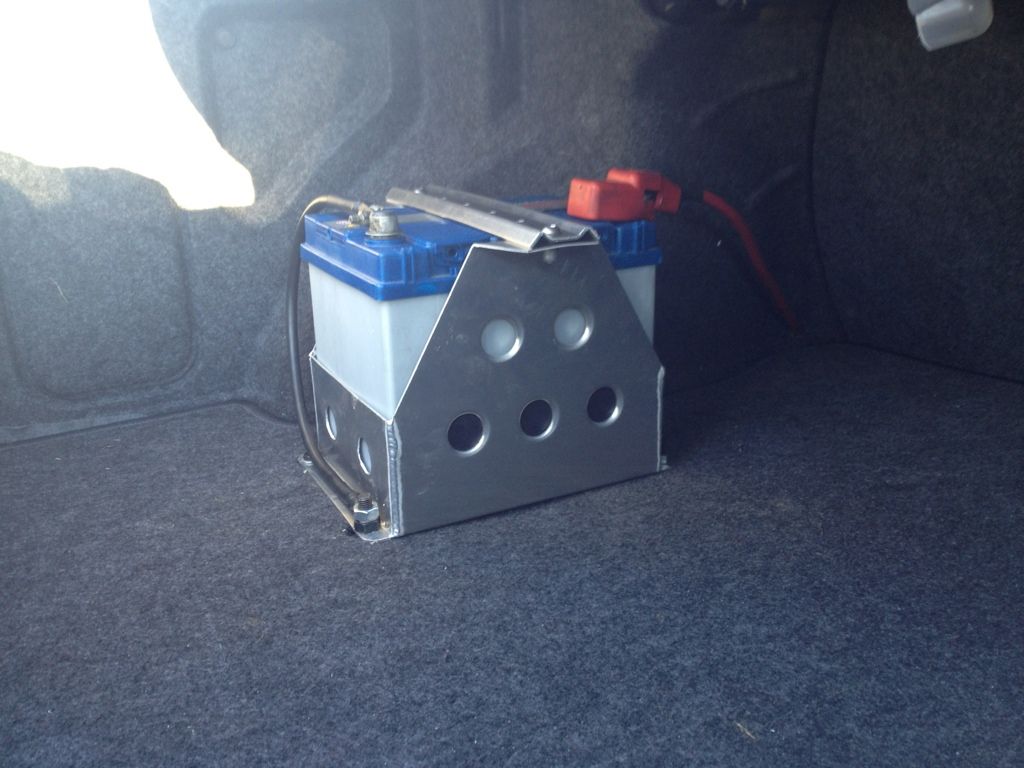
Cut some neat holes in the carpet so it can sit on top and then the battery on top of that.
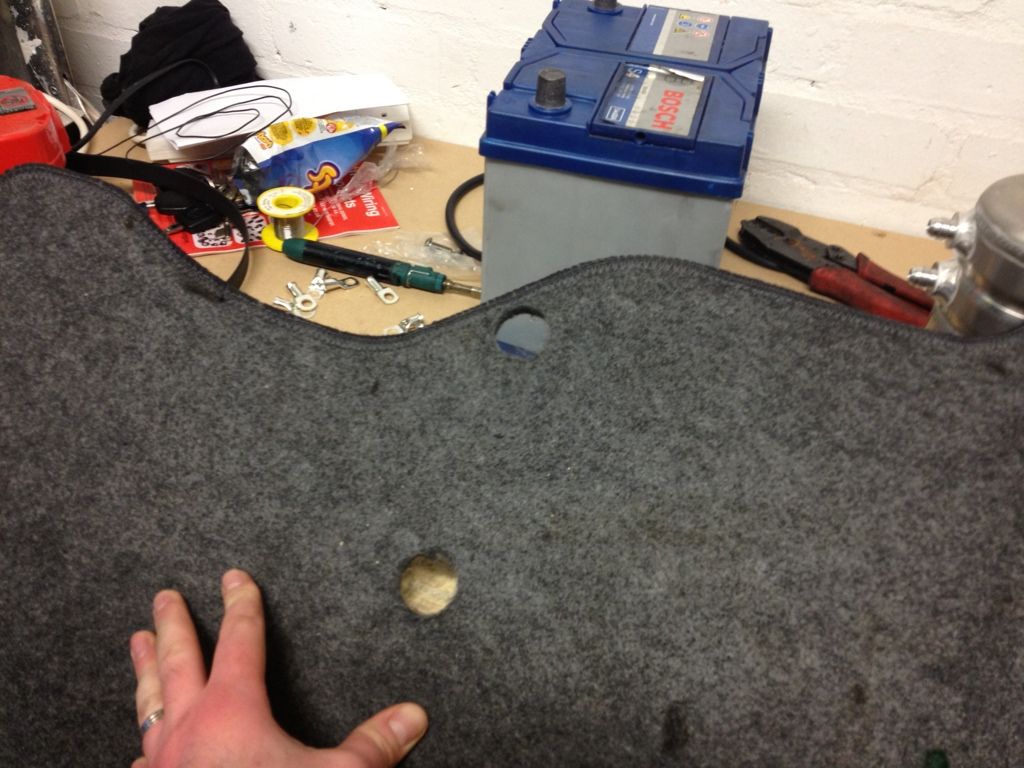
Could of pics from Sunday. Due to it pissing down all Saturday and being pitch black by 3pm and bloody freezing we didn't quite get it all finished. I still need to wire in the ignition to the kill switch and relocate the resister into the engine as it stank when we tested it.
This will all get sorted when we do the swirl pot system hopefully just before Xmas.
Cheers
Quite a few nasty edges around the dash etc so a bit of extra protection around the cable.
Resistor all ready to go in
Clean some patches of the sound deadening for the bolts going up through the floor. Had to use one rivnut because of the chassis rail.
Cut some neat holes in the carpet so it can sit on top and then the battery on top of that.
Could of pics from Sunday. Due to it pissing down all Saturday and being pitch black by 3pm and bloody freezing we didn't quite get it all finished. I still need to wire in the ignition to the kill switch and relocate the resister into the engine as it stank when we tested it.
This will all get sorted when we do the swirl pot system hopefully just before Xmas.
Cheers

Thread Starter
Scooby Regular
iTrader: (23)
Joined: Jan 2010
Posts: 1,642
Likes: 0
From: Bedfordshire

Thread Starter
Scooby Regular
iTrader: (23)
Joined: Jan 2010
Posts: 1,642
Likes: 0
From: Bedfordshire
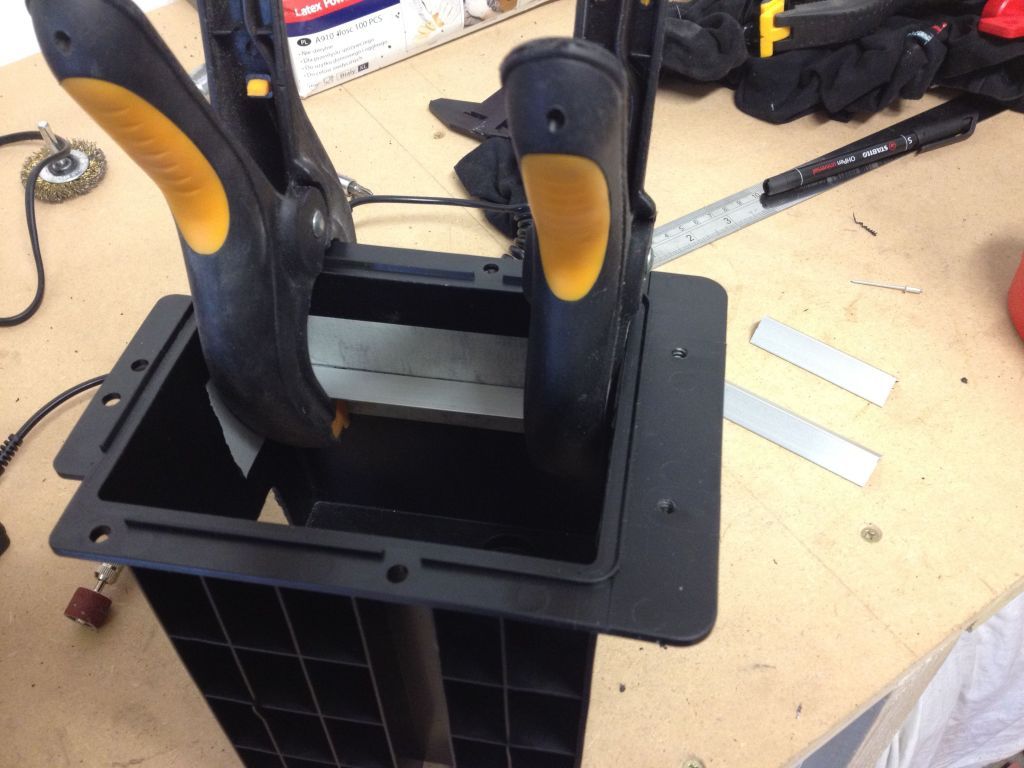
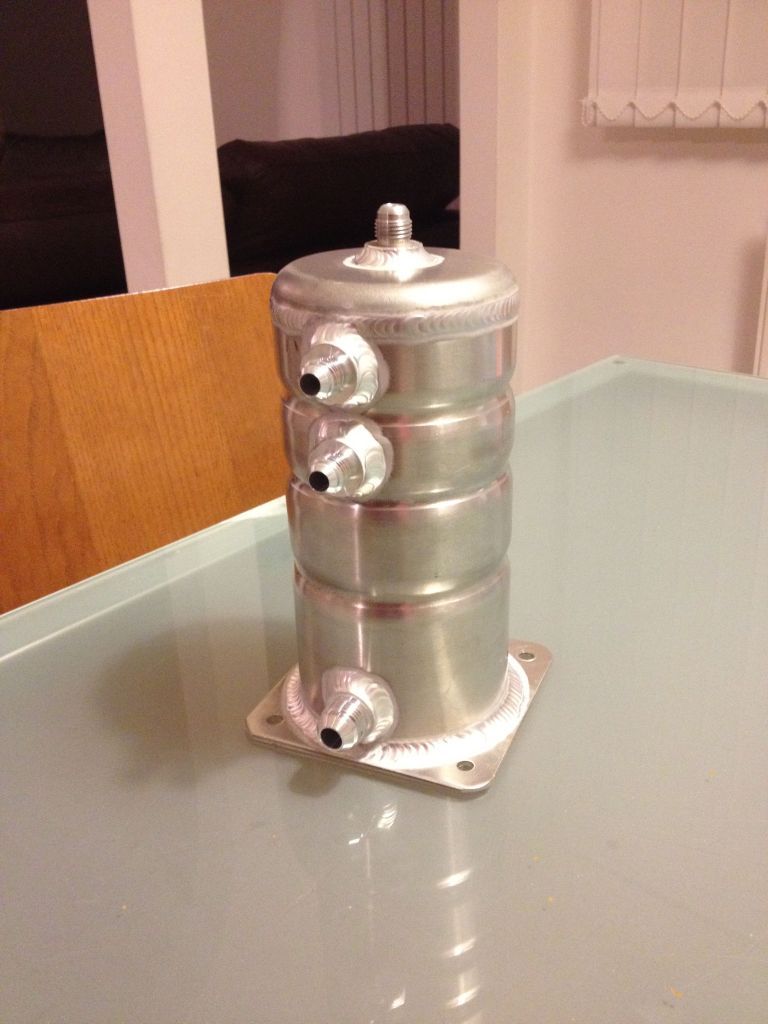
Slowly but surely I've been getting the parts together for the swirl pot system.
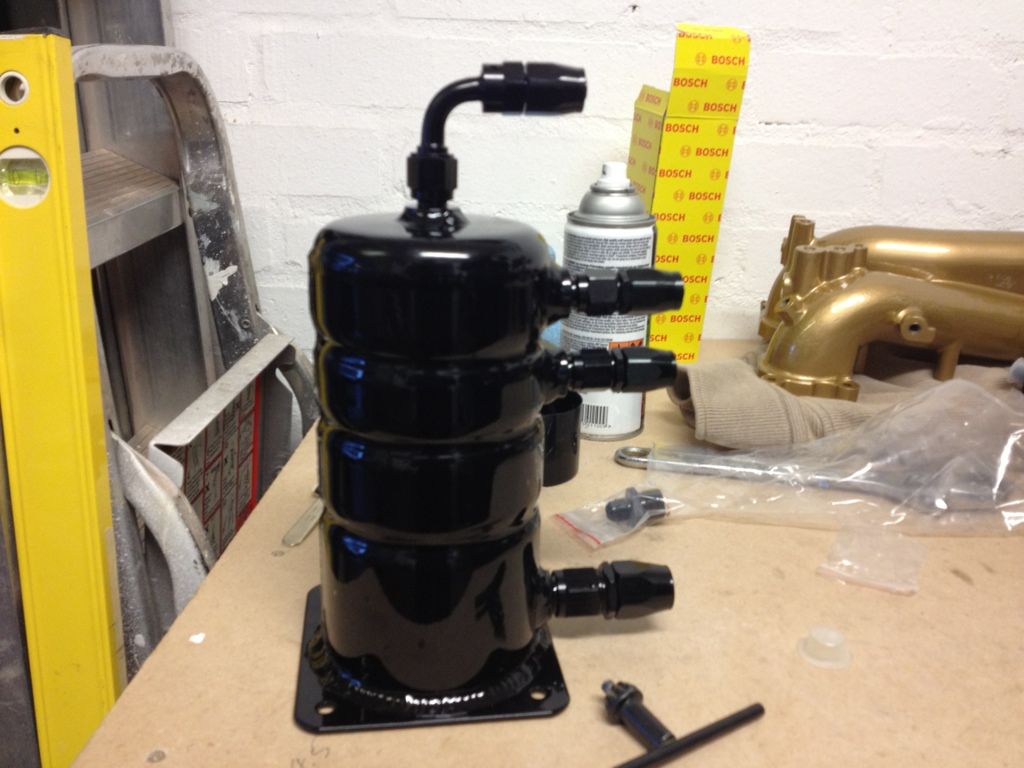
Had this swirl pot made by Rsm fabrication, they also did the battery box. I'd totally recommend these guys. They made the box to my exact size and made me the 1.5 swirl pot. Box was only �45 all in and �62 all in for the swirl pot. Really impressed with them.
Picked up this little puppy at Amber Performance, while I was there they got out the cosworth fuel rails - these are gonna be a must, very sexy parts
Thread Starter
Scooby Regular
iTrader: (23)
Joined: Jan 2010
Posts: 1,642
Likes: 0
From: Bedfordshire
Little bit of an update:
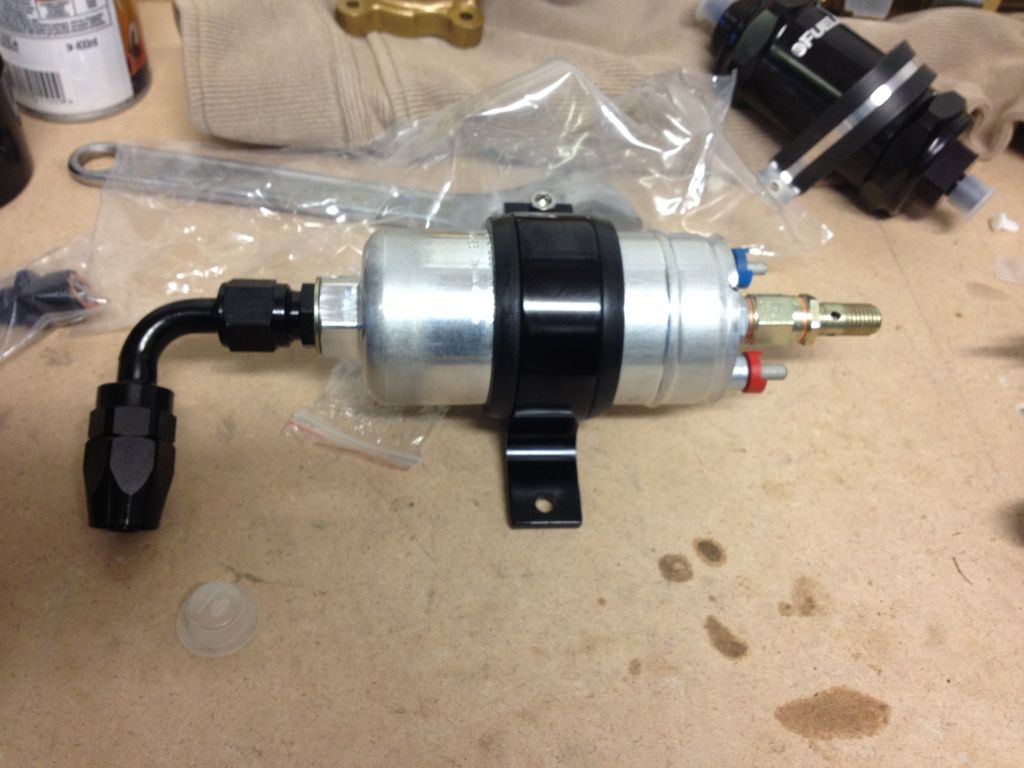
Fuel pump arrived the other day
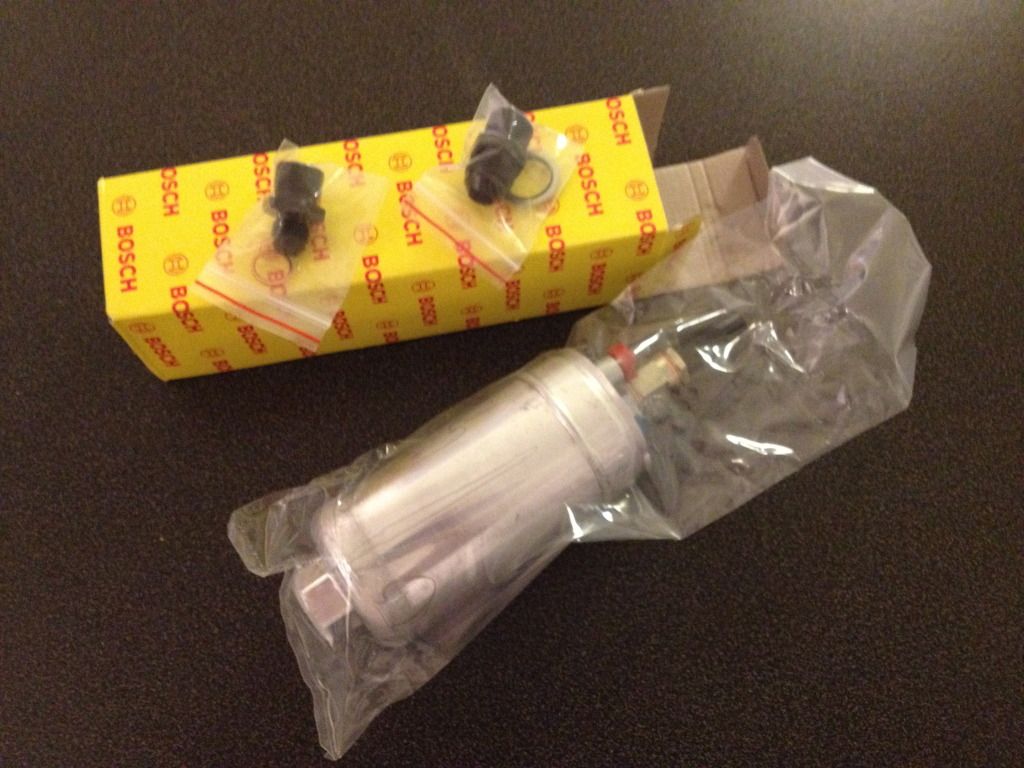
Just ordered all the AN fittings and hoses which should arrive this week. Should also be picking up the Cosworth fuel rails
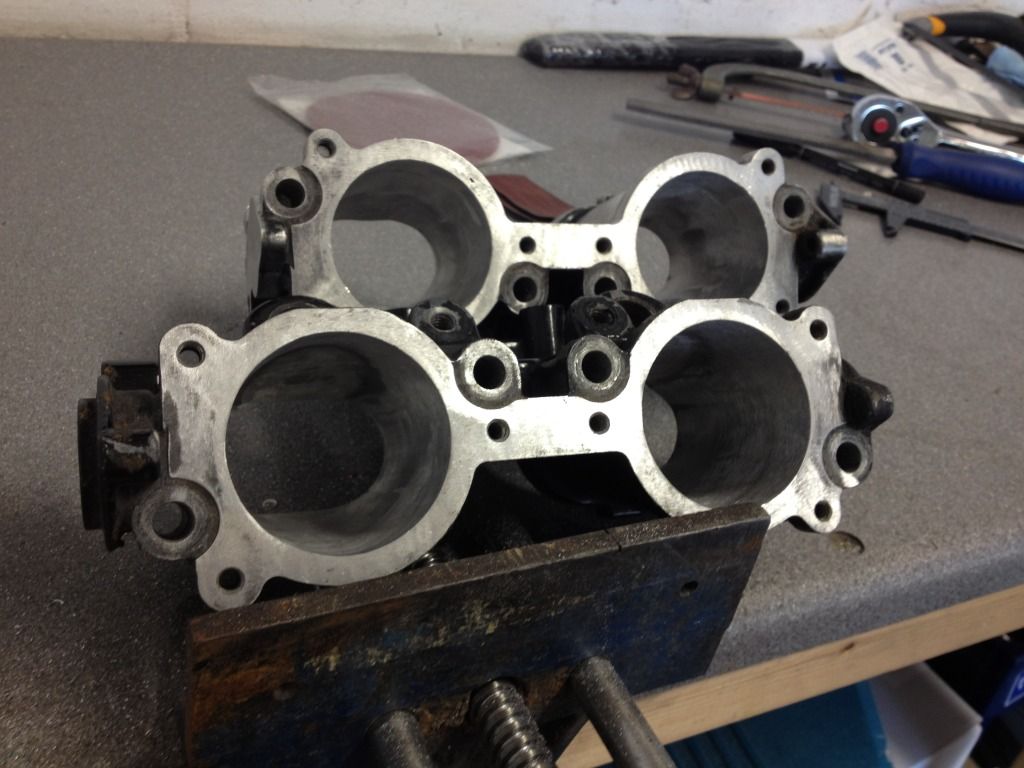
I was able to get another set of TGV's as my original set have gone missing from a so called mate :brick wall
Little bit of work and now ready for blasting and the powder coating
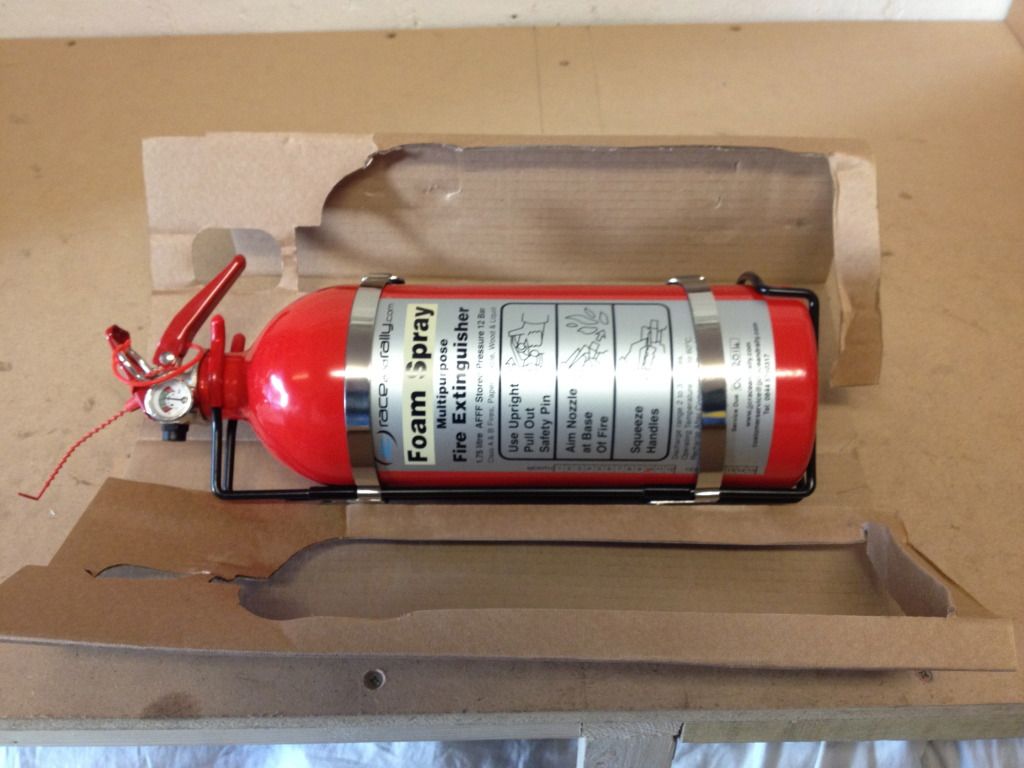
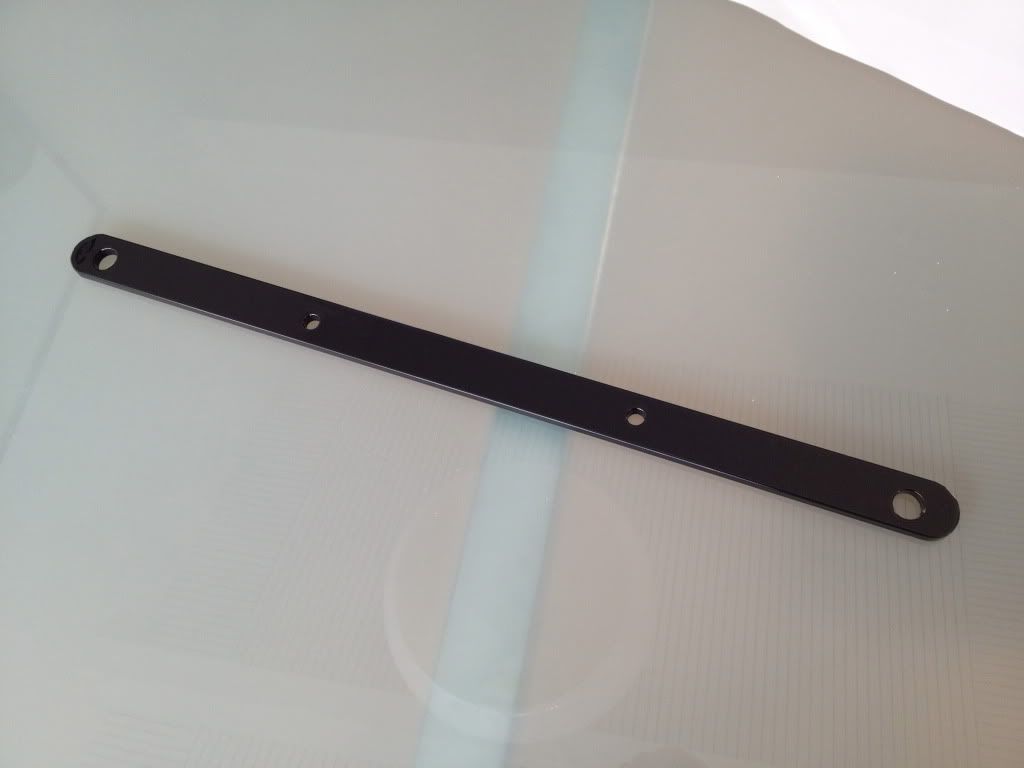
Next year I'd like to put in a full extinguisher system but I wanted to have another bottle in the front to hand.
1.75lt from JJC
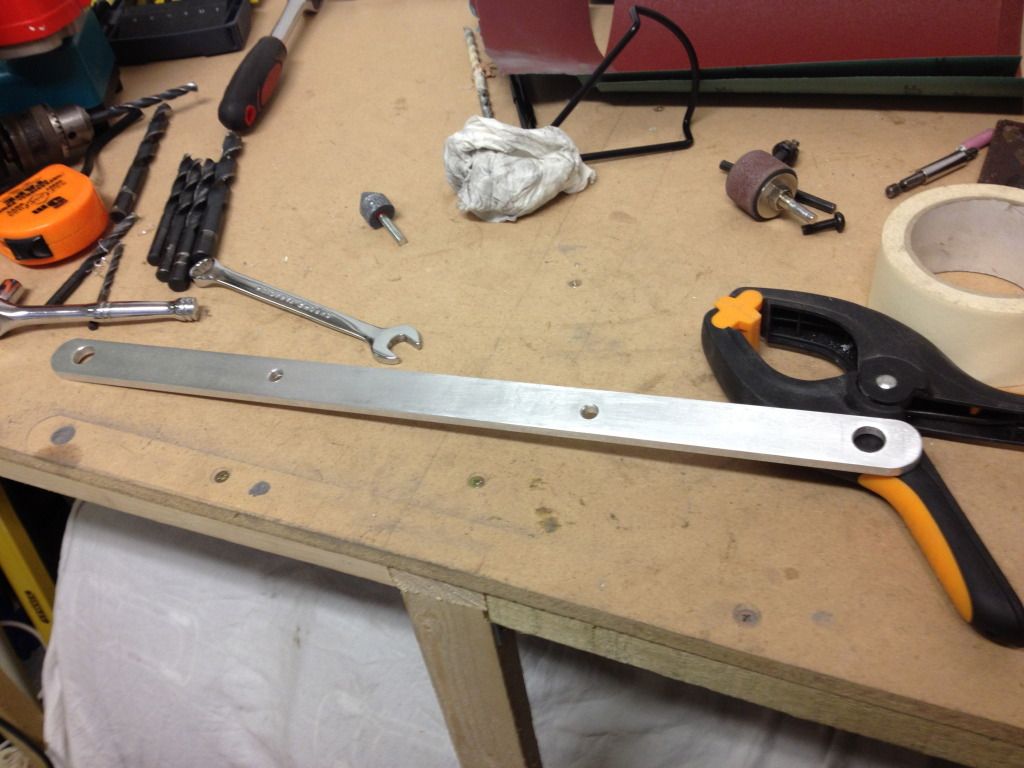
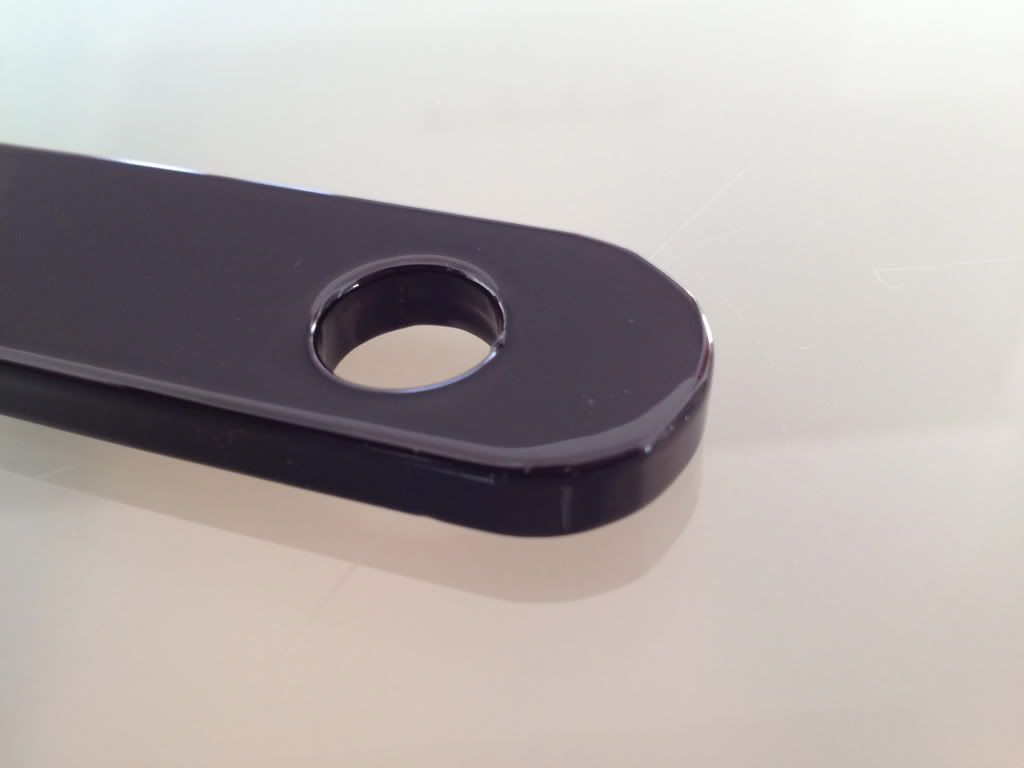
Needed to make a bracket, wanted to attach to the passenger seat. Simple ally 1/4 inch bar.
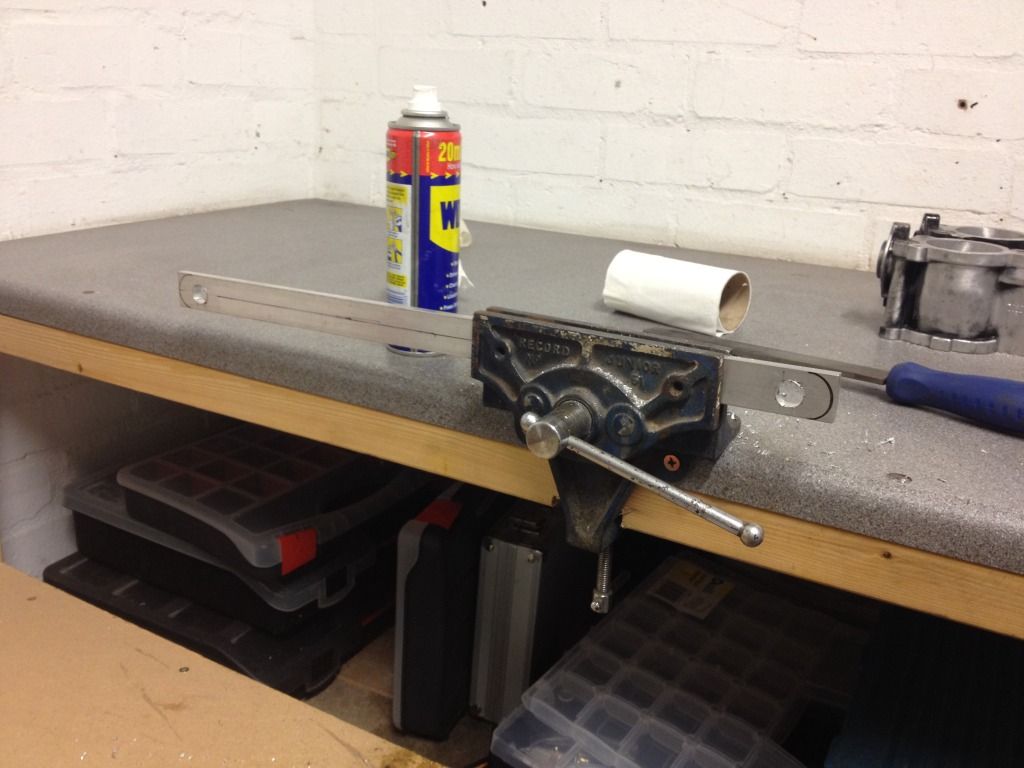
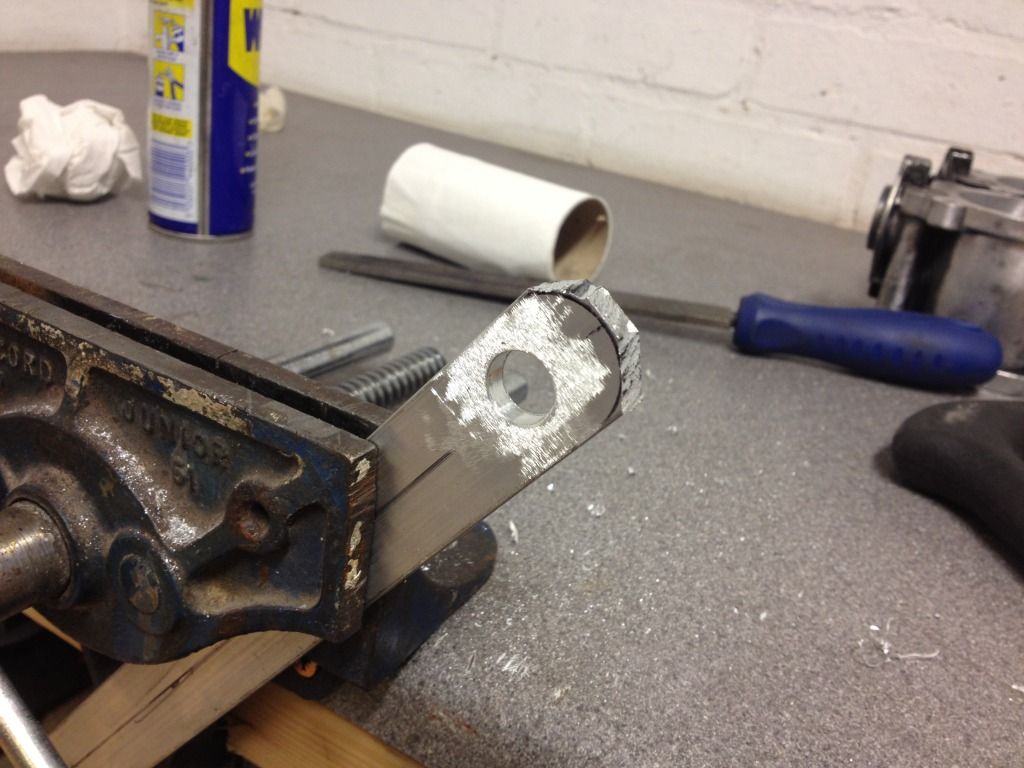
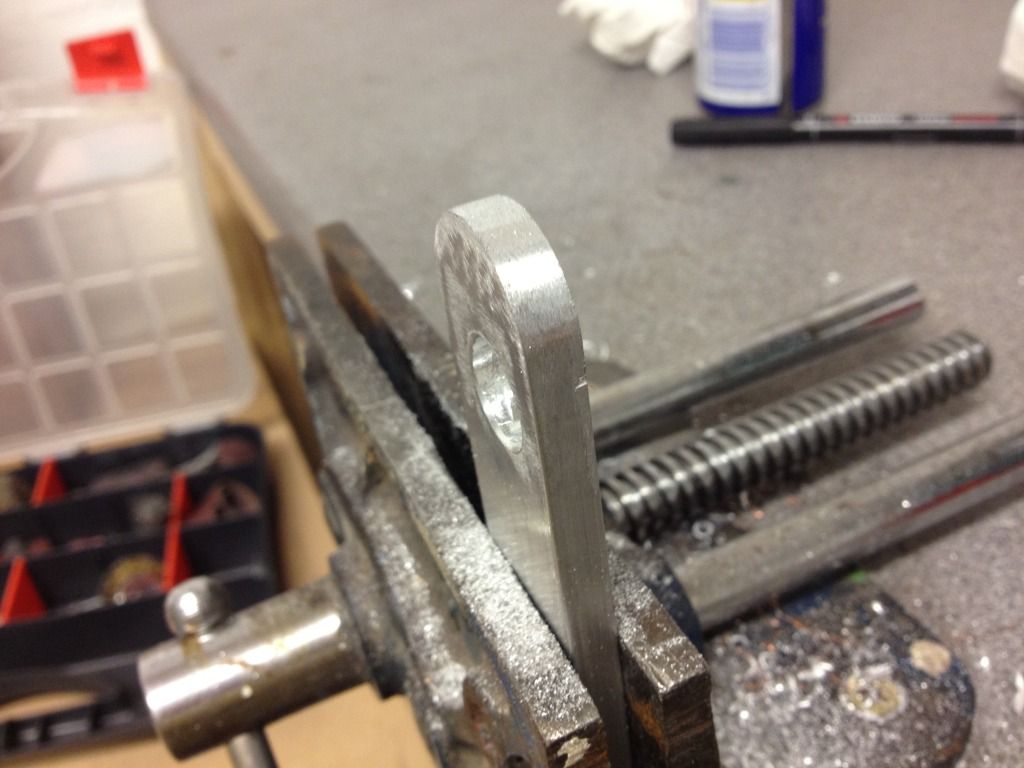
I ended up having to space it off the bar slightly, I'll get some tubing so it looks a little nicer
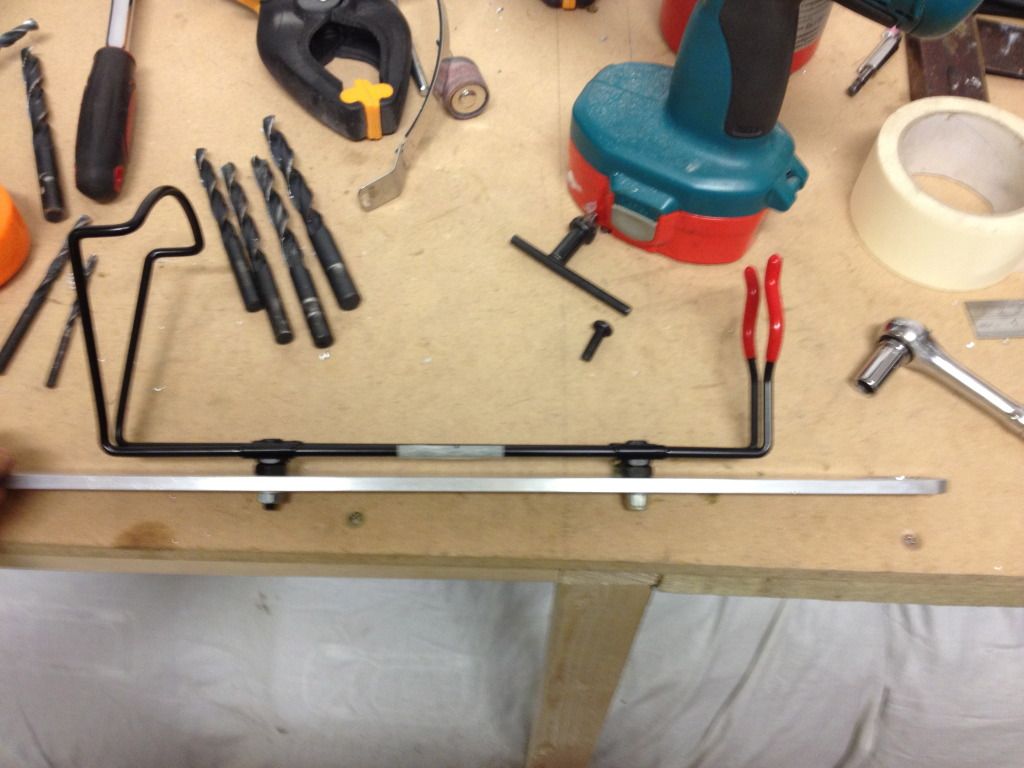
Little bit sanding, ready for powder coating
Gonna drop off a load of parts tomorrow for powder coating and hopefully get a bit more done over xmas
Fuel pump arrived the other day
Just ordered all the AN fittings and hoses which should arrive this week. Should also be picking up the Cosworth fuel rails
I was able to get another set of TGV's as my original set have gone missing from a so called mate :brick wall
Little bit of work and now ready for blasting and the powder coating
Next year I'd like to put in a full extinguisher system but I wanted to have another bottle in the front to hand.
1.75lt from JJC
Needed to make a bracket, wanted to attach to the passenger seat. Simple ally 1/4 inch bar.
I ended up having to space it off the bar slightly, I'll get some tubing so it looks a little nicer
Little bit sanding, ready for powder coating
Gonna drop off a load of parts tomorrow for powder coating and hopefully get a bit more done over xmas
Thread Starter
Scooby Regular
iTrader: (23)
Joined: Jan 2010
Posts: 1,642
Likes: 0
From: Bedfordshire
Christmas came a bit earlier for me this year all the braided hoses, pump bracket and fittings have arrived. The RCM adapter fitting also arrived but forgot to take a photo 
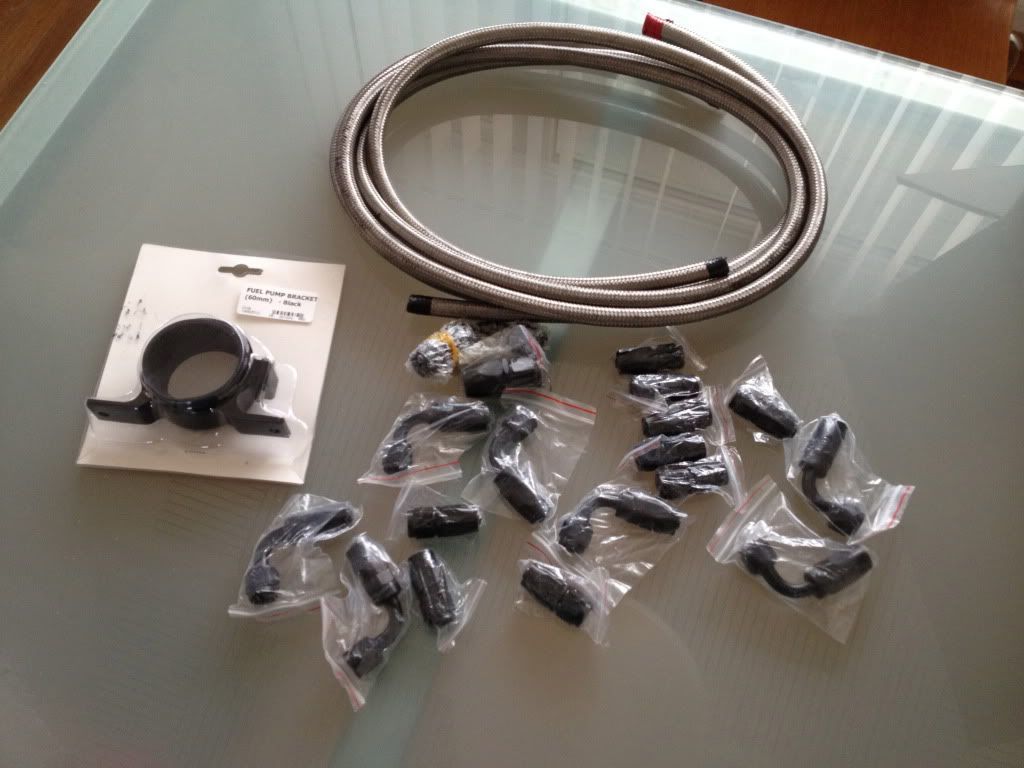
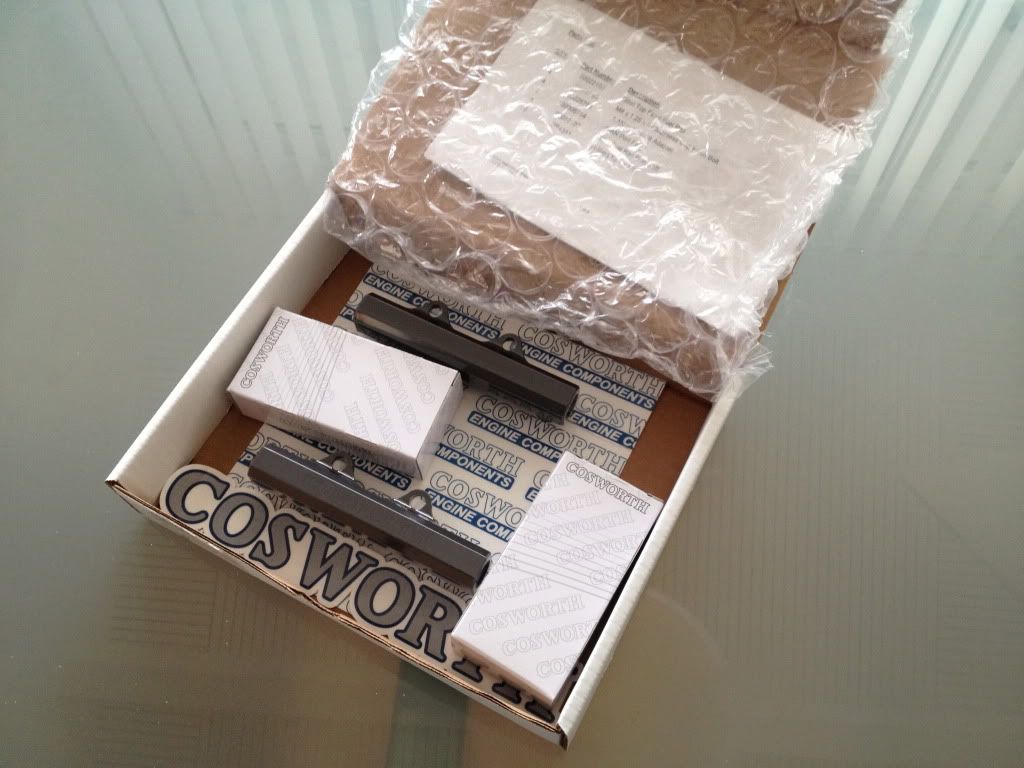
The other day I picked up these puppies from Amber, probably my fav part at the moment. I do love a little cosworth

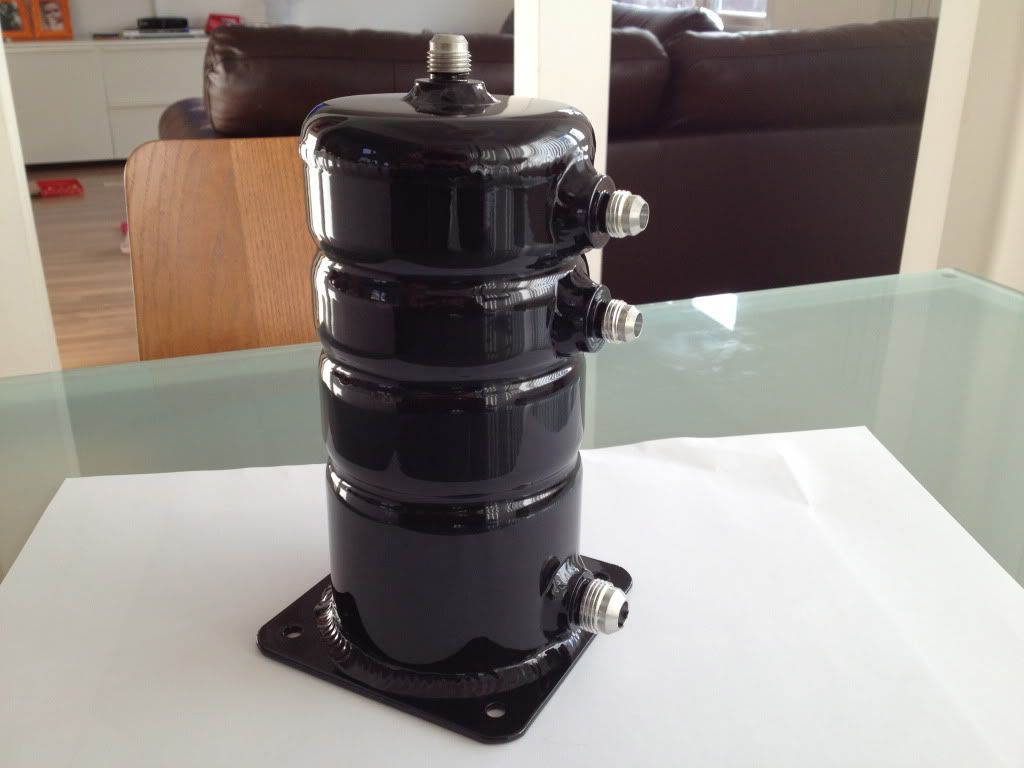
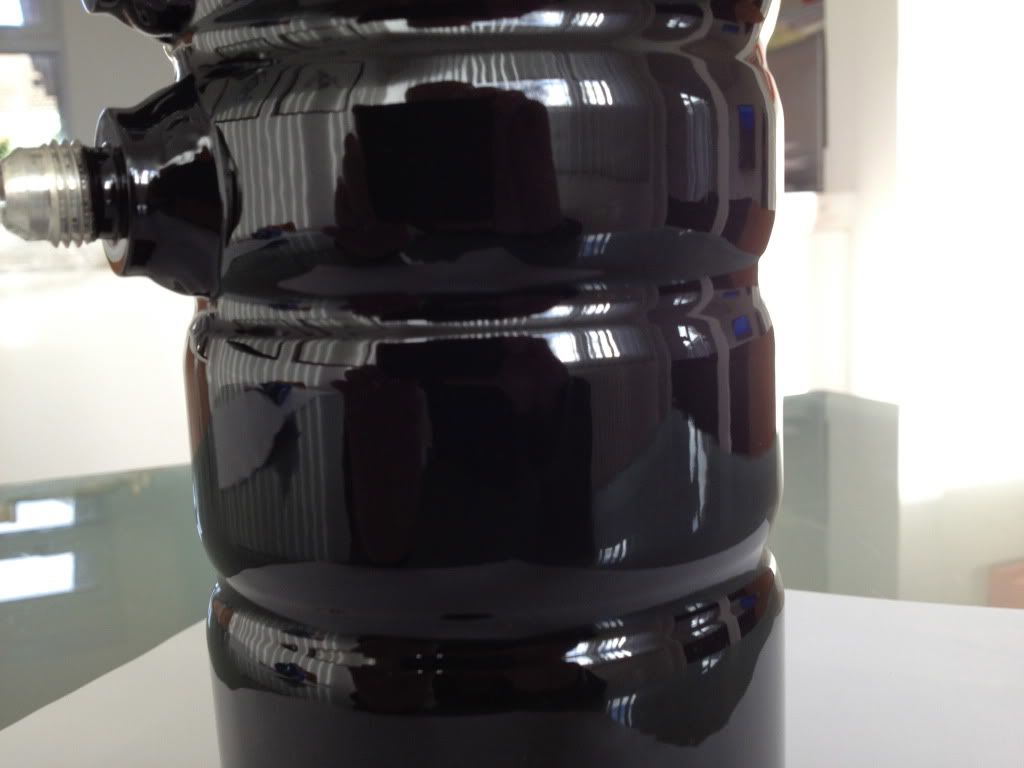
I've just picked up the powder coated parts. They had a little suprise for me as they did this new two stage coating. Firstly the coat a deep matt black and cook and then coat a separate lacquer coat. I'm not sure these photo's do them justice but the gloss finish is amazing.
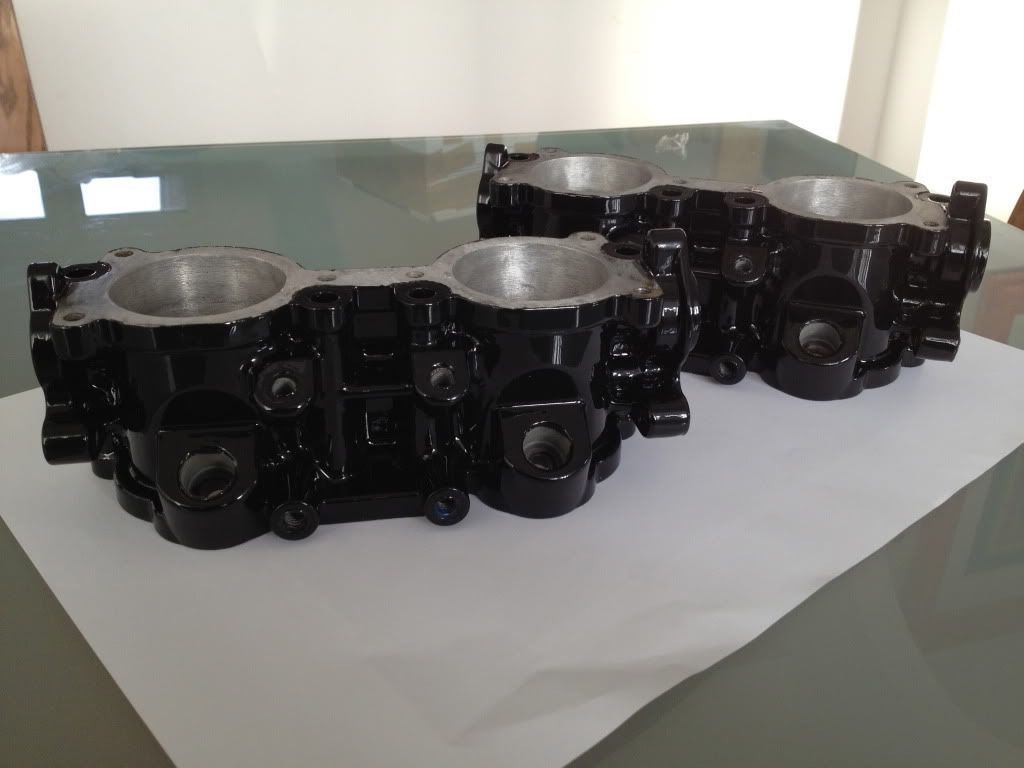
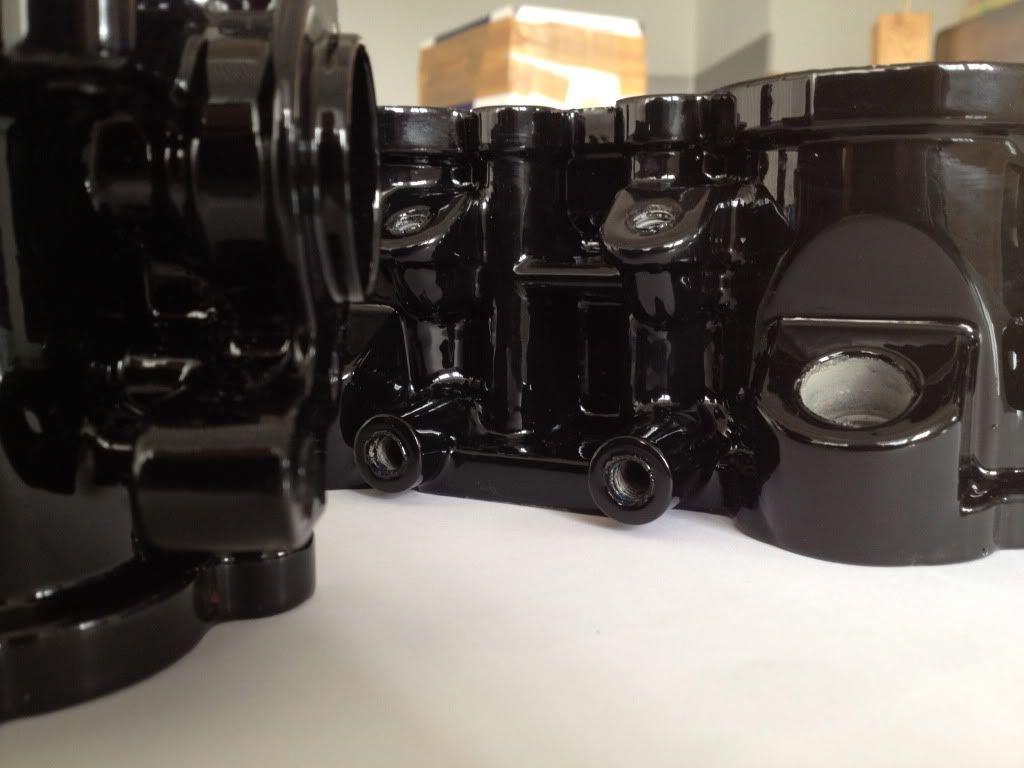
I had a spare inlet manifold that I wanted to experiment with, the same two stage process but with a gold. I'm unsure at the moment about this, it's not 100% smooth surface.
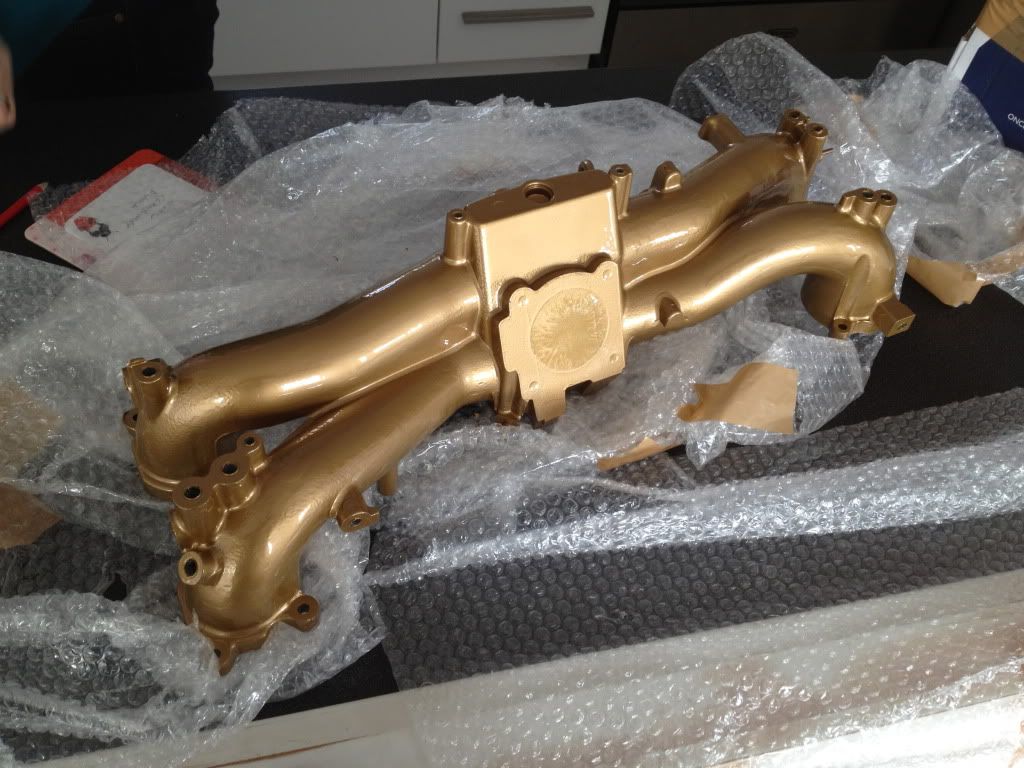
I've currently got a ceramic coated manifold but it's a bitch to keep clean and some patches have slightly faded. I might just use this one while I get the ceramic one powder coated on top.
Hopefully be able to get this all fitted over xmas or just after
all the braided hoses, pump bracket and fittings have arrived. The RCM adapter fitting also arrived but forgot to take a photo The other day I picked up these puppies from Amber, probably my fav part at the moment. I do love a little cosworth
I've just picked up the powder coated parts. They had a little suprise for me as they did this new two stage coating. Firstly the coat a deep matt black and cook and then coat a separate lacquer coat. I'm not sure these photo's do them justice but the gloss finish is amazing.
I had a spare inlet manifold that I wanted to experiment with, the same two stage process but with a gold. I'm unsure at the moment about this, it's not 100% smooth surface.
I've currently got a ceramic coated manifold but it's a bitch to keep clean and some patches have slightly faded. I might just use this one while I get the ceramic one powder coated on top.
Hopefully be able to get this all fitted over xmas or just after
Looks good, some nice bits there
Make sure you clean out the inlet manifold before fitting, suprising how much sand gets in there from the blasting despite it being taped up
Make sure you clean out the inlet manifold before fitting, suprising how much sand gets in there from the blasting despite it being taped up
Thread Starter
Scooby Regular
iTrader: (23)
Joined: Jan 2010
Posts: 1,642
Likes: 0
From: Bedfordshire
Thread Starter
Scooby Regular
iTrader: (23)
Joined: Jan 2010
Posts: 1,642
Likes: 0
From: Bedfordshire
Thread Starter
Scooby Regular
iTrader: (23)
Joined: Jan 2010
Posts: 1,642
Likes: 0
From: Bedfordshire
I'm not 100% sure, I'll try and dig out the receipts tomorrow.
Wiring about �40
Battery case was �42 all in I think. Give Rsm Aluminium Fabrication a call on 0161 643 6358 they made it to my dimensions. They made my swirl pot too, really recomend these
Wiring about �40
Battery case was �42 all in I think. Give Rsm Aluminium Fabrication a call on 0161 643 6358 they made it to my dimensions. They made my swirl pot too, really recomend these
Thread Starter
Scooby Regular
iTrader: (23)
Joined: Jan 2010
Posts: 1,642
Likes: 0
From: Bedfordshire
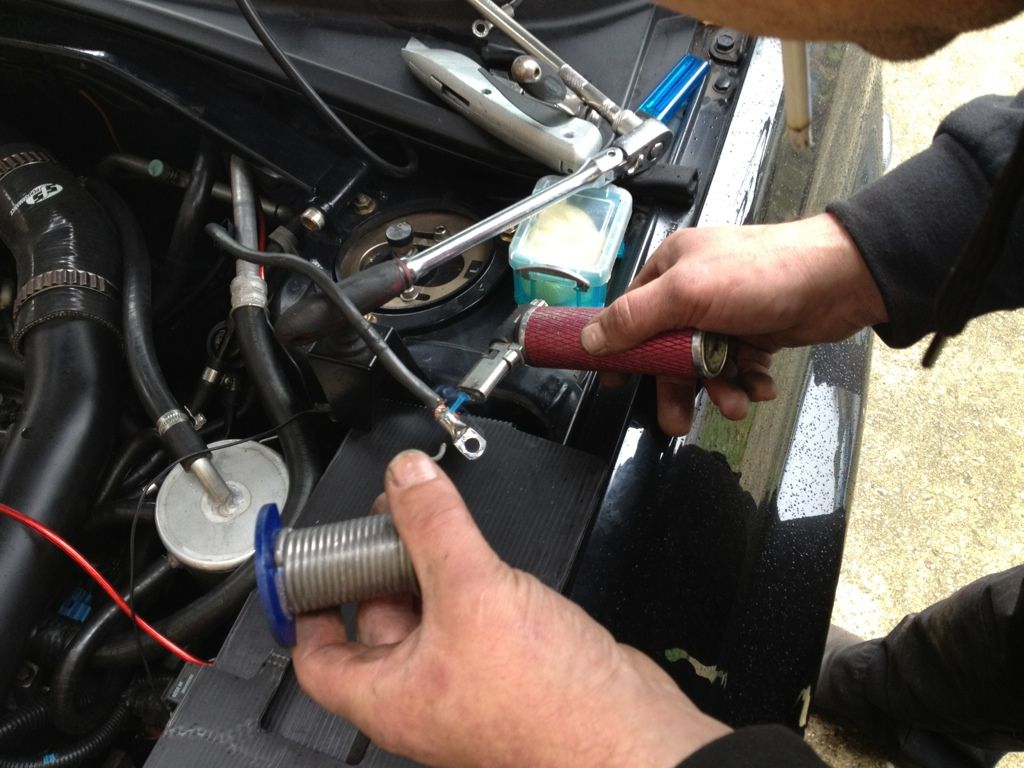
We got a little done today on the swirl pot system. I wanted to prep and double check the pump, swirl pot and filter were all gonna fit in the batteries old position.
Only got time to sort out the line from pump to swirl pot.

I originally wanted to keep the battery stand but they just wouldn't fit so out it came. Bit of a bitch drilling through all the spot welds.
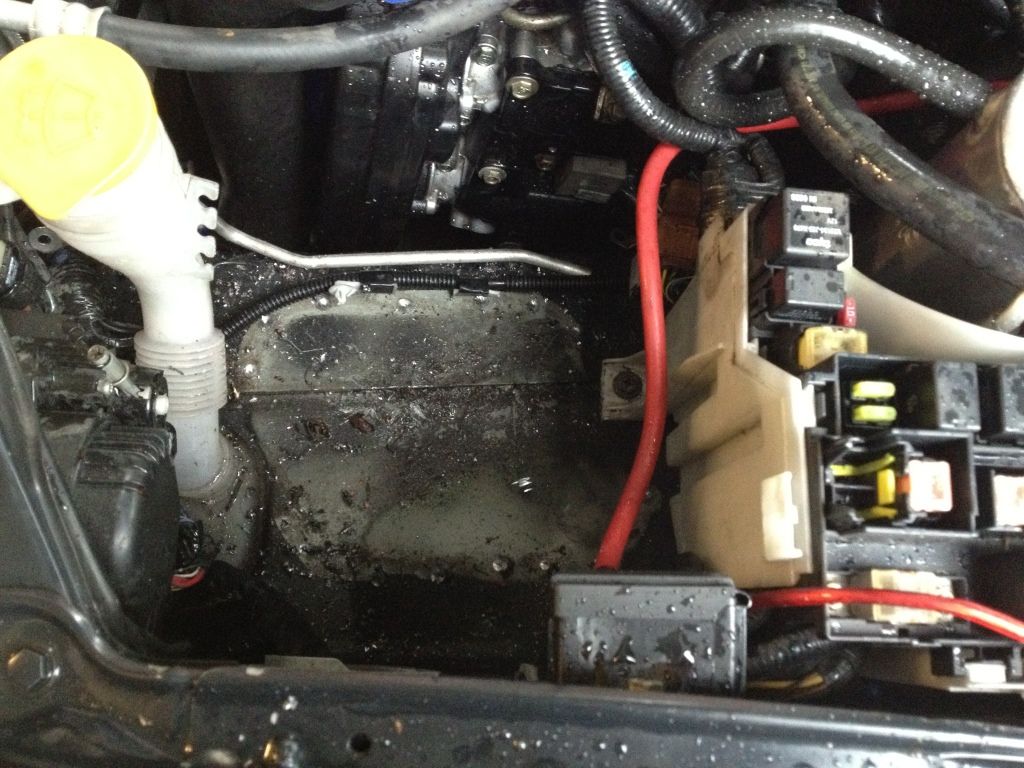
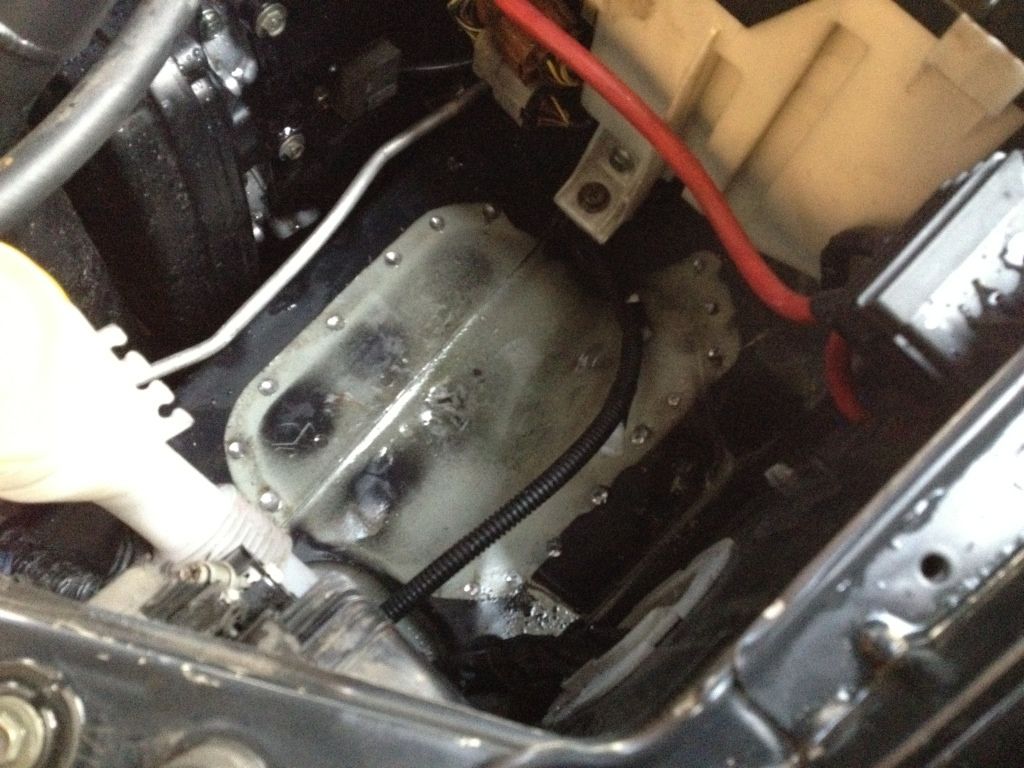
Hopefully tomorrow I'll be able to paint the area left by the battery tray
Only got time to sort out the line from pump to swirl pot.
I originally wanted to keep the battery stand but they just wouldn't fit so out it came. Bit of a bitch drilling through all the spot welds.
Hopefully tomorrow I'll be able to paint the area left by the battery tray

