
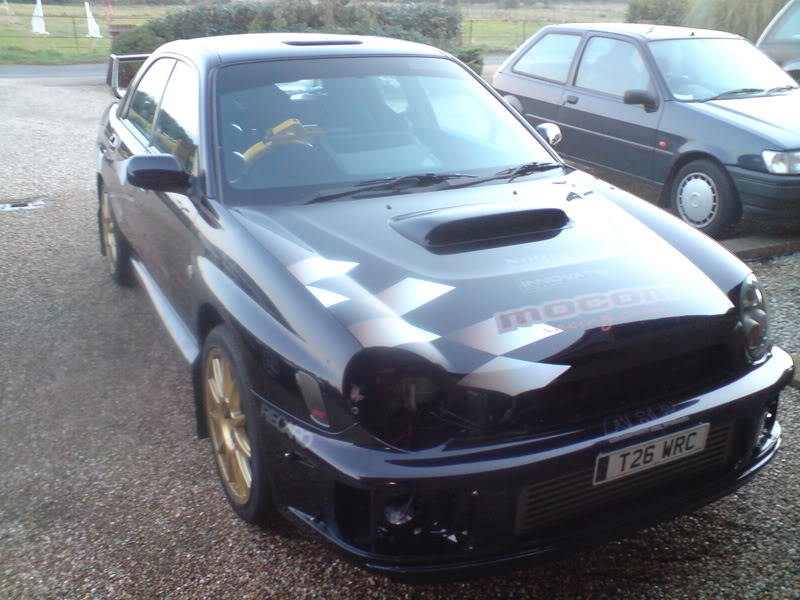
T26 WRC - Frayz Engineering WRC S8 TARMAC SPECIAL - aka THE BOMBER

Thread Starter

Joined: Sep 2005
Posts: 19,945
Likes: 2
From: "Engineering Perfection in Essex"
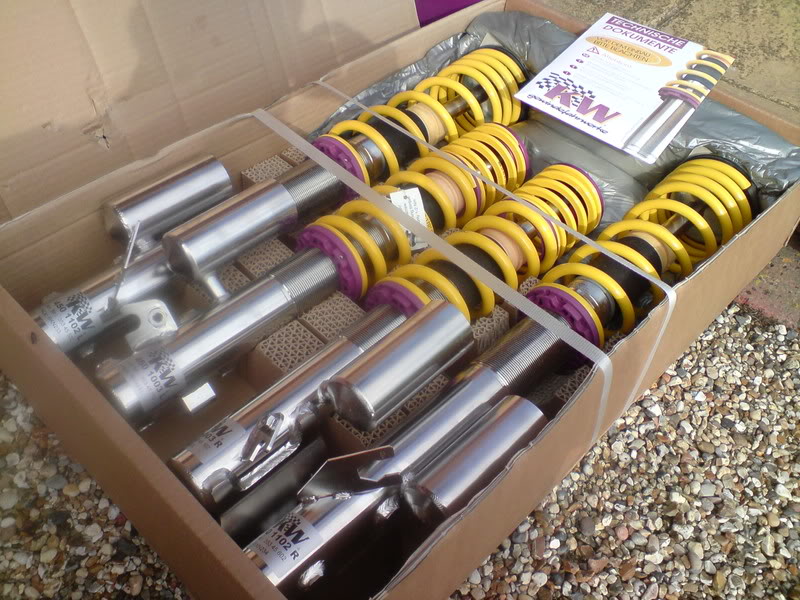
Todays progress...
Firstly, big thanks to Trails for dropping some parts off for me.
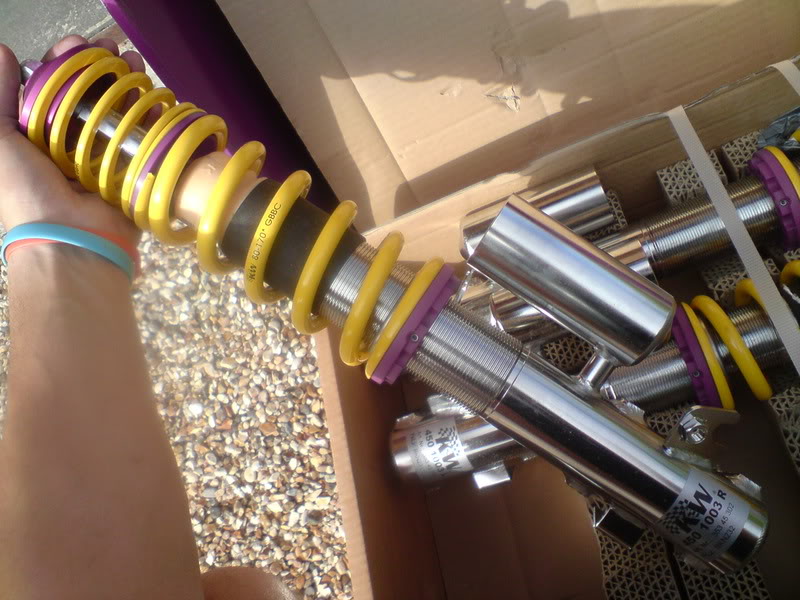
Firstly my KW's are finally here. They look awesome and i cant wait to get them on.
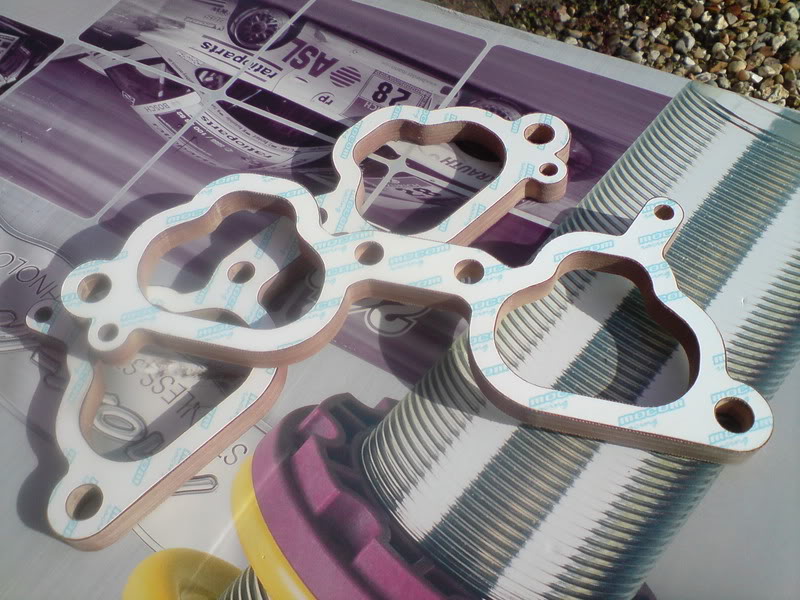
Mocom Phenolic manifold spacers
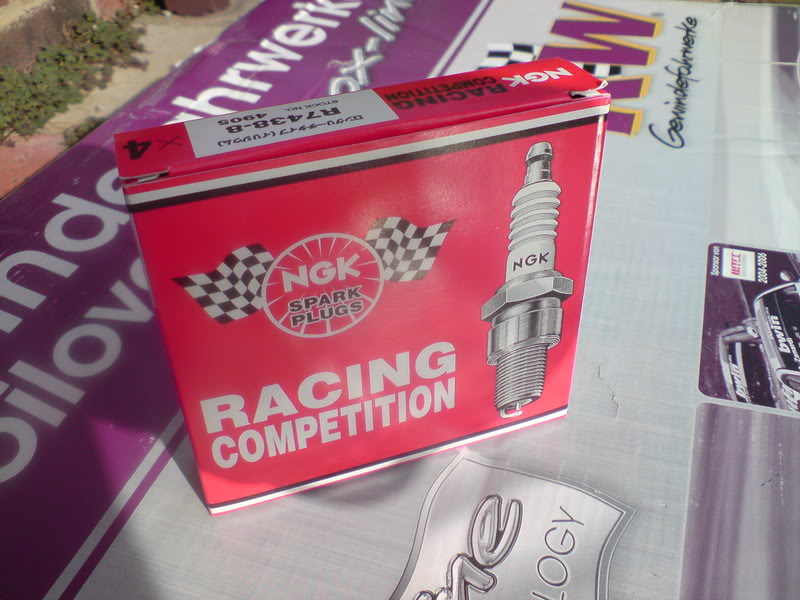
NGK Racing 8's (Sparkplugs) - Seemingly the most expensive plugs on gods earth lol!-
Shame that the pics are cak but i gave the car a wash today and also spent about 2 hours fully degreasing my engine bay as best i can. Lots more to be done here but at least its all dirt free now.
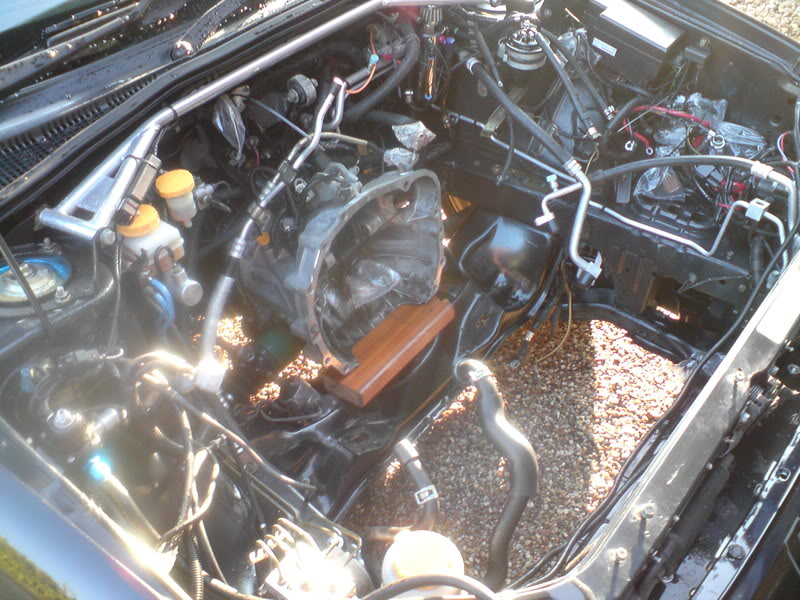
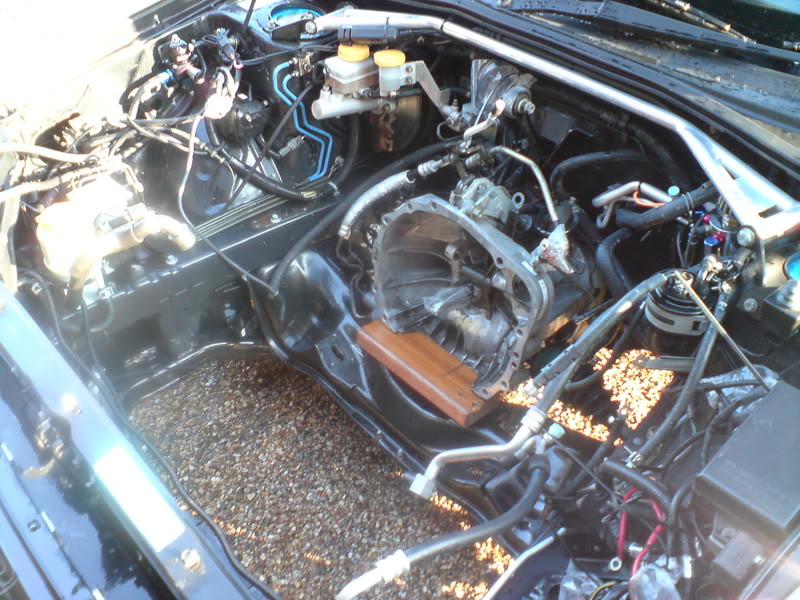
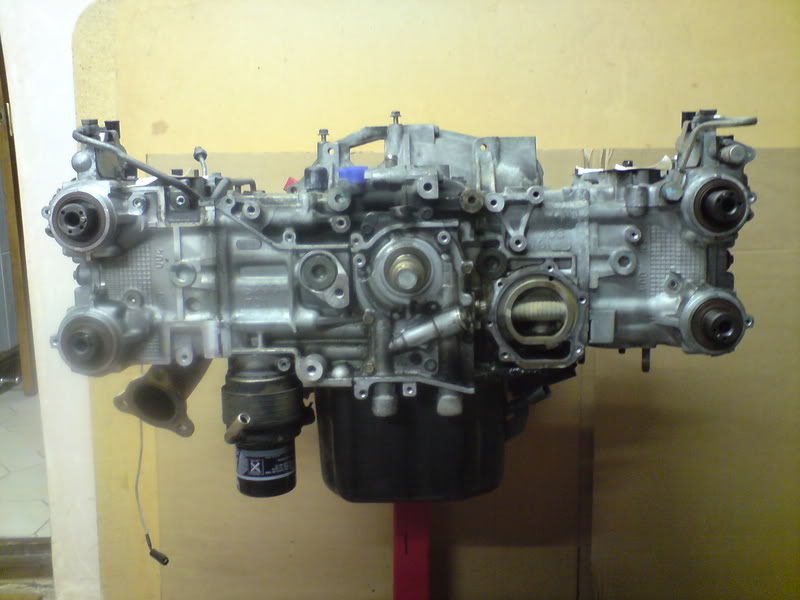
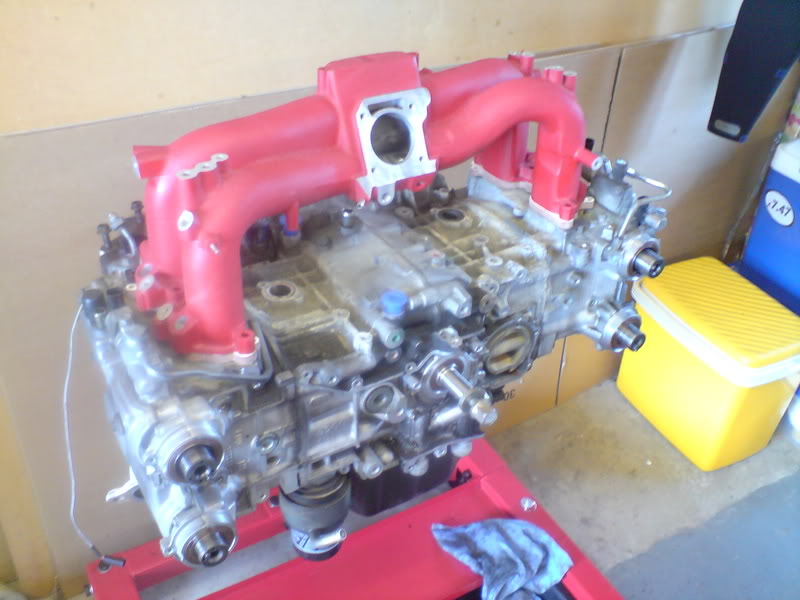
Heres the EJ207's current status. Waiting on my turbo kit till i can go much further now.

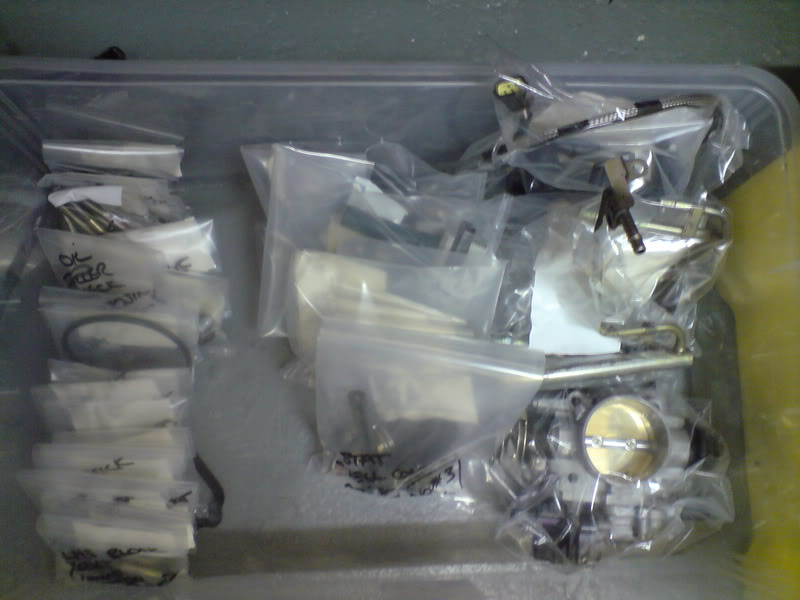
Had to laugh when i see this earlier.... what a car boot sale this would be
Firstly, big thanks to Trails for dropping some parts off for me.
Firstly my KW's are finally here. They look awesome and i cant wait to get them on.
Mocom Phenolic manifold spacers
NGK Racing 8's (Sparkplugs) - Seemingly the most expensive plugs on gods earth lol!-
Shame that the pics are cak but i gave the car a wash today and also spent about 2 hours fully degreasing my engine bay as best i can. Lots more to be done here but at least its all dirt free now.
Heres the EJ207's current status. Waiting on my turbo kit till i can go much further now.
Had to laugh when i see this earlier.... what a car boot sale this would be
It's just as well your not fazed by looking at all those bits 
What's the plan with the cam belt cover are leaving as is or thinking of painting/coating it in some way ?
Engine bay looks great when ever an engine get removed you really need to grasp that moment to get in there.
What's the plan with the cam belt cover are leaving as is or thinking of painting/coating it in some way ?
Engine bay looks great when ever an engine get removed you really need to grasp that moment to get in there.
Thread Starter
Joined: Sep 2005
Posts: 19,945
Likes: 2
From: "Engineering Perfection in Essex"
Cam belt covers have been hot washed and theyre staying just the way Subaru intended them mate. Personally i dont like the painted ones...
Carbon would be nice, but expense id rather put elsewhere
Carbon would be nice, but expense id rather put elsewhere

awesome car & awesome thread Frayz 
Out of interest, why go for the turbo you've bought, why not the 321T? (I'm looking at which one is going to be best for my 2.5)
cheers
Out of interest, why go for the turbo you've bought, why not the 321T? (I'm looking at which one is going to be best for my 2.5)
cheers

If they are in top condition I agree Frayz, just some 303 on them keeps the plastic fed and the OEM look tip top.... failing that I was actually thinking that having yours colour coded to the car may be a viable option especially with st/st bolts which would really set it off in a subtle way

Thread Starter
Joined: Sep 2005
Posts: 19,945
Likes: 2
From: "Engineering Perfection in Essex"
Carbon be beggered
If they are in top condition I agree Frayz, just some 303 on them keeps the plastic fed and the OEM look tip top.... failing that I was actually thinking that having yours colour coded to the car may be a viable option especially with st/st bolts which would really set it off in a subtle way
If they are in top condition I agree Frayz, just some 303 on them keeps the plastic fed and the OEM look tip top.... failing that I was actually thinking that having yours colour coded to the car may be a viable option especially with st/st bolts which would really set it off in a subtle way
Yeah, not a bad idea that mate. Think i'll just stick with the OEM look though and keep em 303'd. I think ther will be enough to look at under the hood when its done without the need to mess with the covers.
DJ-Jon.
If im honest mate, i wanted more than what a stock location turbo could offer and dispite all the claims on here etc.
I personally have not seen a 321T perform the way i would want it to. Therefore i thought id do it once and for all and go with a proper Garrett turbo in a rotated location. That way i know what im getting and what to expect. And if im still not happy the a change is much cheaper and easier with proper Garrett mountings.
The green i had was good but again, they all use some form of modded Subaru exhaust housing and i just wasnt happy with that. I'll await the 321 army to come and shoot me down but those are my thoughts based on what i have seen and driven for myself, not what i have heard down the local boozer or read on Scoobynet .


Thread Starter
Joined: Sep 2005
Posts: 19,945
Likes: 2
From: "Engineering Perfection in Essex"
Spent some more time on the engine bay today guys.
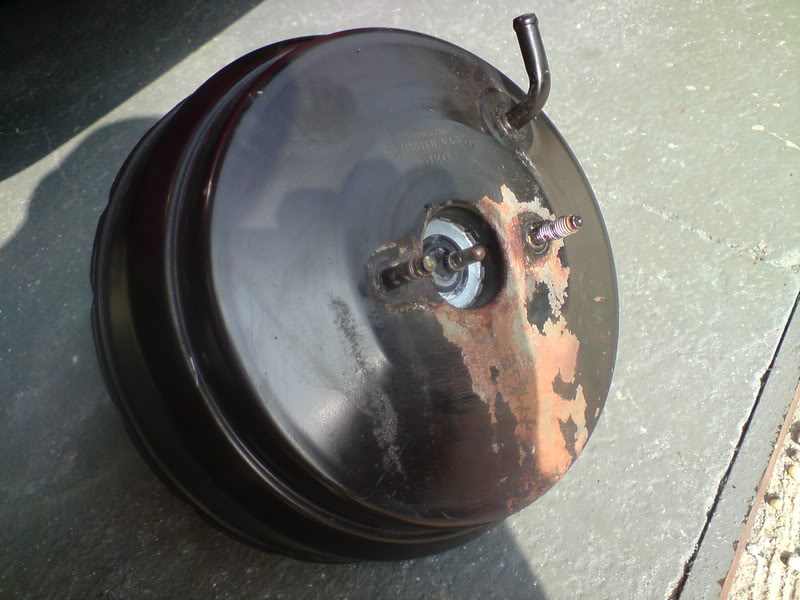
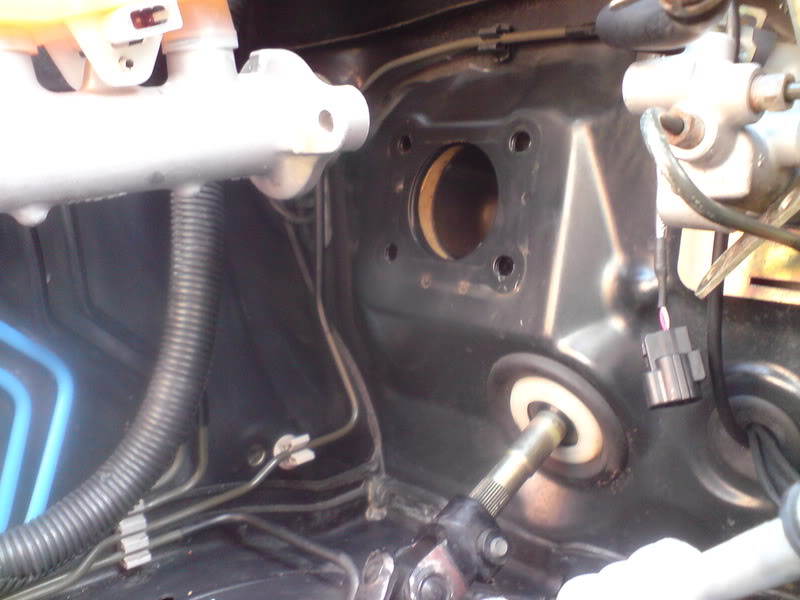
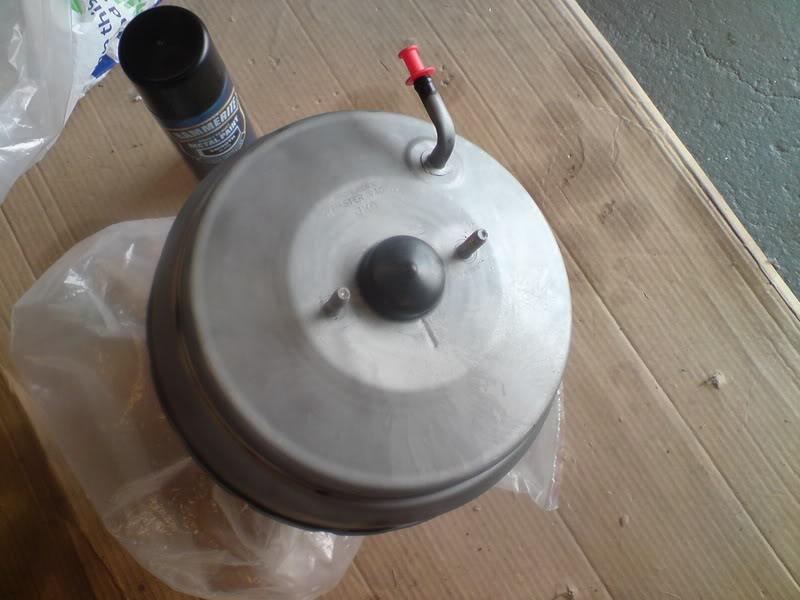
Firstly, when cleaning yesterday i noticed there were some small rust bubbles on the brake servo. I made this worse pointing a jet wash at it lol.
Not happy with that i whipped it off the car in preparation to be bead blasted and repainted.
Heres the damage lol
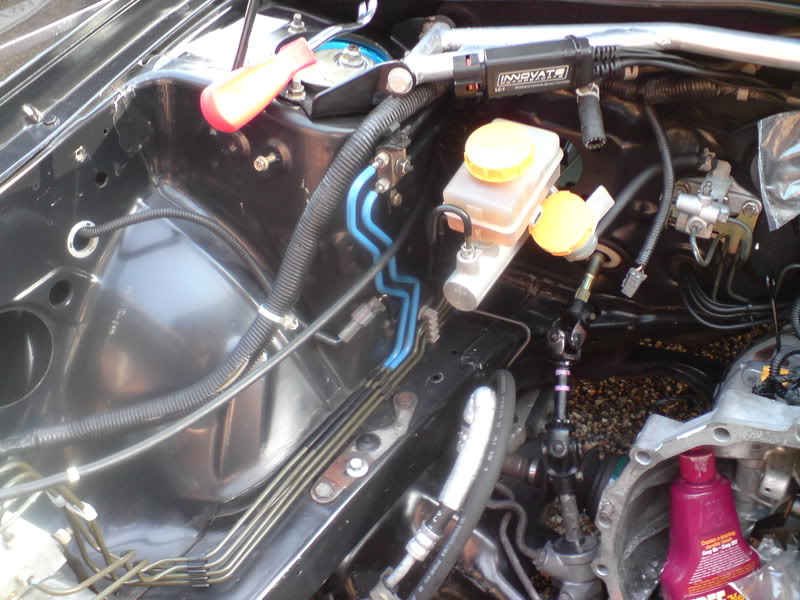
With that out of the way i continued to clean in and about. Moving wires and generally tidying things in preparation for the new motor. I would like the new install to be as clean and clutter free as possible. Some new brackets will need to be made but unfortunately i cant make these until the motor is in and i know how much room i have to play with.
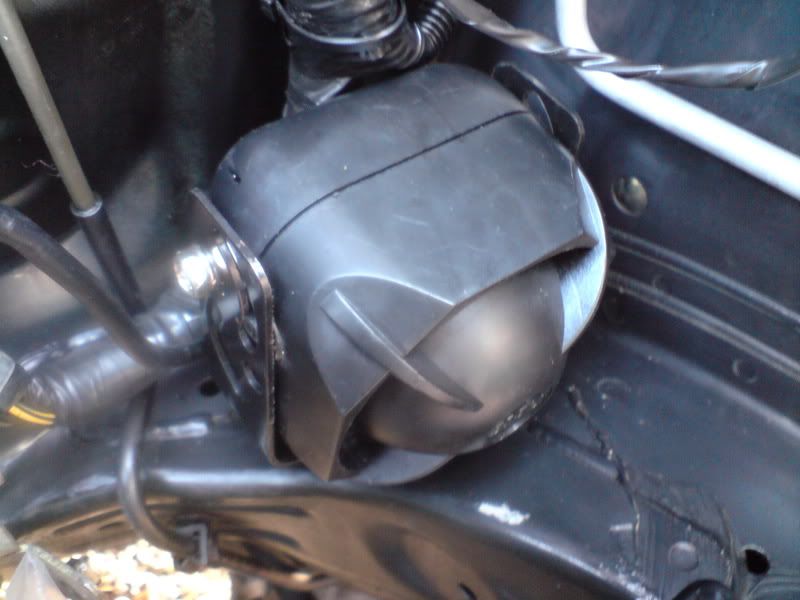
Took the oppotunity to relocate the alarm siren to the passenger side chassis rail as there was plenty of room down there that wasnt doing anything
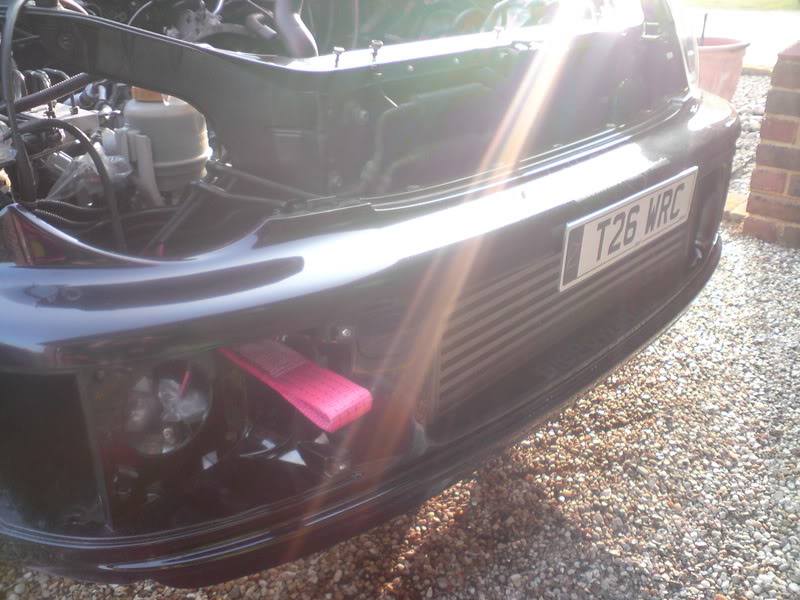
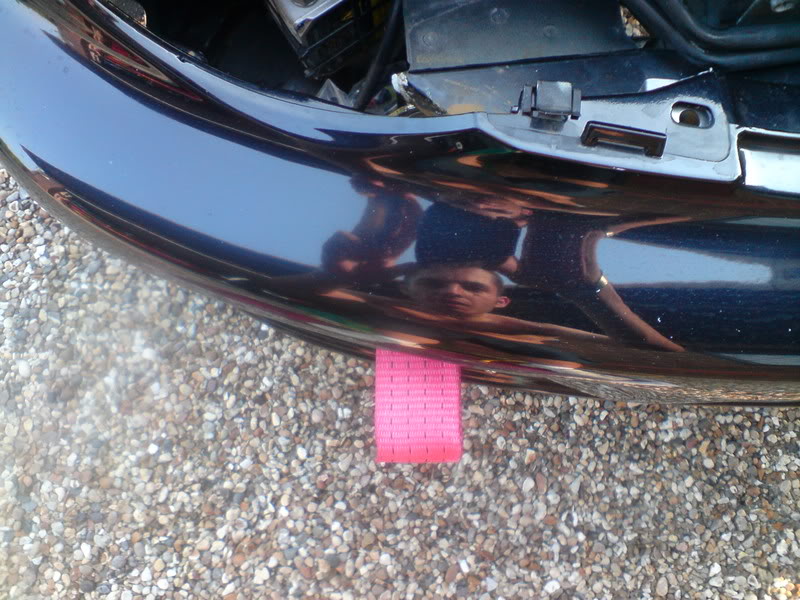
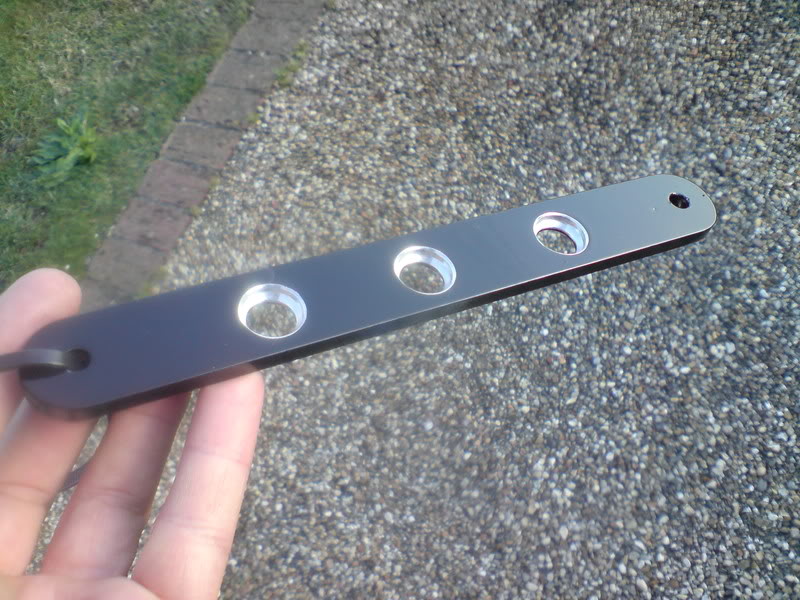
Also had the chance to finally fit my towing strap to the front of the car. The FMIC does away with the stock towing eye so i had this made and will poke through a slot that i need to cut in the foglight cover. (Cheers Alyn )
)
Test fitted the manifold and spacers to take some measurements etc
Firstly, when cleaning yesterday i noticed there were some small rust bubbles on the brake servo. I made this worse pointing a jet wash at it lol.
Not happy with that i whipped it off the car in preparation to be bead blasted and repainted.
Heres the damage lol
With that out of the way i continued to clean in and about. Moving wires and generally tidying things in preparation for the new motor. I would like the new install to be as clean and clutter free as possible. Some new brackets will need to be made but unfortunately i cant make these until the motor is in and i know how much room i have to play with.
Took the oppotunity to relocate the alarm siren to the passenger side chassis rail as there was plenty of room down there that wasnt doing anything
Also had the chance to finally fit my towing strap to the front of the car. The FMIC does away with the stock towing eye so i had this made and will poke through a slot that i need to cut in the foglight cover. (Cheers Alyn
)Test fitted the manifold and spacers to take some measurements etc

Thread Starter
Joined: Sep 2005
Posts: 19,945
Likes: 2
From: "Engineering Perfection in Essex"
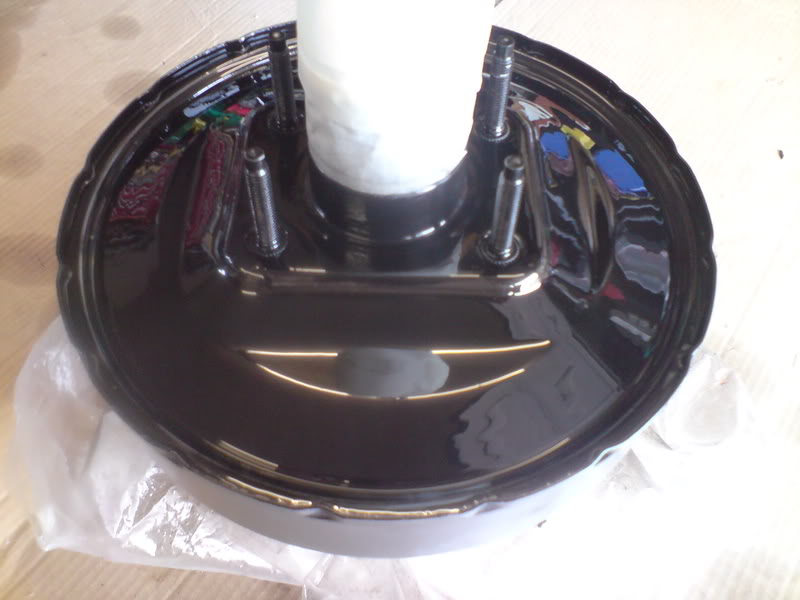
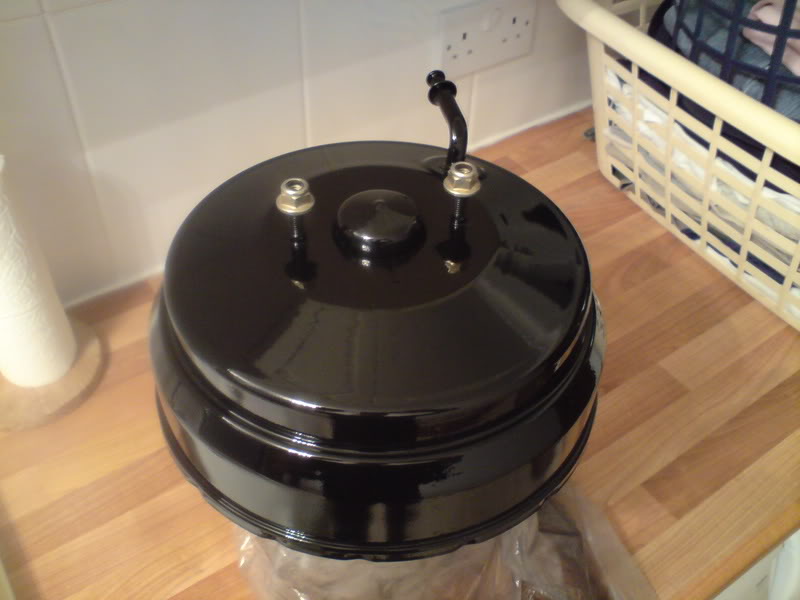
Remember that rusty brake servo?
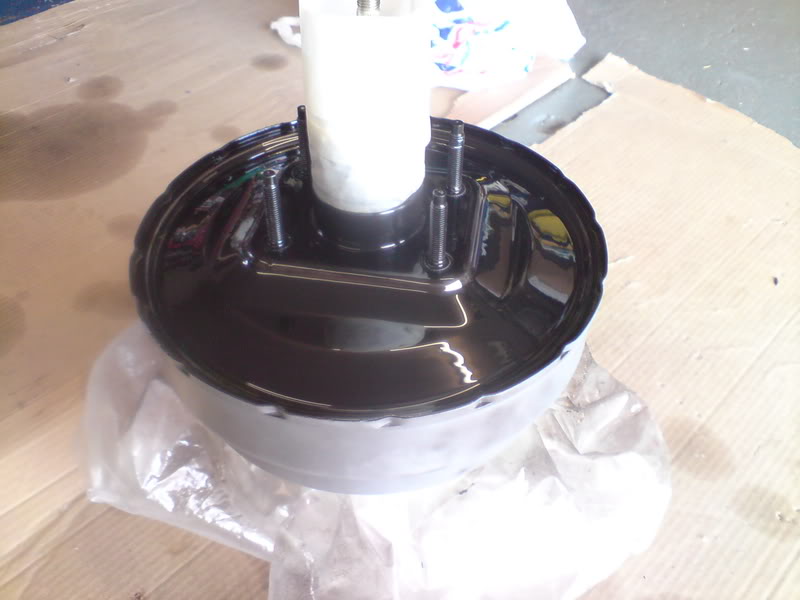
Well, it too got the glass bead treatment and then some new paint.
Not too sad for an amateur eh
From this...

to this
Well, it too got the glass bead treatment and then some new paint.
Not too sad for an amateur eh
From this...
to this
That spray hammerite has a hell of a shine to it, I was suprised when I used it a few weeks back and it does not loose to much gloss when it dries either.
Looking good Frayz keep at it
Only one problem when you start painting bits like this you will end up having to do just about everything before you finish.
Looking good Frayz keep at it
Only one problem when you start painting bits like this you will end up having to do just about everything before you finish.
Thread Starter
Joined: Sep 2005
Posts: 19,945
Likes: 2
From: "Engineering Perfection in Essex"
That spray hammerite has a hell of a shine to it, I was suprised when I used it a few weeks back and it does not loose to much gloss when it dries either.
Looking good Frayz keep at it
Only one problem when you start painting bits like this you will end up having to do just about everything before you finish.
Looking good Frayz keep at it
Only one problem when you start painting bits like this you will end up having to do just about everything before you finish.
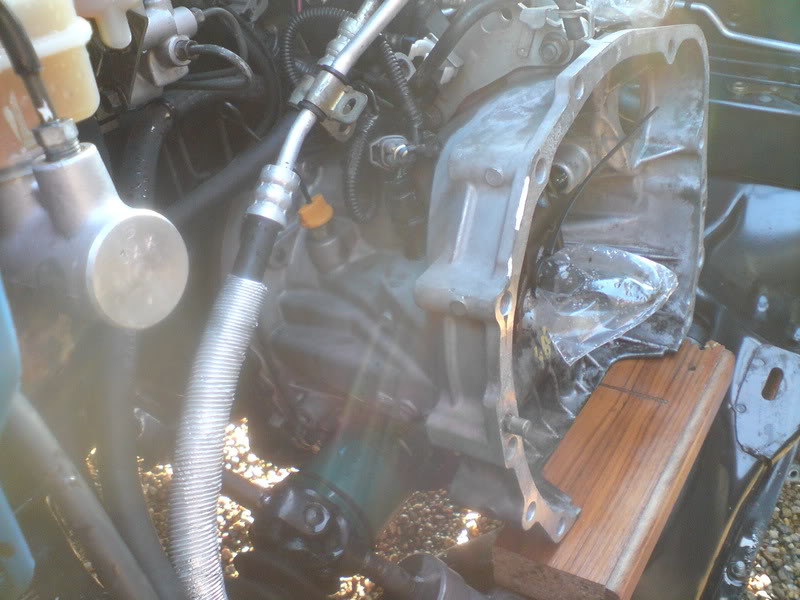
Lol, i had to have a bit of a reality check the other day. I found myself sitting in my engine bay polishing and waxing behind the brake servo and scrubbing the inside of the bellhousing with a toothbrush and degreaser.
I mean WTF, nobody will ever see inside the bellhousing ha ha ha
Rewrapping the loom so it looks fresh, polishing the AC charge pipes at the bulkhead, waxing the crossmember?
WTF!!!


Tell me about it, ive taken off practcally every bracket in the engine bay for the same treatment.
Lol, i had to have a bit of a reality check the other day. I found myself sitting in my engine bay polishing and waxing behind the brake servo and scrubbing the inside of the bellhousing with a toothbrush and degreaser.
I mean WTF, nobody will ever see inside the bellhousing ha ha ha
Rewrapping the loom so it looks fresh, polishing the AC charge pipes at the bulkhead, waxing the crossmember?
WTF!!!
Thread Starter
Joined: Sep 2005
Posts: 19,945
Likes: 2
From: "Engineering Perfection in Essex"
Thread Starter
Joined: Sep 2005
Posts: 19,945
Likes: 2
From: "Engineering Perfection in Essex"
Todays progress.
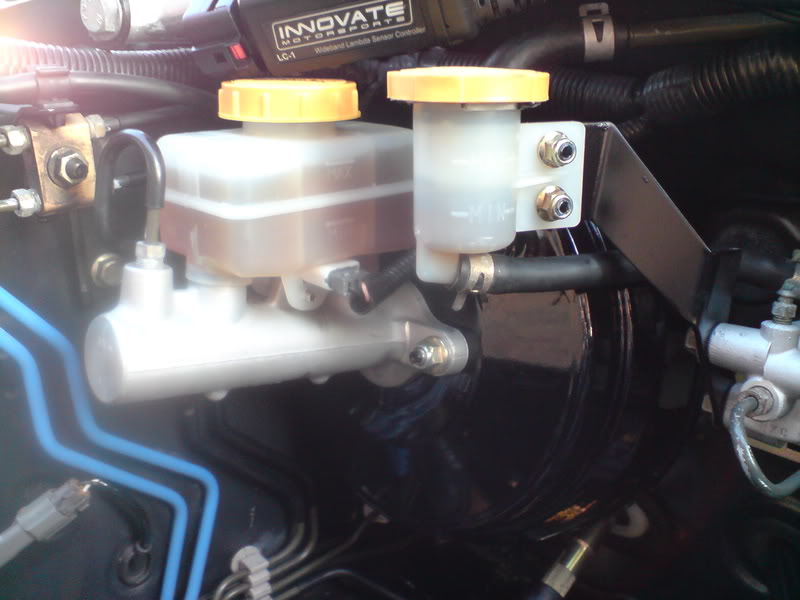
I fitted up the servo now the paint was nice and dry, looks really nice now its installed and cleans the bay up a treat.
(Please ignore the dirty nut and cable bracket. I have a little idea for this area)
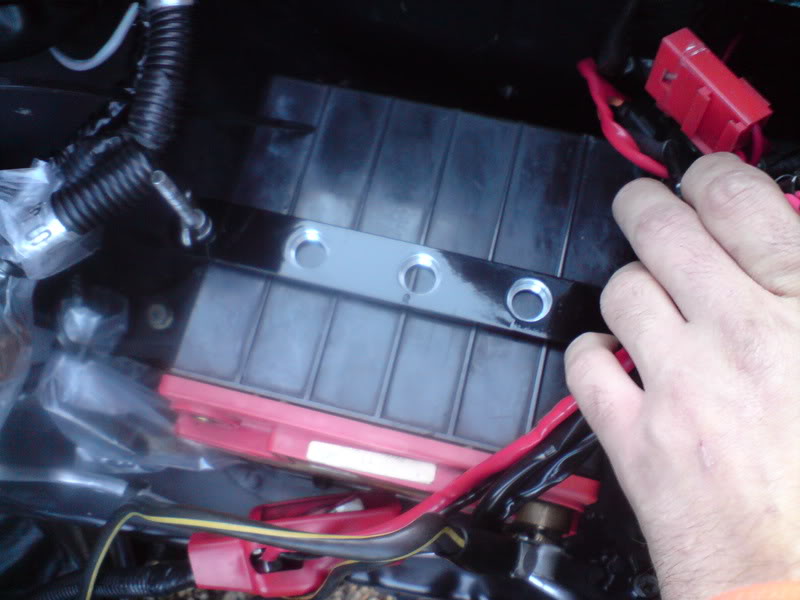
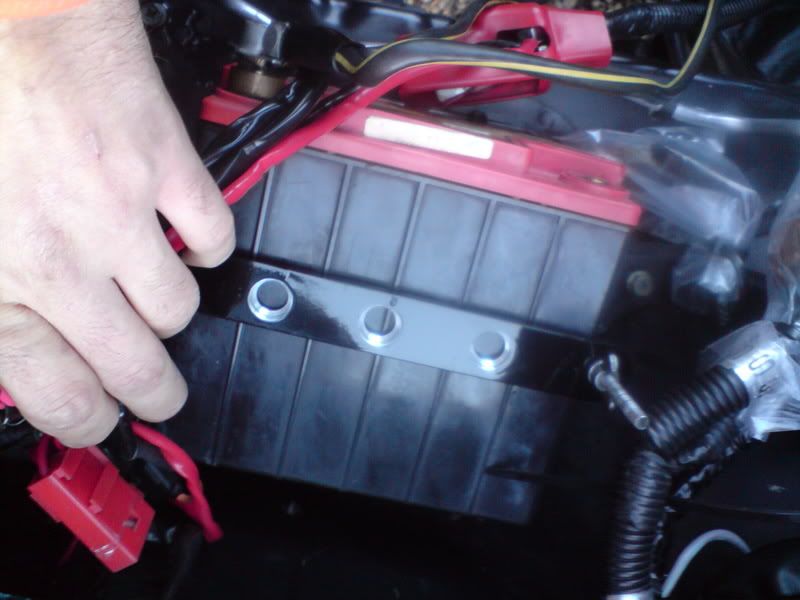
I also made up a battery tie down bracket, although this too will be an item not often seen as my battery and cables will be getting a little cover.
Looks pretty cool though
I fitted up the servo now the paint was nice and dry, looks really nice now its installed and cleans the bay up a treat.
(Please ignore the dirty nut and cable bracket. I have a little idea for this area)
I also made up a battery tie down bracket, although this too will be an item not often seen as my battery and cables will be getting a little cover.
Looks pretty cool though
Thread Starter
Joined: Sep 2005
Posts: 19,945
Likes: 2
From: "Engineering Perfection in Essex"

Thread Starter
Joined: Sep 2005
Posts: 19,945
Likes: 2
From: "Engineering Perfection in Essex"
Love reading this thread! Your car's such an inspiration Frayz. When's it gonna be back on the road? 
Also I love the RA roof vent! I'll be looking to get one installed next spring/summer, would you be able to do it for a price?
Tom
Also I love the RA roof vent! I'll be looking to get one installed next spring/summer, would you be able to do it for a price?
Tom
Thread Starter
Joined: Sep 2005
Posts: 19,945
Likes: 2
From: "Engineering Perfection in Essex"
Yes Tom, would do a roof vent for �200 plus parts. There maybe someone else that would do it for less but i do every vent with the same care and detail like it was my own.
Its at least a 5 hour job and a big responsibility, of which im sure you will agree.
Cheers buddy, its nice to know i might inspire some other guys on here. I have a massive amount of fabrication work to do yet mate but im hoping before xmas.
Yes Tom, would do a roof vent for �200 plus parts. There maybe someone else that would do it for less but i do every vent with the same care and detail like it was my own.
Its at least a 5 hour job and a big responsibility, of which im sure you will agree.
Yes Tom, would do a roof vent for �200 plus parts. There maybe someone else that would do it for less but i do every vent with the same care and detail like it was my own.
Its at least a 5 hour job and a big responsibility, of which im sure you will agree.
That sounds good mate, I understand the amount of work it takes as I've read your guide! It's a very good labour price to be honest, I will be getting back to you in the future.
All the best,
Tom

Scooby Regular
Joined: Nov 2005
Posts: 753
Likes: 0
From: 1997 2000 GL'T=Grand Lux + Turbonator
Todays progress.
I fitted up the servo now the paint was nice and dry, looks really nice now its installed and cleans the bay up a treat.
(Please ignore the dirty nut and cable bracket. I have a little idea for this area)
I also made up a battery tie down bracket, although this too will be an item not often seen as my battery and cables will be getting a little cover.
Looks pretty cool though
1. Any pictures of hand must be covered in grease with skinned knuckles and dirty finger nails.
2. When you take an engine out, all anciliries are thrown in a tea chest, with all the nuts and bolts in the bottom (This to be sorted later)
3. The project must be done in a dim lit garage, with loads of old tins of paint in the back ground, floor covered in bits of bubble wrap, cardboard and lino .
4. Loads of 80s car projects in the background that you never got around to doing.
5. the car must be dirty untill the project is finished.
6. engines must be built on top of an old chest of draws.
7. any new wiring must be draped around the engine bay unprotected, loop the loop around pipes to hold it up.
8. All electrical connections should be scotchloks
9. Ancilaries must be rusty, coroded, grimey, prefable all 3 before they are re-fitted
10. A chipped mug of tea, with a greased 10mm spanner init to stir it in all the pics.
I ask you - whats the world comming to?
Seriously though - top project - car will be better than Factory Finish - wish I had your skills and tenacity.
Sy
Thread Starter
Joined: Sep 2005
Posts: 19,945
Likes: 2
From: "Engineering Perfection in Essex"
Frayz I dont think you understand how to conduct a project in the correct tradition. you are breaking all the rules. Let me give you some pointers.
1. Any pictures of hand must be covered in grease with skinned knuckles and dirty finger nails.
Lol, normally they are, just clean today
2. When you take an engine out, all anciliries are thrown in a tea chest, with all the nuts and bolts in the bottom (This to be sorted later)
Lol, been there done that it dont work
3. The project must be done in a dim lit garage, with loads of old tins of paint in the back ground, floor covered in bits of bubble wrap, cardboard and lino .
Ive had to order another light
4. Loads of 80s car projects in the background that you never got around to doing.
I wasnt born until 1983 ha ha
5. the car must be dirty untill the project is finished.
I was, till i washed it on sat
6. engines must be built on top of an old chest of draws.
Been there, done that too
7. any new wiring must be draped around the engine bay unprotected, loop the loop around pipes to hold it up.
Will do in future
8. All electrical connections should be scotchloks
They are, cant you see, i'll get better pics
9. Ancilaries must be rusty, coroded, grimey, prefable all 3 before they are re-fitted
They are, my clean ones are photoshopped
10. A chipped mug of tea, with a greased 10mm spanner init to stir it in all the pics.
Sorry mate, out of camera shot. Extra cold and blackened unwashed SNAP-ON mug.
I ask you - whats the world comming to?
Seriously though - top project - car will be better than Factory Finish - wish I had your skills and tenacity.
Sy

Cheers Sy,
One thing, where did you get your fuel rails. I can find em for love nor money. I was going to machine my own.