
CDFRacing - Brake stopper GB


Scooby Regular
Joined: Apr 2006
Posts: 1,387
Likes: 0
I have done a fitting guide for newage stoppers ... I would have done one for classsic's aswell But i don't own one,
Im sure Someone will be kind enough to post a guide as soon as they fit there's
These do come with diagrams to help you along but do have chinese writing ,
REMOVE THIS COVER
Now remove the bracket that was holding that cover on- 10mm socket if I remember correctly
Now start to remove the larger bracket holding all the cables in,. Think there are 4 bolts
You will need to disconnect the three cables- press in the clip and pull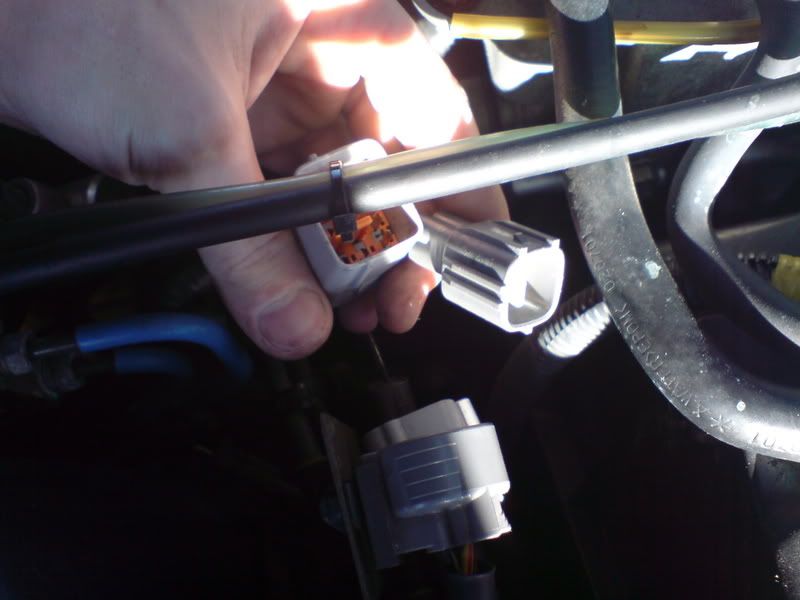
When this is done you will need to get yourself a pair of pliars and pinch where the cables are coming through the bracket to release them
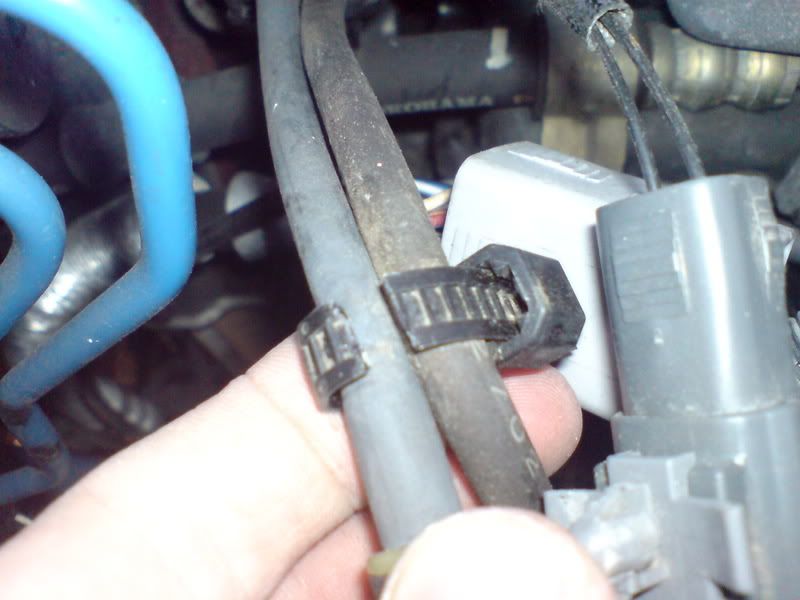
Cut this cable tie
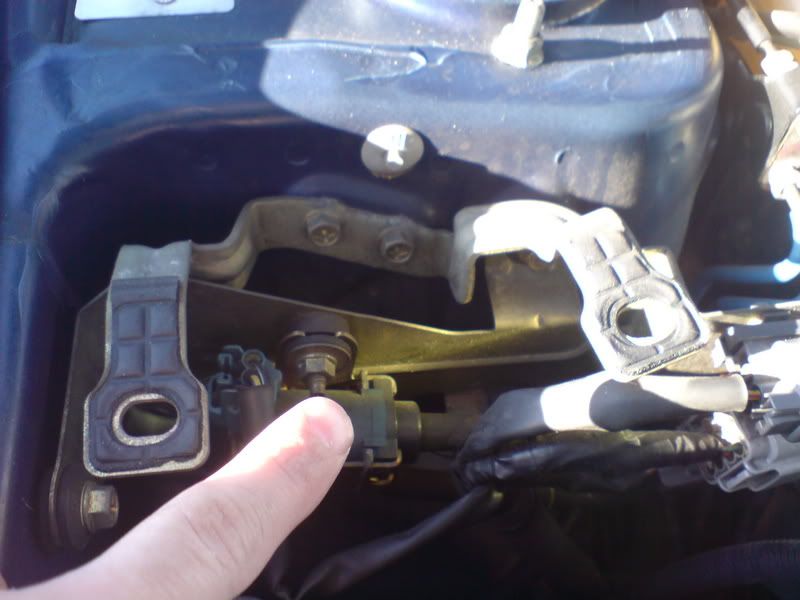
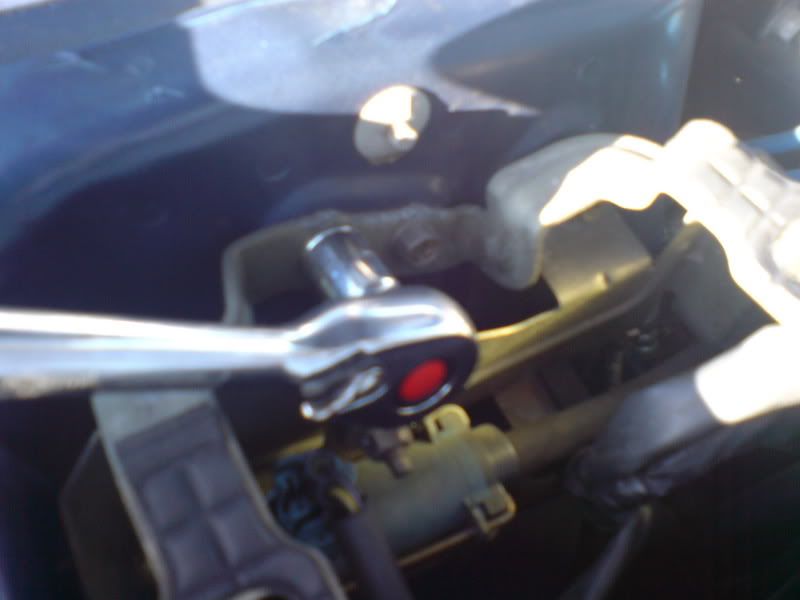
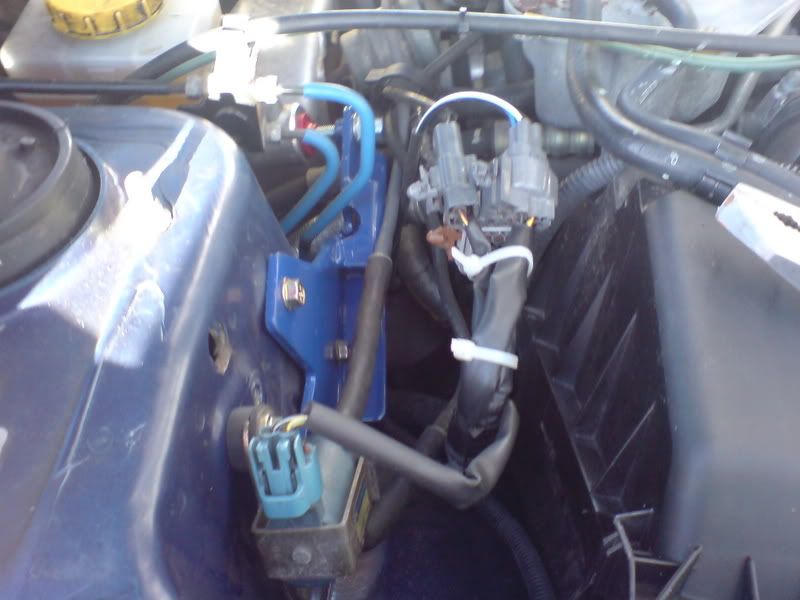
Install the new large bracket into the holes where the old bracket was - make sure they are nice and tight
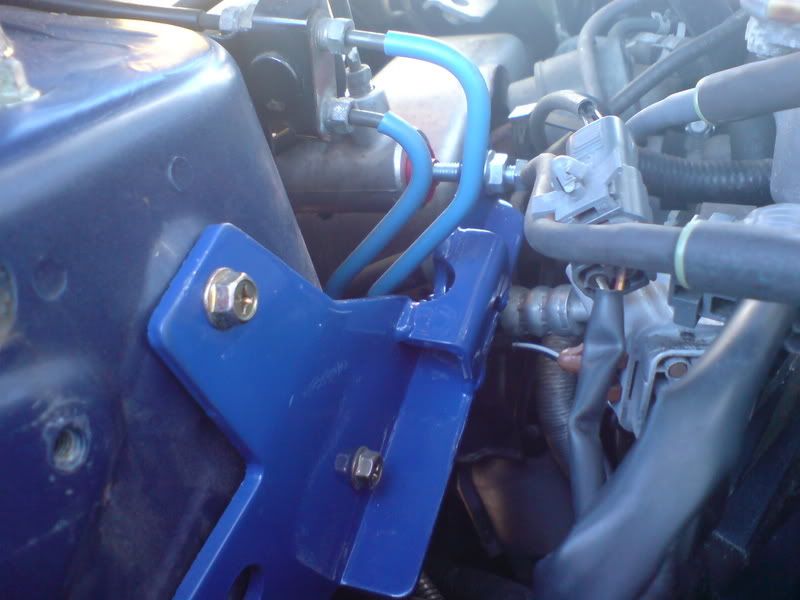
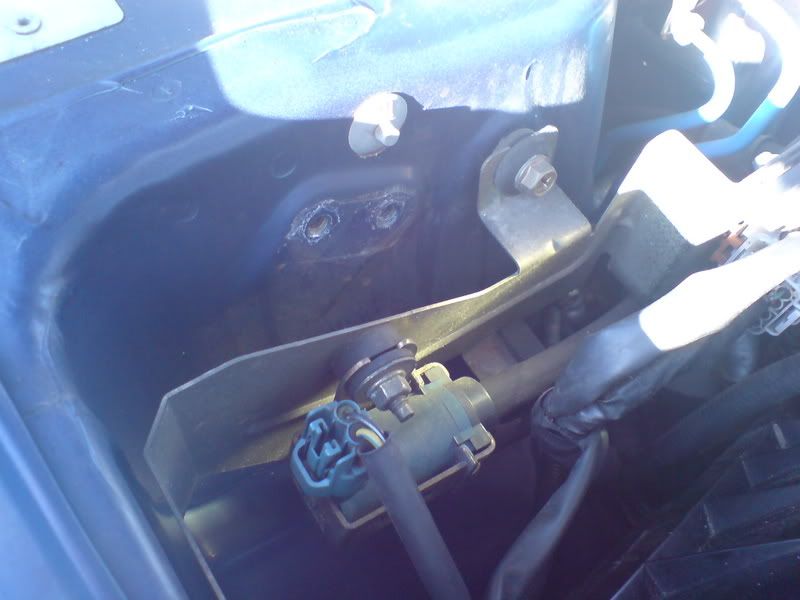
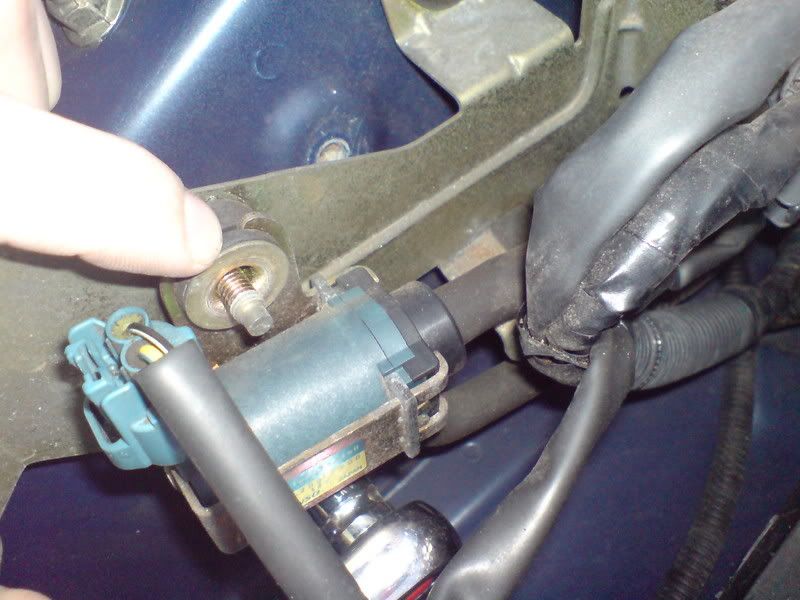
The auctual stopper part for the newage models is the largest m8 screw and a red stopper part. It is fitted onto the end of the bracket and must be lined up with the metal part where the brake fuild goes

You can adjust this to however you like - 1mm cap is recommened,
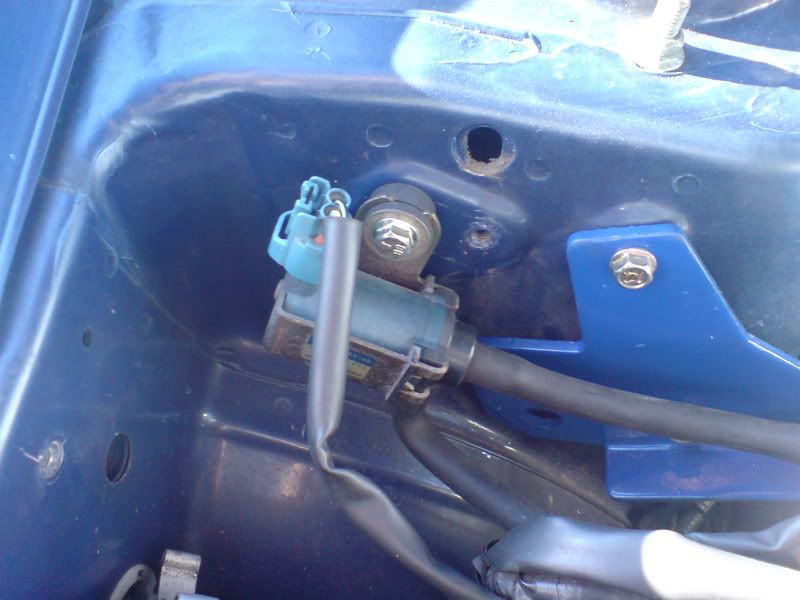
You can now place the small part you removed from the start into the old holes where the bracket for the cover went - it is up to you if you place the bracket back on for the cover , i have chosen to leave mine off
Reconnect the cables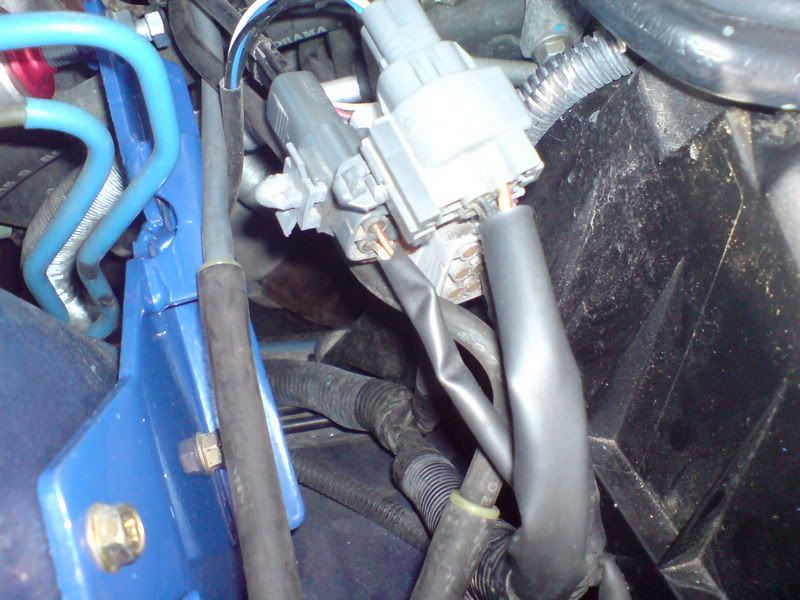
Use the cables ties in the pack ti tidy everything up
And off you go , you will notice the difference when fitting this bracket - the other small part is not needed , it is just a holder for the small part in photo 11 - it is far too much trouble to remove it from that bracket , ** Please note this is only a guide , if you are not too sure- pop it round your local garage and they will have it fitted in 15 mins for ya
Im sure Someone will be kind enough to post a guide as soon as they fit there's
These do come with diagrams to help you along but do have chinese writing ,
REMOVE THIS COVER
Now remove the bracket that was holding that cover on- 10mm socket if I remember correctly
Now start to remove the larger bracket holding all the cables in,. Think there are 4 bolts
You will need to disconnect the three cables- press in the clip and pull
When this is done you will need to get yourself a pair of pliars and pinch where the cables are coming through the bracket to release them
Cut this cable tie
Install the new large bracket into the holes where the old bracket was - make sure they are nice and tight
The auctual stopper part for the newage models is the largest m8 screw and a red stopper part. It is fitted onto the end of the bracket and must be lined up with the metal part where the brake fuild goes
You can adjust this to however you like - 1mm cap is recommened,
You can now place the small part you removed from the start into the old holes where the bracket for the cover went - it is up to you if you place the bracket back on for the cover , i have chosen to leave mine off
Reconnect the cables
Use the cables ties in the pack ti tidy everything up
And off you go , you will notice the difference when fitting this bracket - the other small part is not needed , it is just a holder for the small part in photo 11 - it is far too much trouble to remove it from that bracket , ** Please note this is only a guide , if you are not too sure- pop it round your local garage and they will have it fitted in 15 mins for ya
Last edited by cdfracing; Feb 5, 2007 at 06:31 PM.


Twatful
Joined: Apr 2003
Posts: 9,050
Likes: 0
From: Grew up and don't drive Scoobs anymore!


Thread Starter
Scooby Regular
Joined: Jan 2005
Posts: 534
Likes: 0
From: Lancs / Manc


 ,but i now have the car to fit it to when it does
Scooby Regular
Joined: Apr 2006
Posts: 1,387
Likes: 0
Scooby Regular
Joined: Apr 2006
Posts: 1,387
Likes: 0
These guys had the same problem ,
They say it just removes the throttle cable out of the way ..
https://www.scoobynet.com/wheels-tyr...=brake+stopper
I will get back to you when I have it confirmed as I dont have a classic it test it on ,
chris
They say it just removes the throttle cable out of the way ..
https://www.scoobynet.com/wheels-tyr...=brake+stopper
I will get back to you when I have it confirmed as I dont have a classic it test it on ,
chris
") )
)
