
Prodrive Grp.N. chassis street build


Thread Starter
Scooby Regular
Joined: Dec 2002
Posts: 458
Likes: 0
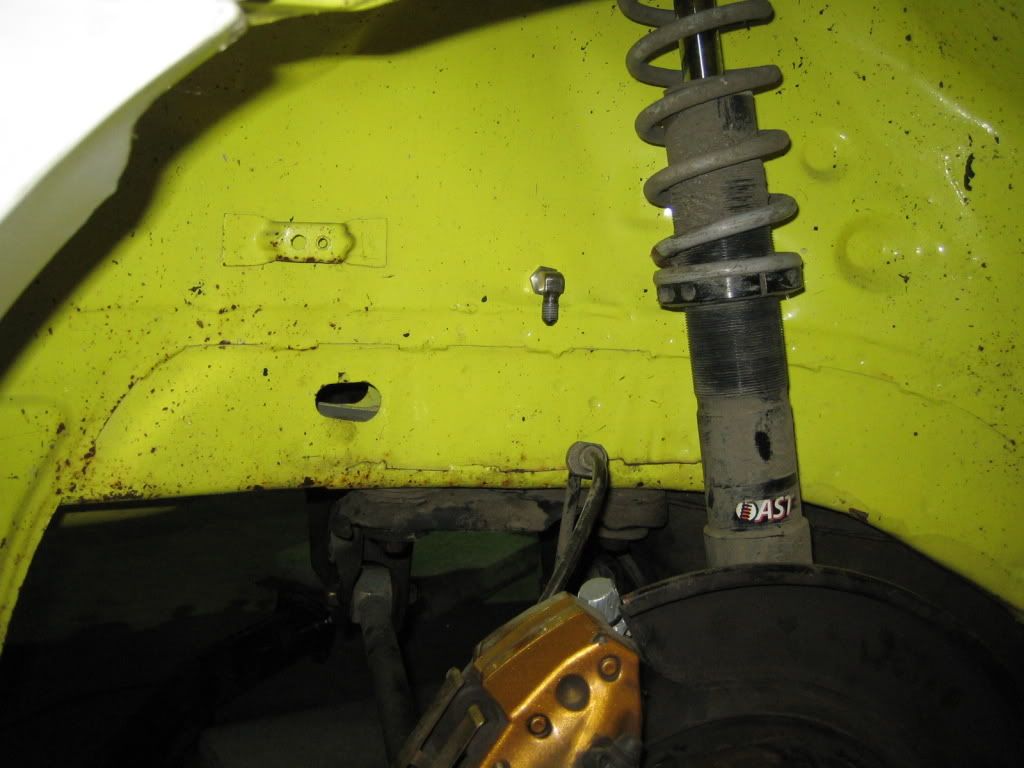
I got the 2006 hubs now, with PCD 114.3.
It should have larger bearings on the front ones, which is always nice.
Unfortunatly the front struts won't fit anymore:
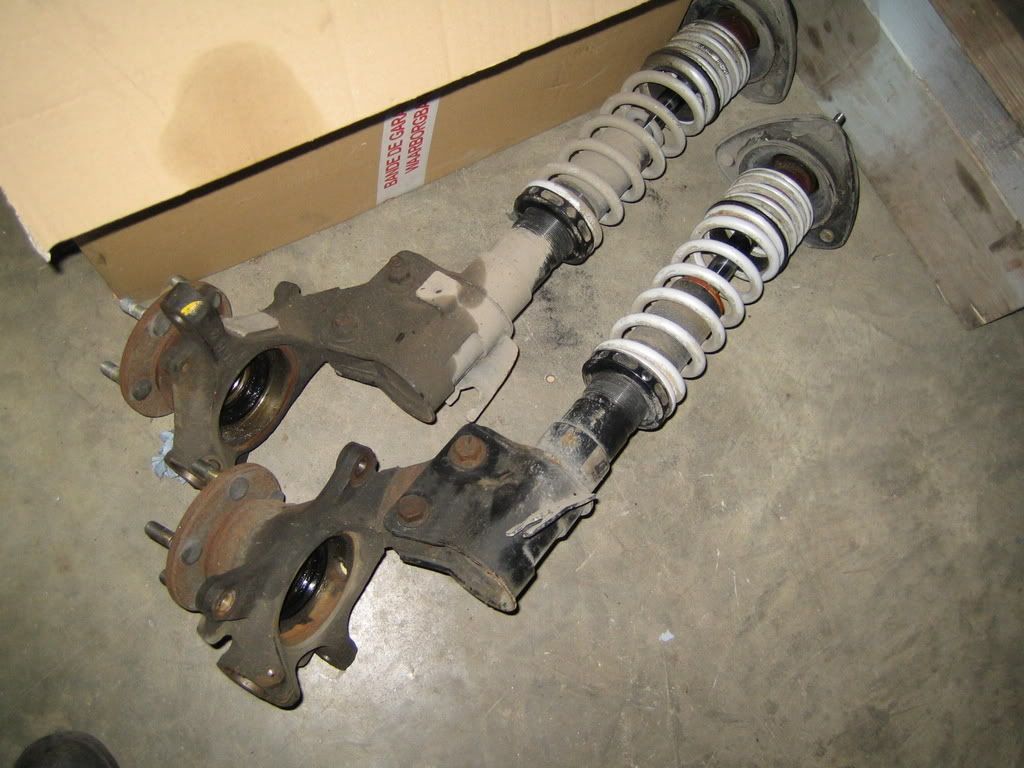
After the wintertyres the car now has semi-slicks without having moved an inch:

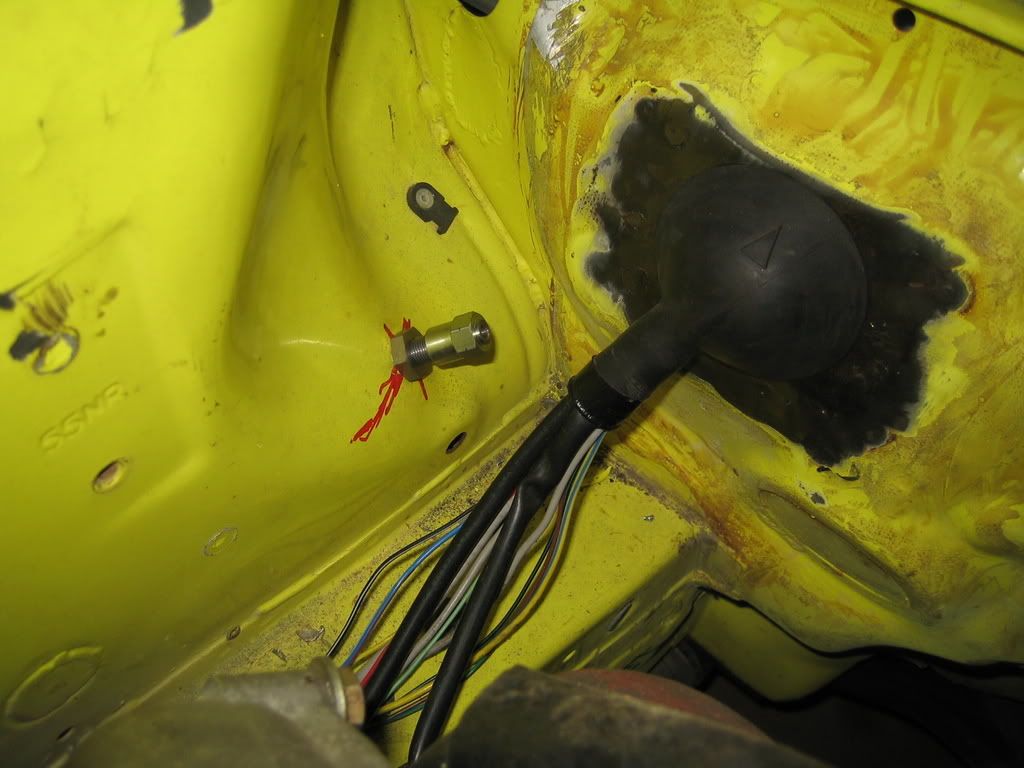
When changing the hubs I also put in the rightside brakeline adaptor in:
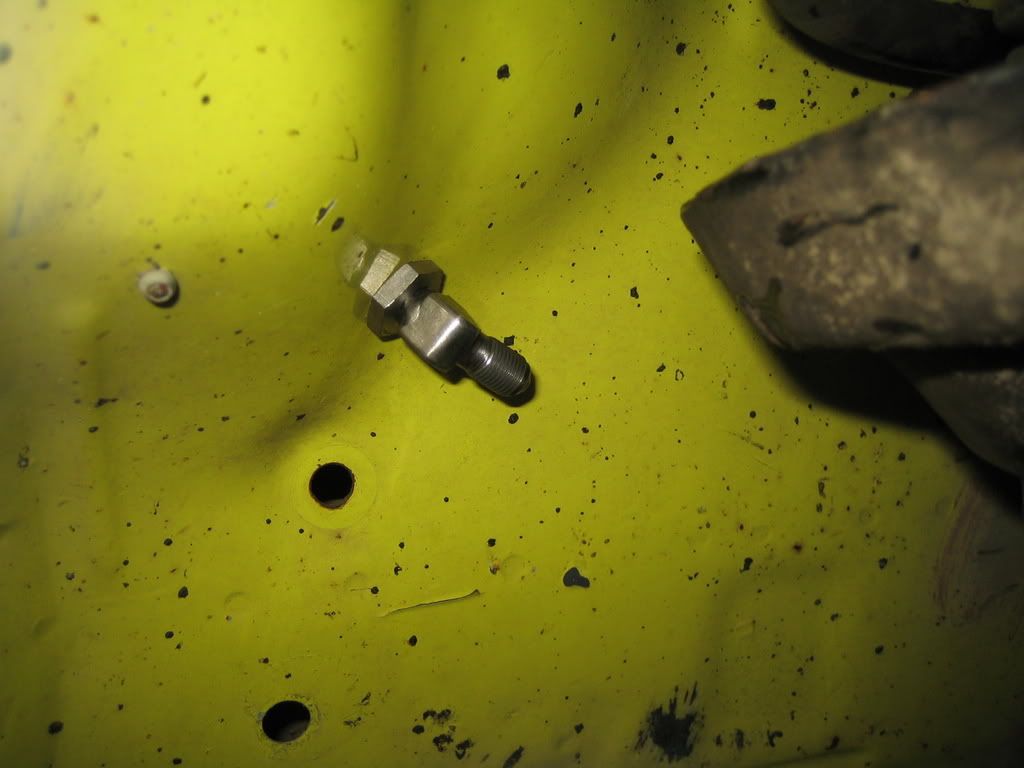
It should have larger bearings on the front ones, which is always nice.
Unfortunatly the front struts won't fit anymore:
After the wintertyres the car now has semi-slicks without having moved an inch:
When changing the hubs I also put in the rightside brakeline adaptor in:
Thread Starter
Scooby Regular
Joined: Dec 2002
Posts: 458
Likes: 0
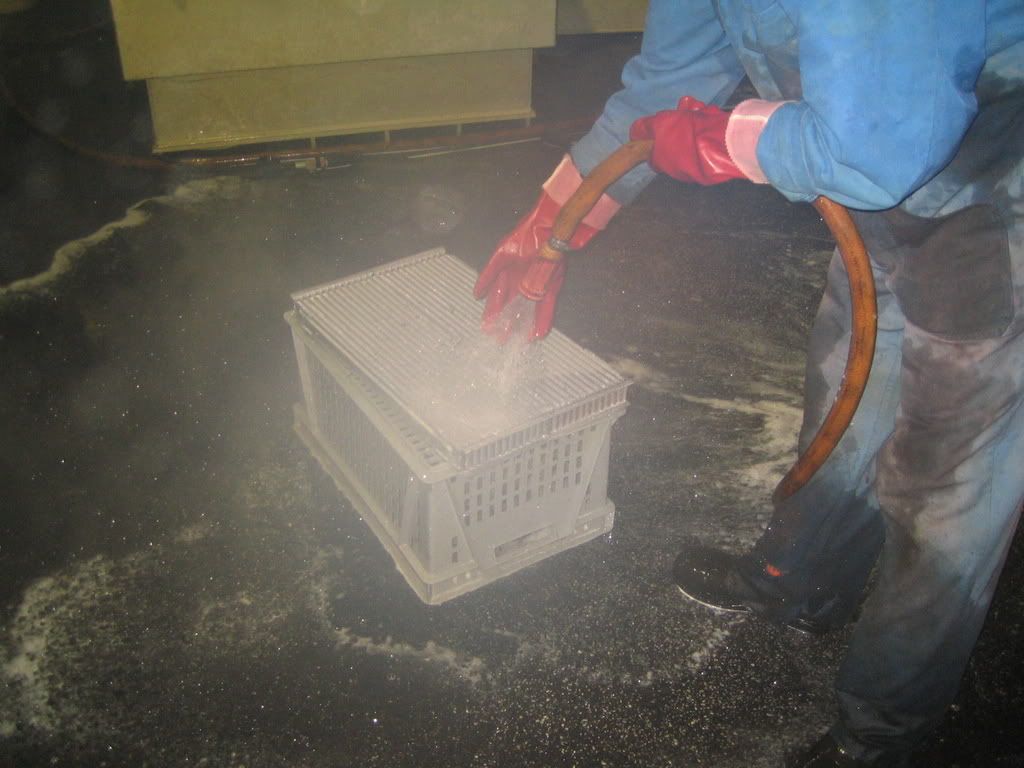
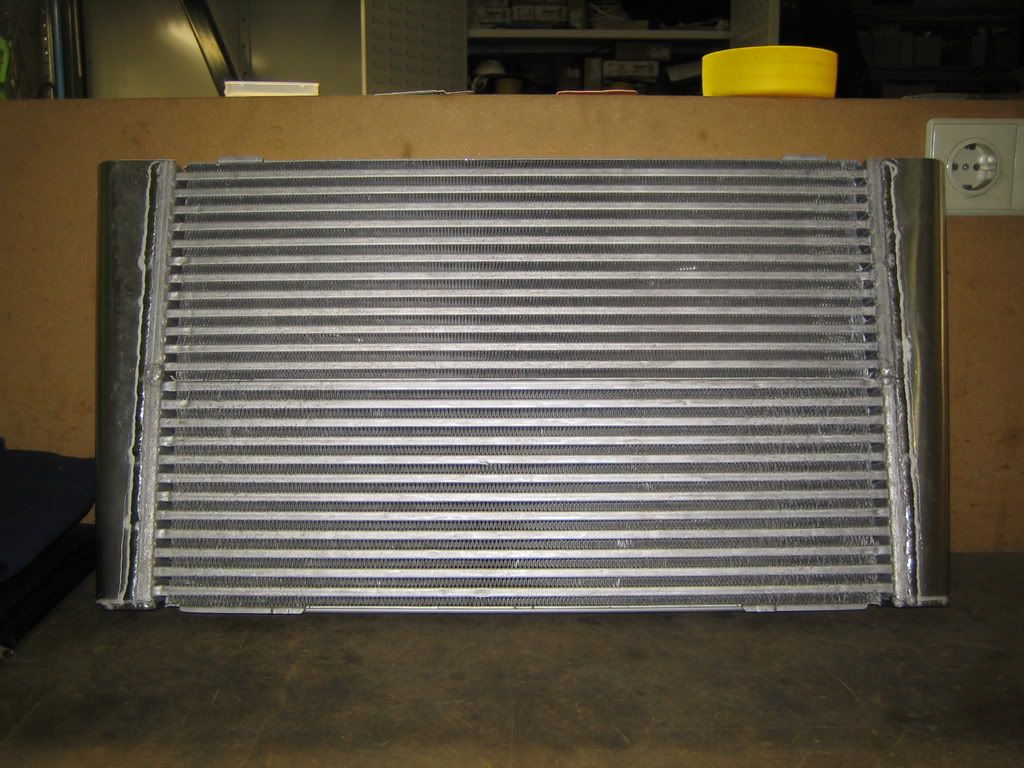
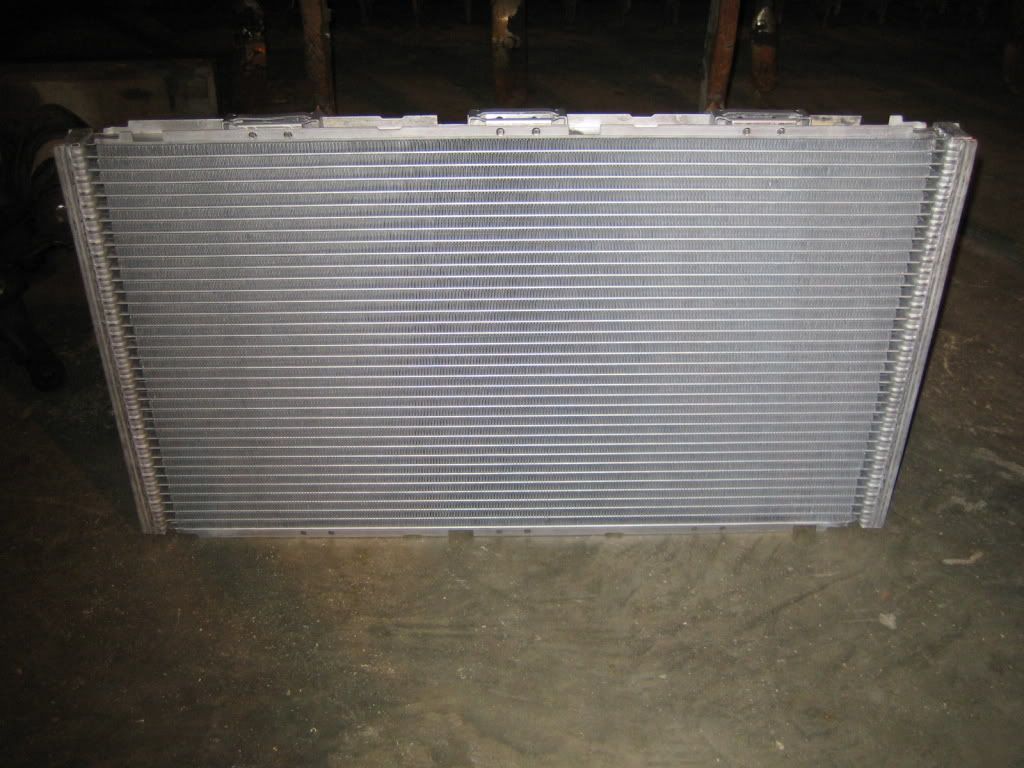
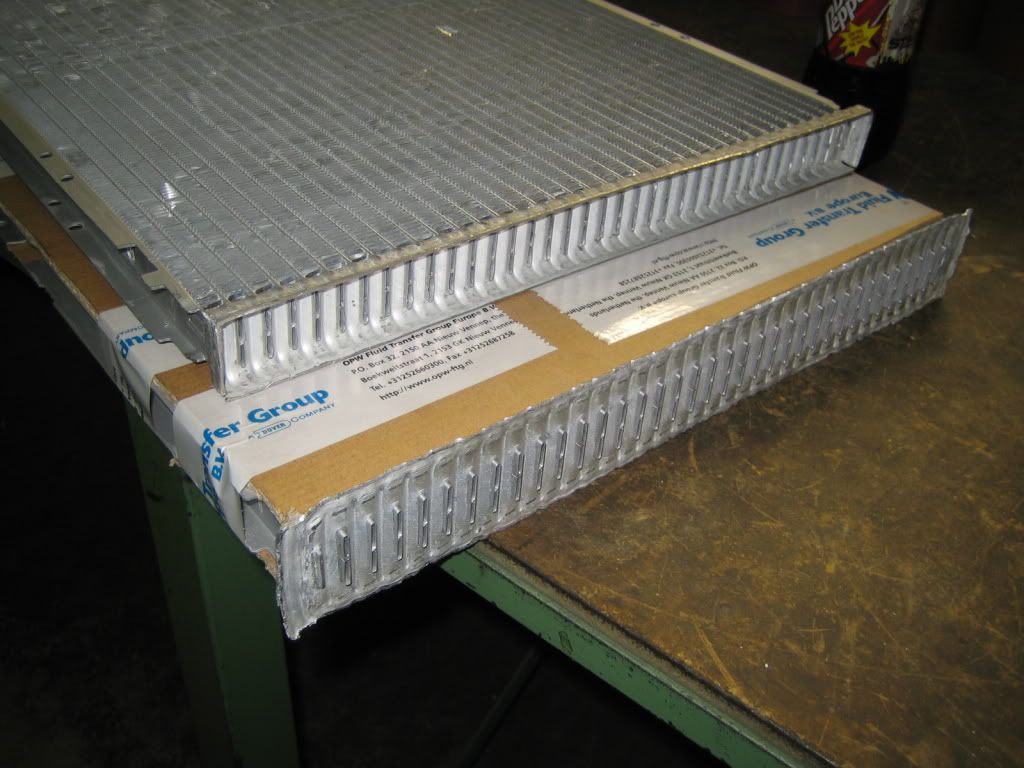
Today I had the IC core cleaned.
I wanted all the dirt n' grime out of it before welding up the endtanks.
So first it went into a degreasing bath and after that it had a few dips in an acidbath.
Took some pics from the acid bath, the fumes were not long life improving, I lost a few years today I think.
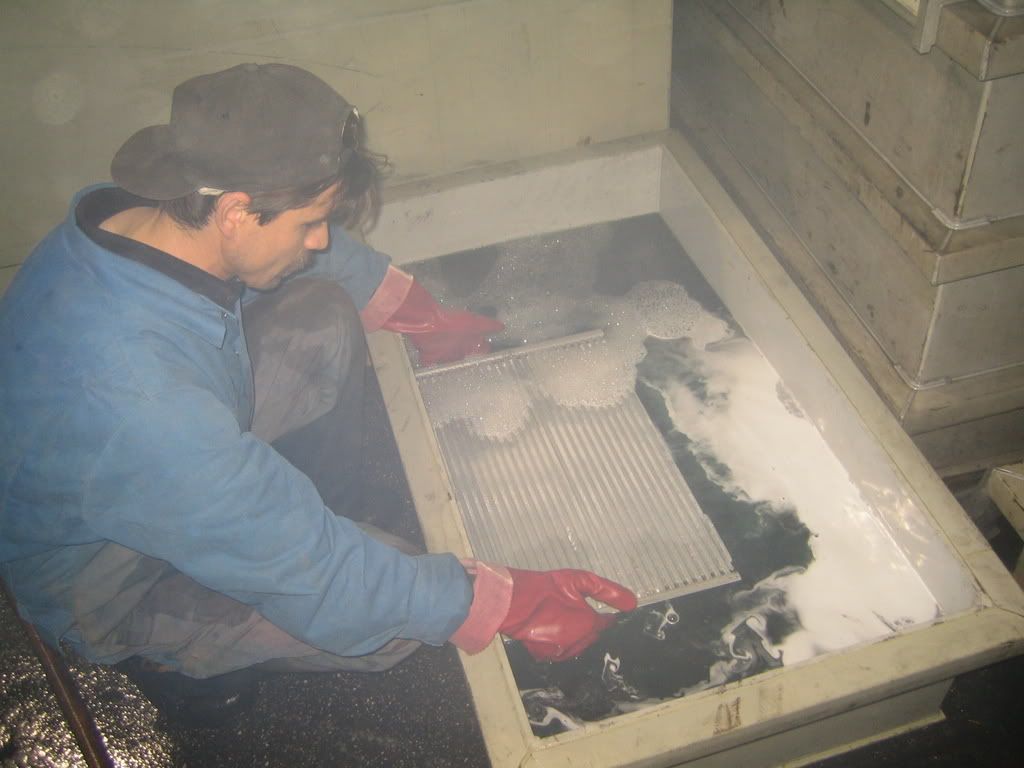
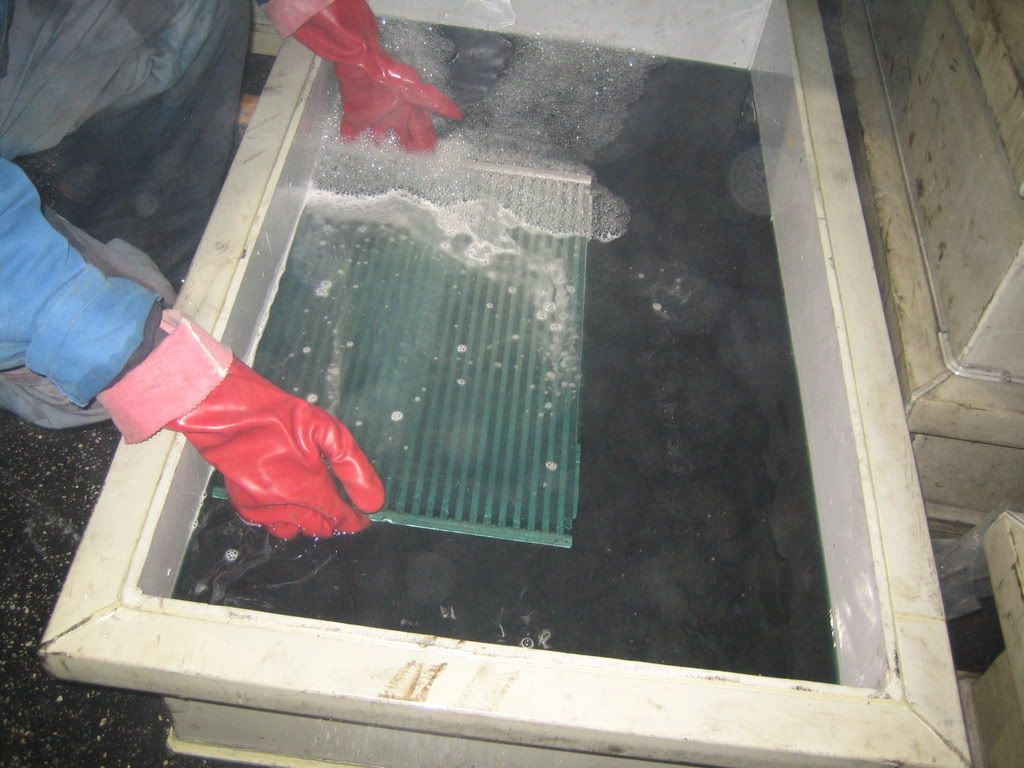
The brownish fumes came off the aluminum, you can see a bit in the second picture also.
When they put it on the box from out of the acid, there were big clouds of the stuff coming of the core, like it was vaporising.........which it probably was too.
They said it would be gone in 10 minutes....
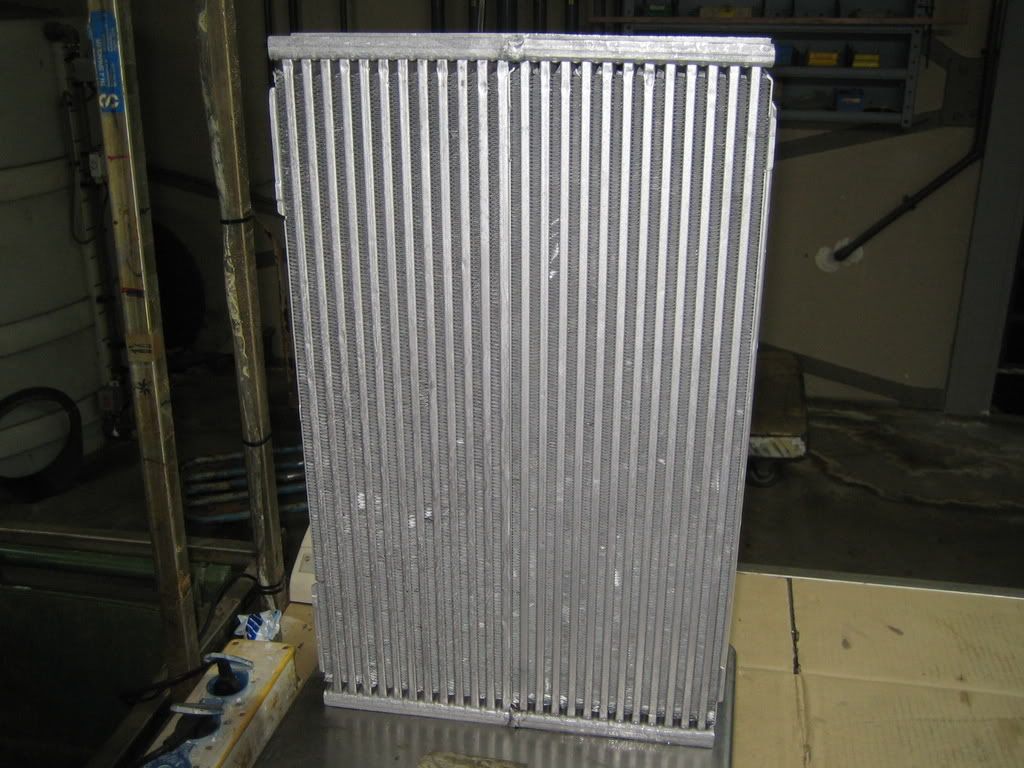
Anyway, I think all of the dirt is out now.
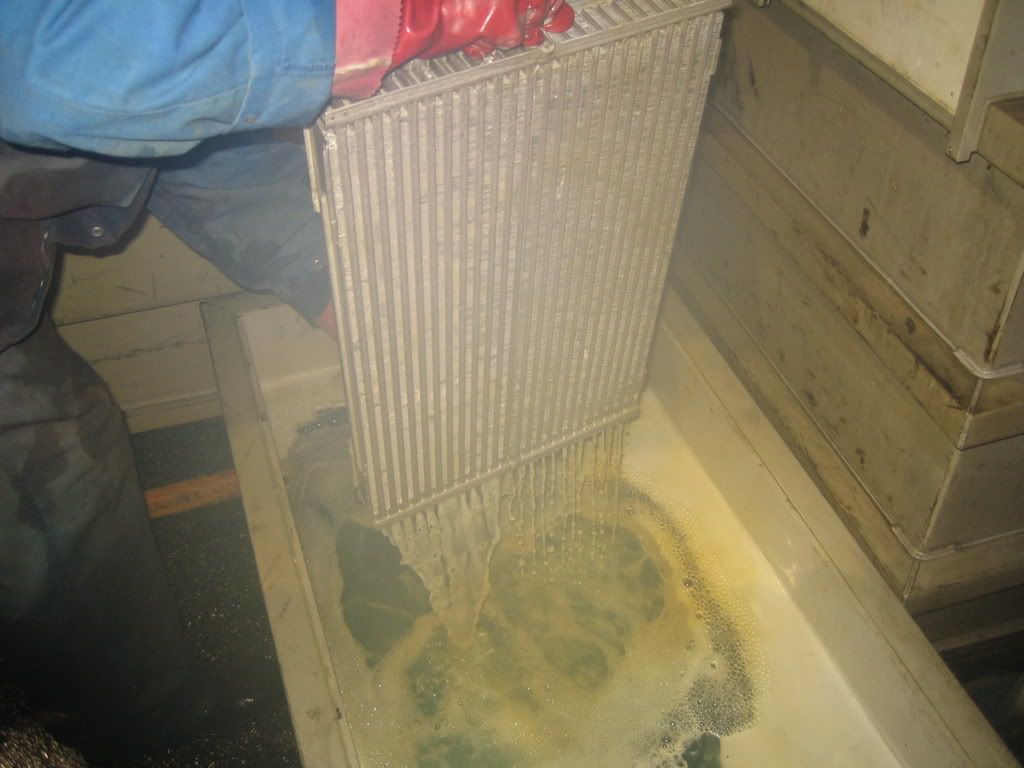
Now it looks like new!
I'll pick it up tommorow and maybe we can weld the endtanks on as well!
I wanted all the dirt n' grime out of it before welding up the endtanks.
So first it went into a degreasing bath and after that it had a few dips in an acidbath.
Took some pics from the acid bath, the fumes were not long life improving, I lost a few years today I think.
The brownish fumes came off the aluminum, you can see a bit in the second picture also.
When they put it on the box from out of the acid, there were big clouds of the stuff coming of the core, like it was vaporising.........which it probably was too.
They said it would be gone in 10 minutes....
Anyway, I think all of the dirt is out now.
Now it looks like new!
I'll pick it up tommorow and maybe we can weld the endtanks on as well!

Thread Starter
Scooby Regular
Joined: Dec 2002
Posts: 458
Likes: 0
Hehehe thanks, this guy has it for years, I think he trusts the gloves now. 
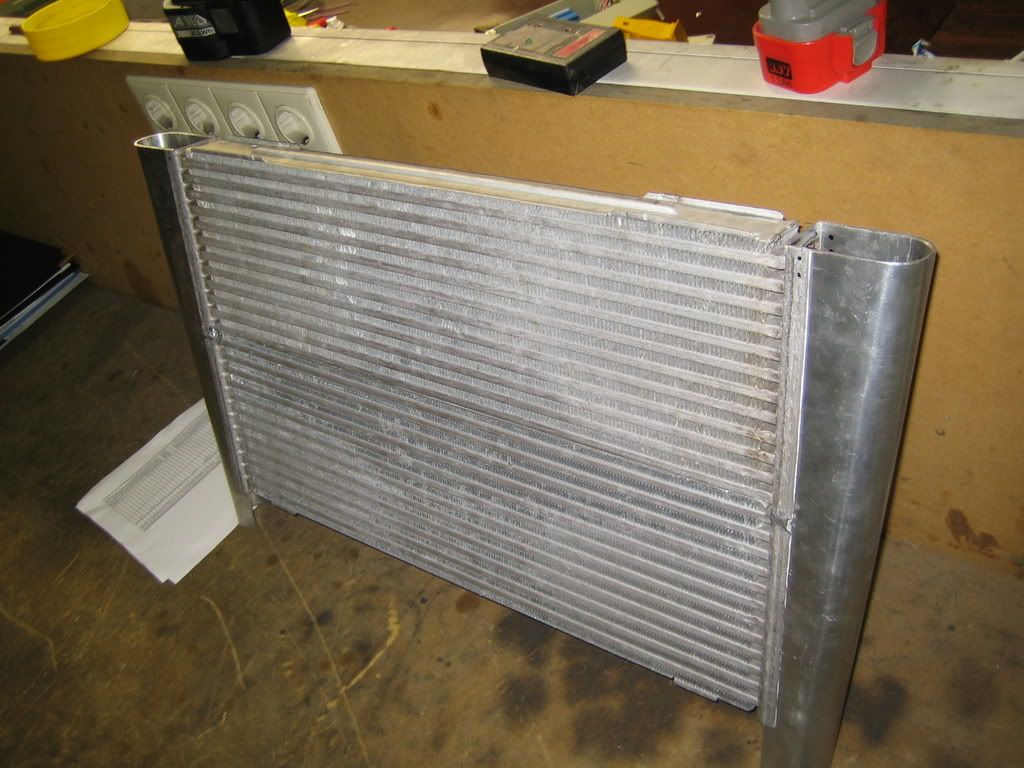
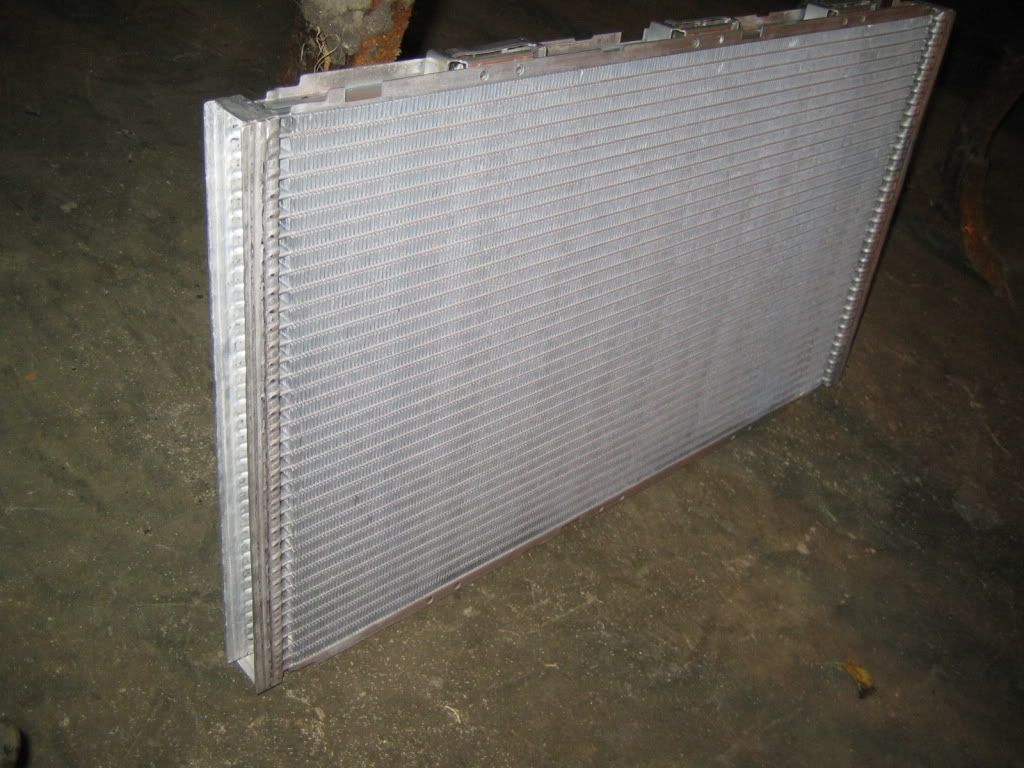
Picked up the cleaned core yesterday, looks nice and clean now.
Before:

After:
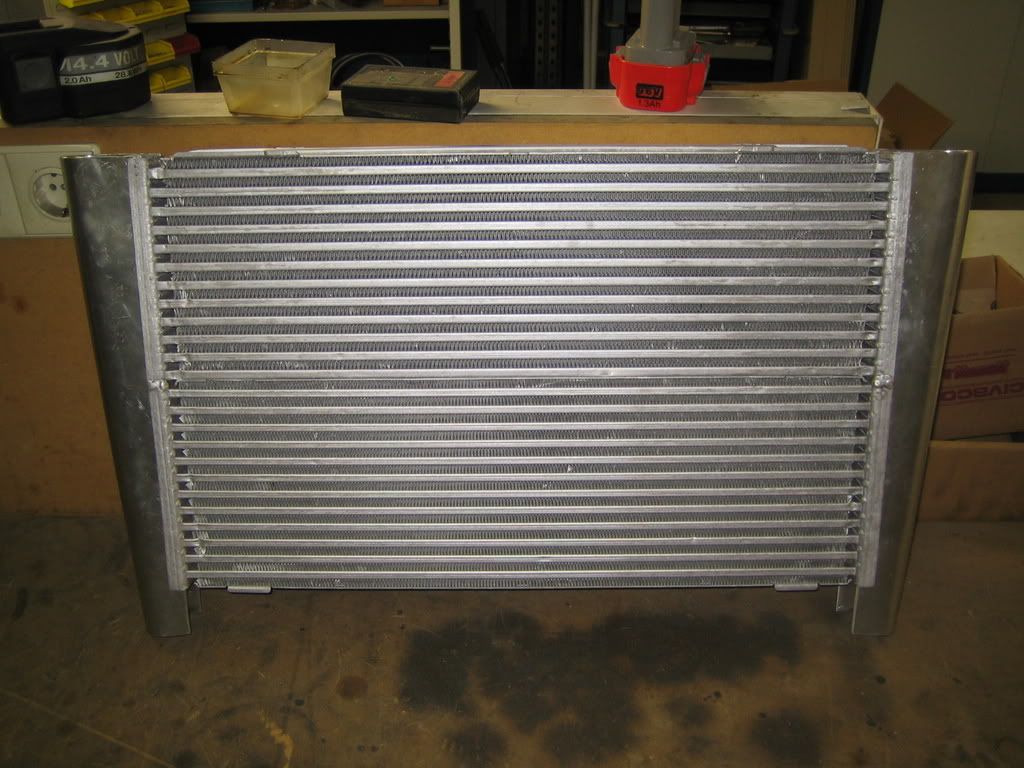
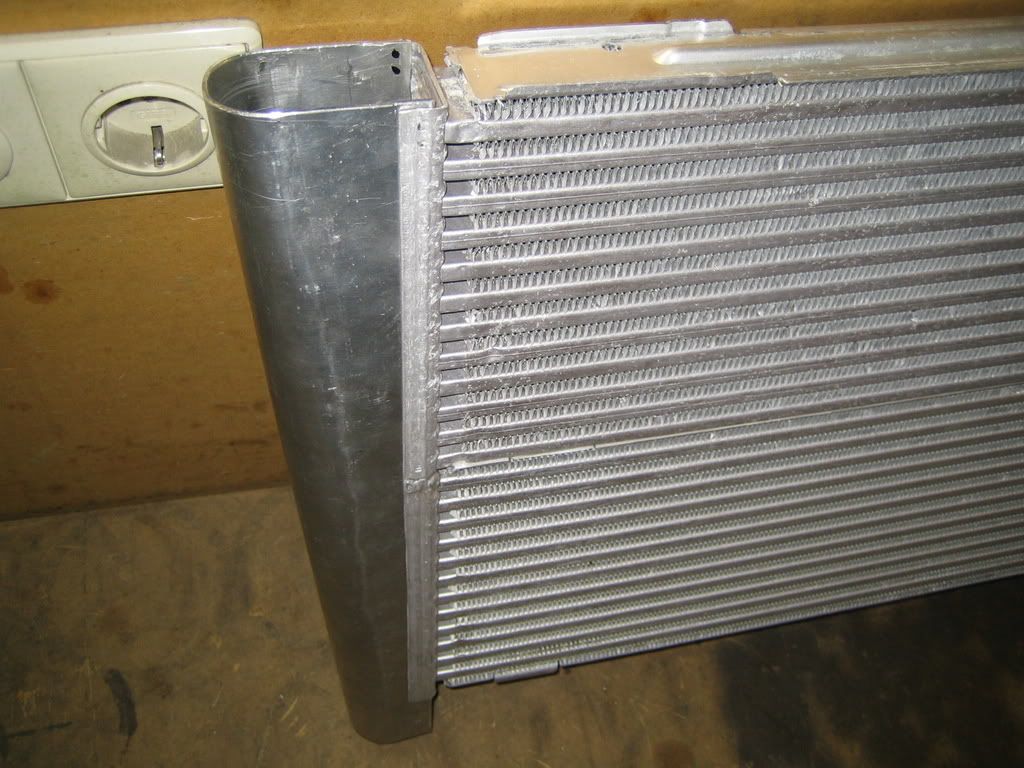
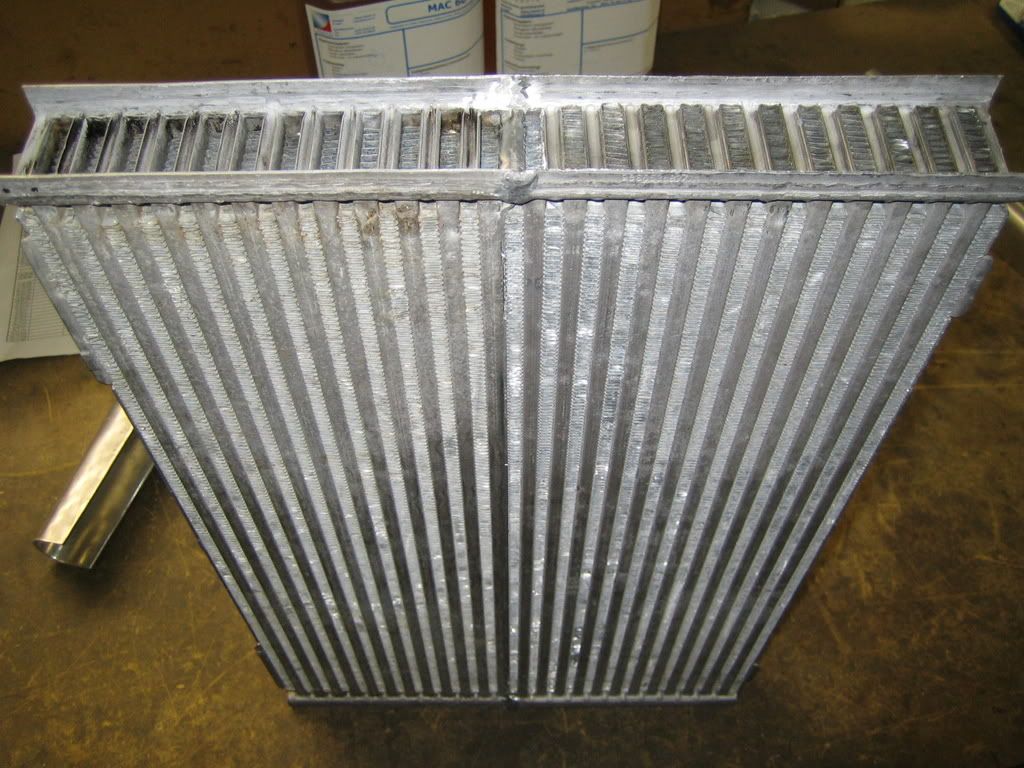
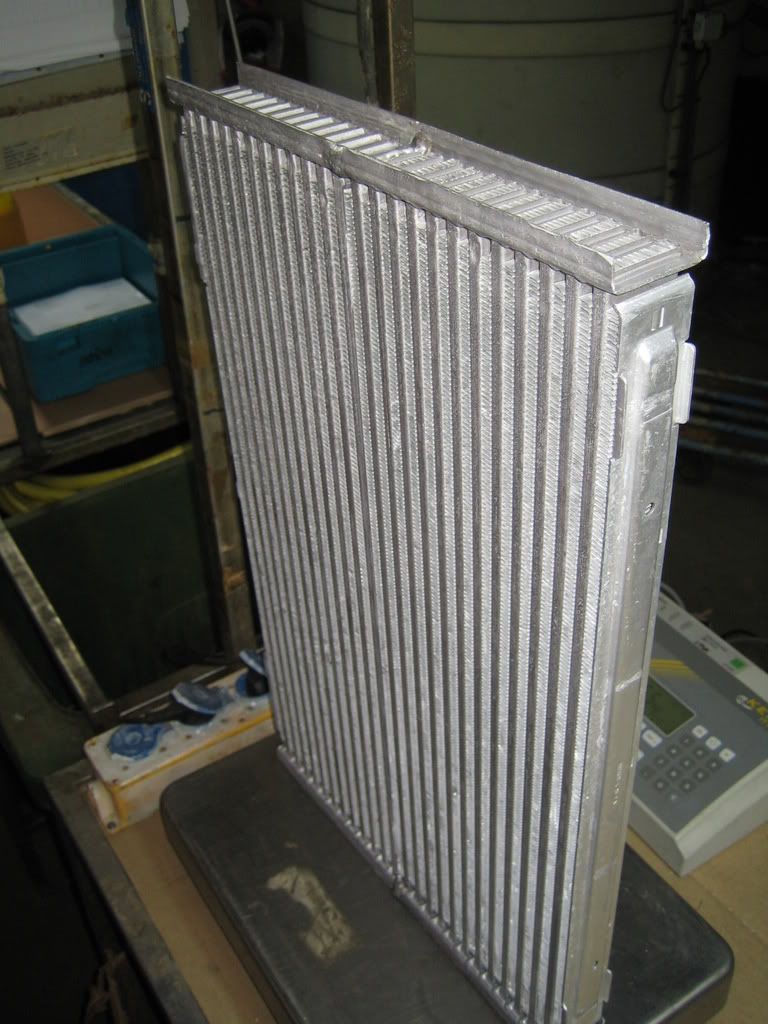
So today the tanks had to be welded on so I started with cutting them to the correct length.
From the leftover pieces I created the bottom plates:
Picked up the cleaned core yesterday, looks nice and clean now.
Before:
After:
So today the tanks had to be welded on so I started with cutting them to the correct length.
From the leftover pieces I created the bottom plates:
Thread Starter
Scooby Regular
Joined: Dec 2002
Posts: 458
Likes: 0
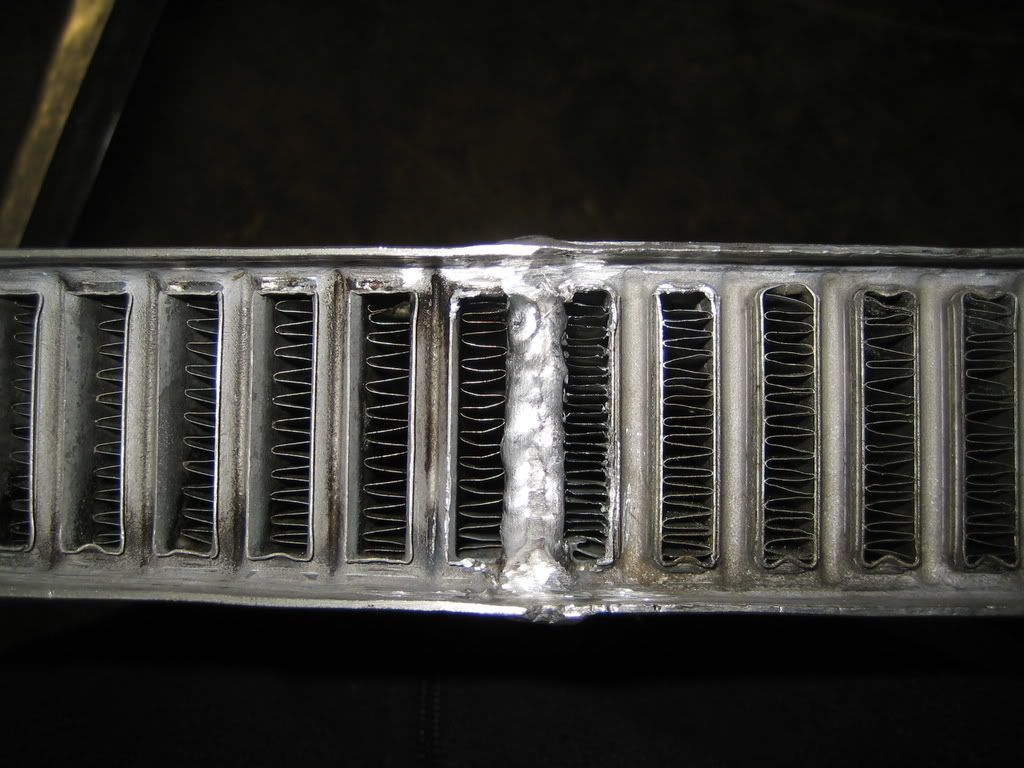
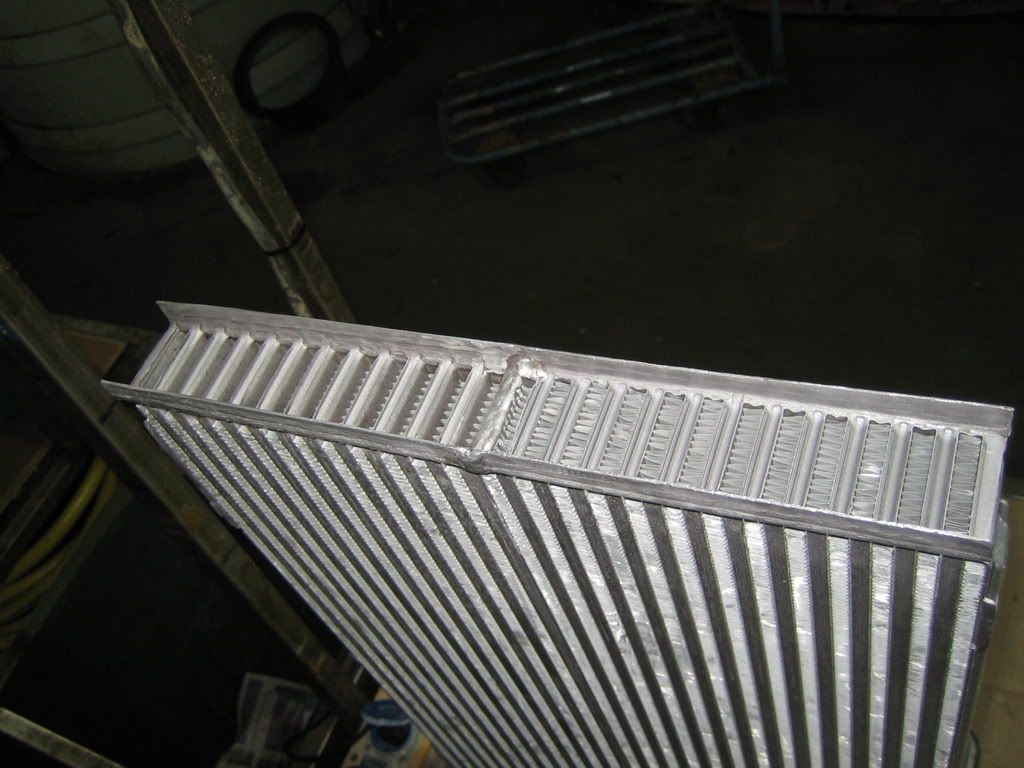
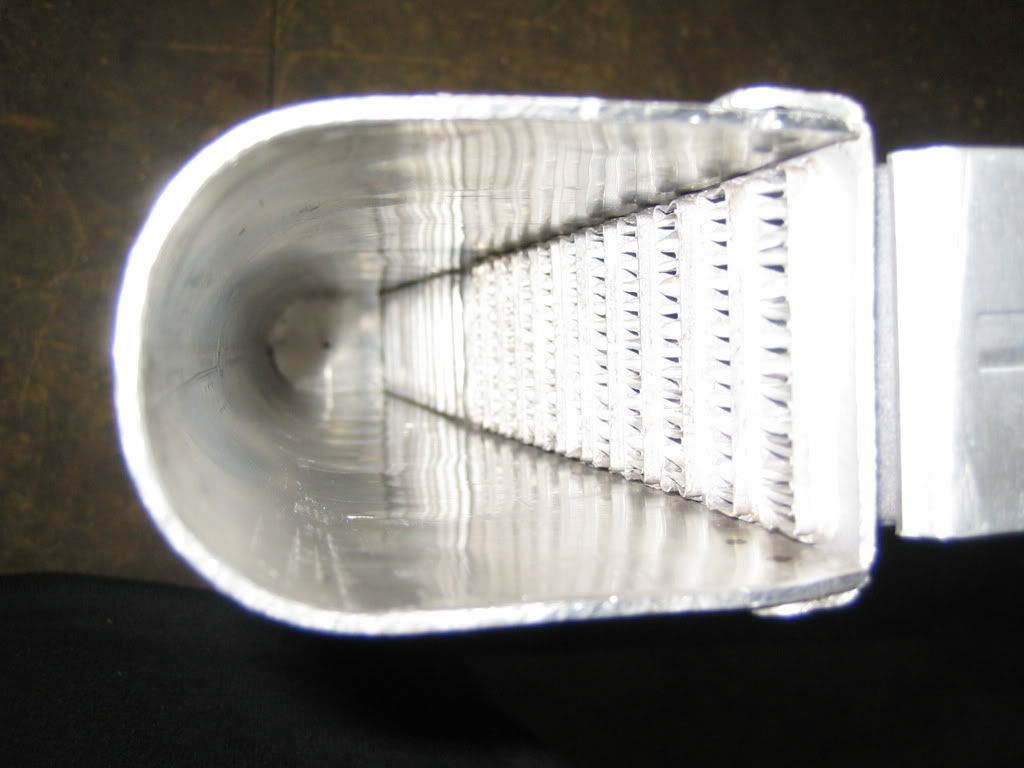
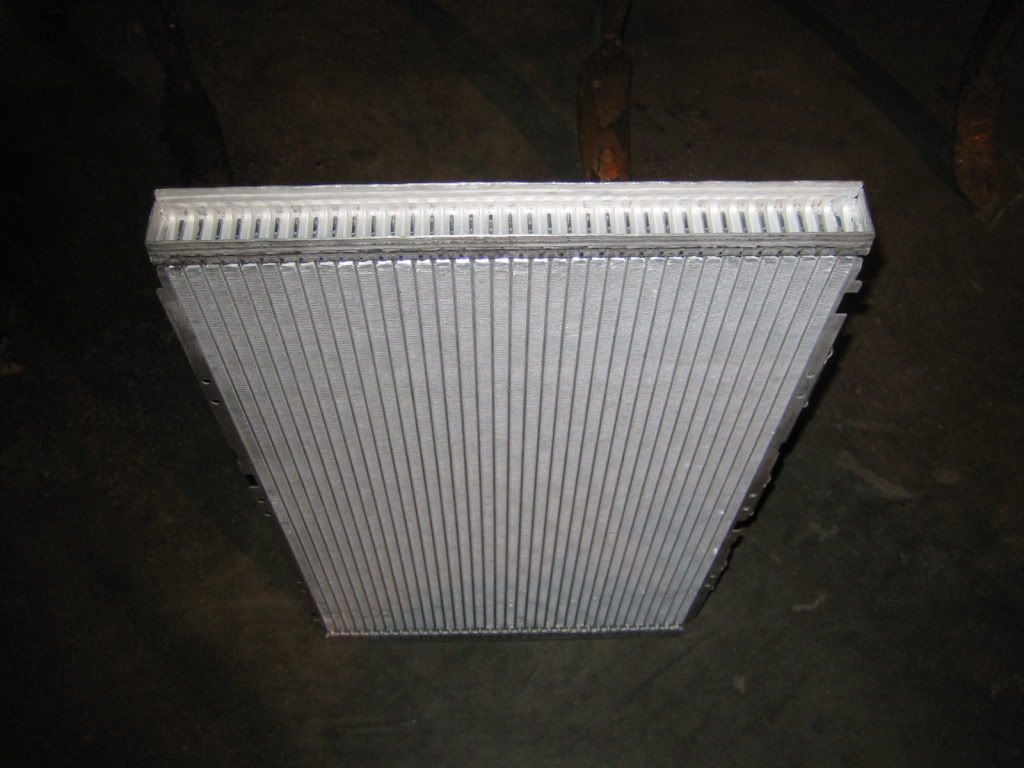
The welds will be treated afterwards but I leave them like this untill eveything is welded on and it is tested.
I must say I'm pretty pleased with it, and I really, really, really hope it doesn't leak.......


Inside:
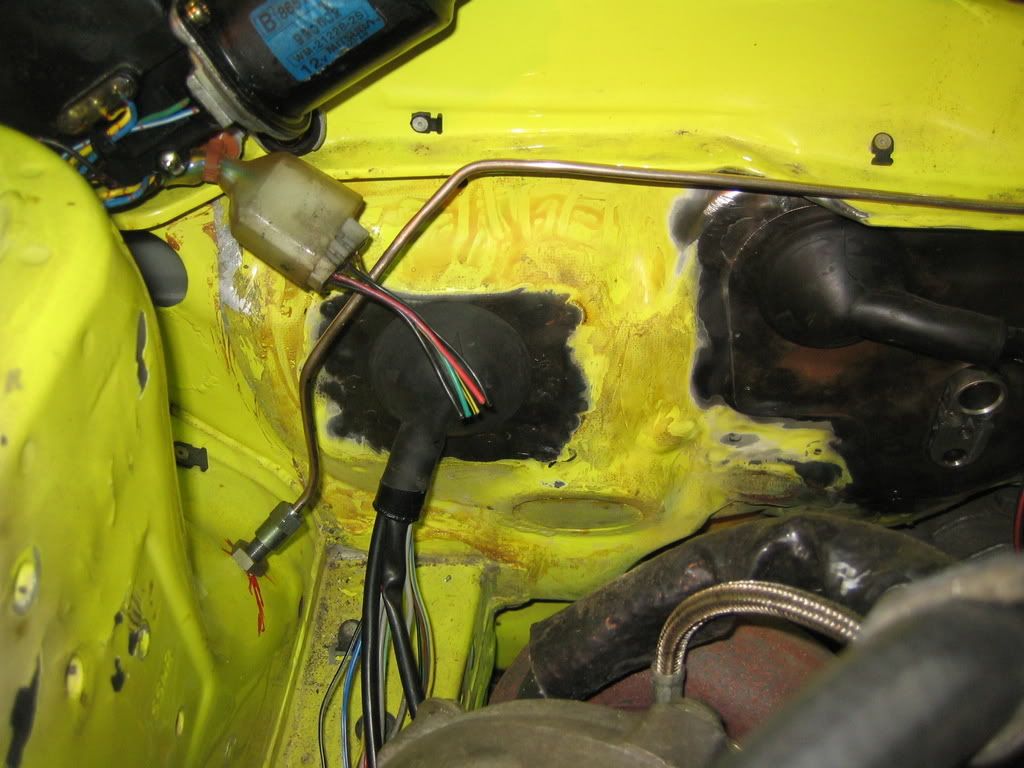
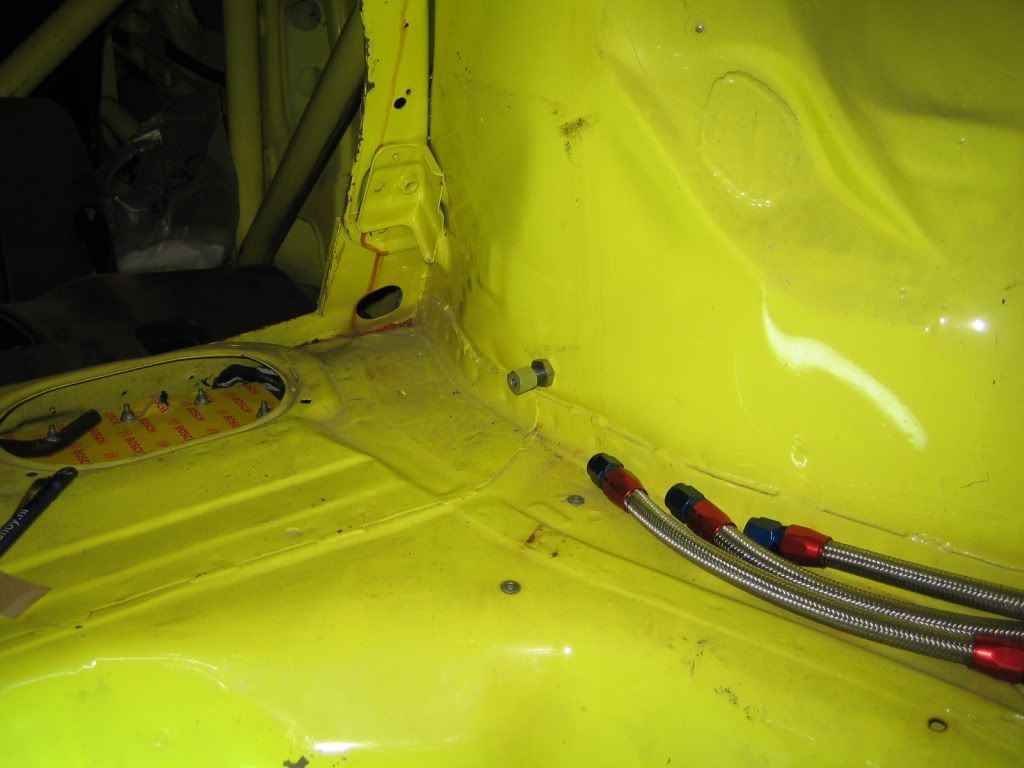
Also done a bit of brakeline again, I got new adaptors for theinner fender and I wasn't satisfied with the last version so I made a new one again.
Now I'm happy:
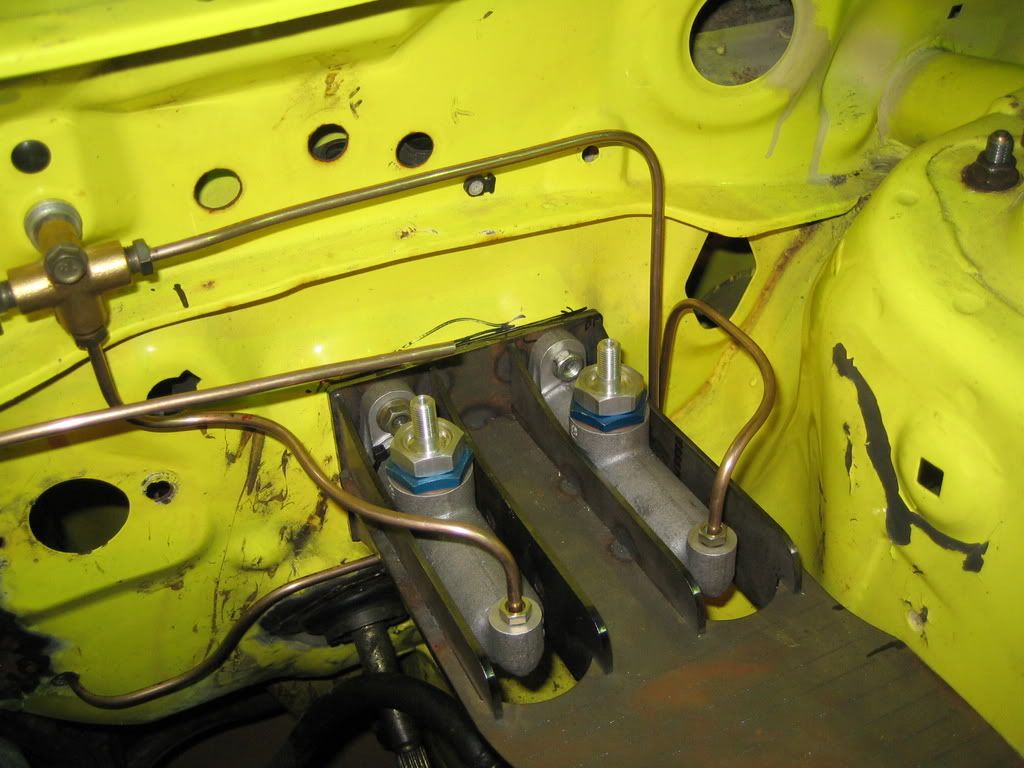
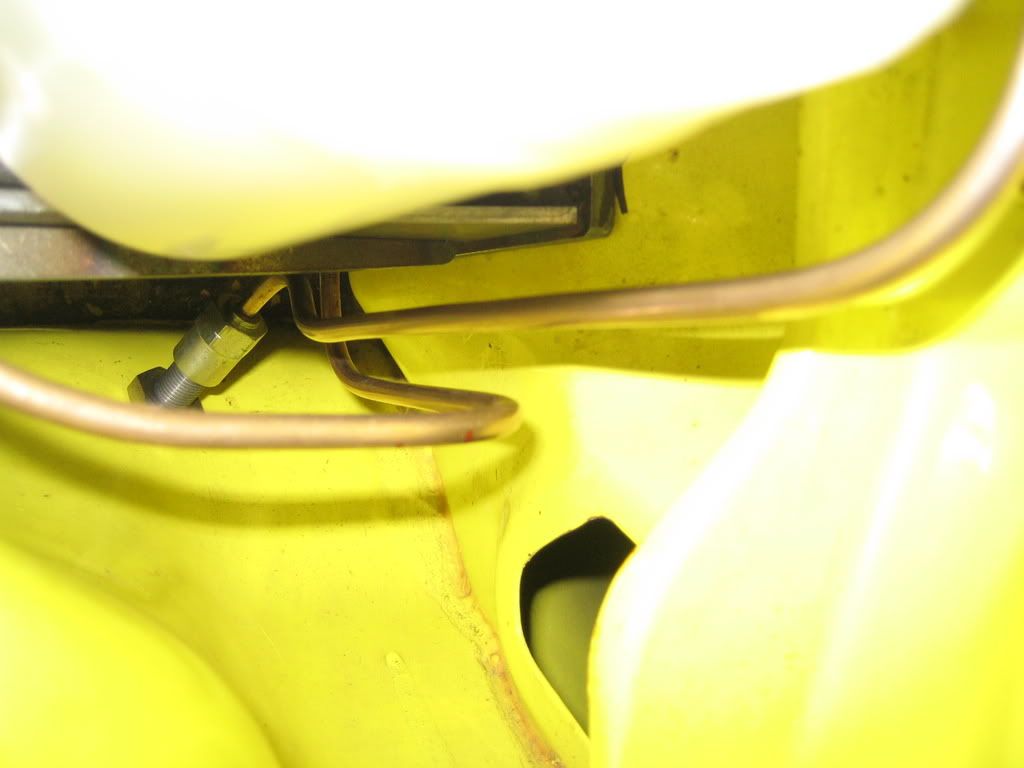
Started with a dummy for the right side, looking good sofar:
I must say I'm pretty pleased with it, and I really, really, really hope it doesn't leak.......
Inside:
Also done a bit of brakeline again, I got new adaptors for theinner fender and I wasn't satisfied with the last version so I made a new one again.
Now I'm happy:
Started with a dummy for the right side, looking good sofar:

Thread Starter
Scooby Regular
Joined: Dec 2002
Posts: 458
Likes: 0
Hi!
Hmm, it wasn't that much trouble, the only worry now is that should not be leaking.
Moneywise I saved alot of money compared to having this made by a company I think.
This cost me 190 euro's sofar.
Hmm, it wasn't that much trouble, the only worry now is that should not be leaking.
Moneywise I saved alot of money compared to having this made by a company I think.
This cost me 190 euro's sofar.
Thread Starter
Scooby Regular
Joined: Dec 2002
Posts: 458
Likes: 0
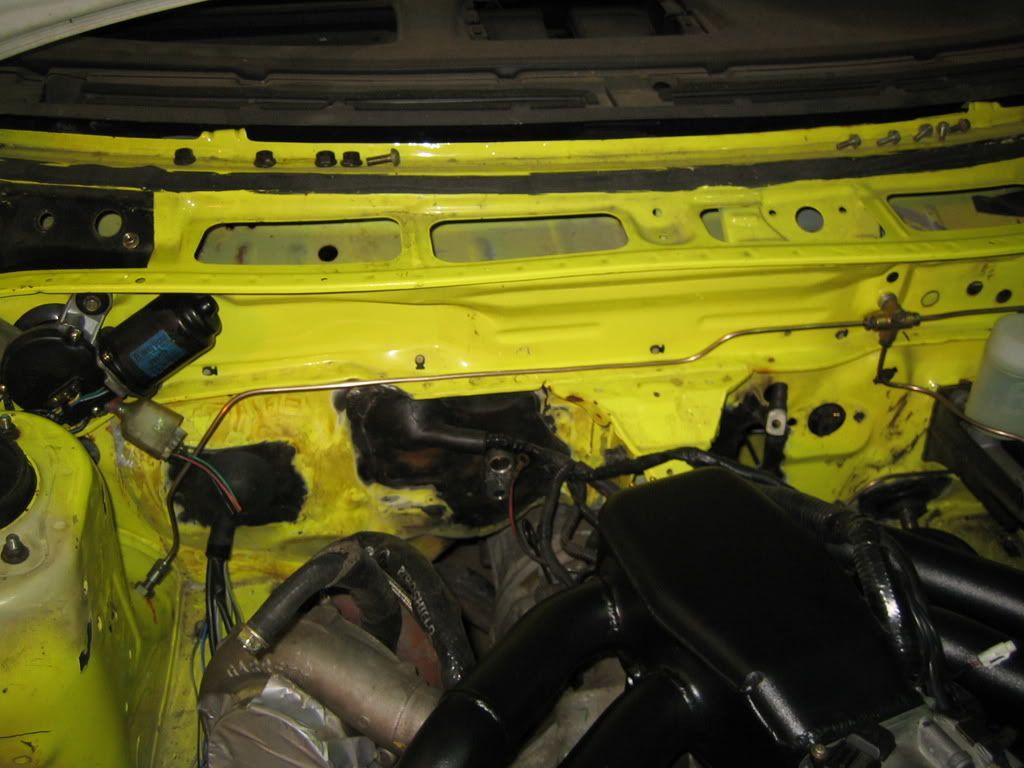
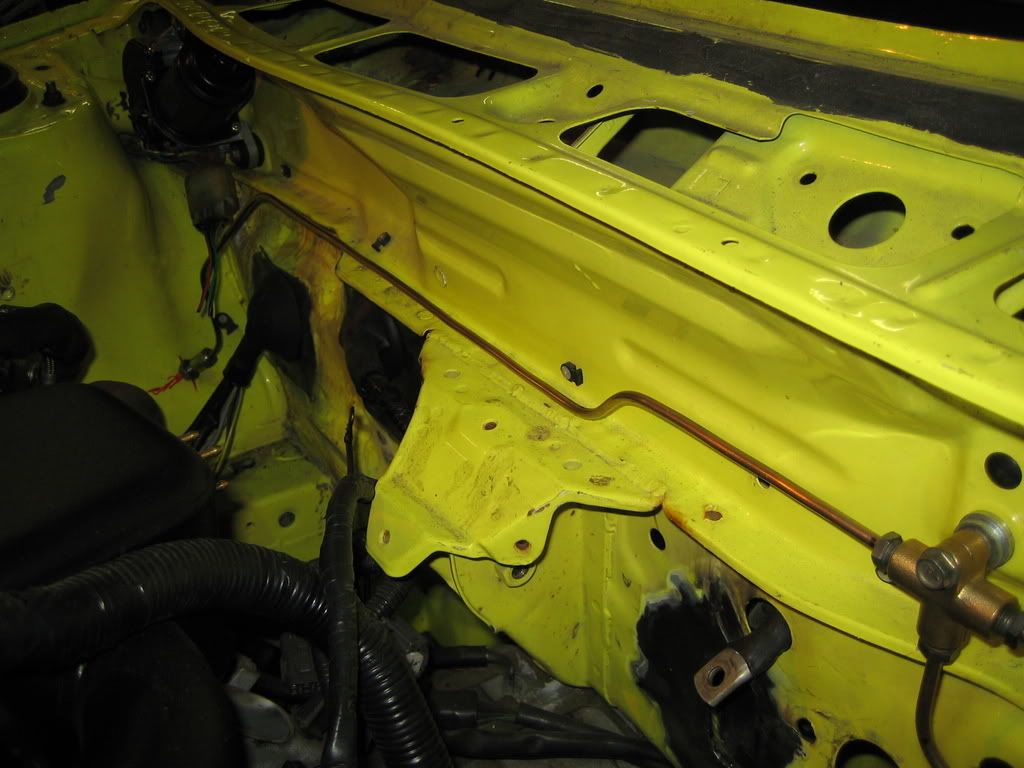
The brake lines on the front are done!
Fabricated the last part today, tomorrow we start with the rear:
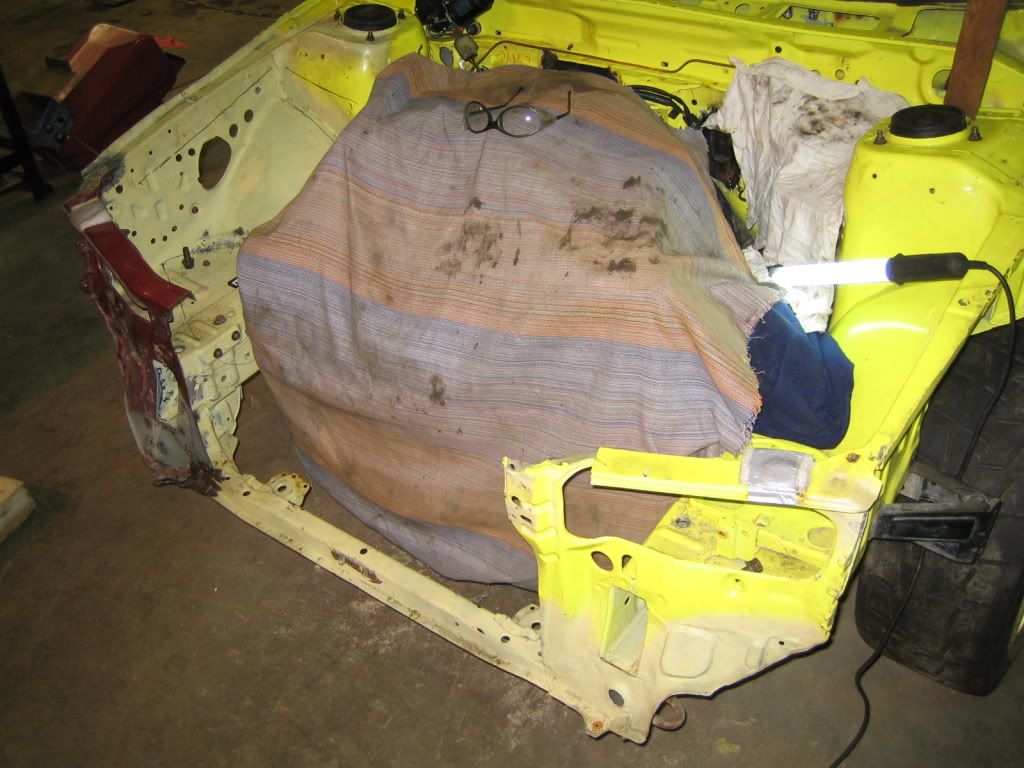
On a USDM tank there is some kind of enviremental system, I don't need that.
So my friend Alex lasered some nice aluminum plates.
They will be anodized in a later stage, but because I need the tank under the car for the next step I tried them on.
Before:
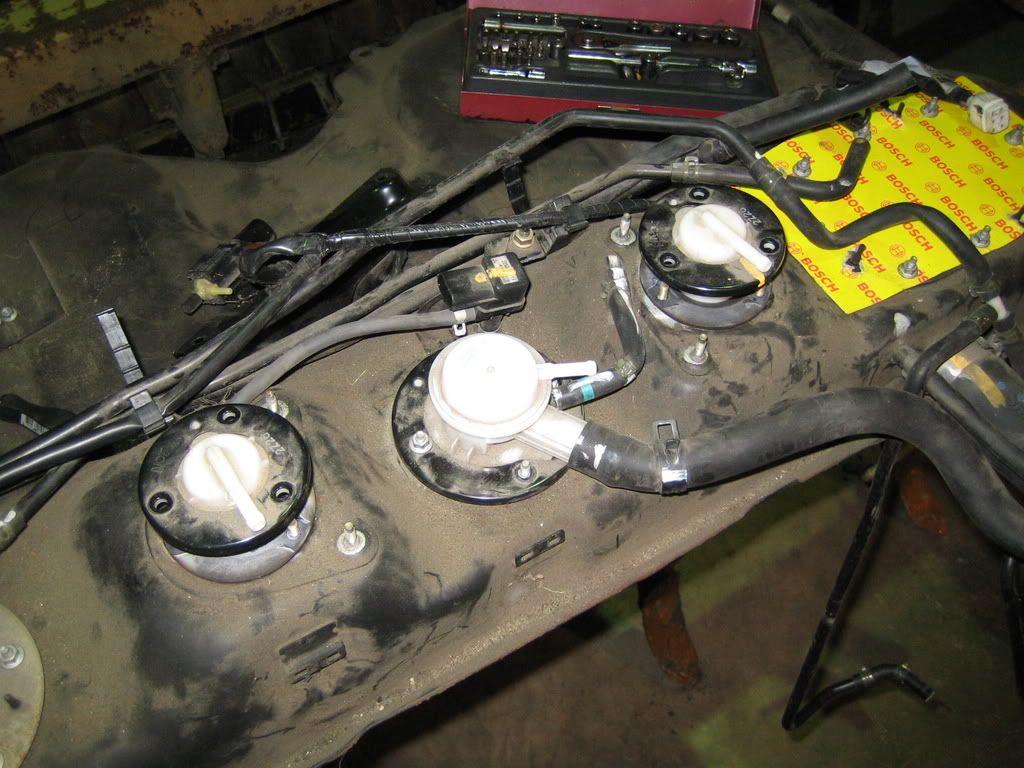
After:
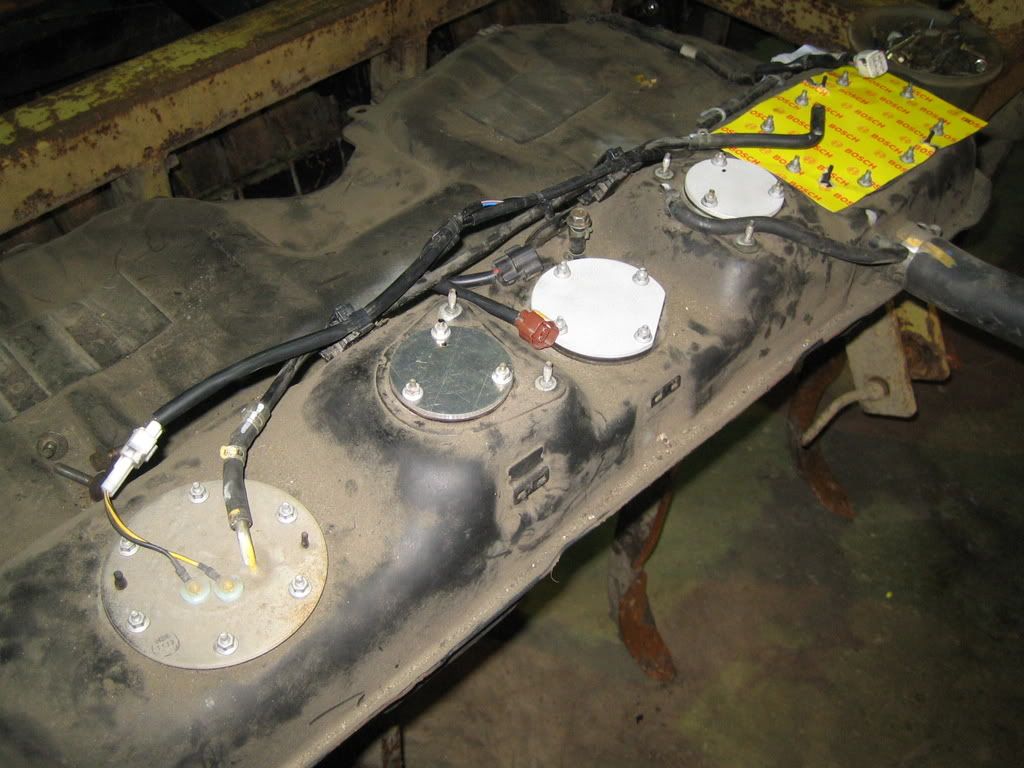
And while we were at it:
Tomorrow more!
Fabricated the last part today, tomorrow we start with the rear:
On a USDM tank there is some kind of enviremental system, I don't need that.
So my friend Alex lasered some nice aluminum plates.
They will be anodized in a later stage, but because I need the tank under the car for the next step I tried them on.
Before:
After:
And while we were at it:
Tomorrow more!
Thread Starter
Scooby Regular
Joined: Dec 2002
Posts: 458
Likes: 0
So, tomorrow is today.
We have done another small step today, again my good friend Alex dropped by to give mental guidance.
But I had already done some preparations at work.
First I stripped the feulpump assembly, I'm going to weld parts on it so it has be clean.
Before:
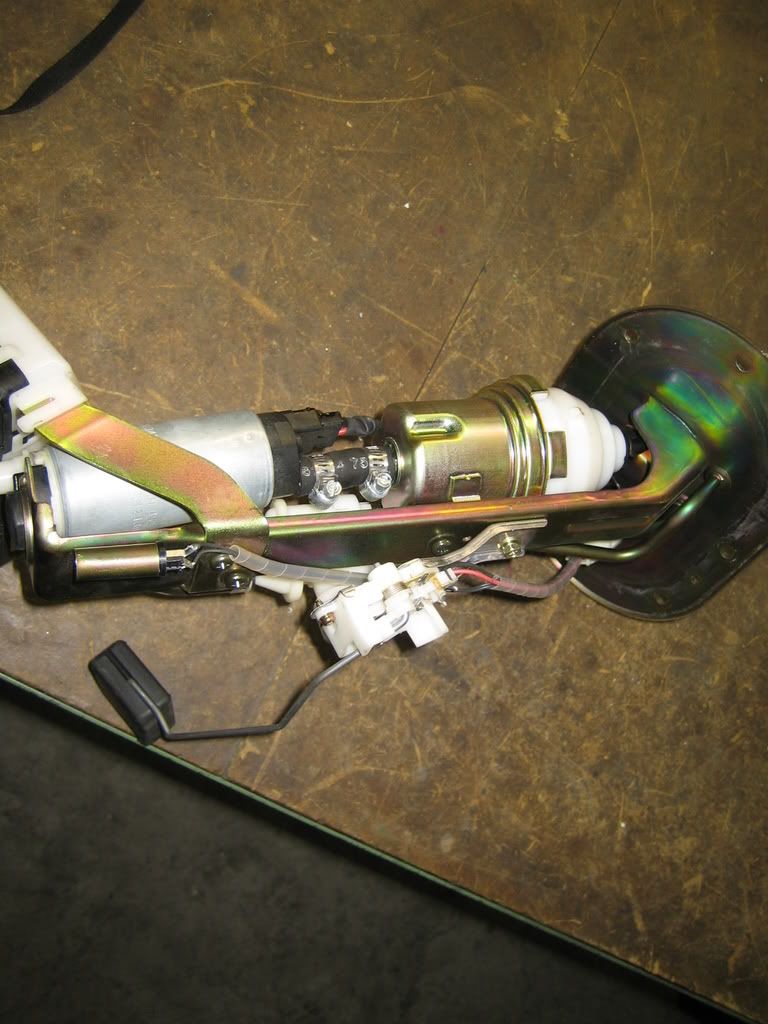
After:
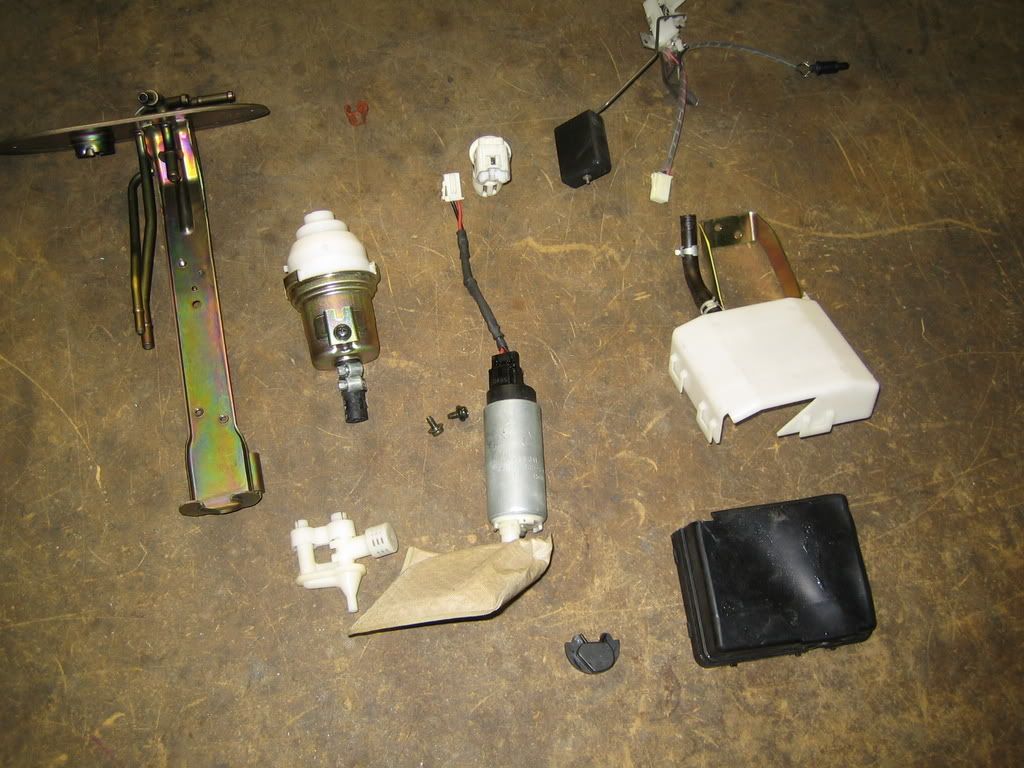
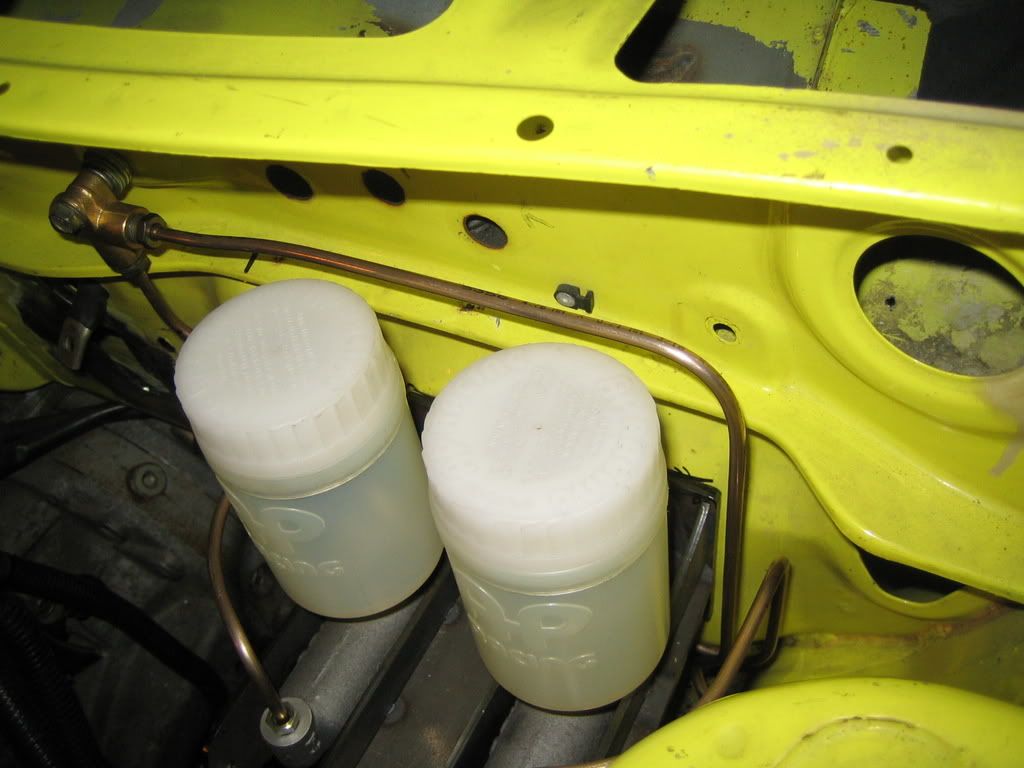
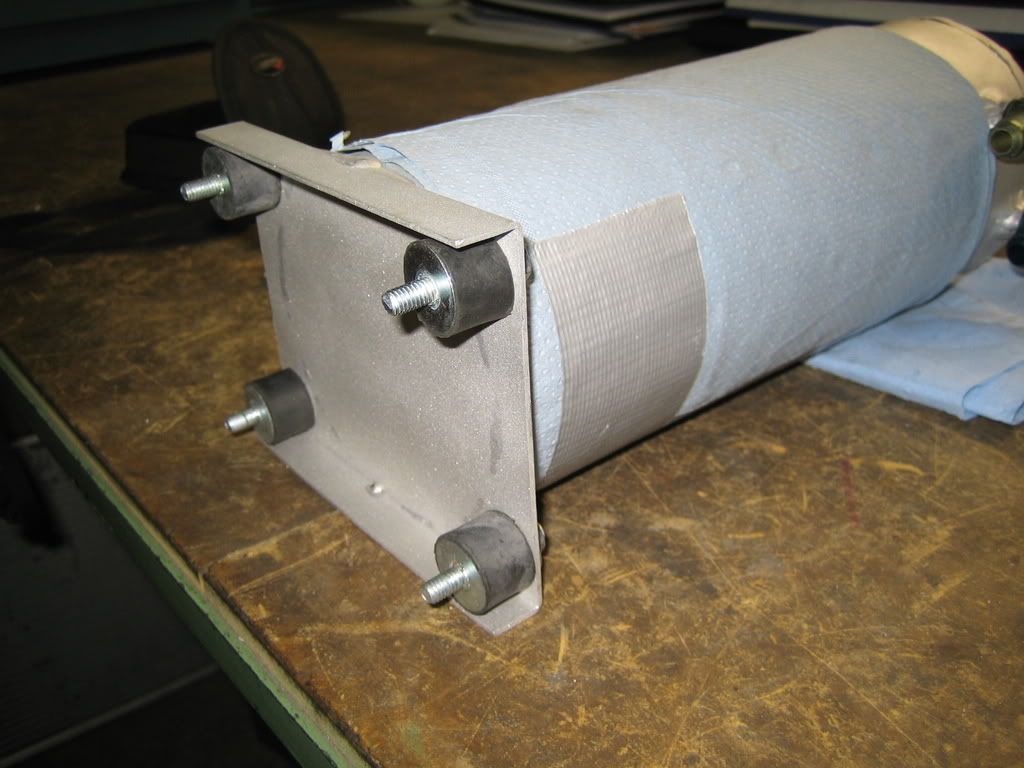
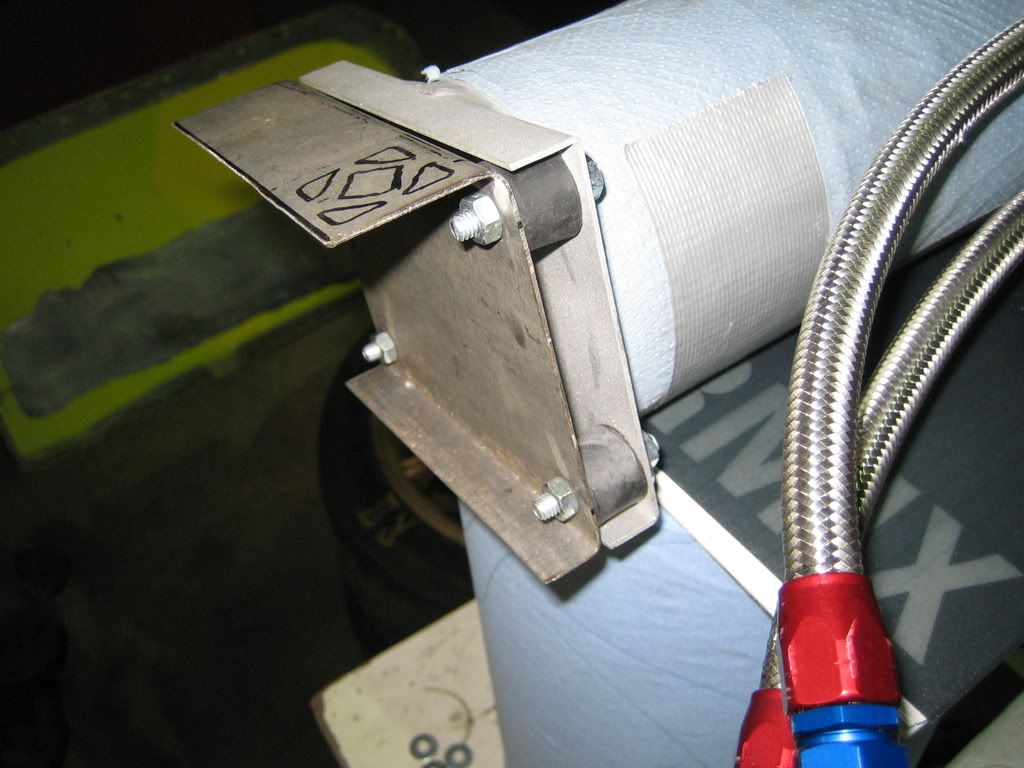
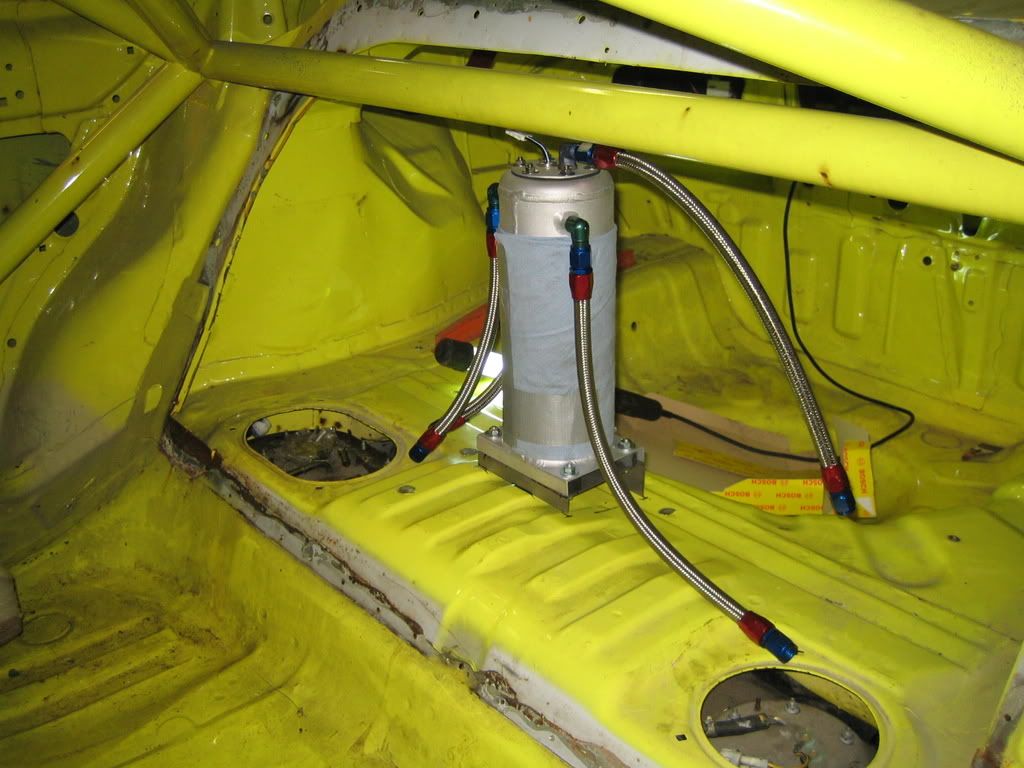
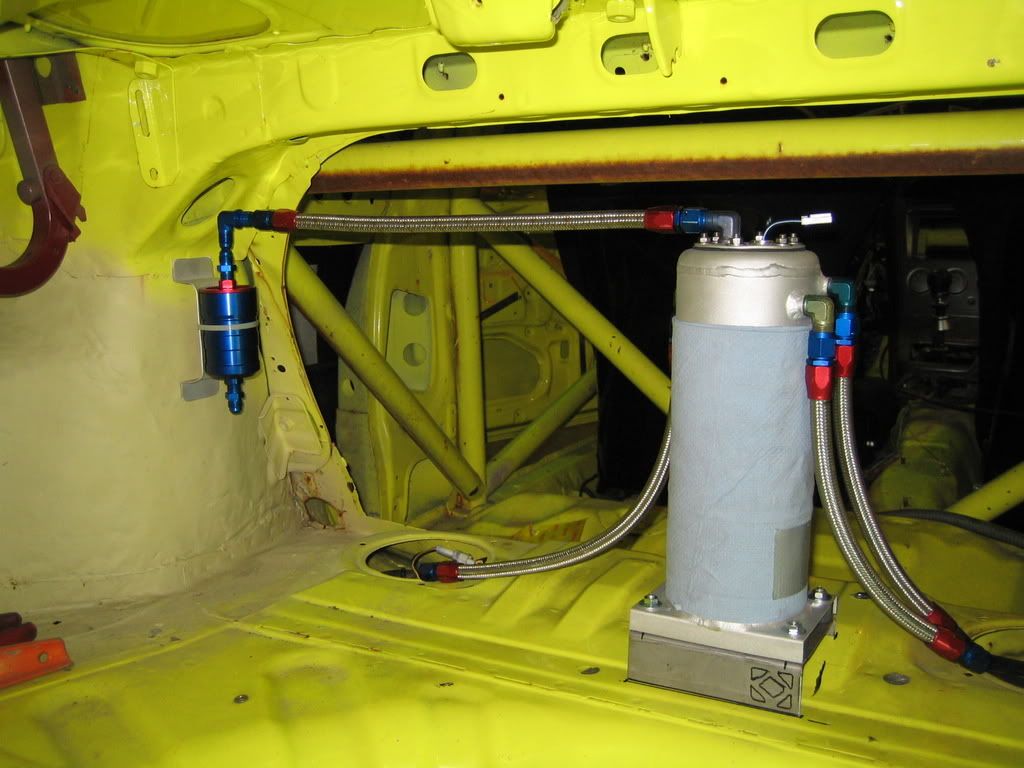
The other thing I did was put the dampers on the surgetank:
We have done another small step today, again my good friend Alex dropped by to give mental guidance.
But I had already done some preparations at work.
First I stripped the feulpump assembly, I'm going to weld parts on it so it has be clean.
Before:
After:
The other thing I did was put the dampers on the surgetank:
Thread Starter
Scooby Regular
Joined: Dec 2002
Posts: 458
Likes: 0
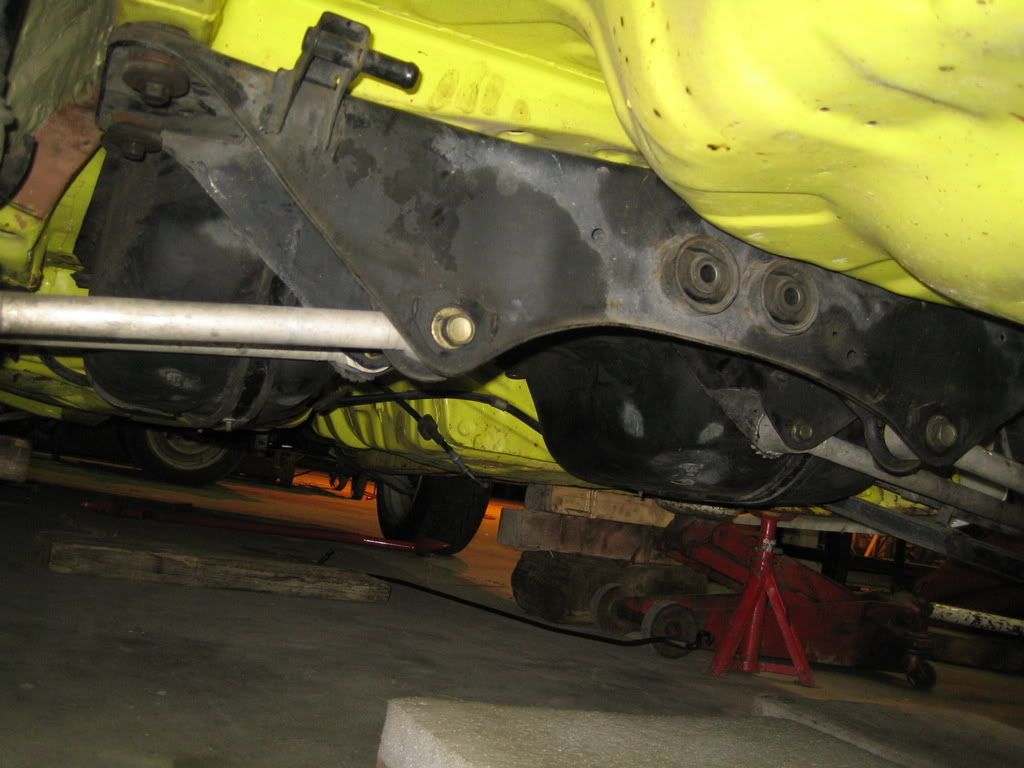
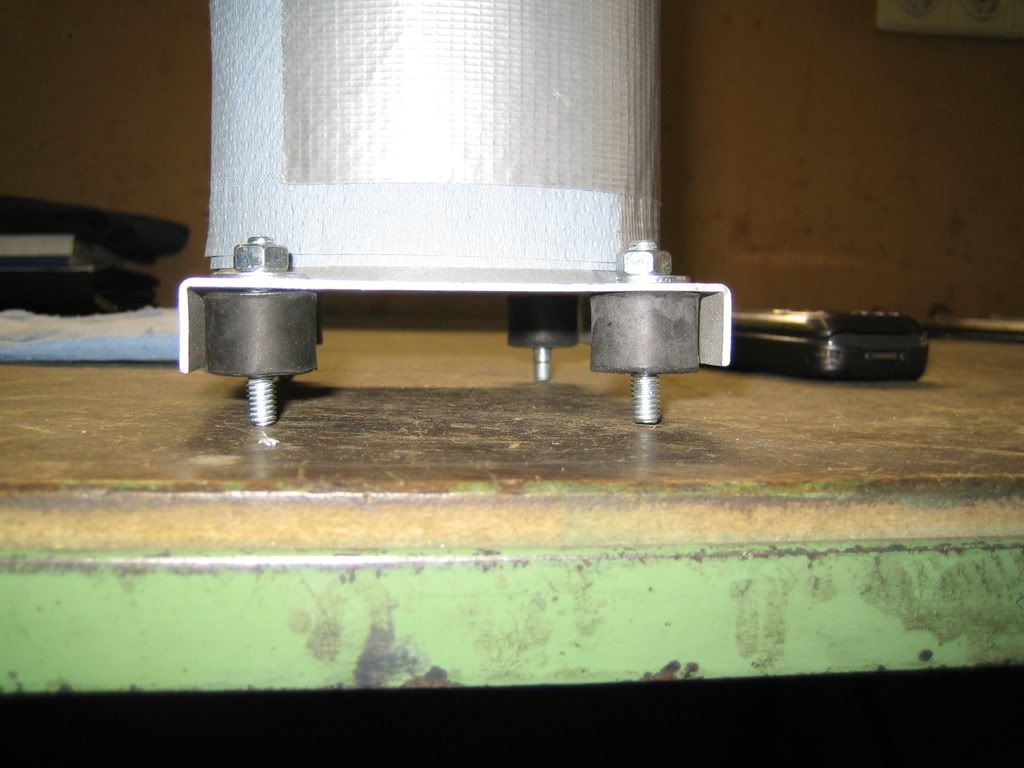
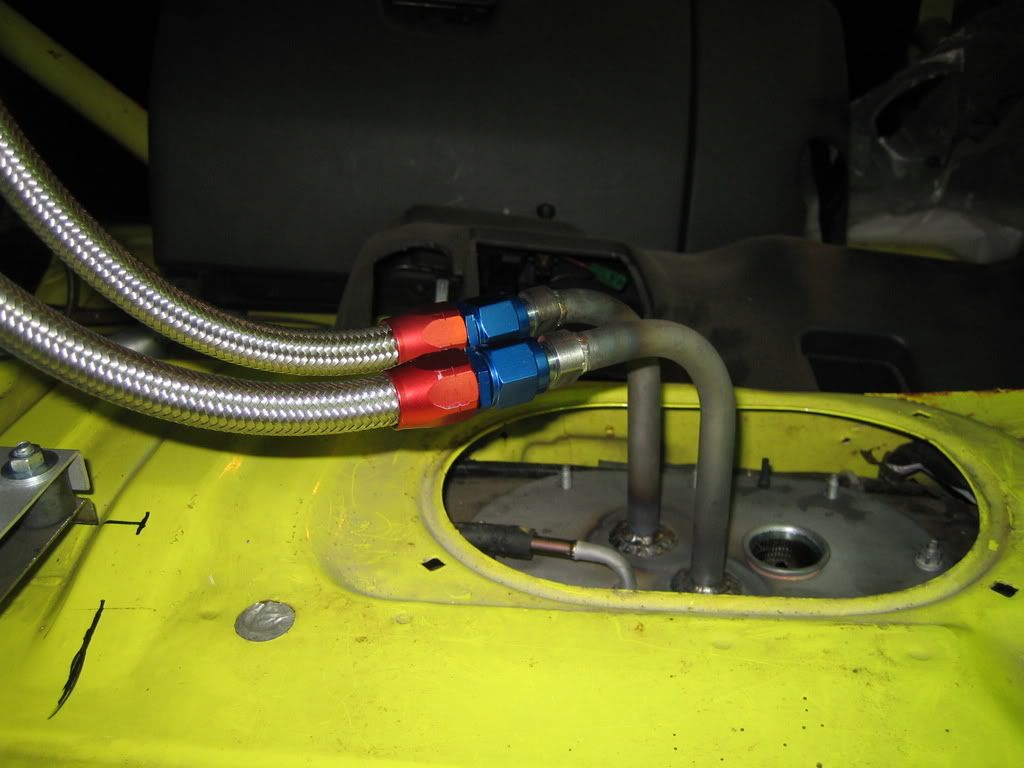
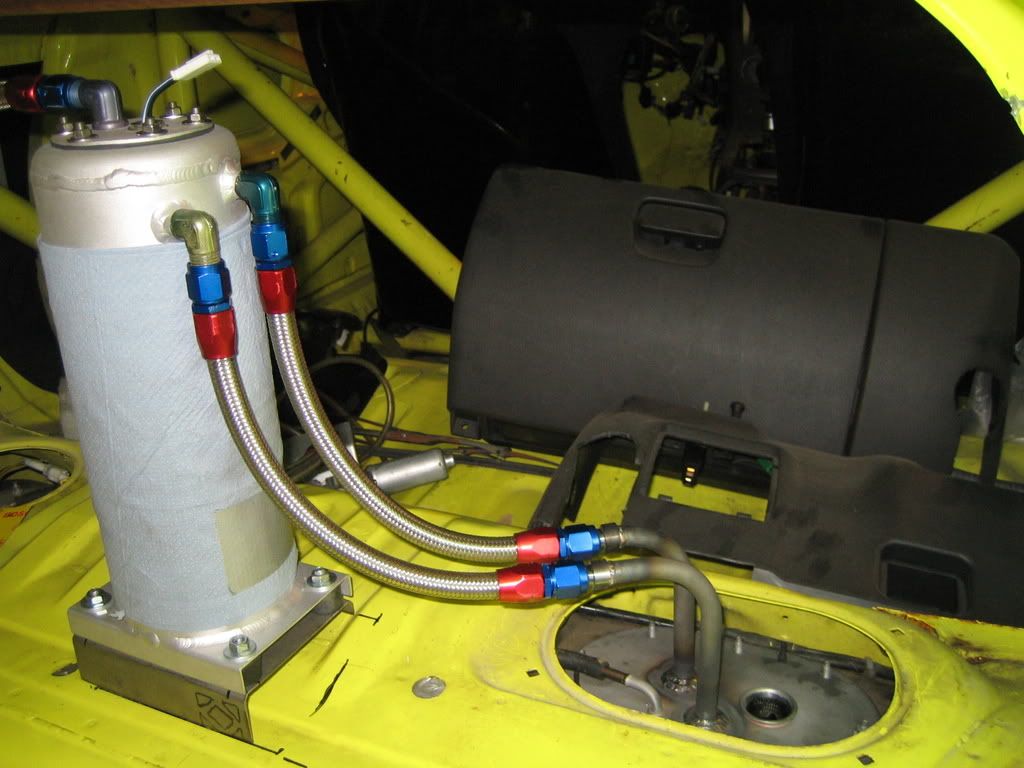
After creating some freedom for movement after removing the "backseat" we created a nice bracket:
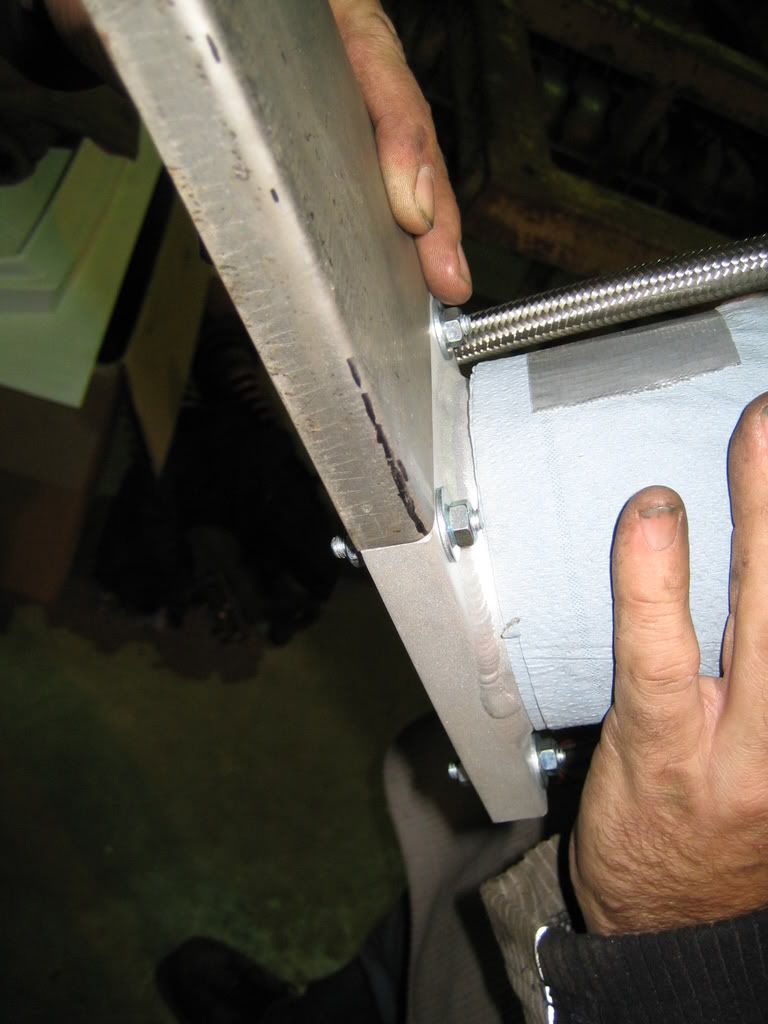
In the car:
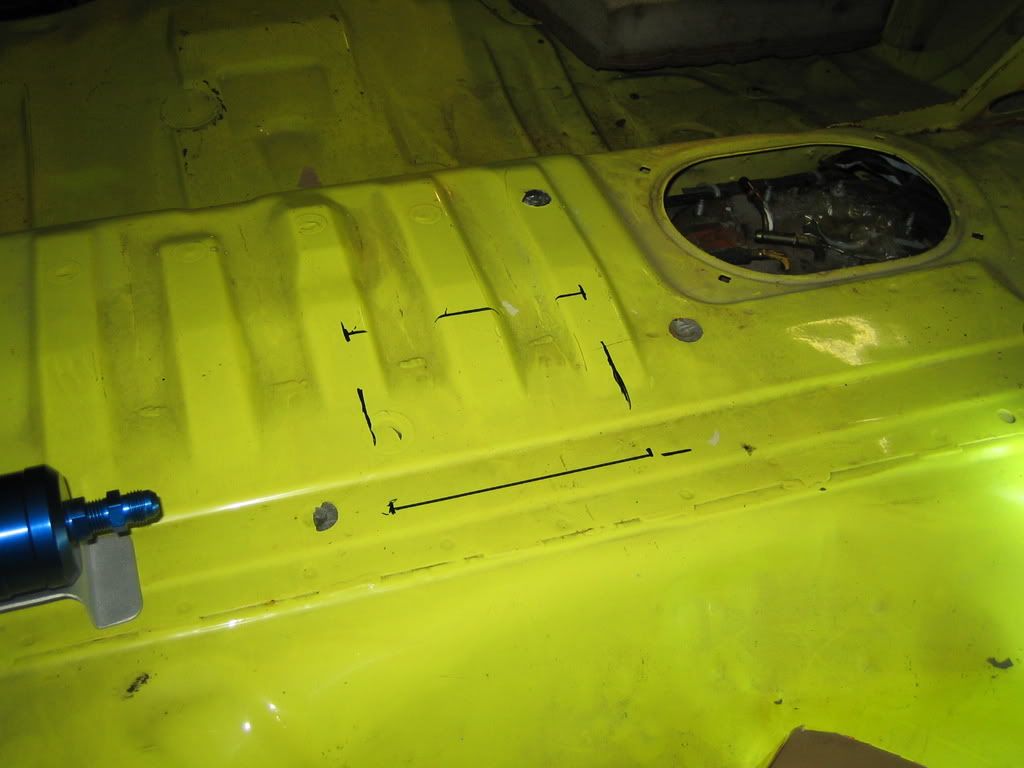
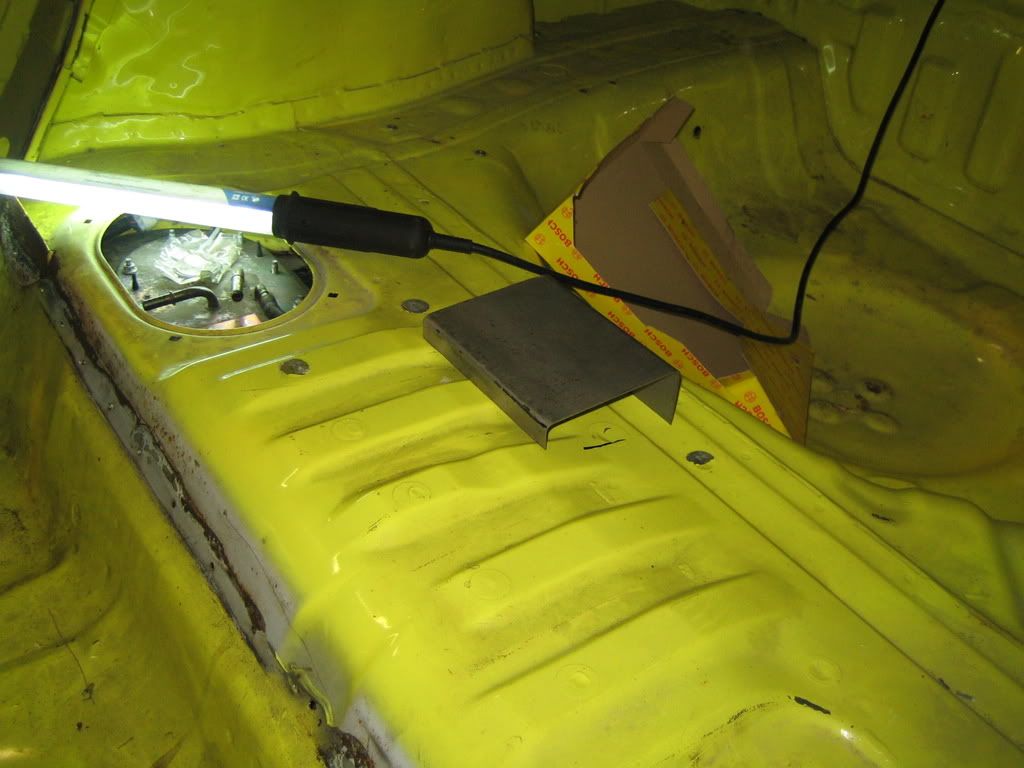

The eventual bracket will be 5mm lower.
The only "problem" is that the hose comming from the pump is a bit short, so the filter will be either on a pretty high bracket or perhaps in another place?.........
In the car:
The eventual bracket will be 5mm lower.
The only "problem" is that the hose comming from the pump is a bit short, so the filter will be either on a pretty high bracket or perhaps in another place?.........
Thread Starter
Scooby Regular
Joined: Dec 2002
Posts: 458
Likes: 0
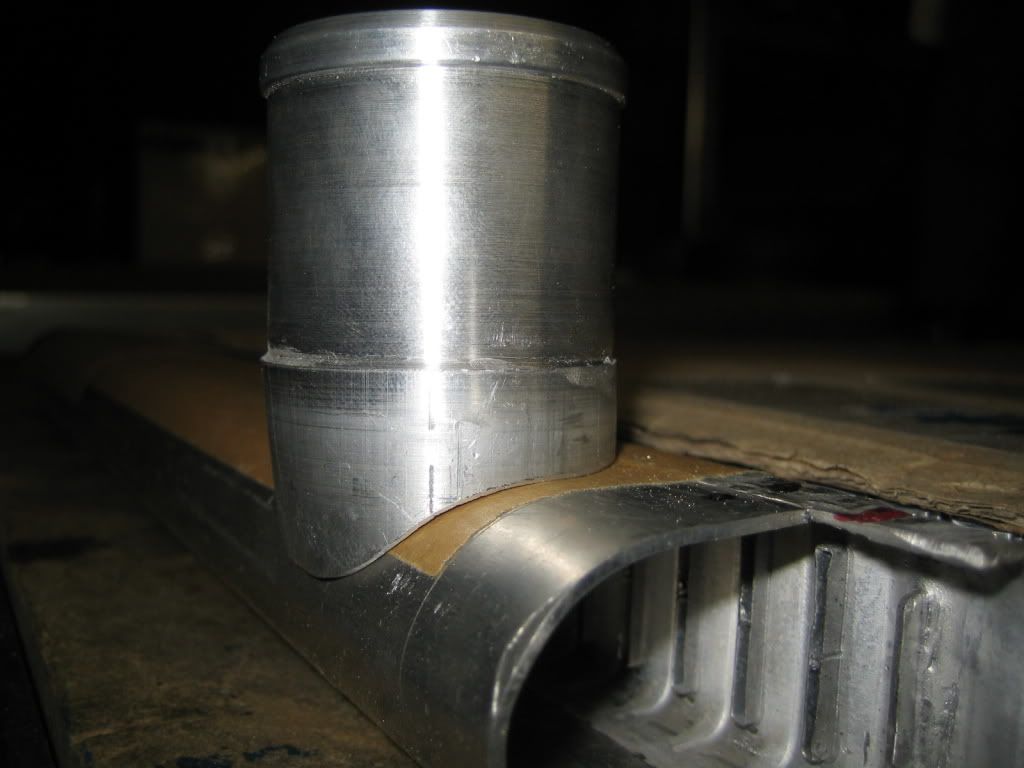
I went on with the feulconnectors:.
Spent half a day trying to find a piece of thin walled 10mm tube, after failing that I did find a piece of 12mm tube with the same inner diameter.
Cut the piece in 2 and made some bends in them:

Reworked the weld pieces to match the tube inner diameter.
Before:
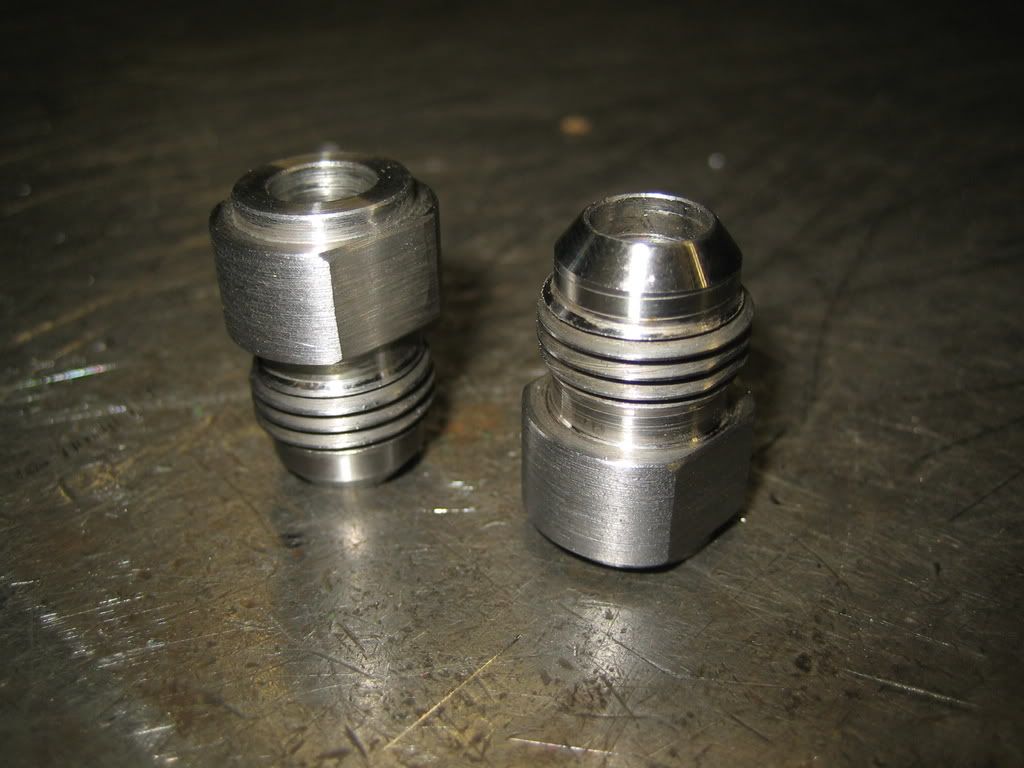
After:

Welded on the bracket:
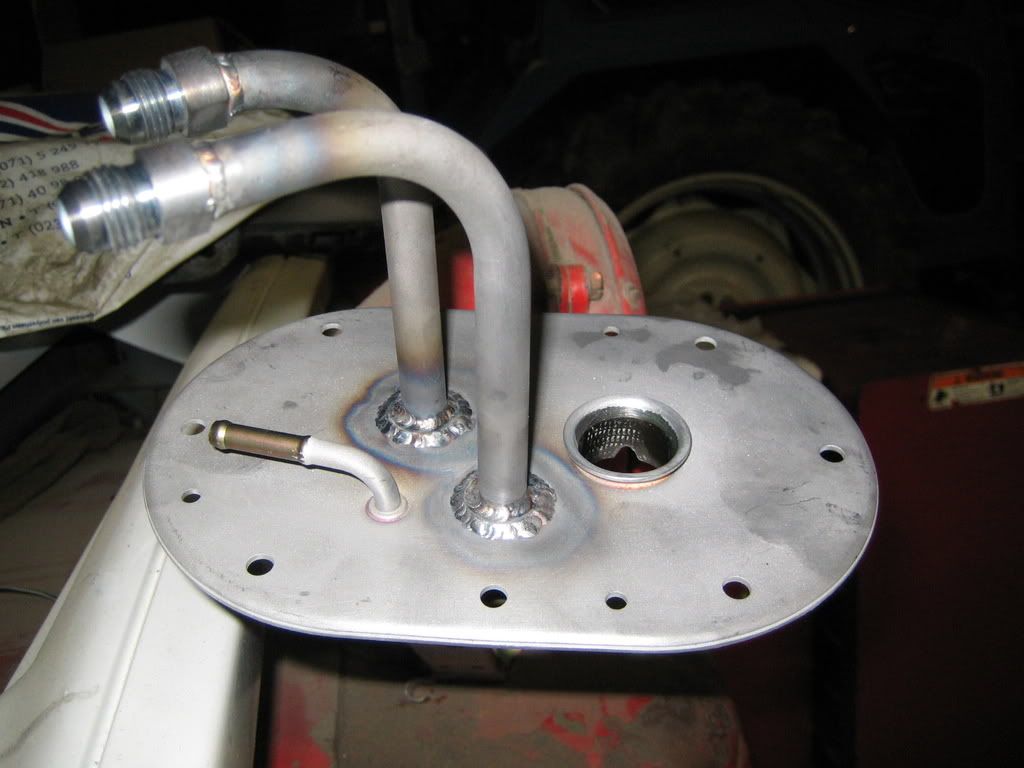
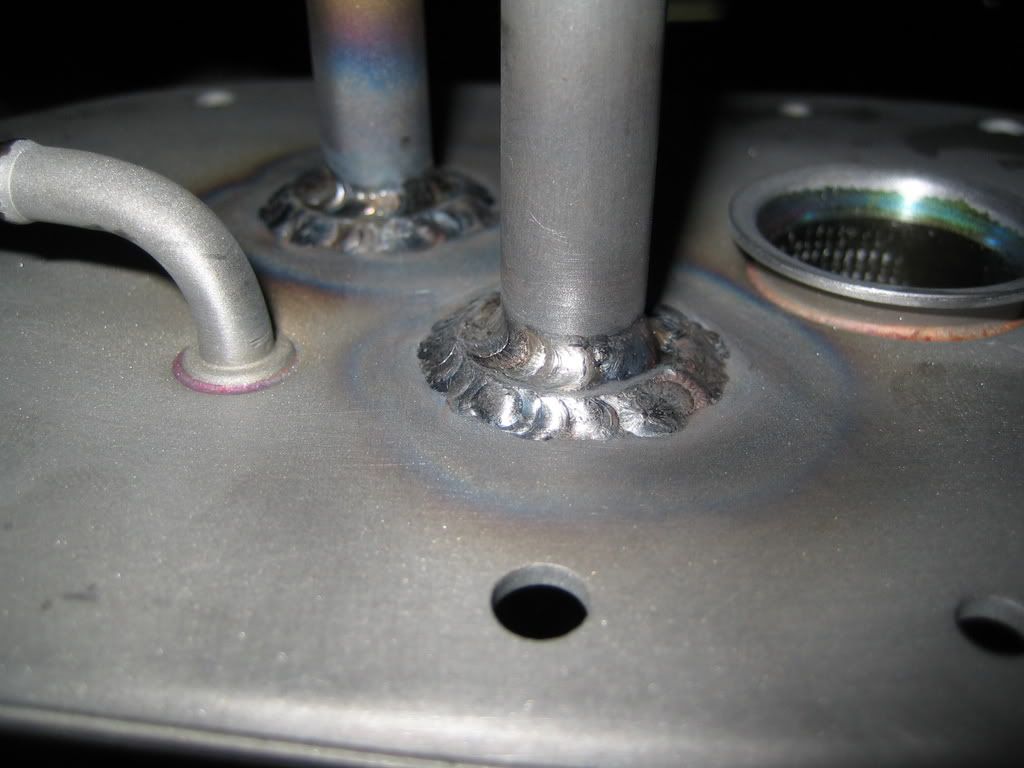
Fitting!!:

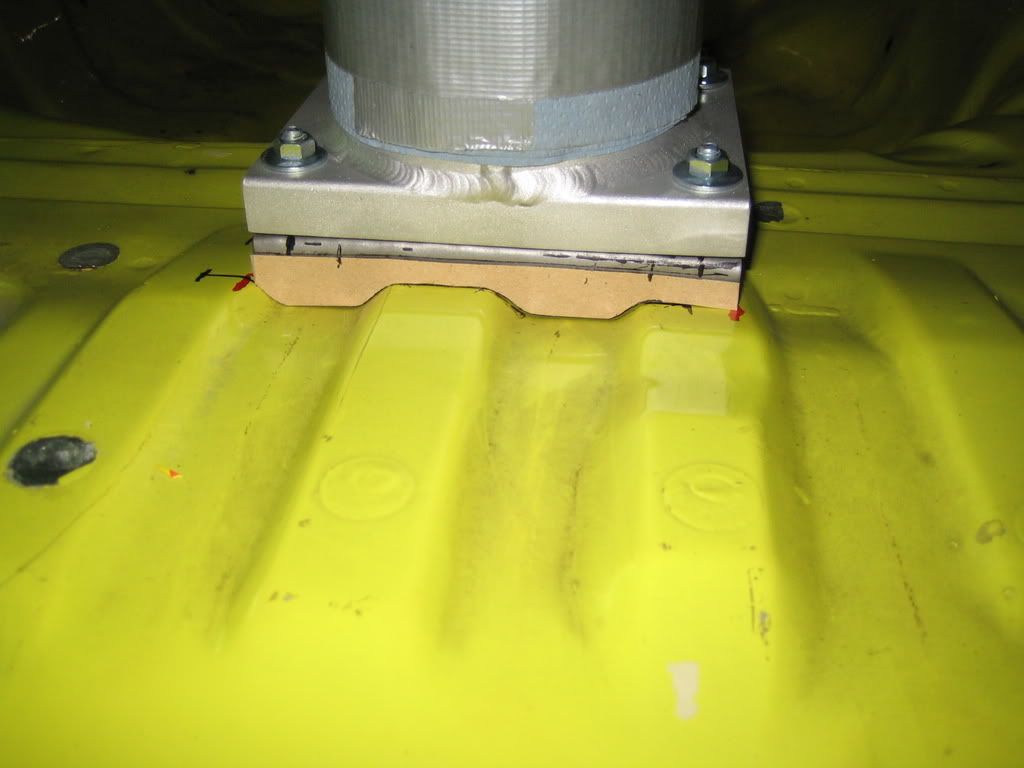
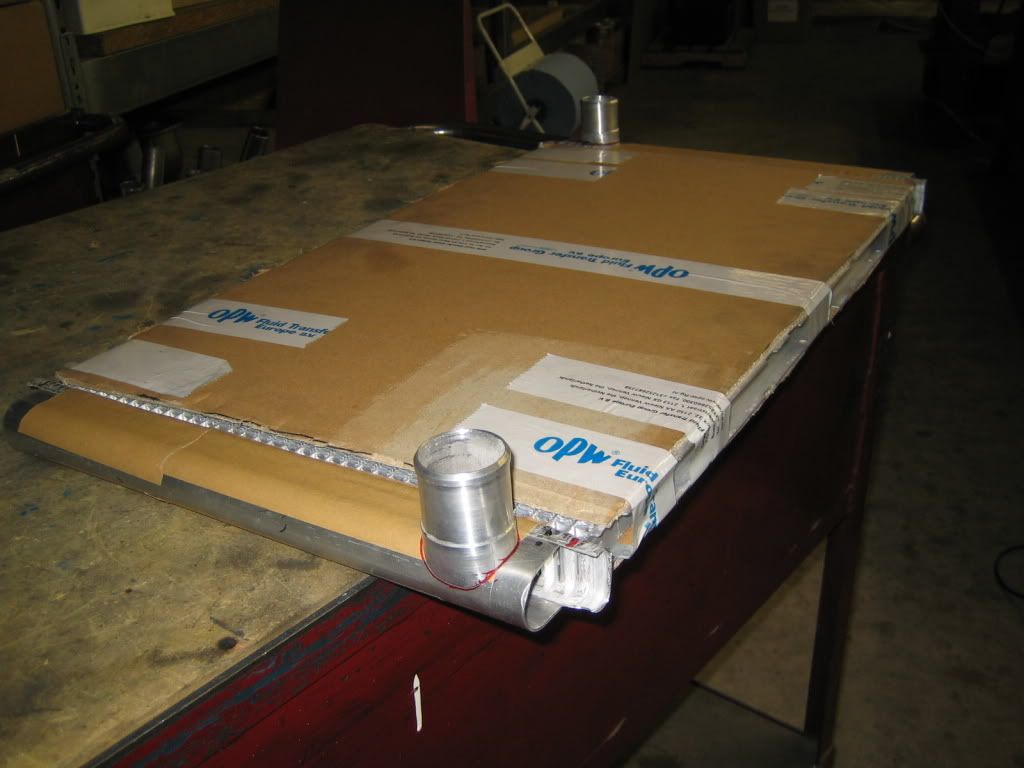
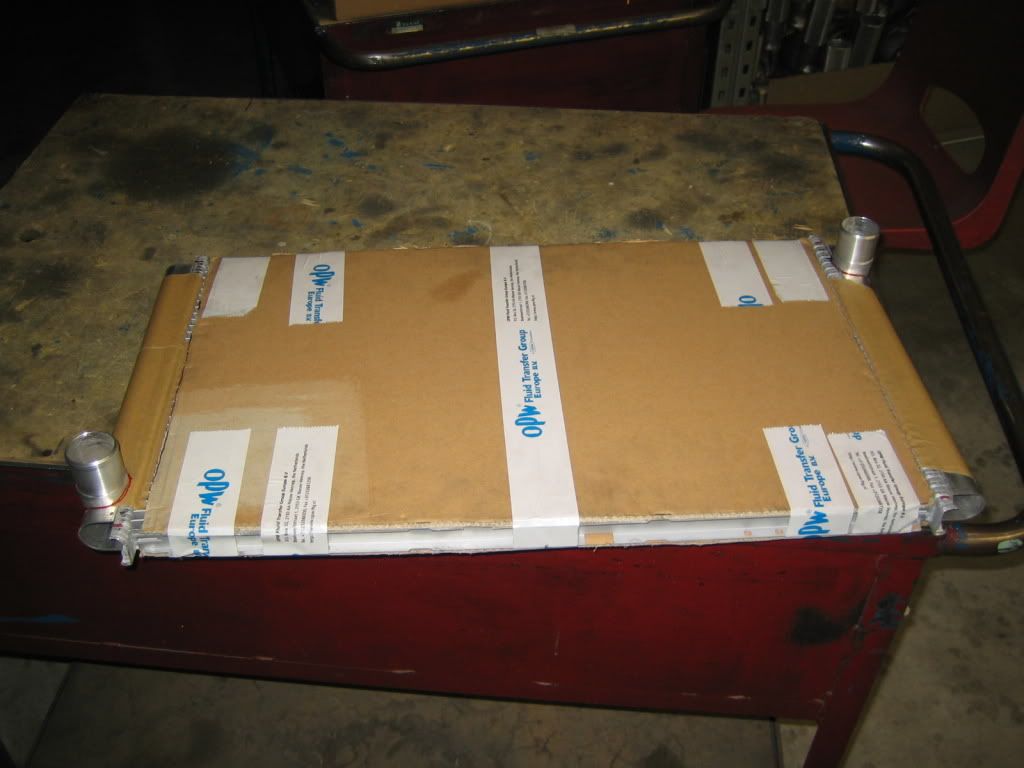
And I made a cardboard template for the bracket of the surgetank:
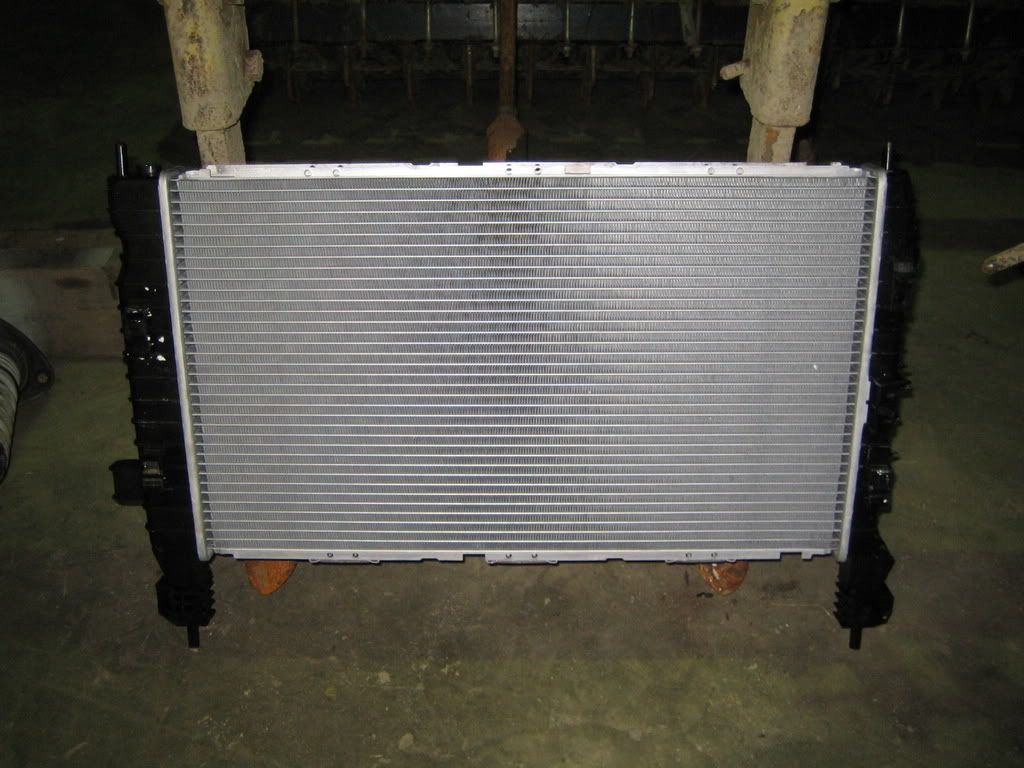
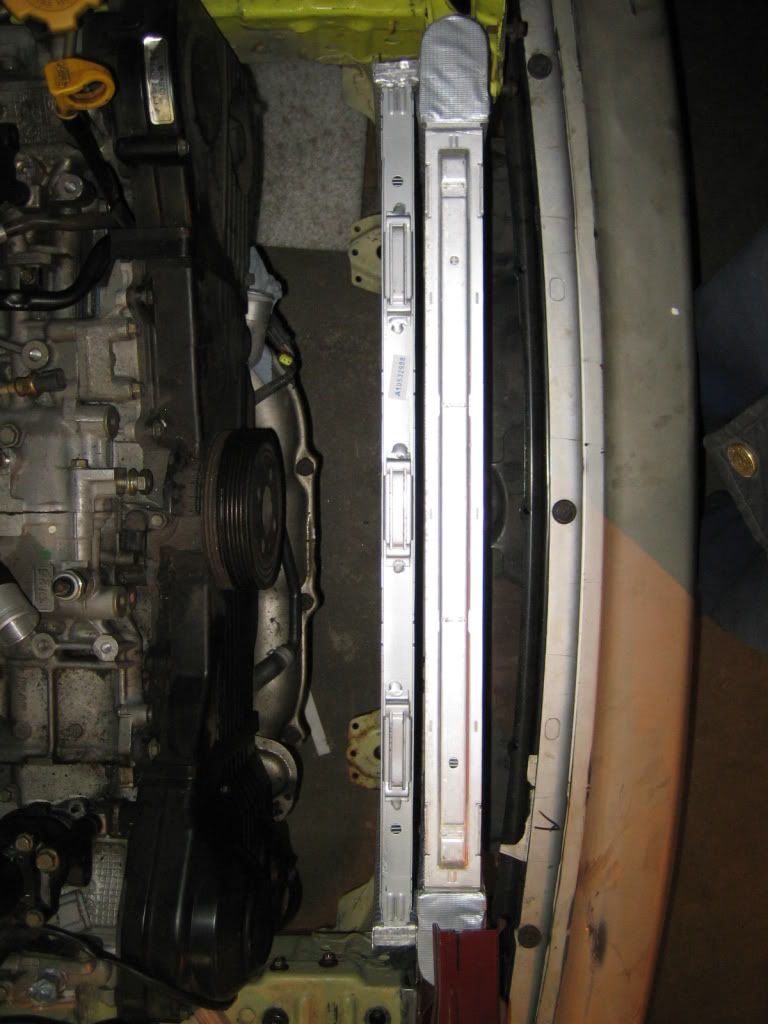
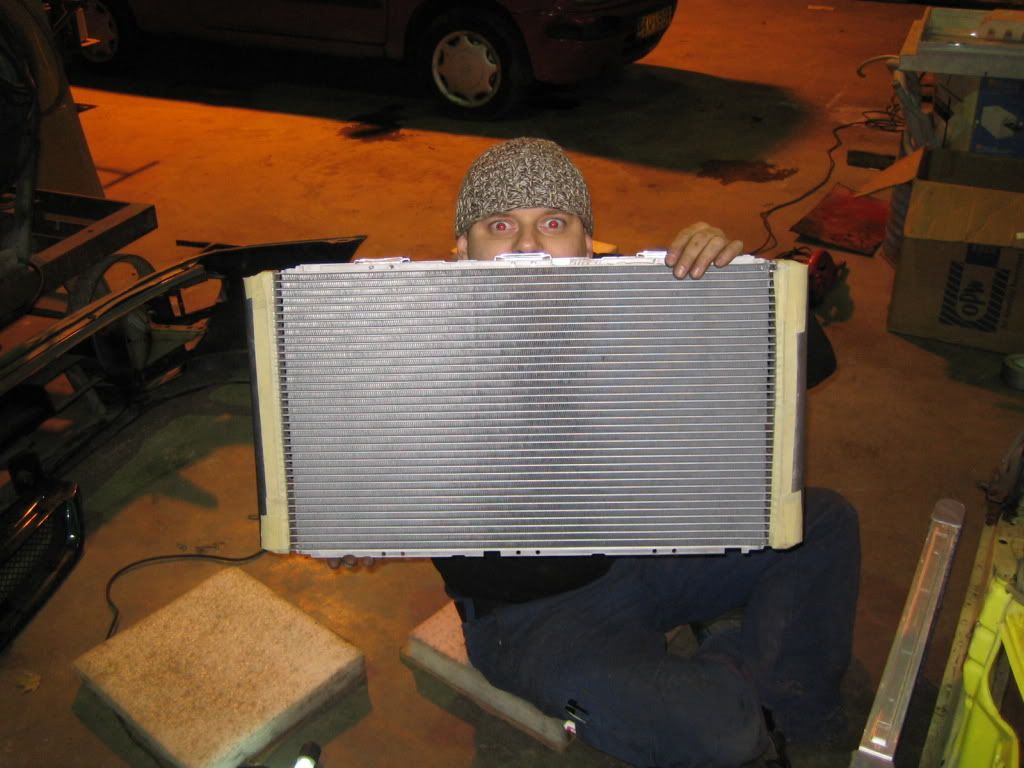
After wrecking the last one I had to get another radiator so I just bought a new one:
Spent half a day trying to find a piece of thin walled 10mm tube, after failing that I did find a piece of 12mm tube with the same inner diameter.
Cut the piece in 2 and made some bends in them:
Reworked the weld pieces to match the tube inner diameter.
Before:
After:
Welded on the bracket:
Fitting!!:
And I made a cardboard template for the bracket of the surgetank:
After wrecking the last one I had to get another radiator so I just bought a new one:
Thread Starter
Scooby Regular
Joined: Dec 2002
Posts: 458
Likes: 0
Small update.
Yesterday I spent alot of time making a cardboard dummy for the feulfilter bracket, lots of time little progression.
Also the rear brakeline connectors went in:
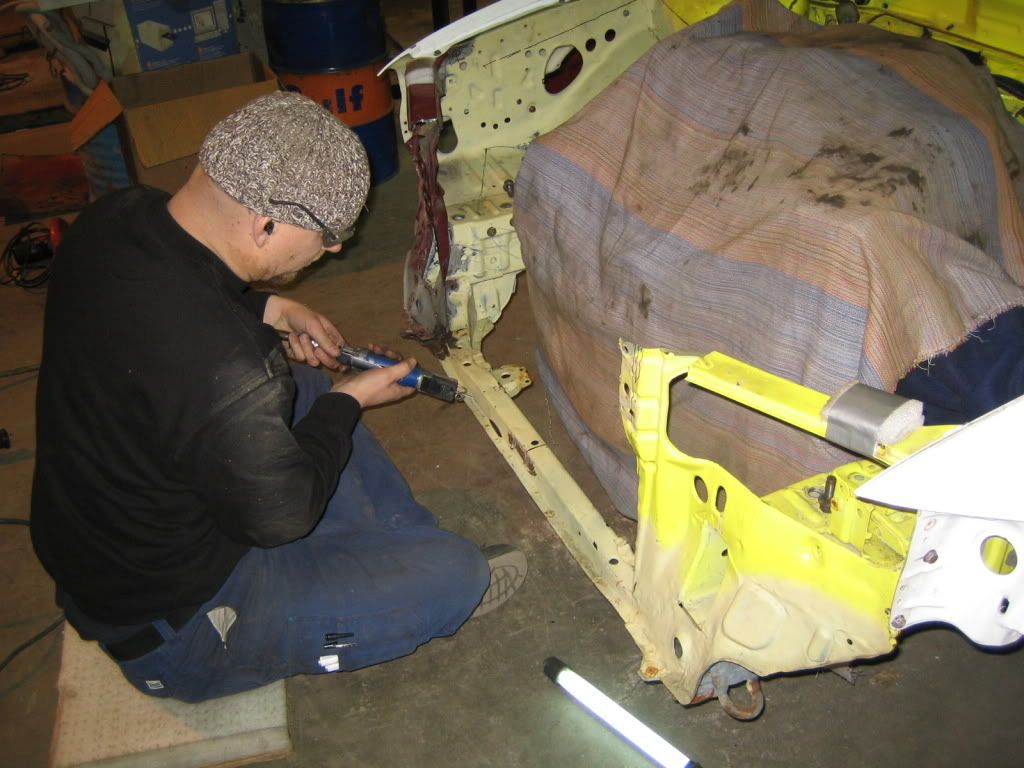
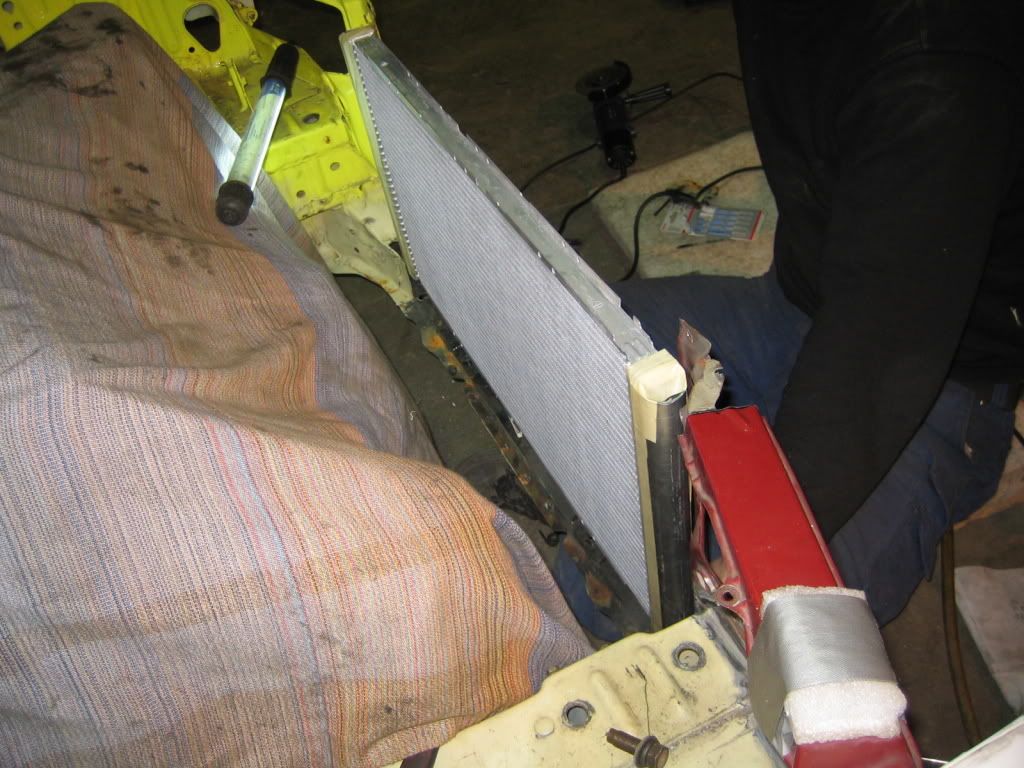
Today I started on making the chassis ready for the radpack.
First up is the bottom beam:
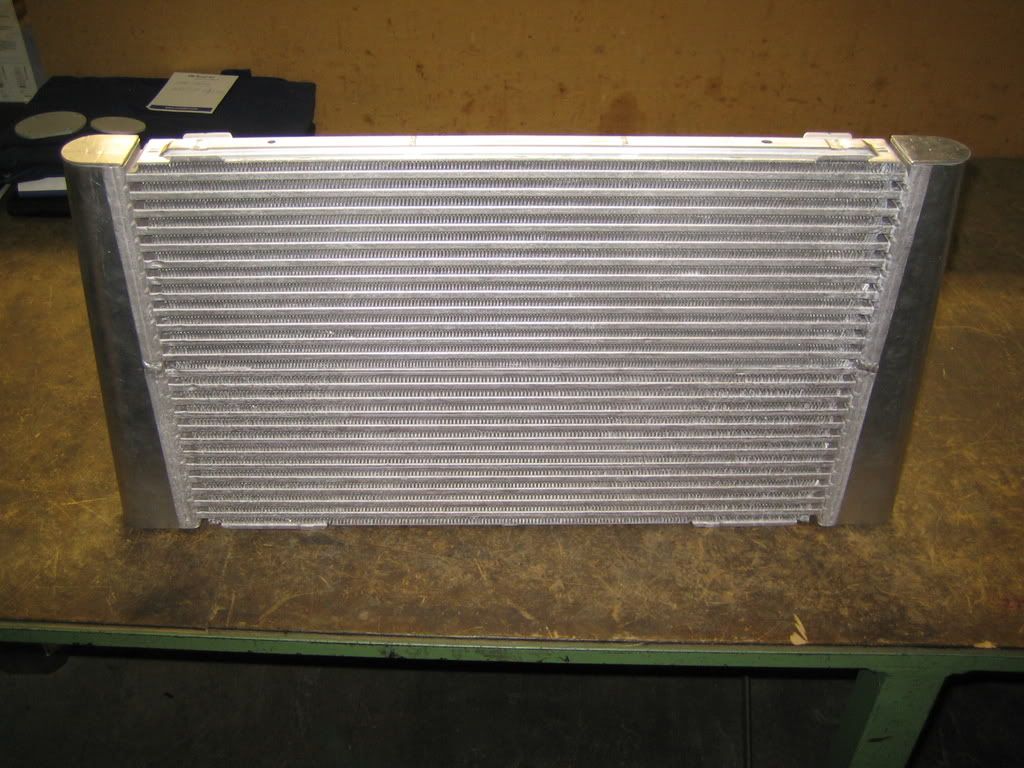
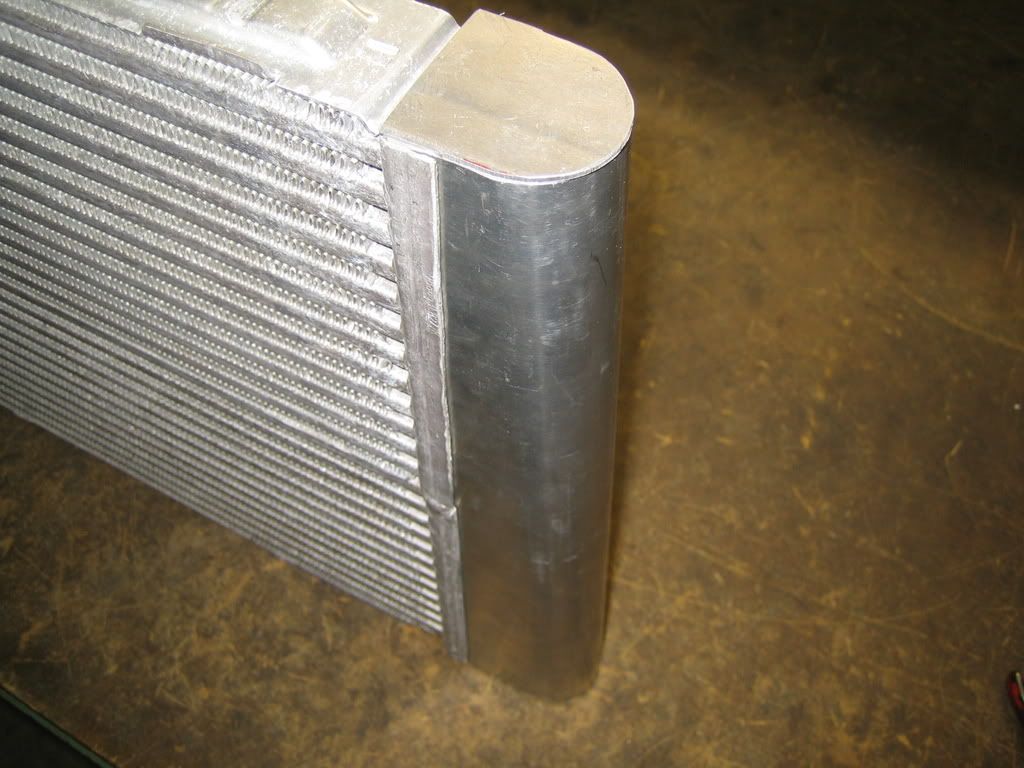
Endtanks are on the radiator!!
Welds?!?! Papertape is all we need!
A bit of sawing:
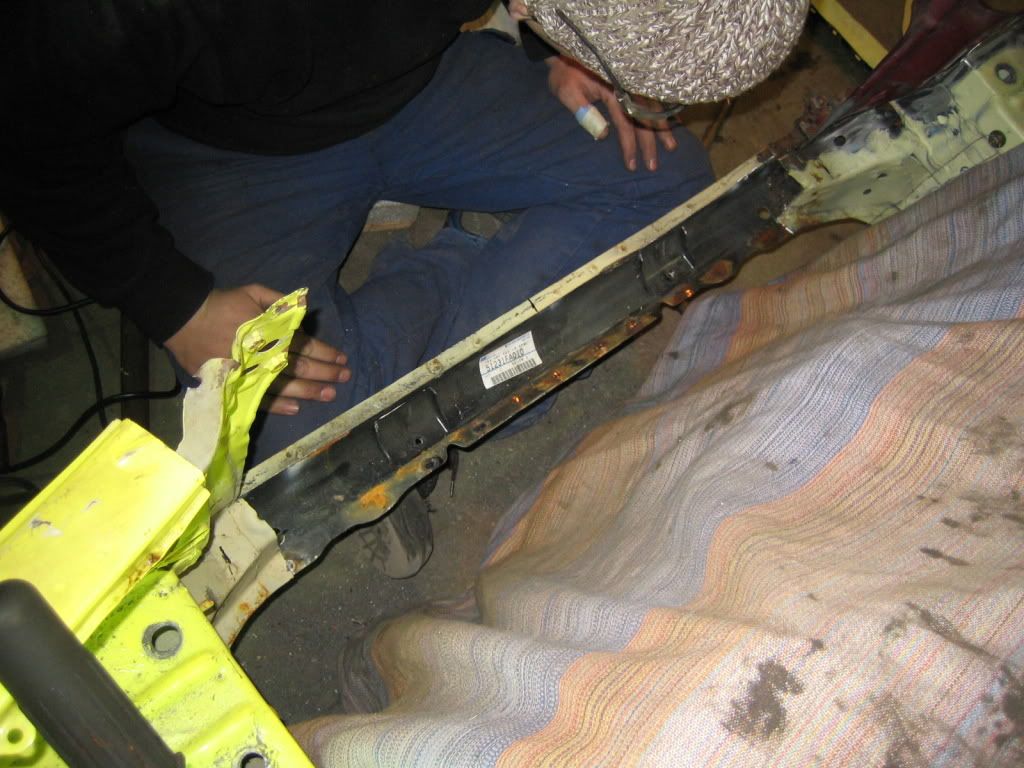
A bit lower but still a long way to go:
More cutting and hacking later!
Yesterday I spent alot of time making a cardboard dummy for the feulfilter bracket, lots of time little progression.
Also the rear brakeline connectors went in:
Today I started on making the chassis ready for the radpack.
First up is the bottom beam:
Endtanks are on the radiator!!
Welds?!?! Papertape is all we need!
A bit of sawing:
A bit lower but still a long way to go:
More cutting and hacking later!
Thread Starter
Scooby Regular
Joined: Dec 2002
Posts: 458
Likes: 0
Hmmm..
Killed my second radiator today....
I made a mistake removing the original endtanks, damaging the material inside.
It had to welded a bit and that went wrong.
So another one next week.
Then I went to the positioning of the cores, I planned to keep the bottom part, but after much grinding etc. I had to conclude that it all had to go.
Making a new one from scratch.
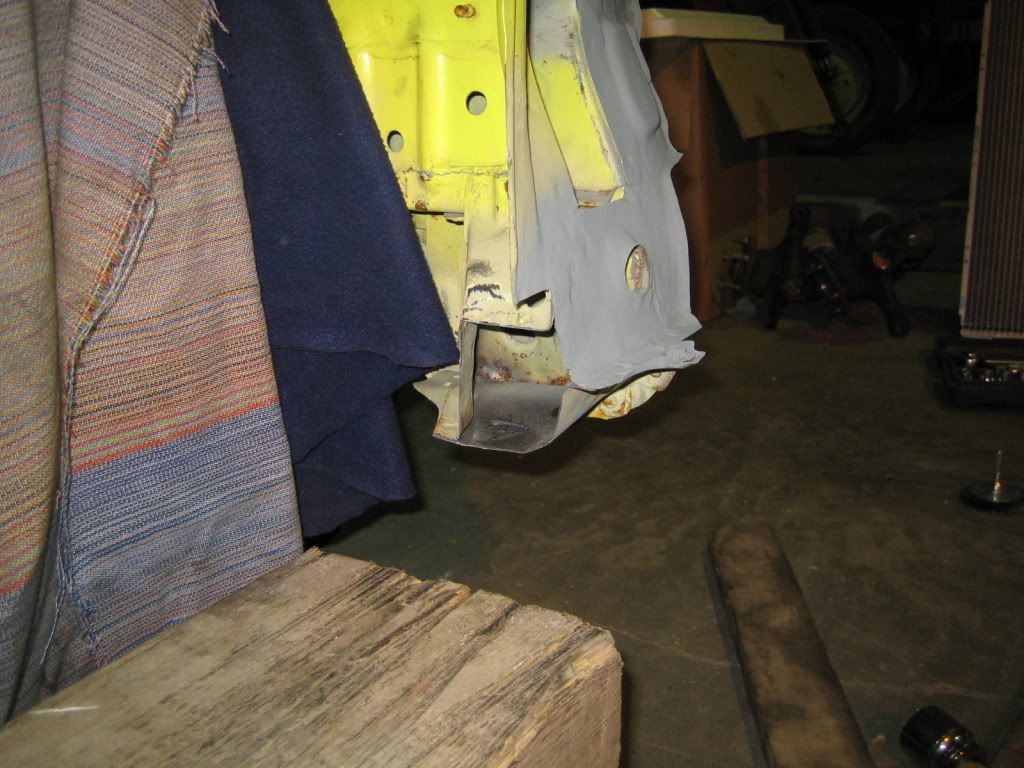
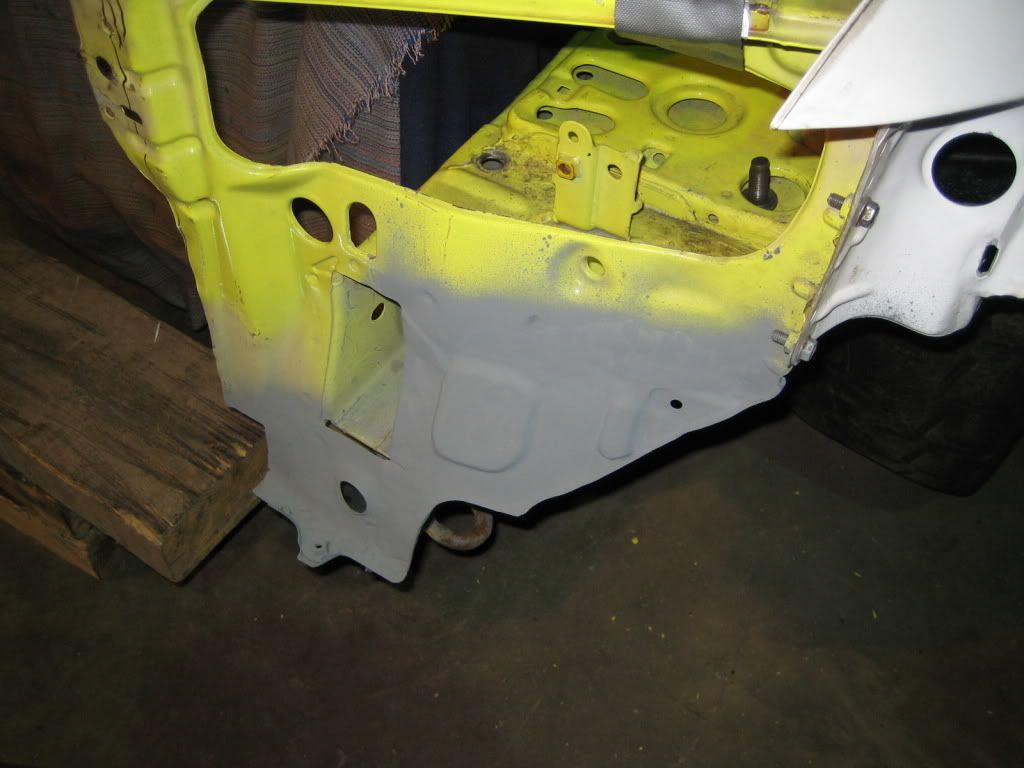
Did some panel beating on the left and right front plates, they had been damaged during the crash.
I'm pretty happy with the result, when it's painted you won't know it had any damage at all.
Also because the bumper will be in front of them....
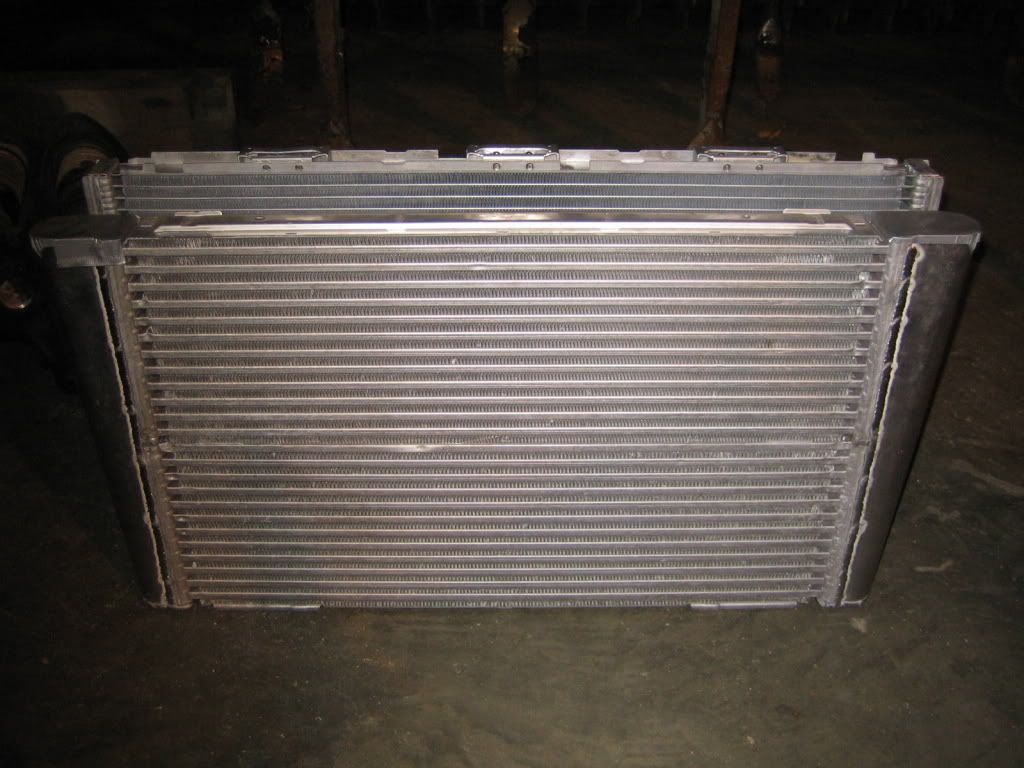
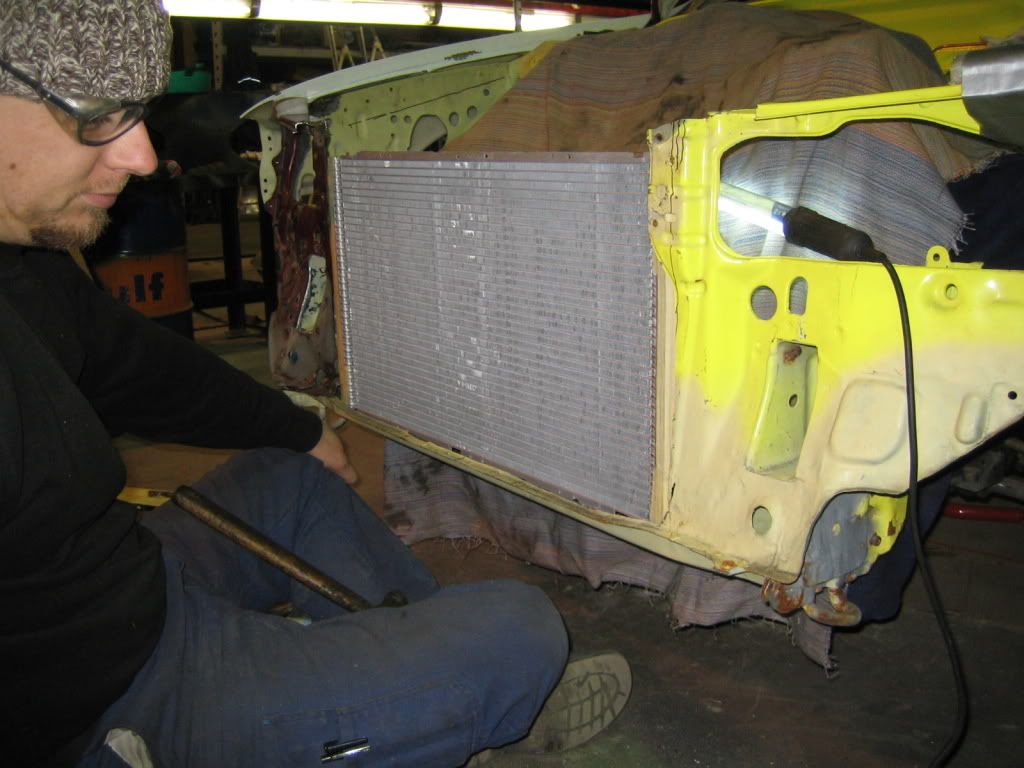
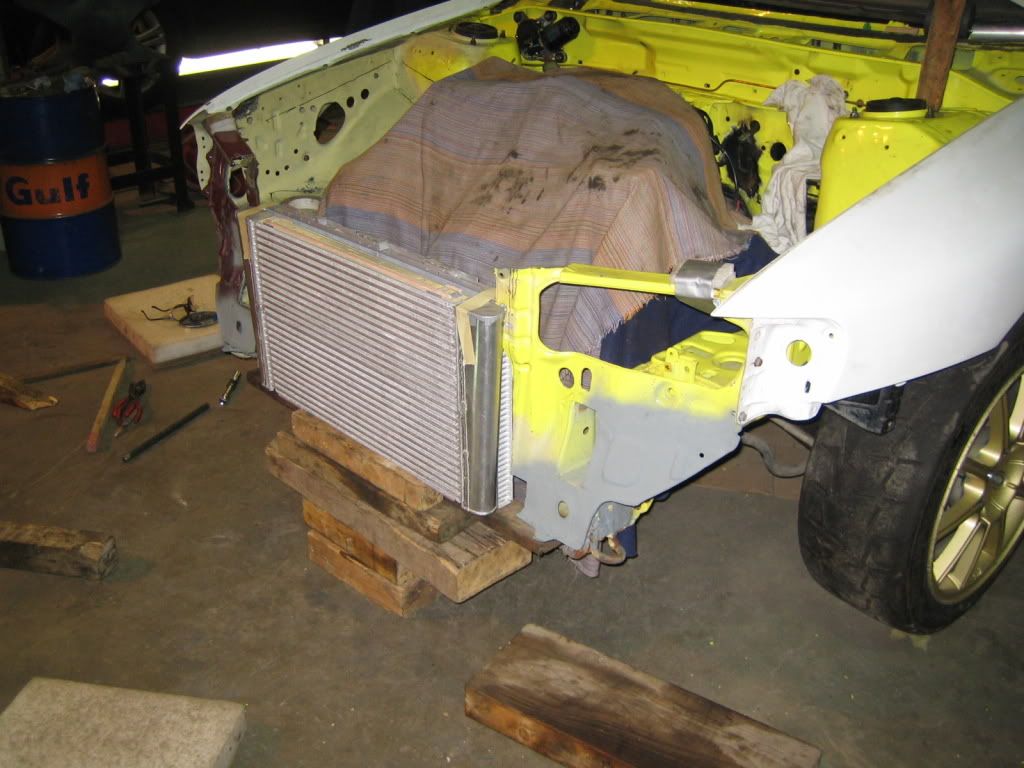
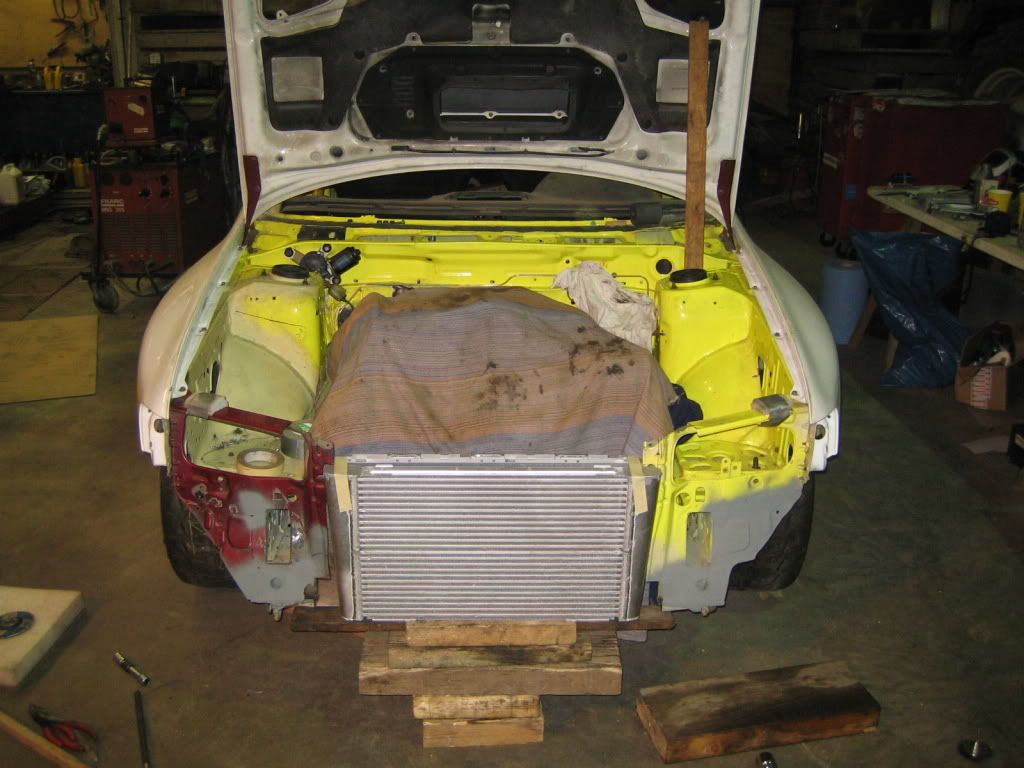
Finally I did a first trail fit for the 2 cores.
This position is too way low, will be fixed!
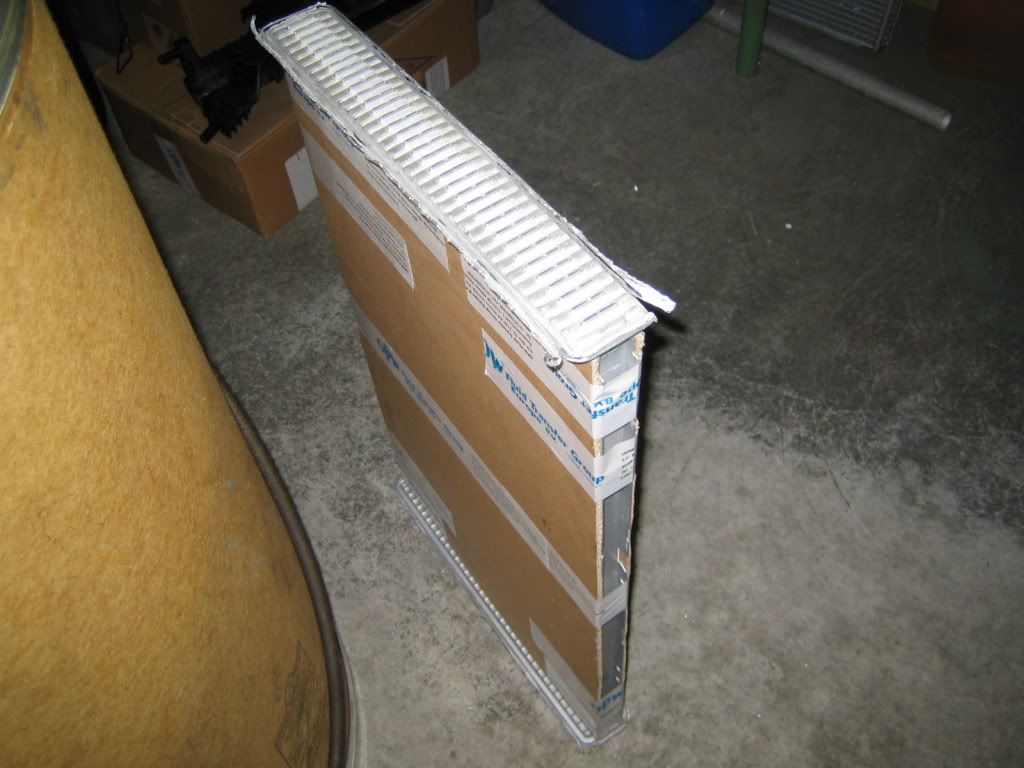
Leftover, not much but much to weak:
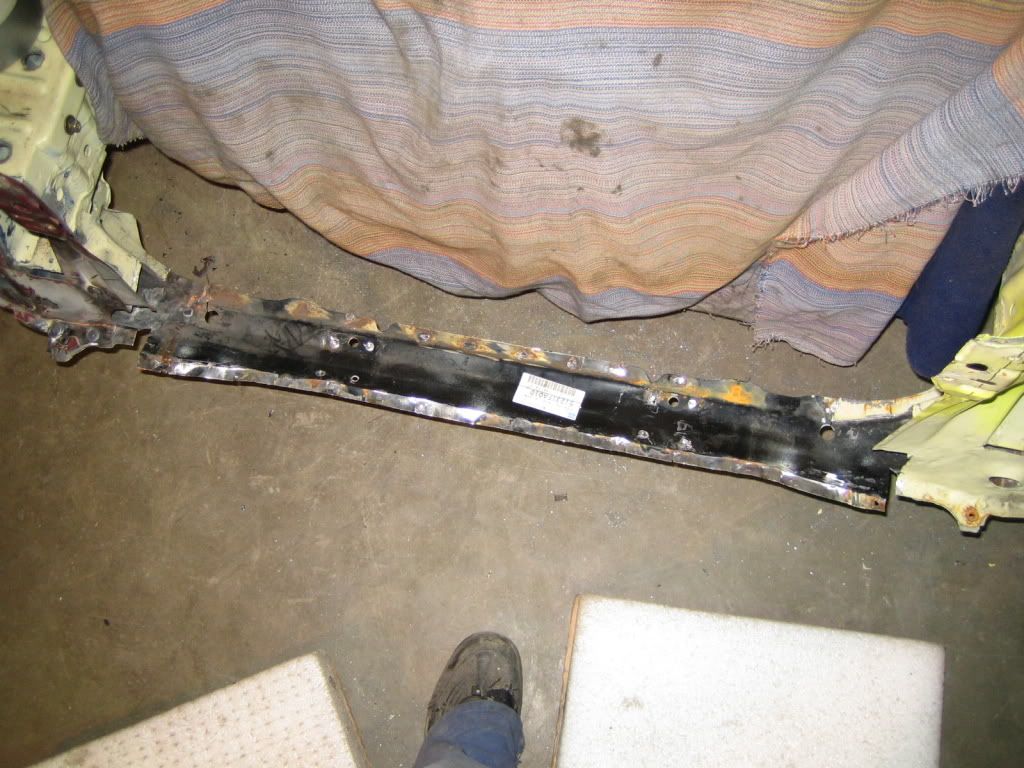
Be gone I tell you!!:
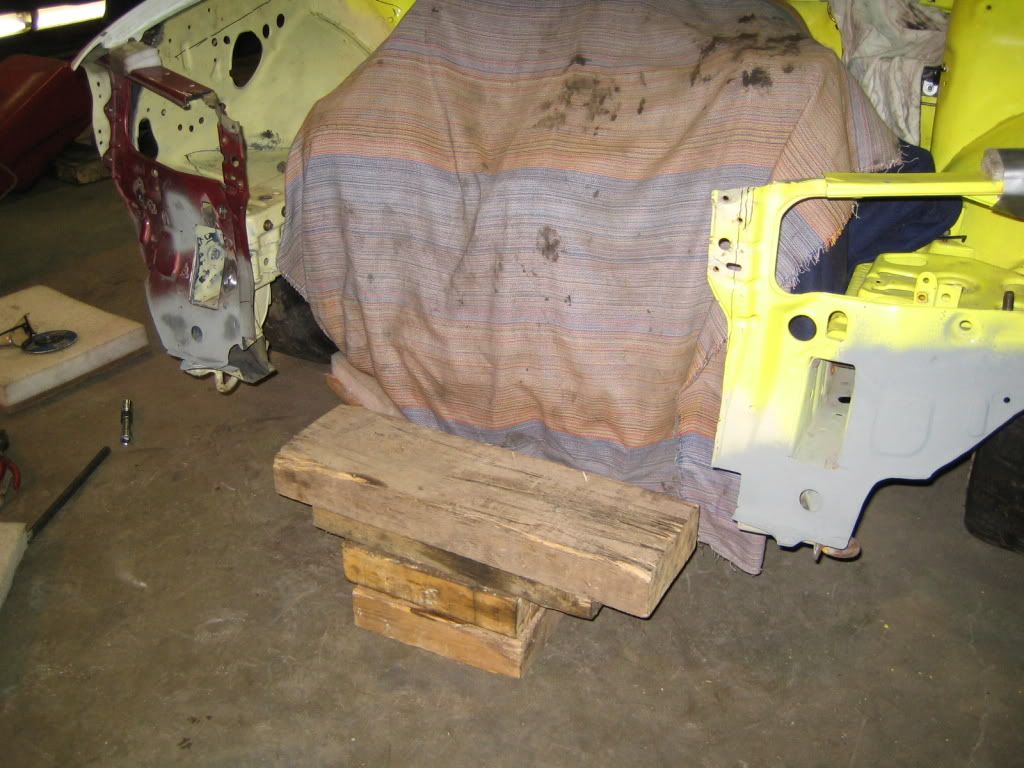
Hammered:
Dry fitting:
Tommorow more..
Killed my second radiator today....
I made a mistake removing the original endtanks, damaging the material inside.
It had to welded a bit and that went wrong.
So another one next week.
Then I went to the positioning of the cores, I planned to keep the bottom part, but after much grinding etc. I had to conclude that it all had to go.
Making a new one from scratch.
Did some panel beating on the left and right front plates, they had been damaged during the crash.
I'm pretty happy with the result, when it's painted you won't know it had any damage at all.
Also because the bumper will be in front of them....
Finally I did a first trail fit for the 2 cores.
This position is too way low, will be fixed!
Leftover, not much but much to weak:
Be gone I tell you!!:
Hammered:
Dry fitting:
Tommorow more..

Scooby Regular
Joined: Jan 2007
Posts: 2,272
Likes: 0
From: Buckinghamshire
Attention to detail, impressive stuff
When you went to fit the 06 Hubs and suspension, did you have to get the driveshafts of an 06 Impreza as well or did you get away with your existing shafts and diff?
Cheers,
Fz
When you went to fit the 06 Hubs and suspension, did you have to get the driveshafts of an 06 Impreza as well or did you get away with your existing shafts and diff?
Cheers,
Fz
Last edited by finalzero; Dec 15, 2008 at 11:46 PM.

Thread Starter
Scooby Regular
Joined: Dec 2002
Posts: 458
Likes: 0
Fire burnt the factory I work yesterday: 01-01 Zeer grote brand Nieuw-Vennep (update)
Lost a dashboard heater control panel, and my Brembo brakes.
Lost a dashboard heater control panel, and my Brembo brakes.
Fire burnt the factory I work yesterday: 01-01 Zeer grote brand Nieuw-Vennep (update)
Lost a dashboard heater control panel, and my Brembo brakes.
Lost a dashboard heater control panel, and my Brembo brakes.
Thread Starter
Scooby Regular
Joined: Dec 2002
Posts: 458
Likes: 0
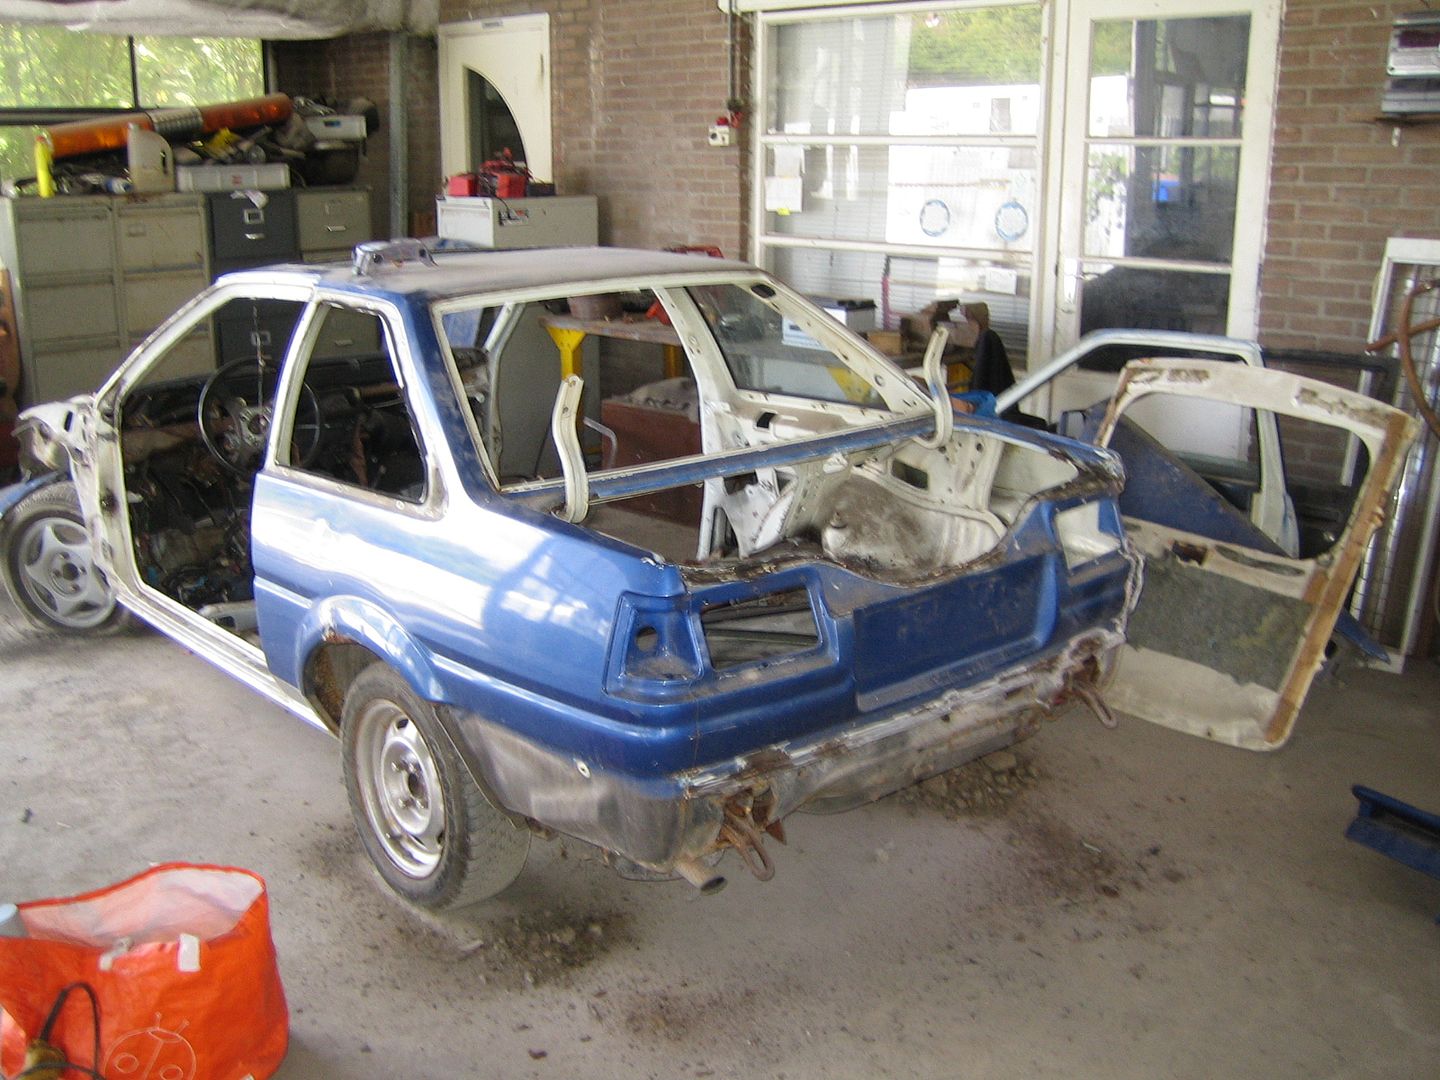
Well, because I'm rich anyway I bought myself another project.
Meet my new AE86:
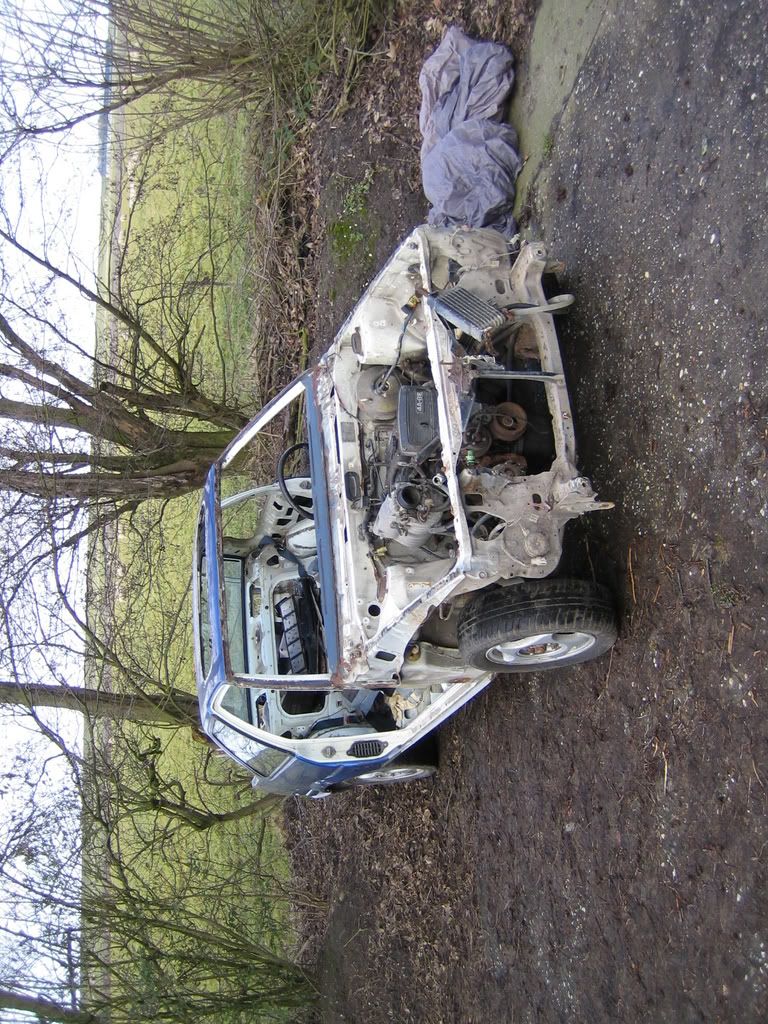
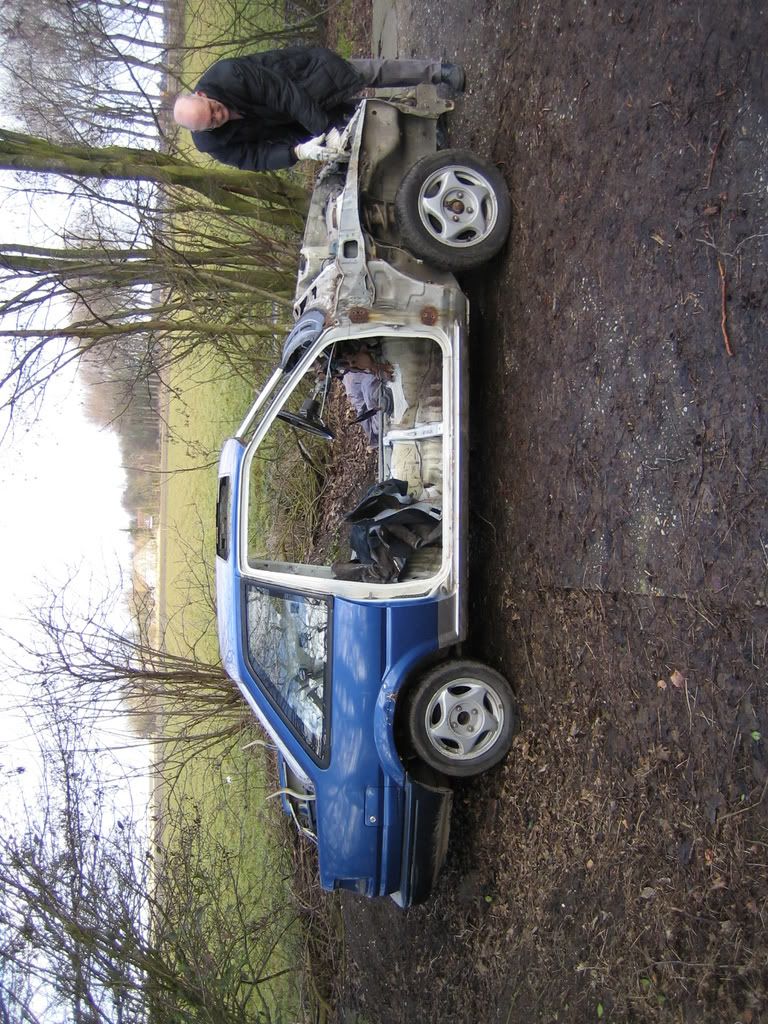
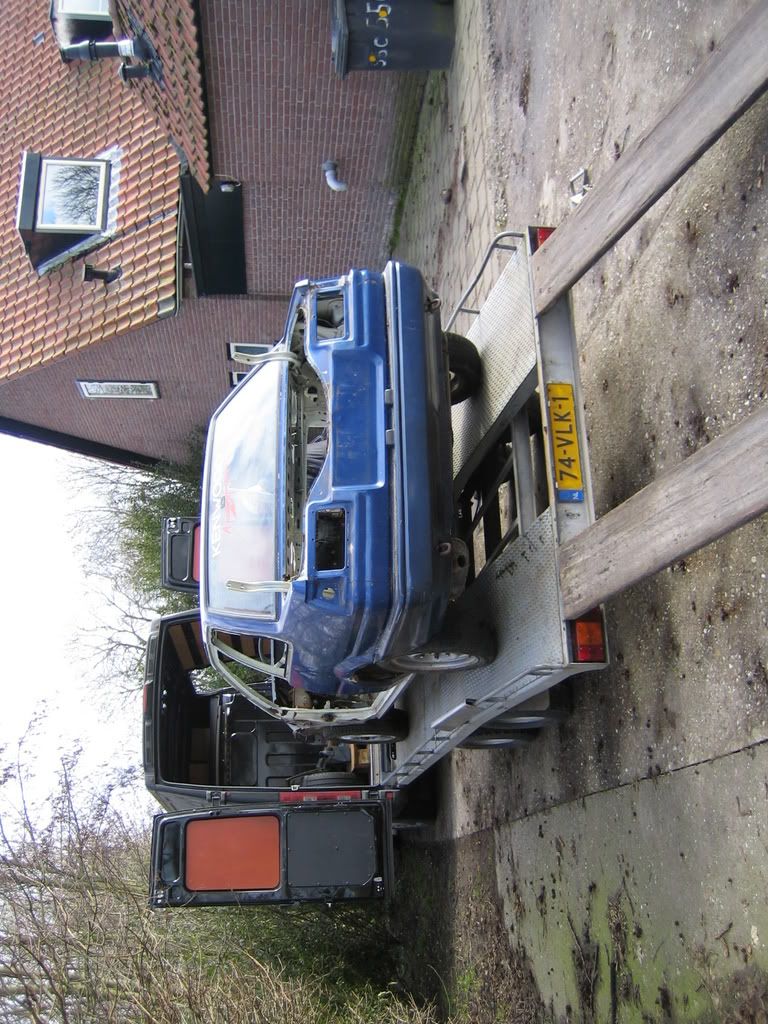
The chassis will be made rust free, and maybe seam welded or caged.
Nowhere near as crazy as the Scooby though.
greets.
Meet my new AE86:
The chassis will be made rust free, and maybe seam welded or caged.
Nowhere near as crazy as the Scooby though.
greets.
Thread Starter
Scooby Regular
Joined: Dec 2002
Posts: 458
Likes: 0
No love for Hachi's here I see. 
I have an litlle update.
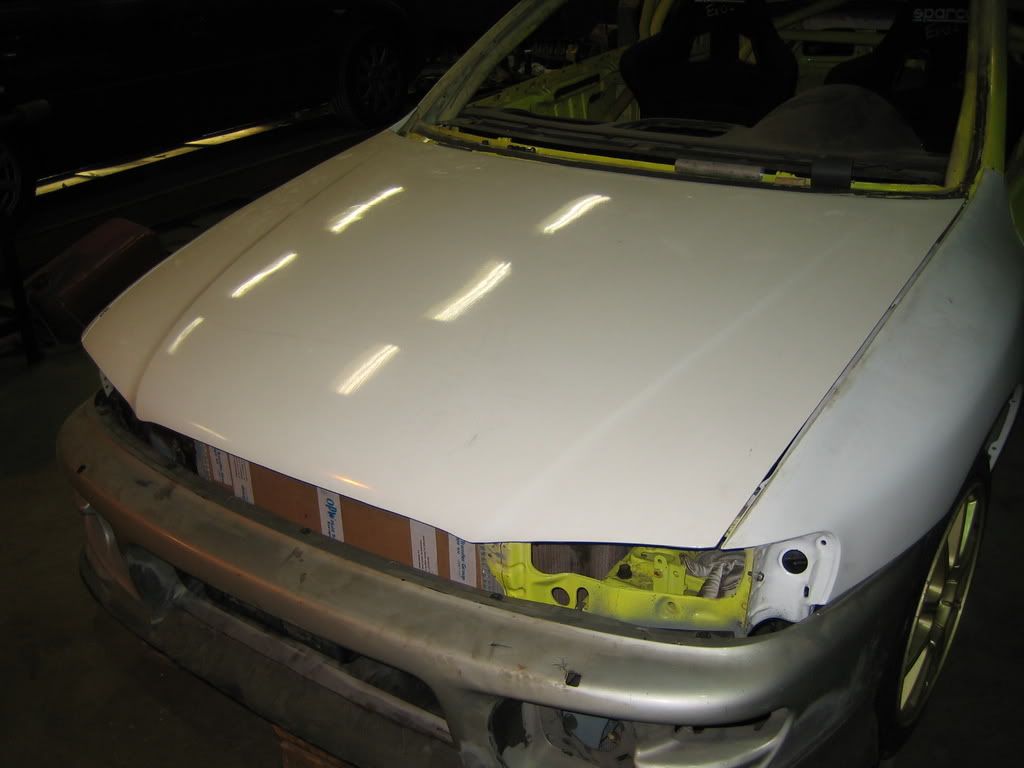
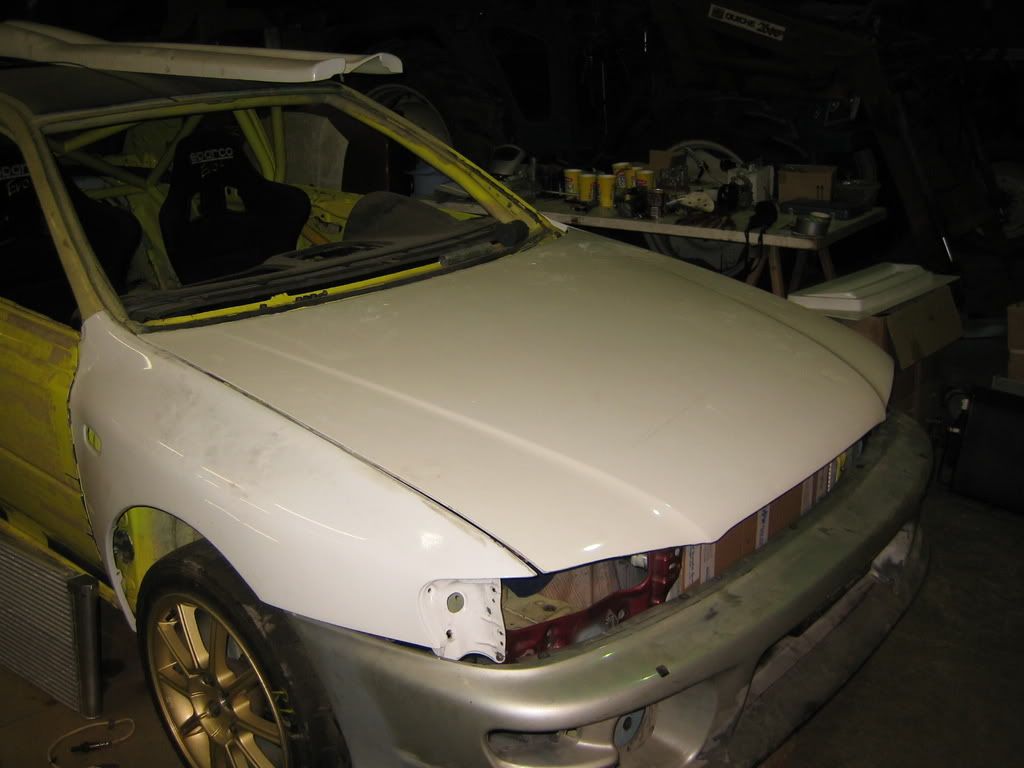
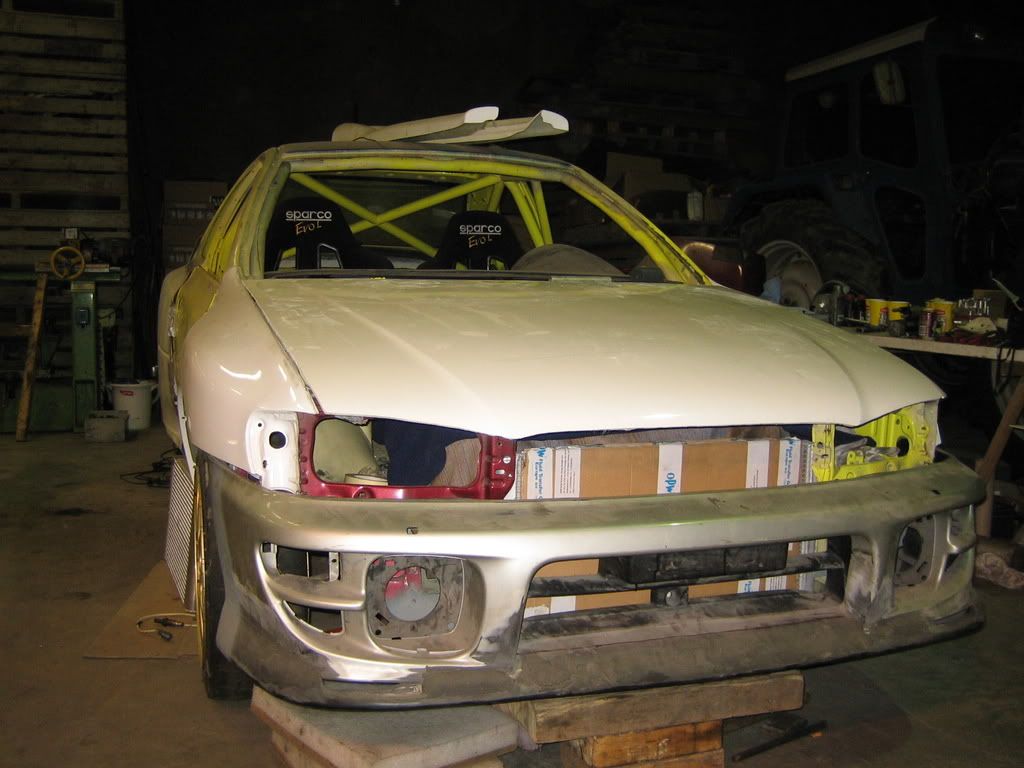
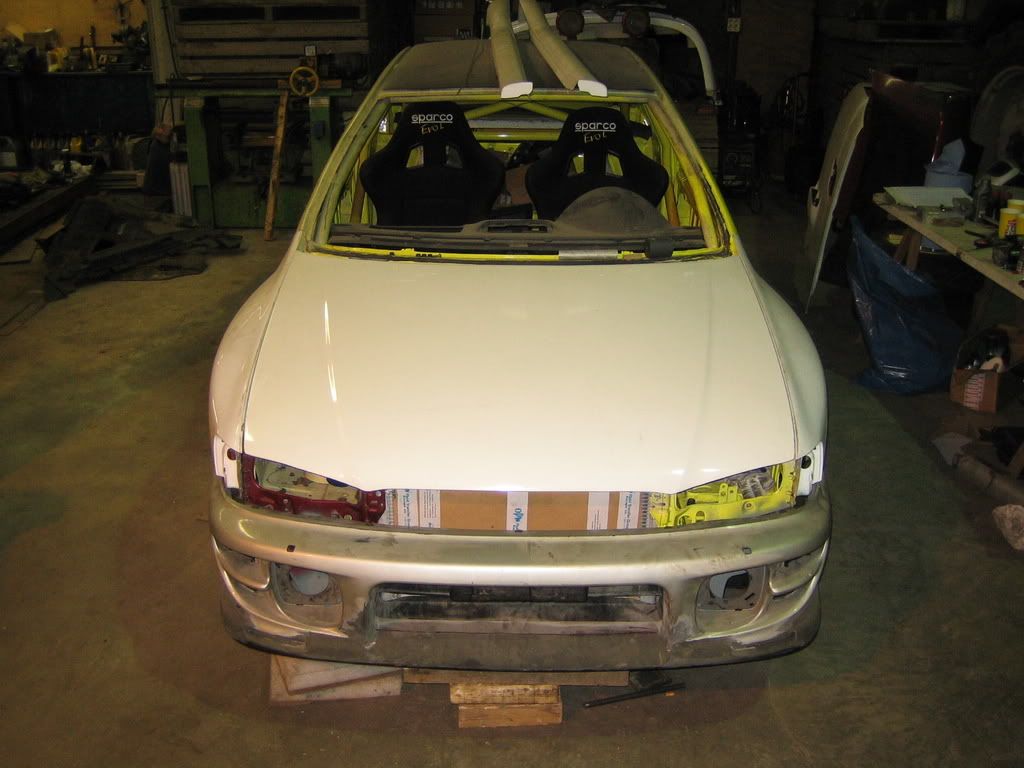
A friend of mine who works with fibers made a hood for me, molded from a non-turbo model.
When the rad pack set-up is fixed to the car he will also help me make the cladding from the bumper to the IC and from the radiator to the hood.
When that's done we will finish the front end of the car concerning panelgaps.
This is more important than most people realise I think, when the gaps are uneven or different in size ultimately the end result will look unfinished and unproffesional and that's defenitly not what I want!
Pics:
greets.
I have an litlle update.
A friend of mine who works with fibers made a hood for me, molded from a non-turbo model.
When the rad pack set-up is fixed to the car he will also help me make the cladding from the bumper to the IC and from the radiator to the hood.
When that's done we will finish the front end of the car concerning panelgaps.
This is more important than most people realise I think, when the gaps are uneven or different in size ultimately the end result will look unfinished and unproffesional and that's defenitly not what I want!
Pics:
greets.

 keep up the good work.
Thread Starter
Scooby Regular
Joined: Dec 2002
Posts: 458
Likes: 0
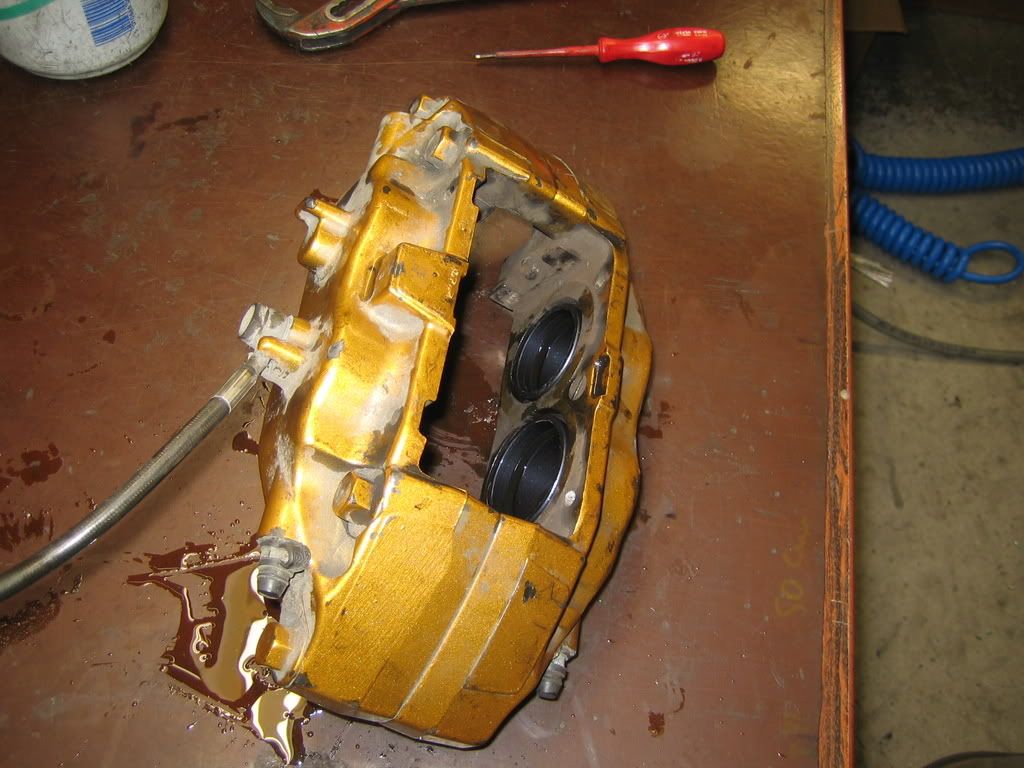
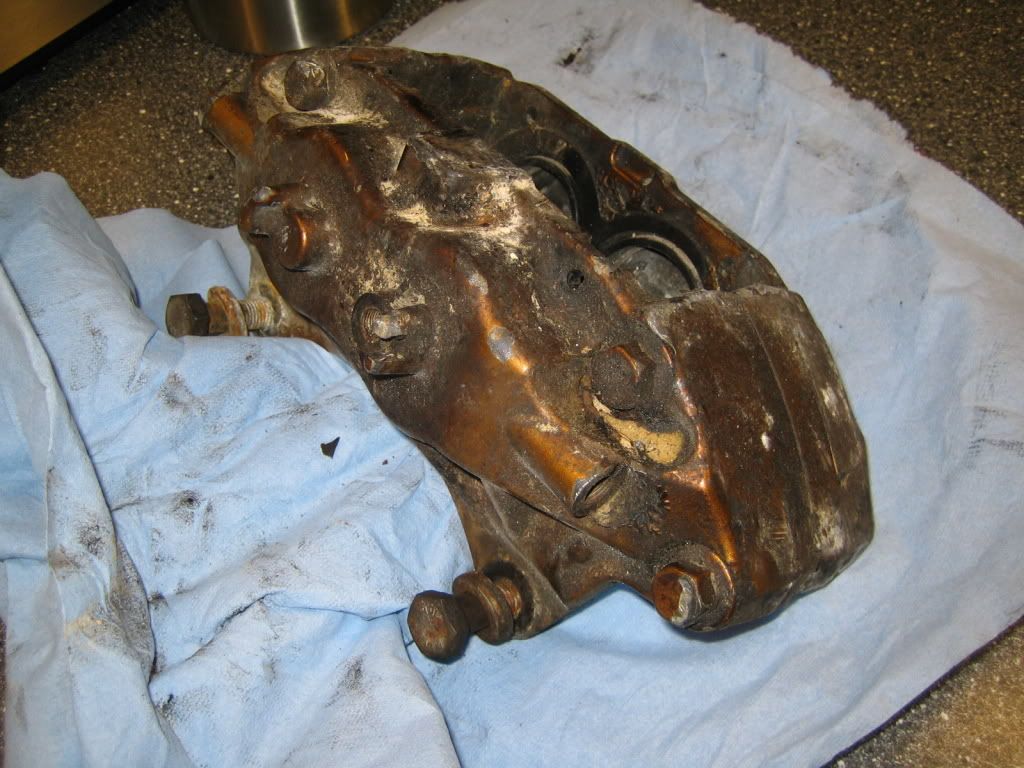
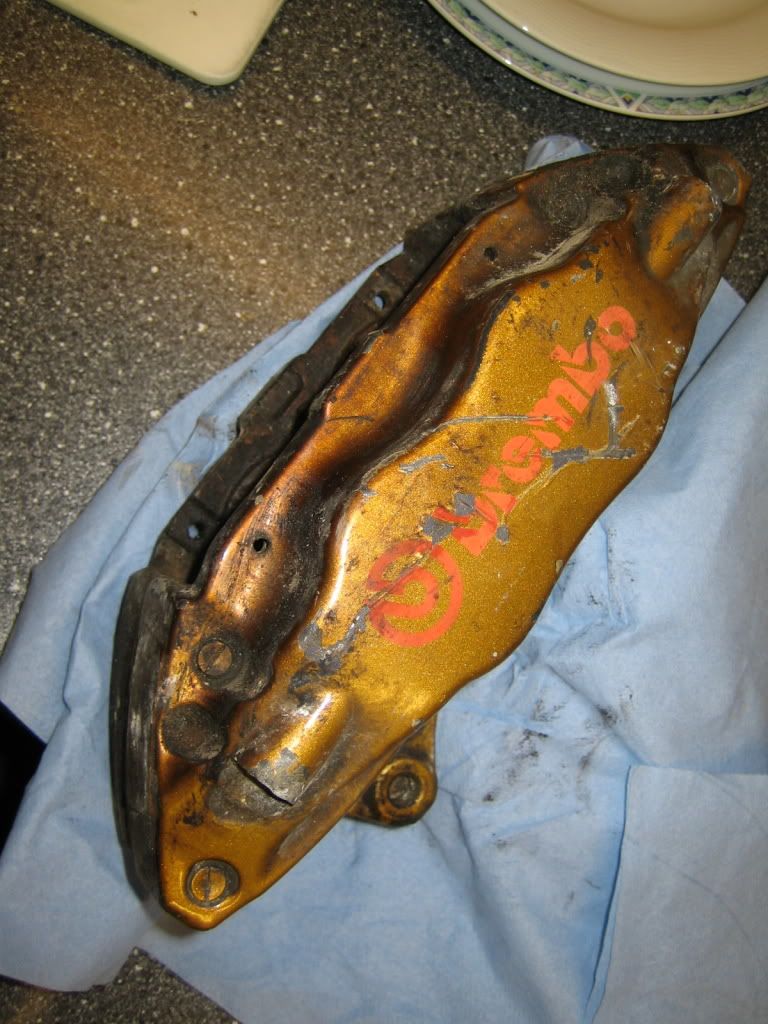
Today I got a present from the cranedriver who is tearing down the old building.
A Brembo brake caliper!
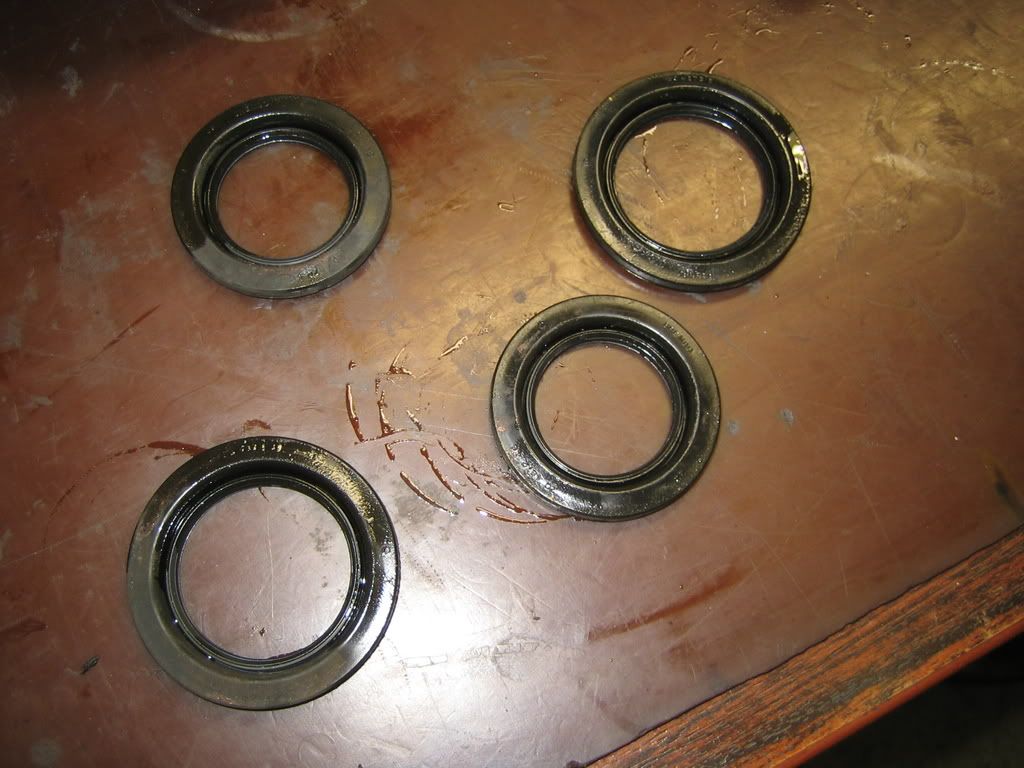
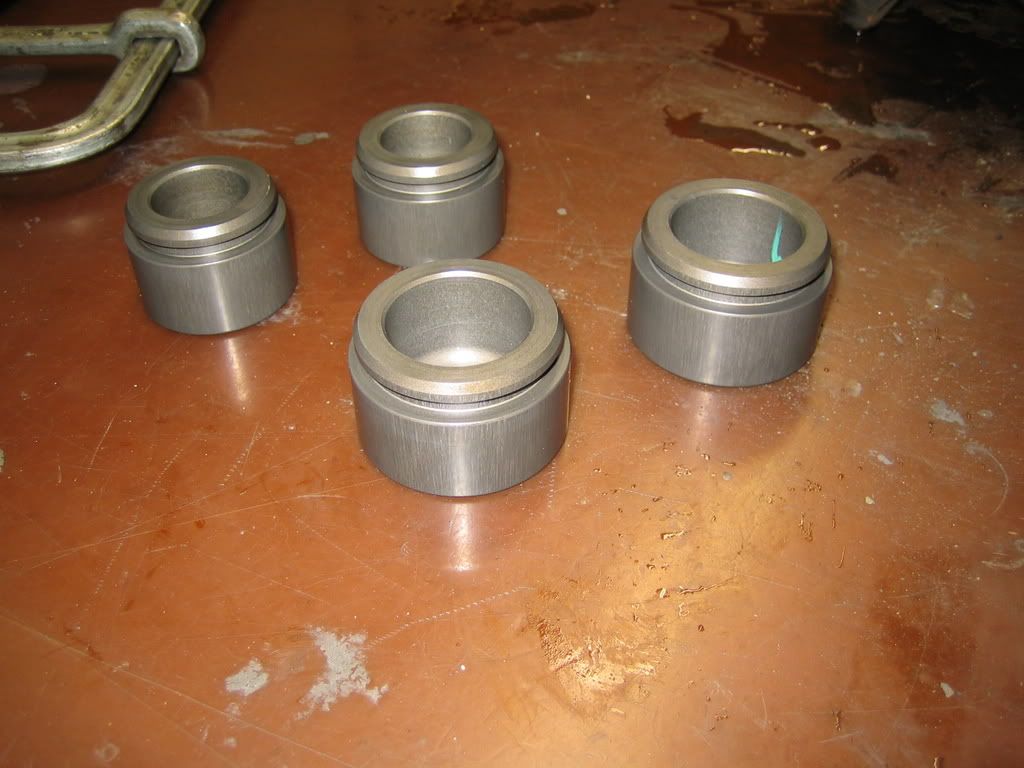
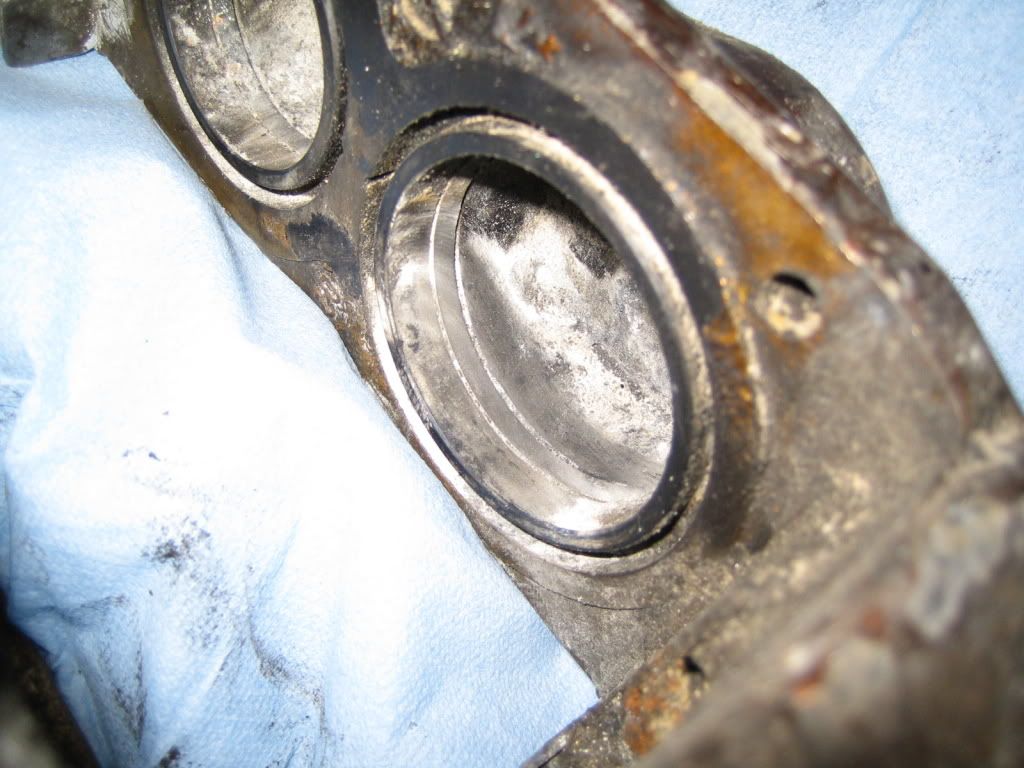
It was in the hottest part of the fire but it seems to be "unscratched".
Even the seals are still in.
Time for a cleanup!
A Brembo brake caliper!
It was in the hottest part of the fire but it seems to be "unscratched".
Even the seals are still in.
Time for a cleanup!
Thread Starter
Scooby Regular
Joined: Dec 2002
Posts: 458
Likes: 0
Small update.
Not actually the car itself this time, but something that will help build the car when it's done and works.
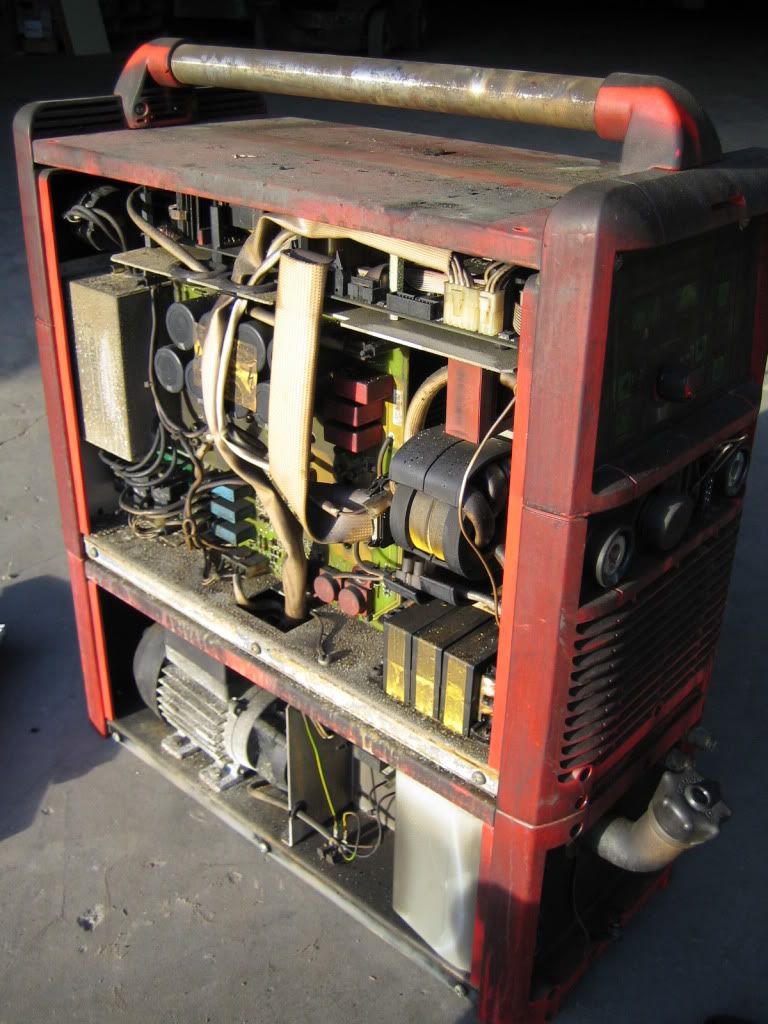
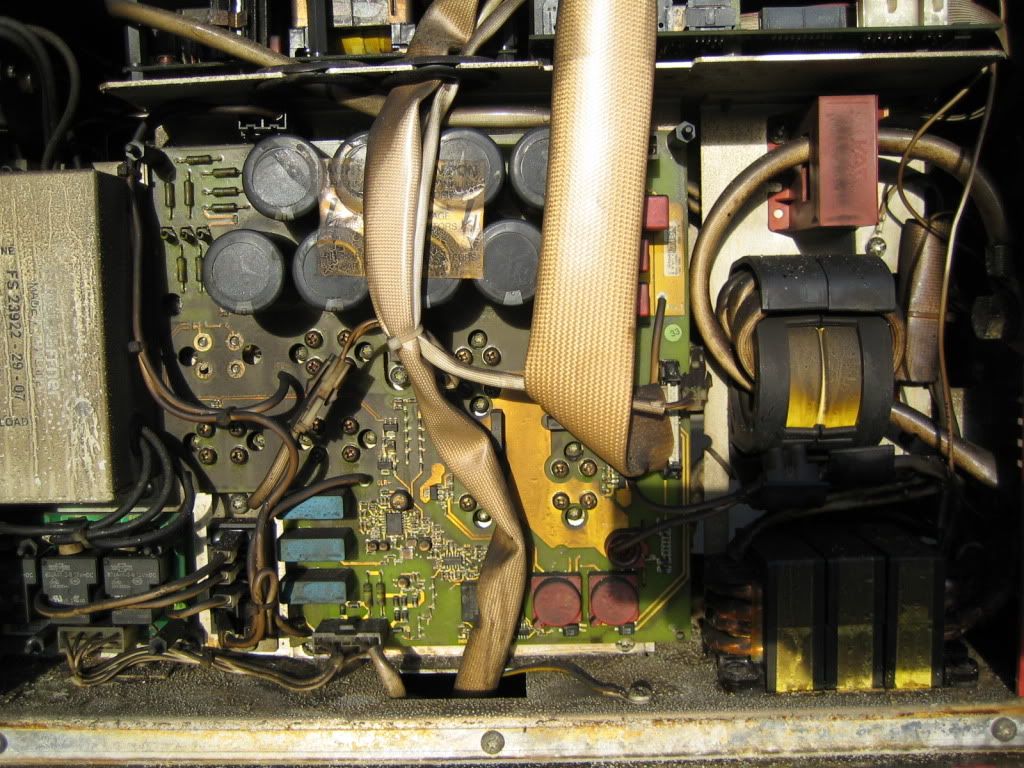
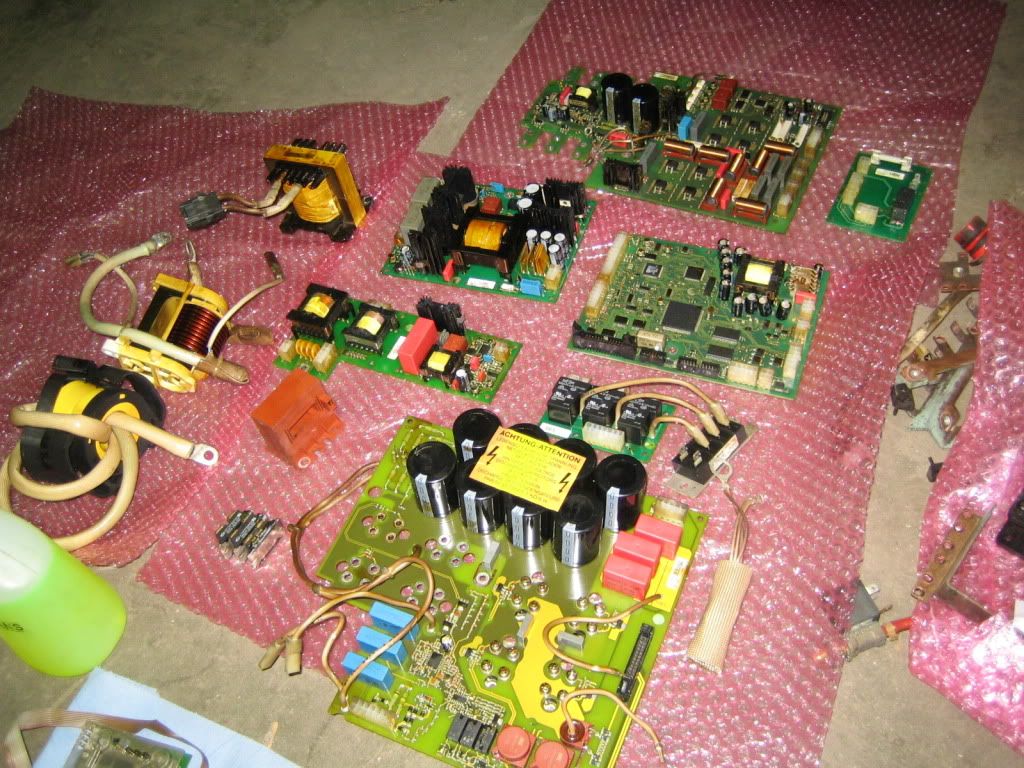
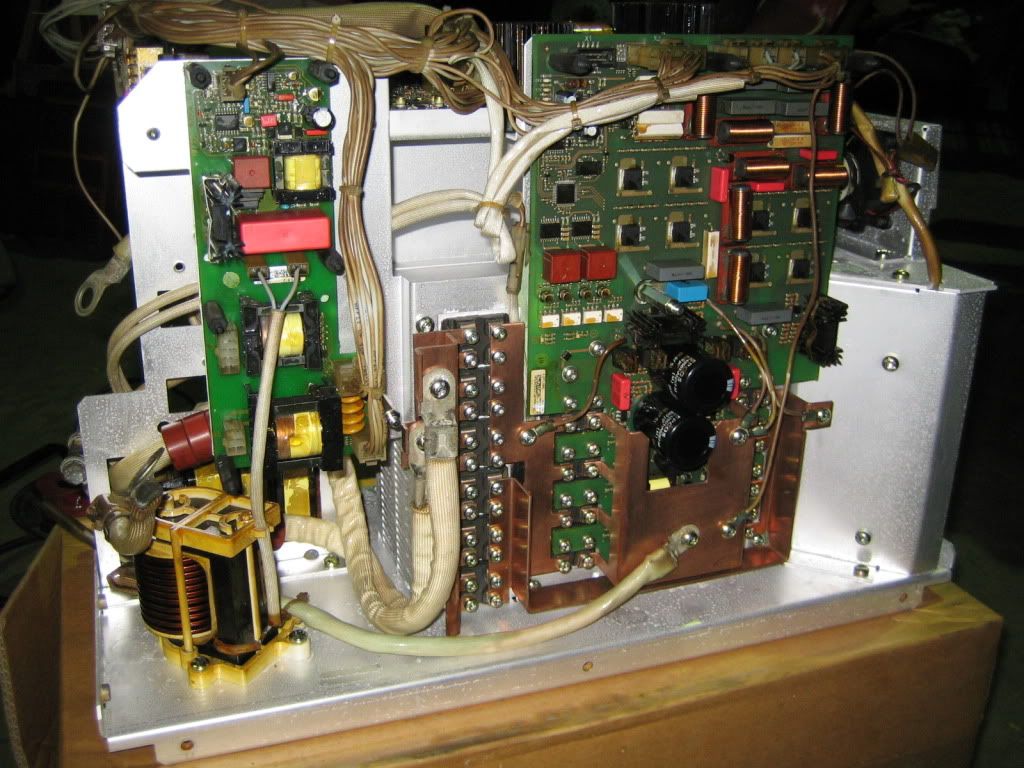
I removed a welder from the burned factory, it's a Fronius Magic Wave 3000 Job.
It was a year old and apart from 2 parts and alot of smoke it seemed to be fine.
I don't know if it works yet, but I cleaned it before I test that anyway.
2 reasons for that, the smokedust can conduct electricitity and there was cristal forming everywhere, also between the components on the circuit boards, so to reduce the chance of a shortcut I cleaned it anyway.
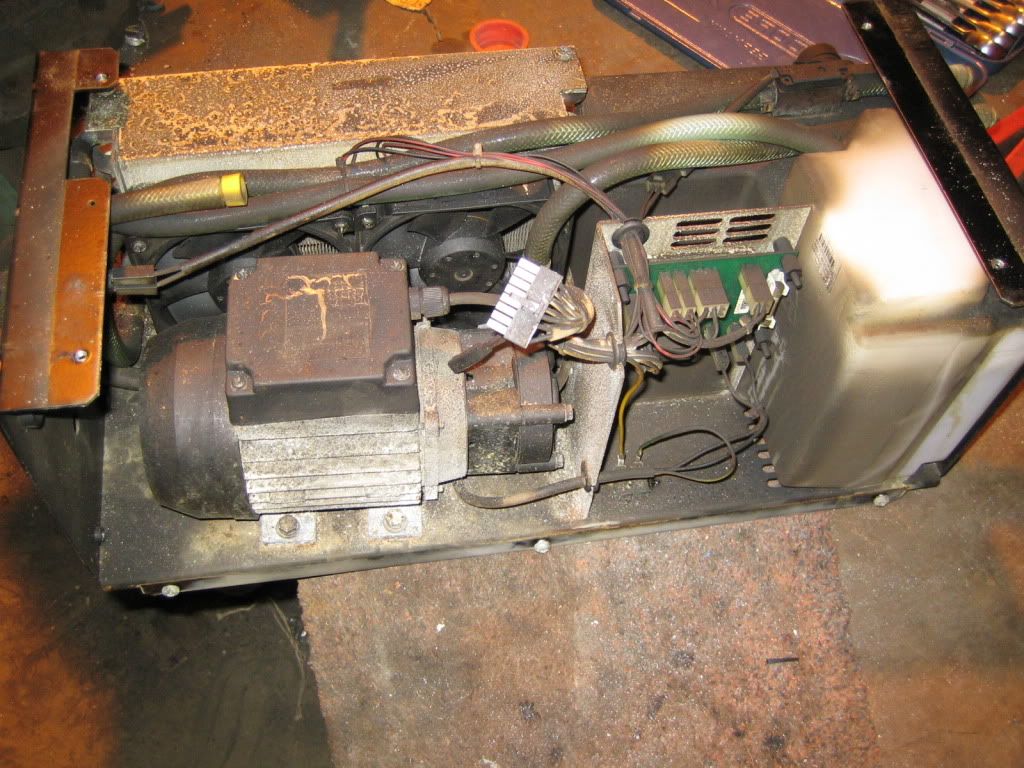
This is how it looked when I got it:
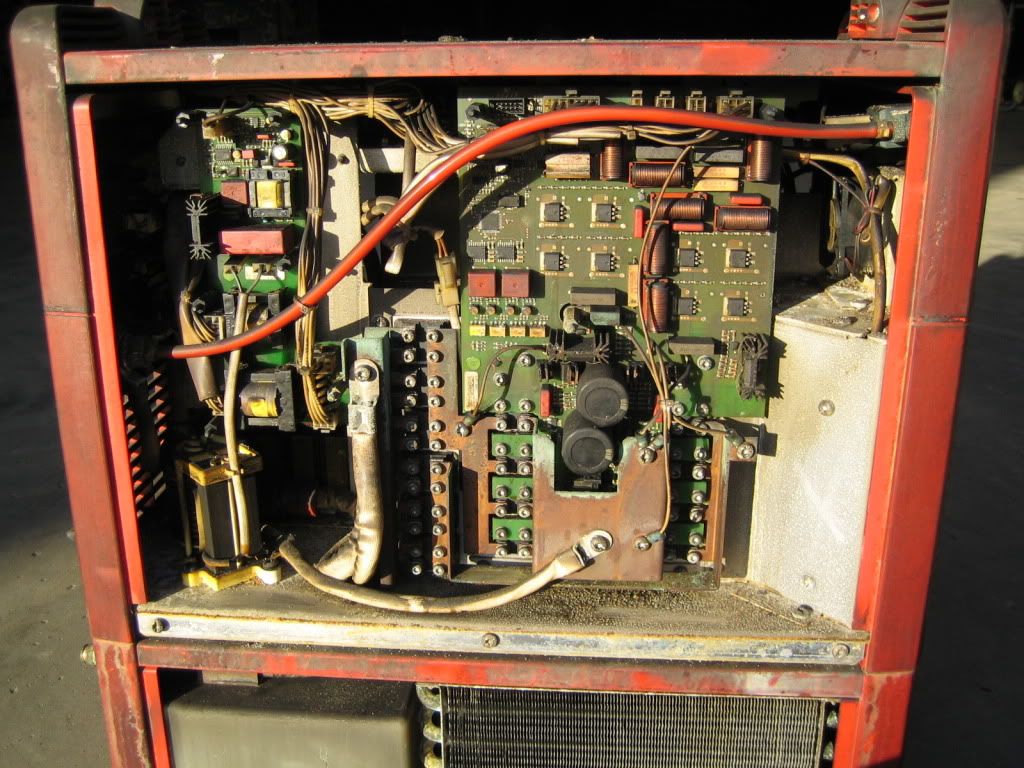
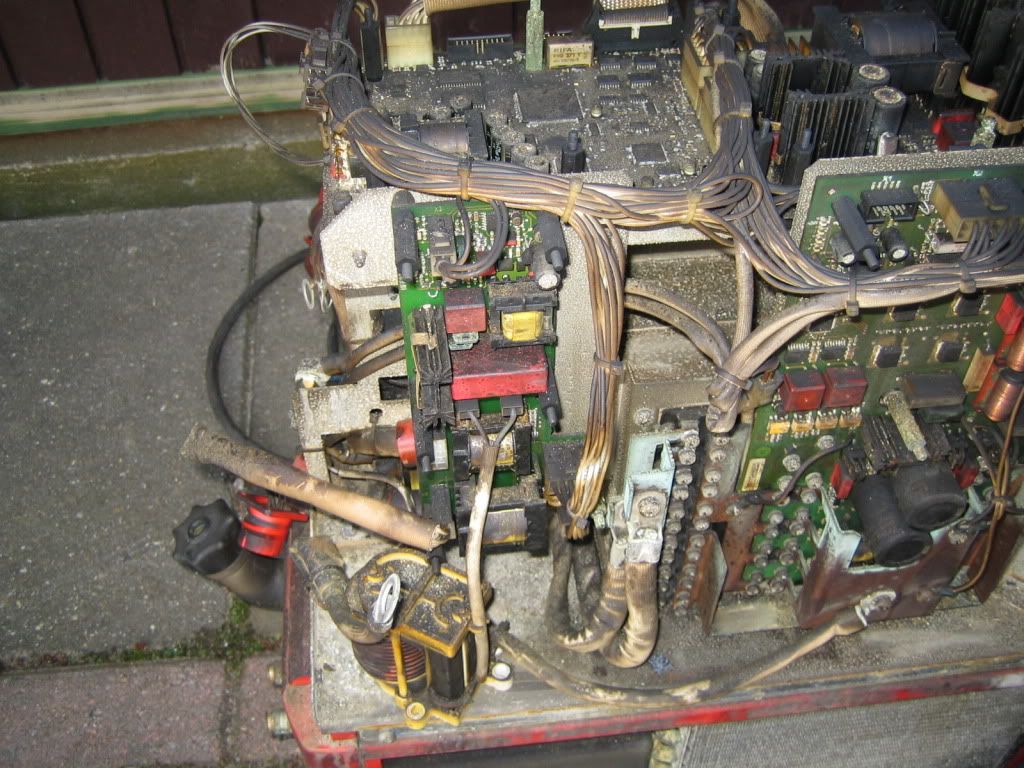
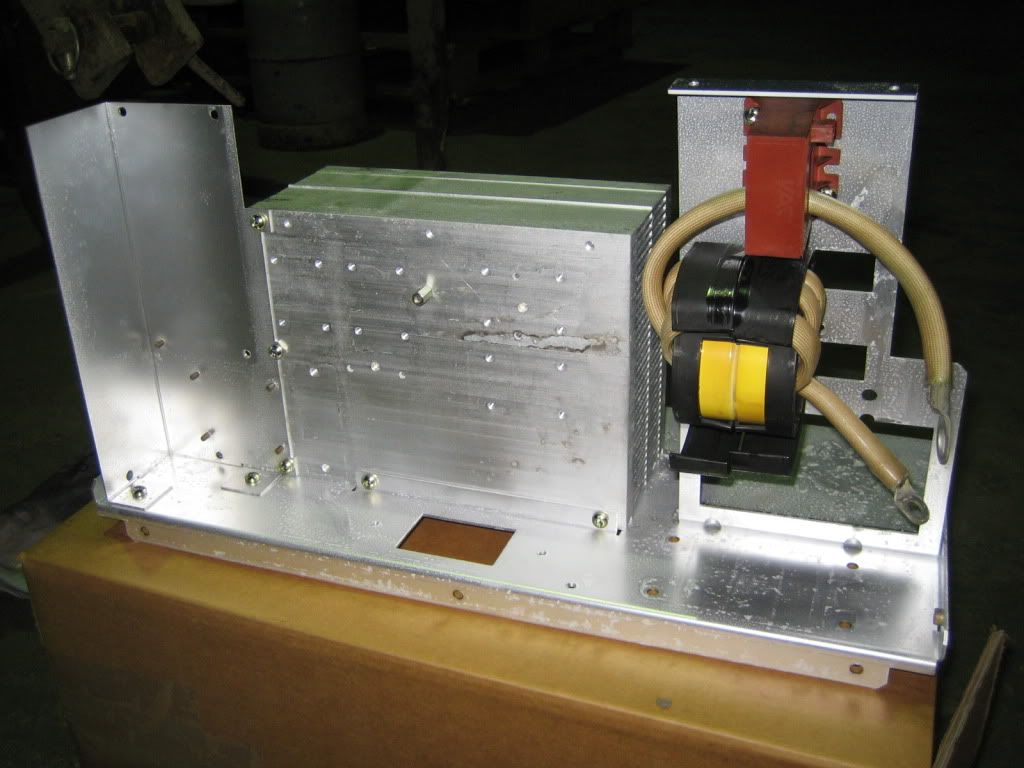
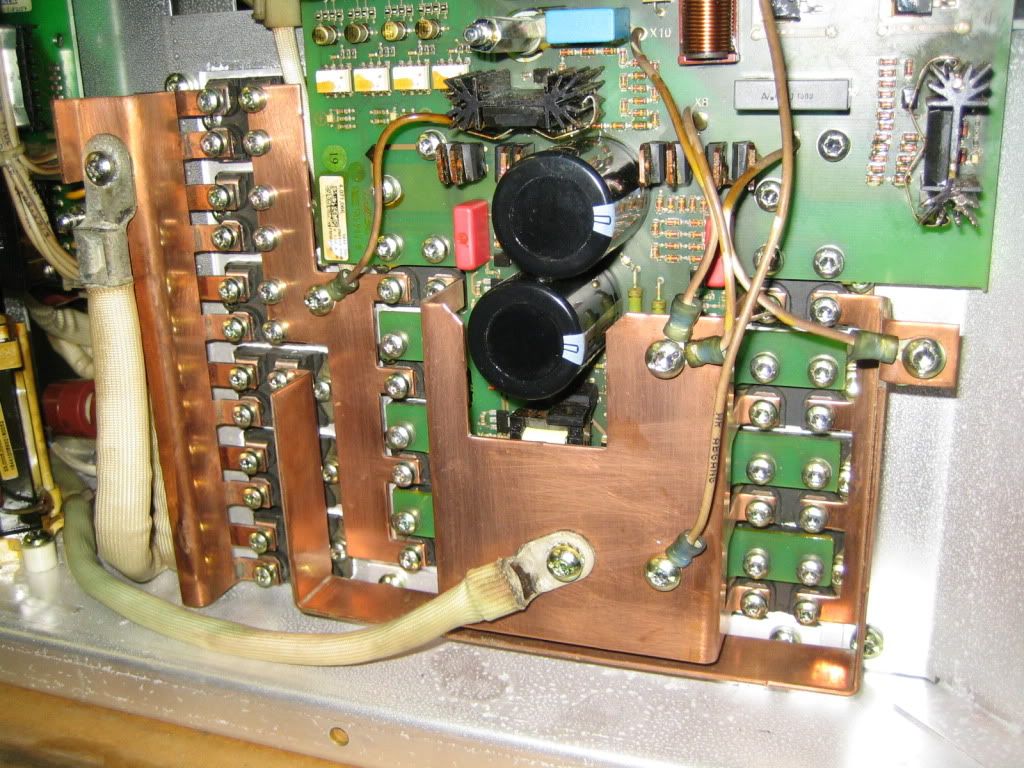
And then dismantling it:
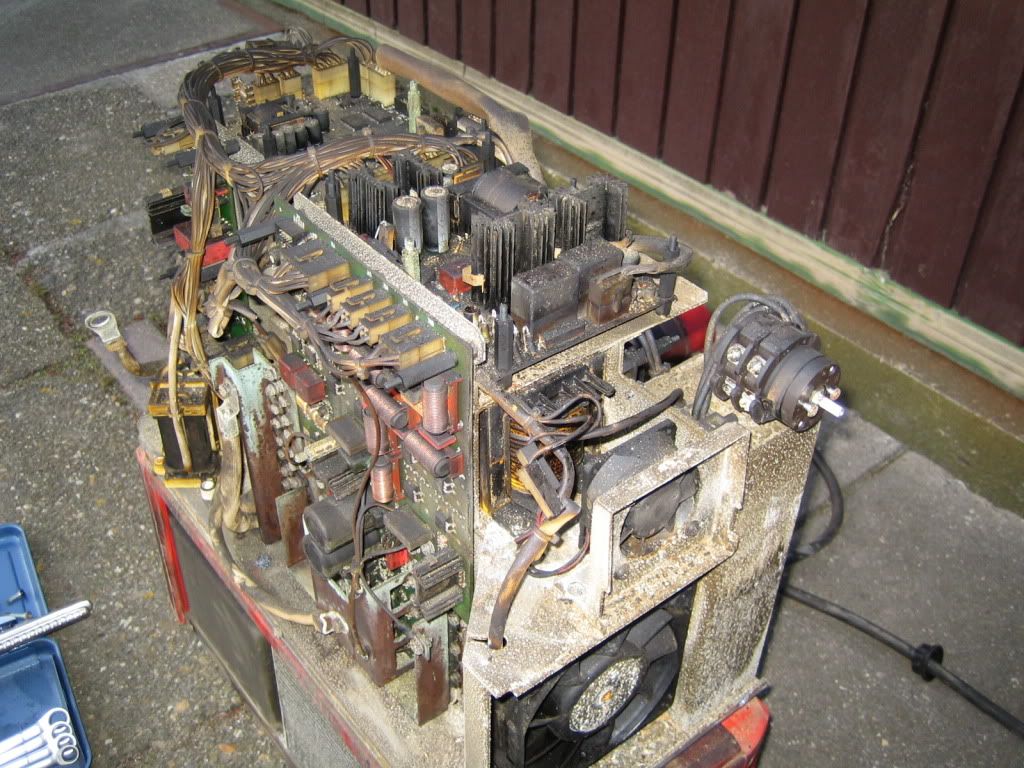

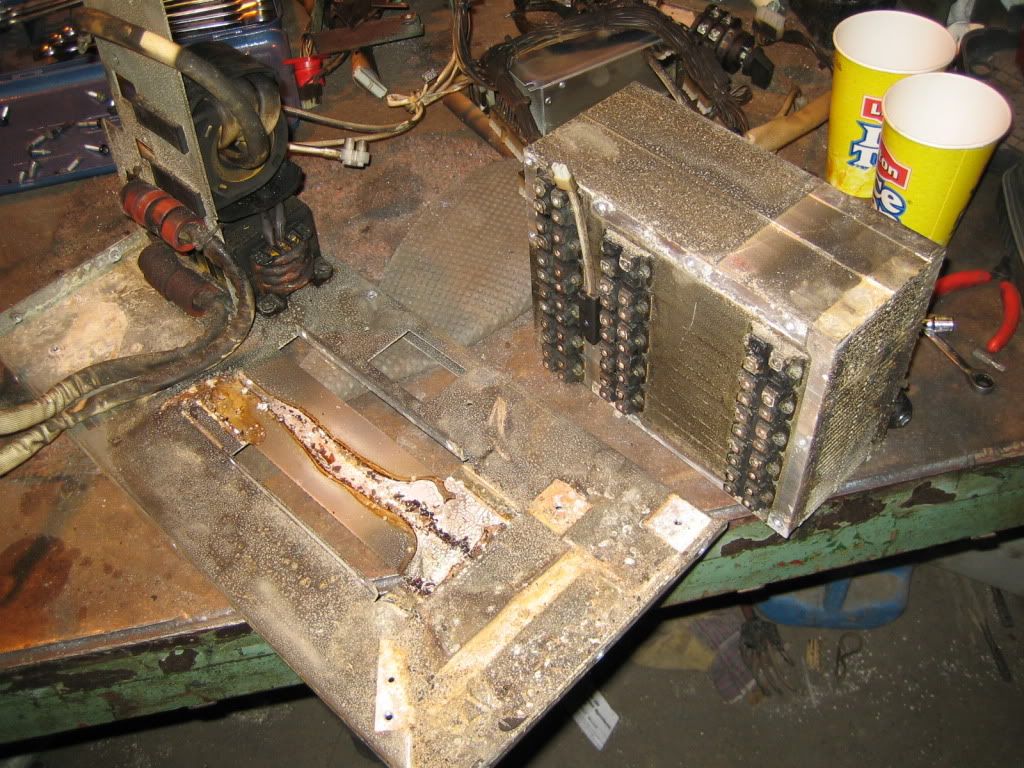
Undertray:
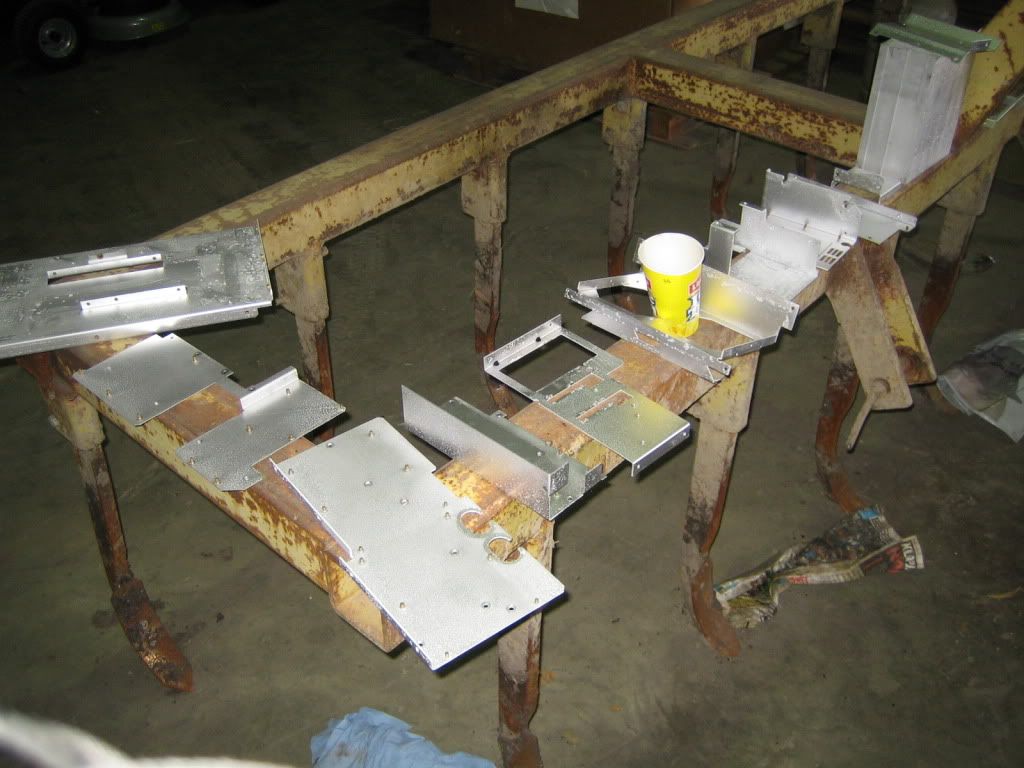
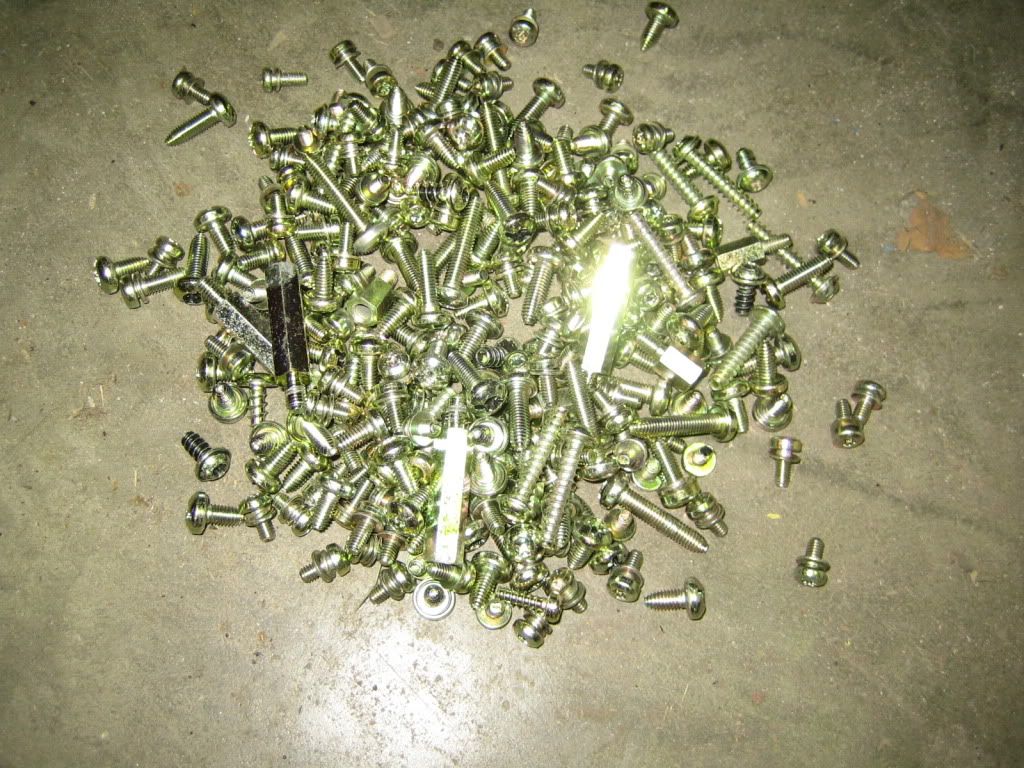
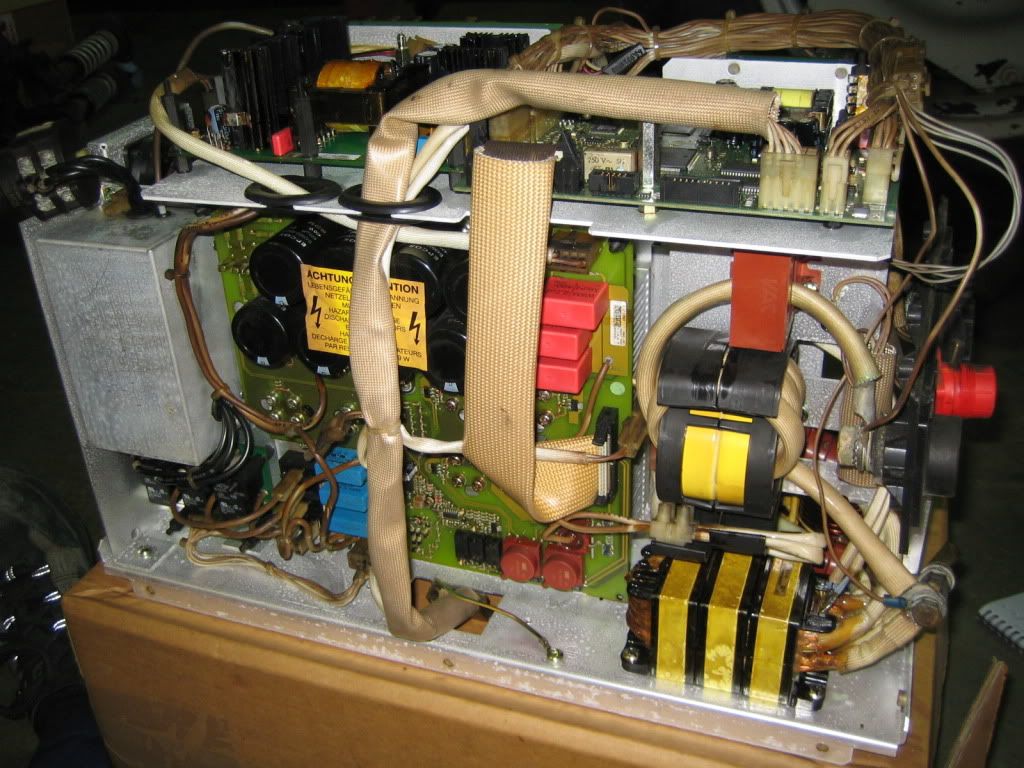
The alu plates were acid cleaned, the bolts yellow plated and the circuit boards proffesionaly cleaned.
The casing I left as is for now, first I want to know if it works.
The parts cleaned, note the white on the alu parts, it is corroded by the chlore in the water that they used to put out the fire, nasty stuff :
Building again:
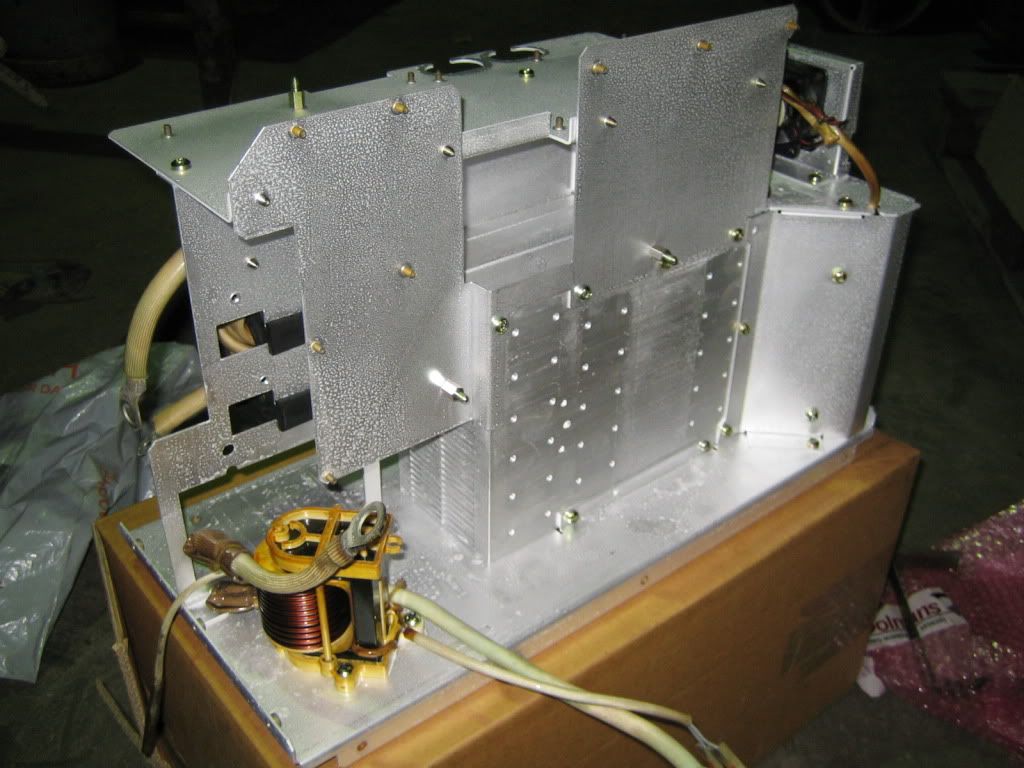
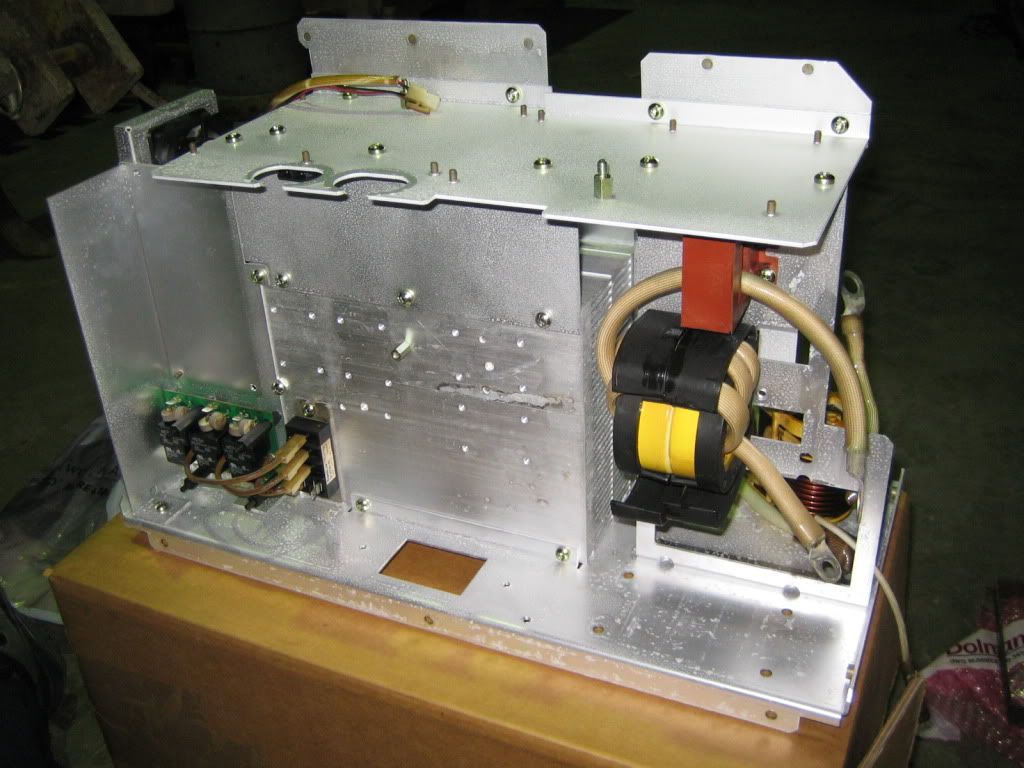
That's it sofar, this week i'll test it, then if it doesn't explode I will order some parts that I need to actually weld with it, and if that works I will clean the rest.
Not actually the car itself this time, but something that will help build the car when it's done and works.
I removed a welder from the burned factory, it's a Fronius Magic Wave 3000 Job.
It was a year old and apart from 2 parts and alot of smoke it seemed to be fine.
I don't know if it works yet, but I cleaned it before I test that anyway.
2 reasons for that, the smokedust can conduct electricitity and there was cristal forming everywhere, also between the components on the circuit boards, so to reduce the chance of a shortcut I cleaned it anyway.
This is how it looked when I got it:
And then dismantling it:
Undertray:
The alu plates were acid cleaned, the bolts yellow plated and the circuit boards proffesionaly cleaned.
The casing I left as is for now, first I want to know if it works.
The parts cleaned, note the white on the alu parts, it is corroded by the chlore in the water that they used to put out the fire, nasty stuff :
Building again:
That's it sofar, this week i'll test it, then if it doesn't explode I will order some parts that I need to actually weld with it, and if that works I will clean the rest.
Last edited by Aram; Jul 26, 2009 at 08:42 PM.


Thread Starter
Scooby Regular
Joined: Dec 2002
Posts: 458
Likes: 0
Hehehe, yeah I will, but this helps with building car!
The good news, I put some spark in the welder today and it fired up perfectly!!
The digital display worked like a dream and there were no sparks, smokes or explosions whatsoever!!
I'm very happy I must admit.
So now I'm going to take it apart again and clean the outside and order the few parts that were melted or taken apart by me in order to disassemble the machine.
The bad news, the radiator core was not in yet, error in the transportation.
The guy who is making it has now left for the states untill the 11th, so another few weeks delay.....
Thread Starter
Scooby Regular
Joined: Dec 2002
Posts: 458
Likes: 0
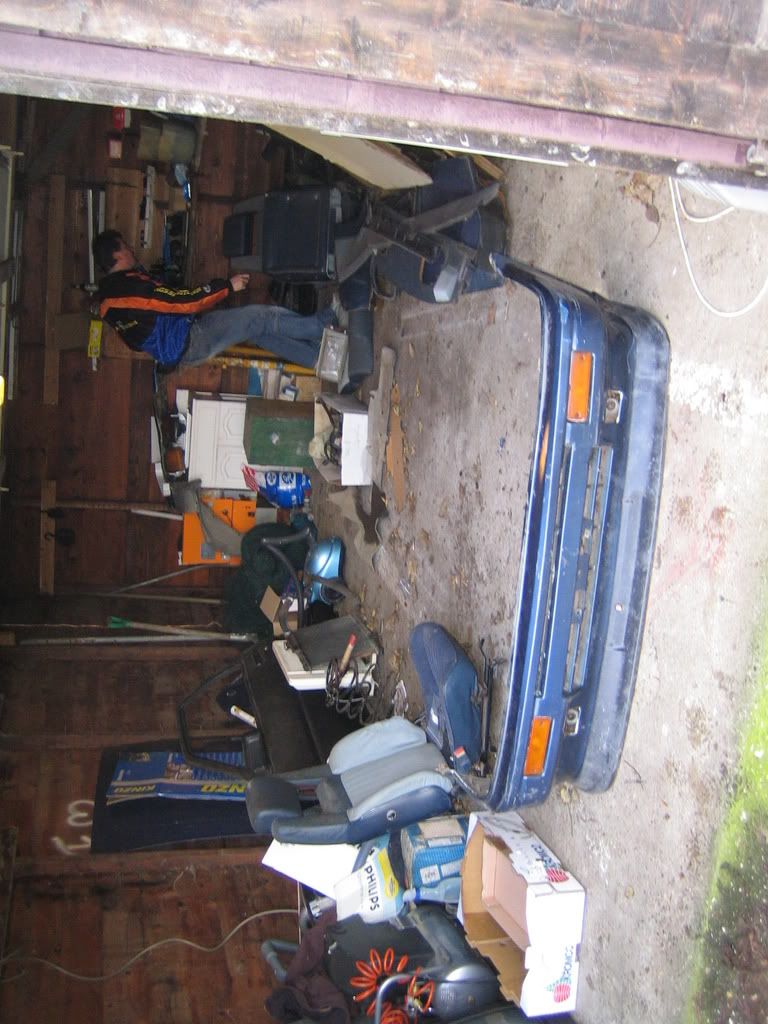
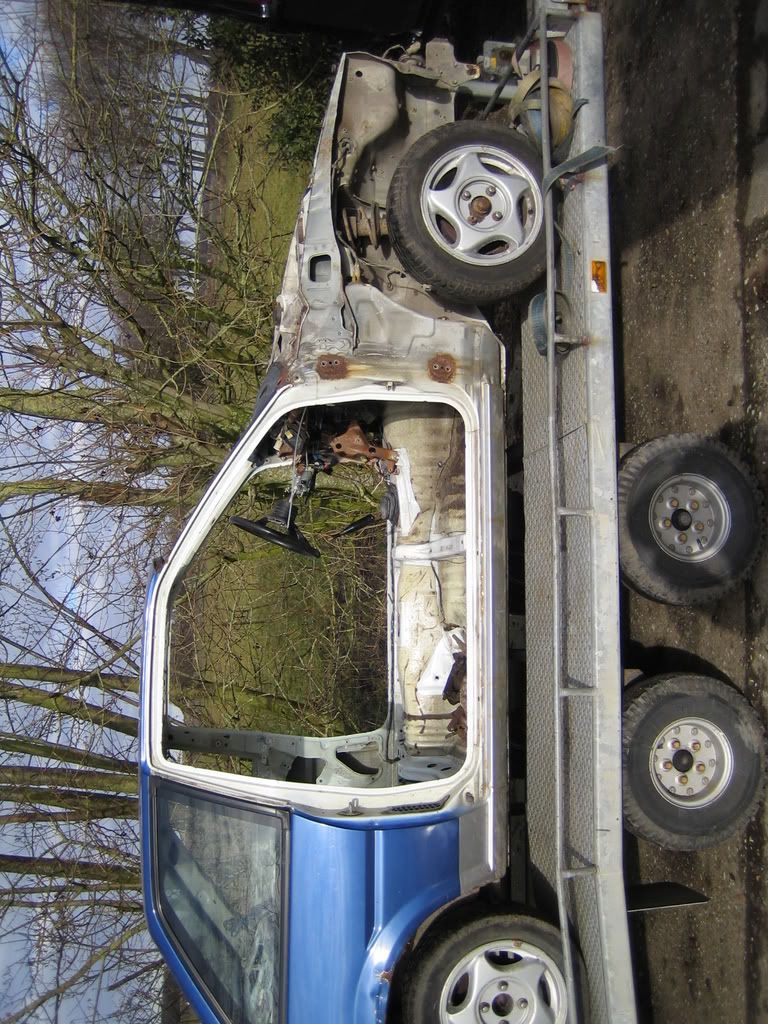
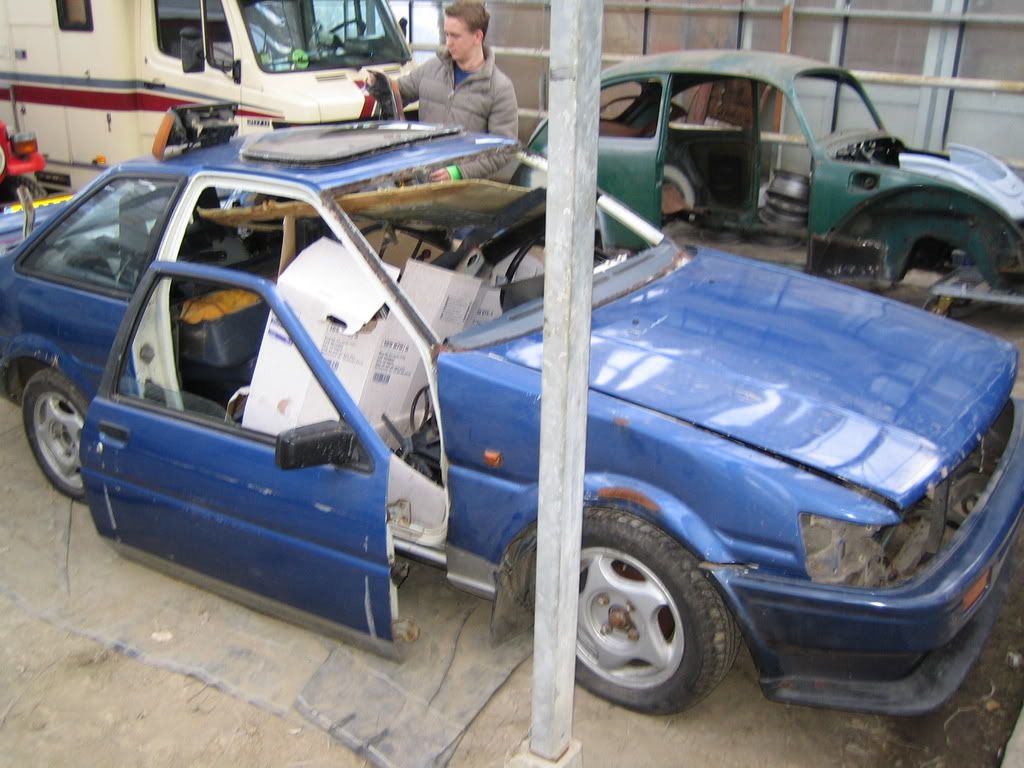
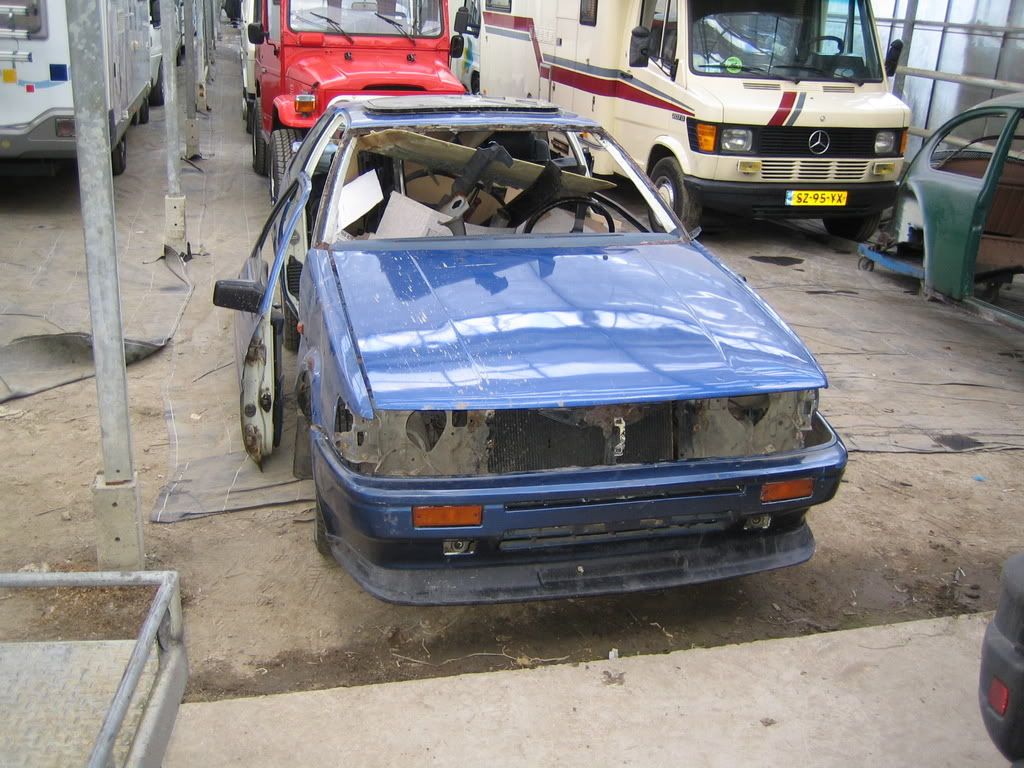
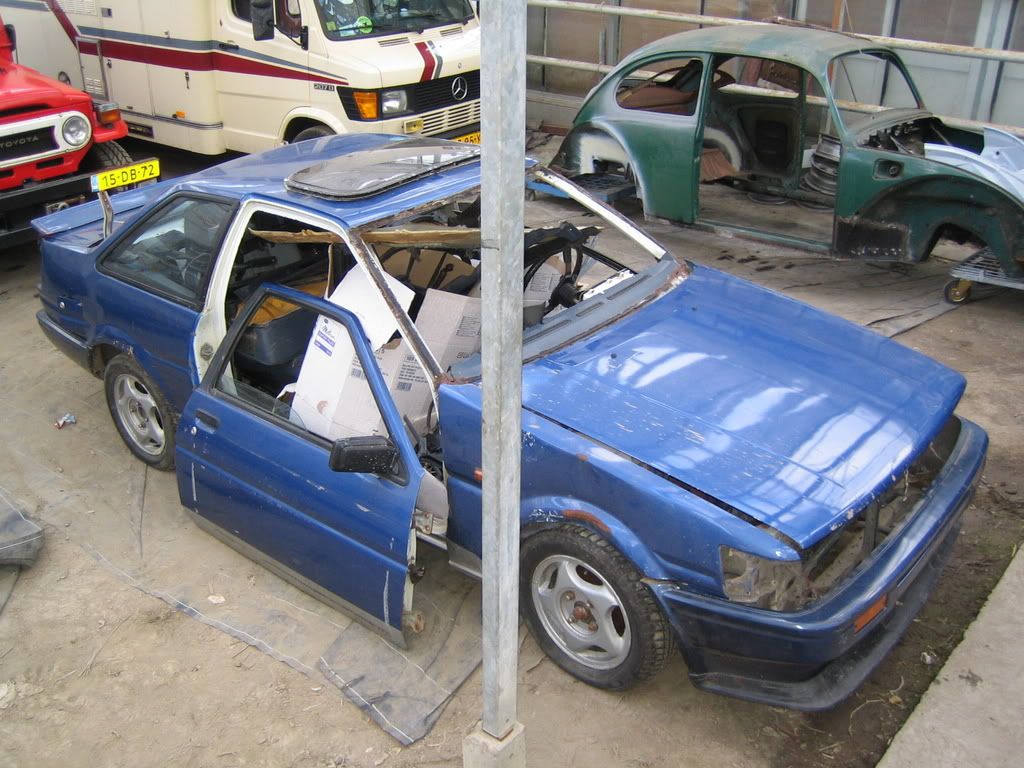
With both the Impreza and welder projects waiting on parts Lennert (Robokill) and myself started the first work on my AE86 Today.
Biggest isseu off course ---> rust!
The amount of rust isn't as bad as most examples of this age, but it's still a bit of work.
Not much else to say about it so here are some pics:
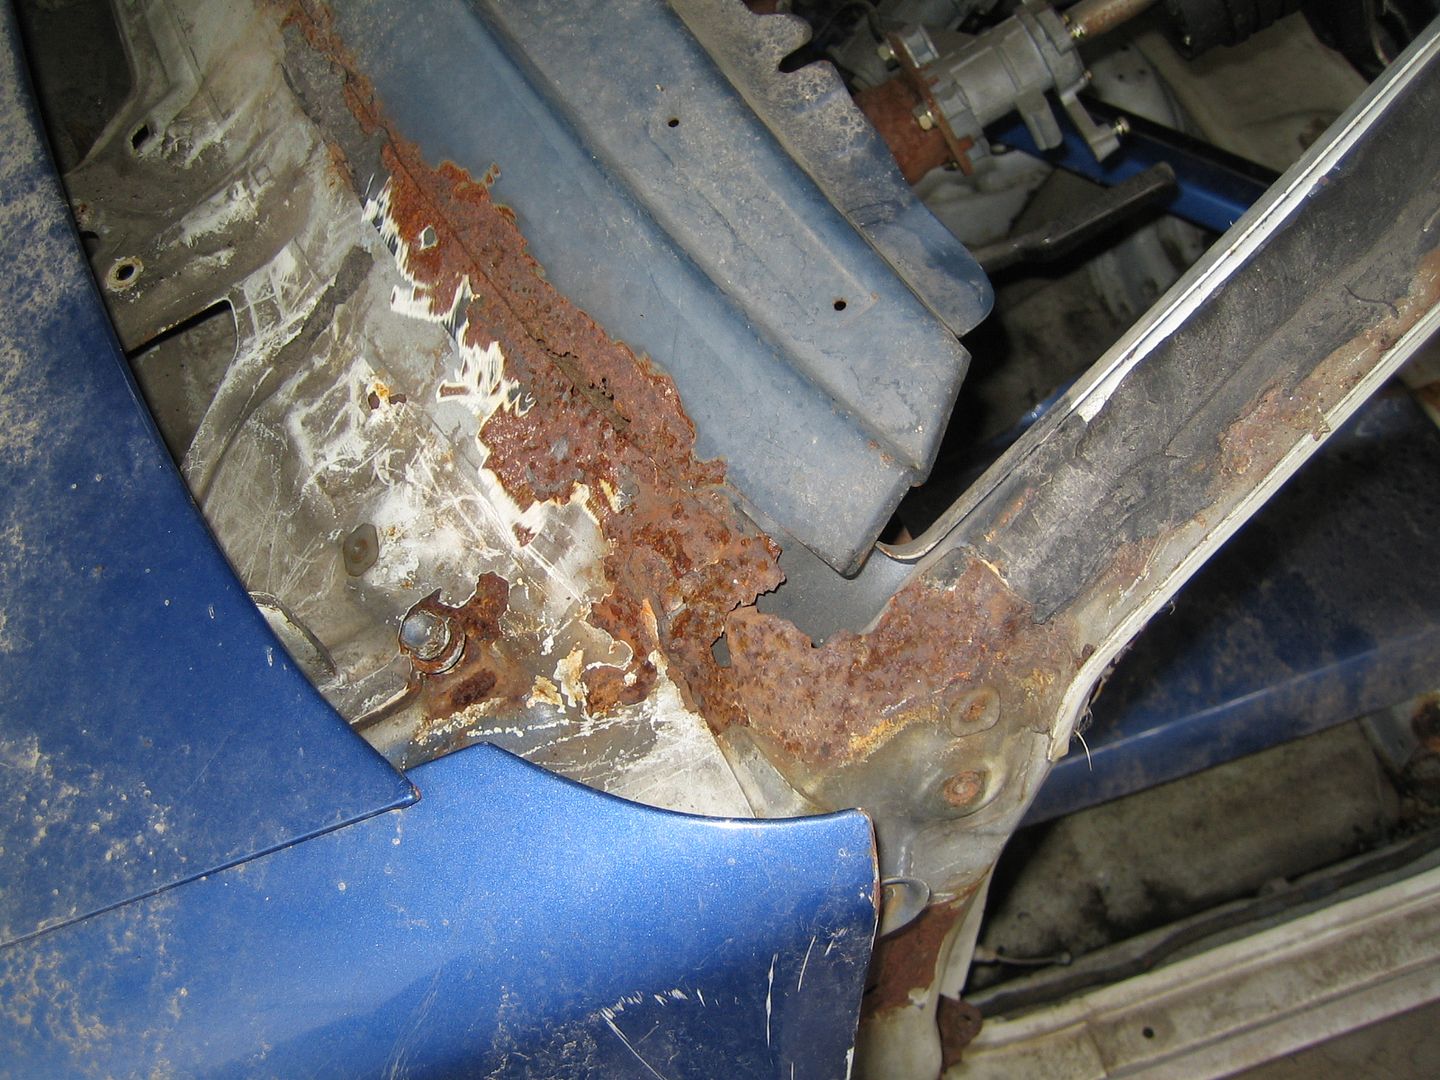
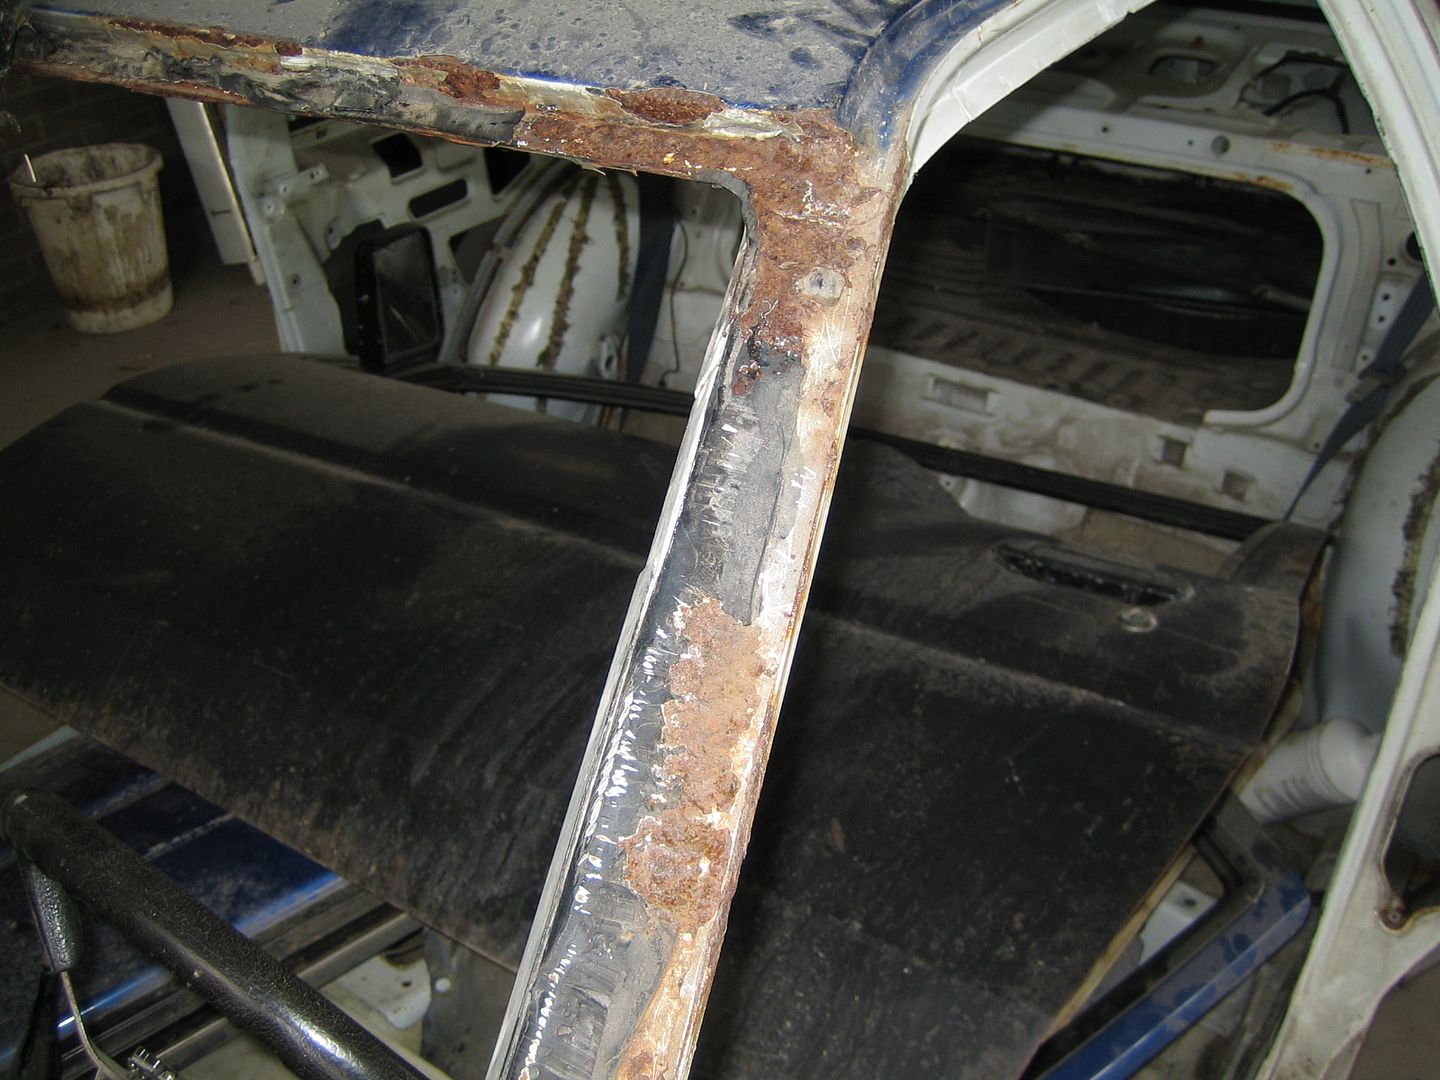
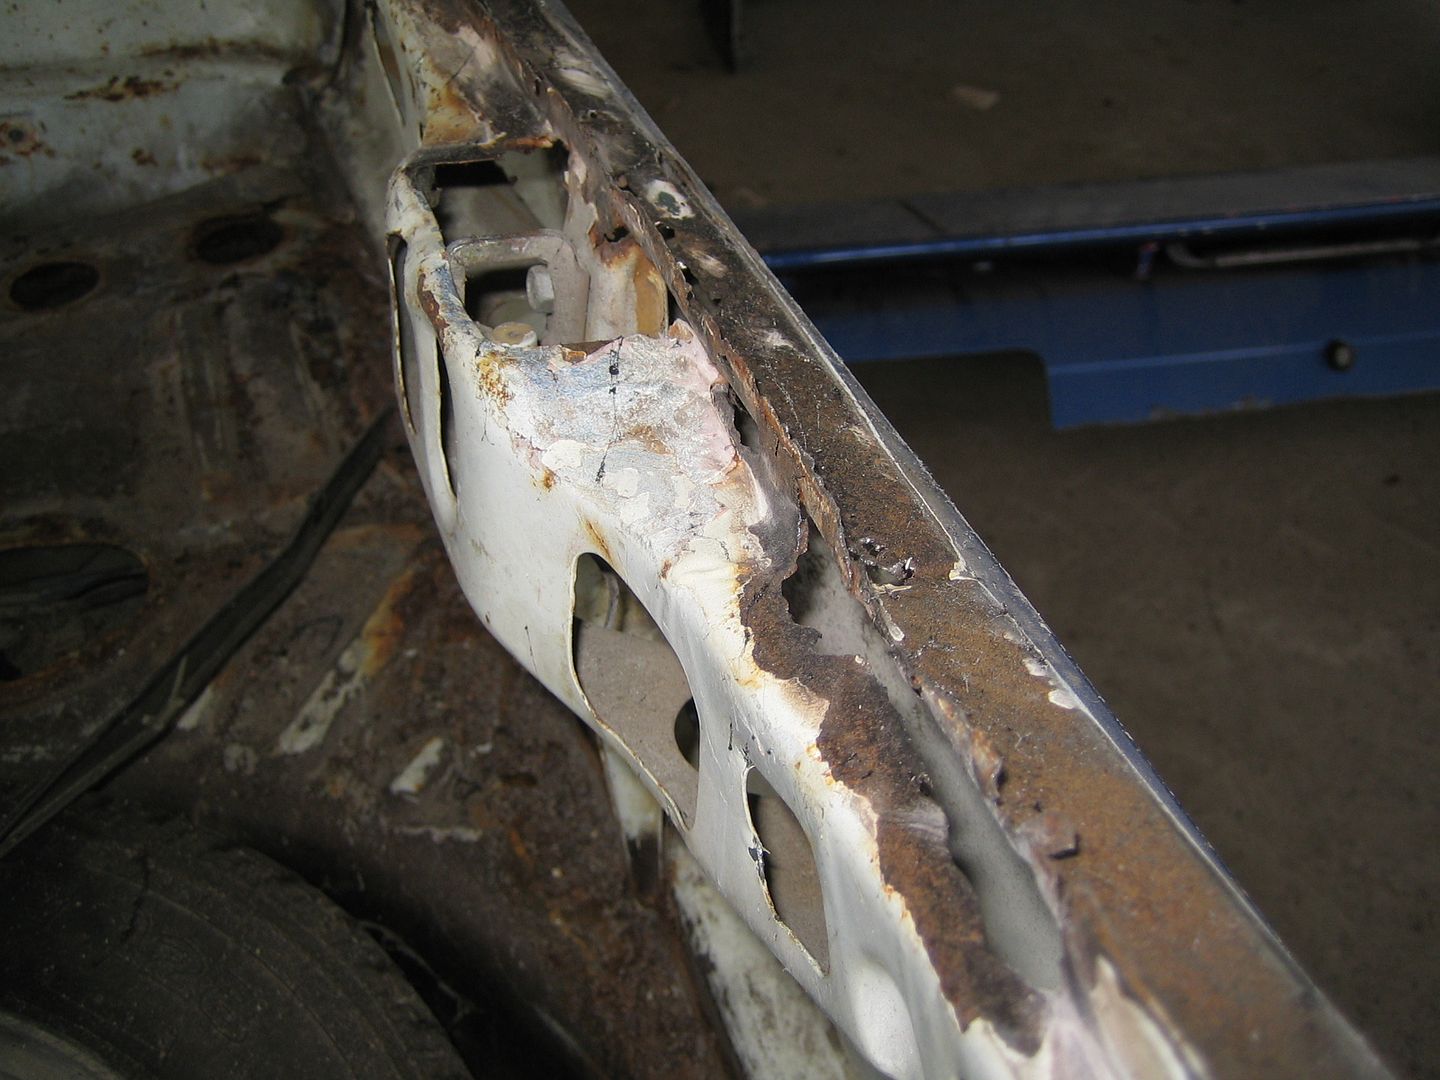
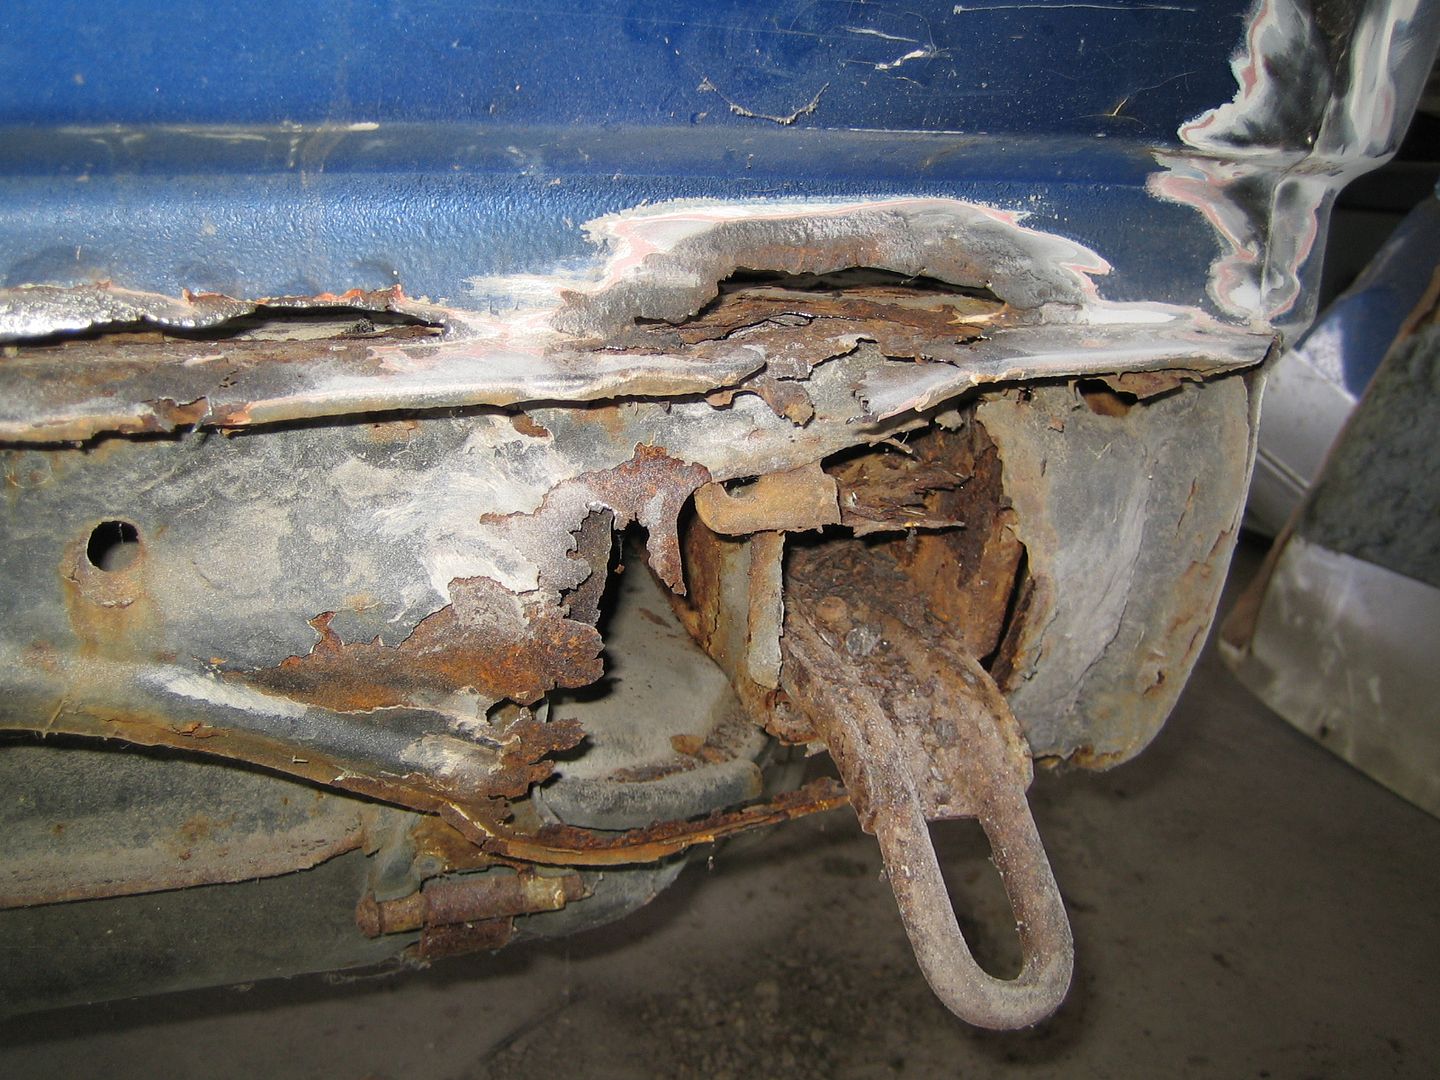
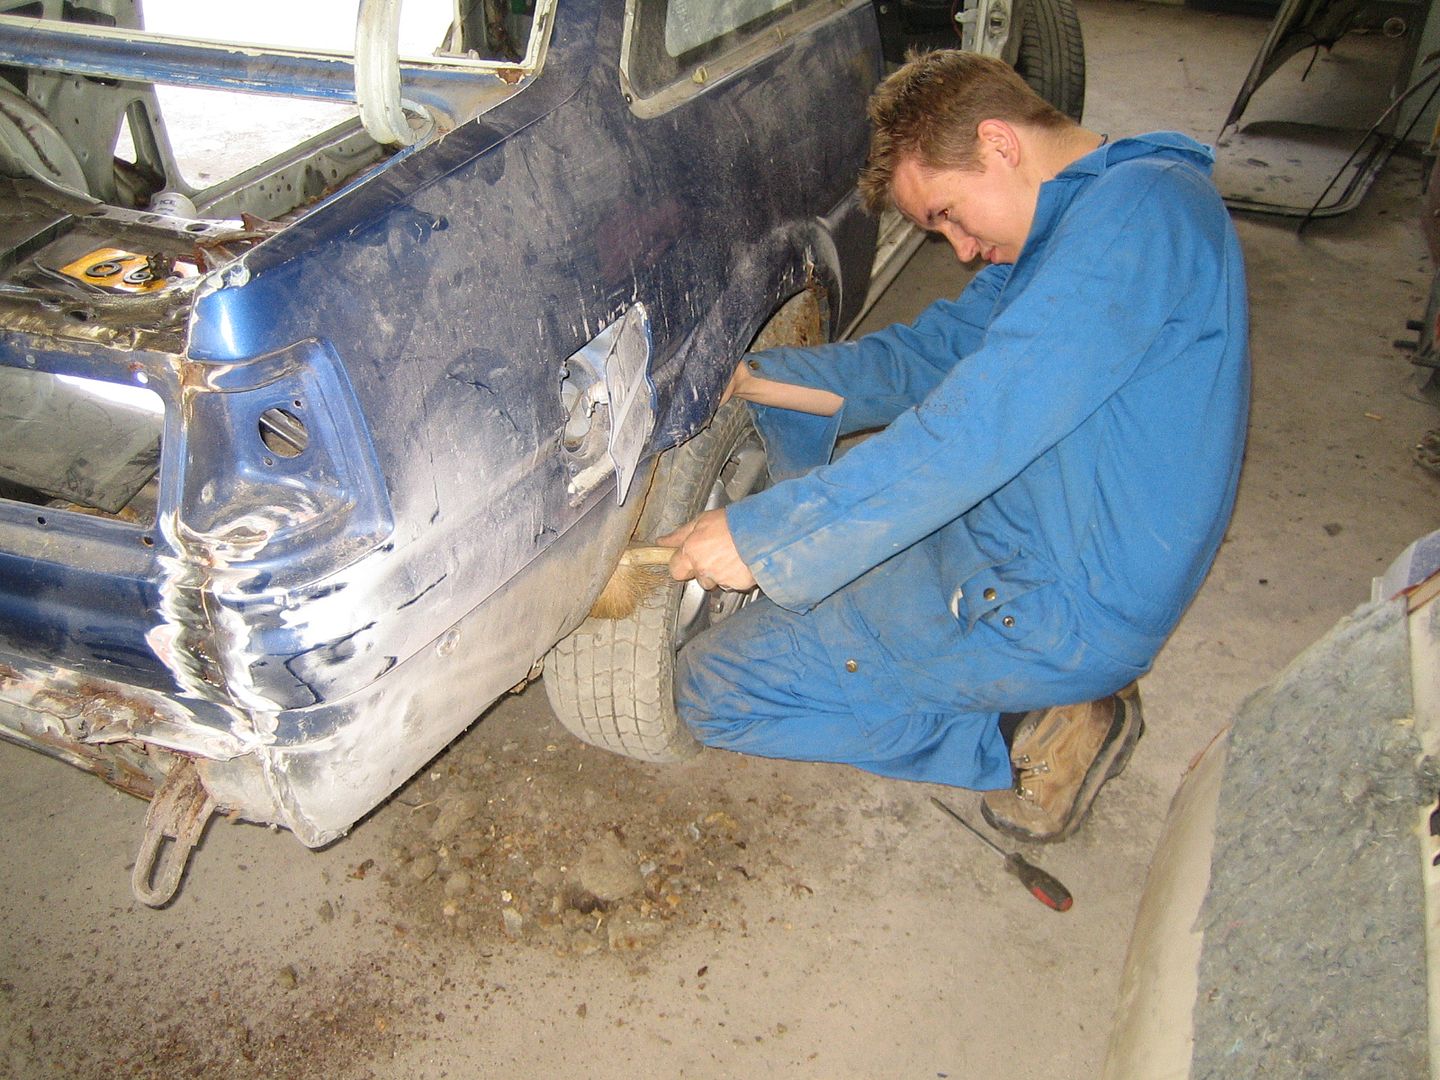
Cleaned:
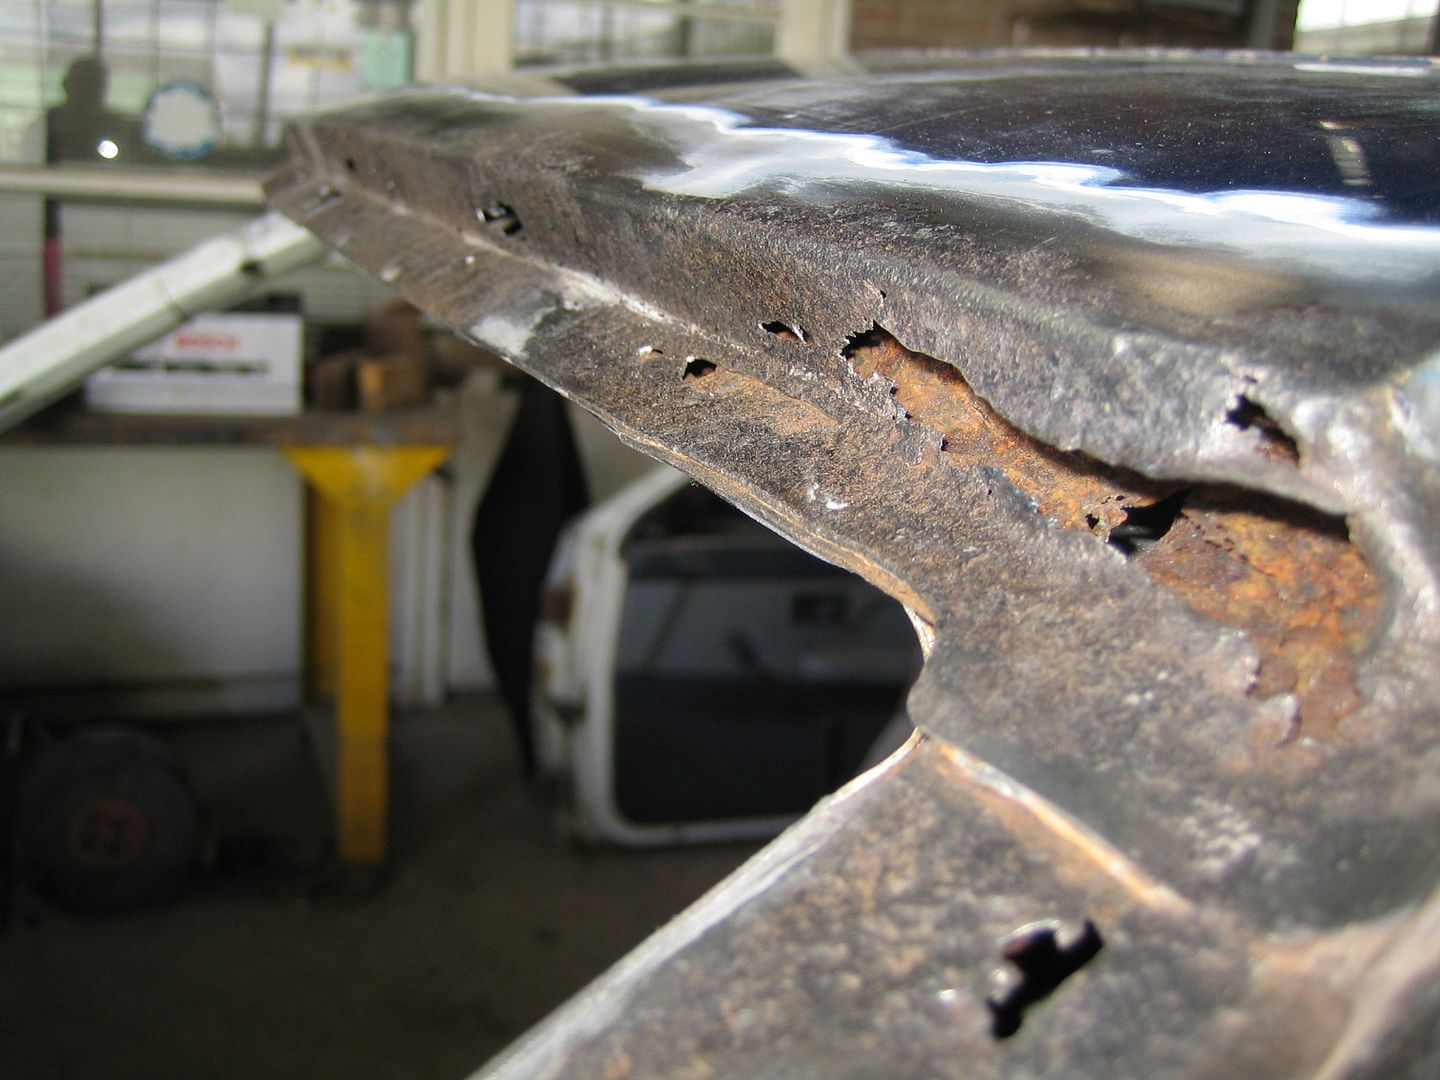
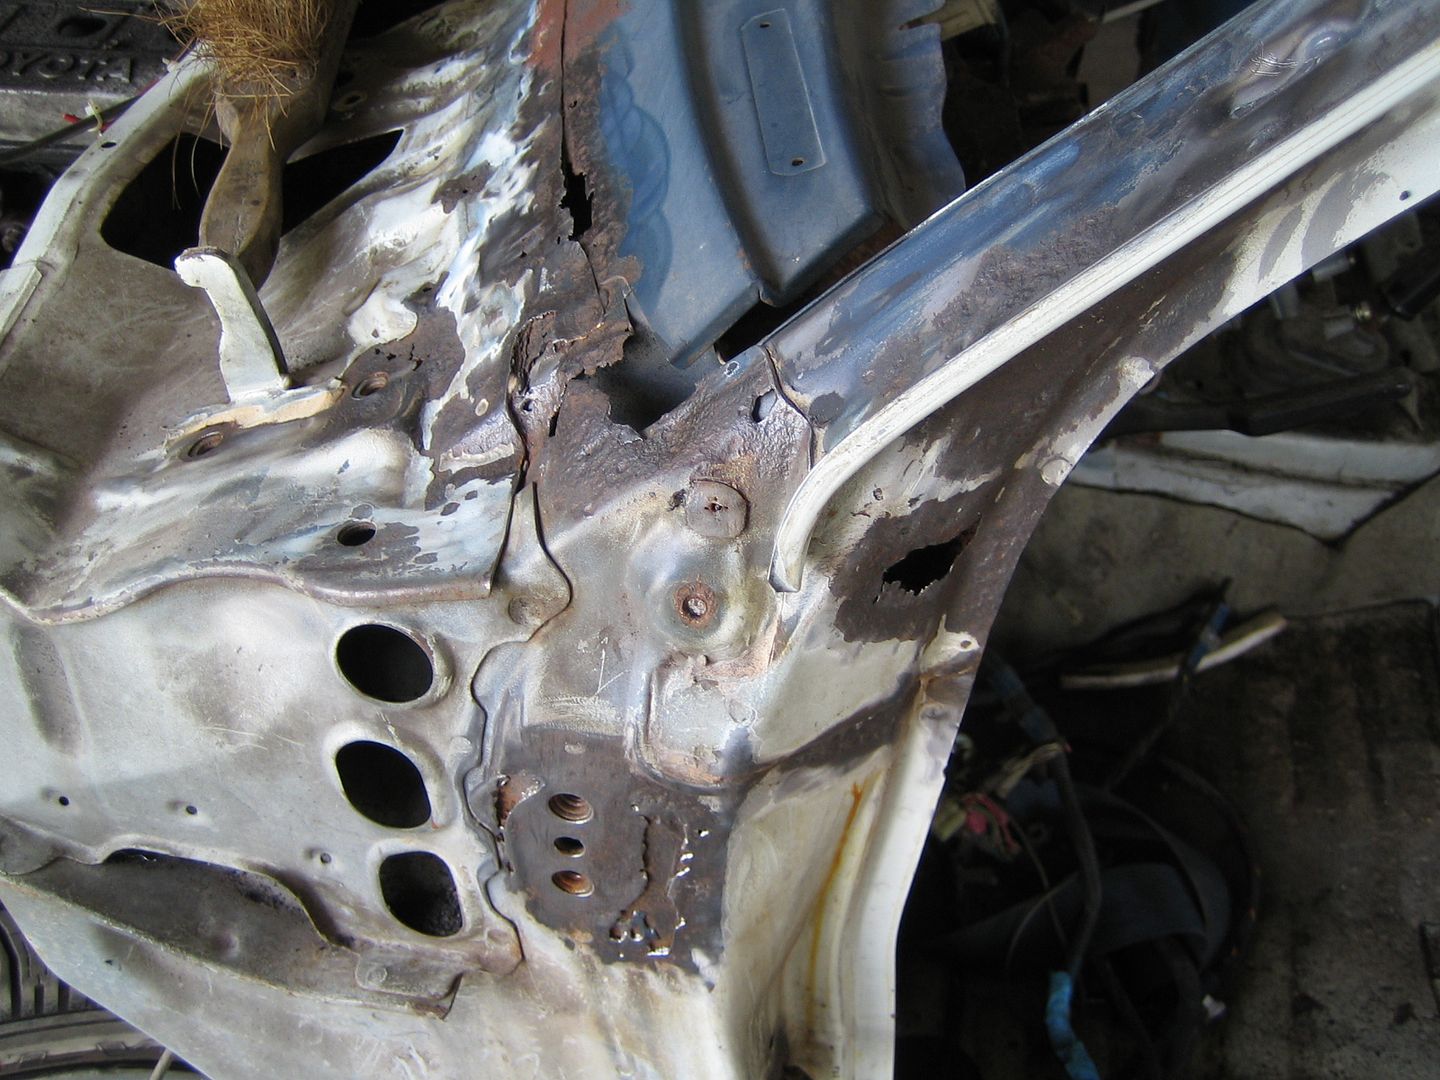


Soon were cutting out the rust and welding back fresh metal!!
Biggest isseu off course ---> rust!
The amount of rust isn't as bad as most examples of this age, but it's still a bit of work.
Not much else to say about it so here are some pics:
Cleaned:
Soon were cutting out the rust and welding back fresh metal!!