We'll, it's inevitable really!

 15 April 2015, 12:18 PM
#92
Lee is having the old seats to do a bit of Stitching wonderment on them. They will them be at Lee's disposal to do with what he wants.
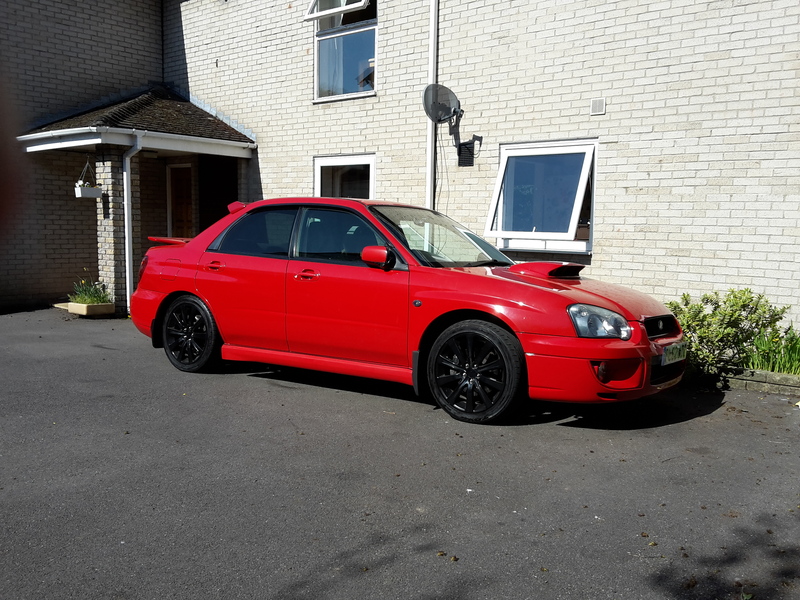
I have now got the car to a driveable standard with some added bits and bob's.
I'll get some pictures up later so you can all see the progress so far. But it's mainly a freshen up of what is a really good car but it's now 12 years old and will need a bit more TLC to make it what I want.
Mr Moss will get to touch it tomorrow


 26 April 2015, 09:55 PM
#99
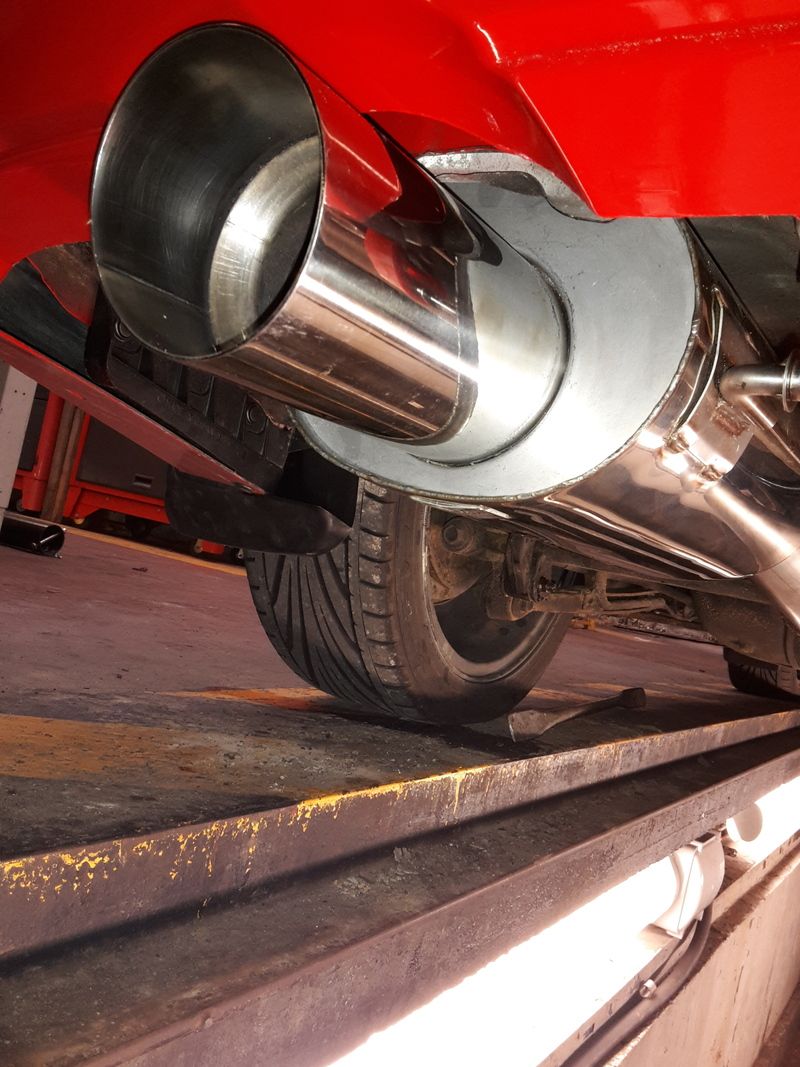
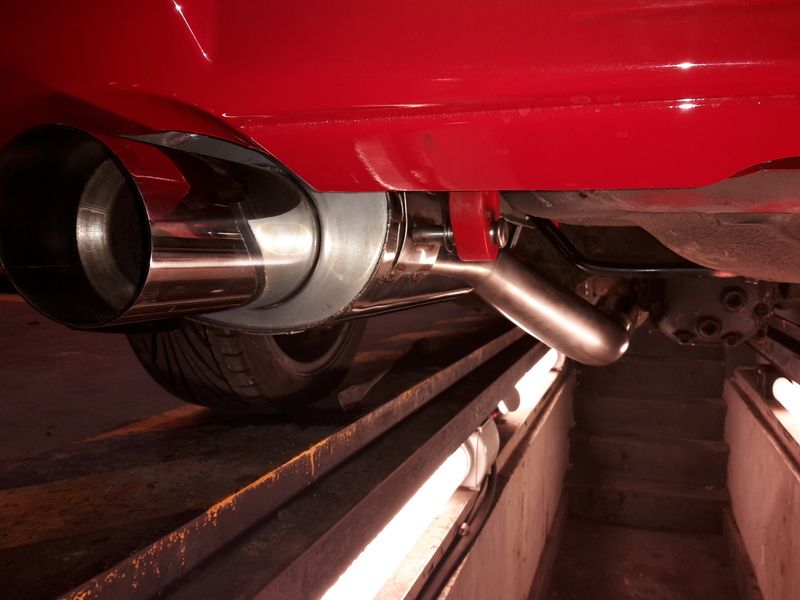
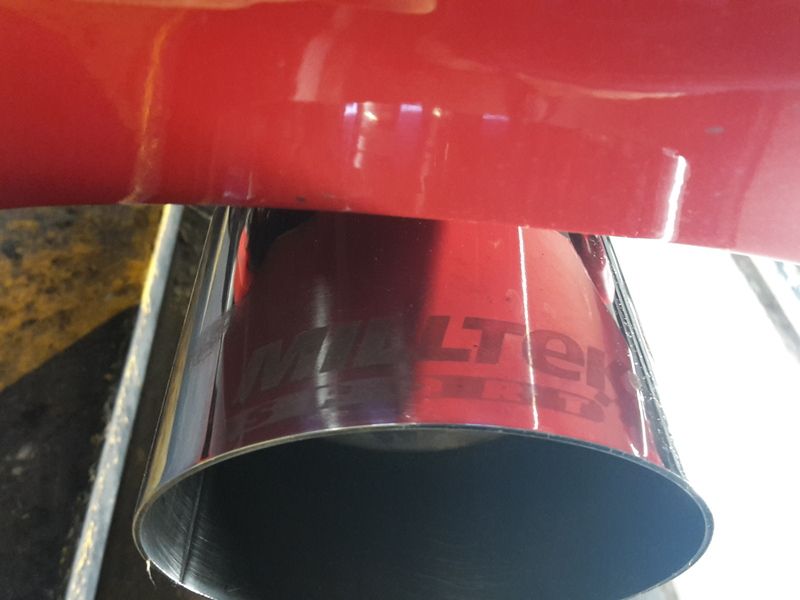
An interesting day fitting the Milltek and ARB.
The Milltek was easy, with new Powerflex hangars, 2.75 gasket, doughnut, springs, bolts and nuts, it went on easy. The back box came from an RA-R and the centre pipe from a fellow SN member.
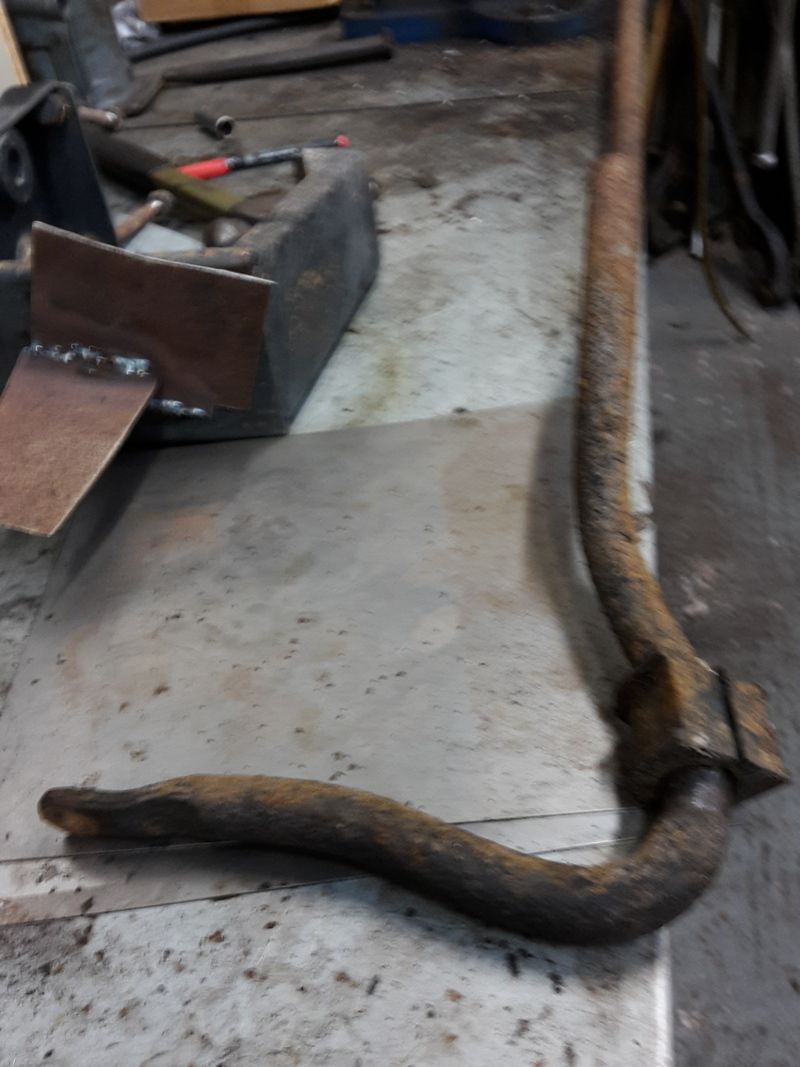
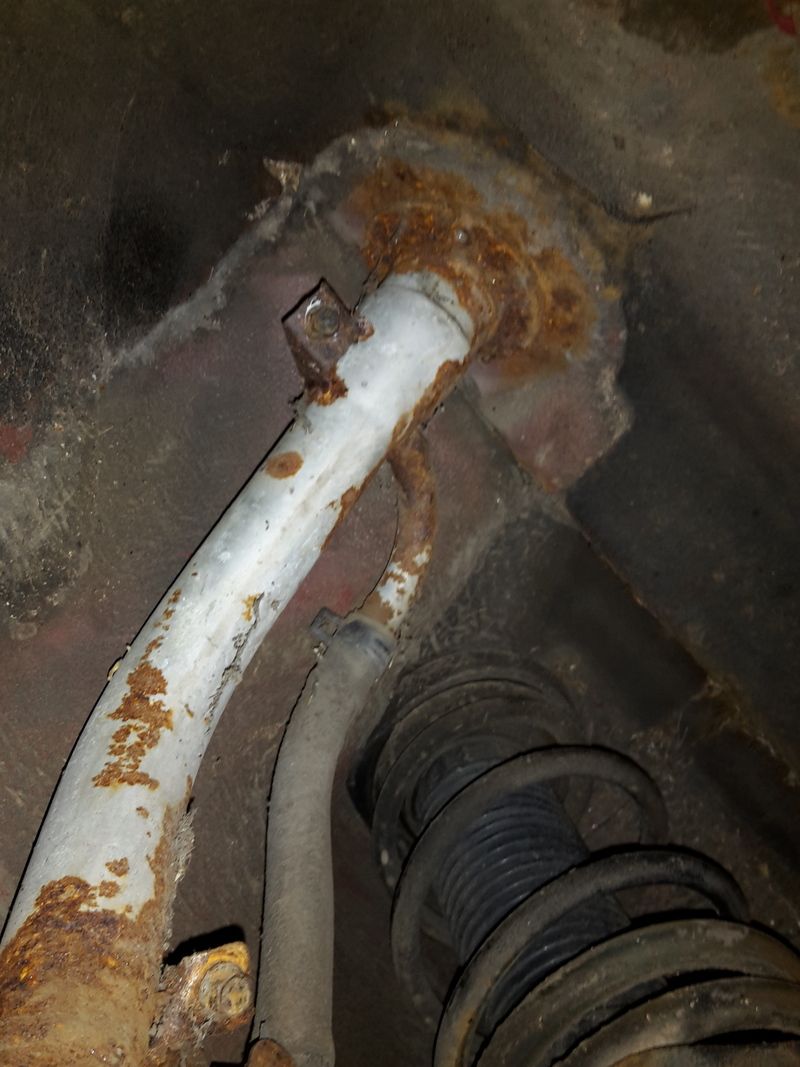
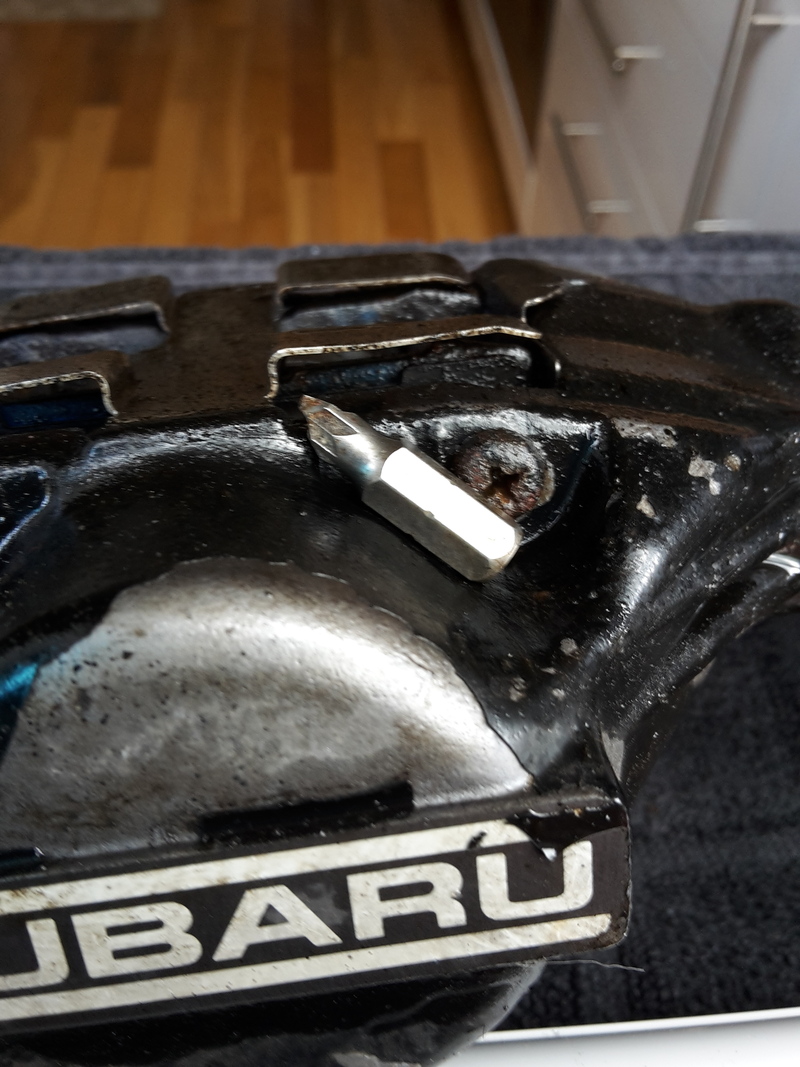
The ARB's were a little challenging, needed some extra work as they are old and quite soft. The actual main mounts where in a shocking state.
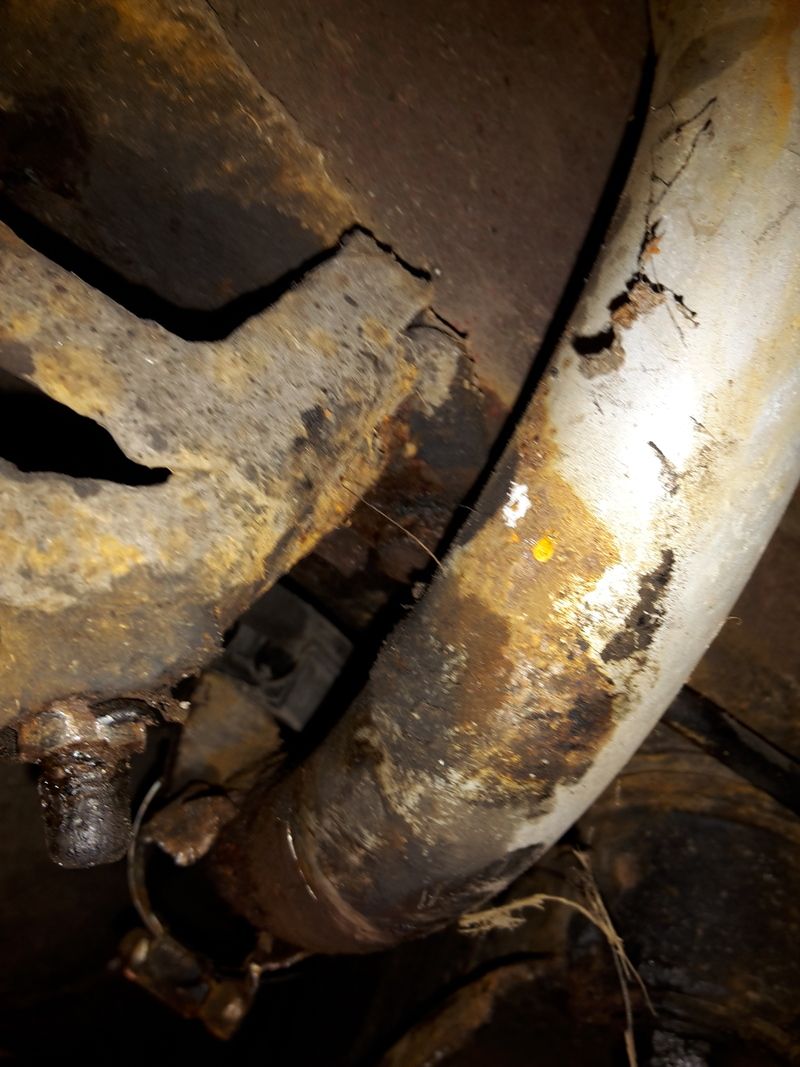
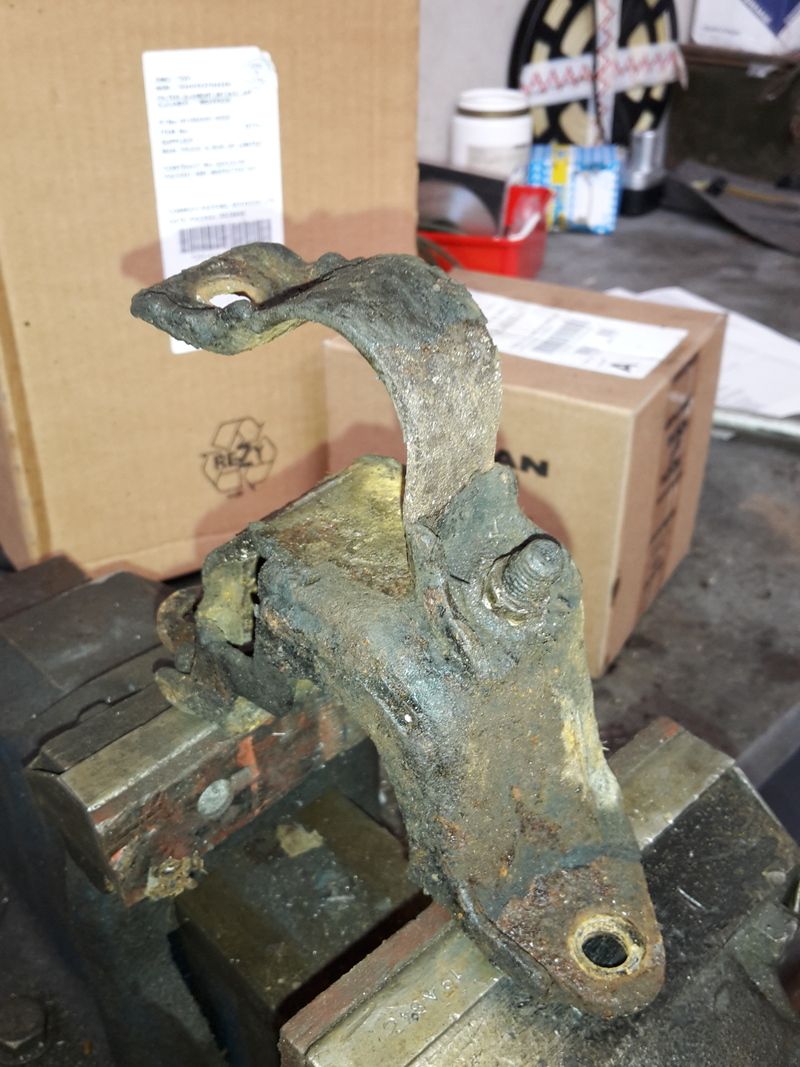
Snapped bolts in the mount required drilling out and re-tapping.
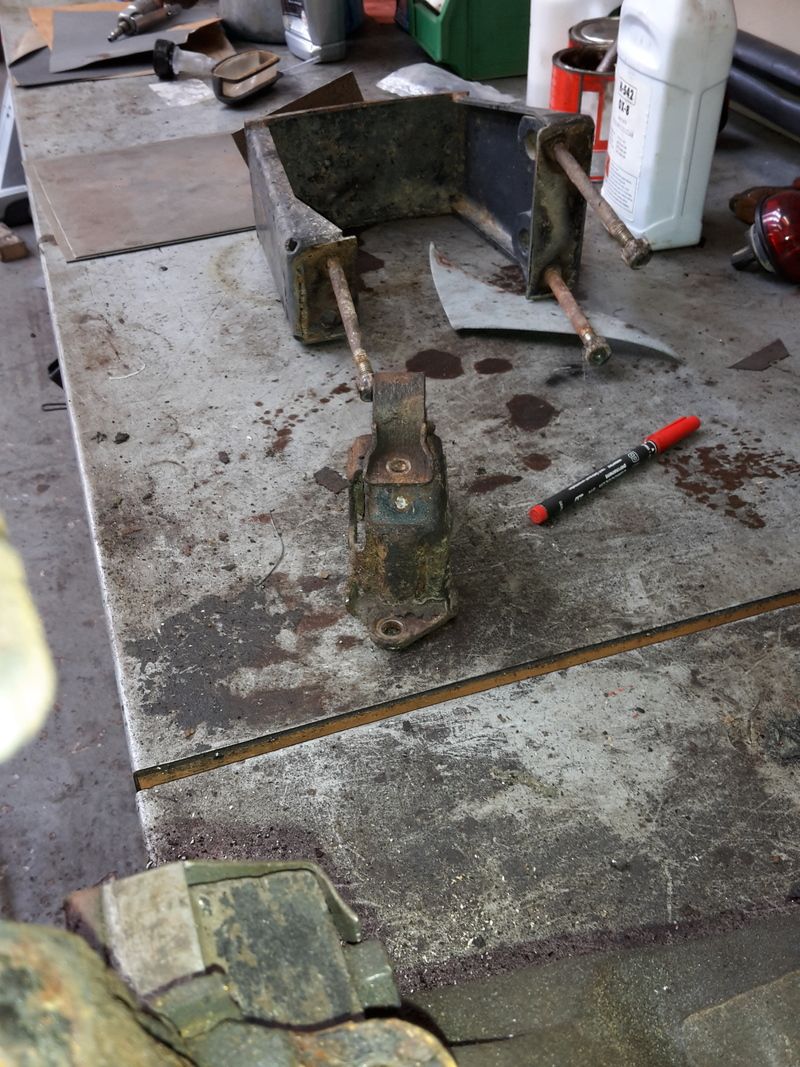
Thankfully the exhaust was off and made the ARB removal easier. That was in clip so a new on was fitted.
And the fuel filler is a lot like the Classics. More work to be done.
The Milltek was easy, with new Powerflex hangars, 2.75 gasket, doughnut, springs, bolts and nuts, it went on easy. The back box came from an RA-R and the centre pipe from a fellow SN member.


The ARB's were a little challenging, needed some extra work as they are old and quite soft. The actual main mounts where in a shocking state.


Snapped bolts in the mount required drilling out and re-tapping.

Thankfully the exhaust was off and made the ARB removal easier. That was in clip so a new on was fitted.

And the fuel filler is a lot like the Classics. More work to be done.

Last edited by The Trooper 1815; 08 July 2015 at 10:01 PM.

 04 May 2015, 07:35 PM
#102
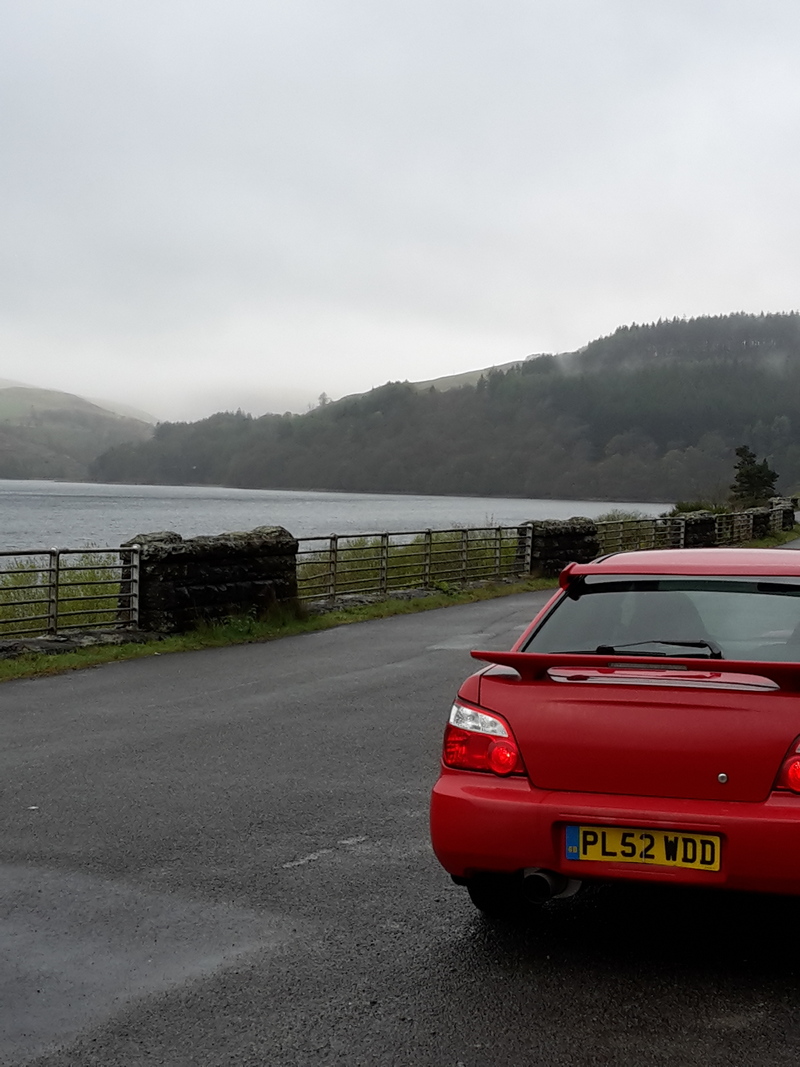
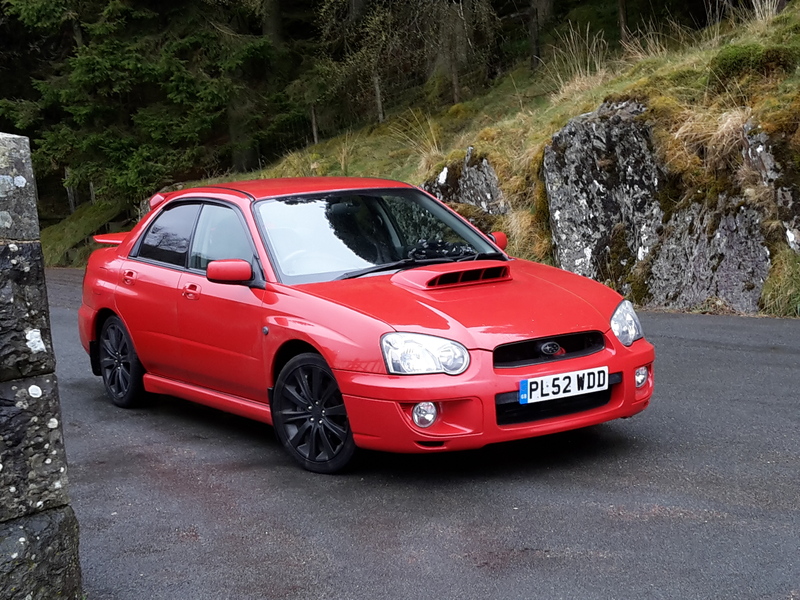
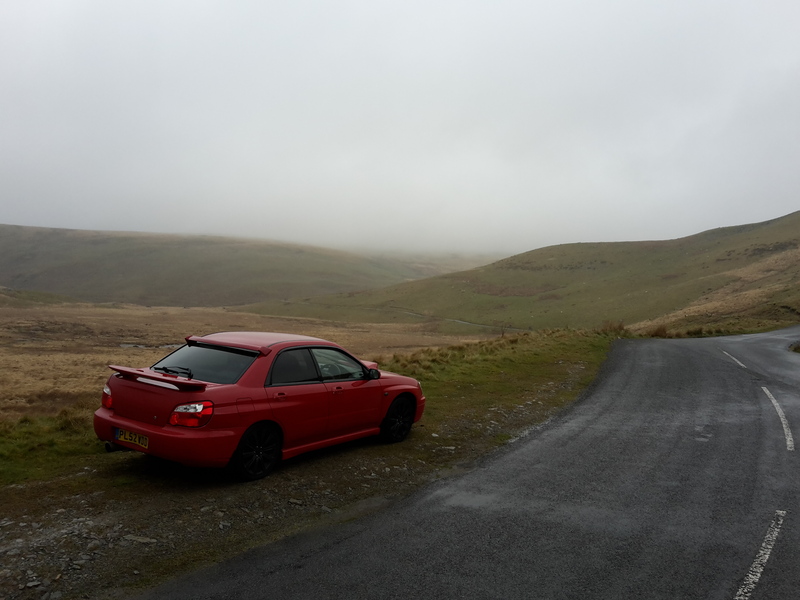
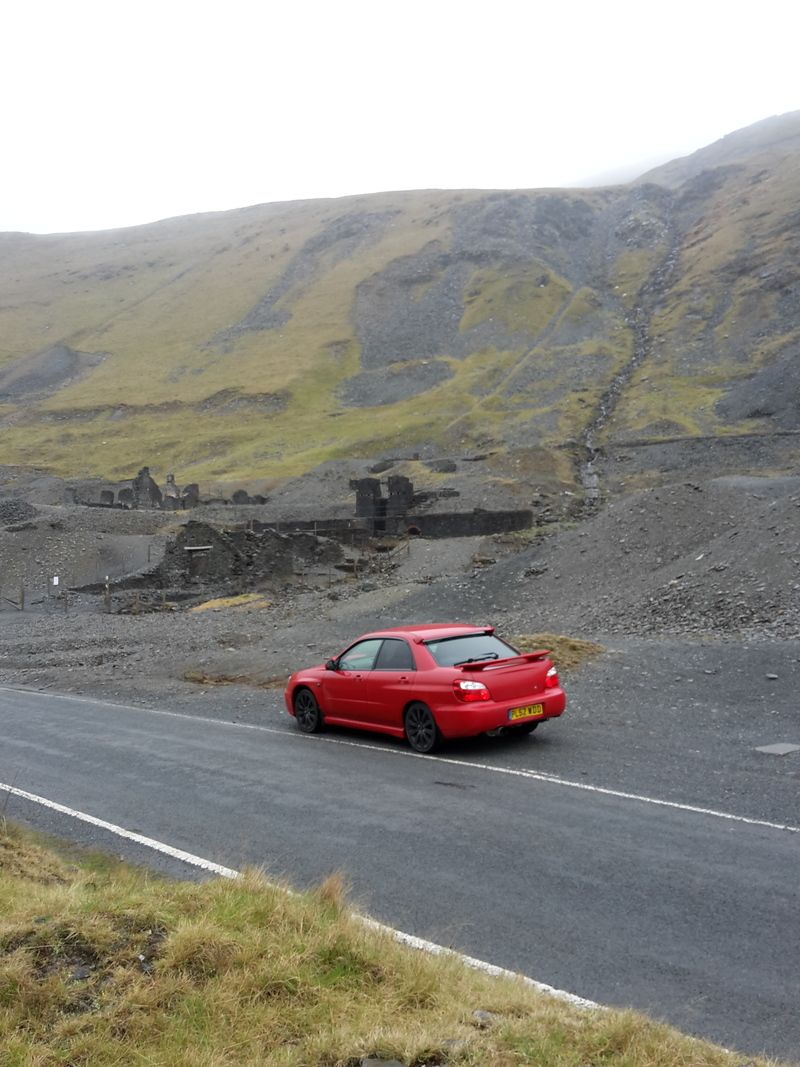
Took the Red Menace out for a quick drive up to Devils Bridge via some of our favourite roads. The Milltek is now bedded in and sounding really good and in keeping with my old age.
It's the first time in a while that it's had a chance to breath with a new panel filter fitted and all the other bits that have been fitted or removed.
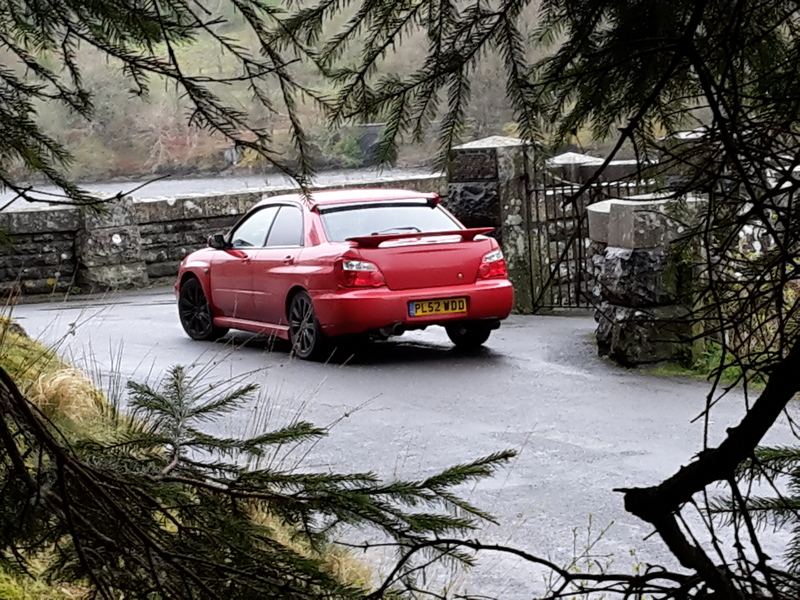
So, off we went via the A470, over Upper and Lower Chapel to Builth Wells. Then up to Rhayader then the old road via the Elan Valley to Cwmystwyth and beyond. The weather varied from horizontal rain to bright sunshine and most stuff inbetween.
The next step is to repaint and fit the Zunsport upper and lower grils, refit the rear JDM number plate brackets, finish the front strut mount repaint, fit a new front ARB (drop links and track rod ends while it's off), the new filler neck and the coolant silicone hoses.
Hawkeye door cards are in to match the seats and look very good. These came with all the brackets and with a little fettling of the rear window switches all work a treat. Cheers Matty BR.
It's the first time in a while that it's had a chance to breath with a new panel filter fitted and all the other bits that have been fitted or removed.
So, off we went via the A470, over Upper and Lower Chapel to Builth Wells. Then up to Rhayader then the old road via the Elan Valley to Cwmystwyth and beyond. The weather varied from horizontal rain to bright sunshine and most stuff inbetween.


The next step is to repaint and fit the Zunsport upper and lower grils, refit the rear JDM number plate brackets, finish the front strut mount repaint, fit a new front ARB (drop links and track rod ends while it's off), the new filler neck and the coolant silicone hoses.
Hawkeye door cards are in to match the seats and look very good. These came with all the brackets and with a little fettling of the rear window switches all work a treat. Cheers Matty BR.
04 May 2015, 09:14 PM
#103
Scooby Regular
iTrader: (6)
Join Date: May 2007
Location: Filling up with V Power somewhere in South Wales
Posts: 1,314
Likes: 0
Received 0 Likes
on
0 Posts
The cars looking good Ian and nice to see another saved from falling into the wrong hands again. I love that road up through the Elan vally over to Devils Bridge and some lovely backdrops for some photos too. It'll be nice to get to see the car soon. 
04 May 2015, 10:31 PM
#109
Scooby Senior
iTrader: (3)
Join Date: Jan 2004
Location: S.Wales
Posts: 4,022
Likes: 0
Received 0 Likes
on
0 Posts
Probably have to be end of July though saying that, some will be away at the mcrae gathering and then santa pod the last weekend of July
Maybe best the end of August
Maybe best the end of August
25 May 2015, 09:16 AM
#110
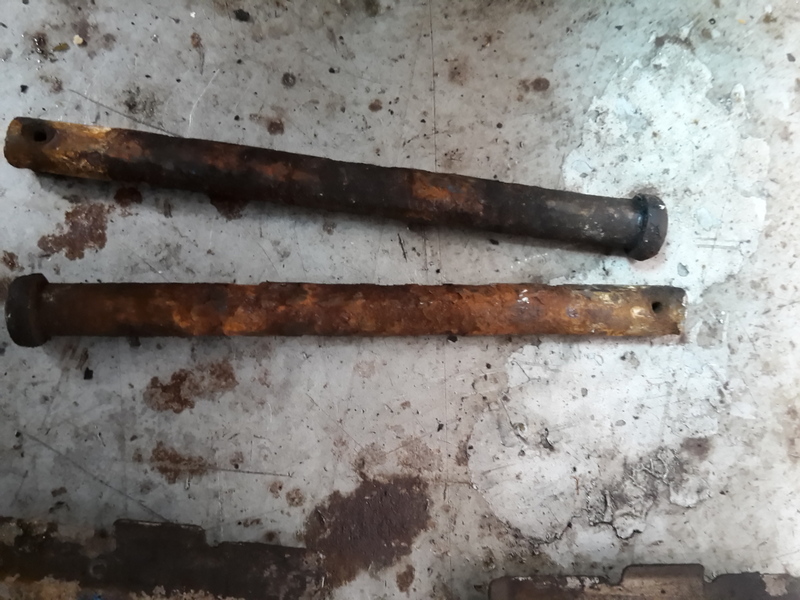
After a few weeks of indecision I started on the brake refurb. Getting them off is easy enough with a 14mm spanner on the brake banjo and the two mounting bolts needing a ratchet and a bit more heave ho. It was easier to remove the brake complete as the retaining pins had corroded badly aand where a pain to get out. Thankfully stainless pins are already here but one brake pad had parted company with the backing plate and a set of new pads will need to be bought.
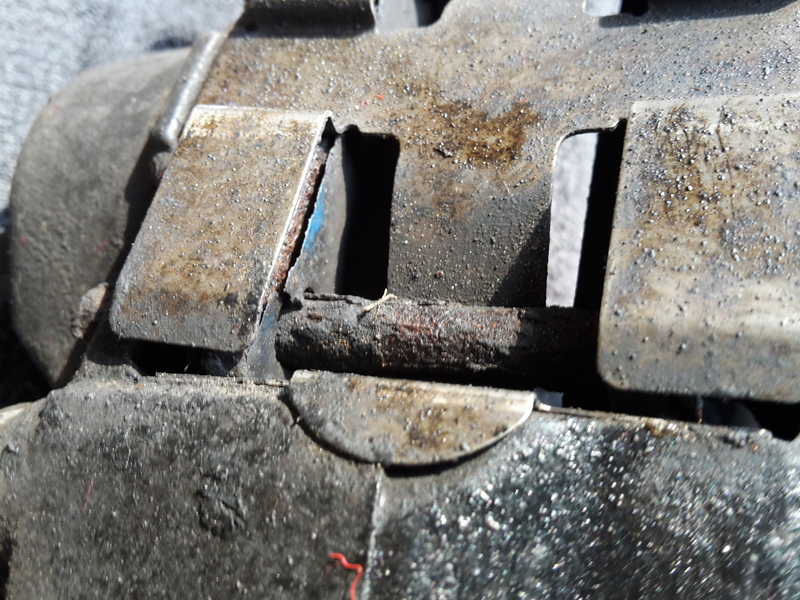
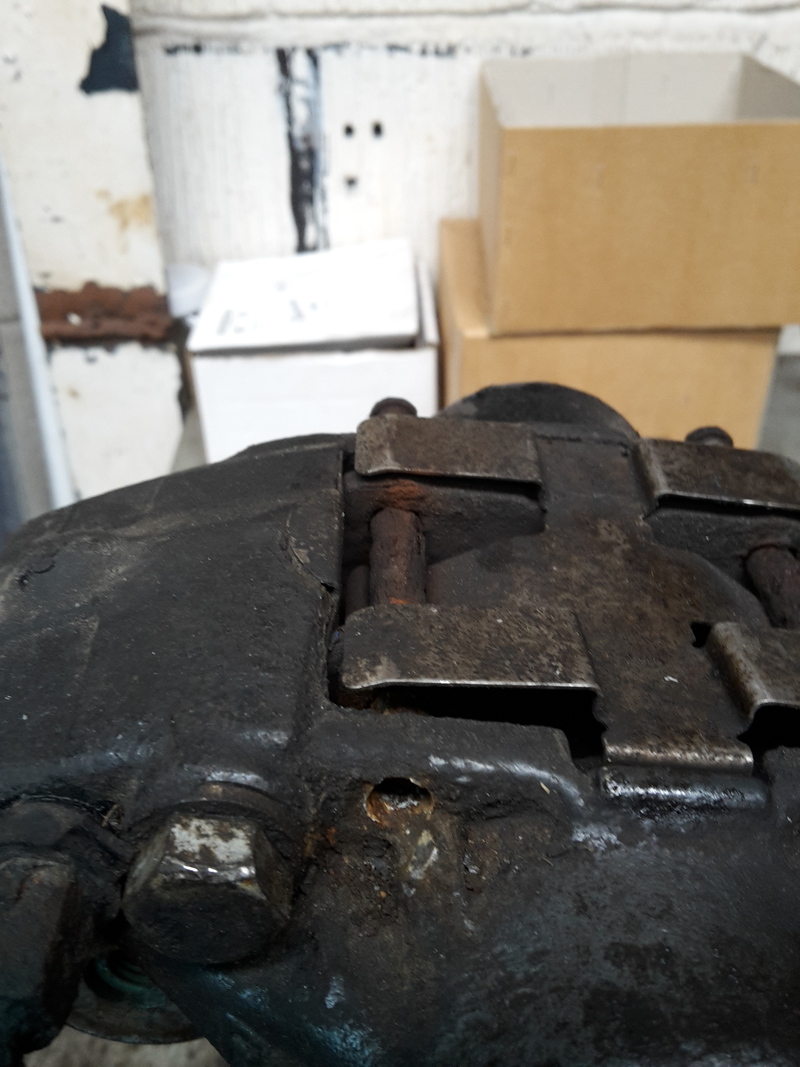
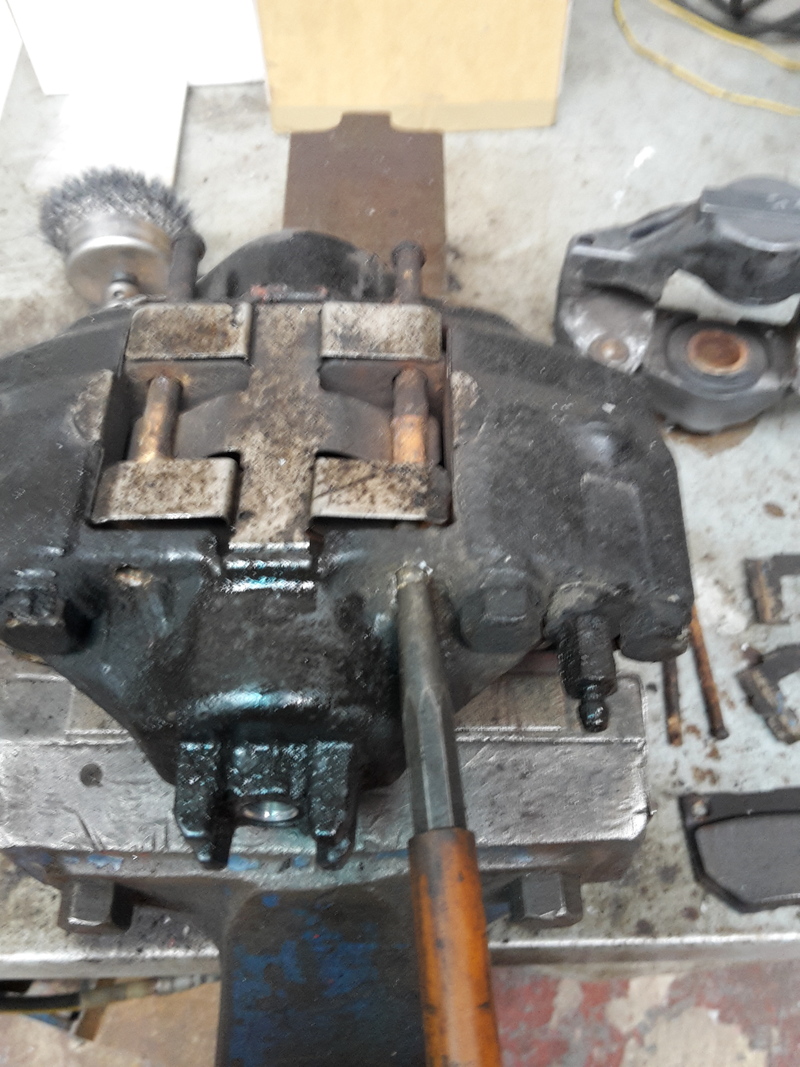
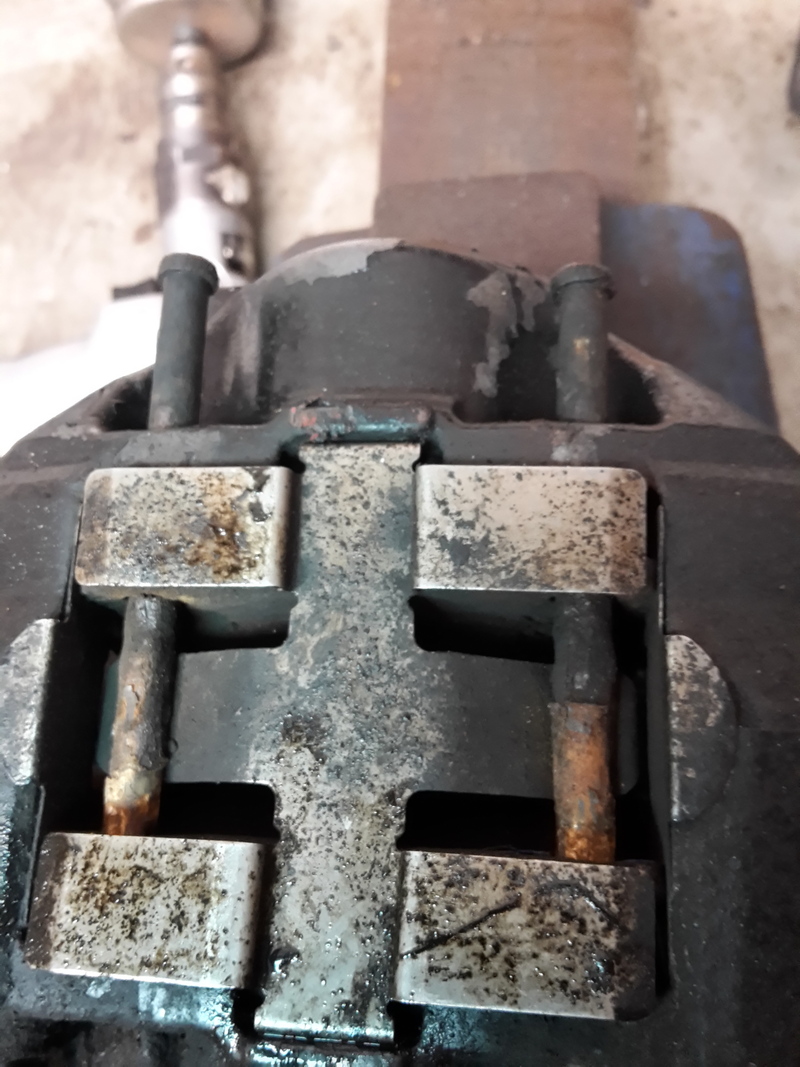
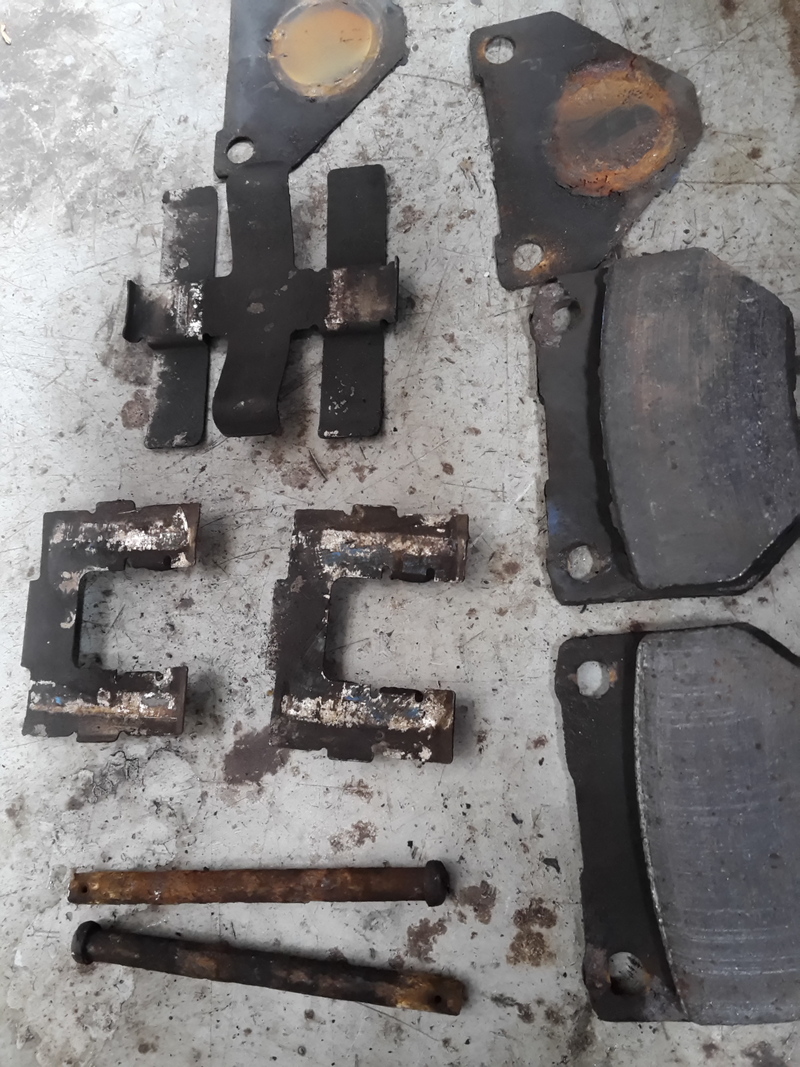
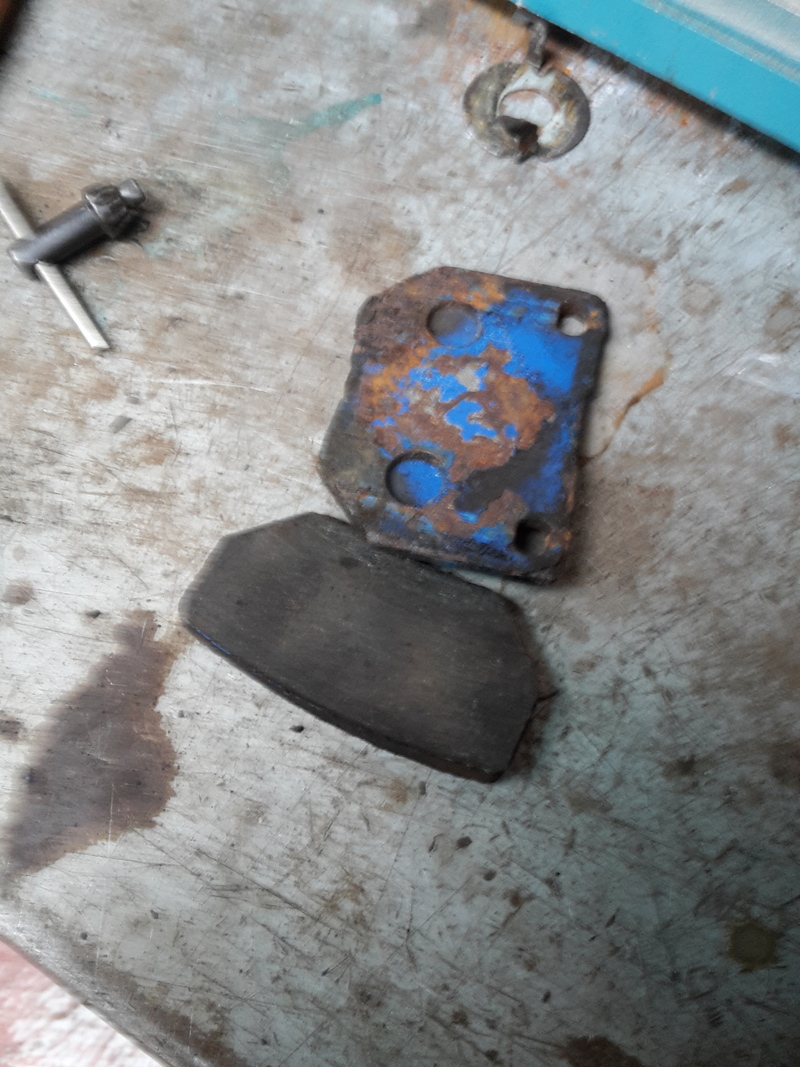
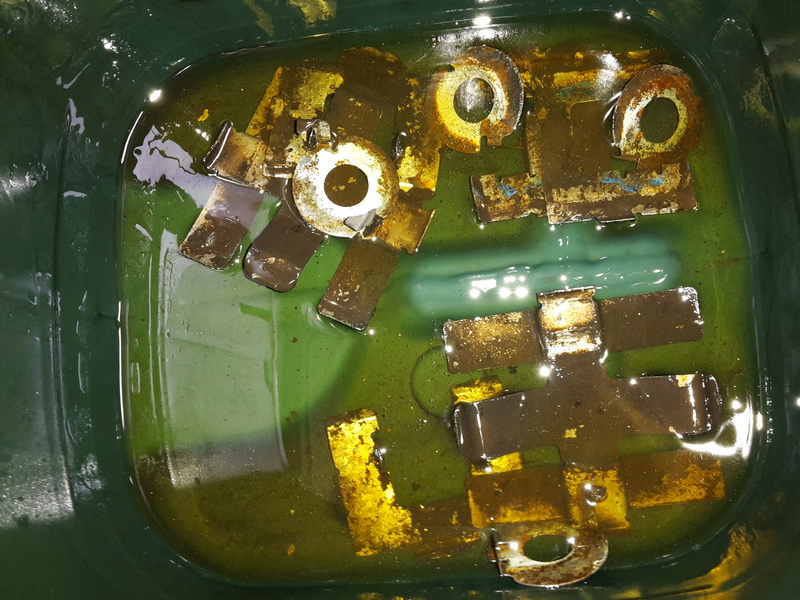
Once apart it was evident that the brakes were in pretty good condition but the backing plates and pads will need to be replaced. The guides, spring clip and clip washers are now having a bath in some soak oil.
The callipers split easily and the inner seals will be replaced and refitted. I have left the old pistons in for now as protection for the bores while they are getting some tough love with the air gun and wire brush cup.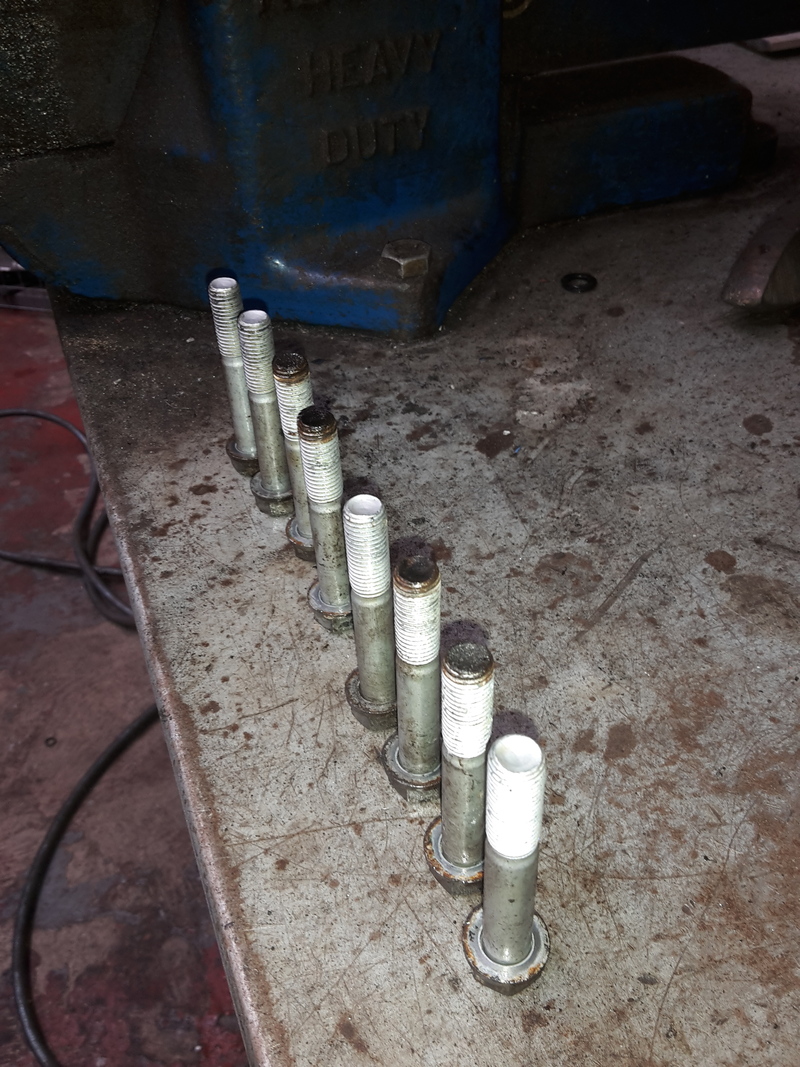
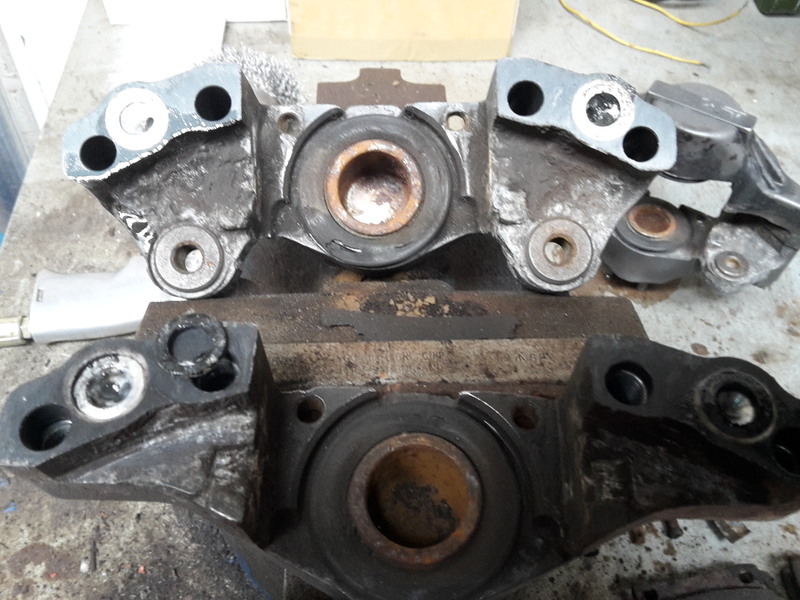
One for Merv.
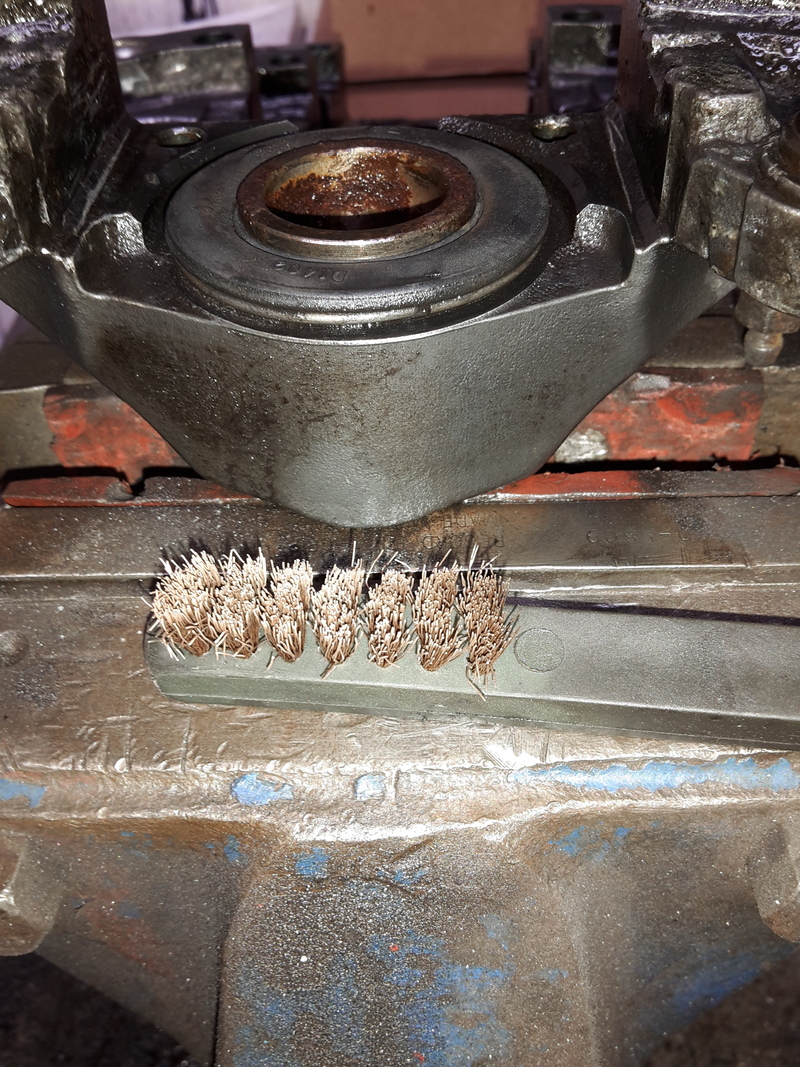
The stainless piston kit comes complete with all the bit’s I need to get everything back together but I have new washers and banjo bolt's ordered from ICP just in case. Just a few bits of paint stripper needed and the painting can begin.


Once apart it was evident that the brakes were in pretty good condition but the backing plates and pads will need to be replaced. The guides, spring clip and clip washers are now having a bath in some soak oil.

The callipers split easily and the inner seals will be replaced and refitted. I have left the old pistons in for now as protection for the bores while they are getting some tough love with the air gun and wire brush cup.


One for Merv.

The stainless piston kit comes complete with all the bit’s I need to get everything back together but I have new washers and banjo bolt's ordered from ICP just in case. Just a few bits of paint stripper needed and the painting can begin.
Last edited by The Trooper 1815; 27 May 2015 at 05:06 PM.
25 May 2015, 07:18 PM
#112
Cheers Si, the front are next but one step at a time. The last set I bought on an exchange/refurb from Godspeed but thought I should have a go. I have previously done some repainting and it worked a treat but the sticky piston is always in the back of your mind.
The two pot rears don't have the raised letters, so I bought a set of high temperature decals from eBay. I hope to have these finished or at least back in one piece and primed by the end of the week, thankfully the Bat Cave is free.
Last edited by The Trooper 1815; 25 May 2015 at 07:20 PM.
26 May 2015, 09:42 PM
#114
Scooby Regular

Join Date: Jun 2013
Location: N/A
Posts: 617
Likes: 0
Received 0 Likes
on
0 Posts
Only just found this and was looking for this thread for a while after your WRX RA which looked stunning  .
.
Love the red also but whats up with the rust? I thought JDM imports are generally rust free due to not experiencing the s***e we have on our roads. IIRC the Wrx seats have a flat base whereas yours is the 'bucket' type which I haven't seen on the hawkeye Wrx's before.
All in all it does look amazing and its nice to see that you went with the JDM alternative rather than the diluted UK version's we get")
Keep up the good work
I definently need to see whats hiding behind my mudflaps after seeing this!
P.S. Whats the main differences between this and the UK version?
Regards,
Subaru Collector 555.
.Love the red also but whats up with the rust? I thought JDM imports are generally rust free due to not experiencing the s***e we have on our roads. IIRC the Wrx seats have a flat base whereas yours is the 'bucket' type which I haven't seen on the hawkeye Wrx's before.
All in all it does look amazing and its nice to see that you went with the JDM alternative rather than the diluted UK version's we get
Keep up the good work
I definently need to see whats hiding behind my mudflaps after seeing this!
P.S. Whats the main differences between this and the UK version?
Regards,
Subaru Collector 555.
Last edited by User 21721; 26 May 2015 at 09:43 PM.
26 May 2015, 10:16 PM
#115
Only just found this and was looking for this thread for a while after your WRX RA which looked stunning .
Love the red also but whats up with the rust? I thought JDM imports are generally rust free due to not experiencing the s***e we have on our roads. IIRC the Wrx seats have a flat base whereas yours is the 'bucket' type which I haven't seen on the hawkeye Wrx's before.
All in all it does look amazing and its nice to see that you went with the JDM alternative rather than the diluted UK version's we get
Keep up the good work
I definently need to see whats hiding behind my mudflaps after seeing this!
P.S. Whats the main differences between this and the UK version?
Regards,
Subaru Collector 555.
.Love the red also but whats up with the rust? I thought JDM imports are generally rust free due to not experiencing the s***e we have on our roads. IIRC the Wrx seats have a flat base whereas yours is the 'bucket' type which I haven't seen on the hawkeye Wrx's before.
All in all it does look amazing and its nice to see that you went with the JDM alternative rather than the diluted UK version's we get
Keep up the good work
I definently need to see whats hiding behind my mudflaps after seeing this!
P.S. Whats the main differences between this and the UK version?
Regards,
Subaru Collector 555.
Hi mate,
The JDM WRX as inverted dampers as standard in GDA trim, rear wiper, alloy wishbones, folding mirrors, indicators/wiper stalk are the opposite to the UK versions, rear tints, and I think (but cannot confirm) that the gearbox may have slightly different ratio's and of course the AVCS heads. The JDM WRX is 250PS as standard which makes for a much better base engine.
The car as been in the UK for quite some time hence the added tin worm but it's mainly surface stuff but I think the rear diffuser did it no favours. But I know the last 3 owners as friends, so I am more than happy with what it's like and the spec and it is now 13 years old.
The old black seats are being treated to some different materials and I look forward to seeing what Lee (The Stitcher) does with them.
Last edited by The Trooper 1815; 26 May 2015 at 10:18 PM.
 30 May 2015, 08:53 AM
#118
Scooby Regular

Join Date: Mar 2015
Location: rhondda
Posts: 40
Likes: 0
Received 0 Likes
on
0 Posts
30 May 2015, 07:21 PM
#119
Cheers mate. Good to see you the other day and put a face to a username.
Anyway the calipers are stripped and ready for their first coat


A final spray down with brake cleaner and a cellulose thinners wash and out with the brush.
 30 May 2015, 07:42 PM
#120
Scooby Regular
Join Date: Mar 2015
Location: rhondda
Posts: 40
Likes: 0
Received 0 Likes
on
0 Posts
Cheers Ian ye u aswell,lot more clued up than me about the Subaru know what u on about,mine should be going in this week for cam belt and pulleys and clutch and fly wheel not going to put injectors in yet had new seals and walbro pump but it's gonna cost me 350 for map so need to save my pennies👍

