We'll, it's inevitable really!

 26 March 2015, 09:37 AM
#65
The bumpers, bonnet scoop and boot lid are in Endless Road getting painted. So, I have spent a few days doing some general bits and bob's. I have ordered a load of new bumper clips, screws and grommets to make re-assembly much easier.
I had to change a cracked rear tail light and the usual problem of knackered seals became apparent. As I like a challenge I made my own from neoprene rubber at a massive cost of �3 , I'll get some pictures up later, with a "How To" guide. It should work for Classics which are notorious for leaking.
I have also had an intermittent ABS light and whilst the headlights where out I had a good look at the wiring underneath the fuse box. The 4 pin connector on the ABS circuit was starting to corrode and a white goo had started to form in the recesses of the socket. I have sourced a new socket as a replacement, again more pictures later.
I have also seen a very nice Hawkeye WRX interior on eBay not to far away for �140 complete . Having seen the same one in Mahogany Mark's car it looks pretty good and lifted the brightness of the interior. And the Milltek back box is currently a very nice floor ornament in the lounge
  .
.
More later.
I had to change a cracked rear tail light and the usual problem of knackered seals became apparent. As I like a challenge I made my own from neoprene rubber at a massive cost of �3
, I'll get some pictures up later, with a "How To" guide. It should work for Classics which are notorious for leaking.I have also had an intermittent ABS light and whilst the headlights where out I had a good look at the wiring underneath the fuse box. The 4 pin connector on the ABS circuit was starting to corrode and a white goo had started to form in the recesses of the socket. I have sourced a new socket as a replacement, again more pictures later.
I have also seen a very nice Hawkeye WRX interior on eBay not to far away for �140 complete
. Having seen the same one in Mahogany Mark's car it looks pretty good and lifted the brightness of the interior. And the Milltek back box is currently a very nice floor ornament in the lounge .More later.
Last edited by The Trooper 1815; 26 March 2015 at 10:17 AM.
27 March 2015, 12:23 AM
#66
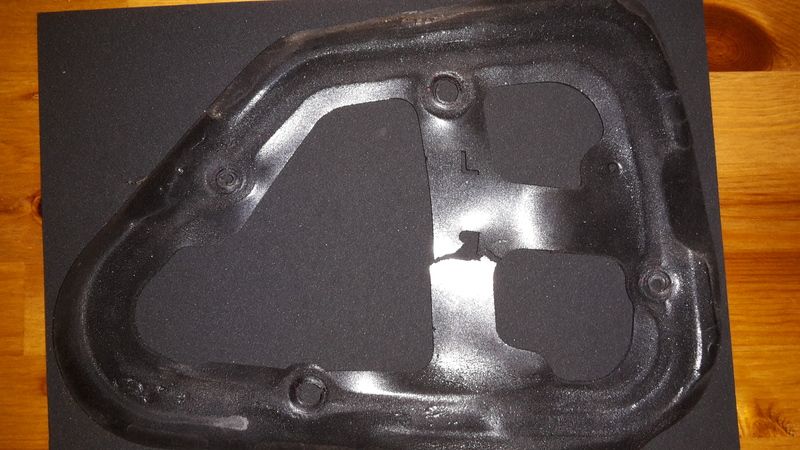
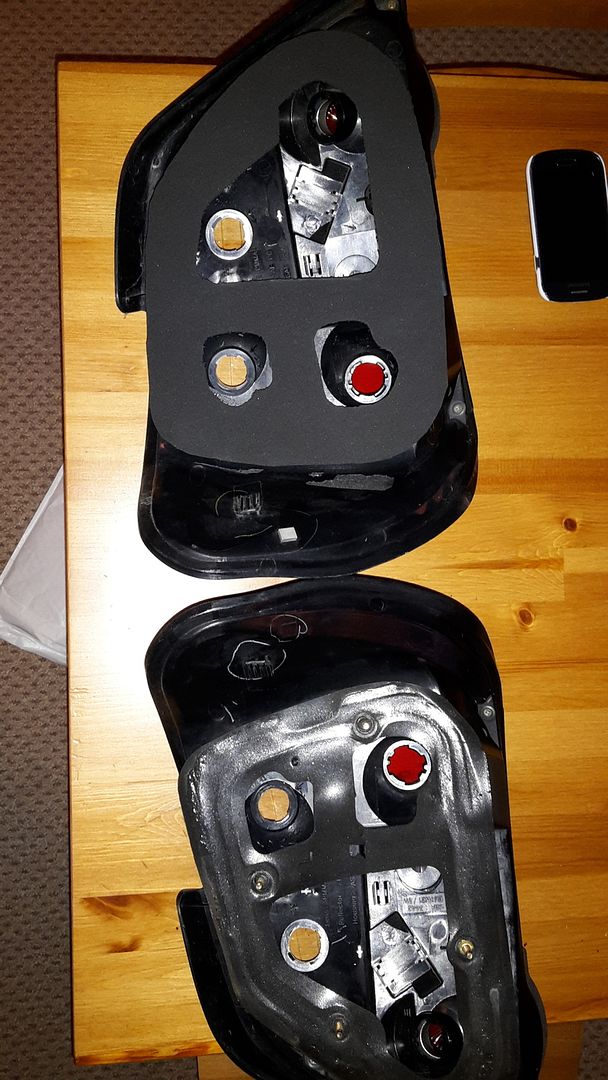
Being a skinflint and liking a challenge I have made my own tail light seals. So cue a bit of Blue Peter.
Tail lights out.
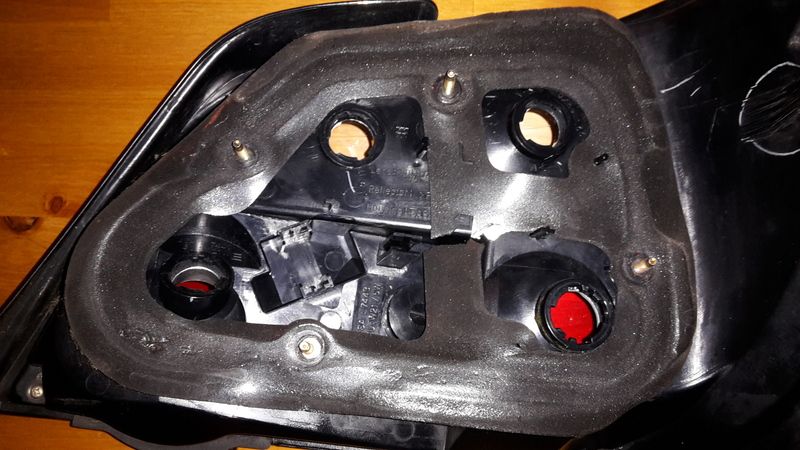
Seal removed.
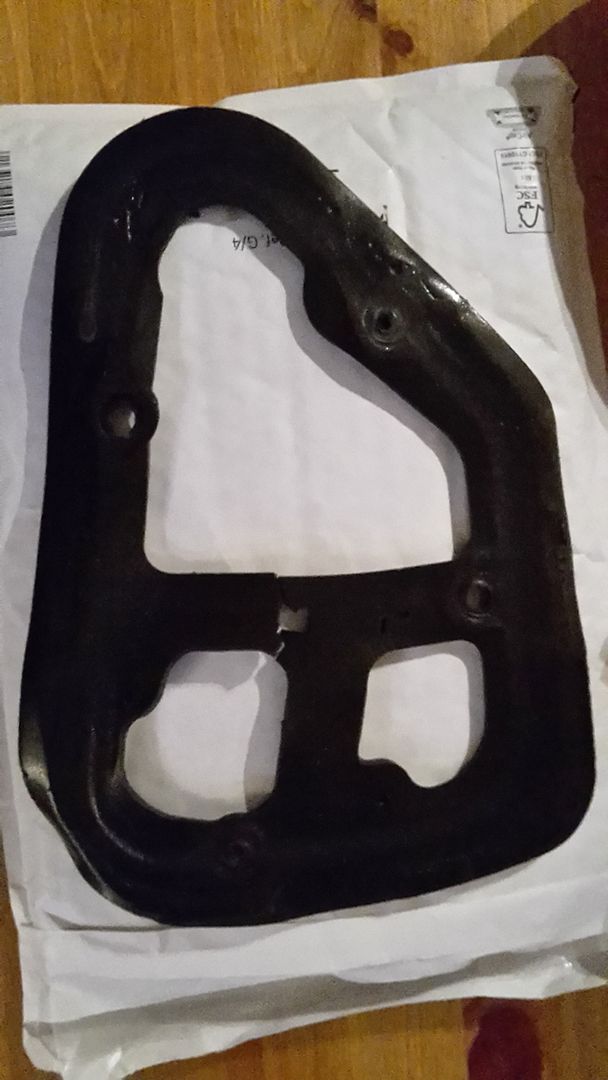
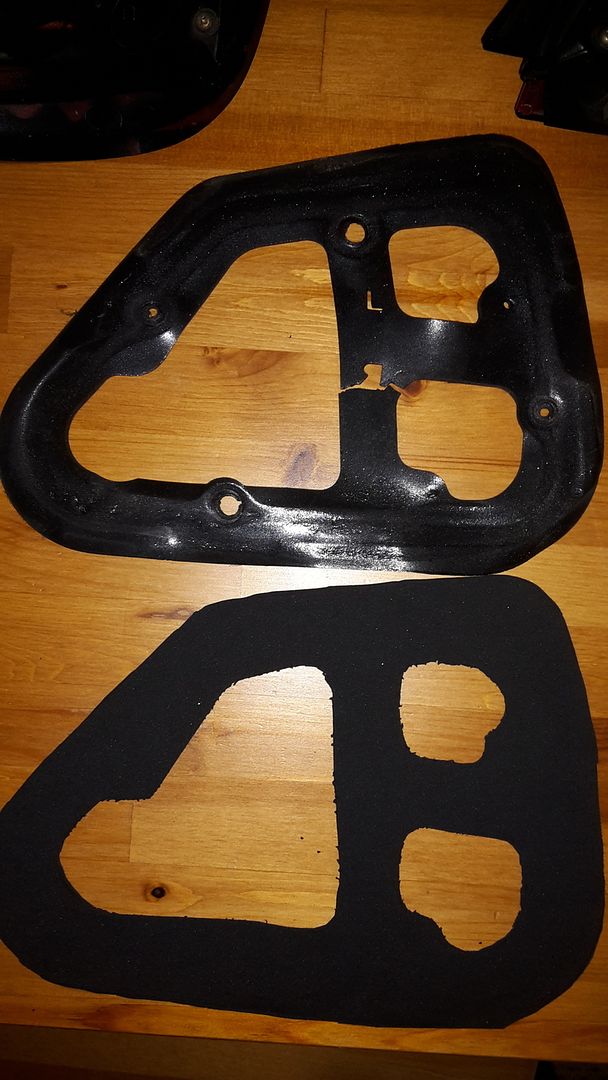
Laid out on the neoprene sheets and stencilled.
Sharp scissors and scalpel blades.


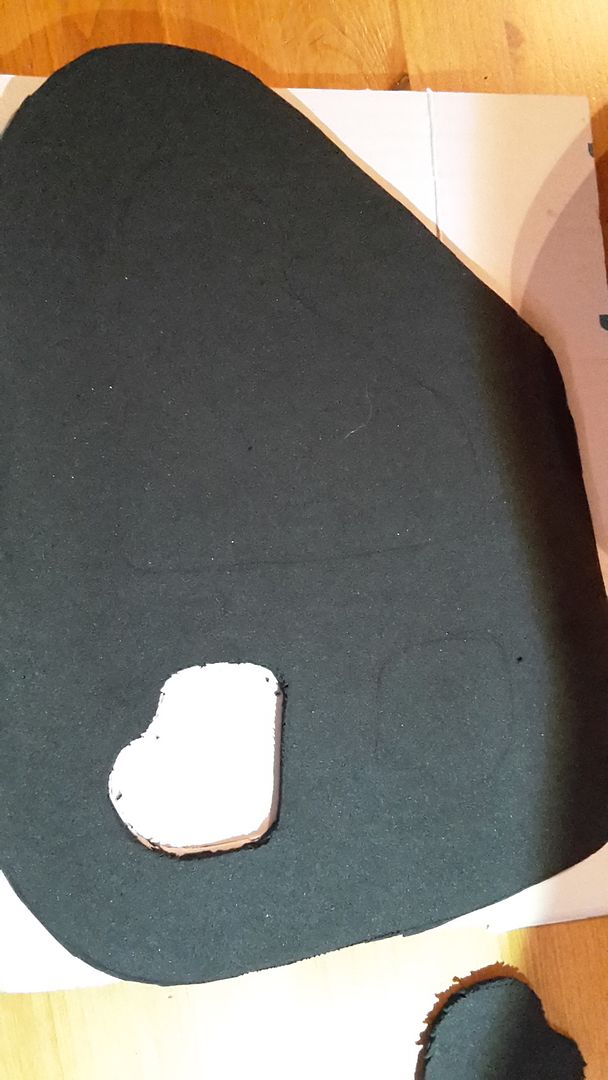
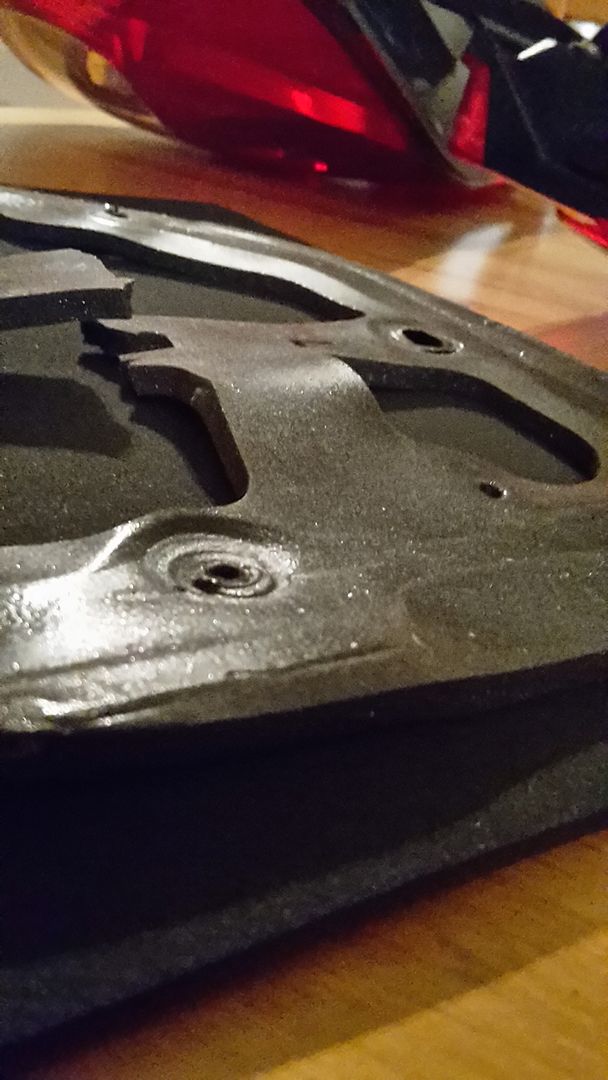
Ta dah!
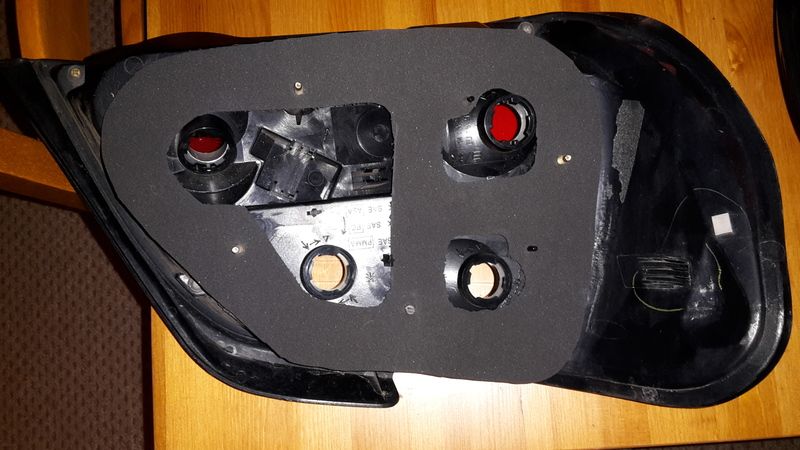
Fitted.
Tail lights out.

Seal removed.

Laid out on the neoprene sheets and stencilled.


Sharp scissors and scalpel blades.


Ta dah!

Fitted.


 30 March 2015, 09:50 PM
#70
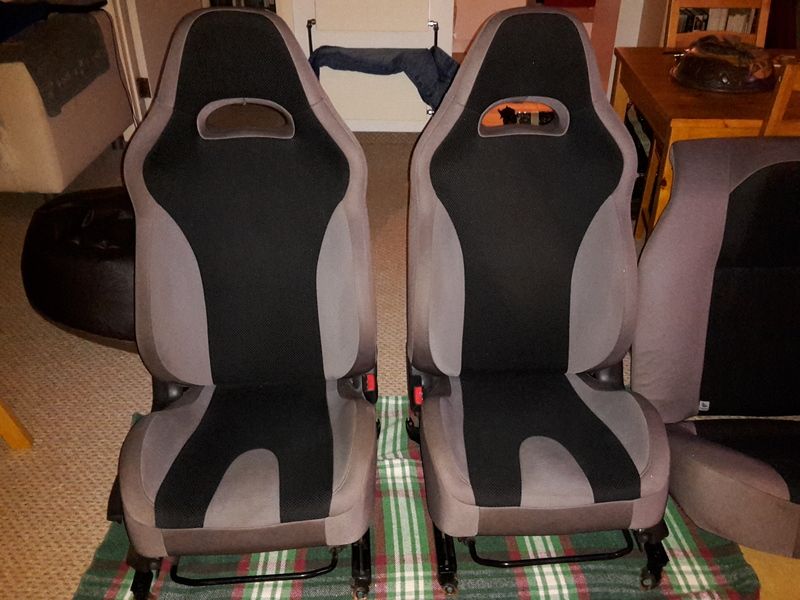
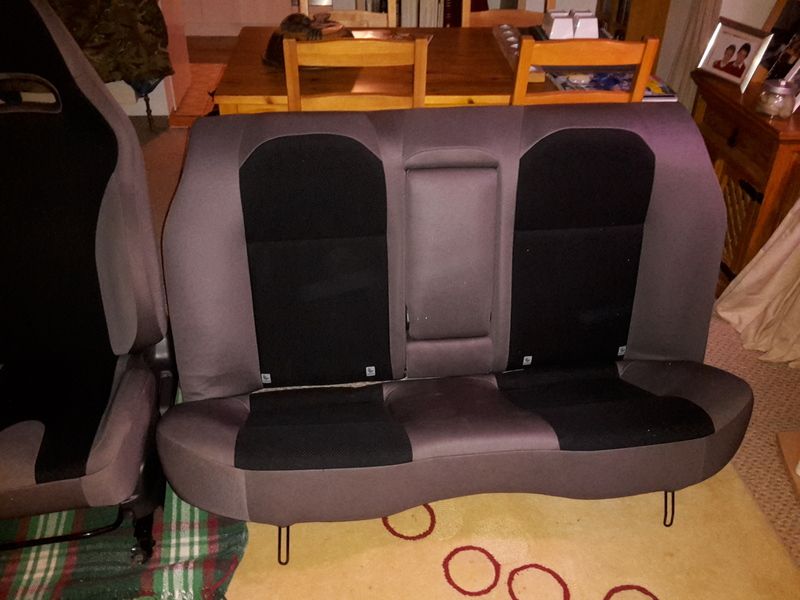
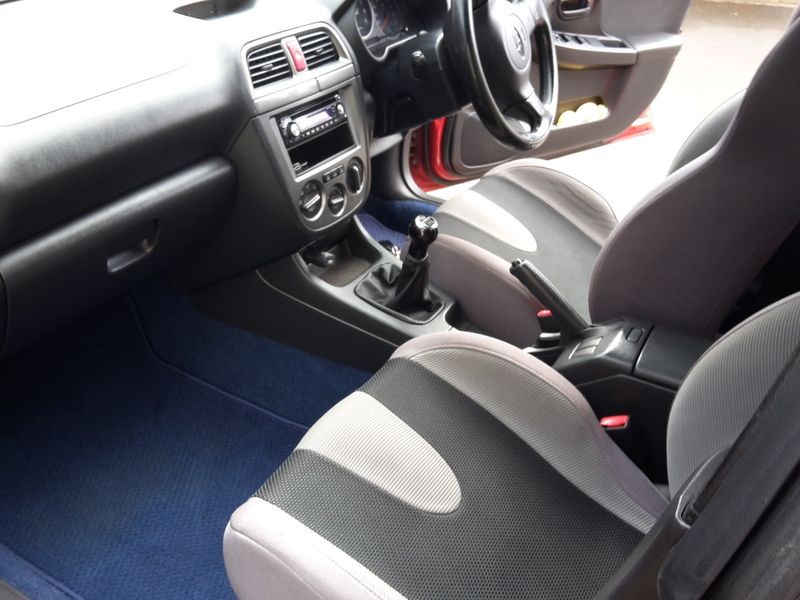
A quick zip down to Taunton gets me a mint condition WRX Hawkeye interior with door cards, pull handles and seats. The idea was to get an STi interior but I did not want the car to be a "lookey likey".
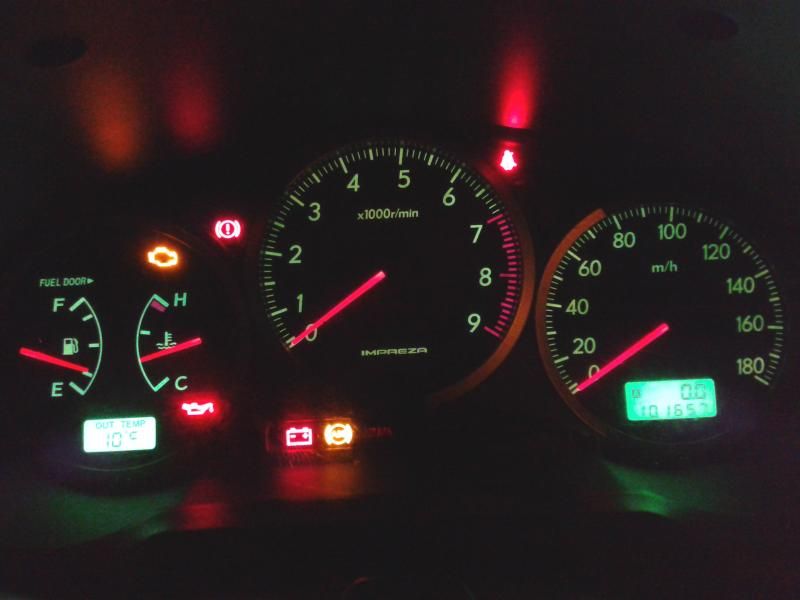
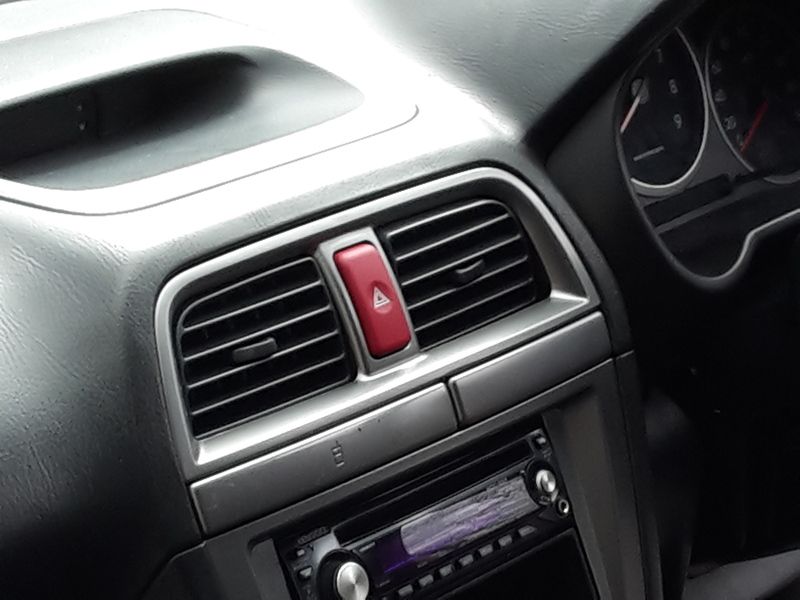
I should have these in by the weekend after a quick clean of the current interior. It's not looking too bad in there at the moment especially now I have the red JDM Hazard switch to make it a bit more original and changed the dash bulbs for newer items.
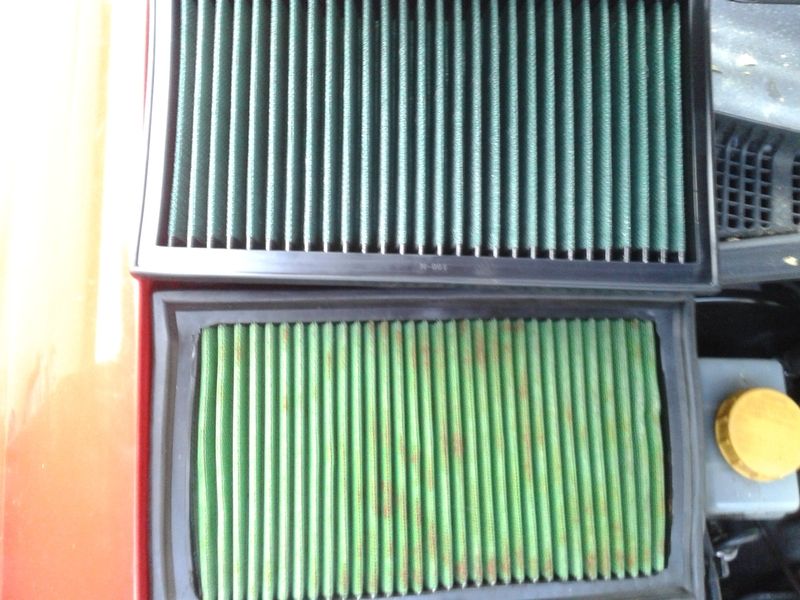
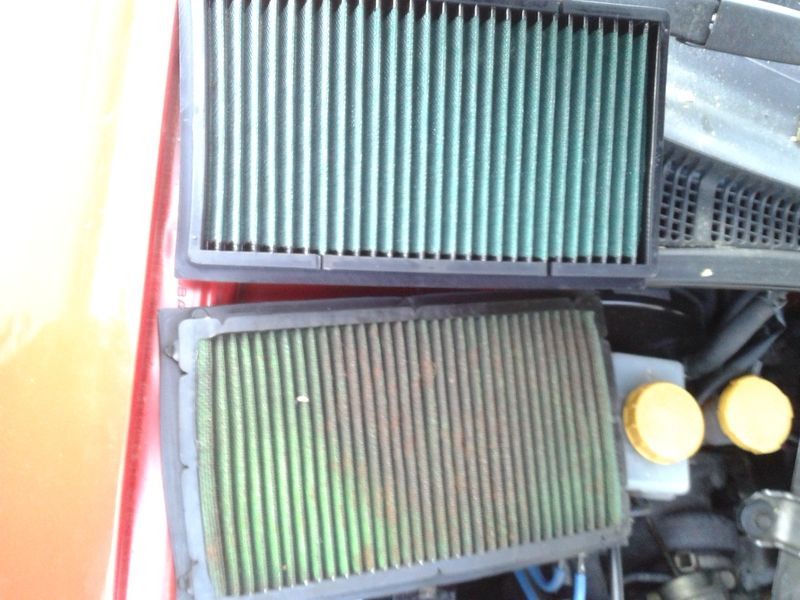
The air filter got some sorting to as the fitted item was .....err hmmm getting on. The new one is at the top.


Last edited by The Trooper 1815; 30 March 2015 at 09:52 PM.
03 April 2015, 06:30 PM
#71
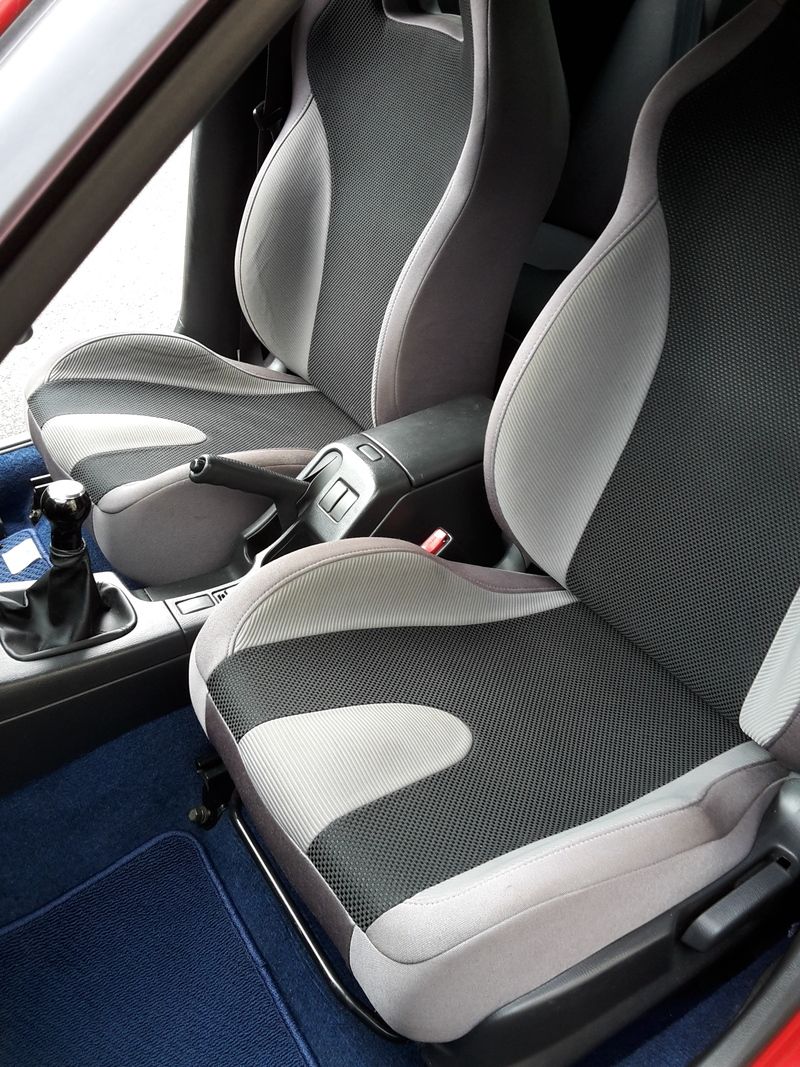
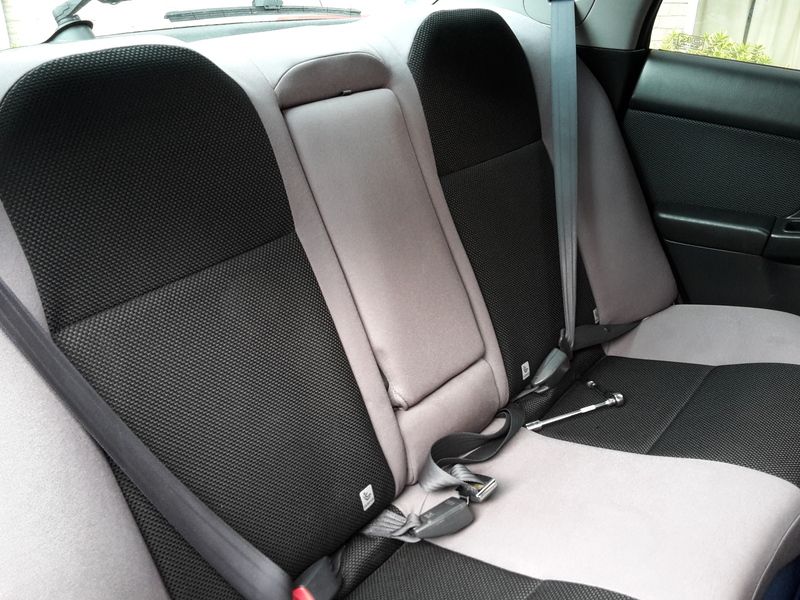
The seats are in. They really brighten up the interior and seem to be a better quality than the Blobeye seats.
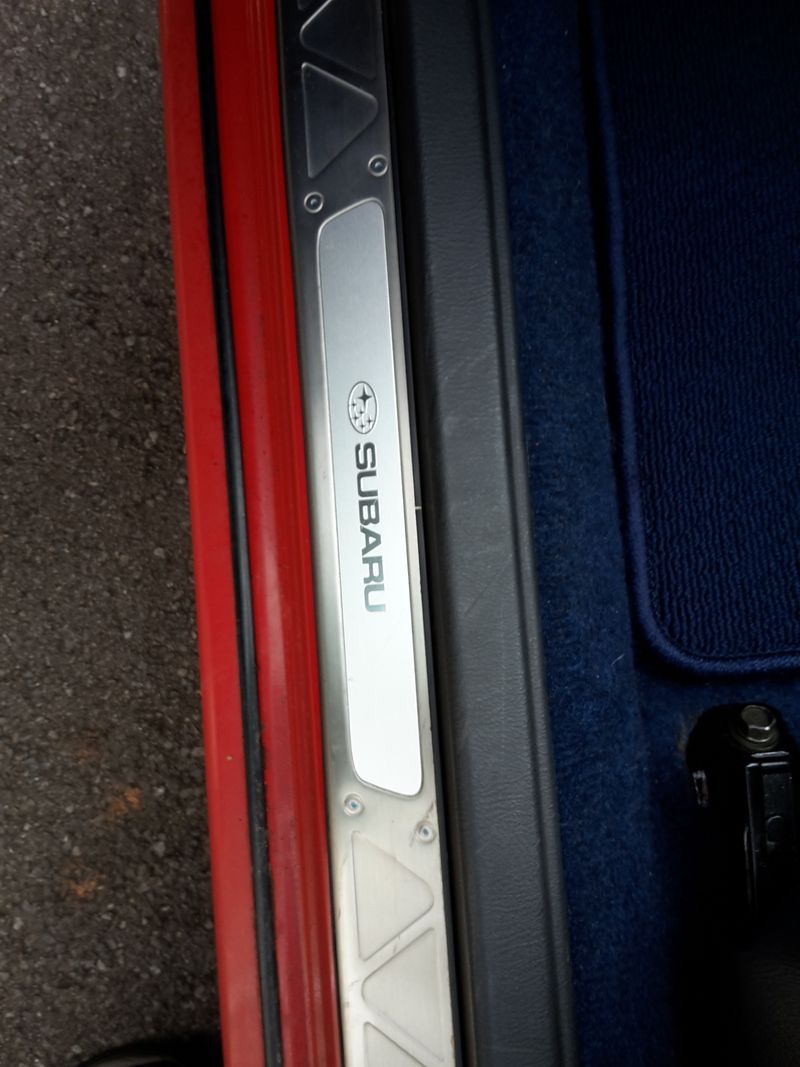
Sill trims fitted.
And while I was at it I did a bit of maint and changed the fuel filter. The good news is that the old filter was still doing it's job.
The brake refurb kit also arrived and I may start these soon.
But the question is, do I go for a Hawkeye centre console conversion?


Sill trims fitted.

And while I was at it I did a bit of maint and changed the fuel filter. The good news is that the old filter was still doing it's job.

The brake refurb kit also arrived and I may start these soon.
But the question is, do I go for a Hawkeye centre console conversion?
Last edited by The Trooper 1815; 03 April 2015 at 06:32 PM.
03 April 2015, 09:53 PM
#74
Scooby Regular
Join Date: Jun 2008
Posts: 1,106
Likes: 0
Received 0 Likes
on
0 Posts
[QUOTE=The Trooper 1815;11653950]Being a skinflint and liking a challenge I have made my own tail light seals. So cue a bit of Blue Peter.
Tail lights out.
Seal removed.
Laid out on the neoprene sheets and stencilled.
Sharp scissors and scalpel blades.
Ta dah!
Fitted.
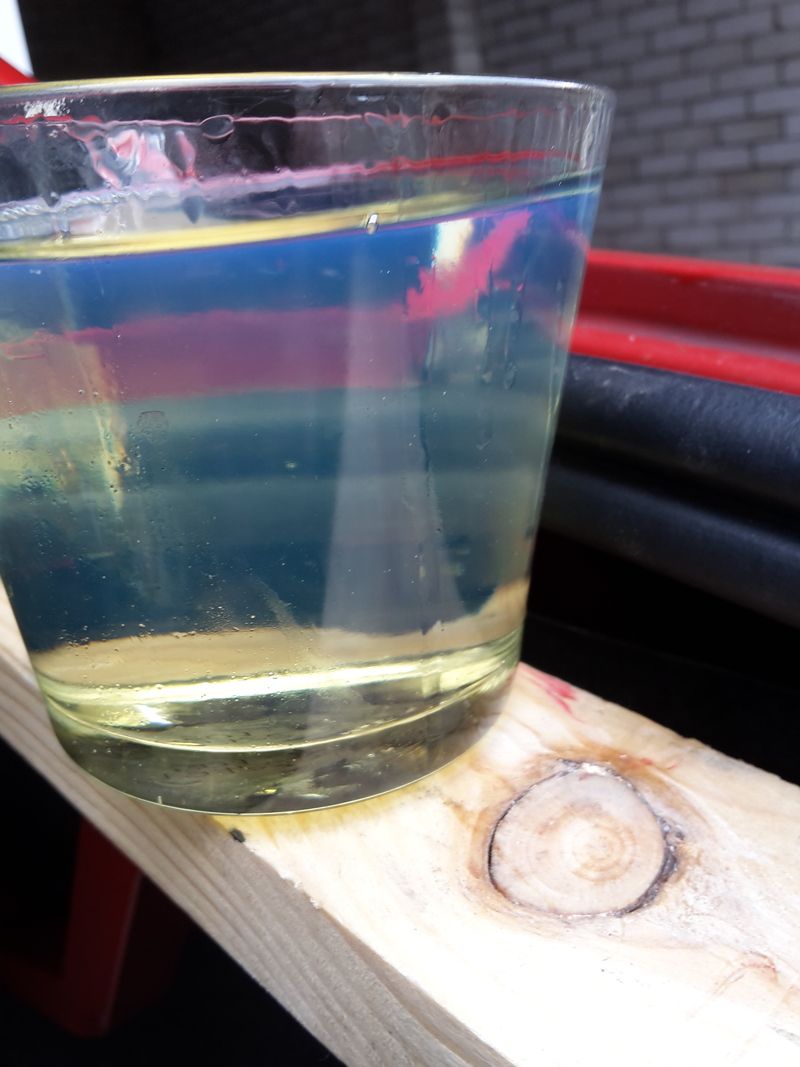
Capillary reaction think you boot will be a goldfish haven that looks like sponge seal. Put old seal in water and new then try n wring them out. That aside keep up great project.
Tail lights out.
Seal removed.
Laid out on the neoprene sheets and stencilled.
Sharp scissors and scalpel blades.
Ta dah!
Fitted.
Capillary reaction think you boot will be a goldfish haven that looks like sponge seal. Put old seal in water and new then try n wring them out. That aside keep up great project.

 03 April 2015, 10:34 PM
#76
[QUOTE=daviee;11658822]
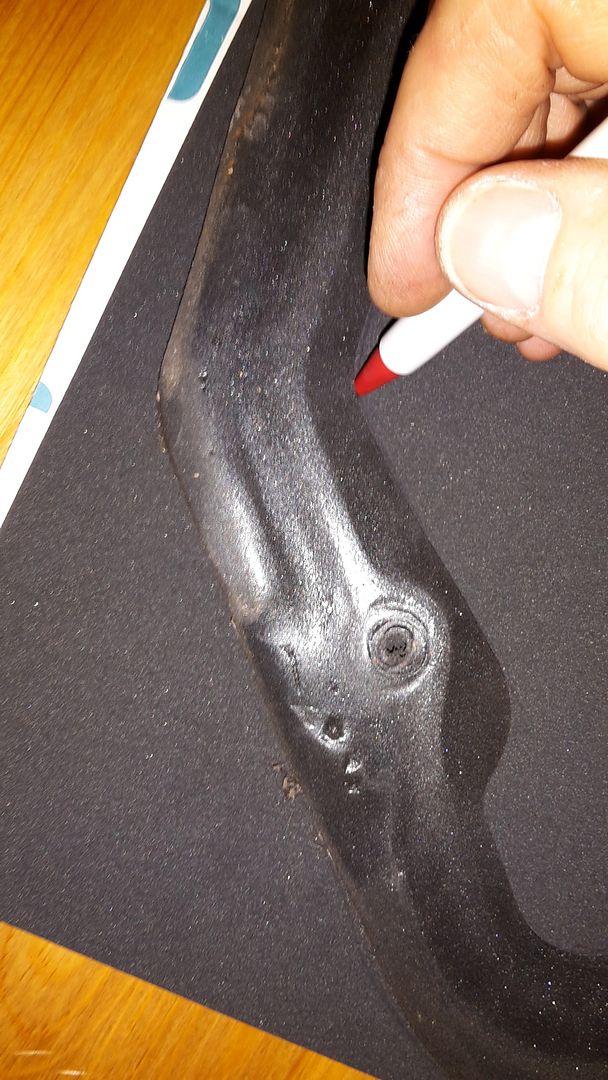
They both absorb water. There is an edge on the tail light that creates a water seal stopping the capillary action.
Being a skinflint and liking a challenge I have made my own tail light seals. So cue a bit of Blue Peter.
Tail lights out.
Seal removed.
Laid out on the neoprene sheets and stencilled.
Sharp scissors and scalpel blades.
Ta dah!
Fitted.
Capillary reaction think you boot will be a goldfish haven that looks like sponge seal. Put old seal in water and new then try n wring them out. That aside keep up great project.
05 April 2015, 12:02 PM
#77
https://www.facebook.com/EndlessRoad...if_t=notify_me
The parts have been painted and I hope to collect them tomorrow.
The parts have been painted and I hope to collect them tomorrow.
06 April 2015, 09:04 PM
#78
As the FB'ers know I went on a trip to Endless Road today (yes, a Bank Holiday) collect the bits for the Red Menace. The quality is excellent and Jaz is a great bloke and I will be going back with more business. He was amazed the gold Bomb could carry as much stuff, but I explained I can pack with the best of them.
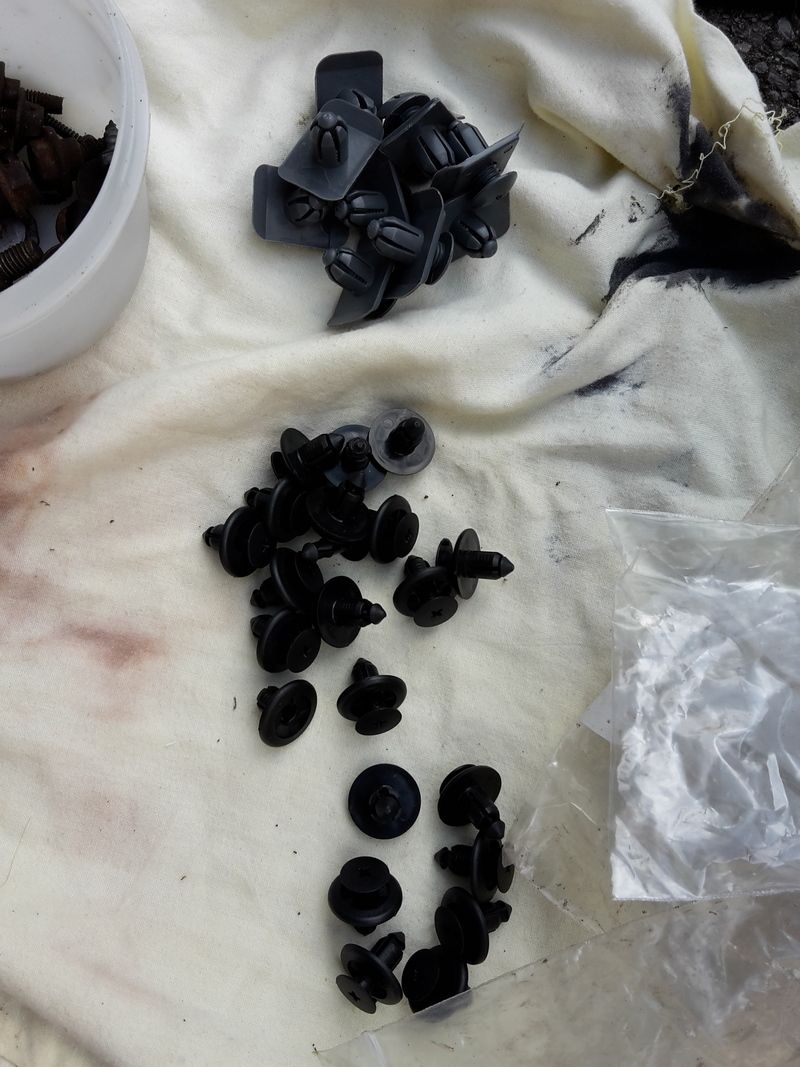
To make life easier and save some money in the long term I bought a set of trim tools. But I had plenty of spare trim clips and fasteners from eBay, mostly OE which helps.
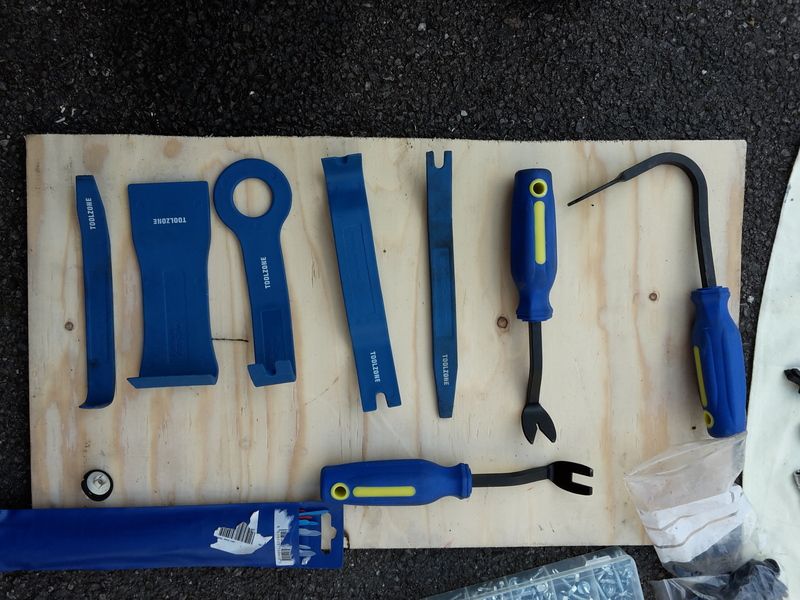
And the build began.
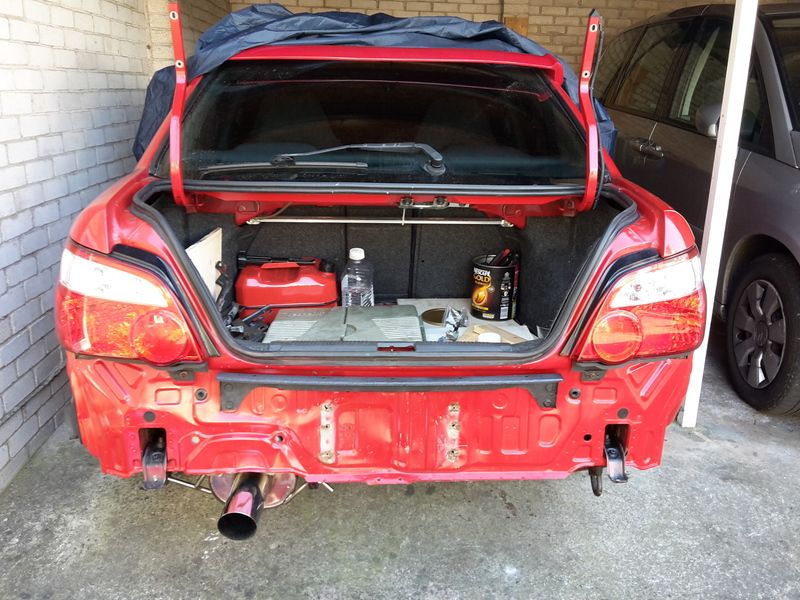
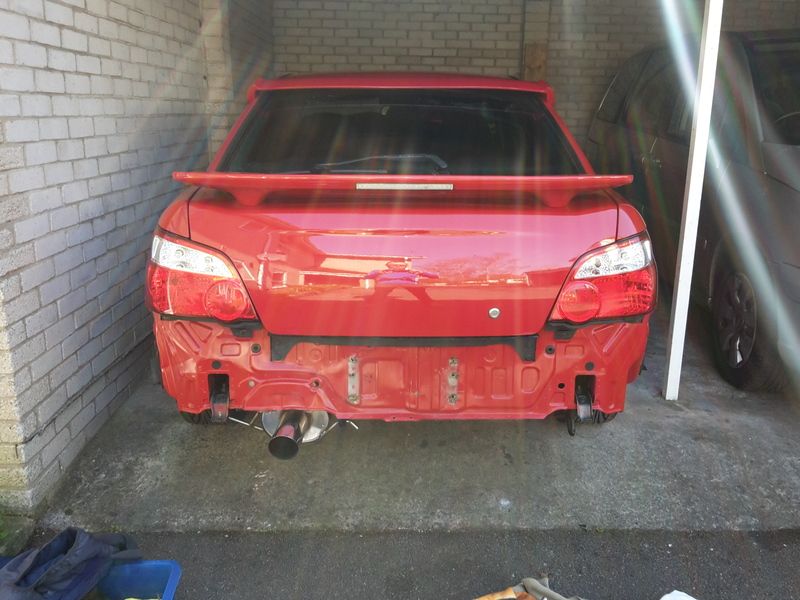
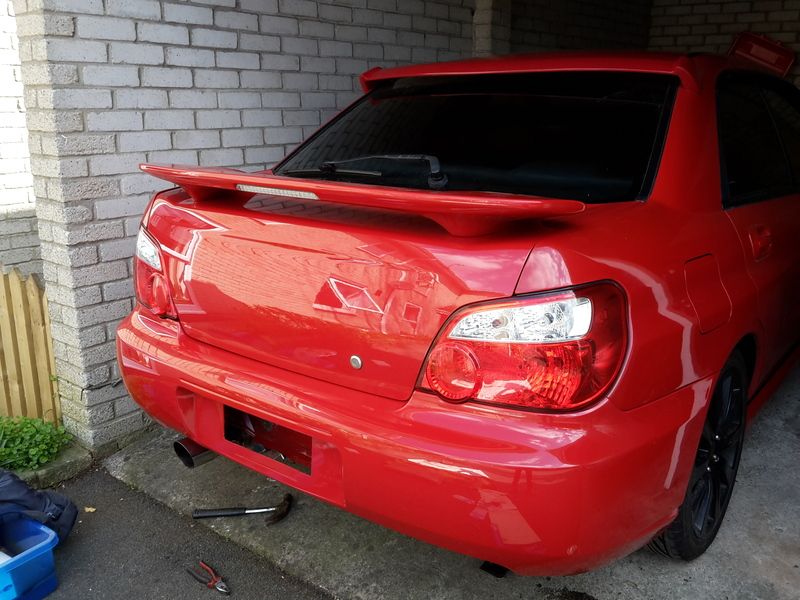
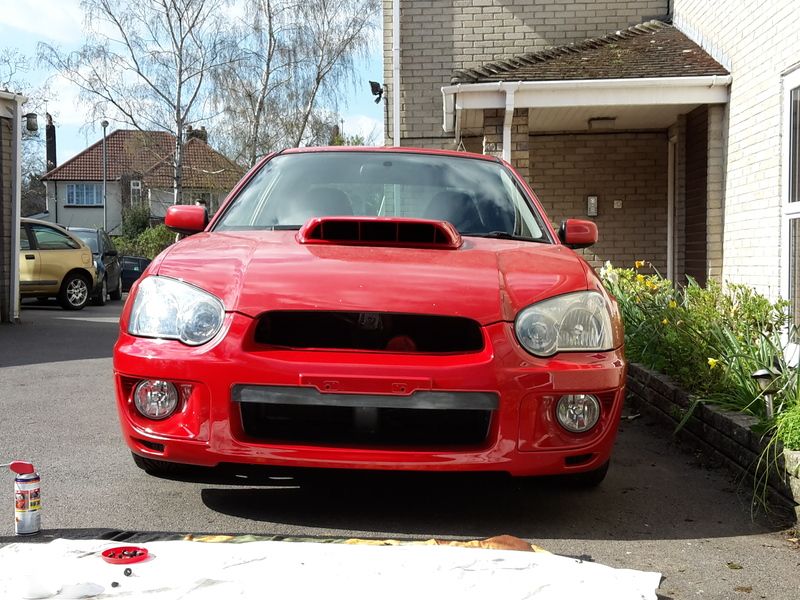
I am struggling to see any difference in the colour match but Jaz did use the fuel filler lid as a sample. A bloody good job all in all. It's a shame the rest of the paint work is now showing it's poor finish but a good machine polish will get that sorted. I will get the bonnet, front wings and roof done next as funds build.
The front and rear brakes will be off next and re-furbed with stainless pistons, new slider pins and spring retainers.
To make life easier and save some money in the long term I bought a set of trim tools. But I had plenty of spare trim clips and fasteners from eBay, mostly OE which helps.


And the build began.


I am struggling to see any difference in the colour match but Jaz did use the fuel filler lid as a sample. A bloody good job all in all. It's a shame the rest of the paint work is now showing it's poor finish but a good machine polish will get that sorted. I will get the bonnet, front wings and roof done next as funds build.
The front and rear brakes will be off next and re-furbed with stainless pistons, new slider pins and spring retainers.
Last edited by The Trooper 1815; 06 April 2015 at 09:08 PM.
 ill take the Clio up to Endless at some point, need some paint on the rear bumper
 07 April 2015, 01:34 PM
#84
Scooby Regular
iTrader: (2)
Join Date: Mar 2014
Location: Mancunian in Edinburgh
Posts: 753
Likes: 0
Received 0 Likes
on
0 Posts
Nice thread Ian, not noticed this until today.
I've been doing the same to my wagon, returning everything back to new OEM+!
Also found a large build-up of wet mud behind the front arch liners when re-doing the peeling underseal so cleaned and dried then emptied a can of waxoyl under seal in there and will be keeping an eye on future build-up. Dirt must be running down the inside of the liner from the top near the strut, not a good design.
07 April 2015, 02:46 PM
#85
The rear diffuser was just as bad. It acts like a dirt and crud trap. The charcoal cannister is pretty poor and is getting replaced with spats getting fitted.
The remainder of the body is good but where the wing joins the bumper will need some remedial work soon.
Hopefully I will be picking up a Milltek centre soon and it will go on with a nice shiney matched back box.
The remainder of the body is good but where the wing joins the bumper will need some remedial work soon.
Hopefully I will be picking up a Milltek centre soon and it will go on with a nice shiney matched back box.

