HOW TO.. Early classic power steering upgrade
 26 February 2009, 08:53 PM
#1
Unmapped 12.4s @ 105
Thread Starter
iTrader: (29)
Join Date: Apr 2005
Location: Newcastle. 330bhp-289lb/ft @ 1bar boost - 12.4s @ 105mph
Posts: 11,776
Likes: 0
Received 4 Likes
on
4 Posts
Seemingly, every Version 1 and Version 2 Impreza have leaky power steering pumps. Why? I don't know, bad design maybe. 
There is a low cost, easy upgrade though. Fit a PS pump from a Version 3(97) onwards. It's that or faff about changing seals etc.
If this was a Haynes manual guide, I'd rate it at a 2 spanner difficulty.
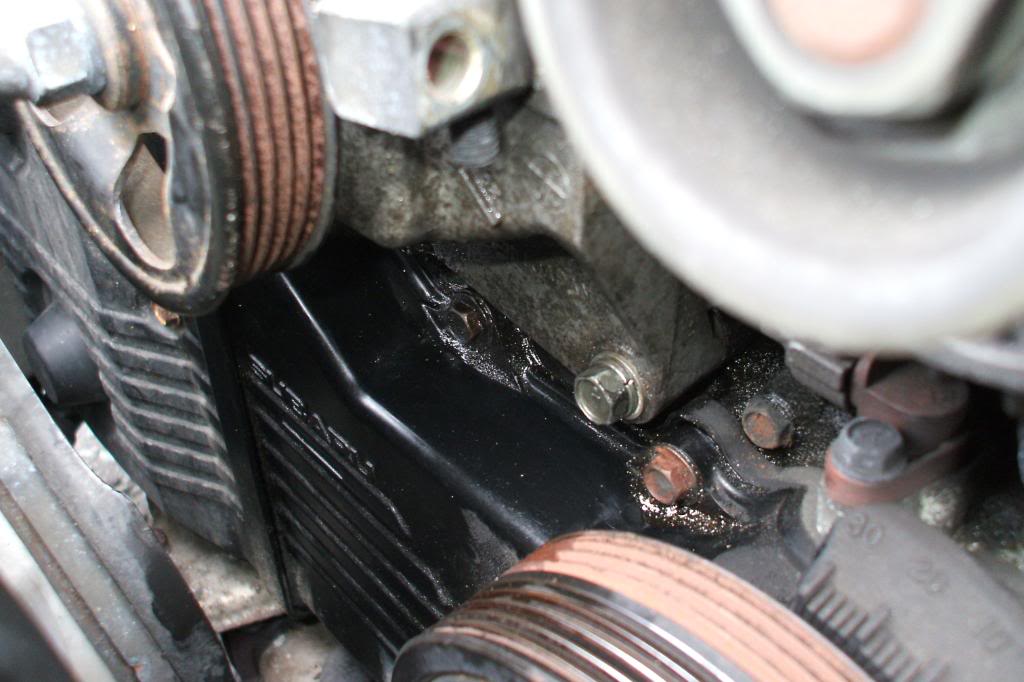
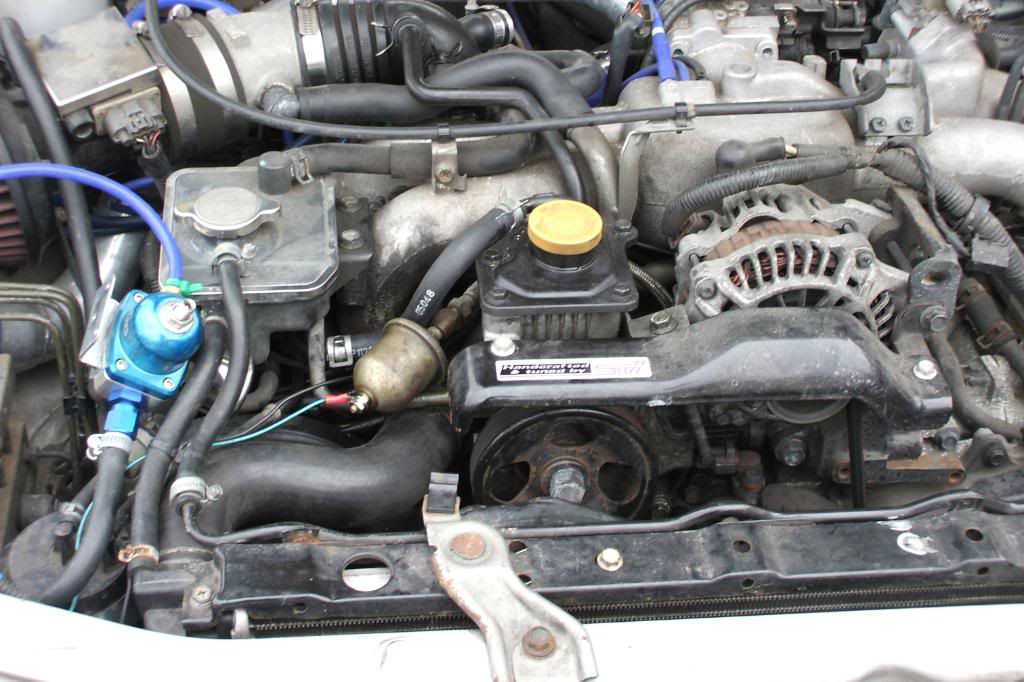
Anyway, have a look behind your PS pump, it probably looks like this;
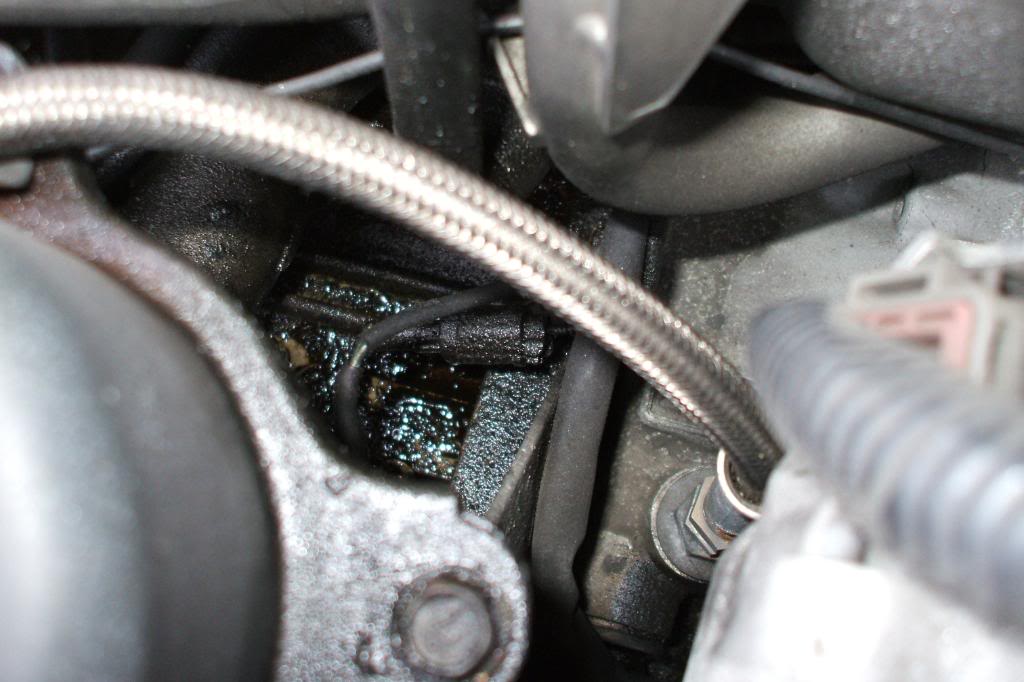
Yup, minging filthy. General dirt and grime, ably assisted by power steering fluid. Doesn't look good.
I neglected to take a few pics, for which I'll apologise now. They aren't too important and will become evident in the thread. I should have had someone with clean hands available, Lisa was cleaning the house though. 
REMOVAL
What you need to do the job, excepting the obvious PS pump.
Ratchet and extension bar/s
10mm socket
12mm deep socket
24mm socket/spanner
17mm spanner
Pliers - I used needle nosed
Power steering fluid - 1ltr
An empty beer can or similar container.
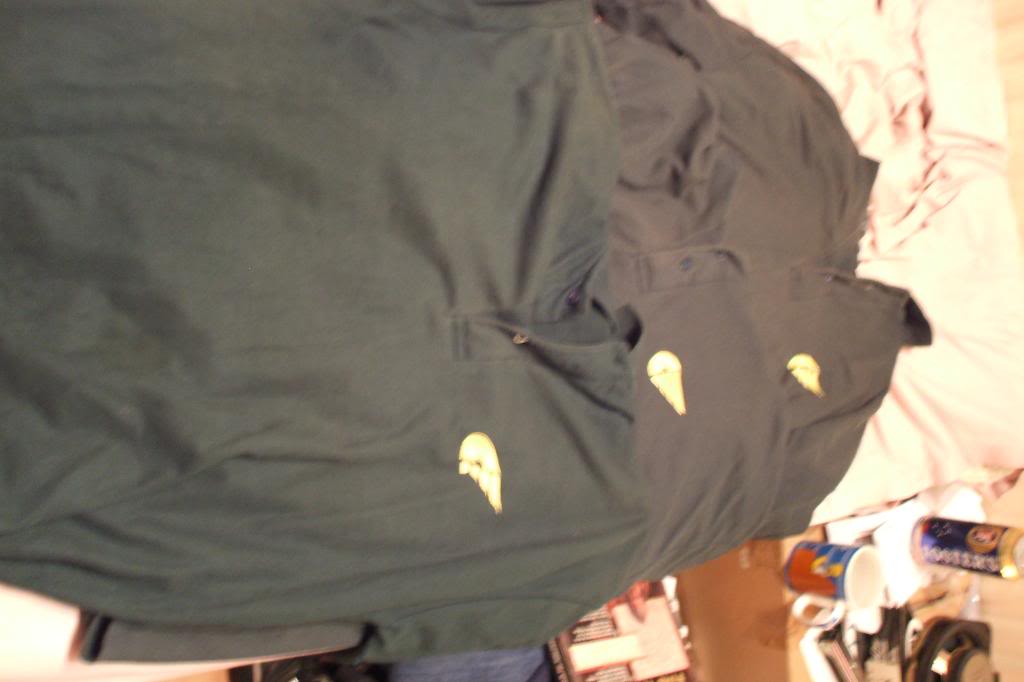
Rags - I cut up some old works T-shirts.
Brake cleaner or engine degreaser
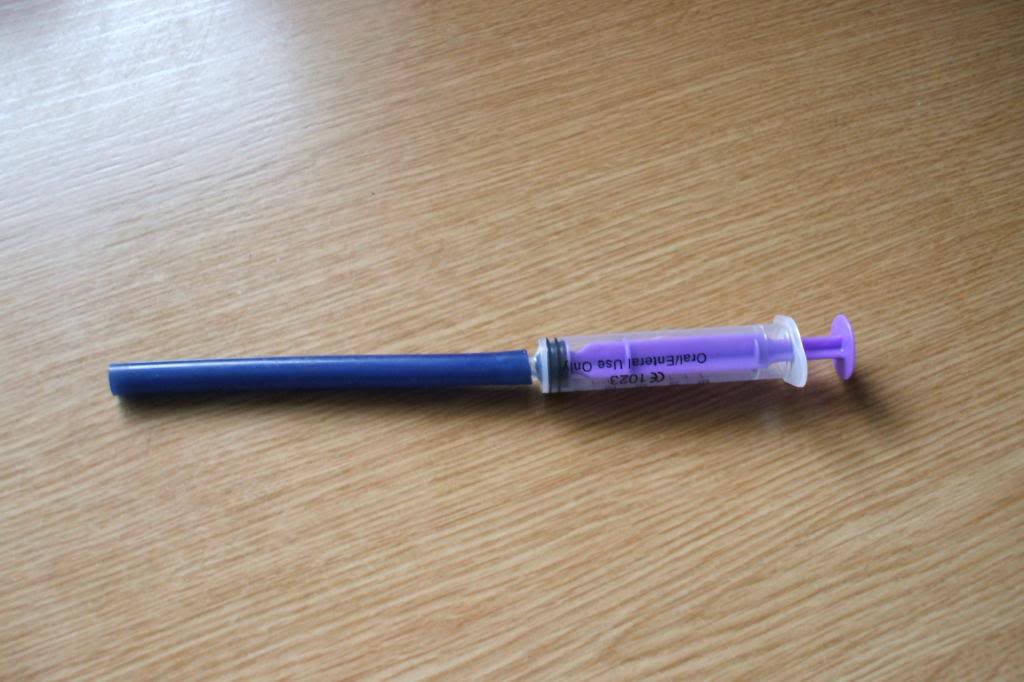
A Syringe and a small length of pipe. I used silicon vac pipe 3mm bore I think. Syringe was 79p from the pharmacy counter at Asda.
Replacement return hose. I used 9.6mm hose from Pirtek at Team Valley. Get a foot of replacement pipe, won't need it all.. better to have too much than not enough.
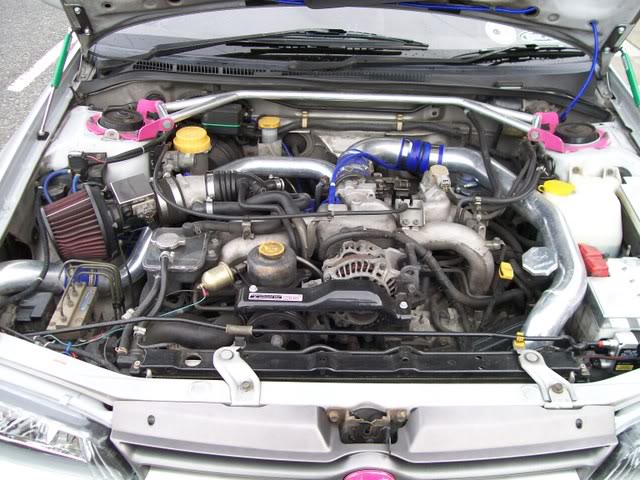
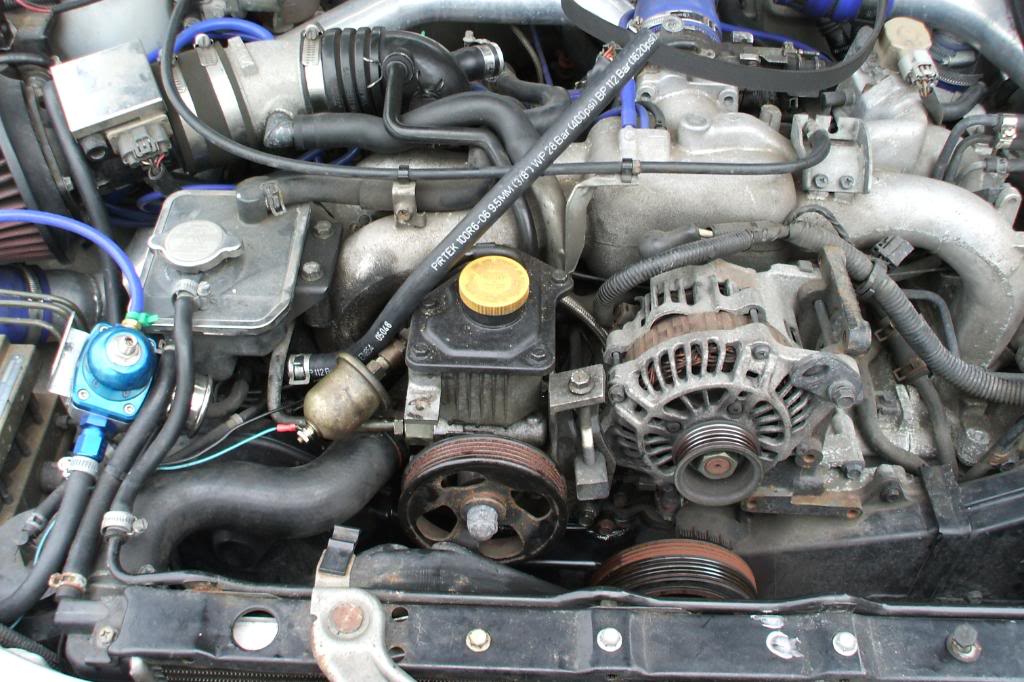
Right where to start. Pop your bonnet and you're looking at something like this;
First things first. How to get the PS fluid out of the tank?
Thats where your modified syringe comes in. Fill your syringe with PS fluid and deposit it in your handy beer can/container. It's a little time consuming with a small syringe, a larger one would be better, but, this is the cleanest and safest way I could think of doing it. Also what a mate did when he did his.
Remove the alternator and PS belt cover. 1 10mm bolt and loosen the 12mm bolt at the top right of the alternator. If you have air con.. well I binned mine over 2 years ago and can't remember, but, it will be straight forward.
Loosen and remove the tensioner lock bolt(12mm) for the belts. It's in between the alternator and PS pump/tank about half way down. Remove the belt, give the alternator a nudge towards the PS pump, if it doesnt fall over.
Move the return pipe clip, pliers required. Then undo the 17mm union for the rack feed. If you can, place a rag underneath these as they will drip fluid. No pic, will add one when I get one.
Now, you're ready to remove the pump assembly. This is held in with 3 12mm bolts. Two of the bolts are below and either side of the belt pulley, the other is on the top of the block behind the pump assy. I found a deep 12mm socket for the 2 under the pulley and a long extension bar for the one on top, to work best.
Top bolt - This, and the next pic are when the replacment pump were fitted and my hands were a bit cleaner.
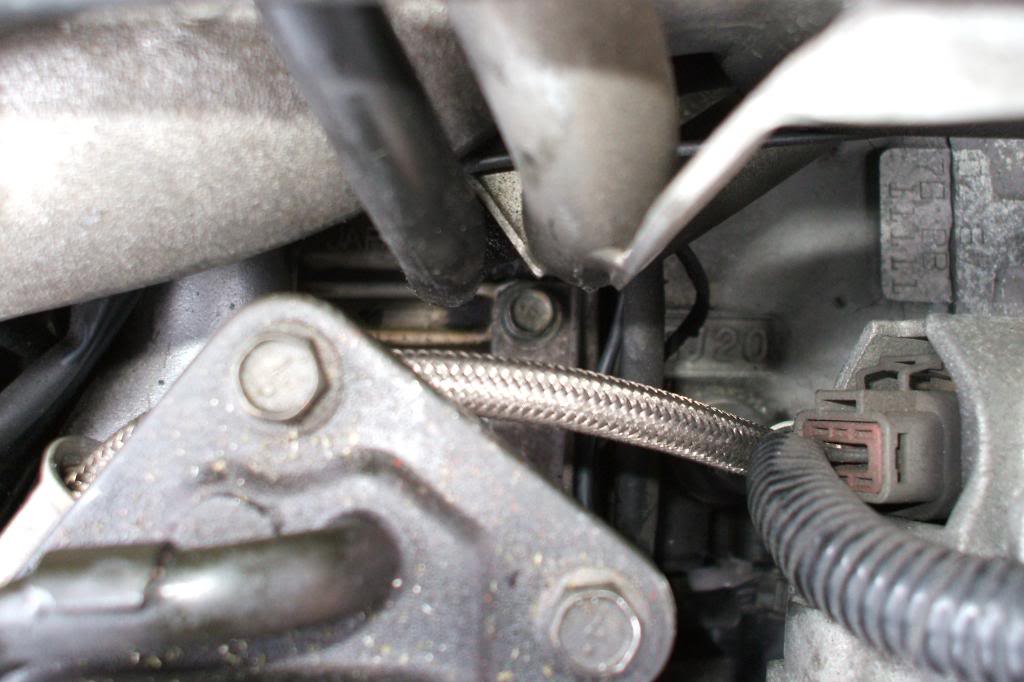
Bottom bolt - the LHS on is not in shot;
Once they are un-done, the pump assy will lift out with a little wiggling to free the return pipe. When it's out, remove the return pipe, pliers required. Bin the pipe, you won't need it, but, DON'T bin the clips just yet. Clean them up and re-use, or use jubilee clips when refitting the return. DO NOT CHUCK THE PUMP/RESERVOIR IN THE BIN YET!!!
Next step, clean the top of the block. To do this properly, you will HAVE to remove the inlet manifold, which is what I'll be doing in the near future. It is possible to clean in up a bit though, hence the need for rags and engine degreaser. A little bit of elbow grease and you should have something like this;

Note the replacement hose loosely in place.
REFITTING
In true Haynes manual style, re-fitting is the reversal of removing, right.
Wrong!
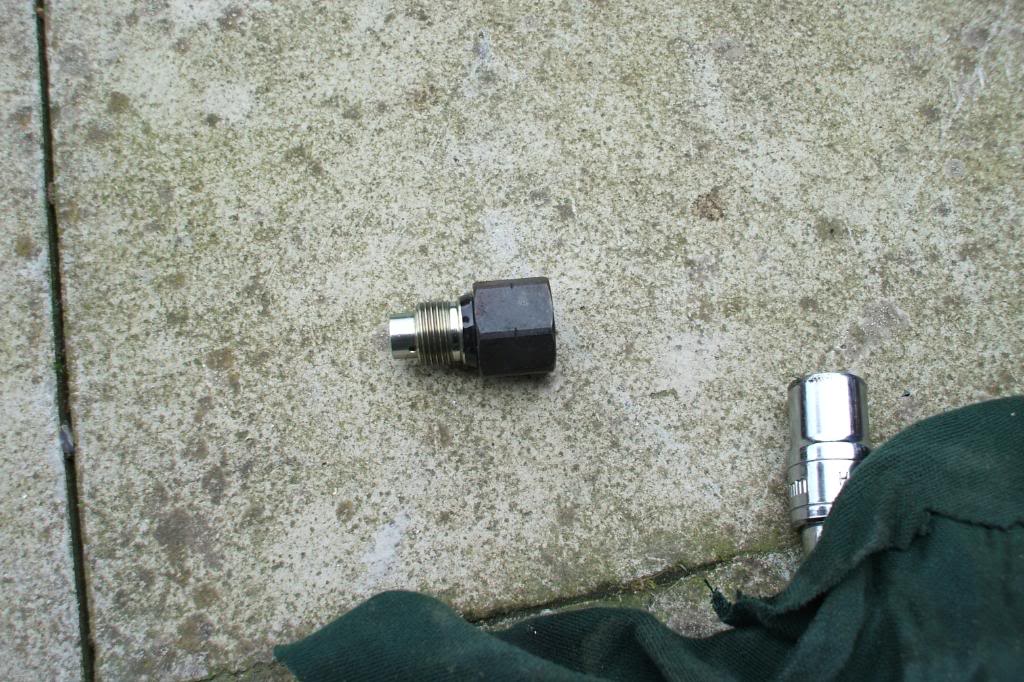
Here is why you need a 24mm socket or spanner.
The later pump assy will bolt directly in place of the old one, but the feed pipe won't fit. The later cars have a PS fluid cooler, therefore use a banjo bolt fitting, whereas on the early cars the pipe goes direct into the pump.
The remedy, swap the fittings on the pumps.
Remove this part;
From this hole;
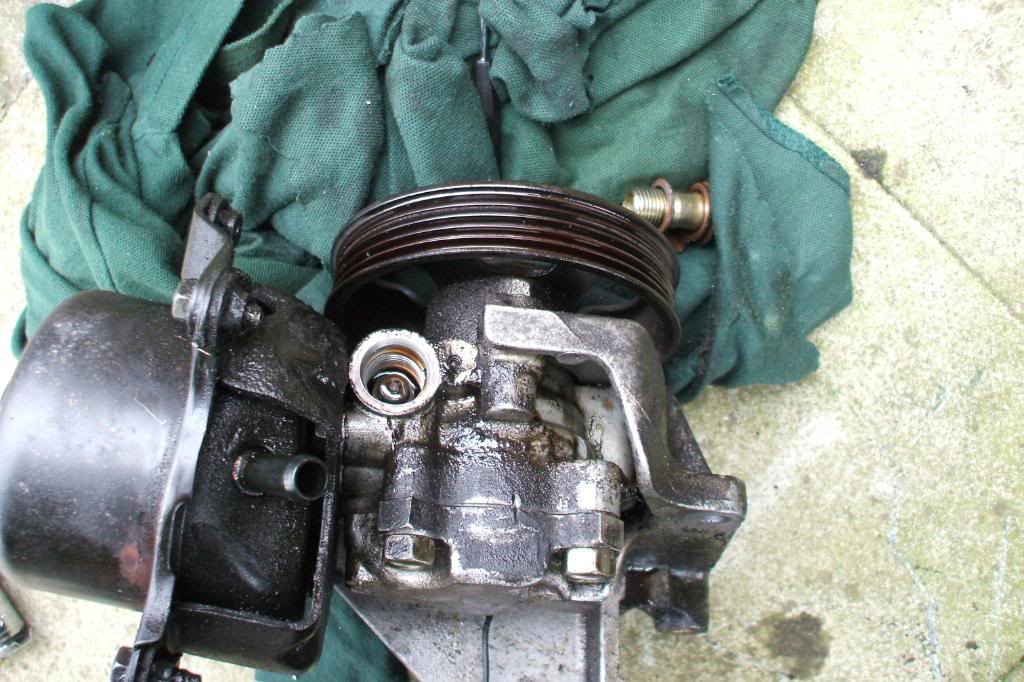
Do the same with the new pump and replace with your original fitting.
Now re-fitting is Haynes style.
You should now have something looking a bit like this;
Cut the return pipe to fit and secure with either the original clips or jubilee clips. Re-fit and re-tension the auxillary belt.
Don't re-fit the belt cover yet.
Start to re-fill the resevoir, then start the engine - checking for leaks.
When satisfied that you have no leaks, you need to bleed the rack. Ideally this is done with the front wheels off the ground, I live on a hill and wasn't prepared to chance axle stands. Anyway, to bleed the rack, I believe it is turn the steering, lock to lock, topping up as necessary.
When you're satisfied that there are no leaks and the aux belt isn't slipping, replace the belt cover... shut the bonnet... set the alarm and go make a well earned cuppa.
You should finish with similar to this;
There is a low cost, easy upgrade though. Fit a PS pump from a Version 3(97) onwards. It's that or faff about changing seals etc.
If this was a Haynes manual guide, I'd rate it at a 2 spanner difficulty.
Anyway, have a look behind your PS pump, it probably looks like this;

Yup, minging filthy. General dirt and grime, ably assisted by power steering fluid. Doesn't look good.
I neglected to take a few pics, for which I'll apologise now. They aren't too important and will become evident in the thread. I should have had someone with clean hands available, Lisa was cleaning the house though.
REMOVAL
What you need to do the job, excepting the obvious PS pump.
Ratchet and extension bar/s
10mm socket
12mm deep socket
24mm socket/spanner
17mm spanner
Pliers - I used needle nosed
Power steering fluid - 1ltr
An empty beer can or similar container.
Rags - I cut up some old works T-shirts.

Brake cleaner or engine degreaser
A Syringe and a small length of pipe. I used silicon vac pipe 3mm bore I think. Syringe was 79p from the pharmacy counter at Asda.

Replacement return hose. I used 9.6mm hose from Pirtek at Team Valley. Get a foot of replacement pipe, won't need it all.. better to have too much than not enough.
Right where to start. Pop your bonnet and you're looking at something like this;

First things first. How to get the PS fluid out of the tank?
Thats where your modified syringe comes in. Fill your syringe with PS fluid and deposit it in your handy beer can/container. It's a little time consuming with a small syringe, a larger one would be better, but, this is the cleanest and safest way I could think of doing it. Also what a mate did when he did his.
Remove the alternator and PS belt cover. 1 10mm bolt and loosen the 12mm bolt at the top right of the alternator. If you have air con.. well I binned mine over 2 years ago and can't remember, but, it will be straight forward.
Loosen and remove the tensioner lock bolt(12mm) for the belts. It's in between the alternator and PS pump/tank about half way down. Remove the belt, give the alternator a nudge towards the PS pump, if it doesnt fall over.
Move the return pipe clip, pliers required. Then undo the 17mm union for the rack feed. If you can, place a rag underneath these as they will drip fluid. No pic, will add one when I get one.
Now, you're ready to remove the pump assembly. This is held in with 3 12mm bolts. Two of the bolts are below and either side of the belt pulley, the other is on the top of the block behind the pump assy. I found a deep 12mm socket for the 2 under the pulley and a long extension bar for the one on top, to work best.
Top bolt - This, and the next pic are when the replacment pump were fitted and my hands were a bit cleaner.

Bottom bolt - the LHS on is not in shot;

Once they are un-done, the pump assy will lift out with a little wiggling to free the return pipe. When it's out, remove the return pipe, pliers required. Bin the pipe, you won't need it, but, DON'T bin the clips just yet. Clean them up and re-use, or use jubilee clips when refitting the return. DO NOT CHUCK THE PUMP/RESERVOIR IN THE BIN YET!!!
Next step, clean the top of the block. To do this properly, you will HAVE to remove the inlet manifold, which is what I'll be doing in the near future. It is possible to clean in up a bit though, hence the need for rags and engine degreaser. A little bit of elbow grease and you should have something like this;

Note the replacement hose loosely in place.
REFITTING
In true Haynes manual style, re-fitting is the reversal of removing, right.
Wrong!
Here is why you need a 24mm socket or spanner.
The later pump assy will bolt directly in place of the old one, but the feed pipe won't fit. The later cars have a PS fluid cooler, therefore use a banjo bolt fitting, whereas on the early cars the pipe goes direct into the pump.
The remedy,
 swap the fittings on the pumps.
Remove this part;

From this hole;

Do the same with the new pump and replace with your original fitting.
Now re-fitting is Haynes style.
You should now have something looking a bit like this;

Cut the return pipe to fit and secure with either the original clips or jubilee clips. Re-fit and re-tension the auxillary belt.
Don't re-fit the belt cover yet.
Start to re-fill the resevoir, then start the engine - checking for leaks.
When satisfied that you have no leaks, you need to bleed the rack. Ideally this is done with the front wheels off the ground, I live on a hill and wasn't prepared to chance axle stands. Anyway, to bleed the rack, I believe it is turn the steering, lock to lock, topping up as necessary.
When you're satisfied that there are no leaks and the aux belt isn't slipping, replace the belt cover... shut the bonnet... set the alarm and go make a well earned cuppa.
You should finish with similar to this;

Last edited by mickywrx; 04 March 2010 at 07:04 PM.


Thread
Thread Starter
Forum
Replies
Last Post
Scott@ScoobySpares
Full Cars Breaking For Spares
61
11 January 2021 03:08 PM
Scott@ScoobySpares
Full Cars Breaking For Spares
7
14 December 2015 08:16 AM
Mattybr5@MB Developments
Full Cars Breaking For Spares
20
22 October 2015 06:12 AM
MH-Racing
Subaru Parts
18
18 October 2015 04:49 PM