
Blobeye Gril Refresh Ideas (Picture Heavy)

Thread Starter
Scooby Regular
iTrader: (78)
Joined: Jul 2009
Posts: 9,451
Likes: 13
From: North West
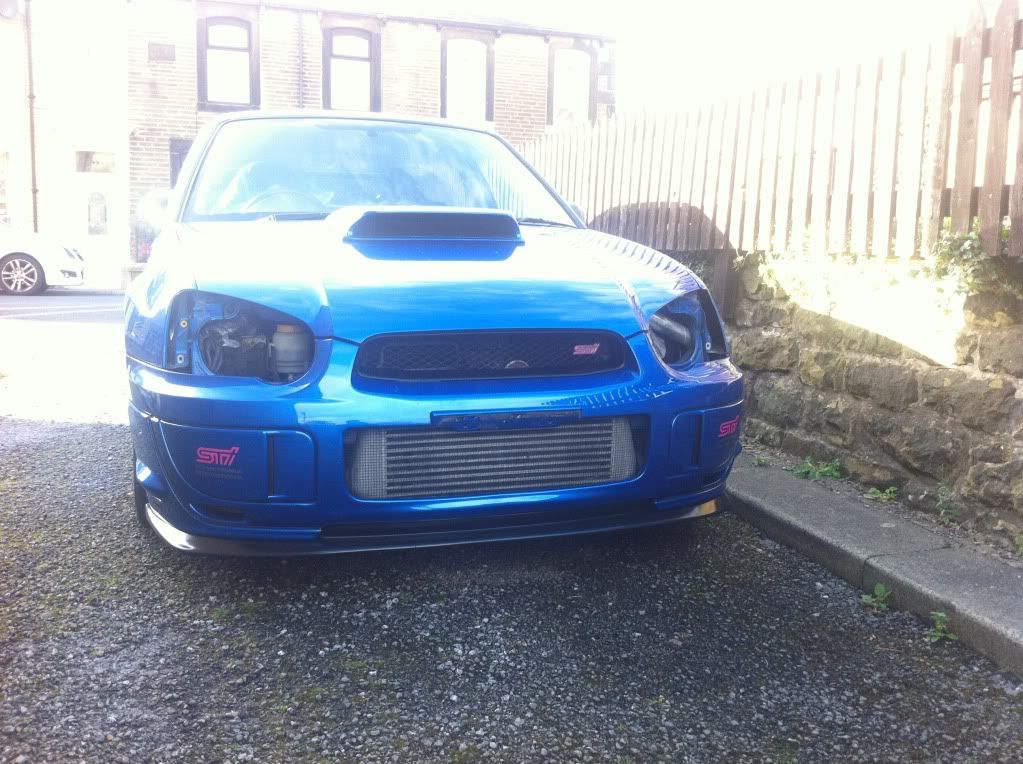
Well after plenty advice, but unfortunately no pictures I decided to create my own basic thread on upgrading your Blobeye grill.
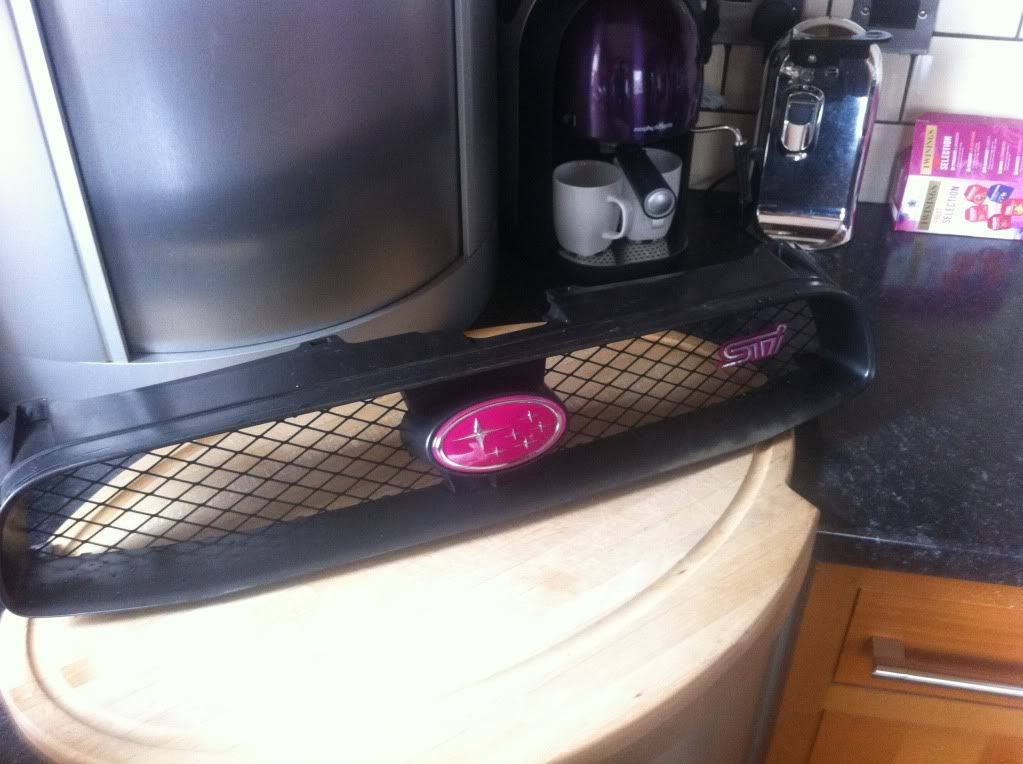
Firstly remove the ******, there are a series of clips on the top, and two at the bottom that need a long screwdriver to reach.
No pics of this being removed, but to be honest this is child play.
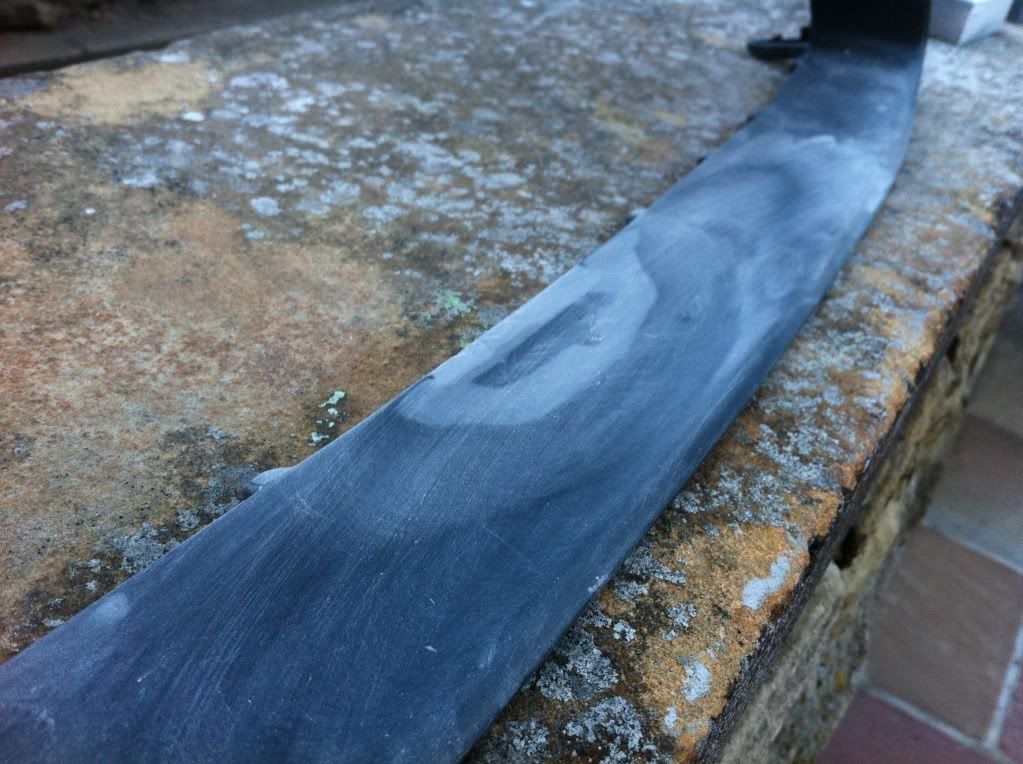
This image is one of google search as I forgot to take one of my own car

As you can see mine has faded quite a bit on the right hand side.
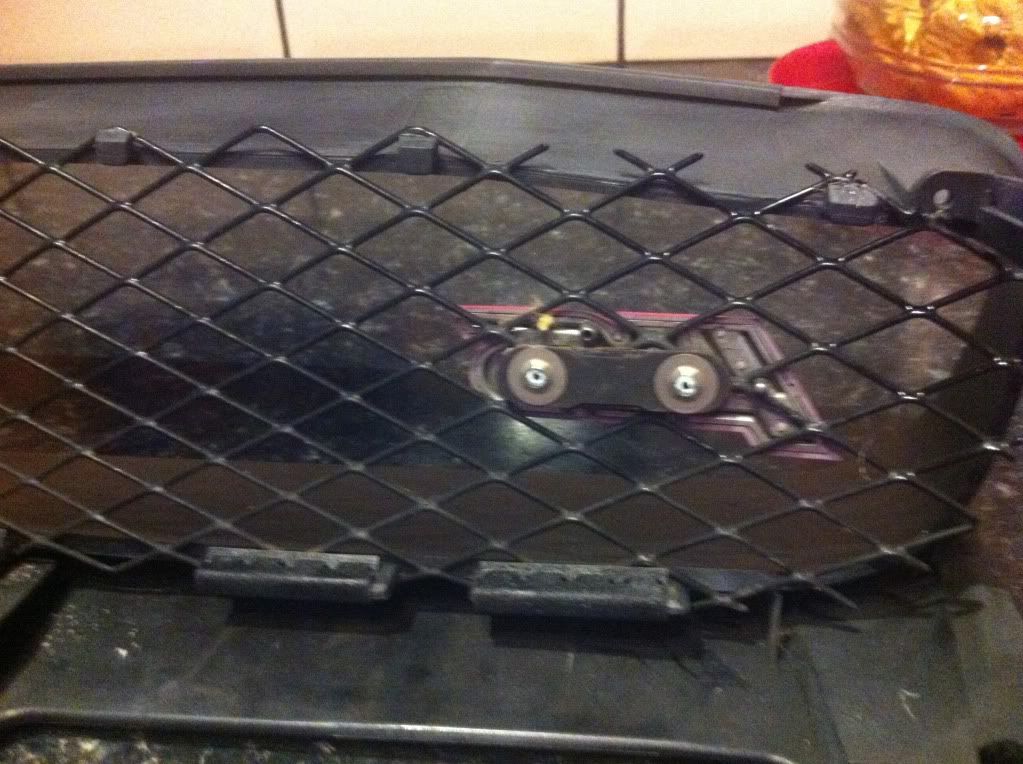
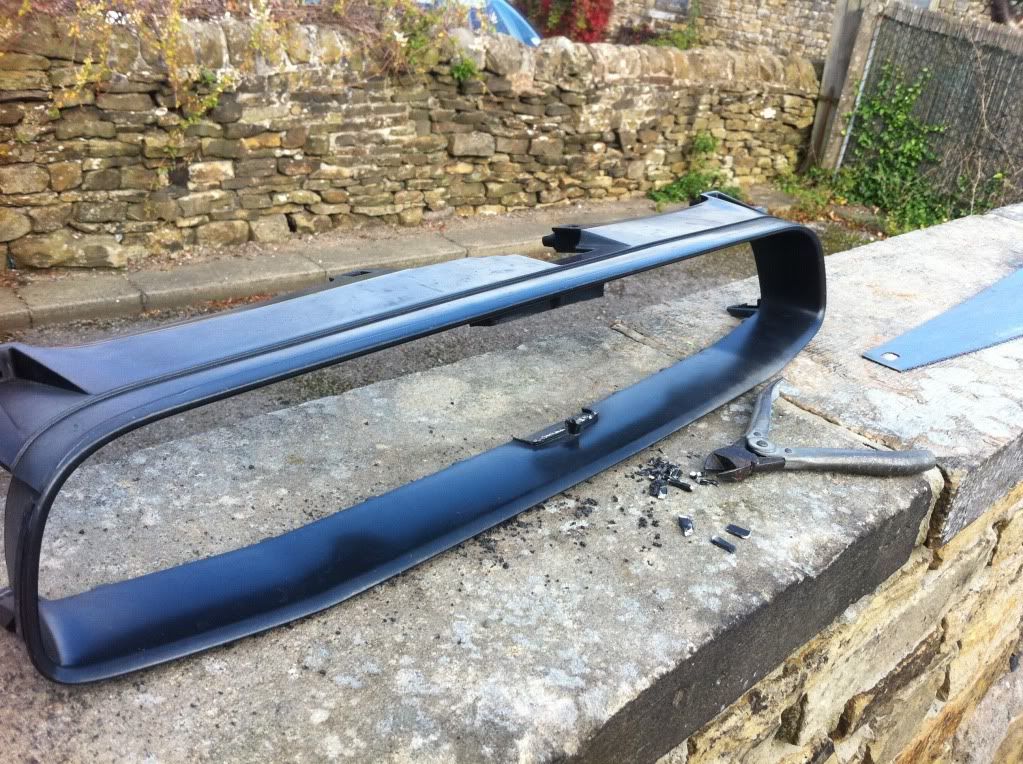
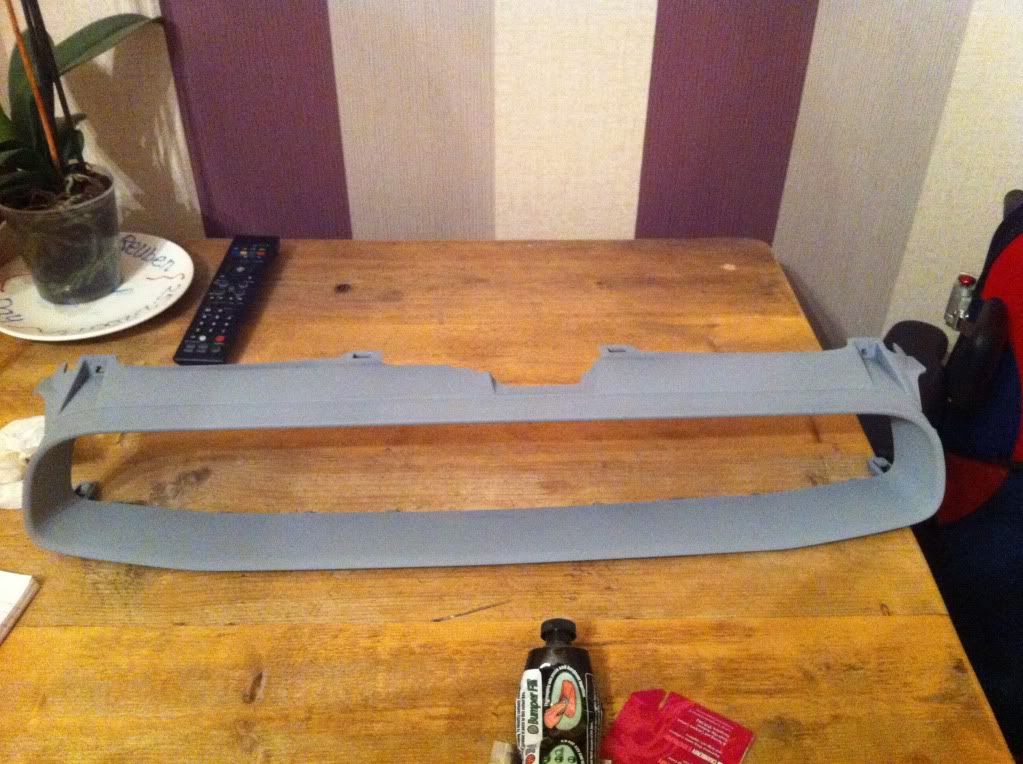
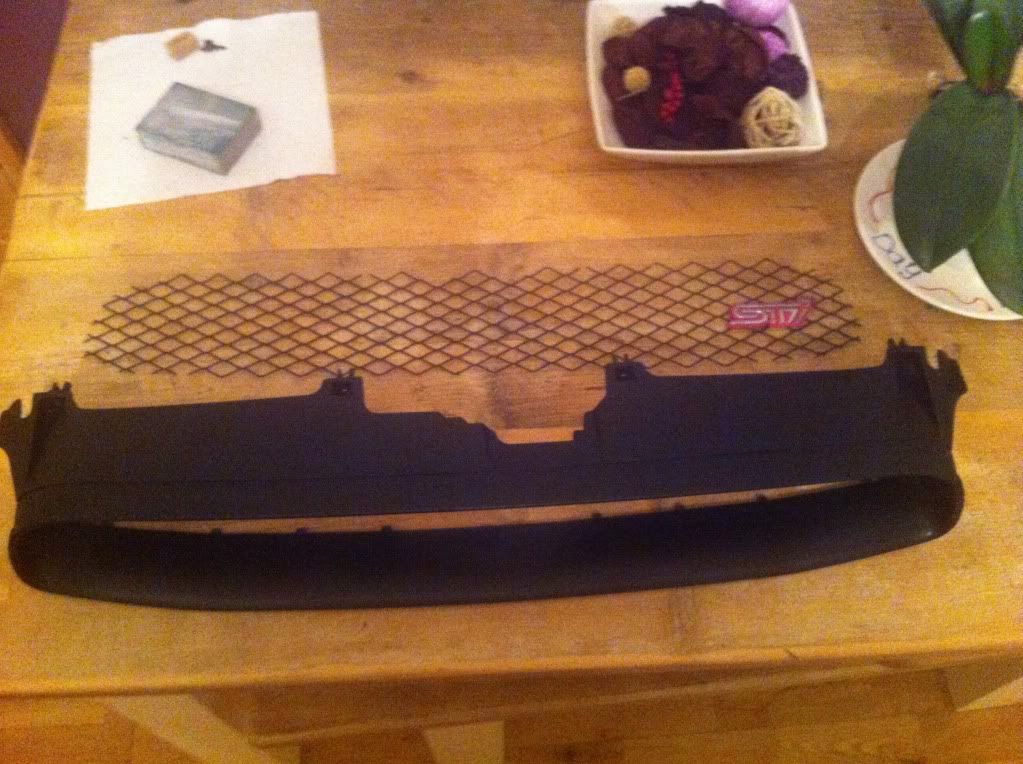
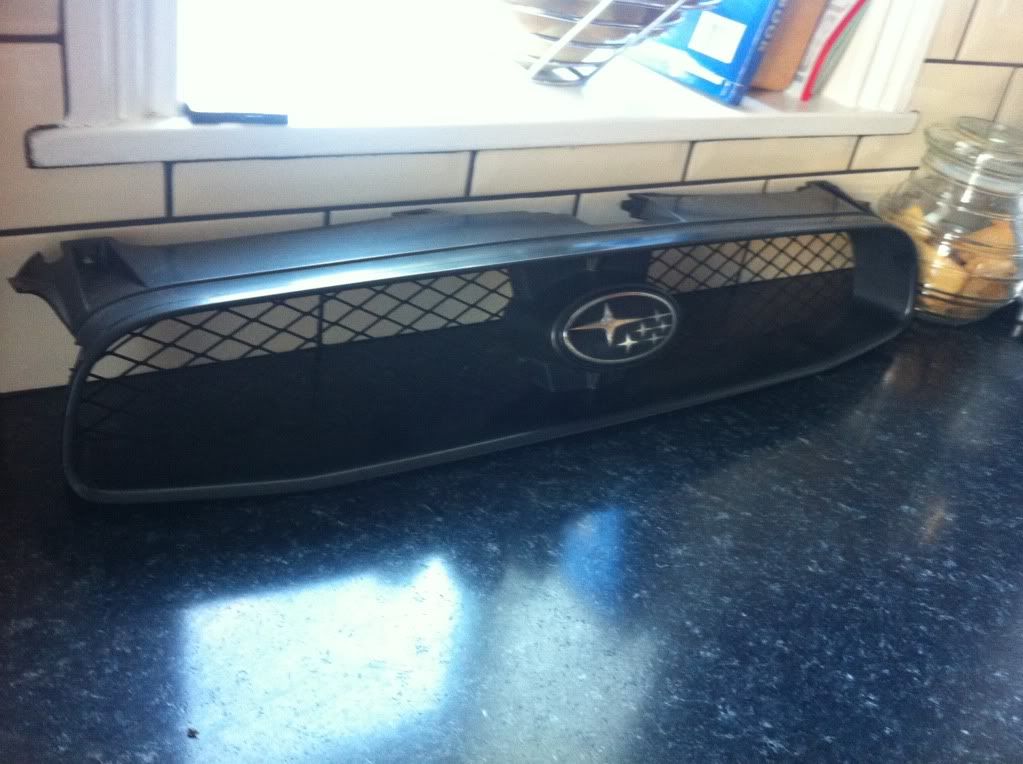
Now it's out as one unit, unclip the 7 metal clips using either pliers or a flat screw driver, and unclip the mesh grill from the top
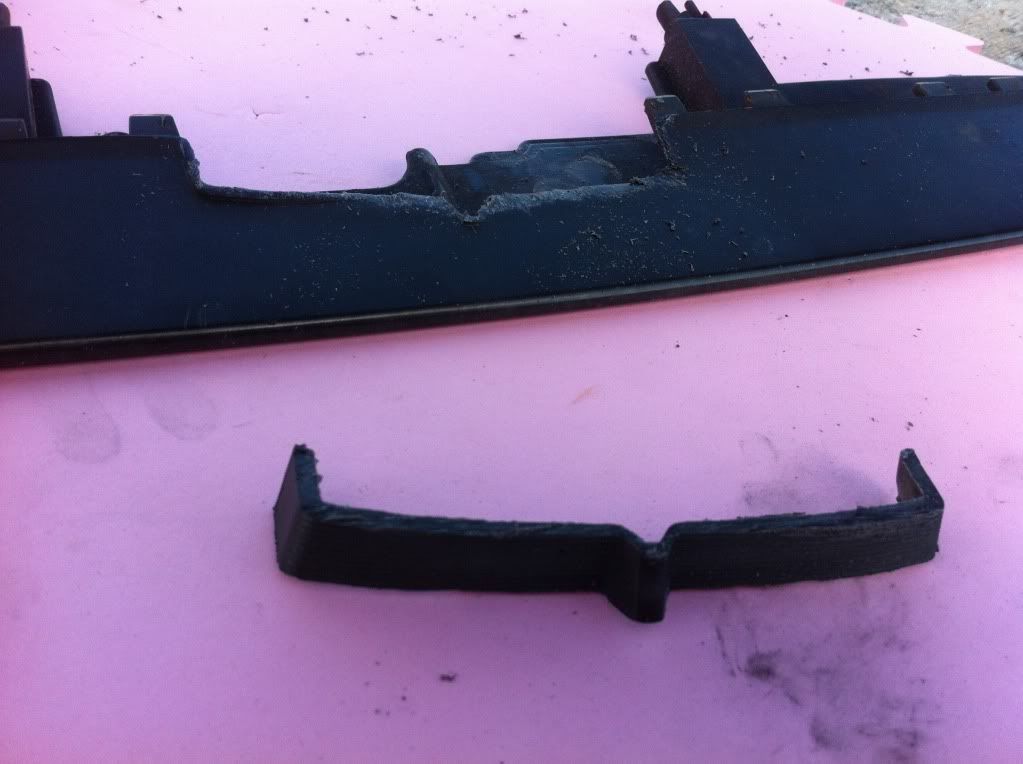
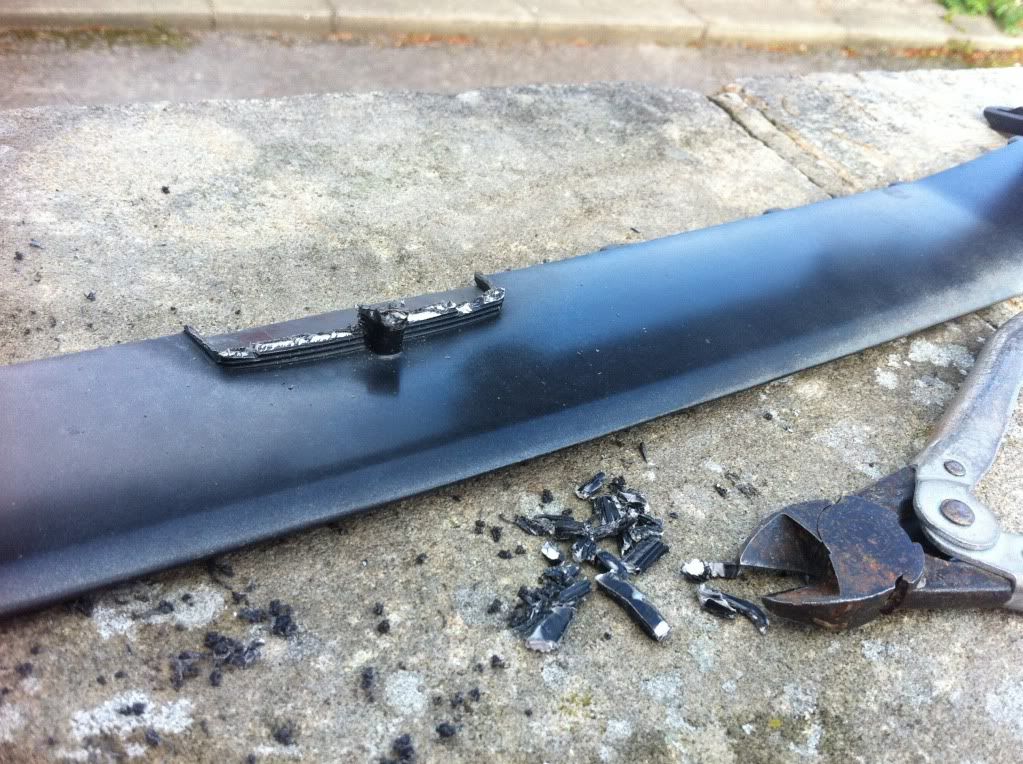
It might seem harsh, but it worked for, cut out the centre emblem and frame, I did this slowly to ensure I didnt scratch the fascia keeping well away from the main fascia. Dont forget to rest the unit one something soft so not to scratch it whilst you do it.
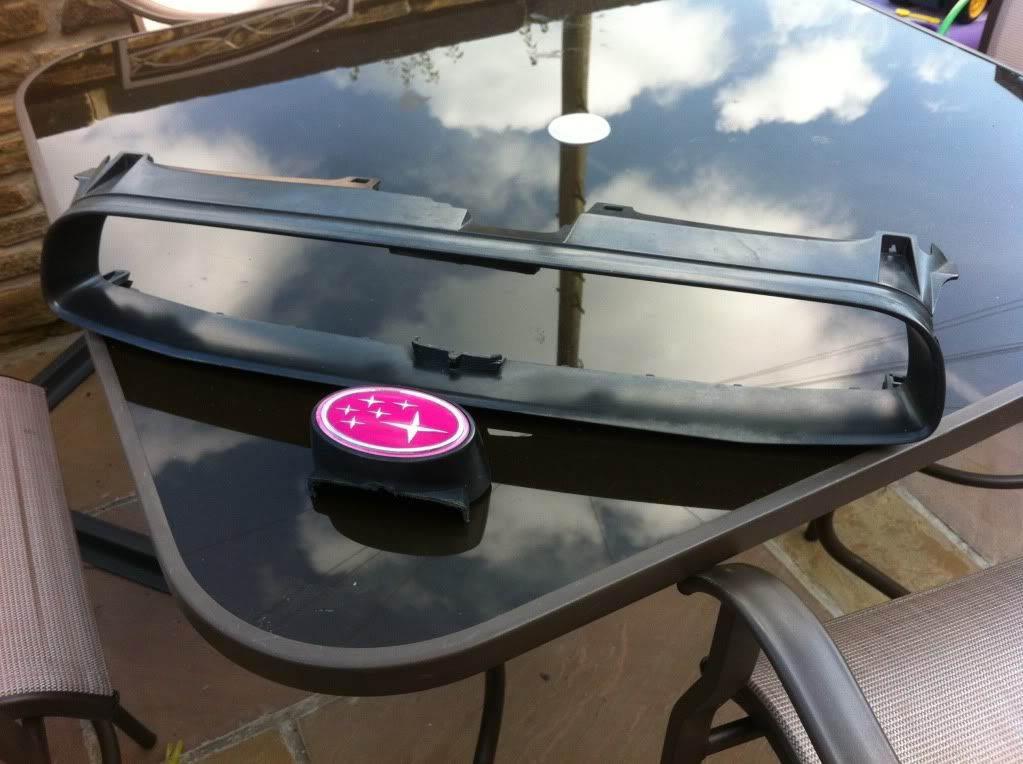
The upper side was easier to cut, and to be honest this will be more hidden once installed.
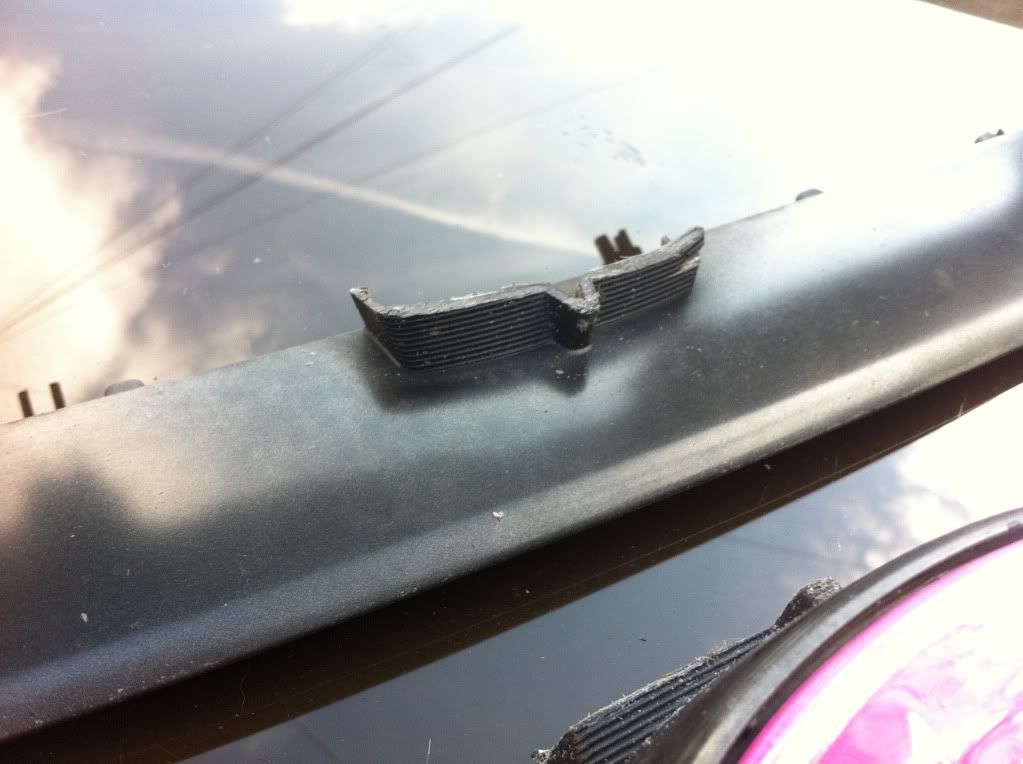
Harsh but fair.
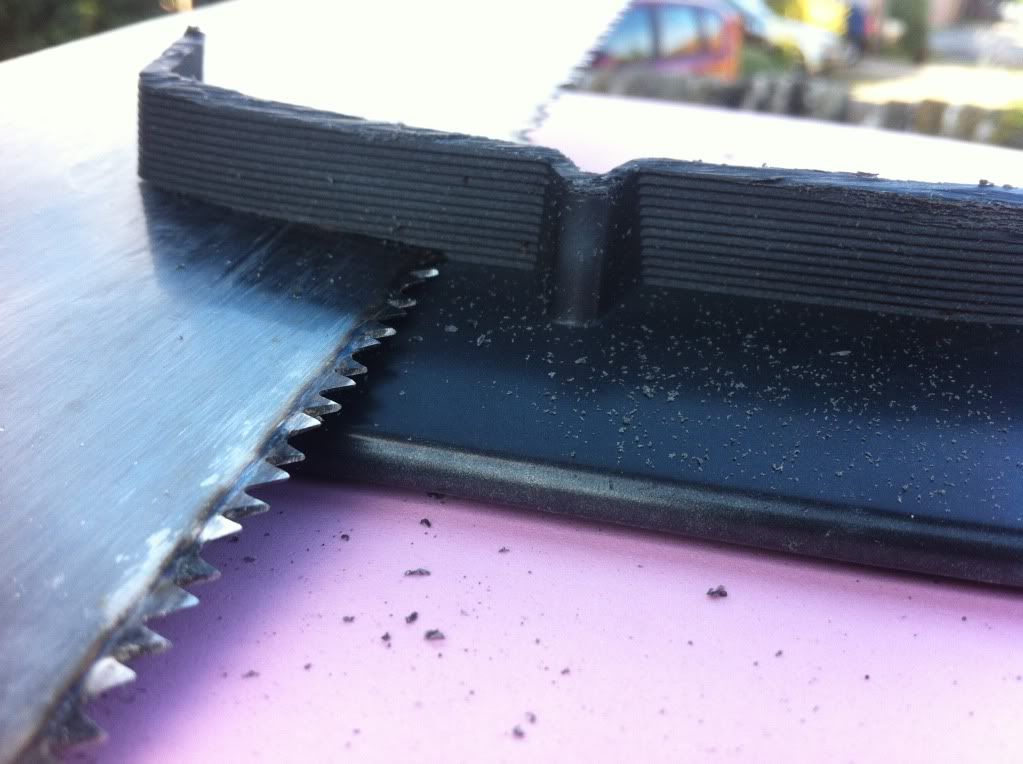
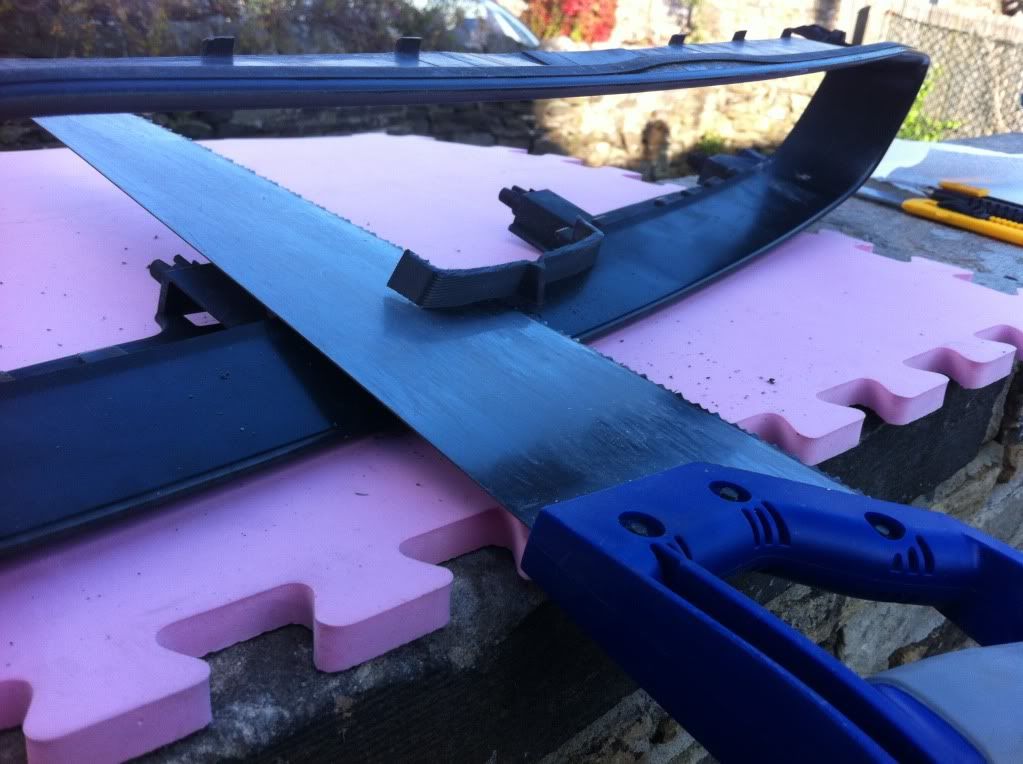
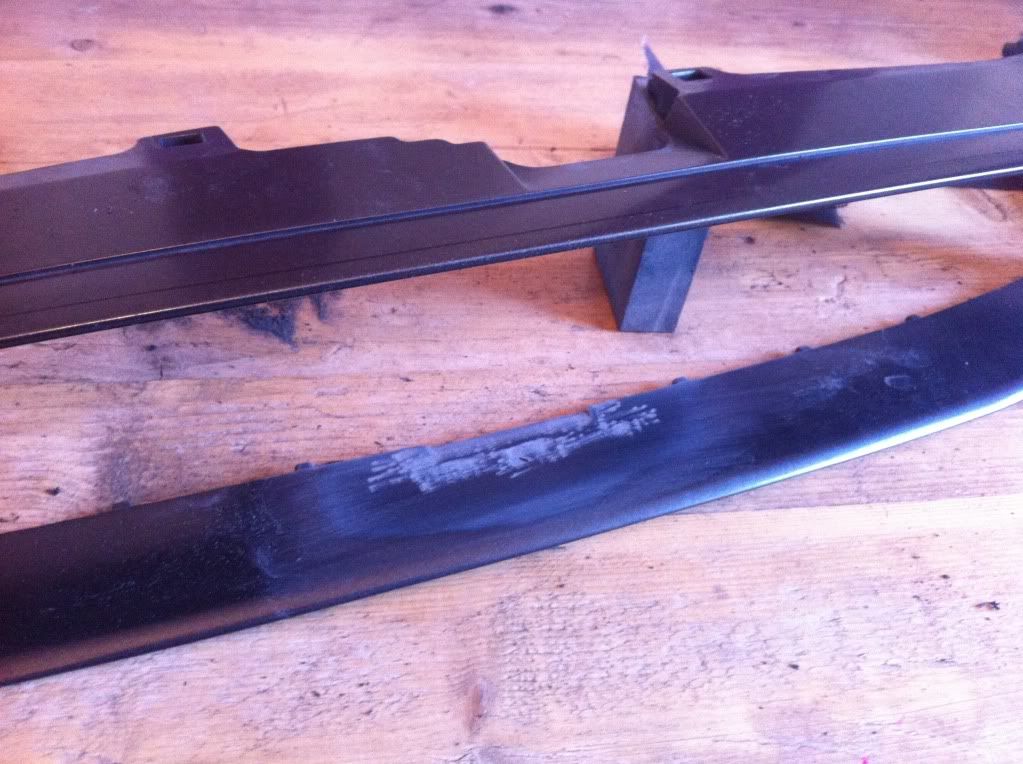
The bottom part is one you need to be more careful with, but to be honest take your time and ensure you dont accidentally gouge the facia to save prep later. I used nibblers raher than a saw, but in hindsight it might have been easier with the saw.
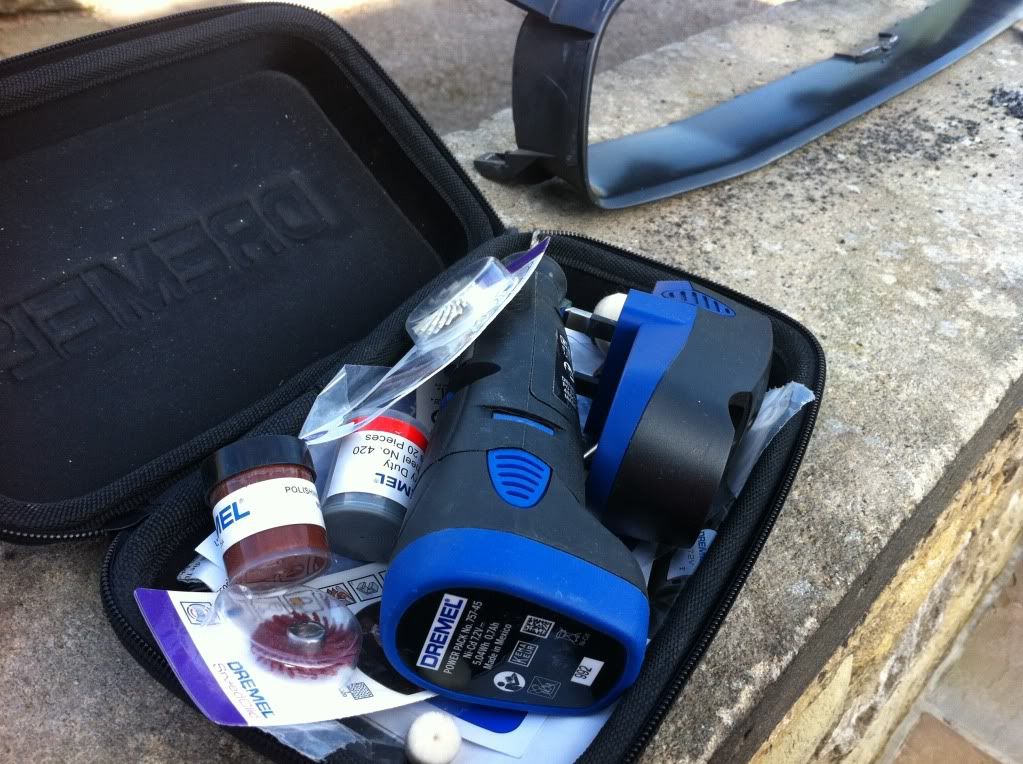
Dremel and sanding down required.
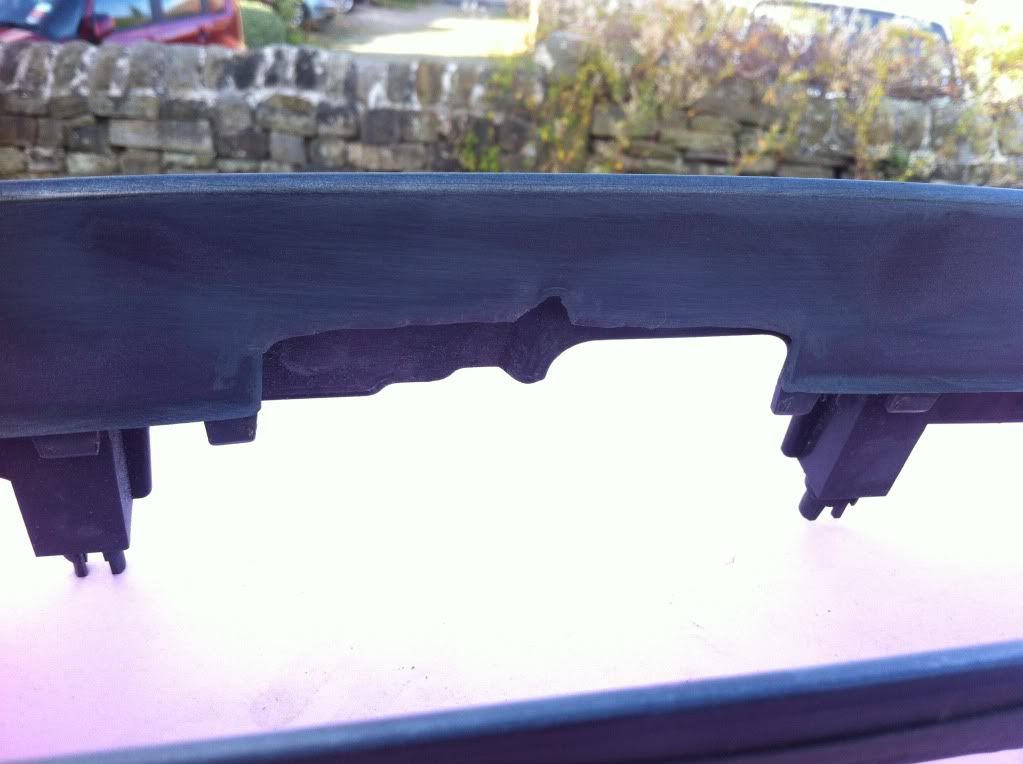
Flatted out the chopped out area and roughed up the whole panel.
Washed down
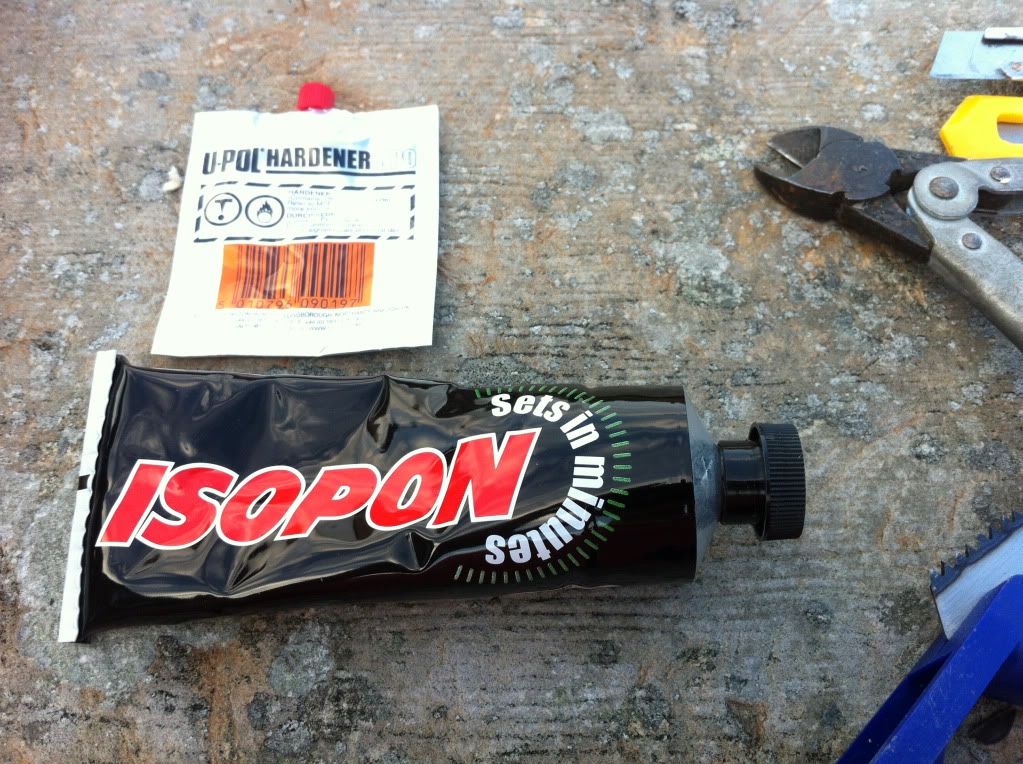
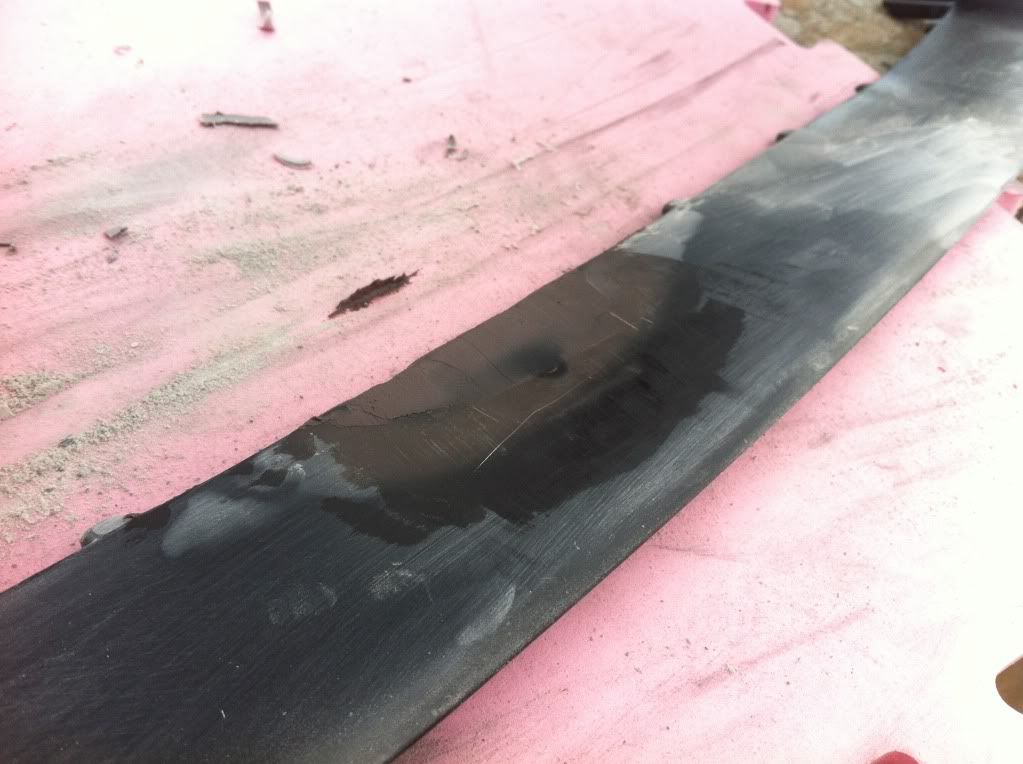
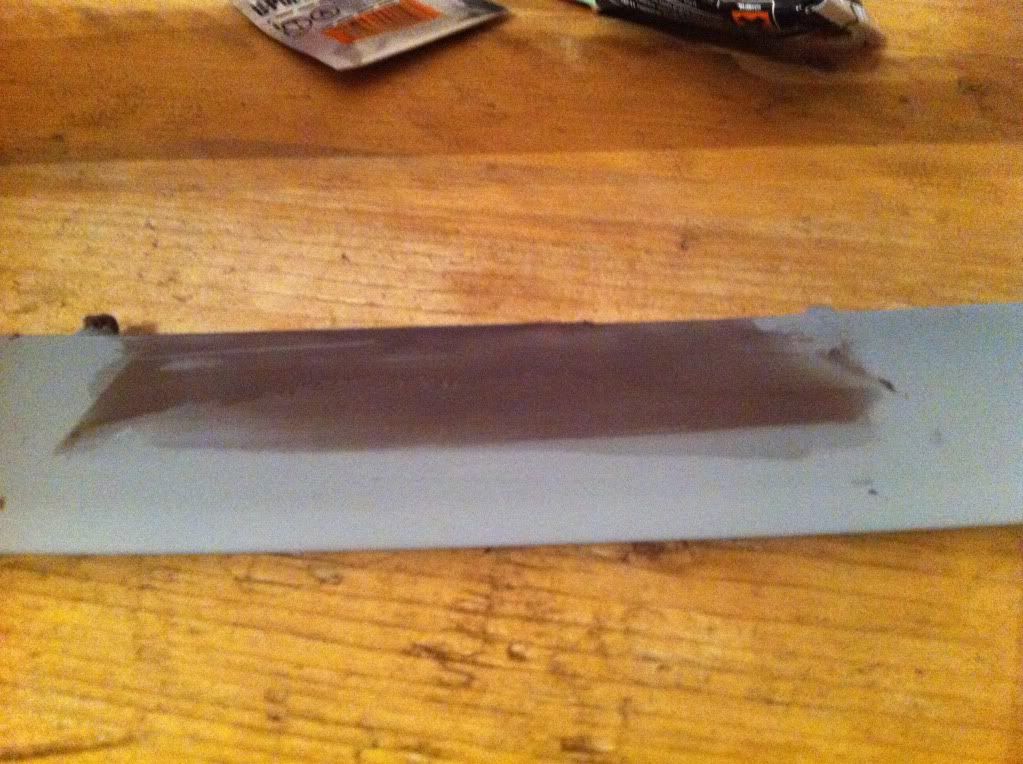
Filler required.
Roughly done, but my first effort
Sanded down, quite please, but feeling **** about it being right
Washed down, and filler again, and sanded again.
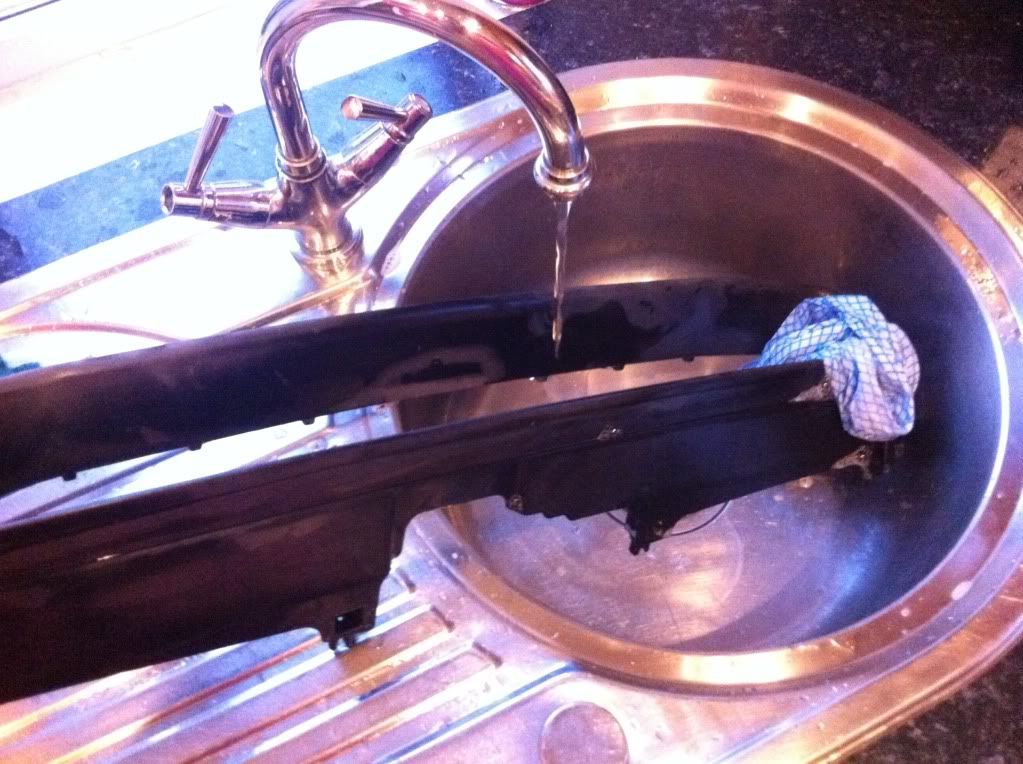
Cleaned thorough with soap and water to remove all grime and grease
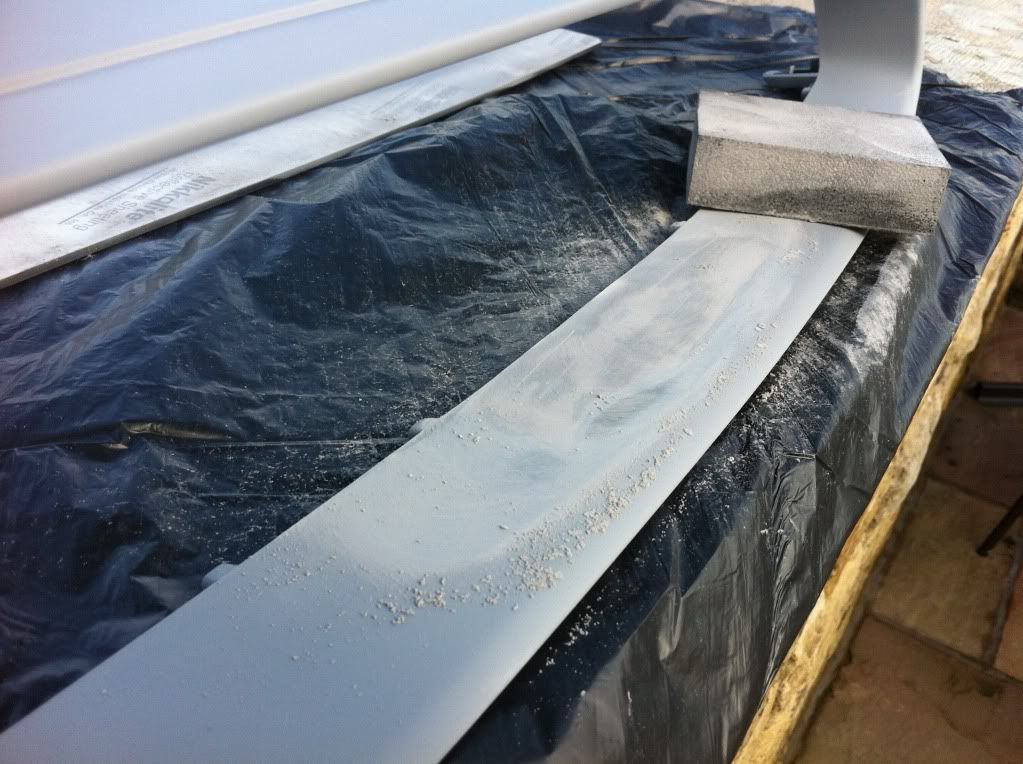
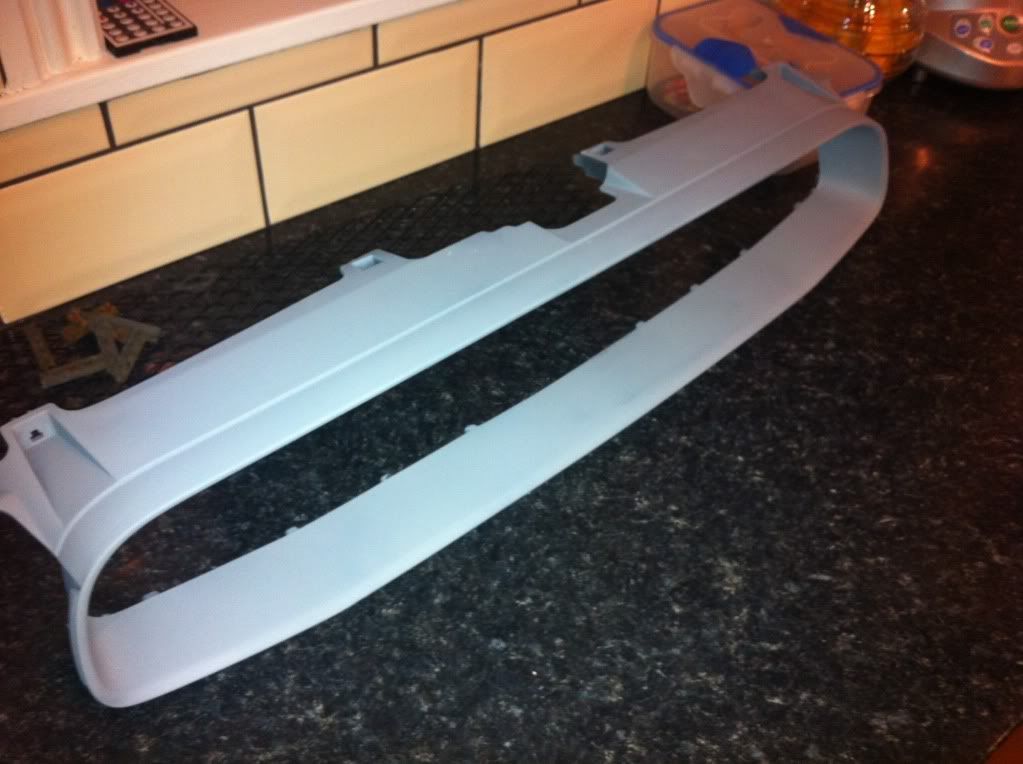
Several primer coats.
Slight ridge bugging me to hell
More filling LOL
Now happy after fine sanding down

Satin black coat number 1
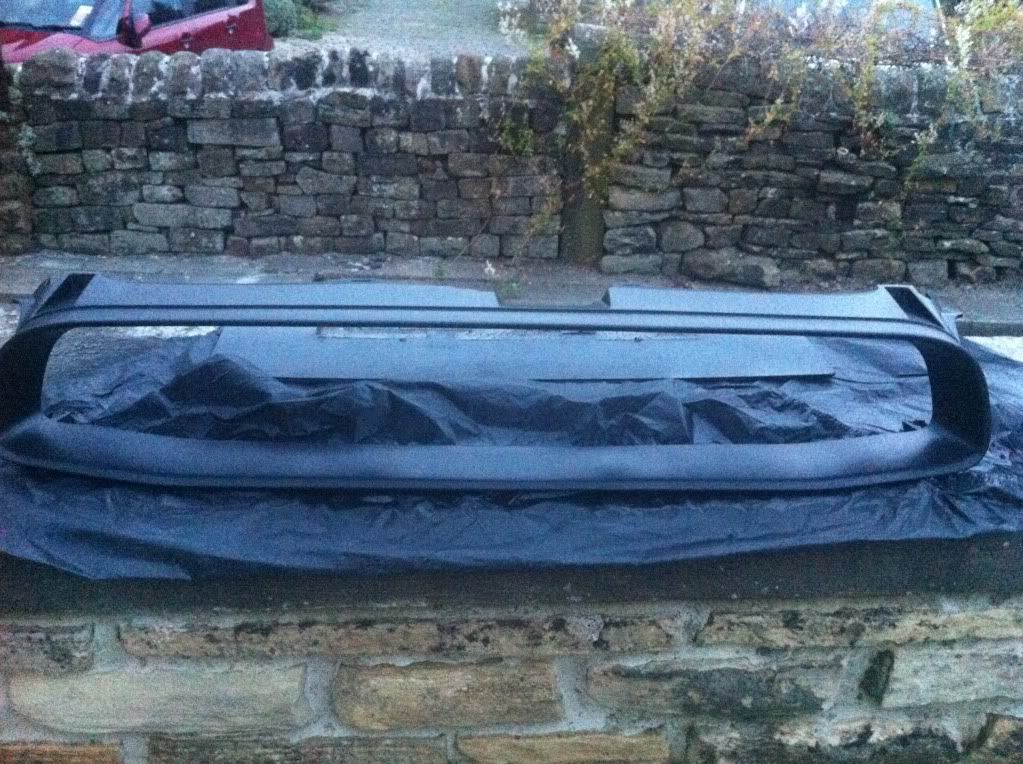
3 coats later.
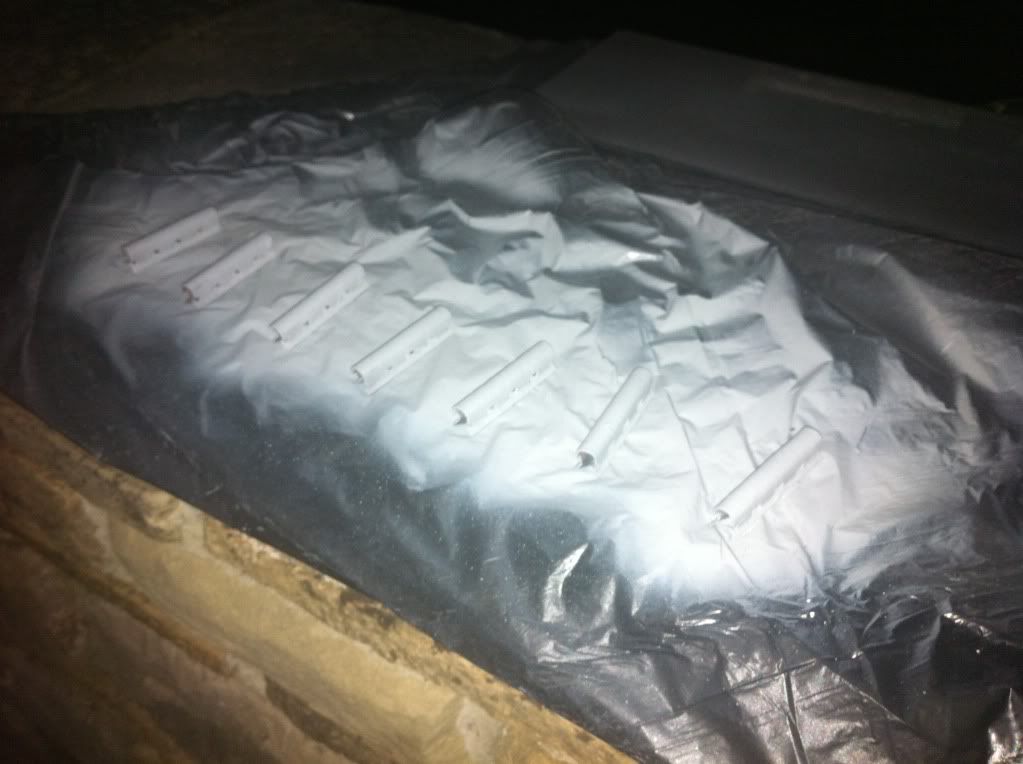
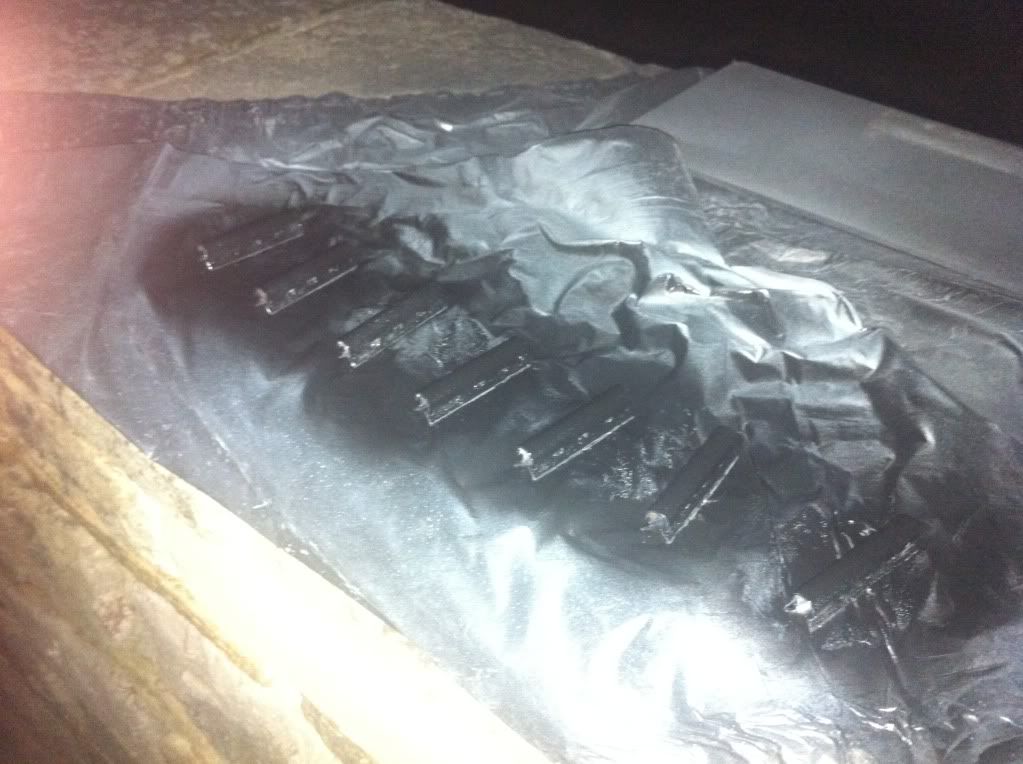
Painted the metal clips in the meantime, as they looked shat
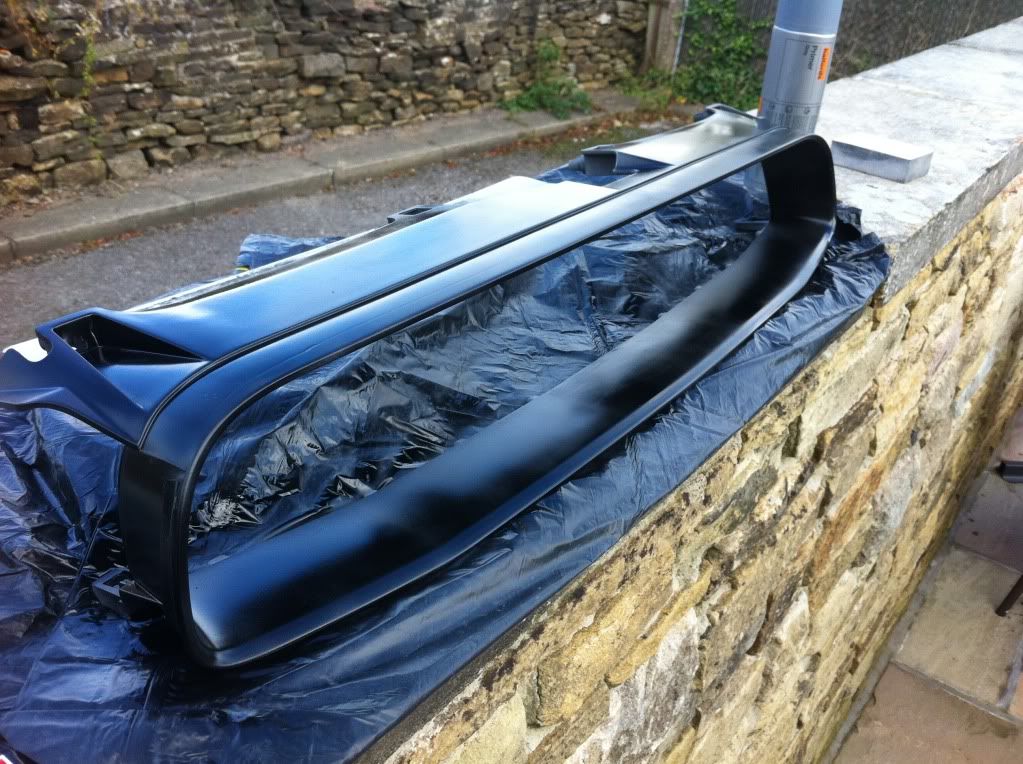
Install grill, using newly painted clips, try hooking the top on first as its a pest in the corners if you don't.
Very pleased with the result
Yes I lost one clip, I will look tomorrow as it's gone dark out ;(
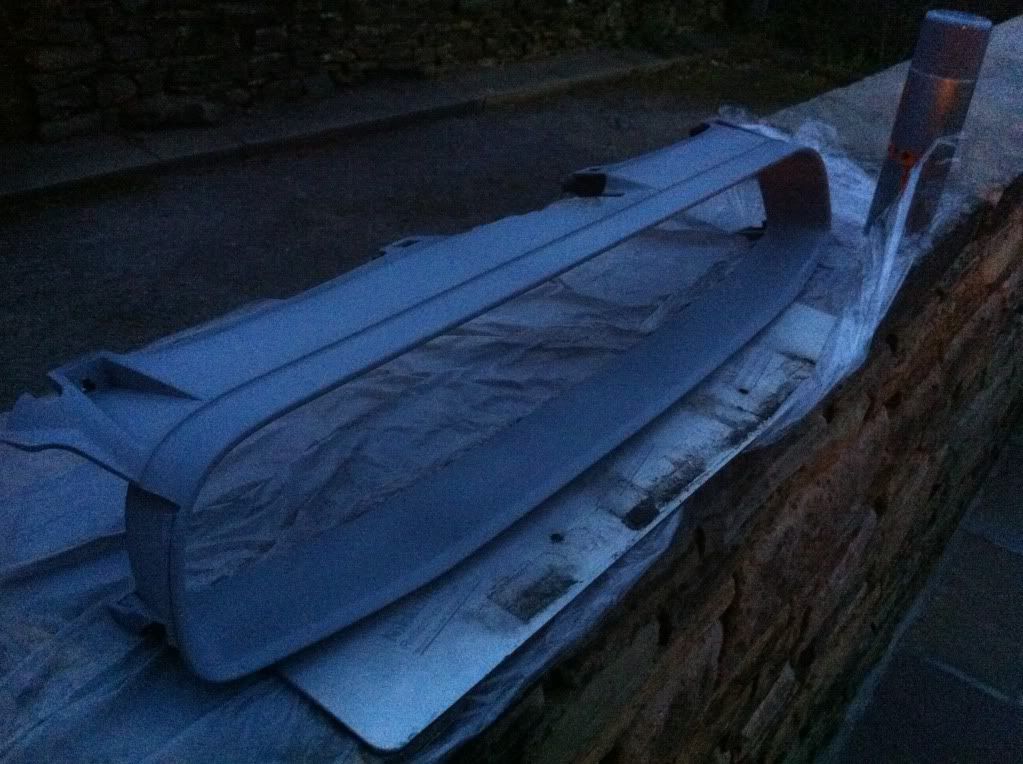
Oh and I laquered the whole thing too with three coats, as its clear that these can be subject to stone chips.
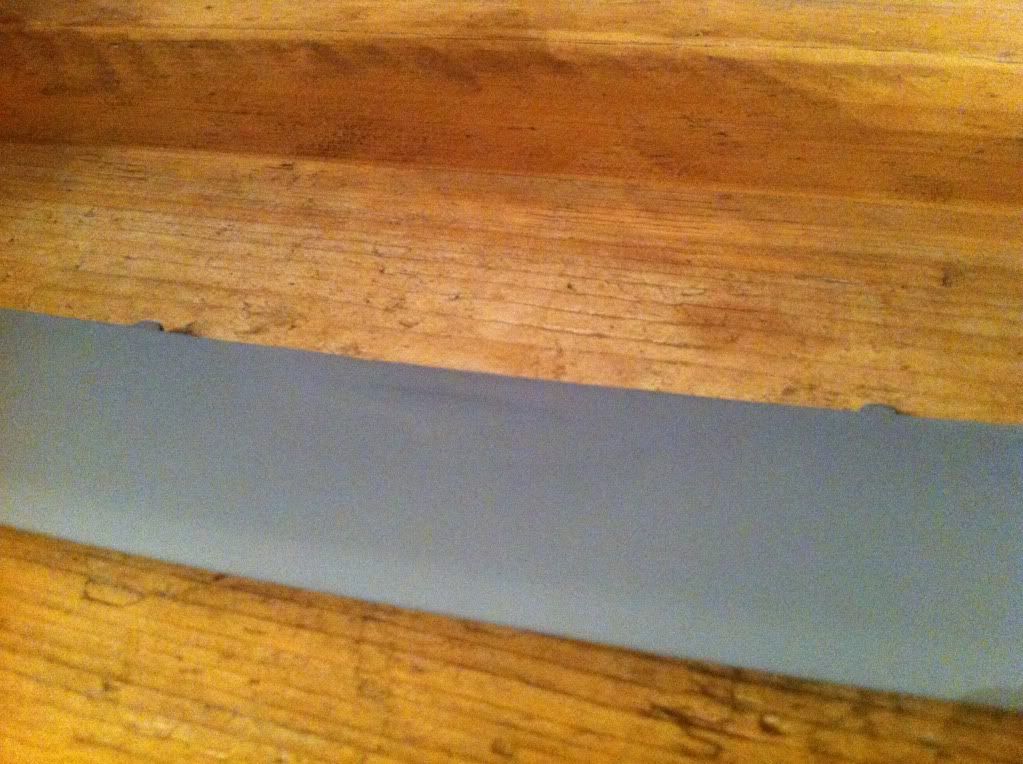
Test fit.
Firstly remove the ******, there are a series of clips on the top, and two at the bottom that need a long screwdriver to reach.
No pics of this being removed, but to be honest this is child play.
This image is one of google search as I forgot to take one of my own car
As you can see mine has faded quite a bit on the right hand side.
Now it's out as one unit, unclip the 7 metal clips using either pliers or a flat screw driver, and unclip the mesh grill from the top
It might seem harsh, but it worked for, cut out the centre emblem and frame, I did this slowly to ensure I didnt scratch the fascia keeping well away from the main fascia. Dont forget to rest the unit one something soft so not to scratch it whilst you do it.
The upper side was easier to cut, and to be honest this will be more hidden once installed.
Harsh but fair.
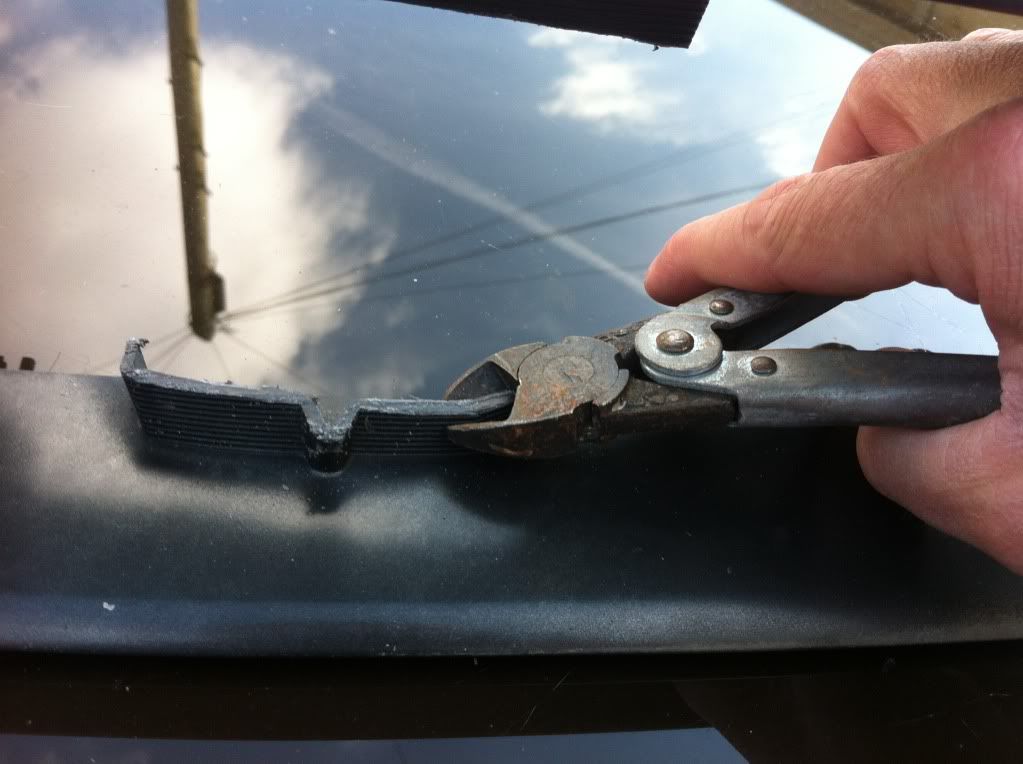
The bottom part is one you need to be more careful with, but to be honest take your time and ensure you dont accidentally gouge the facia to save prep later. I used nibblers raher than a saw, but in hindsight it might have been easier with the saw.
Dremel and sanding down required.
Flatted out the chopped out area and roughed up the whole panel.
Washed down
Filler required.
Roughly done, but my first effort
Sanded down, quite please, but feeling **** about it being right
Washed down, and filler again, and sanded again.
Cleaned thorough with soap and water to remove all grime and grease
Several primer coats.
Slight ridge bugging me to hell
More filling LOL
Now happy after fine sanding down
Satin black coat number 1
3 coats later.
Painted the metal clips in the meantime, as they looked shat
Install grill, using newly painted clips, try hooking the top on first as its a pest in the corners if you don't.
Very pleased with the result
Yes I lost one clip, I will look tomorrow as it's gone dark out ;(
Oh and I laquered the whole thing too with three coats, as its clear that these can be subject to stone chips.
Test fit.
Last edited by Rob Day; Oct 8, 2013 at 04:29 PM.


Trending Topics
Thread Starter
Scooby Regular
iTrader: (78)
Joined: Jul 2009
Posts: 9,451
Likes: 13
From: North West
Cheers, its a bit of a rough write up, but its idiot proof, I mean it must be, I did it
Do it, its simple, just a little time needed. To cut and prep, 1 hour max, and that with taking pictures and being **** about it. this took me around 2 hours actual work with filler drying time, and around 6 hours with paint coats allowing 1 hour between coats. 
Just buy a replacement Oval bud, and whilst it out paint the ******  , as your likely looking at P&P costs otherwise for both grills which out weighs the point you can replace the oval http://dsa.ebay.co.uk/sch/i.html?_tr...at=0&_from=R40
Rob
, as your likely looking at P&P costs otherwise for both grills which out weighs the point you can replace the oval http://dsa.ebay.co.uk/sch/i.html?_tr...at=0&_from=R40Rob

Thread Starter
Scooby Regular
iTrader: (78)
Joined: Jul 2009
Posts: 9,451
Likes: 13
From: North West
Cheers. Picture don't do it justice nor does the test fit as I've yet to complete the Blobeye light upgrade. Plus I'm putting some hella sirens behind the grill.
I'm around half way with the look I want at the front of the car.
Rob
I'm around half way with the look I want at the front of the car.
Rob


Thread Starter
Scooby Regular
iTrader: (78)
Joined: Jul 2009
Posts: 9,451
Likes: 13
From: North West
One I've just done over the weekend for a chap on here. If anyone else wants there's doing, please drop me a pm
Rob
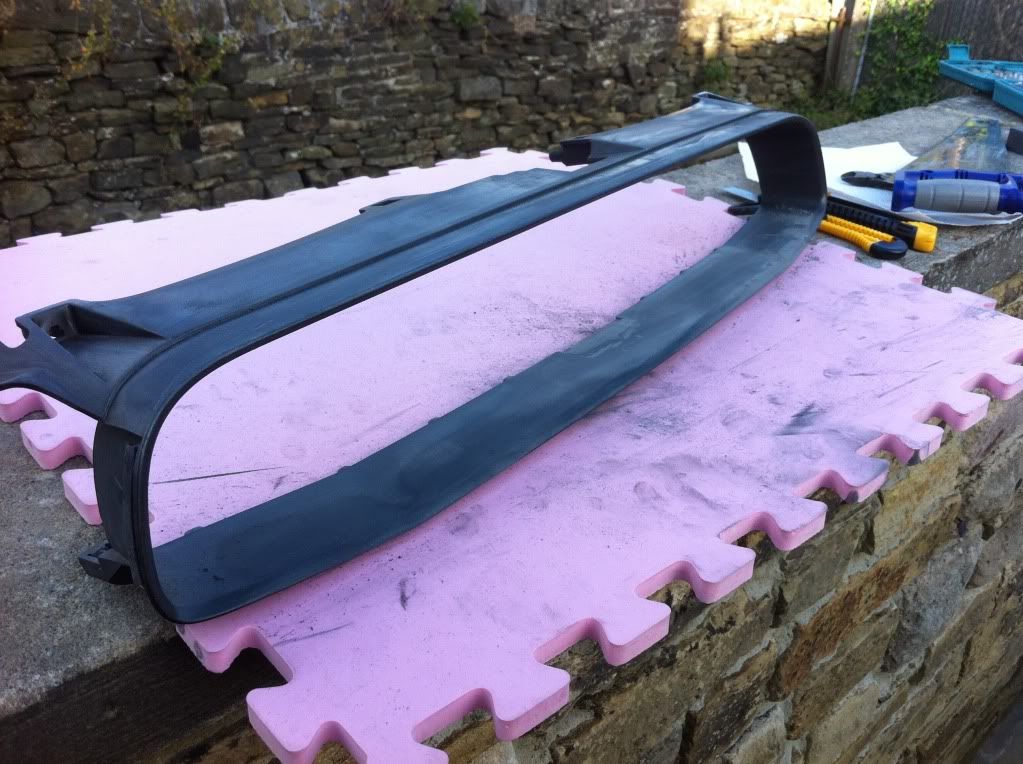
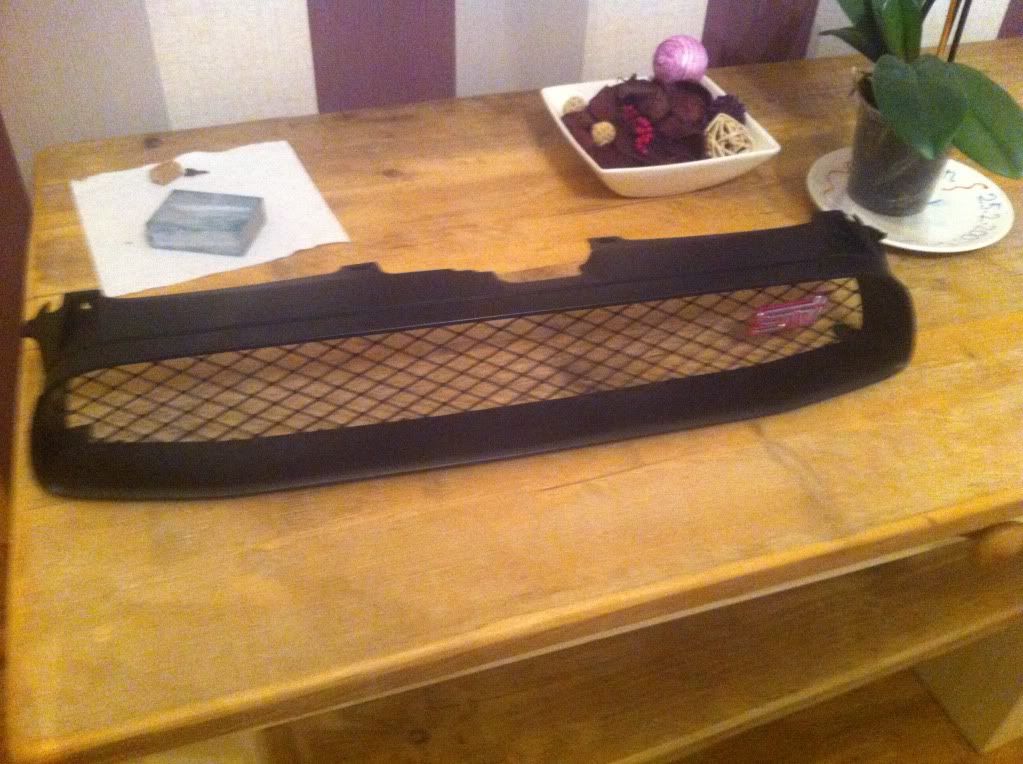
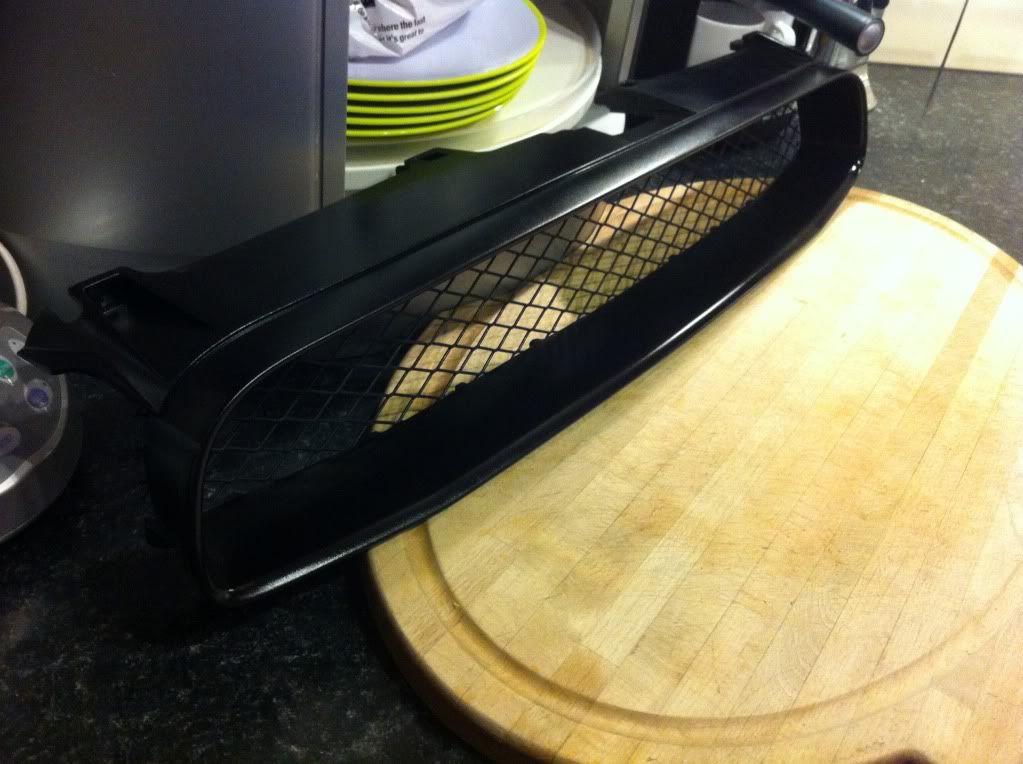
Before
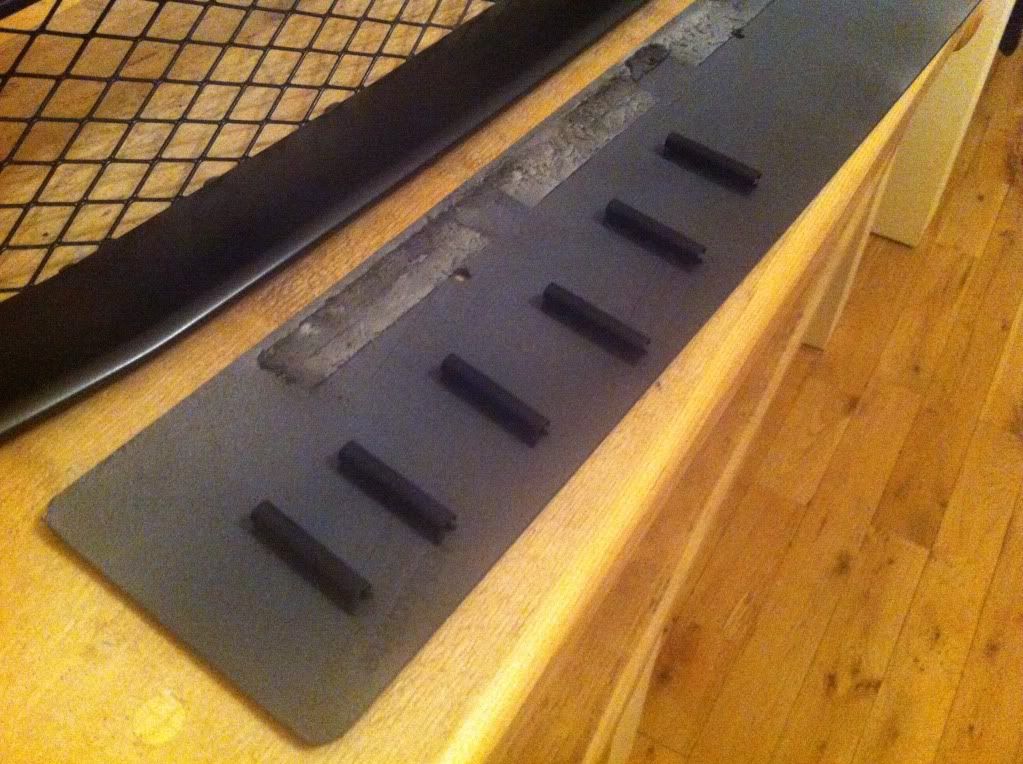
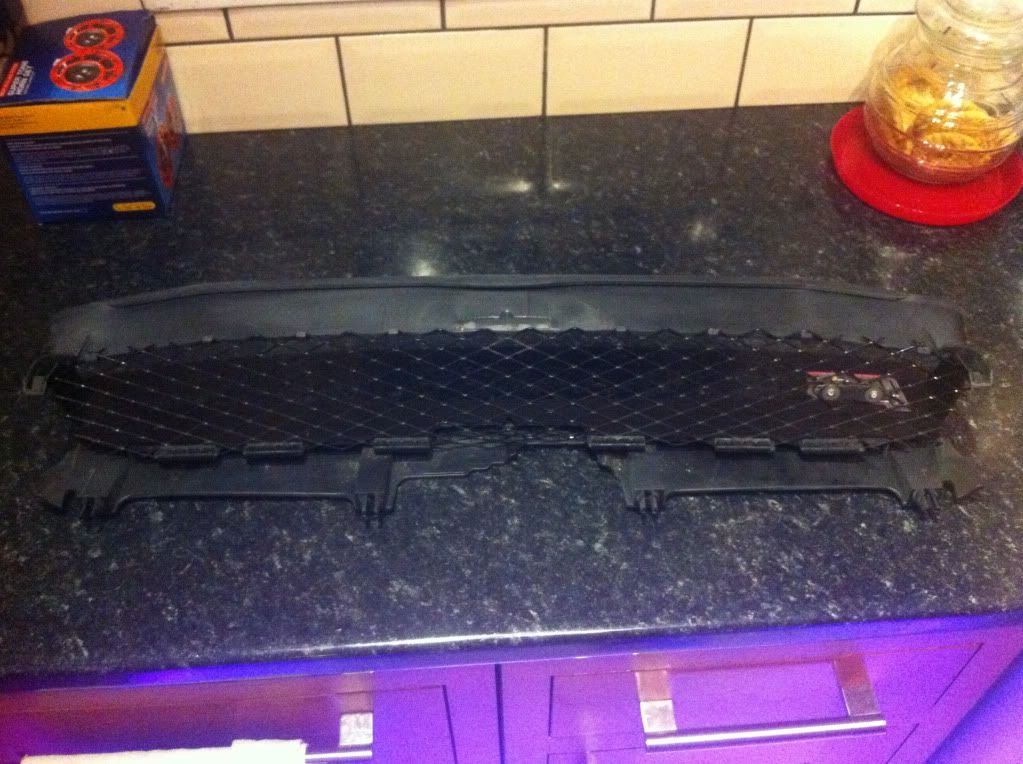
Serious amount of chopping with this one, it was quite stubborn ( mrs wasn't too happy about me doing it on her table lol)
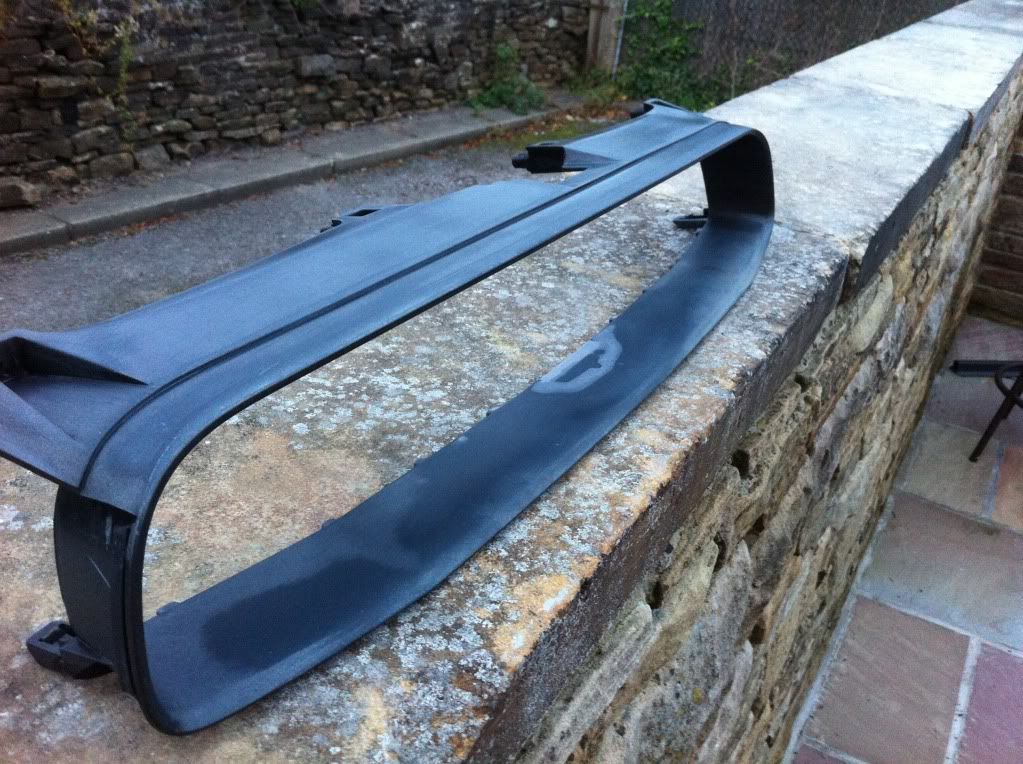
Filled and primer coat
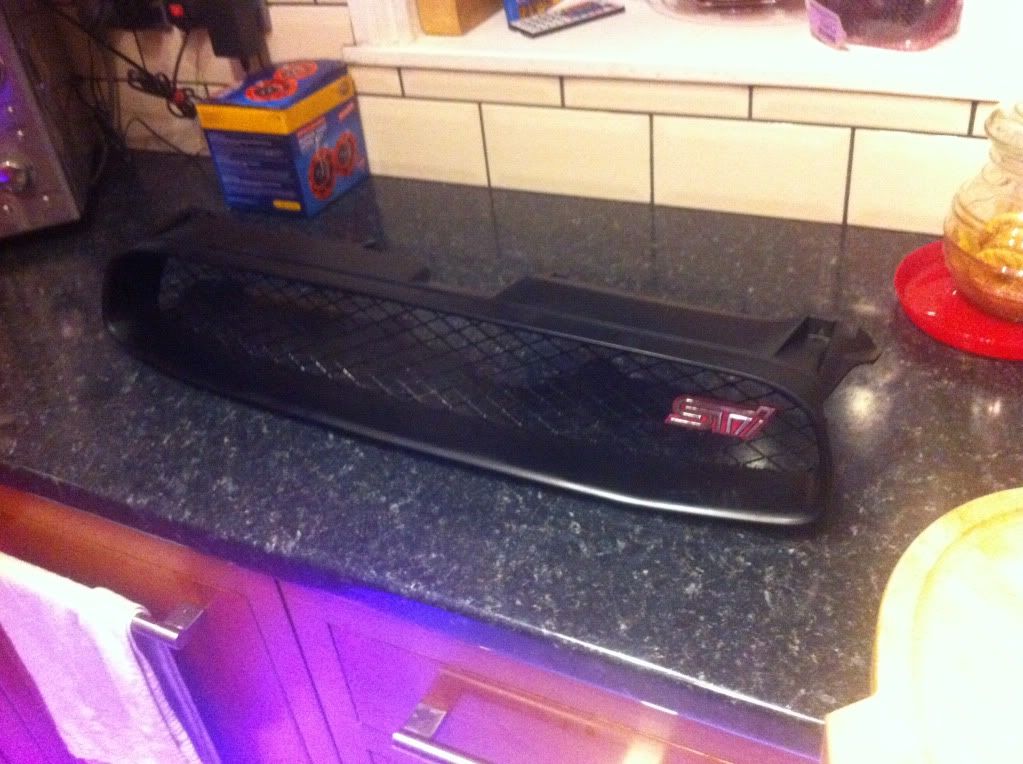
3 coats of satin black
Lacquer coated three times

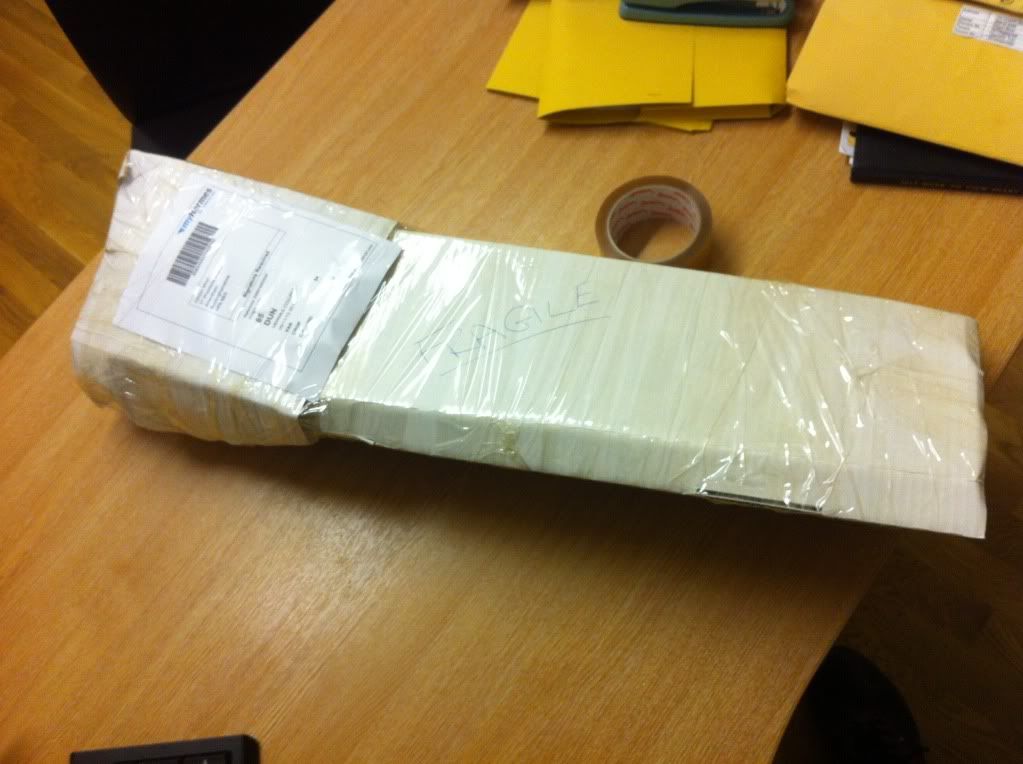
Sturdily wrapped and on its way back
Rob
Before
Serious amount of chopping with this one, it was quite stubborn ( mrs wasn't too happy about me doing it on her table lol)
Filled and primer coat
3 coats of satin black
Lacquer coated three times
Sturdily wrapped and on its way back
Last edited by Rob Day; Nov 4, 2013 at 08:22 PM.
 ,Good work mate.SJ.


