When you click on links to various merchants on this site and make a purchase, this can result in this site earning a commission. Affiliate programs and affiliations include, but are not limited to, the eBay Partner Network.
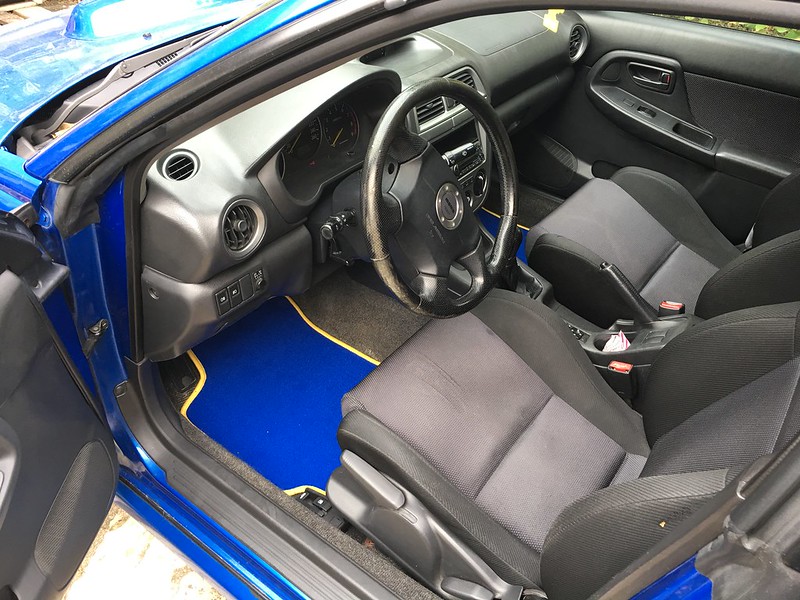
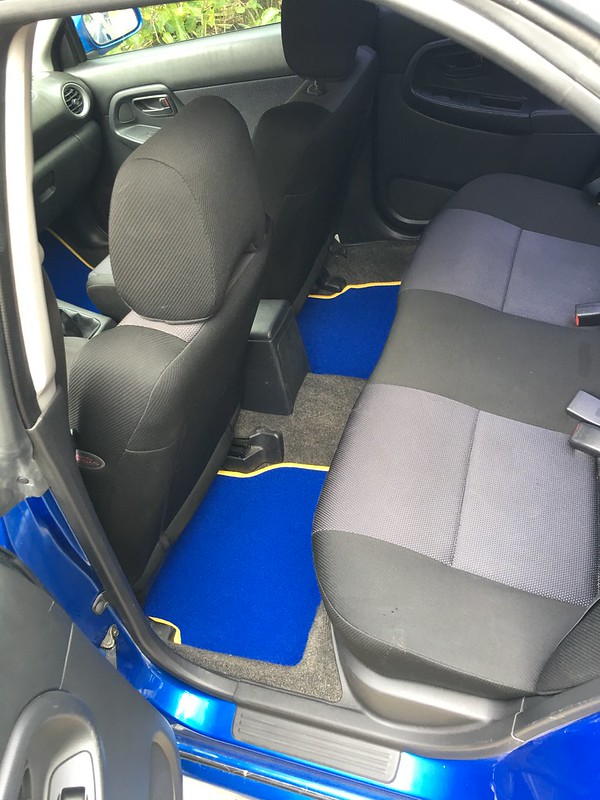
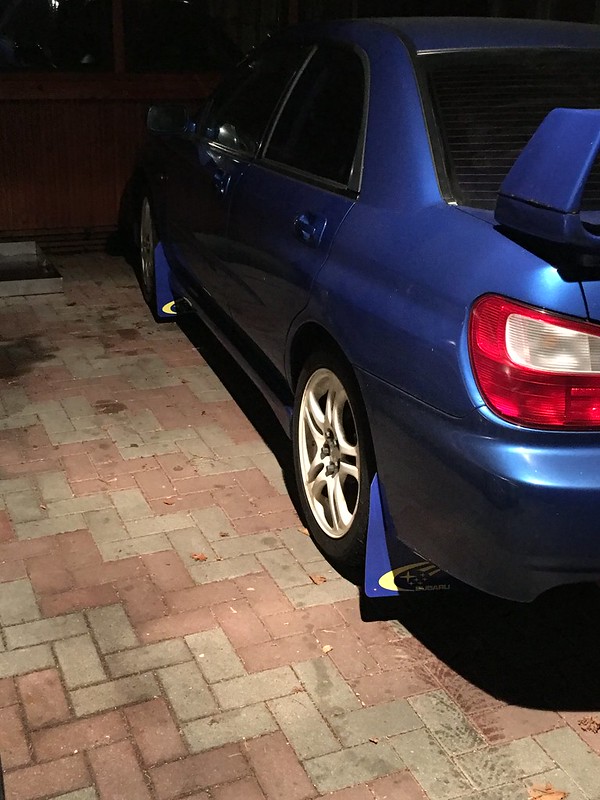
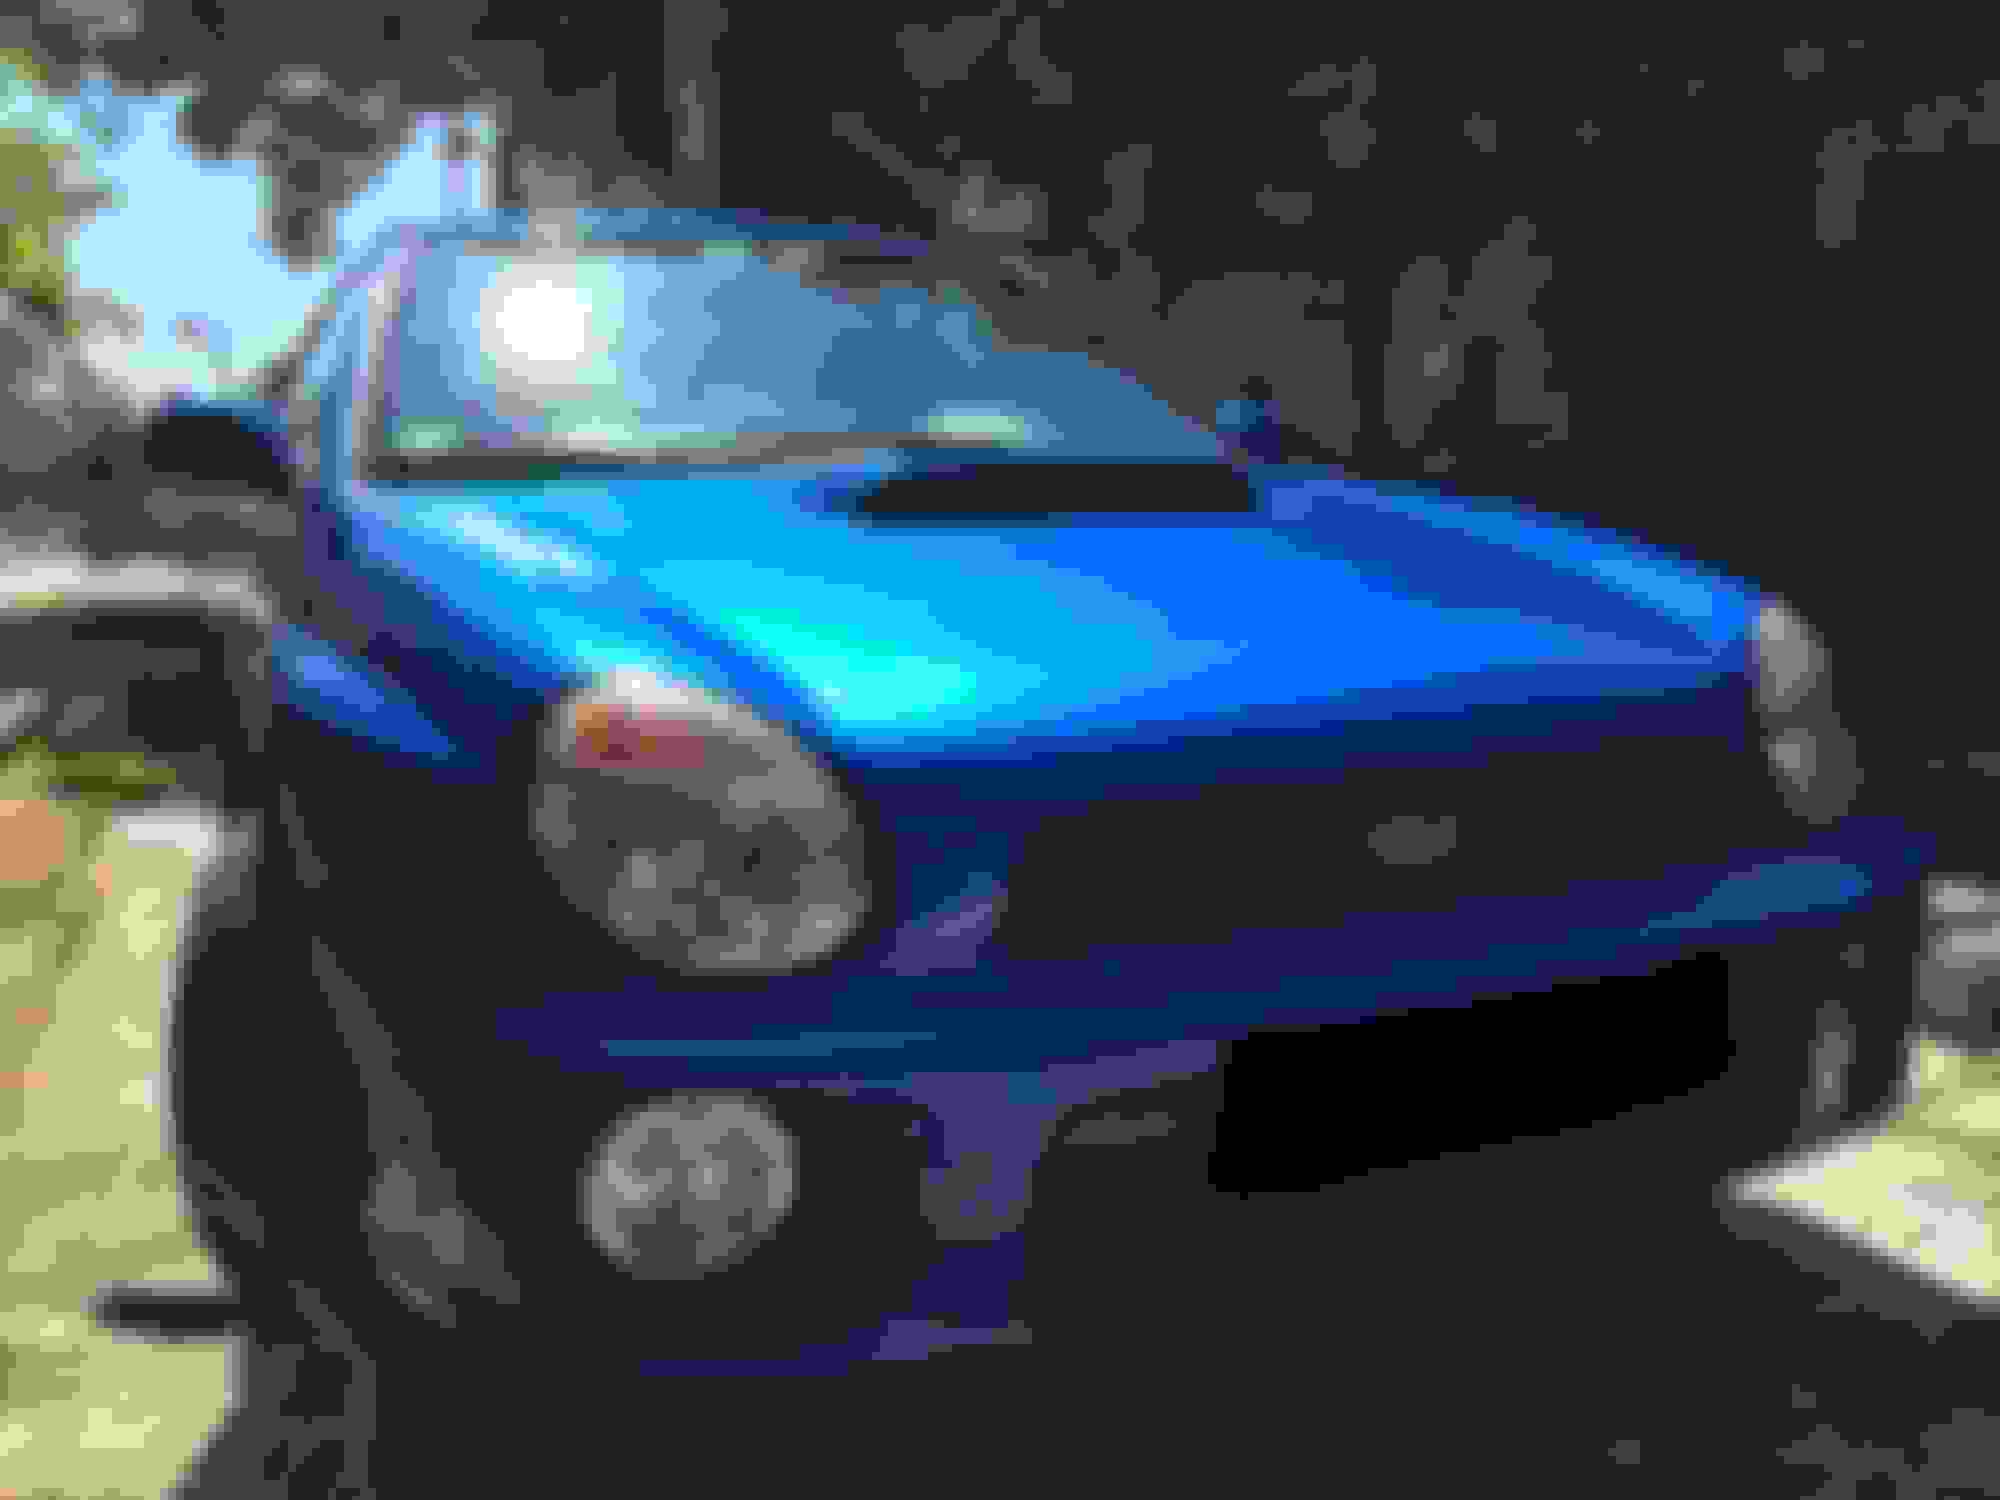
Sooo, picked this beauty up yesterday. It's left hand drive, has 218hp, the engine is not modified and the initial registration date is December 2000. Well it was a very good deal, but has got quite some stuff to do (mostly optically). So here are a few pics:
Soo yes, as you see from the pictures there definetely is stuff to do. Progress will be quite slow, so don't expect updates everyday. I'll either post pictures of the car, post about the progress or post pictures about the progress
If you have any suggestions about what I should do or could do, feel free to tell me
Yeah I also think so, wanted it the way it is, to, well.. have something to do
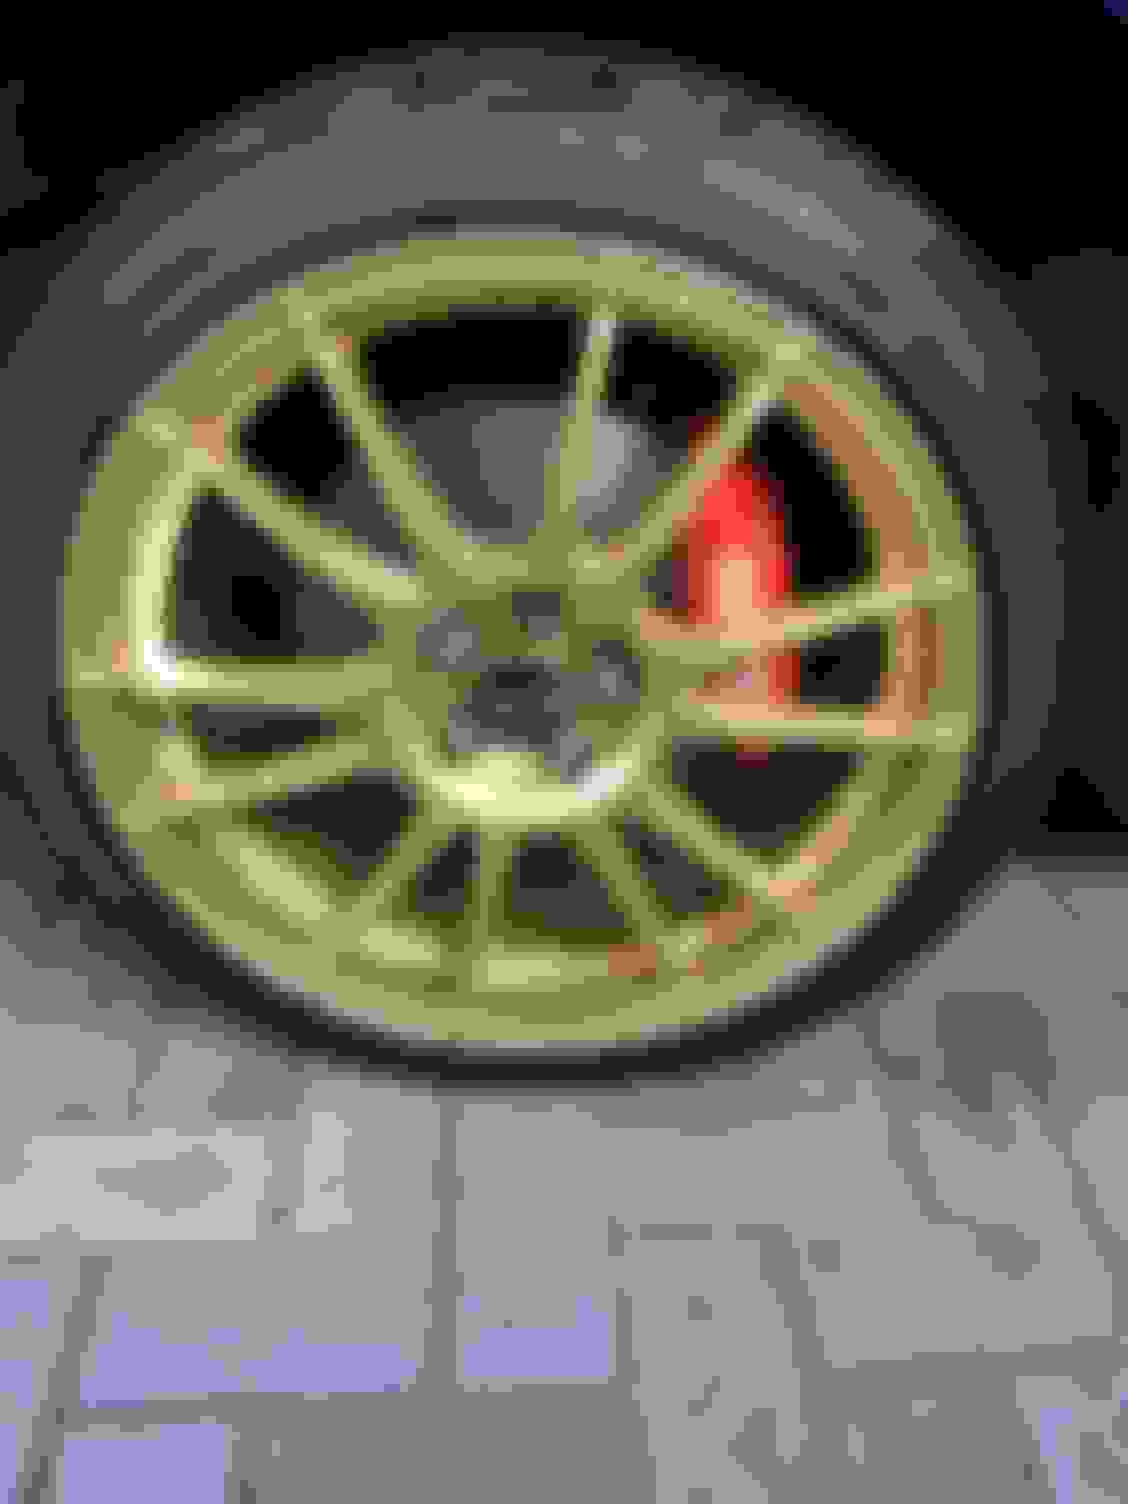
Guess the major part will be to free it from the rust, maybe get some new rims as the first owner (I'm the third) curbed them... But other than that I'm really looking forward to it !
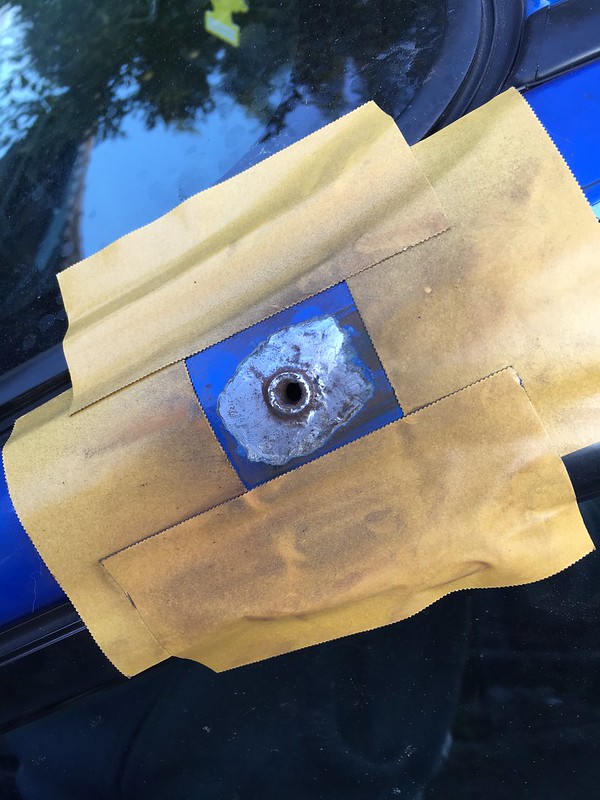
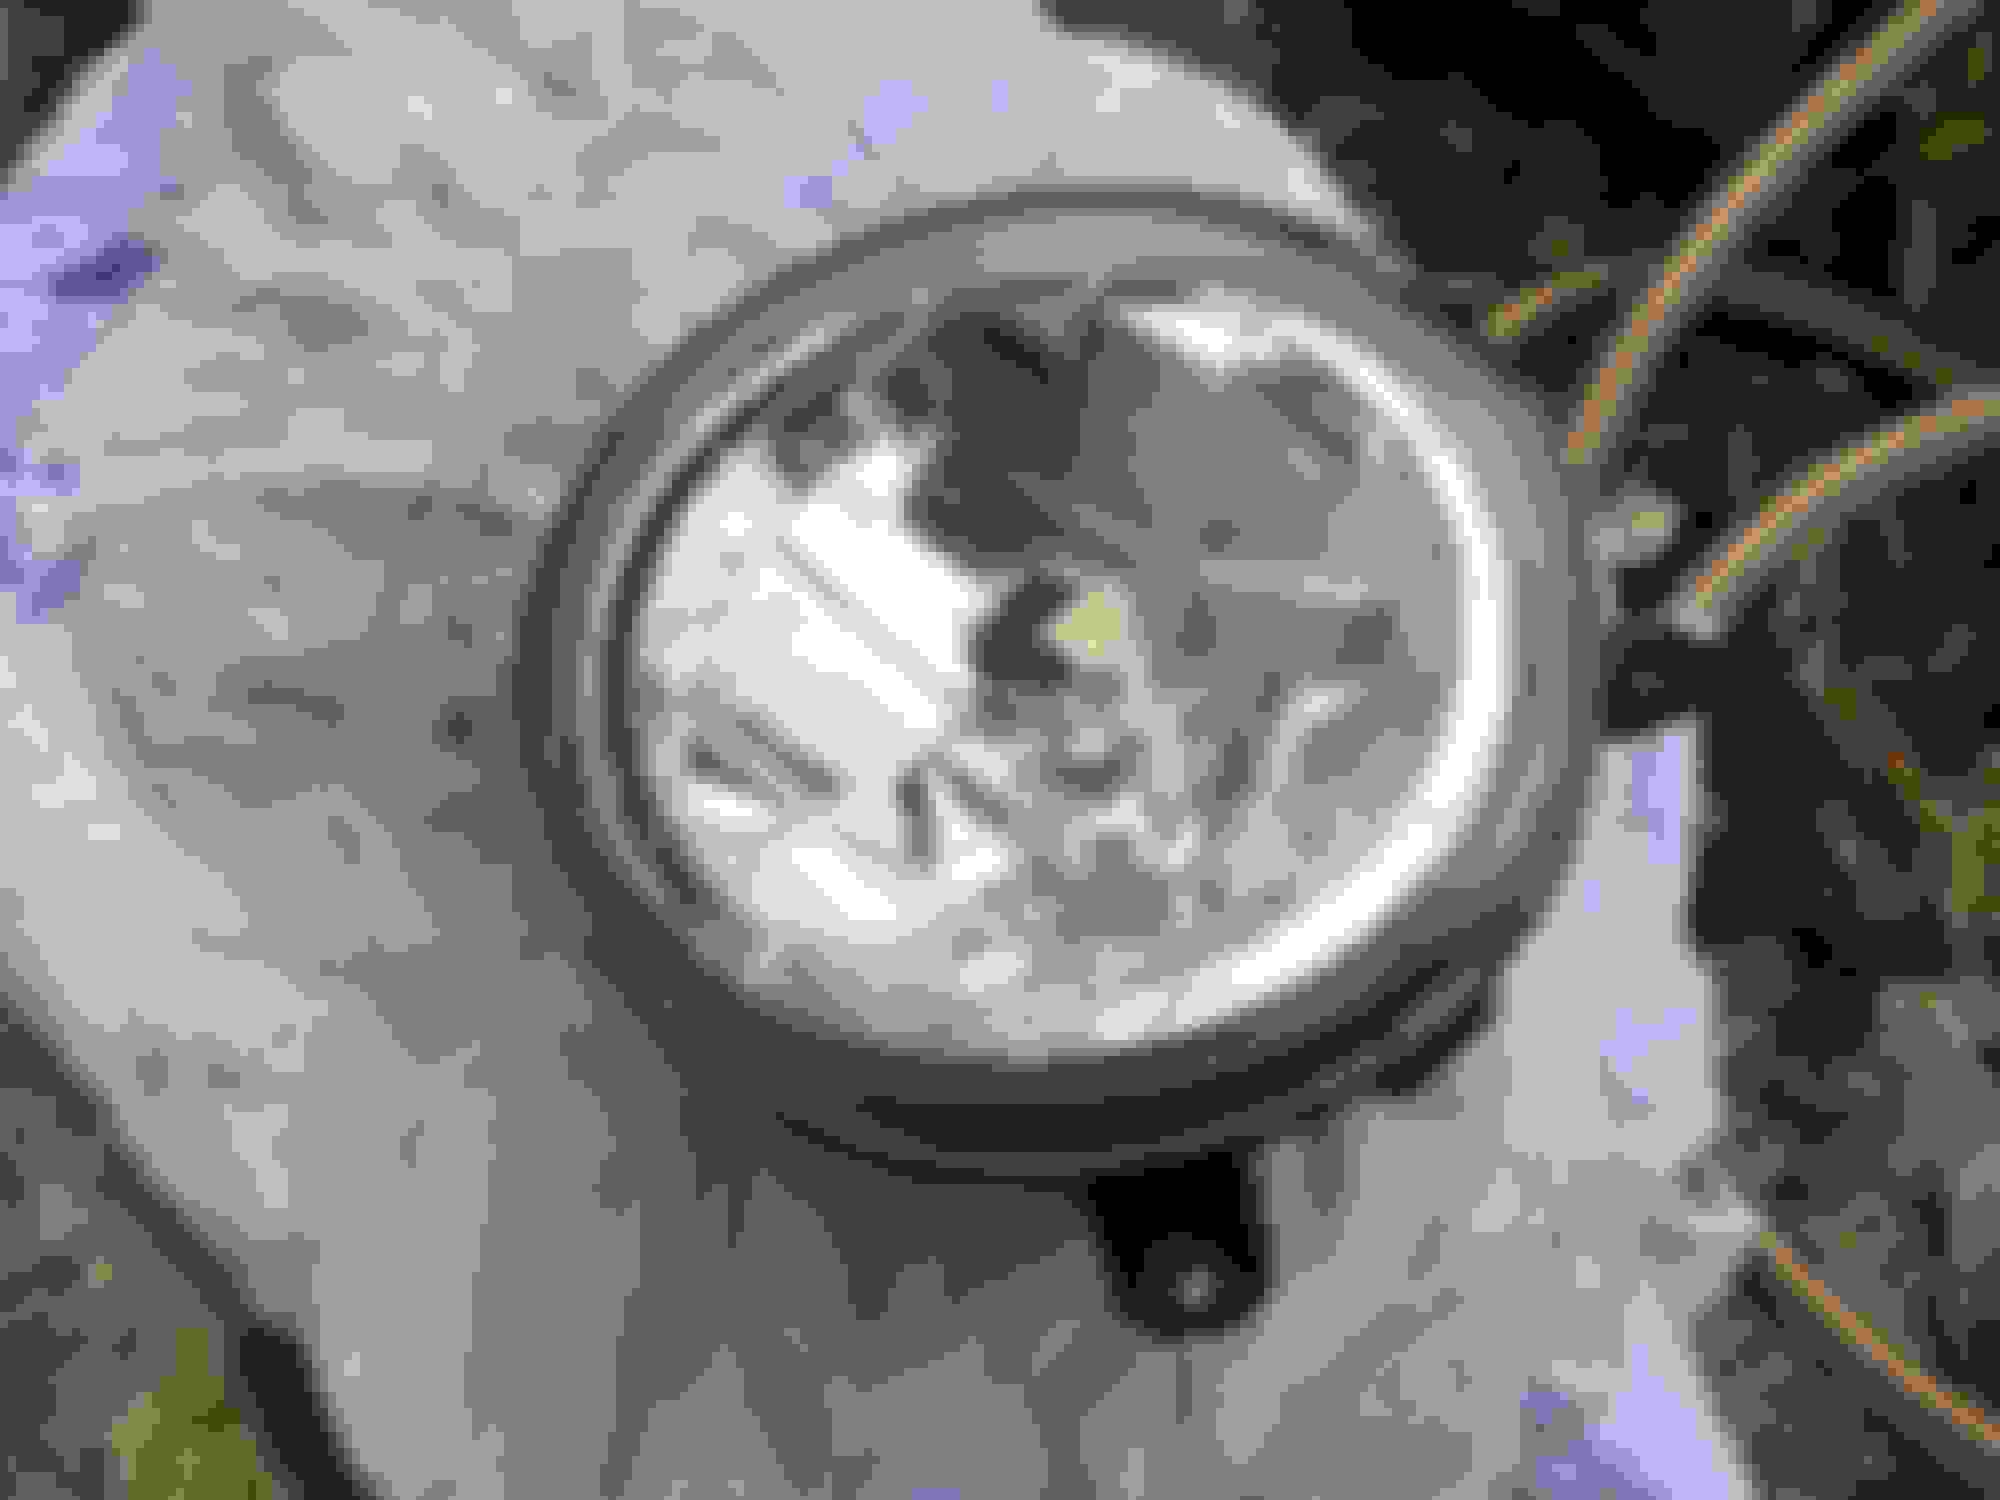
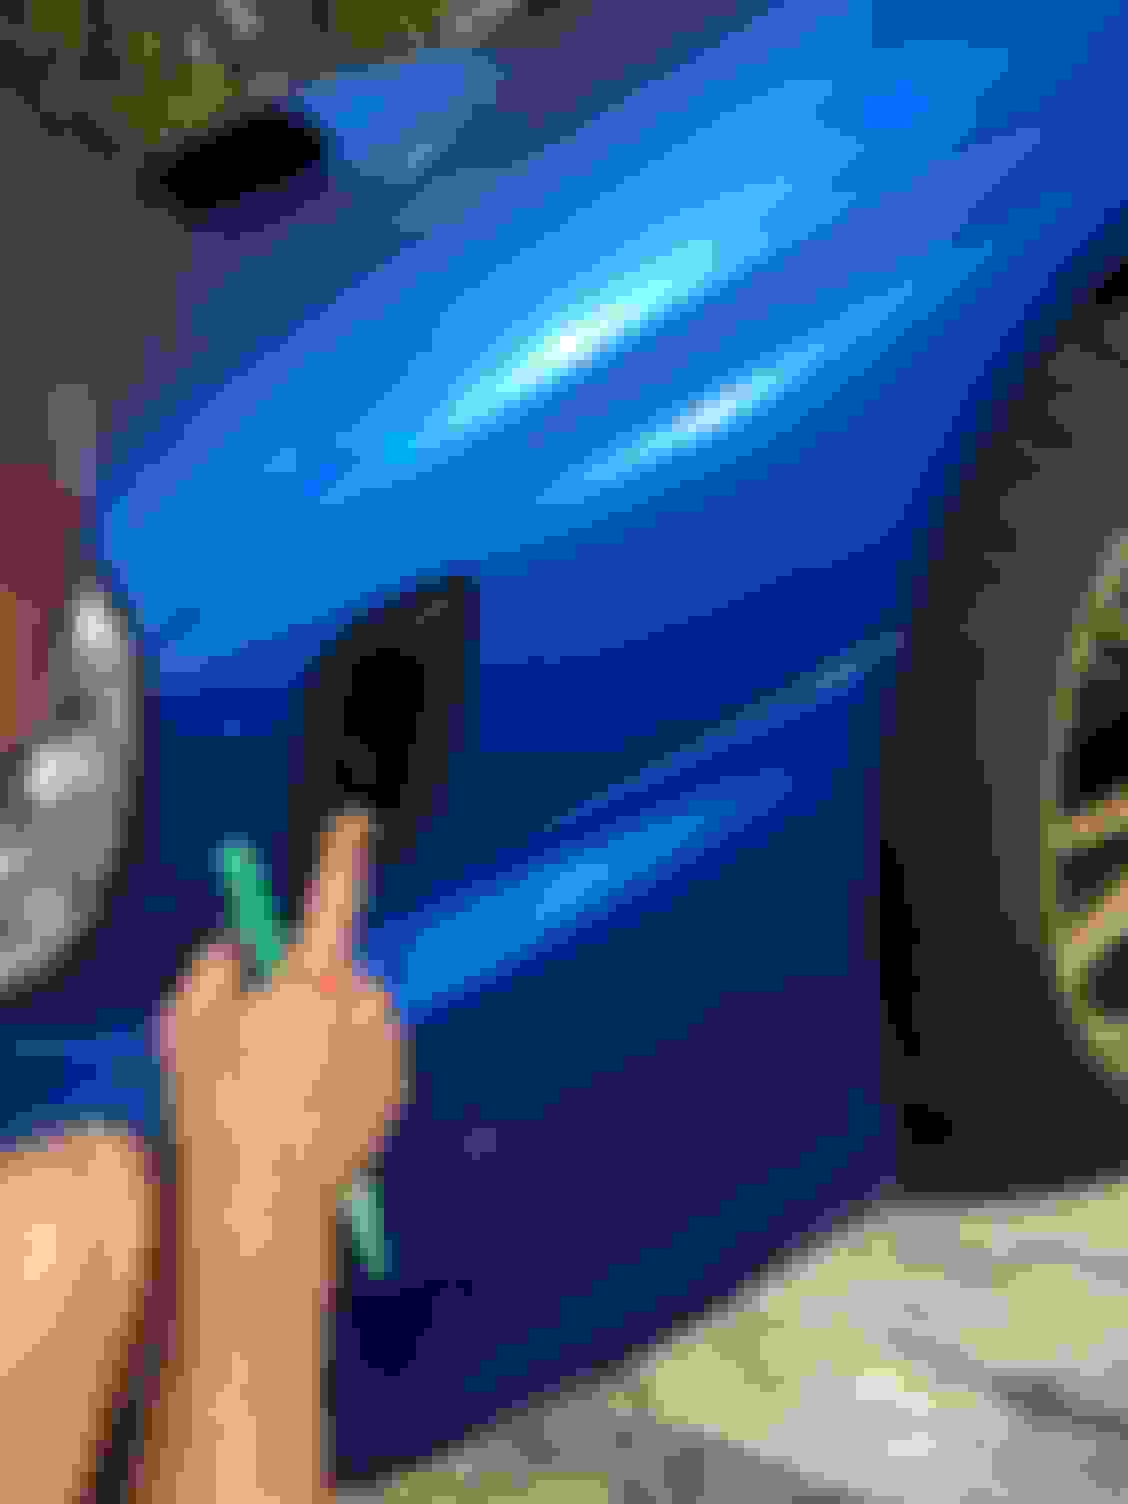
So today I wanted to get the first job done: The left fog light was loose, I discovered that 2 of the 3 screws were so rusty that they just broke. So I removed the foglight...
...and discovered that stuff is not looking that nice...
So tried to drill the old screws out, progress was slow but I was progressing. Then I went ahead and wanted to drill the thread... (sorry if those are the wrong words, I'm from Germany )
And thats when **** went wrong.. Was done with 1 of the 3 holes and in the 2nd hole my pipe threader broke. Well quite angered I discovered that I could've also just got the ironmount of the foglights out.
Well I could've done it way better if I knew that.. Well sometimes you're smarter after doing the mistake. Well now its too late and I'm looking to get that mount redone as it looks quite f***** up. Well either redone or getting a new one.
So thats it so far...
BTW: If anybody knows where to get those mounts, please tell me, thanks
So today I had the mount redone. Freed it from the rust, drilled the holes and then painted it in black. Forgot to take pictures..
Looking good after fitting the foglight back in
As this was done quite fast I wanted to do something else. Well I decided to refit the power amplifier and then fitted a new subwoofer in (Again forgot to take a picture )
As my new reflectors for the fenders arrived earlier this week I decided that today was the day to fit them on. As seen in previous pictures instead of the reflectors there was just some wire glued on the reflector base which was painted(?) black.
While the idea is not that bad it was done very poor.
As it was glued onto with what seemed like superglue and the paint was just sprayed on top of the original paint, I needed to find a way on how to get rid of that stuff...
...dilution was the answer.
Rubbing and rubbing for about a hour I was able to finally remove all the remains and the base for the reflectors was blue again..
A little work in progress picture..
And I was finally able to fit the reflectors in:
Looking way better in my opinion, but I'm still wondering if something is missing on the reflector. I don't know but isn't there a seal around it? It looks so blank the way it is right now. If anybody knows something, let me know
That's it for today
Last edited by colinLWRX; 21 August 2016 at 06:25 PM.
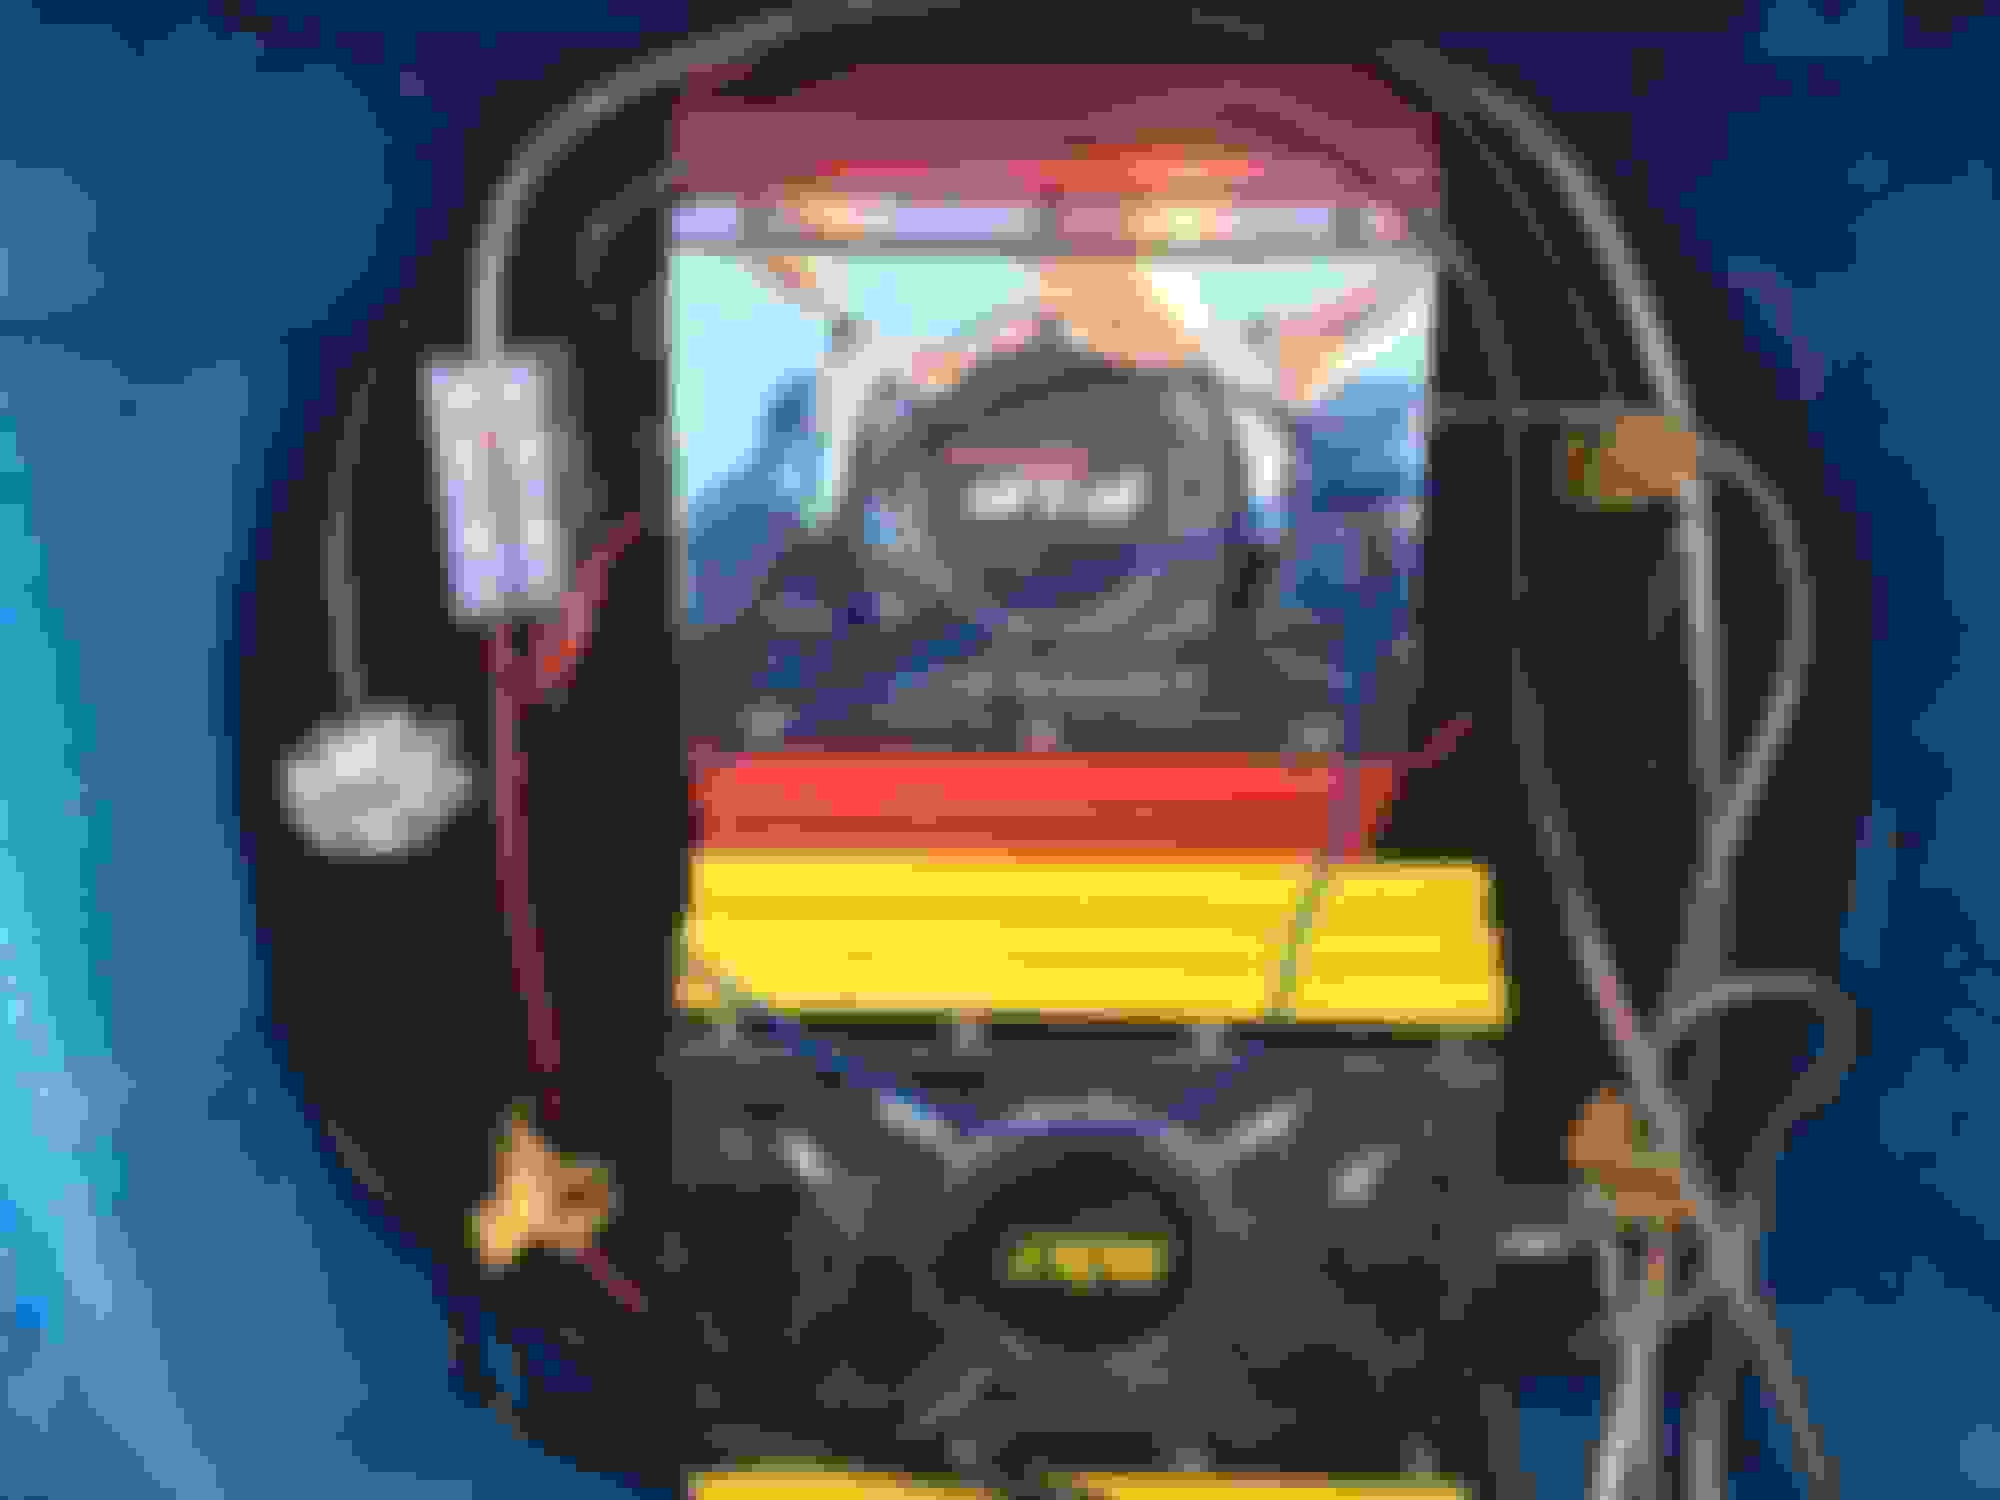
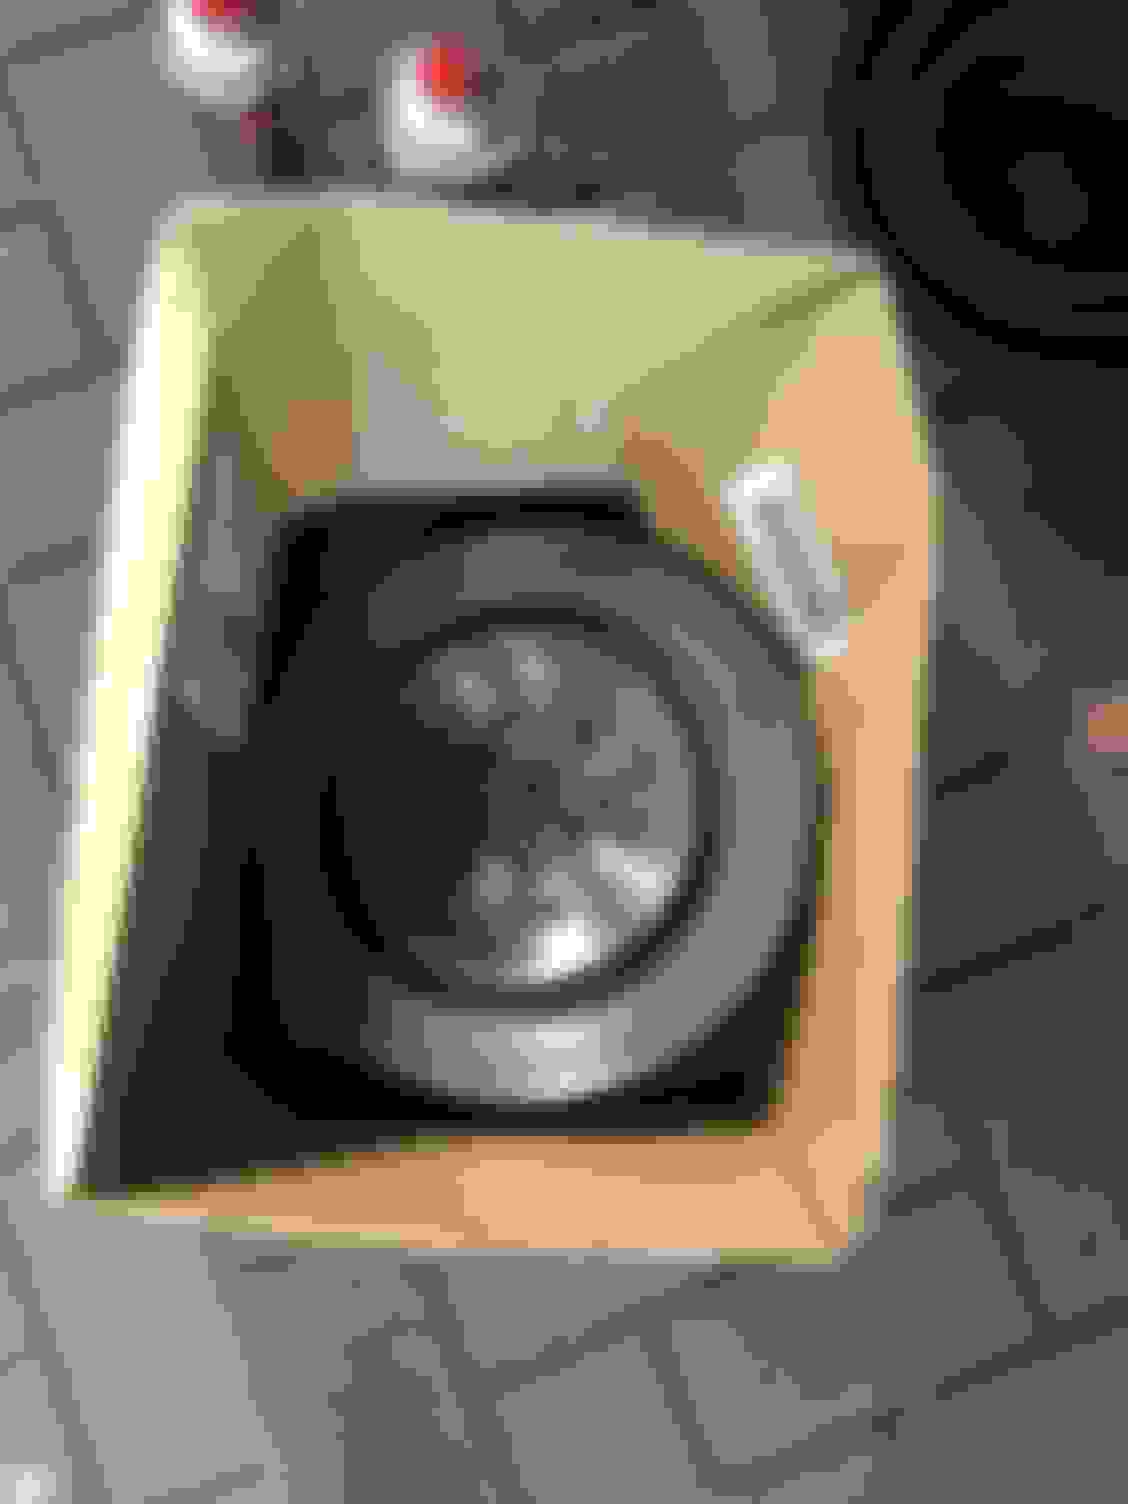
So today was the day, finally my new Brembo brakes arrived, ordered the pads and new discs. Started a bit later in the evening so I had not that much time... Anyway, wanted to to the rear today. Stuff was going quite rough, seems like nobody ever cared about the brakes...
So thing is its late now and I stopped 2 hours ago, "completed" the rear but with a twist. Seems like I ****** up the drum-handbrake. My problem is now that the wheels won't spin at all, even tough disc and pads are assembled correctly. Is there anything I need to do to get it going again?
At least its looking nice.. If you know anything, let me now asap, wanna get the car going for the weekend.
*Sigh* I just tried my luck at readjusting the shoes.. I don't know, maybe I did something wrong but the car still won't move a single bit... I've heard that you will need to adjust the shoes so that they will touch the disc a little bit and then turn them back a little bit. And then you'll need to tighten up the handbrake lever. Can anyone confirm this?
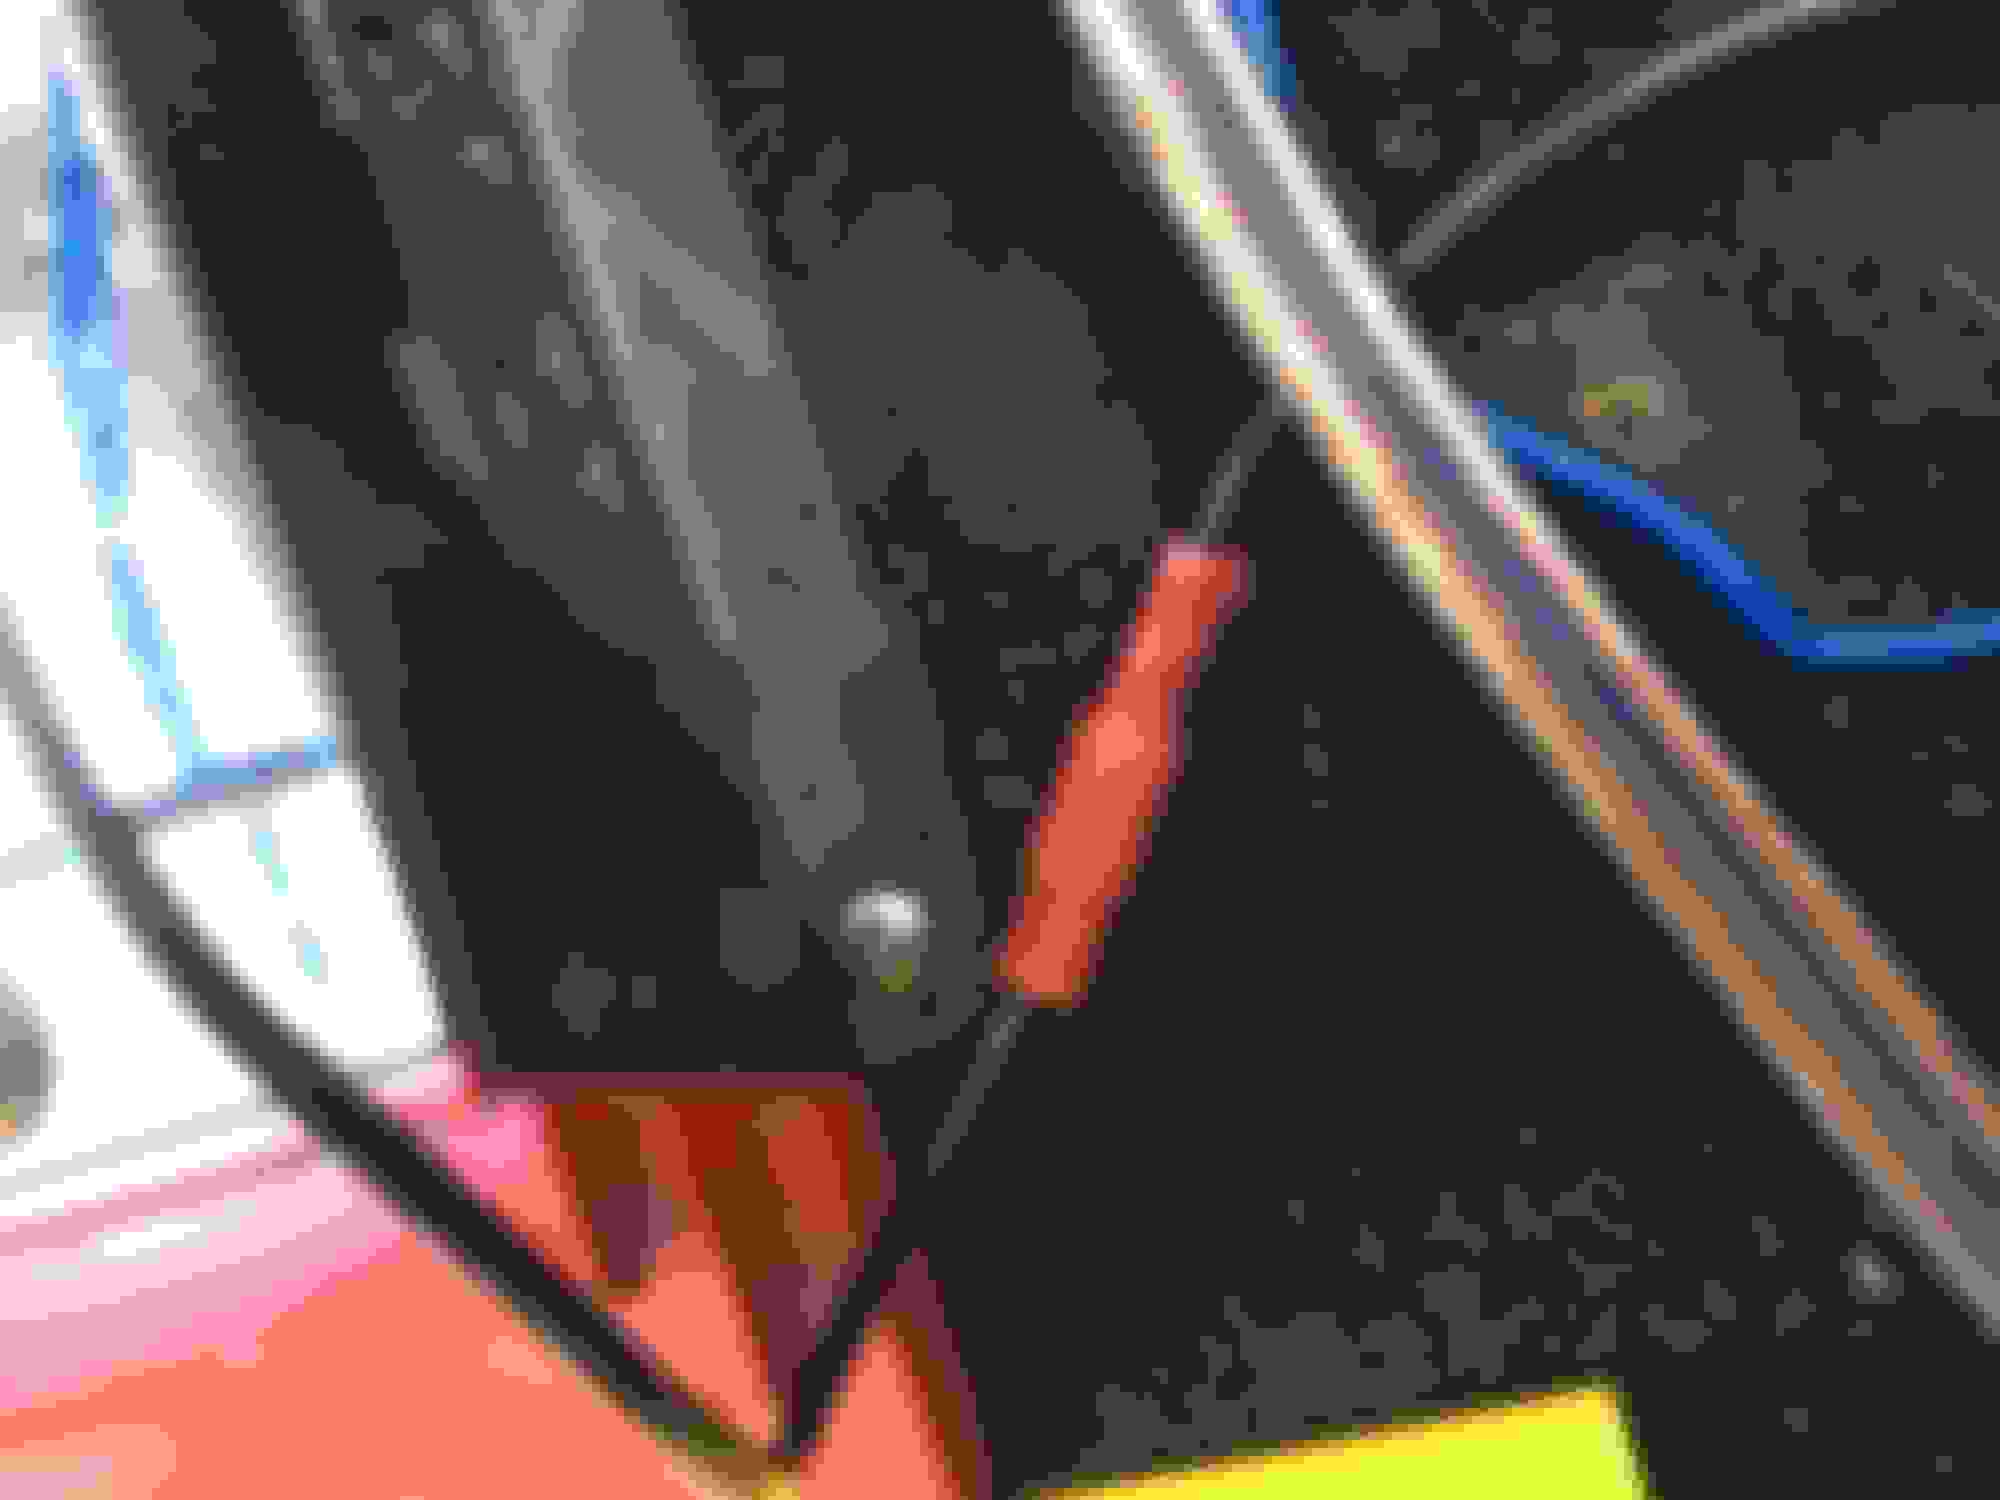
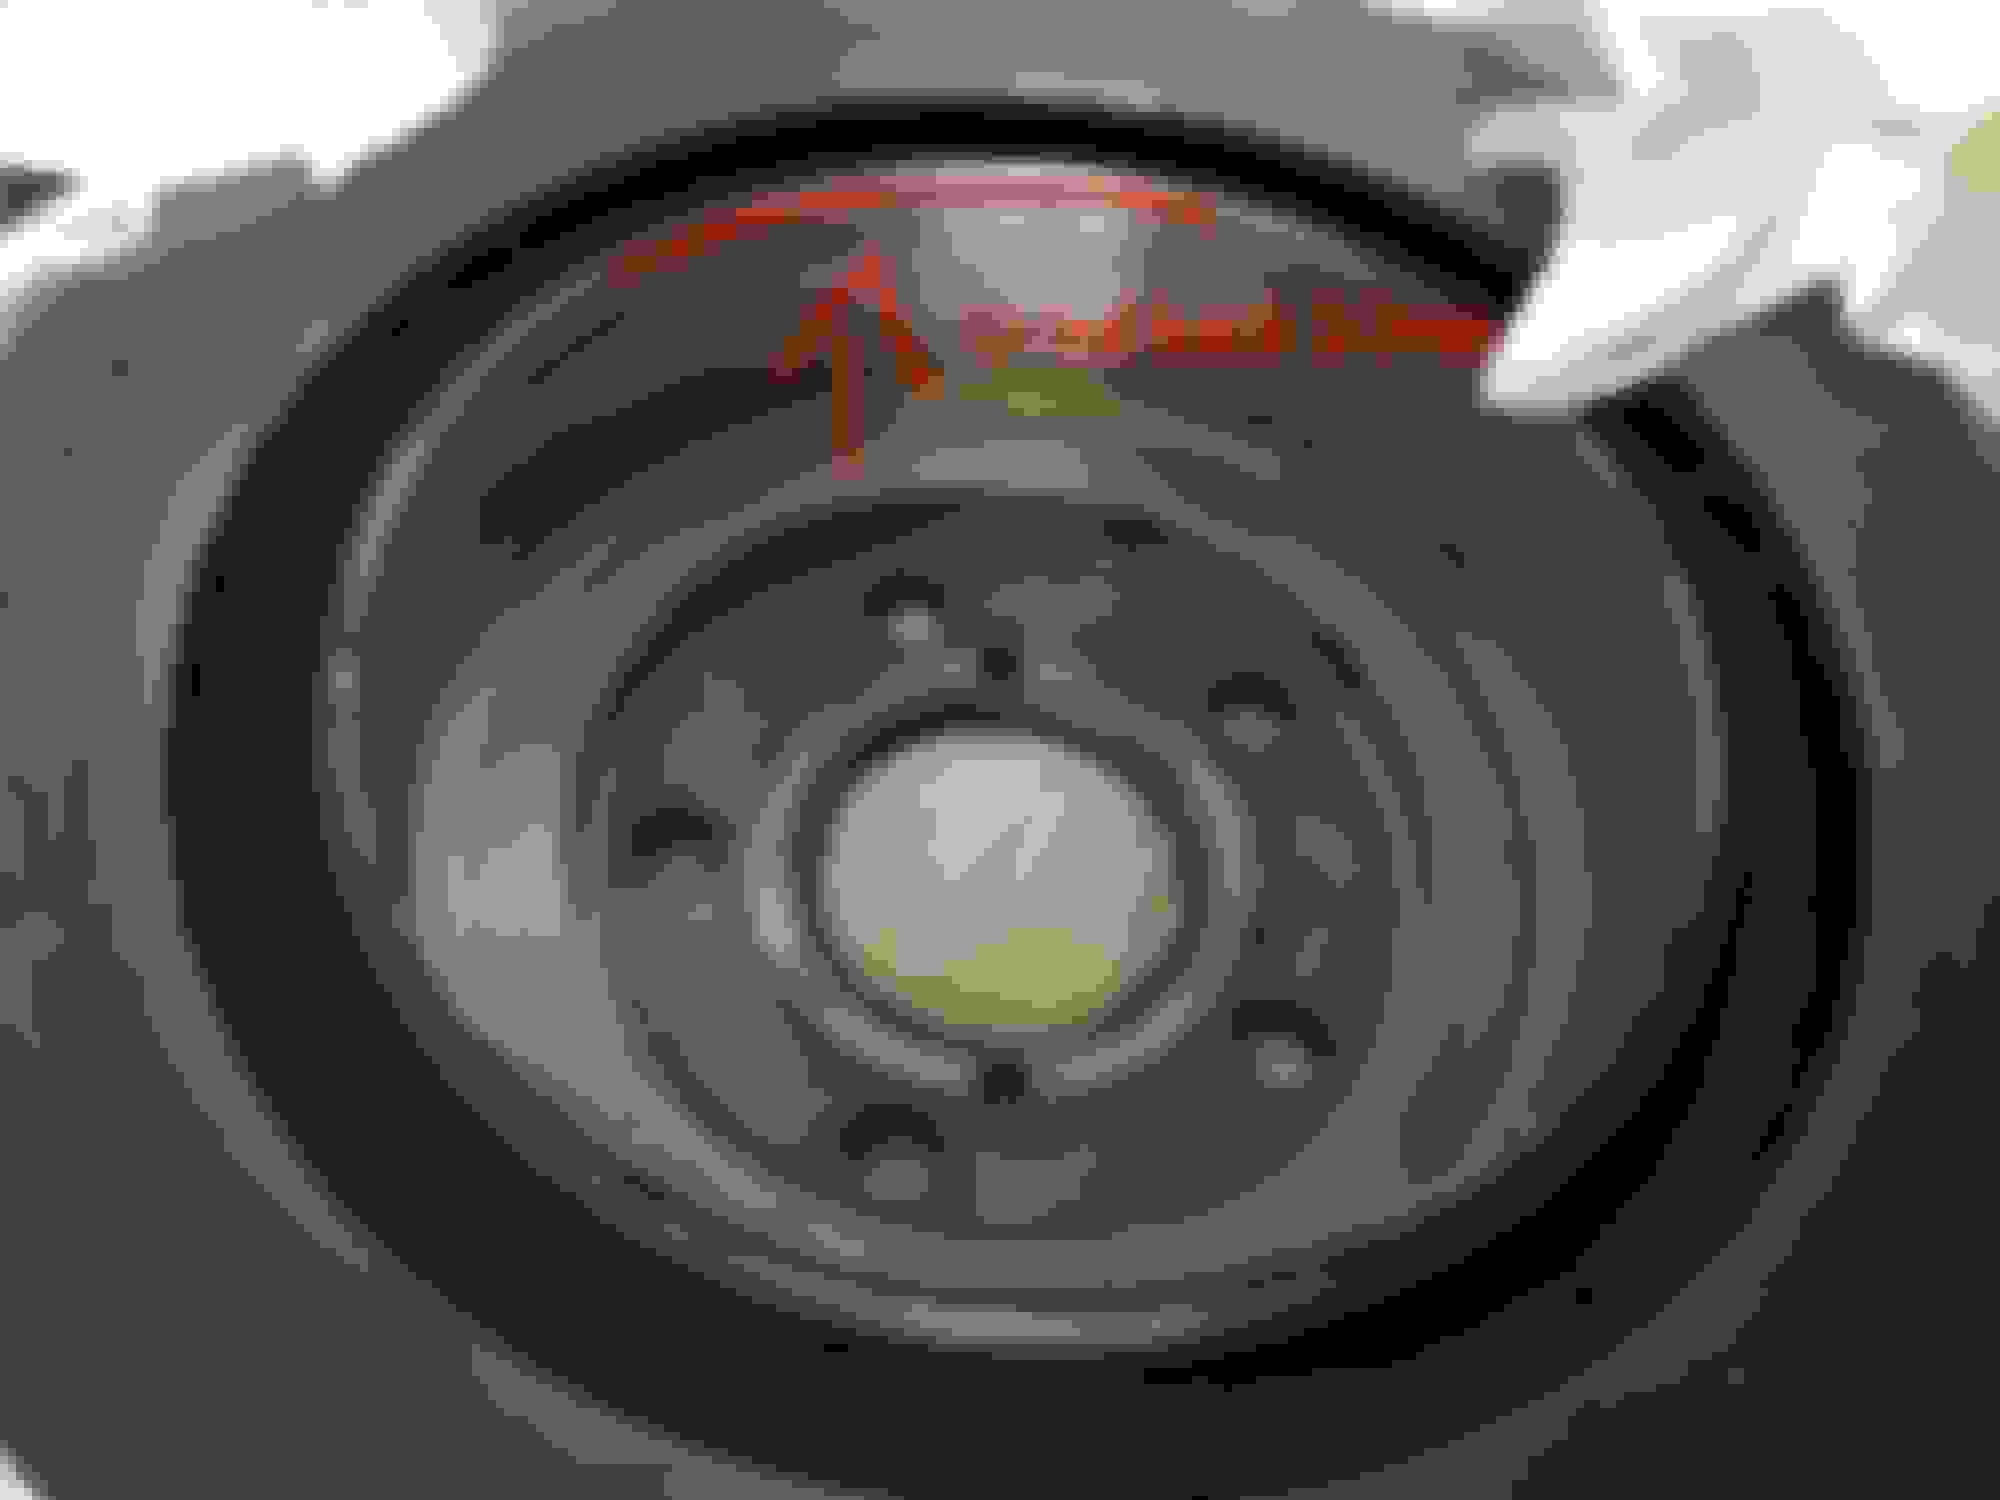
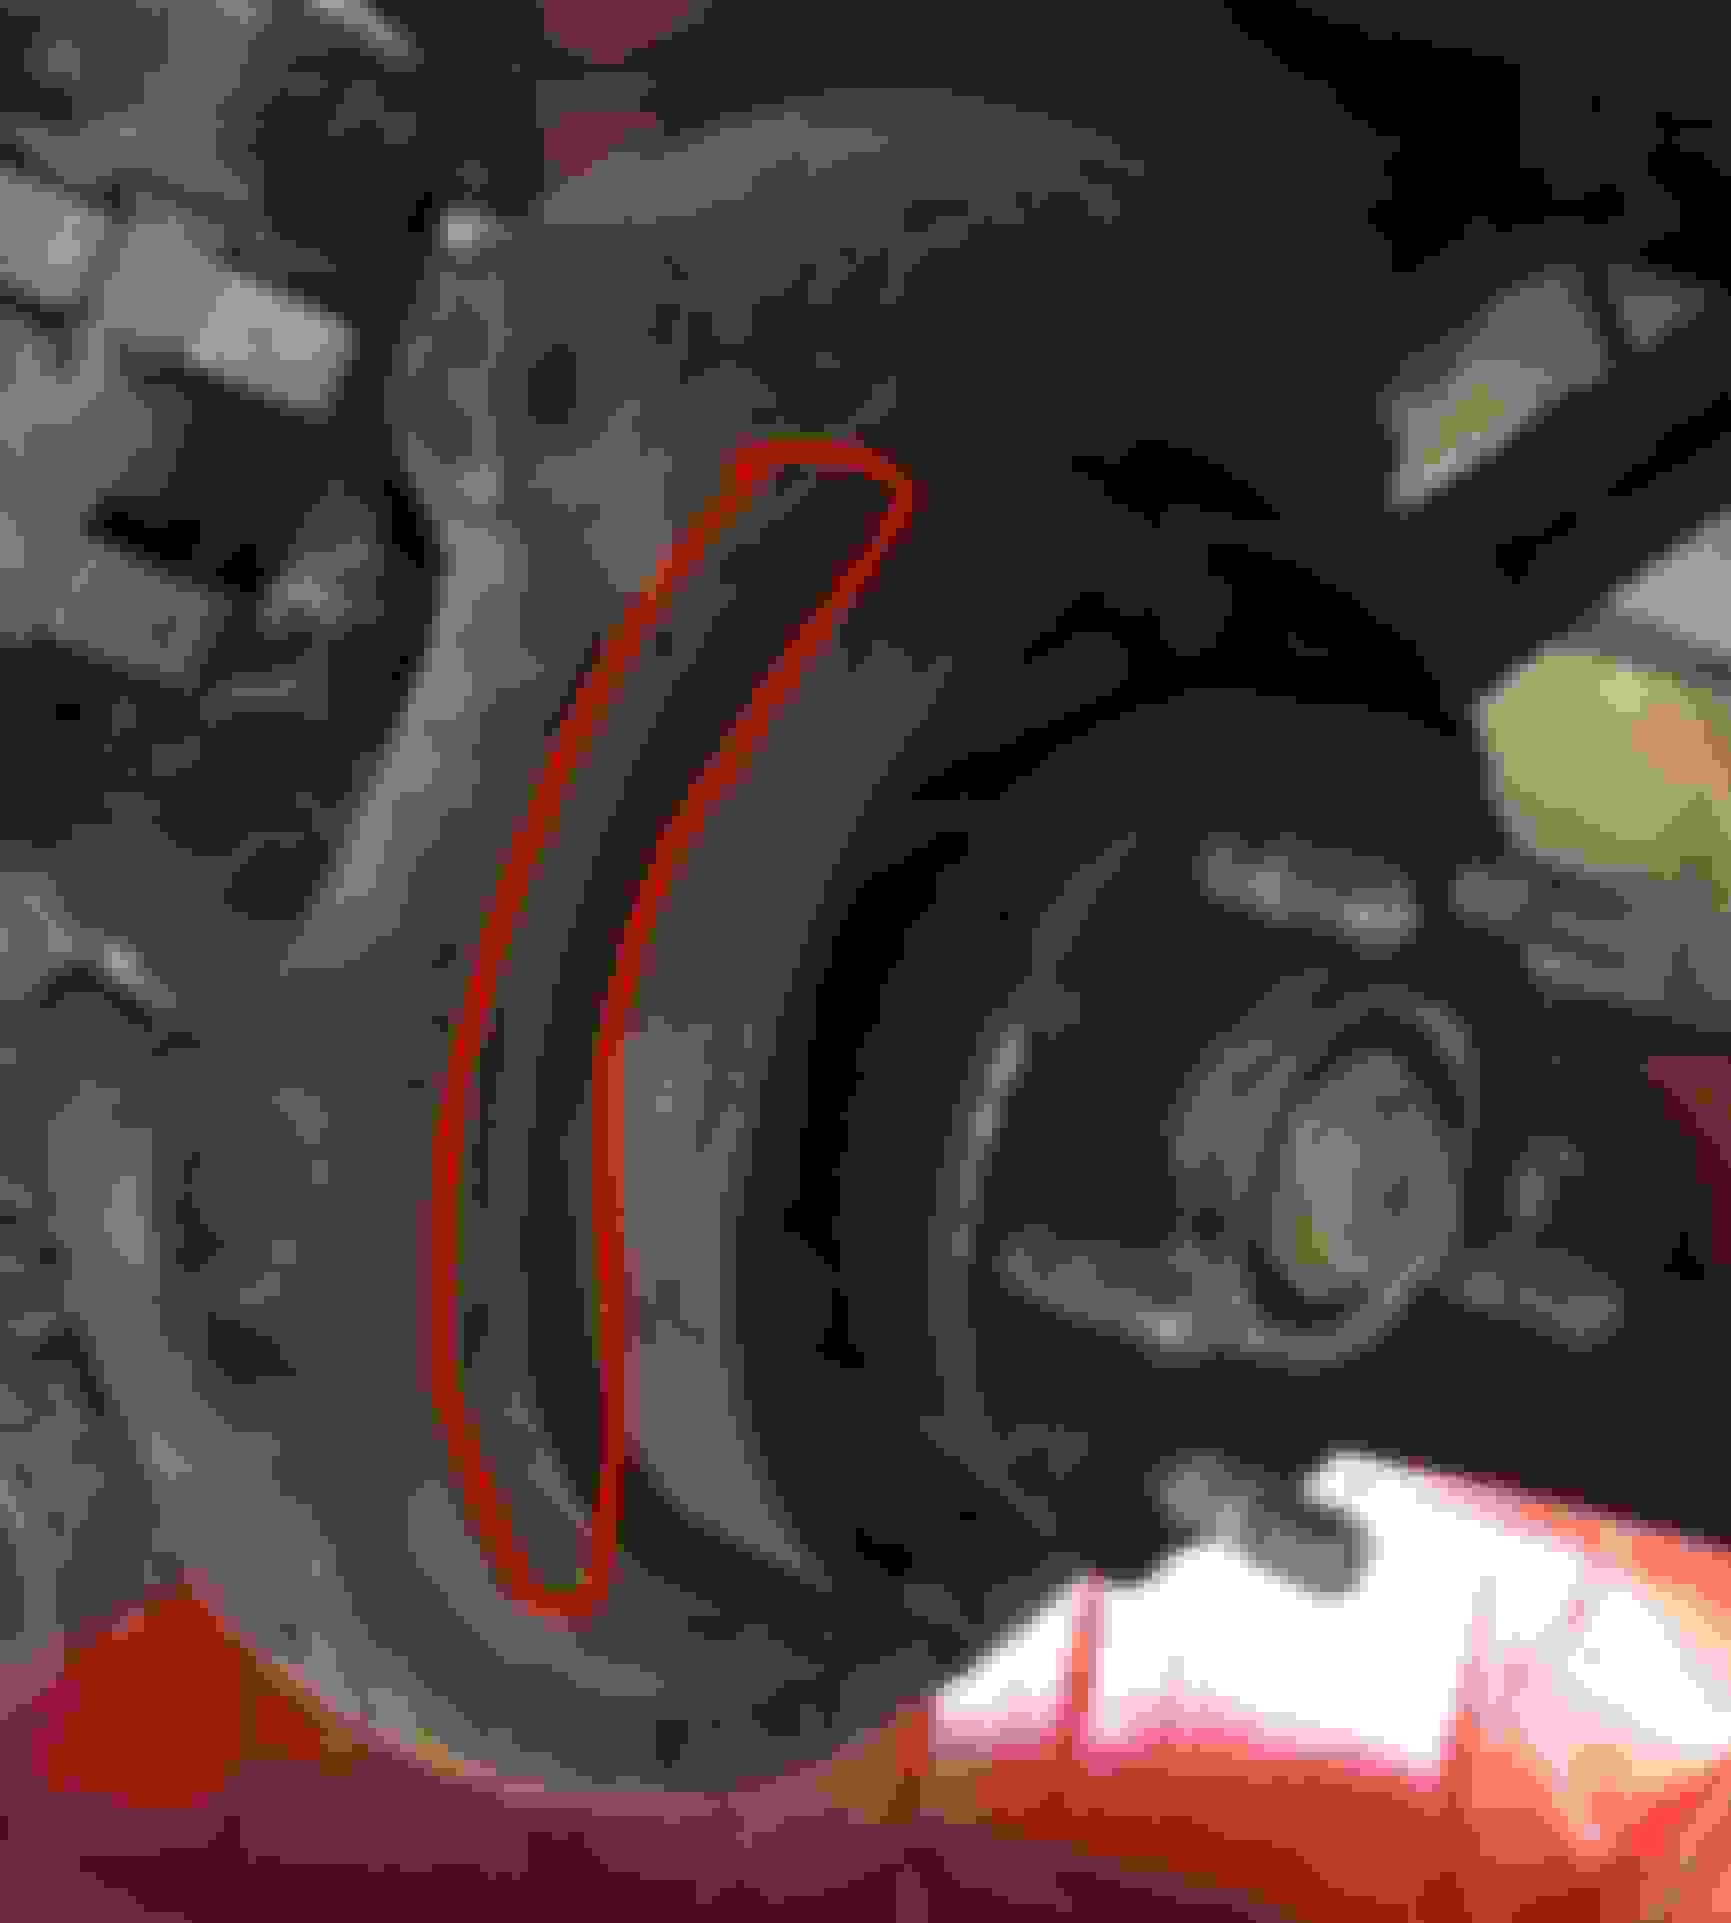
As I did my research in the last few days I finally found out what the problem is. Yesterday I discovered in a german Subaru Forum that I will need to adjust the sealing lip of the brakedisc in order to get the car going again..
Gotta remove 2-3mm of this sealing lip
And this is the part where it is rubbing as soon as I tighten the wheel, resulting in the wheels not able to spin without heavy heavy resistance.
Gotta visit a friend in about a hour so he will remove those few millimetres, as I tried cleaning it the backplate up yesterday without having any success...
But besides that the new discs are looking good
So hopefully I'll be able to drive again this weekend. Wish me best of luck lol
Sigh... Did grind down the brakediscs yesterday and...
...The rear wheels were spinning again.
Enthusiastically and full of joy I decided to hop into the car and wanted to drive again...
...Nope.
This time with the problem of non spinnable wheels coming from the front, which I did not notice that those weren't spinning too.
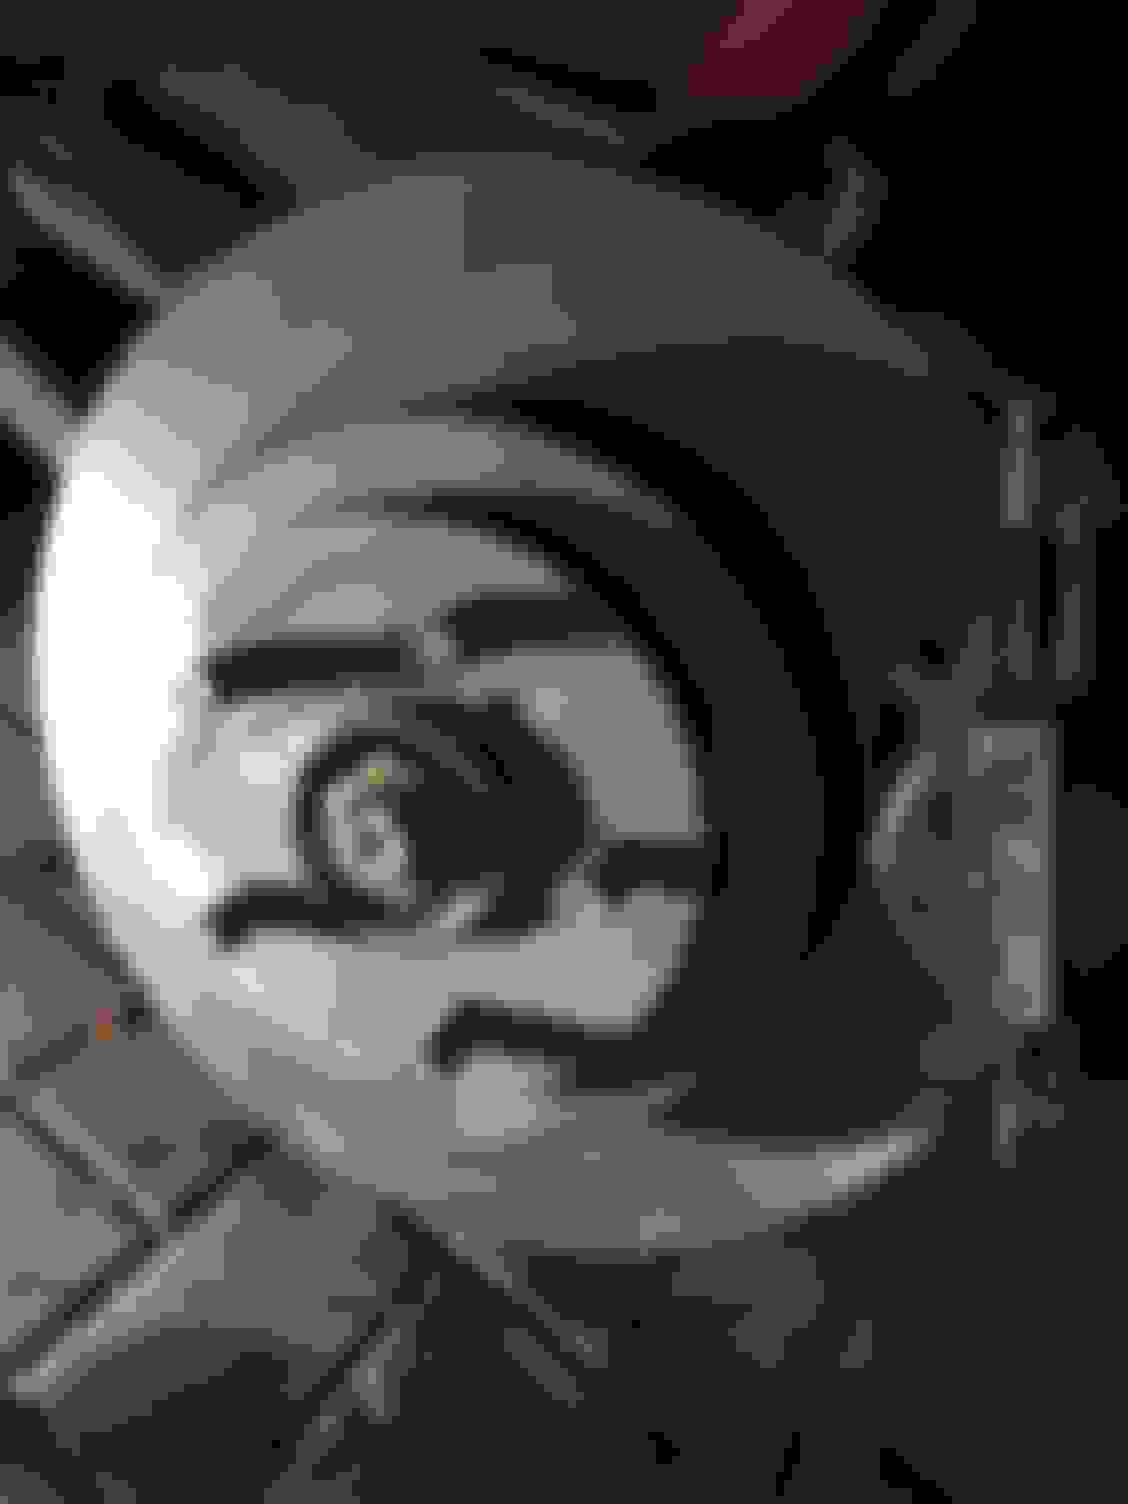
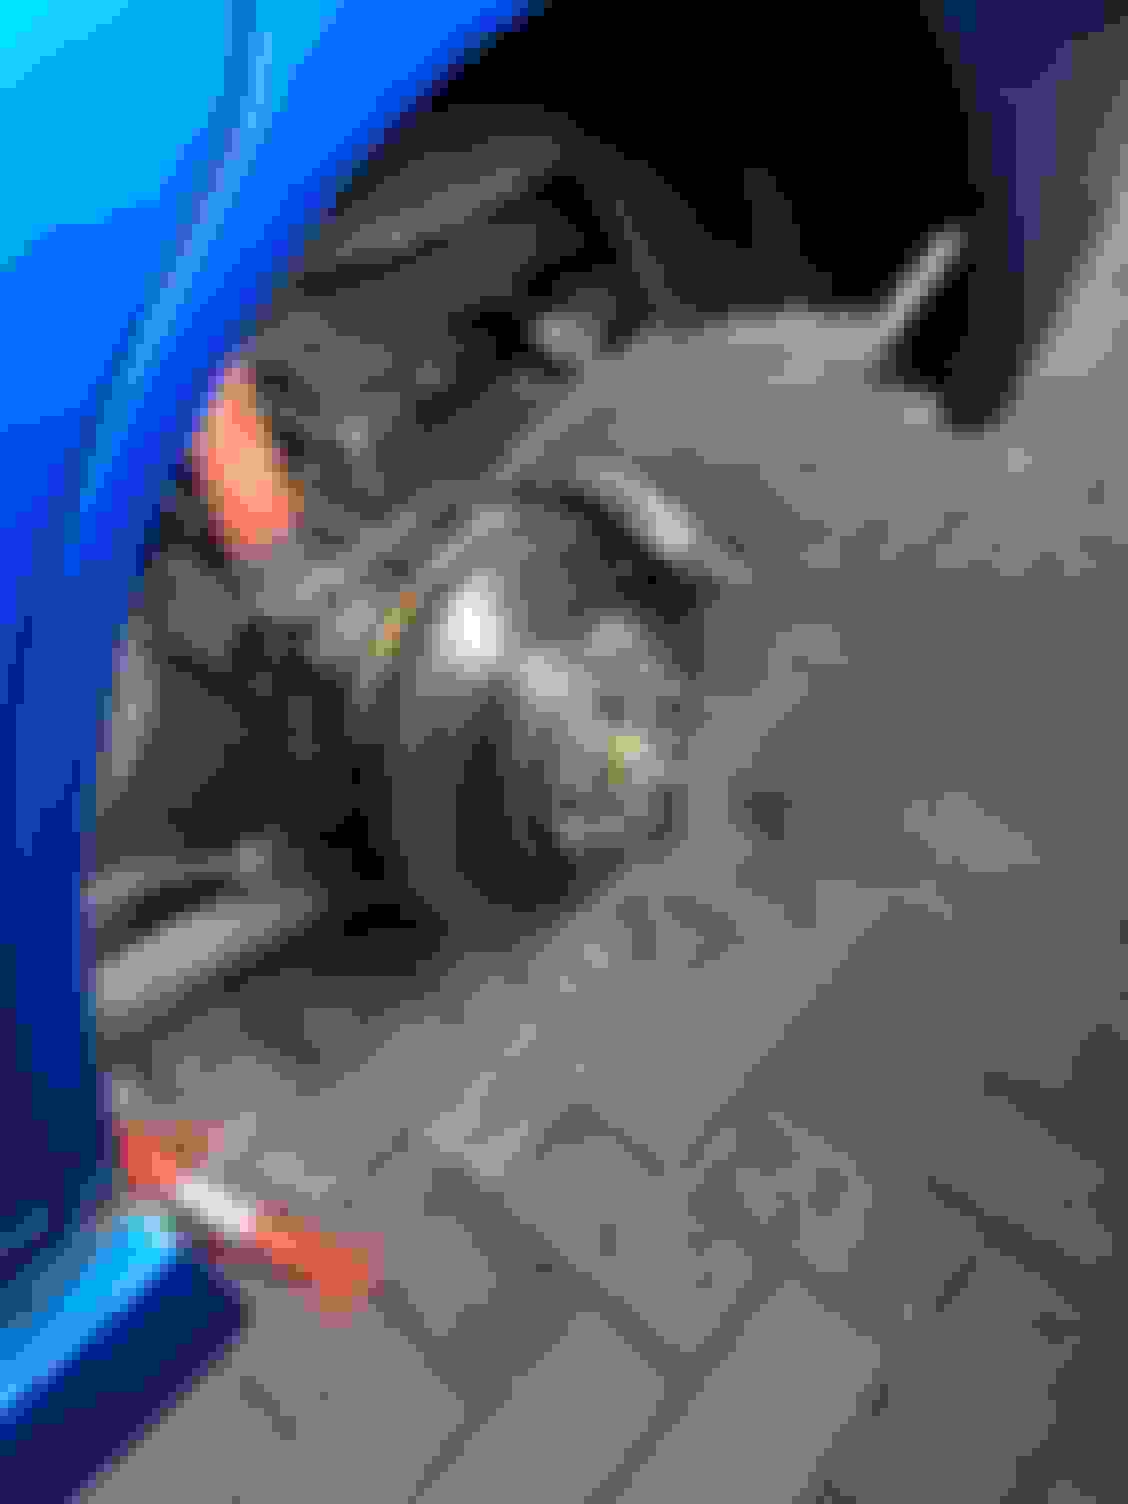
So I got off the brakes and saw that:
One of the cylinders is not going back enough (Spoiler: not moving at all!), I did notice it while changing but did not think that it would be problematic as there was enough space for both pads and to slide the brakes back on. (On both sides the same cylinders did not go back enough). So to get back to the point the plan today was after being disappointed again yesterday to get the brakes off and clean them to get the cylinders moving again... Long story short: No way. It is way too corroded and I've purchased 2 new brakes for the front. Even if I had got the cylinder moving again I probably wouldn't feel that safe anymore...
Maybe I should have seen it coming.. Maybe not.
Pic of that little basterd.
Wondering if anybody took care of the car before?
Will provide another status update once the new brakes arrive.
Yeah once the new brakes are there nothing should be causing trouble anymore. And eh, stuff like this brings you closer to the car. Better safe than sorry
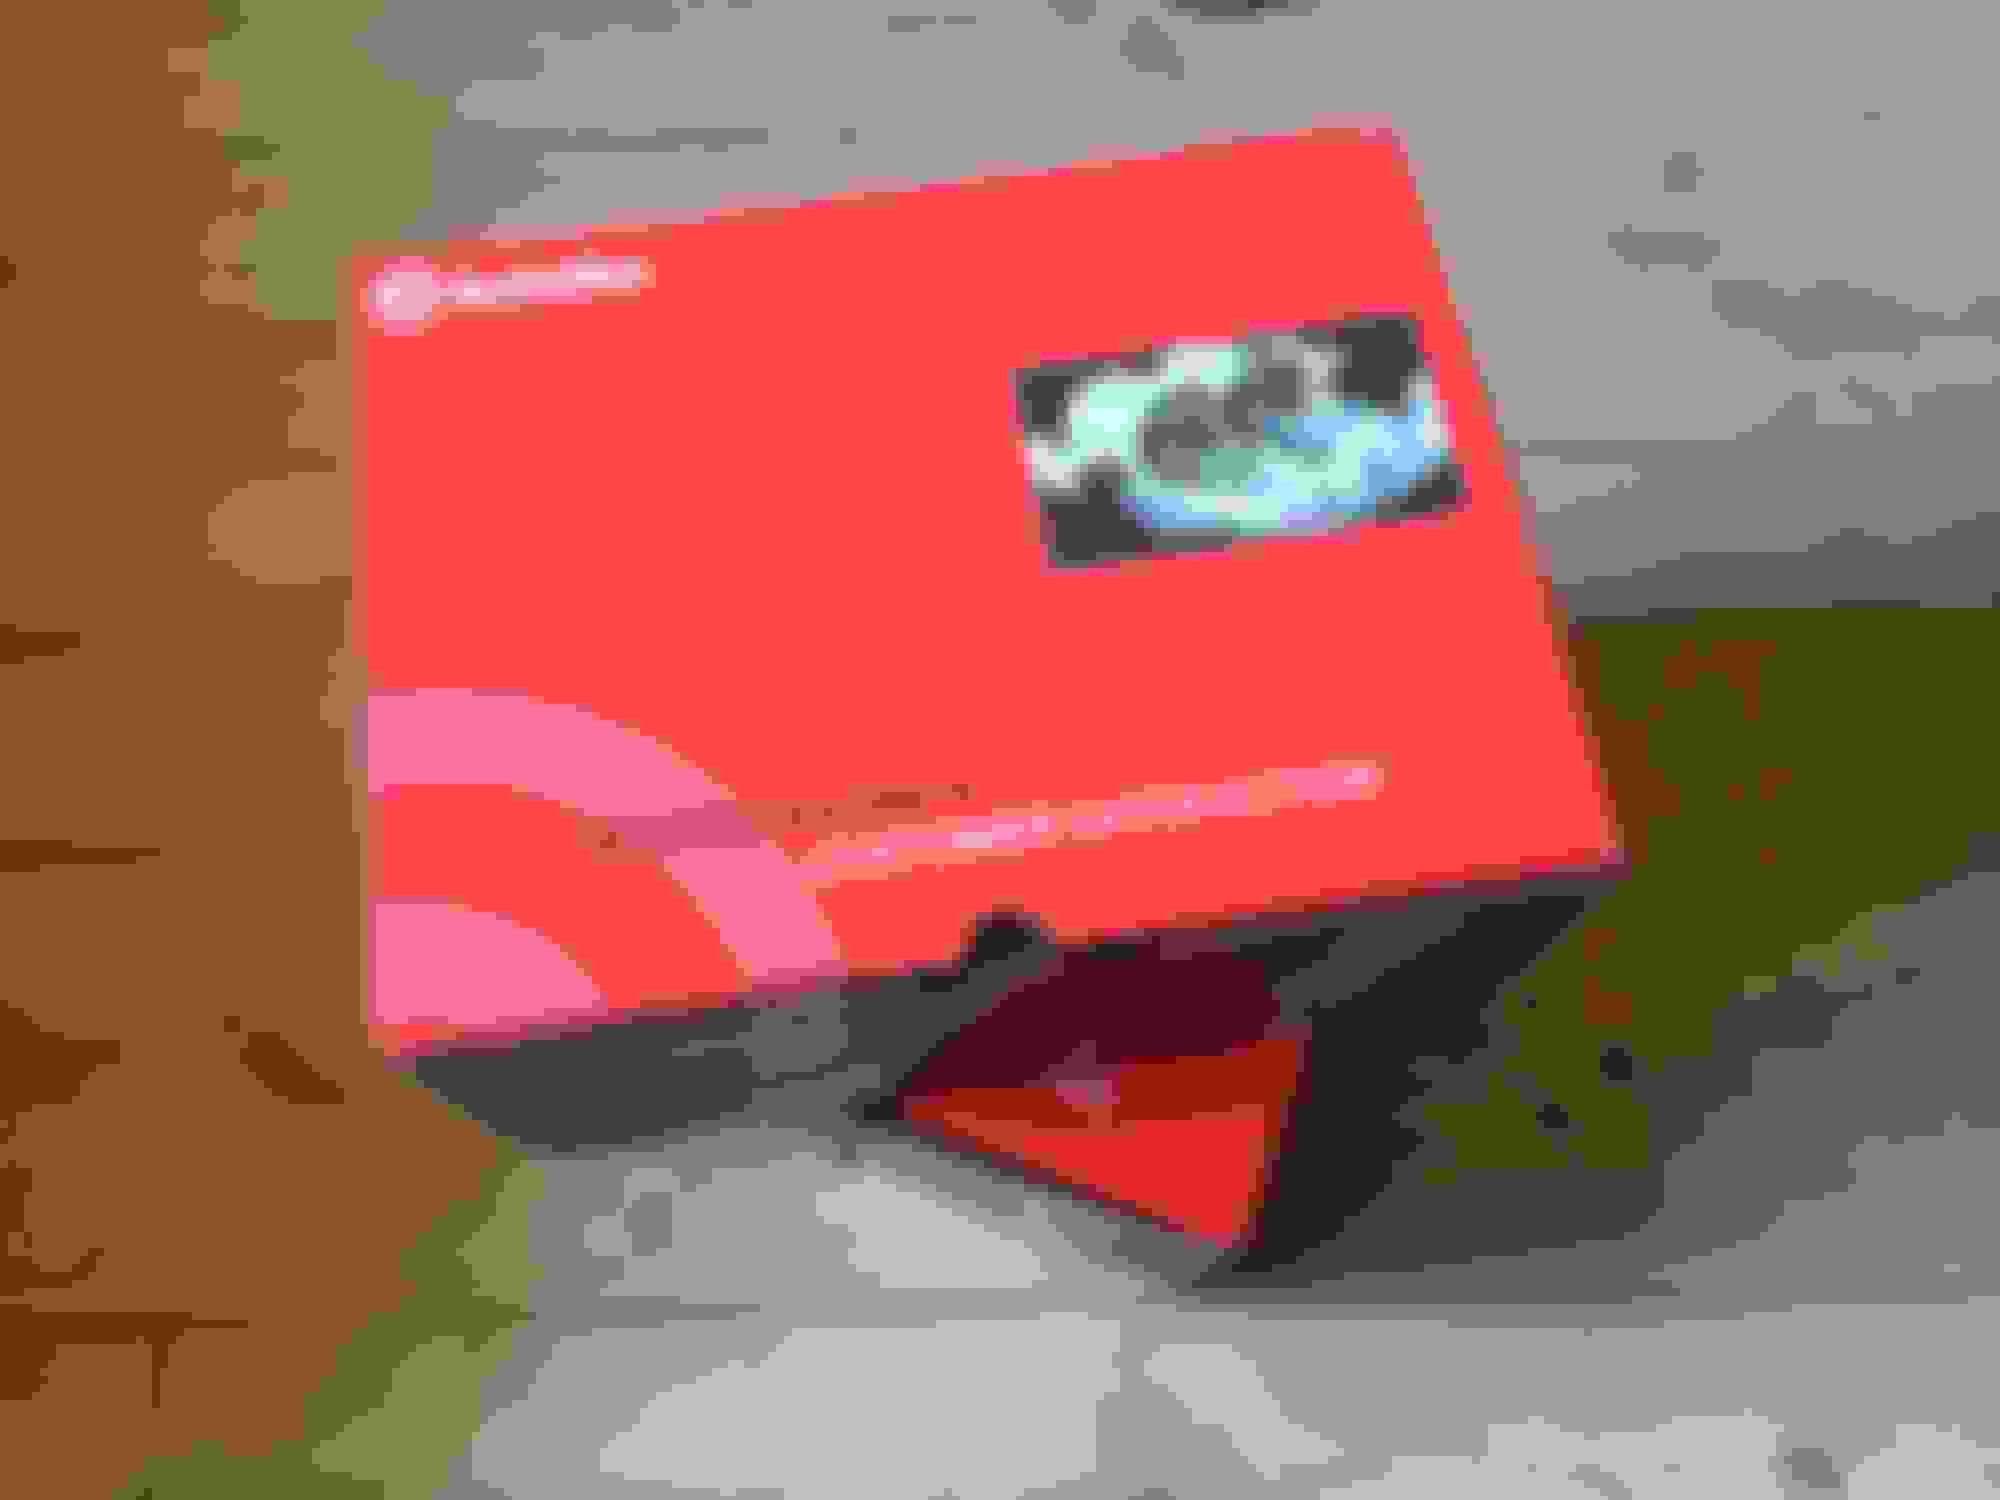
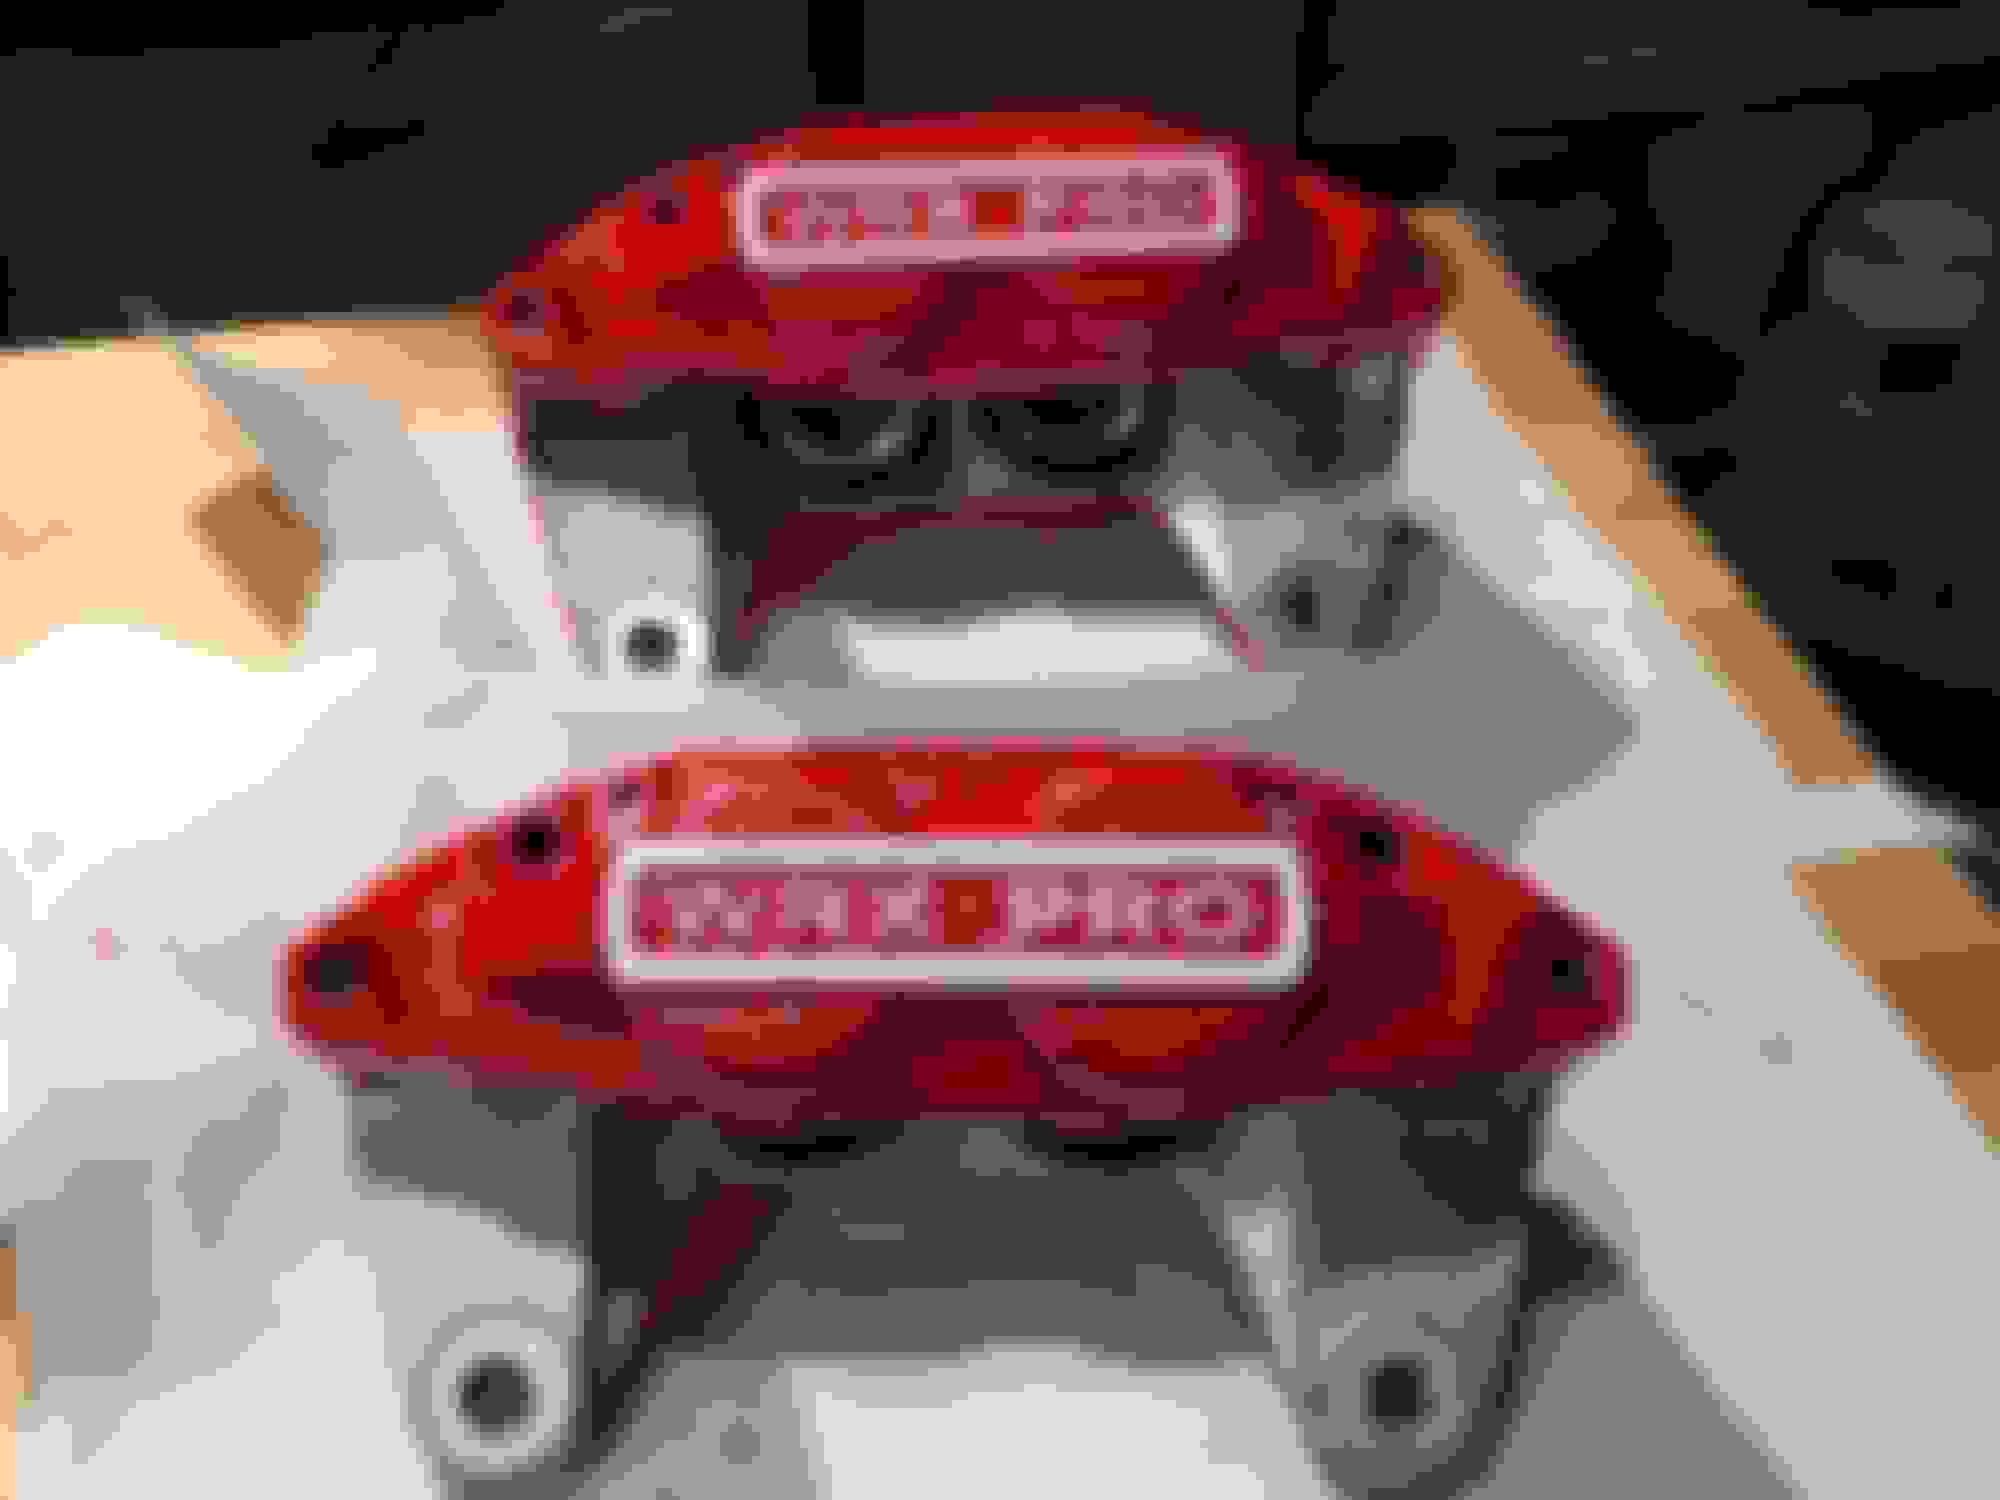
Those are not Brembo's despite what the box may say.
I believe that WRX Pro calipers are OEM quality replacements made in Denmark
Well putting "Brembo" in brackets then even tough it said where I ordered them brembo but maybe they're "joint venture" parts? Anyway way better then before and like I mentioned earlier a change definetely was necessary..
Good work and good luck sorting the rest out. Subscribed.
That subscribed is a honour to me!
Your thread was the one that inspired me the most to start this thread here Already read and subscribed to yours before I even had my Impreza haha.
A bit of time has flew past since the change of the brakes and a little bit (just a little bit) has been done to the car in that time..
1. Floormats
Nothing really special or hard to do, but as the 15th October was my birthday I was gifted some nice Subaru WRT colourish floormats:
Thinking of maybe getting some Subaru World Rally Team stuff embroided, but not yet..
2. Small start of rust removal
As of yesterday (29.10.2016) I've got myself a new boot because the old one is too rusted (not removed wing yet but tried it and it is extremely hard, so probably won't use the old boot again, maybe even getting a new wing)
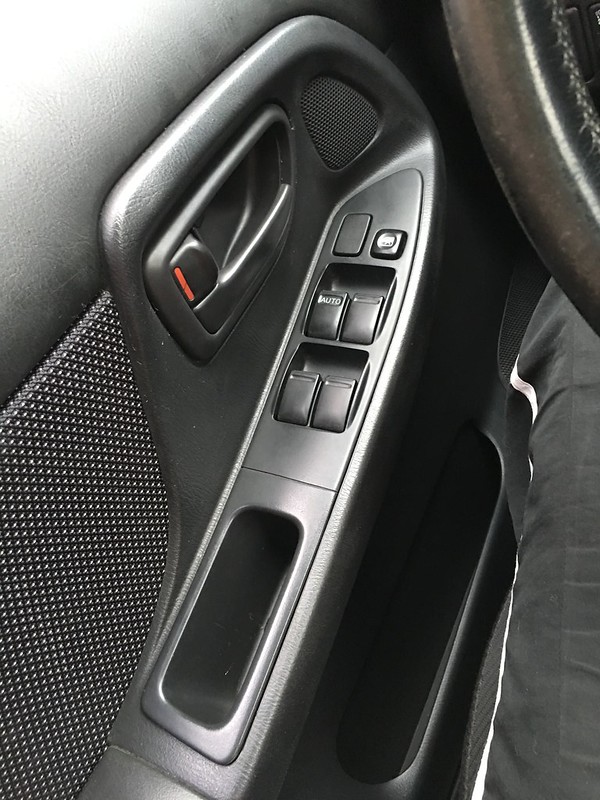
With the boot I also got myself a window switch, because with the old one the drivers window will roll down all the way but then it won't stop which results in a loud clacking noise (not sounding healthy at all) and this seems to be a common subie issue. Anyway got myself a new one for 110� (They're mad but I have got it with the boot for 220� in total). Anyway built that switch in and...
...same problem. Seems like the "new" switch is also broken because I discovered one of the screws which holds the little circuit board in was loosened. Donatorcar probably had the same problem. Thats what you get for picking parts up from a scrapyard..
Anyway I don't want to get lost with a backstory which I already did but anyway..
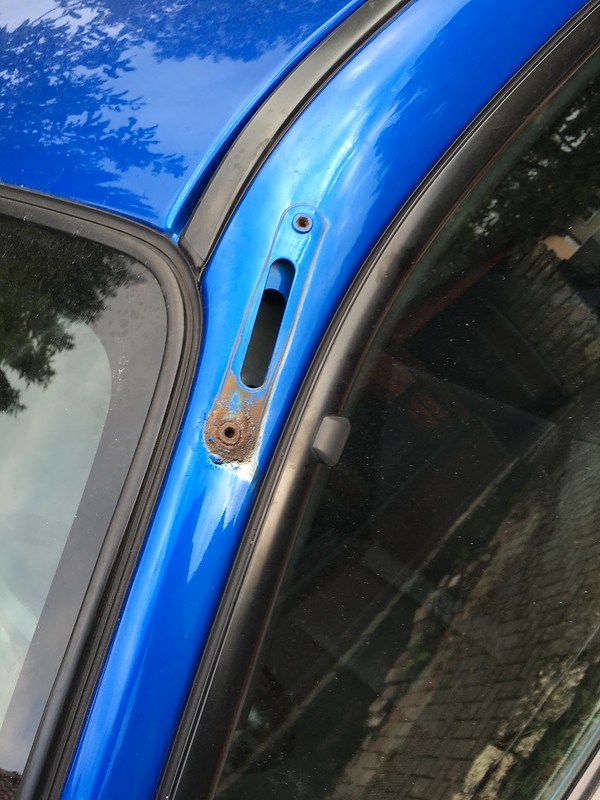
So as that didn't work and I had a little big patch of rust at the antenna on the A Pillar I was curious and removed the antenna. Once removed I was like "Ok, removed it, screwing it back on would be stupid, lets remove the rust"
What I started with:
30mins of grinding later:
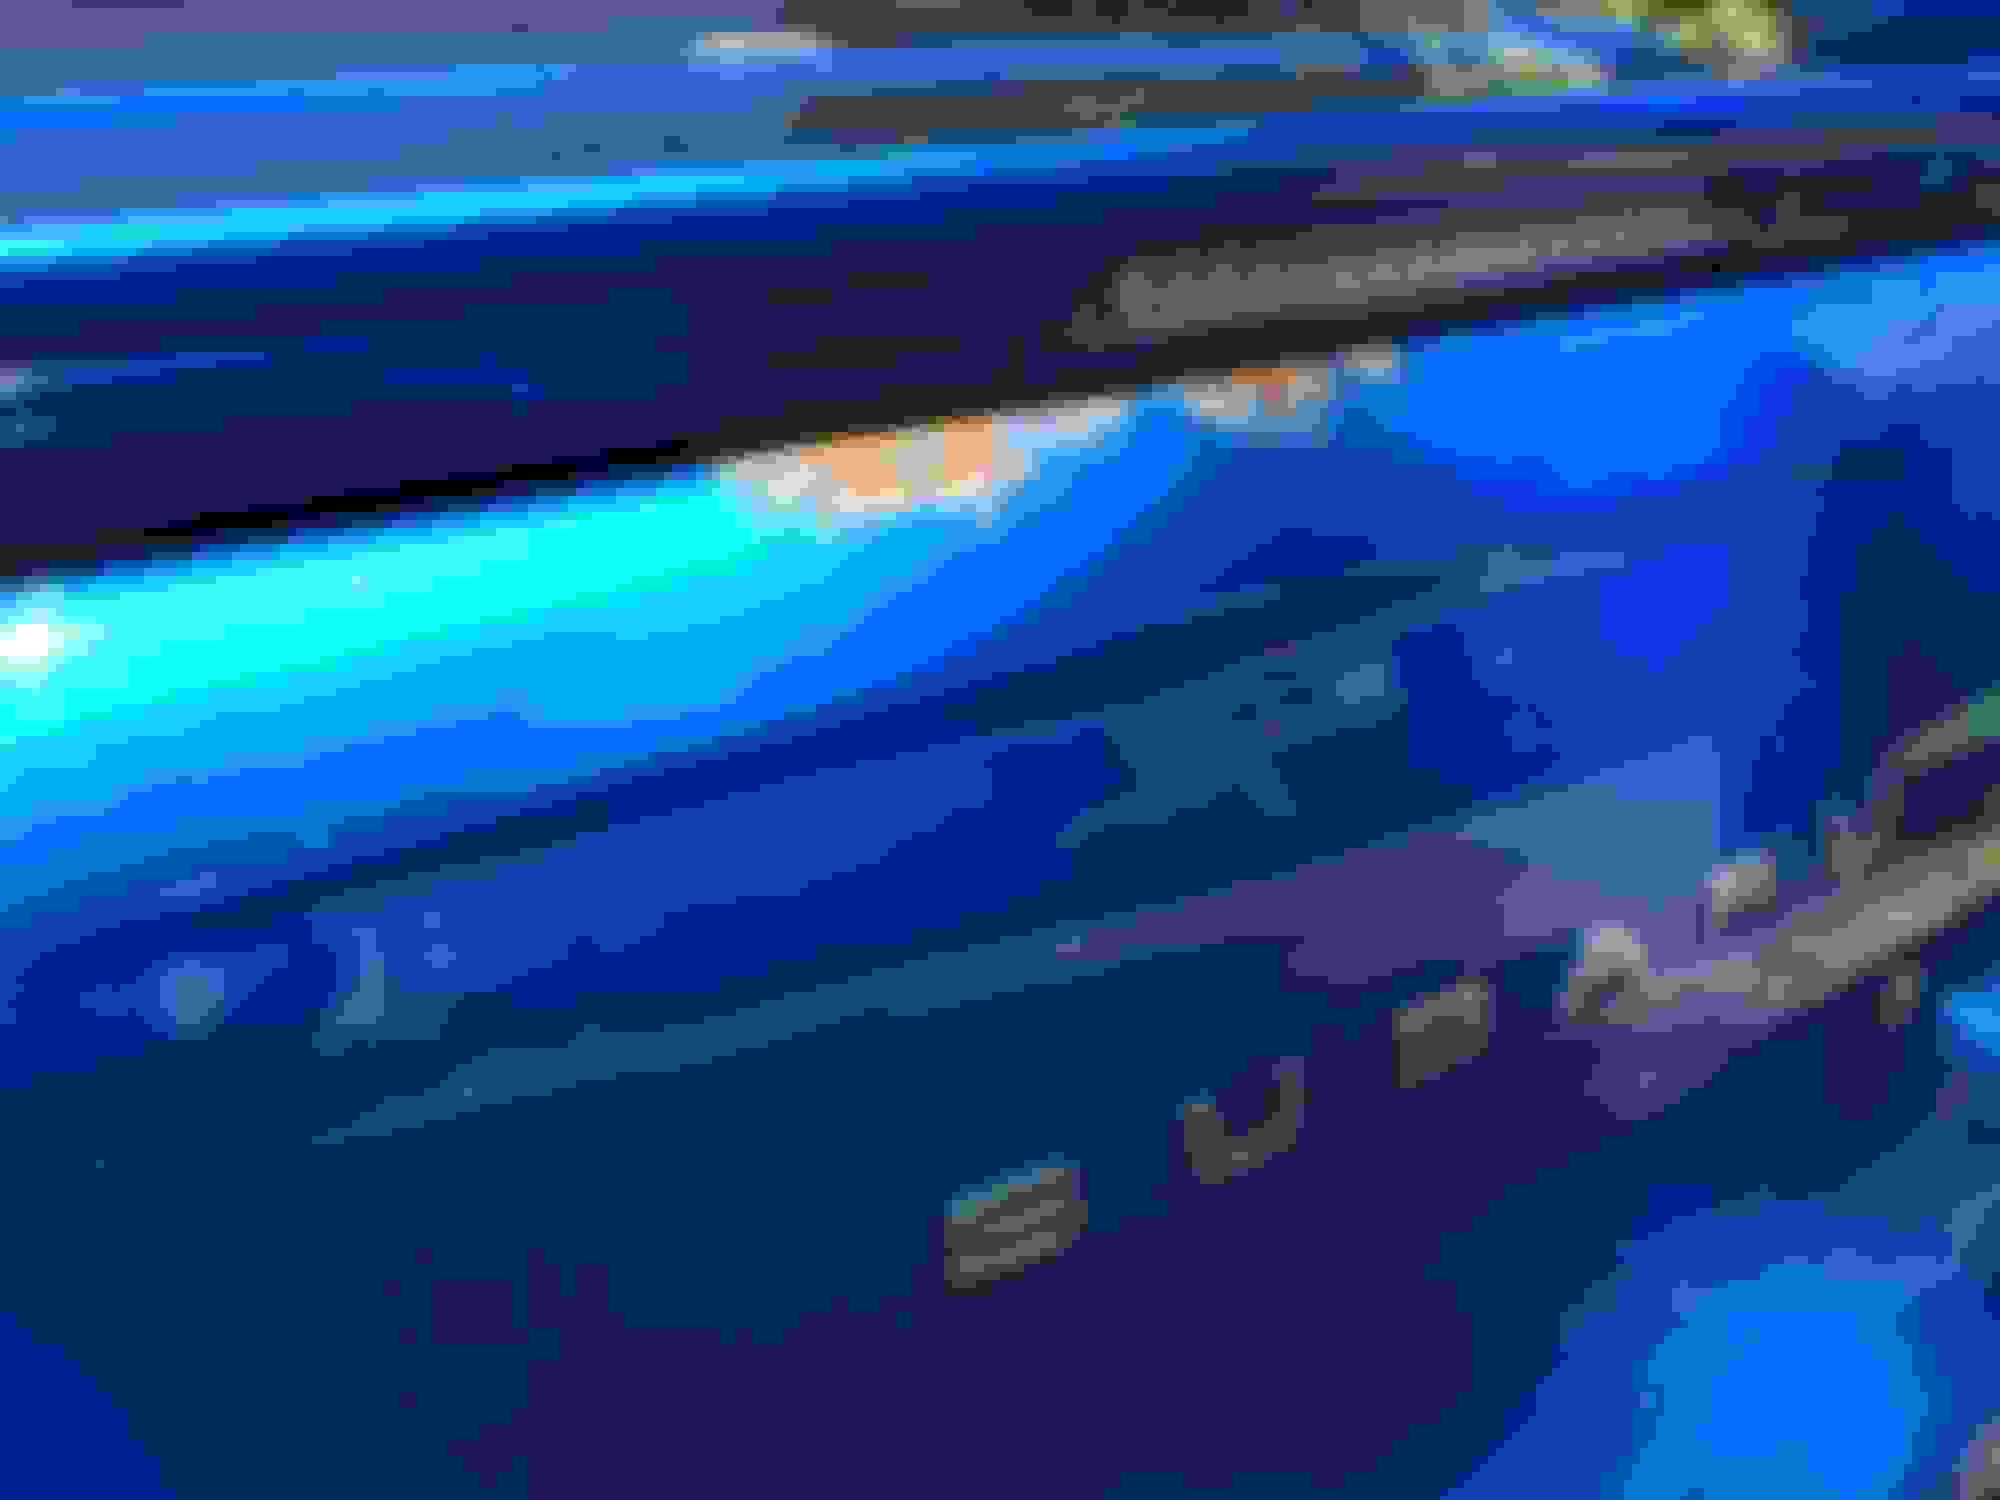
Then I used a steel brush to clean up the last bits and sprayed some paint over there to protect it until I will remove further rust and repaint the car, respectively the areas where the rust was removed. Did not take pictures of it tough.. But now the area is rustfree and will have to wait until the repaint (probably as of december, maybe january or february, really don't know yet...) But the actualy rust removal and repaint process will include removing rust from the arches, left outside mirror, and minor areas like the fenders for example.. Then I'll get that repainted and will also repaint the side skirts as the paint has worn off (nobody tought of roughening the black plastic standard skirts before painting and everybody who has seen those standard skirts knows that paint won't stick that good to it )
So yeah, thats the plan...
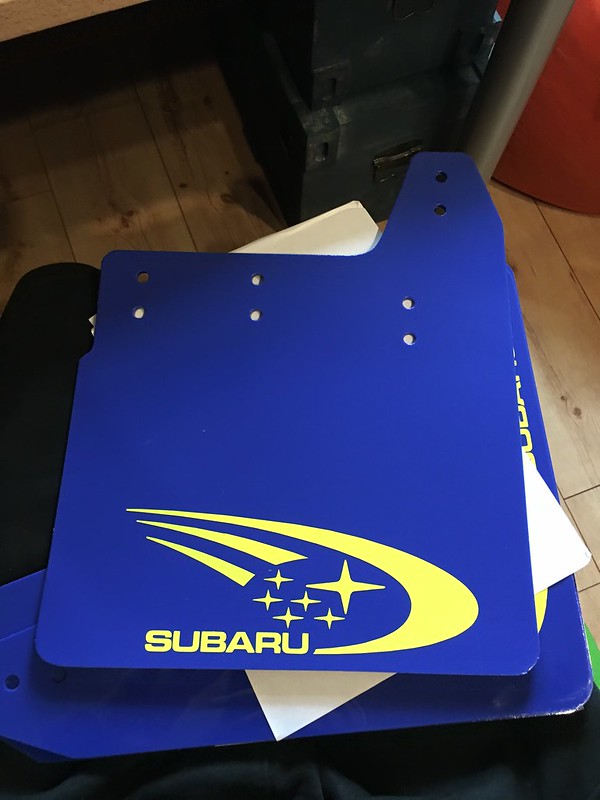
3. RallyFlapZ Mudflaps Subaru WRT
Also as of my birthday I got these gifted:
Nothing to say about it yet, as I didn't really have time to mount them, I will also exchange the front ARB bushes in the next few days or weeks, will probably mount the mudflaps during that or when I change to the winter tyres..
Anyway hope my status update isn't too complicated to read as I've just put everything in that came to my mind while thinking about what to do next and stuff...
Hope you'll have a nice sunday (whats left of) and I'm glad that you've made it until here in this post
cheers
Last edited by colinLWRX; 24 January 2017 at 05:25 PM.
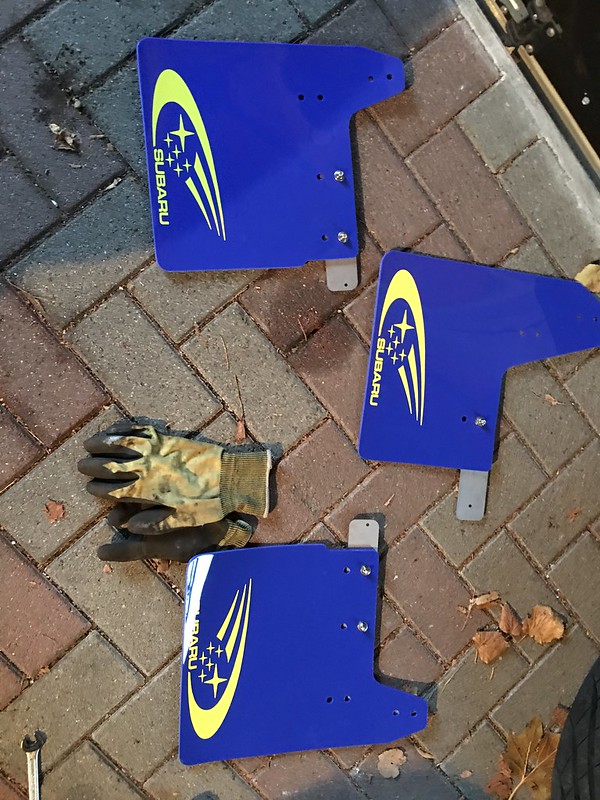
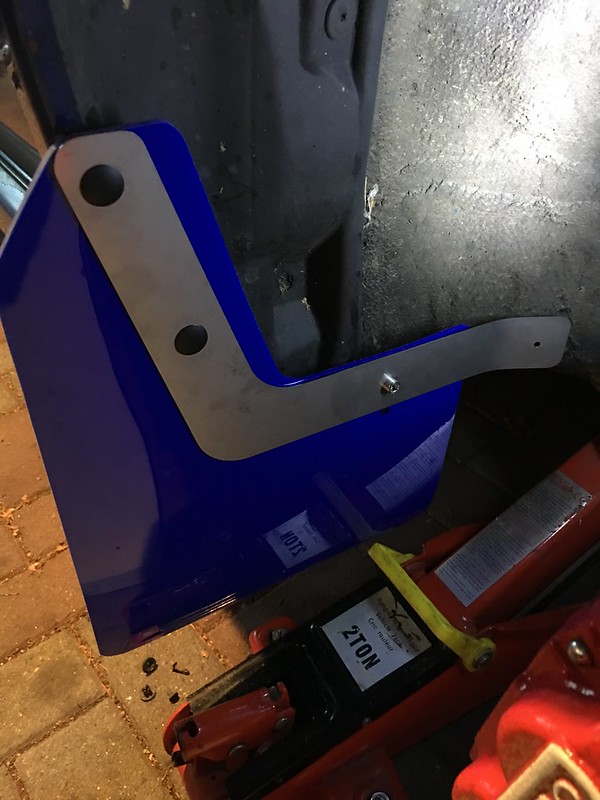
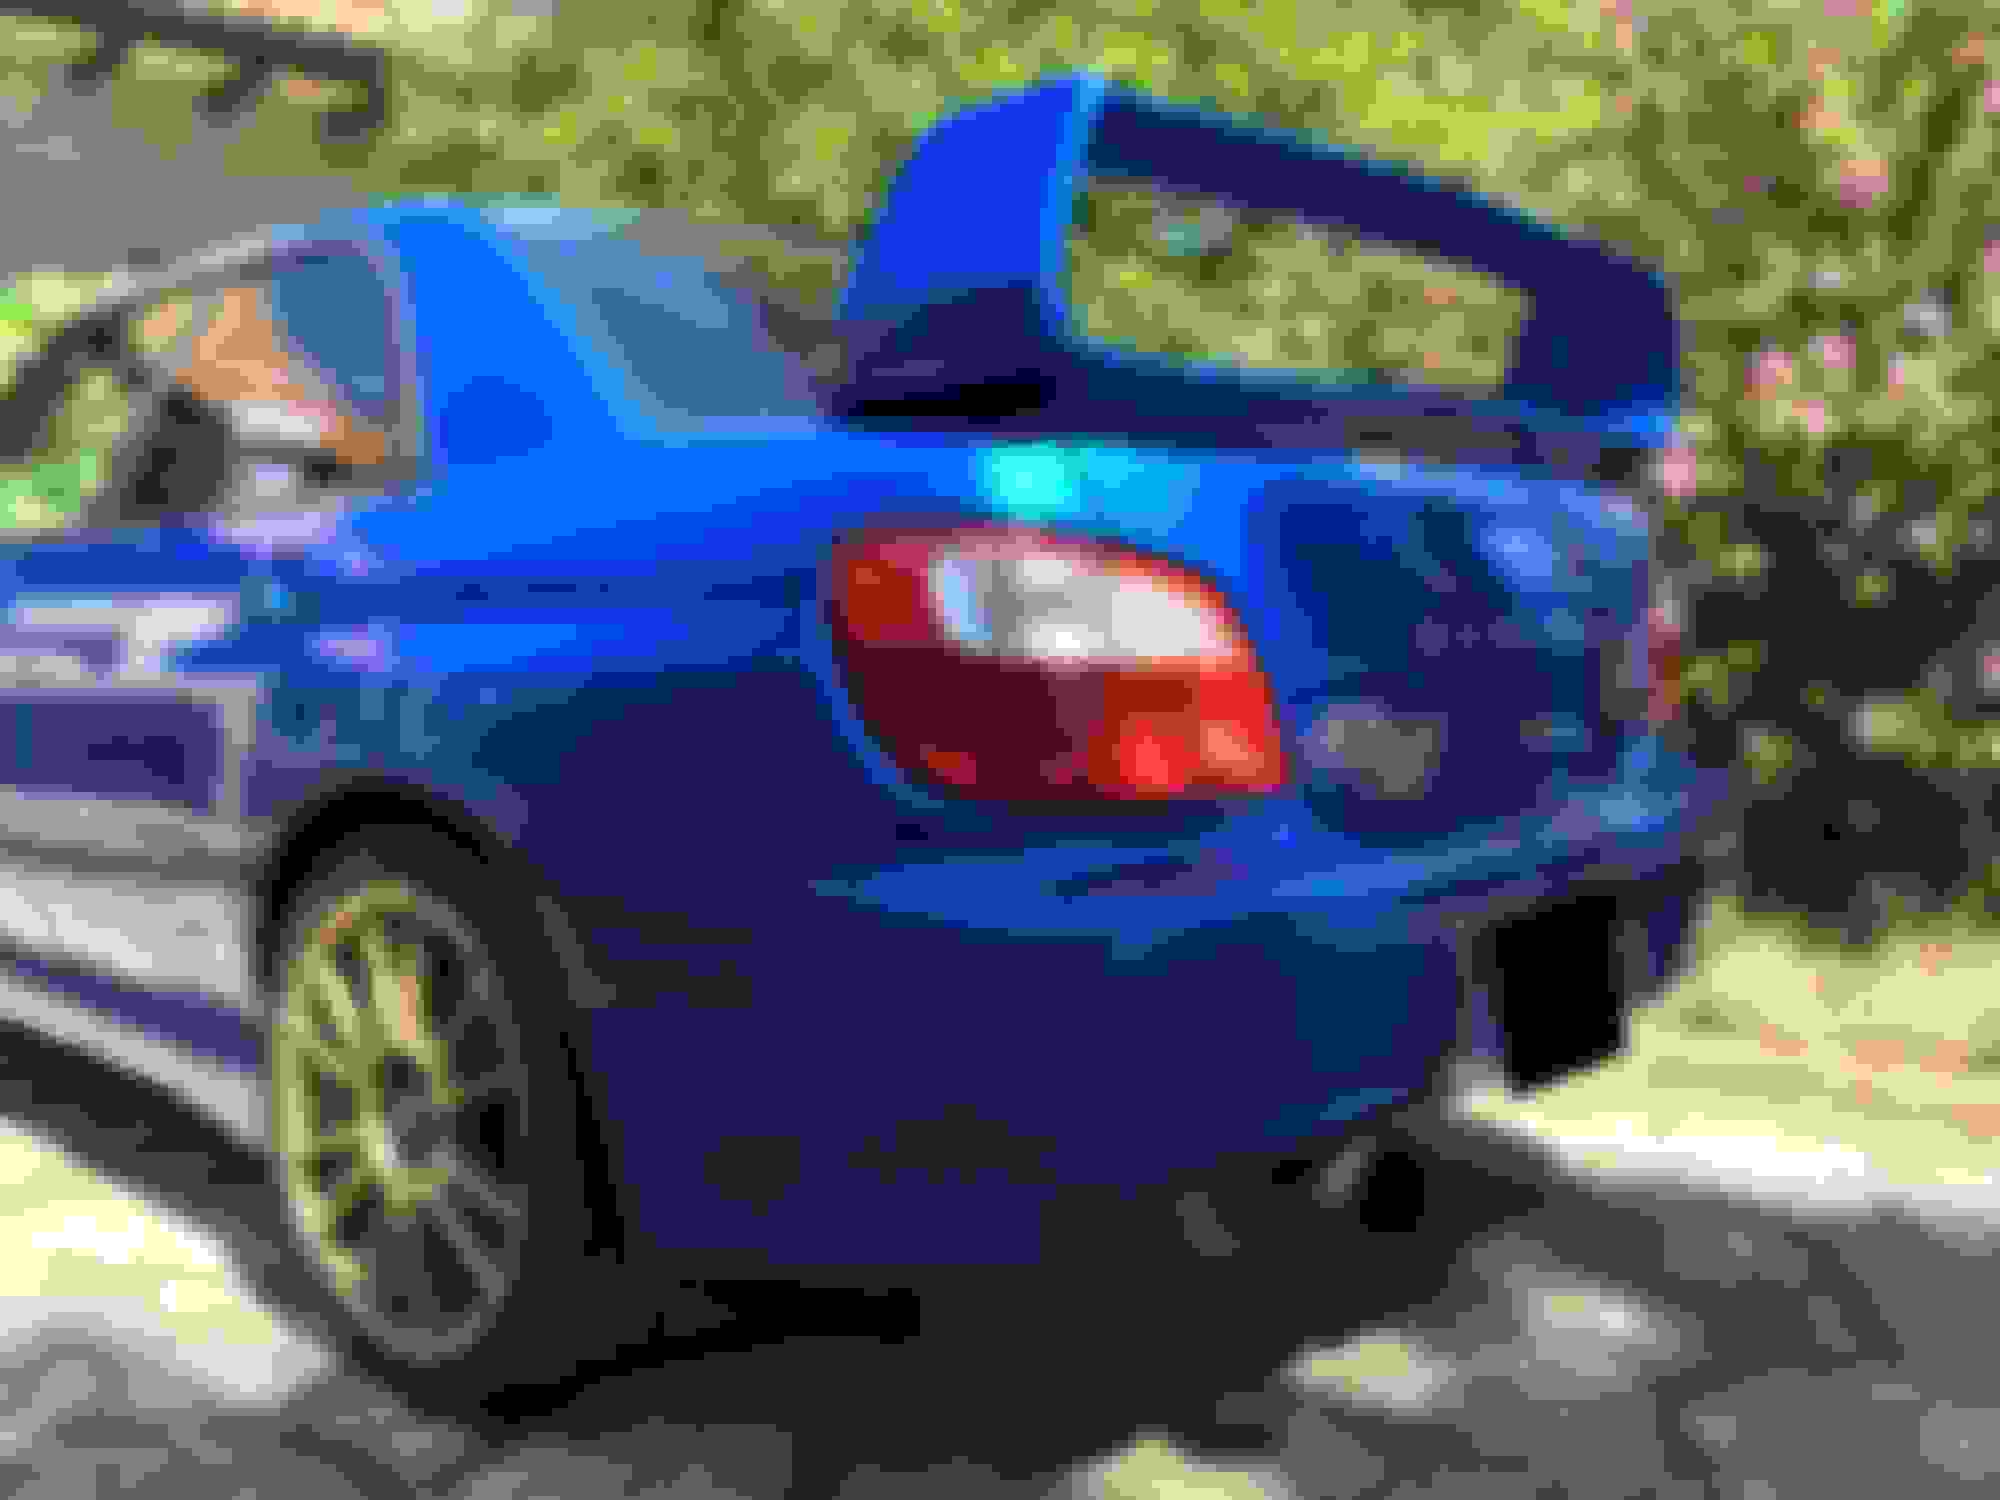
About two weeks ago time had come to mount the mudflaps. Not a hard job, even tough the rear ones didn't fit first, had to drill some holes and use some long screws to get the right distance of the metal mounts.. Anyway, just wanna show it:
Ready to get it done...
Not hard to fit on.
First peek of a result
Final result with the car on the standard wheels with winter tyres...
Last edited by colinLWRX; 24 January 2017 at 05:30 PM.
Today marks quite a sad day. I've come to the decision to sell the car. I'm actually writing this with tearful eyes, but I've decided so because something better is coming..
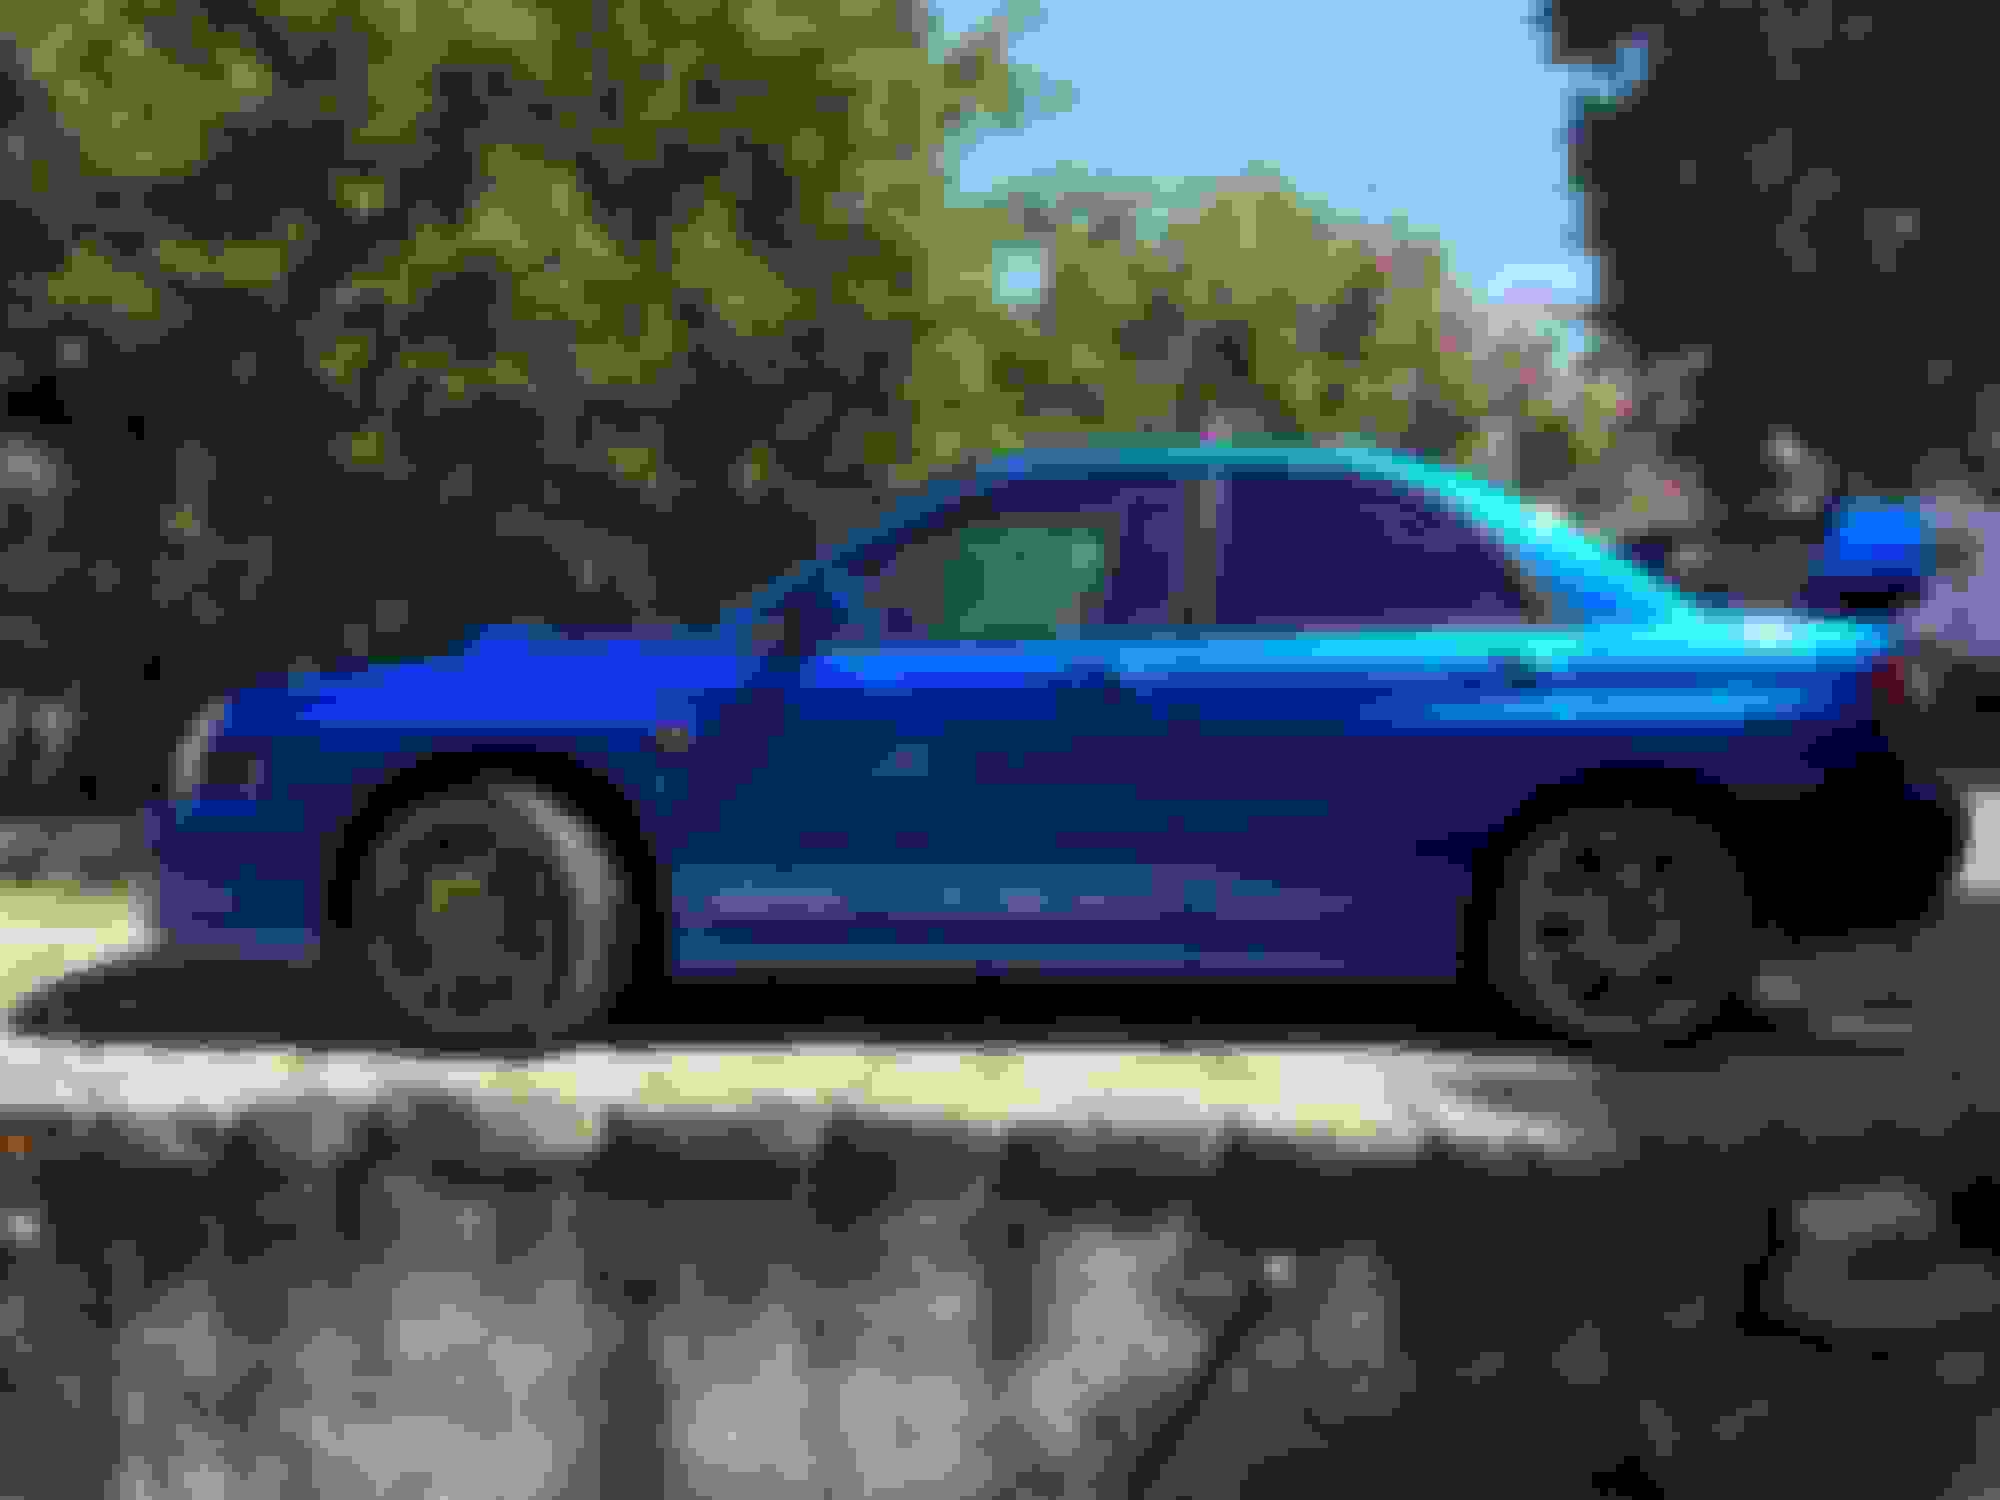
Back before I had this particular car I was looking at another 2001 Impreza WRX, extremely good condition but too expensive... 6 months later it's price dropped and I decided to try to sell mine for nearly the same money, so that I can basically trade up without paying much. And it worked... The car is completely standard besides a HKS SSQV and a not installed big in japan catless 3" exhaust system. It is 02C blue again, but still has the standard low spoiler.
Anyway. Rationally it was a very good decision, but emotionally... I don't know. Dreaming of an Impreza since age 7 and then getting one with 16 is just on another level. Now my "first car" is going away and I'm getting a second shot. Just in a better condition.
Anyway, the biggest deciding point was that the car that will come is just in better condition. Also has a small patch of rust but not as much as mine. With mine there has to be quite some work done in the next years (not optically, but technically, underside especially the chassis could've used some work)
Actually against what I've written when I got the car "want work to do", but as the other car is just in a I would call it nearly new condition... I guess when you have the chance you pick it. At least I will have a clean WRX quicker :P
Well, guess I will continue my Subaru journey here, once the new car arrives. Mine is set to go on Friday afternoon, then I'll quickly go to the owner of the other one and hand some cash in, maybe pick the new car up next week...
 07 August 2016, 01:36 PM


 )
)


 .SJ.
.SJ.