When you click on links to various merchants on this site and make a purchase, this can result in this site earning a commission. Affiliate programs and affiliations include, but are not limited to, the eBay Partner Network.
Hi all...was looking to remove the red fog light cluster for a clear one on the rear of my 2008 sti hatch,has anyone done this conversion and if so where did you purchase the clear cluster.
any help would be much appreciated.
Hi mate....I wondered too if the red insert could be removed ,and even though the red insert is a separate item the two halves of the light cluster cannot be separated.
If you are trying to do this to rid yourself of the odd looking rear fog light your best option is to buy a new rear light cluster with a clear lens.i got mine from www.japanparts.com.don't forget you'll have to buy a red bulb to compensate for loosing the red lens.
I will get one at japanparts then, or will try to find cluster in the UK first, since my car is LHD and would need left clear cluster, which you guys already have.
Sorry man didn't realise you had left hand drive though I would have assumed that the rear fog light would have been the same side regardless of left or right hand drive.
It is very easy to replace whole lamp. As you already recognized, there are only 3 bolts and a bulb connector to unplug. No oven/eating needed.
Most crappy part is to remove trunk door inner lining, be careful not to break plastic rivets.
It is very easy to replace whole lamp. As you already recognized, there are only 3 bolts and a bulb connector to unplug. No oven/eating needed.
Most crappy part is to remove trunk door inner lining, be careful not to break plastic rivets.
That's great, and thanks for the illustrations.
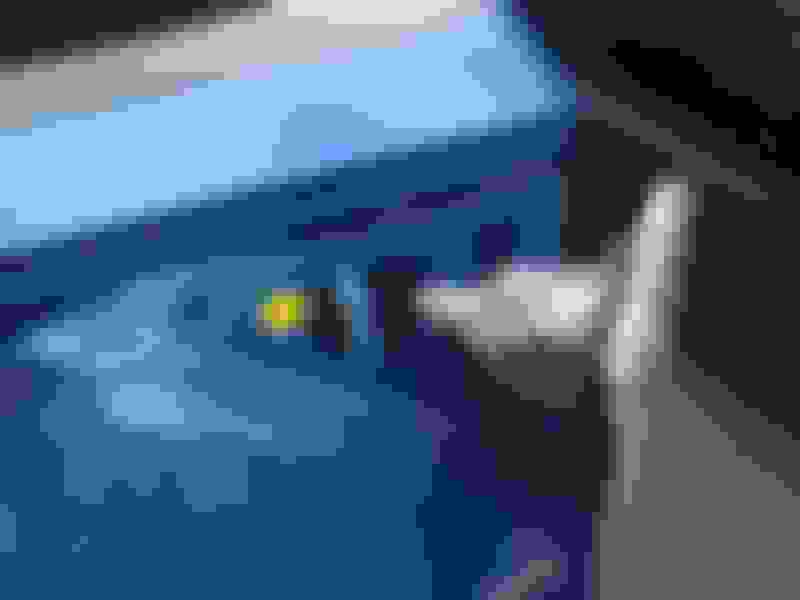
The above is to remove the whole unit, but to use this part below it would seem I need to separate the lens from the unit?
I have done this and put 2 led fog lights in the bumper where the reflectors were so I know have 2 reversing lights which are also led lights so they are nice and bright and 2 led fog lights which look awesome when on