
My DIY widetrack track car build

Thread Starter
Scooby Regular
iTrader: (30)
Joined: Dec 2008
Posts: 2,602
Likes: 0
From: Oxfordshire
Before i start this thread i should mention that this will by no means be a quick project. I will be doing this in my spare time at my workshop when life, work & money allows me to do so. I will be doing most of the work myself, enlisting the help of professionals where needed - this is a �built not bought� track car. This will purely be for fun trackday events & the odd drag event at Santa pod.
I will keep this thread updated as & when i make progress.
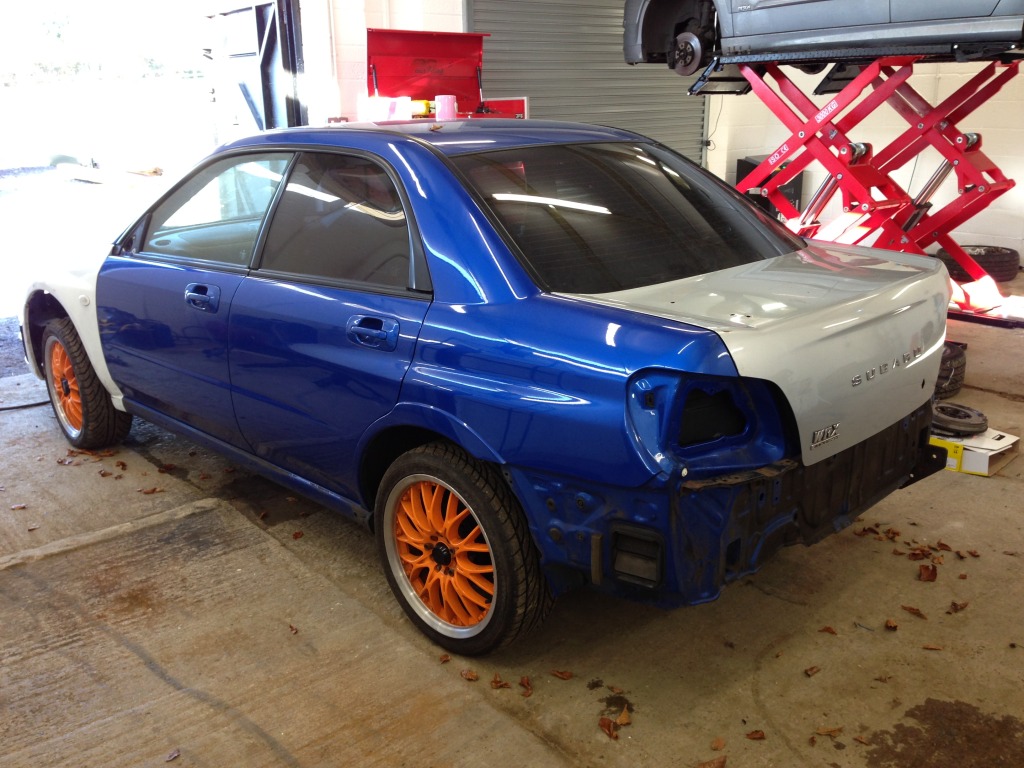
Right so on to the car or shell to be more precise. Purchased from a fellow member on here (Billet), it is a 2004 widetrack blob eye that was broken for spares after the gearbox let go. After hitching the trailer & taking a long drive i ended up back home with this....
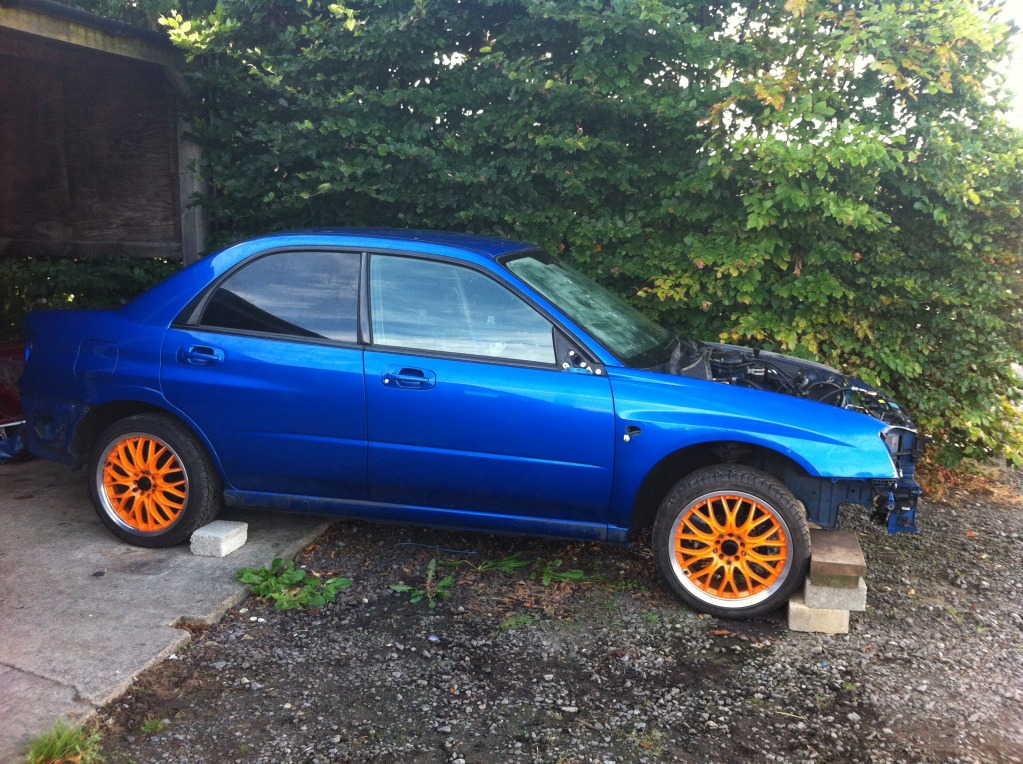
Please excuse the wheels, they are from my previous classic, just so i can roll it around the workshop whilst working on it.
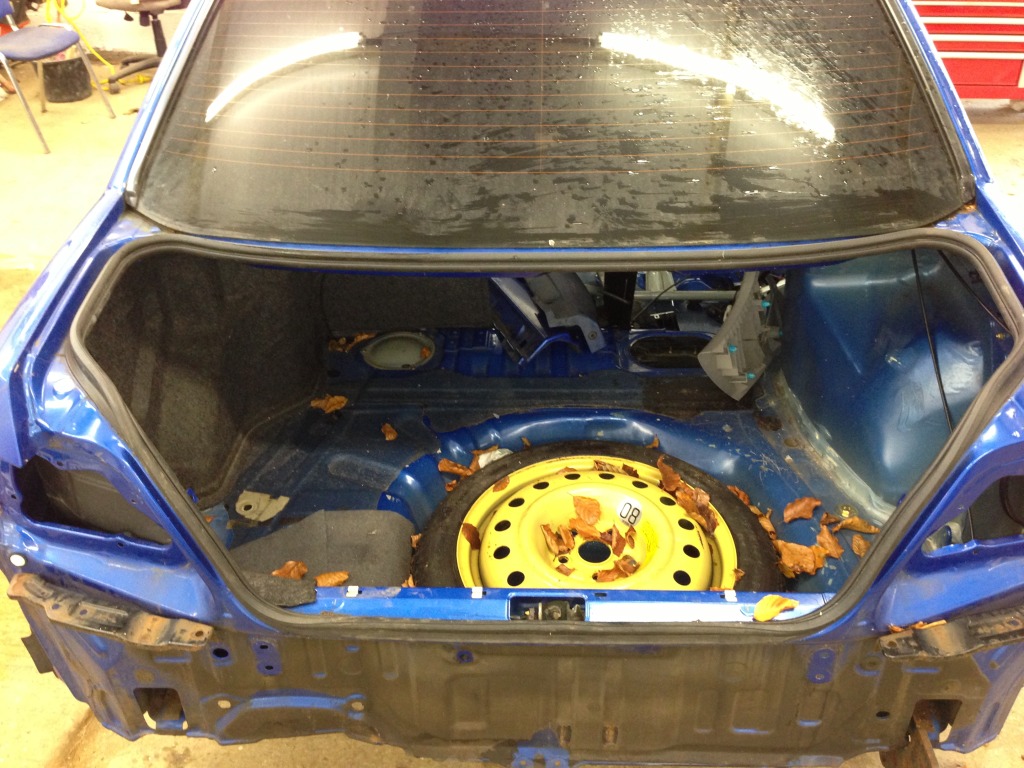
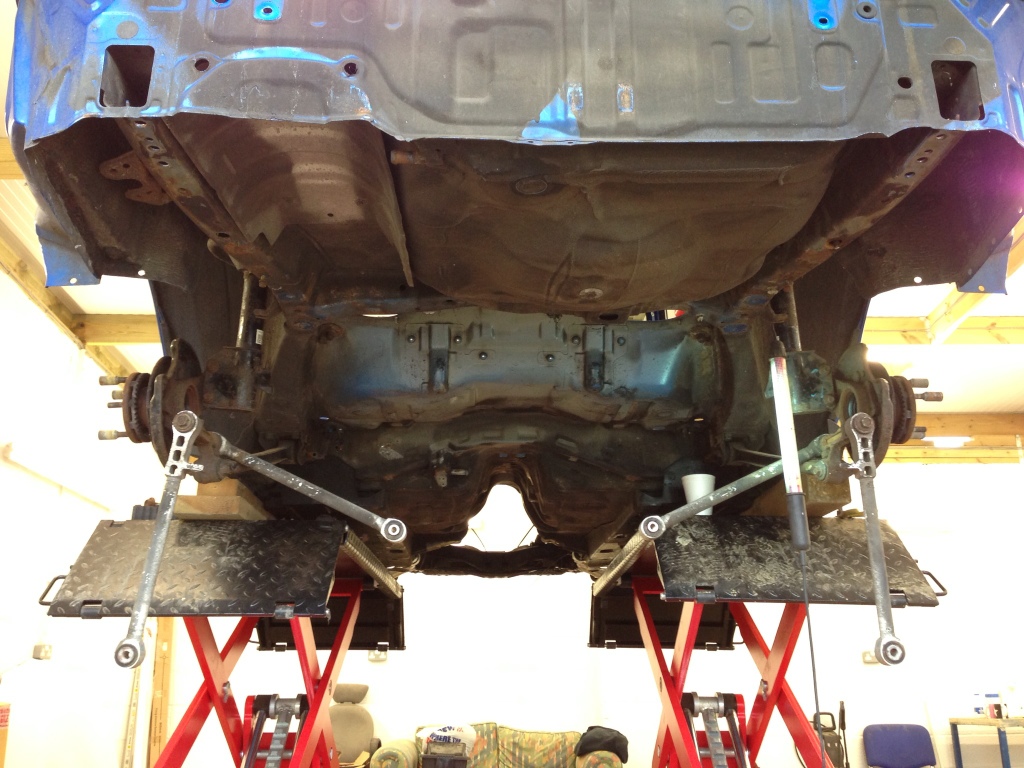
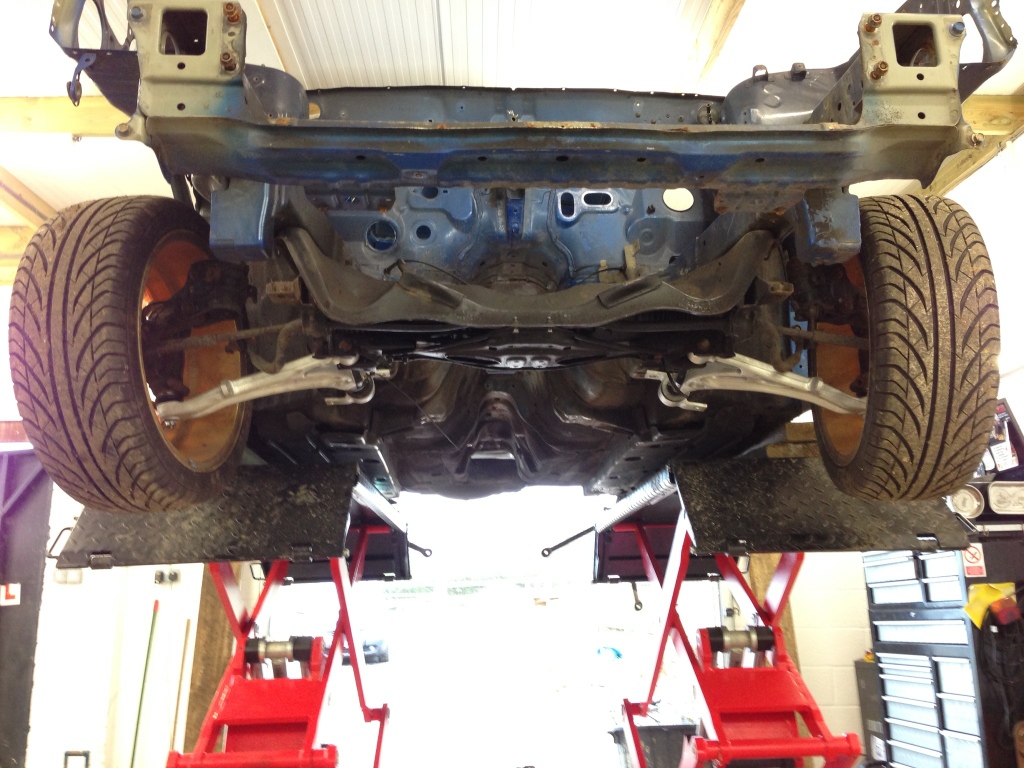
So, on to the ramp to take a look underneath to see what i was dealing with. Sadly the passenger wing, front & rear bumpers, boot lid & bonnet had already been removed before i agreed to buy the shell, this is what it was looking like.
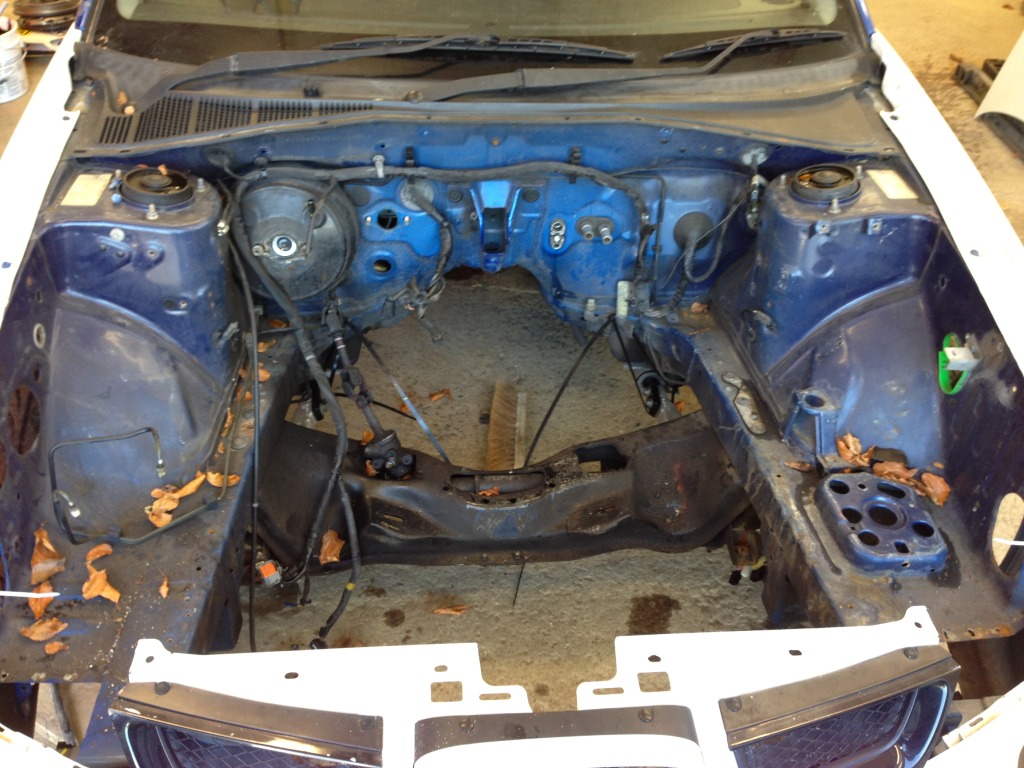
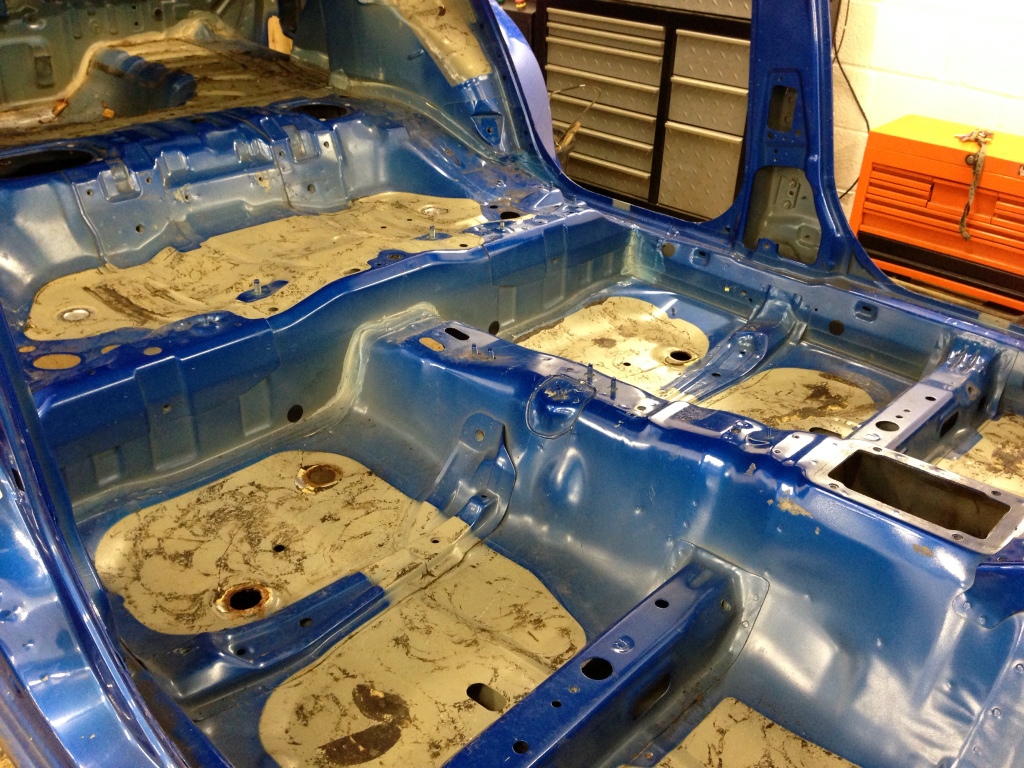
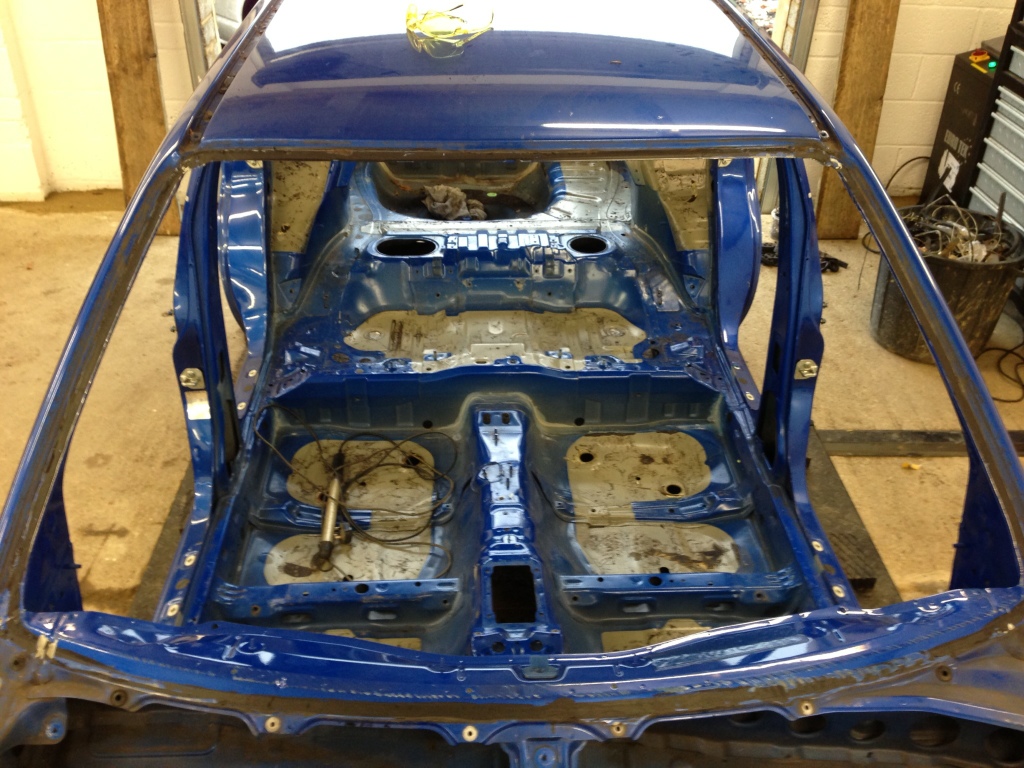
After checking the shell throughly to insure it was straight & sound, i started to come up with a plan as to what direction i wanted to take it, more details to be revealed later in the project. The first port of call was to entirely strip the shell down in preparation for its cage install which will be carried out by Nickson Motorsport in Surrey.
Making a start on removing what remained in the engine bay area.

Un needed items removed so far.
After some thought i decided that as i needed to source most of the front end parts anyway, i might as-well do a Blob eye to Hawk eye front end conversion whilst i�m at it. I didn't like the Hawkeye when it first appeared but the look has slowly grown on me. I managed to source all the parts needed fairly cheap from the bay of e from a guy who was breaking his car. I got front bumper, front wings, bonnet, brand new slam panel, headlights & mirrors. So one road trip later, i had all the parts needed & had a trial fit of the new front end to see what it would look like.
Front blob eye slam panel removed
Roughly mocked up
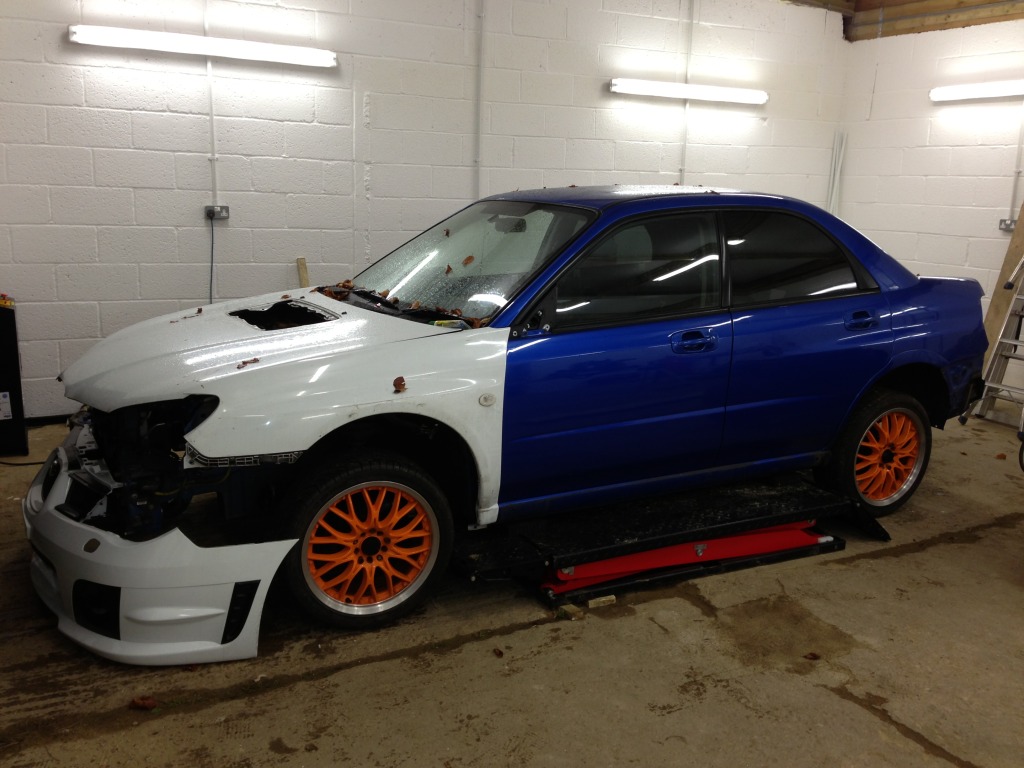
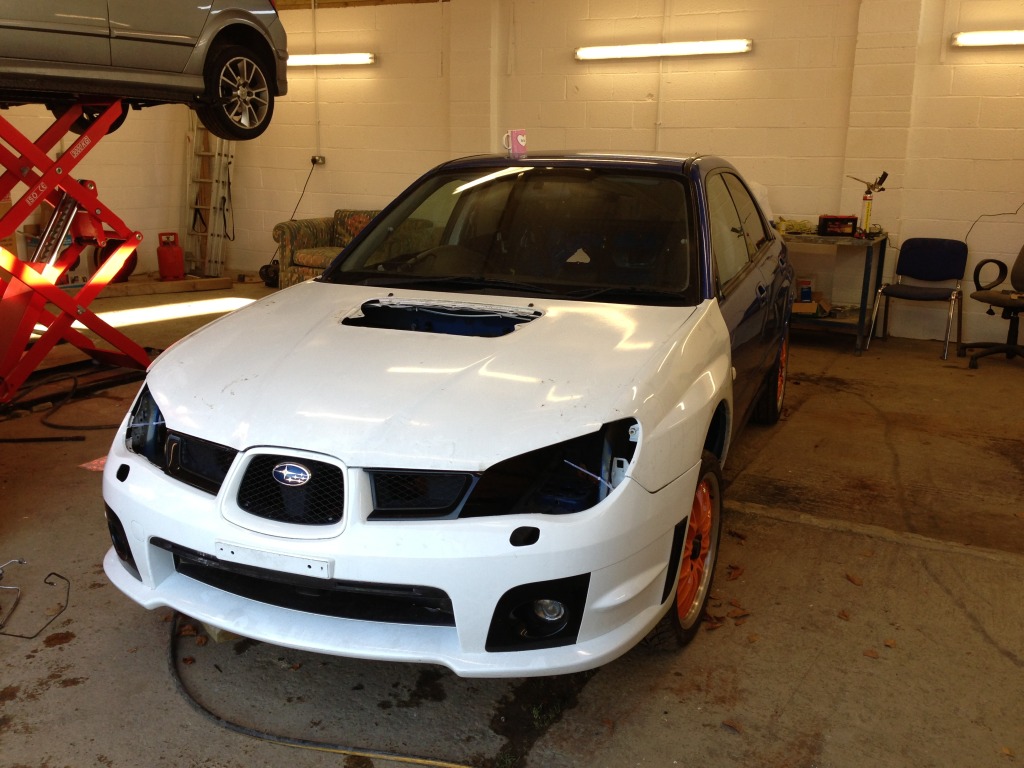
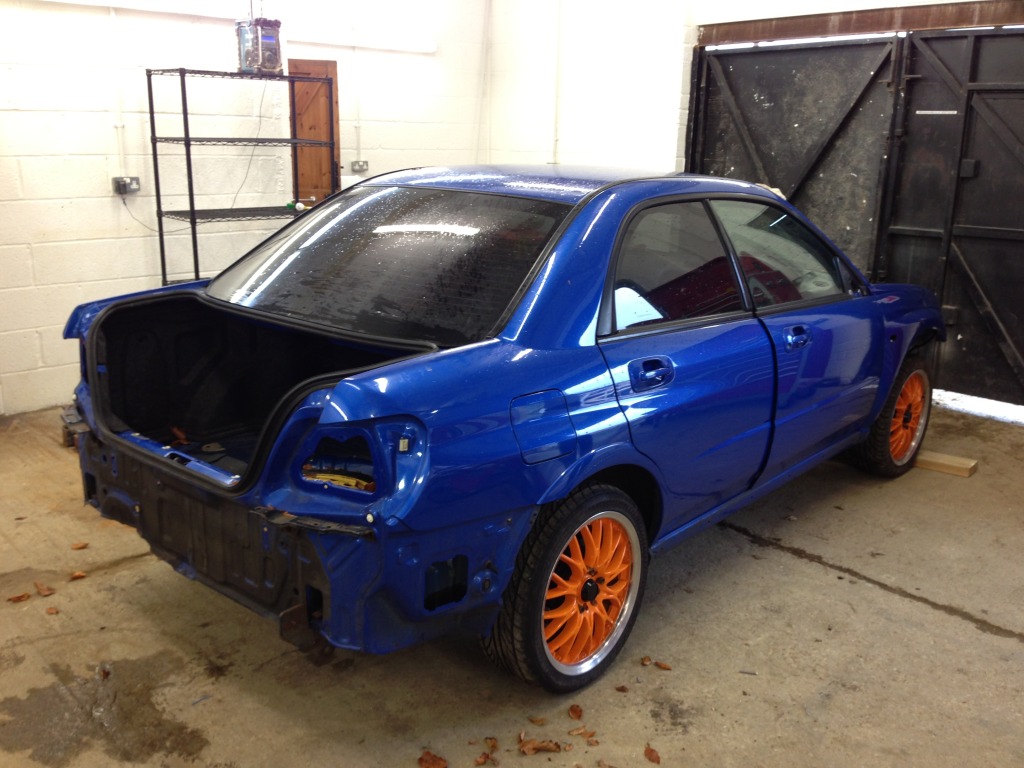
Managed to source a replacement boot lid cheaply. I will be going for the spoiler-less look on this car.
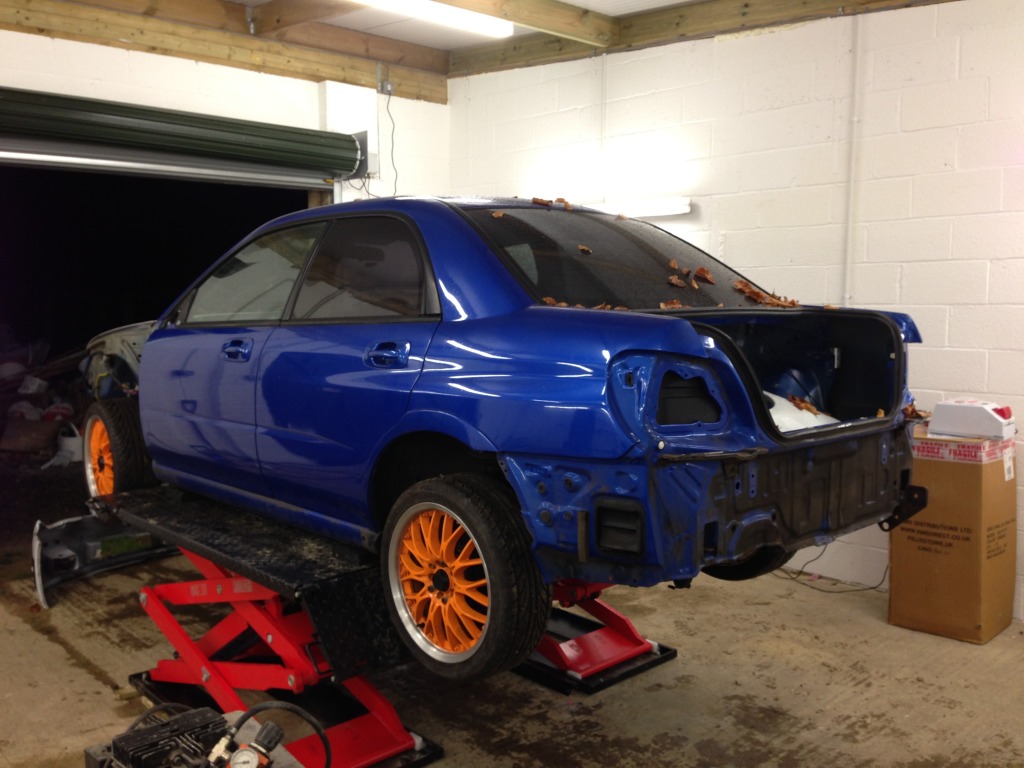
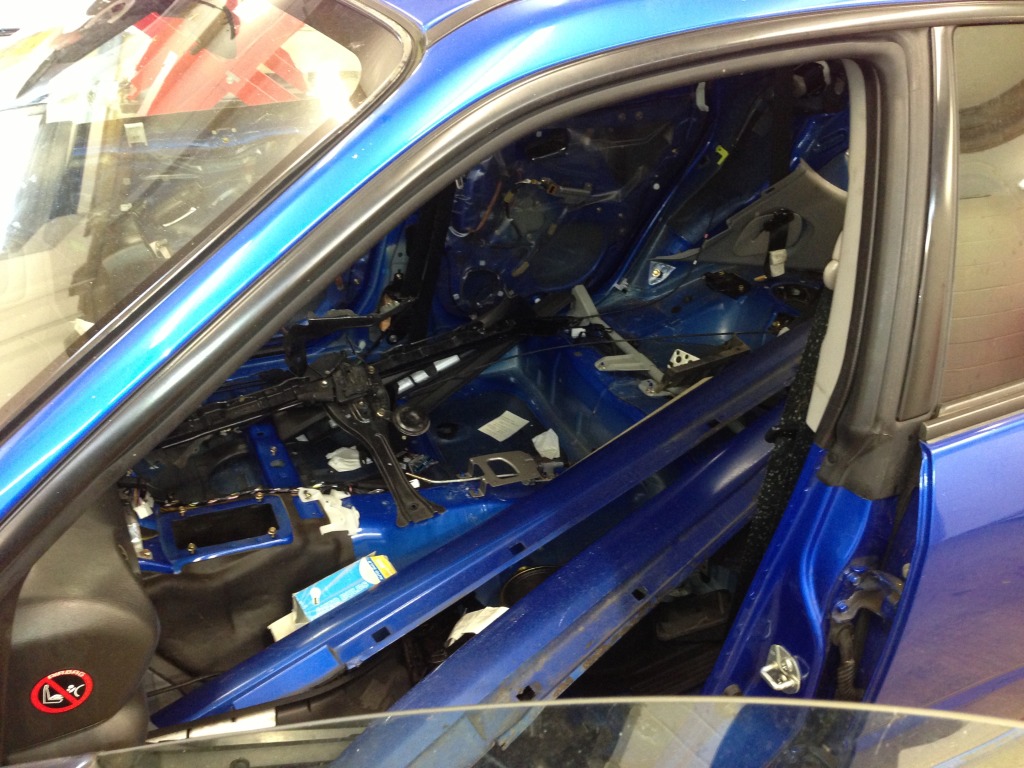
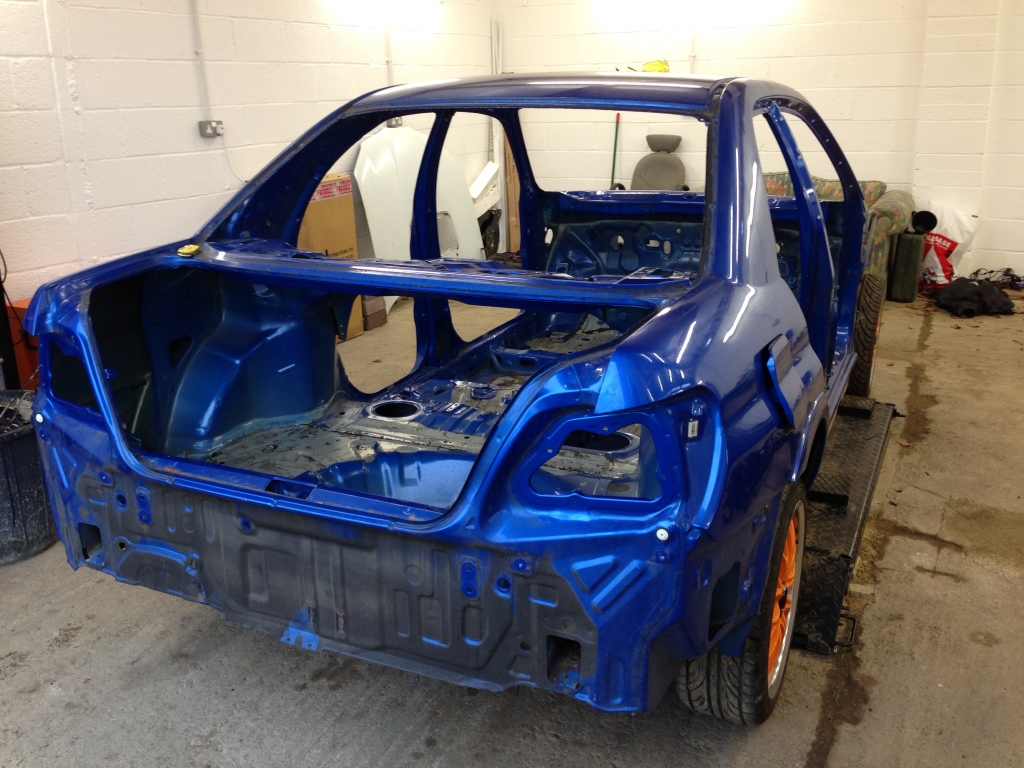
And the beginnings of my bay stripping
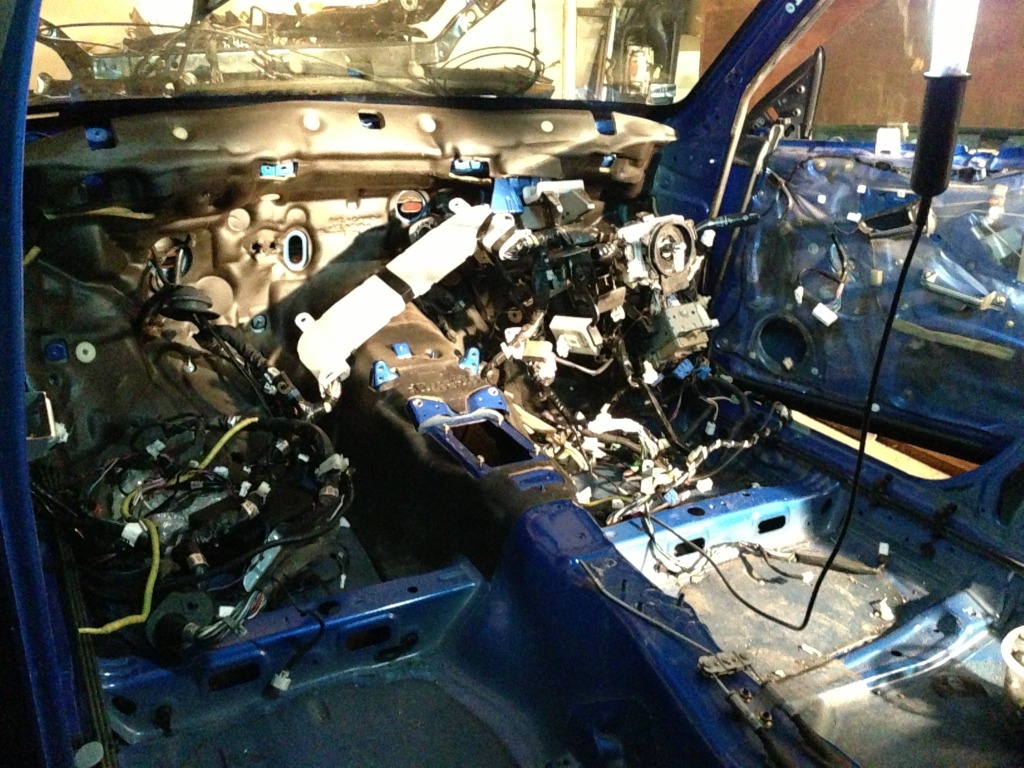
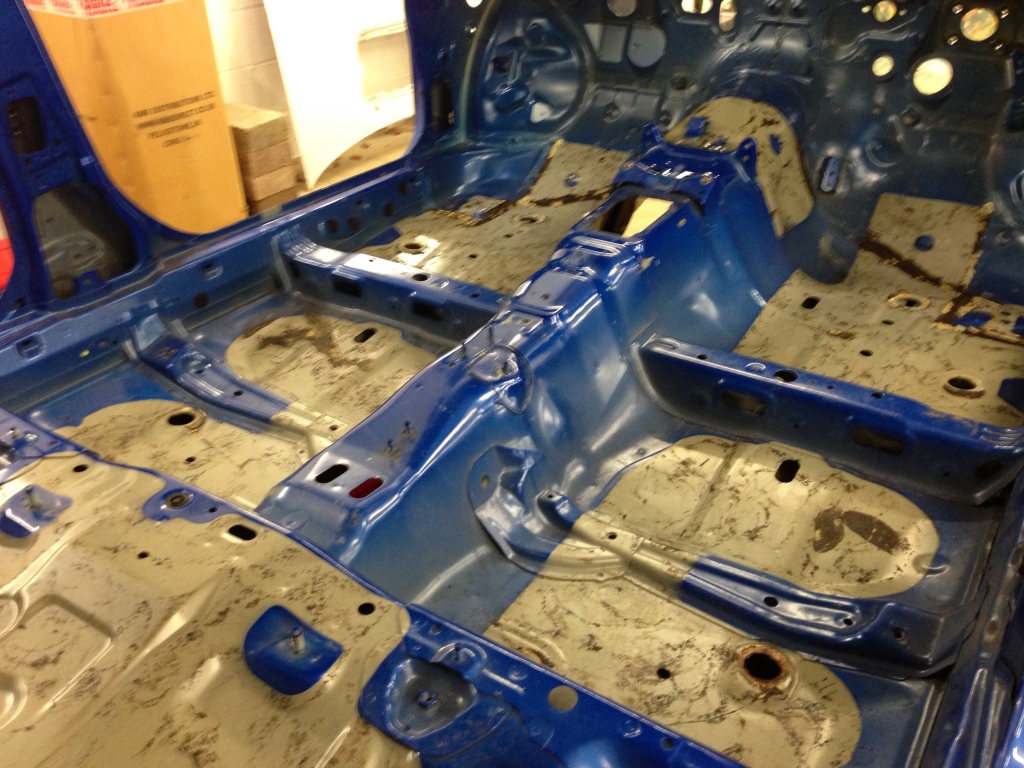
Interior to start on next as it currently looks like this
Updates to follow soon....
I will keep this thread updated as & when i make progress.
Right so on to the car or shell to be more precise. Purchased from a fellow member on here (Billet), it is a 2004 widetrack blob eye that was broken for spares after the gearbox let go. After hitching the trailer & taking a long drive i ended up back home with this....
Please excuse the wheels, they are from my previous classic, just so i can roll it around the workshop whilst working on it.
So, on to the ramp to take a look underneath to see what i was dealing with. Sadly the passenger wing, front & rear bumpers, boot lid & bonnet had already been removed before i agreed to buy the shell, this is what it was looking like.
After checking the shell throughly to insure it was straight & sound, i started to come up with a plan as to what direction i wanted to take it, more details to be revealed later in the project. The first port of call was to entirely strip the shell down in preparation for its cage install which will be carried out by Nickson Motorsport in Surrey.
Making a start on removing what remained in the engine bay area.
Un needed items removed so far.
After some thought i decided that as i needed to source most of the front end parts anyway, i might as-well do a Blob eye to Hawk eye front end conversion whilst i�m at it. I didn't like the Hawkeye when it first appeared but the look has slowly grown on me. I managed to source all the parts needed fairly cheap from the bay of e from a guy who was breaking his car. I got front bumper, front wings, bonnet, brand new slam panel, headlights & mirrors. So one road trip later, i had all the parts needed & had a trial fit of the new front end to see what it would look like.
Front blob eye slam panel removed
Roughly mocked up
Managed to source a replacement boot lid cheaply. I will be going for the spoiler-less look on this car.
And the beginnings of my bay stripping
Interior to start on next as it currently looks like this
Updates to follow soon....
Last edited by super_ted; Jan 7, 2013 at 04:48 PM.

Thread Starter
Scooby Regular
iTrader: (30)
Joined: Dec 2008
Posts: 2,602
Likes: 0
From: Oxfordshire
Got a bit more done inside today.
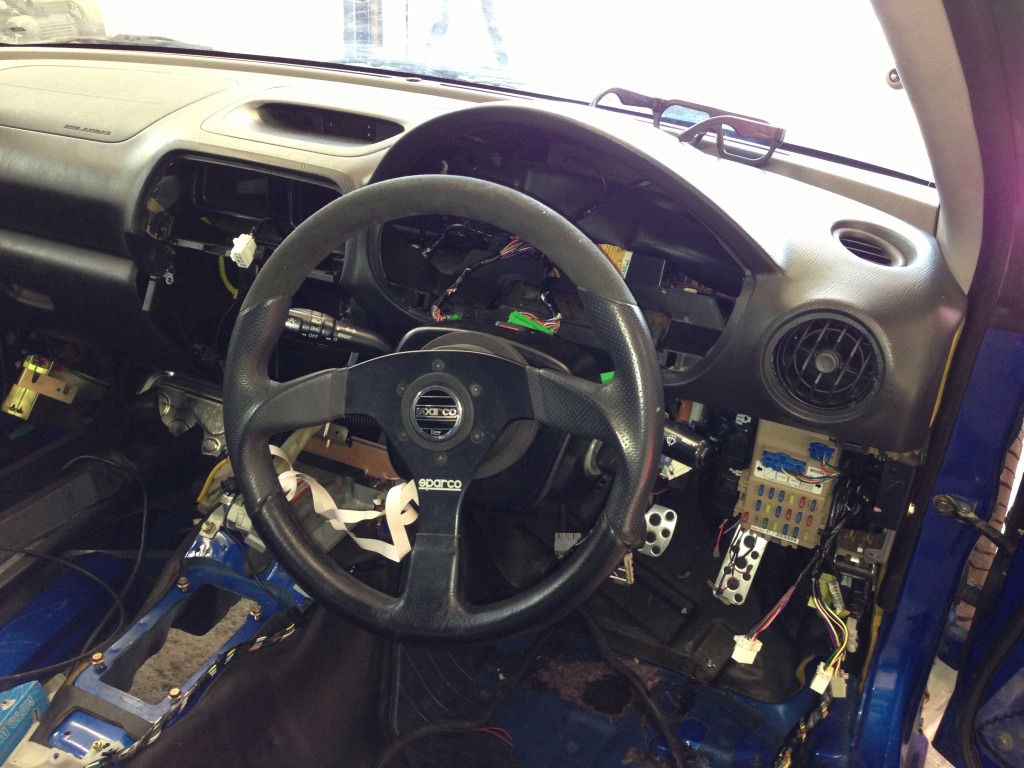
Had a quick test fit of my new Sparco steering wheel
Another pile of things removed
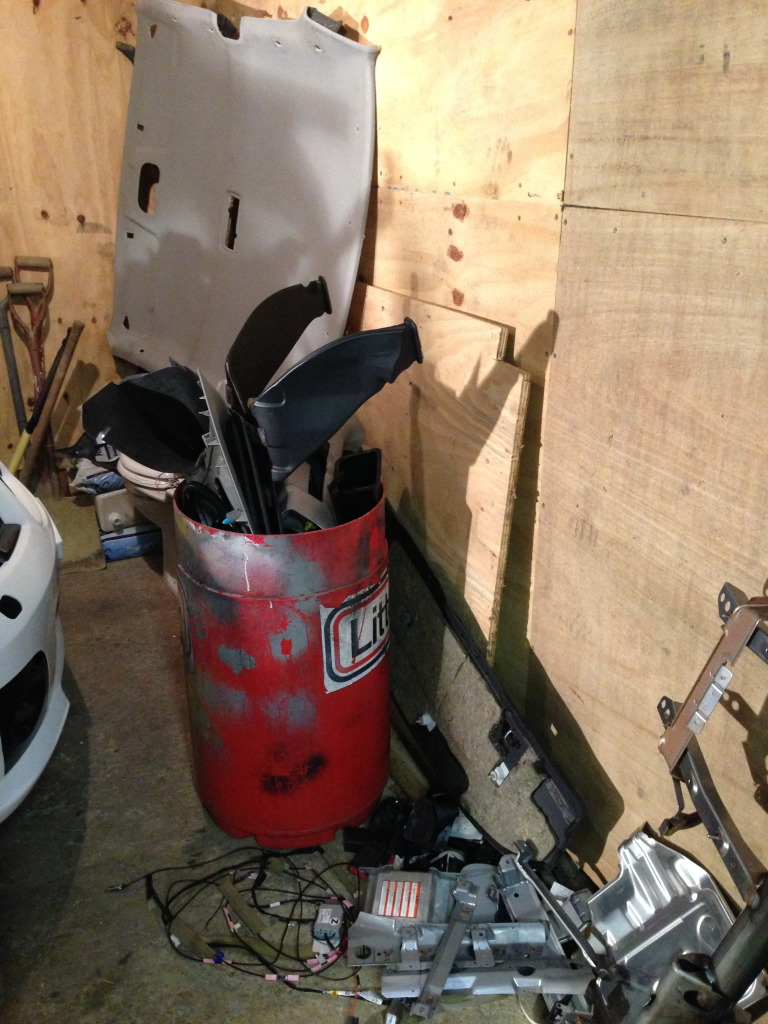
Resulting in this
The wiring loom on Subaru's are a nightmare!! It's surprising they dont suffer from more electrical problems than they do. Someone had made a right bodge of fitting a tracker to it also
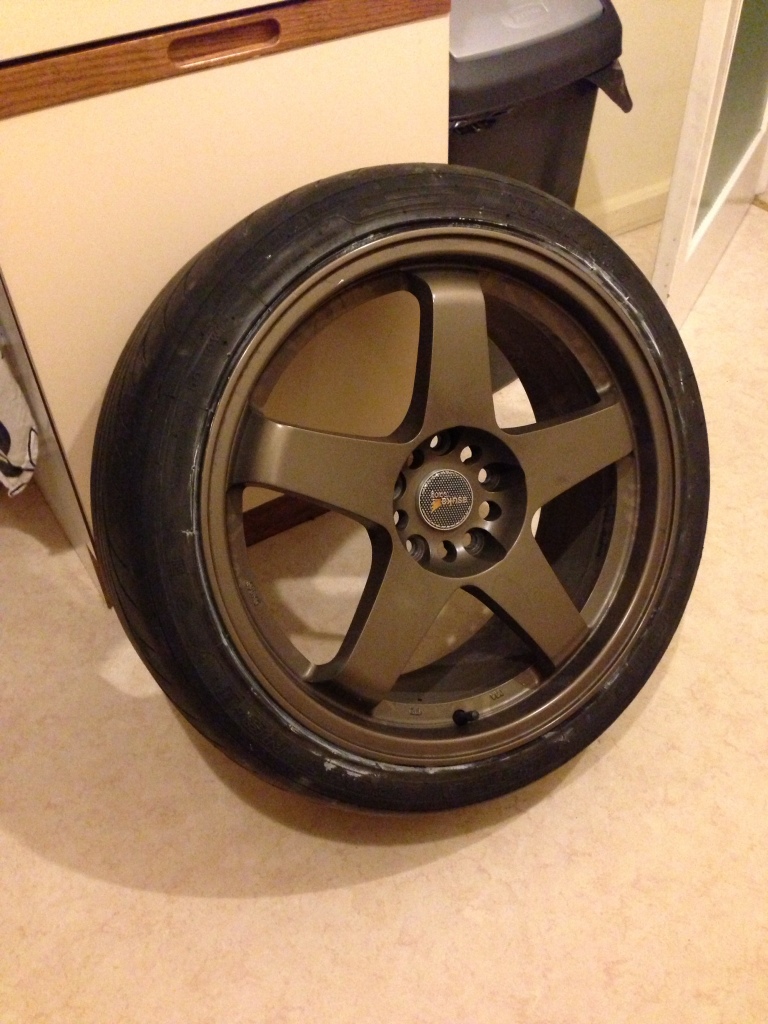
Also my wheels arrived before Christmas, sneaky pic
Updates to follow....
Had a quick test fit of my new Sparco steering wheel
Another pile of things removed
Resulting in this
The wiring loom on Subaru's are a nightmare!! It's surprising they dont suffer from more electrical problems than they do. Someone had made a right bodge of fitting a tracker to it also
Also my wheels arrived before Christmas, sneaky pic
Updates to follow....

Trending Topics


Thread Starter
Scooby Regular
iTrader: (30)
Joined: Dec 2008
Posts: 2,602
Likes: 0
From: Oxfordshire
Thread Starter
Scooby Regular
iTrader: (30)
Joined: Dec 2008
Posts: 2,602
Likes: 0
From: Oxfordshire

Thread Starter
Scooby Regular
iTrader: (30)
Joined: Dec 2008
Posts: 2,602
Likes: 0
From: Oxfordshire
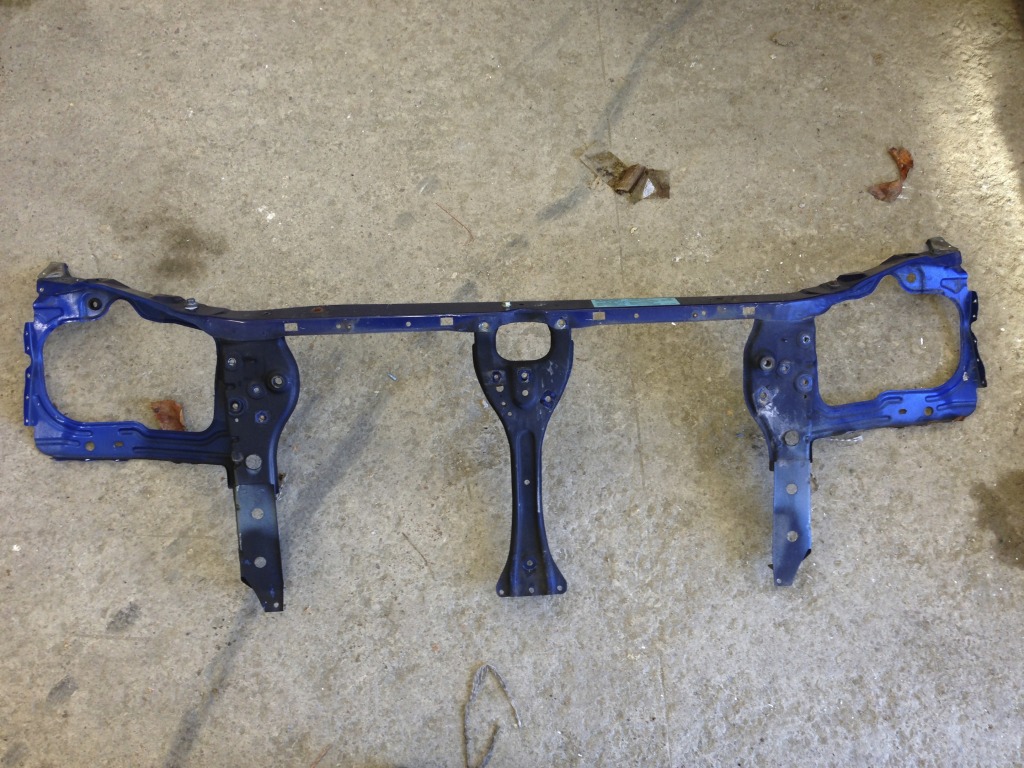
A little more done today, I removed rear brake lines, fuel filler & hoses, rear ARB, rear subframe in in order to remove fuel tank.
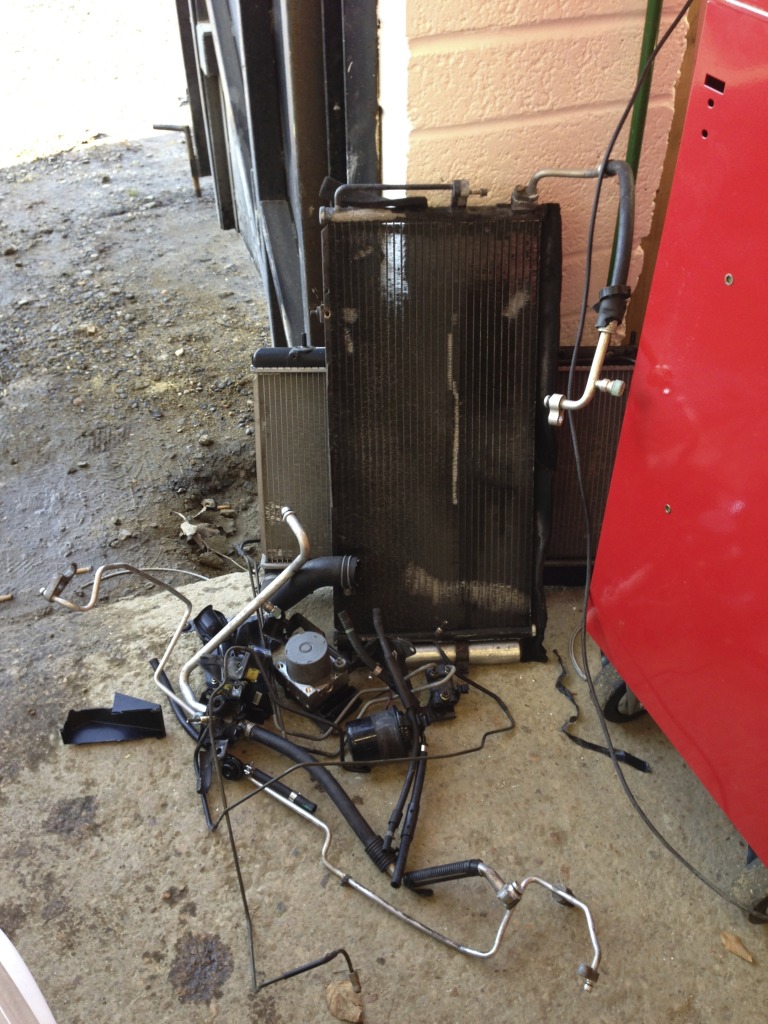
Finished removing everything from the front including front ARB
Then one of the sh*t jobs.......removing the dreaded sound deadening
Got home to see my latest purchase has arrived for the next stage
Thanks for following
Finished removing everything from the front including front ARB
Then one of the sh*t jobs.......removing the dreaded sound deadening
Got home to see my latest purchase has arrived for the next stage
Thanks for following


Thread Starter
Scooby Regular
iTrader: (30)
Joined: Dec 2008
Posts: 2,602
Likes: 0
From: Oxfordshire
Tiny update today,
I removed the front and rear screens from the shell.
Screens protected ready for storage.

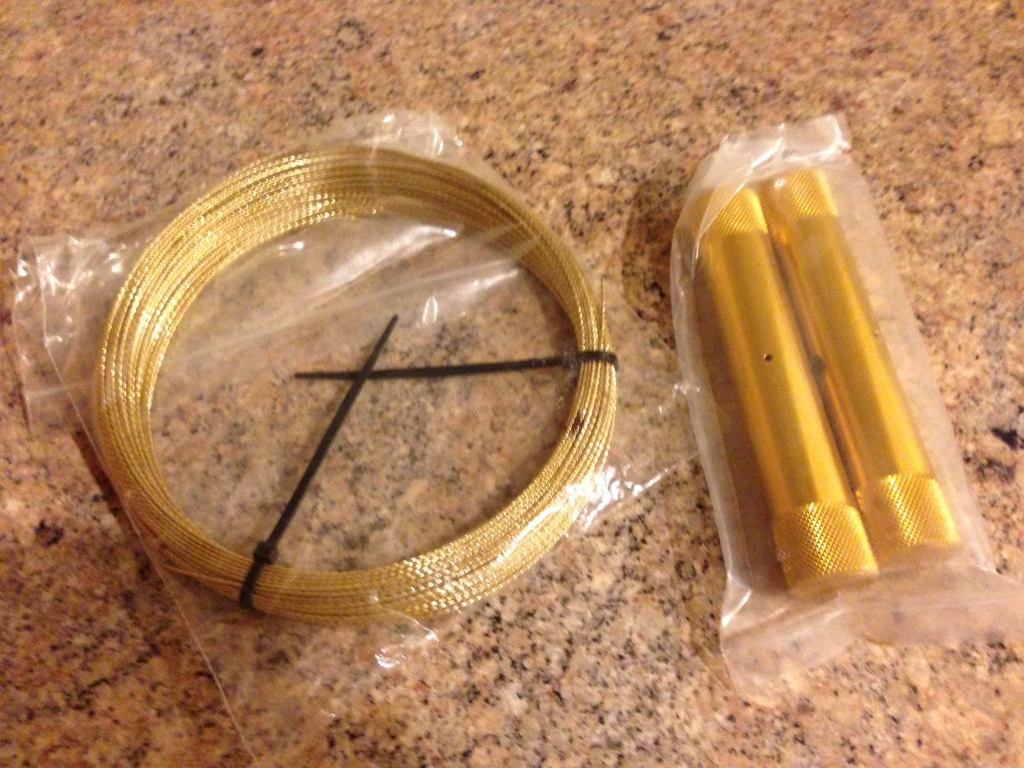
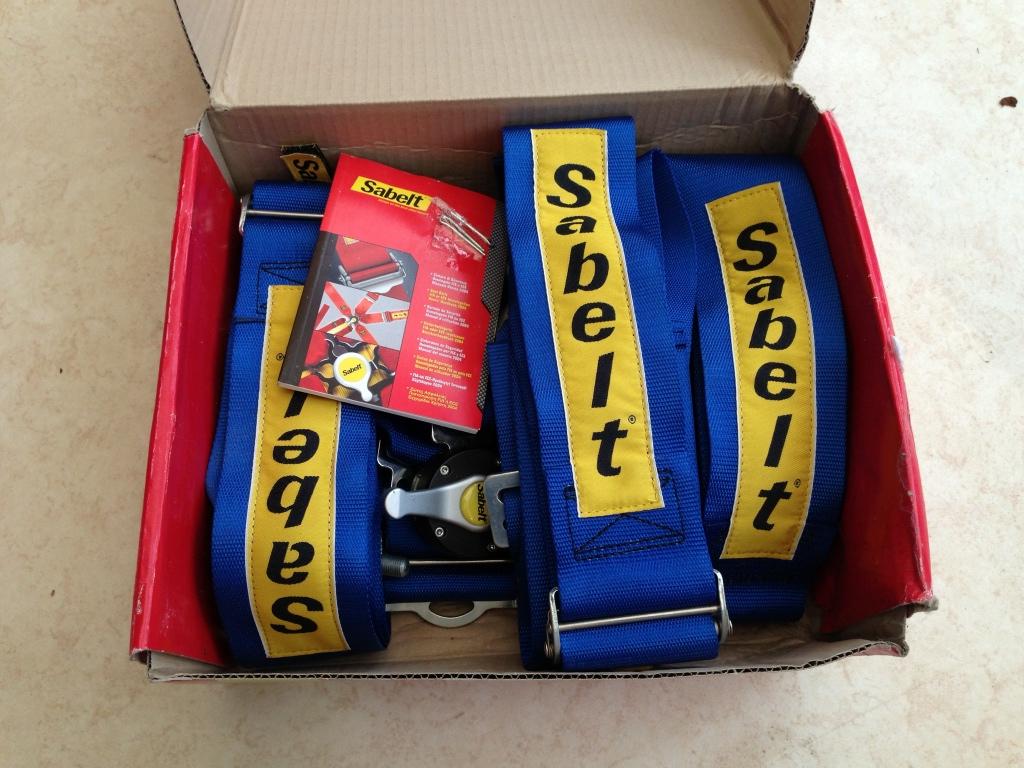
Also slowly collecting parts for it as they come up for sale...
4 Point harnesses
Close up of my new steering wheel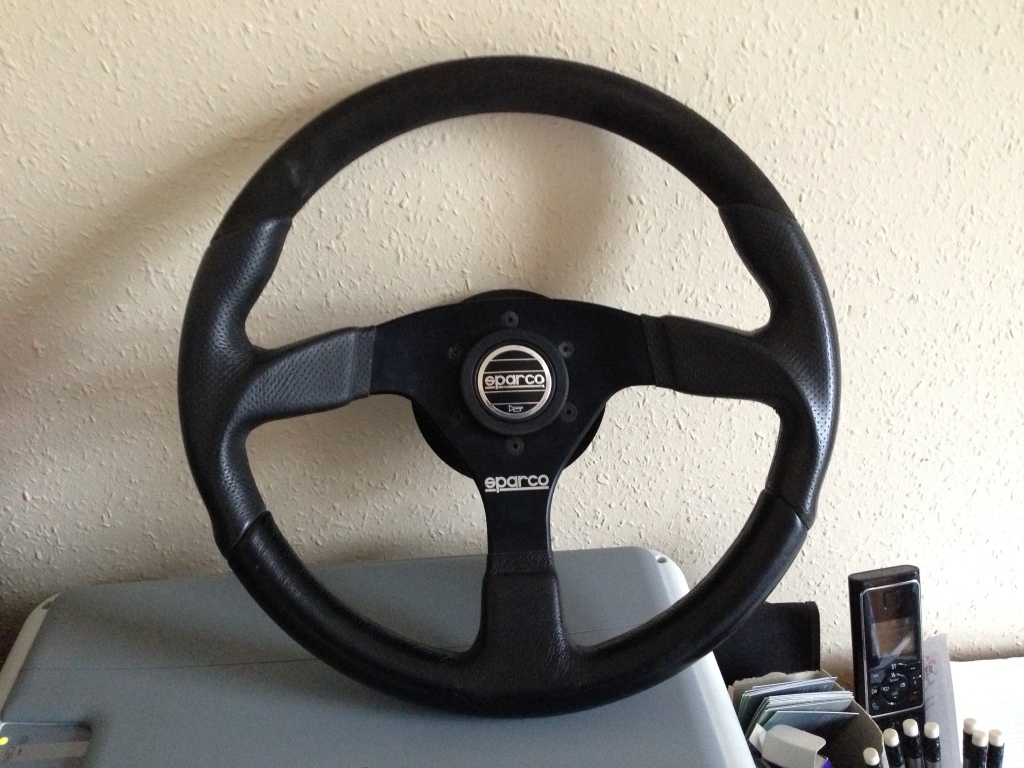
That is all.
I removed the front and rear screens from the shell.
Screens protected ready for storage.
Also slowly collecting parts for it as they come up for sale...
4 Point harnesses
Close up of my new steering wheel
That is all.


