Blob Wagon Project
#1
Scooby Regular
Thread Starter
Blob Wagon Project
Hi,
I've owned my blob wagon for a few years now. I've done lots of work on it, and continue to do so - I thought it's about time I set up a project thread.
I sorted the diff whine and under seal in a previous thread: https://www.scoobynet.com/drivetrain...ne-solved.html
Since, I've had the wheels refurbished in triple bronze and had new Michelin PS4 tyres fitted:
Last weekend I visited a friend in Kent and visited this place to use the self hire ramp: https://www.carramphire.co.uk/ - well worth a visit if you're in the area, makes jobs so much easier. We swapped out the knocking rear shocks for new KYB Ultra SR shocks on PCB Dynamics springs from Peter Cambridge. Also changed the top mounts and bottom rubber seats for new OEM parts. I missed lots of steps but it's a very simple job:
Alignment was out from removing the rear struts, I had camber adjustment bolts fitted so relatively simple to sort out. Front camber wasn't perfect but they charged £20 per side for camber adjustment so I left it as was:
I also adjusted the rear whiteline ARB to the stiffest setting to try and reduce understeer. Car feels great now with the rear shocks done.
We also changed the rear pads as they were running a bit low.
Did a few other jobs over the weekend, more to follow!
Thanks
#2
Scooby Regular
Car looks great! I have a JDM Blob WRX Wagon on it's way over from Japan so will be following with interest!
Last edited by HonestIago; 31 July 2019 at 07:12 PM.
#3
Scooby Regular
Thread Starter
So apart from all the other regular routine maintenance, I had to swap out the leaking AC condenser and did the AC + Alt belt whilst there.
I don't do many miles, approx 2k a year so I need to keep the battery topped up - installed the hardwiring kit from my ctek charger:
#4
Scooby Regular
Thread Starter
The rear bumper went in for a respray this week.
When I took it off, I saw that a previous owner had used self tapping screws to hold the bracket on which had gone rusty:
So I removed them in favour of stainless rivets:
Next up, the brackets under the lights were completely shot - I didn't get a picture of them on the car, but here's a shot of them in the metal bin!:
So I replaced these with dealer only parts:
See the new brackets under the lights
OEM part number and prices if anyone is interested
#6
Scooby Regular
Thread Starter
Next up is the front brakes. The standard WRX calipers + godspeed discs/kevlar pads have been great. I've always fancied the Brembo upgrade as the car has sti wheels so fitment won't be an issue.
I picked up a set in the classifieds. The paint is shot so it's a good excuse for a refurb. I spoke to a local powder coating firm who specialise in motorbike parts, the chap was very helpful and said he had done lots of bike and car brake calipers. Having read lots about this online I was unsure whether to split the calipers or not, manily due to all the talk of the small o-ring seal within the caliper - this firm said they only work on split calipers, so that made my decision for me.
I'll be splitting, removing pistons and seals, then shot blasting + powder coating. I'll then replace the seals and bleed nipples:
Bought from classifieds
Where brake fluid had attacked the red paint, it revealed the original Brembo gold finish beneath. Goes to show how solid the OEM finish is!
OEM Brembo finish is still rock solid!
Pistons out. Splitting caliper now
Seals removed. Ready for shot blasting
More to follow...
#7
Scooby Regular
I have a pair of rear brembo calipers that came off my car last weekend. All working with bolts if your interested £175 posted
Last edited by Jon T; 11 August 2019 at 03:56 PM.
Trending Topics
#10
Scooby Regular
Thread Starter
Quite a firm set up but it still rides pretty well even over Bristol's shoddy roads!
#11
Scooby Regular
Thread Starter
Back from the powder coaters, they did a great job, attention to detail was amazing. Note tips of bolts also coated!
New Brembo seals and cleaned up the other hardware:
Cleaned up the other brackets, hardware like pins etc...
Decals on.
Ready for install !
Last edited by ambassador1; 26 September 2019 at 08:55 PM. Reason: edit
#13
Scooby Regular
Thread Starter
Got these fitted over the weekend, really happy with how they came out:
Didn't take any pics of fitting or bleeding, but pretty straight forward! Now on the car
Gave the wheels a clean too.
At cold, the DS2500 pads felt pretty wooden and unresponsive....however, went out and got some heat in to them and they feel awesome.
Must say though, it's made me appreciate how good the standard 4 pots on Godspeed Discs + Kevlar pads were for normal city driving!
I'll be listing these for sale if anyone is interested:
Next on this list is the steering wheel! More to come.
#14
Scooby Regular
Great content you have added to the site.
Do you think its possible to remove the pad guides to clean the back of them without splitting the calipers ?
#15
Scooby Regular
Thread Starter
#18
Scooby Regular
Use stainless screws and copper slip on reassembly.
#19
Scooby Regular
Thread Starter
Hi,
Unfortunately they wouldn't give me the RAL or paint colour code - I needed it to match the centre caps, I ended up using a Ford bronze which wasn't perfect but not too far off.
I got them done here: https://www.thewheelspecialist.co.uk/locations/bristol/ - they colour they used was a triple bronze with a satin lacquer.
PlastiDip do a very similar colour called BrassMonkey but it's only available in the USA.
Thanks!
#22
Scooby Regular
Thread Starter
Turned my attention to the the paint this weekend, the roof was in pretty bad nick, some heavy stains and early stage corrosion so I decided to wrap it in Satin black:
Prepping the roof
Wrap down
Was a lot more tricky than anticipated, we got the 3M vinyl down pretty well. Not perfect, but i'm happy with it for now.
Polishing
Then did a quick correction detail prior to winter. Used the megs microfibre correction system, Poorboys black hole glaze and then sealant. Came out very well, headlights and paint came out well.
The only thing i'm not sure about is how subtle the roof wrap looks - thinking I could could go with something a bit more lairy....watch this space!
#25
Scooby Regular
Quick question for you (and anyone else!) with a WRX running STi wheels (and tyre sizes):
Have you changed the size of your space saver as well? Or would the diff tolerate the slight difference in rolling circumference seeing the STI size tyres are fractionally larger?
Many thanks
Have you changed the size of your space saver as well? Or would the diff tolerate the slight difference in rolling circumference seeing the STI size tyres are fractionally larger?
Many thanks
#26
Scooby Regular
Thread Starter
I ditched the spare some time ago and just run a can of tyre weld - not ideal I know, but for the amount of miles I do it's not a huge risk.
Next time I have a front wheel off, i'll see if the spare fits and report back!
The following users liked this post:
#29
Scooby Regular
Thread Starter
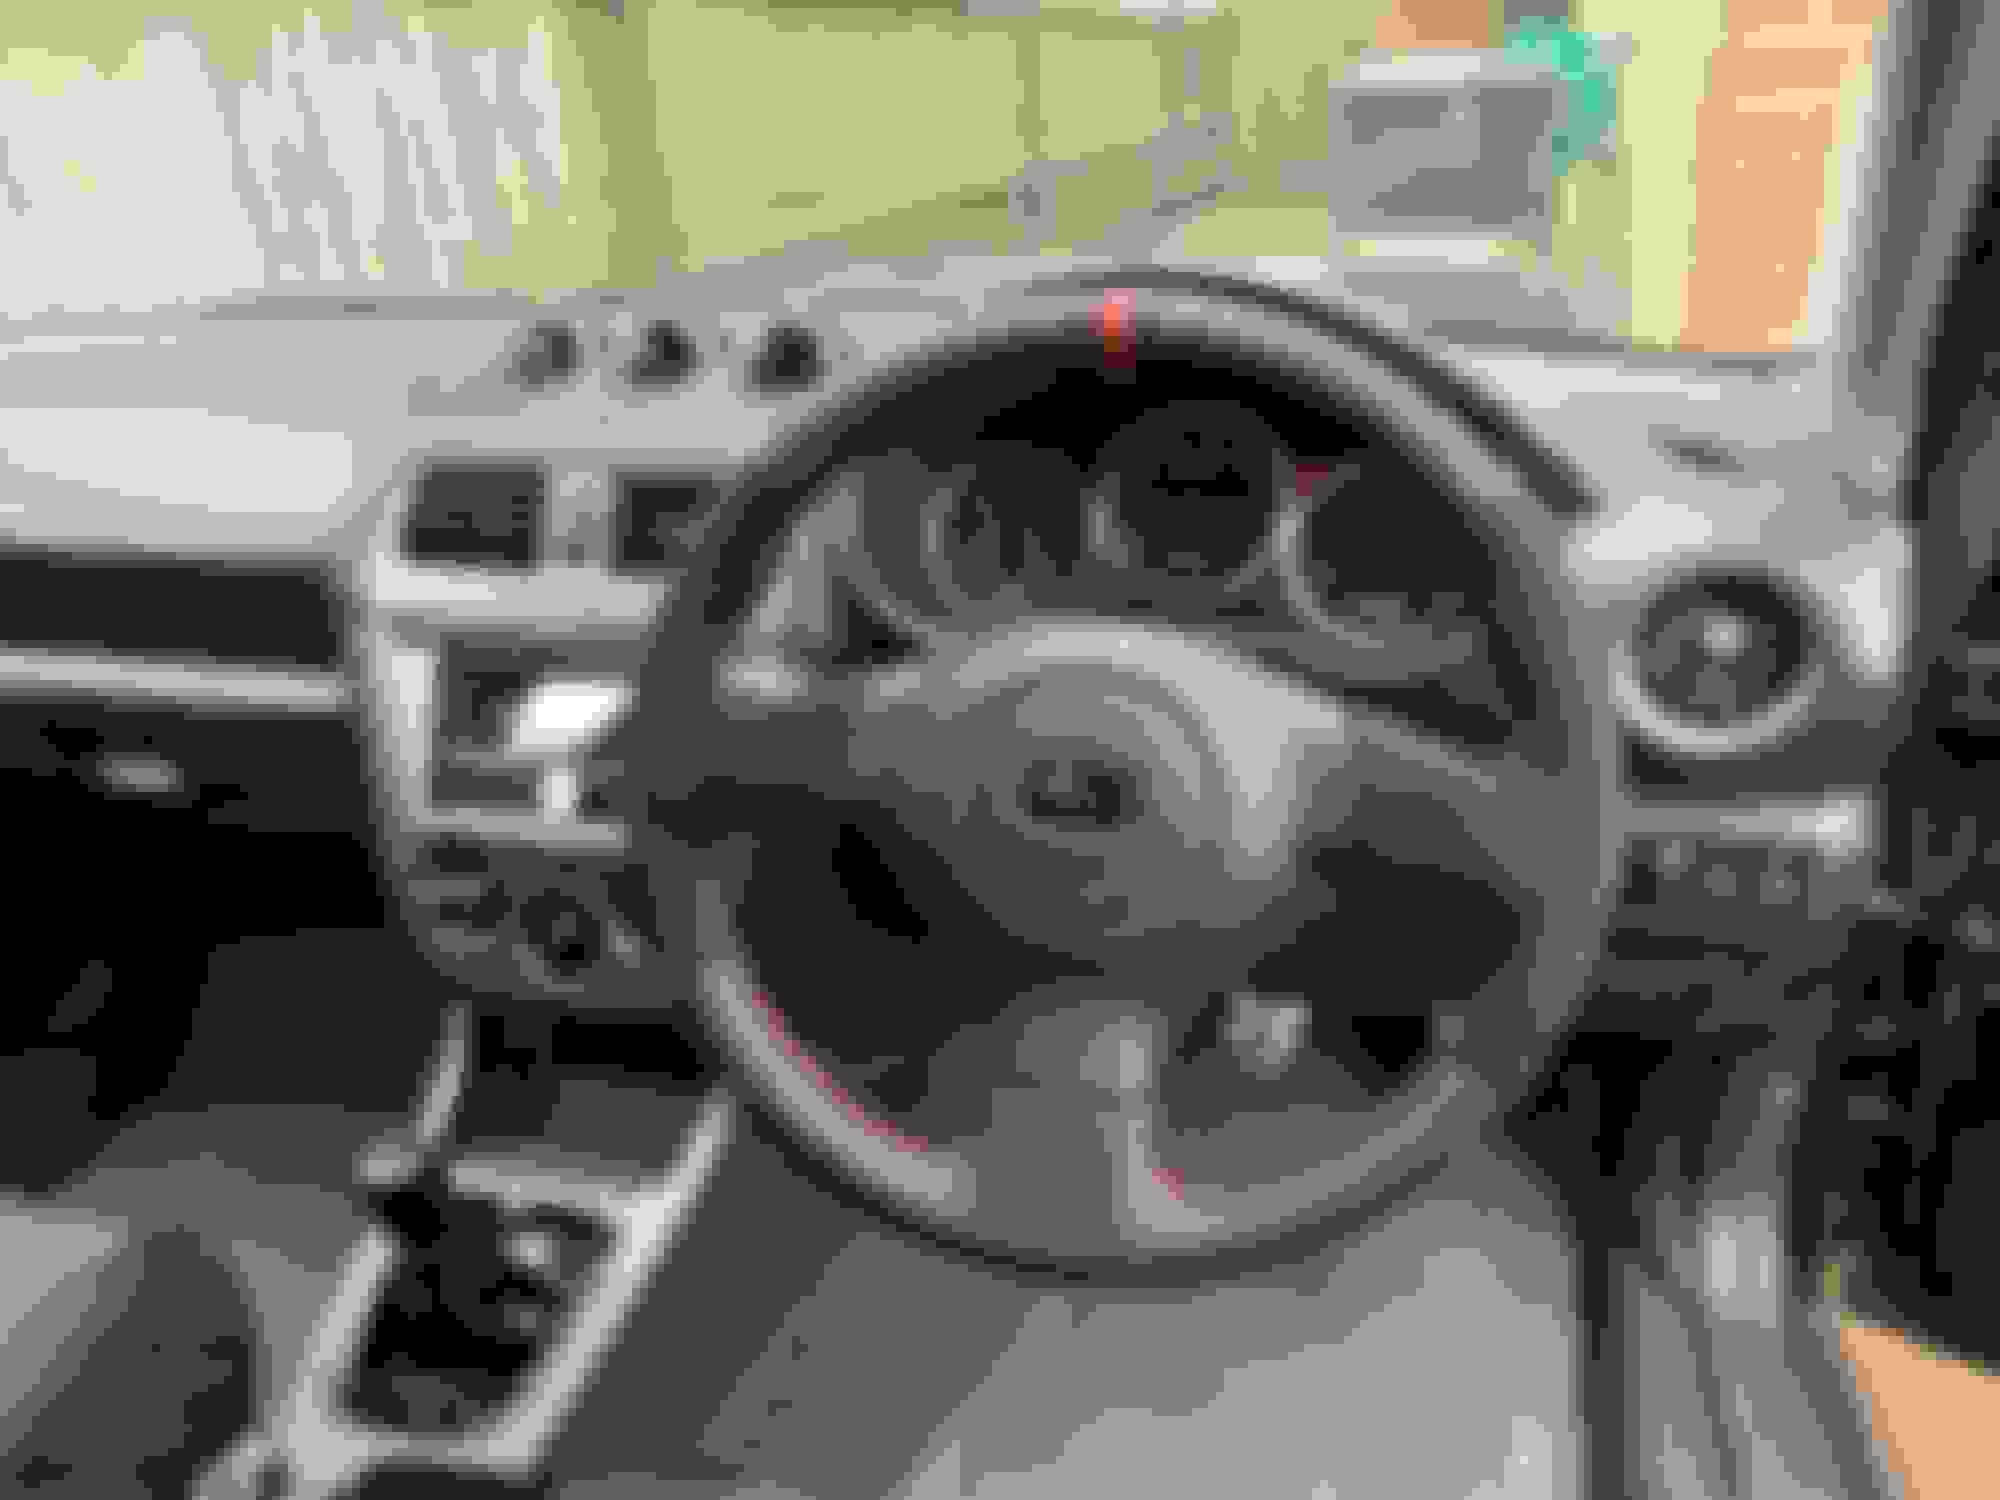
Small update, fitted a steering wheel from a later model which has been refurbished by Royal - i asked them to copy a version on their website, no doubt someone on here! Looks darker in the flesh, but here it is:
Really happy with how it looks and feels, you can also see I've changed the gear **** too.