When you click on links to various merchants on this site and make a purchase, this can result in this site earning a commission. Affiliate programs and affiliations include, but are not limited to, the eBay Partner Network.
GC8 Track Aero - design, development & fabrication
Morning Guys,
After lots of design, development and fabrication, we have eventually got close to the completion of the underbody aero for our GC8 track car, or at least the latest version of it anyway!
Many iterations of exhaust placement and diffuser configurations have led us to our latest version of the front splitter, flat underfloor and double deck rear diffuser. We have completed some tuft testing (albeit fairly crude) however the results speak for themselves, in terms of the airflow that we are now getting through both upper and lower parts of the rear diffuser.
Two venturi tunnels have been added into the flat floor to provide an airflow path for the upper deck, as we had a big issue with exhaust fumes entering the car with the previous design. This has hopefully been resolved with a side exit exhaust and the redesigned double deck diffuser.
Any questions, comments or suggestions, from anyone that has also travelled down the Aero path would be gratefully received?
Cheers,
Kim.
Last edited by MY94BlueWRX; Oct 19, 2024 at 12:58 PM.
Reason: More suitable title
Very nice! What are you doing underneath the engine, and where are you venting air from the radiator etc?
I'm thinking of doing something similar, but not sure if I'll stay with front mount rad or go rear. I fancy having a flat floor starting from the front bumper backwards, and I also want to vent my fmic just after the leading edge of the bonnet. The fmic would ideally become fully enclosed, but that leaves little space for a rad, at least to have it vented in the same way.
We have a front undertray/splitter that leads into the flat floor, this makes the underside completely flat from front to back. Although we have added some sidewalls or channeling on the entire length to encourage some rolling vertices to form.
In terms of the radiator, I have fabricated a full shroud for the back of the rad that completely closes it off from the engine bay. We have gone back to the original Subaru rad as it's a thinner core than the toyo one we were using, which wins us a few valuable cm's.
I am in the process of cutting a rather large hole in the bonnet which will be used to evacuate the rad airflow, this will be on the leading edge where the pressure differential is the most favourable, and will hopefully draw the hot air out from behind the rad.
Your exhaust looks good, we were originally thinking about exiting out of the side door, then decided to keep it under the floor so no fumes could possibly enter through the clearance gap... though a side door exit has less of a chance of this happening than our original rear upper diffuser deck exit! 😉
Thanks for the detailed description, I might copy some of your ideas
What material did you use for this? It looks kind of like some aluminium honey-comb material or similar? Any reason why you didn't just go with aluminium sheet? I'm thinking something like 2mm, but it's entirely possible that the material you have there is lighter and stronger than a plain sheet (so might copy your material choice as well..)
We started with the front engine undertray/splitter and did use 2mm aluminium for that, strengthened with 'L' section aluminium extrusion. This was ok but could be improved with the material that we chose for the underfloor and diffuser... it's an aluminium honeycomb composite called aerolam, same stuff used on aircraft and is extremely light and strong.
I will remake the front undertray at some point with the aerolam material, but for now it is holding up well enough.
Thanks Sunny1989... if I'm honest that is something that has been overlooked and could very well be worth doing, as even the smallest irregularity can upset the airflow. Granted we're not at F1 levels here, but if a job is worth doing etc etc 😉
@Johnnybon, thanks for the compliment, but from my experience people are seldom prepared to pay for one off fabrication items... I know I'm not, that's why I make everything myself! Lol
That said, if there is anything in particular that you were looking for, drop me a pm with some details and I'll get back to you 👍
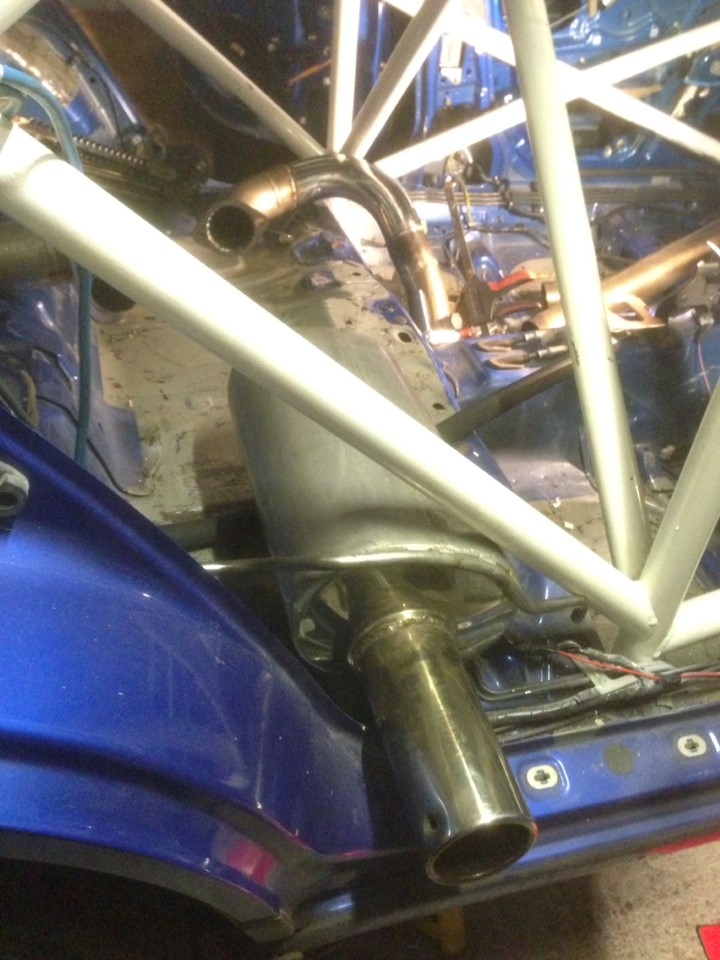
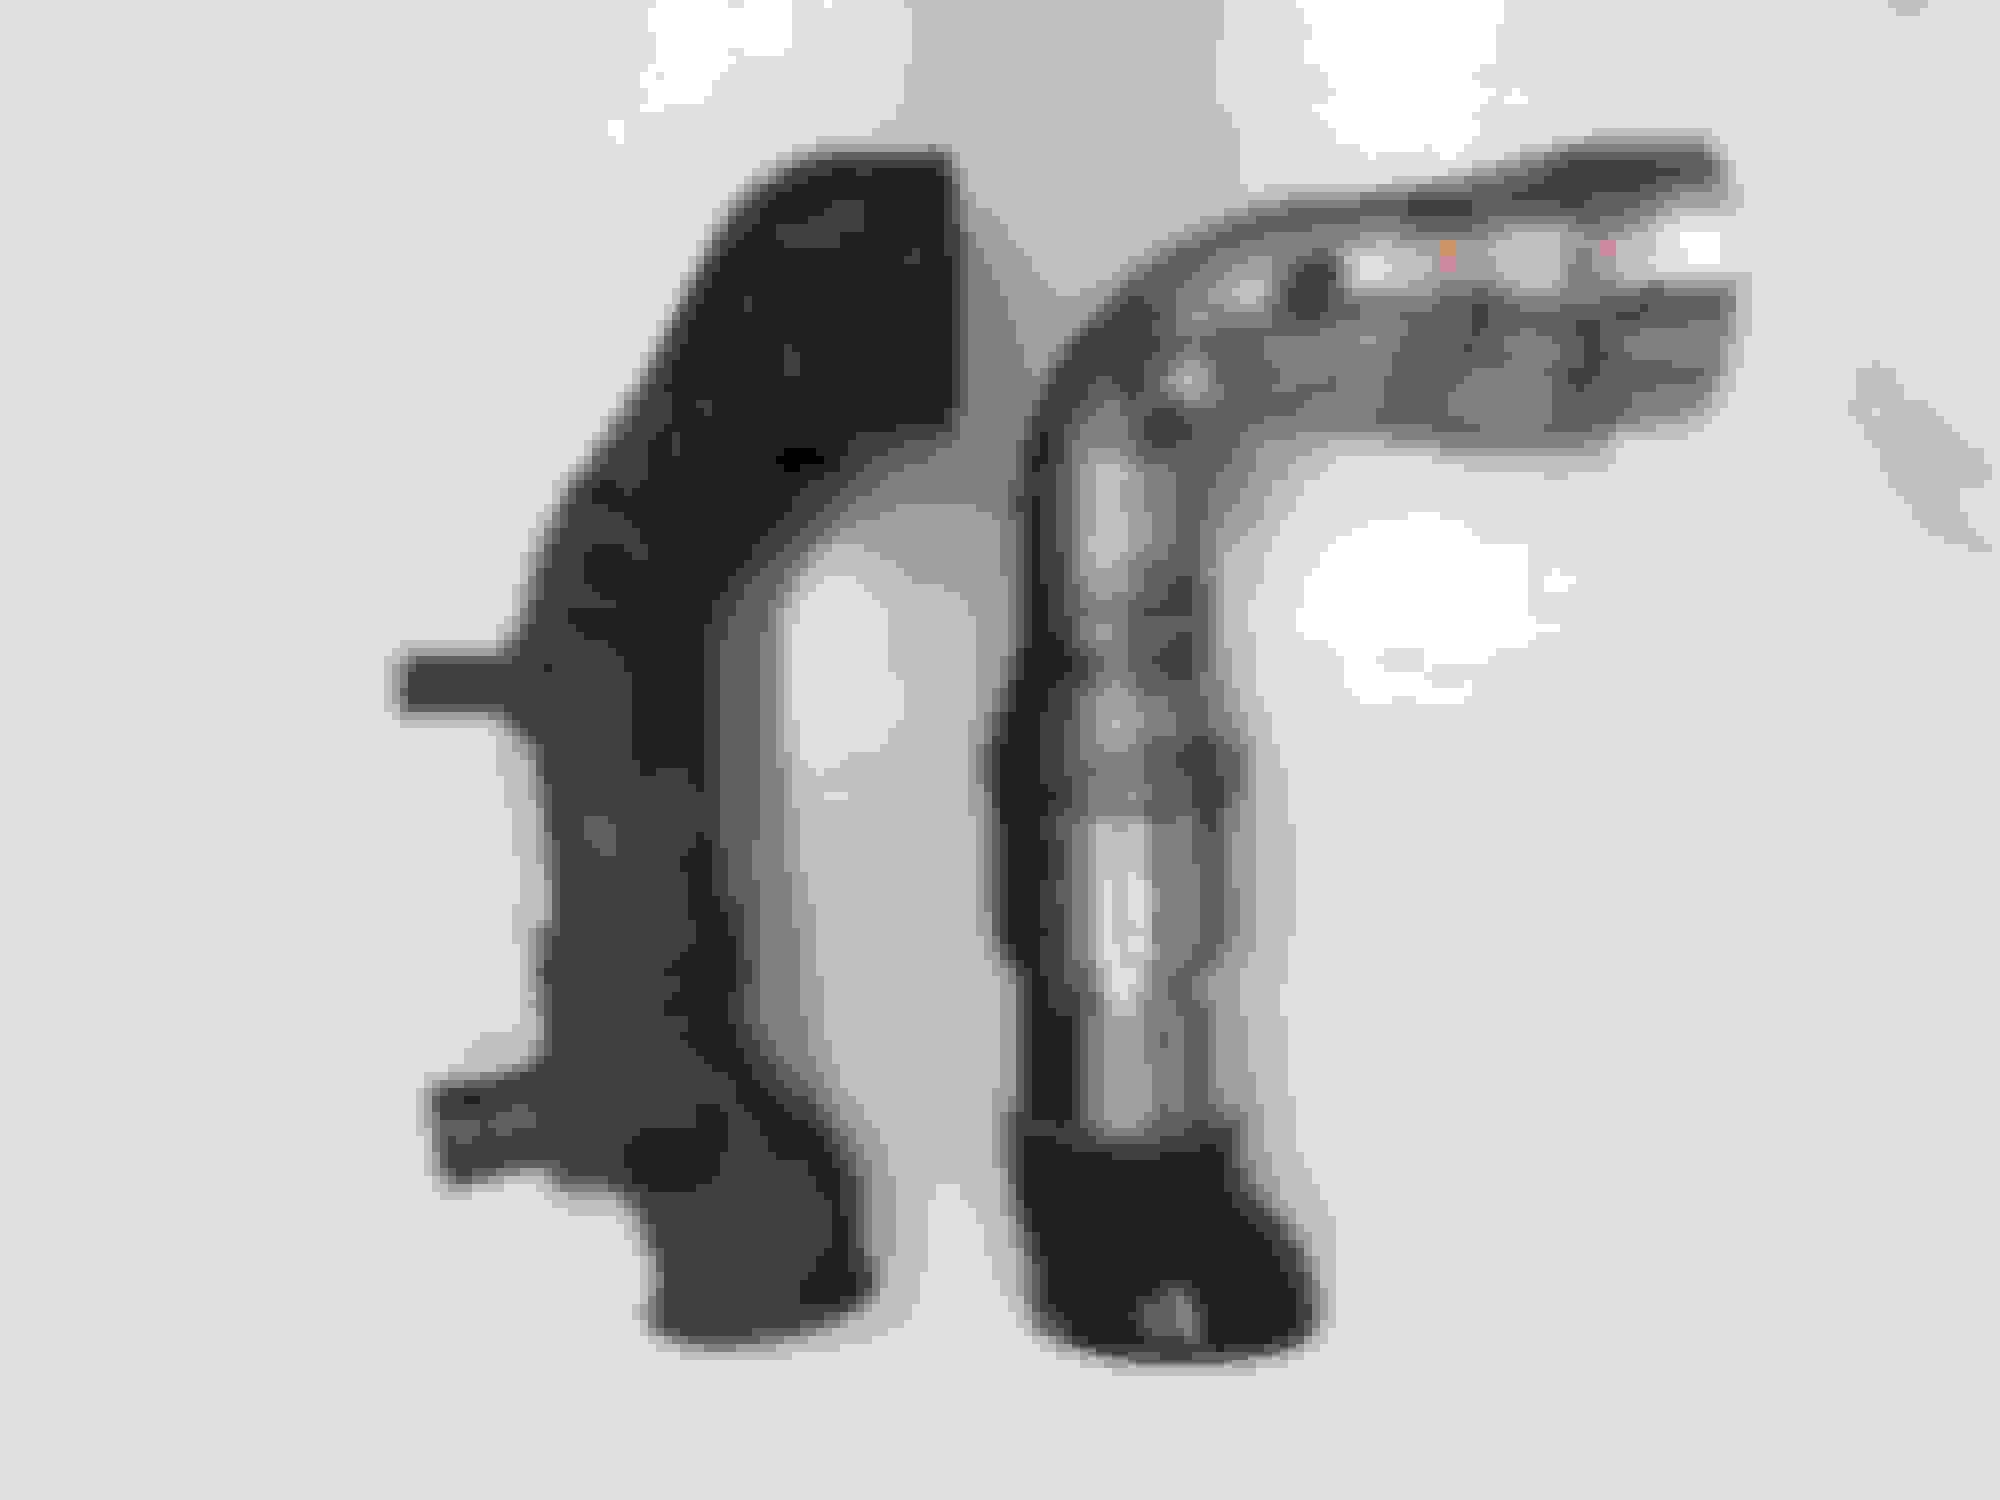
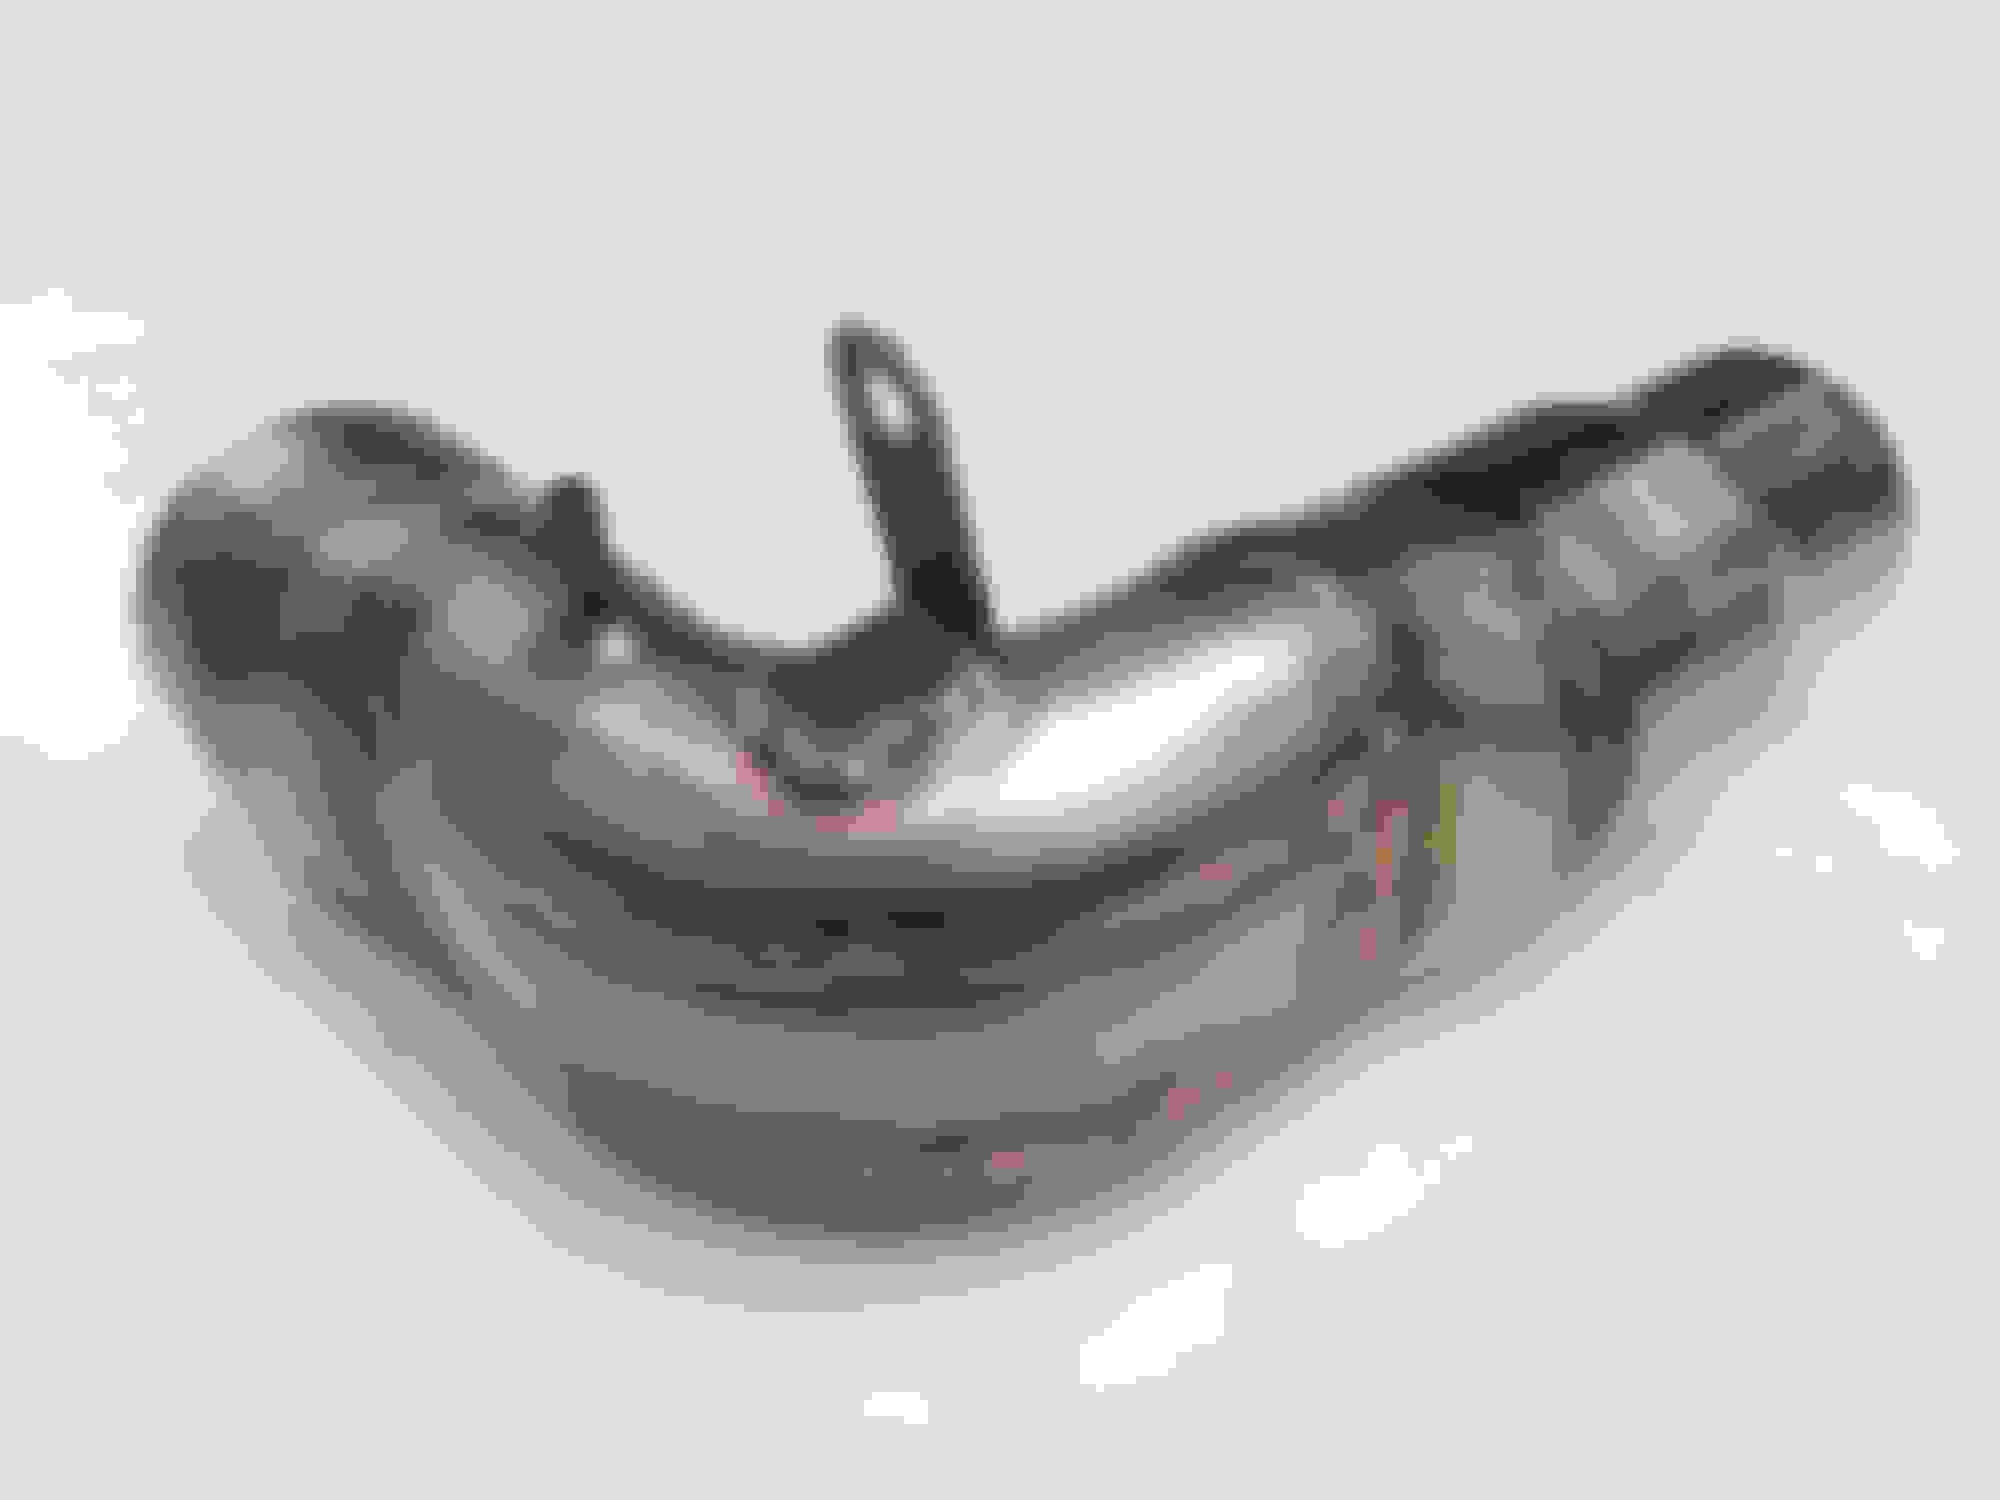
Knocked up a new hard pipe turbo inlet over the weekend, to replace the original restrictive Subaru item. Have tried silicone pipes and they tend to get sucked closed under high boost conditions, unless you go for a samco or rcm one... but I struggled to part with �200+ for a silicone pipe! 😳
So I fired up the tig and got creative with my bandsaw!
Last edited by MY94BlueWRX; Aug 7, 2017 at 02:37 PM.
Reason: Incorrect name
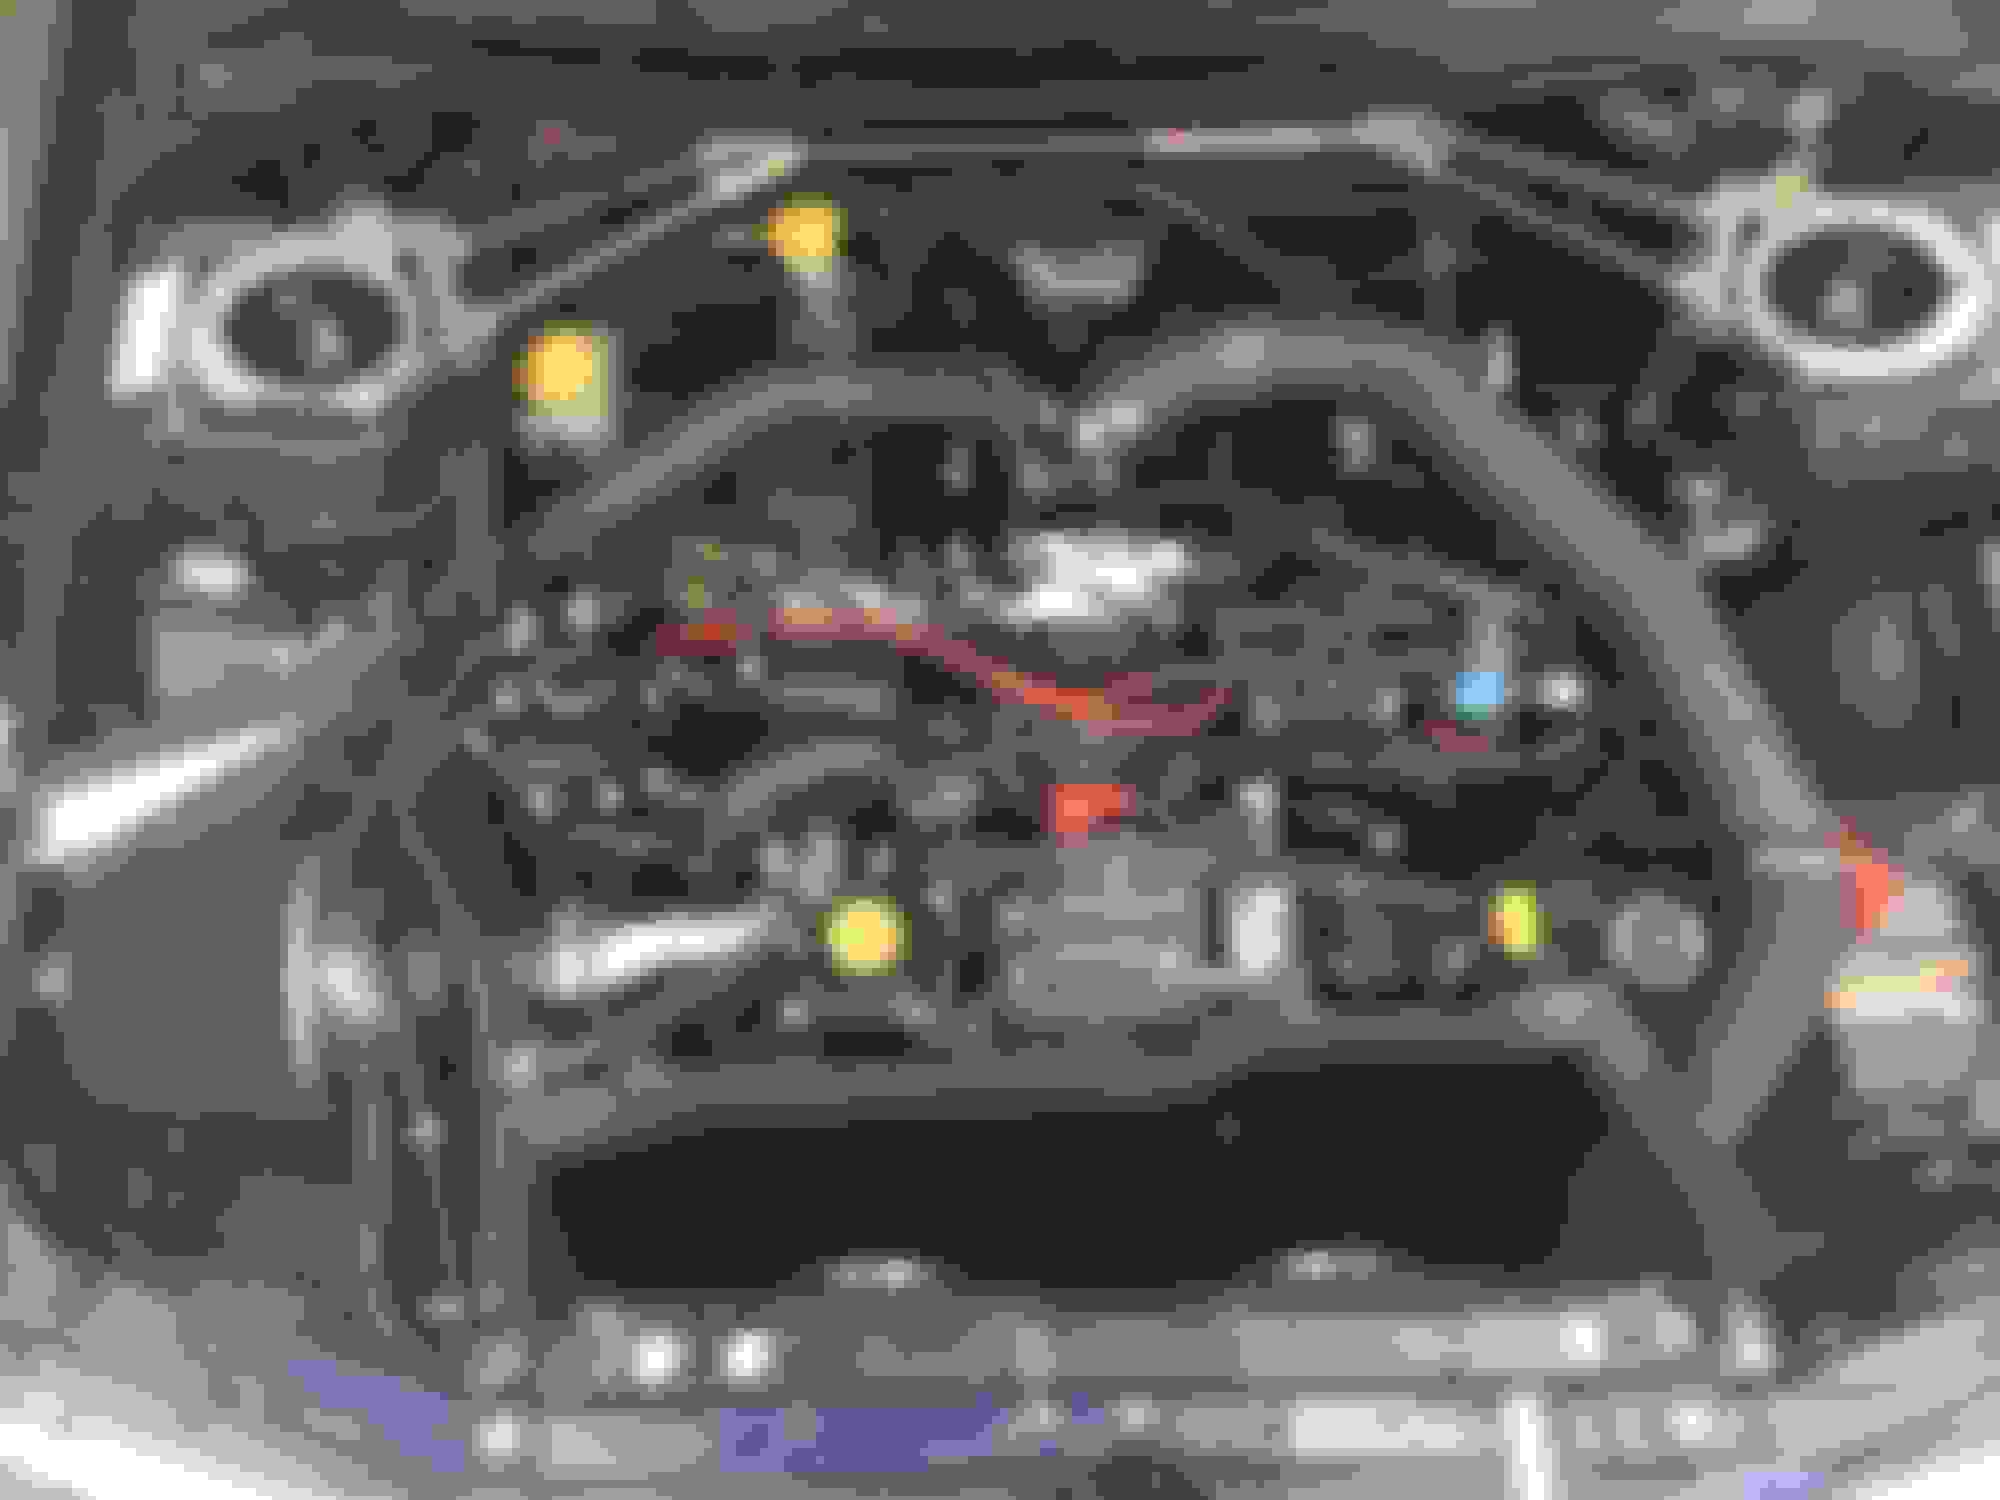
Got back onto the intercooler/oil coolers & radiator venting the last few nights, and finished up the front sealing of the front bumper to the intercooler.
They are hand fabricated aluminium panels, the side ones are secured to the bumper and the bottom one to the intercooler itself. Sealed with some high temp closed cell foam.
These should encourage a higher pressure to form on the front side of the intercooler, and then when the radiator shroud is in place and vented through the bonnet, the low pressure area over the bonnet vent should promote a better flow of air through the various cooling cores. That's the theory anyway!
Made some progress over the weekend on the bonnet venting for the various cooler cores... was a nervous moment when I fired up the angle grinder and sunk it straight through our aluminium bonnet!!
I still have various infill panels to fabricate yet, seals to measure & fit, and finally paint finish everything... but it's a start.
Thanks Rice Rocket, I hadn't thought of making more to sell, but you never know?
We got round to finishing up the radiator shroud install and the bonnet venting the other night... really pleased with how it's gone as when the fans kick in the air displacement and direction is spot on.
I had the fog light covers made a few years back, they're actually the inlets for the brake ducts, and the reverse vent was from a chap on eBay so not sure of the make... but it's definitely not an RCM item.
Next on the list of fabrication is a replacement set of canards/dive planes, probably just going with one large set instead of two smaller ones. Then a set of new end plates for the splitter, again larger and more functional than the vortex generator we currently have.
Last edited by MY94BlueWRX; Sep 8, 2017 at 10:37 PM.
Reason: Additional info
Thanks trails... we're trying our best to keep it original.
Knocked up a new switch panel over the weekend that houses two temp gauges for gearbox & rear diff, 4 latching switches for fuel pump, fans, rain light and a spare. Plus the toucan screen and tyre temp monitoring screen will be fixed to the top half... information overload!! Lol
I have in my possession a set of replacement headlight covers from ABW, one of which includes a naca duct in the drivers side which will serve as an inlet feed for the turbo induction filter...
We had a very busy day yesterday... set off at 2:30am for sunny Plymouth, 5 hours later we were sat outside Enginetuner waiting for Martyn.
As soon as he arrived he was straight onto it, and a few hours later we we�re all mapped and setup... the results speak for themselves and the new Wideband Alcatek was a pleasure to map (Martyn�s words). The Anti Lag was also set up, more for a nice �toy� feature than an actual positive pressure system, but it sounds so nice on overrun! 😜
Then a long drive back last night made for a very long day, but the big smiles on our faces more than made up for it... enjoy!