
LordG's WRX STi (Pic Heavy)


Thread Starter
Scooby Regular
Joined: Aug 2013
Posts: 92
Likes: 0
From: Staffordshire
Hi everyone,
Thought I would start a thread to track progress and introduce myself.
I am Neil. Proud owner of a Subaru 2004 WRX STi WR1. Hope you like....
Index
Thought I would start a thread to track progress and introduce myself.
I am Neil. Proud owner of a Subaru 2004 WRX STi WR1. Hope you like....
Index
- #1 - Introduction
- #2 - Car when I got her
- #3 - Prodrive Exhaust goes on
- #4 - First car detailing sesison
- #5 - Car checked over and full service
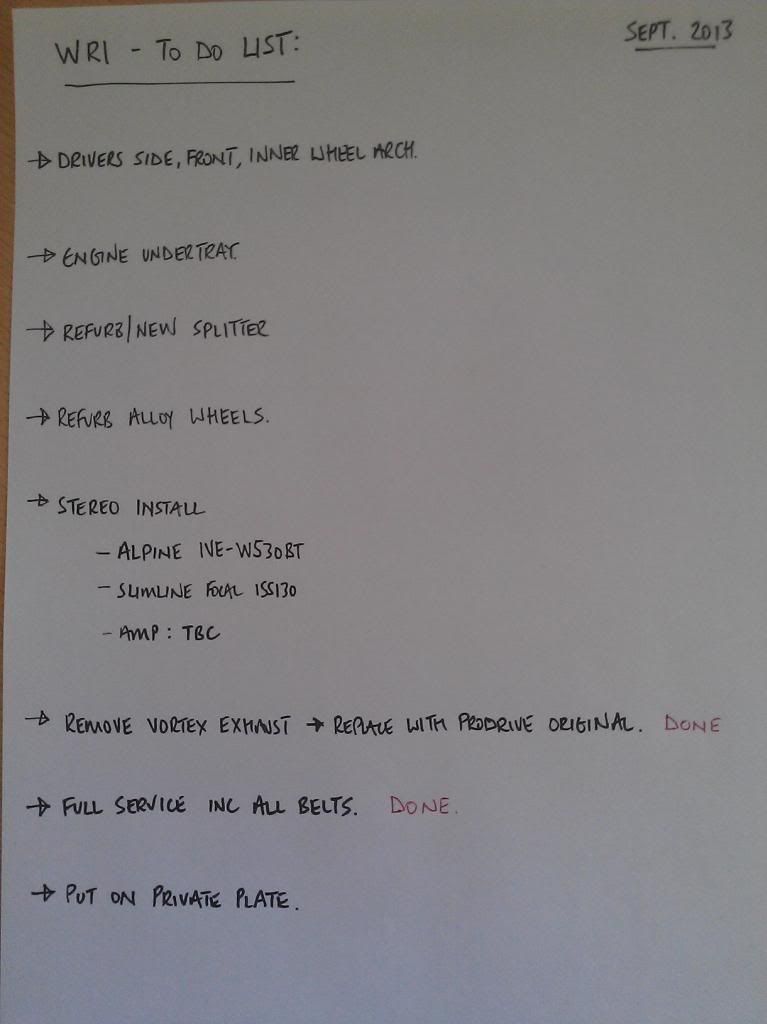
- #6 - The to-do-list
- #7 - More cleaning (engine bay)
- #8 - A little wall art in the garage
- #9 - New Parts Ordered (bonnet insulator, engine undertray, inner wheel arch)
- #10 - New Trolley Jack and Stands (SGS Engineering)
- #11 - Inner Wheel Arch and Engine Under Tray
Last edited by LordG; Oct 8, 2013 at 02:31 PM.
Thread Starter
Scooby Regular
Joined: Aug 2013
Posts: 92
Likes: 0
From: Staffordshire
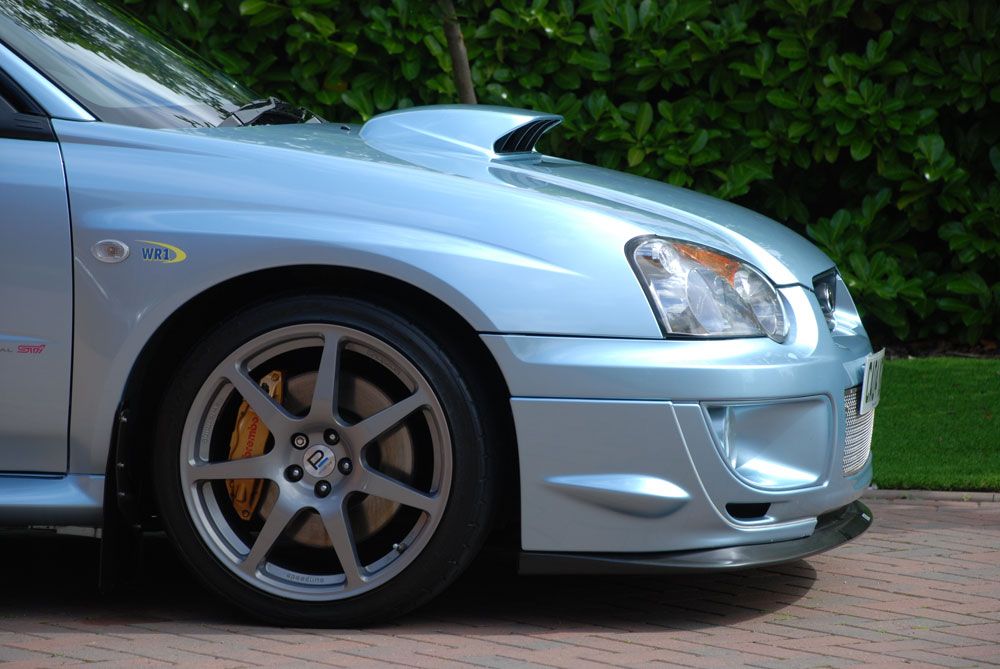
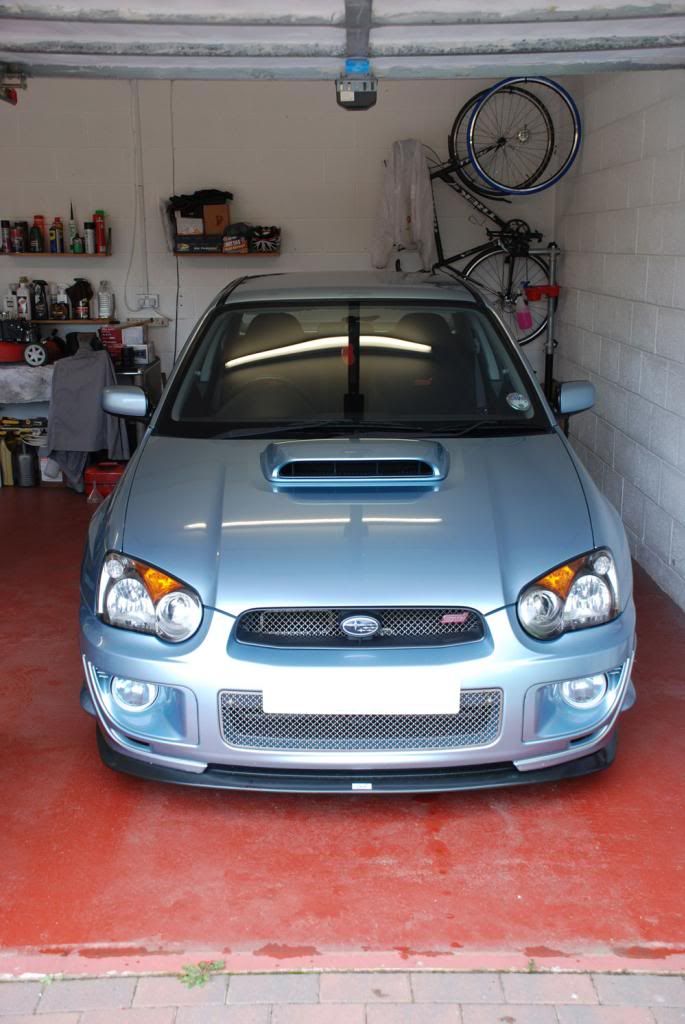
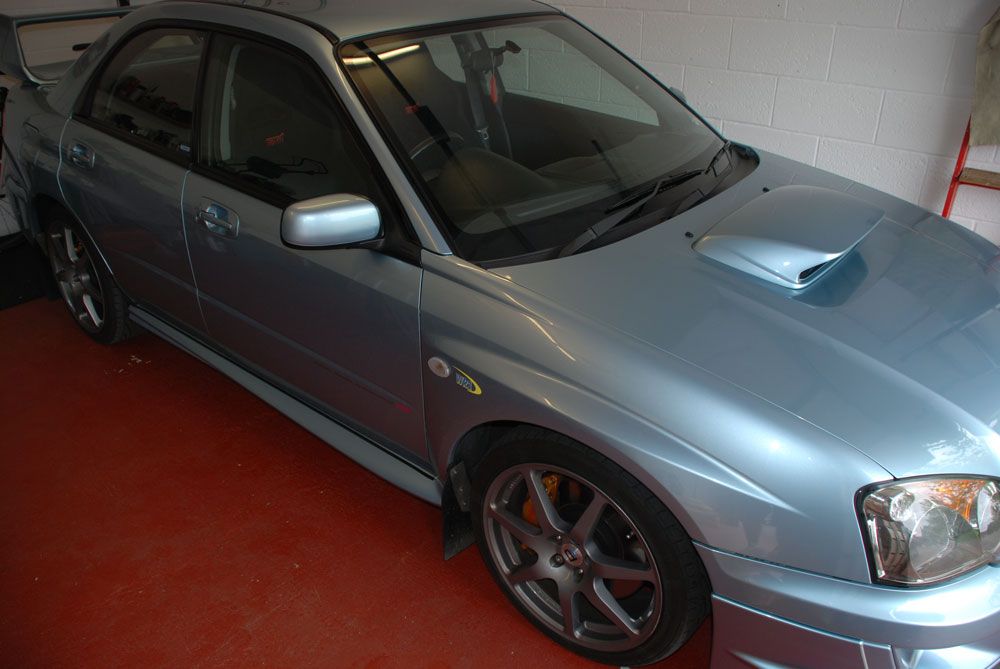
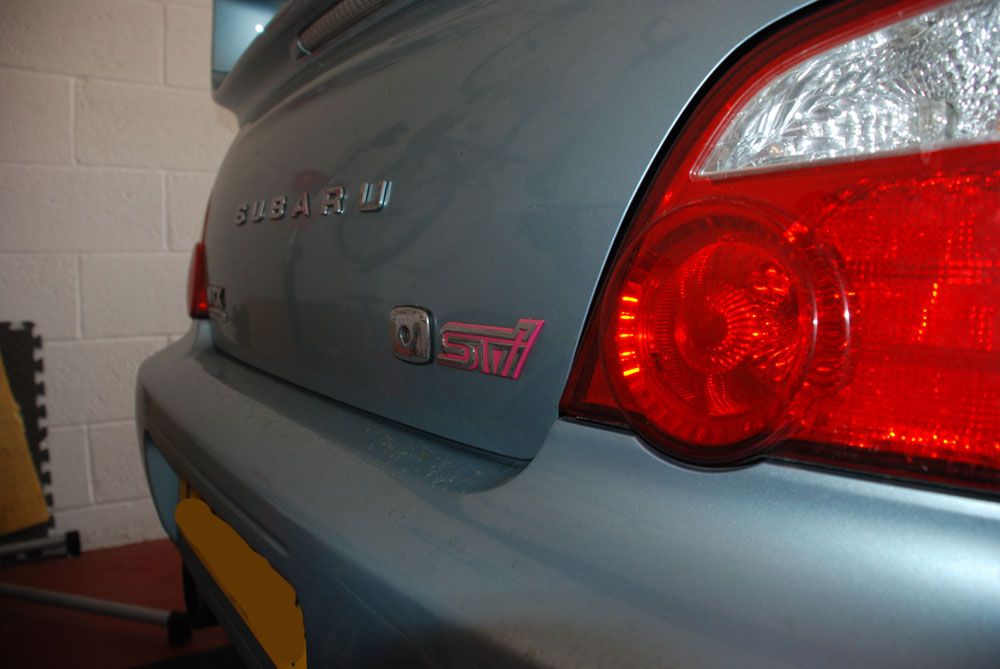
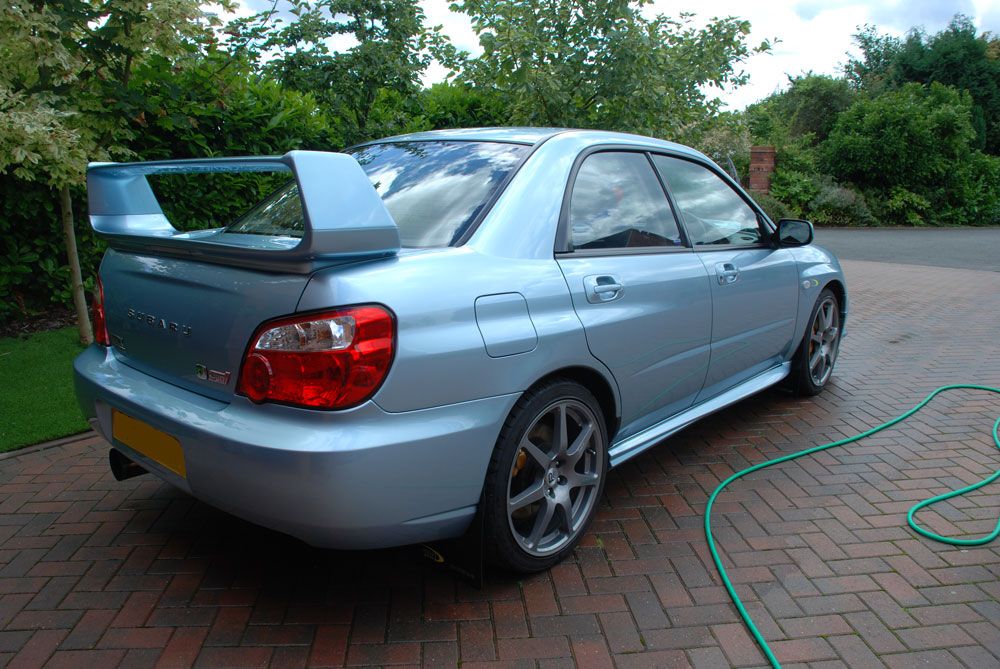
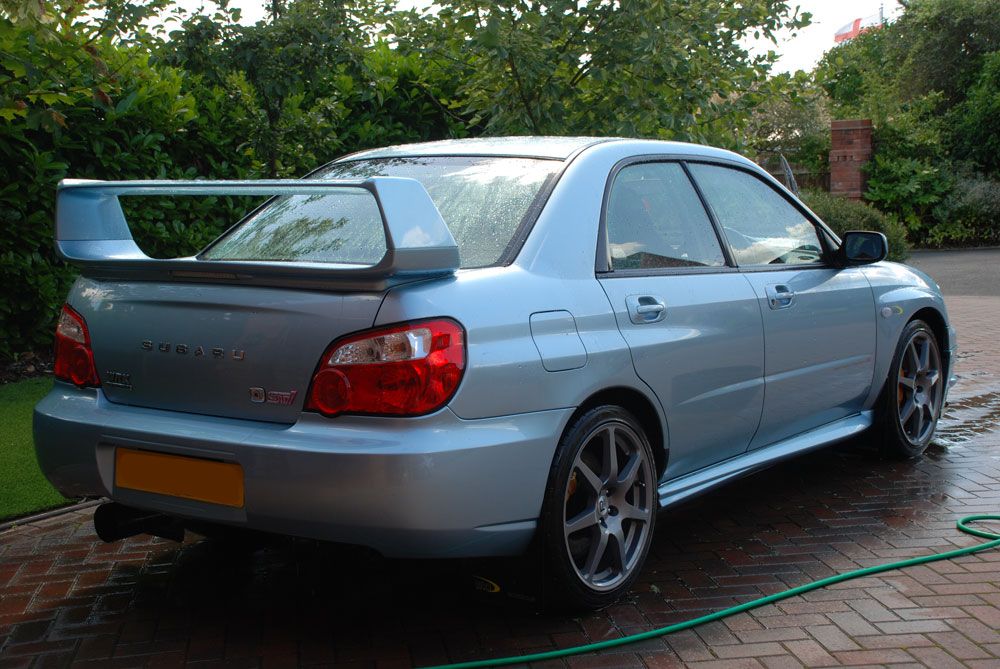
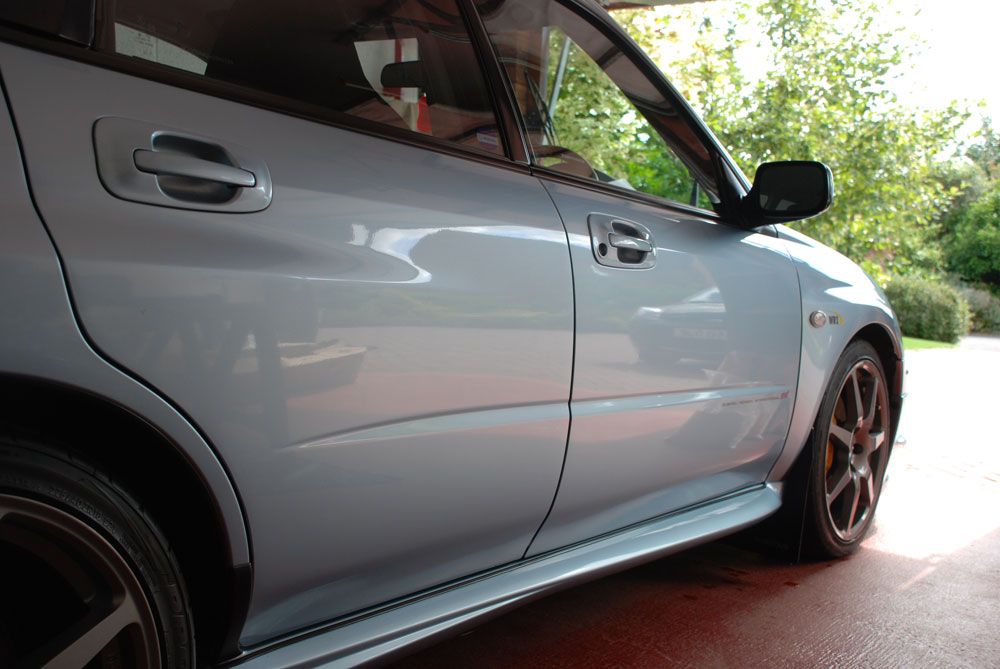
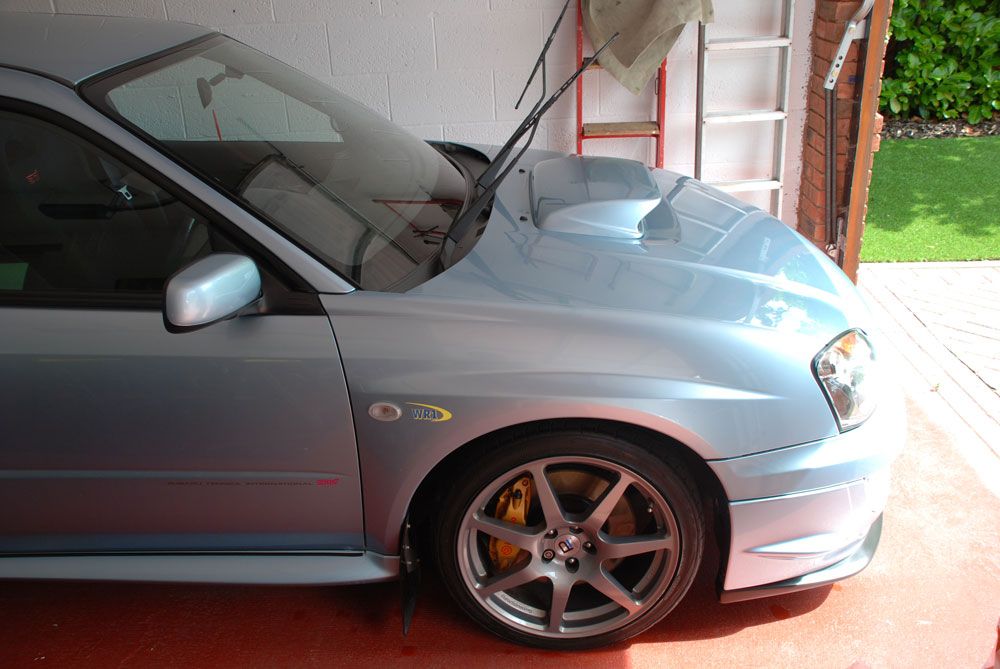
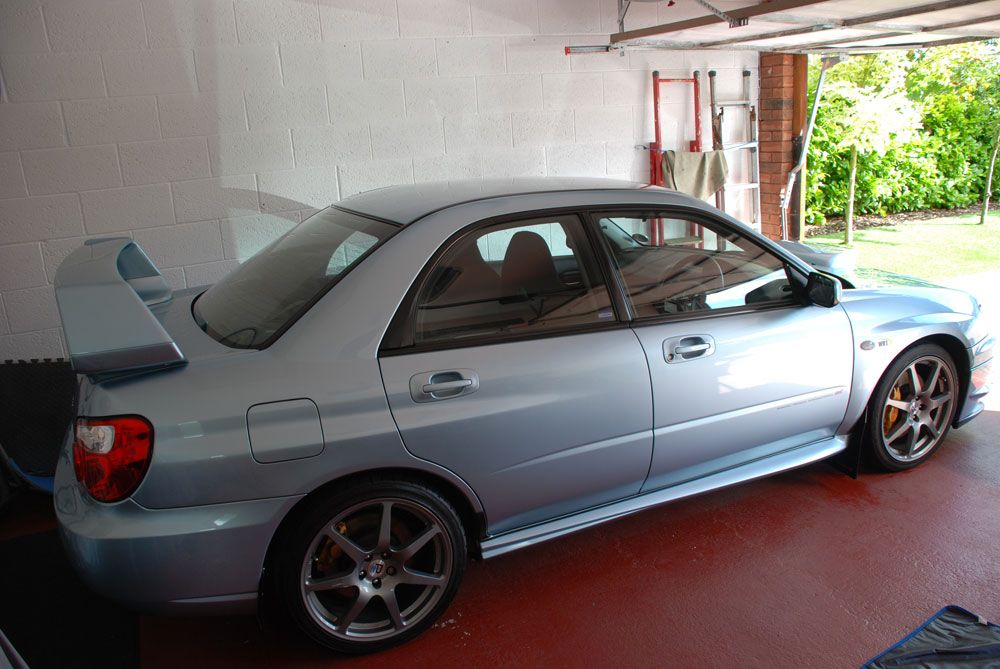
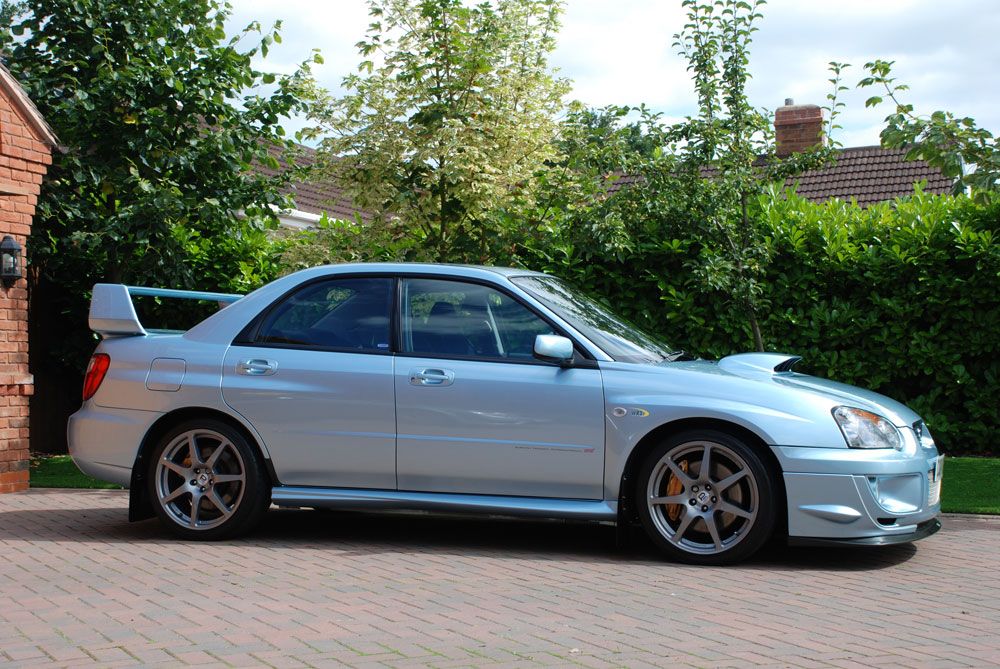
CAR WHEN I GOT HER:
Some initial details:
I am less than a week into ownership, but I am very pleased.
Here are some pics of the car 'as is' today. Before any cleaning, before anything:
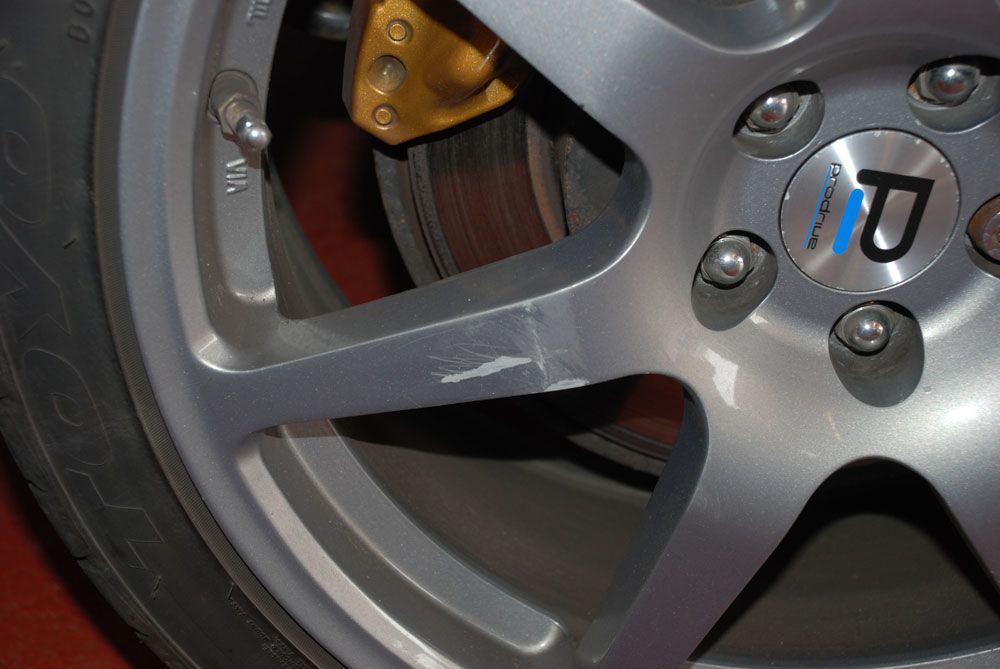
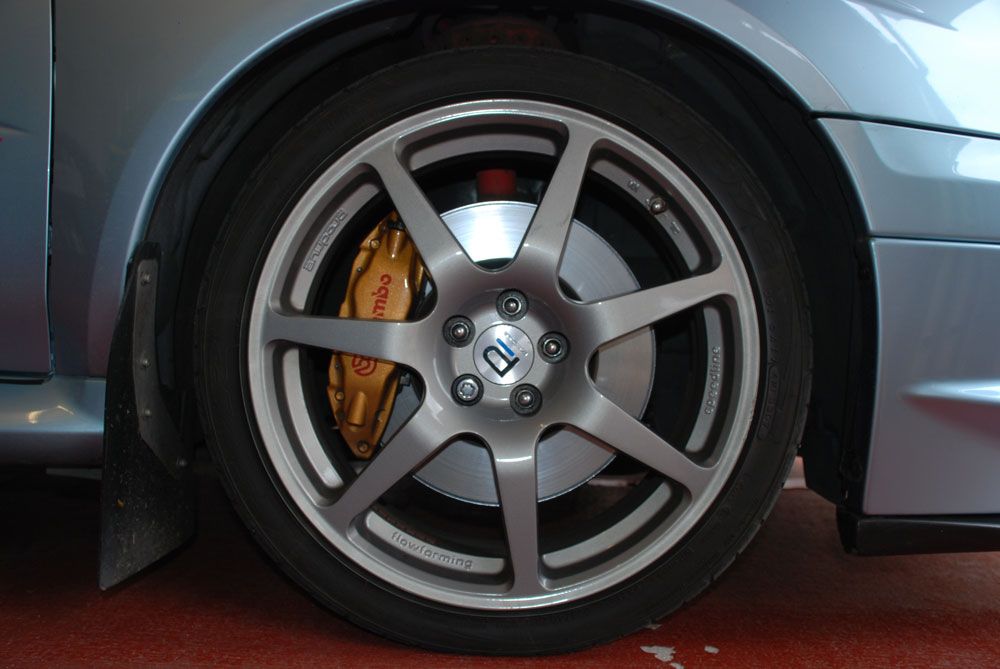
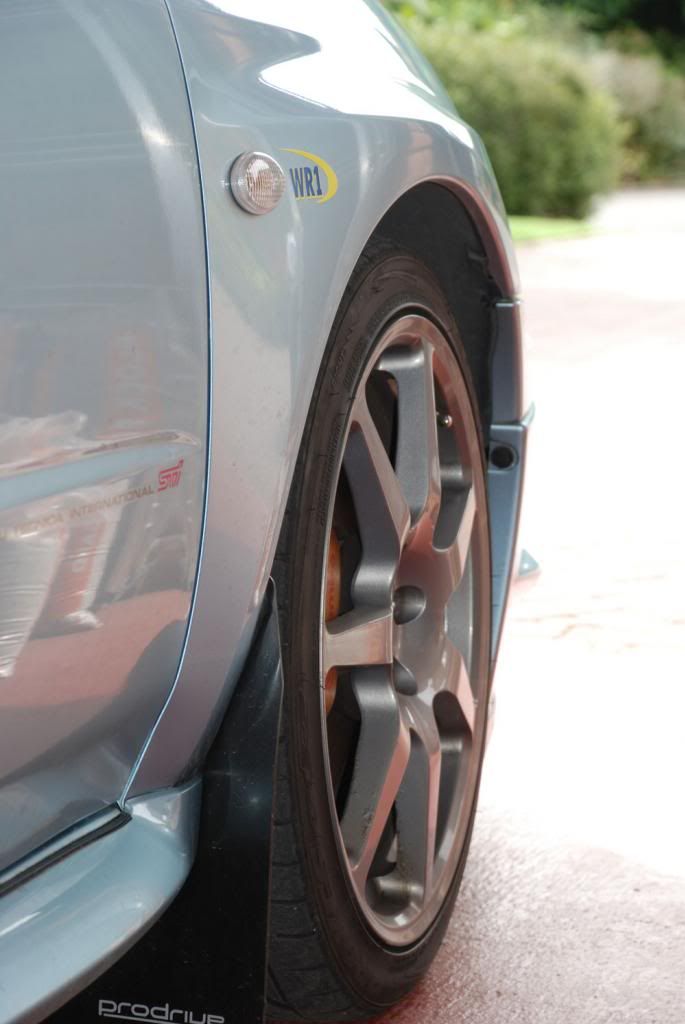
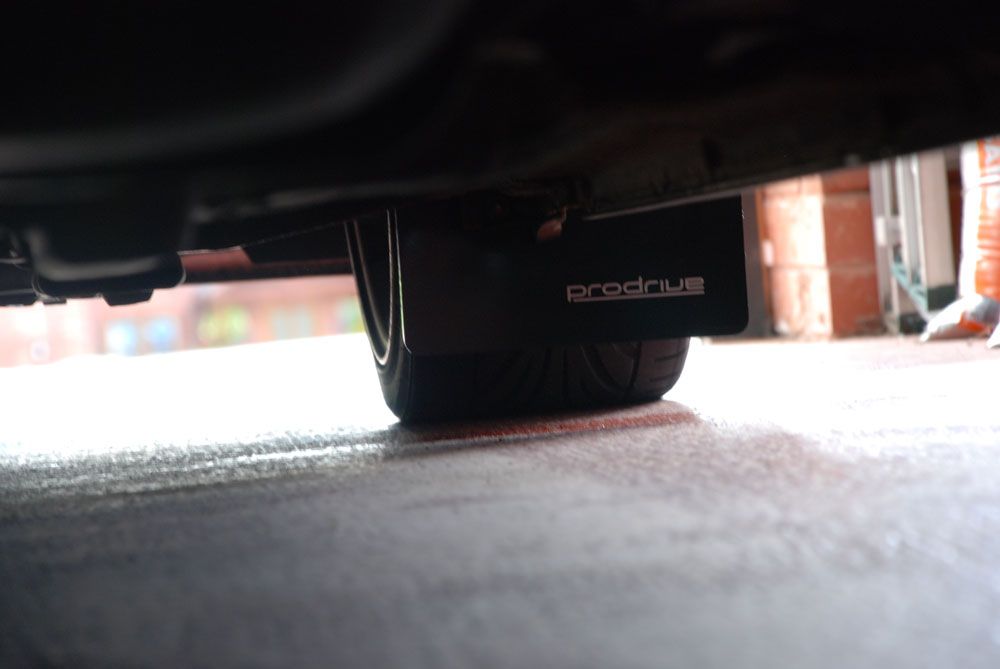
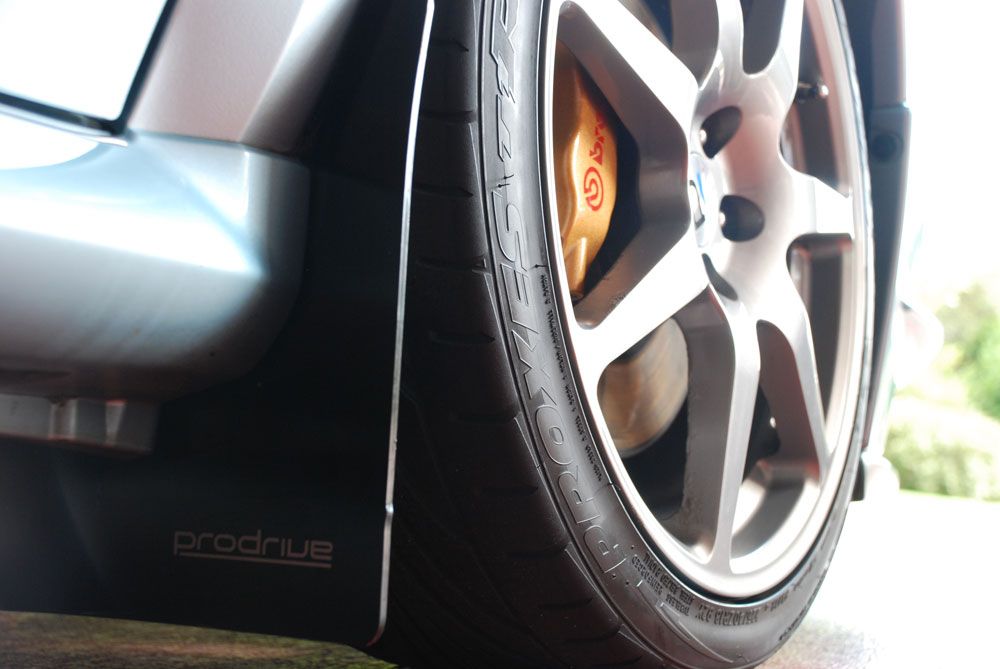
ALLOYS and BRAKES
VORTEX EXHAUST

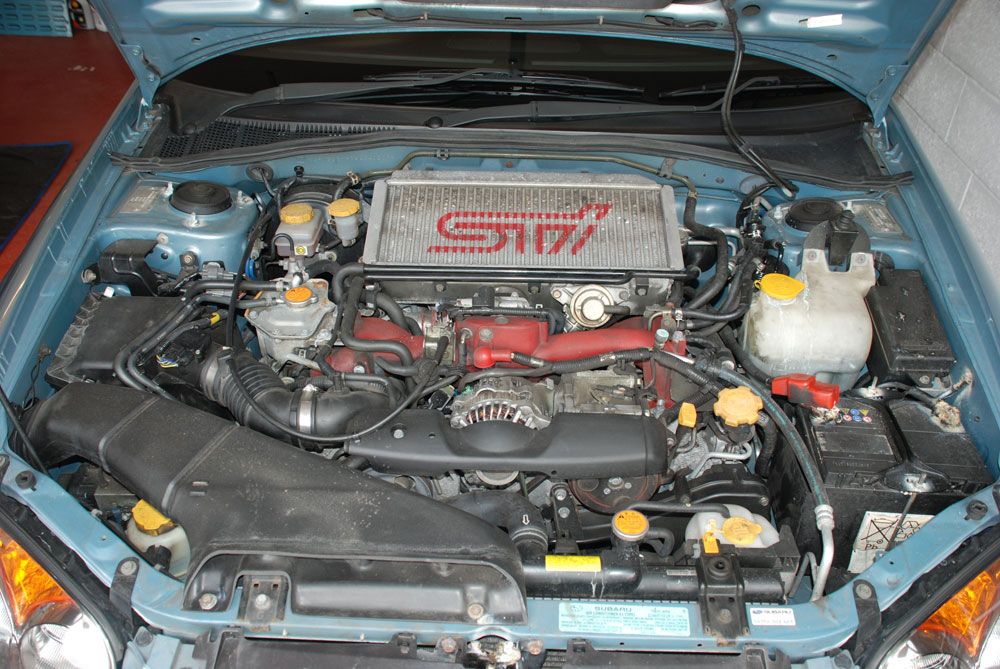
ENGINE BAY
GENRAL SHOTS
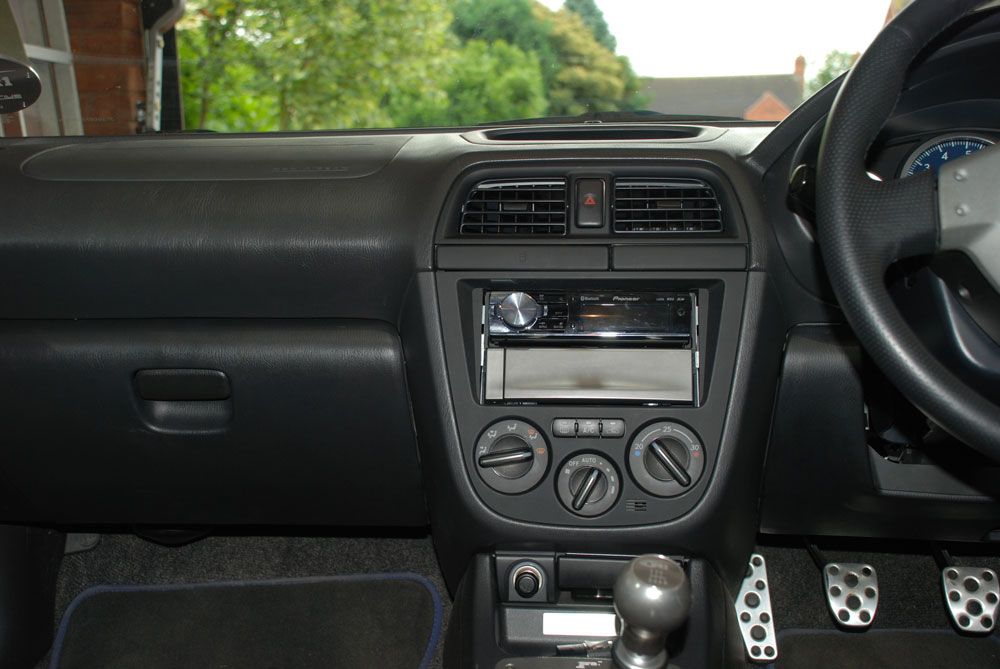
CURRENT STEREO
Some initial details:
- purchased 284 on 14 August 2013
- 62,000 miles
- FSH
- Standard apart from
- Vortex Afterburner straight exit rear silencer (original Prodrive provided)
- Black front splitter from HT Autos with STi badge
- Pioneer DEH-8400BT Head unit with ipod control (original Subaru unit supplied)
- Silent Coat sound deadening in front doors
- Alpine speakers all round (not too sure what kind yet)
- WR1 mud flaps
- Alloys need a refurb
- a few expected stone chips, but what you would expect for this age car
- interior immaculate
I am less than a week into ownership, but I am very pleased.
Here are some pics of the car 'as is' today. Before any cleaning, before anything:
ALLOYS and BRAKES
VORTEX EXHAUST
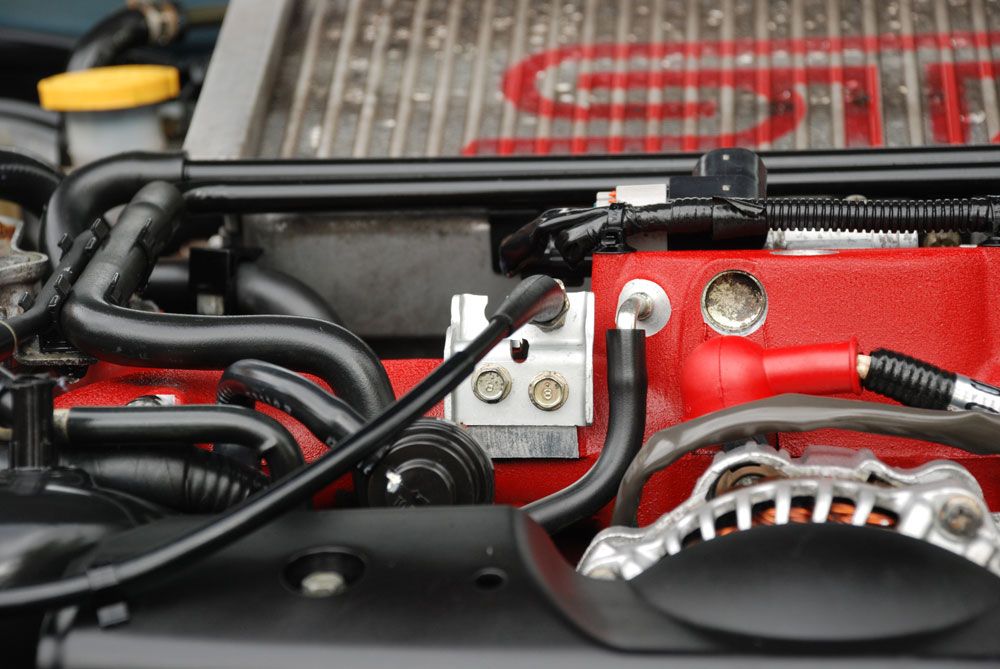
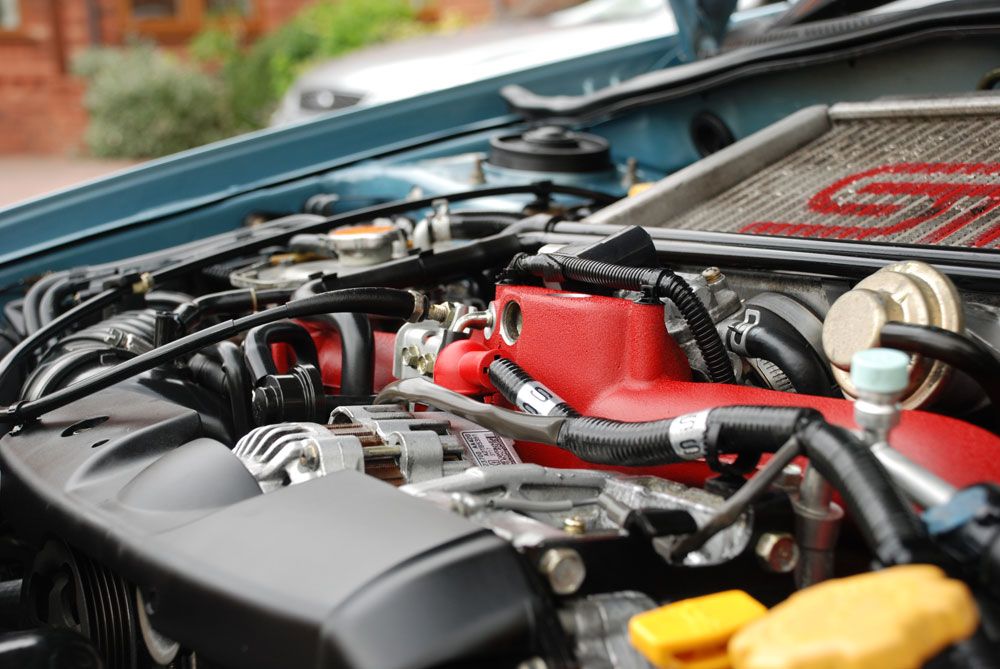
ENGINE BAY
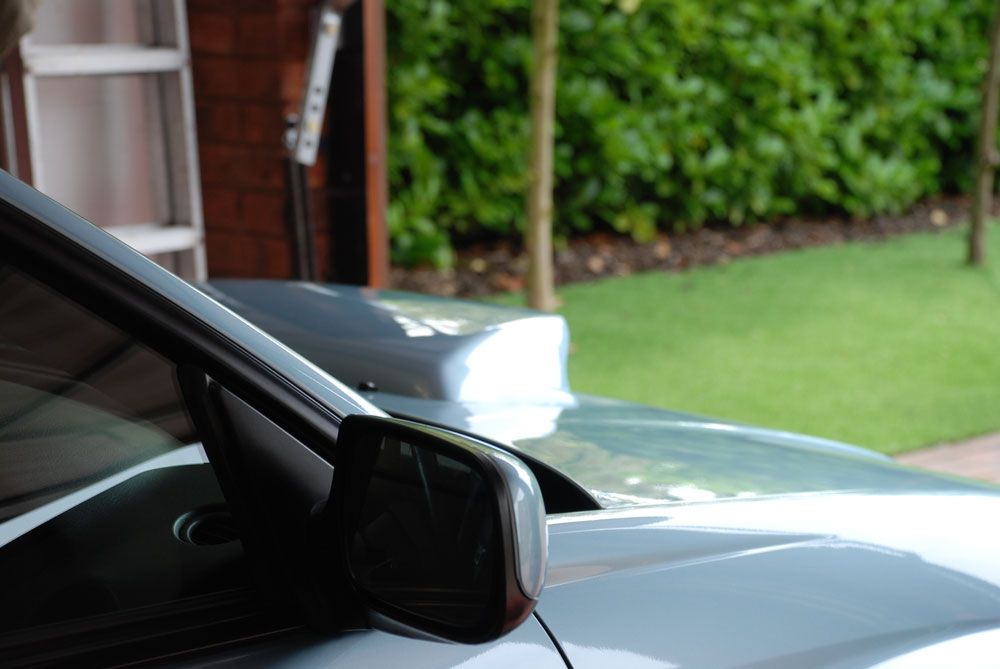
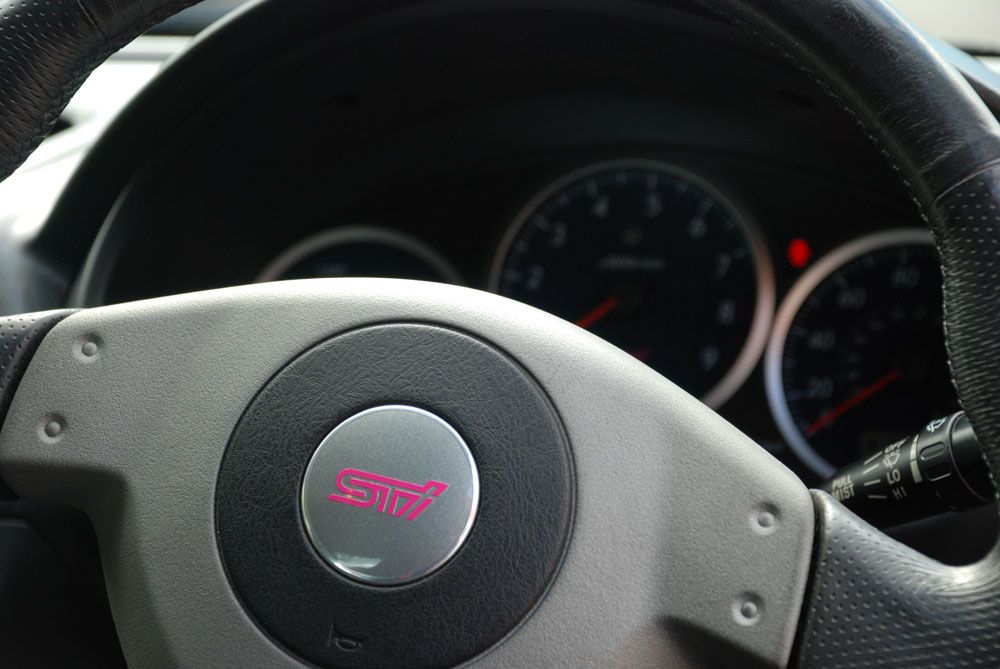
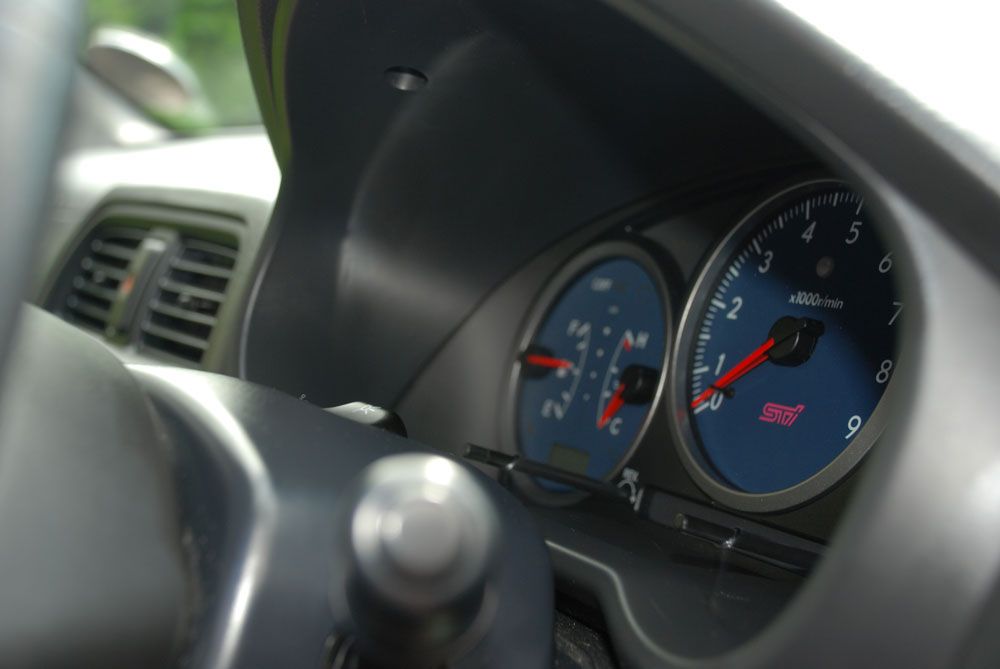
GENRAL SHOTS
CURRENT STEREO
Thread Starter
Scooby Regular
Joined: Aug 2013
Posts: 92
Likes: 0
From: Staffordshire
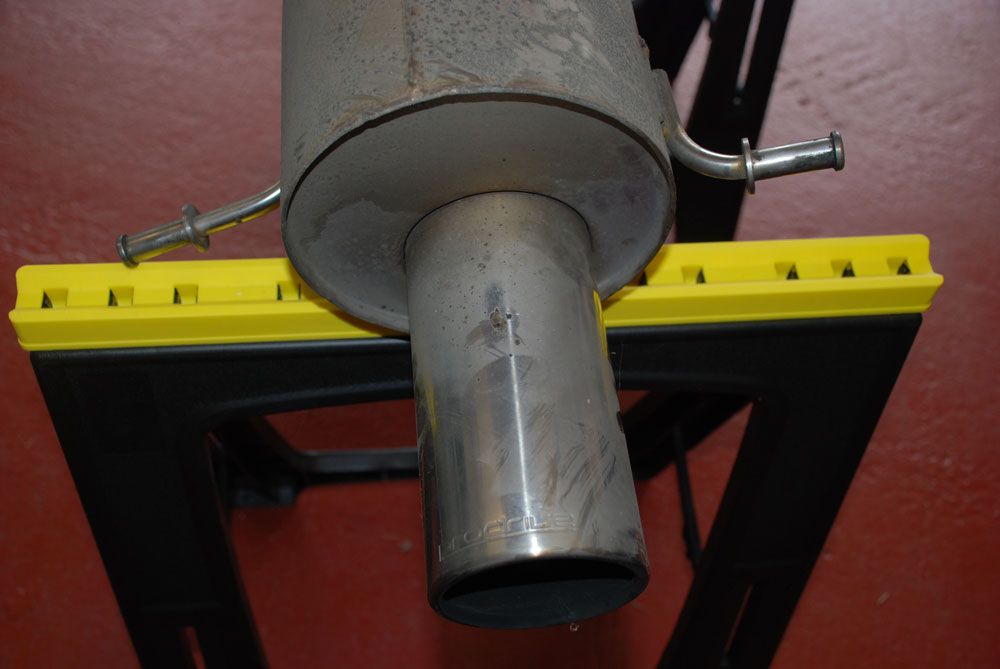
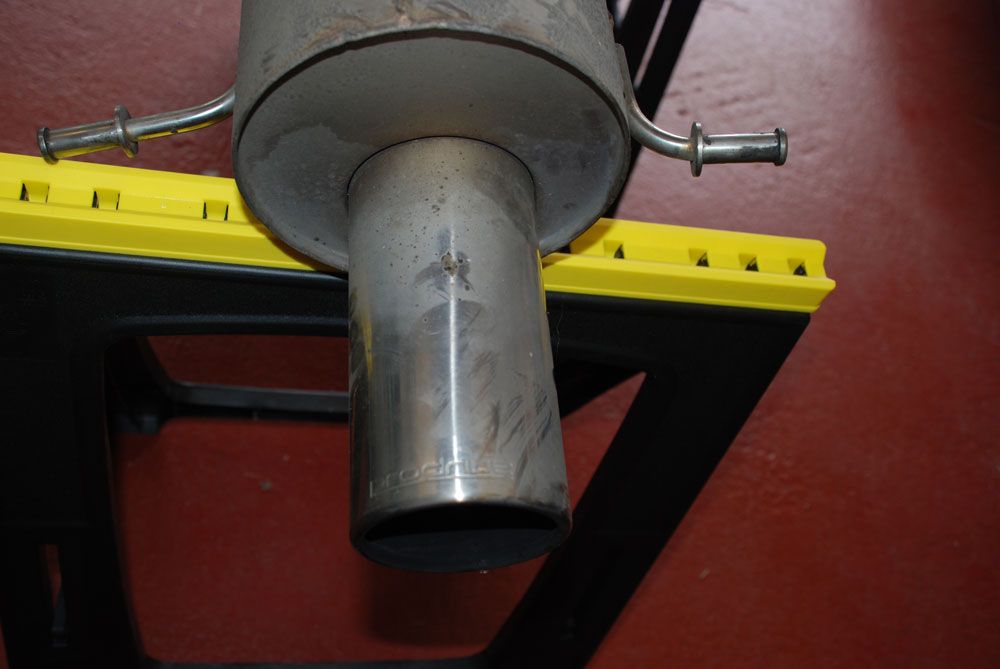
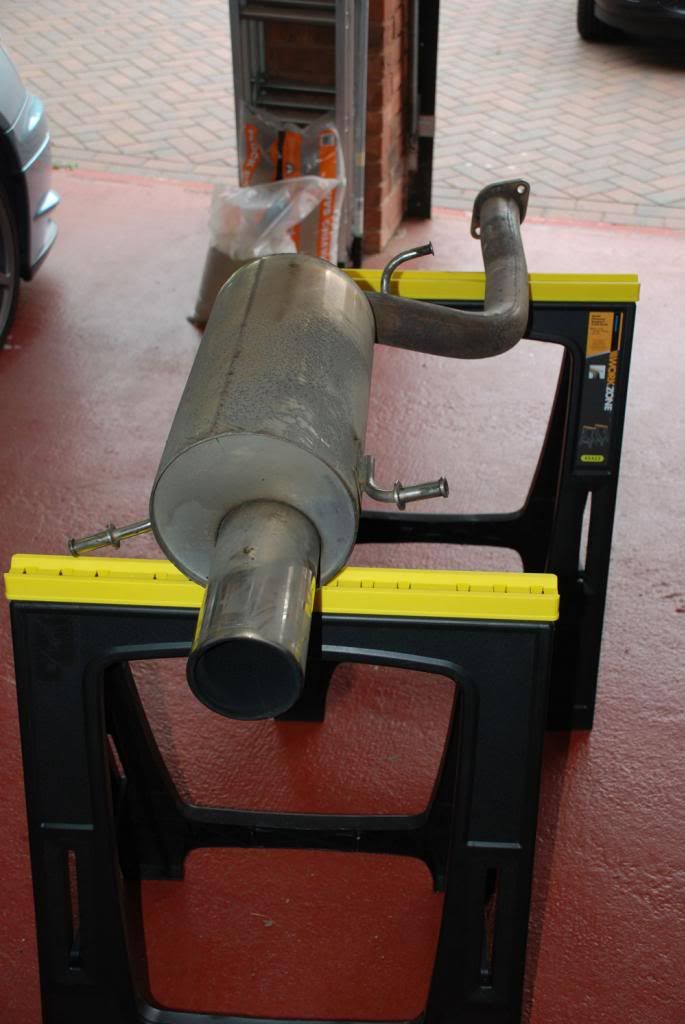
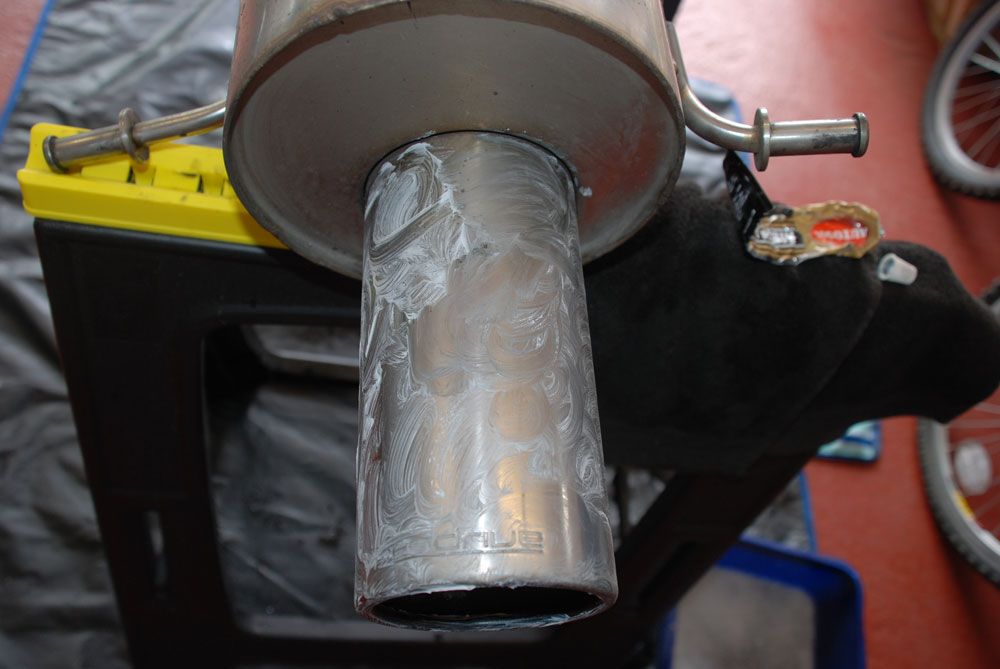
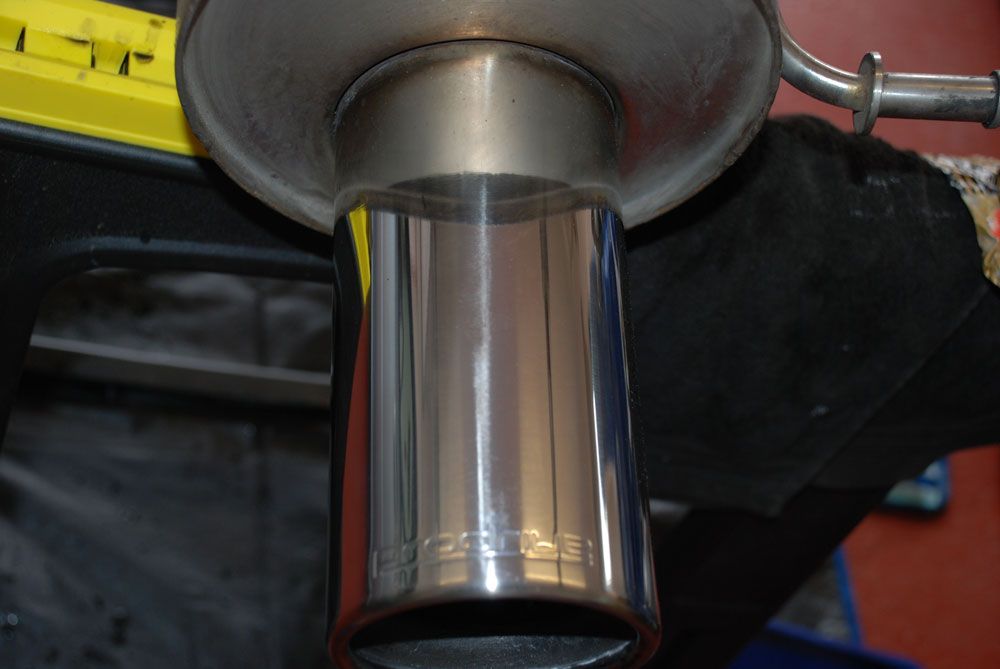
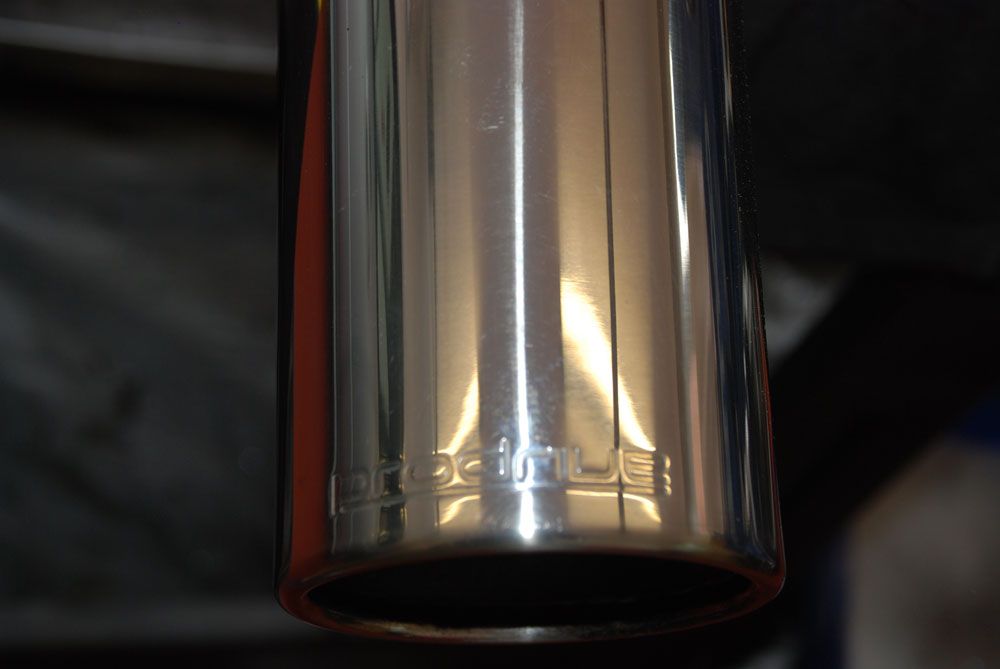
PRODRIVE EXHAUST GOES ON
OK, after a couple of days running around, I think I am going to put the Prodrive exhaust back on (dont like the sound of the Vortex).
Dave (Previous owner) kindly gave me the original prodrive silencer as part of the deal.
So I decided to clean up the original while it was not on the car.
OK, after a couple of days running around, I think I am going to put the Prodrive exhaust back on (dont like the sound of the Vortex).
Dave (Previous owner) kindly gave me the original prodrive silencer as part of the deal.
So I decided to clean up the original while it was not on the car.
Thread Starter
Scooby Regular
Joined: Aug 2013
Posts: 92
Likes: 0
From: Staffordshire
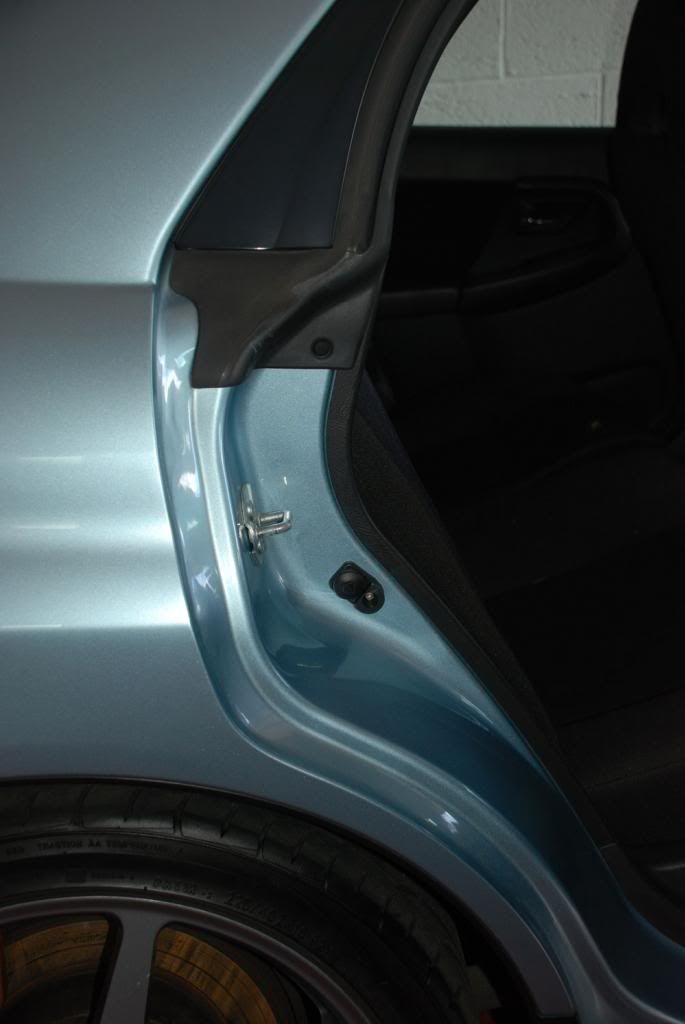
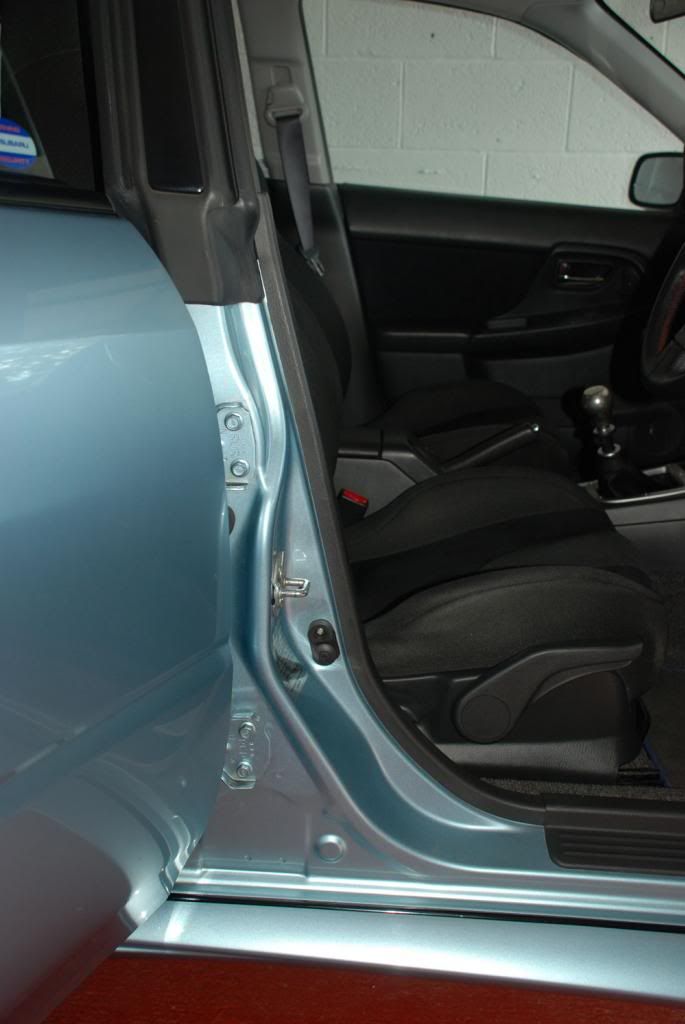
FIRST DETAILING SESSION:
Sunny day today, no training today because I am injured, so a day cleaning the car. This is something I really enjoy doing. Take my time. Potter around the garage. The journey has started to make 284 my own. Much much much more to do, but a good start.
Here is a list of the products I use:
Here is the process I use:
A good day getting to know my WR1.
FIRST WASH
CLAYED / WASHED / DRIED
GENERAL SHOTS:
Sunny day today, no training today because I am injured, so a day cleaning the car. This is something I really enjoy doing. Take my time. Potter around the garage. The journey has started to make 284 my own. Much much much more to do, but a good start.
- rinsed and washed then rinsed car
- clayed car
- washed car, then rinsed, then dried
- applied detail
- applied first coat of protection
- now waiting 24hr then apply next coat
Here is a list of the products I use:
- Zaino Claybar
- Zaino All-in-One
- Zaino Z5
- Zaino Z2
- Z6 - detailing spray, use as a"wipe-down" after applying AIO, Z5 & Z2...
- Z7
- Z16 - tyre finish.
- A couple of their applicators
Here is the process I use:
- Wash,rinse and clay
- Wash, rinse and dry.
- Apply a single coat of Zaino All-in-One
- Wipe down with Z6 detail spray when AIO is buffed off.
- Apply Z5
- Wipe down with Z6 detail spray when Z5 is buffed off (then wait 24hrs)
- Apply Z5
- Wipe down with Z6 detail spray when Z5 is buffed off (then wait 24hrs)
- Apply Z2
- Wipe down with Z6 detail spray when Z2 is buffed off (then wait 24hrs)
- Apply Z2
- Wipe down with Z6 detail spray when Z2 is buffed off
A good day getting to know my WR1.
FIRST WASH
CLAYED / WASHED / DRIED
GENERAL SHOTS:
Thread Starter
Scooby Regular
Joined: Aug 2013
Posts: 92
Likes: 0
From: Staffordshire
CAR CHECKED OVER AND FULL SERVICE
Car has been to RCM for a 'brace and belt' service and general checkover. A fair amount of service work carried out, but I wanted to make sure 284 was all in good working order. The following work was carried out:
lots of work, but I want to make sure the car is in good working order and all the belts changed/new.
Now to start on cleaning the engine bay and enjoying the car knowing she is purring nicely and being given a clean bill of health by RCM!
Car has been to RCM for a 'brace and belt' service and general checkover. A fair amount of service work carried out, but I wanted to make sure 284 was all in good working order. The following work was carried out:
- 'D' Service
- Timing Belt Kit
- Replace Gearbox oil
- Replace Rear diff oil
- Replace Vortex Afterburner with standard Prodrive Exhaust
- Replace Aircon belt
- Replace Air Con tensioner
- Replace Alternator belt
- Replace Brake fluid
lots of work, but I want to make sure the car is in good working order and all the belts changed/new.
Now to start on cleaning the engine bay and enjoying the car knowing she is purring nicely and being given a clean bill of health by RCM!
Thread Starter
Scooby Regular
Joined: Aug 2013
Posts: 92
Likes: 0
From: Staffordshire
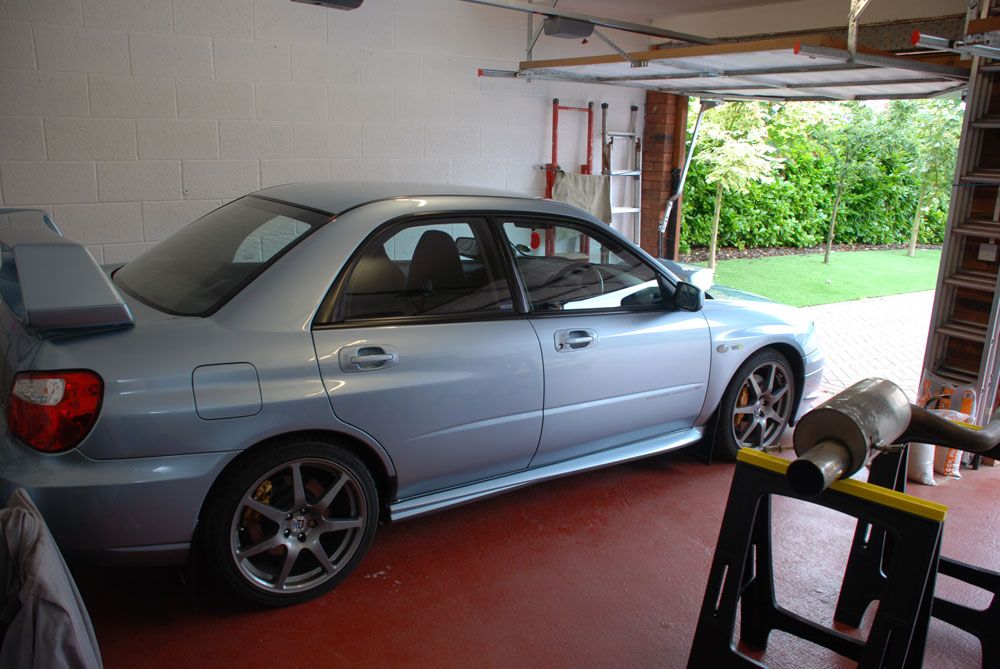
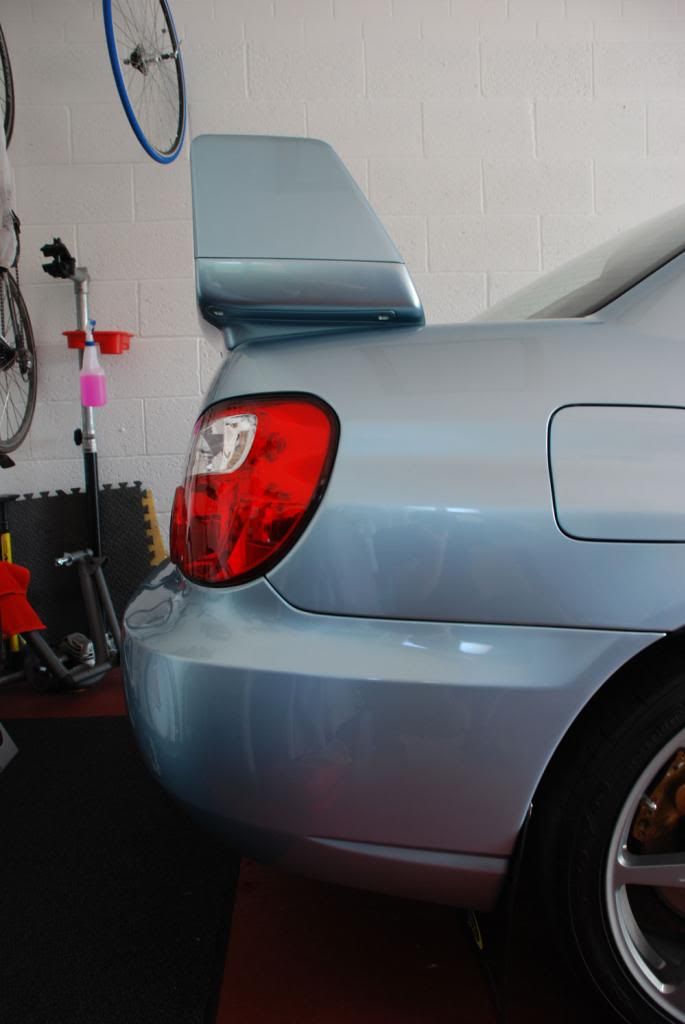
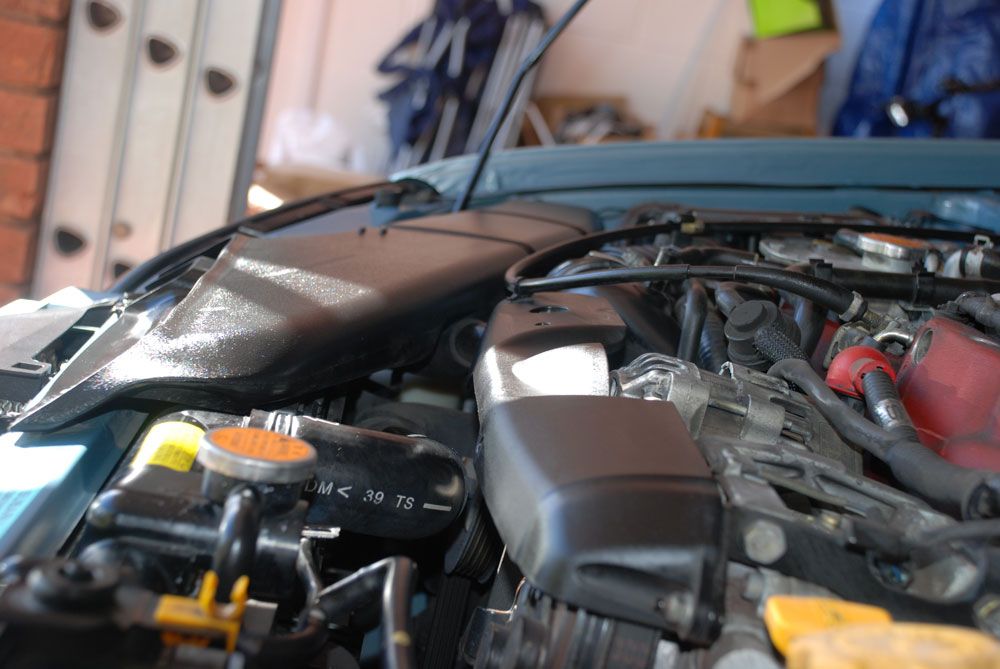
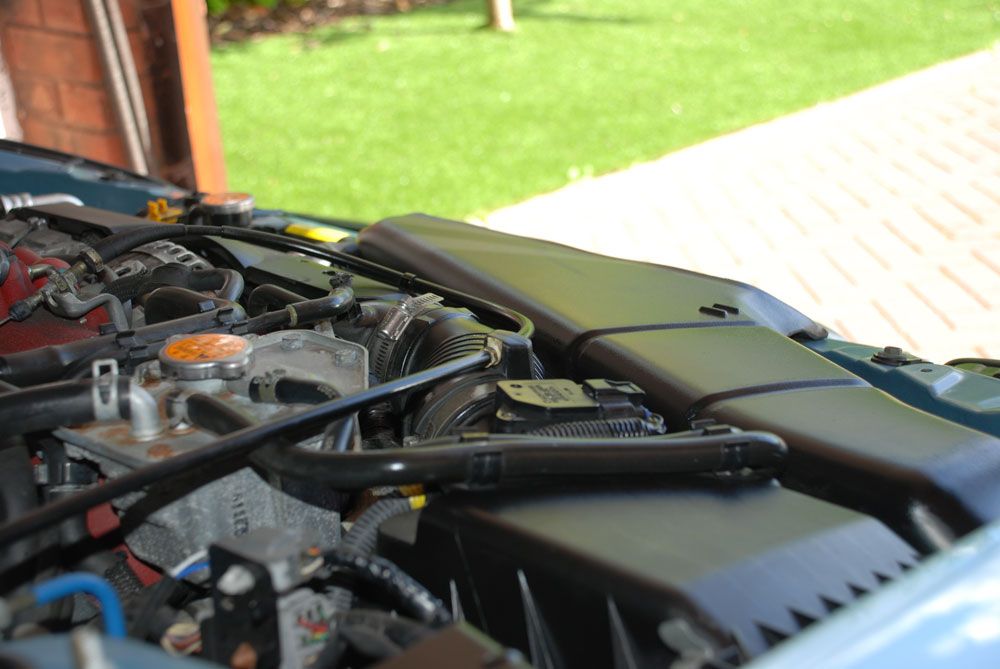
MORE CLEANING (ENGINE BAY)
OK, another session cleaning and bringing 284 back to life
starting to come together....
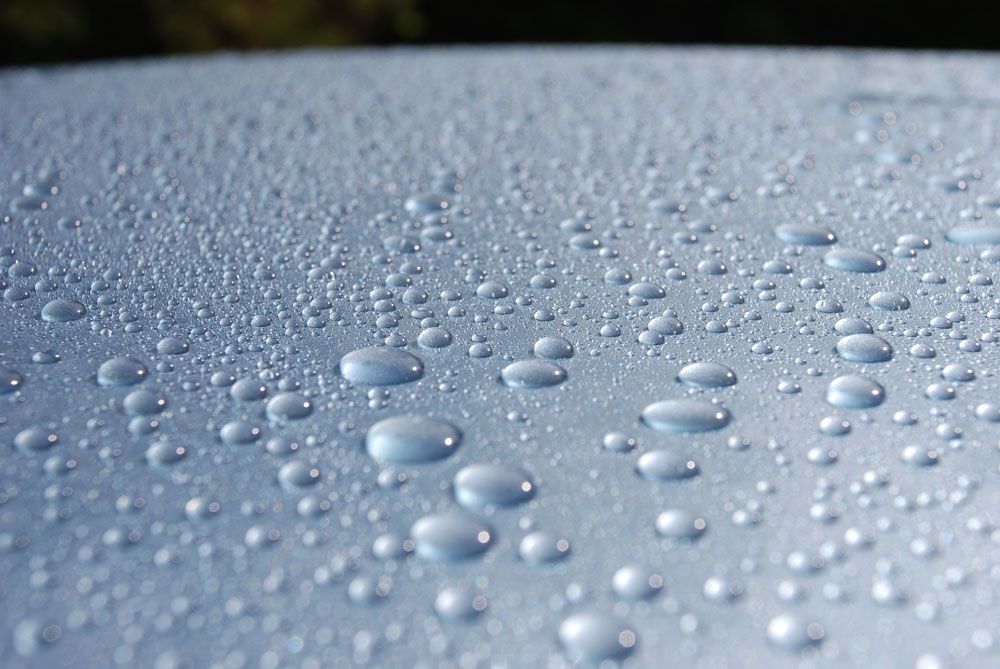
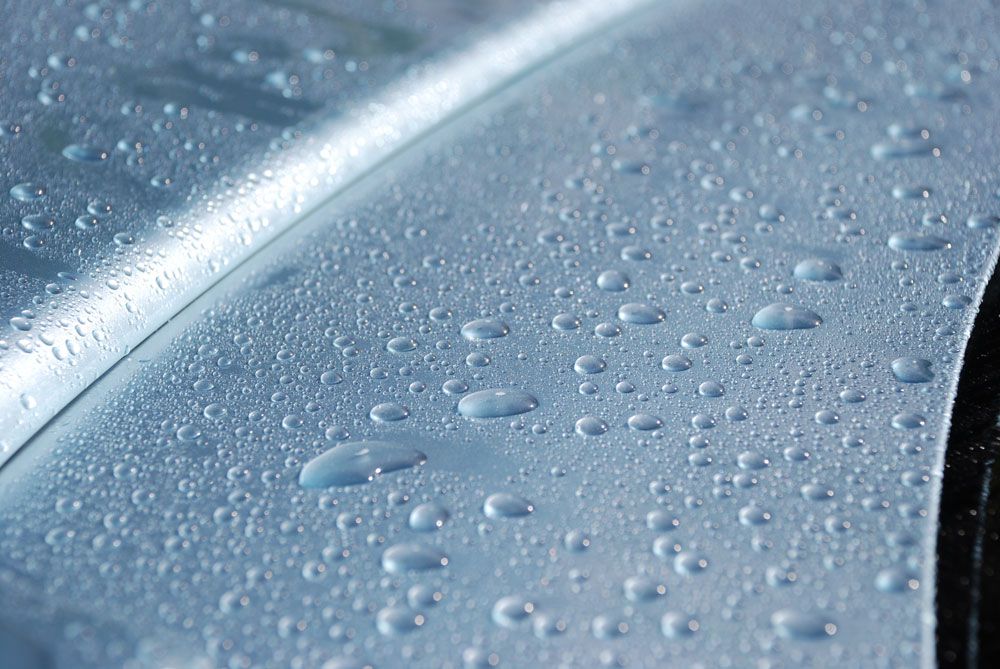
Some pics of the beading while i washed to car. Nicely protected for the winter.
ENGINE BAY - BEFORE
ENGINE BAY - AFTER

INTERIOR SHOTS:
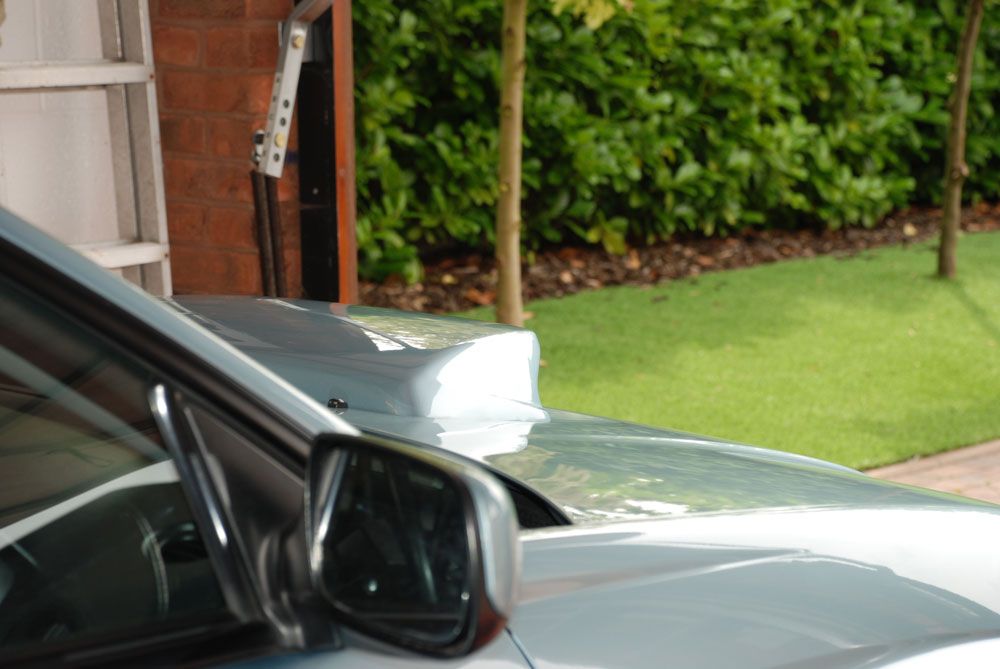
EXTERIOR SHOTS:
FInally all finished for today....still working on the to-do-list
OK, another session cleaning and bringing 284 back to life
- washed + dried
- interior cleaned and internal plastic treated
- engine bay cleaned and protected
- windows cleaned inside+outside
- full hoover
- all rubber seals treated and protected
starting to come together....
Some pics of the beading while i washed to car. Nicely protected for the winter.
ENGINE BAY - BEFORE
ENGINE BAY - AFTER
INTERIOR SHOTS:
EXTERIOR SHOTS:
FInally all finished for today....still working on the to-do-list
Trending Topics
Thread Starter
Scooby Regular
Joined: Aug 2013
Posts: 92
Likes: 0
From: Staffordshire
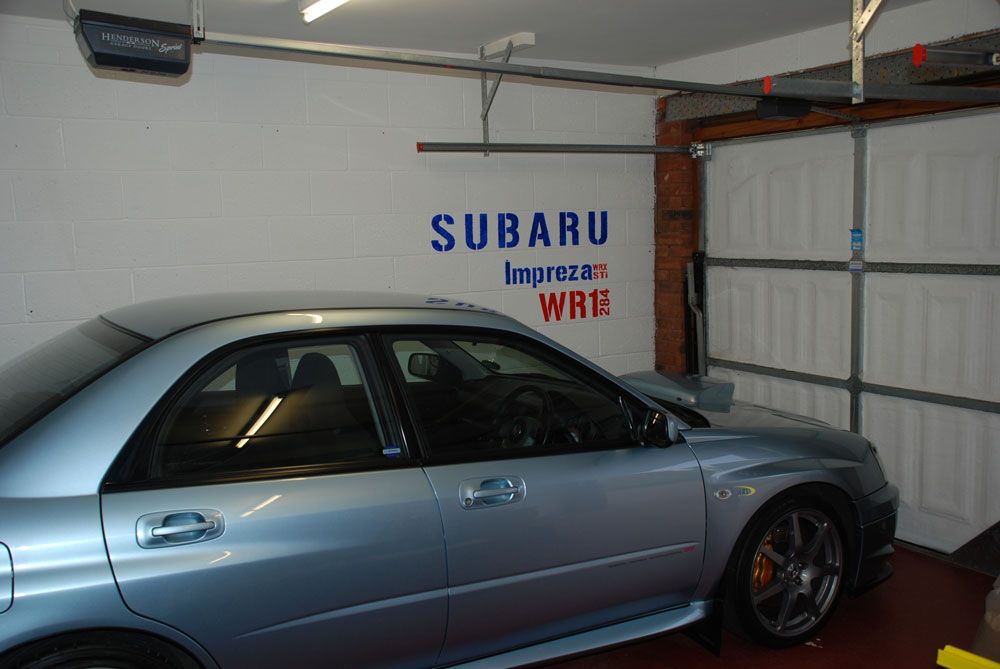
A LITTLE WALL ART IN THE GARAGE
Had an hour to spare today so decided to give the WR1 it's own address in the garage
Actually considering writing up all the cars I have ever owned, like a memorial wall for all past and current cars!
Anyhow, just started with the WR1.

Had an hour to spare today so decided to give the WR1 it's own address in the garage
Actually considering writing up all the cars I have ever owned, like a memorial wall for all past and current cars!
Anyhow, just started with the WR1.
Thread Starter
Scooby Regular
Joined: Aug 2013
Posts: 92
Likes: 0
From: Staffordshire
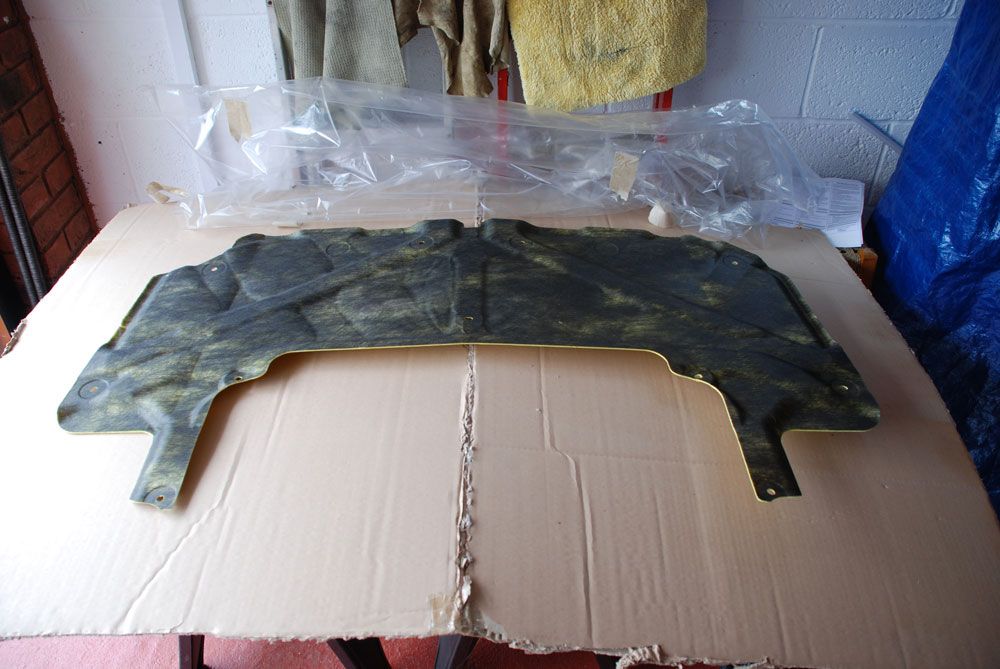
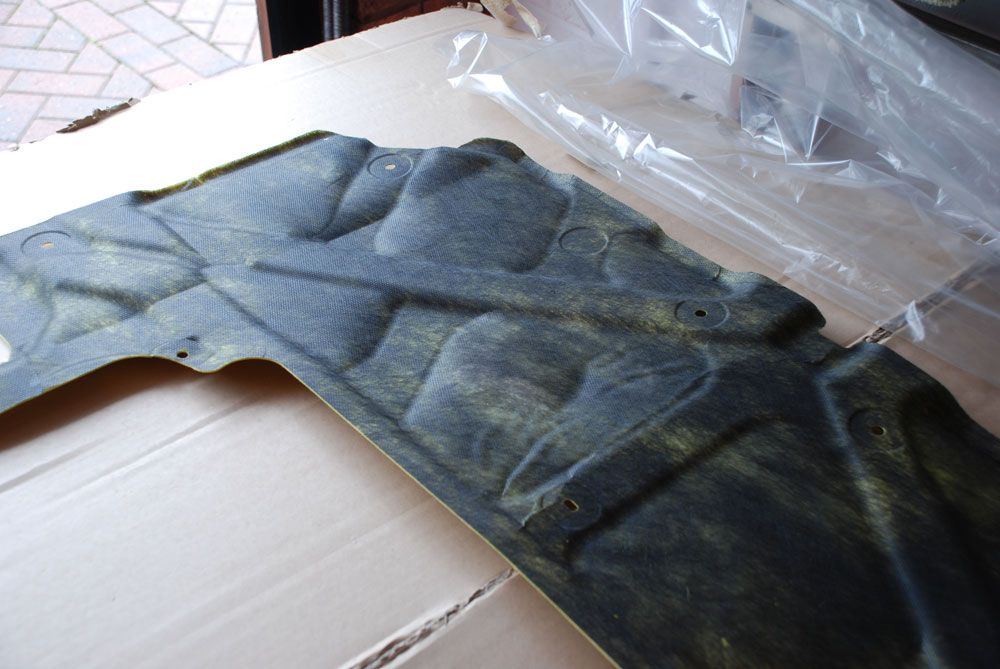
NEW PARTS ORDERED (bonnet insulator, engine undertray, inner wheel arch)
ordered and received:
- Engine Undertray (does not have one at the moment)
- Under bonnet insulation (taken original one off as it was falling apart)
- front driverside inner wheel arch (existing one broke where it connects to the bumper)
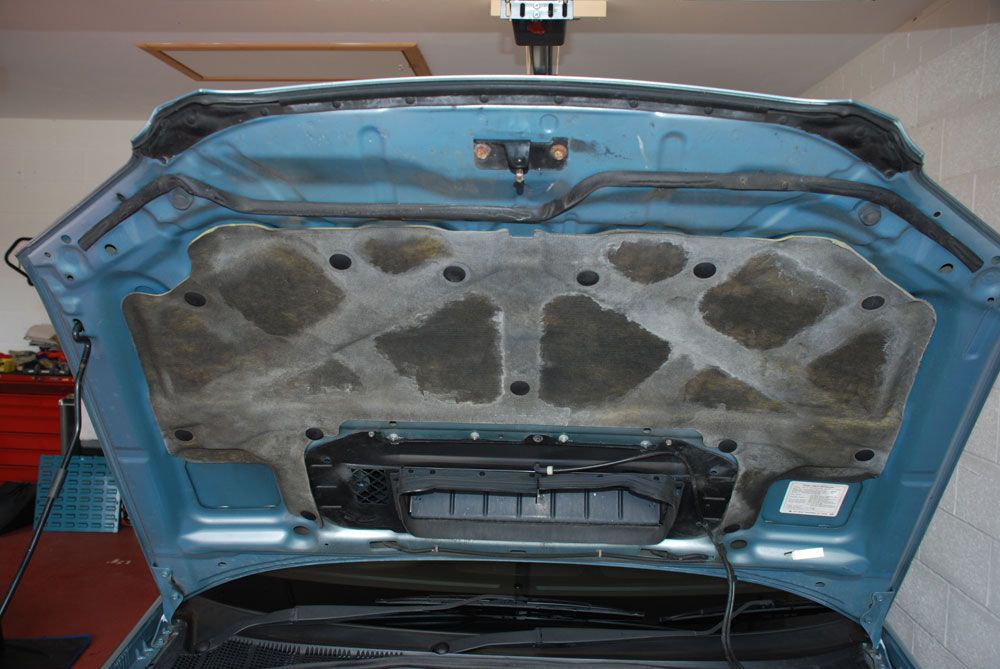
The Under Bonnet insulation is about to get a coat of black paint, as it currently looks like this:
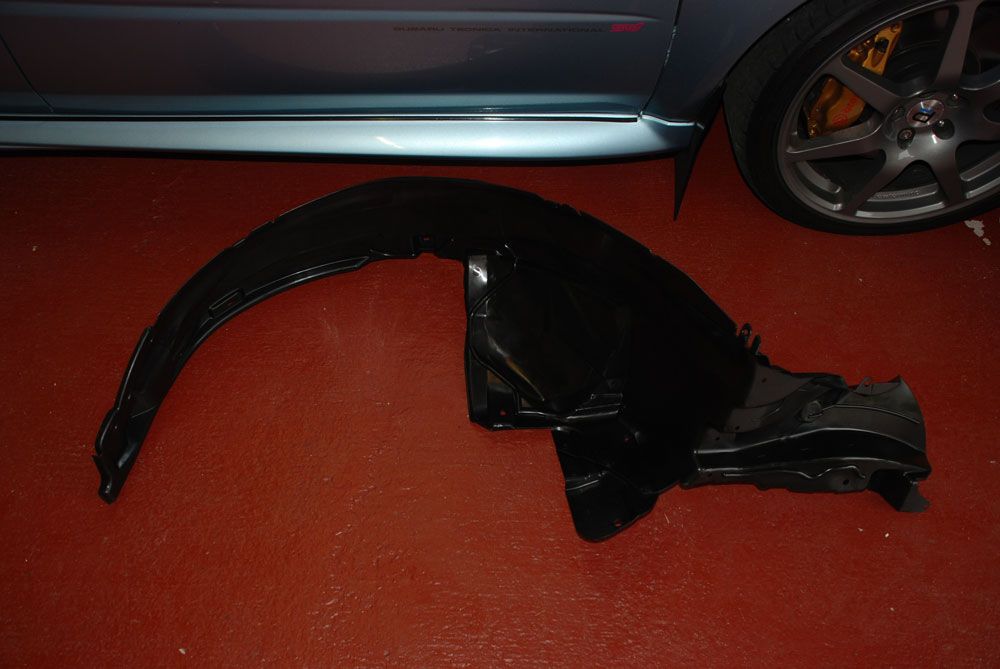
The Inner Wheel Arch: (sorry rubbish pic)
Also in the middle of researching a replacement for my very old Trolly Jack and stands. Next update to include pics of painted Bonnet Insulation, purchased trolley Jack and maybe a bit more - lol.
still working through the list....
ordered and received:
- Engine Undertray (does not have one at the moment)
- Under bonnet insulation (taken original one off as it was falling apart)
- front driverside inner wheel arch (existing one broke where it connects to the bumper)
The Under Bonnet insulation is about to get a coat of black paint, as it currently looks like this:
The Inner Wheel Arch: (sorry rubbish pic)
Also in the middle of researching a replacement for my very old Trolly Jack and stands. Next update to include pics of painted Bonnet Insulation, purchased trolley Jack and maybe a bit more - lol.
still working through the list....
Thread Starter
Scooby Regular
Joined: Aug 2013
Posts: 92
Likes: 0
From: Staffordshire
New Trolley Jack & Stands
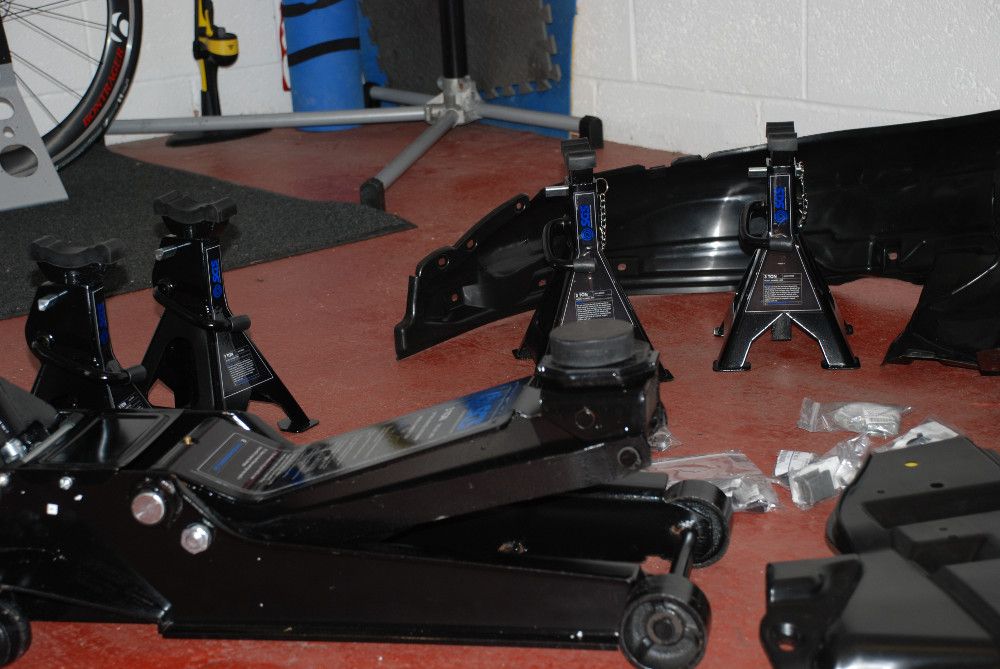
Thought it was time to upgrade my trolley jack and stands. SGS Engineering products looked good and their service got good reviews. So, a purchase was made...
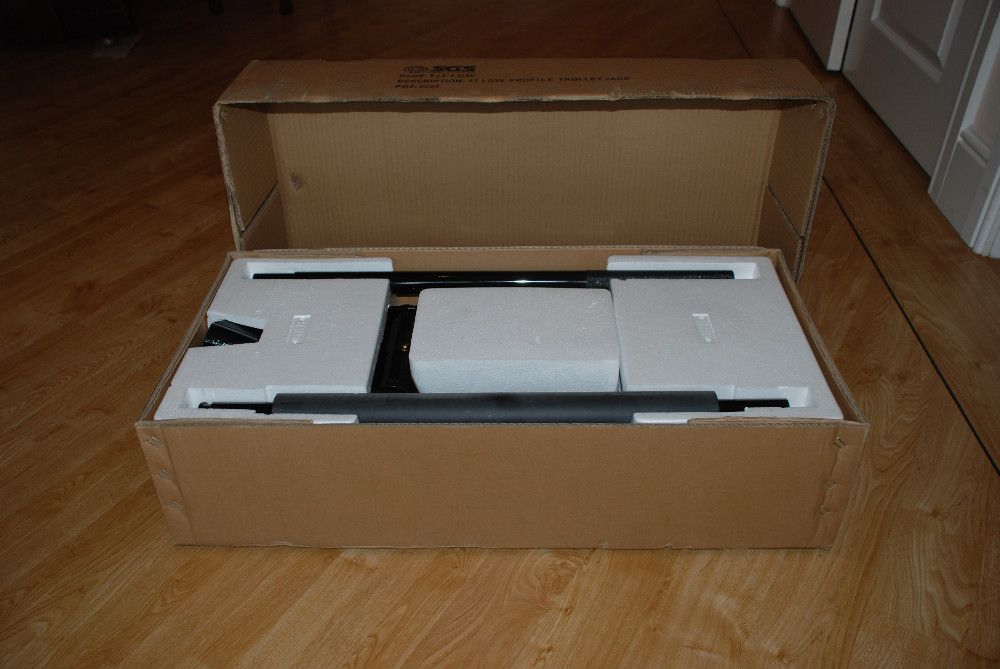
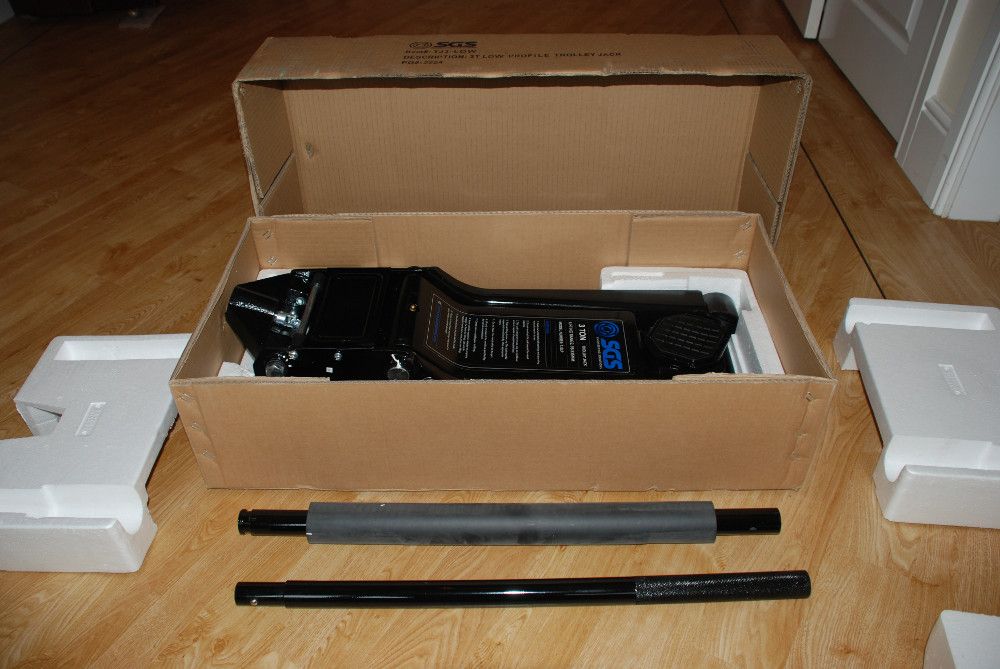
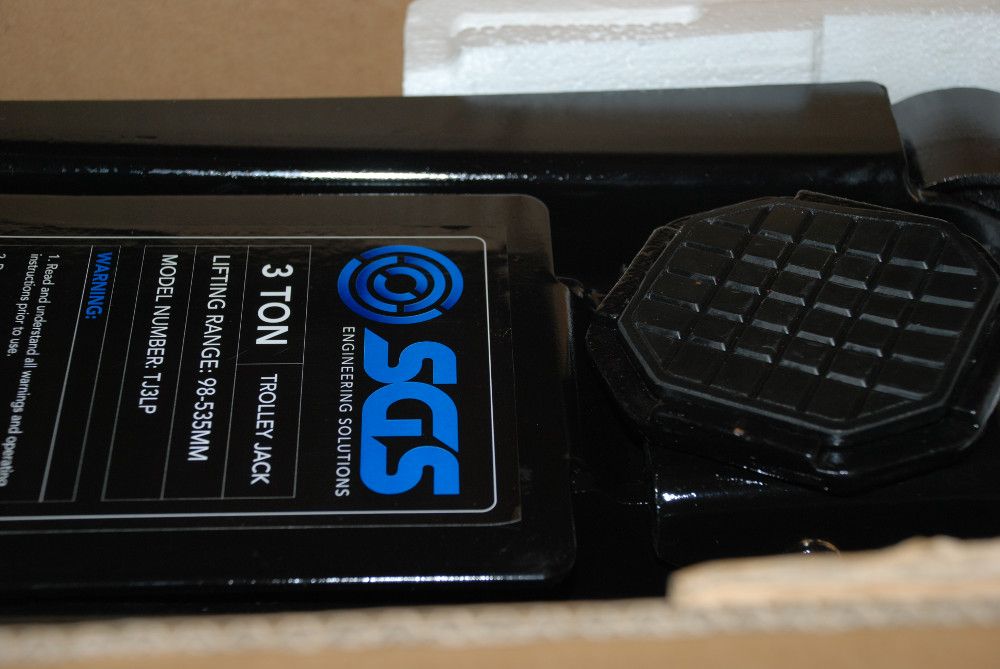
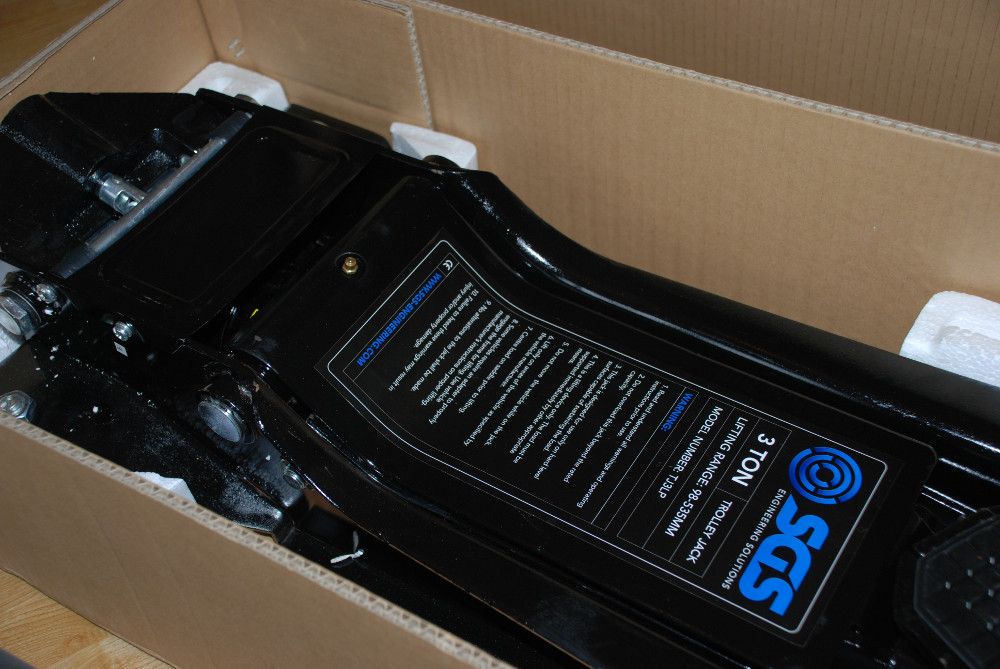
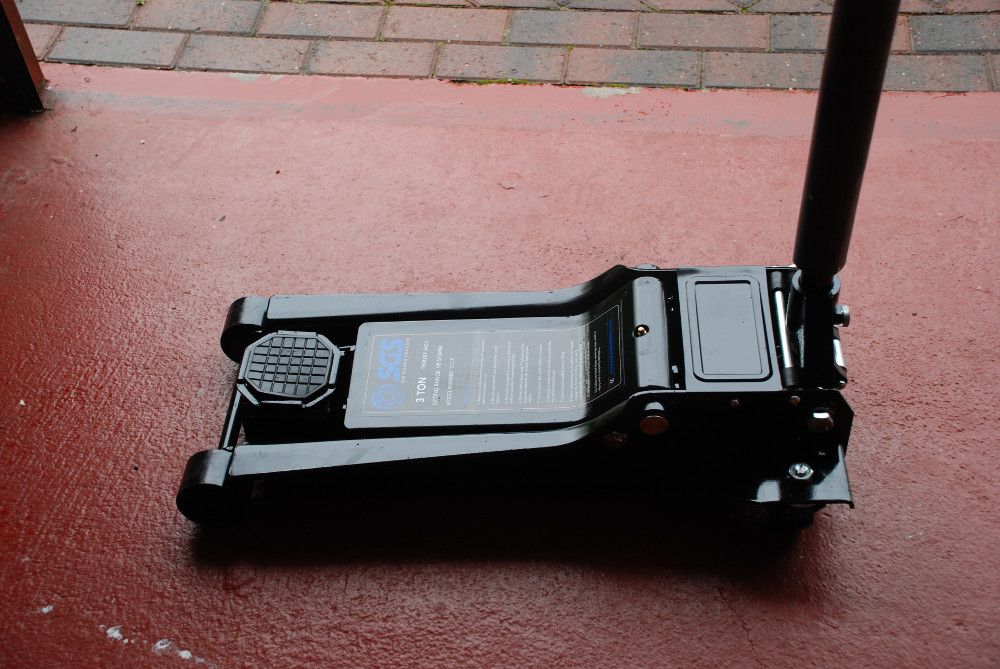
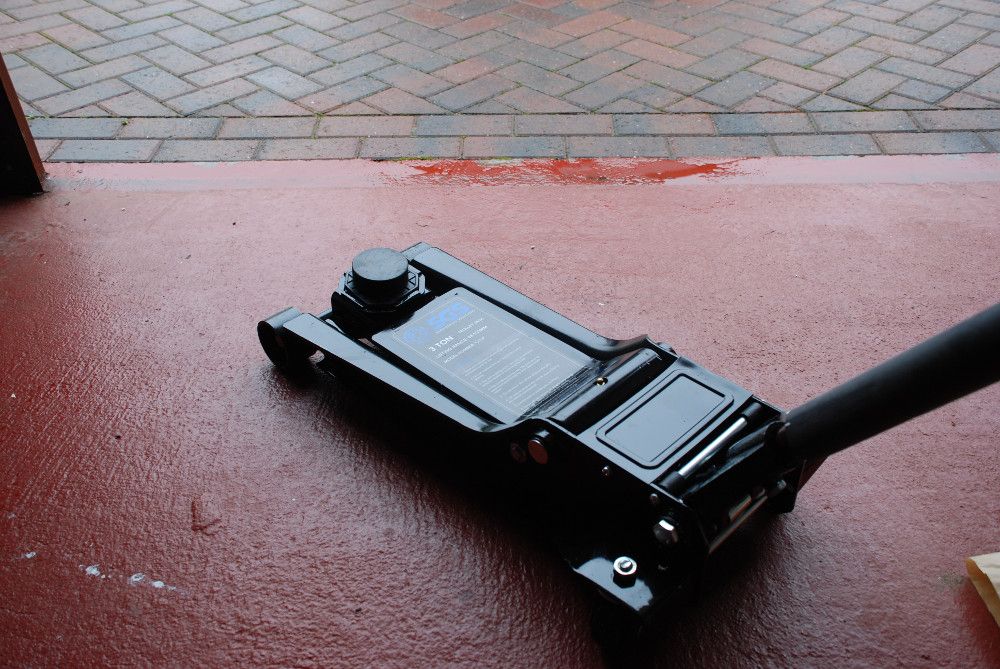
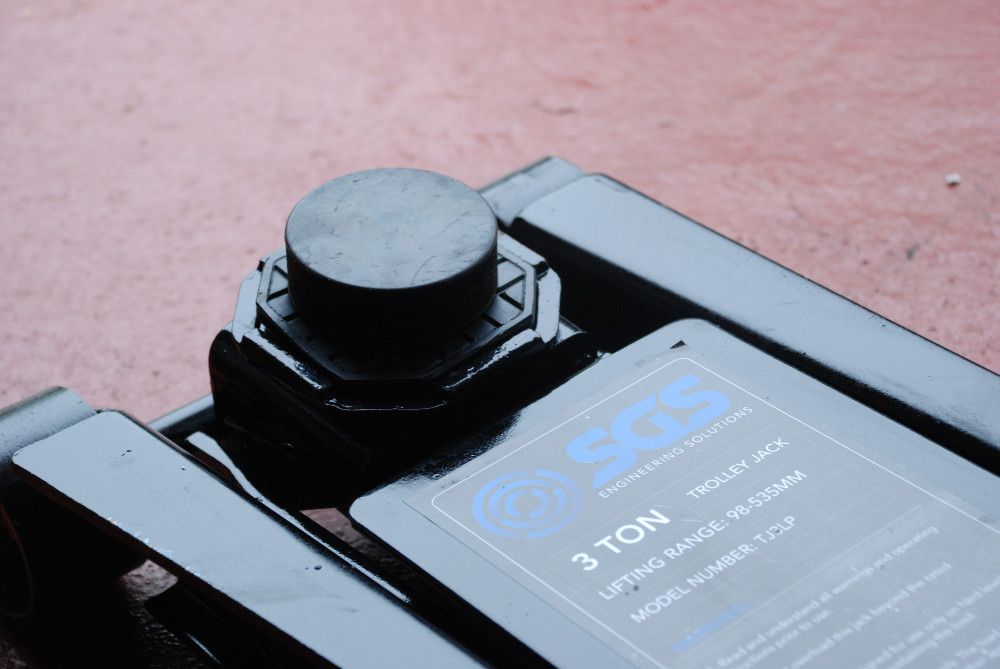
Thought it was time to upgrade my trolley jack and stands. SGS Engineering products looked good and their service got good reviews. So, a purchase was made...
Thread Starter
Scooby Regular
Joined: Aug 2013
Posts: 92
Likes: 0
From: Staffordshire
Inner Wheel Arch and Engine Under Tray
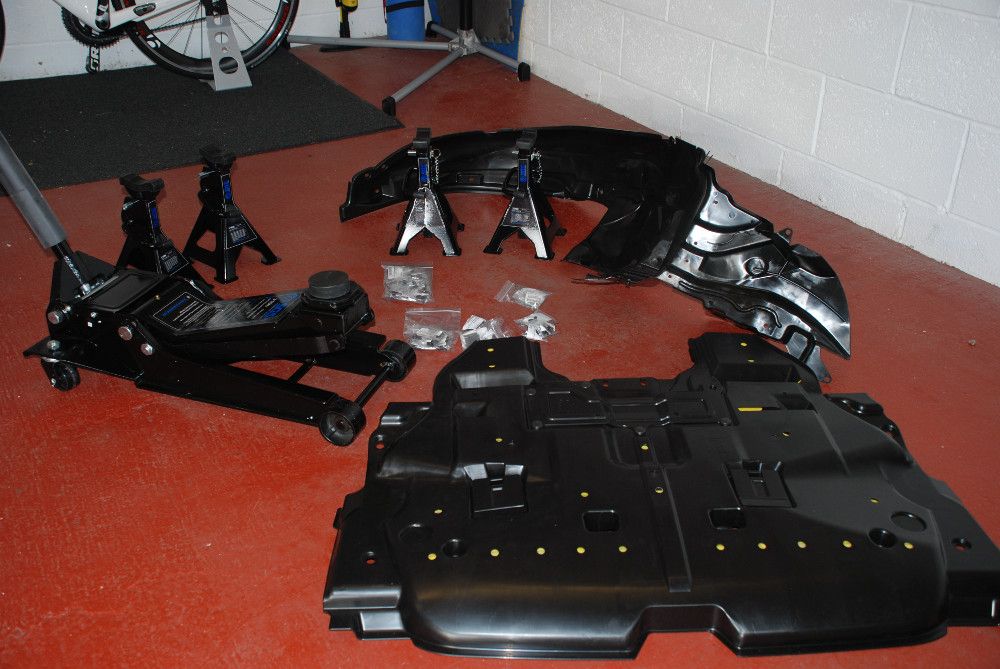
Order a new inner wheel arch and engine under tray last week. Fitted them both today.
The inner wheel arch had cracked and there was no engine under tray - always nice to replace and add to bring back to good. The pictures below show the new Trolley Jack, Stands, engine under tray, inner wheel arch and plenty of new clips and bolts.


Thread Starter
Scooby Regular
Joined: Aug 2013
Posts: 92
Likes: 0
From: Staffordshire
Thanks everyone.
Re: the engine bay, as it was in RCM for the service work, I asked them to degrease it (but nothing else). I then degreased again, left to dry then sprayed the whole engine bay with , this is brilliant. Just soak the engine bay, walk away and come back in a few hours
Re: the engine bay, as it was in RCM for the service work, I asked them to degrease it (but nothing else). I then degreased again, left to dry then sprayed the whole engine bay with , this is brilliant. Just soak the engine bay, walk away and come back in a few hours
 Nice work.
Thread Starter
Scooby Regular
Joined: Aug 2013
Posts: 92
Likes: 0
From: Staffordshire
there are plenty of write ups on how to do it, covering up the major electrical components. Just take your time, be sensible and do a little at a time. well worth it.
