
Vinyl wrap STi8


Thread Starter
Scooby Regular
Joined: Oct 2003
Posts: 8,048
Likes: 0
From: ShyTot graphics Location: Squires Bar Location: Wakecastlefract
The old girl turns 10 next month, so I thought it only right to treat her. The local restaurant was fully booked so I decided to plump for a full colour change wrap instead, and as I've always had a soft spot for white cars it was a no-brainer...
There was no rush to get this done, it was a question of doing what and when I could to fit it in around 'proper' work.
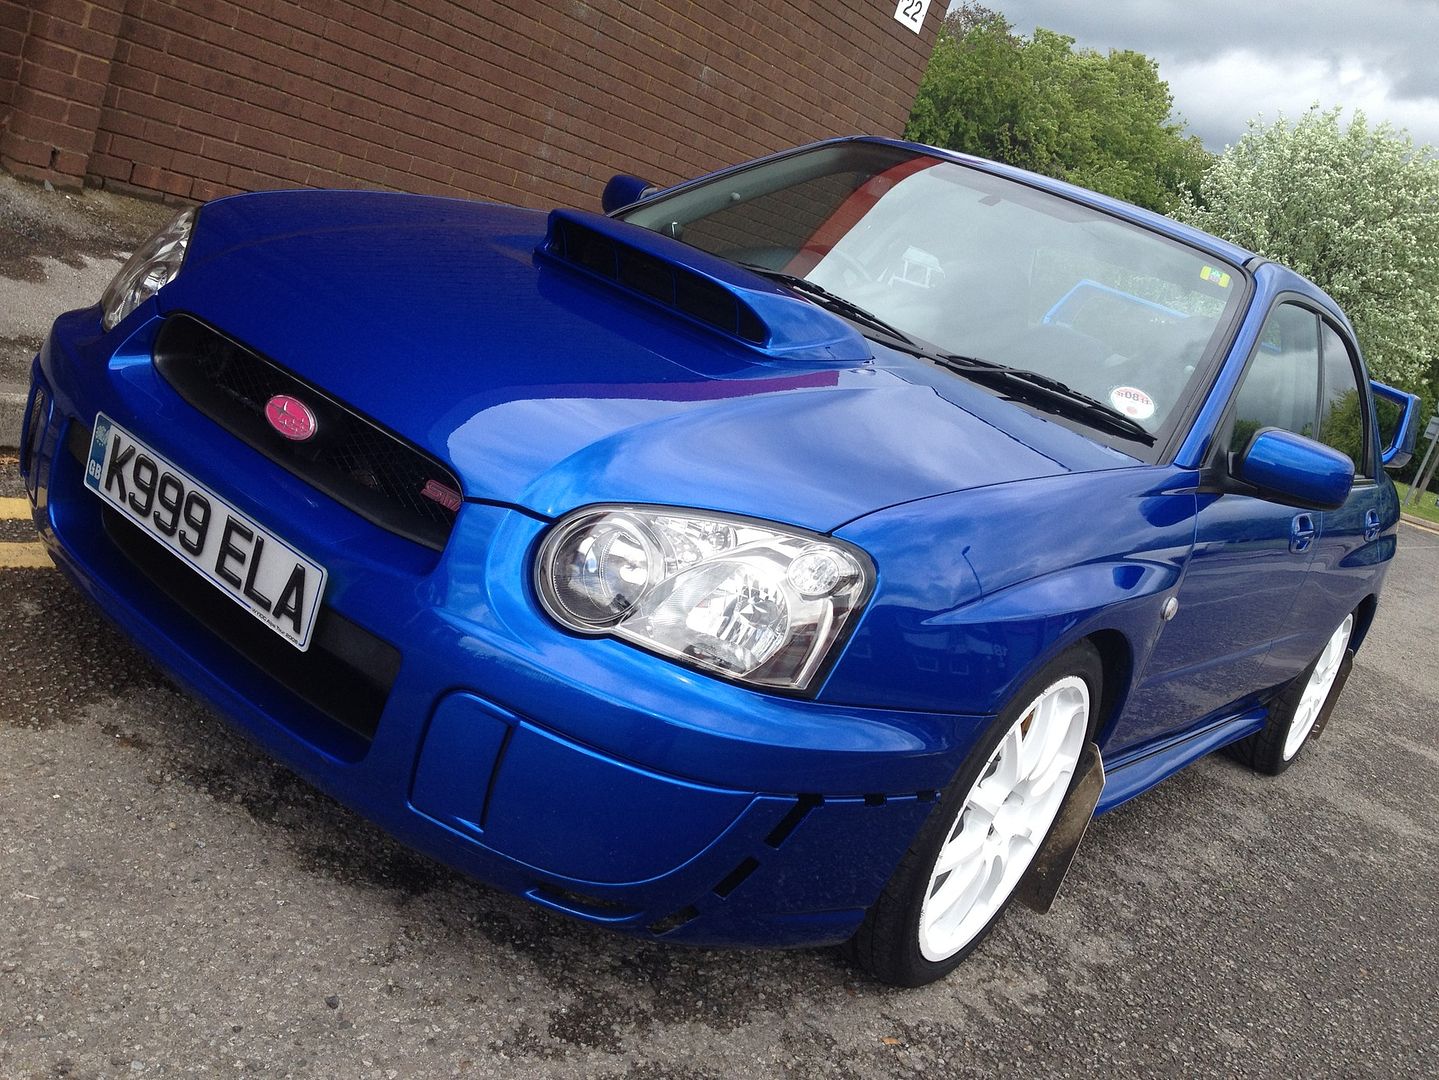
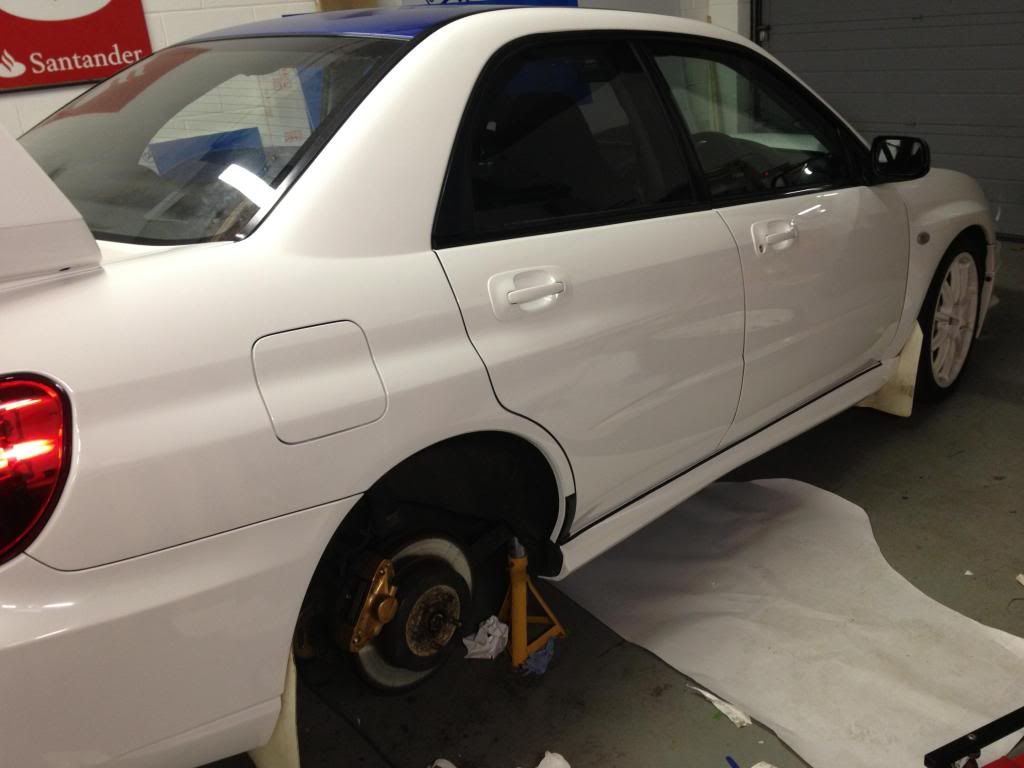
Before work commenced, and just after a detailing by iShine Car Care

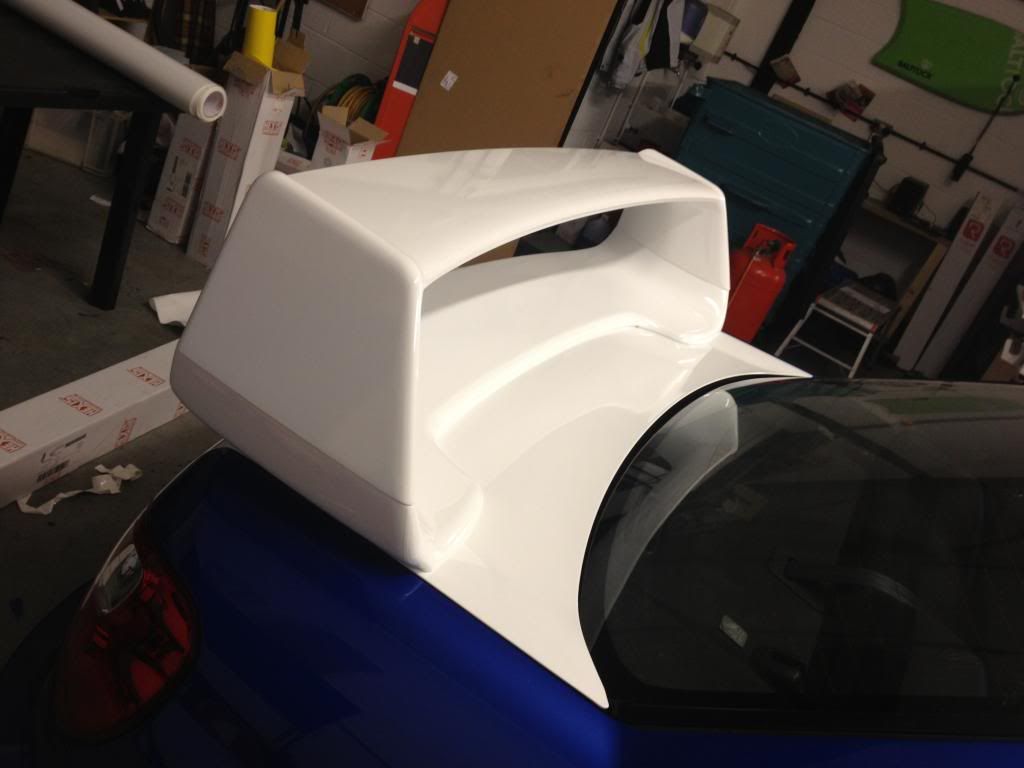
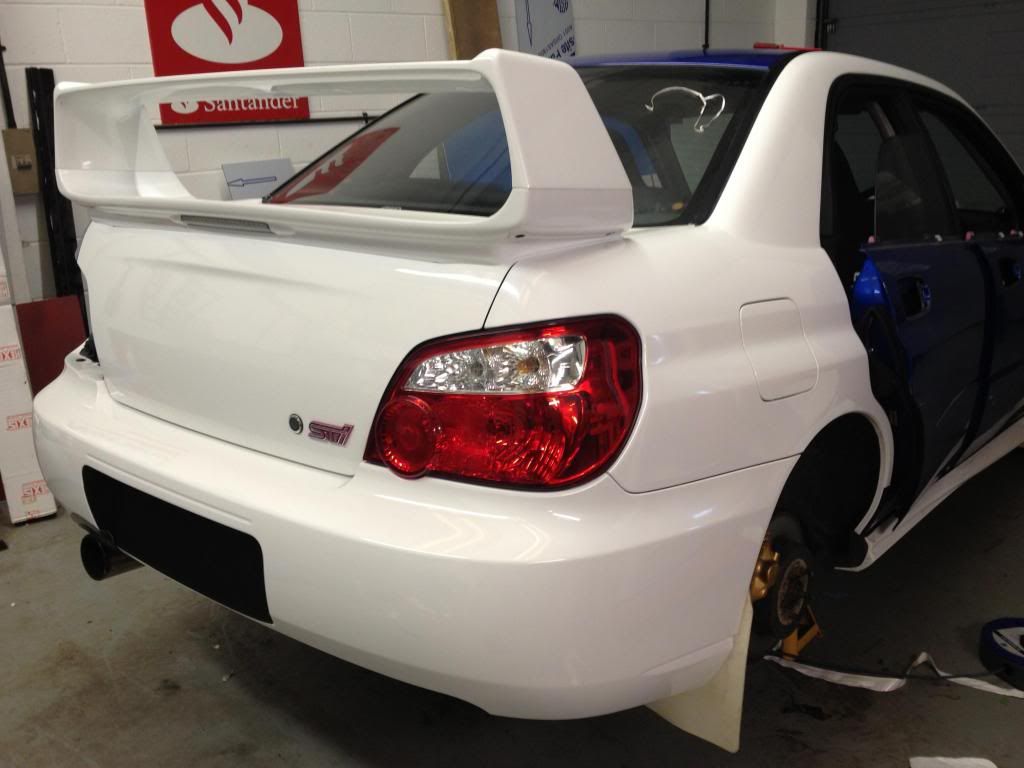
I decided to get the tough stuff out of the way first, so off came the rear spoiler (The only part that has a joint in the vinyl) This was split into it's component parts to make life a bit easier. Whilst the spoiler was off the bootlid was also done.
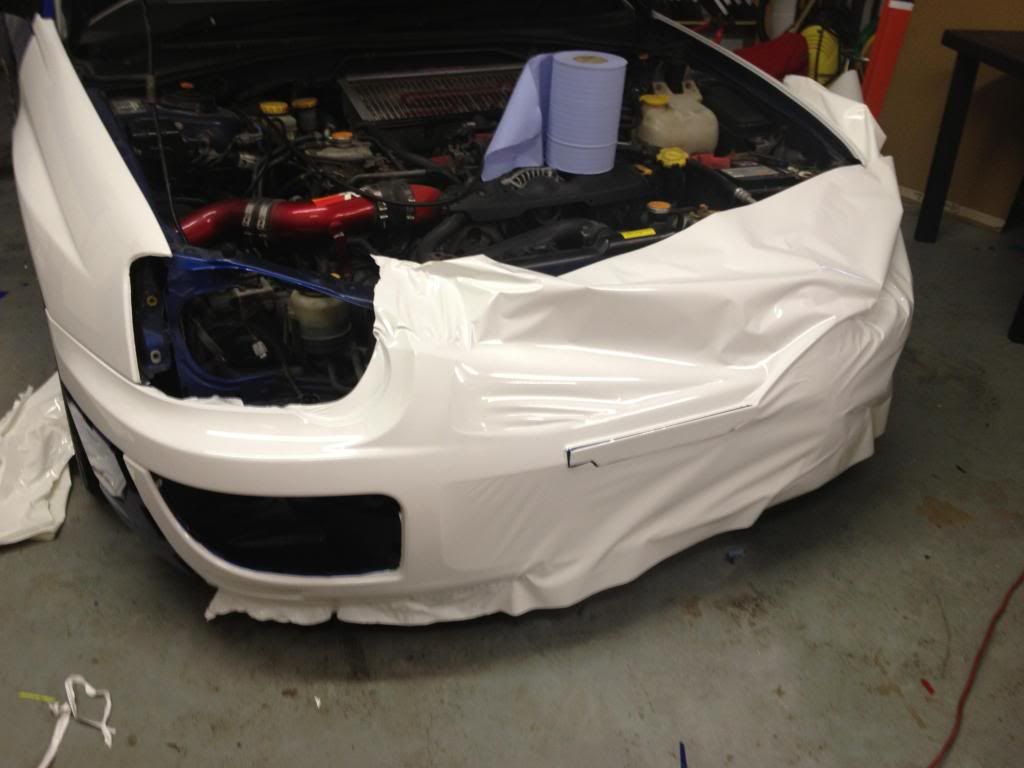
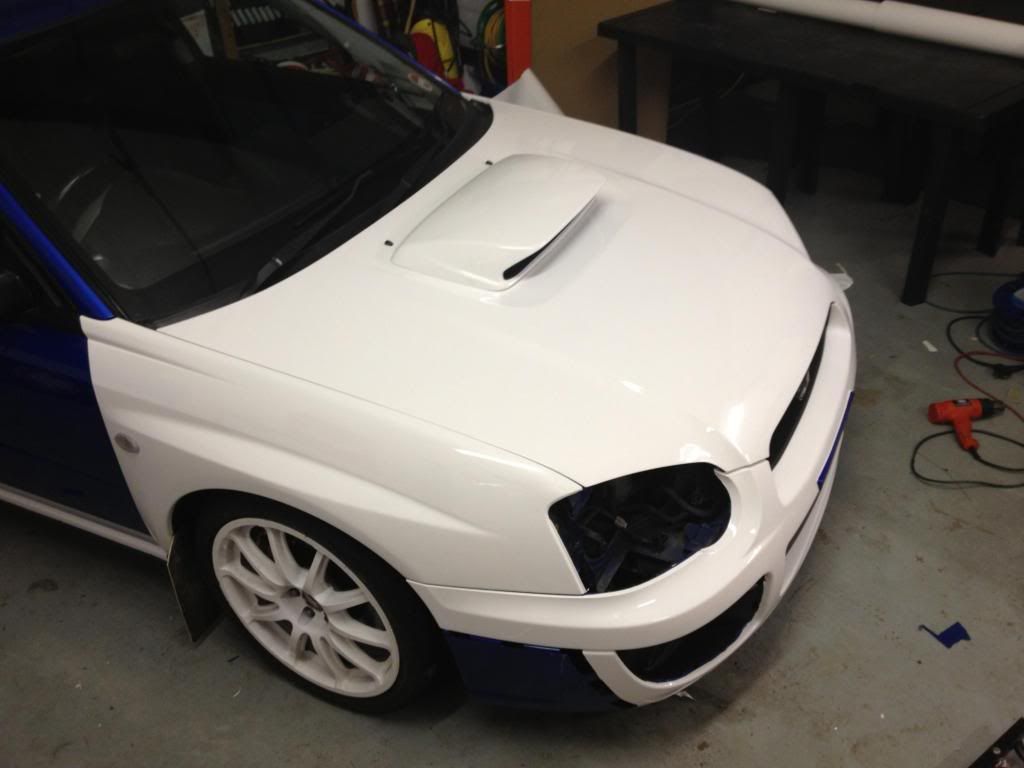
Then it was on to the front.
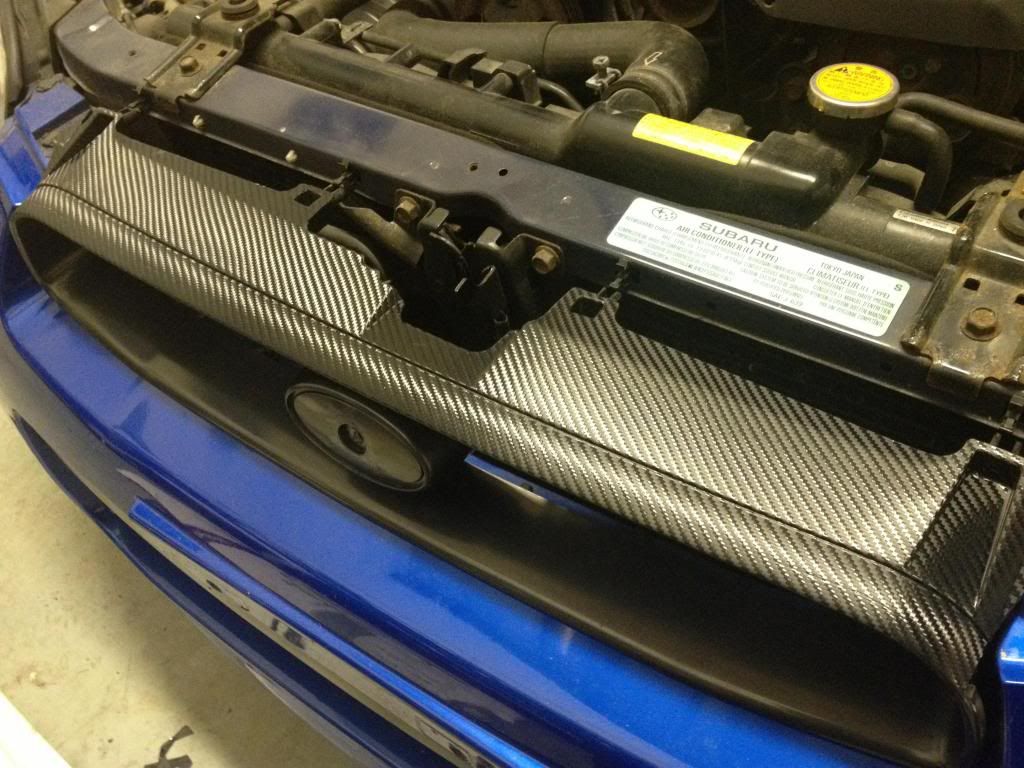
With a little c/f detailing here and there.
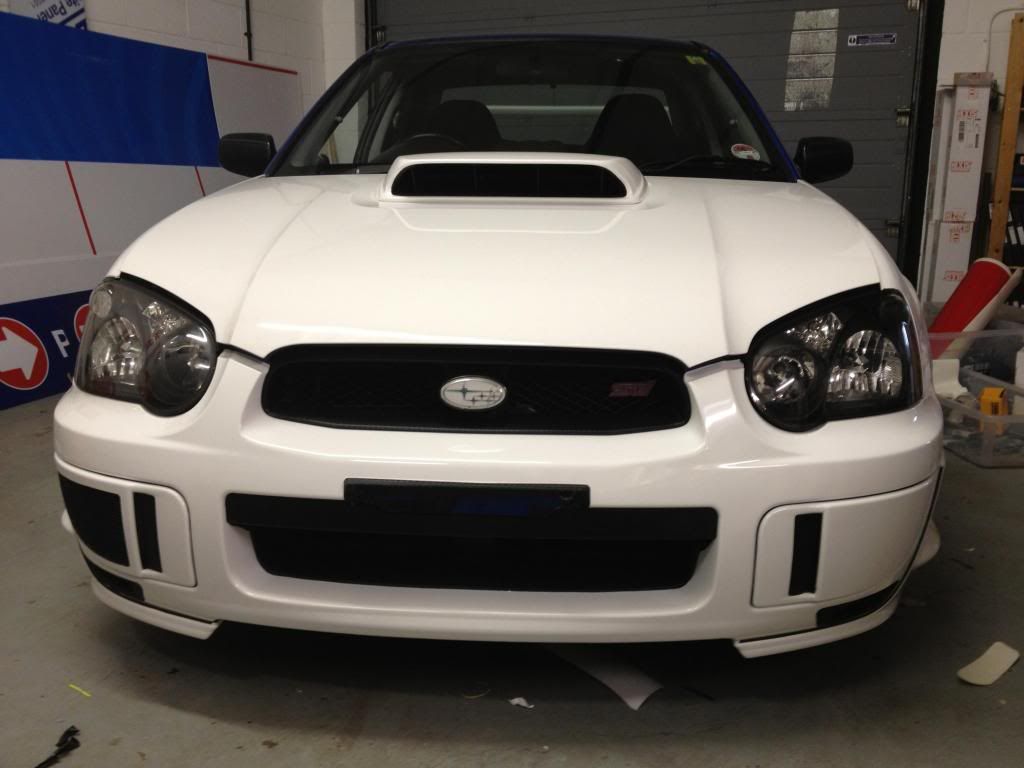
While the lights were out I decided to pull them apart and do the surrounds in matt black. Very happy with the effect.
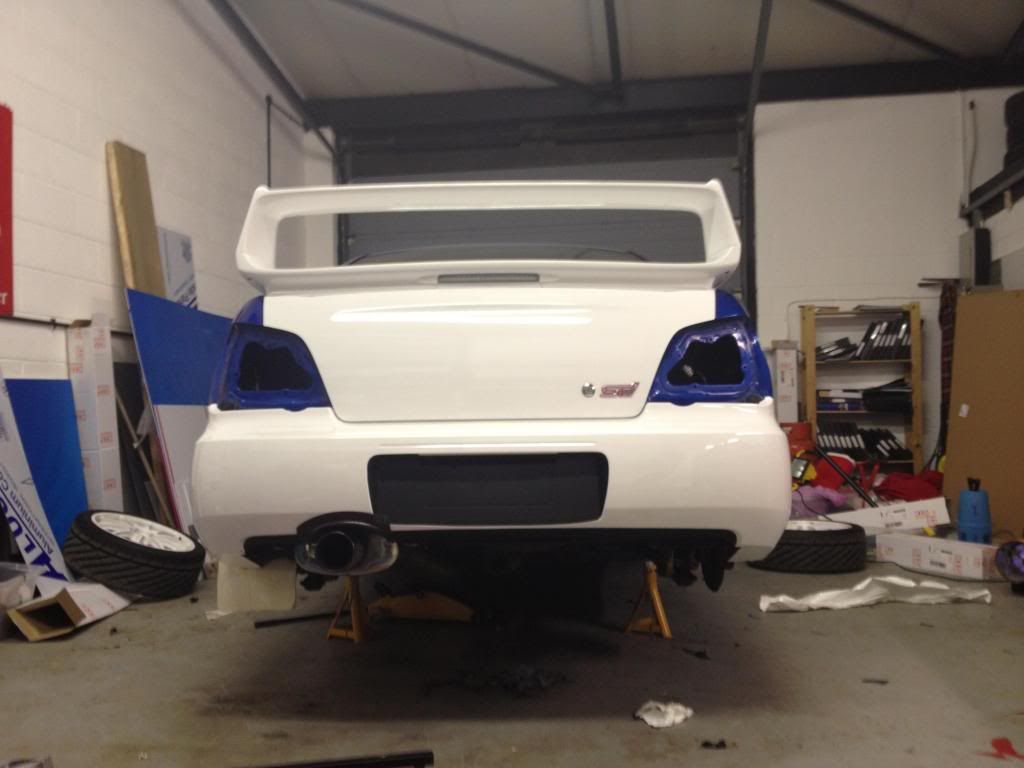
Back round the **** end, the bumper was done, with a little more c/f

Rear quarter, roof edge to a pillars in one piece
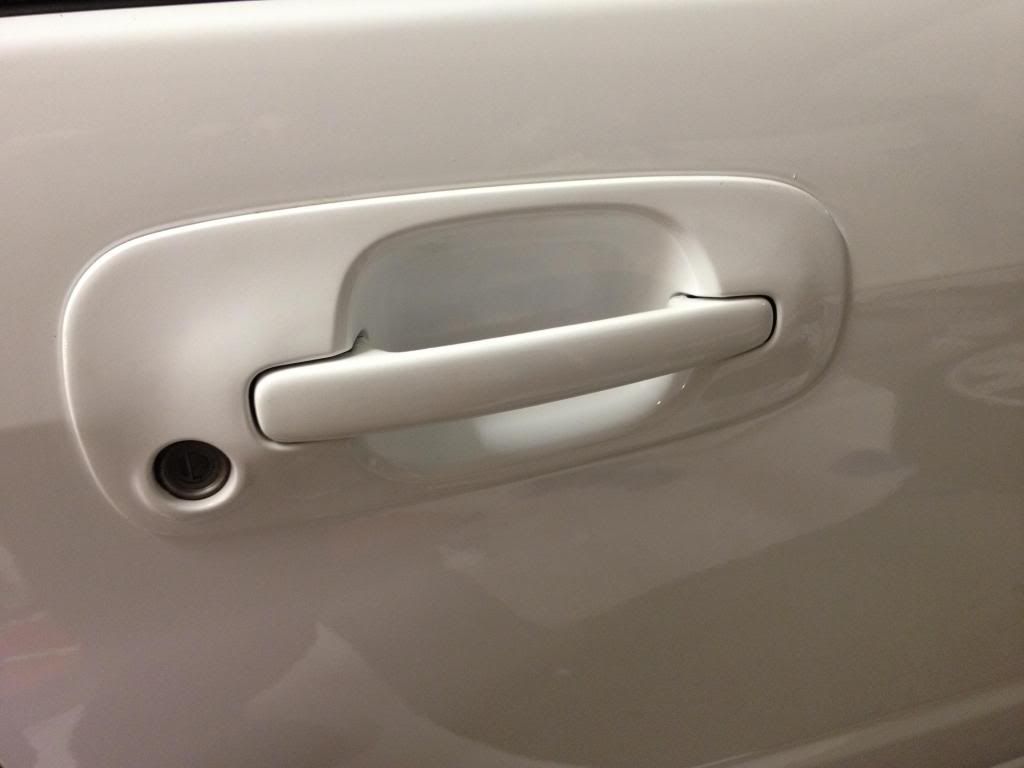
Back door. All handles were removed and dismantled
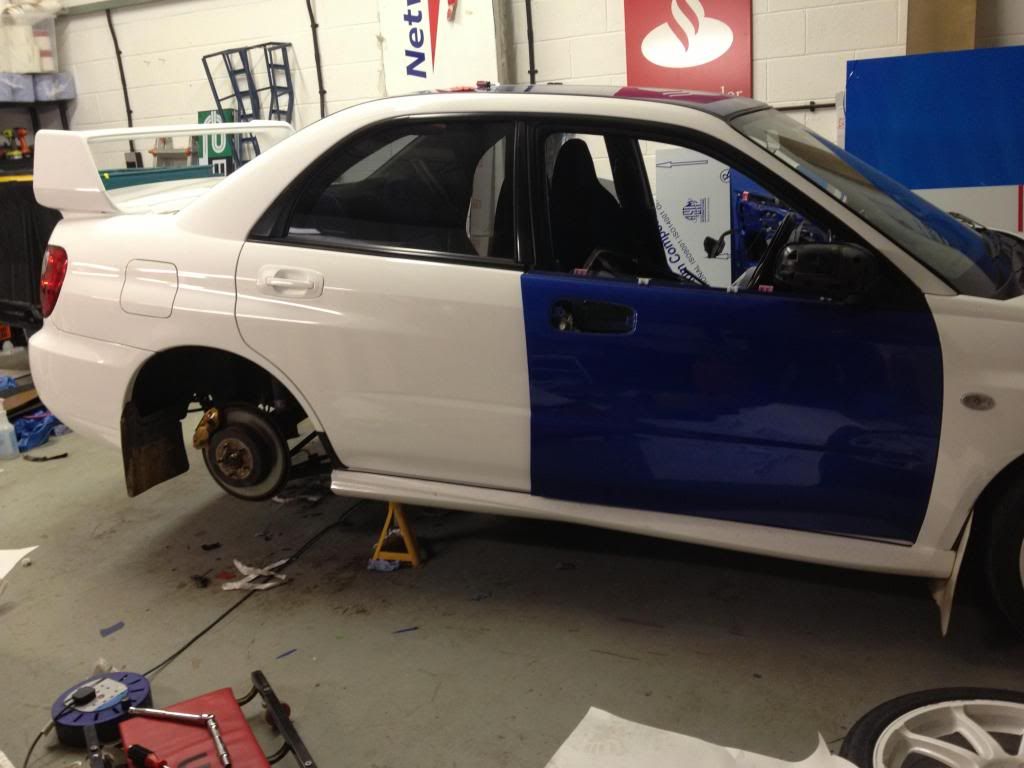

...and front door...
Which left just the roof
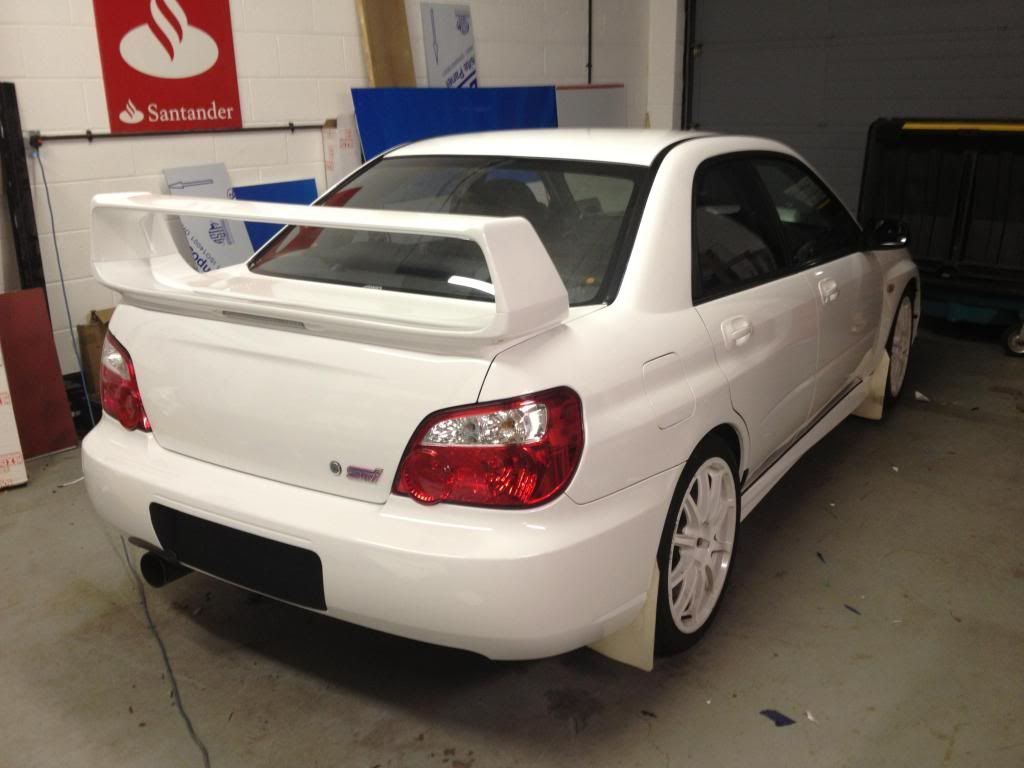
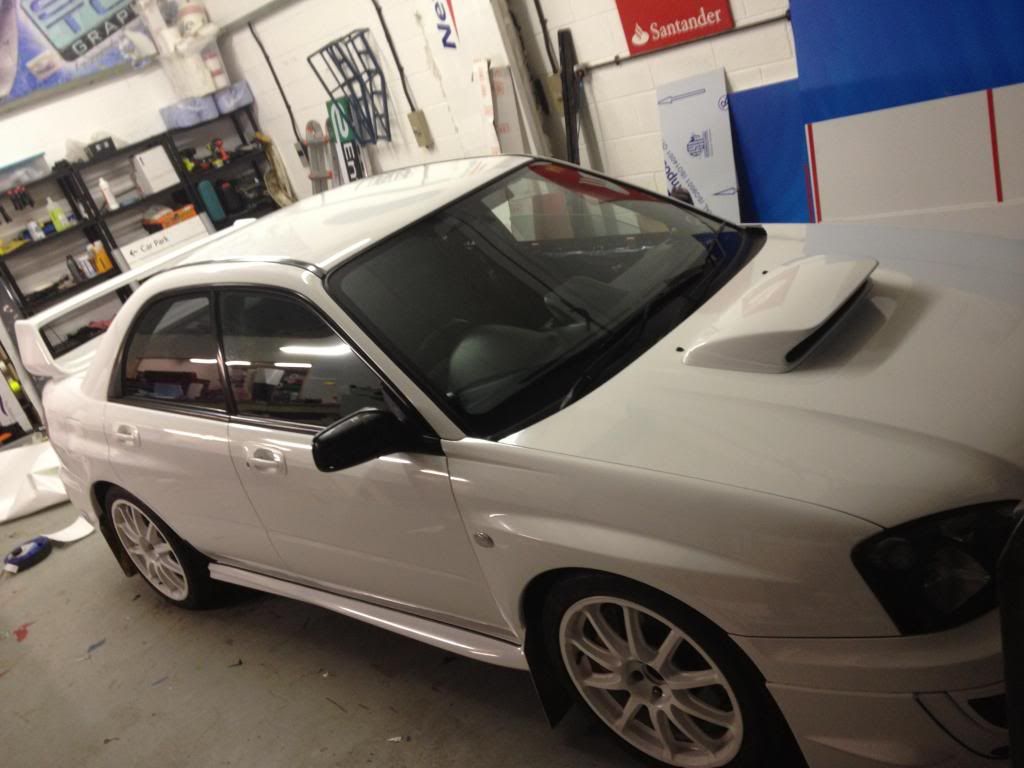
IMHO it looks even better in the flesh, though the magnolia mudflaps are going to have to go.

All in it's taken around 3 weeks of bit-by-bit work, all done on my own, so a little towing at times, but to say I'm chuffed with the result is an understatement.
Sticky
There was no rush to get this done, it was a question of doing what and when I could to fit it in around 'proper' work.
Before work commenced, and just after a detailing by iShine Car Care
I decided to get the tough stuff out of the way first, so off came the rear spoiler (The only part that has a joint in the vinyl) This was split into it's component parts to make life a bit easier. Whilst the spoiler was off the bootlid was also done.
Then it was on to the front.
With a little c/f detailing here and there.
While the lights were out I decided to pull them apart and do the surrounds in matt black. Very happy with the effect.
Back round the **** end, the bumper was done, with a little more c/f
Rear quarter, roof edge to a pillars in one piece
Back door. All handles were removed and dismantled
...and front door...
Which left just the roof
IMHO it looks even better in the flesh, though the magnolia mudflaps are going to have to go.
All in it's taken around 3 weeks of bit-by-bit work, all done on my own, so a little towing at times, but to say I'm chuffed with the result is an understatement.
Sticky
Last edited by Sticky Stuff; Feb 7, 2013 at 09:39 PM.

 and well impressed with the door handles it look like quite a material to work with... Wrap the flaps mate
 Trending Topics


Thread Starter
Scooby Regular
Joined: Oct 2003
Posts: 8,048
Likes: 0
From: ShyTot graphics Location: Squires Bar Location: Wakecastlefract
How much it cost is a world apart from how much it would retail for. Whilst the vinyl is (relatively) inexpensive, there's a lot of hours gone into it.
jono - It's not been anywhere to get mucky yet, apart from a spin around the car park in the snow last week. I recommend Meguiars PlastX for laminated digitally printed wraps, but quality coloured wrapping vinyl will probably be fine with whatever you use for paint.
jono - It's not been anywhere to get mucky yet, apart from a spin around the car park in the snow last week. I recommend Meguiars PlastX for laminated digitally printed wraps, but quality coloured wrapping vinyl will probably be fine with whatever you use for paint.
Thread Starter
Scooby Regular
Joined: Oct 2003
Posts: 8,048
Likes: 0
From: ShyTot graphics Location: Squires Bar Location: Wakecastlefract

Thread Starter
Scooby Regular
Joined: Oct 2003
Posts: 8,048
Likes: 0
From: ShyTot graphics Location: Squires Bar Location: Wakecastlefract

Thread Starter
Scooby Regular
Joined: Oct 2003
Posts: 8,048
Likes: 0
From: ShyTot graphics Location: Squires Bar Location: Wakecastlefract
That's for a 'kerbside' finish, which doesn't include internal bits like door shuts, under bonnet and inside the boot, but looks perfect when being driven.
To do from scratch without the distraction of other jobs you're looking at around 5 days


Very well done mate, fantastic job and looks perfect 
What vinyl did you use if you don't mind me asking? Also, if you later added a splitter for example, or say a year down the line replaced a panel, would there be a batch/colour difference?
What vinyl did you use if you don't mind me asking? Also, if you later added a splitter for example, or say a year down the line replaced a panel, would there be a batch/colour difference?


