When you click on links to various merchants on this site and make a purchase, this can result in this site earning a commission. Affiliate programs and affiliations include, but are not limited to, the eBay Partner Network.
Hey! I'll start this off by saying that the xenon upgrade is definitely worth it! The quality of lighting is incomparable to the OEM light output of the Bugeye headlamps.
The process took me 10 hrs to complete from start to finish but it could be done in less if you don't strive to make everything OEM looking.
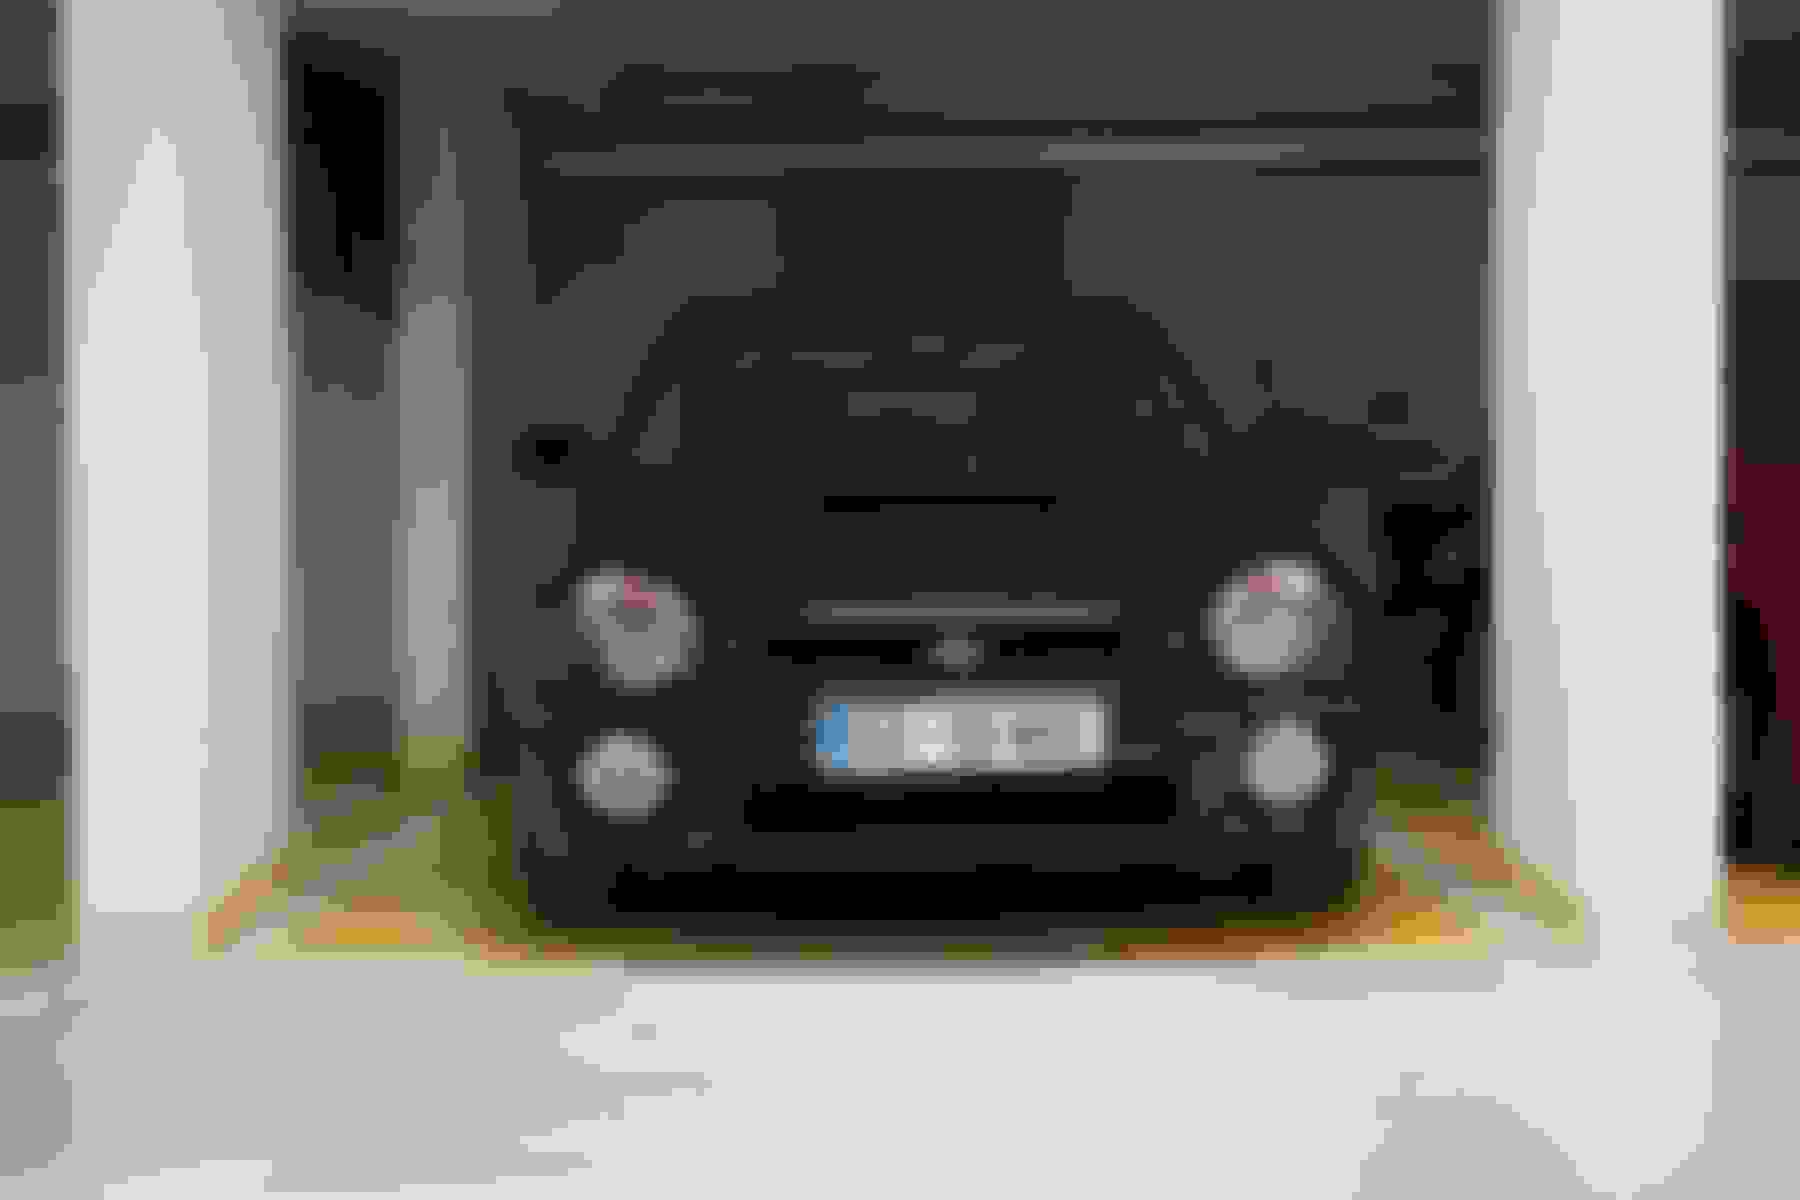
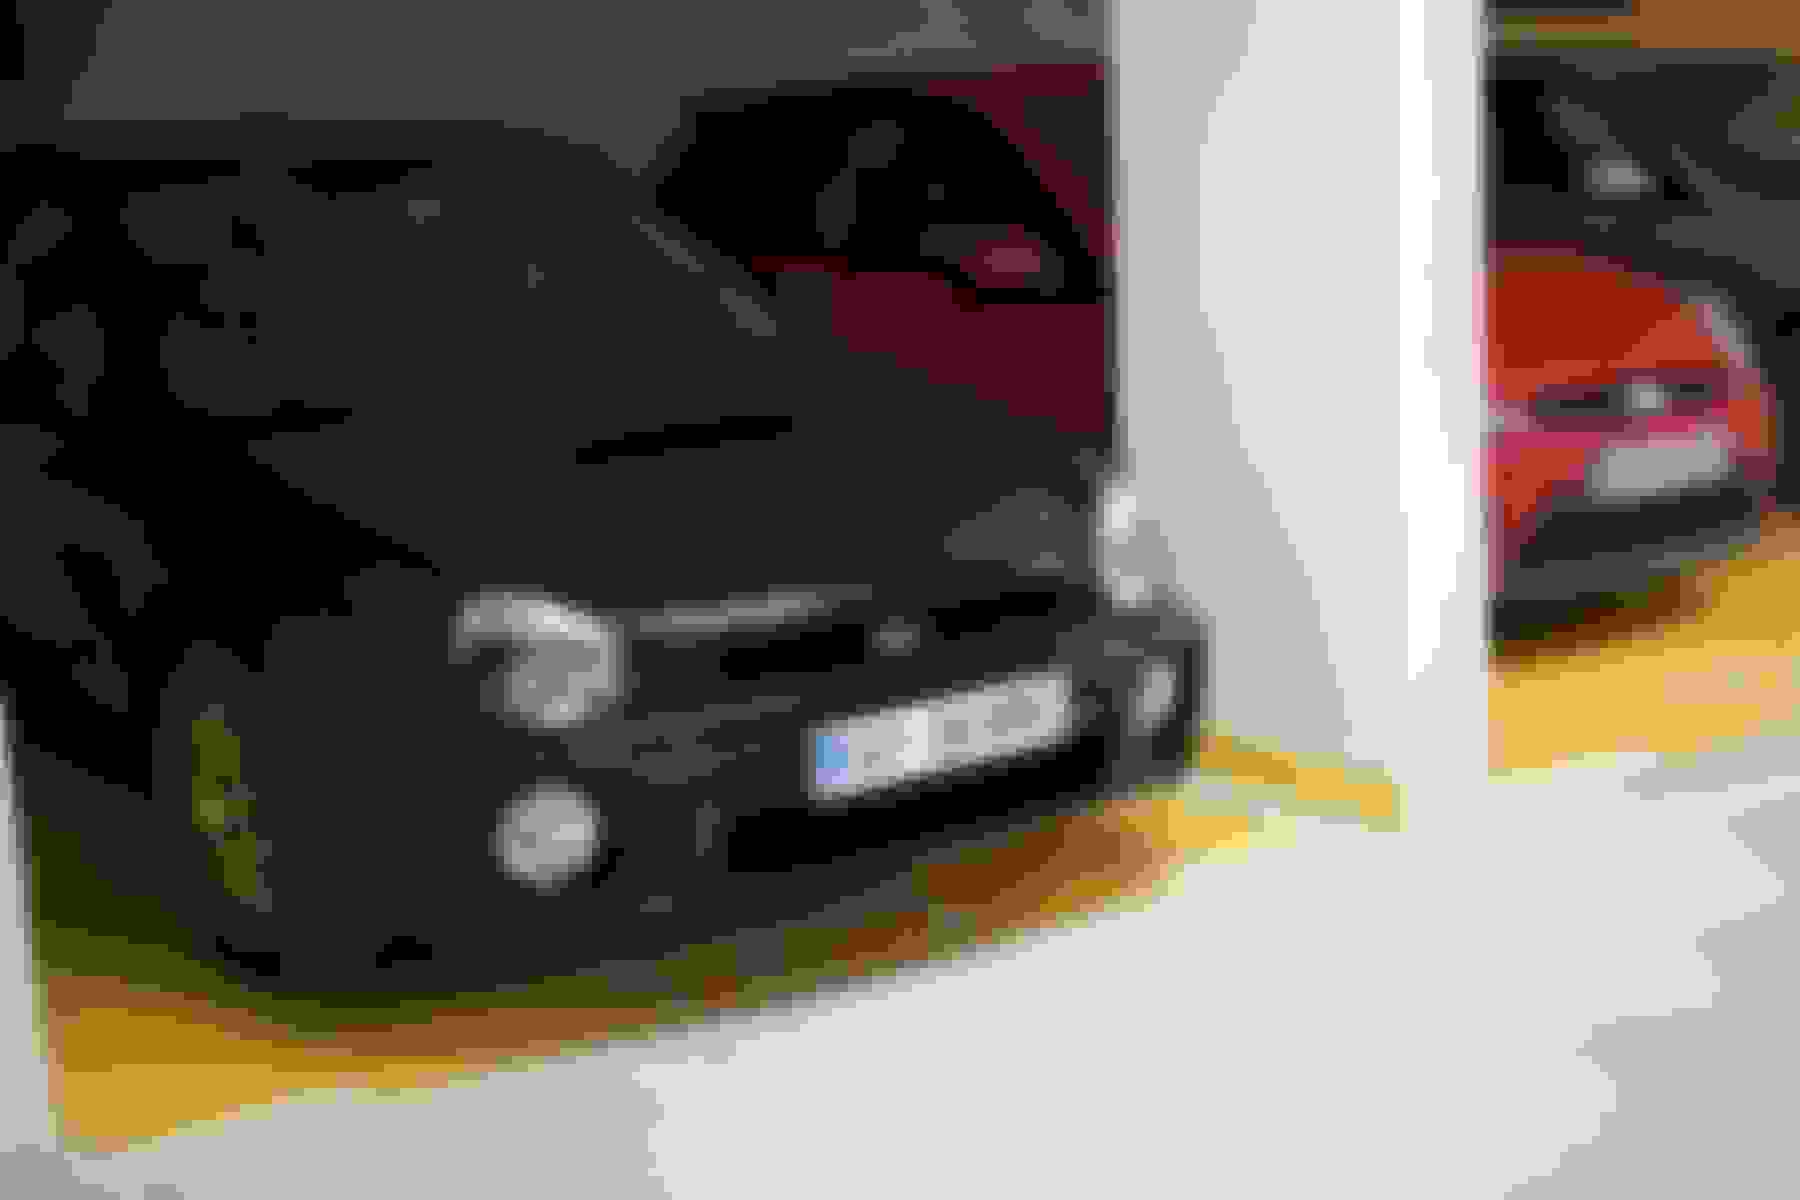
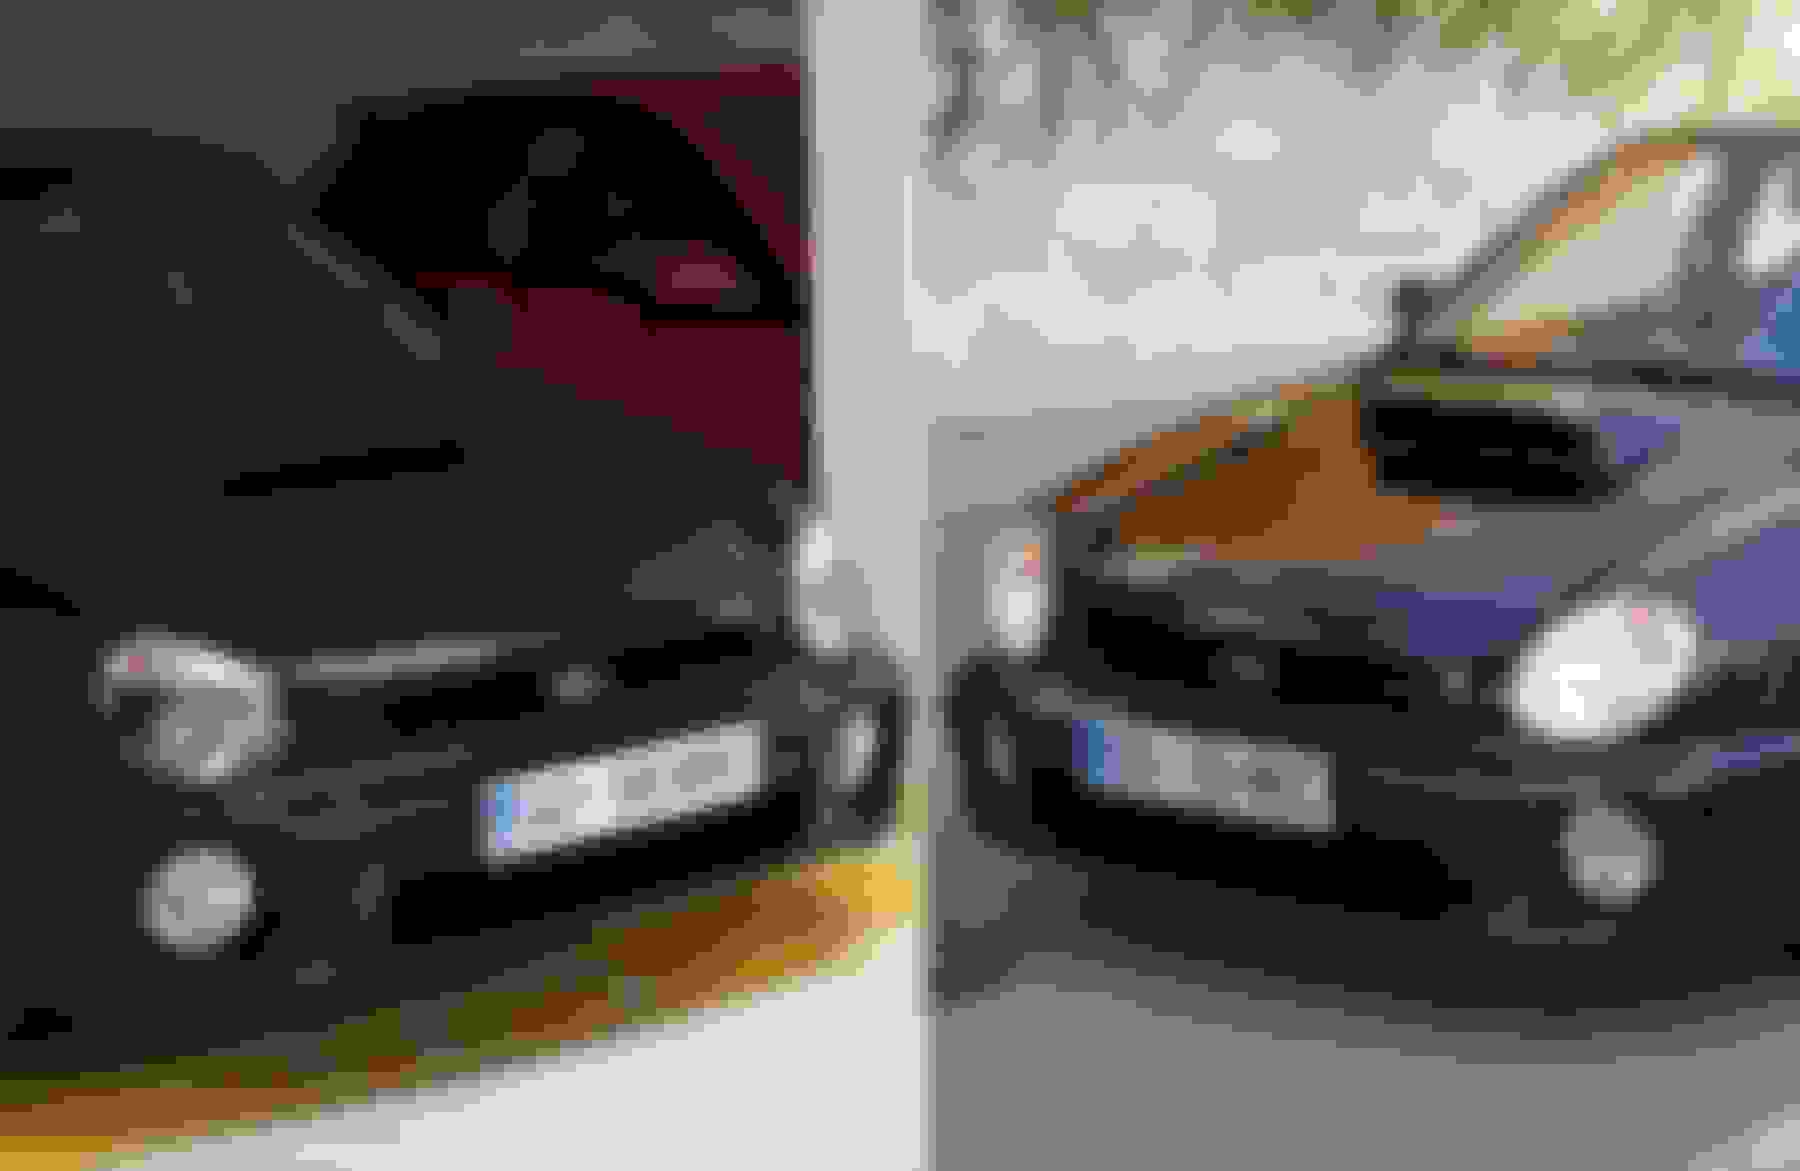
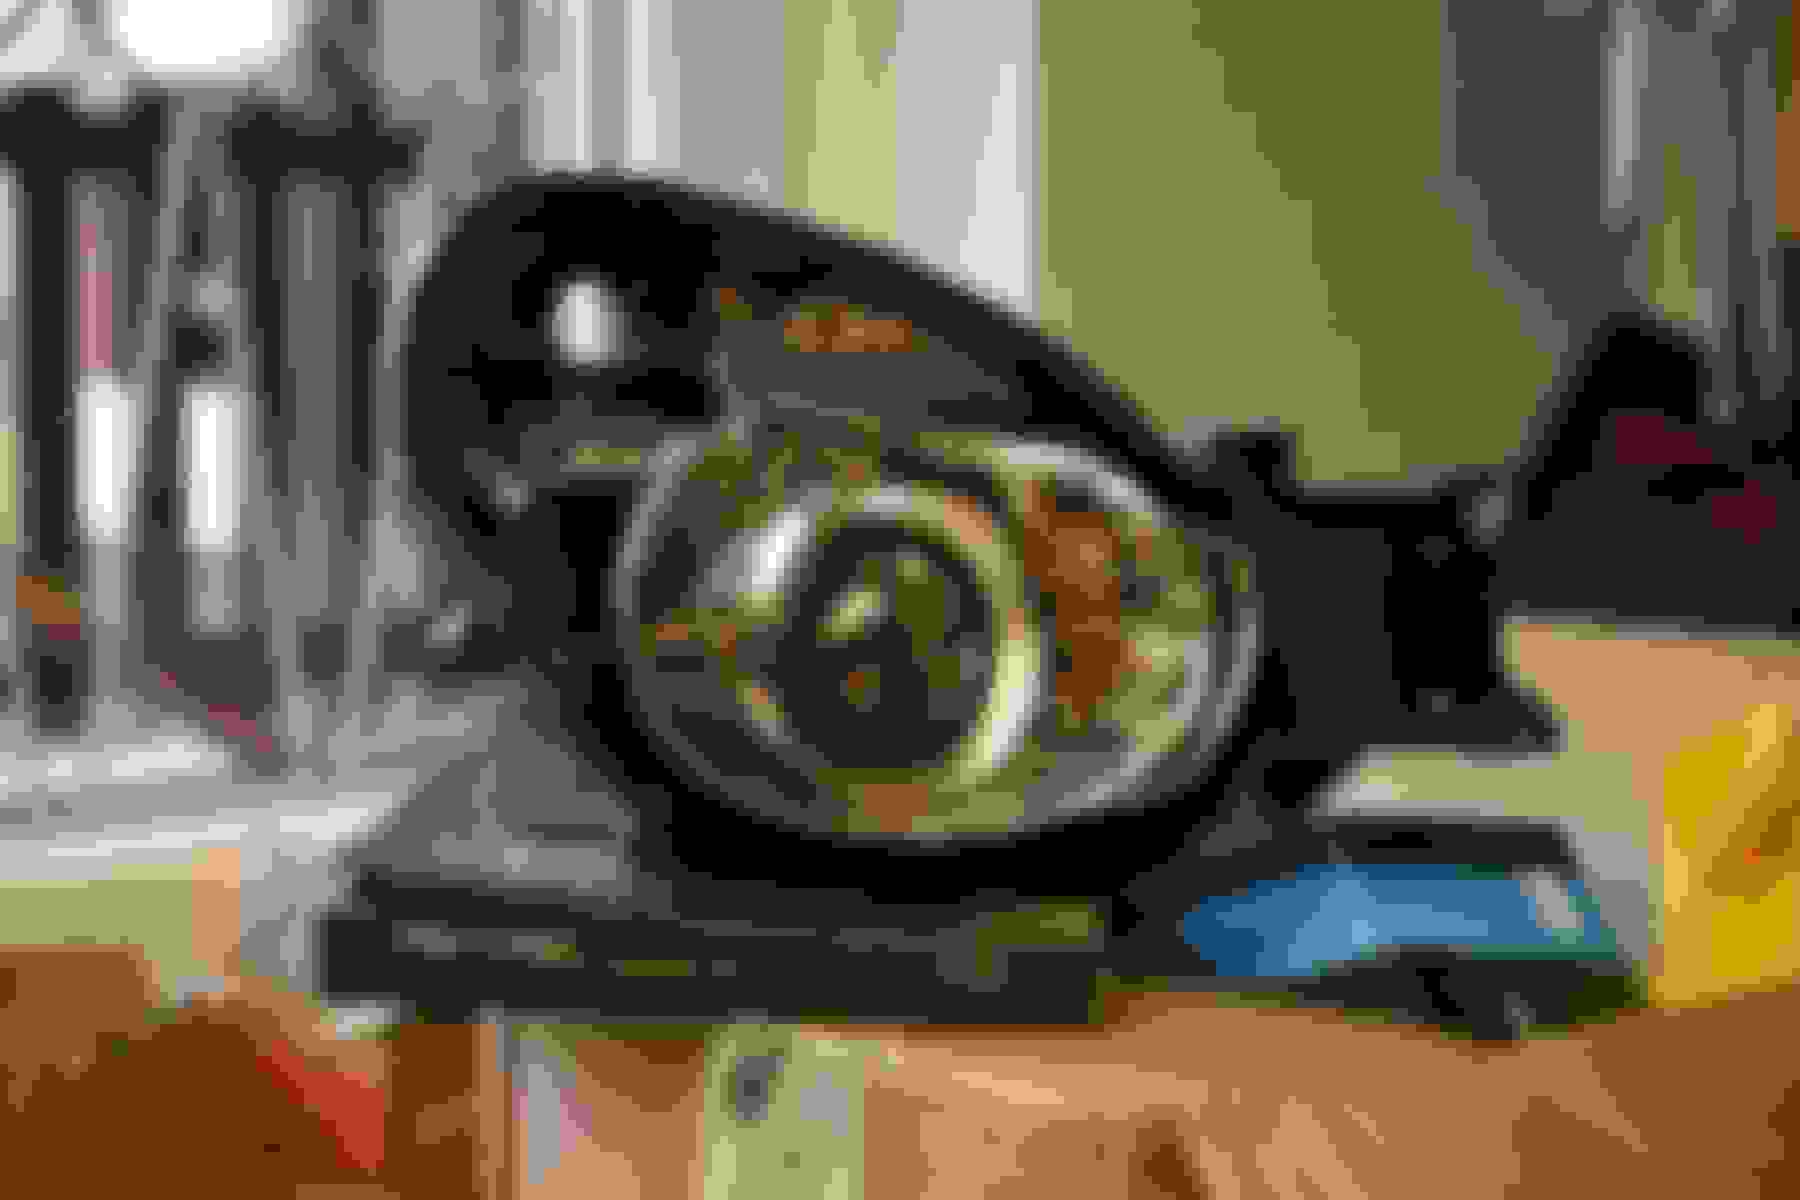
So this is what the before/after looks like.
Step #1
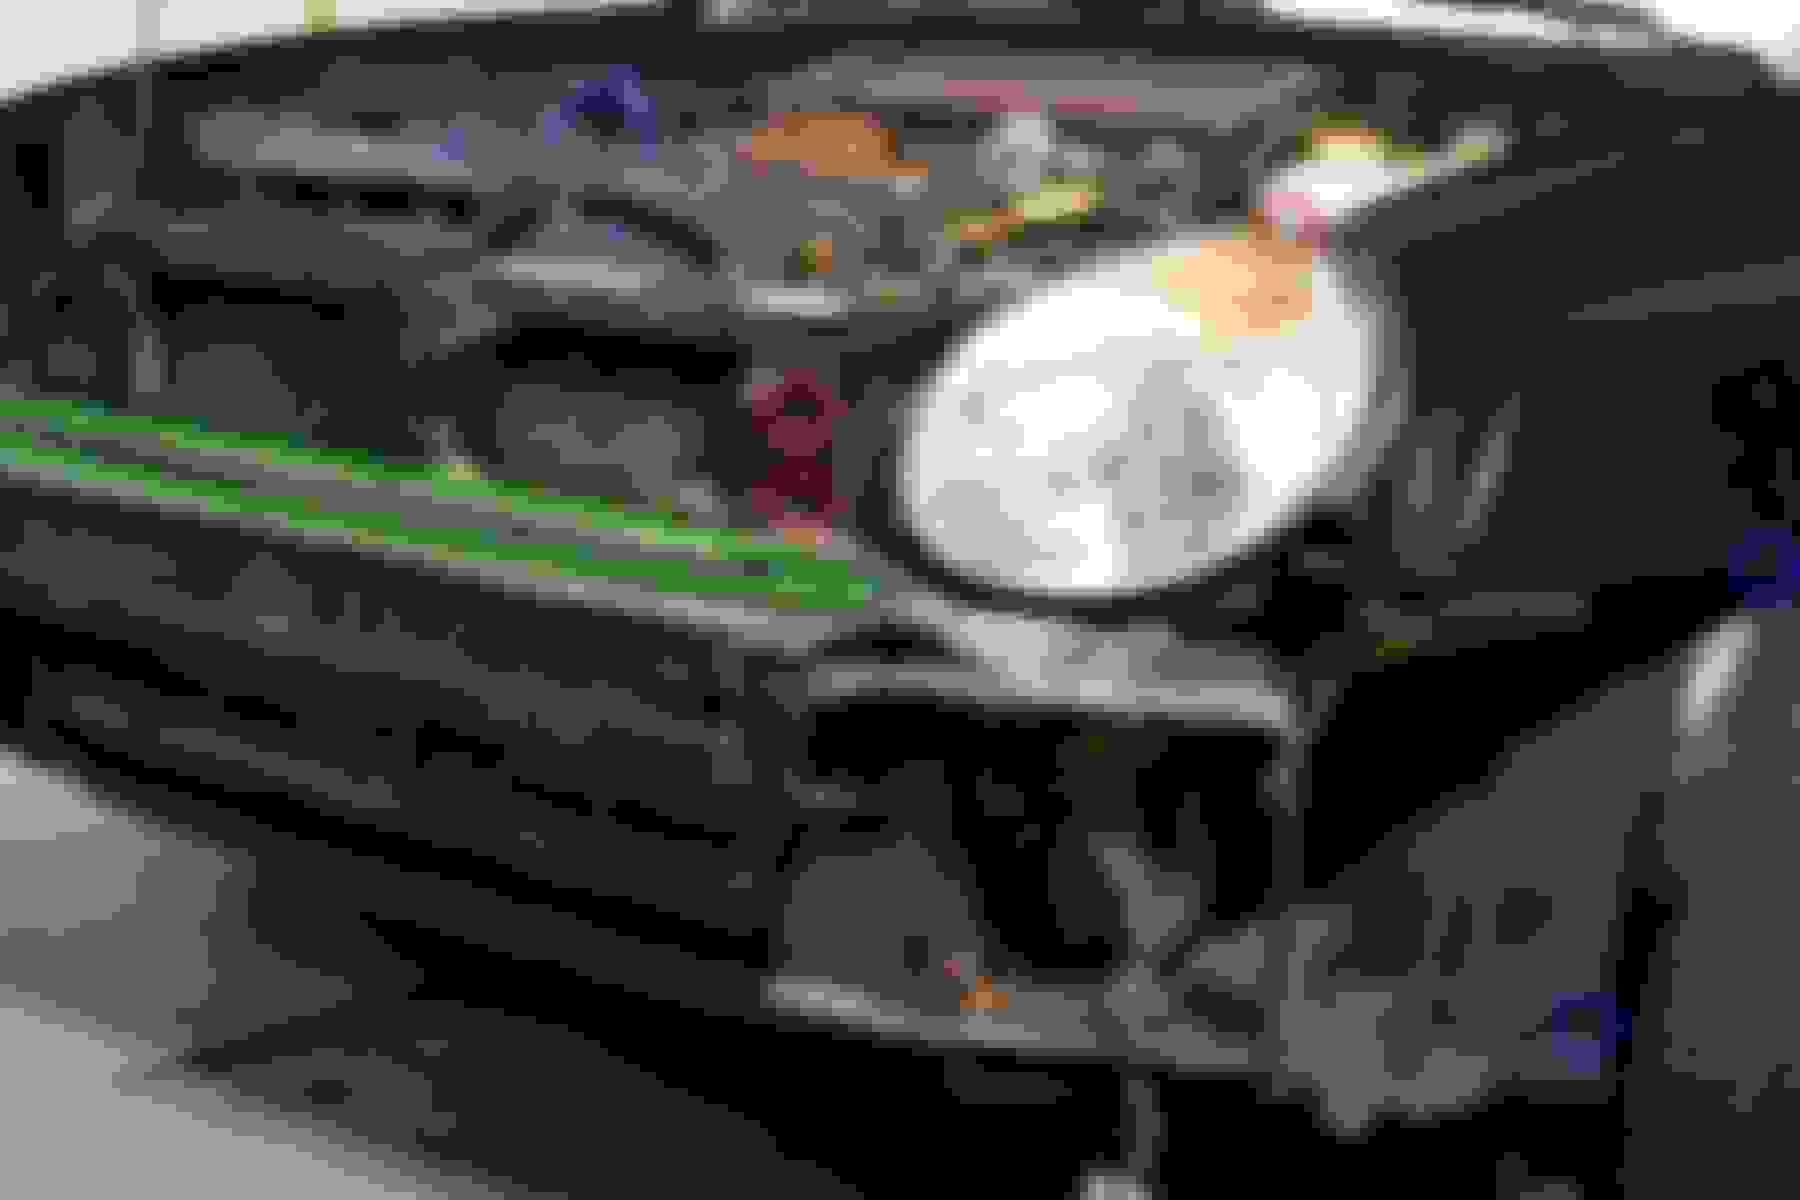
Take off your bumper. There are 10 or so plastic tabs on the grille (marked green on the image) and side pieces, after that you only have 2 phillips screws on the wheel wells and 2 bolts right in the corners where the fenders and bumper meet (marked blue on the image). Pretty easy...
Step #2
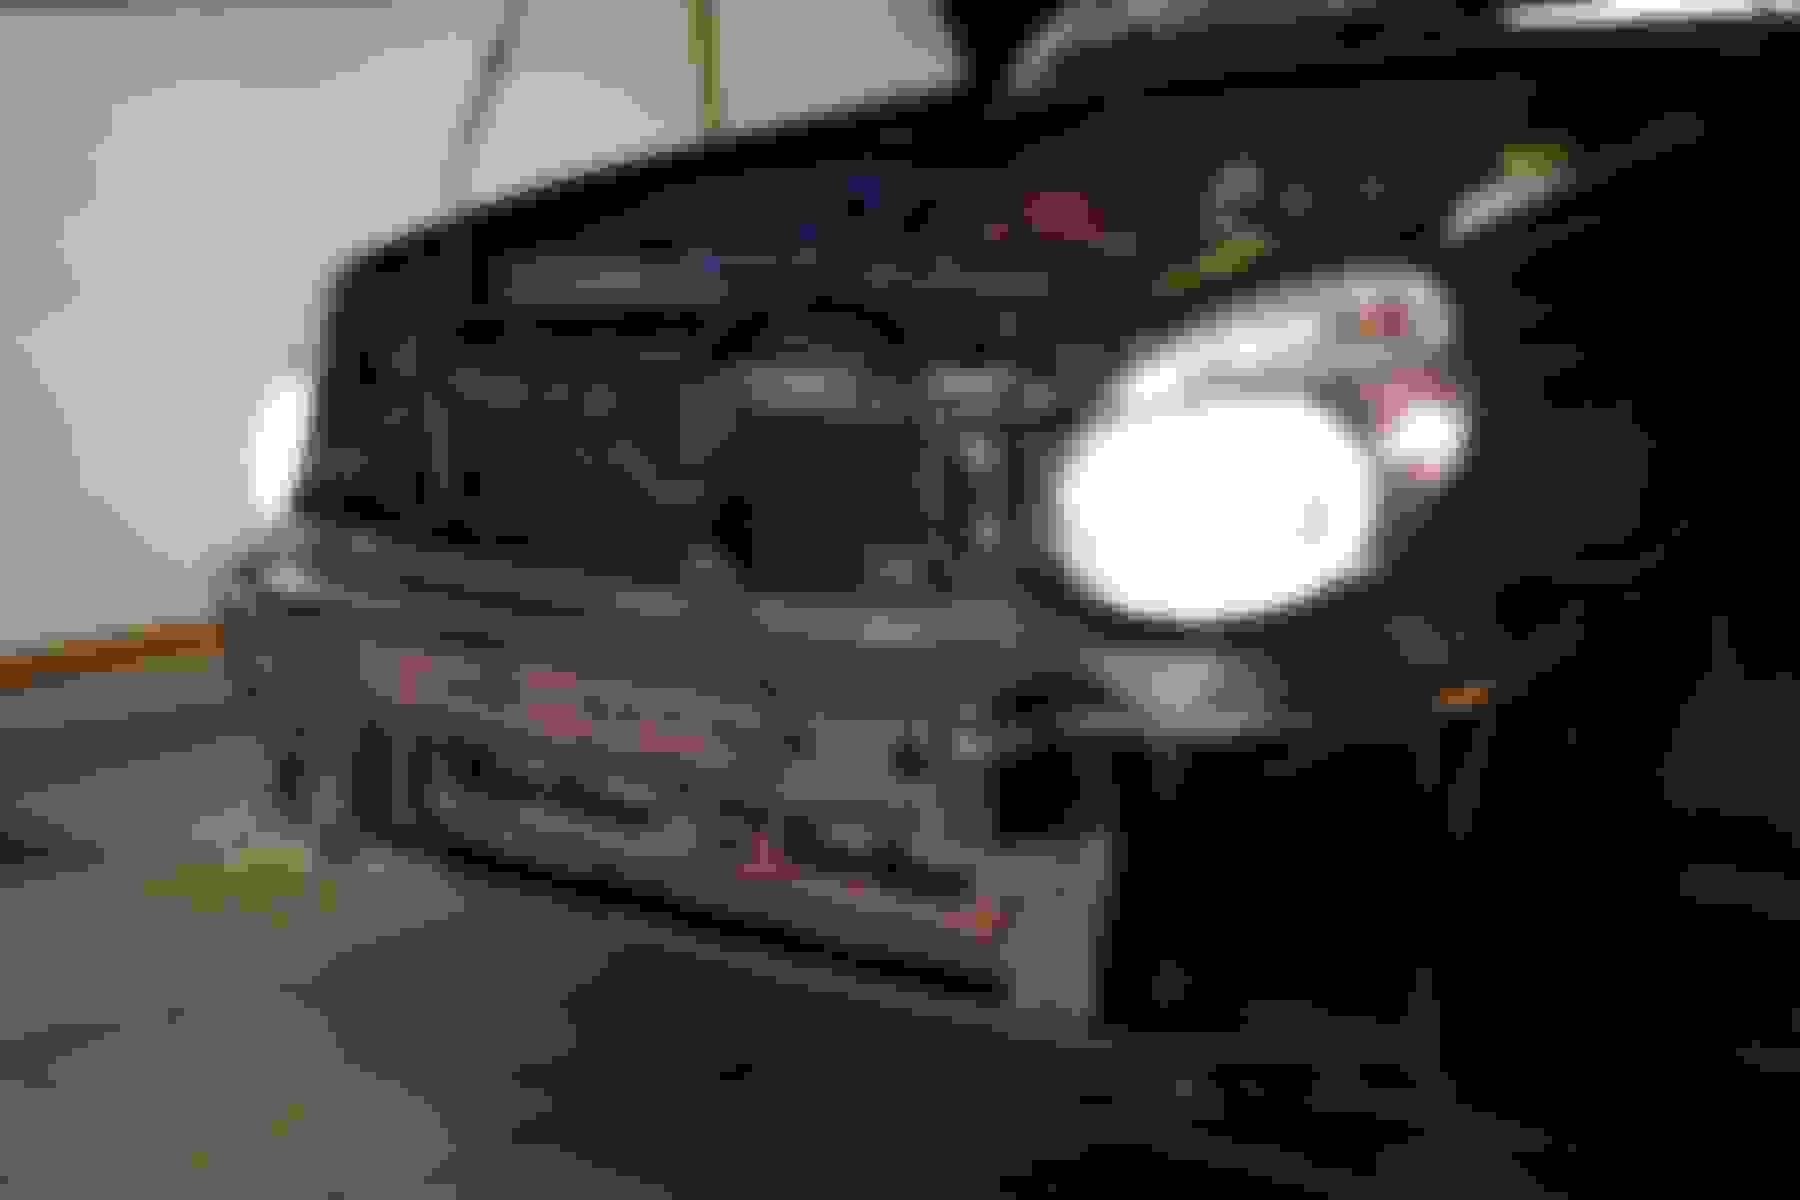
Remove headlamps. These are held in by 3 bolts, two are directly on the bigger part of the plastic around the light, and one bolt is in the corner where the light meets the fenders. (marked red on the image). After that you need to slightly pull on the headlamp because it is held by a plastic ball joint in the bottom corners. Don't be too hard, just gently tug the lamp assembly and it should come right out.
Step #3
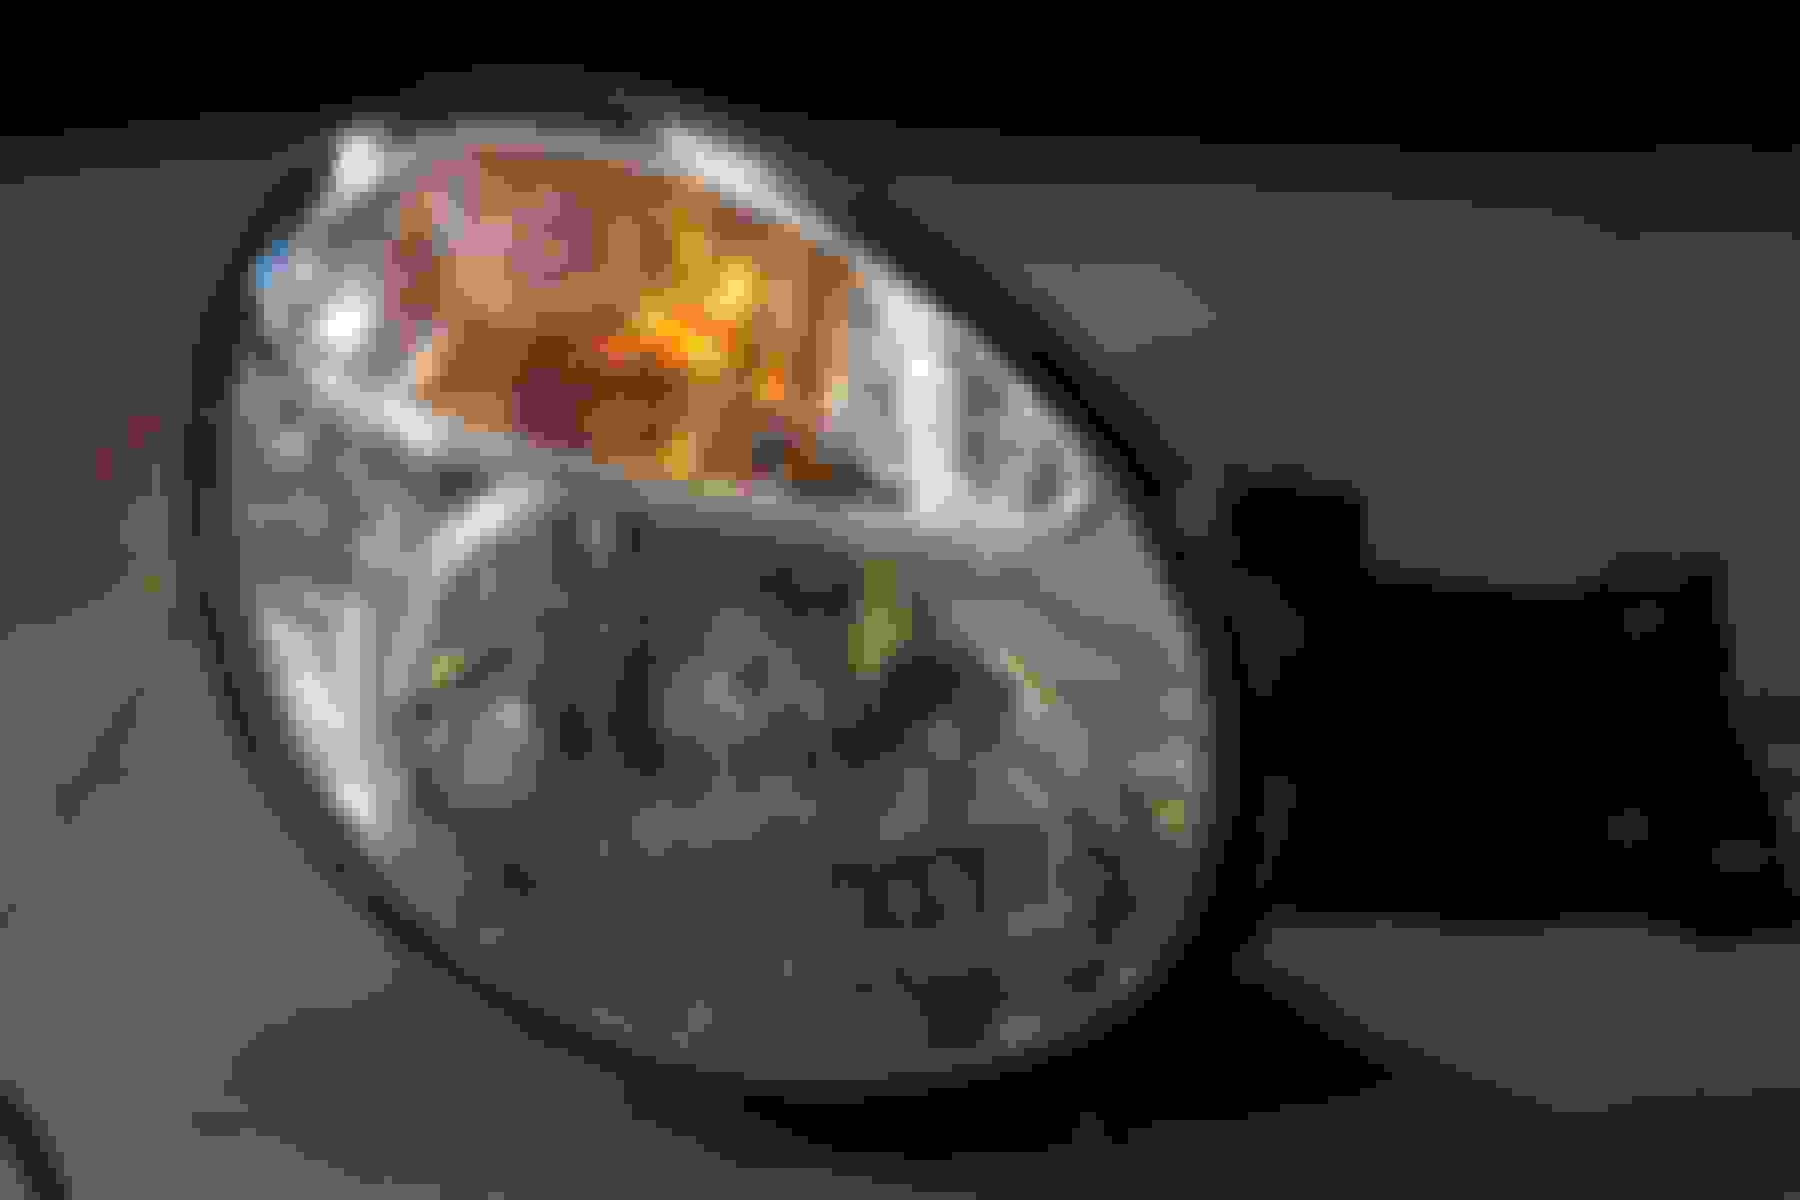
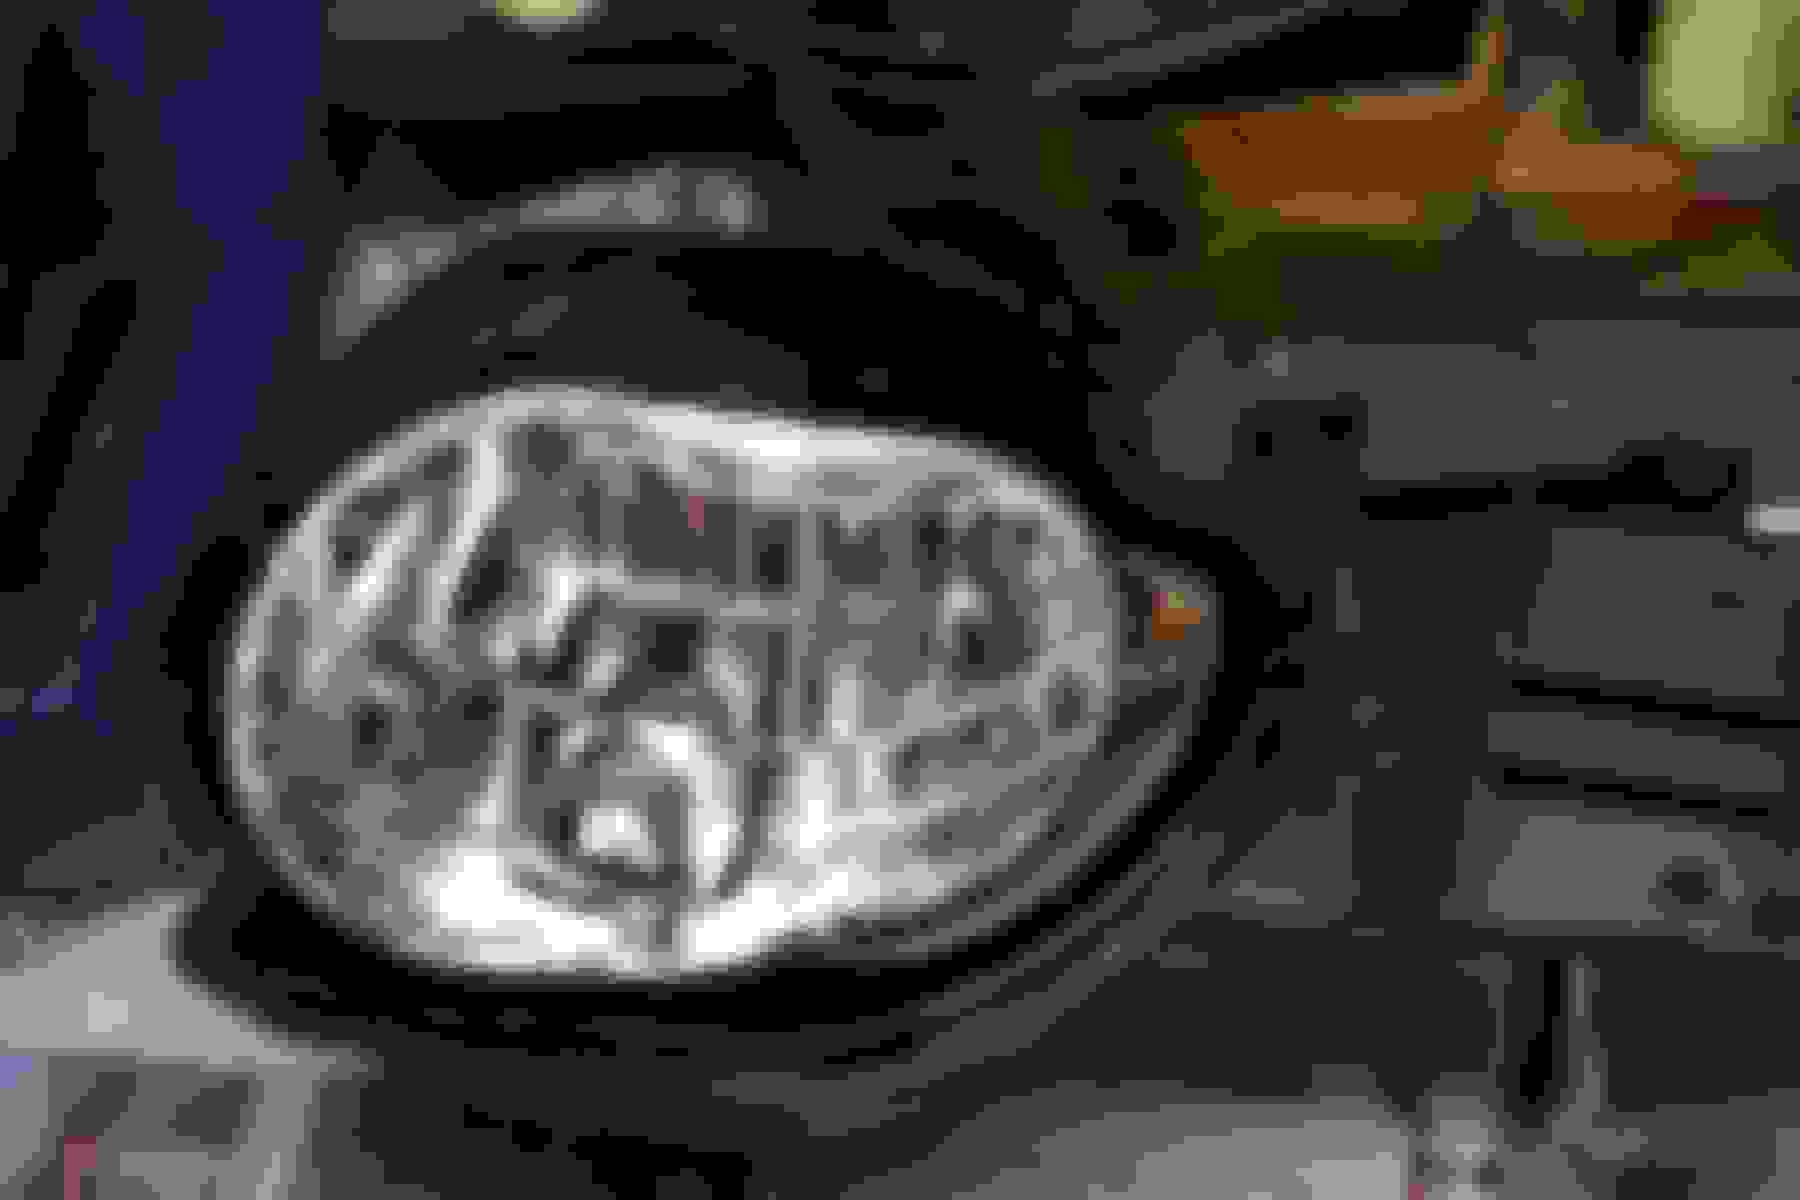
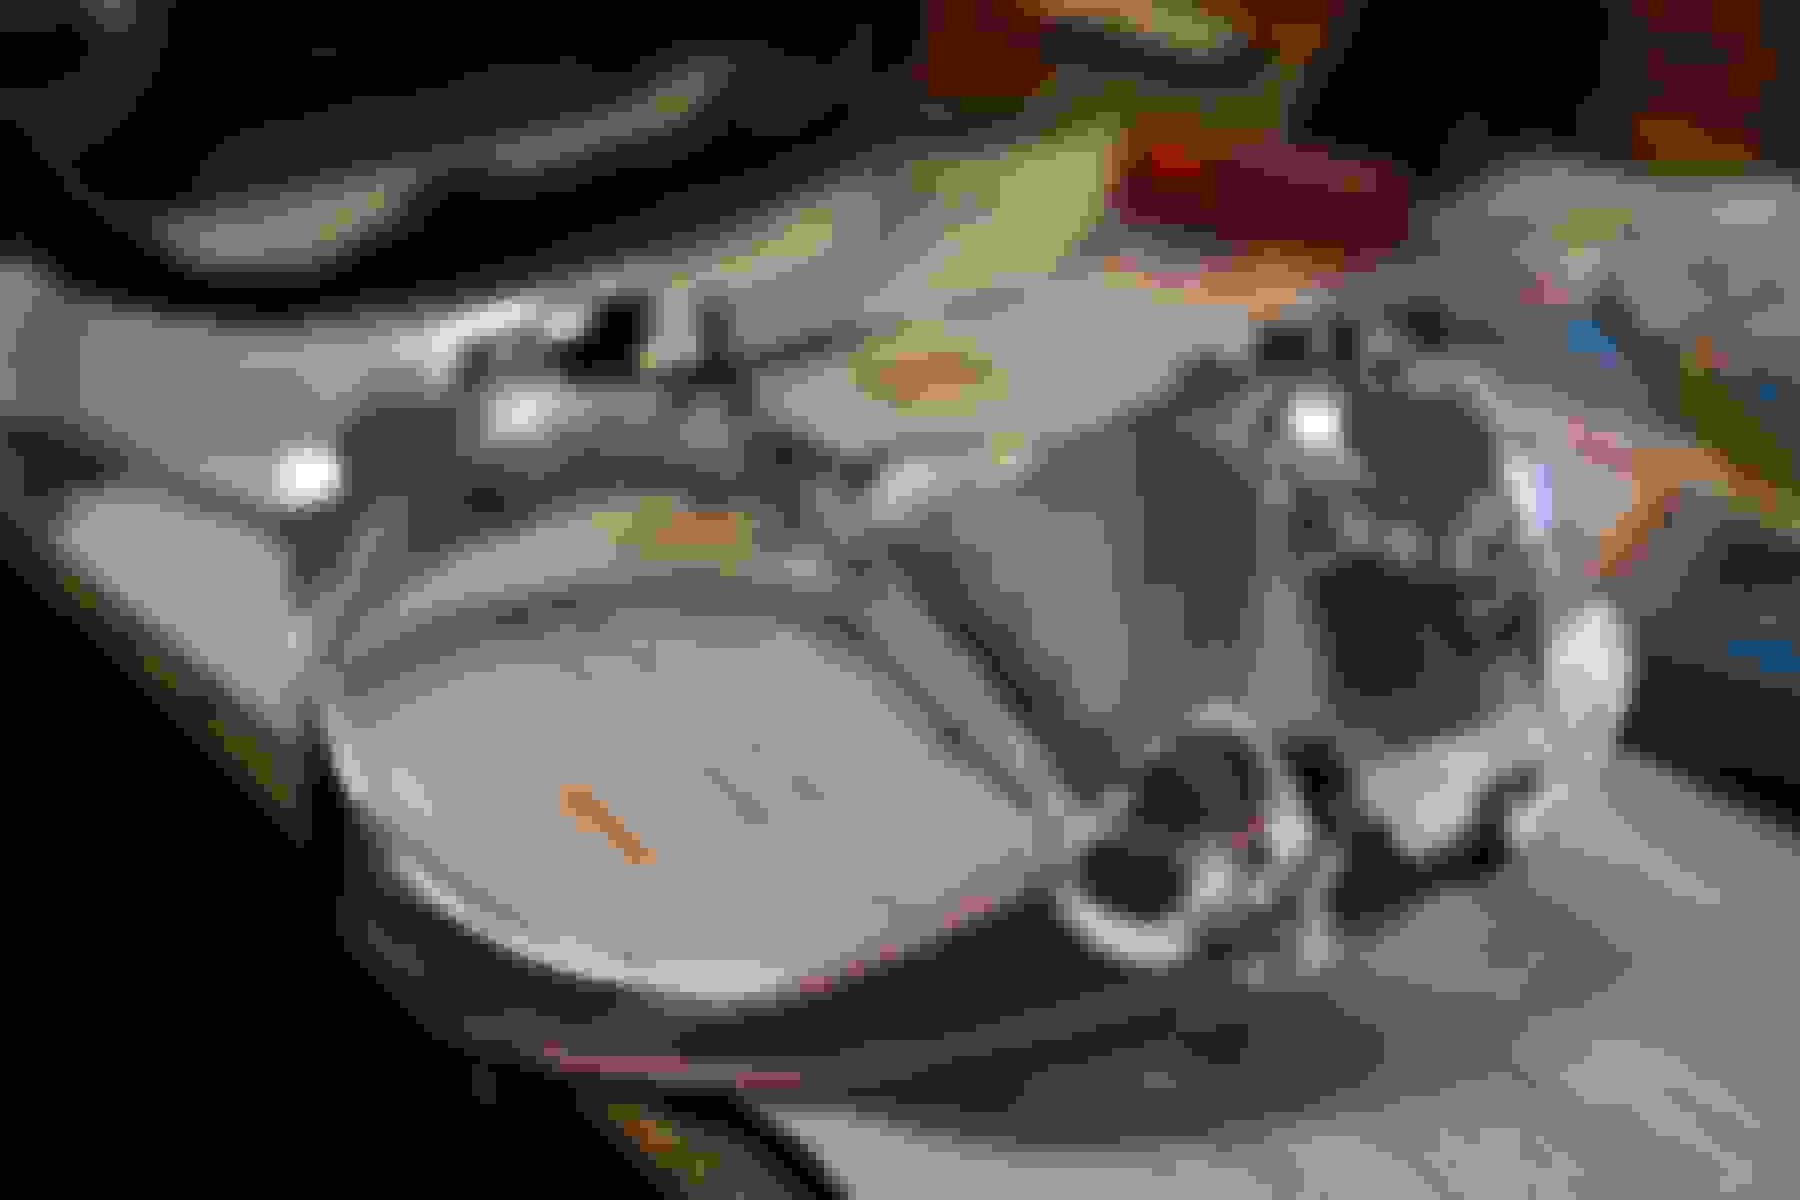
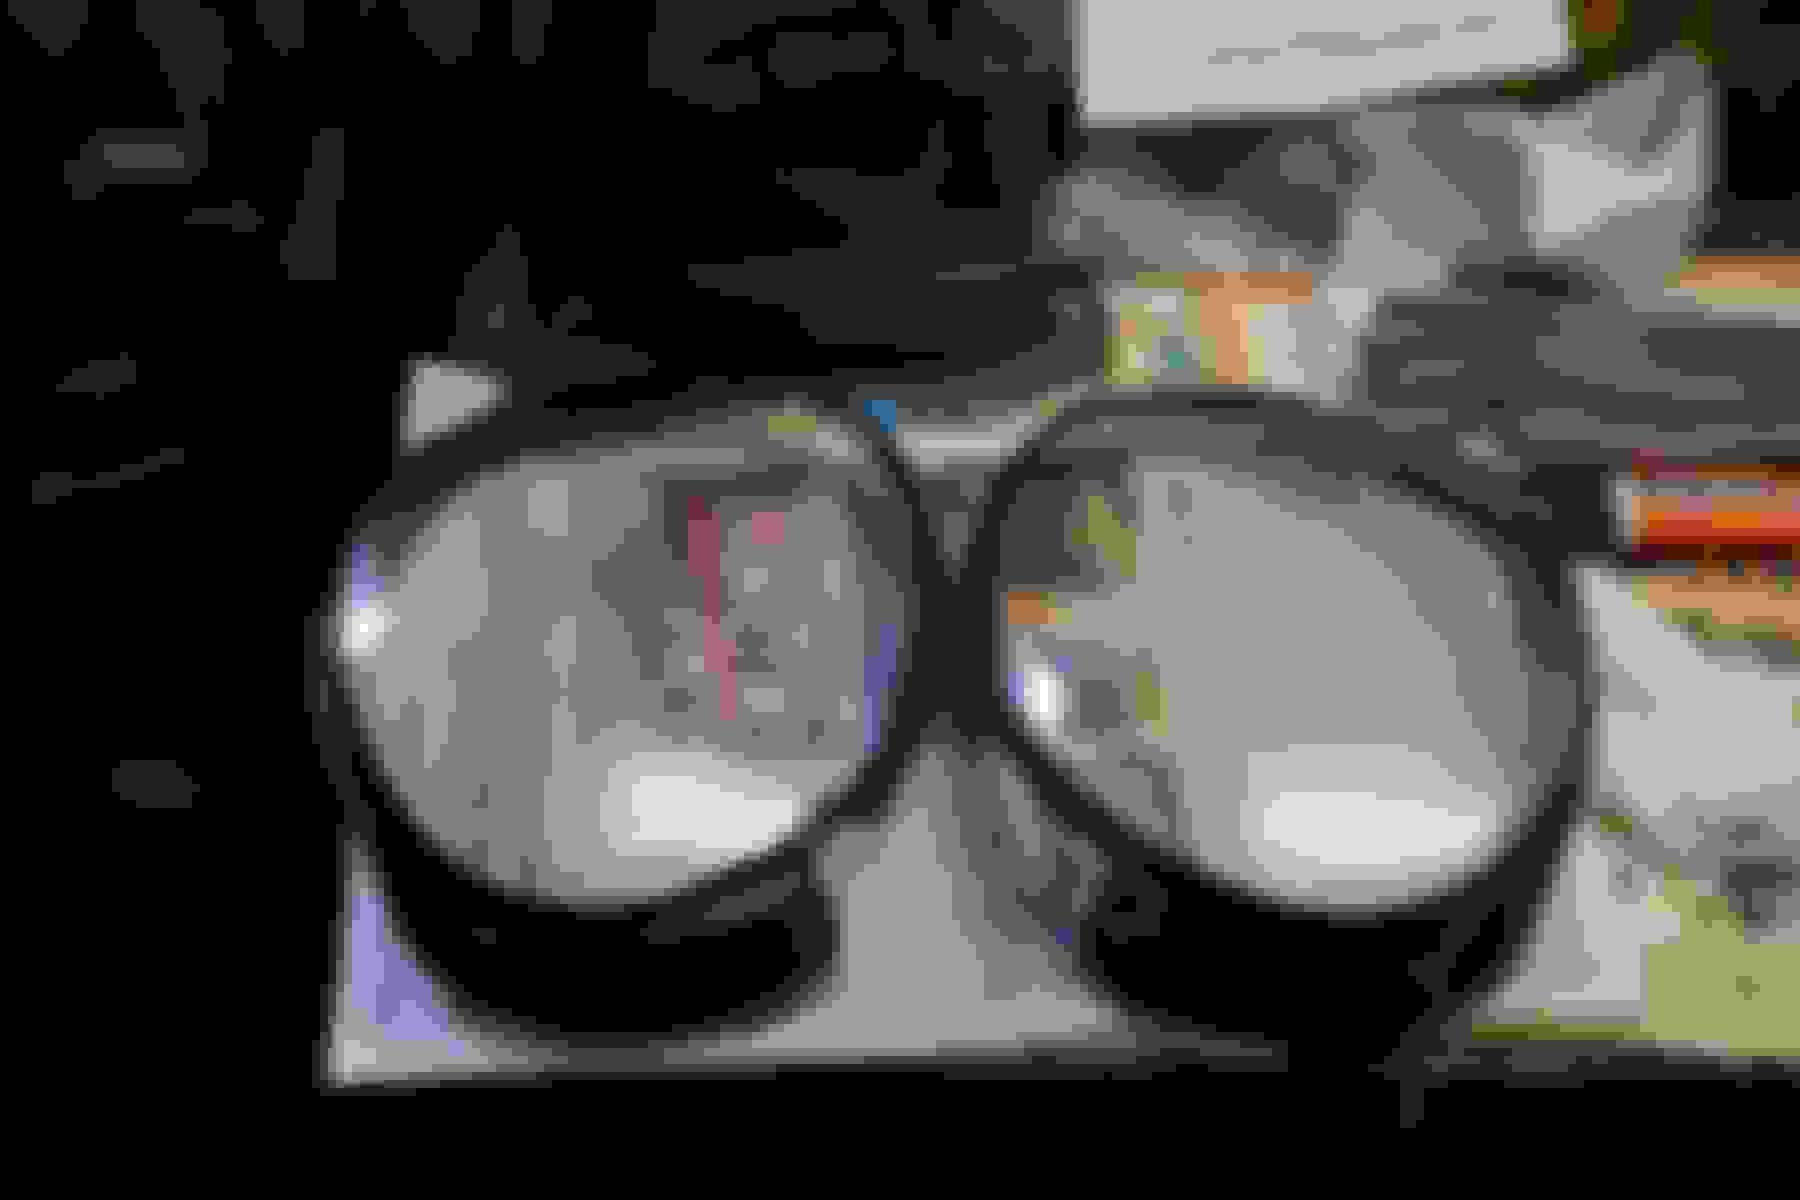
Now you should have your headlamps on the desk. Take off anything that is attached to the back and put in a safe place, I recommend using painters tape and sticking everything together then writing on the tape so that you know what each part is.
Step #4
The next step is to put them in an oven or use a heat gun to heat up the sealant to around 100C (200F) in the oven it took around 10 minutes. After you take them out proceed quickly while the seal around the light is still hot and pliable. Take a couple of flat head screw drivers and pry open the housings. Have a mate help out as it's going to be a hell of a lot easier to do this with at least two people helping. (reward them with beer)
Step #5
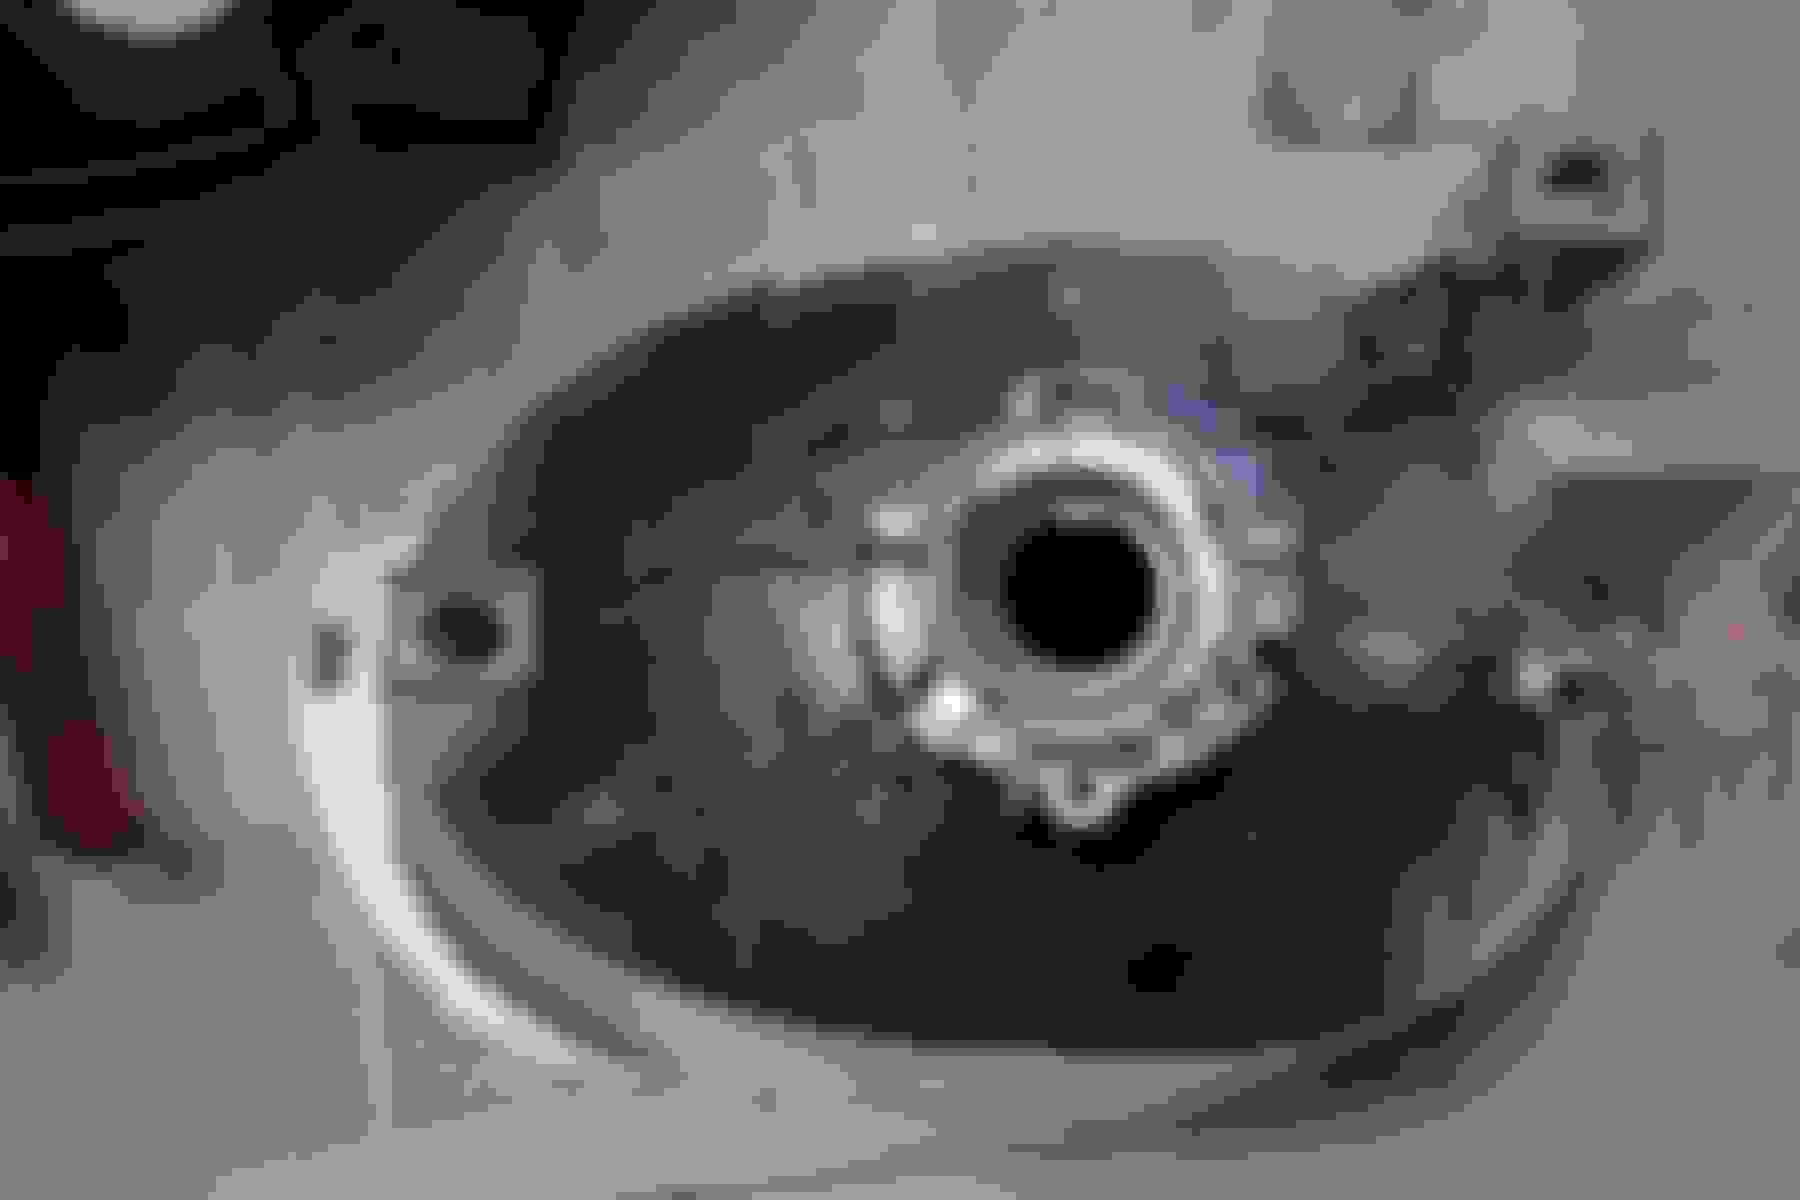
Use a phillips screw driver or a Stanley knife and remove all of the sealant on both parts of the headlamp. Do this really neatly as you'll be thankful that you took some more time here and removed it all! Now you can start taking out the shrouds and everything out of the lamps.
Step #6
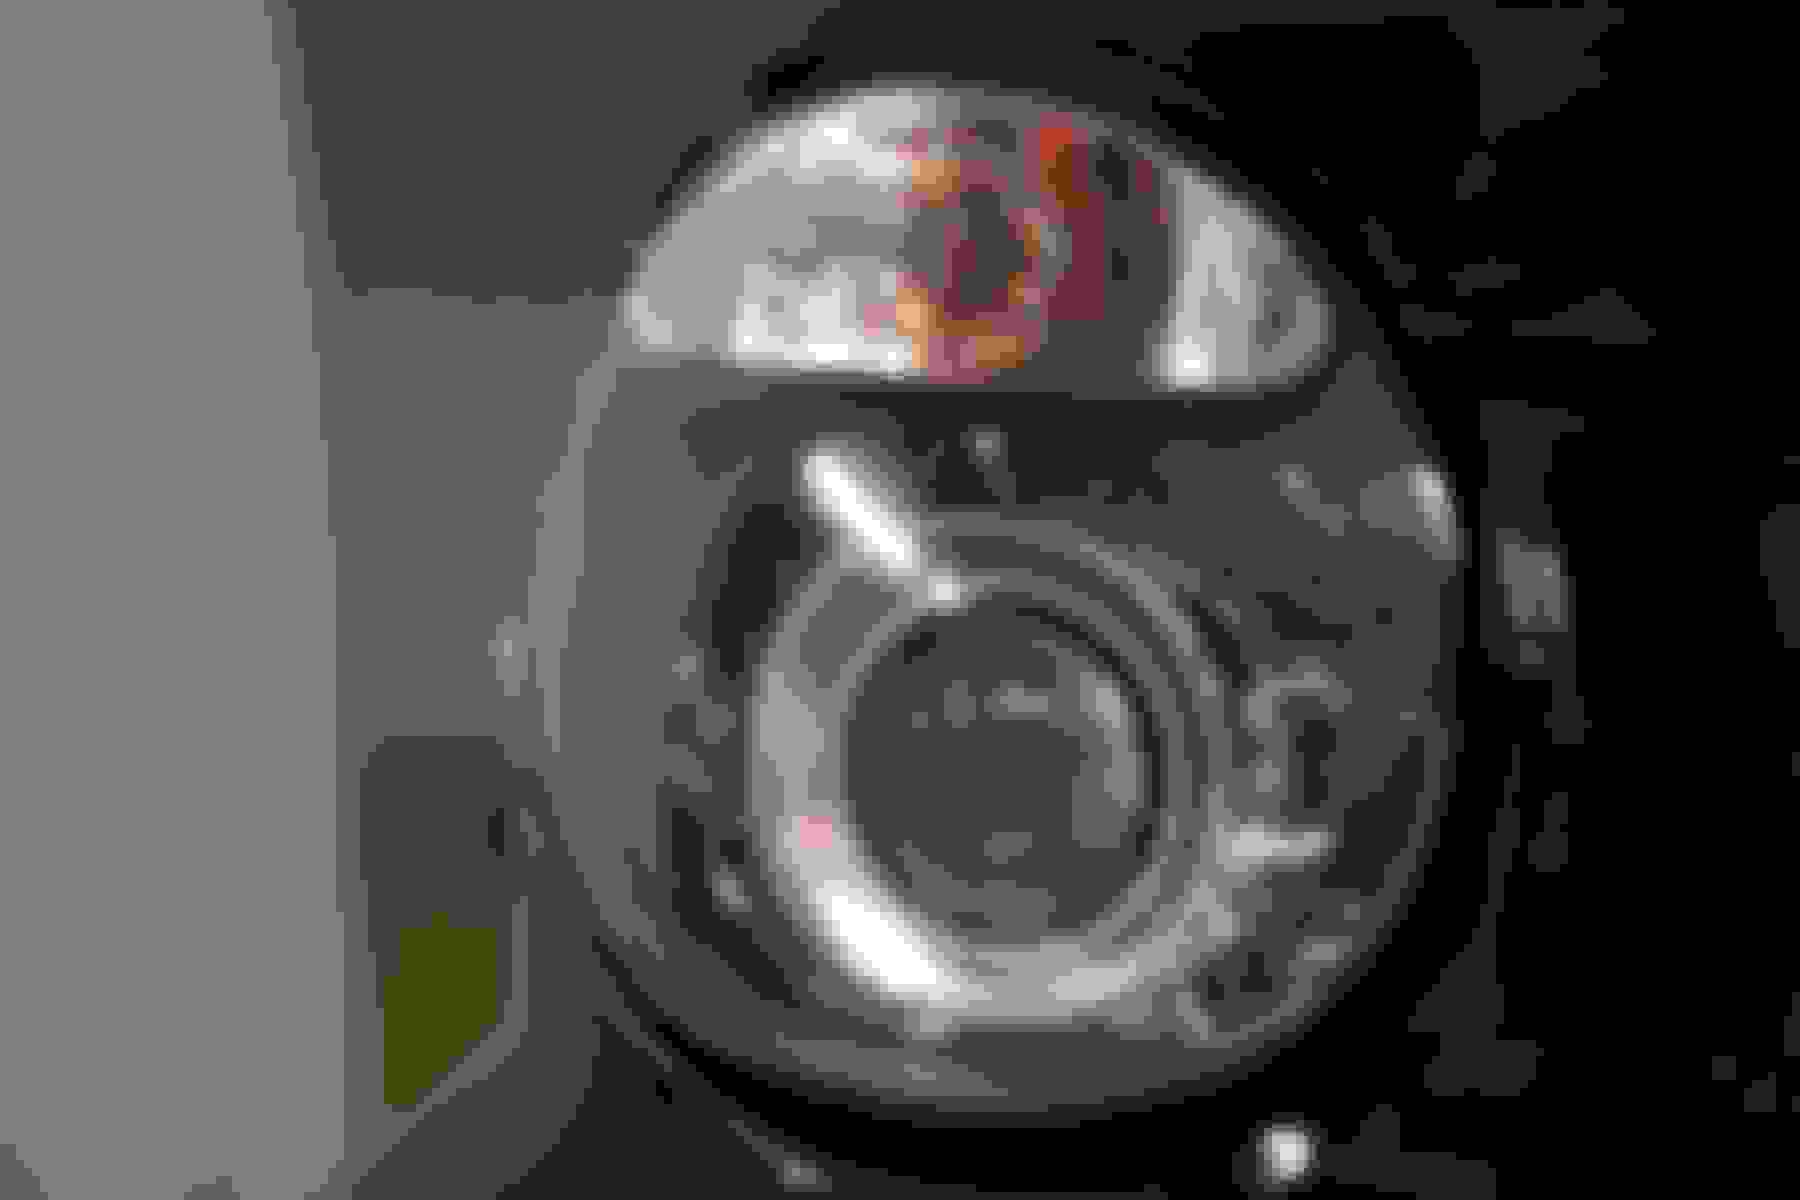
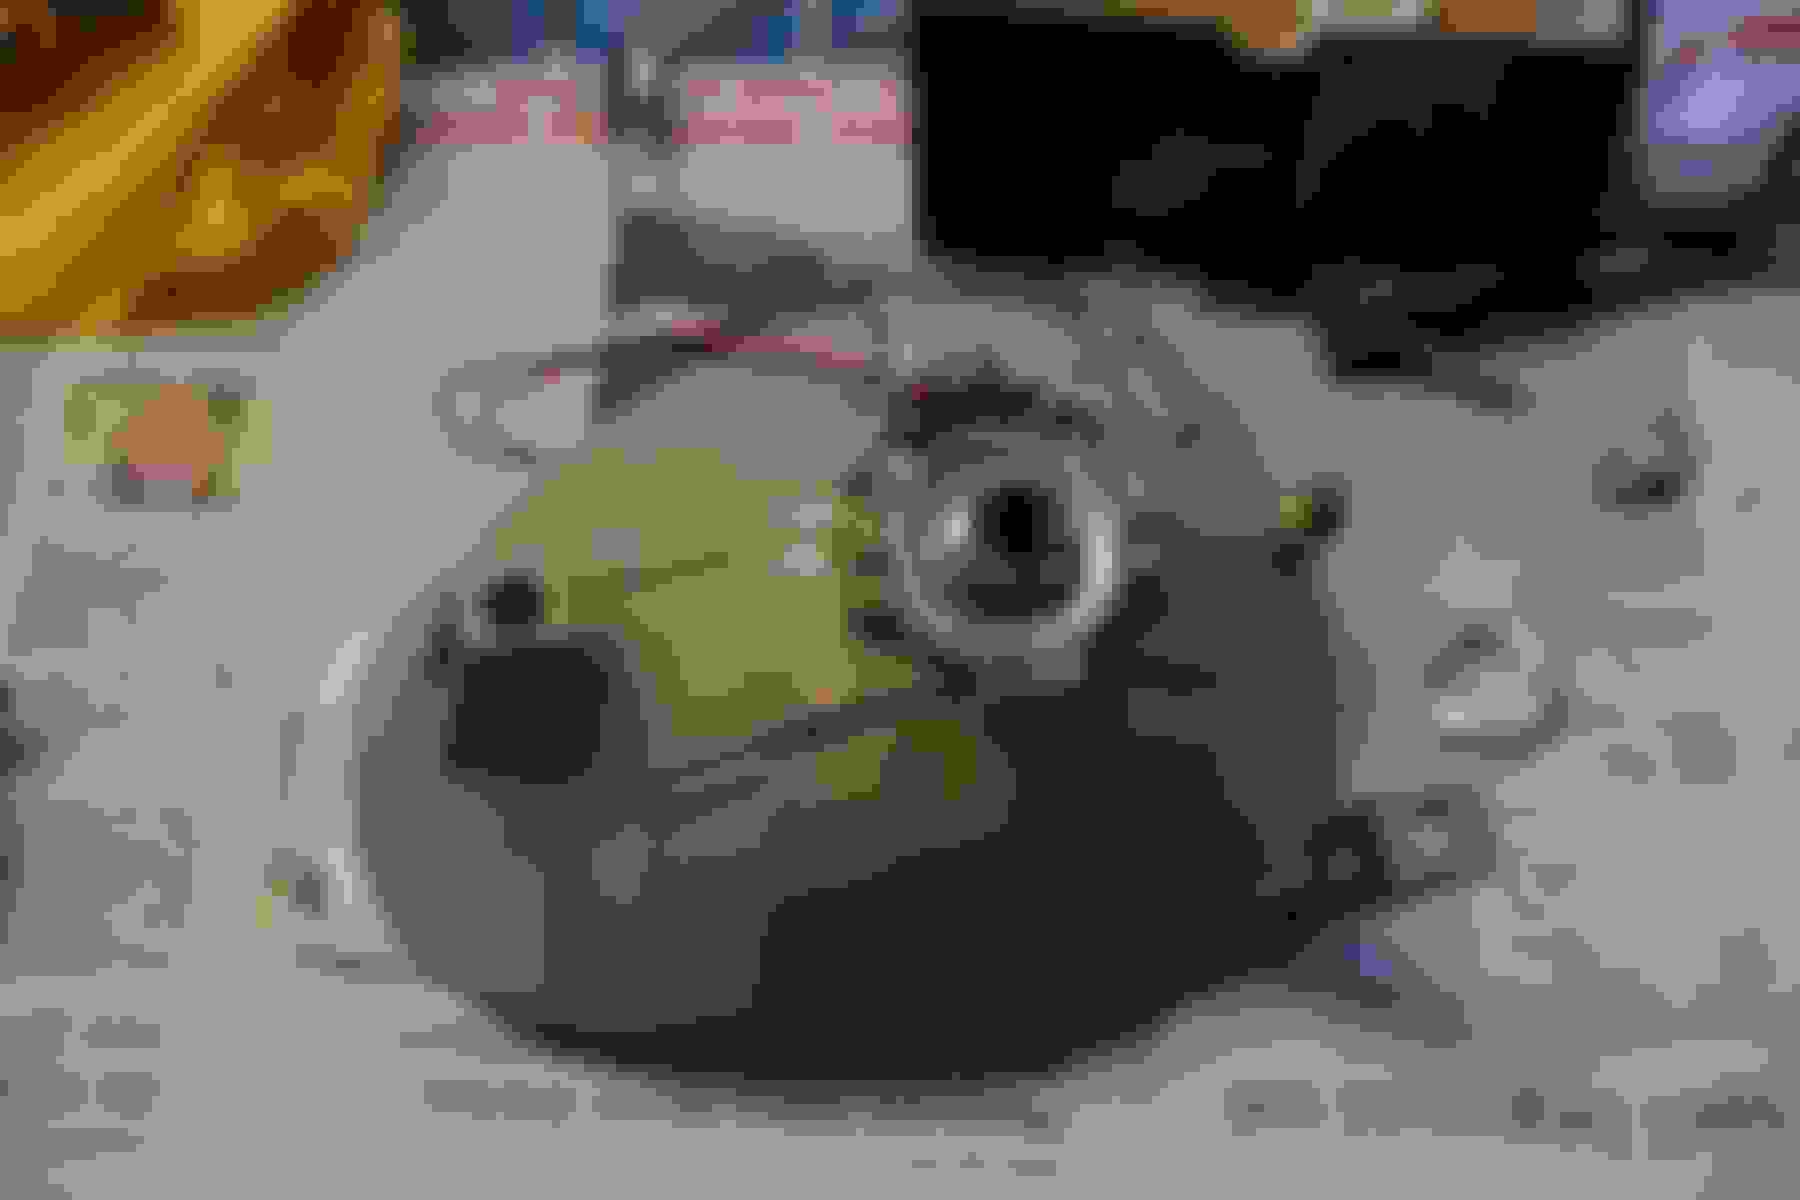
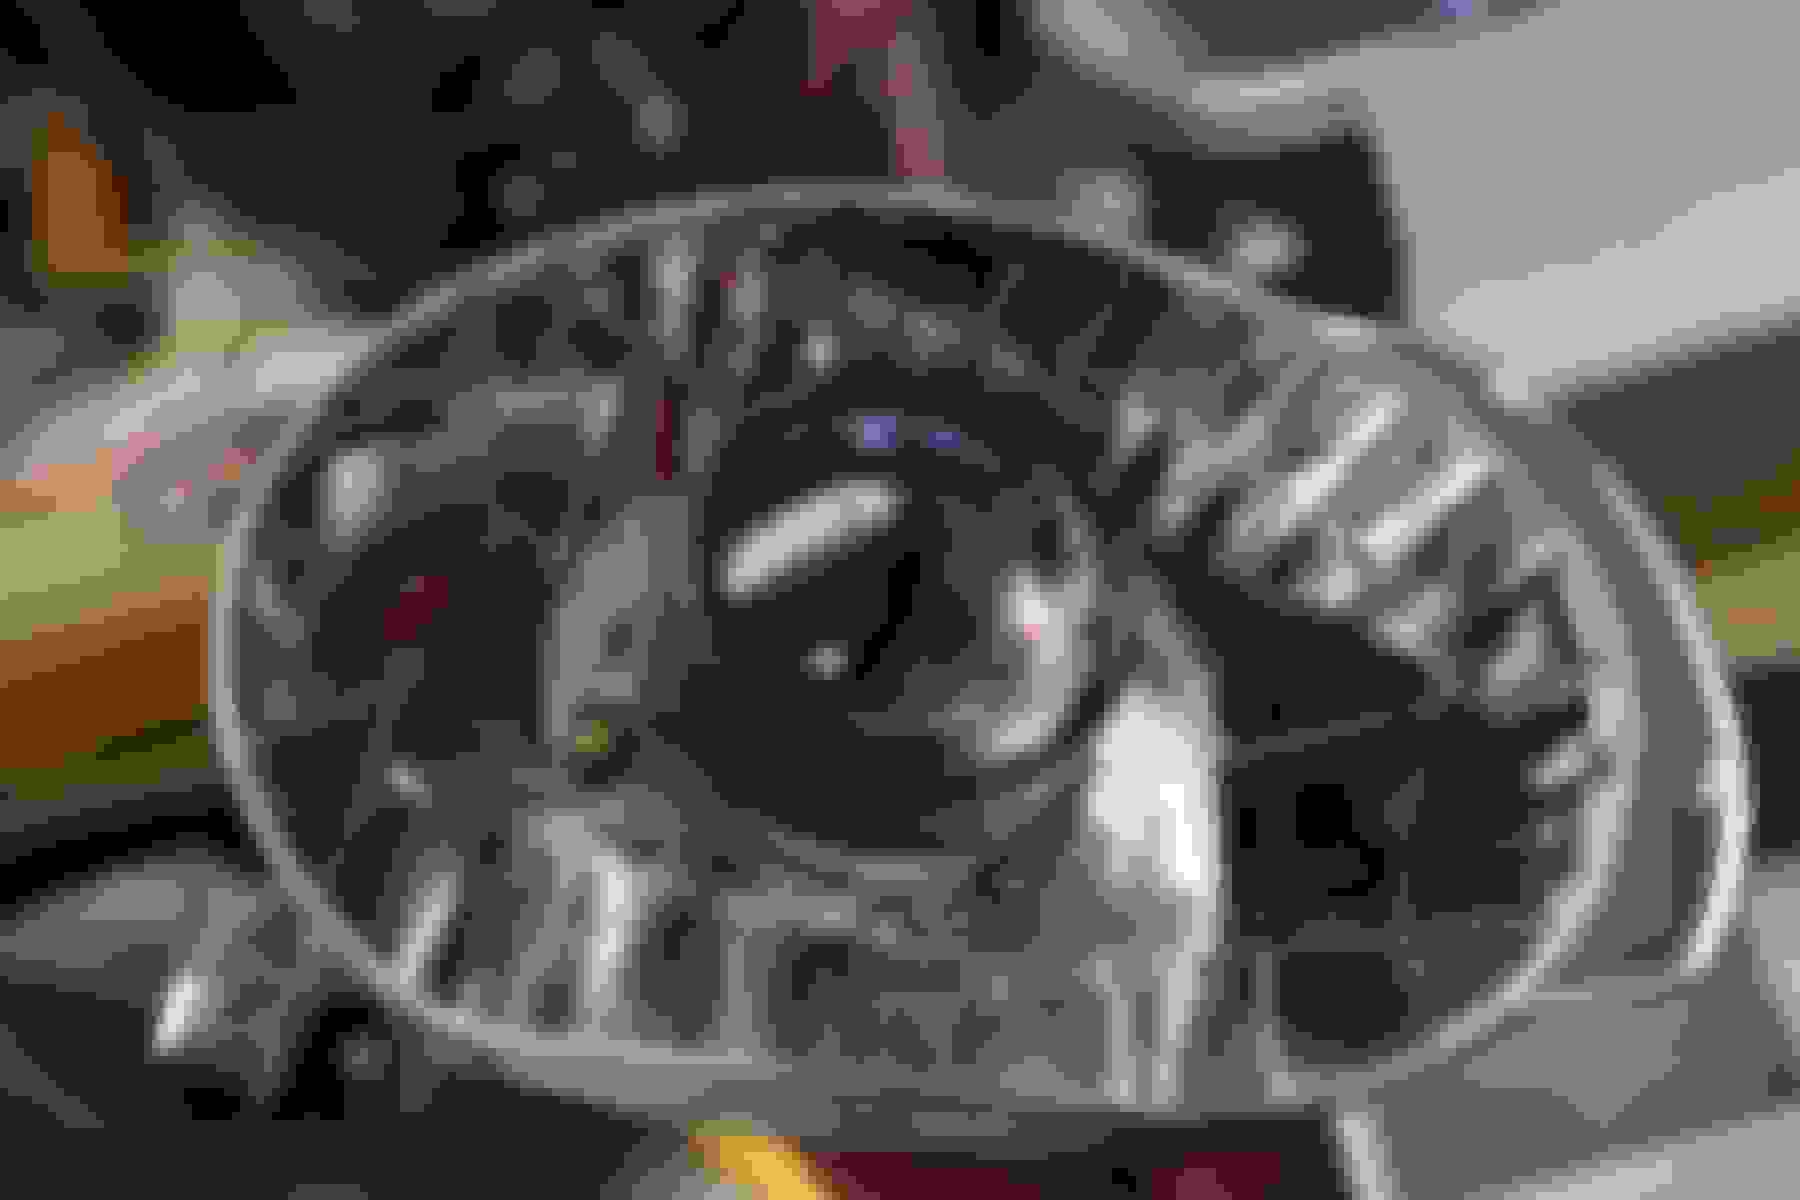
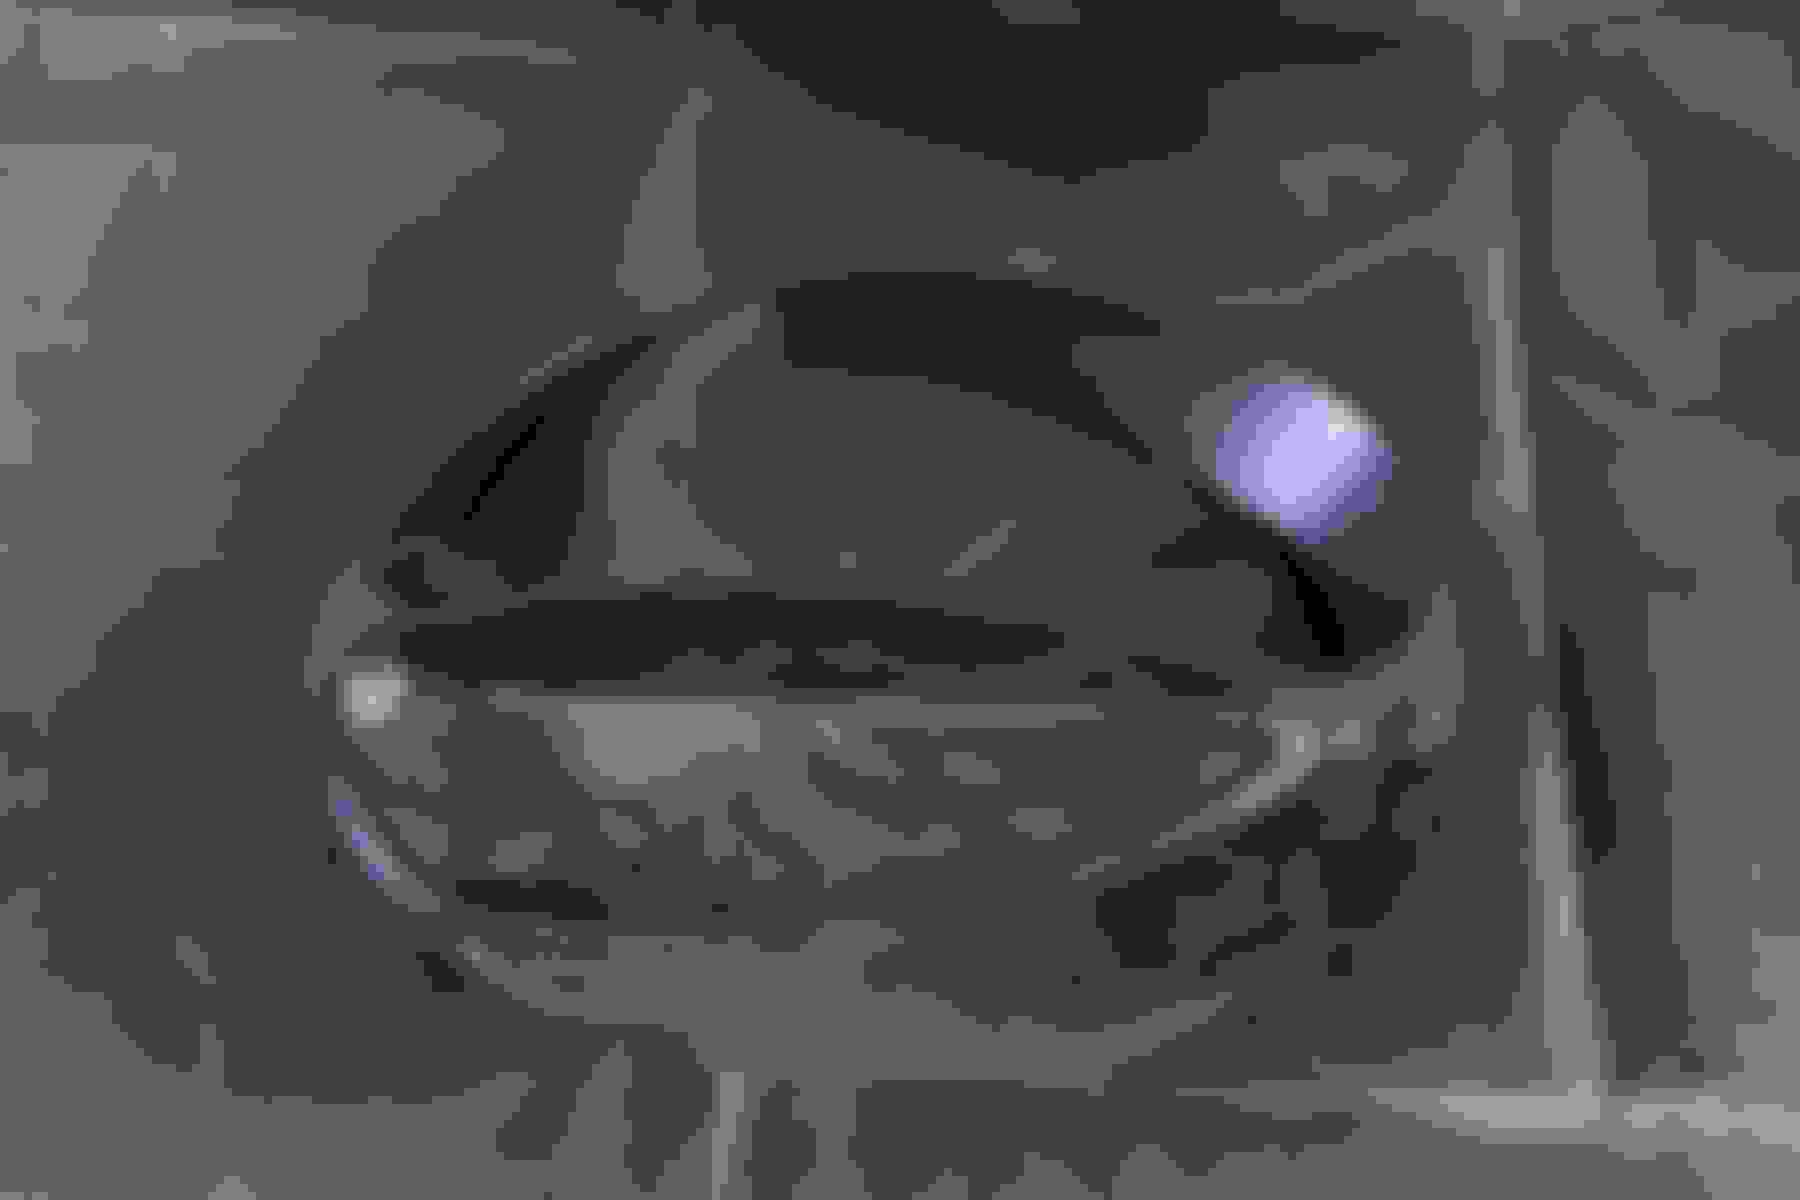
Now we start fitting in the projectors! The kit comes with everything you need as far as mounting hardware is concerned. Slide in the metal centering ring plate, mount in the projector and fit the silicone seal that comes in the kit. Now you can screw in the projector with the main projector nut. Be sure to test everything out before you mount it all permanently so hook up the ballasts to 12V, test out the bulbs and high beam actuators! I purchased E55 projector shrouds but pick any that you like and do a bit of measuring before hand so you know that they will fit.
Step #7
Now let's make these headlights pretty! I bought a �20 headlight restoration kit and pimped up the lenses so they were nice and new looking. Pretty easy stuff and just follow the steps on how and wen to use the sandpaper, polish and protection sealant after all the polishing. I also decided to paint the shrouds black for a cleaner look. I also pulled out the orange indicator reflector and mounted in orange bulbs (replacing them with silver units that flash orange soon!).
Step #8
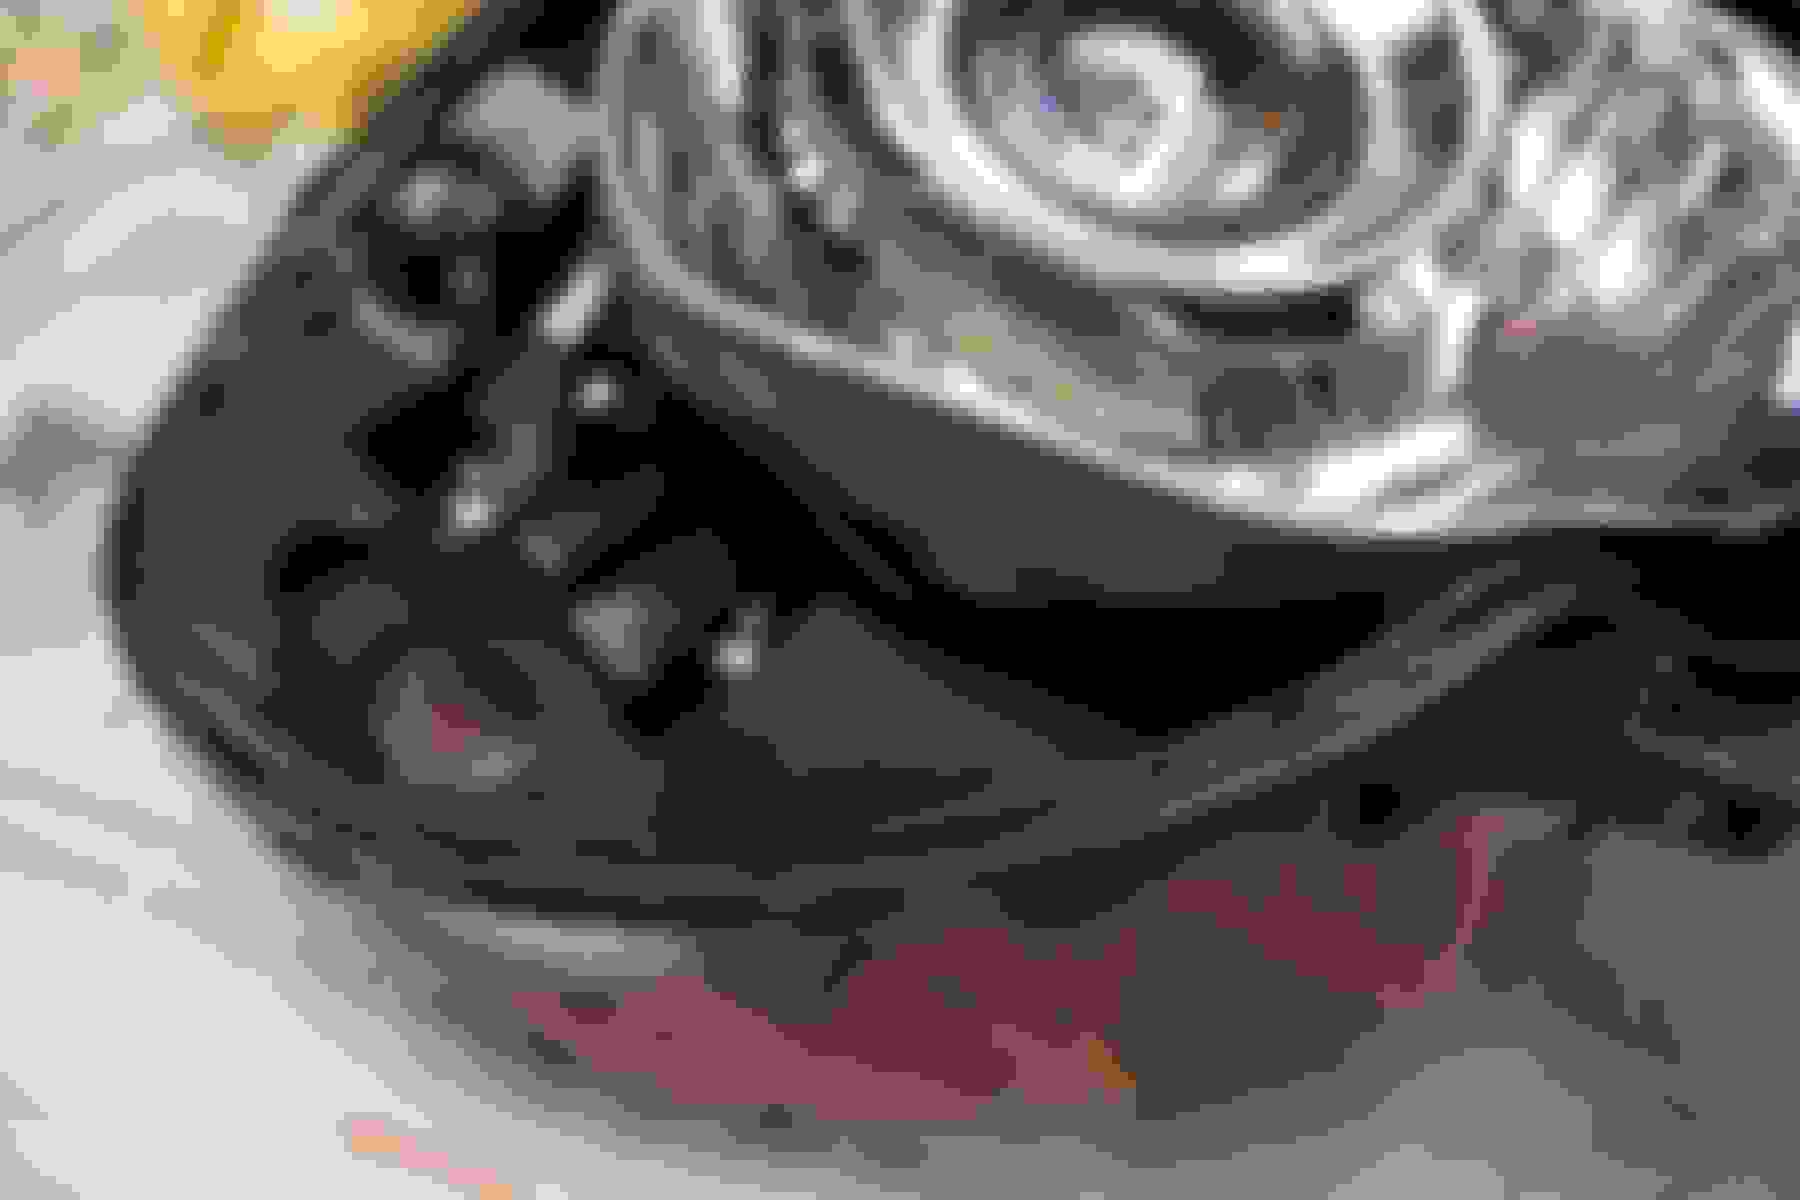
Now it's time to tackle the wiring, if you take the bumper off the mounting is going to be very easy. I mounted all the relays and ballasts in the wheel wells as there is plenty of space there! So make sure to make it clean and zip tie everything firmly in place. The wiring was a bit of a pain as I had to use a common ground for the wiring and then just connect the light + and the high beam + to the original contacts. You can also opt for a wiring harness and save yourself some trouble.
Step #9
Now that you know the lights work and the wires are in place apply some headlight sealant in the groove around the entire light, put everything back in it's place and put on the lens. Press it together and don't worry about the seal being perfect right now! Put the lights back in the oven for another 5min at the same temperature and once taken out just press as hard as you can and be careful not to break any tabs on the lights. I purchased some retro rubber sealant from Morimoto and it worked perfectly! After heated it is the consistency of chewing gum.
Step #10
Fit the lights on the car and do some leveling on the beams, there are plenty of articles on the web on how to do this, just google "xenon retrofit aiming" or something similar I used this tutorial: http://www.hidplanet.com/forums/show...HID-headlights
Step #11
Make sure everything is working again and that you didn't miss any small details and make sure all the wires have plenty of room. Re fit the bumper and enjoy your new bi xenon headlamps!
Some tips:
- Take pictures as you work and make sure to triple check everything!
- Use painters tape to stick bolts to the appropriate pars and write on the tape so you know what is what.
- Be patient and work slowly, don't rush a project like this as you'll come to regret any mistakes down the line
- Have fun doing it!
Bi-Xenon Morimoto Mini D2S Stage III Kit: http://www.theretrofitsource.com/com...3-kit-d2s.html
Mini D2S 3.0 Bi-xenon projectors (LHD)
Morimoto Ballasts
Morimoto Bulbs
9003/H4 MotoControl Relay Harness
Bi-Xenon Monograms (by request)
Shrouds/Bezels of your choice (Again, Apollo 2.0 would be a solid choice)
Starting at $315 shipped free here in the US.
Then add shippage.
Customs is an unknown.
I bought JDM STi HIDs with ballasts & bulbs for �220.
Not much in it then? Yours are $327, add postage onto the ones from the US, around $25, assume nowt for customs, (mine weren't), and you are into similar.


 I used this tutorial: http://www.hidplanet.com/forums/show...HID-headlights